


TopRC giant P-47 Thunderbolt ARF
 06-22-2022, 12:23 PM
#276


Thanks Jason!
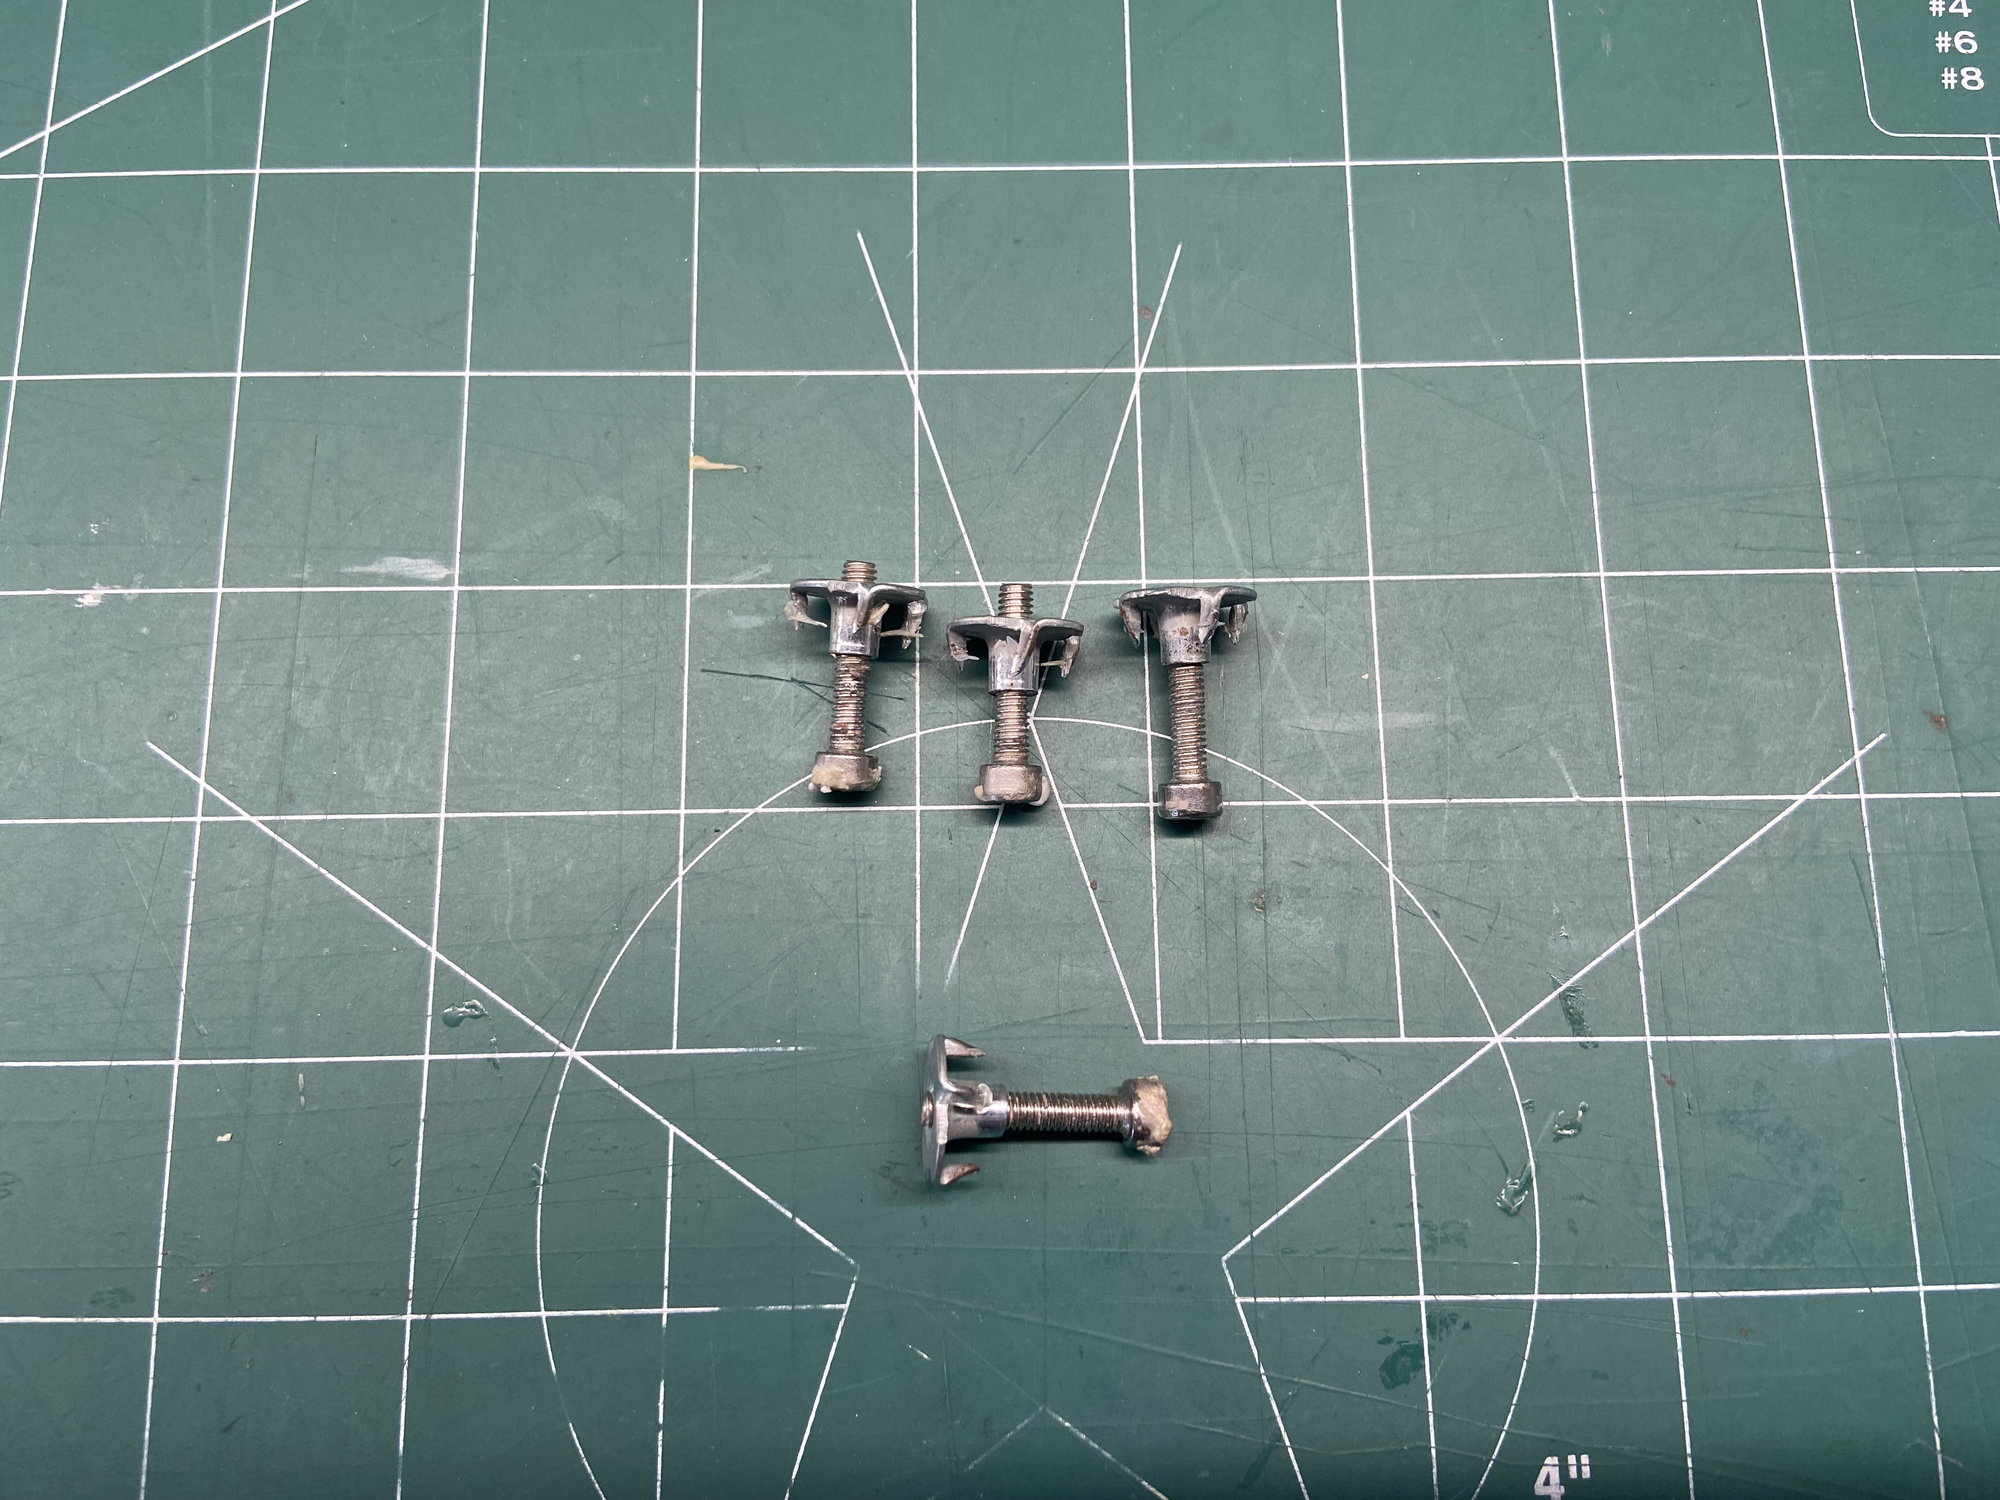
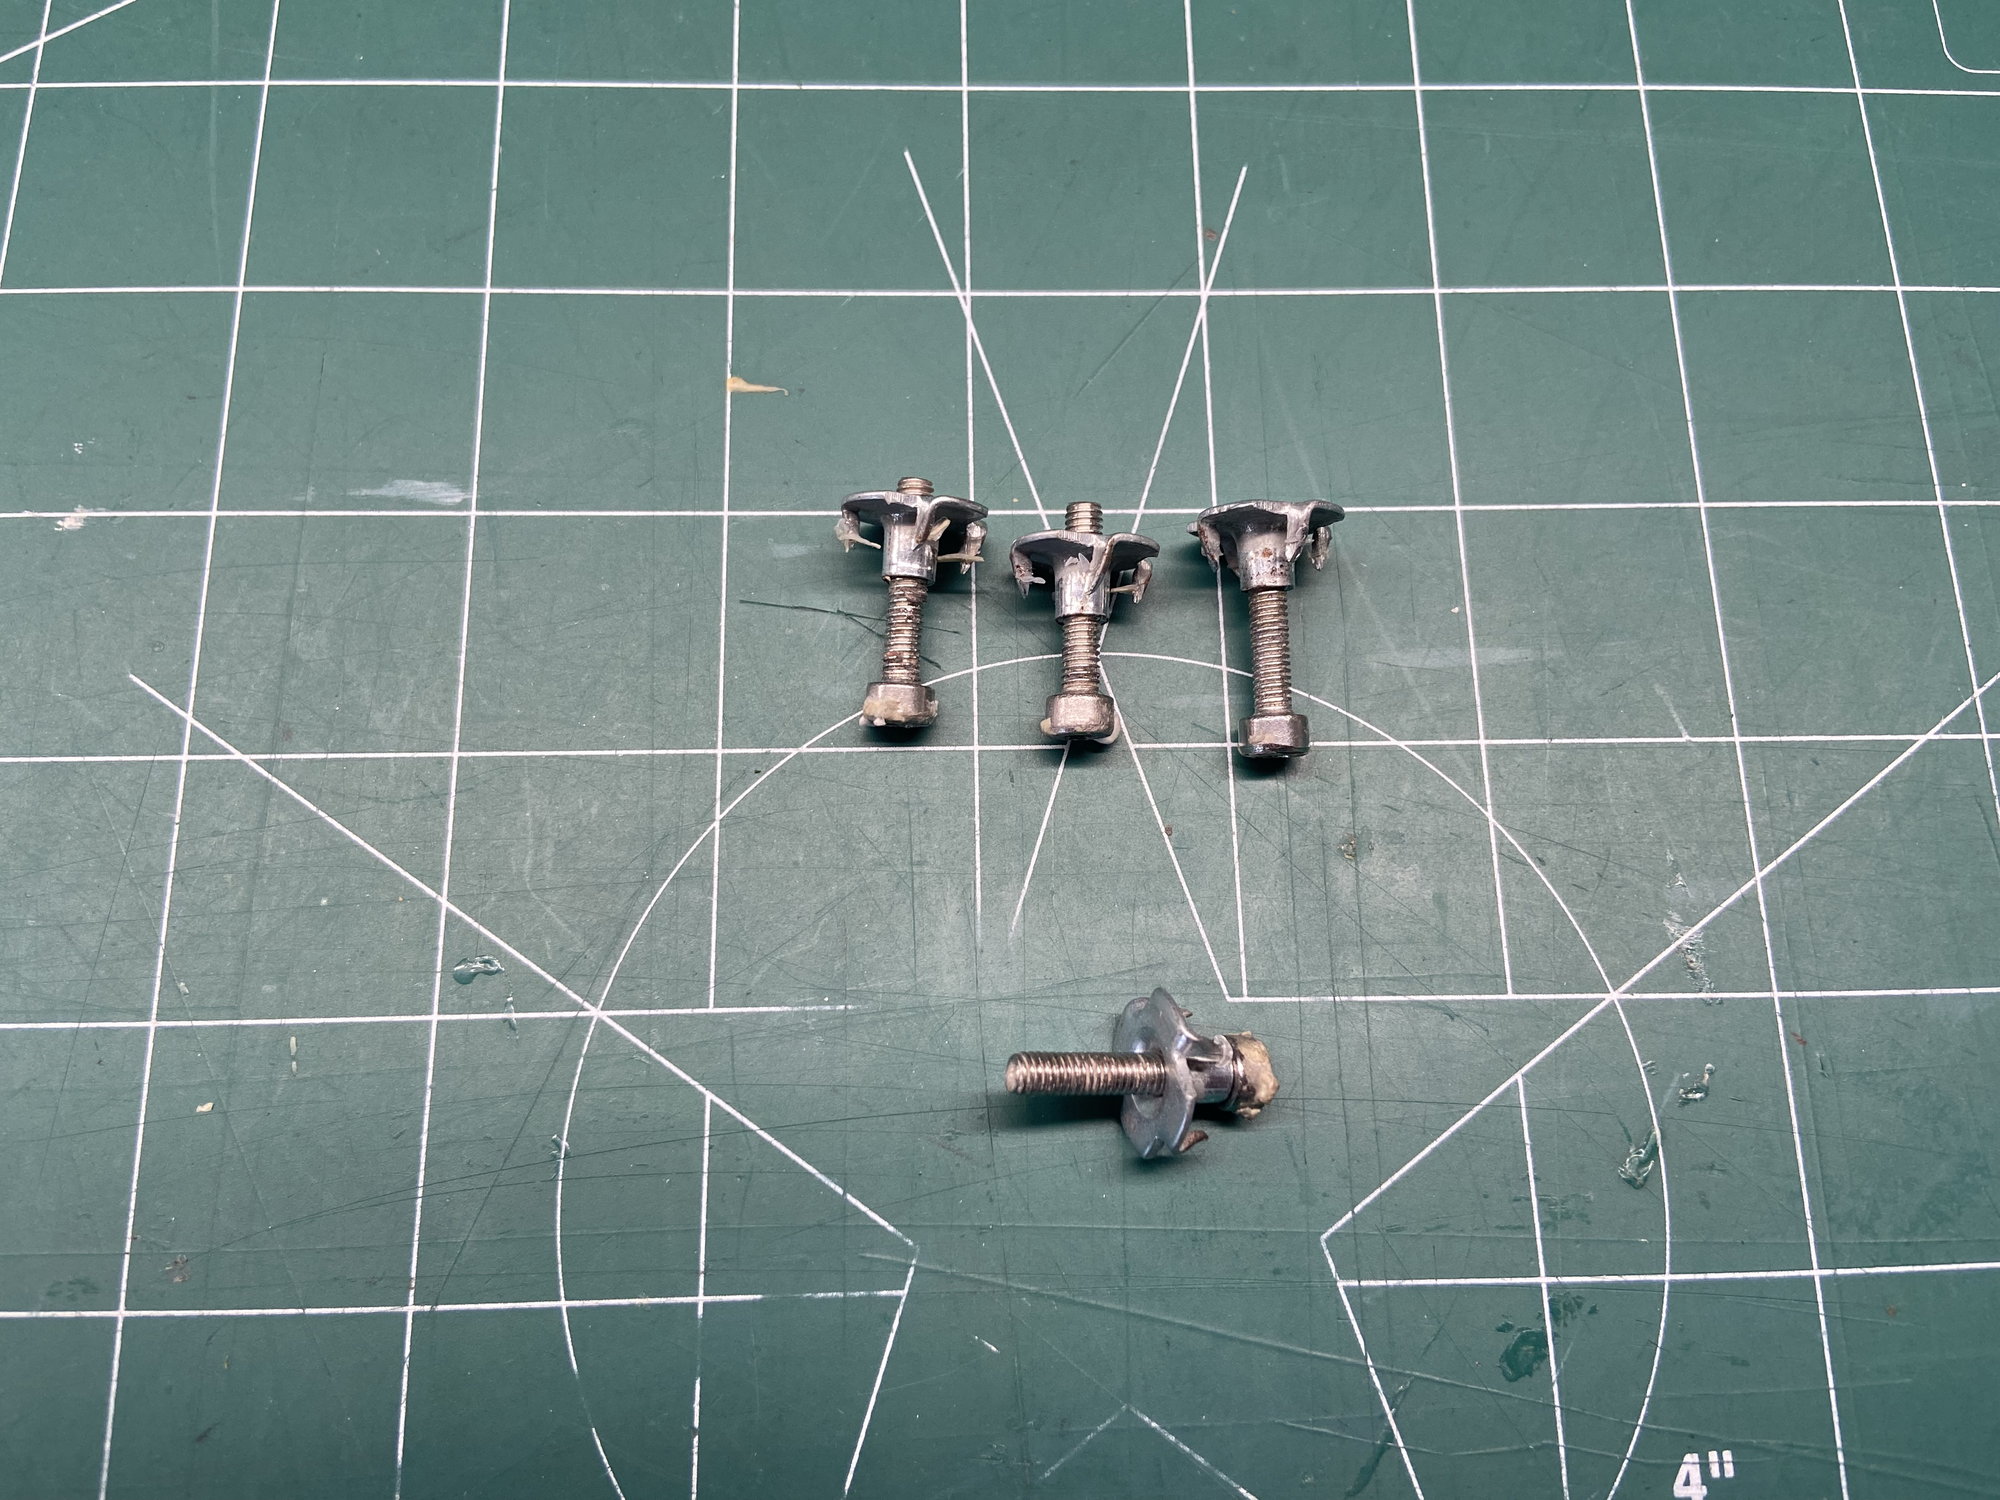
Just want to reiterate to everyone, (Please check the 8 wing tube mount screws in your P-47's). I was able to remove everyone of these screws with finger pressure and the "long end" of an allen wrench. Even if you don't use longer screws with washers and nylocs, at least tighten them with some Loctite. I don't want to see anyone have an issue in the air.
Darrin
This is the fix on the front set of screws.
 06-23-2022, 02:05 PM
#277
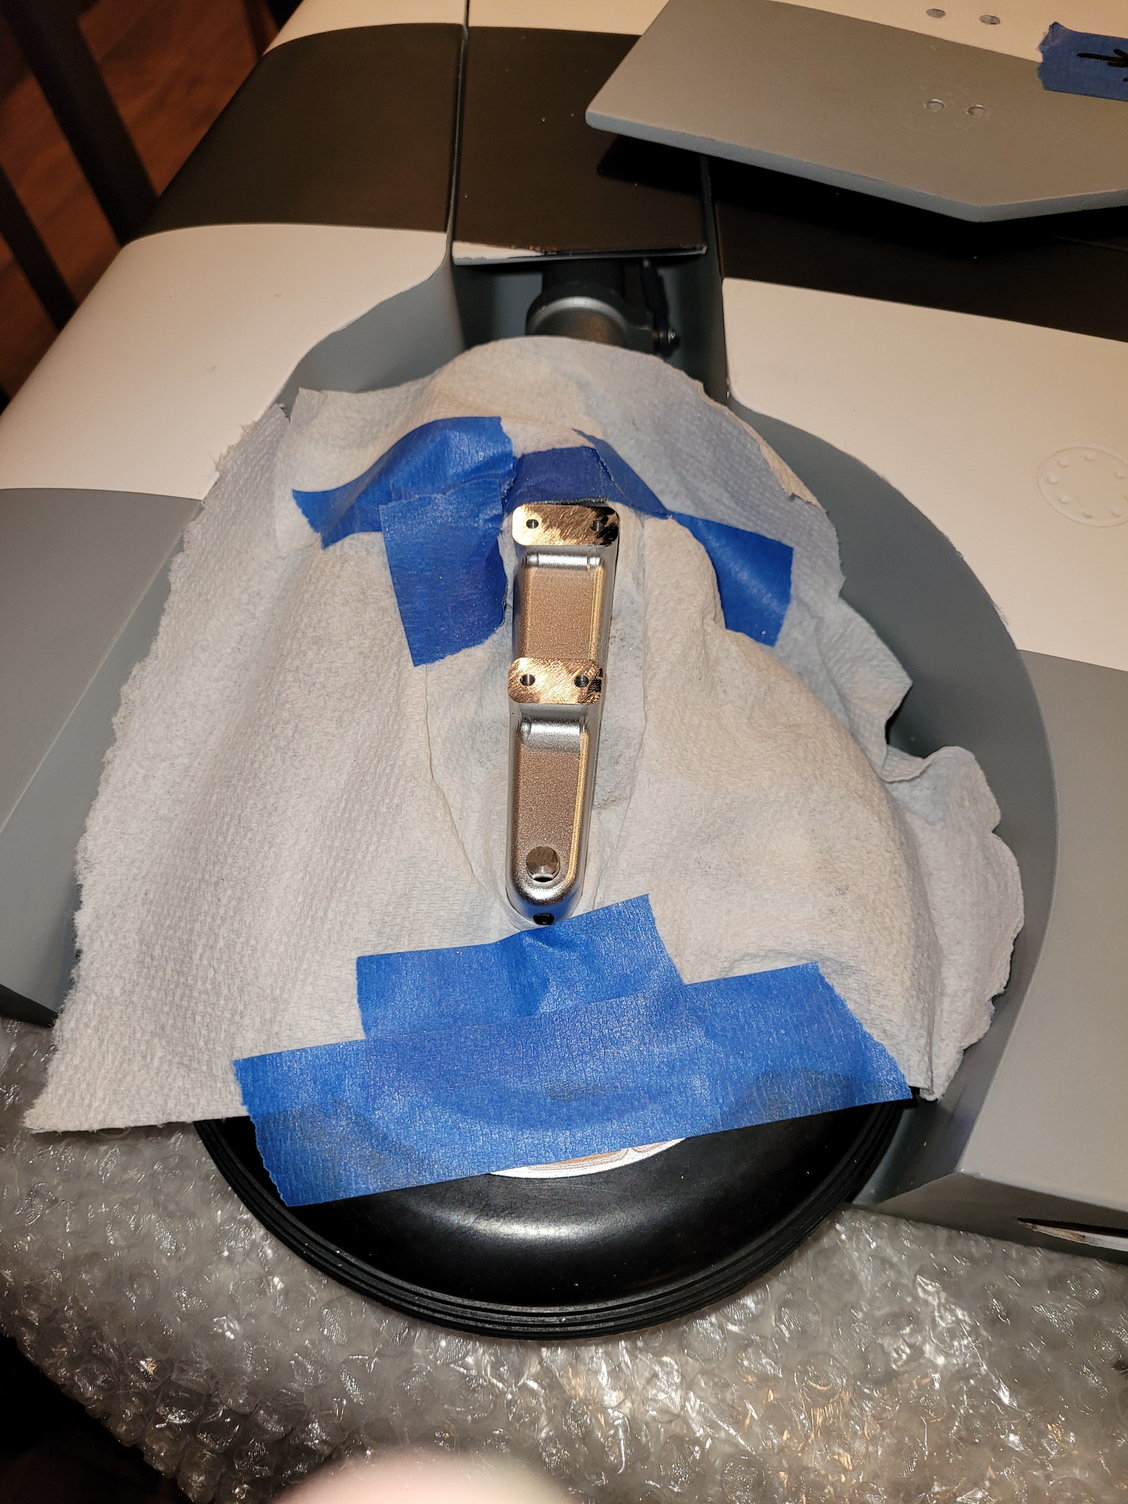
I can also confirm that you need to check the wing tube sleeve 4mm and 3mm screws very carefully! Thanks Darrin for bringing this up! When I checked mine (rear tube 4mm), all four screws where not even tight and one screw just kept turning when I tried to tighten it! The front 3mm screws where also hand tight. Additionally, all four of my nutplates were not inserted fully and pushed right out with mild pressure. The front 3mm nutplates are fully inserted and not defective like the 4mm nutplate. So I removed all four and will install new rear nutplates. I will also design and cut two beef-up plates for the front and rear tubes.
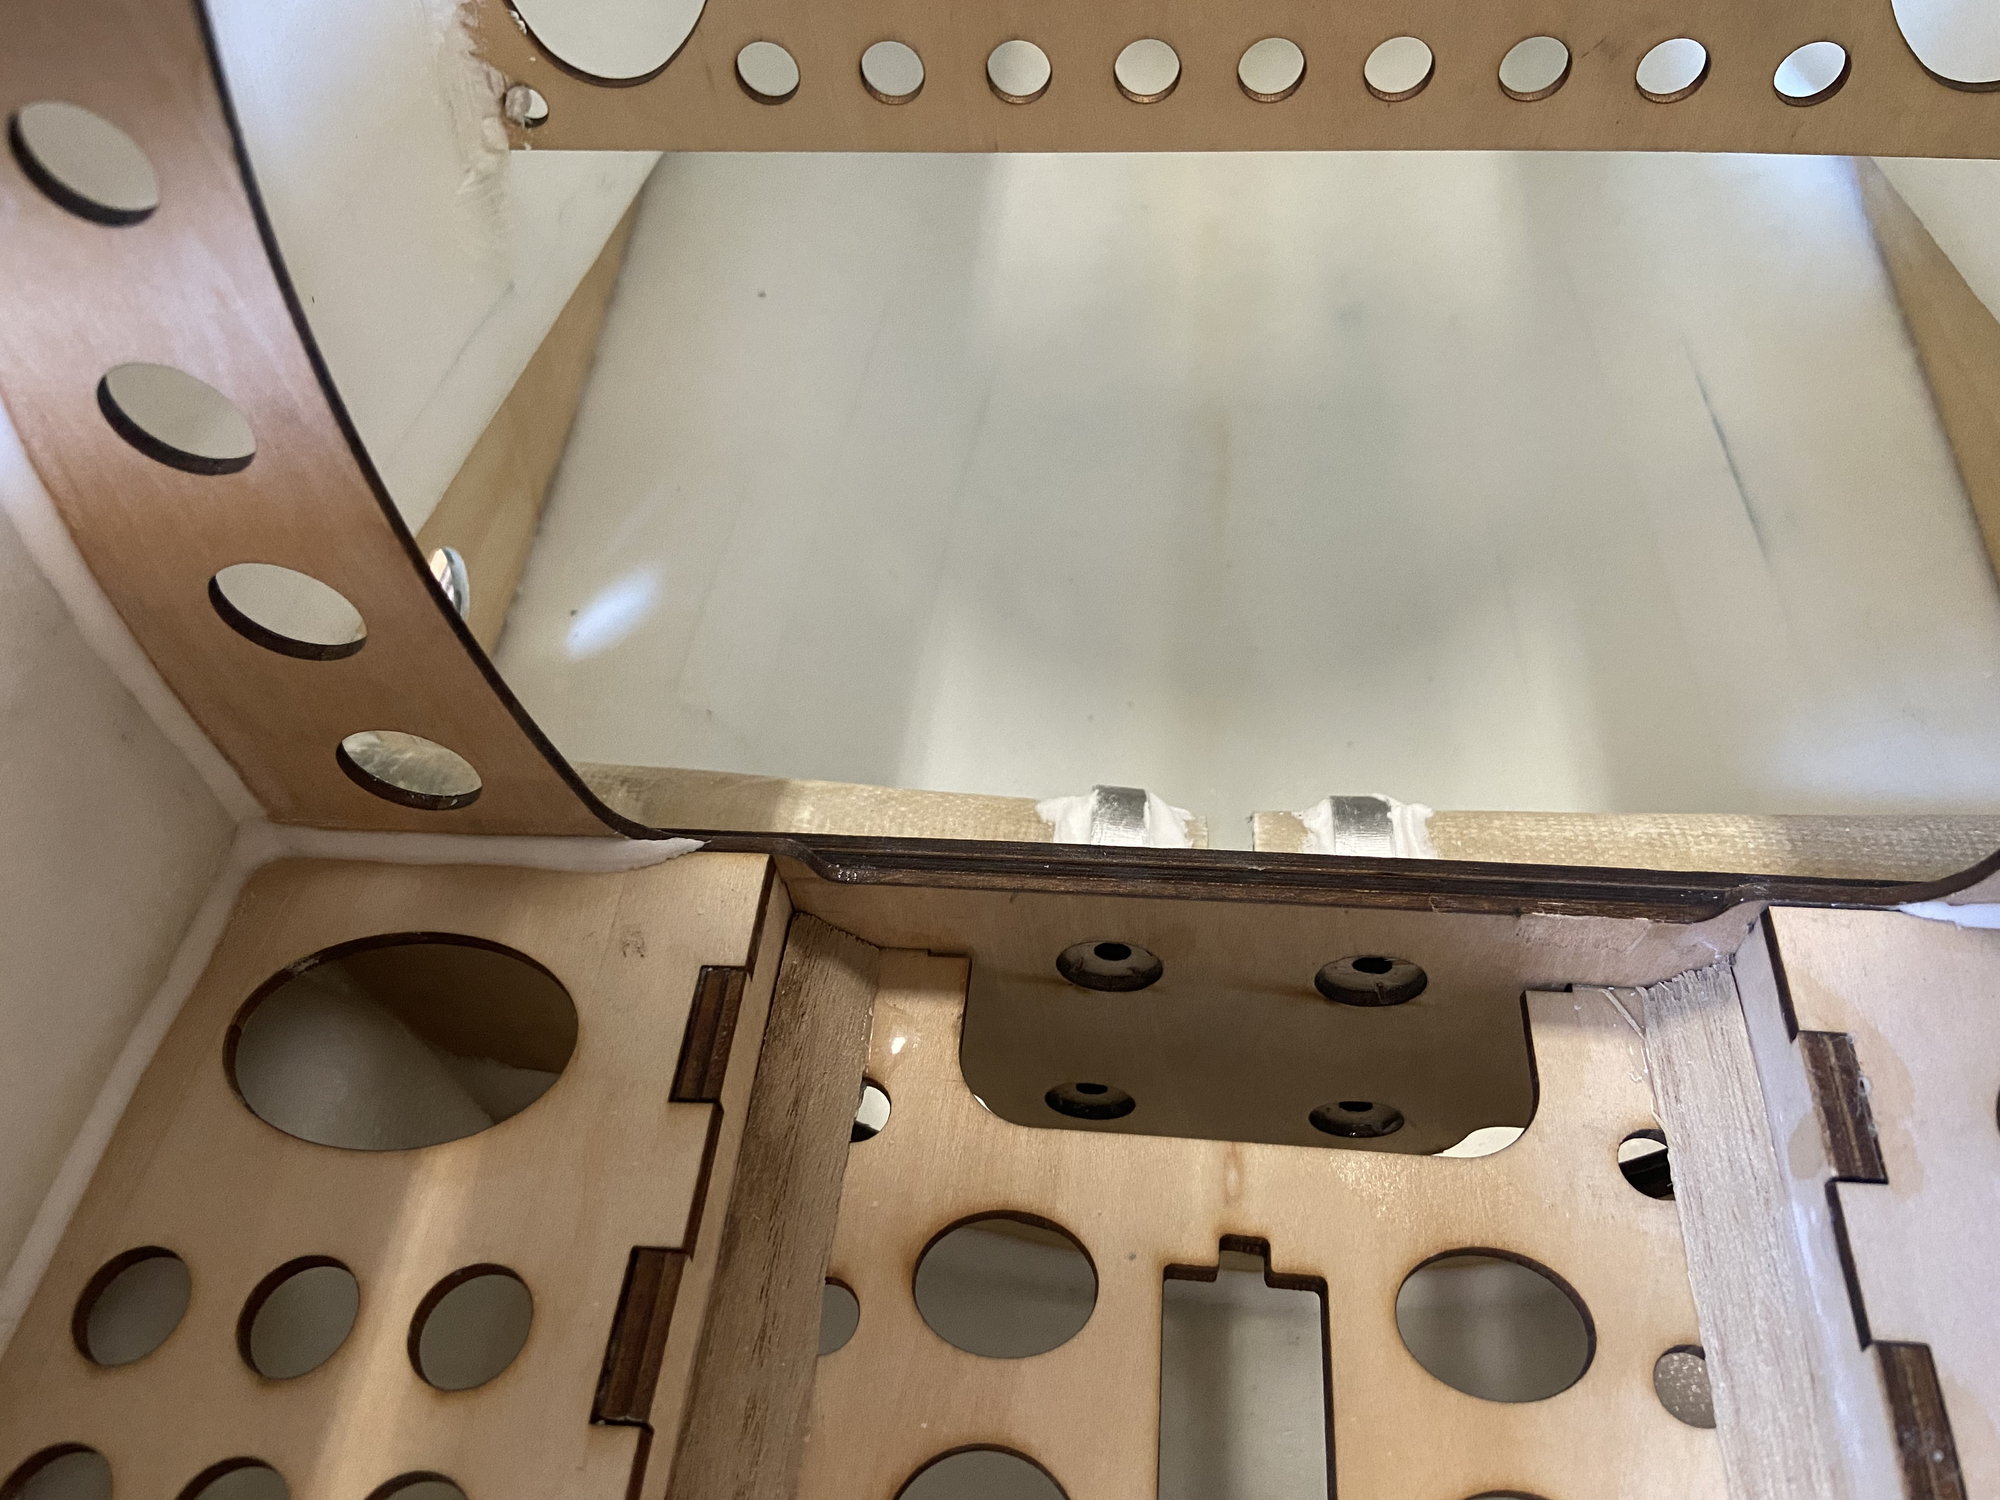
Here are the 4mm nutplates from the rear wing tube sleeve support and you can see the horizontal one looks fine...
However with mild hand pressure the 4mm screw will push right through the nutplate....
Just make sure to check these as Darrin has already stated. I will get mine fixed over the next couple of days. Talk soon.
The following users liked this post:
PaulD (10-10-2022)
06-28-2022, 06:34 AM
#278

Good morning all may I turn you on to a product that I’ve been using for about 11/2 yrs now if you don’t already know about it it’s call Epo Grip #30 A&B it has a Vaseline consistency in about six hours working time it will not run a sag like epoxy and it is stronger than epoxy once you try it you will not go back to using epoxy... WWW.EpoGrip.com or 800-888-2467 it’s a great product you will not regret it.

The following users liked this post:
John8861 (08-03-2022)
07-04-2022, 09:03 PM
#281
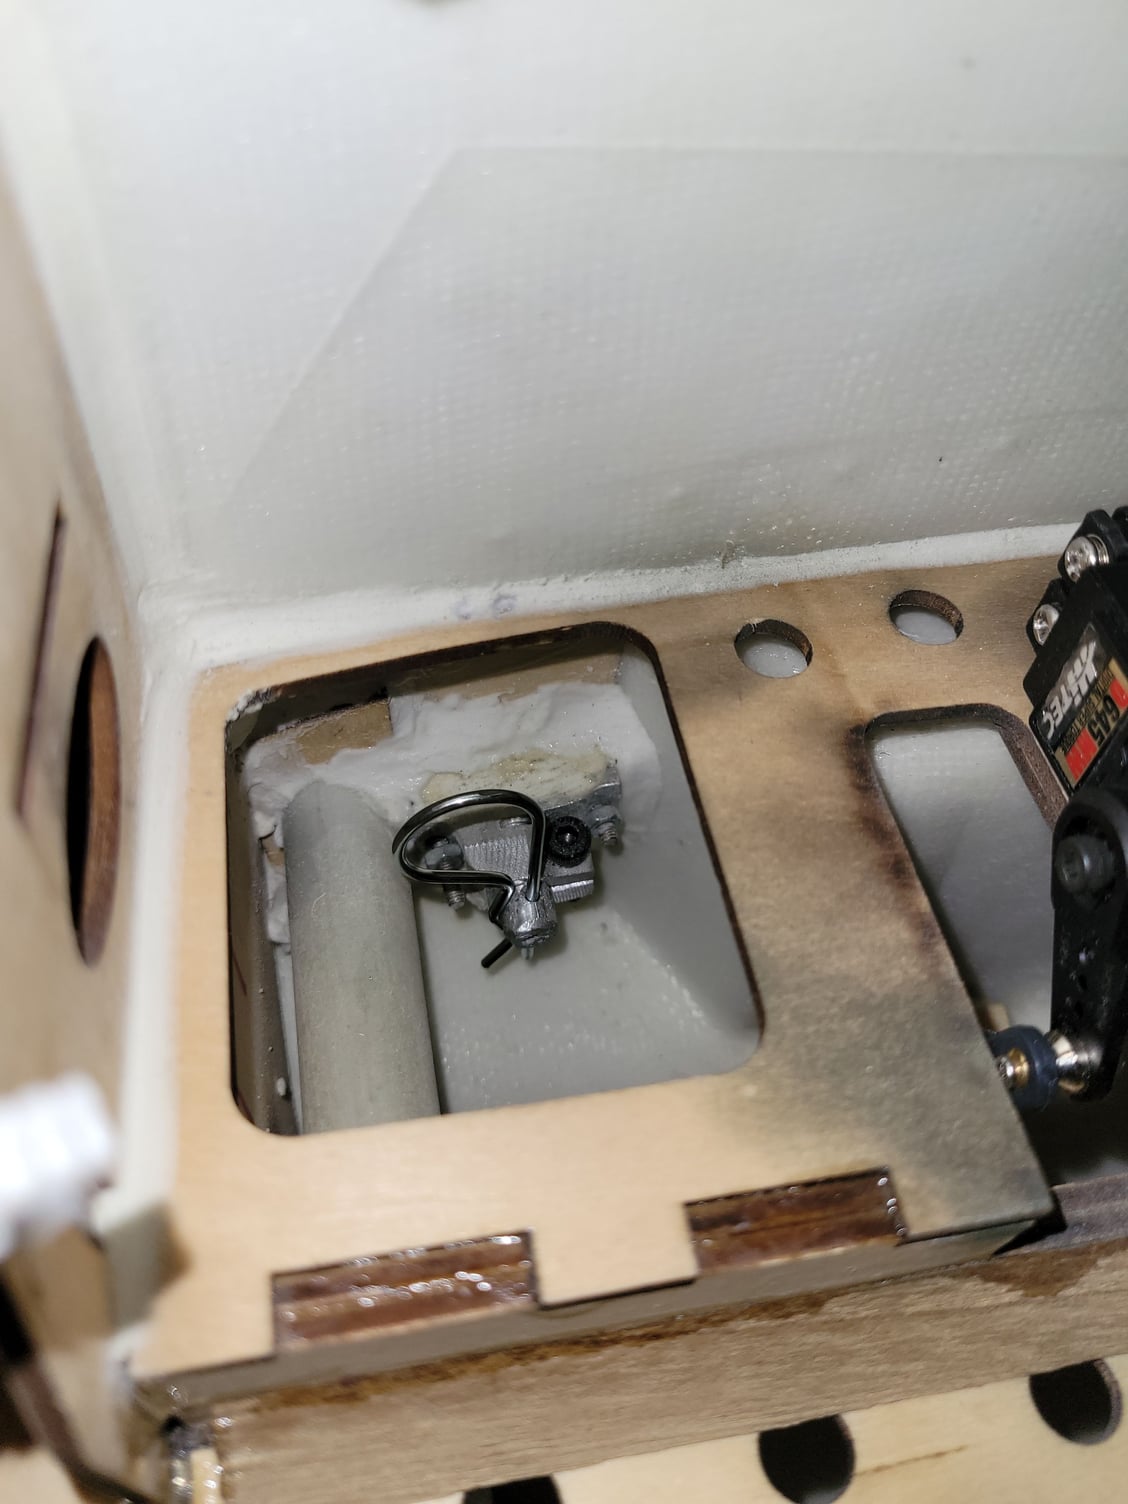
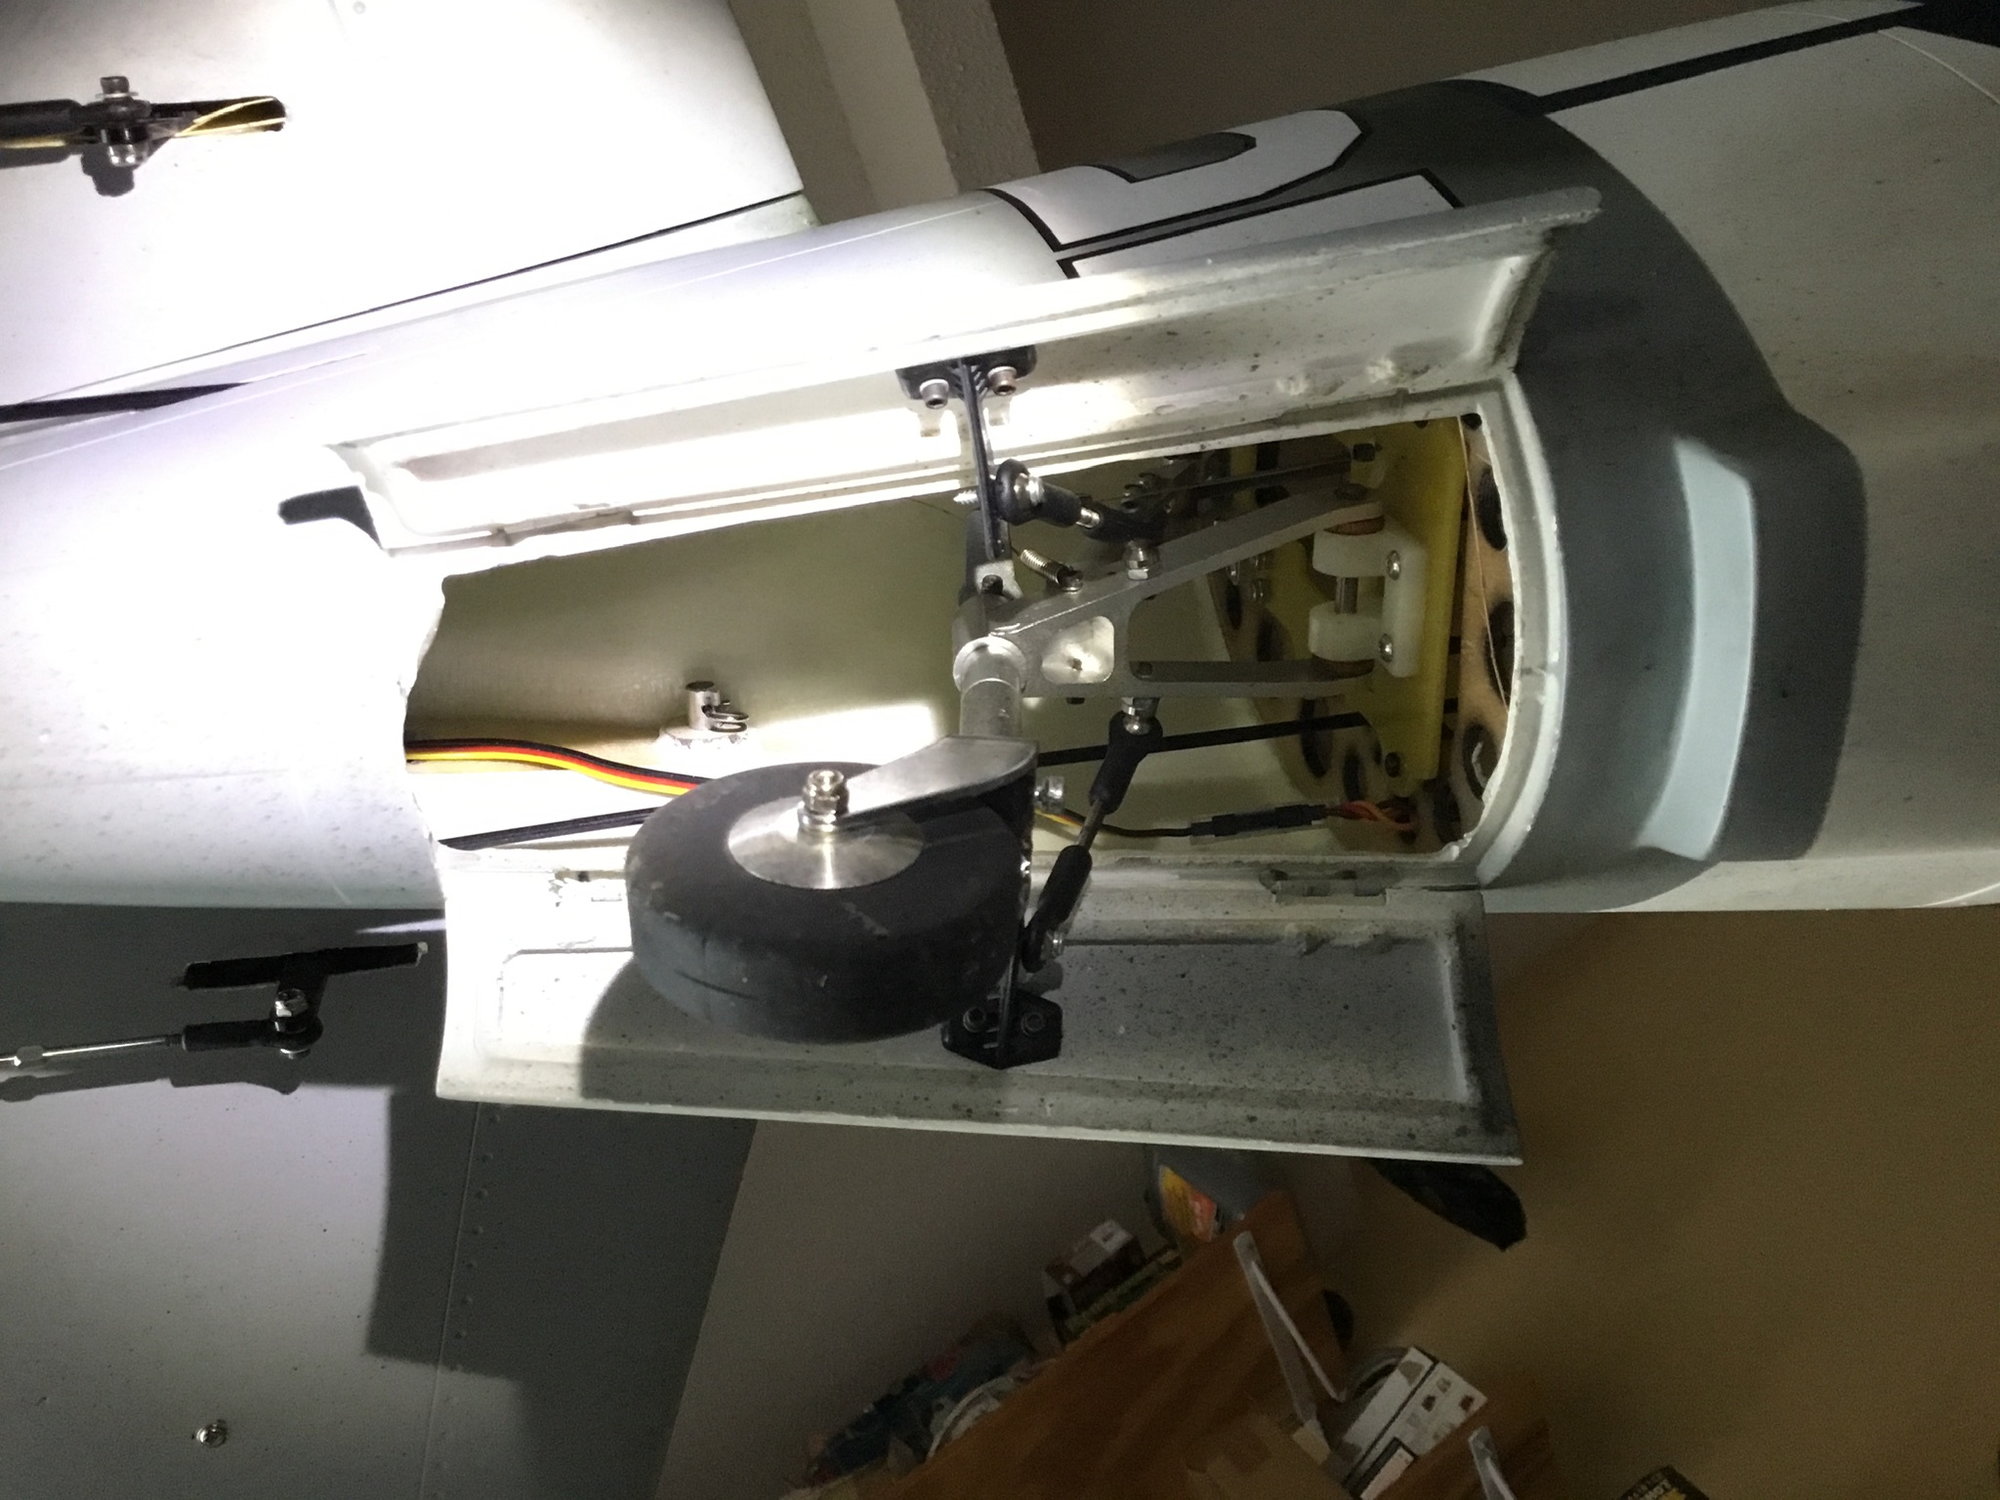
Took a while to figure how to reliably open and close the tailwheel doors, but finally got it worked out. I tapped the existing holes in the assembly for 2-56 threads and used ball links, then hysol'd horns onto the doors. Got lucky and it worked. Had to remove a lot of material to get the doors open far enough to get some ground clearance (even after spacing the assembly downward by a .250").
Couldn't figure out how upload a video so I hope it's ok to post this link.
Couldn't figure out how upload a video so I hope it's ok to post this link.
07-06-2022, 03:03 AM
#282
Hello all, just an update as to the former that was installed backwards at the factory and the subsequent tail wheel mount issue. Mike @ Gator RC has graciously taken care of the issue and I can press on with the build! Thanx again Mike .
Rich
Rich
The following users liked this post:
Colt4570 (07-06-2022)
 07-11-2022, 12:59 PM
#284
Drilled the holes in the wing pins for retaining clips that several people had suggested. Also found a good way of assembling the plane solo if there's no one around to help hold your wing up!
The following users liked this post:
JRSmith (07-11-2022)
 07-13-2022, 08:37 AM
#287
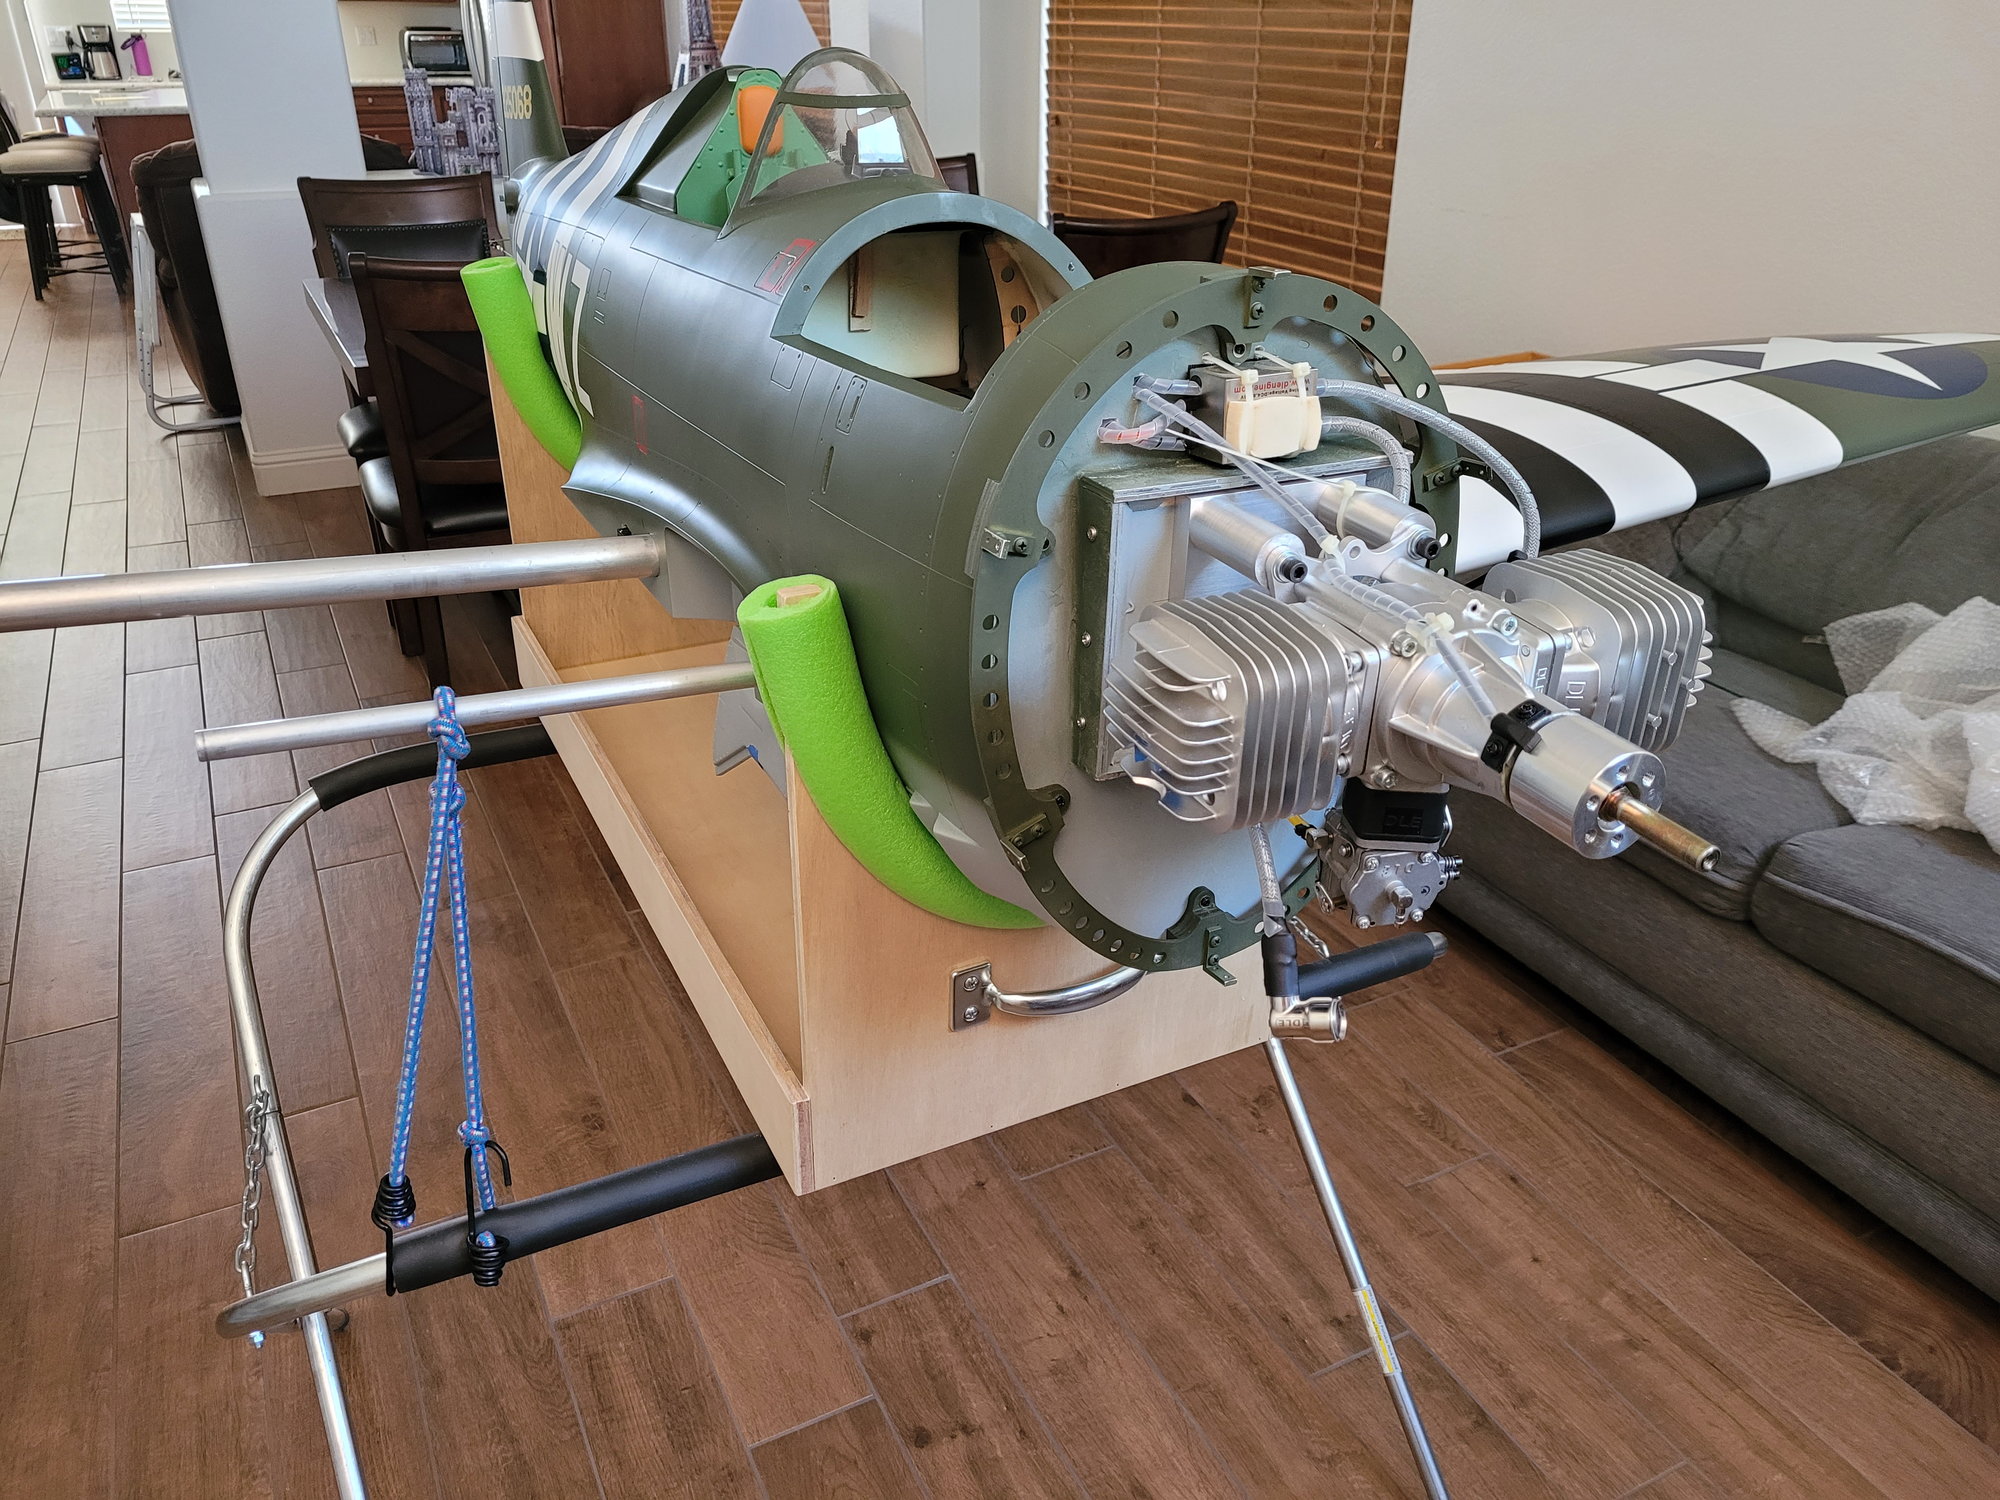
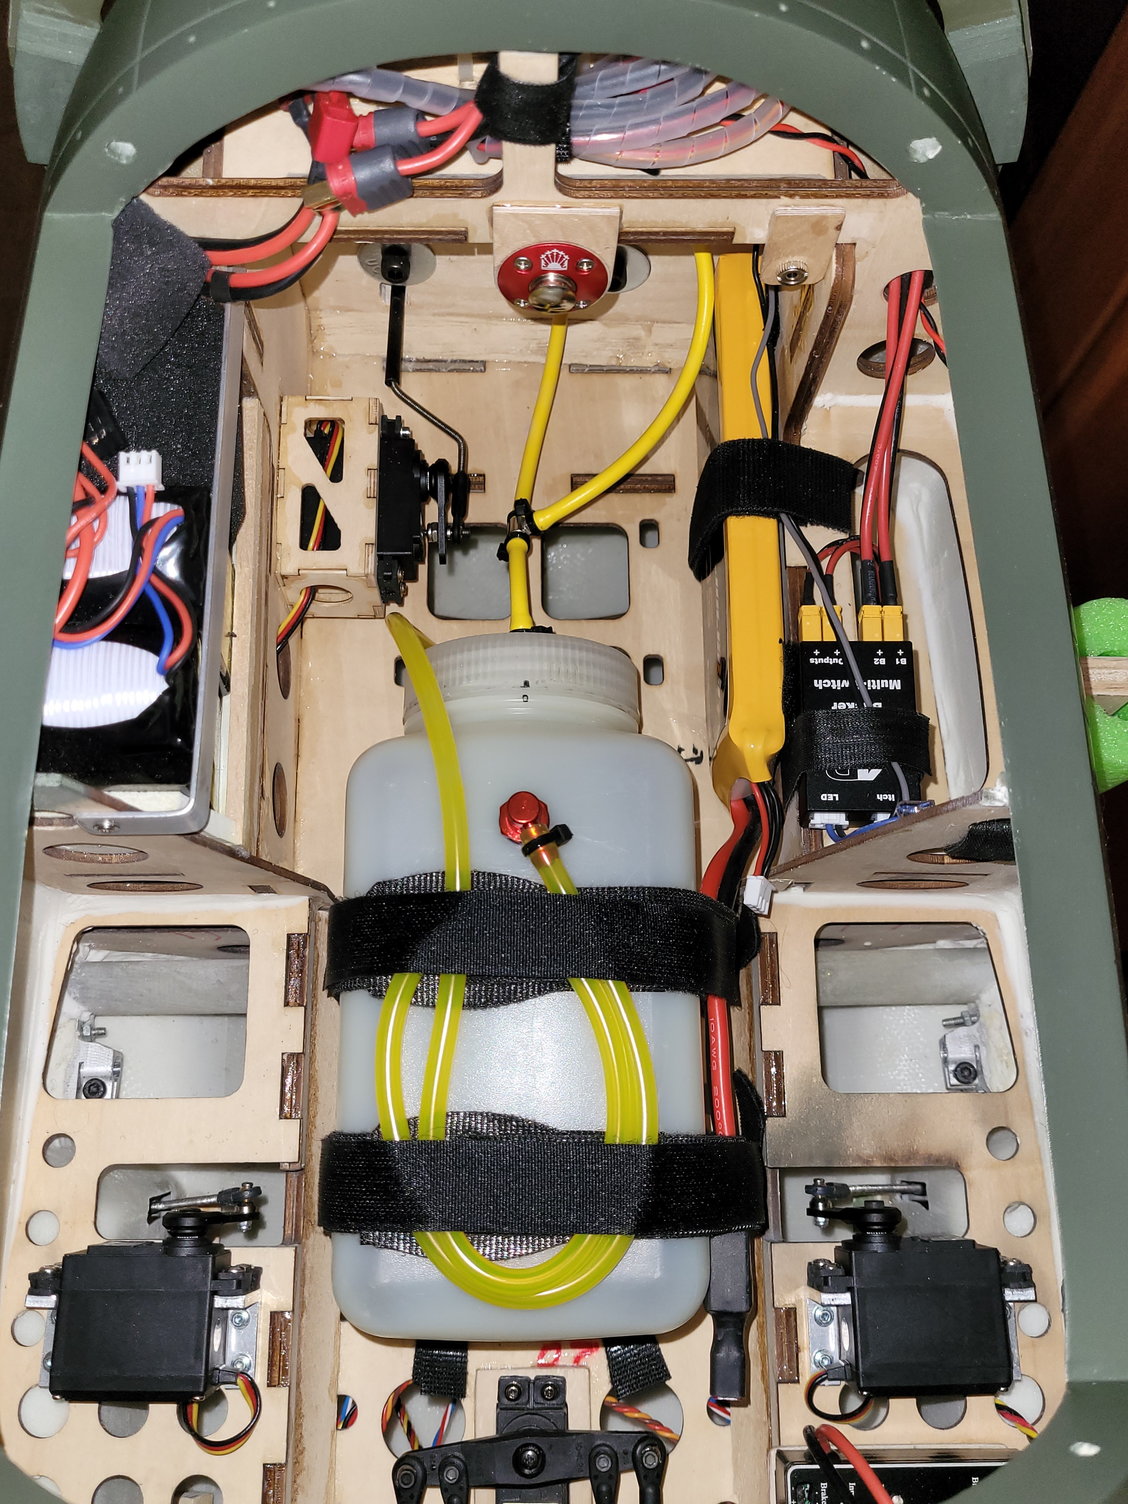
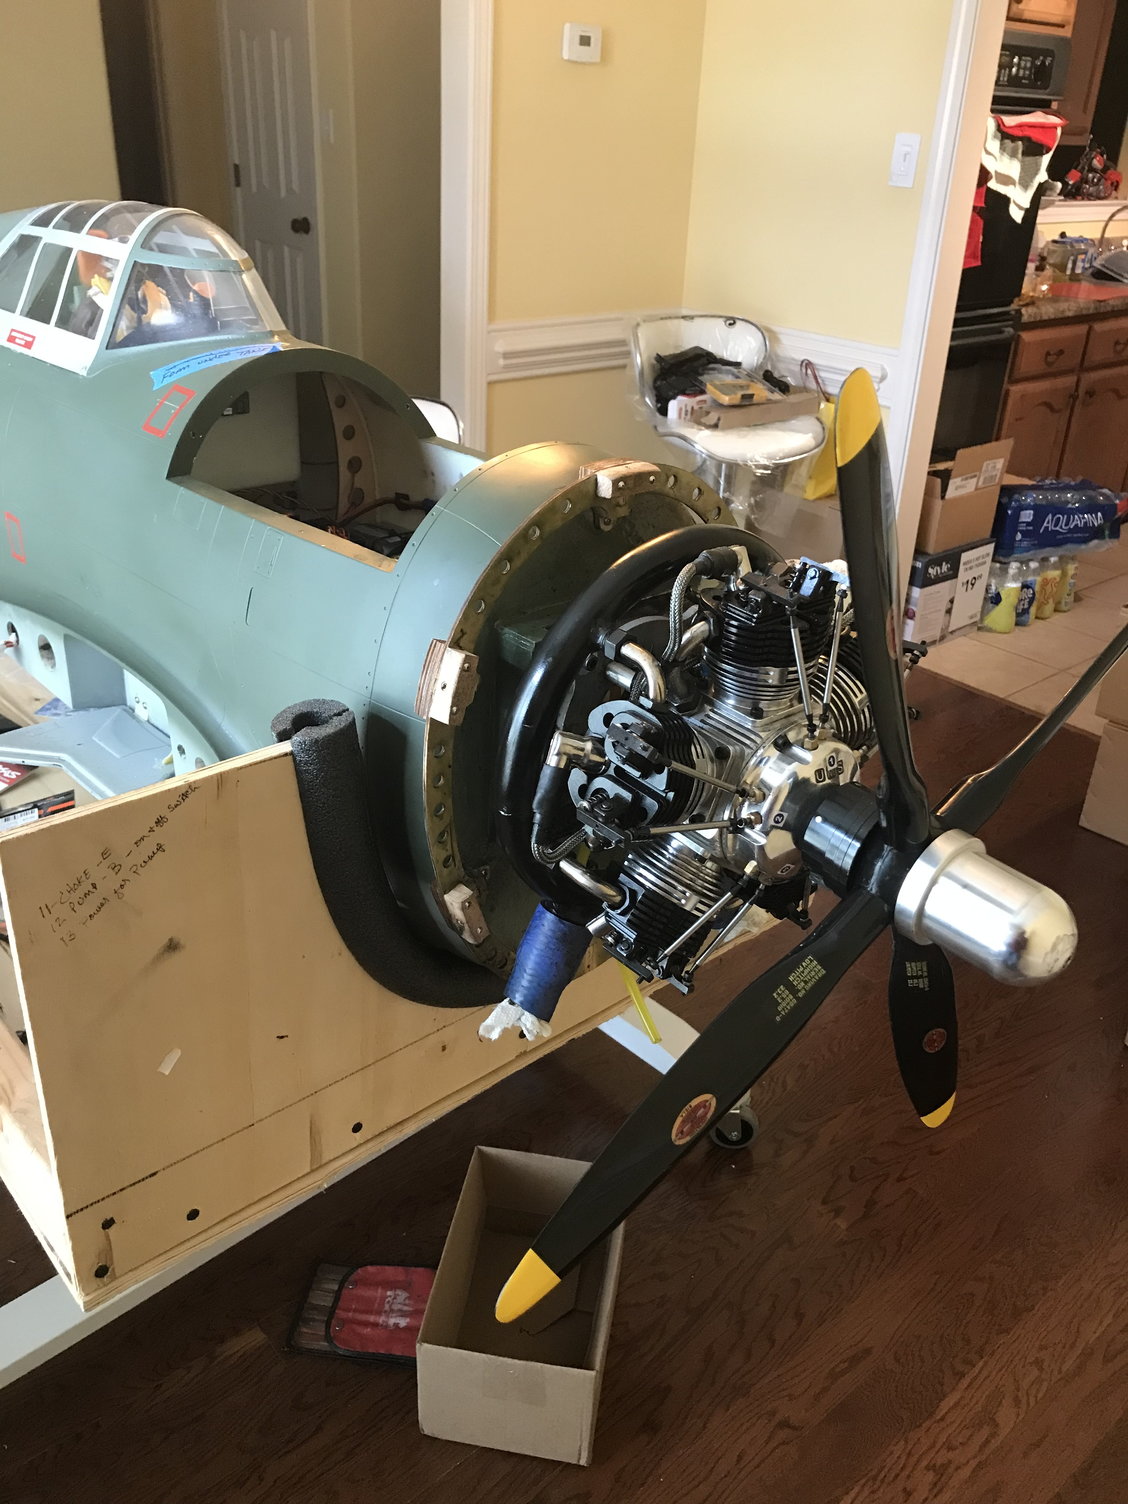
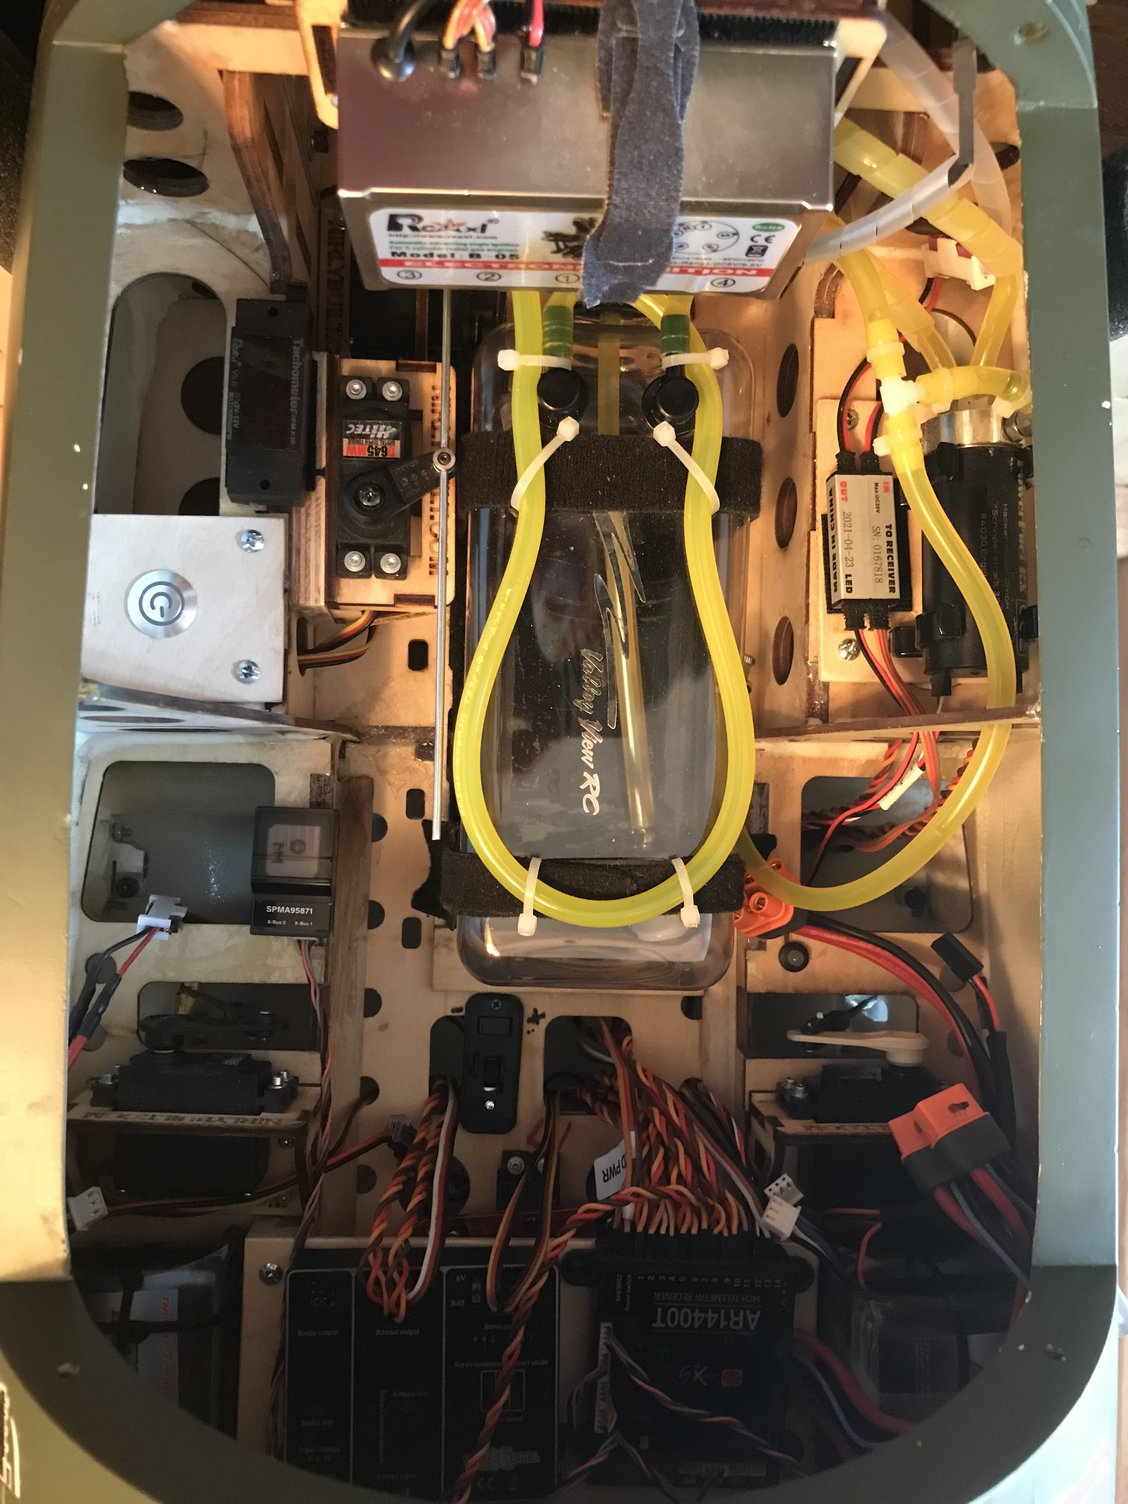
Interior area is complete with throttle servo, fuel tank and fuel dot. Just the small plug conversion left to do. ( we'll see how much space it saves ). The width with plug caps included can be hard to find from some companies, so just fyi, the DLE 111v3 is 11.180" cap to cap, before small plug conversion.
The following users liked this post:
bradley (07-13-2022)
The following users liked this post:
Colt4570 (07-20-2022)
The following users liked this post:
Colt4570 (07-20-2022)
The following users liked this post:
Colt4570 (07-20-2022)
The following 3 users liked this post by [email protected]:
The following users liked this post:
[email protected] (07-21-2022)
The following 2 users liked this post by [email protected]:
The following users liked this post:
CAPT John (07-20-2022)
07-22-2022, 09:11 AM
#297
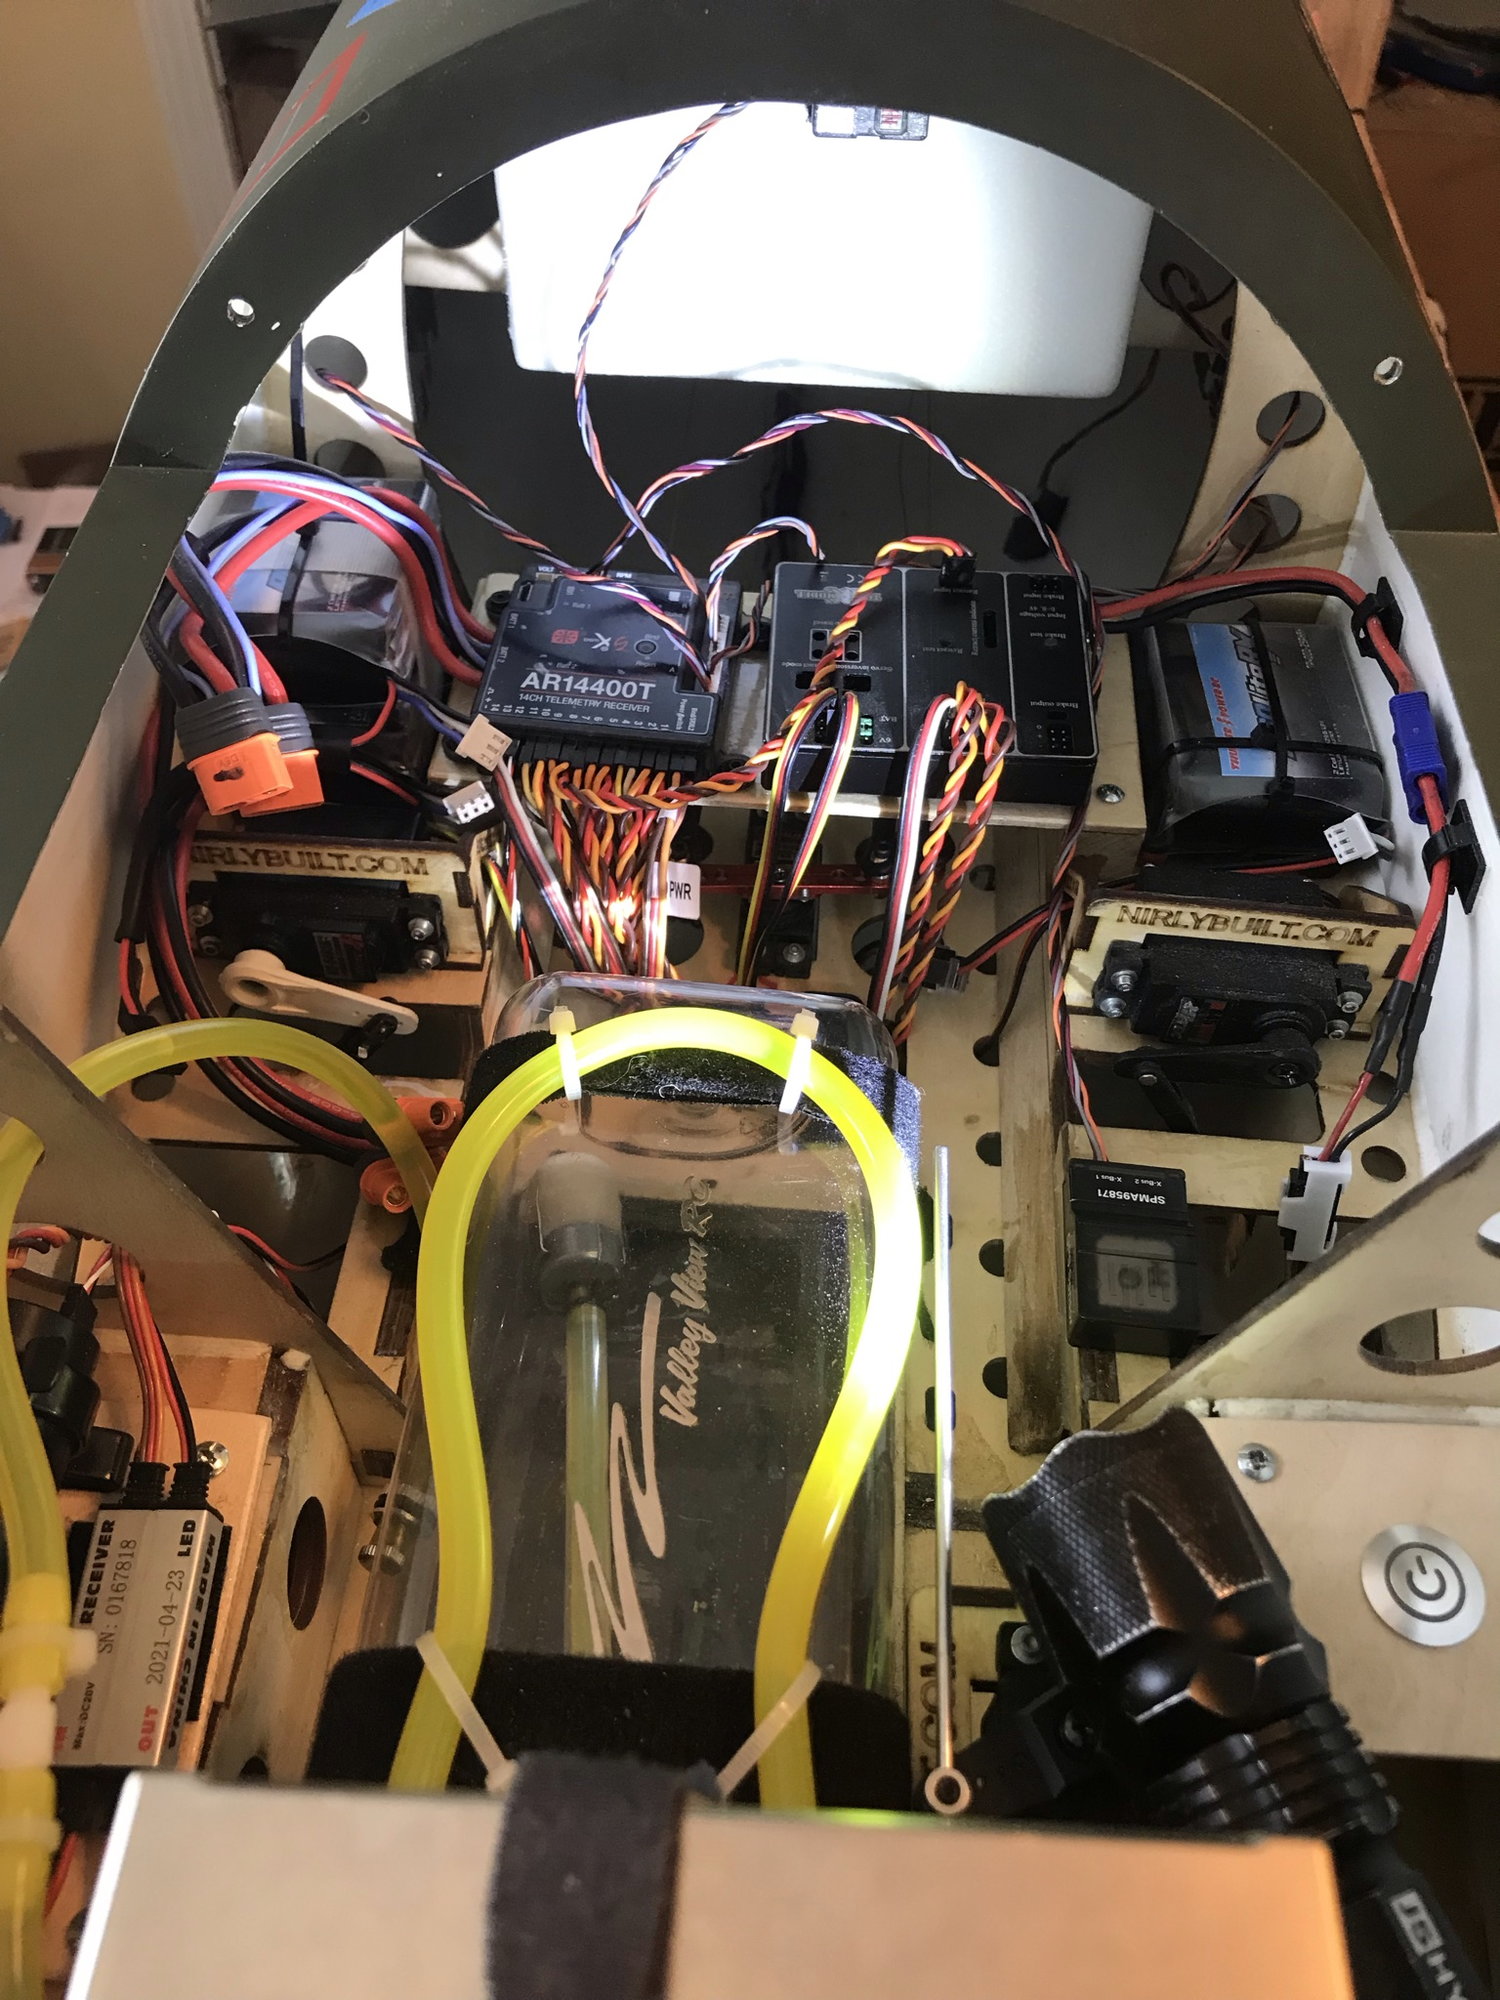
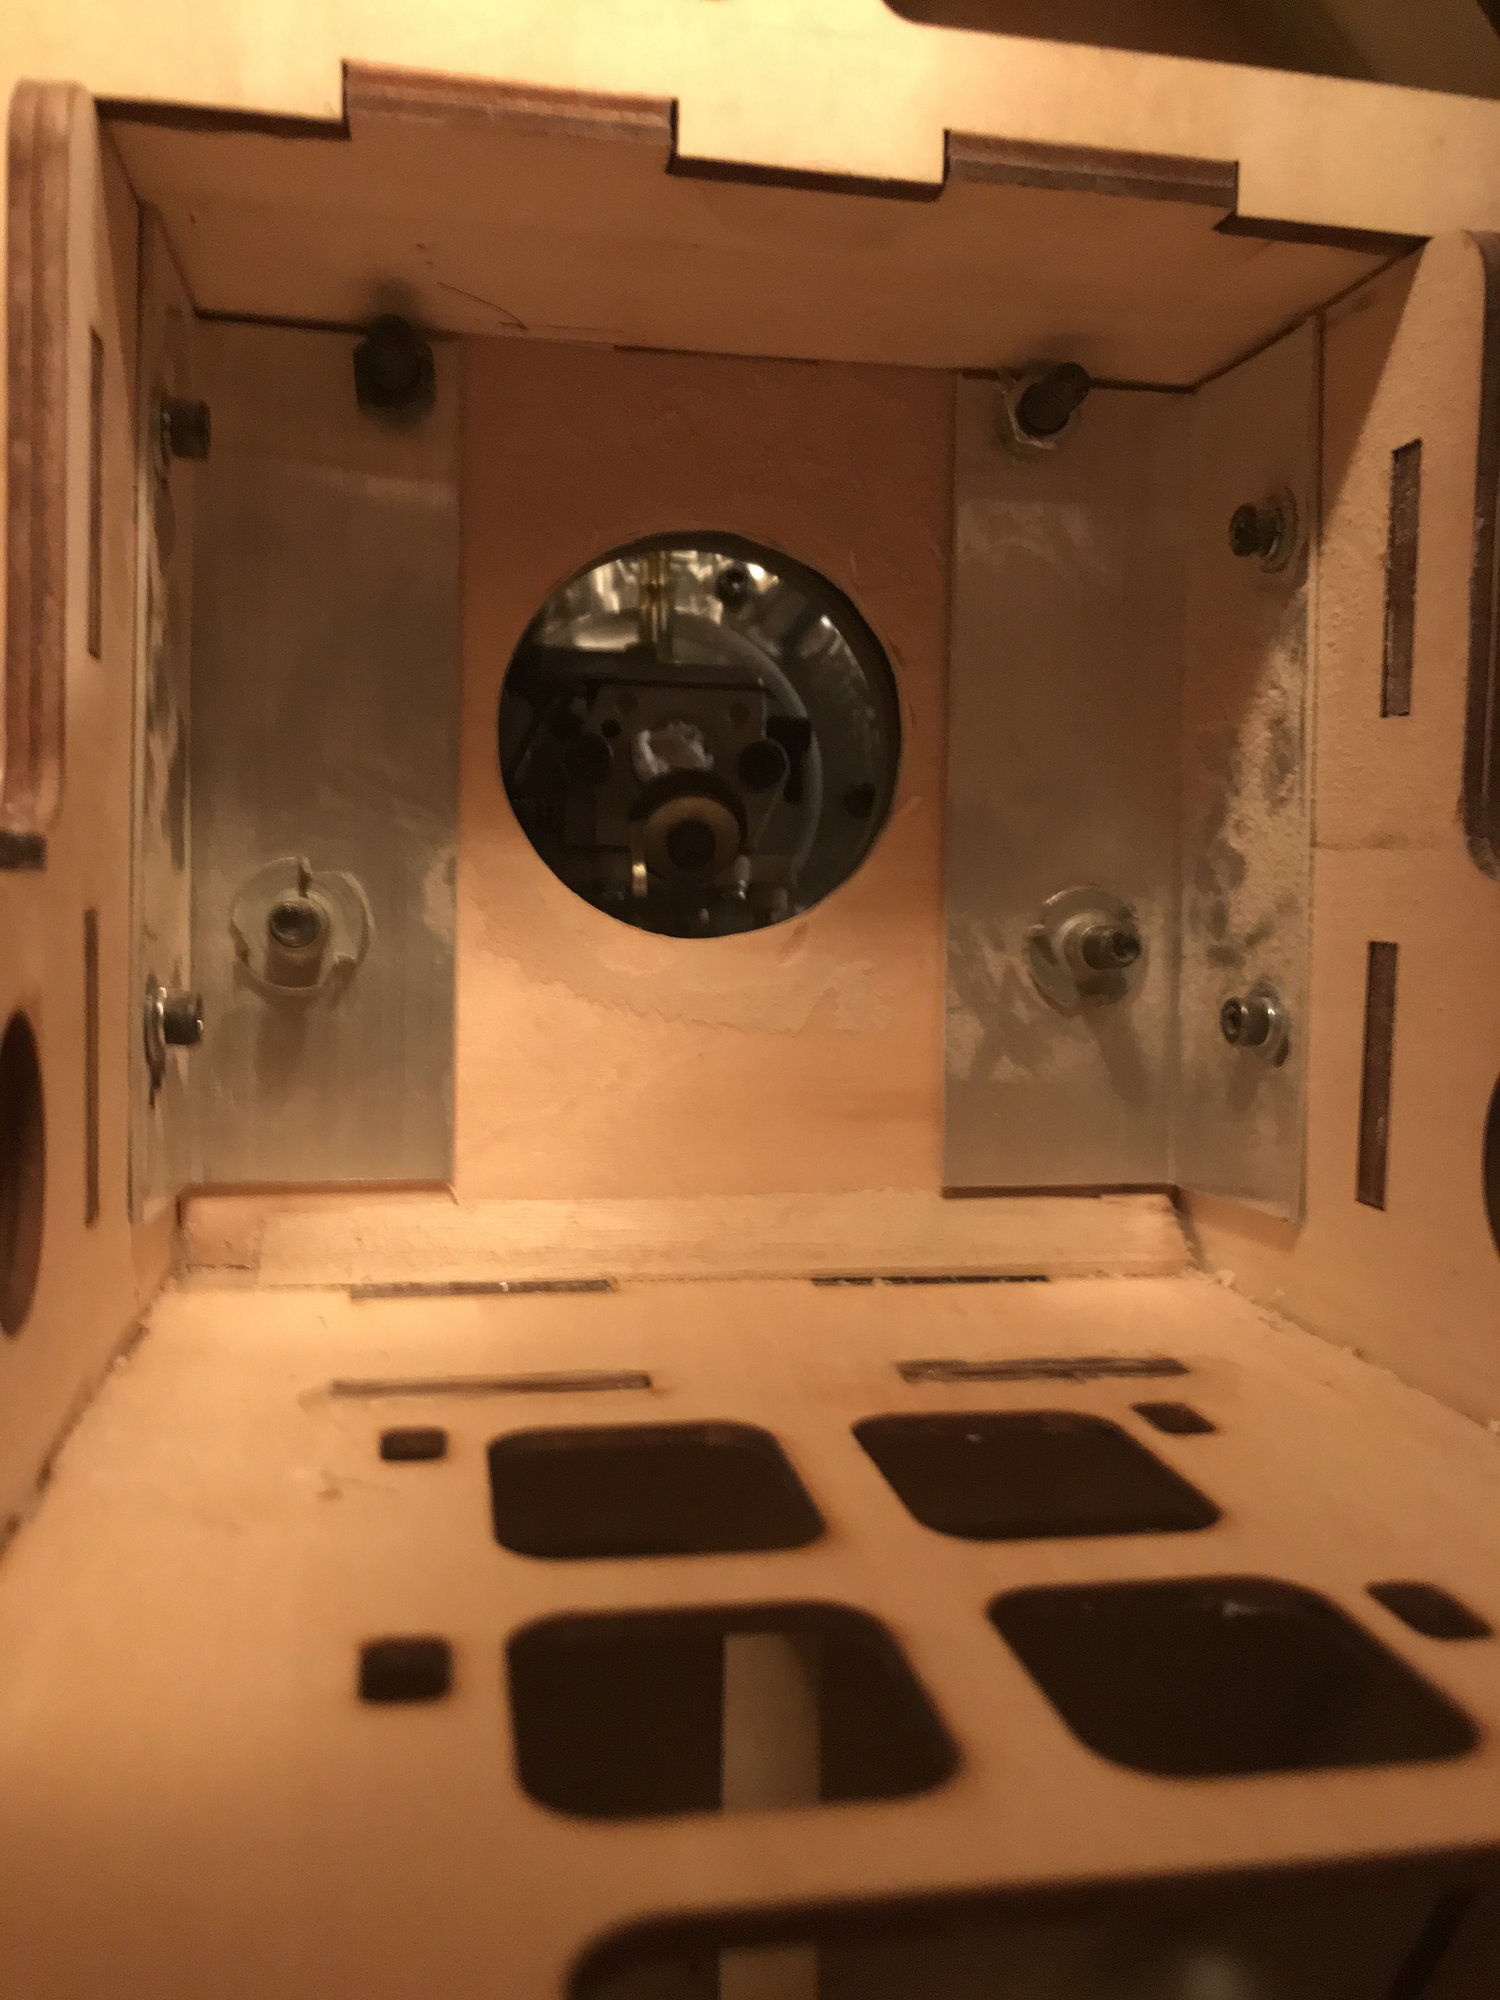
Got the canopy on and the clearance holes in the cowl for the left plug and exhaust. Did the small plug conversion to keep the cowl carnage to a minimum. Just a tip on the plug adapters. When they say don't over tighten, they mean it. I'm waiting on a replacement part now  .
.
Cowl clearance needed for exhaust and left plug only.
.Cowl clearance needed for exhaust and left plug only.
The following users liked this post:
Colt4570 (07-23-2022)
07-23-2022, 06:44 AM
#299
Nice! I like the fact that you put a good tailwheel on it too. Do you take the stabs off for transport, or leave it together?
Drill and install retainer clips in the horizontal stabilizer
Originally Posted by [email protected]
Drill and install retainer clips in the horizontal stabilizer
07-23-2022, 01:36 PM
#300
No I’m not going to take them off for transporting I just did it that way for extra security... I’ve foam blocks to lay the fuse on for transporting which they are made for giant scale air planes

