


2C Garage to Ultimate R/C Shop Renovation


 09-16-2007, 08:54 PM
#53
Senior Member
Thread Starter
My Feedback: (1)

Join Date: Jun 2005
Location: Antelope Valley,
CA
Posts: 825
Likes: 0
Received 0 Likes
on
0 Posts
Phase 4: Electrical outlets and lighting cont...
Summary
I passed the rough electrical inspection with flying colors [sm=thumbs_up.gif]. The inspector walked in, took a quick look around, and left. I was expecting an apocalypse type of event, but was pleasantly surprised it went the other way. Subsequently, WE GOT POWER!
Construction
Here’s a shot of the populated sub-panel (figure 1). I like the fact that this box has its own "Sub-Main" breaker on conjunction with the one at the main panel. The double redundancy is slightly reassuring.
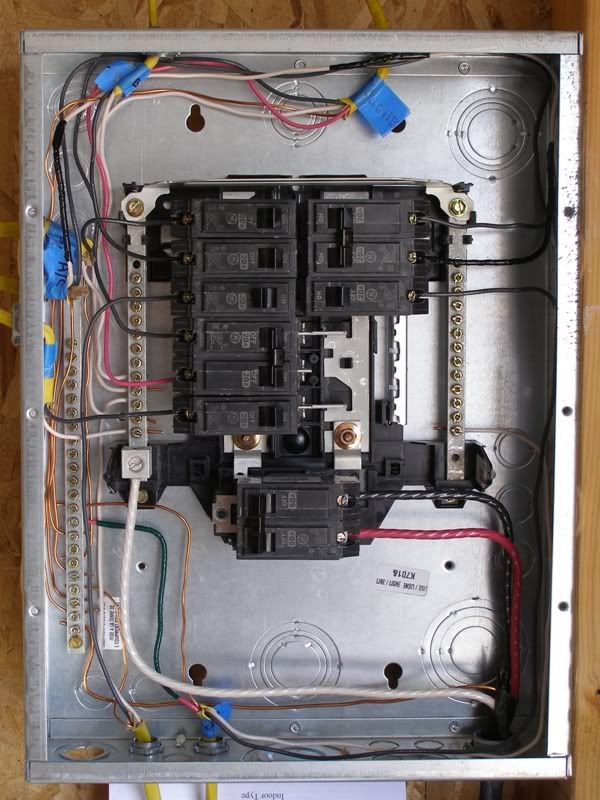
Figure 1-Sub Panel
The first thing I installed were the lights (figure 2). Previously, they were shown running off the main panel, but now they're running off the sub.
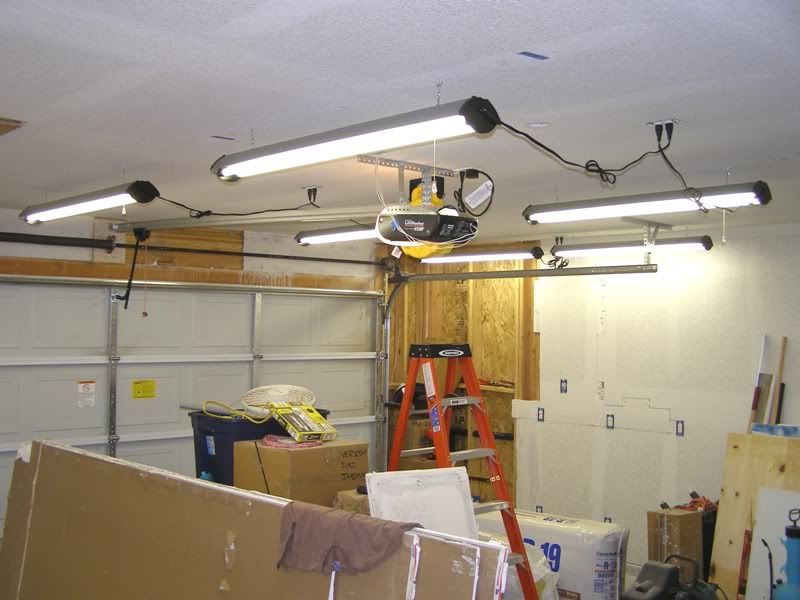
Figure 2-Lights
Next, the north and west wall outlets were installed. The east wall will have to be insulated and re-sheeted before its' outlets can be installed. Each wall has its own GFCI outlet which protects the other, regular, outlets. All the outlets were tested for functionality with the devise shown in figures 3 & 4. I love these; they're almost idiot proof. Just plug them in and based on the sequence of lights you'll know if it's wired correctly.
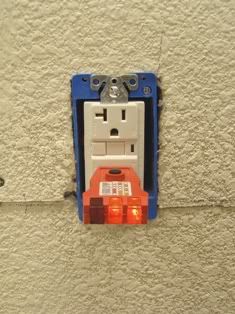

Figures 3 & 4-Outlet Tester
Words cannot express the value of this create comfort in southern Arizona (figure 5). The only thing that would top this is an air conditioner (it's on its way ).
).
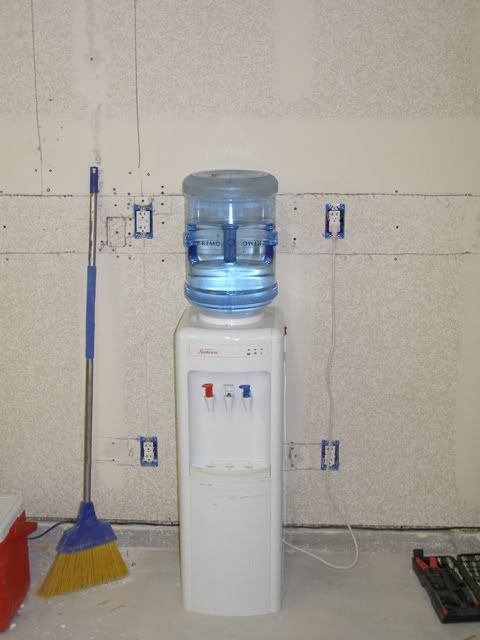
Figure 5-Cold Water
What's Next
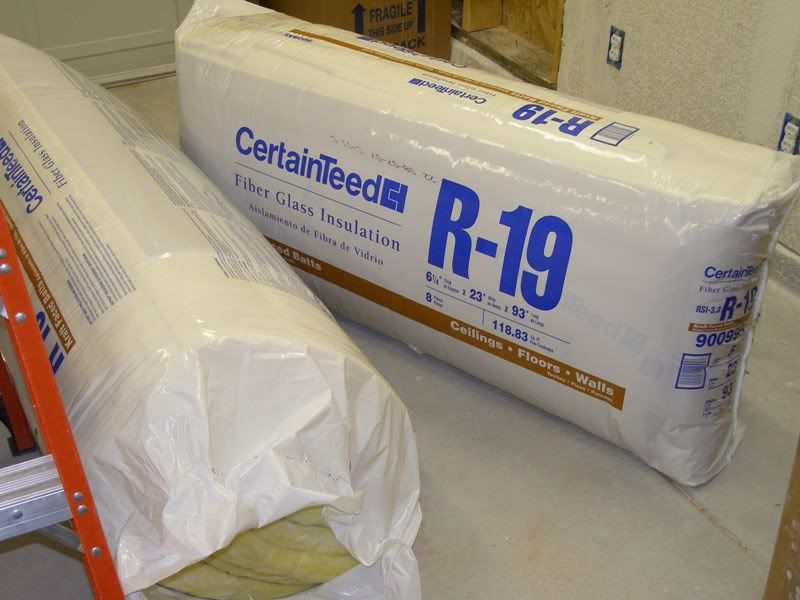
1. Insulate walls and ceiling
2. Air Conditioner Install [&:] (tears of joy)
Guess what this is for
Summary
I passed the rough electrical inspection with flying colors [sm=thumbs_up.gif]. The inspector walked in, took a quick look around, and left. I was expecting an apocalypse type of event, but was pleasantly surprised it went the other way. Subsequently, WE GOT POWER!
Construction
Here’s a shot of the populated sub-panel (figure 1). I like the fact that this box has its own "Sub-Main" breaker on conjunction with the one at the main panel. The double redundancy is slightly reassuring.
Figure 1-Sub Panel
The first thing I installed were the lights (figure 2). Previously, they were shown running off the main panel, but now they're running off the sub.
Figure 2-Lights
Next, the north and west wall outlets were installed. The east wall will have to be insulated and re-sheeted before its' outlets can be installed. Each wall has its own GFCI outlet which protects the other, regular, outlets. All the outlets were tested for functionality with the devise shown in figures 3 & 4. I love these; they're almost idiot proof. Just plug them in and based on the sequence of lights you'll know if it's wired correctly.
Figures 3 & 4-Outlet Tester
Words cannot express the value of this create comfort in southern Arizona (figure 5). The only thing that would top this is an air conditioner (it's on its way
).Figure 5-Cold Water
What's Next
1. Insulate walls and ceiling
2. Air Conditioner Install [&:] (tears of joy)
Guess what this is for


