


Reaction 54 Jet Kit
 03-13-2018, 07:20 PM
#3801
Some work done today, my first day off, I usually sleep all day recovering from the work week  <br /><br />The work bench will be up and running by Thurs, planning to build one wing this week.
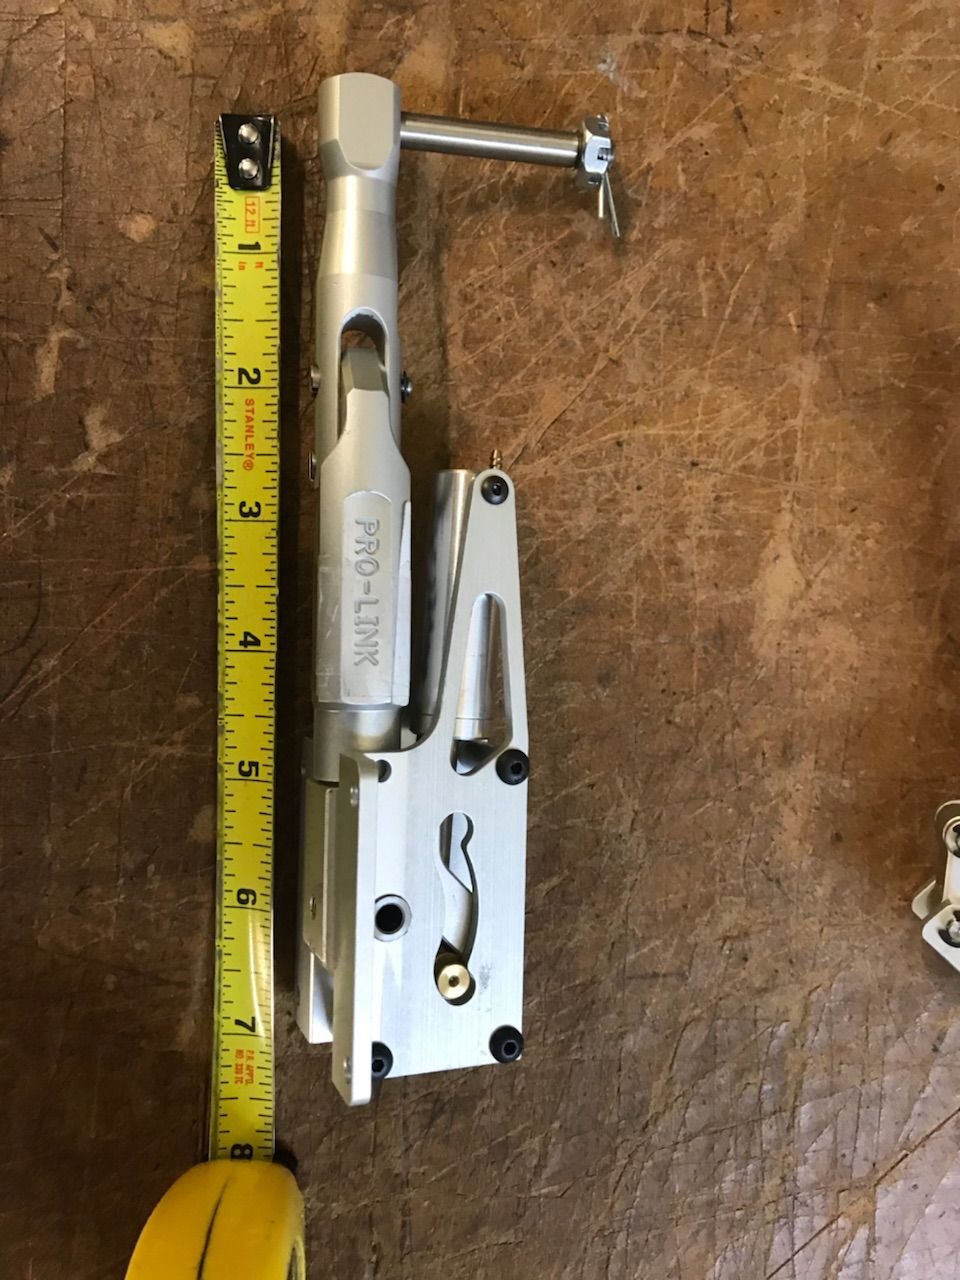
Also, one of the Robostruts I have since ever, right size but not sure if I want to use this one on the mains or a straight one.
<br /><br />The work bench will be up and running by Thurs, planning to build one wing this week.Also, one of the Robostruts I have since ever, right size but not sure if I want to use this one on the mains or a straight one.
Last edited by CARS II; 03-13-2018 at 07:36 PM.
 03-14-2018, 08:43 AM
#3802

Hey Guys. It is Too Tough to make the necessary modifications.- Did not want to tear into the built fuse and built wing to install the necessary mounts for the new gear set. Went to go to Plan B. Decided to keep the Robart gear blocks with their 7/16" attachment point. Sent the PST Reaction ARF gear set back to DreamWorks in exchange for the Pro-Link Boomerang Nano Struts which simply drop into the Robart gear block. Chic
 03-14-2018, 04:18 PM
#3805
I like to use what I have in inventory because I don't like to accumulate inventory, makes sense?
I had this strut since ever so, I will be using it for the nose gear, it will have to be modified some in order to work as nose strut ( cut some )
I will also be using this new 2.5" Intairco wheel that I have had for over 15 years, time to put it to work
I had this strut since ever so, I will be using it for the nose gear, it will have to be modified some in order to work as nose strut ( cut some )
I will also be using this new 2.5" Intairco wheel that I have had for over 15 years, time to put it to work
Last edited by CARS II; 03-14-2018 at 04:24 PM.
03-14-2018, 05:05 PM
#3806
More building on the way today
Ok, I have a question for you builders, first, when I build I listen to classic music, 17th/18th century stuff, Motzar, JS Bach, stuff and I have a drink ( Bacardi /Tequila etc. ) it helps me concentrate and I get into the build for hours and hours, sometimes up to 12 hours ( I call that a super build day ) it only gets interrupted when I have lunch or dinner or both and the physical needs.
What about you guys? What makes you get I to the groove of building?
Last edited by CARS II; 03-14-2018 at 05:19 PM.
03-14-2018, 05:34 PM
#3807

My Feedback: (66)
"What about you guys? What makes you get I to the groove of building?"
I am always in the mood for building, only problem that things like work get in the way. I was really born to retire but, could never afford to. Now I am less than 3 years from it - Hooooray
On weekends (provided no flying weather - I can easily spend 12 - 18 hours in the shop strait.
I am always in the mood for building, only problem that things like work get in the way. I was really born to retire but, could never afford to. Now I am less than 3 years from it - Hooooray
On weekends (provided no flying weather - I can easily spend 12 - 18 hours in the shop strait.
03-14-2018, 05:50 PM
#3809
Mr. Matt - I am going by the photos of the gear. They look pretty darn straight. I do not see the usual trailing link bend. Another 54 builder here on this thread said the struts drop right in. Will post photos when they arrive. Retirement is great. Up at 7am, go to 7/11 for a large Hazelnut coffee, then back to the house and the workshop in the backyard to work on my airplanes all day unless I have a social engagement (wife stuff). Ha, Ha. Chic
Last edited by redtail; 03-14-2018 at 05:53 PM.
03-14-2018, 05:53 PM
#3811
My Feedback: (66)
In one of my earlier posts I mentioned that I was not crazy about the pushrod, sheathed cable system and wanted to change it to my liking. Well, here it is. The rudder and elevator servos with their tray were moved to the back side of F-6 under the hatch, and, a 5/32" carbon fiber push rod (CF Rods) arranged to move the rudder. It took me some thinking to figure the best installation method and I finally figured it. I settled on an old Veco horn originally designed for control line models. The horizontal stab, fin, rudder and elevator will be complete and covered as one assembly before installation on the fuselage.I positioned the control horn to demonstrate the concept. The top end will be glued into a hole in the rudder and notice that there is a spring coil - it will be secured to the fin and serve as a bearing. The control arm will stick out through a small slot in the side of the fuselage and connect to the pushrod clevis.
The attached pictures illustrate the concept.
The attached pictures illustrate the concept.
Last edited by N99JH; 03-14-2018 at 05:58 PM.
03-14-2018, 06:38 PM
#3813
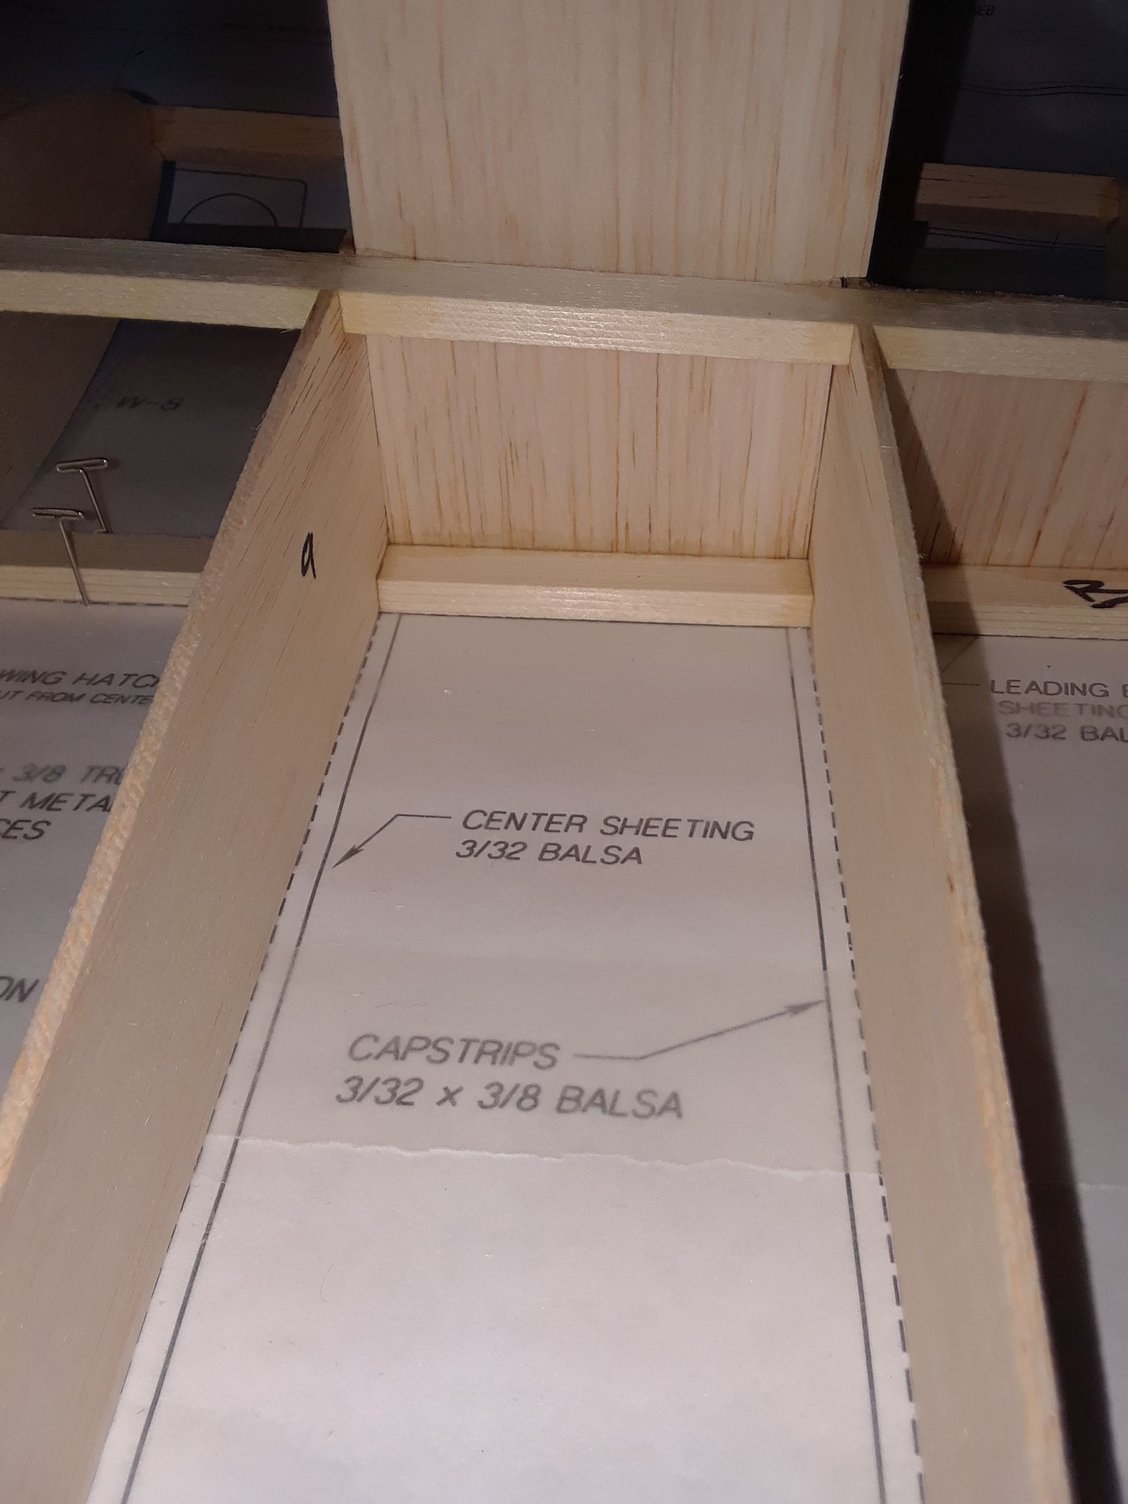
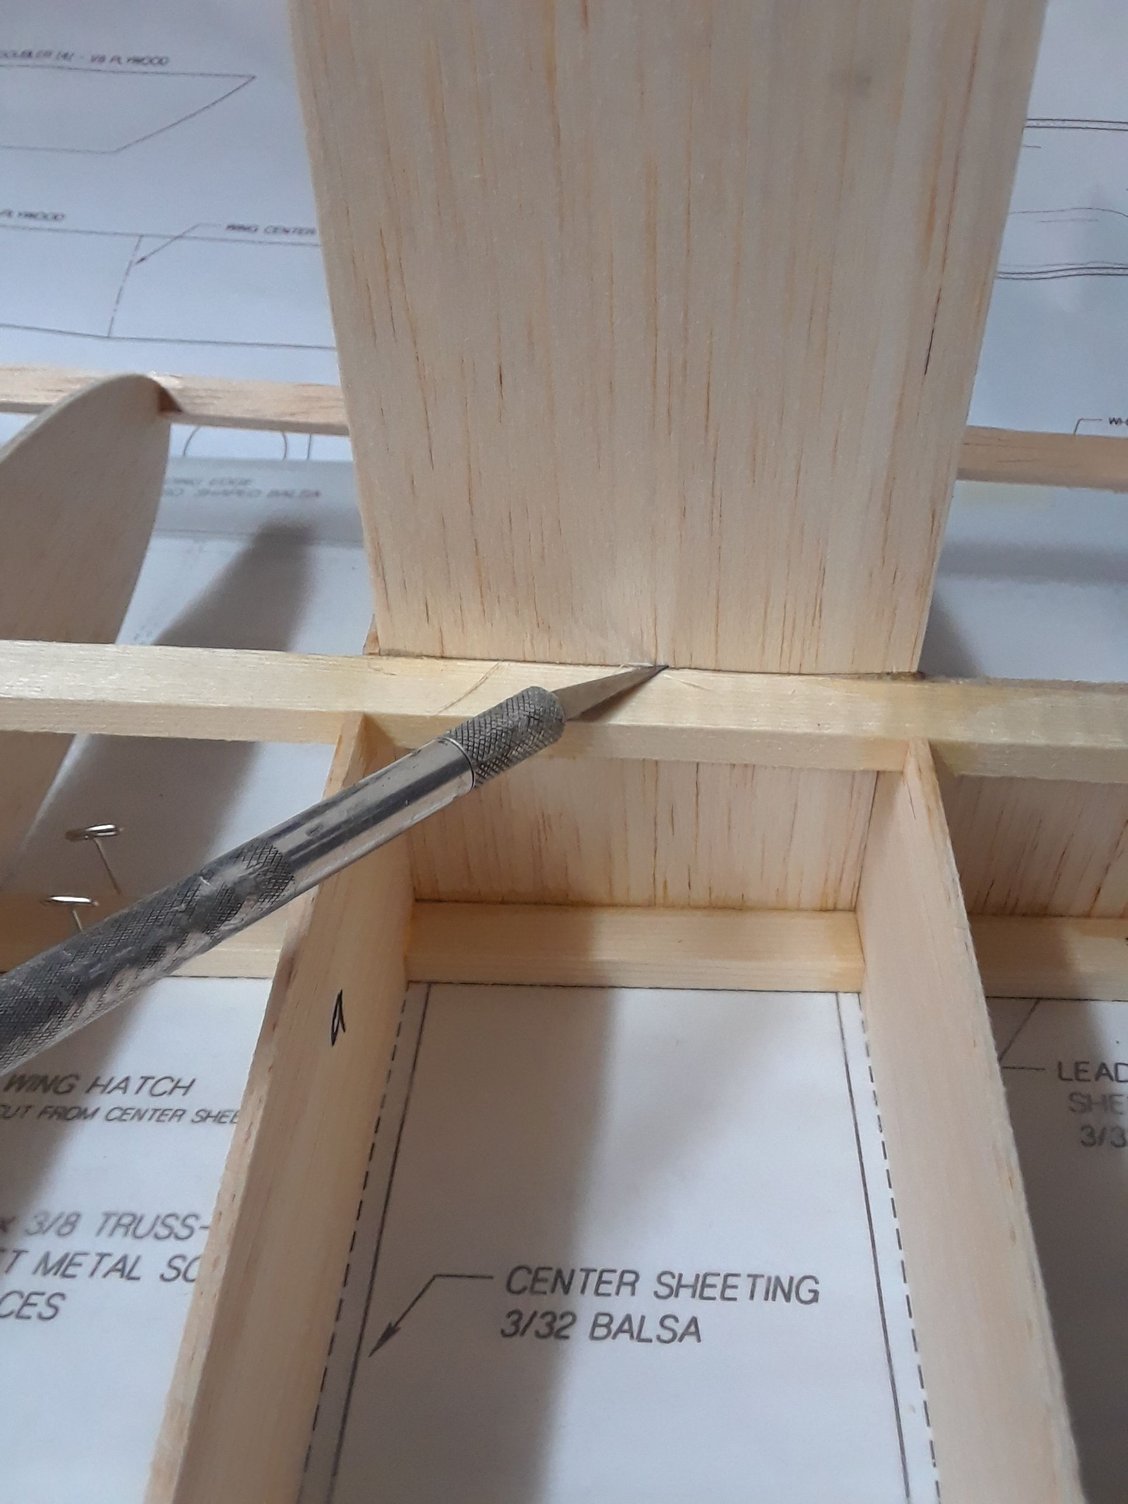
Since my work bench won't have the new door till tomorrow then to keep the building going I started to build the empennage.
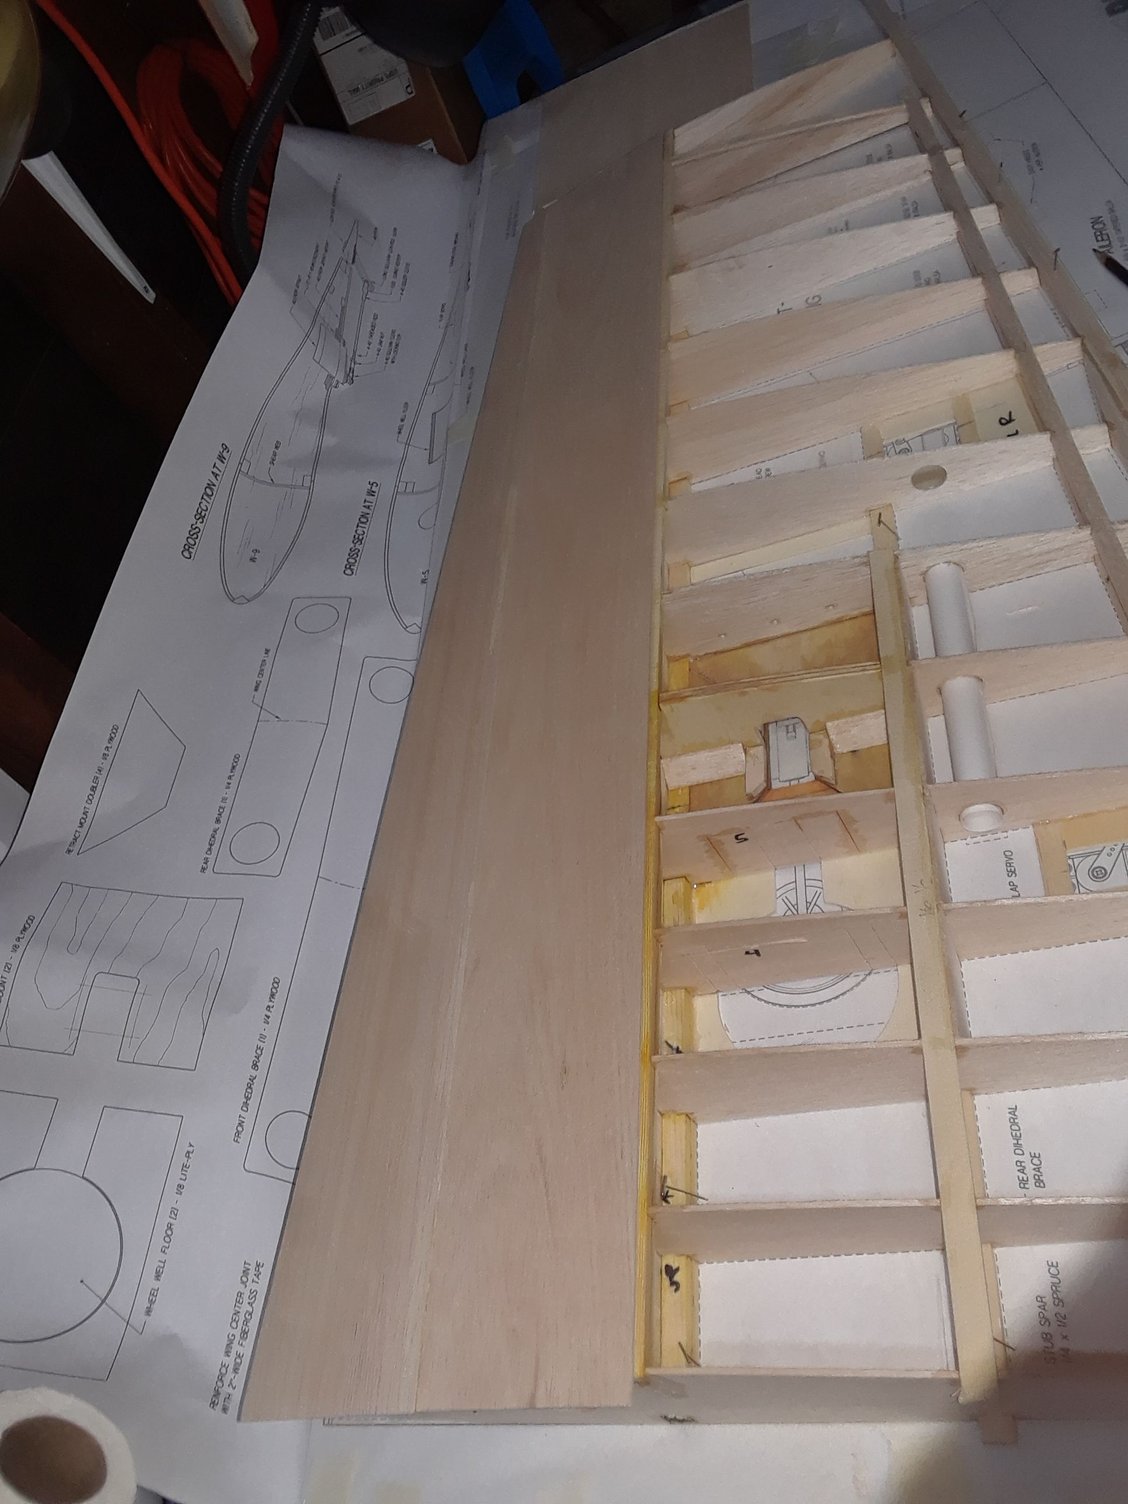
Simultaneously working on the center wing sheeting.
Because of the low temps in the garage the wood glue will take sometime to dry, oh well, time to take the garbage out
Simultaneously working on the center wing sheeting.
Because of the low temps in the garage the wood glue will take sometime to dry, oh well, time to take the garbage out
Last edited by CARS II; 03-14-2018 at 06:50 PM.
03-15-2018, 03:49 AM
#3814
Carlos, I once had a door but for some reason it warped. I now use 3/8" dry wall. I have an 8 foot table, I cut the dry wall into 2 sheets and lay them both on the table. When the top dry wall board becomes torn up, nicked, etc., I just take it off the table and throw it away, and on and on........ Works great. Chic
03-15-2018, 11:50 AM
#3817
Chic, thank you for the tip, I'm doing something similar, my current door is about a year old and has about 3 builds done on it, I also used the drywall sheets cut in half, I just came back from HD, I got me a new door and a few other nick nacks I needed to build me 3 new sanding blocks.
Moving forward with the V stab, since the Fin 5 part fitted so good I went ahead and glued the rear V post
Moving forward with the V stab, since the Fin 5 part fitted so good I went ahead and glued the rear V post
Last edited by CARS II; 03-15-2018 at 12:43 PM.
03-15-2018, 09:44 PM
#3818
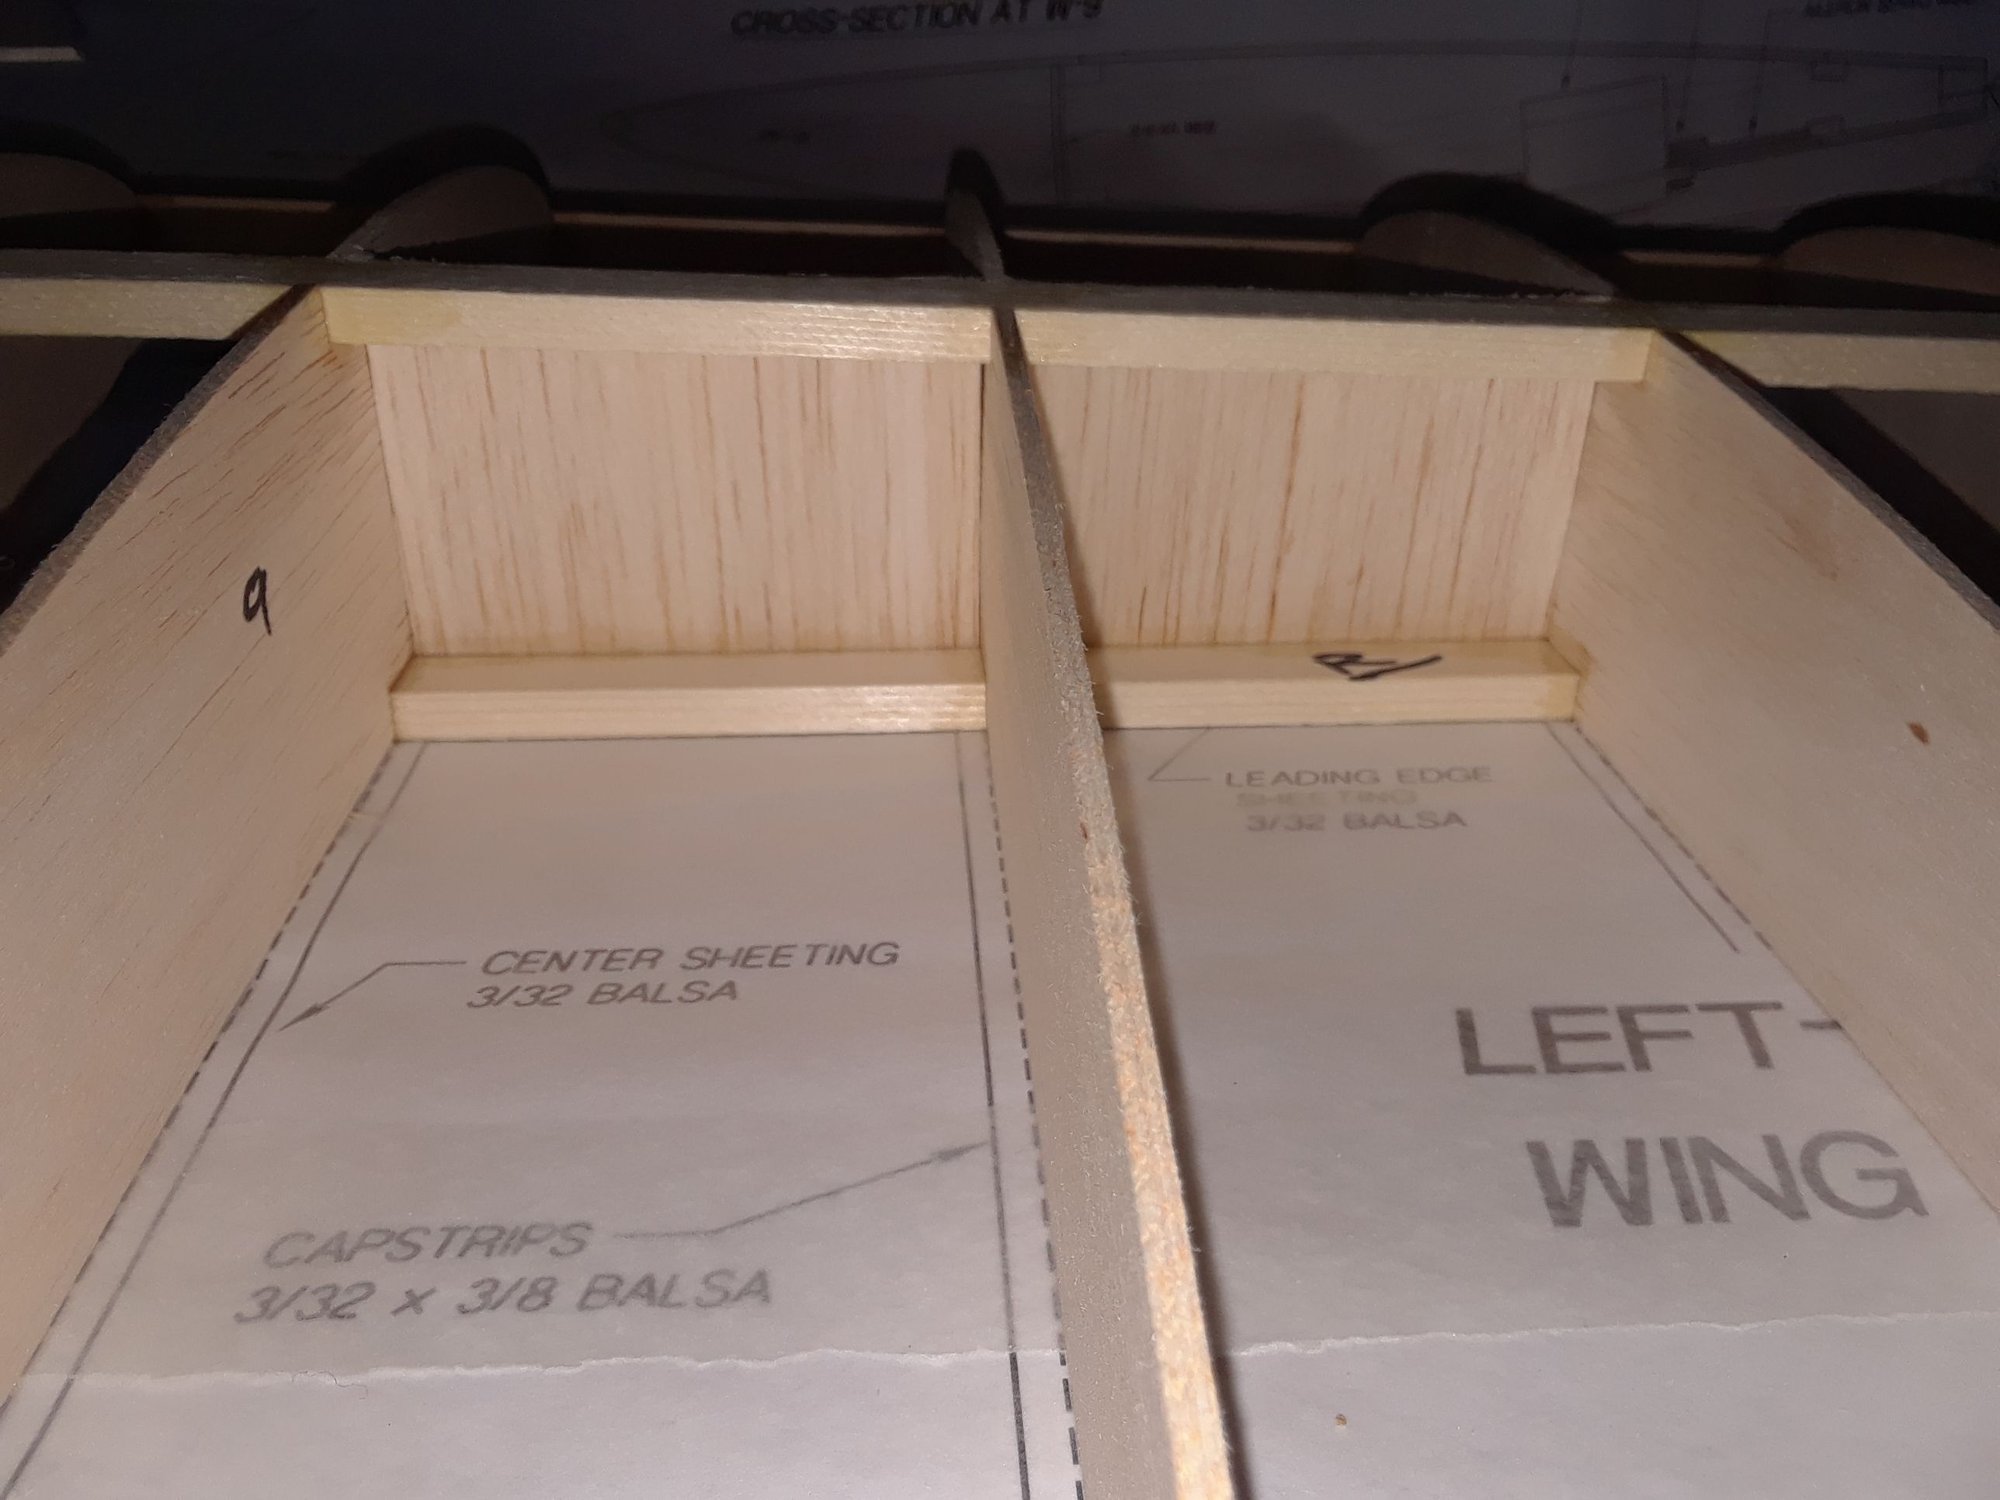
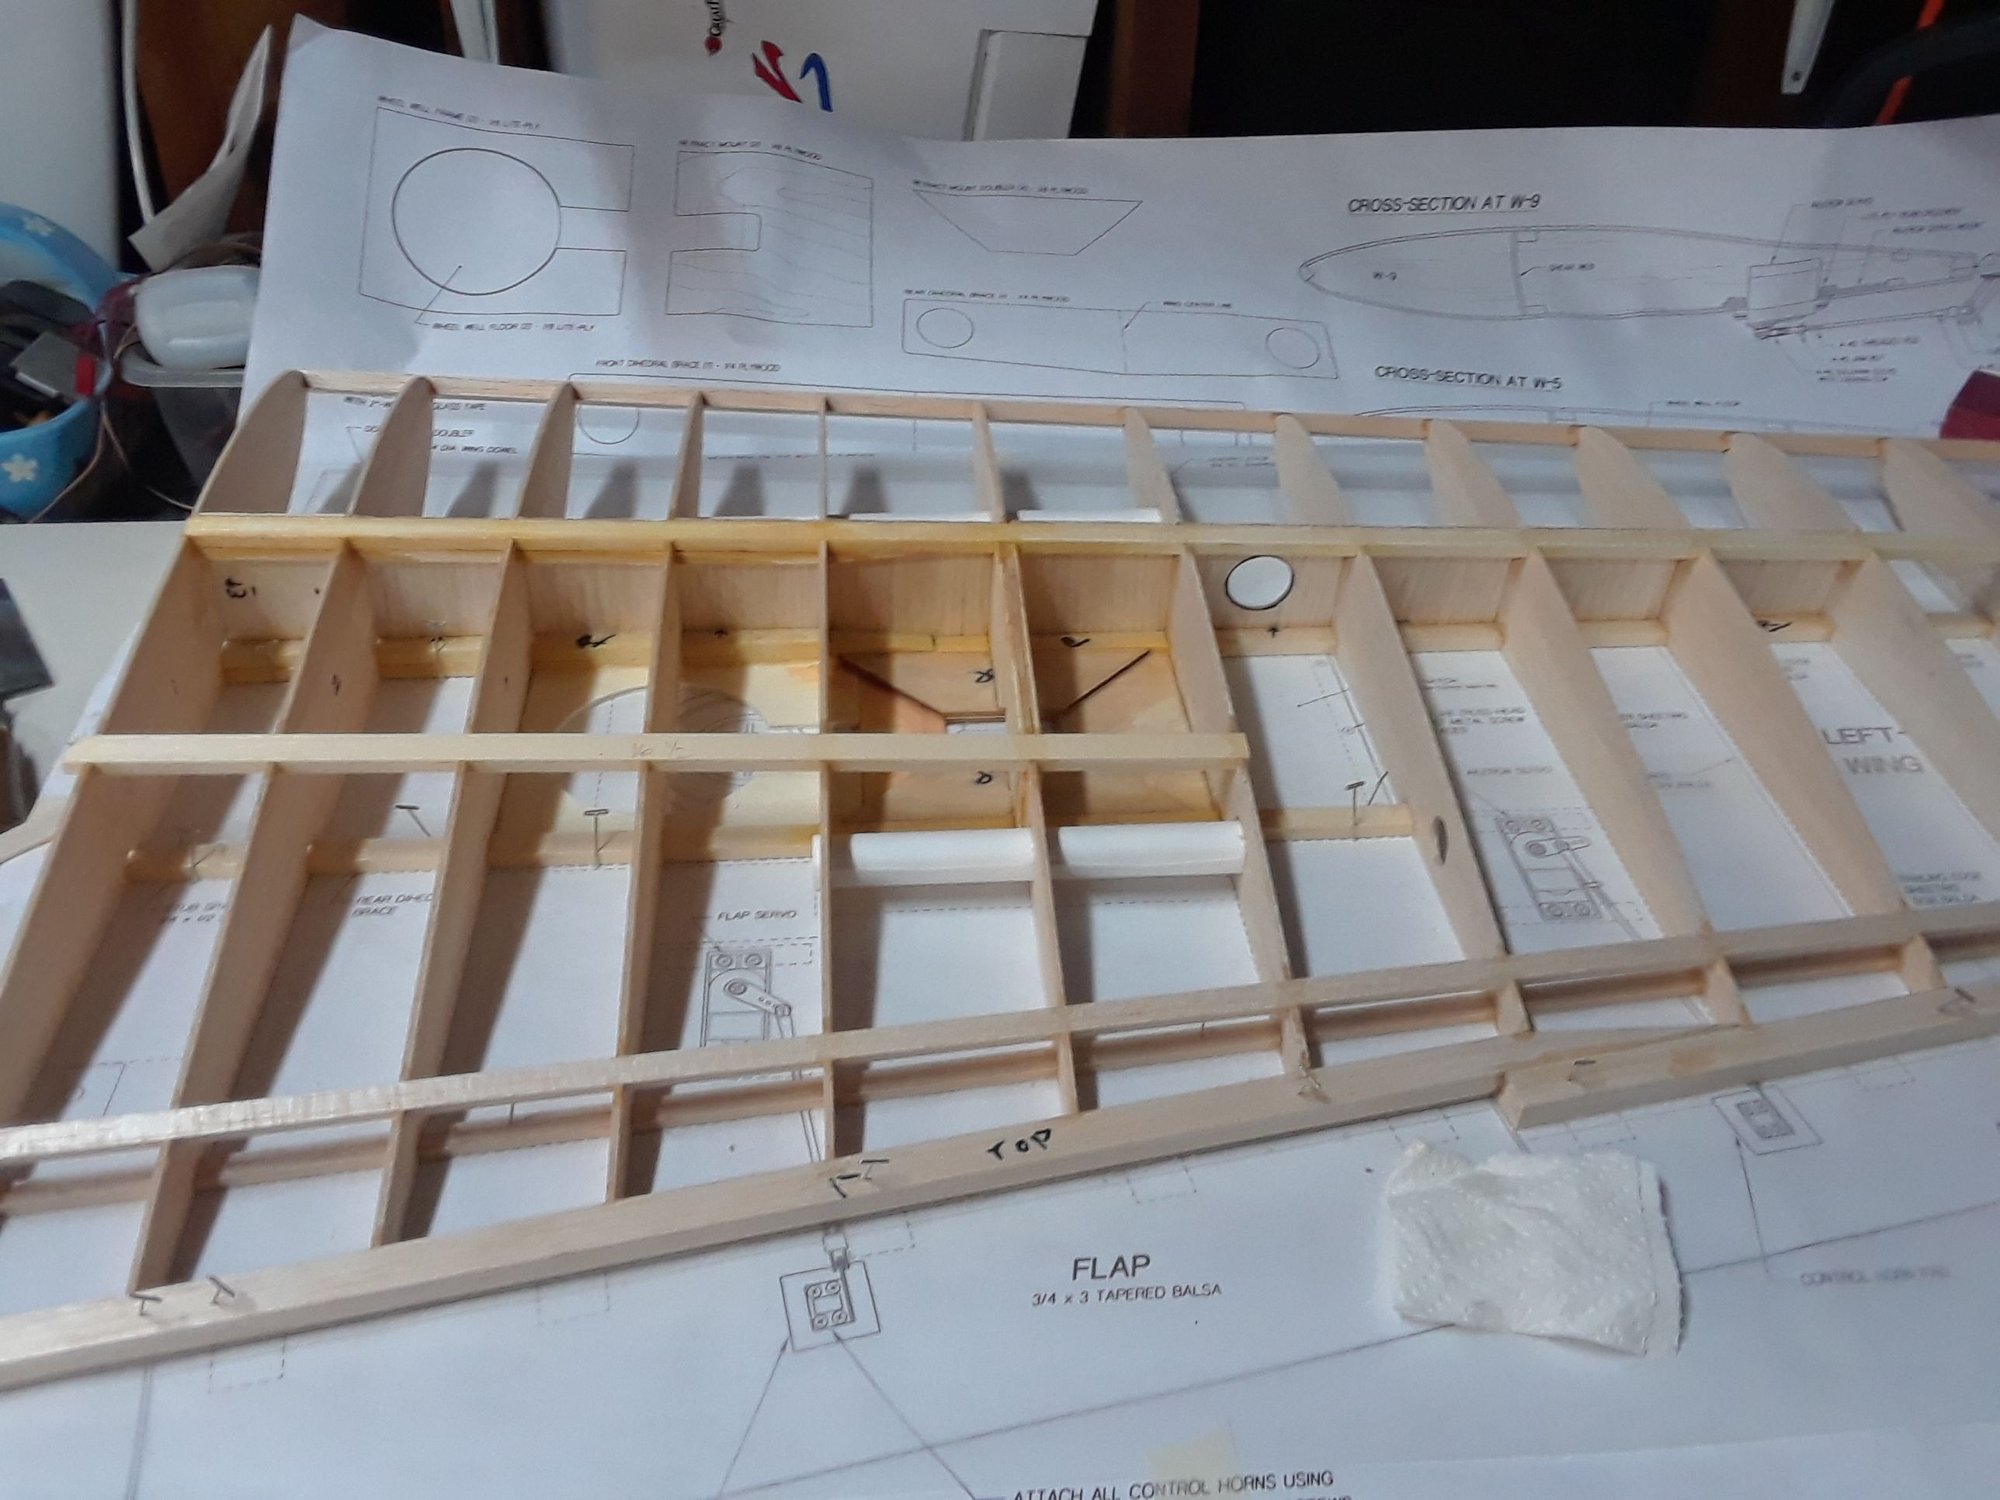
Done for today, I got the new door on the table, the V stab is done, when sanding the stabs with 80 sanding paper one has to be careful not to over do it, now with the new door in place the right wing is been build.
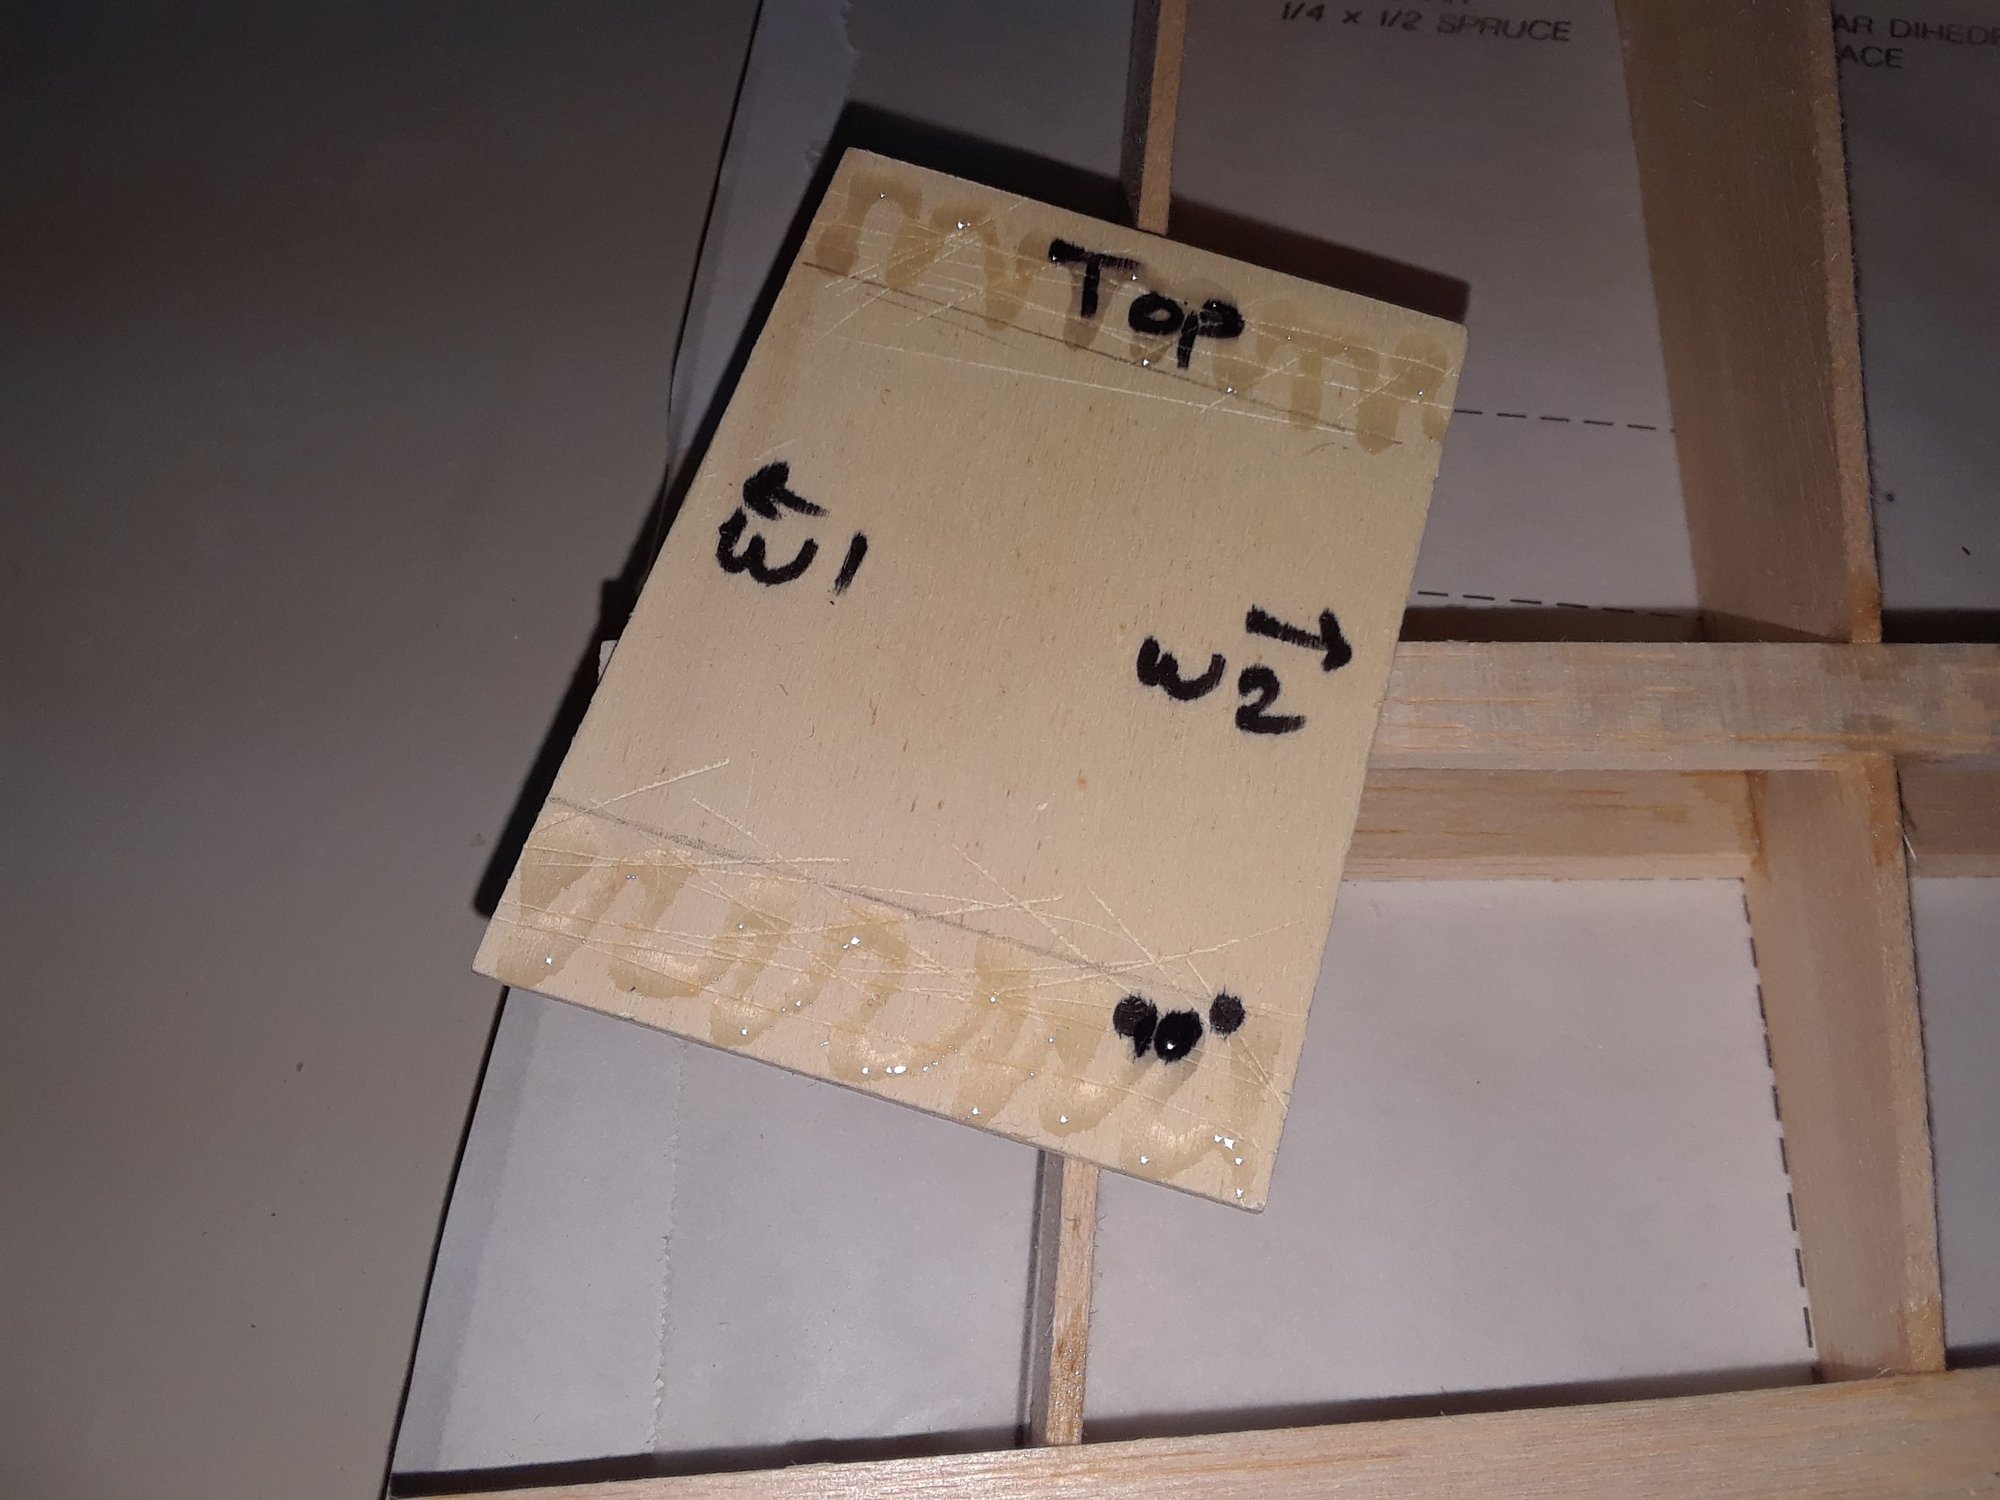
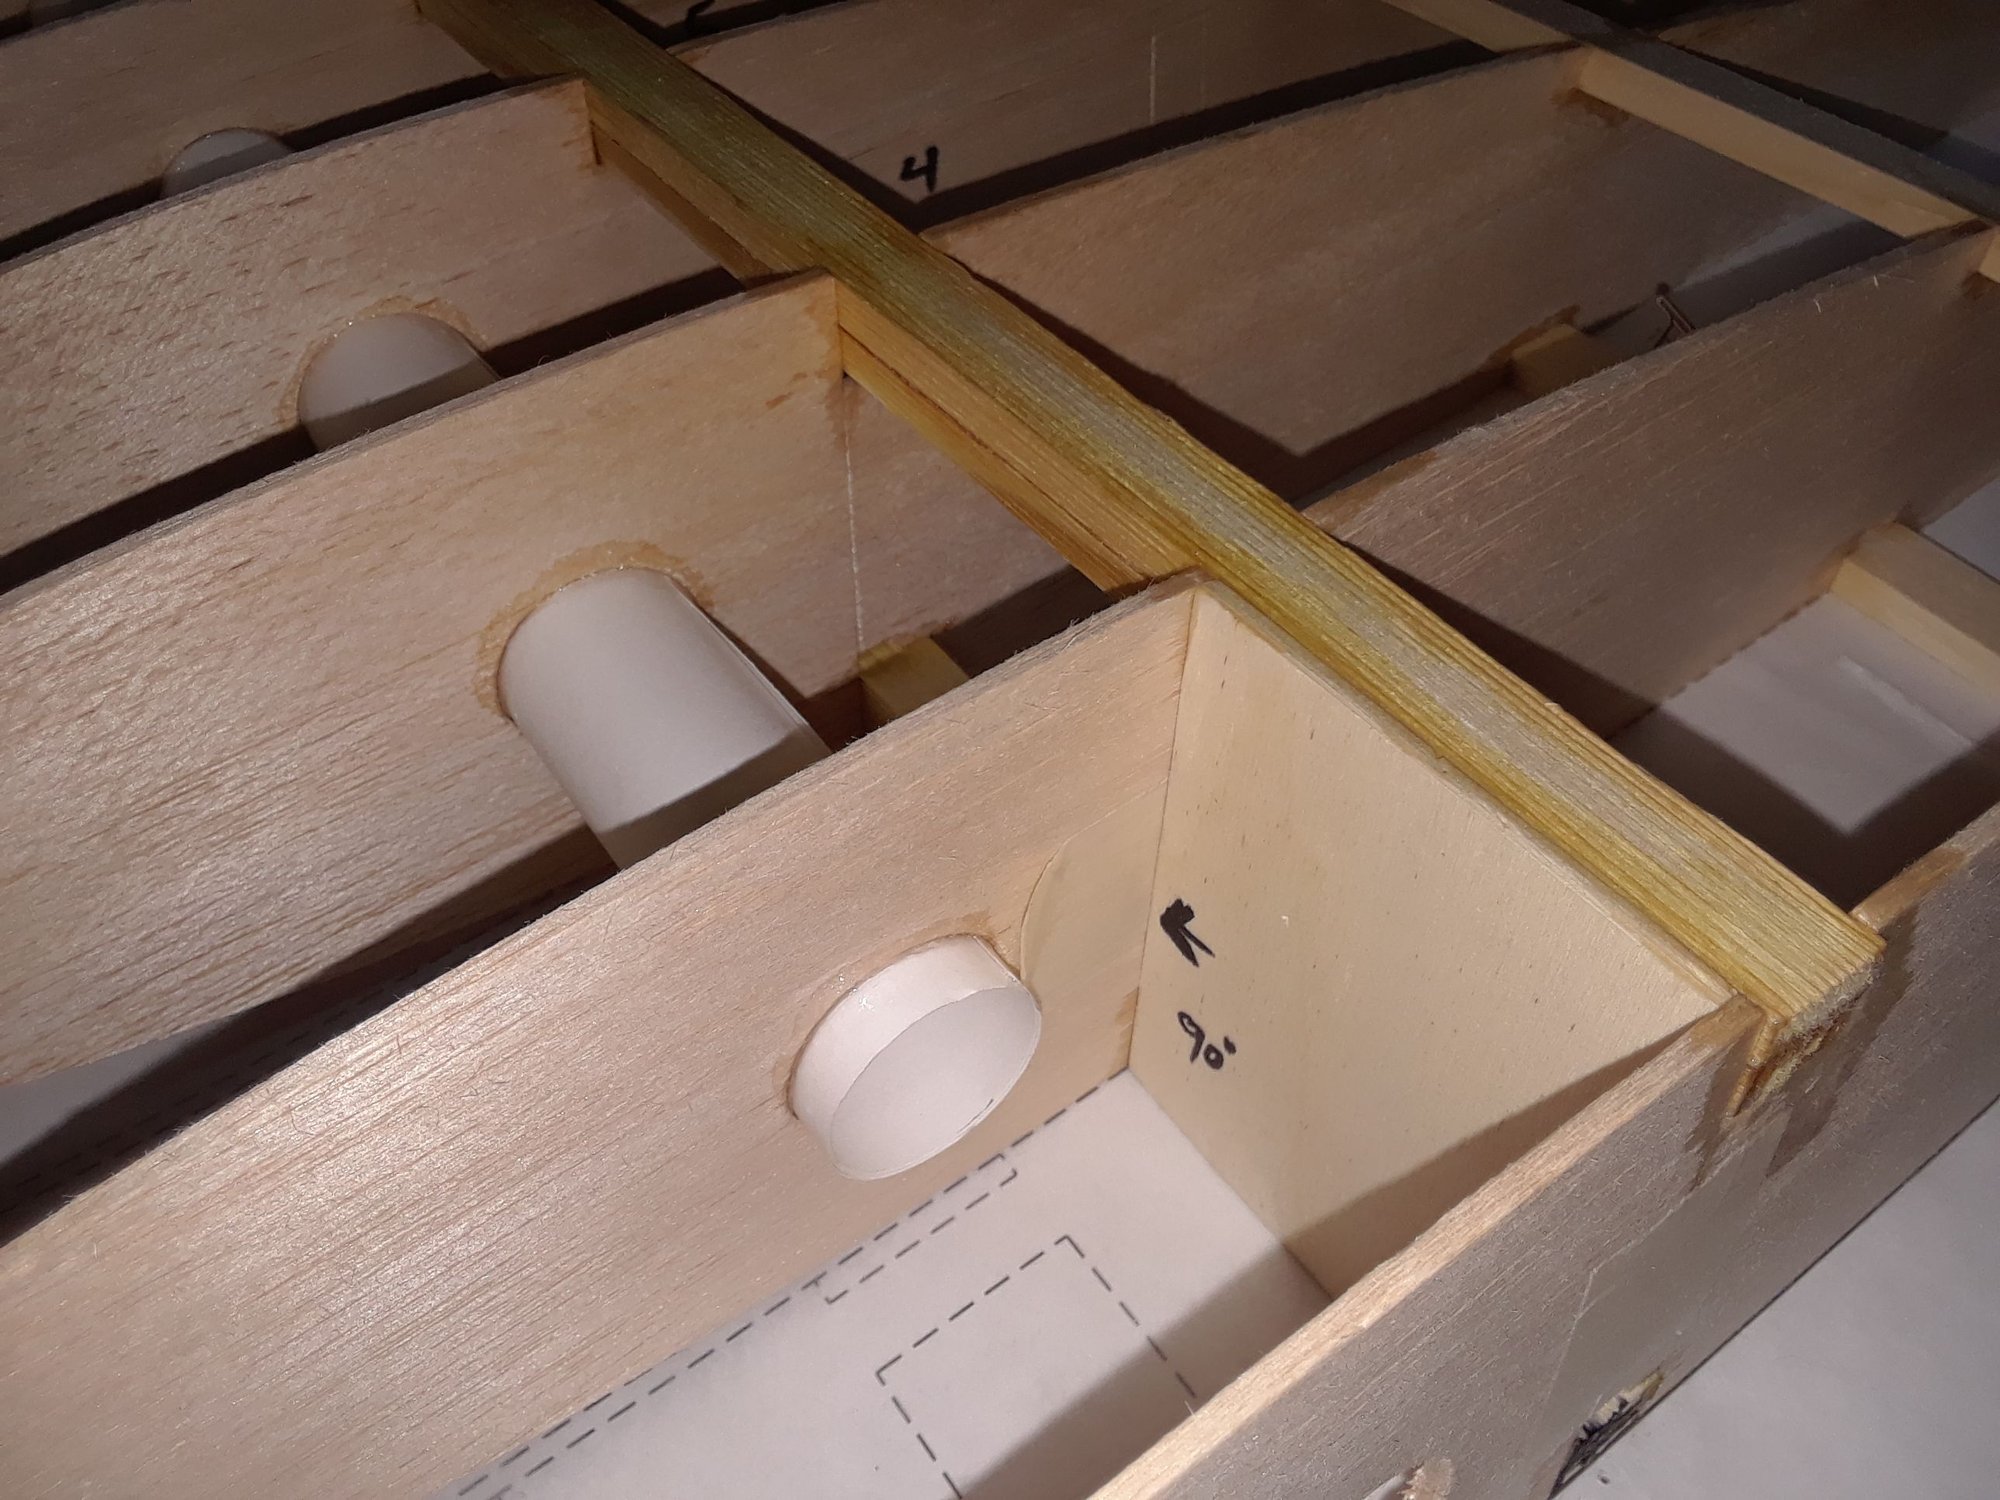
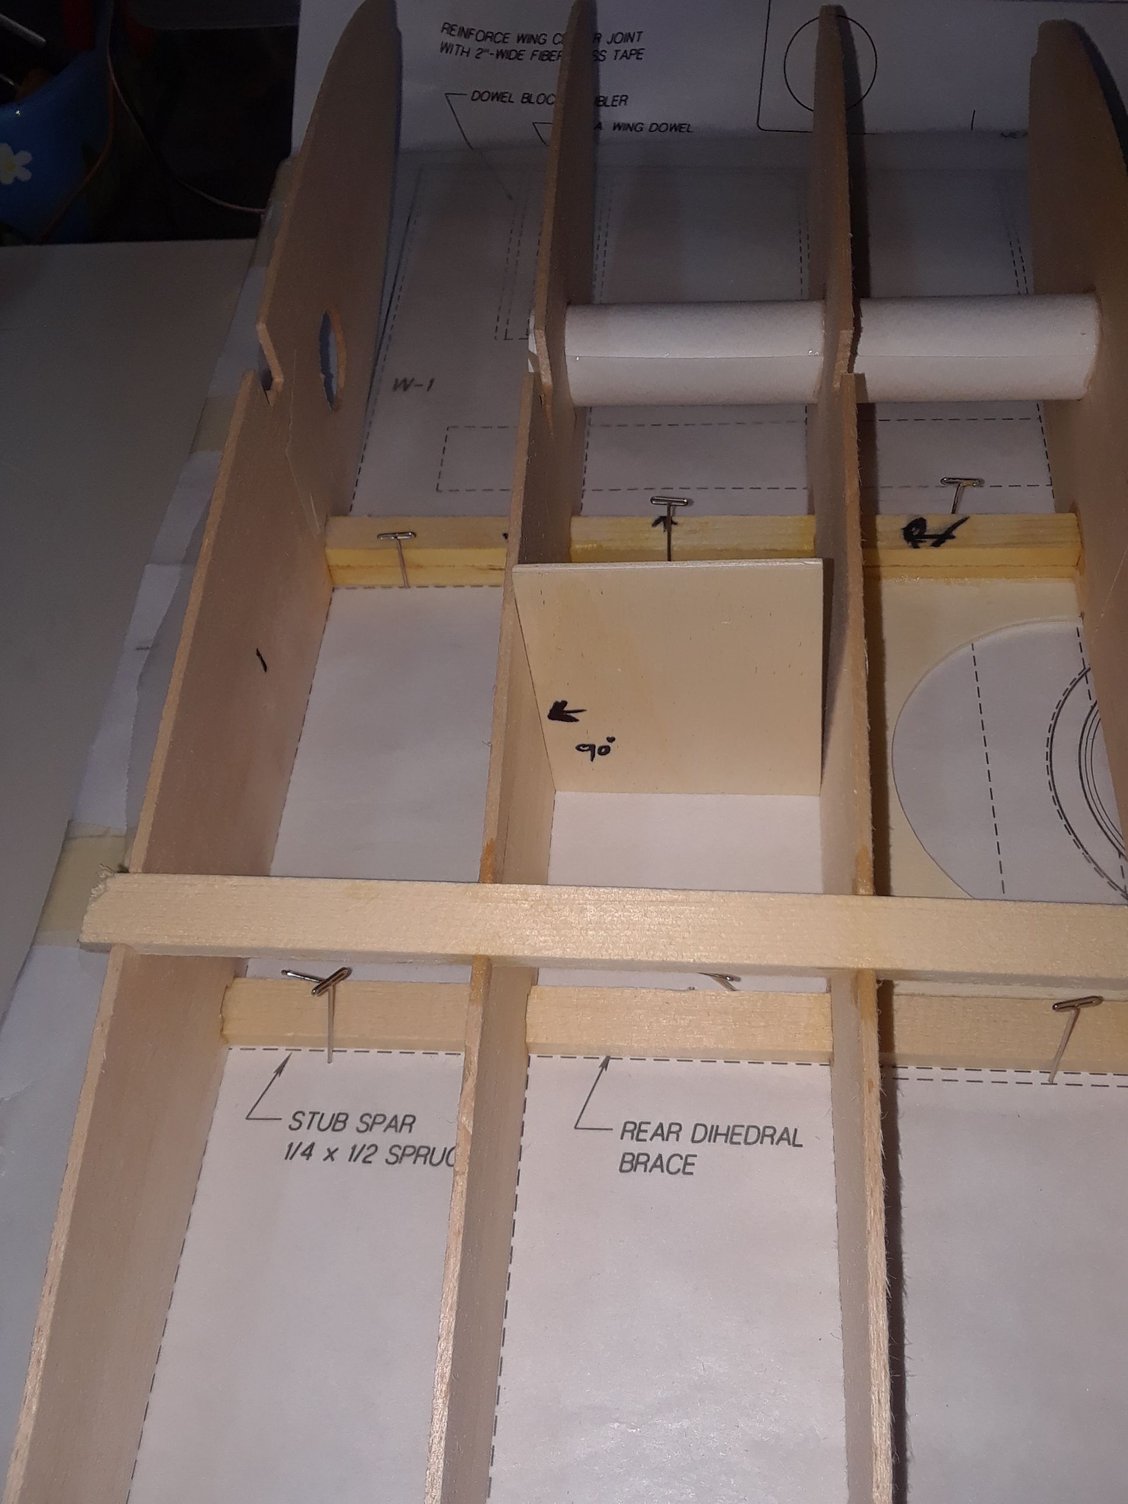
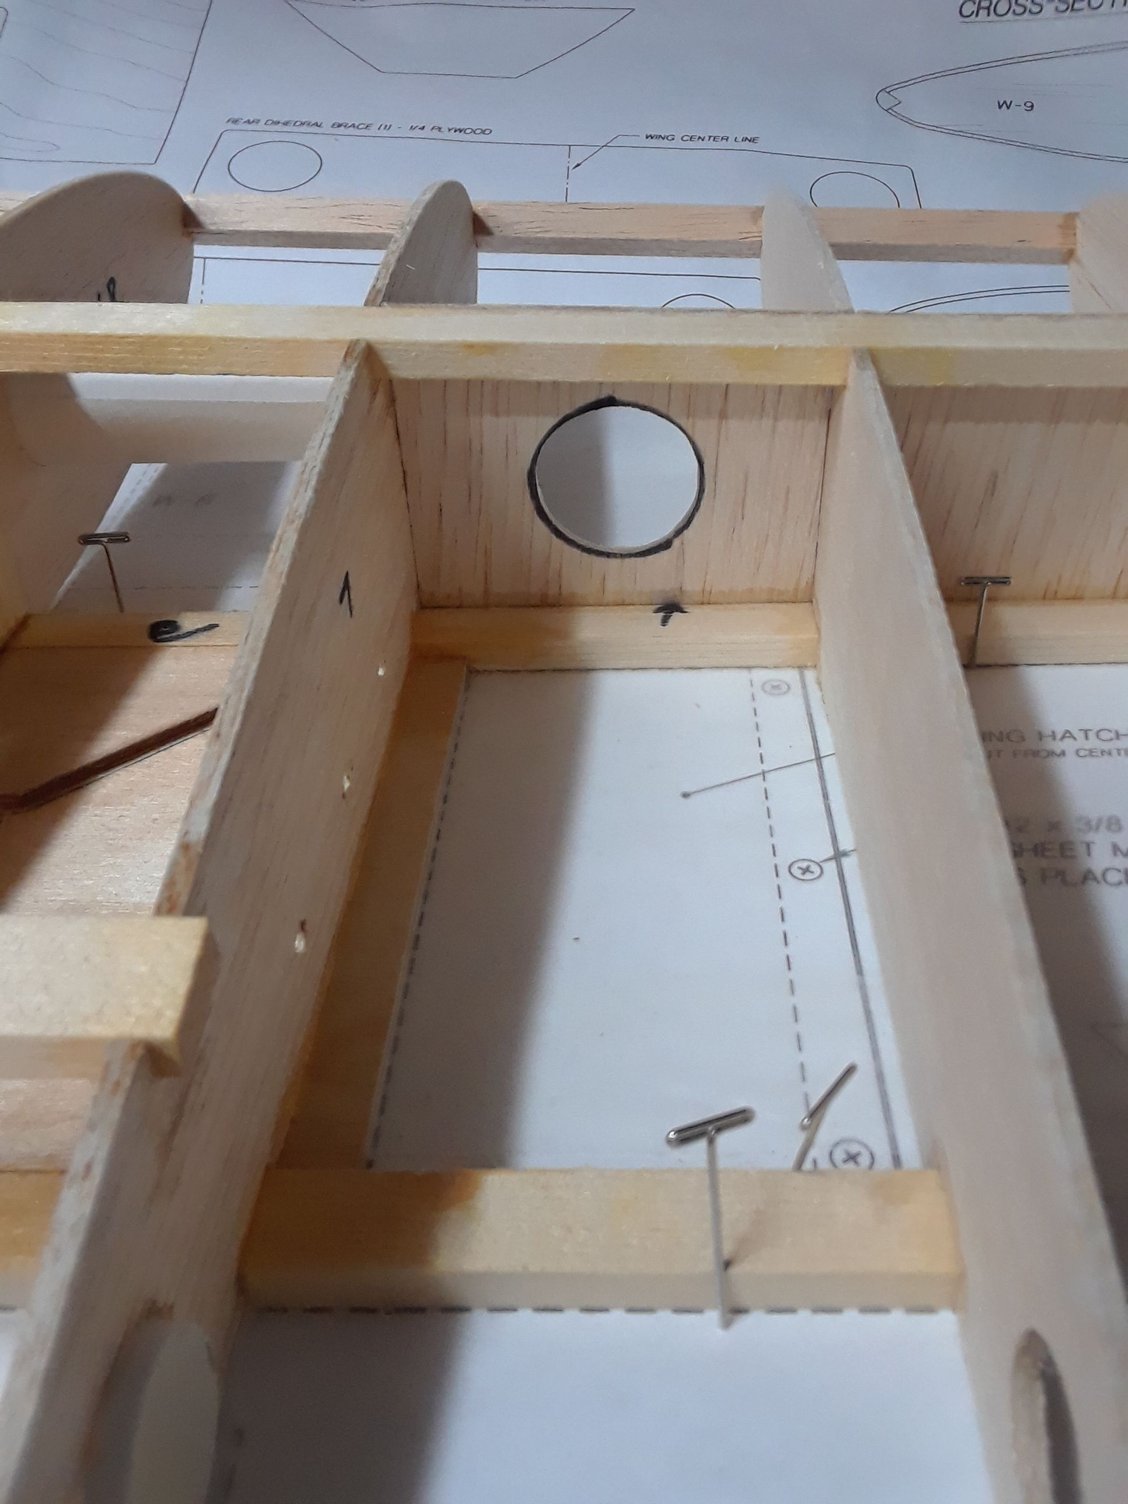
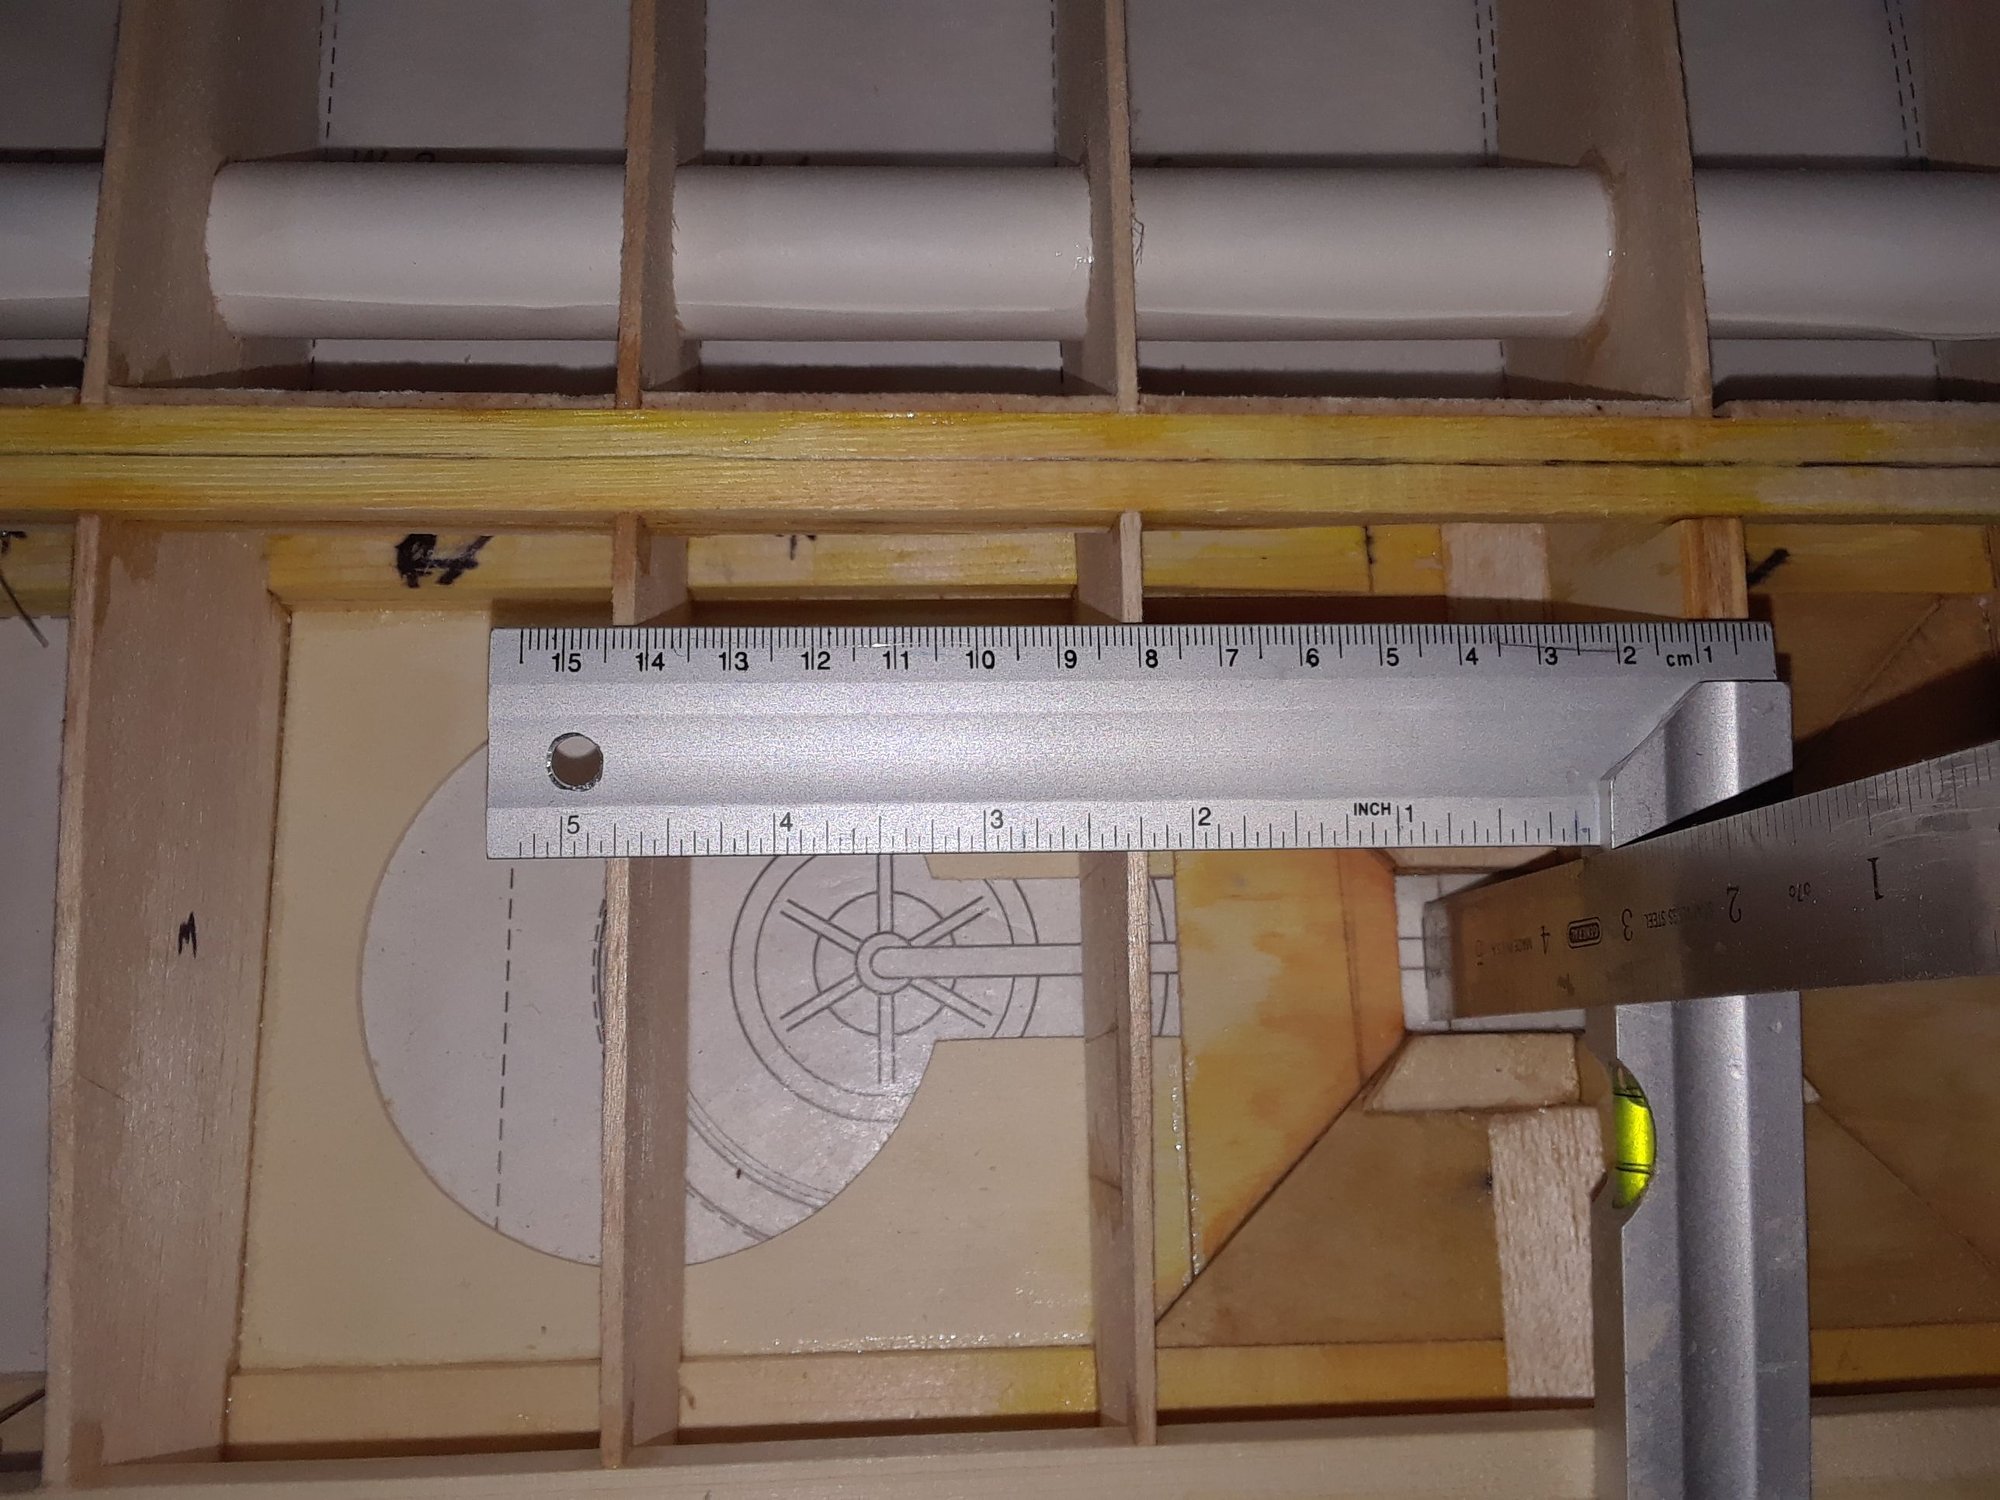
One mod done on the retract mounts is that a 1 3/8" rectangular light ply has been added to move the wheel well closer to the center of the wing and glued to rib 3, all this is to be able to use Robostruts this will elevate the airplane from the ground about 1 1/2".
Rib 6 was glued to the retract mount using epoxy and CA on the other contacts, as told by others before, all parts fit extremely well.
Last edited by CARS II; 03-15-2018 at 10:04 PM.
03-16-2018, 01:44 PM
#3821


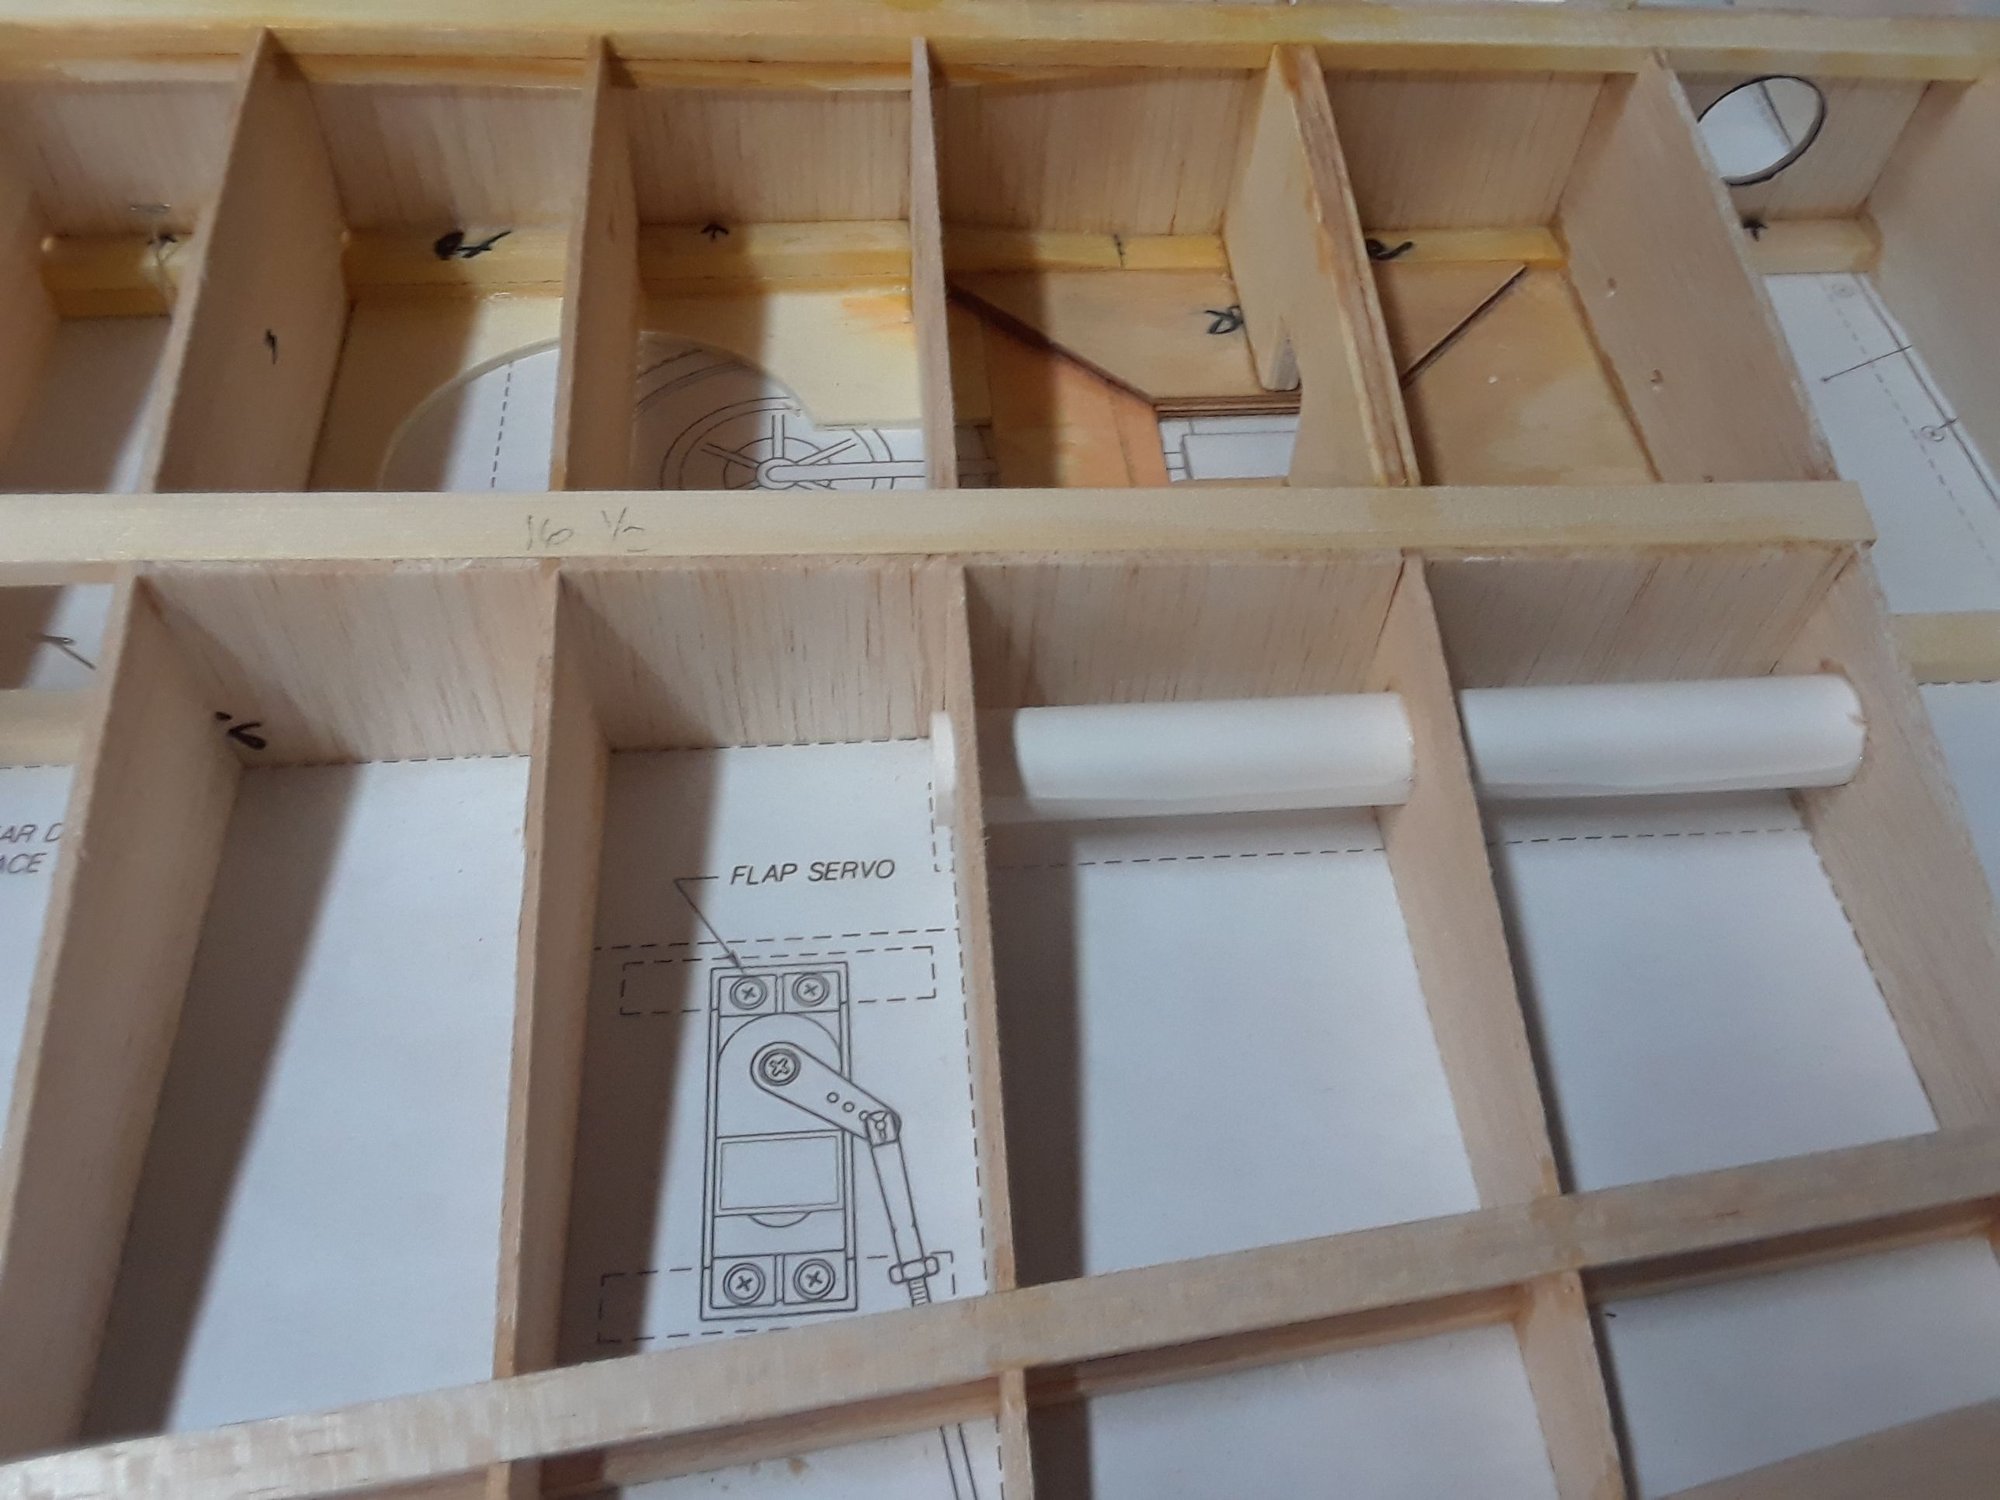
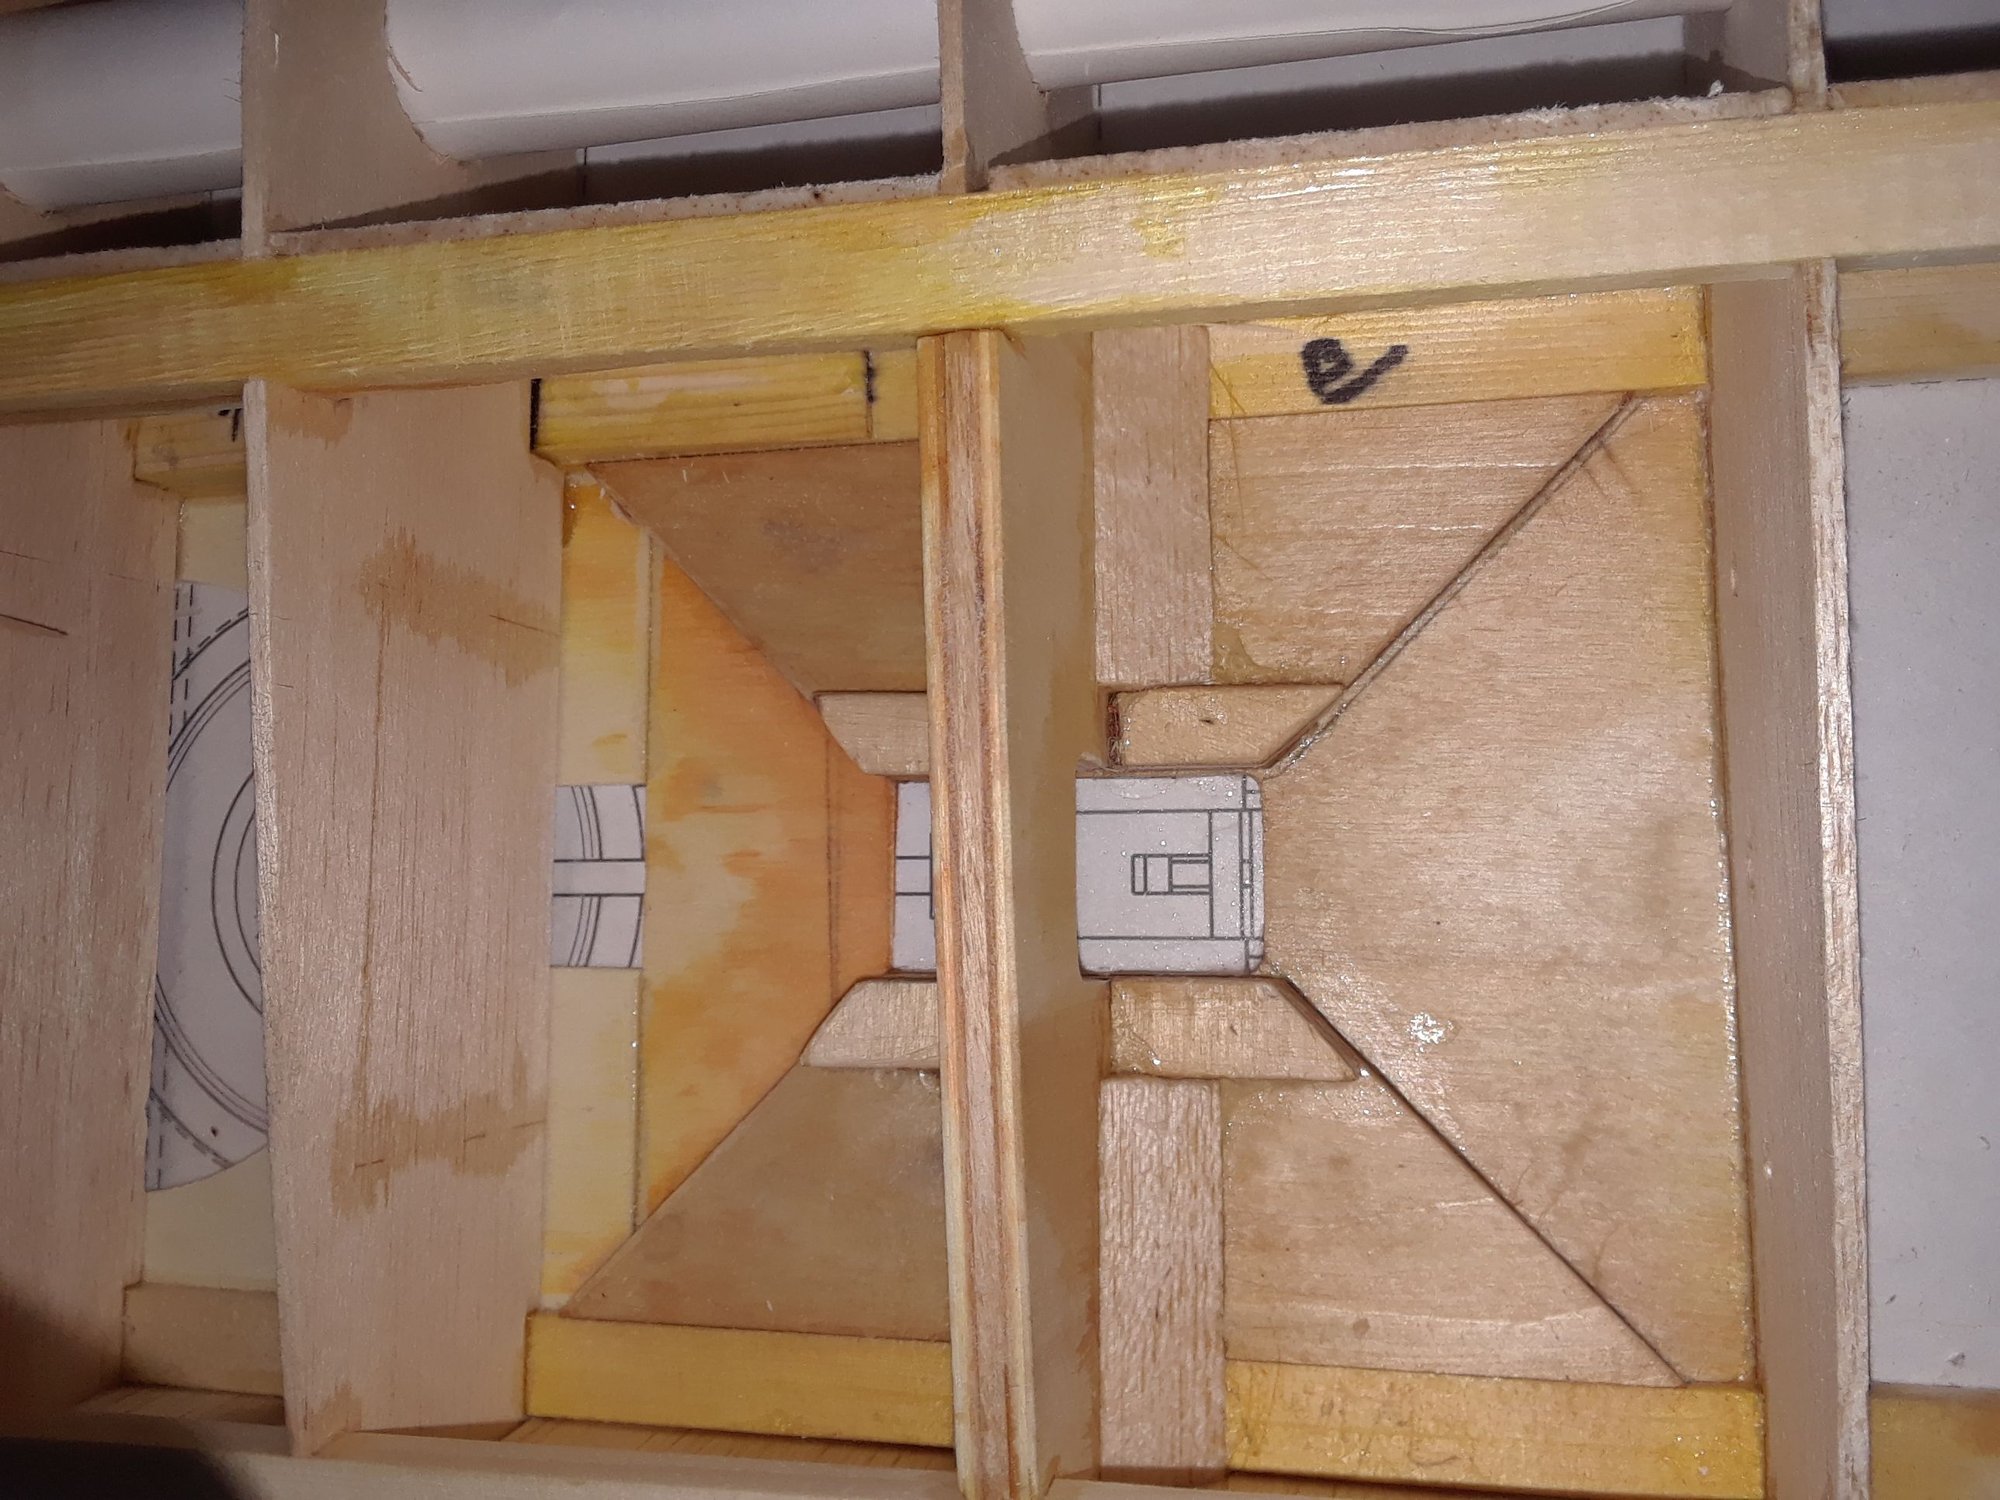
Some building going on right now, it takes a bit of time to glue the shear webs correctly, Im not the best builder here, I have seen other guys work and I will never be able to match their abilities to build, so far the webs are coming out really nice, the pictures tell the process.
To make sure rib one was at its proper alignment I used the ply sheer web to align rib two then glued rib two then did the same to rib one.
I also had my personal inspector check on my progress and I'm good to continue
One other thing I have noticed, the way the pictures are up loaded is different, I like better it this way.
One other thing that Im keeping my eyes on is the amount of views this thread is getting since I started my build, the numbers will tell the amount of interest still on this Jet kit ( very unscientific, of course )
Last edited by CARS II; 03-16-2018 at 03:54 PM.
 03-16-2018, 06:51 PM
#3823

Done for tonight and the week.
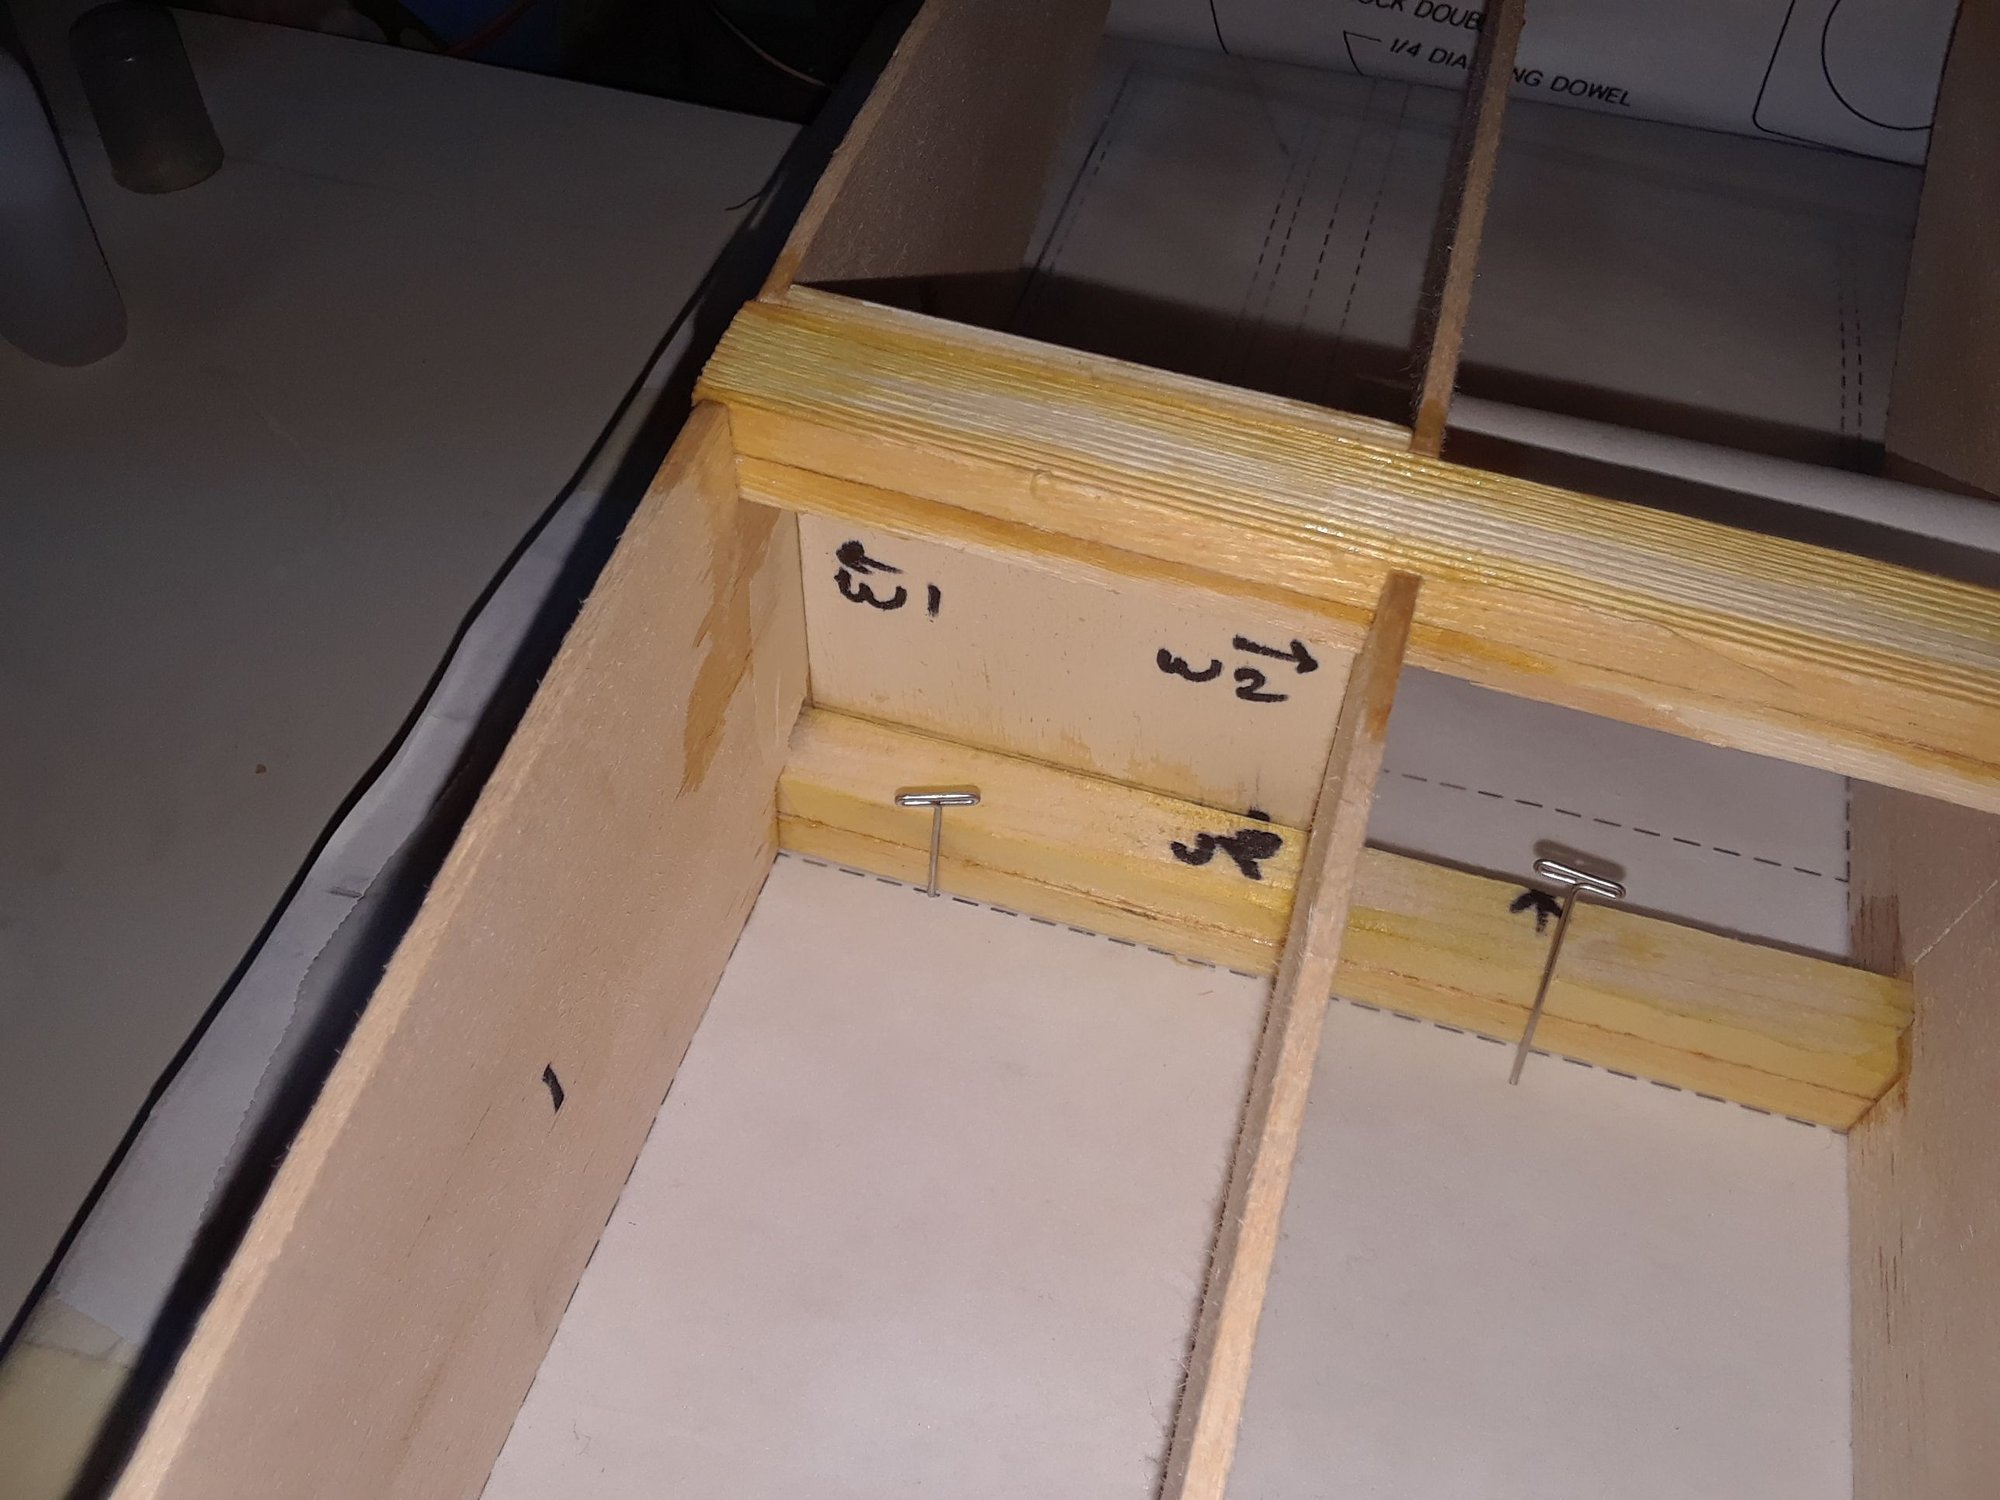
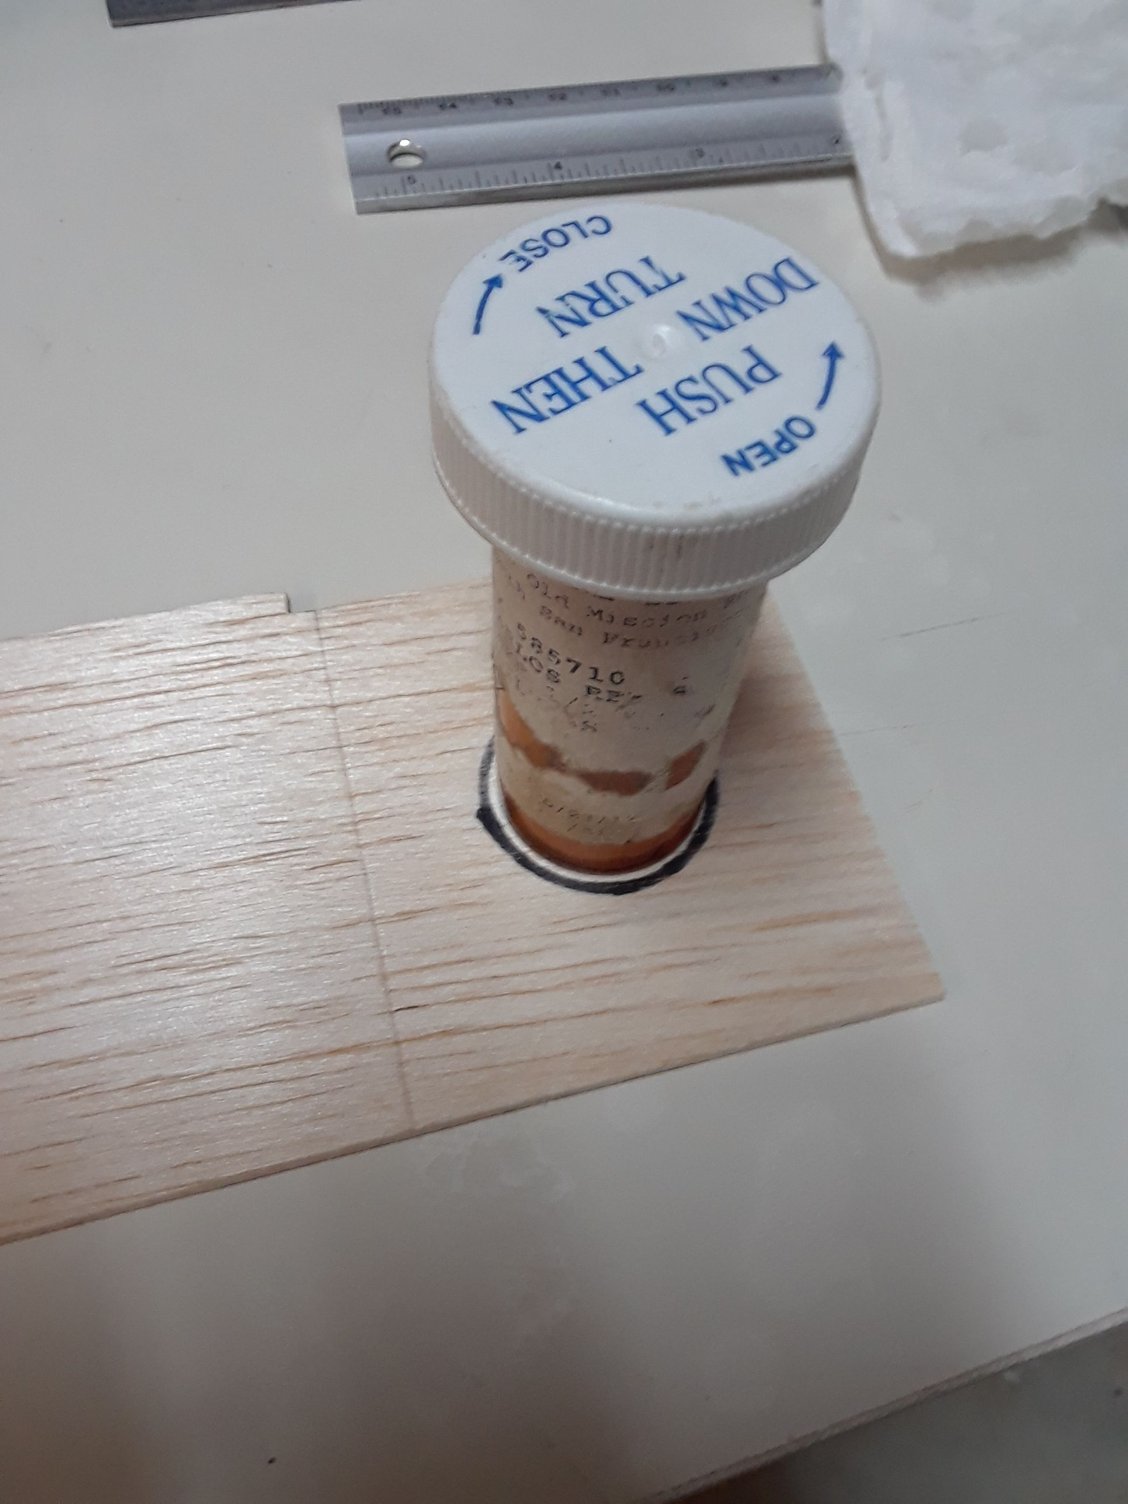
A small mod to the main gear mount, I added four small rails over the space where the blind nuts go, this is to add more meet for the gear screws, I drill the hole and tap then use thin CA to harden the holes, I have done the gear mounts on many jets like this for a while now with great success .
Last edited by CARS II; 03-16-2018 at 07:00 PM.
03-20-2018, 06:59 PM
#3824

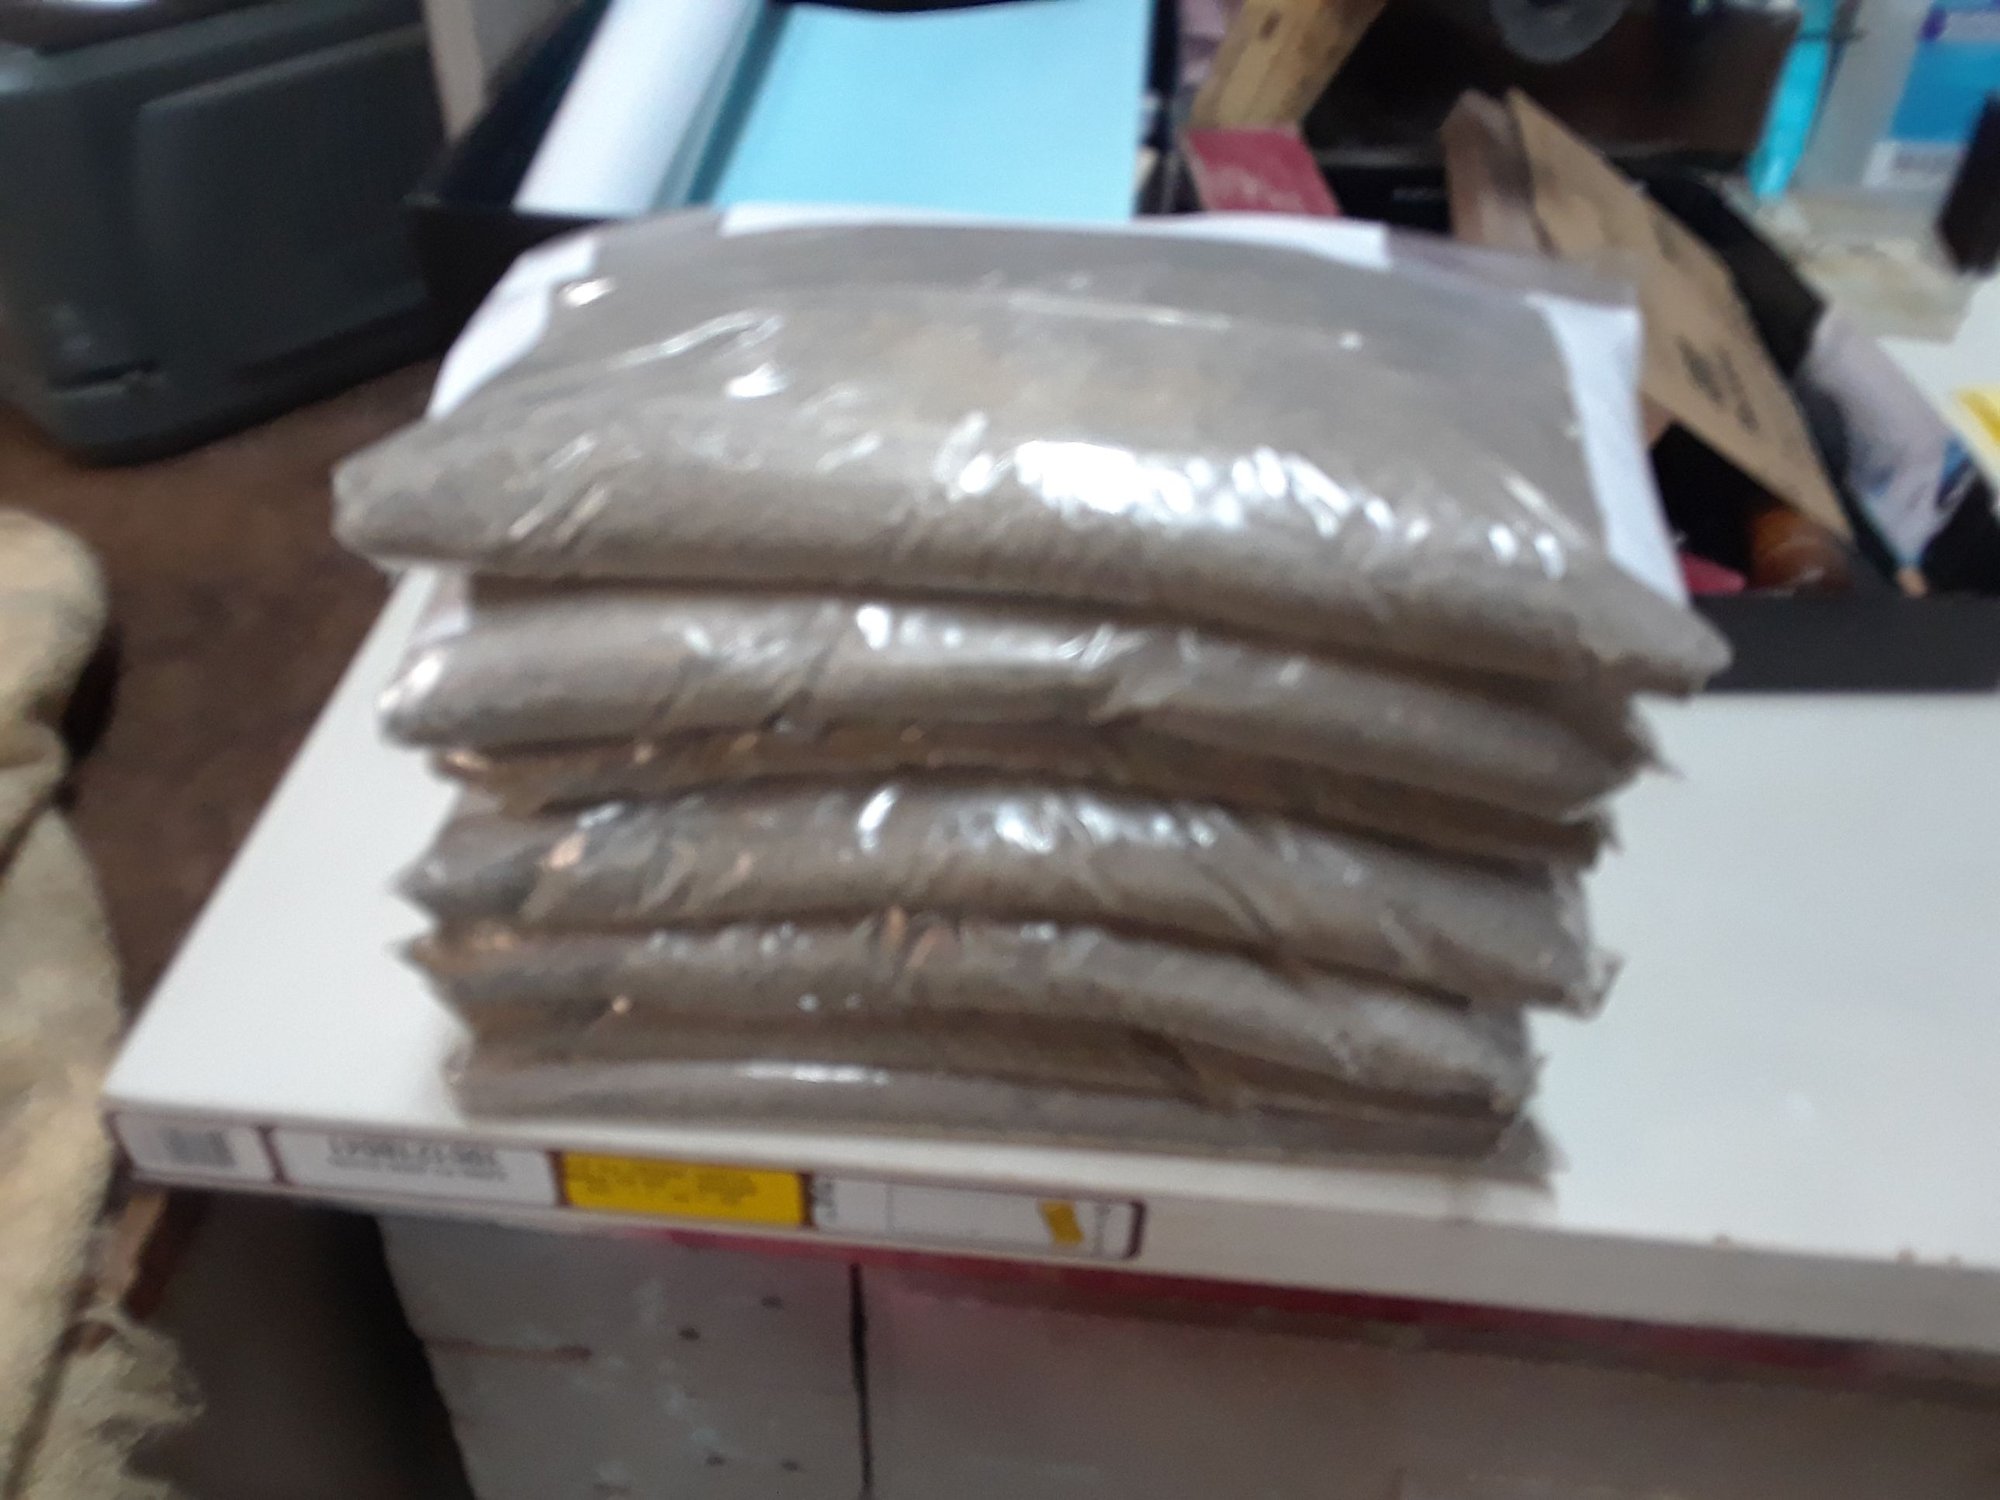
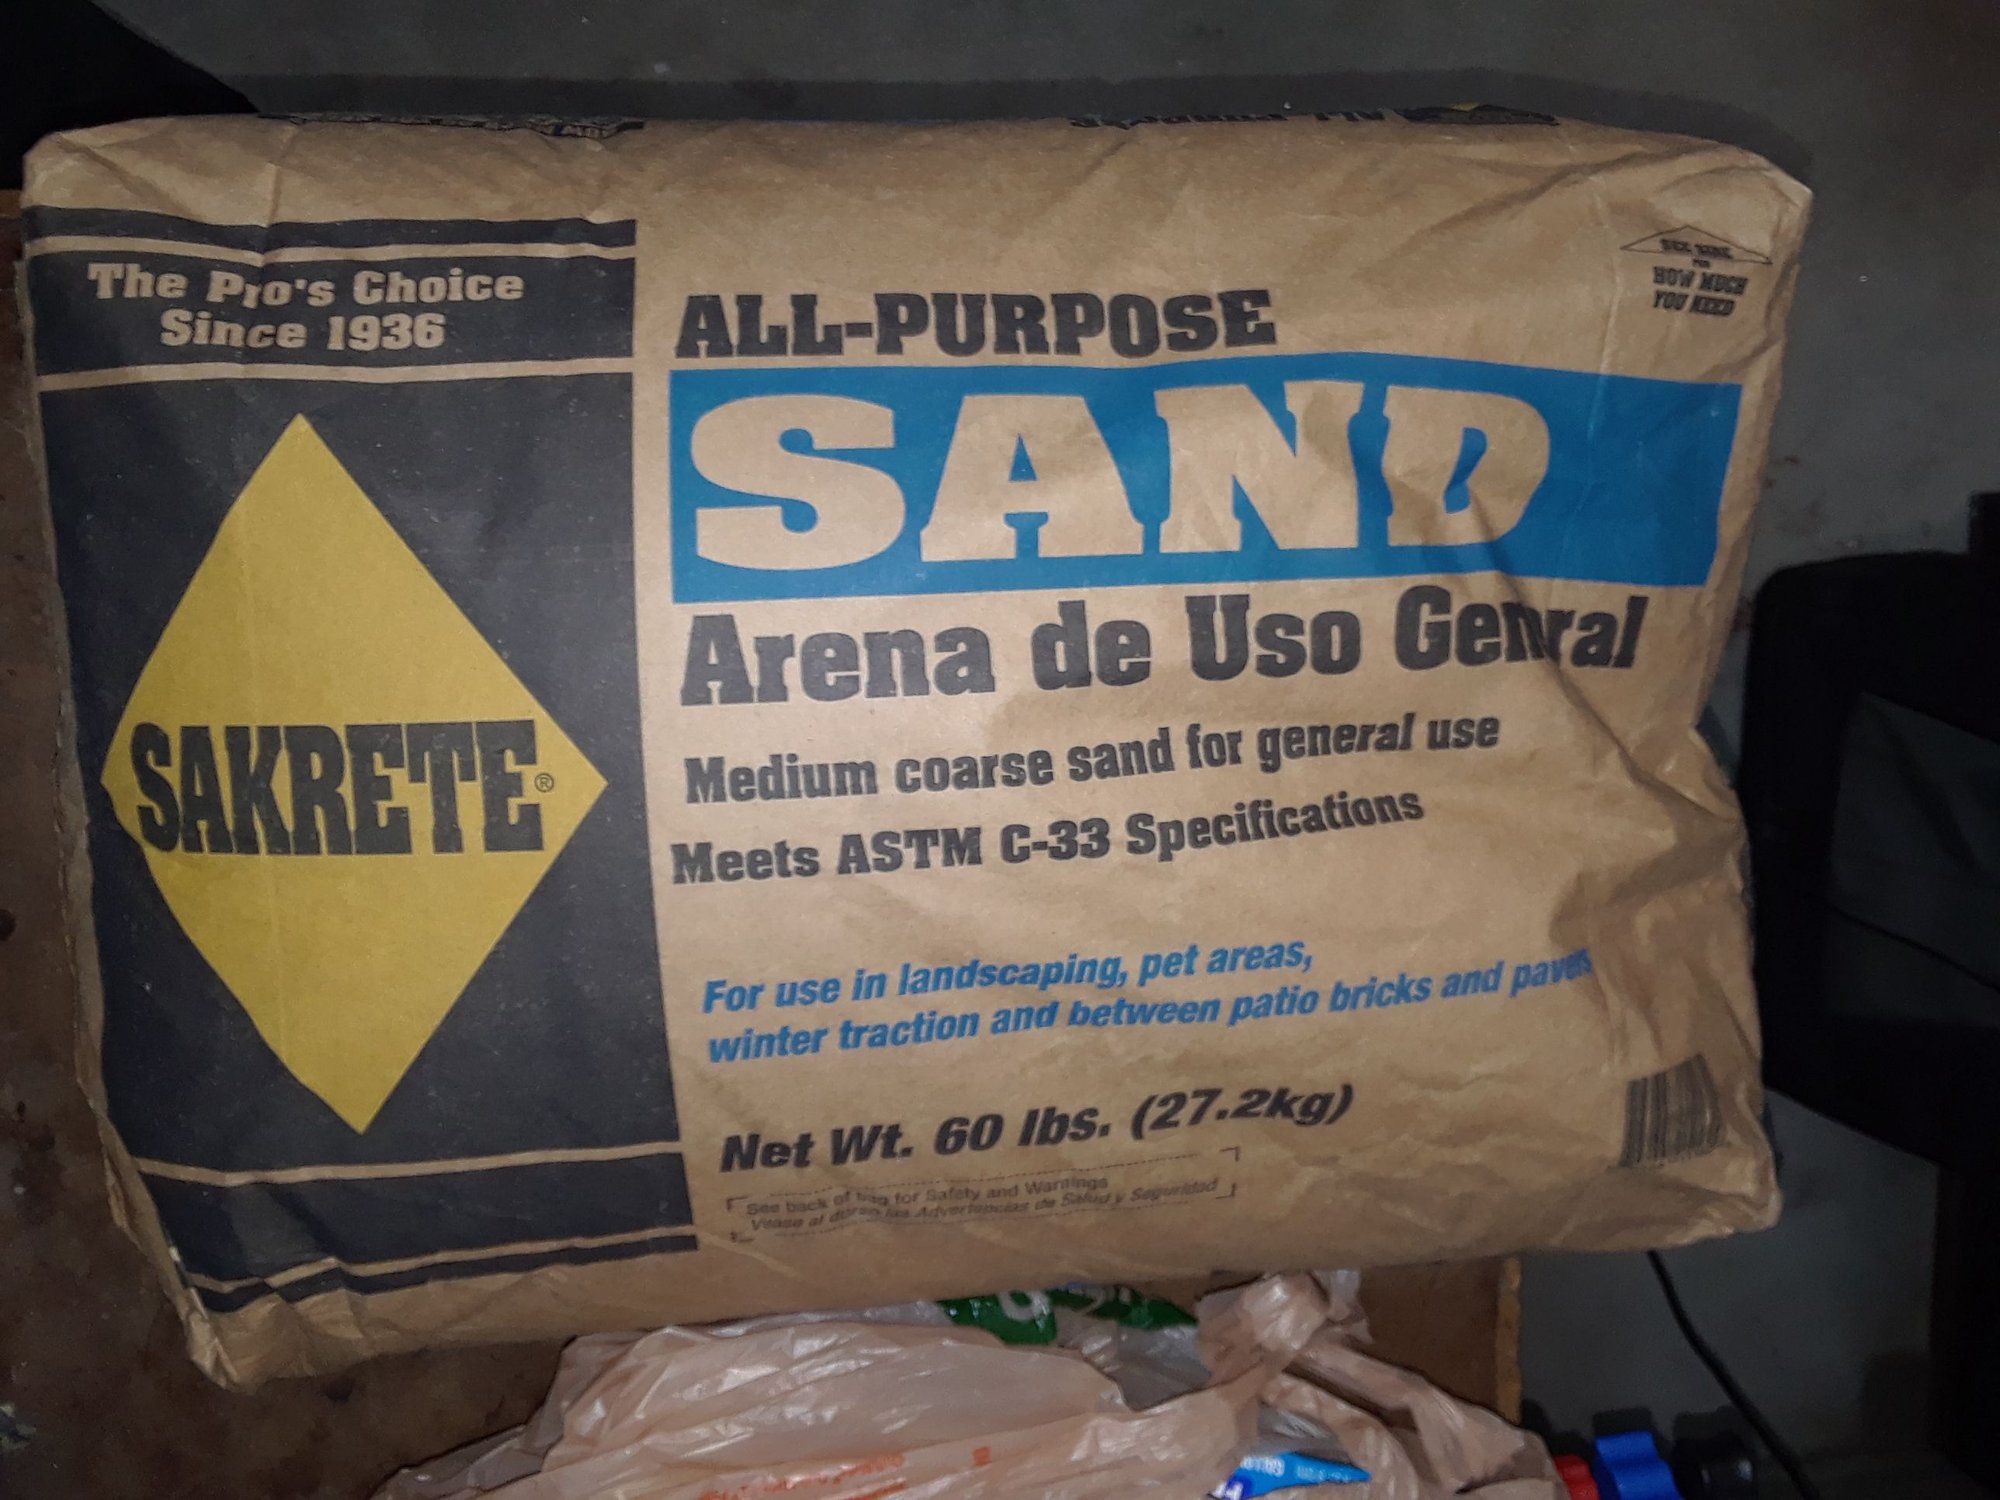
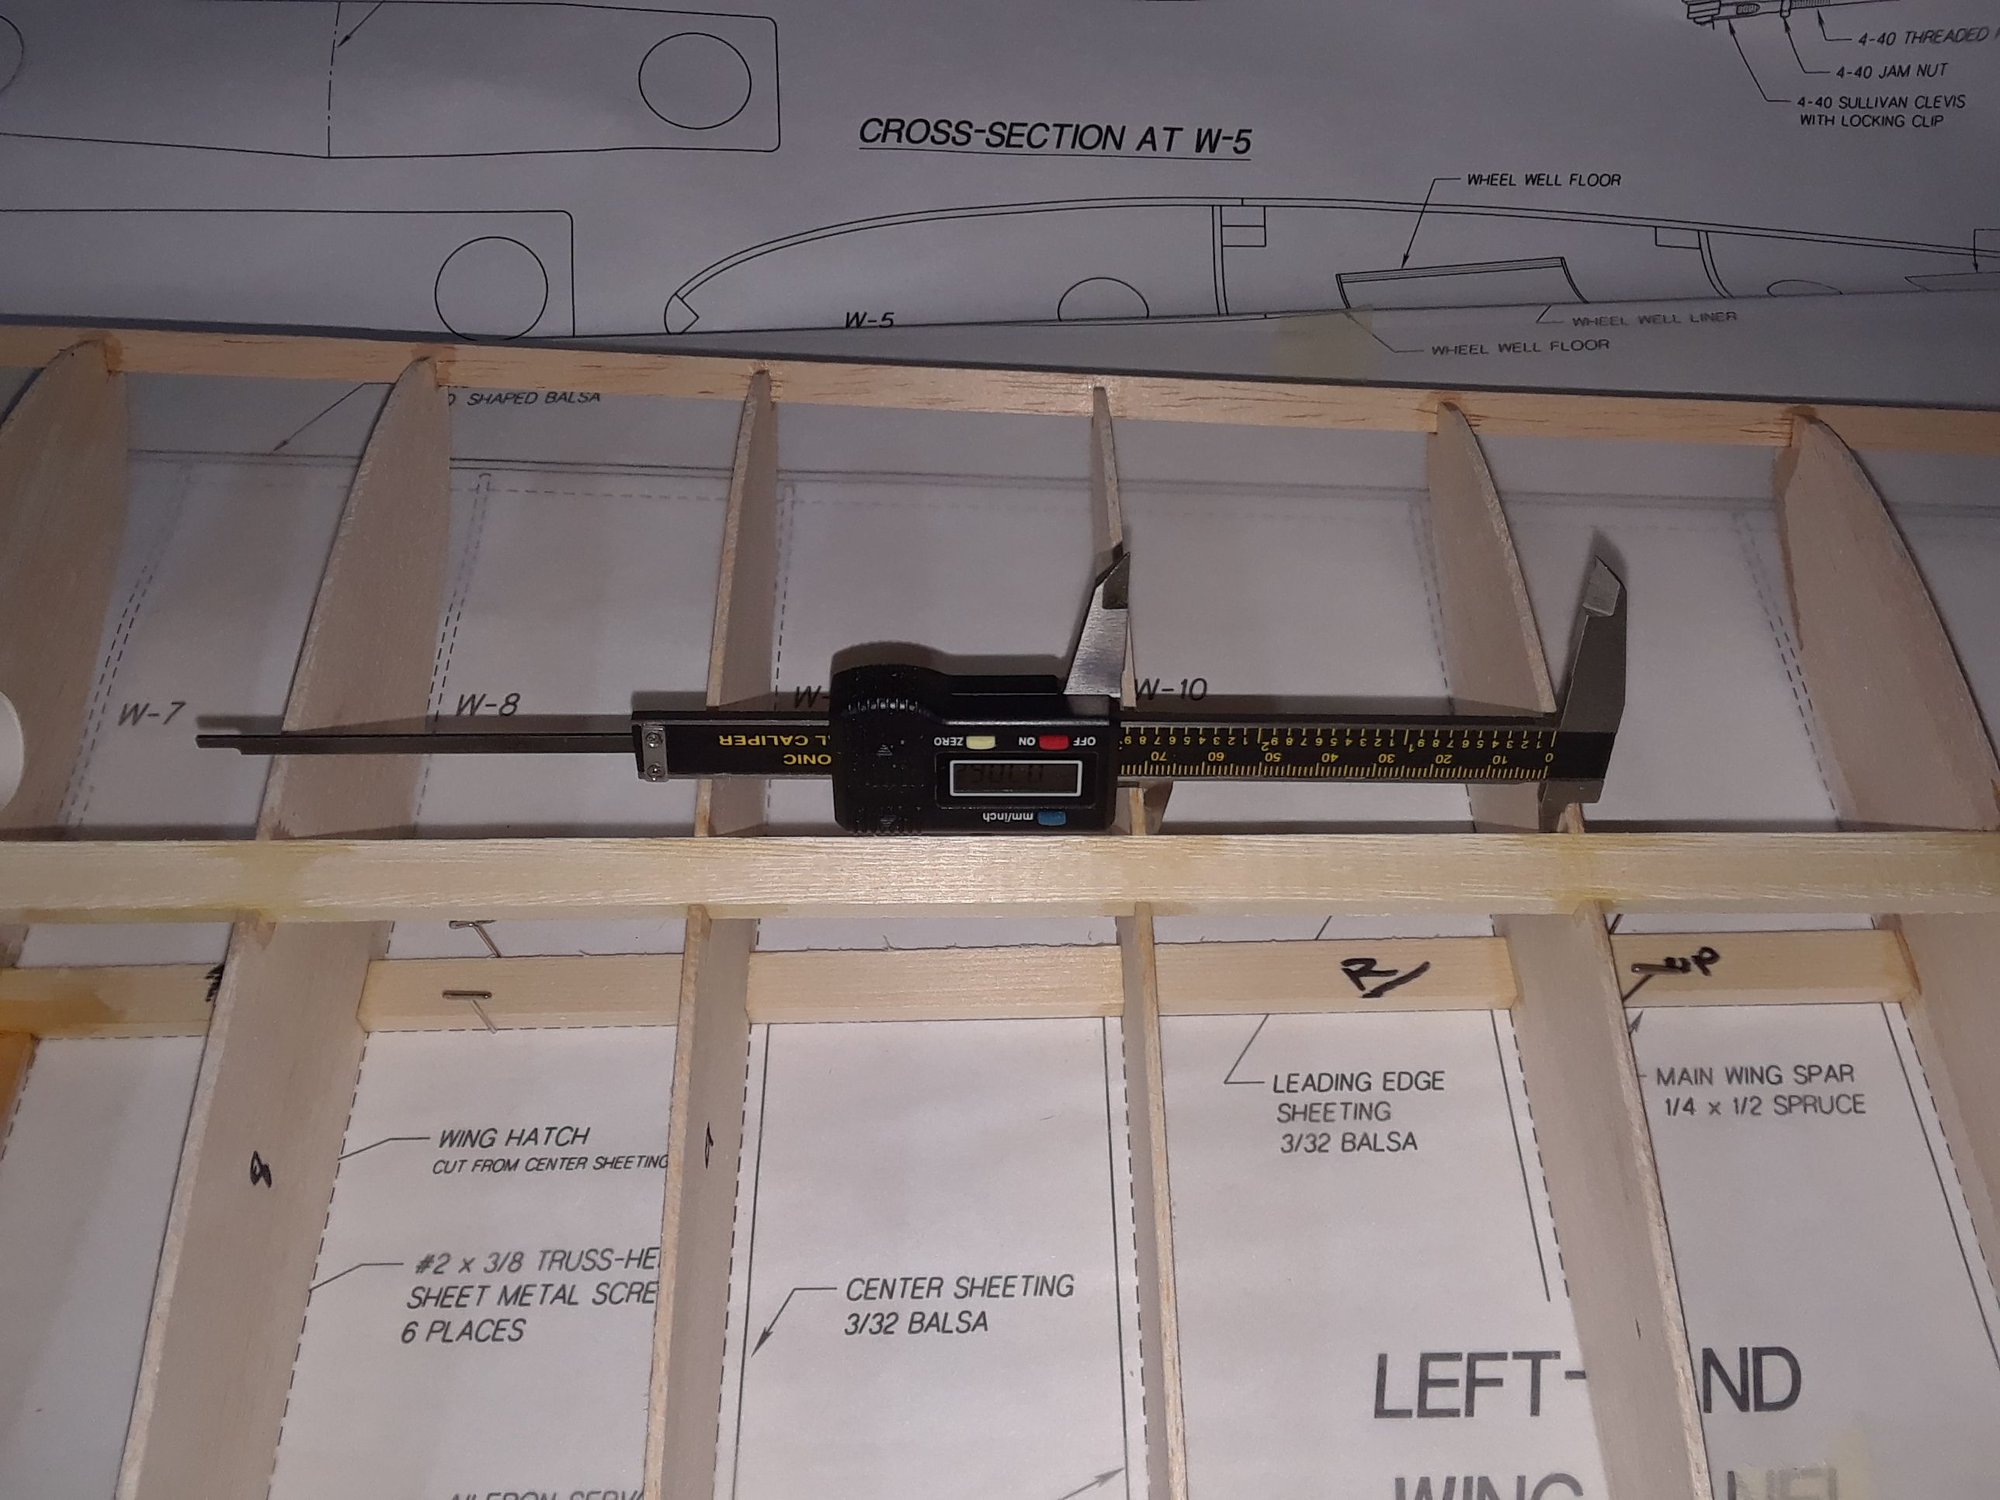
Today I made me 7 sand bags to hold down the LE sheeting during the gluing process as Bruce recommends, I've done this many times before my way but I will follow Bruce's advice this time, I got the sand at HD and the zip bags a the dollar store, I also cut the leading edge sheeting to shape but I still have to sand it down to 120 before gluing it, I have to make me another sanding block, NOW.
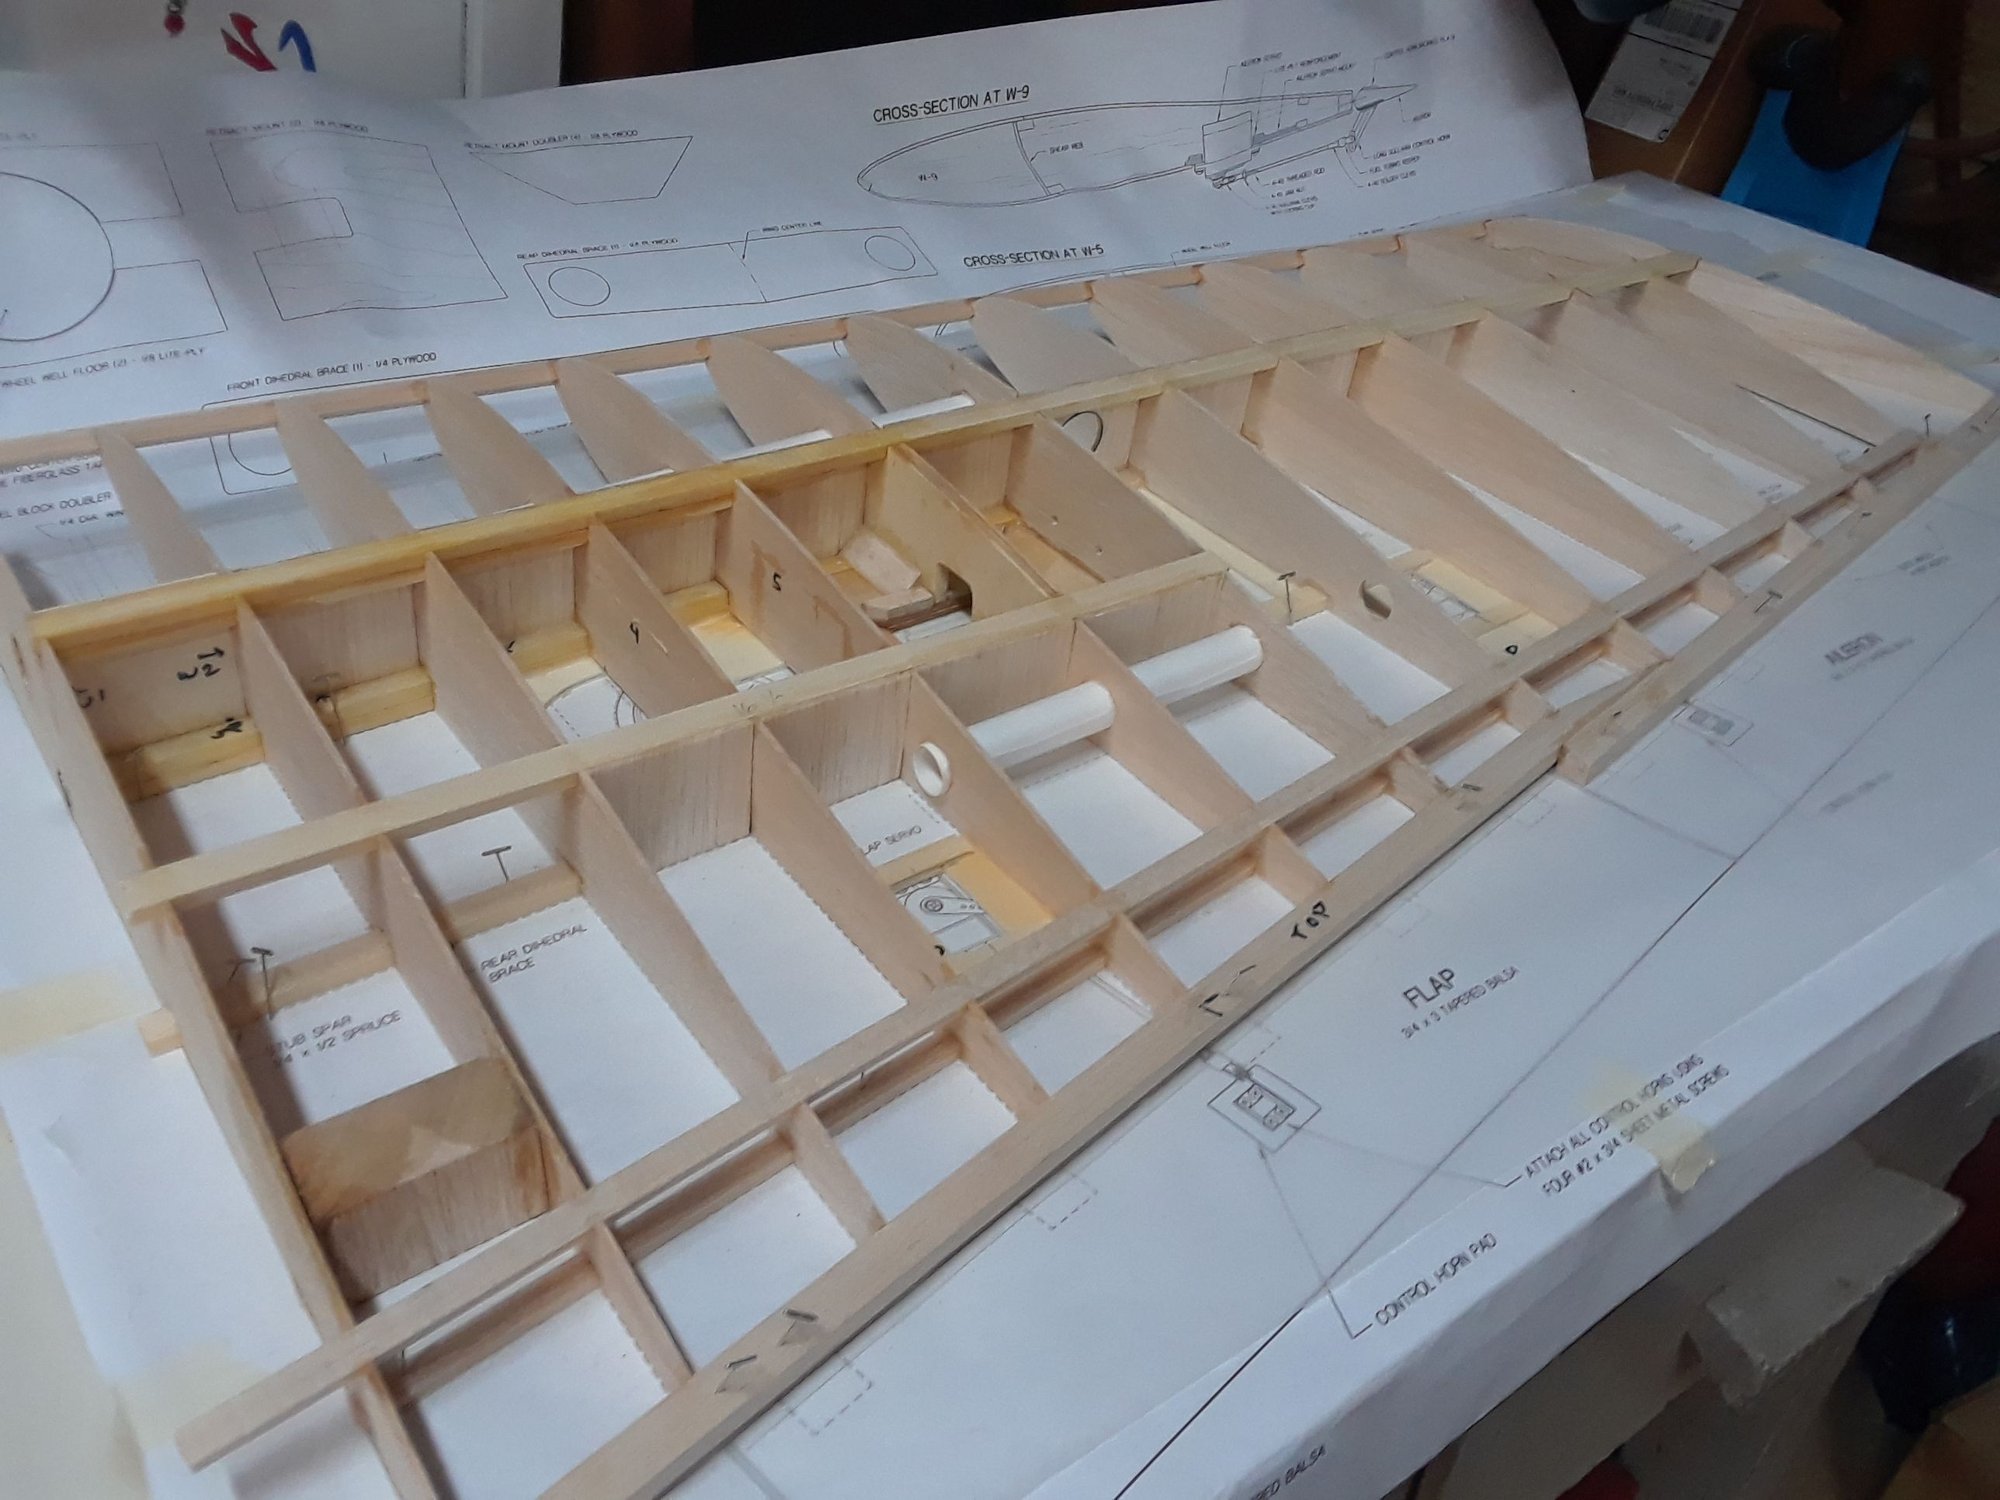
I also decided to use the Pro Link retracts and struts that are used on the Reaction ARF, it happens that by moving the wheel well against rib #3 then placing a 1 3/8 piece of light ply to fill the gap I get the exact distance of 5" neede to use the PL struts without any more changes to the retract mounts, I will also be using the Sierra Giants plain wheels and brakes combine with a set of 3" light Dubro tires, I'm trying to stay away from heavy jet wheels.
This is the awesome thing about wood and ply airplanes, you can mod it 'till your heart is content
Last edited by CARS II; 03-20-2018 at 09:01 PM.