


Welcome to Club SAITO !

 06-13-2019, 05:20 PM


Now, if I had a "pretty face" and a video camera, I could make videos of engines and expect real pay
 06-13-2019, 11:55 PM

Nice looking prop on the fa182 dave.
ps gary down here we'd let janis dig down to the access cover
06-14-2019, 01:38 AM
We are replacing the concrete front drive and sidewalk with brick pavers. Also doing a back porch and patio. She spent the whole day busting concrete with her favorite 12 pound sledge. The guy dropped off the trailer to haul away the broken concrete so she spent till 9pm loading. That way it can be gone first thing in the morning when the septic truck arrives, and she can unload brick in the afternoon.
06-14-2019, 03:31 AM
That it is Dave. Really want to put it to use soon too.
Seeing that 90 of yours lit a bit of a flame. Almost retired last week but figure I will hang on until the contract is settled this fall. An extra 60 hours a week would get a lot of RC stuff going!
Seeing that 90 of yours lit a bit of a flame. Almost retired last week but figure I will hang on until the contract is settled this fall. An extra 60 hours a week would get a lot of RC stuff going!
06-15-2019, 12:05 AM
Join Date: Nov 2002
Location: Palm Bay, FL
Posts: 10
Likes: 0
Received 0 Likes
on
0 Posts
Still having same issue in the plane; had to turn in the LSN so the fuel would stop pouring out prior to start; just spinning it. That is the tank being so high. So when I adjust the LSN in the plane then the transition is out. So looking for a fuel regulator to stop the fuel from flowing prior to start.
06-15-2019, 01:11 AM
I can read the frustration in your post, there won't be many people here who have not been through what you are doing right now.A high tank position is always a bit of a tuning learning curve even for experienced saito tuners when it comes to a good flying tune at the field, bench running is easy by comparison.The best and quickest shortcut is to fit a cline regulator, as dave used to say...you can put the fuel tank back on the tail then
ps this is a most important after flying tip, don't forget to have a beer and do some bench racing with your fellow pilots afterwards mate
ps this is a most important after flying tip, don't forget to have a beer and do some bench racing with your fellow pilots afterwards mate
06-15-2019, 01:38 AM
Jim have you solved your carby problems yet? and please excuse my black sense of humour have you knocked down the bad juju shed yet? if not yell out and i'll fly over with my twelve pound sledgehammer, got any redhead matches and a gallon of nitro to spare?
have you knocked down the bad juju shed yet? if not yell out and i'll fly over with my twelve pound sledgehammer, got any redhead matches and a gallon of nitro to spare?
06-15-2019, 03:13 PM
My Feedback: (1)
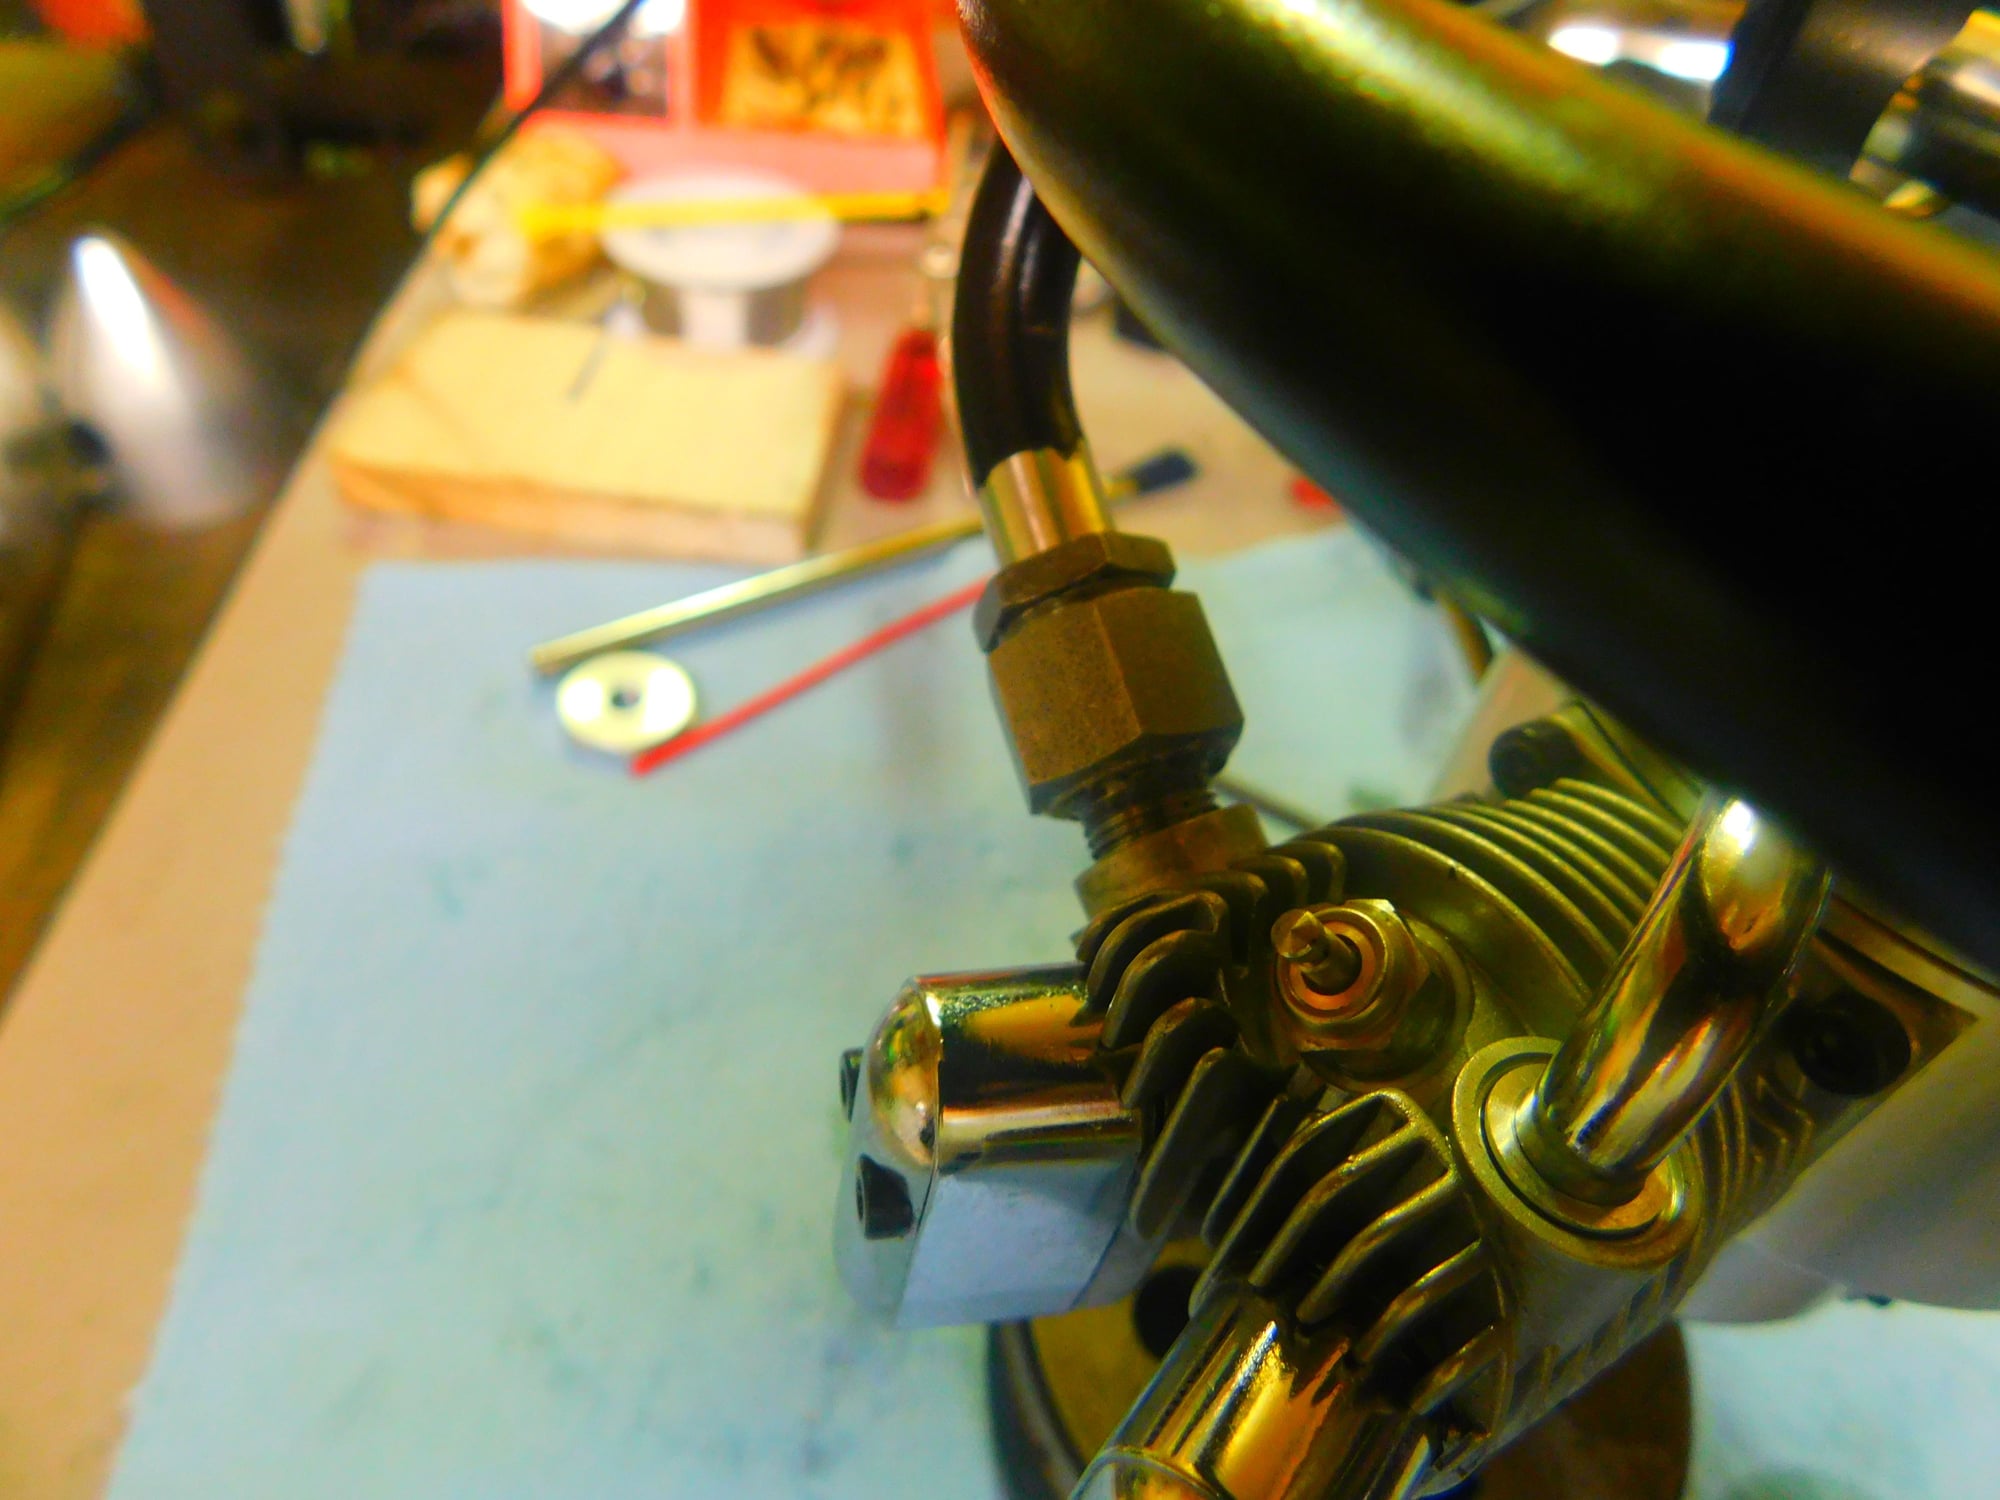
the thing is I mounted my 82 carb to the 100 and the 82 carb turned smoother and easier than the 100 carb does in the hand.. Gary wants to try cleaning the bore one more time, to me the bore looks to have a low in it from the machining, if Gary cleans it up more I just hope the barrel will still seal in the bore so it wont such air around the barrel
Jim
06-15-2019, 03:19 PM
My Feedback: (1)
06-15-2019, 03:27 PM

My Feedback: (102)

Join Date: Dec 2001
Location: Colonial Beach, VA
Posts: 20,370
Likes: 0
Received 25 Likes
on
25 Posts
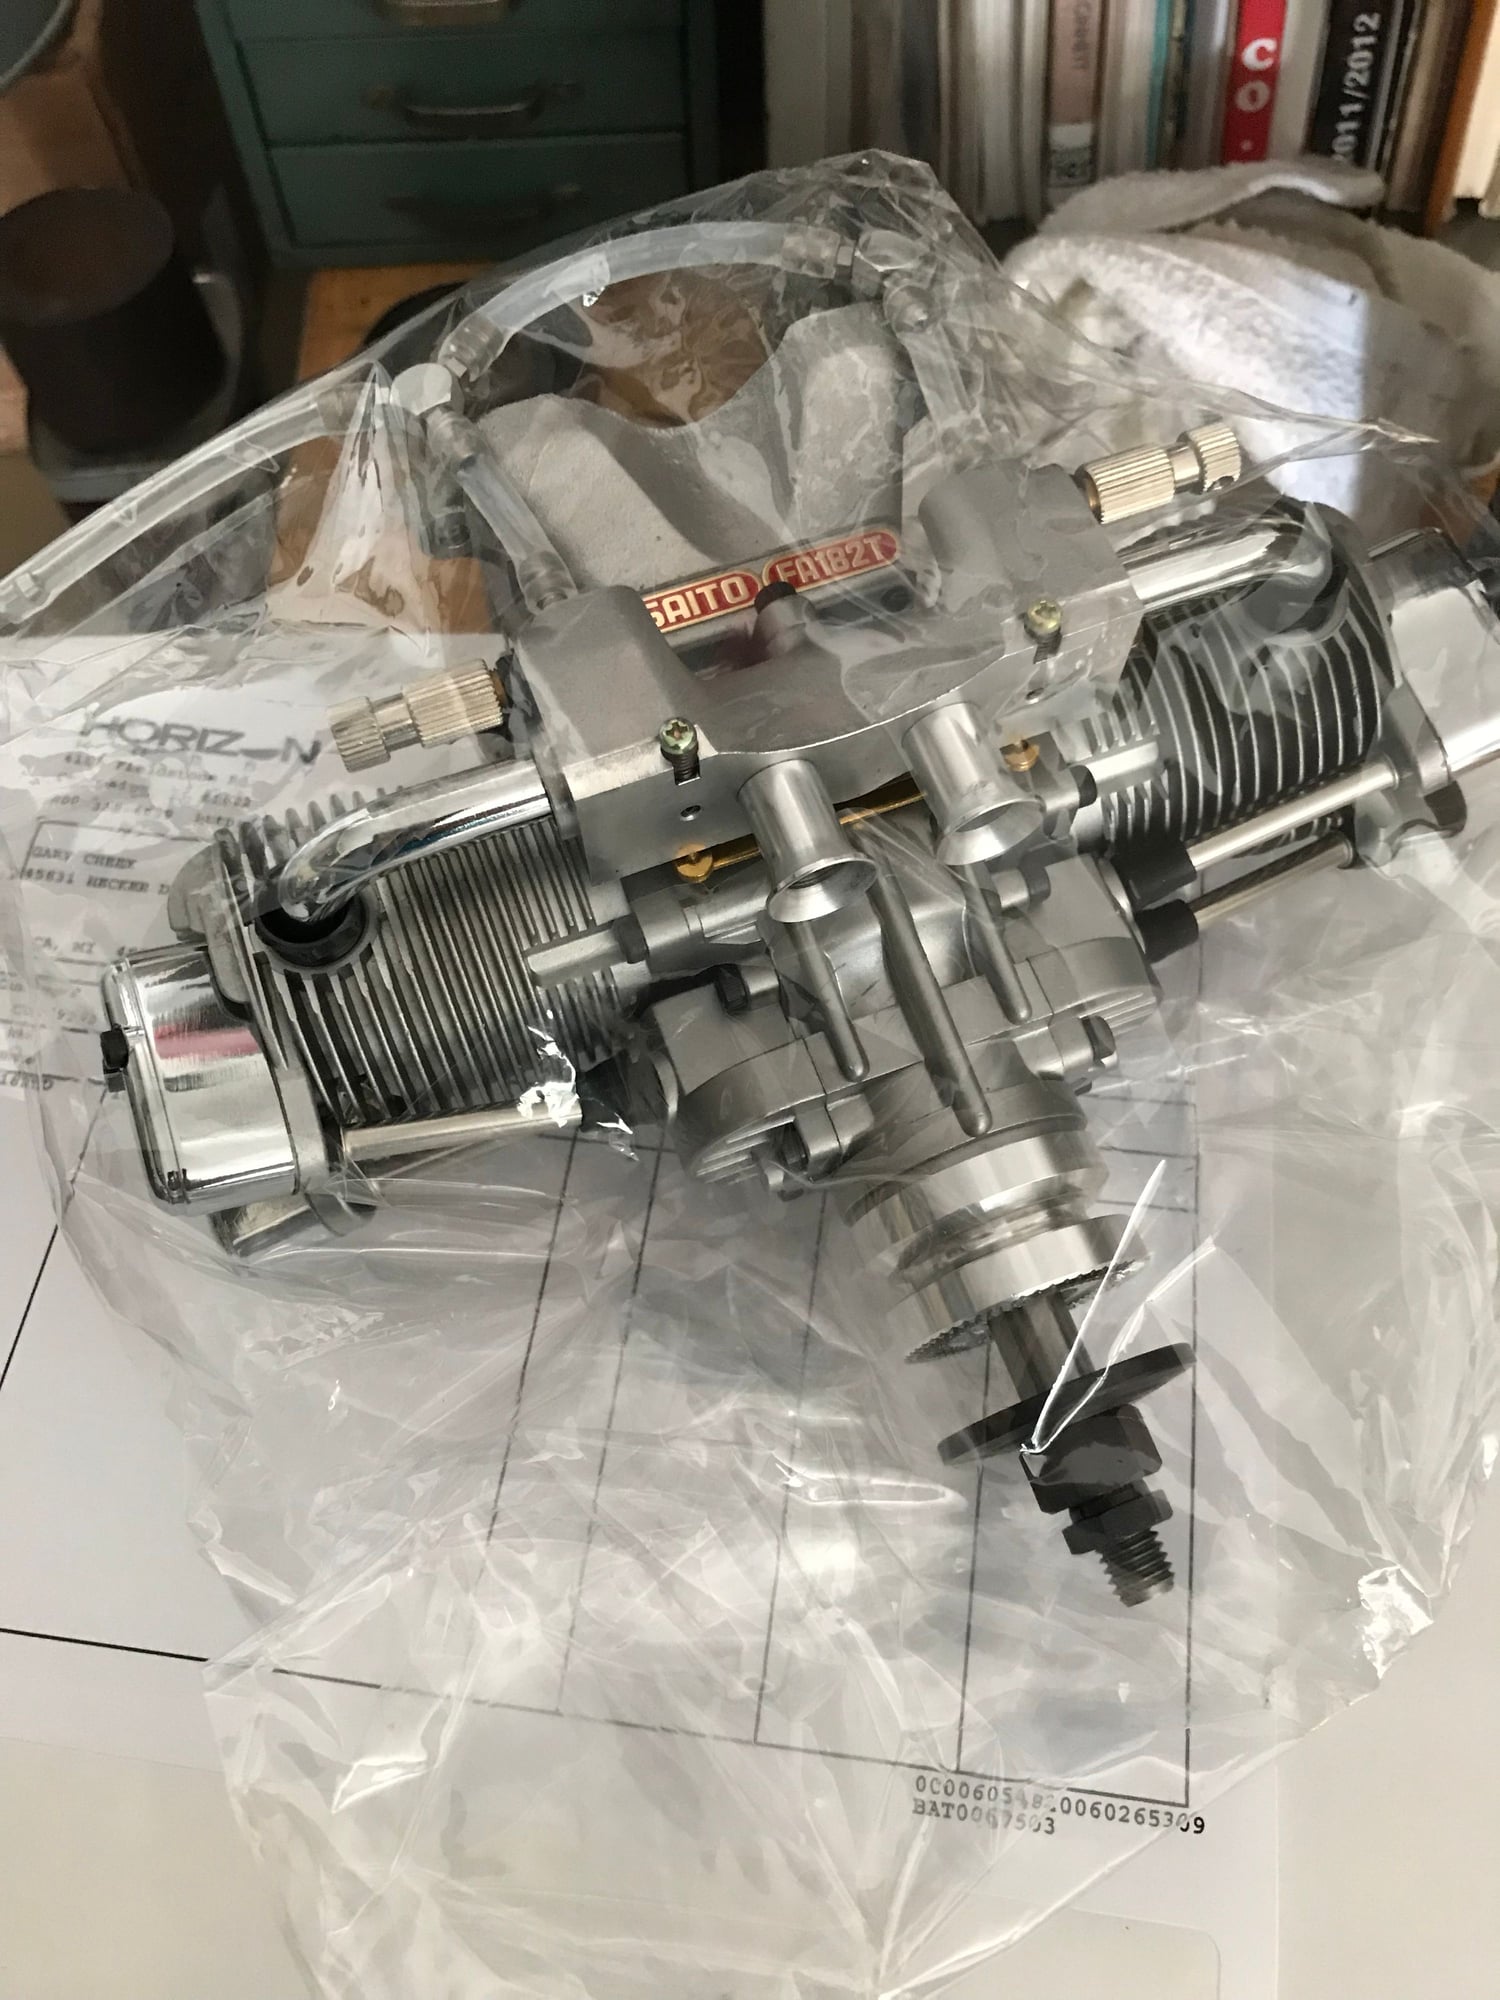
90 R-3 on BTE Flying King
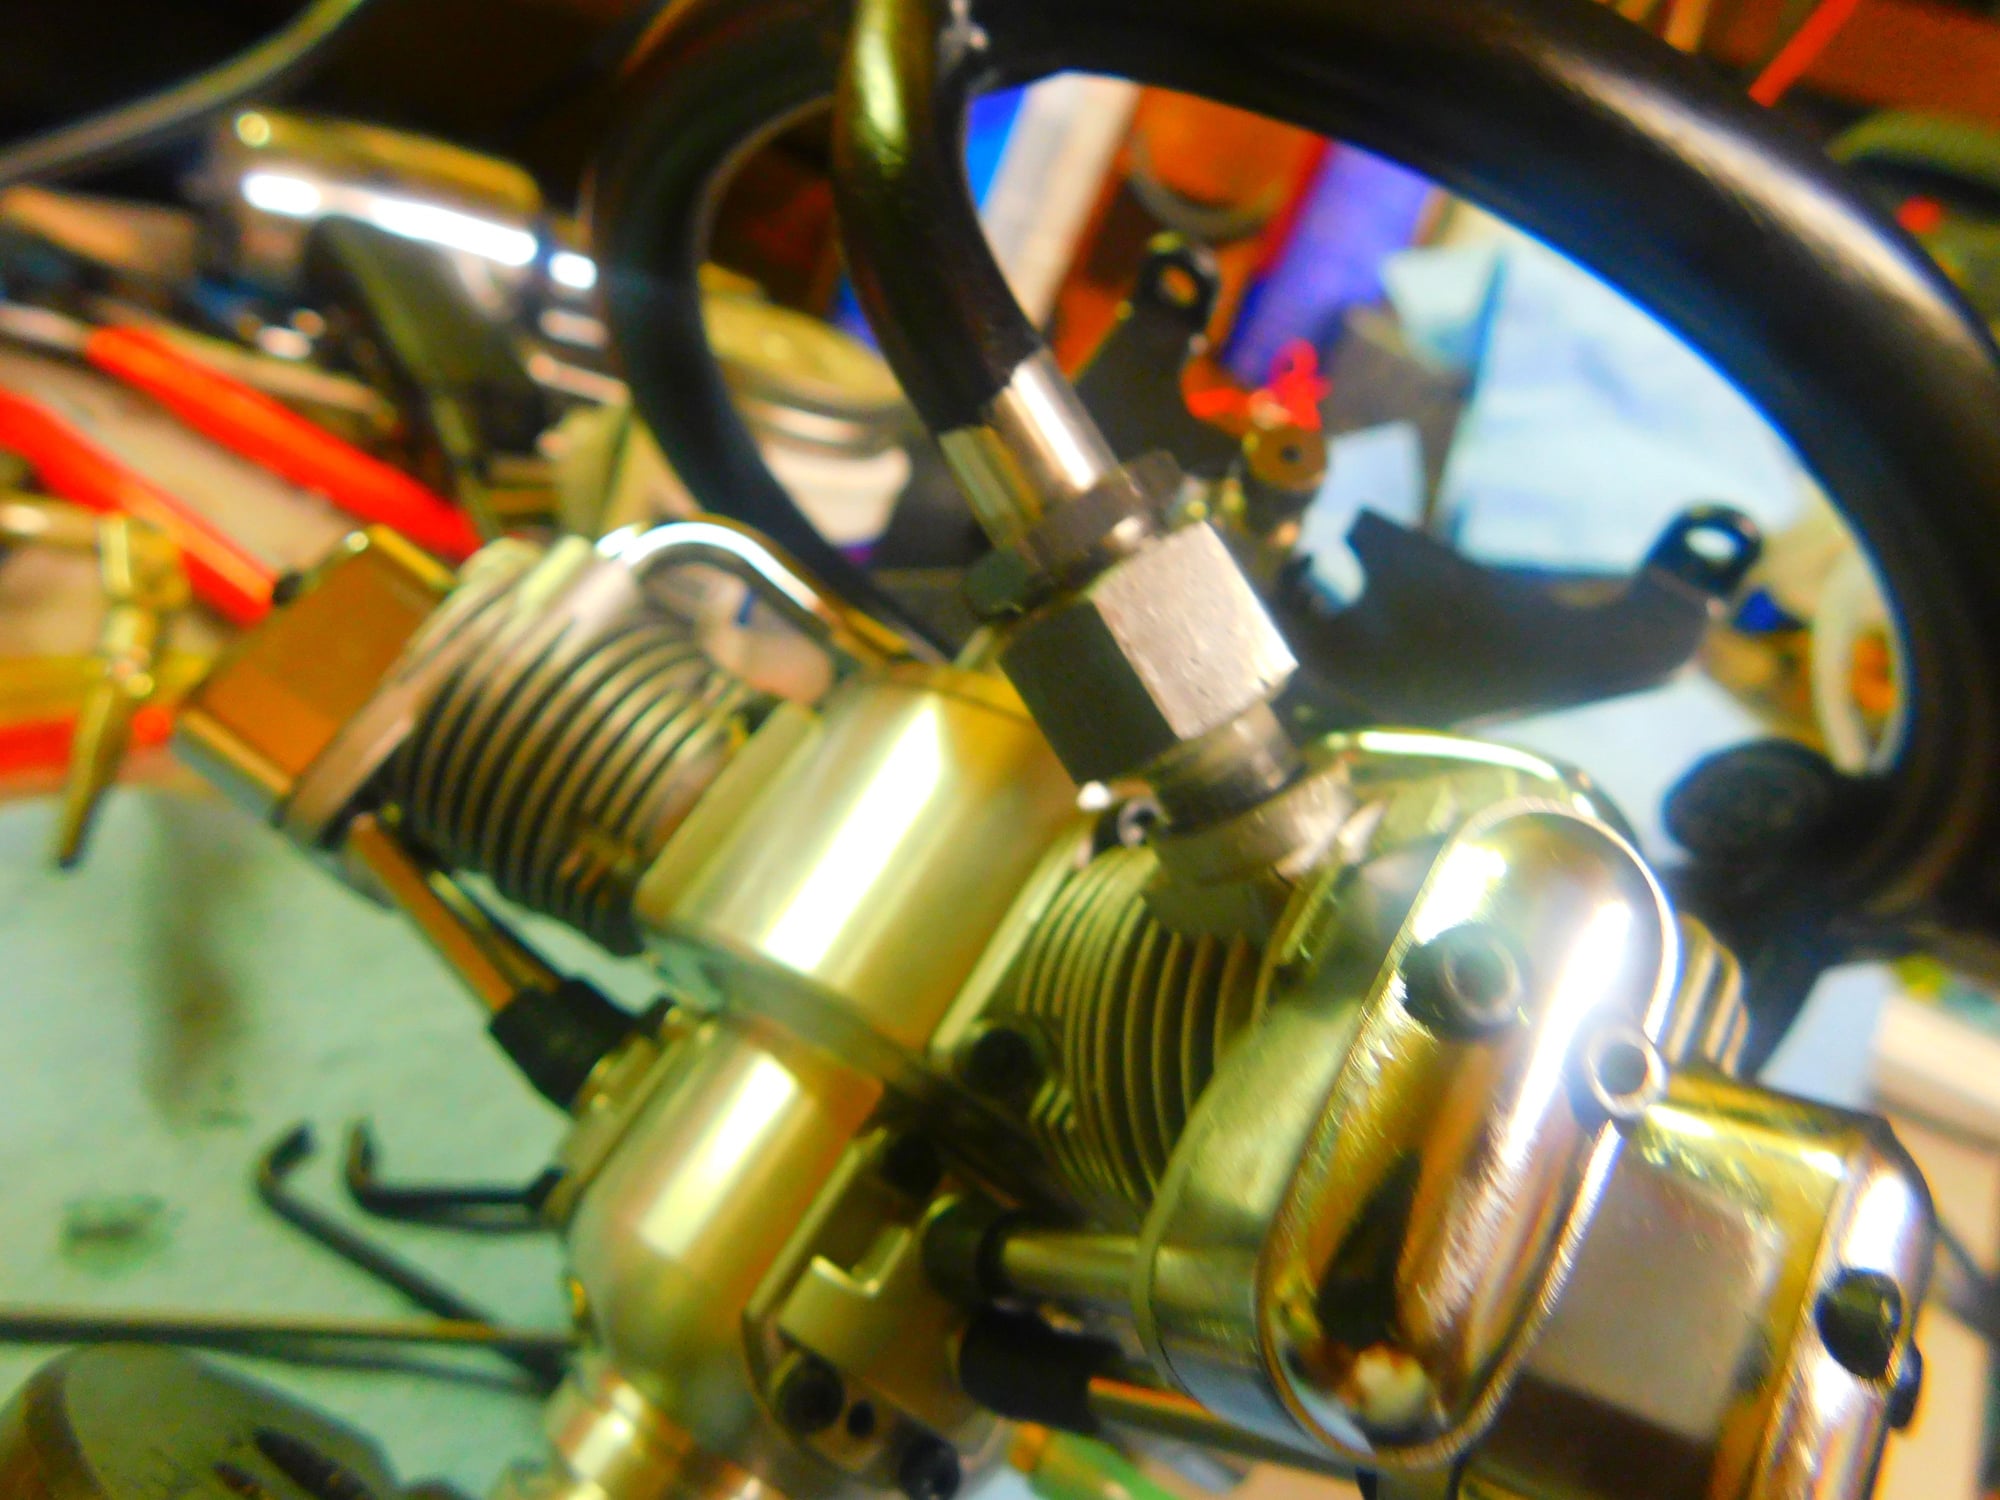
I ran 16 oz of fuel through the 182 today, it could only turn the big 18 x 6 maple lumber at 7,200 and idled at 1,950. It's getting new OS-f plugs, all four and maybe I can get to it tomorrow pm.
The compression came way up, it has the Saito kind that when you flip it slowly it's coming after you when it goes over tdc. When it hits the right cylinders compression it bounces back hard.
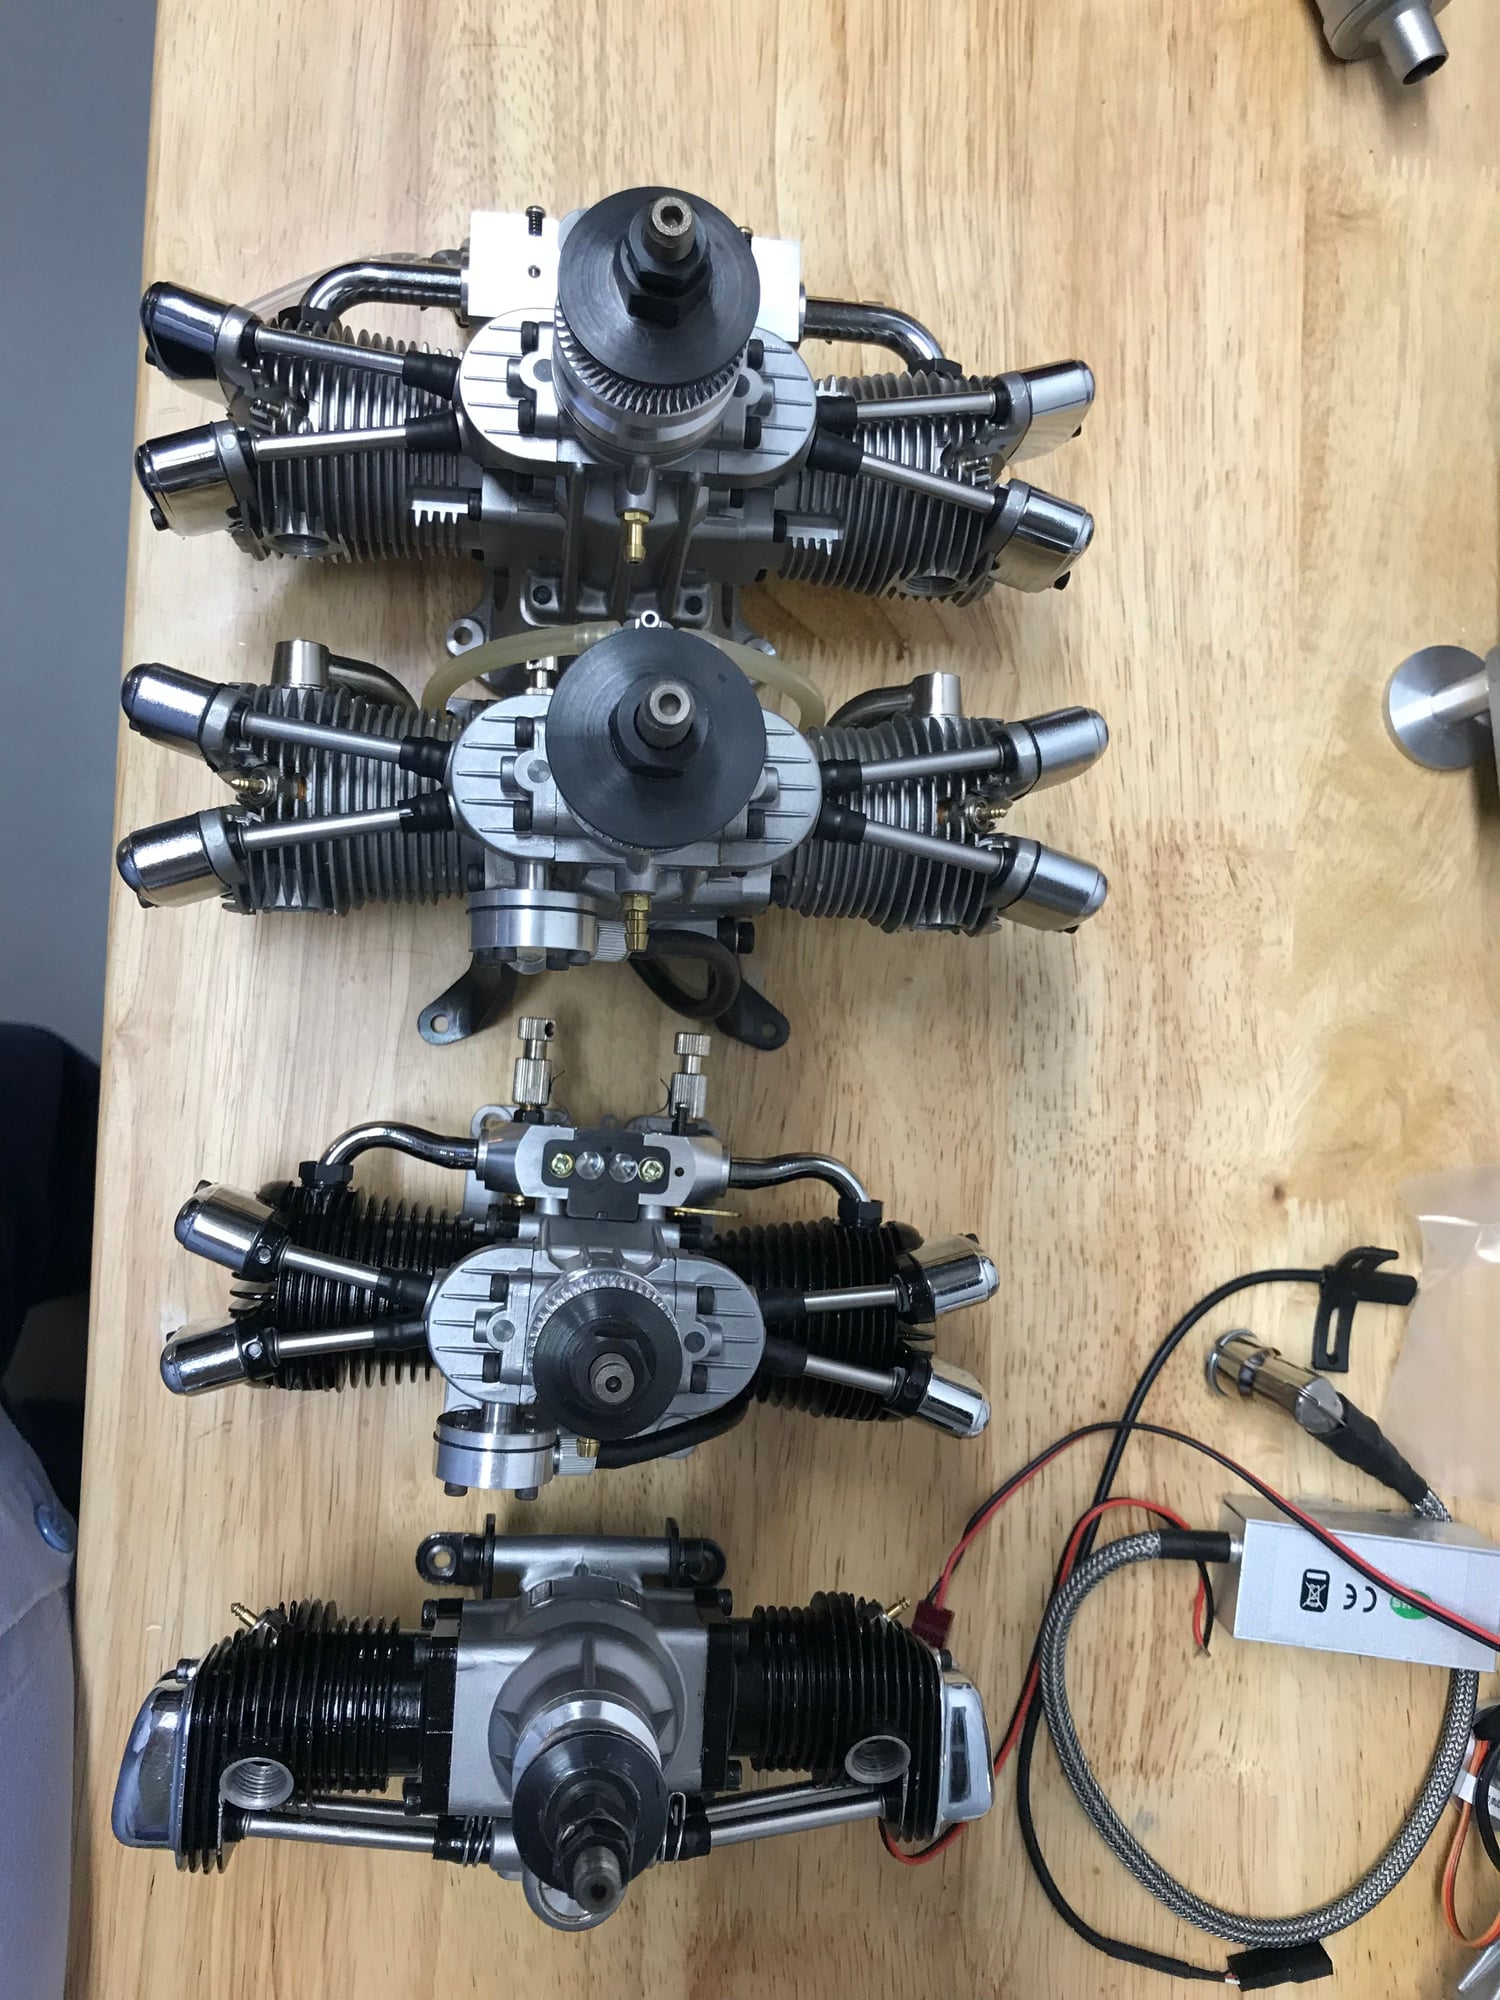
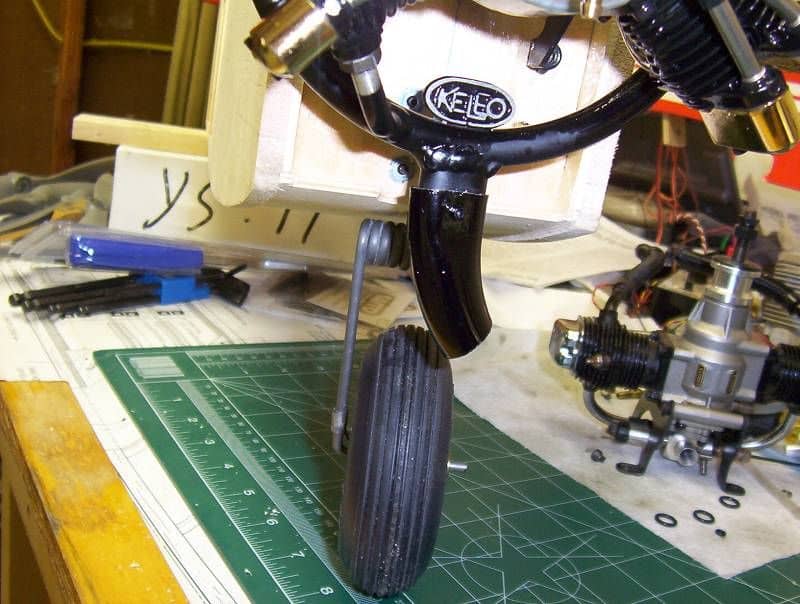
If anyone needs a Keleo ring for a Saito 120 R-3, I have one, I can't get it on the engine no matter how many tricks I try. I had one on a 90 R-3 and it was a piece of cake to install.
Last edited by Hobbsy; 06-15-2019 at 03:43 PM.
06-15-2019, 04:15 PM
The new body is on the way. Should be there around Tuesday.
Yep, you saw the high spot I was looking at. I am thinking that happened after machining, as described earlier. No big deal, it will work and work well when finished .
Trick is to mechanically straighten out the bore without removing metal. Make another mandrel and perhaps a little heat to normalize. I may just mount it to the engine and run it to heat cycle.
06-16-2019, 12:48 PM
My Feedback: (102)
Join Date: Dec 2001
Location: Colonial Beach, VA
Posts: 20,370
Likes: 0
Received 25 Likes
on
25 Posts

Keleo ring for Saito 120 R-3
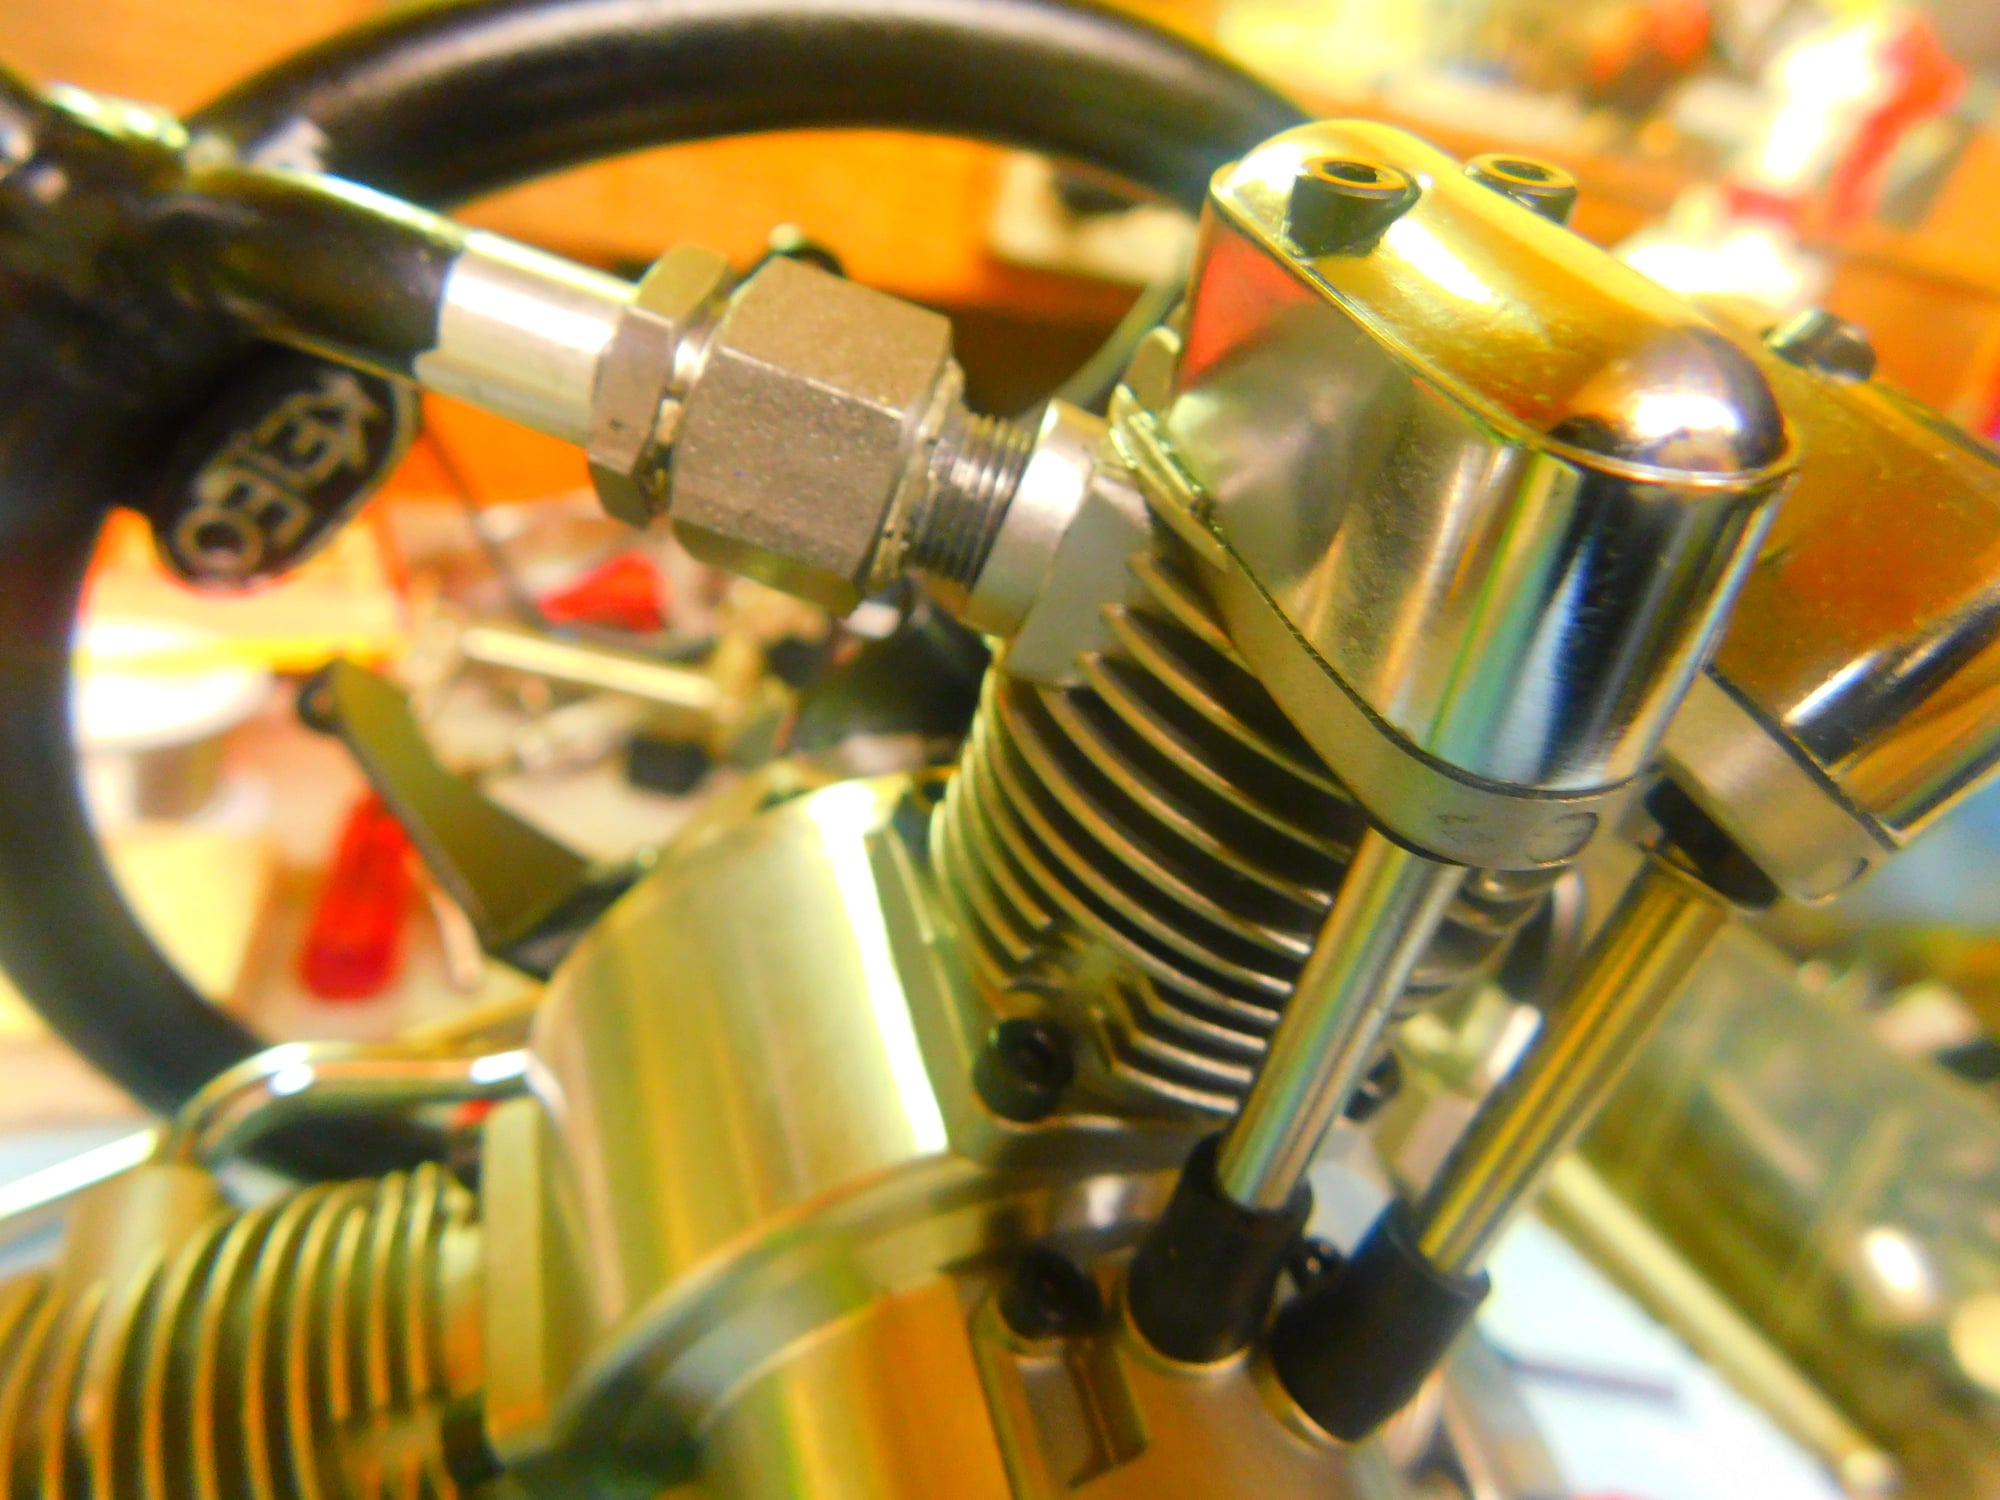
I cannot get this ring onto the Saito 120 R-3, the three adapter's, 10mm to 9mm change the geometry enough that only two of the pipes will line up at the same time.
 06-16-2019, 02:31 PM
I wouldn't suggest "cross threading"!
The fact is, 99% are at first convinced the ring will not fit. They do. I have two adapters down and one a few turns loose. Start one leg on the loose one.Now start to pull the loose adapter closer while working the remaining two.
I have installed several for people who swore they were defective and would never fit.
"Cross threading"?????
geeereeeeez!
Last edited by Jesse Open; 06-16-2019 at 02:35 PM.
06-16-2019, 02:40 PM
But do you realize there is more angular play available on the flare nuts than the machine screw threads? (Hint)
When you manage to get in on , you will be even smarter
When you manage to get in on , you will be even smarter