


Welcome to Club SAITO !
 09-24-2019, 06:11 AM
Junior Member
Join Date: Jun 2019
Posts: 10
Likes: 0
Received 0 Likes
on
0 Posts
Nrrd some help here. Saito FG11 ( small gas ) I can get it to run fine up to about 7000 rRPM then after that it cuts out. I can Turn the high speed needle out as much as I want and it doesnt affect how it runs at all. The factory recommended settings are 4/5 to 1 turn out on the high speed and 4 to 5 turns out on the low speed. I can turn the high speed out unti its almost out of the carb body and it still runs the same ( cuts out around 7200 RPM ) Engine is broken in, running 20 to1 mix with Klotz model oil Adjusted the valves running a 13X6 prop that is recommended, 6.6 life ignition battery,New spark plug. any thoughts?
 09-24-2019, 07:22 AM


Learned the Metric system in school back in 1959. Used it at work since day one. As a result most skilled trade people do metric far better than Euro do Imperial

A good system.
 09-24-2019, 08:38 AM
09-24-2019, 09:08 AM
09-24-2019, 08:38 AM
09-24-2019, 09:08 AM
Junior Member
Join Date: Jun 2019
Posts: 10
Likes: 0
Received 0 Likes
on
0 Posts
i never experimented with the distance on the tank . the saito manual has a max distance listed 200mm or as close as possible. The tank height i have adjusted . when i original built my hanger 9 valiant 10cc. I have the saito mounted inverted. The carb was below the center line and caused it to flood and not hold a consistent tune. I ended up lowering a smaller tank into the floor and now the motor runs perfect.
09-24-2019, 09:31 AM
My Feedback: (1)
how to glue this ?
guys, so for my Midget Mustang the slot the horizontal Stab slides into is rather tight on the Stab. well if I apply glue to the slot then install the Stab a vary good amount of glue will be pushed away as the Stab is installed,
my friend told me to make divots down the middle of the slot (top & bottom) and use Gorilla glue because it foams,, I didn't like this idea because when this glue foams it has many-many bubbles throughout the glue.
I don't see any other way to install the Stab, can I get some comments about this ?
see page 7 in the link for reference,
A072.pdf
thanks guys !!
Jim
Last edited by the Wasp; 09-24-2019 at 09:33 AM.
09-24-2019, 09:46 AM
My Feedback: (1)
09-24-2019, 09:56 AM

My Feedback: (182)
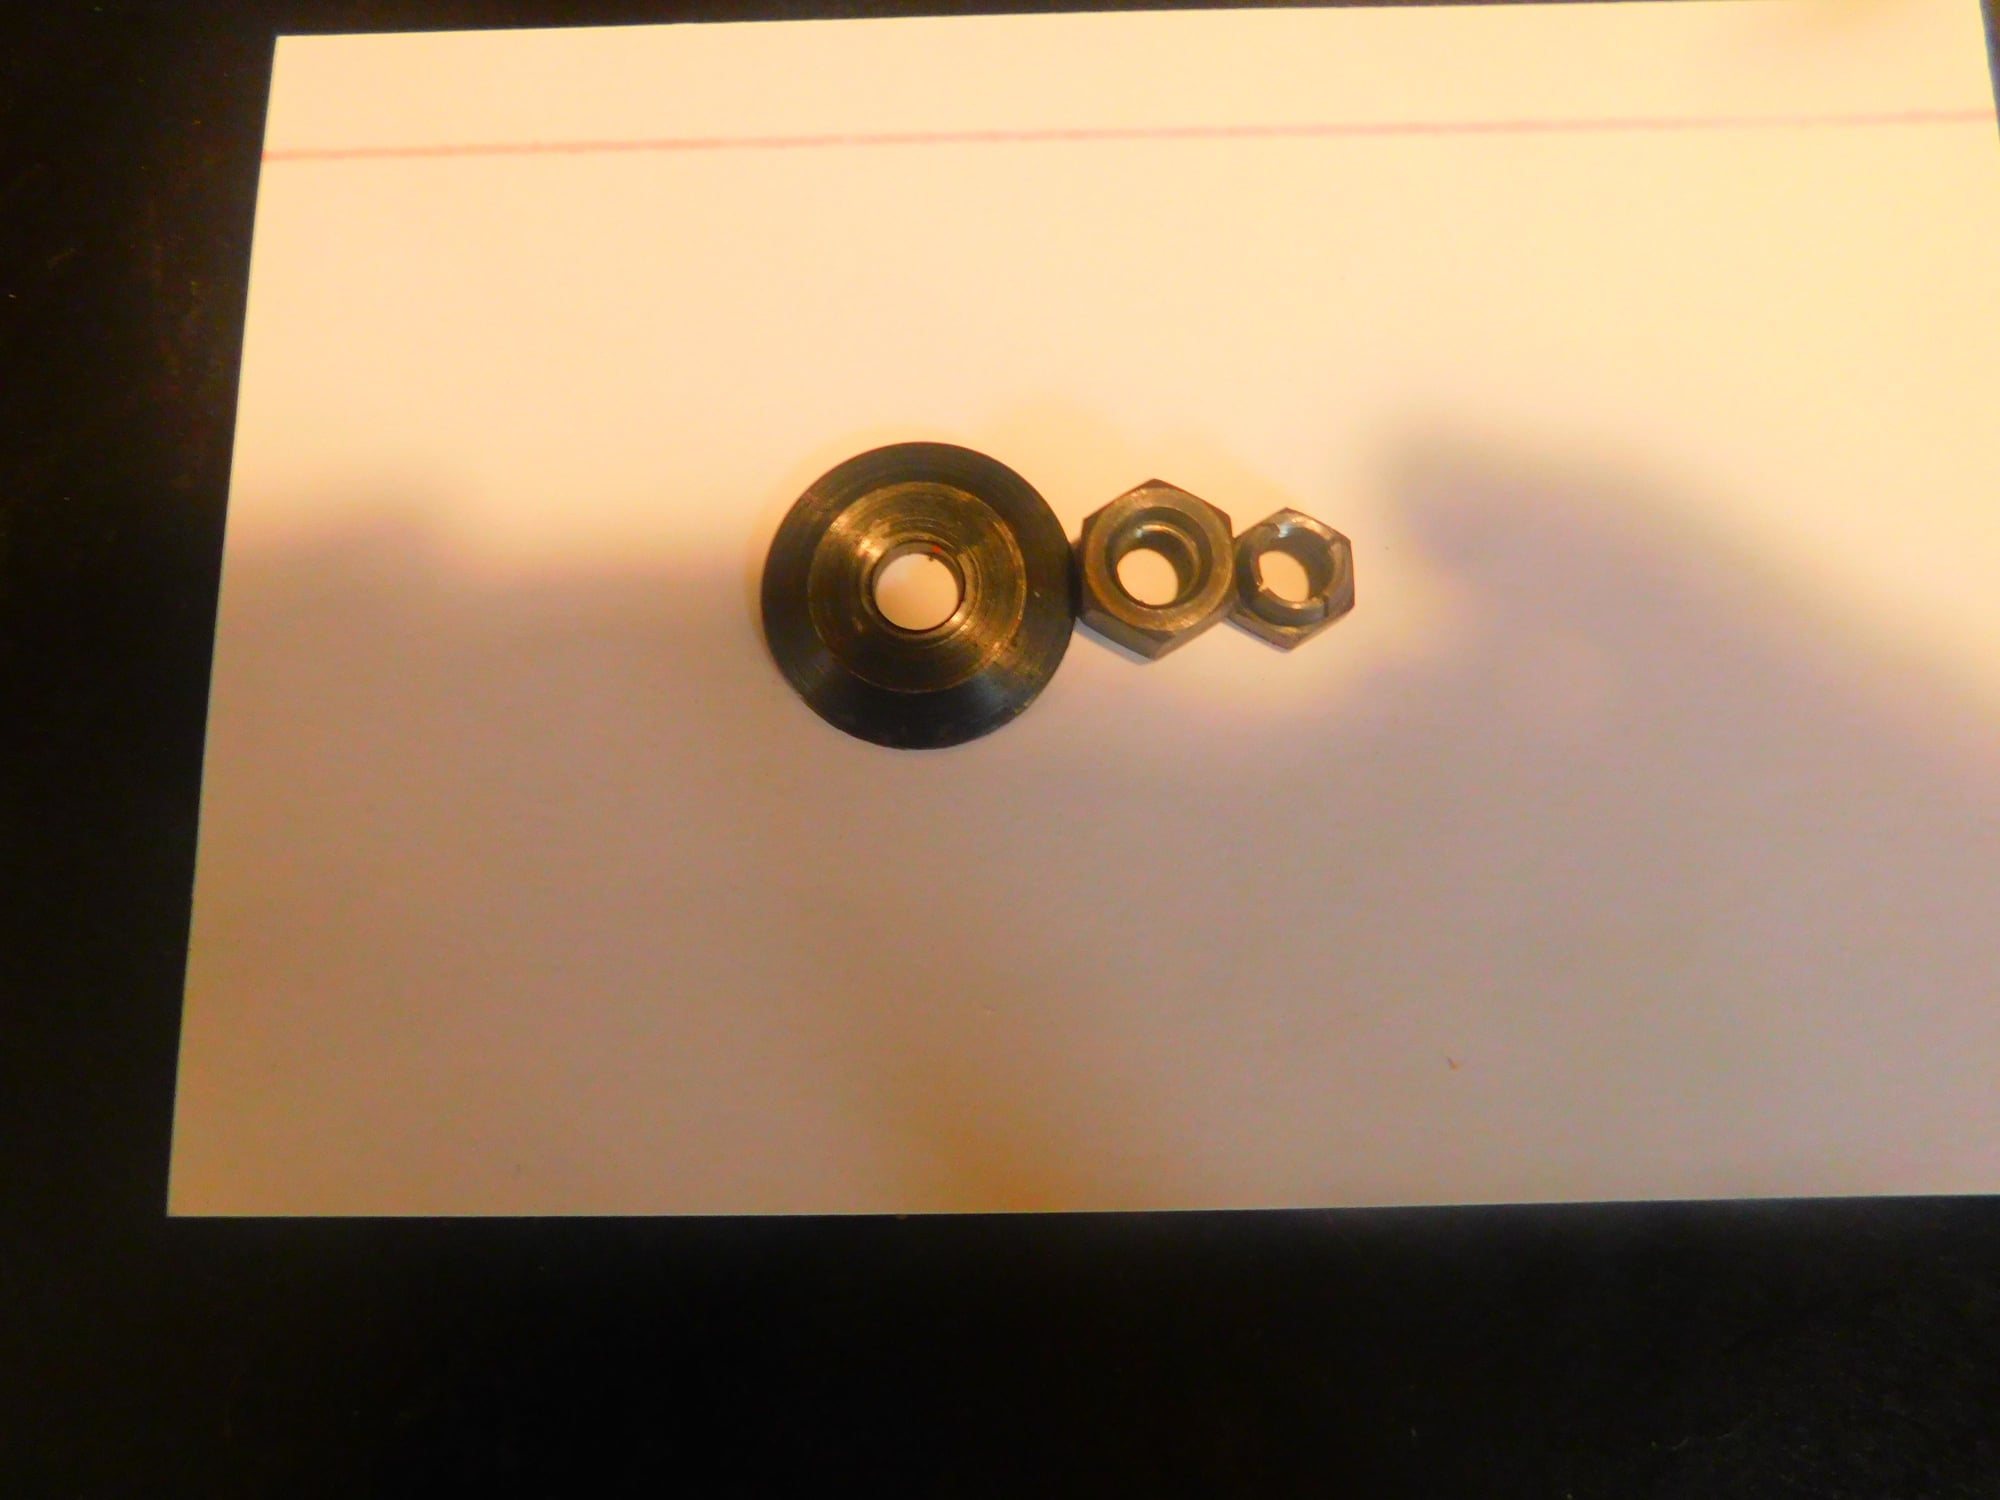
If it turns out to be 7 mm, I have the set. If 6 mm, I only have the jam nut.
This is interesting because, both Peter Chinn and Tru-Turn say the 45 is 6 x 1 mm: Product Listing -
Left the engine at home, so I can't measure again right now.
09-24-2019, 10:00 AM
My Feedback: (182)
09-24-2019, 10:25 AM
My Feedback: (182)
how to glue this ?
guys, so for my Midget Mustang the slot the horizontal Stab slides into is rather tight on the Stab. well if I apply glue to the slot then install the Stab a vary good amount of glue will be pushed away as the Stab is installed,
my friend told me to make divots down the middle of the slot (top & bottom) and use Gorilla glue because it foams,, I didn't like this idea because when this glue foams it has many-many bubbles throughout the glue.
I don't see any other way to install the Stab, can I get some comments about this ?
see page 7 in the link for reference,
Attachment 2265258
thanks guys !!
Jim
Are you talking about step #7 (stabilizer & elevator) on page 5 of the manual (Acrobat reader page 6)?
If you already cut the center of the Horizontal Stab, use flat screw driver or any small flat piece of plastic as spatula to put epoxy on the slot of the fuse. Just spread thin about to top and bottom toward inside edge so that when you slide in the H. stab, no epoxy can be visible from out side at the joint.
Then, slide in the Horizontal Stab. check the square/parallel with wing.
Then, put more epoxy from the top of the fuse slot where the vertical stab goes in & using long flat screw driver to the bottom of the H. Stab.. Make sure not to put too much epoxy since you have to slide in Vertical Stab on Step #8
similar procedure to put Vertical Stab.
Square the tail and check the parallel with wing on H. Stab.
Once you have the epoxy cured, use medium CA to the joint to fully seal (not too much). Epoxy in a long term darkens & peels from the covering, so it looks ugly. CA keeps it clean.
Key here is to minimize the amount of the epoxy which will be additional weight on the tail. CA holds the covering to the fuse fine.
09-24-2019, 10:40 AM
My Feedback: (1)
ooops, I forgot to tell you guys>>>>
so my son took his ride Saturday, $425, or was it $450, for a half hour ride on the "Aluminum Overcast", I tell you, up close it's really not that large. it was a lot of money for a half hour ride, but he was wow'ed and on Clowd-9. I'm glad he has his own money LOL. I was going to buy him a $60 Windbreaker, I know he would have loved it, but for $180 I didn't, $180
BTW, as I said before, spell check does suck, it tells me I spelled "clowd" wrong..
see the Aluminum Overcast in my link,,
https://www.google.com/search?hl=en&...WFtDYkQ4dUDCAY
https://www.eaa.org/eaa/events-and-e...17-bomber-tour
Jim
09-24-2019, 11:21 AM
My Feedback: (1)
Jim,
Are you talking about step #7 (stabilizer & elevator) on page 5 of the manual (Acrobat reader page 6)?
If you already cut the center of the Horizontal Stab, use flat screw driver or any small flat piece of plastic as spatula to put epoxy on the slot of the fuse. Just spread thin about to top and bottom toward inside edge so that when you slide in the H. stab, no epoxy can be visible from out side at the joint.
Then, slide in the Horizontal Stab. check the square/parallel with wing.
Then, put more epoxy from the top of the fuse slot where the vertical stab goes in & using long flat screw driver to the bottom of the H. Stab.. Make sure not to put too much epoxy since you have to slide in Vertical Stab on Step #8
similar procedure to put Vertical Stab.
Square the tail and check the parallel with wing on H. Stab.
Once you have the epoxy cured, use medium CA to the joint to fully seal (not too much). Epoxy in a long term darkens & peels from the covering, so it looks ugly. CA keeps it clean.
Key here is to minimize the amount of the epoxy which will be additional weight on the tail. CA holds the covering to the fuse fine.
thanks for replying !! yes it's step 7, "the elevator's stabilizer "
I have put a few planes together. but unlike the other planes I built the slot on this one for the Horizontal Stabilizer has "a ceiling" as well as a bottom, so the Rudder's Stab will NOT touch/NOT be glued to the Horizontal Stabilizer.
EDITED> so, the slot's fit is tight to the Horizontal Stabilizer, so once I apply the glue to the slot's ceiling and bottom and then as I push the Horizontal Stabilizer into the slot the Stabilizer will push out much of the glue, again> because the slot's fit is so tight to the Horizontal Sab..
I can't take photos until later tonight
sorry for the edits
Jim
Last edited by the Wasp; 09-24-2019 at 11:49 AM.
09-24-2019, 12:11 PM
My Feedback: (182)
thanks for replying !! yes it's step 7, "the elevator's stabilizer "
I have put a few planes together. but unlike the other planes I built the slot on this one for the Horizontal Stabilizer has "a ceiling" as well as a bottom, so the Rudder's Stab will NOT touch/NOT be glued to the Horizontal Stabilizer.
EDITED> so, the slot's fit is tight to the Horizontal Stabilizer, so once I apply the glue to the slot's ceiling and bottom and then as I push the Horizontal Stabilizer into the slot the Stabilizer will push out much of the glue, again> because the slot's fit is so tight to the Horizontal Sab..
I can't take photos until later tonight
sorry for the edits
Jim
When you slide in the H. Stab, does the fuse leave/crush the H. Stab?
If not, you can thin the epoxy a little with alcohol (91% or higher) or heat up the mixed epoxy to make it run easier.
you can also tape around the H. Stab on the fuse and H. Stab itself to prevent the glue to spread out too much.
Once the H. Stab is in, lightly wipe off the joint with paper towel / alcohol. Then, remove the tape.
You don't need thick coat of epoxy to glue. very thin layer between the fuse and H. Stab is perfectly fine.
Make sure to square/parallel it relative to the wing/fuse.
09-24-2019, 12:28 PM
My Sbach ARF was too tight even after removing the center section of film from the H stab. Not only that but the H stab was not parallel with wings. I had to remove the fuse covering from the ceiling and floor of the slot and sand a little so that it would align with the wings and slip in a little easier. Not unusual for a cheap ARF.
ARF!, ARF!
ARF!, ARF!
09-24-2019, 01:28 PM
Regarding the Saito 45 prop nut differences.
The early 45 Saitos, including early versions with integrated head/cylinder assembly, were m6x1 threaded. Later versions, like the 45 Special were m7x1.
The early 45 Saitos, including early versions with integrated head/cylinder assembly, were m6x1 threaded. Later versions, like the 45 Special were m7x1.
09-24-2019, 08:05 PM
My Feedback: (1)
Jim,
When you slide in the H. Stab, does the fuse leave/crush the H. Stab?
If not, you can thin the epoxy a little with alcohol (91% or higher) or heat up the mixed epoxy to make it run easier.
you can also tape around the H. Stab on the fuse and H. Stab itself to prevent the glue to spread out too much.
Once the H. Stab is in, lightly wipe off the joint with paper towel / alcohol. Then, remove the tape.
You don't need thick coat of epoxy to glue. very thin layer between the fuse and H. Stab is perfectly fine.
Make sure to square/parallel it relative to the wing/fuse.
what about "TiteBond" (3) glue, it's strong enough, but it's thinner than epoxy, so because it's thinner than epoxy it will be easier to be wiped off the slot as the stab is pushed in,
TiteBond is a like most "White" type wood glue,
Jim
09-24-2019, 10:58 PM
My Feedback: (182)
Wood glue is fine if you can get everything done quick & correctly.
The thing that I worry about with wood glue, is drying time. When you have very little of that on your finger, it dries fast. Same on the wood.
I use wood glue when I have parts that fits without messing around. if the parts need adjustment and fit is tight, no other choice other than 30 min. epoxy
09-24-2019, 11:56 PM

ooops, I forgot to tell you guys>>>>
so my son took his ride Saturday, $425, or was it $450, for a half hour ride on the "Aluminum Overcast", I tell you, up close it's really not that large. it was a lot of money for a half hour ride, but he was wow'ed and on Clowd-9. I'm glad he has his own money LOL. I was going to buy him a $60 Windbreaker, I know he would have loved it, but for $180 I didn't, $180
BTW, as I said before, spell check does suck, it tells me I spelled "clowd" wrong..
see the Aluminum Overcast in my link,,
https://www.google.com/search?hl=en&...WFtDYkQ4dUDCAY
https://www.eaa.org/eaa/events-and-e...17-bomber-tour
Jim
so my son took his ride Saturday, $425, or was it $450, for a half hour ride on the "Aluminum Overcast", I tell you, up close it's really not that large. it was a lot of money for a half hour ride, but he was wow'ed and on Clowd-9. I'm glad he has his own money LOL. I was going to buy him a $60 Windbreaker, I know he would have loved it, but for $180 I didn't, $180
BTW, as I said before, spell check does suck, it tells me I spelled "clowd" wrong..
see the Aluminum Overcast in my link,,
https://www.google.com/search?hl=en&...WFtDYkQ4dUDCAY
https://www.eaa.org/eaa/events-and-e...17-bomber-tour
Jim
harrythor glowgeek raised a good question, i have an fg57 with fuel pump and the tank position is not critical, what do you think?
Gary i had a few friends with british bikes and their range of spanners far outstretched my metric set. Back around boston tea party times did america ever suffer from pounds shillings and pence?
09-25-2019, 02:43 AM
Junior Member
Join Date: Jun 2019
Posts: 10
Likes: 0
Received 0 Likes
on
0 Posts
Hey jim any ride in an old warbird is special.
harrythor glowgeek raised a good question, i have an fg57 with fuel pump and the tank position is not critical, what do you think?
Gary i had a few friends with british bikes and their range of spanners far outstretched my metric set. Back around boston tea party times did america ever suffer from pounds shillings and pence?
The larger fg motors i think from the fg21 and up use a different carb then the smaller motors . They are not tank position critical like the smaller motors .
09-25-2019, 04:25 AM
It's FG30 and larger engines that have the addition of a fuel metering diaphram in the carb. Funny though, I see the diaphram kits in the parts list but no fuel inlet needle. I wonder how that diaphram is regulating fuel.
Last edited by Glowgeek; 09-25-2019 at 04:46 AM.
09-25-2019, 04:31 AM

My Feedback: (102)

Join Date: Dec 2001
Location: Colonial Beach, VA
Posts: 20,370
Likes: 0
Received 25 Likes
on
25 Posts
Maybe like the Cline or IronBay regulator on which I've seen complaints that you can't get an engine super rich because the regulator is a demand regulator, it will supply the demand but not much more. Meaning on the FG's one diaphragm is a pump the other a regulator, that would be my take anyway.
09-25-2019, 04:36 AM
Maybe like the Cline or IronBay regulator on which I've seen complaints that you can't get an engine super rich because the regulator is a demand regulator, it will supply the demand but not much more. Meaning on the FG's one diaphragm is a pump the other a regulator, that would be my take anyway.
09-25-2019, 06:49 AM
Senior Member
My Feedback: (9)
Join Date: Apr 2003
Location: Manvel,
TX
Posts: 1,337
Likes: 0
Received 0 Likes
on
0 Posts
Looking for a blowed up or broke 72 to complete mine what's missing parts.
Carb, exhaust, rocker covers etc.
Anyone out there have one?
Thanks
Carb, exhaust, rocker covers etc.
Anyone out there have one?
Thanks