


Welcome to Club SAITO !

 11-10-2019, 01:11 PM


It seems sealed bearings don't keep oil out either. Two engines I tore down after 1hr of run time to replace SS bearings with hard chrome ones had no grease left in the sealed front bearings. For that matter I haven't seen any grease in any bearings I've taken out of an rc engine. Sealed bearings are supposed to be greased for the life of the bearing but I'm not so sure that applies to our application. Maybe it's the heat combined with the constant pulsing of crankcase pressure that works the grease out of sealed bearings?
That said, I always remove seals/shields from rear bearings.
That said, I always remove seals/shields from rear bearings.
The "seals" are not oil tight, especially when run with oil thinned by fuel. They cannot be compared to a garter type seal or a shaft packing type seal.
If you happen to pop off new one, you will, or at least should, see some oil or grease. Not packed like some may expect.
With shields in place there is plenty of oil forward, especially with the forward vent. The cam and lifters are very happy.
11-10-2019, 03:53 PM
Weird, I guess today was "covering removal weather". All three planes I brought to the field had covering come loose. The saitos all ran perfect of course and the sock was laying against the pole most of the afternoon. Absolutely gorgeous out. Tomorrow rain and 15� at night.
11-10-2019, 04:31 PM
11-10-2019, 05:15 PM
The last two planes I put together, 1 Arf and 1 kit, I used Aerogloss Clear Gloss on all the film seams and decal edges. Virtually invisabe and working great so far. Not even a screaming slobbering saito can get them loose!
11-10-2019, 06:41 PM
My Feedback: (1)
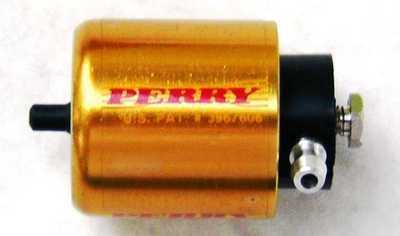
Dave, I feel stupid right now, when I got the regulator I put it in with all the other small parts I have for the VQ P-40. well I just dug it out, it uses a pulse
I guess it wont work on a 4 st
Jim
11-10-2019, 06:53 PM
My Feedback: (1)
Yes I agree, there is something about an I.C. engine cranking up the revs that I like. And, the 4-stroke sound makes it even better. As far as electrics are concerned, I think if you look around at the flying fields, aircraft model types are overwhelmingly ARF's. At least that is what I see at our field. Instant gratification and they avoid (ugh!) the mess of glue. Building and repairing, for me, is more than 50% of the fun. But then, I've been at it (minus some breaks) for over 60 years.
besides, not many internal mods one can do to a fan
Jim
11-10-2019, 10:13 PM

Or a saito jim unless you like modifying them as some do, and fair enough, it's interesting. For the most part it's very easy to pick the right size saito to well and truly overpower just about most arf's without the need for any lead in the tail if you mount them like bruce and many others do, right up against the bulkhead.
Lonnie the metal shields are there to help contain the rear bearing balls if they fail, and you are quick on the throttle.
Lonnie the metal shields are there to help contain the rear bearing balls if they fail, and you are quick on the throttle.
11-10-2019, 10:29 PM
 11-11-2019, 03:50 AM

My Feedback: (102)

Join Date: Dec 2001
Location: Colonial Beach, VA
Posts: 20,370
Likes: 0
Received 25 Likes
on
25 Posts
This one will work on a plate hanging downward.
Last edited by Hobbsy; 11-11-2019 at 03:59 AM. Reason: Add a word
11-11-2019, 05:42 AM
I hate to bring this up again in front of the more sensitive members here, ok i don't, but playboy glossy magazine covers work a treat no liquid car wax required. I first used that material to cut a cam cover gasket for my fa115 that's in the midget mustang because otherwise i had a month's wait, planned to fit the original when it arrived which it duly did, in the meantime i'd been doing a bit of flying. When i removed the fa115 cam cover it had been oil tight and the cam seemed to have been a perfect fit and meshed well. I figured if it did that most critical job well it would be good enough for any gasket on our saito's plus as everyone here knows playboy always had the best articles. Now that's what you'd call enjoyable recycling
I surely have no doubt there. Playboy being a quality product in so many ways. Do you think the back cover should work so well? I hesitate to disfigure an artfully rendered front . Better a Bacardi ad than a perky bunny.
Next time I need a Saito gasket that I don't have on hand, I will order a back issue of Playboy from eBay.
Sounds like a plan!
Last edited by Jesse Open; 11-11-2019 at 05:51 AM.
11-11-2019, 08:25 AM
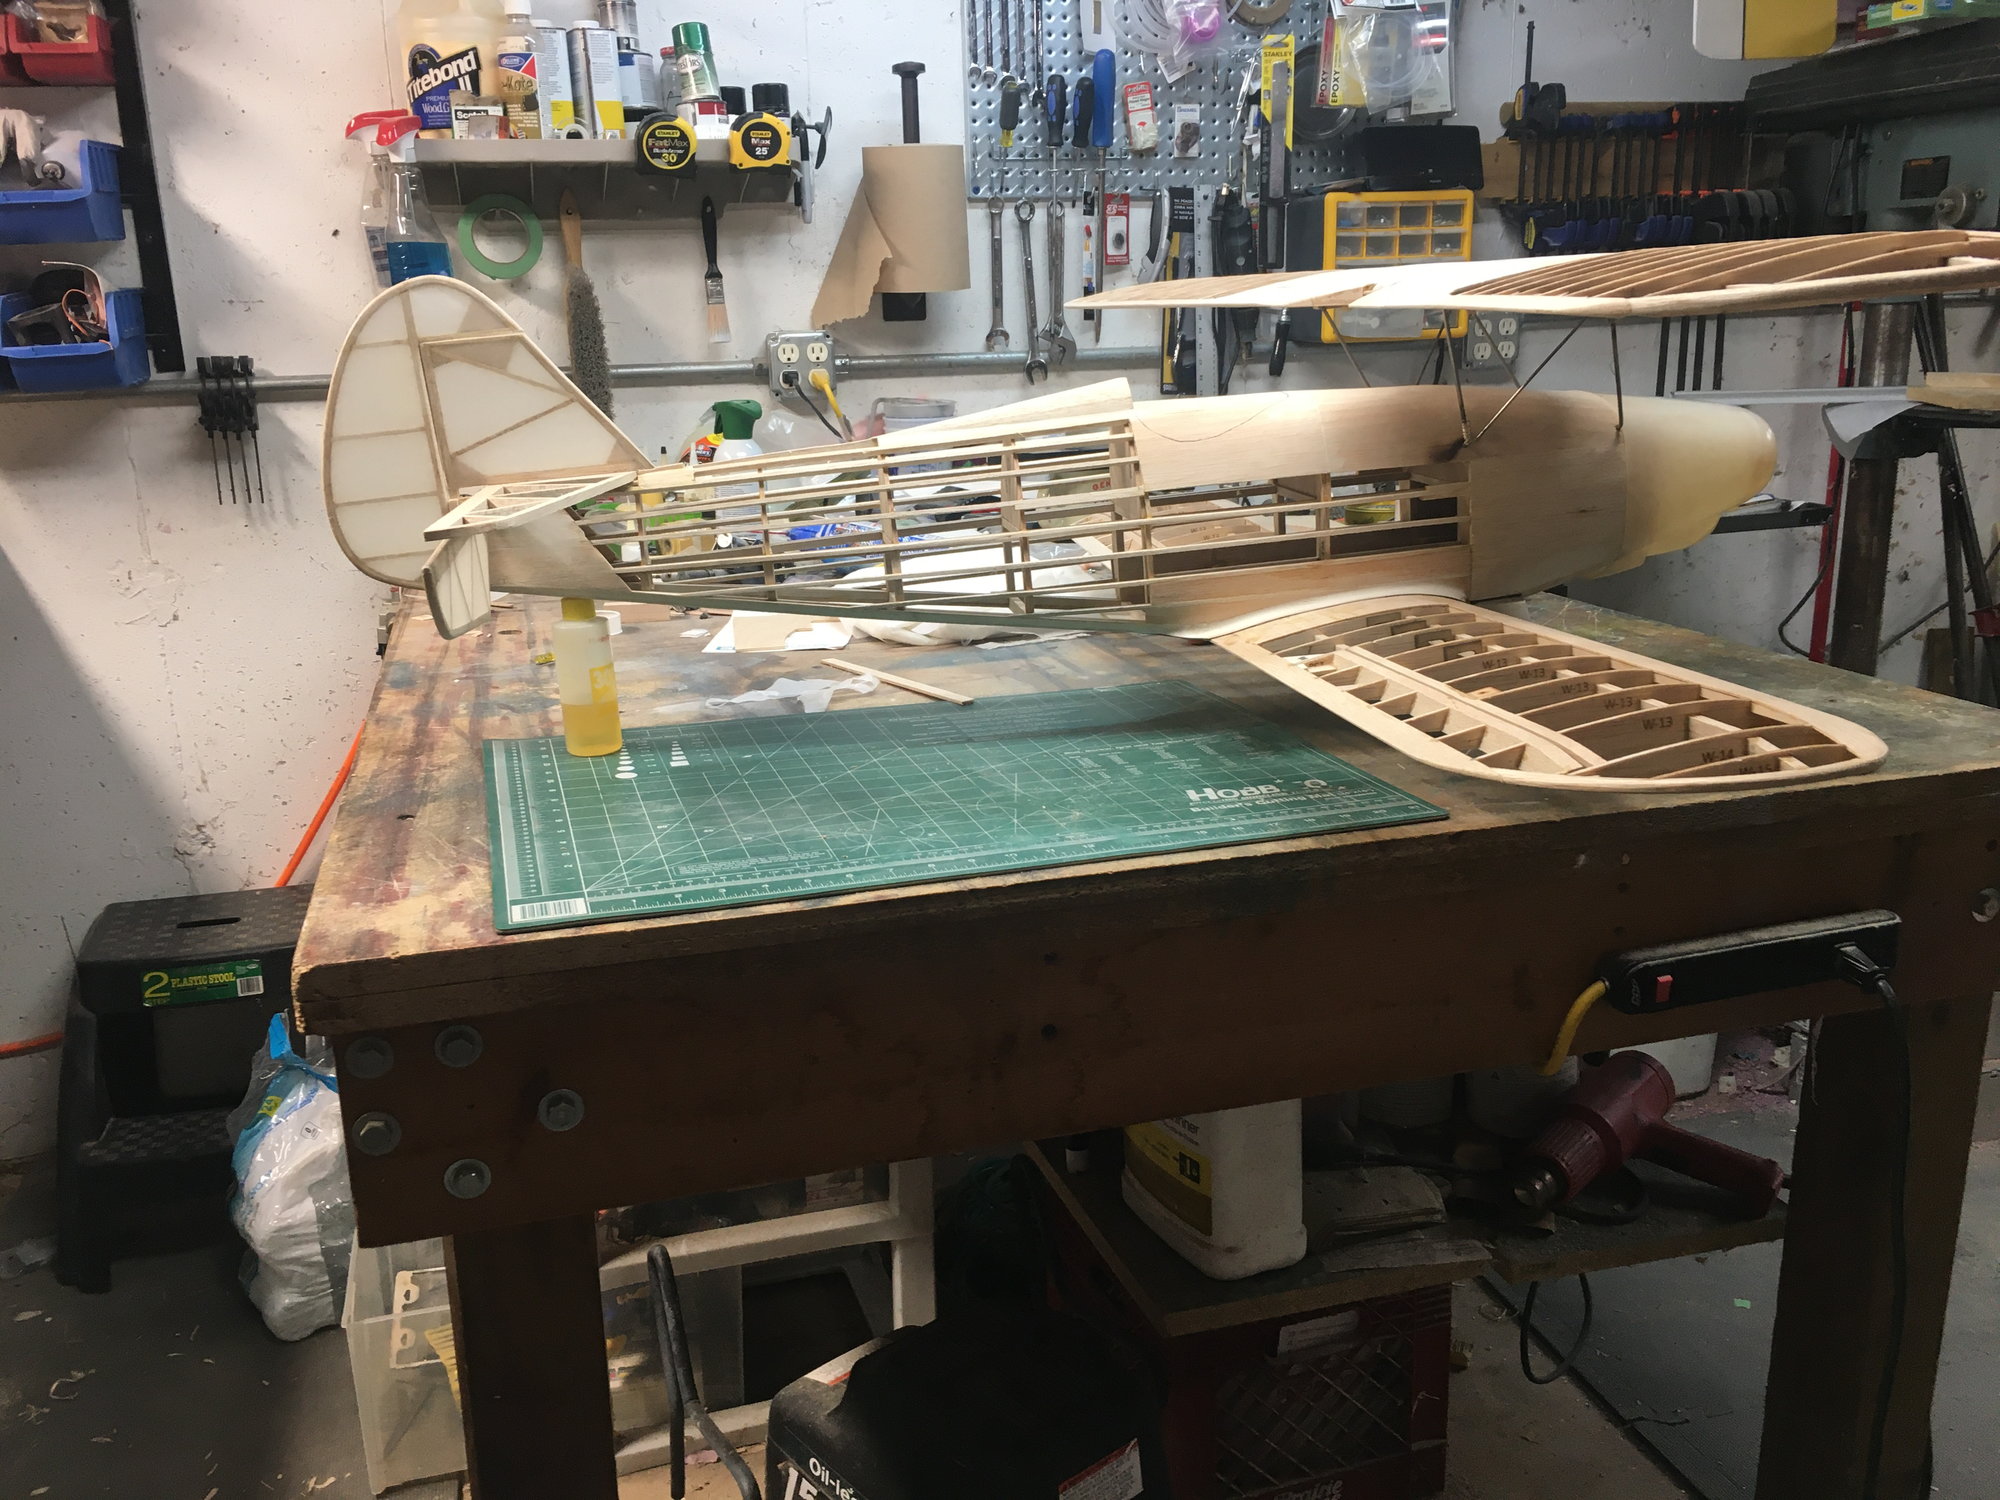
I am almost to the point on my Liberty Sport to where I can put it on the Vannessa rig to find it's balance point. I would love to fly it on the Gemini II 120, but it may be too heavy even though it fits perfectly. If it is too much, any ideas on what would be a decent strong Saito to pop on it's nose? I may put a 100 on it that is on my other Cub. If I decide to repair the lower wings I can try the Biper approach again with the Gemini instead.
11-11-2019, 11:35 AM

I am almost to the point on my Liberty Sport to where I can put it on the Vannessa rig to find it's balance point. I would love to fly it on the Gemini II 120, but it may be too heavy even though it fits perfectly. If it is too much, any ideas on what would be a decent strong Saito to pop on it's nose? I may put a 100 on it that is on my other Cub. If I decide to repair the lower wings I can try the Biper approach again with the Gemini instead.


 11-11-2019, 12:27 PM
I am almost to the point on my Liberty Sport to where I can put it on the Vannessa rig to find it's balance point. I would love to fly it on the Gemini II 120, but it may be too heavy even though it fits perfectly. If it is too much, any ideas on what would be a decent strong Saito to pop on it's nose? I may put a 100 on it that is on my other Cub. If I decide to repair the lower wings I can try the Biper approach again with the Gemini instead.
I am about to pitch my Vanessa rig for lack of confidence in the device. i would really love a tutorial from someone who can reliably balance a plane WITHOUT a factory cg dimension. (or with it to verify the manufacturers recommendation) PLEASE post the procedure and results! Video would be even better, the stuff on u tube about it i cant make work on the bench, just cant trust the thing without a better tutorial.
Sure would be greatly appreciated by at least one neophyte......ME !
Thanks for sharing the Saito love yall, hate to bury them into the cold ground due to balance issues. LOL
11-11-2019, 01:13 PM
I have a difficult time figuring MAC, but with the correct specs the VR nails the CG every time. It is such a simple set up, a block of wood with a friction fit dowel in it, a hook at the top for the rope, and a pulley to attach to a hook in the ceiling. I have a large string that I loop around the fuse and wrap 6 times around each side of the dowel so I can twist the dowel and move the nose up and down. Then a big heavy plumb bob is dropped dead center of the block and the tip is just above the area to measure. It is that simple. I have a very light weight plastic level, I think it came with the CG balancer, but not sure, and place that on the tail, then add weight were needed with minor adjustments of the dowel to keep the bubble level until the tip of the plumb is where I want it. Works perfect every time. Largest plane I balanced with it was the Rascal 168.
The only one I had problems with was the Biper Cub because I have no idea where the balance point should be on it and I made it too tail heavy.
The only one I had problems with was the Biper Cub because I have no idea where the balance point should be on it and I made it too tail heavy.
11-11-2019, 03:49 PM
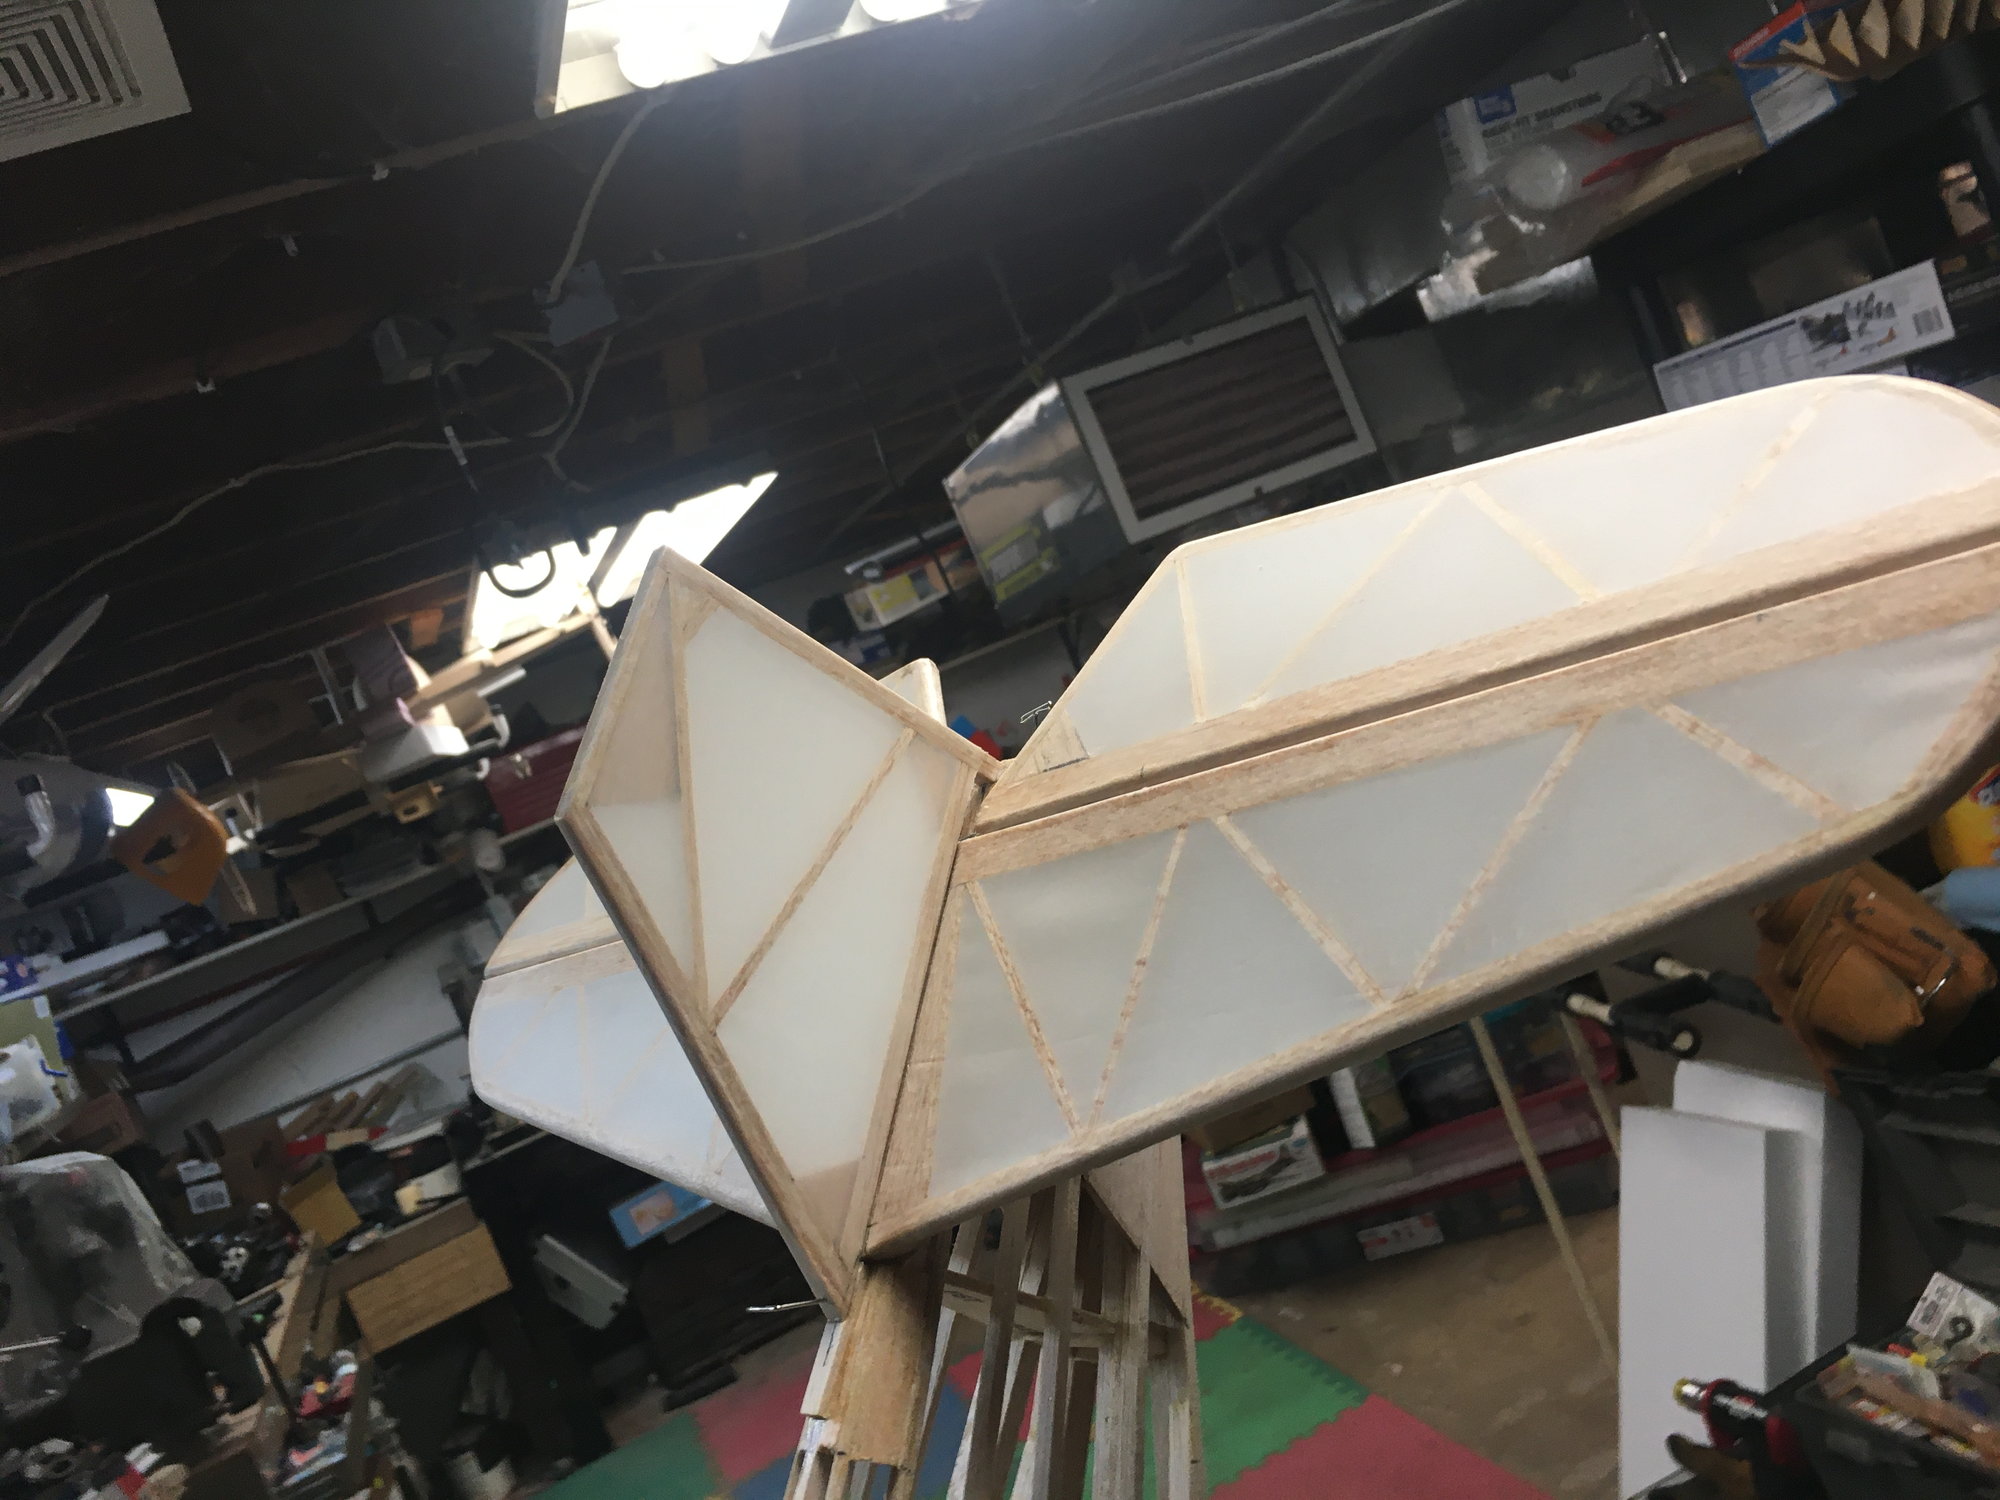
For scratch built bipes with no plans to reference a good safe starting point is 21% of the total combined chord. Level the plane and measure the total combined chord from the leading edge of the most forward wing to the trailing edge of the most rearward wing. Using a carpenter's square to transfer reference points down to the table top works good. Set the cg by measuring from the leading edge of the most forward wing.
At 21% of total combined chord the aircraft should be slightly nose heavy. Move cg back from there as desired.
At 21% of total combined chord the aircraft should be slightly nose heavy. Move cg back from there as desired.
Last edited by Glowgeek; 11-11-2019 at 04:09 PM.
11-11-2019, 05:36 PM
Now if you want to really know where cg needs to be set for maidens use this cg calculator.
https://www.ecalc.ch/cgcalc.php
Level the plane and place the spinner against a wall. Take your measurements using the wall as a point of origin for swept or unswept wings and tail sections. As you enter the data the calc will draw your plane for you. Set the static margin at 15% for the maiden flight and use the cg indicated by the calc.
For staggered wing bipes treat both wing chords as one big wing chord by calculating from the leading edge of the forward wing the trailing edge of the trailing wing and enter the number (s) into the calc as a monowing plane. For bipes set the static margin for 20% for the maiden flight and use the cg indicated by the calc.
Easy peasy, right? Not so much? Once you figure out which cells to enter your measurements into it's not that bad. I've used this calc on three scratch built planes and the maiden flights were all uneventful, just the way I like it after all that work.
11-11-2019, 07:03 PM
Ok, back to our regular scheduled programming.
My modded 82 was acting up. Running fat and missing at all rpms except peak and idle. The glow plug has pits all over the coil wire. Predetonation? I think maybe so, at least that's what I've read pitting indicates. Odd though, the C/R is at 11.75:1, I'm only feeding the engine 15% nitro with 17% oil and I haven't been running the engine super rich. Hmmmmm
My modded 82 was acting up. Running fat and missing at all rpms except peak and idle. The glow plug has pits all over the coil wire. Predetonation? I think maybe so, at least that's what I've read pitting indicates. Odd though, the C/R is at 11.75:1, I'm only feeding the engine 15% nitro with 17% oil and I haven't been running the engine super rich. Hmmmmm