


Boeing T7A - XXL size
 04-15-2022, 07:47 AM
#76

No, I did not balance them but I made sure that the linkage is solid. Only slop comes from fuselage bearings now.
What colour did you happen to order btw?
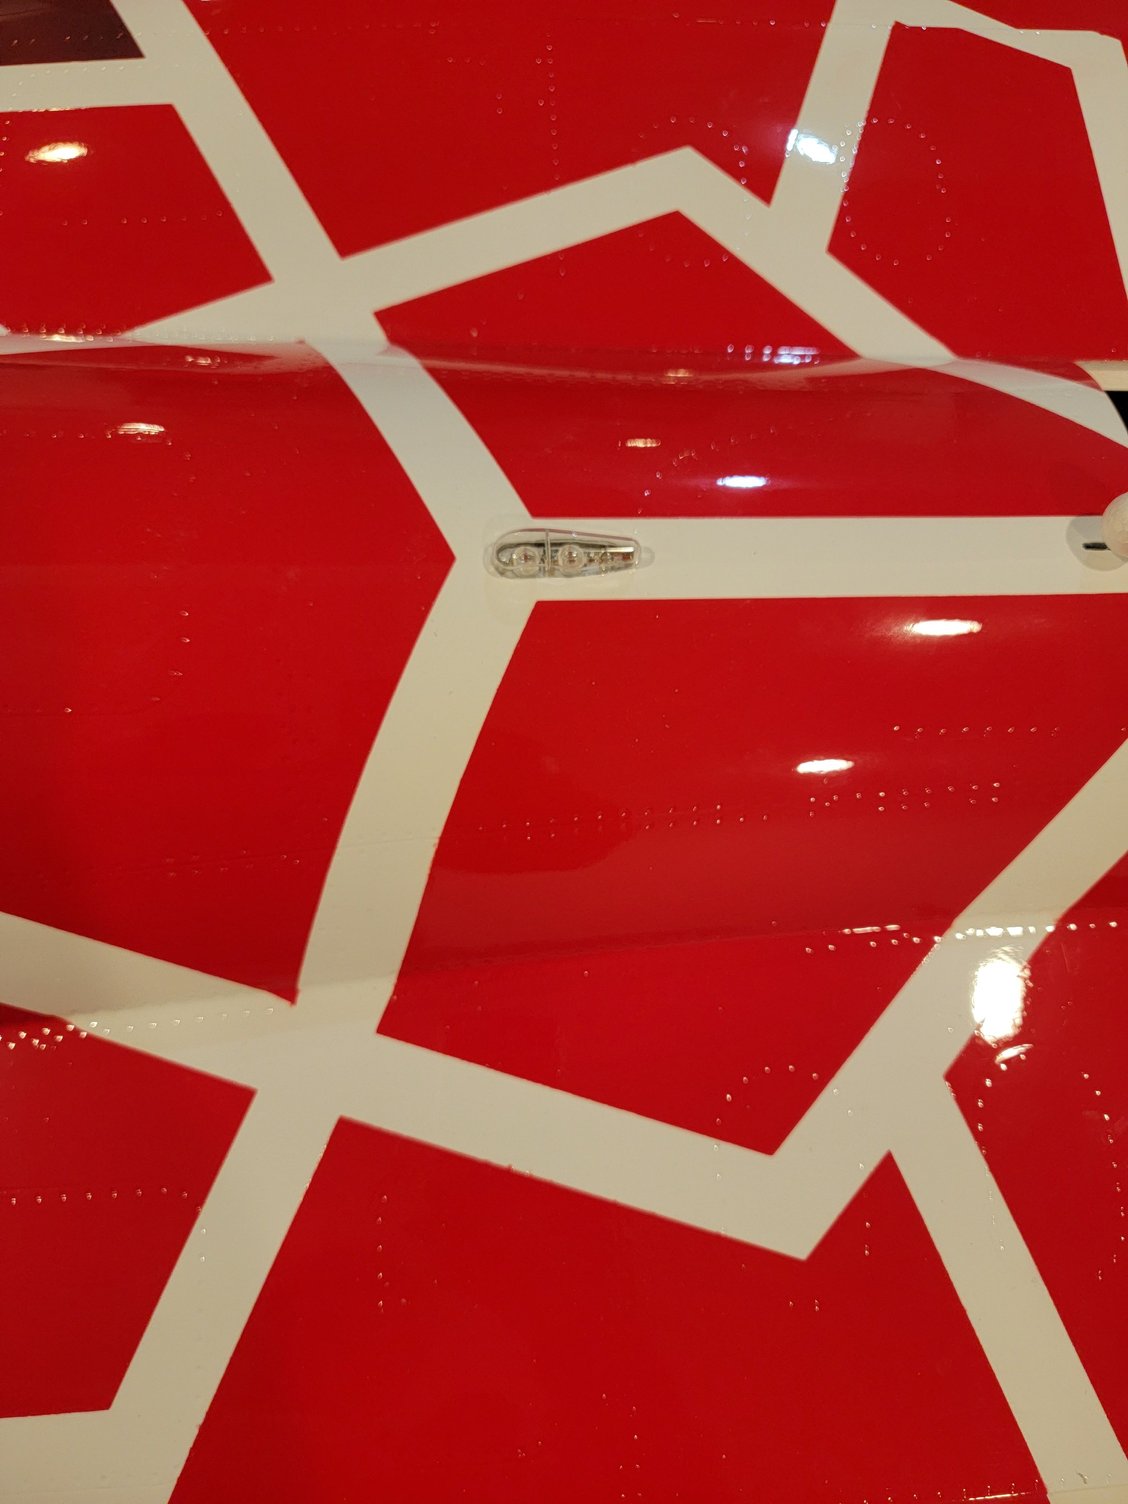
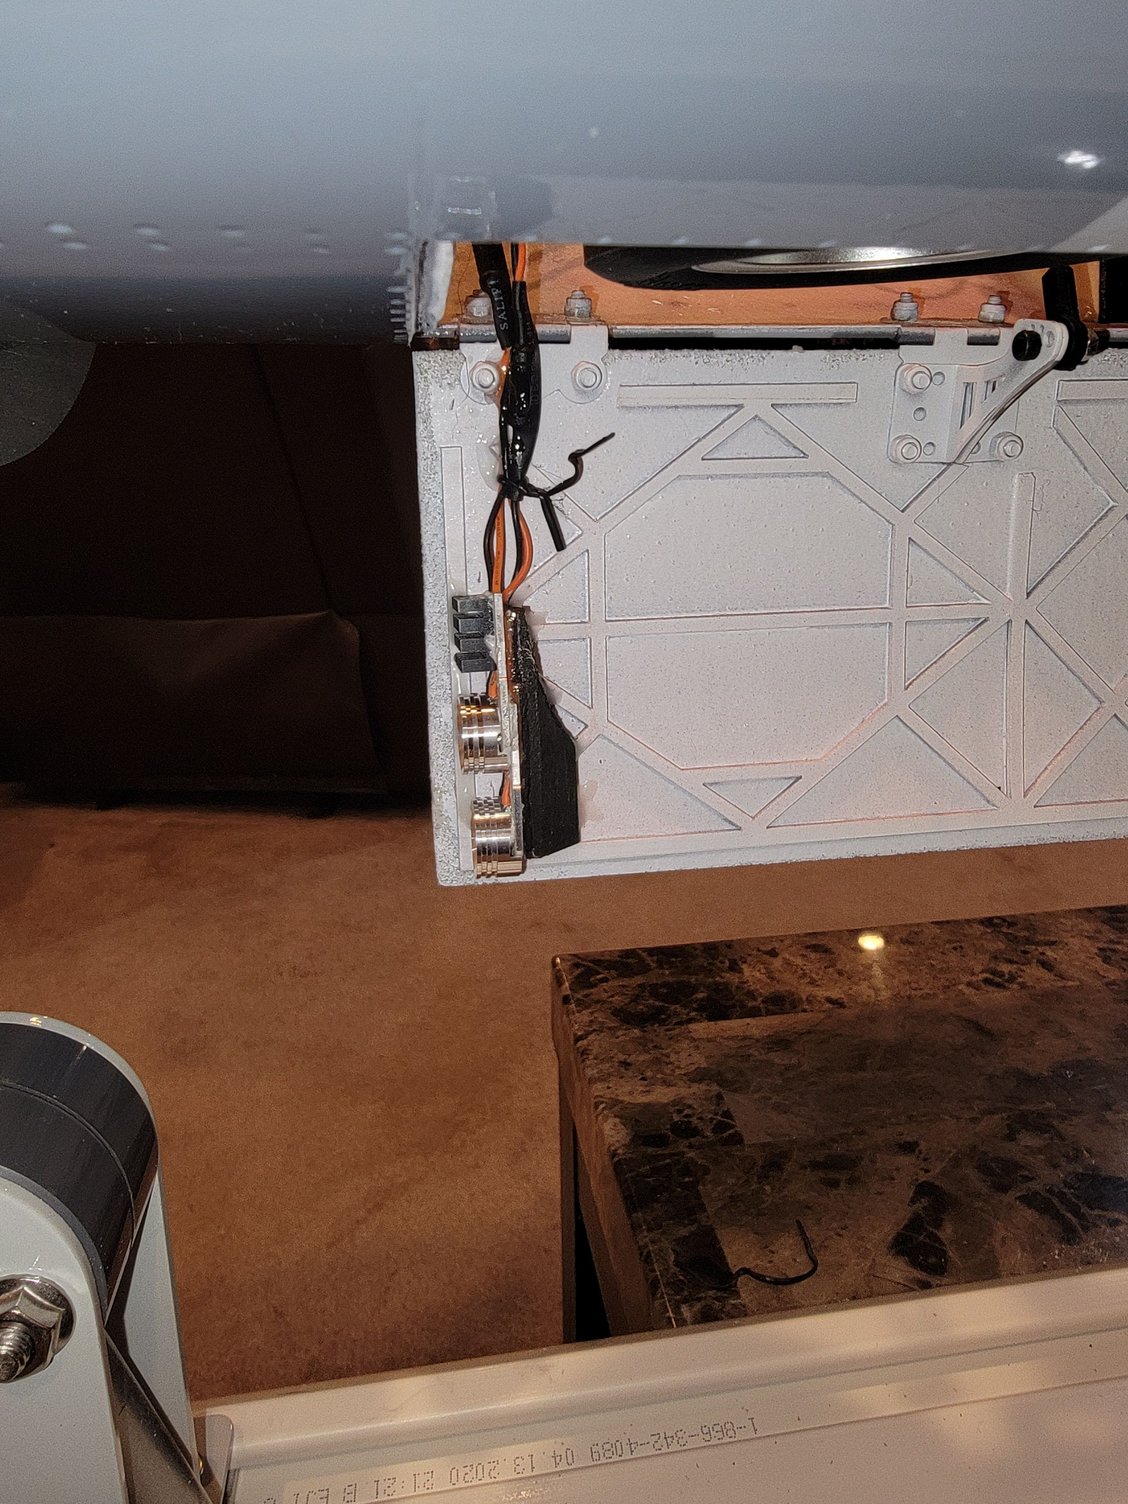
Oh, I swapped the gear door servos other way round so the linkage is locked when doors open to keep the barn doors solidly in place when opened. I MAY add magnets to keep them closed and servo current low.
What colour did you happen to order btw?
Oh, I swapped the gear door servos other way round so the linkage is locked when doors open to keep the barn doors solidly in place when opened. I MAY add magnets to keep them closed and servo current low.
Last edited by Ceeray; 04-15-2022 at 07:50 AM.
 04-15-2022, 08:19 AM
#77
No, I did not balance them but I made sure that the linkage is solid. Only slop comes from fuselage bearings now.
What colour did you happen to order btw?
Oh, I swapped the gear door servos other way round so the linkage is locked when doors open to keep the barn doors solidly in place when opened. I MAY add magnets to keep them closed and servo current low.
What colour did you happen to order btw?
Oh, I swapped the gear door servos other way round so the linkage is locked when doors open to keep the barn doors solidly in place when opened. I MAY add magnets to keep them closed and servo current low.
Thanks,
Tone
04-15-2022, 11:00 AM
#78
Bummer that looks bad! Is the fb page accessible without an account? I would like to get a look at it..
I added carbon 4mm tubes to hold vert stab rear aligned to the fuselage as there was no pins and I thought about the flutter..
But maybe adding longer carbon inside the original spar with expanding foam might help to transfer the load.
Mine is from 2nd or 3rd batch of planes.
I added carbon 4mm tubes to hold vert stab rear aligned to the fuselage as there was no pins and I thought about the flutter..
But maybe adding longer carbon inside the original spar with expanding foam might help to transfer the load.
Mine is from 2nd or 3rd batch of planes.
04-15-2022, 05:59 PM
#79
Bummer that looks bad! Is the fb page accessible without an account? I would like to get a look at it..
I added carbon 4mm tubes to hold vert stab rear aligned to the fuselage as there was no pins and I thought about the flutter..
But maybe adding longer carbon inside the original spar with expanding foam might help to transfer the load.
Mine is from 2nd or 3rd batch of planes.
I added carbon 4mm tubes to hold vert stab rear aligned to the fuselage as there was no pins and I thought about the flutter..
But maybe adding longer carbon inside the original spar with expanding foam might help to transfer the load.
Mine is from 2nd or 3rd batch of planes.
And some of the comments.
......Right hand fin fluttered and snapped half way up. In line with the servo hatch. Very poor internal structure in the fin.
......yeah, my starboard fin fluttered and snapped off half way up. Just in line with servo hatch
Also the internal carbon rod finishes at that point. When the top part of the fin broke off it shot downwards and impacted the starboard taileron. The airframe just rolled right and nosed in from about 50ft up. I was only flying around on half throttle on the maiden flight.
Tone
05-11-2022, 11:08 AM
#81
So my jet finally showed up. Irst thoughts are "Holy Crap"!! It's much bigger than I thought. The overall construction is pretty good. There are some area's I would like to improve like
1. A little more glue in some of the glue joint
2. Different servo mounts for the elevator
3. Some of the geometry to the control surfaces. The stock servo arms are about 31mm and allow for way more deflection than the manual calls for. Using a smaller arm will improve resolution and make a stronger connection. Also some of the linkages are a bit too long but are screwed in all the way. However, the servos are fairly slop free and better than I expected.
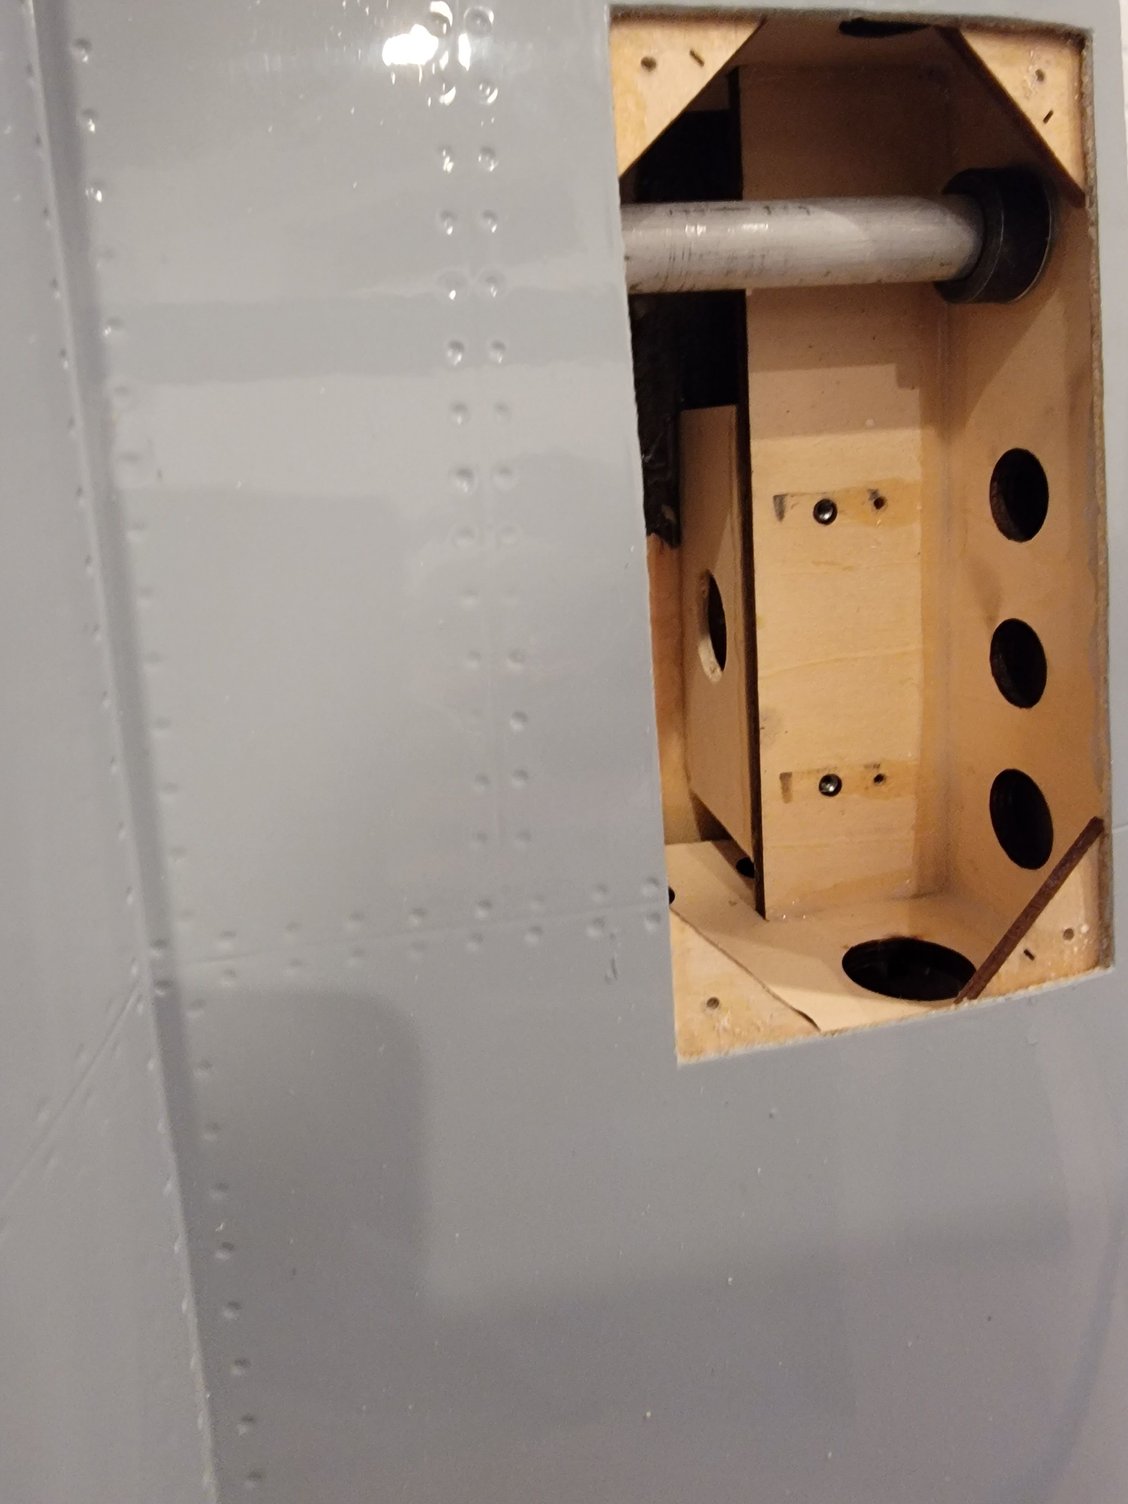
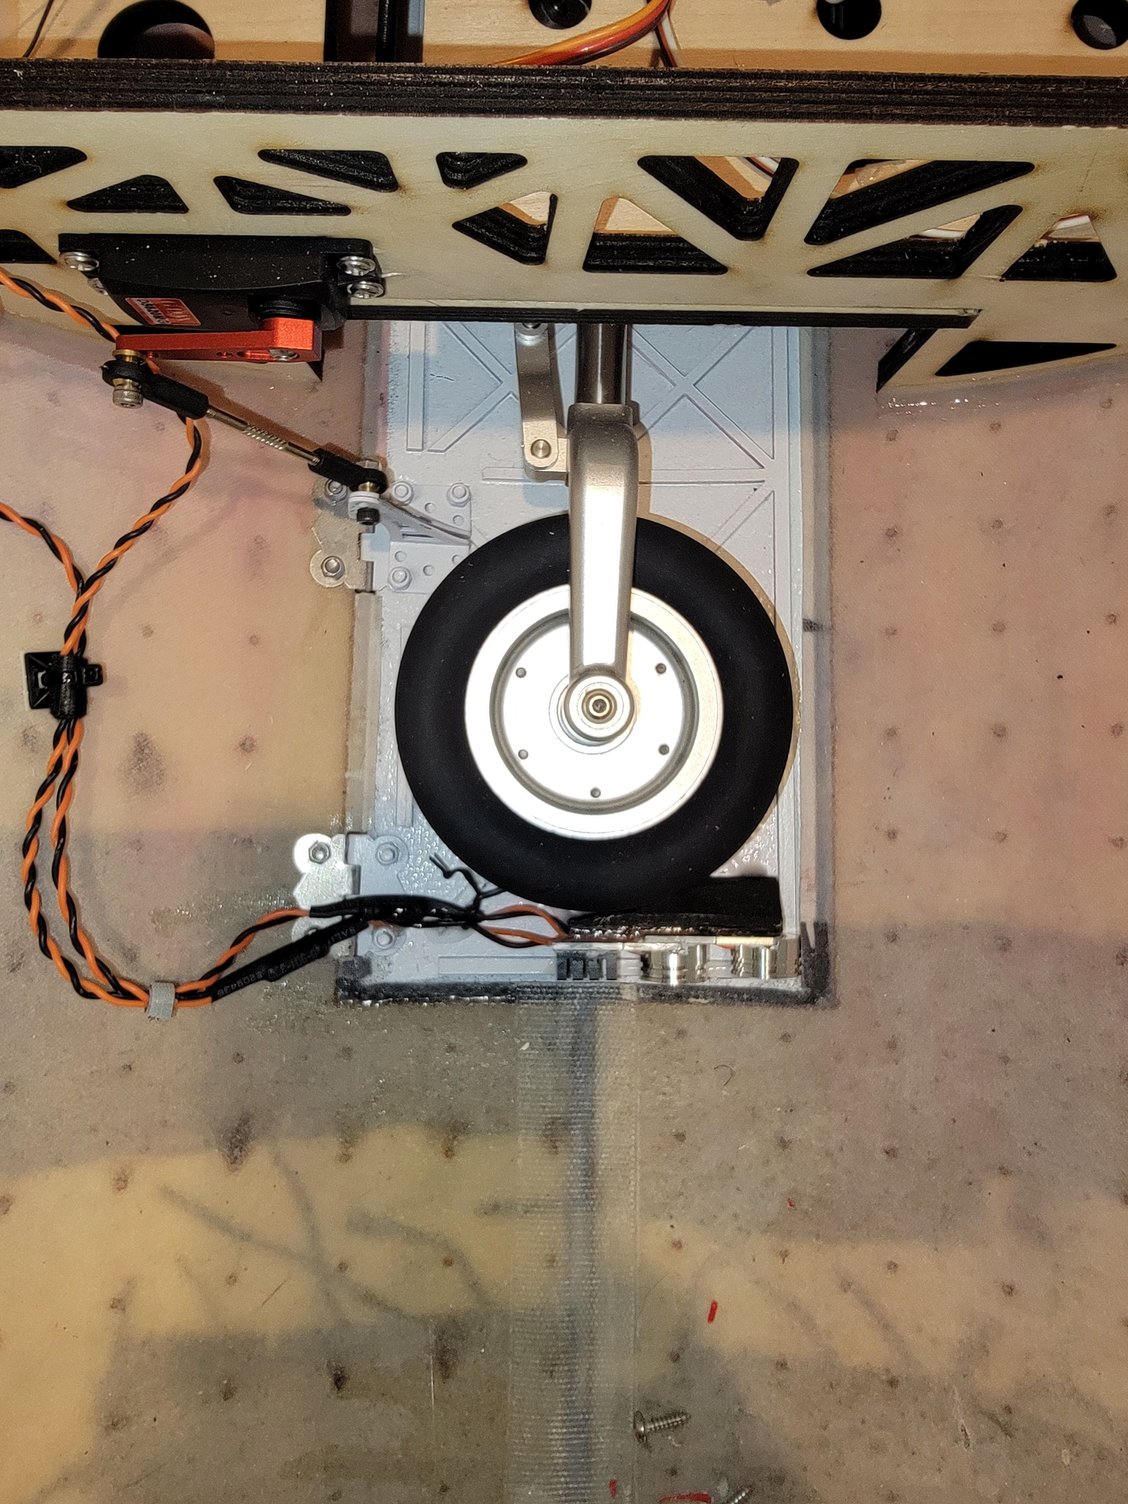
4. I wish there were more than 3 hinges on these huge ailerons though, especially since they are meant to be flaperons. I may add more like Zach did to his. Have not decided yet. 5. The main gear retraction into the fuse is very tight. So tight that the wells will not even spin and put a fair amount of pressure on the wooden plate. Not sure if this can be adjusted however.
These are my plans so far for the build. I want to swap out the elevator servos to the KST A20 3813 as they have zero slop and are great servo's. I also plan to add a little more glue to certain joints, reinforce a couple of glue joints, and unilights, and afterburner and smoke. I also plan to use a Xicoy LG15 retract controller for controlling the doors and gyro controlled brakes and steering. I have not had a great history with the JP's controllers braking evenly. Overall I am very pleased with the jet and looking forward to getting it into the air. More to follow as I get into the build.
Tone


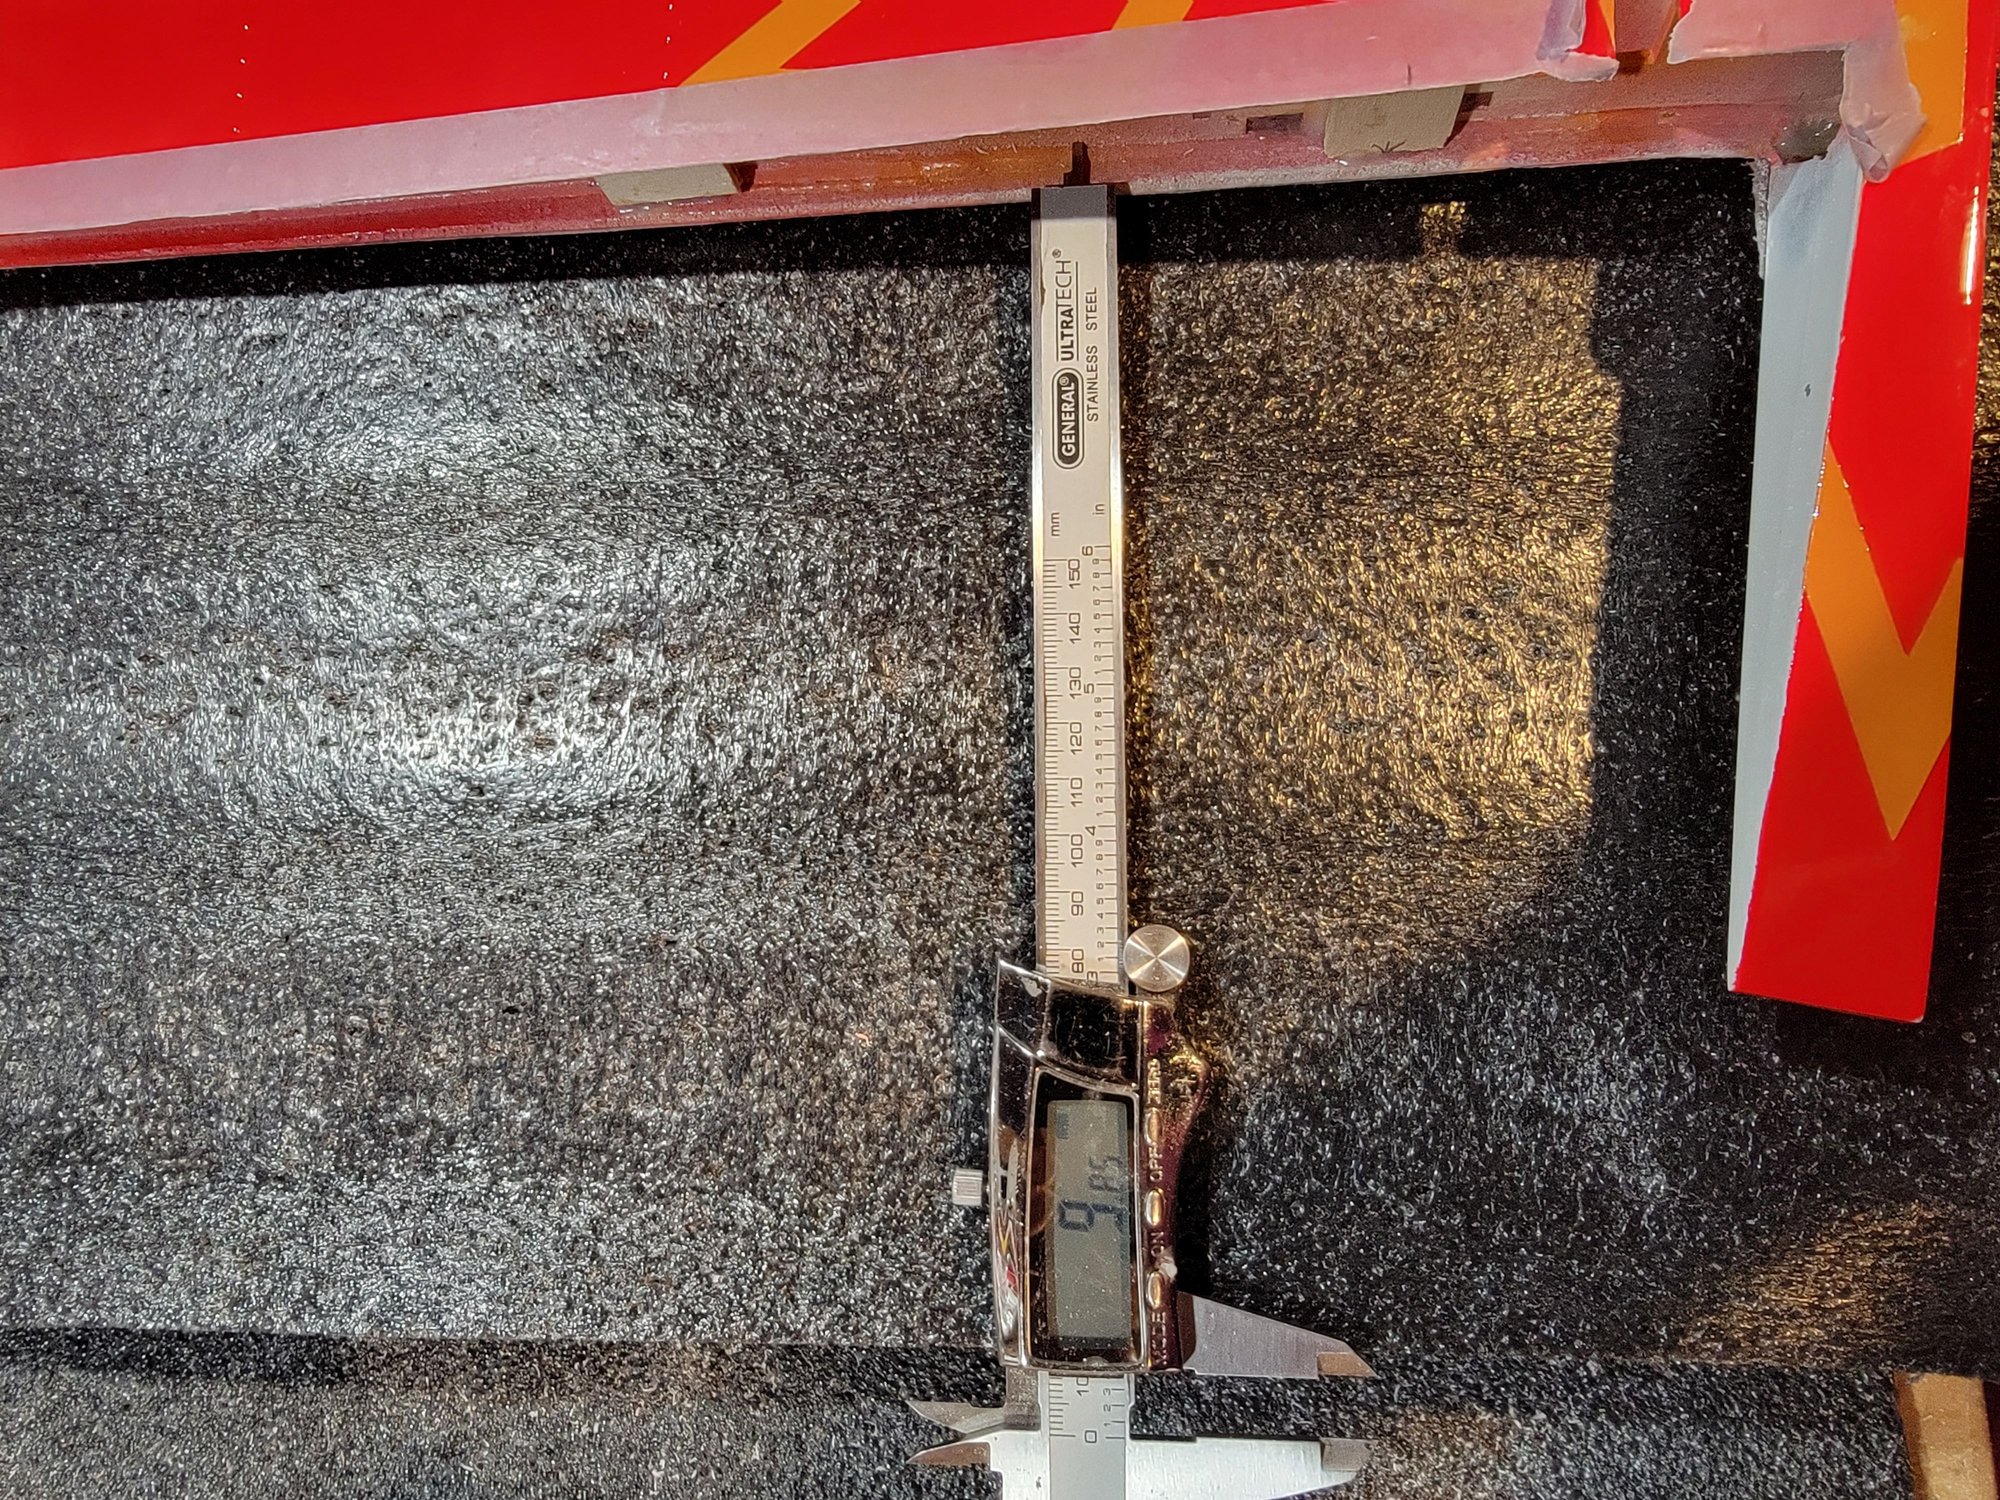
Wheels are 136mm. About 5.35"
1. A little more glue in some of the glue joint
2. Different servo mounts for the elevator
3. Some of the geometry to the control surfaces. The stock servo arms are about 31mm and allow for way more deflection than the manual calls for. Using a smaller arm will improve resolution and make a stronger connection. Also some of the linkages are a bit too long but are screwed in all the way. However, the servos are fairly slop free and better than I expected.
4. I wish there were more than 3 hinges on these huge ailerons though, especially since they are meant to be flaperons. I may add more like Zach did to his. Have not decided yet. 5. The main gear retraction into the fuse is very tight. So tight that the wells will not even spin and put a fair amount of pressure on the wooden plate. Not sure if this can be adjusted however.
These are my plans so far for the build. I want to swap out the elevator servos to the KST A20 3813 as they have zero slop and are great servo's. I also plan to add a little more glue to certain joints, reinforce a couple of glue joints, and unilights, and afterburner and smoke. I also plan to use a Xicoy LG15 retract controller for controlling the doors and gyro controlled brakes and steering. I have not had a great history with the JP's controllers braking evenly. Overall I am very pleased with the jet and looking forward to getting it into the air. More to follow as I get into the build.
Tone
Wheels are 136mm. About 5.35"
Last edited by Agrav8ed; 05-11-2022 at 11:33 AM.
05-11-2022, 11:28 AM
#83
I did, I think the bottom right rudder has some lateral flex in it on the control surface side unfortunately. I make have to cut it off and redo the hinges. If so, I will just add wood supports for all three. No slop in the linkages though and it looks like they are using ball links on the rudder instead of clevis now.
Have you had a chance to maiden yours yet?
Thanks,
Tone
Have you had a chance to maiden yours yet?
Thanks,
Tone
Last edited by Agrav8ed; 05-11-2022 at 11:35 AM.
05-11-2022, 11:58 AM
#84
Naah, mine is still waiting for final checks and getting that ar gyro system dialed in. I fixed ny eurosport which dipped its nose into turf after noae gear collapsed due spongy runway. Lost both wingtips etc...
Somehow my start for this season seems very slow. Im out of steam.. and maybe because the plane is so large its such a hassle to put it together for checks and dismantle it again for storing.
Somehow my start for this season seems very slow. Im out of steam.. and maybe because the plane is so large its such a hassle to put it together for checks and dismantle it again for storing.
05-20-2022, 06:10 AM
#85
I did, I think the bottom right rudder has some lateral flex in it on the control surface side unfortunately. I make have to cut it off and redo the hinges. If so, I will just add wood supports for all three. No slop in the linkages though and it looks like they are using ball links on the rudder instead of clevis now.
Have you had a chance to maiden yours yet?
Thanks,
Tone
Have you had a chance to maiden yours yet?
Thanks,
Tone
Tone


Last edited by Agrav8ed; 05-20-2022 at 06:14 AM.

 05-20-2022, 05:51 PM
#88
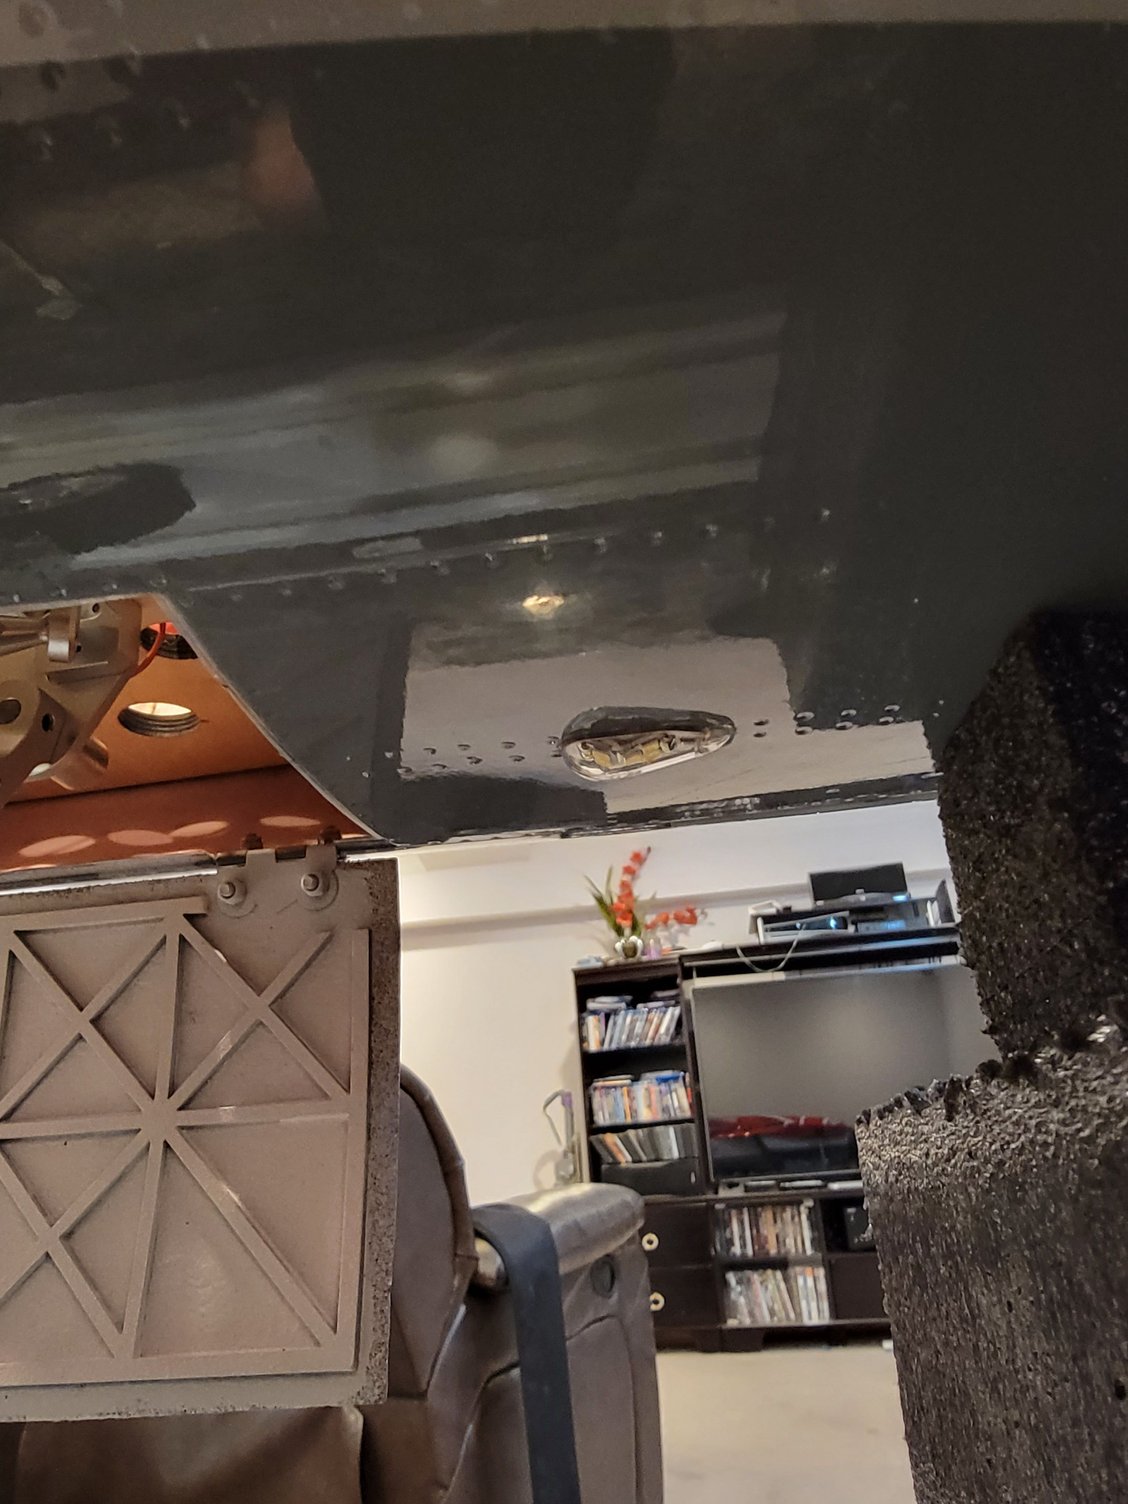
I did also add some vertical supports for the elevator servos similar to Ceeray. Also swapped out the arms to something much shorter (15mm) to improve servo control and resolution. I was also able to get the Unilight afterburner installed. Add some aluminum tape to increase the effect.
Thanks,
Tone
 05-23-2022, 12:46 PM
#89
Maidened mine today.
Cg was set 19cm behind LE earlier but then I swapped to larger rx batteries and ended up 100g nose heavy for 19cm position. And it showed when tried roll.
3 flights total. All flights were just racetrack to get the feel and dial the system to behave as wanted. The plane wants to roll with gear down very squirrelly but slower speed helps. It lands almost by itself , first landing with half flaps just sat down on the mains with engine idling and the nose stayed up for a sec or two.
The last landing with full flaps was a breeze. It wants to keep nose up a bit , meaning that you have to watch thst it doesnt get too slow on the groove and drop thru.
The brakes are a joke . At fast speed they dont do much and then they lock up suddenly causing nice blue smoke from the tires.
Also nose gear didnt want to go in with regulated 7 4V voltage. JMB / Marc told me that he uses 3s life batteries for the gear and brakes. Maybe bypassing regulation direct from li-ion 2s would raise V closer to 8V. I dont like getting more batteries and weight as its 25.4 kg with critical landing fuel and 29kg easily with full load.
05-23-2022, 06:06 PM
#90
Maidened mine today.
Cg was set 19cm behind LE earlier but then I swapped to larger rx batteries and ended up 100g nose heavy for 19cm position. And it showed when tried roll.
3 flights total. All flights were just racetrack to get the feel and dial the system to behave as wanted. The plane wants to roll with gear down very squirrelly but slower speed helps. It lands almost by itself , first landing with half flaps just sat down on the mains with engine idling and the nose stayed up for a sec or two.
The last landing with full flaps was a breeze. It wants to keep nose up a bit , meaning that you have to watch thst it doesnt get too slow on the groove and drop thru.
The brakes are a joke . At fast speed they dont do much and then they lock up suddenly causing nice blue smoke from the tires.
Also nose gear didnt want to go in with regulated 7 4V voltage. JMB / Marc told me that he uses 3s life batteries for the gear and brakes. Maybe bypassing regulation direct from li-ion 2s would raise V closer to 8V. I dont like getting more batteries and weight as its 25.4 kg with critical landing fuel and 29kg easily with full load.
Cg was set 19cm behind LE earlier but then I swapped to larger rx batteries and ended up 100g nose heavy for 19cm position. And it showed when tried roll.
3 flights total. All flights were just racetrack to get the feel and dial the system to behave as wanted. The plane wants to roll with gear down very squirrelly but slower speed helps. It lands almost by itself , first landing with half flaps just sat down on the mains with engine idling and the nose stayed up for a sec or two.
The last landing with full flaps was a breeze. It wants to keep nose up a bit , meaning that you have to watch thst it doesnt get too slow on the groove and drop thru.
The brakes are a joke . At fast speed they dont do much and then they lock up suddenly causing nice blue smoke from the tires.
Also nose gear didnt want to go in with regulated 7 4V voltage. JMB / Marc told me that he uses 3s life batteries for the gear and brakes. Maybe bypassing regulation direct from li-ion 2s would raise V closer to 8V. I dont like getting more batteries and weight as its 25.4 kg with critical landing fuel and 29kg easily with full load.
thanks,,
Tone
05-23-2022, 09:57 PM
#91
Its squirrelly gear down and at higher speed than approach speed. When at base leg turn and final the speed goes down and then it behaves very nice.
I presume its the large barn doors... errr gear doors causing the rolling. They open evenly.
And to make it even more interesting it still wants to level wings eventually by itself in a turn... I had to feed constant aileron to keep the bank, otherwise it would have rolled level.
Tailerons are always mixed in, in the last flight I found good settings.
3rd flight I was able to retract the gear and then it was stable.
More flights to come this week hopefully.. well C.
05-28-2022, 11:41 AM
#92
5 more flights. Getting it dialed in. Brakes are pretty much useless, either they dont slow plane down or lock up and create a flat spot.
Tail feathers dont need much movement. Stalls straight. Hi alpha tried once but too high to say anything how it went..
Landings easy. Inertia huge. Hard to slow down. I tried rudders as airbrakes, makes a top gun braking , nose up
Canopy craked due pressure difference or something, caused my depron cockpit back wall to hit engine fod guard and stalled my engine . Forced landing successful.
05-28-2022, 09:36 PM
#93
5 more flights. Getting it dialed in. Brakes are pretty much useless, either they dont slow plane down or lock up and create a flat spot.
Tail feathers dont need much movement. Stalls straight. Hi alpha tried once but too high to say anything how it went..
Landings easy. Inertia huge. Hard to slow down. I tried rudders as airbrakes, makes a top gun braking , nose up
Canopy craked due pressure difference or something, caused my depron cockpit back wall to hit engine fod guard and stalled my engine . Forced landing successful.
Tail feathers dont need much movement. Stalls straight. Hi alpha tried once but too high to say anything how it went..
Landings easy. Inertia huge. Hard to slow down. I tried rudders as airbrakes, makes a top gun braking , nose up
Canopy craked due pressure difference or something, caused my depron cockpit back wall to hit engine fod guard and stalled my engine . Forced landing successful.
Thanks,
Tone

The following users liked this post:
jcterrettaz (07-03-2023)
05-29-2022, 03:53 AM
#95
It can also burst outside and push the whole thing off the plane but it is usually the opposite high speed dive and closing throttle. This has gone in by looking the crack.
/Jyri
The following users liked this post:
jcterrettaz (07-03-2023)
05-29-2022, 05:29 PM
#97
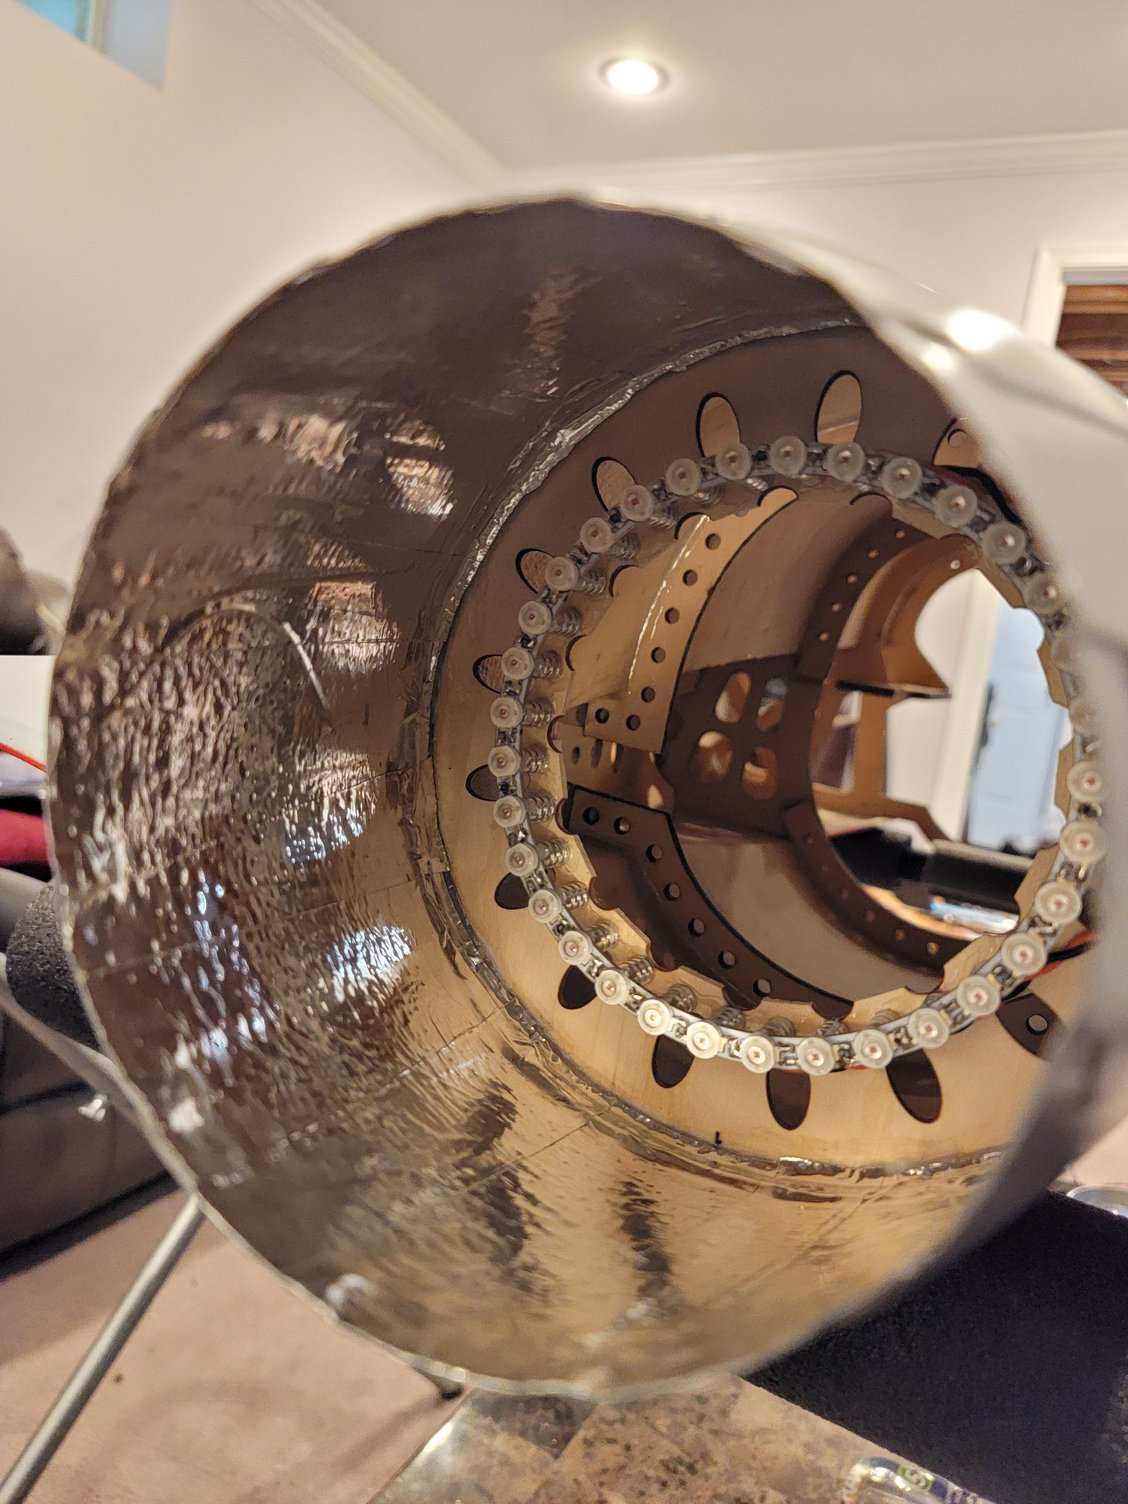
I've seen it several times already. Engine sucking more air inlets are able to deliver. High vacuum inside fuselage and weakest part of it is usually plexi frame seam. usually just imploded canopy only but in this case burst of air threw cockpit wall in to engine. Closed gear doors, low airspeed, small intakes and rapid acceleration of big engine. Thats what it typically takes.
It can also burst outside and push the whole thing off the plane but it is usually the opposite high speed dive and closing throttle. This has gone in by looking the crack.
/Jyri
It can also burst outside and push the whole thing off the plane but it is usually the opposite high speed dive and closing throttle. This has gone in by looking the crack.
/Jyri
Thanks,
Tone
Tone
06-23-2022, 10:44 AM
#98
For anyone interested CMjets now has kevlar tanks for this bird. Carlos has 5L and 6L options for the same price. There is also an option to get a partitioned tank for smoke also which I initially considered. However, I think that I prefer to have 6L for fuel and to use an separate smoke tank. Baja Hobbies Viper has a 5L tank and a 190n turbine and I get about seven minutes flight time. I would like to get something similar on the T&A XXL but a 240n turbine is thirsty. So I opted for the 6L fuel tank upgrade. Also added some unilight headlights to the nose gear, beacon and rudders.

Tone
Tone
Last edited by Agrav8ed; 06-23-2022 at 07:43 PM.
06-24-2022, 06:14 AM
#100
Thanks,
Tone