


TopRC giant P-47 Thunderbolt ARF


 03-03-2022, 08:37 AM
#78
03-03-2022, 06:08 PM
#79

Good job on the bags. Especially for me.
I reached out to Revoc a few weeks ago and they asked me to measure my P47, as they haven't made bags for it yet. Haven't done the measuring yet. Glad your doing it for me Mark!
I love the Revoc bags. Have 2 other sets of bags for other planes. Love them and they are my to guys now.
I've been working on other projects and have done little on my P47....other than buy lots of goodies for it.
Brad
03-03-2022, 07:05 PM
#80
Senior Member
I got yo do the same for the version of the H9 mustang...they have ones for the okder blue nose with the two piece wing, not current with the three piece...Keep forgetting to do it.
03-04-2022, 03:08 PM
#83
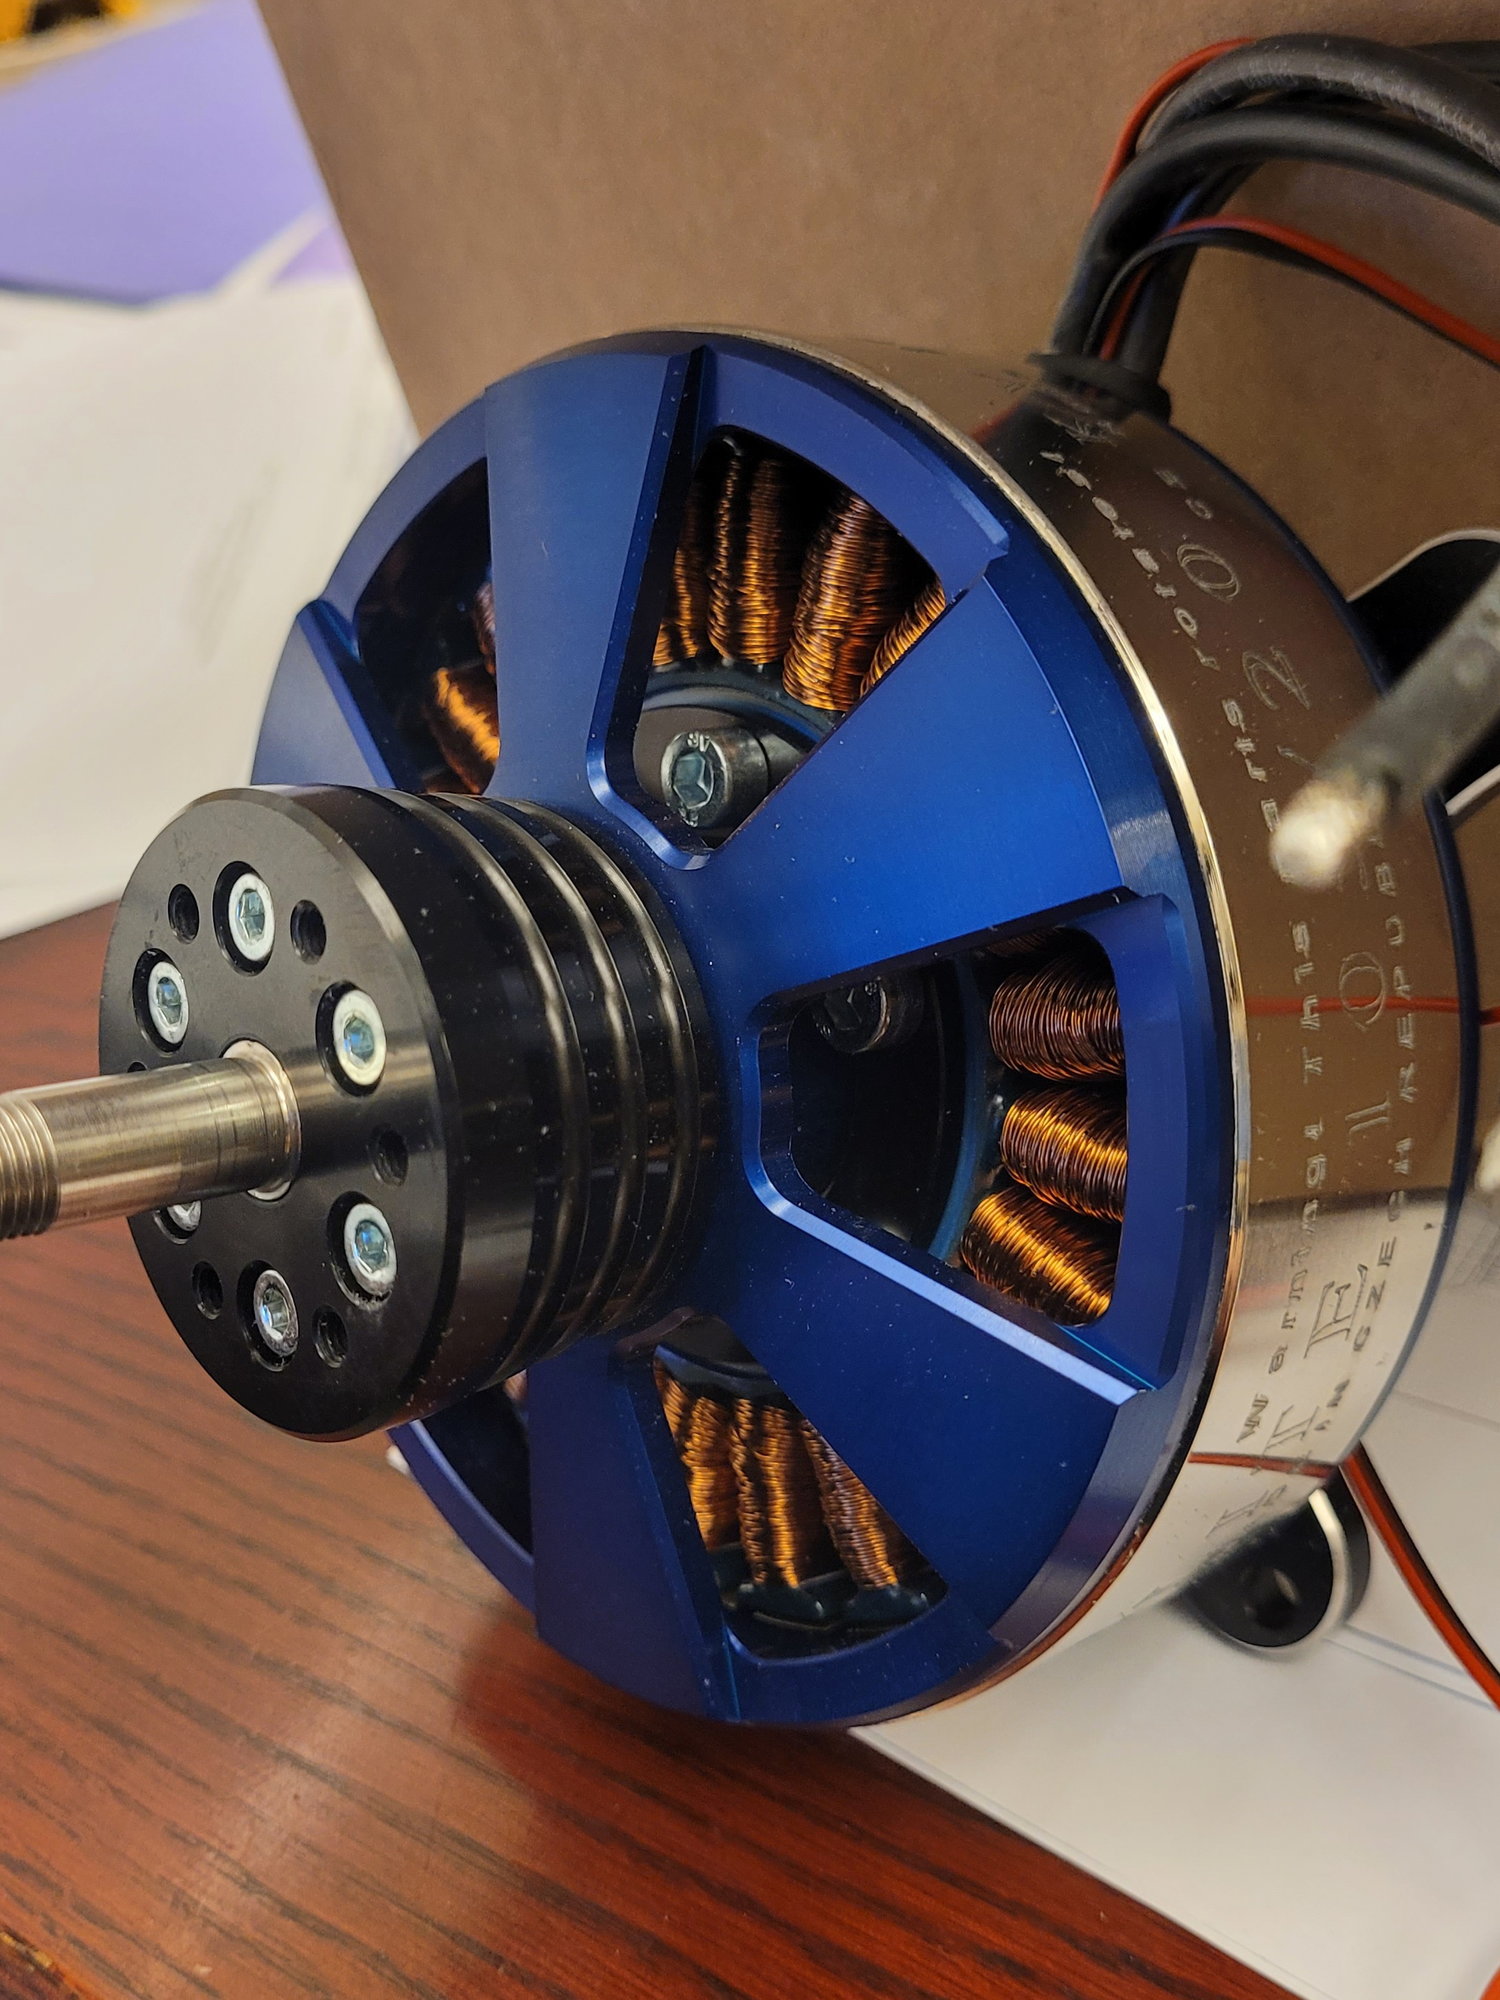
I have something near identical coming from Tru Turn any day now. Custom hub they made up for me for my 120 CC equivalent Electric P47.
Just need to start work on the bloody thing. Busy busy!
Esprit Elite 120cc
Just need to start work on the bloody thing. Busy busy!
Esprit Elite 120cc
Last edited by bradley; 03-04-2022 at 03:13 PM.
03-05-2022, 04:45 PM
#84
A question about flap control horns. I've heard some people have mounted the control horns on the flaps facing the trailing edge of the wing. They said it was to get more deflection on the flaps and gave the servo more mechanical advantage. Getting anxious to start this build, but need to make sure of the details first, lol. Has anyone here felt or found the need to mount the flap horns rearward facing? And if so, what was the reason?
If I might also ask, what length servo arms are you guys using on your surfaces? Thanks.
If I might also ask, what length servo arms are you guys using on your surfaces? Thanks.
Last edited by Colt4570; 03-05-2022 at 05:32 PM. Reason: adding text
03-07-2022, 09:26 PM
#87

A question about flap control horns. I've heard some people have mounted the control horns on the flaps facing the trailing edge of the wing. They said it was to get more deflection on the flaps and gave the servo more mechanical advantage. Getting anxious to start this build, but need to make sure of the details first, lol. Has anyone here felt or found the need to mount the flap horns rearward facing? And if so, what was the reason? If I might also ask, what length servo arms are you guys using on your surfaces? Thanks.
I used 3/4" horns .
03-13-2022, 12:51 PM
#92
Ref the power of the engines being used. Pilot just came out with a 40lb P47 and used a Saito FG-90r3 3cyl radial in it. Has anyone here used a 4 stroke that small for a 37-40 lb. bird?
03-13-2022, 01:08 PM
#93
 03-13-2022, 02:37 PM
#94
A couple more questions as I look at the hardware provided. Are you guys using the supplied 2mm ball joints, or going with something bigger?..
And how in the heck are you supposed to, "secure the horizontal stab with a screw"? There's no holes for screws anywhere that I can see.
Thanks
And how in the heck are you supposed to, "secure the horizontal stab with a screw"? There's no holes for screws anywhere that I can see.
Thanks
 03-14-2022, 06:56 AM
#96
Colt4570,
I have used all the hardware that has been provided with the plane so far.
To secure the horizontal stab I glued the tube into one of the stabs; and if you look closely at the bottom of the stabs you will see a small hole that you will need to drill out and add a securing screw to.
Be sure and do this with the stabs mounted to the aircraft.
The following users liked this post:
Colt4570 (03-14-2022)
03-14-2022, 08:54 PM
#97
Colt4570,
I have used all the hardware that has been provided with the plane so far.
To secure the horizontal stab I glued the tube into one of the stabs; and if you look closely at the bottom of the stabs you will see a small hole that you will need to drill out and add a securing screw to.
Be sure and do this with the stabs mounted to the aircraft.
I have used all the hardware that has been provided with the plane so far.
To secure the horizontal stab I glued the tube into one of the stabs; and if you look closely at the bottom of the stabs you will see a small hole that you will need to drill out and add a securing screw to.
Be sure and do this with the stabs mounted to the aircraft.
03-15-2022, 07:30 AM
#98
LOL
Yeah the manual is nothing more than "this is how it looks when finished" assemblies.
Anyone with no building experience would be totally lost.
Colt; are you going to be using the gear door hinging that is on the tailwheel?
I do all my flying off of grass and when those doors are open and the tailwheel is down there is not a lot of clearance to the ground from the open doors.
I'm currently re-engineering those in hopes of getting better clearance.
03-15-2022, 08:30 AM
#99
LOL
Yeah the manual is nothing more than "this is how it looks when finished" assemblies.
Anyone with no building experience would be totally lost.
Colt; are you going to be using the gear door hinging that is on the tailwheel?
I do all my flying off of grass and when those doors are open and the tailwheel is down there is not a lot of clearance to the ground from the open doors.
I'm currently re-engineering those in hopes of getting better clearance.
Yeah the manual is nothing more than "this is how it looks when finished" assemblies.
Anyone with no building experience would be totally lost.
Colt; are you going to be using the gear door hinging that is on the tailwheel?
I do all my flying off of grass and when those doors are open and the tailwheel is down there is not a lot of clearance to the ground from the open doors.
I'm currently re-engineering those in hopes of getting better clearance.
The following users liked this post:
John8861 (03-01-2024)
03-20-2022, 07:58 AM
#100
LOL
Yeah the manual is nothing more than "this is how it looks when finished" assemblies.
Anyone with no building experience would be totally lost.
Colt; are you going to be using the gear door hinging that is on the tailwheel?
I do all my flying off of grass and when those doors are open and the tailwheel is down there is not a lot of clearance to the ground from the open doors.
I'm currently re-engineering those in hopes of getting better clearance.
Yeah the manual is nothing more than "this is how it looks when finished" assemblies.
Anyone with no building experience would be totally lost.
Colt; are you going to be using the gear door hinging that is on the tailwheel?
I do all my flying off of grass and when those doors are open and the tailwheel is down there is not a lot of clearance to the ground from the open doors.
I'm currently re-engineering those in hopes of getting better clearance.
Paul