


new smaller (composite) Sebart Avanti XS

 01-31-2019, 04:28 AM
#102

Join Date: Aug 2010
Location: Berkshire, UNITED KINGDOM
Posts: 109
Likes: 0
Received 6 Likes
on
6 Posts
I used the screws supplied in the kit, a sheet metal screw about 20mm long, but as the wing tube is a little shorter than the depth of the hole in the wing I leave the tube in one wing so that when I slot it in the hole in the other side is always in the correct position, but I am at some point going to change to Neil's method I think, just as I think its a better solution, having said that I have a bout 40 flights on mine now with no issue.
02-02-2019, 08:25 PM
#105

My Feedback: (8)
I ran into a minor issue that needs to be addressed. Those who have already finished and flown their XS probably already discovered this but for those still outfitting theirs, here is what I found:
Just before I drilled and tapped the holes for the wing retention screws I pushed the spar into the first wing to be drilled all the way to the stop at the end of the spar tube. Drilled, tapped, and threaded the bolt through the hole. So far so good. I then put the other wing on and drilled and tapped the hole and likewise threaded in the bolt. All seemed good at this point.
When I removed the second wing I discovered that the threaded hole was right at the edge of the end of the spar! I pulled the spar out of the other wing and found the threaded hole in the spar was about 1/2 inch from the end of the spar.
The fix is easy. I cut a piece of spruce stock and glued it to the end of the spar where the hole was 1/2 inch from the end which has the effect of positioning the other end of the spar 1/4 inch further into the wing. Turned the spar 90 degrees to drill the new holes which are now both approx 1/4 inch from the end of the spar.
Who knew the spar was too short!!!!??
While fixing the hole problem I discovered that the hardwood dowel plugs in both ends of the spar were loose and easy to push into the spar. Pushed them both out of the spar easily with a long length of music wire. I used gap filling CA to put them back into place. They had originally been glued in with hot glue!!! When will they ever learn not to use that stuff on these planes!!!
First picture shows the problem caused by the spar being too short making the hole right at the edge.
The 3rd pic shows the easy fix of gluing a spacer to one end of the spar.
The 2nd pic shows the resultant fix. You can see the original hole and the hole in the new location.
02-23-2019, 04:29 AM
#106
My Feedback: (38)
Those of you using Electron ER-30 retracts in your XS, are you happy with them on this plane.
I have a set of them on a 10lb jet and they are great. Just seems they are a little small for the XS at around 18lbs.
Mfg recommended weight limit is 16lbs
Anybody using the larger ER-40's?
I have a set of them on a 10lb jet and they are great. Just seems they are a little small for the XS at around 18lbs.
Mfg recommended weight limit is 16lbs
Anybody using the larger ER-40's?


 02-23-2019, 04:52 PM
#110
My Feedback: (38)
OK, thanks guys for your responses.
Mine is no due to be shipped until next month but I wanted to get the retracts ordered.
What size tires come with the XS Electron package. Any room to squeak a little larger tires for grass.
Which nose steering option should I order?
Thanks
Mine is no due to be shipped until next month but I wanted to get the retracts ordered.
What size tires come with the XS Electron package. Any room to squeak a little larger tires for grass.
Which nose steering option should I order?
Thanks
02-25-2019, 01:25 PM
#111
I finished my Avanti a few months ago but with a house move and various other things I have only had 2 flights.
I am going to fly it again in the next few days so was wondering what advice people have for landing in particular. My first flights were from a full size runway so fast landings were no issue, as it was a new model I wasn�t confident on the slow flying characteristics yet but my normal field is a little bit tighter!
i have seen videos of the Avanti landing at walking pace, I assume this is with 50 degree flaps, is there any advice for slow speed/approach on the model?
thanks
joe
02-25-2019, 01:46 PM
#112
OK, thanks guys for your responses.
Mine is no due to be shipped until next month but I wanted to get the retracts ordered.
What size tires come with the XS Electron package. Any room to squeak a little larger tires for grass.
Which nose steering option should I order?
Thanks
Mine is no due to be shipped until next month but I wanted to get the retracts ordered.
What size tires come with the XS Electron package. Any room to squeak a little larger tires for grass.
Which nose steering option should I order?
Thanks
03-09-2019, 09:29 AM
#113
Hi, i am about to install engine and pipe finally, but before i do, anything to consider for heat insulation ? Alu tape or bvm heatshield anywhere ? The servowires are ptfe in kevlar sleeve so that�s taken care of.
03-10-2019, 05:47 AM
#115
Thanks Jim, I guess that�s a good idea, just for peace of mind. Given the double pipe plus all the air flowing outside the pipe backwards, any shielding in the back apart from servo wires seems overkill to me.
04-03-2019, 01:07 PM
#116
My Feedback: (38)
For those using Electron gear, the factory said the nose gear steering plate is made for a Hitec HS225.
They are only rated for 6v. My system is high volt. I cant seem to find a high volt replacement. The 225 measures 32.4x16.8x30.8mm. Anybody else find a good HV sevo to fit.
I hate to file the aluminum plate for a larger servo as you have pre drilled and threaded holes.
They are only rated for 6v. My system is high volt. I cant seem to find a high volt replacement. The 225 measures 32.4x16.8x30.8mm. Anybody else find a good HV sevo to fit.
I hate to file the aluminum plate for a larger servo as you have pre drilled and threaded holes.
04-03-2019, 03:37 PM
#117
For those using Electron gear, the factory said the nose gear steering plate is made for a Hitec HS225.
They are only rated for 6v. My system is high volt. I cant seem to find a high volt replacement. The 225 measures 32.4x16.8x30.8mm. Anybody else find a good HV sevo to fit.
I hate to file the aluminum plate for a larger servo as you have pre drilled and threaded holes.
They are only rated for 6v. My system is high volt. I cant seem to find a high volt replacement. The 225 measures 32.4x16.8x30.8mm. Anybody else find a good HV sevo to fit.
I hate to file the aluminum plate for a larger servo as you have pre drilled and threaded holes.
Just ask Electron for a servo plate fitting your 15 or 16 mm servo of your choice. I use a Graupner HBS660 HV Servo for steering, and fits perfectly in the servo plate for 16 mm servos.
05-20-2019, 09:51 AM
#119
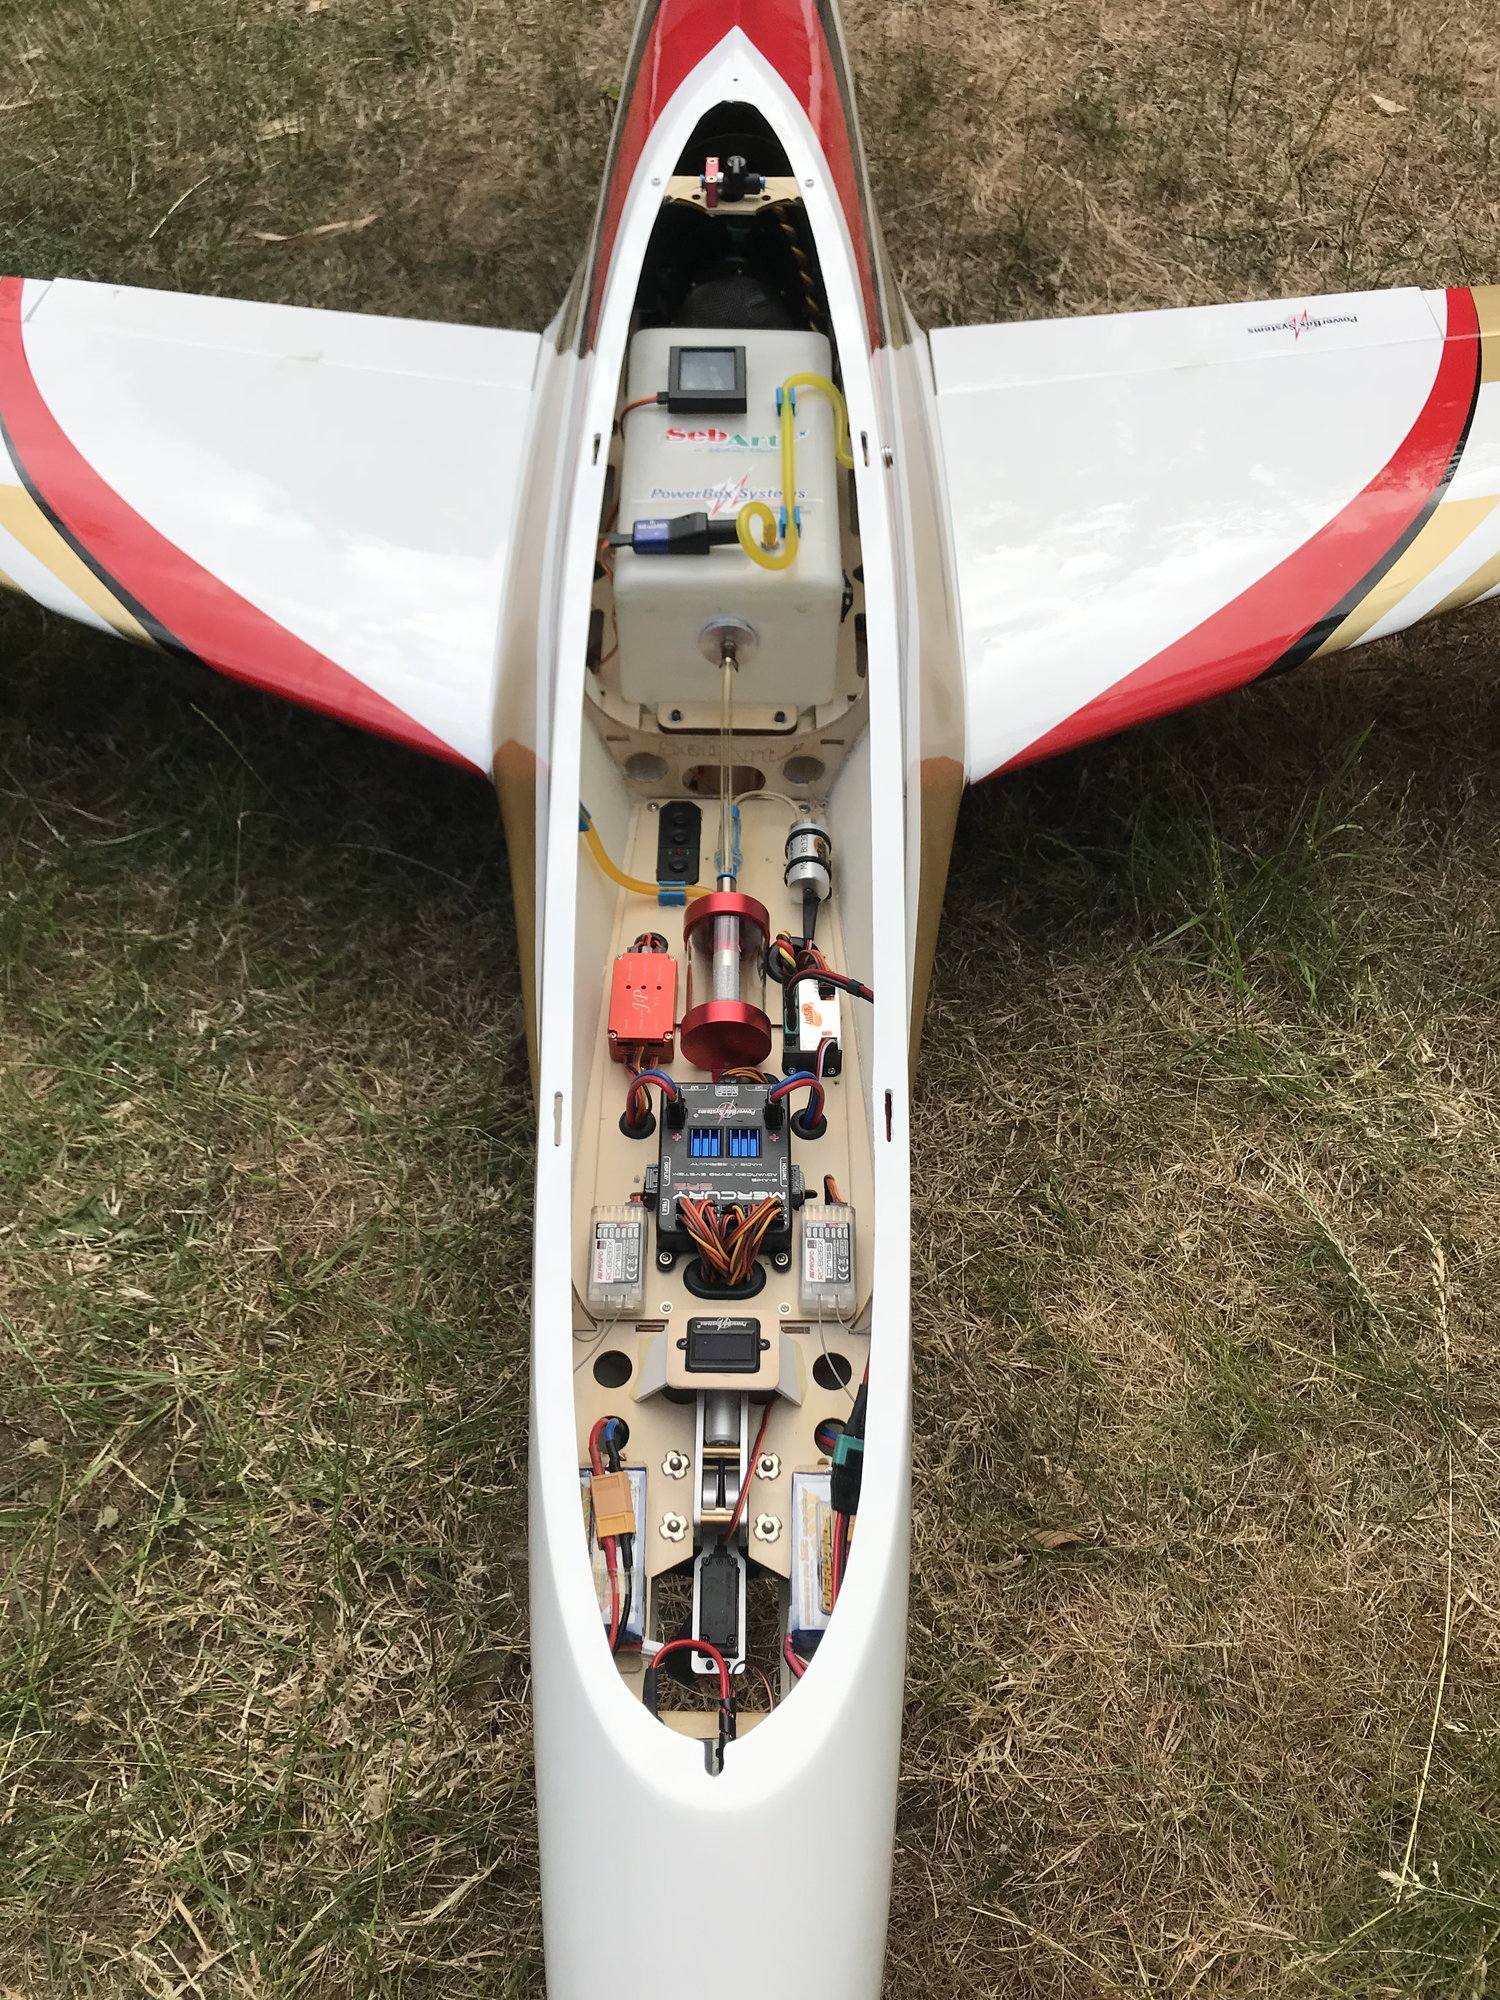
It has been silent around my build, but I am about to be 100% ready. Only remaining items: final radio / throw programming, wing fence mounting and final balance check. Hopefully maiden next weekend.
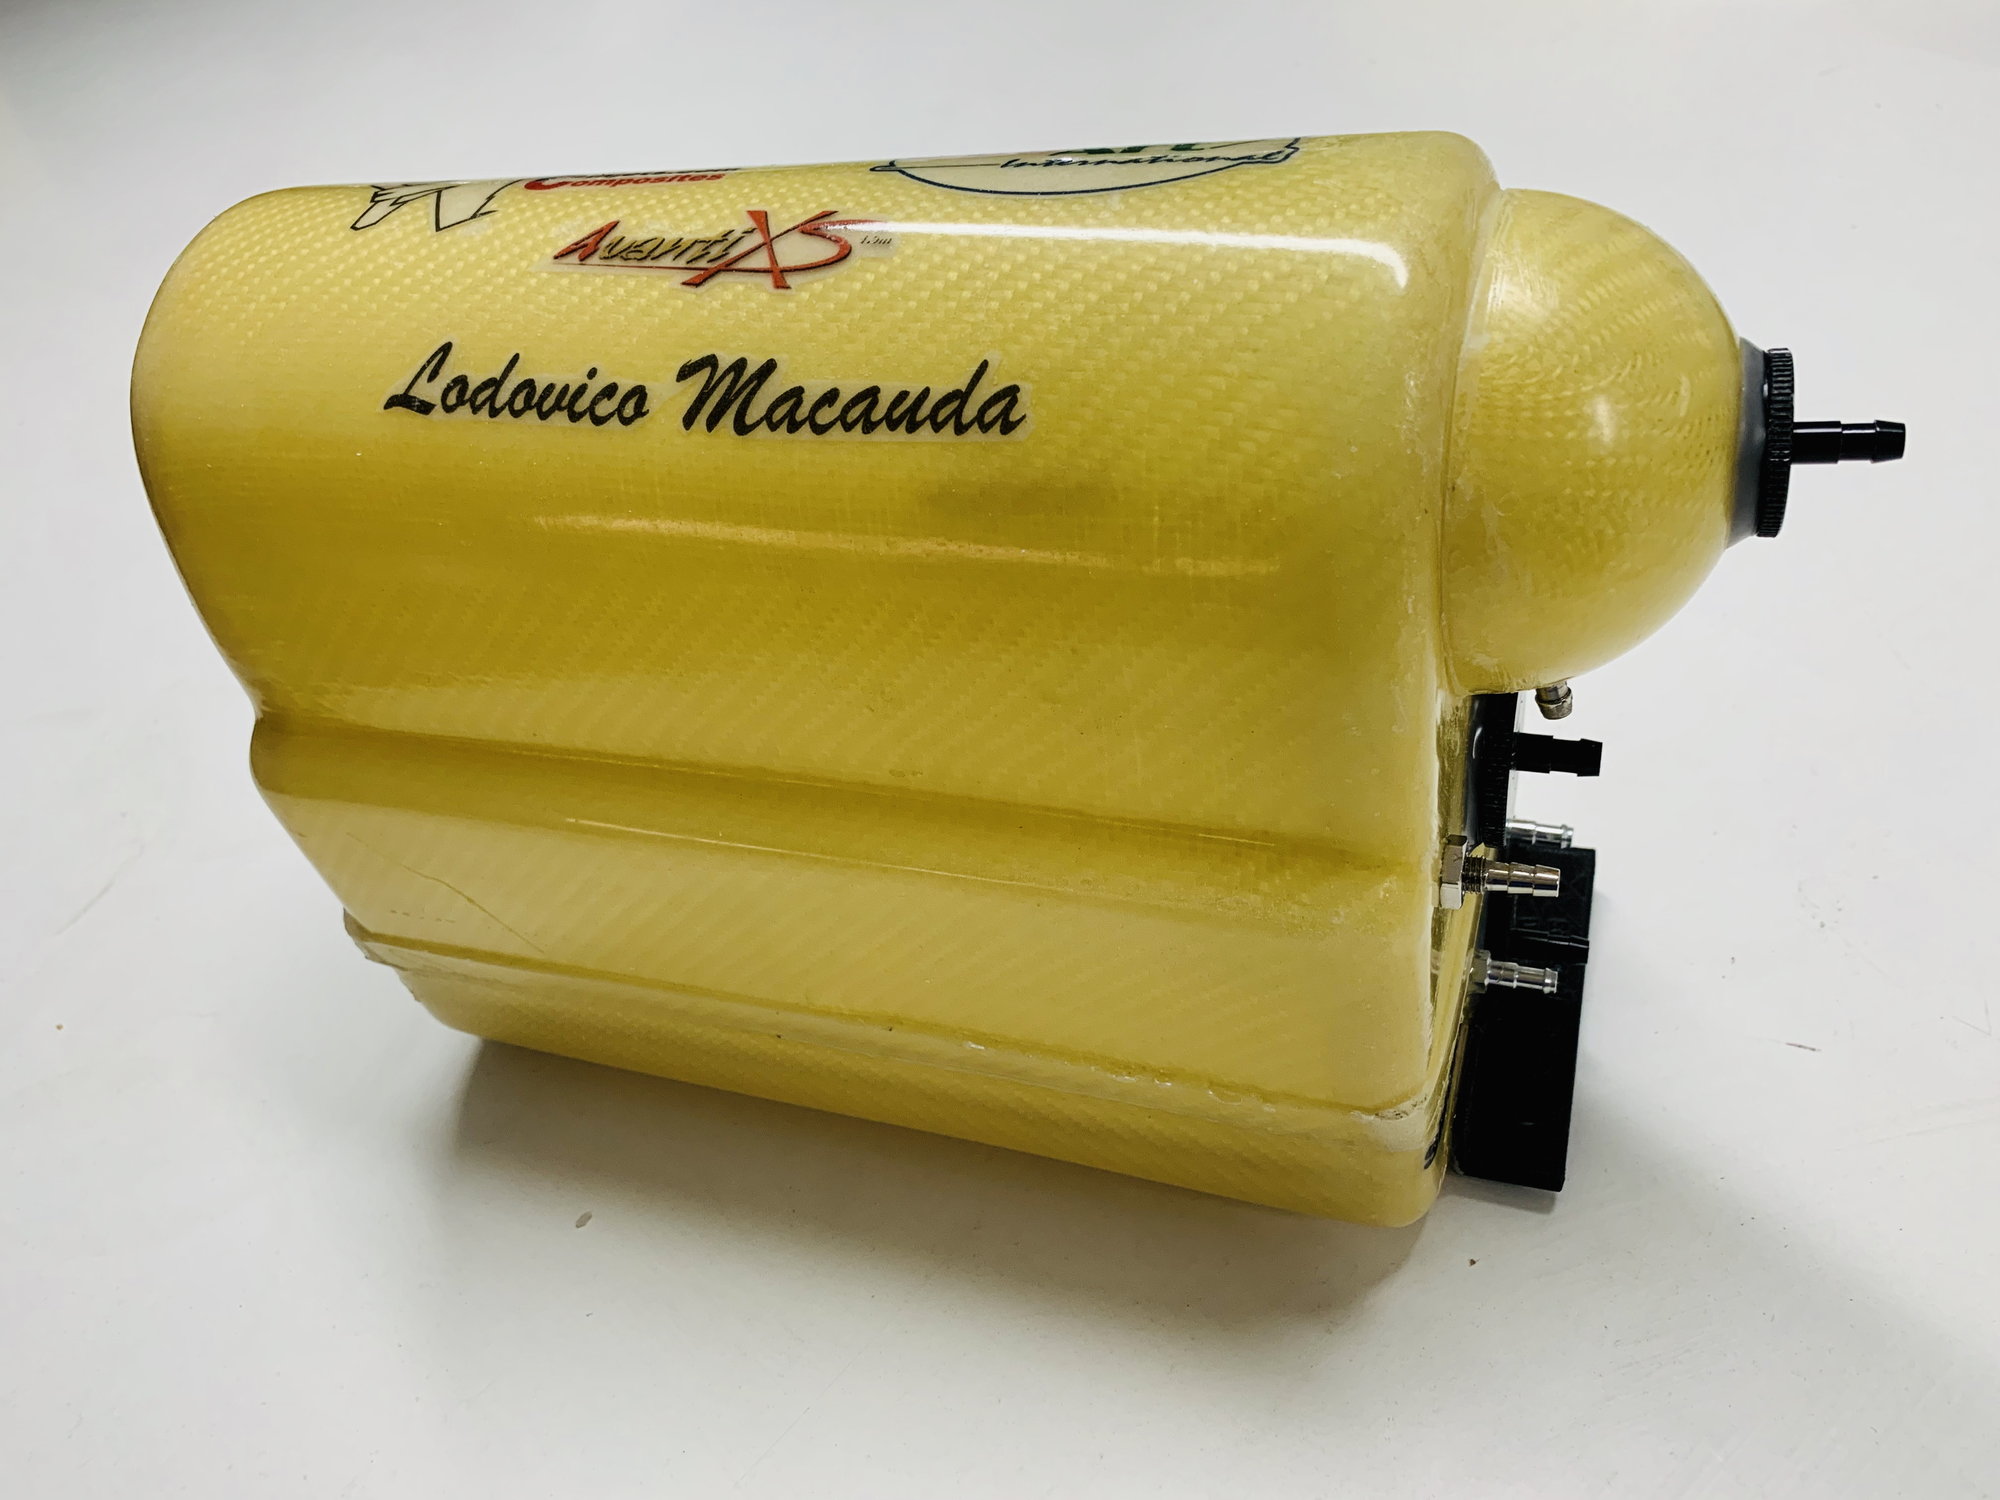
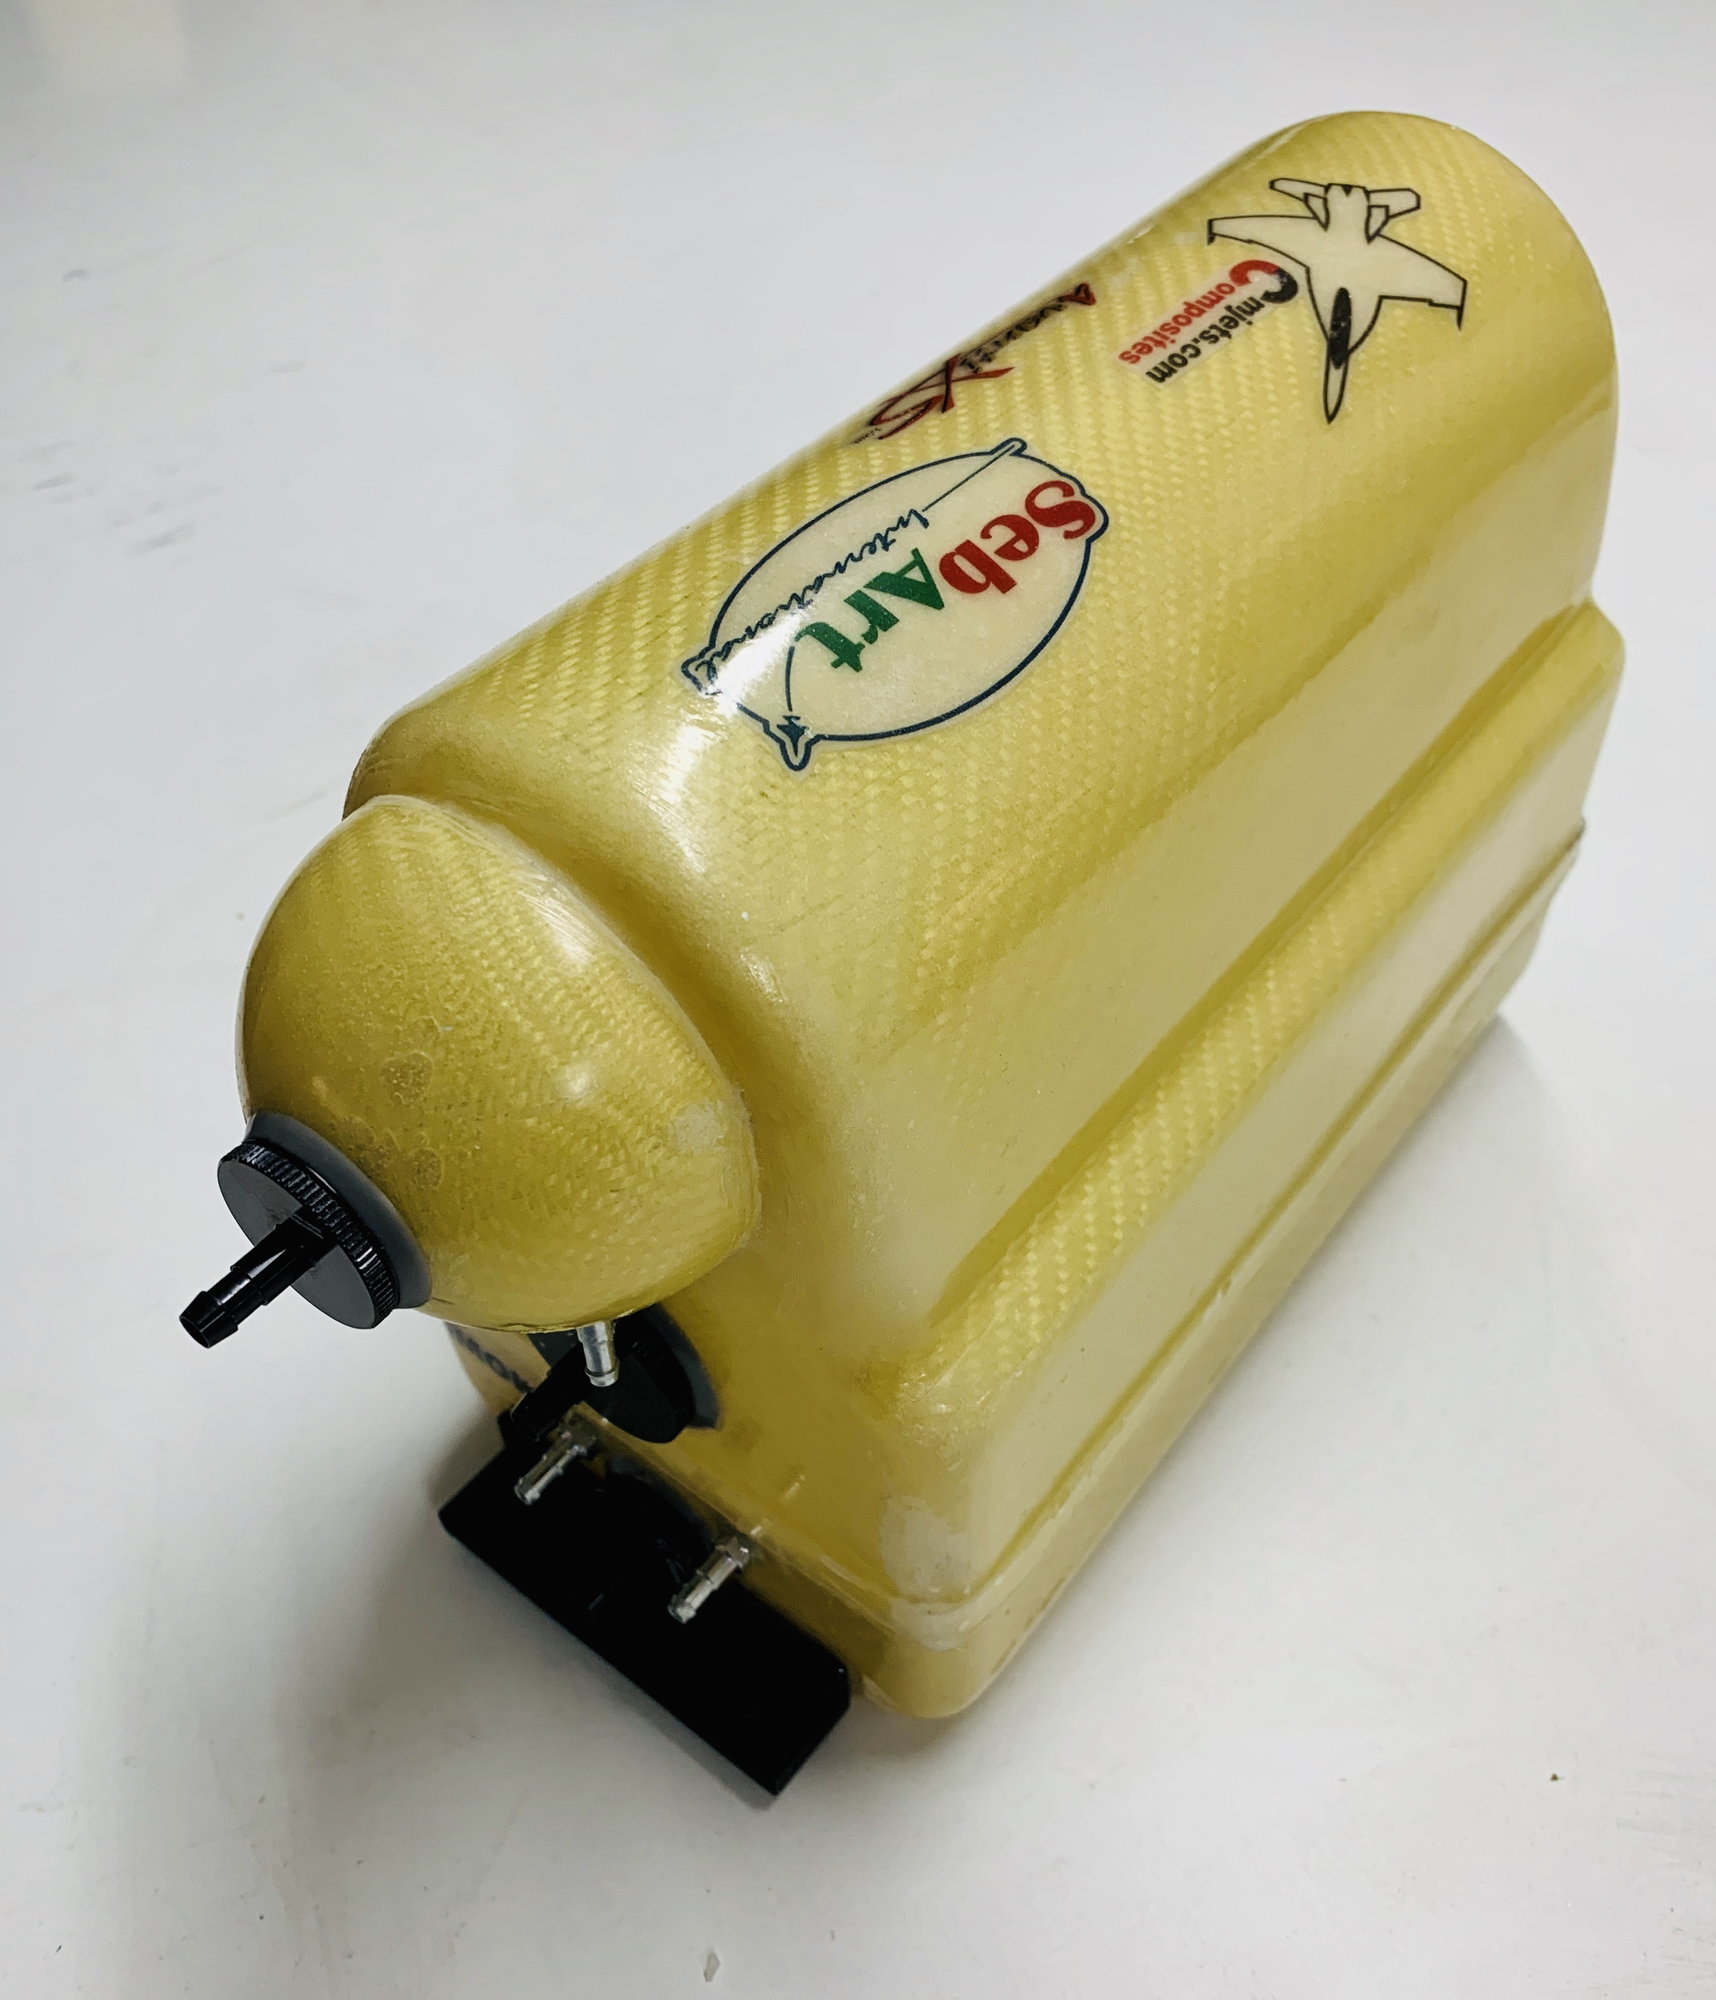
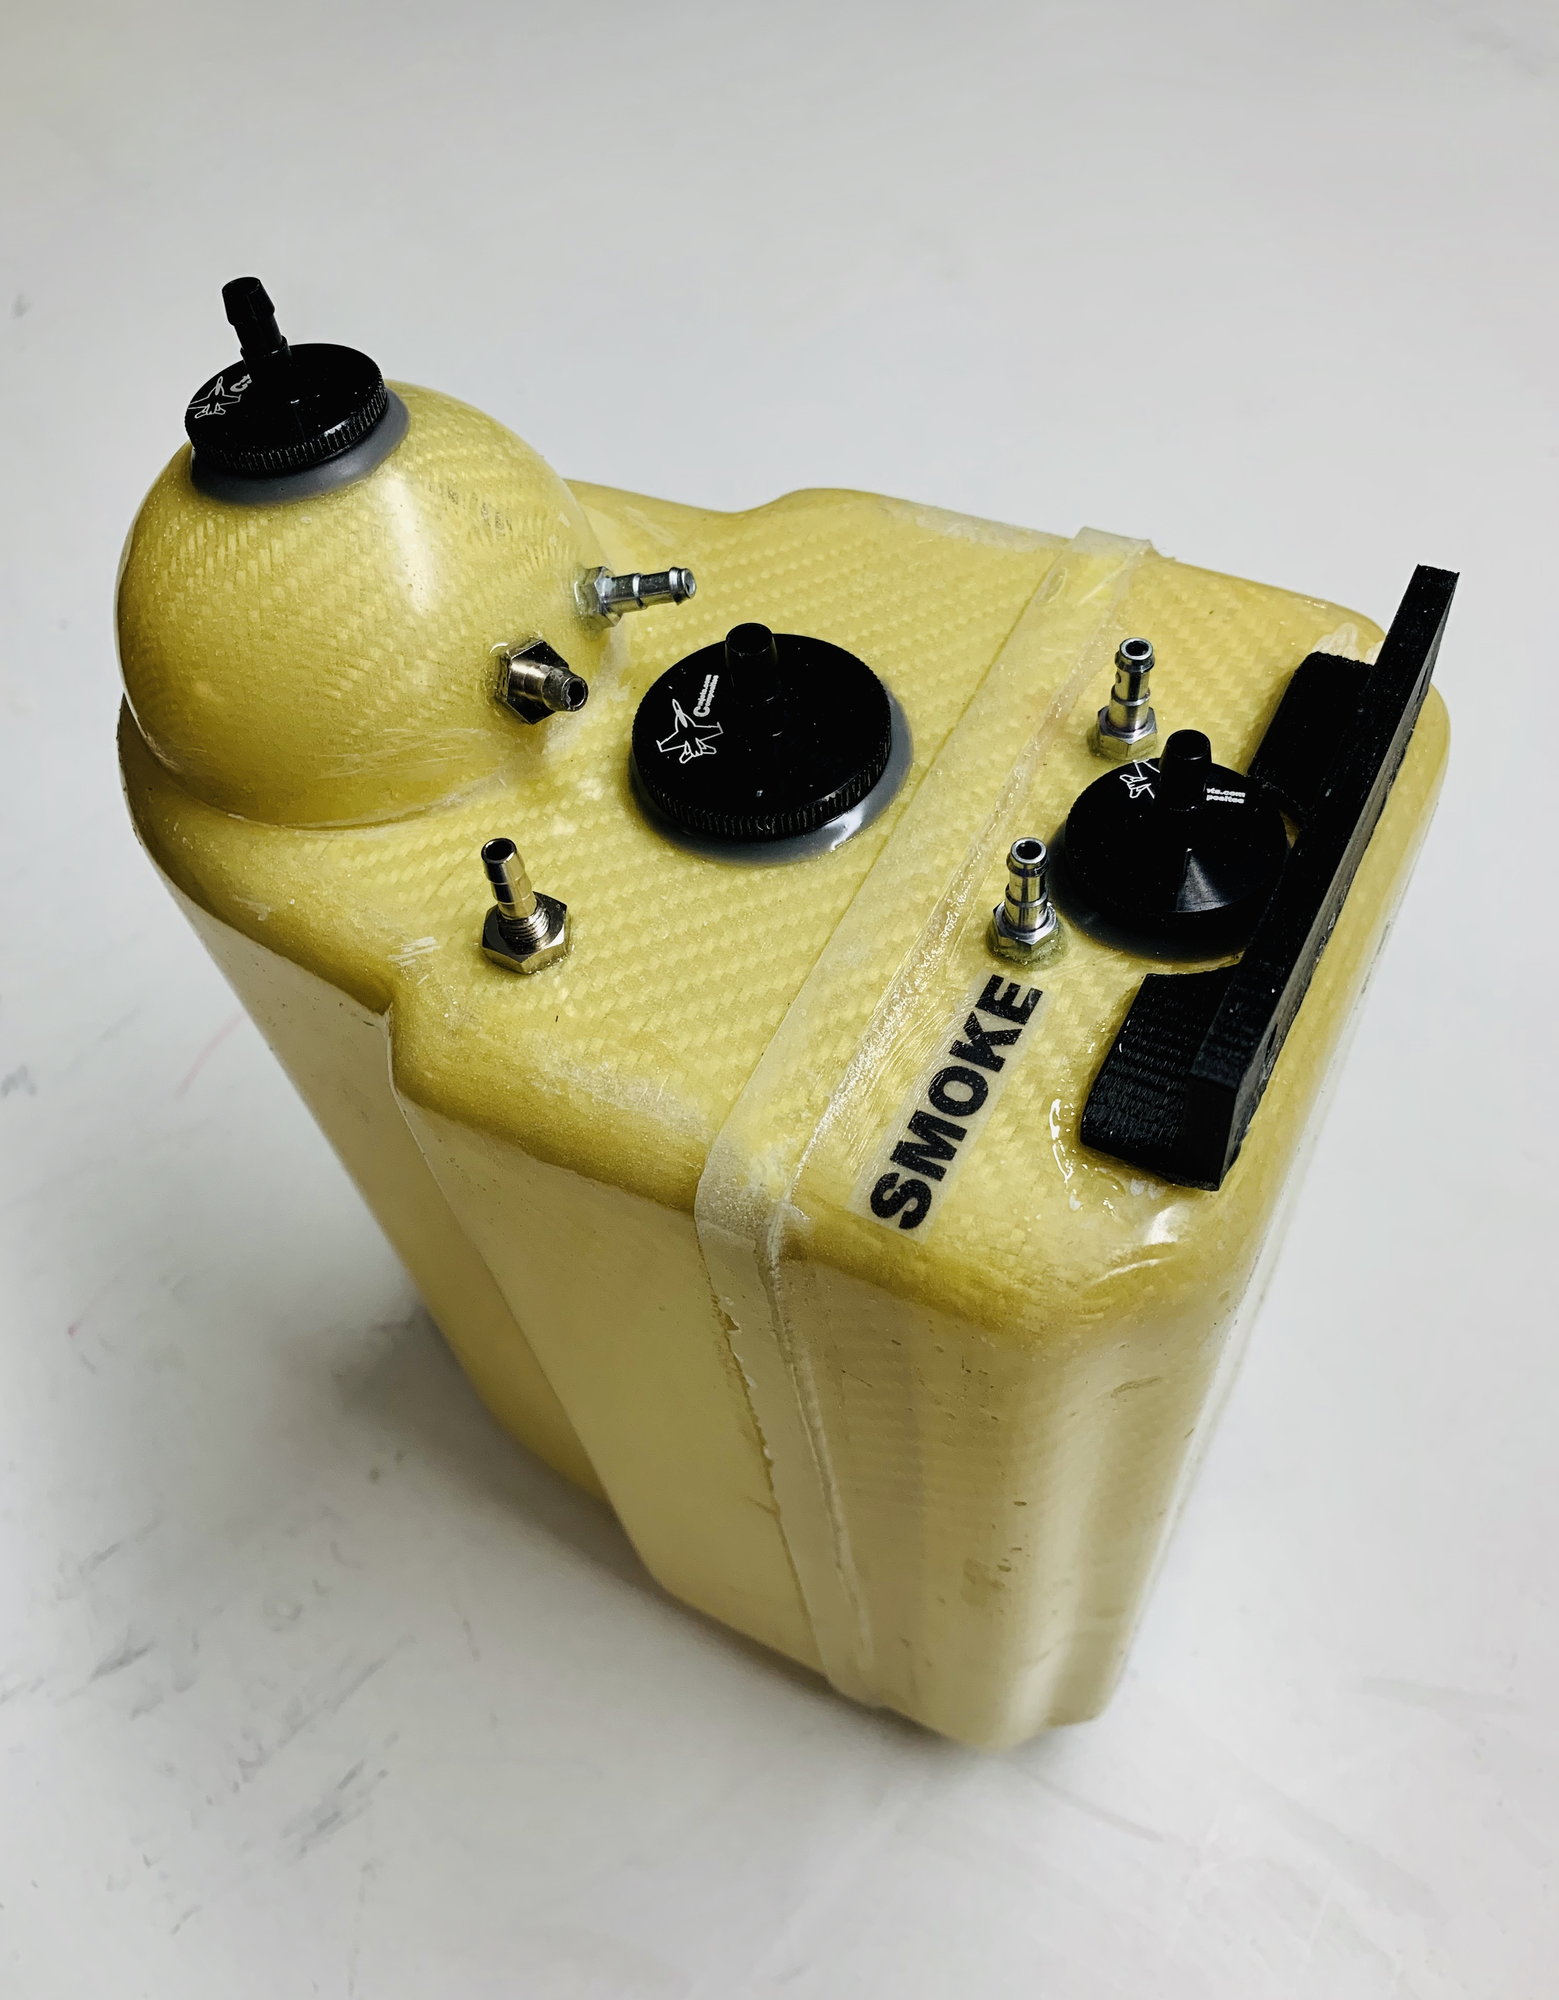
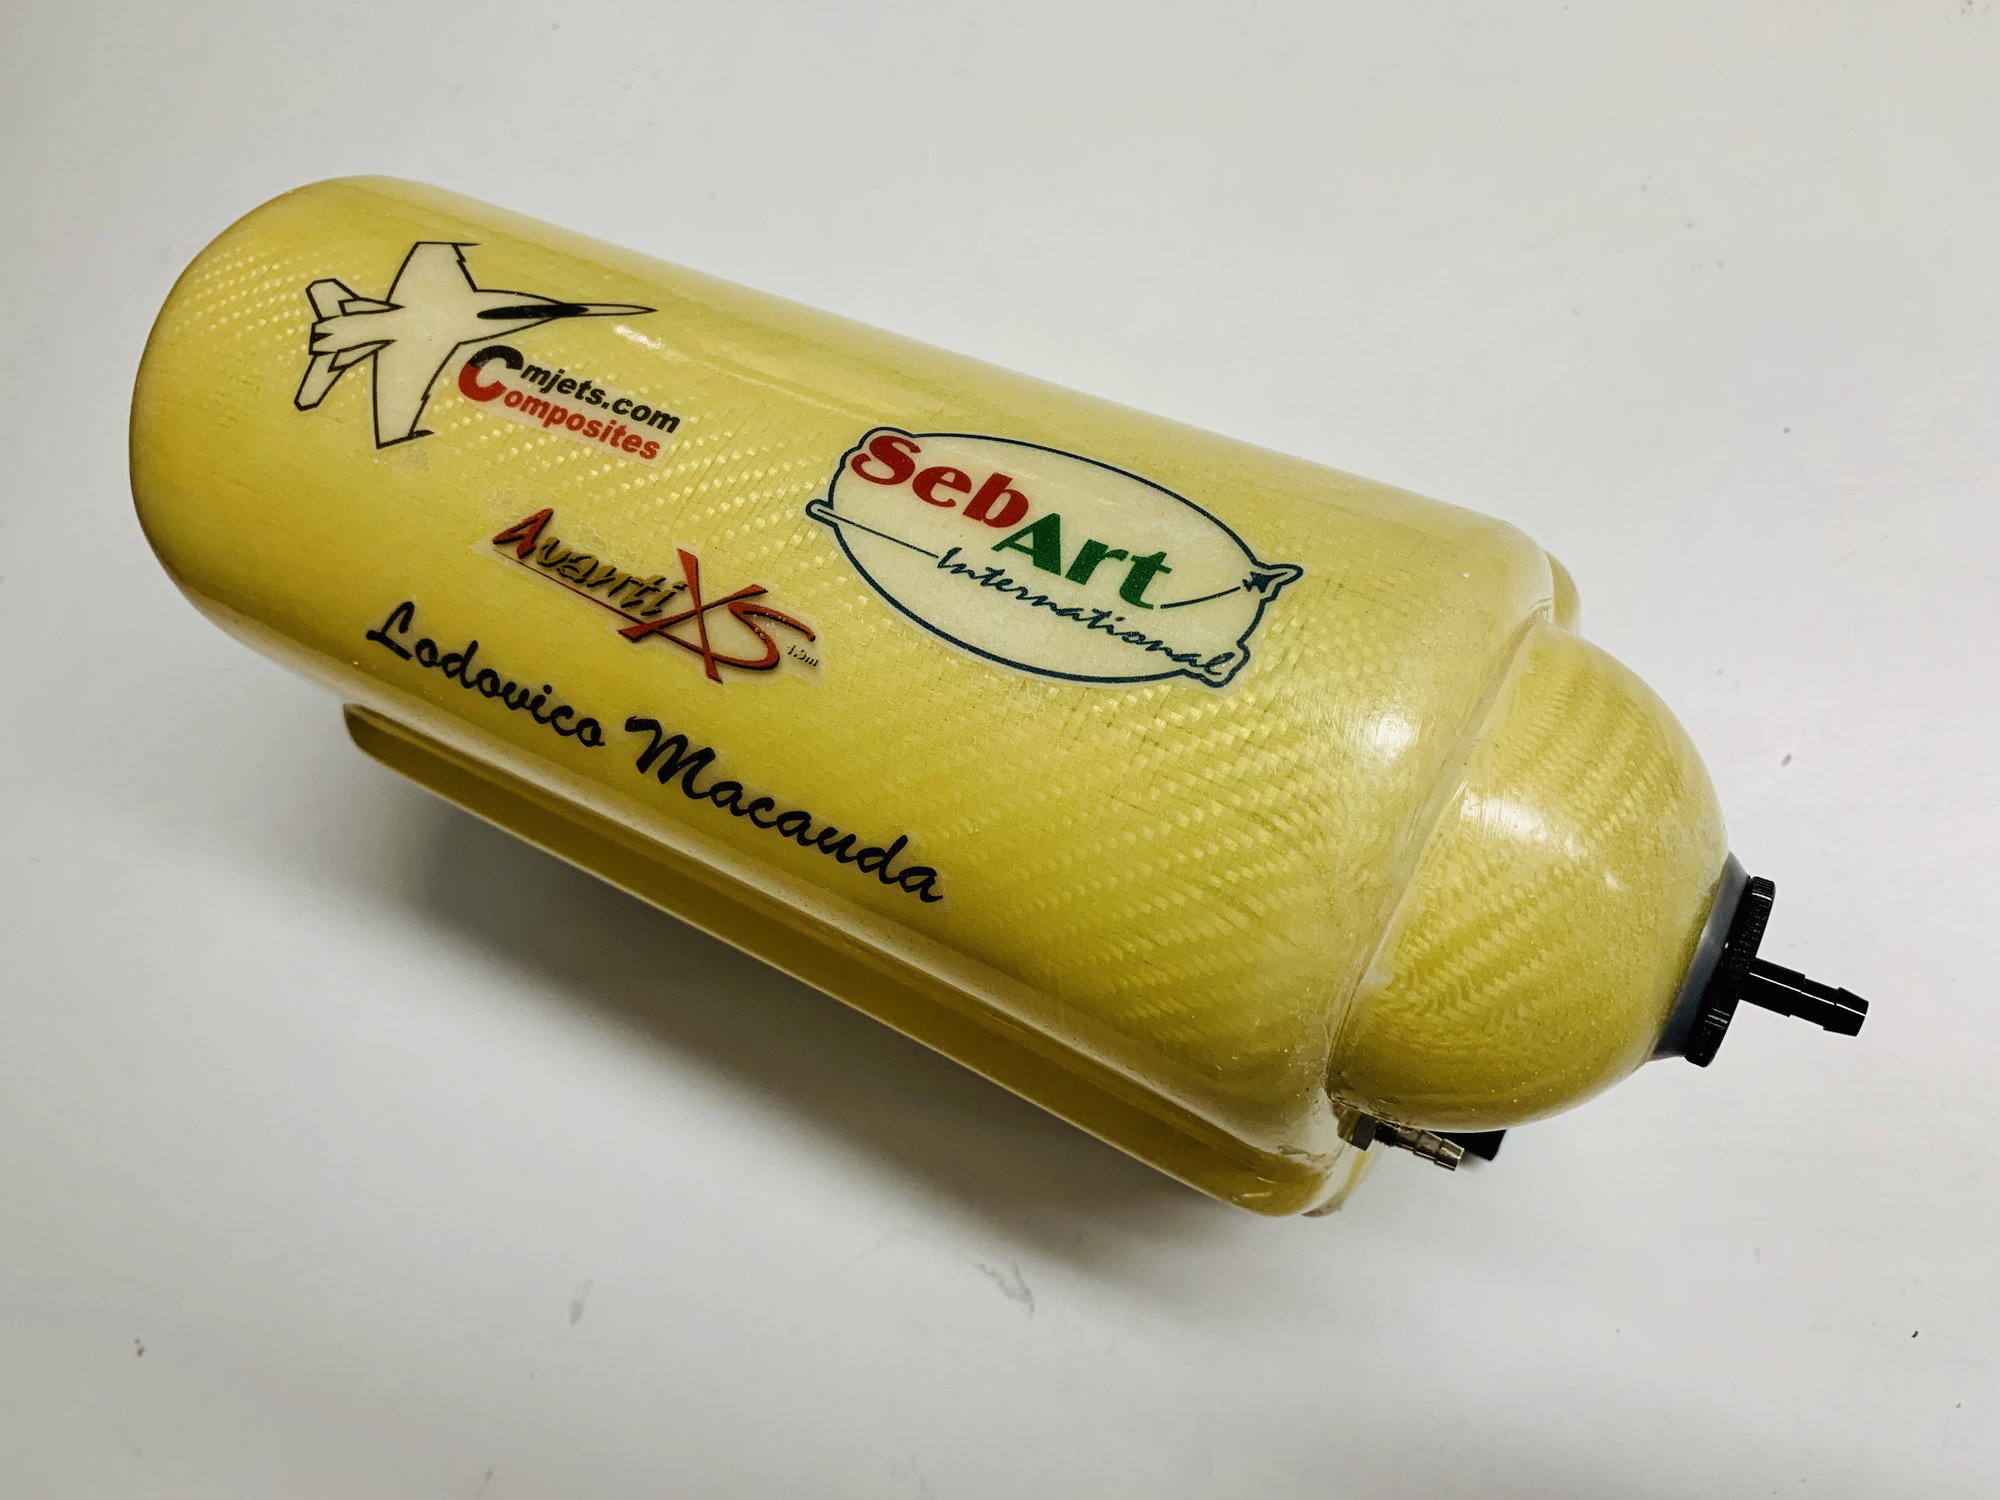
Below some pictures of my radio / turbine install. Thanks to all of you that shared build pictures to inspire me to do it a little different. Notice this is a 1.46:1 scale model of the legendary Freewing Avanti S :-)
One Q about balancing: I noticed that when balanced empty on the gear to the recommended 230 mm (with hopper simulated full with some added weight there), the plane is extremely light on the nose wheel.
So, does the 230 mm refer really to gear down, hopper full ? This is how I arranged all equipment to match that CG setting. Just to verify how you guys did it..
Thanks,
Florian
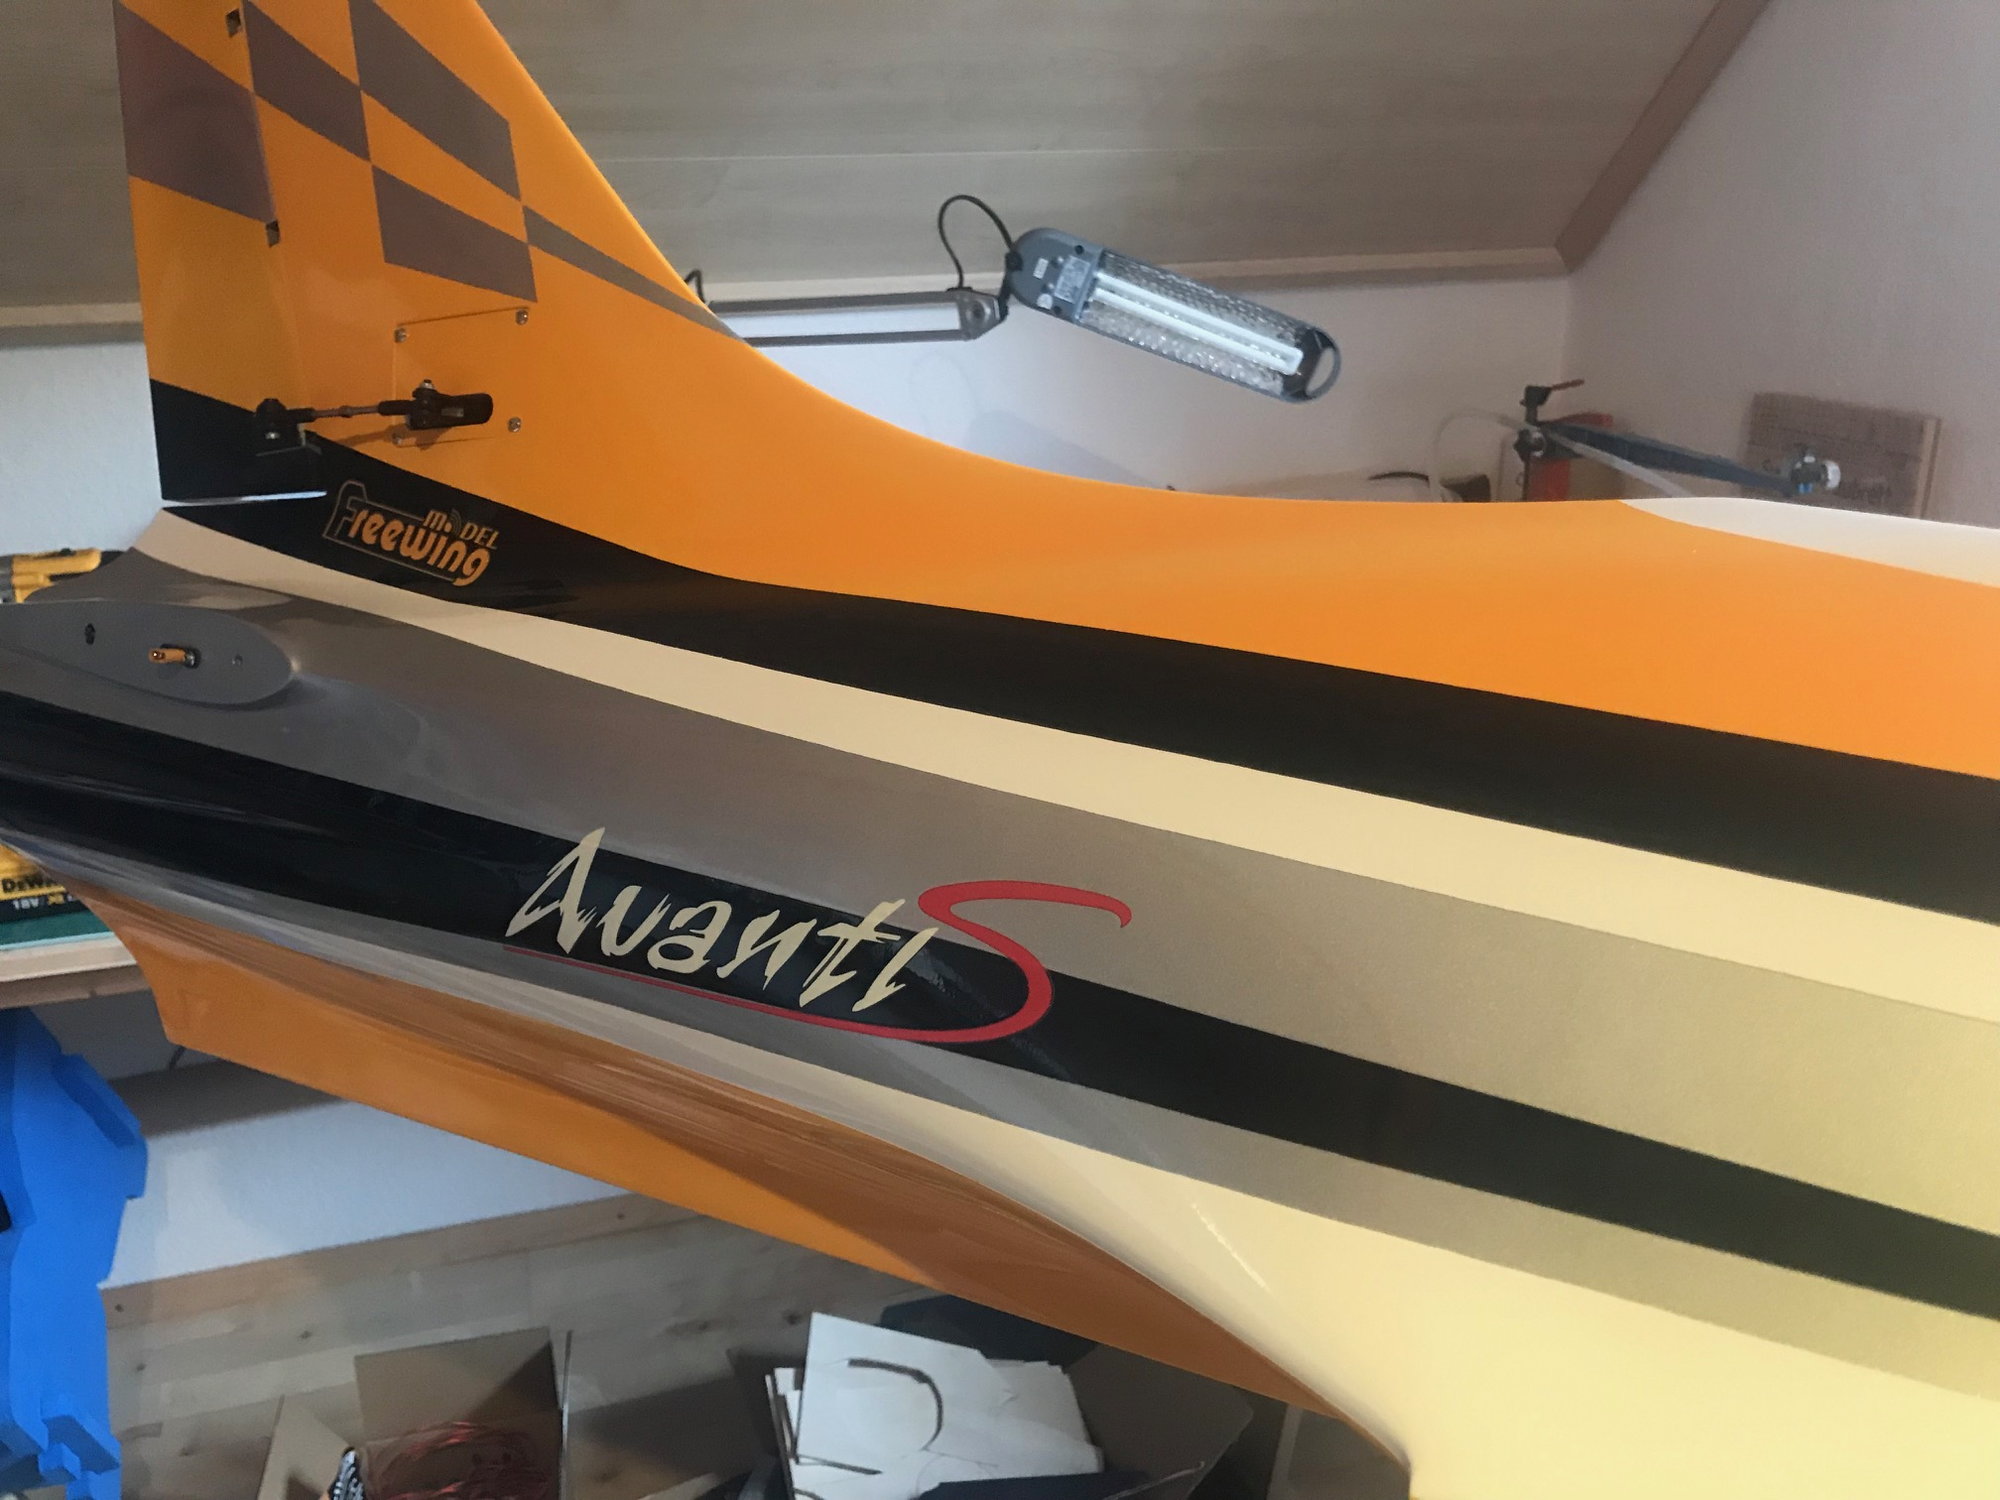
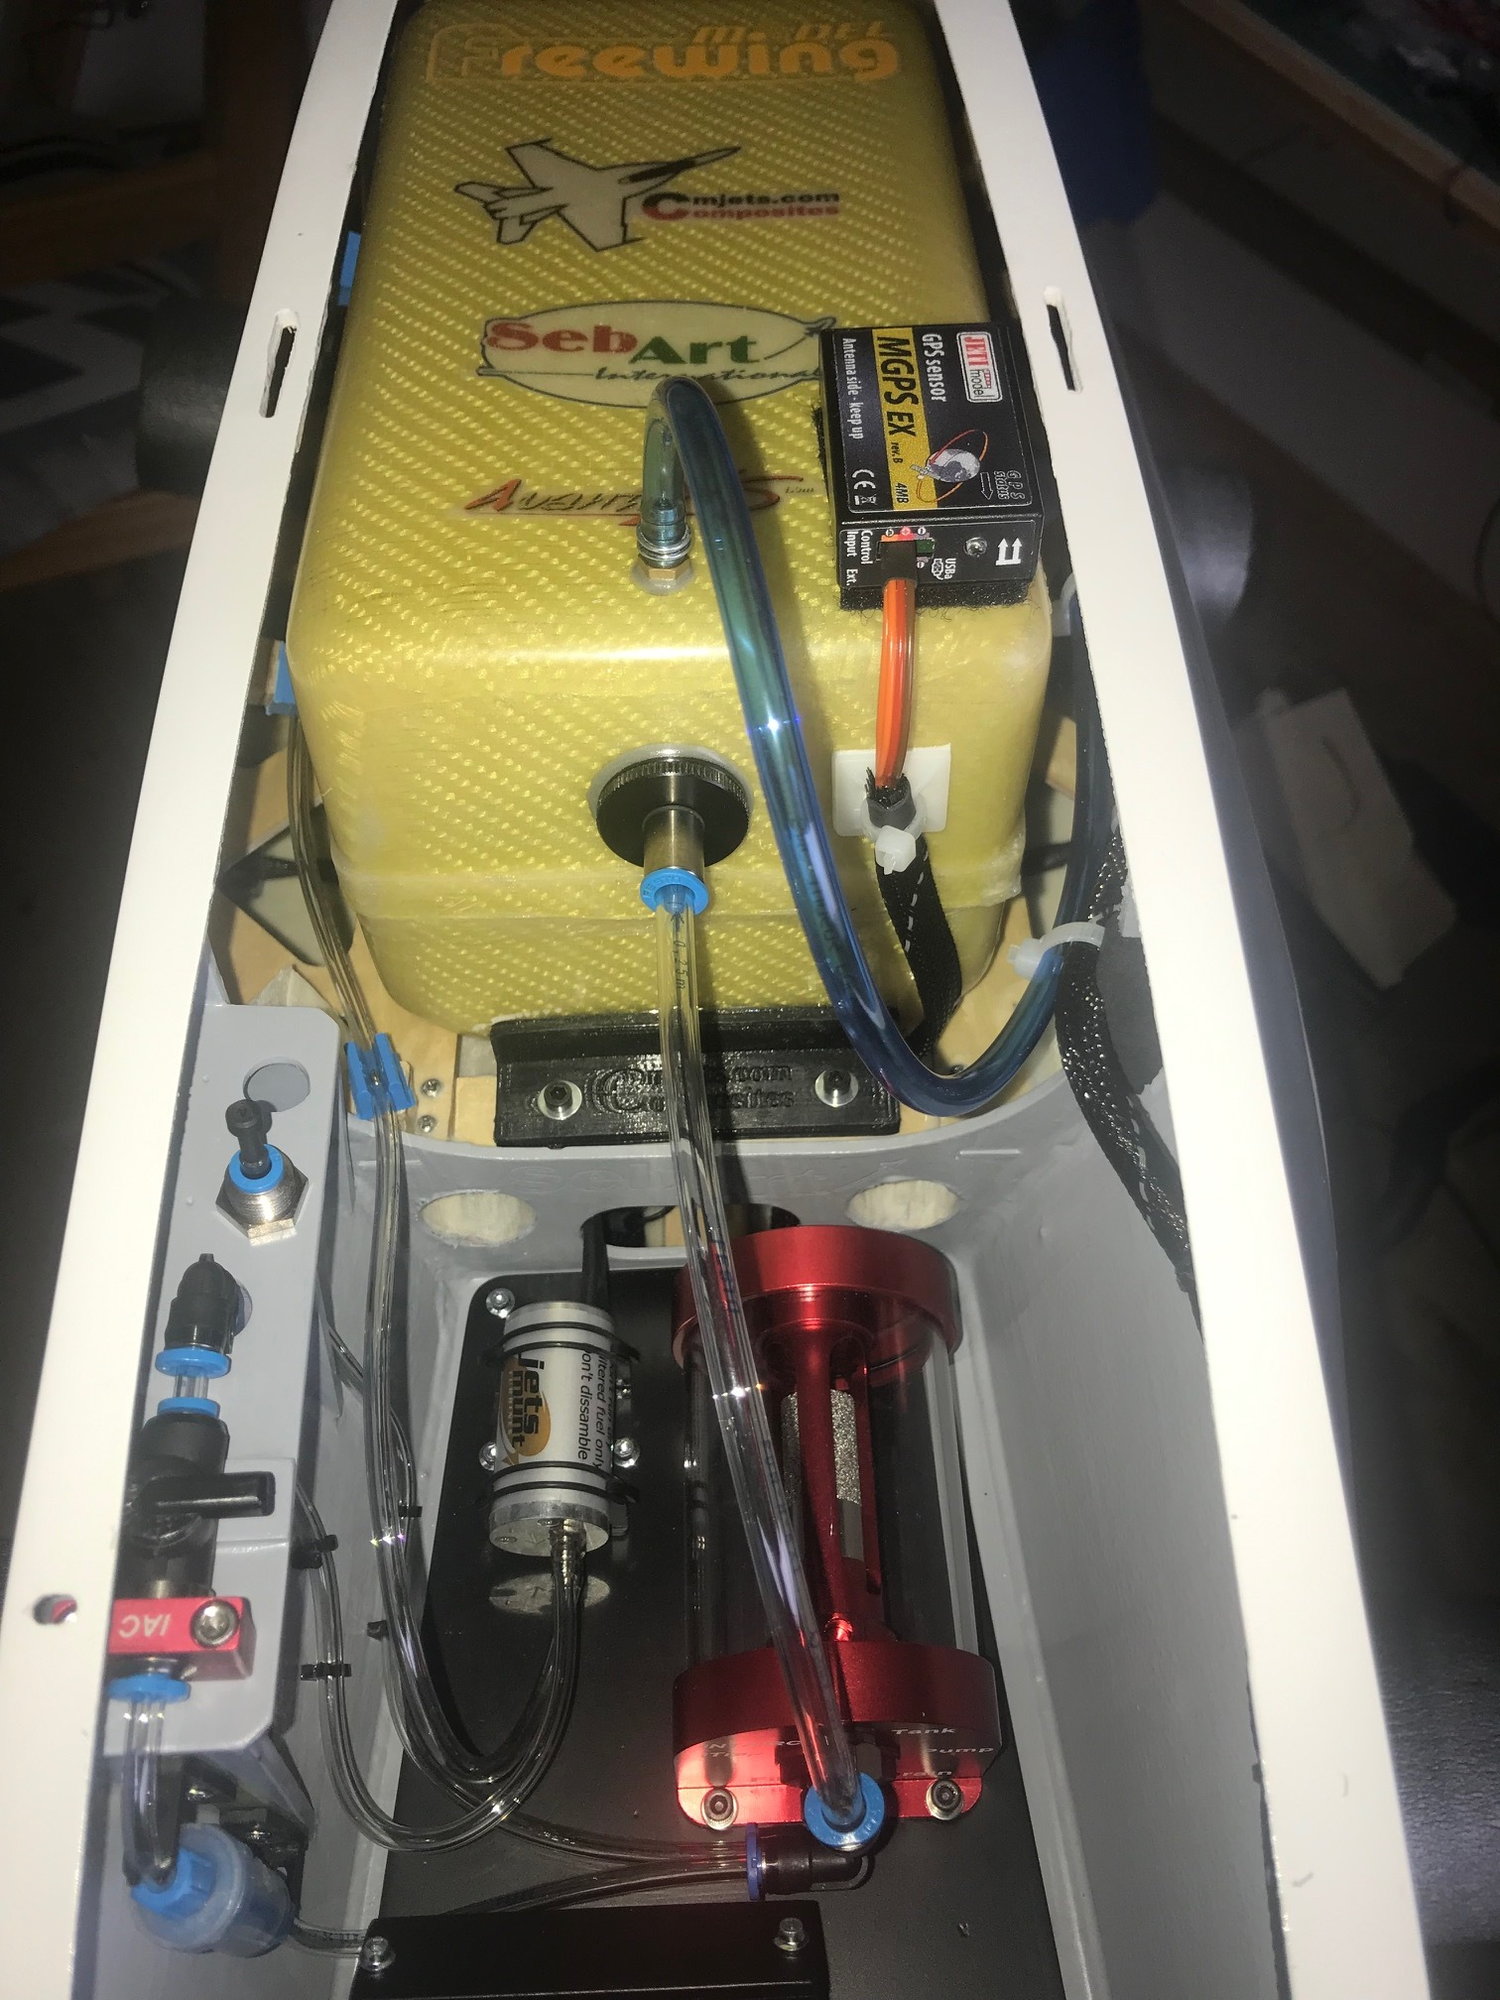
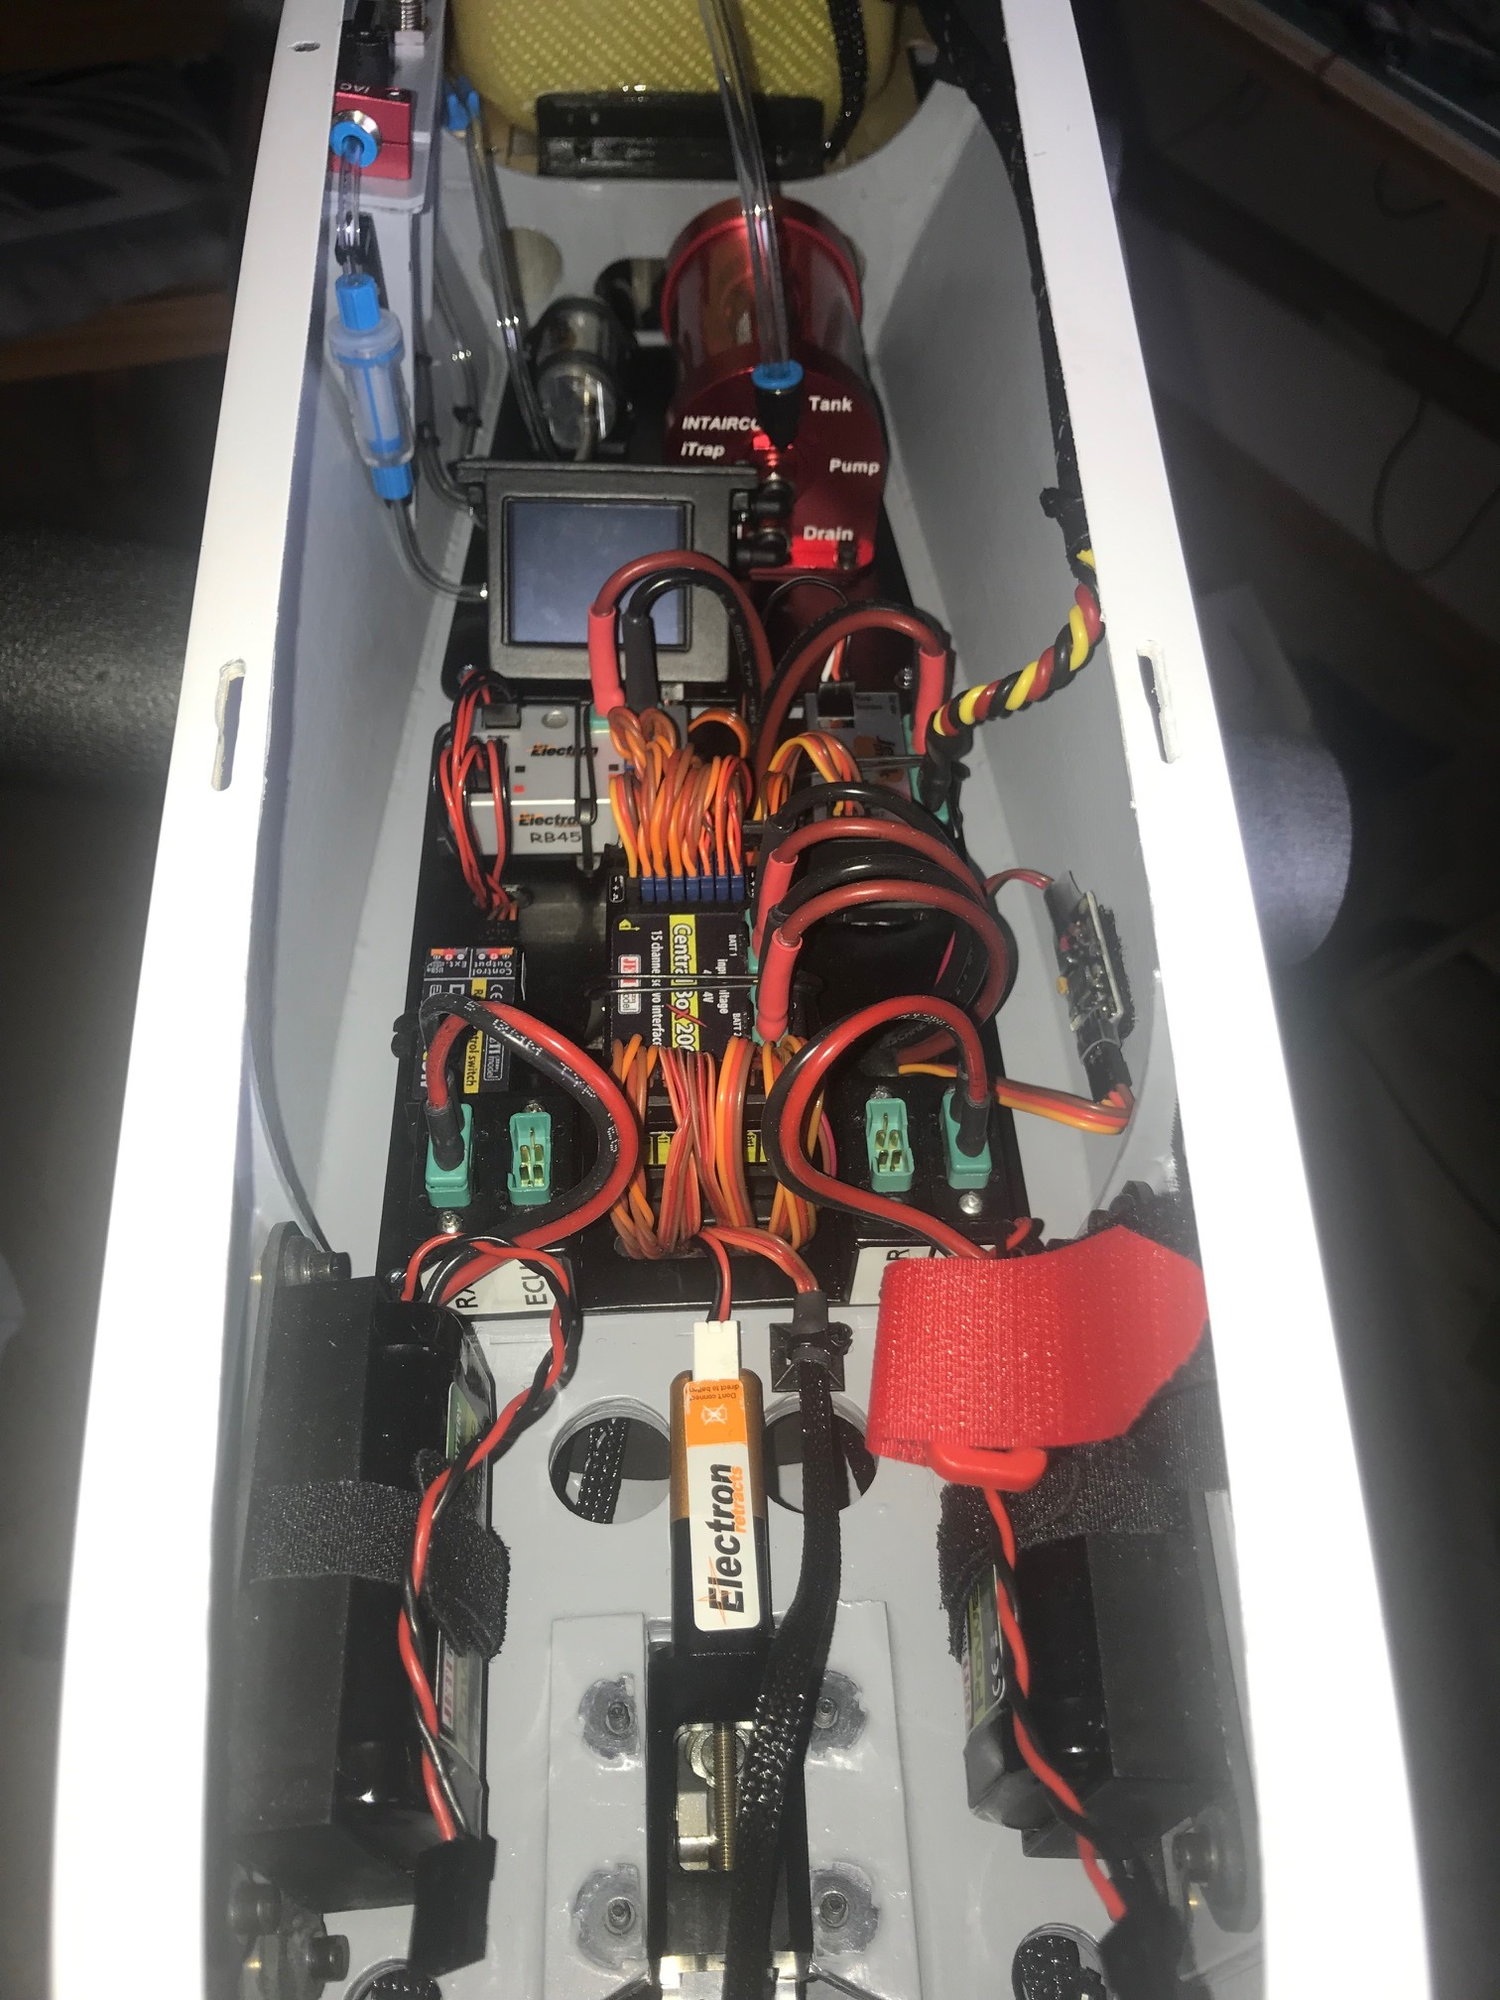
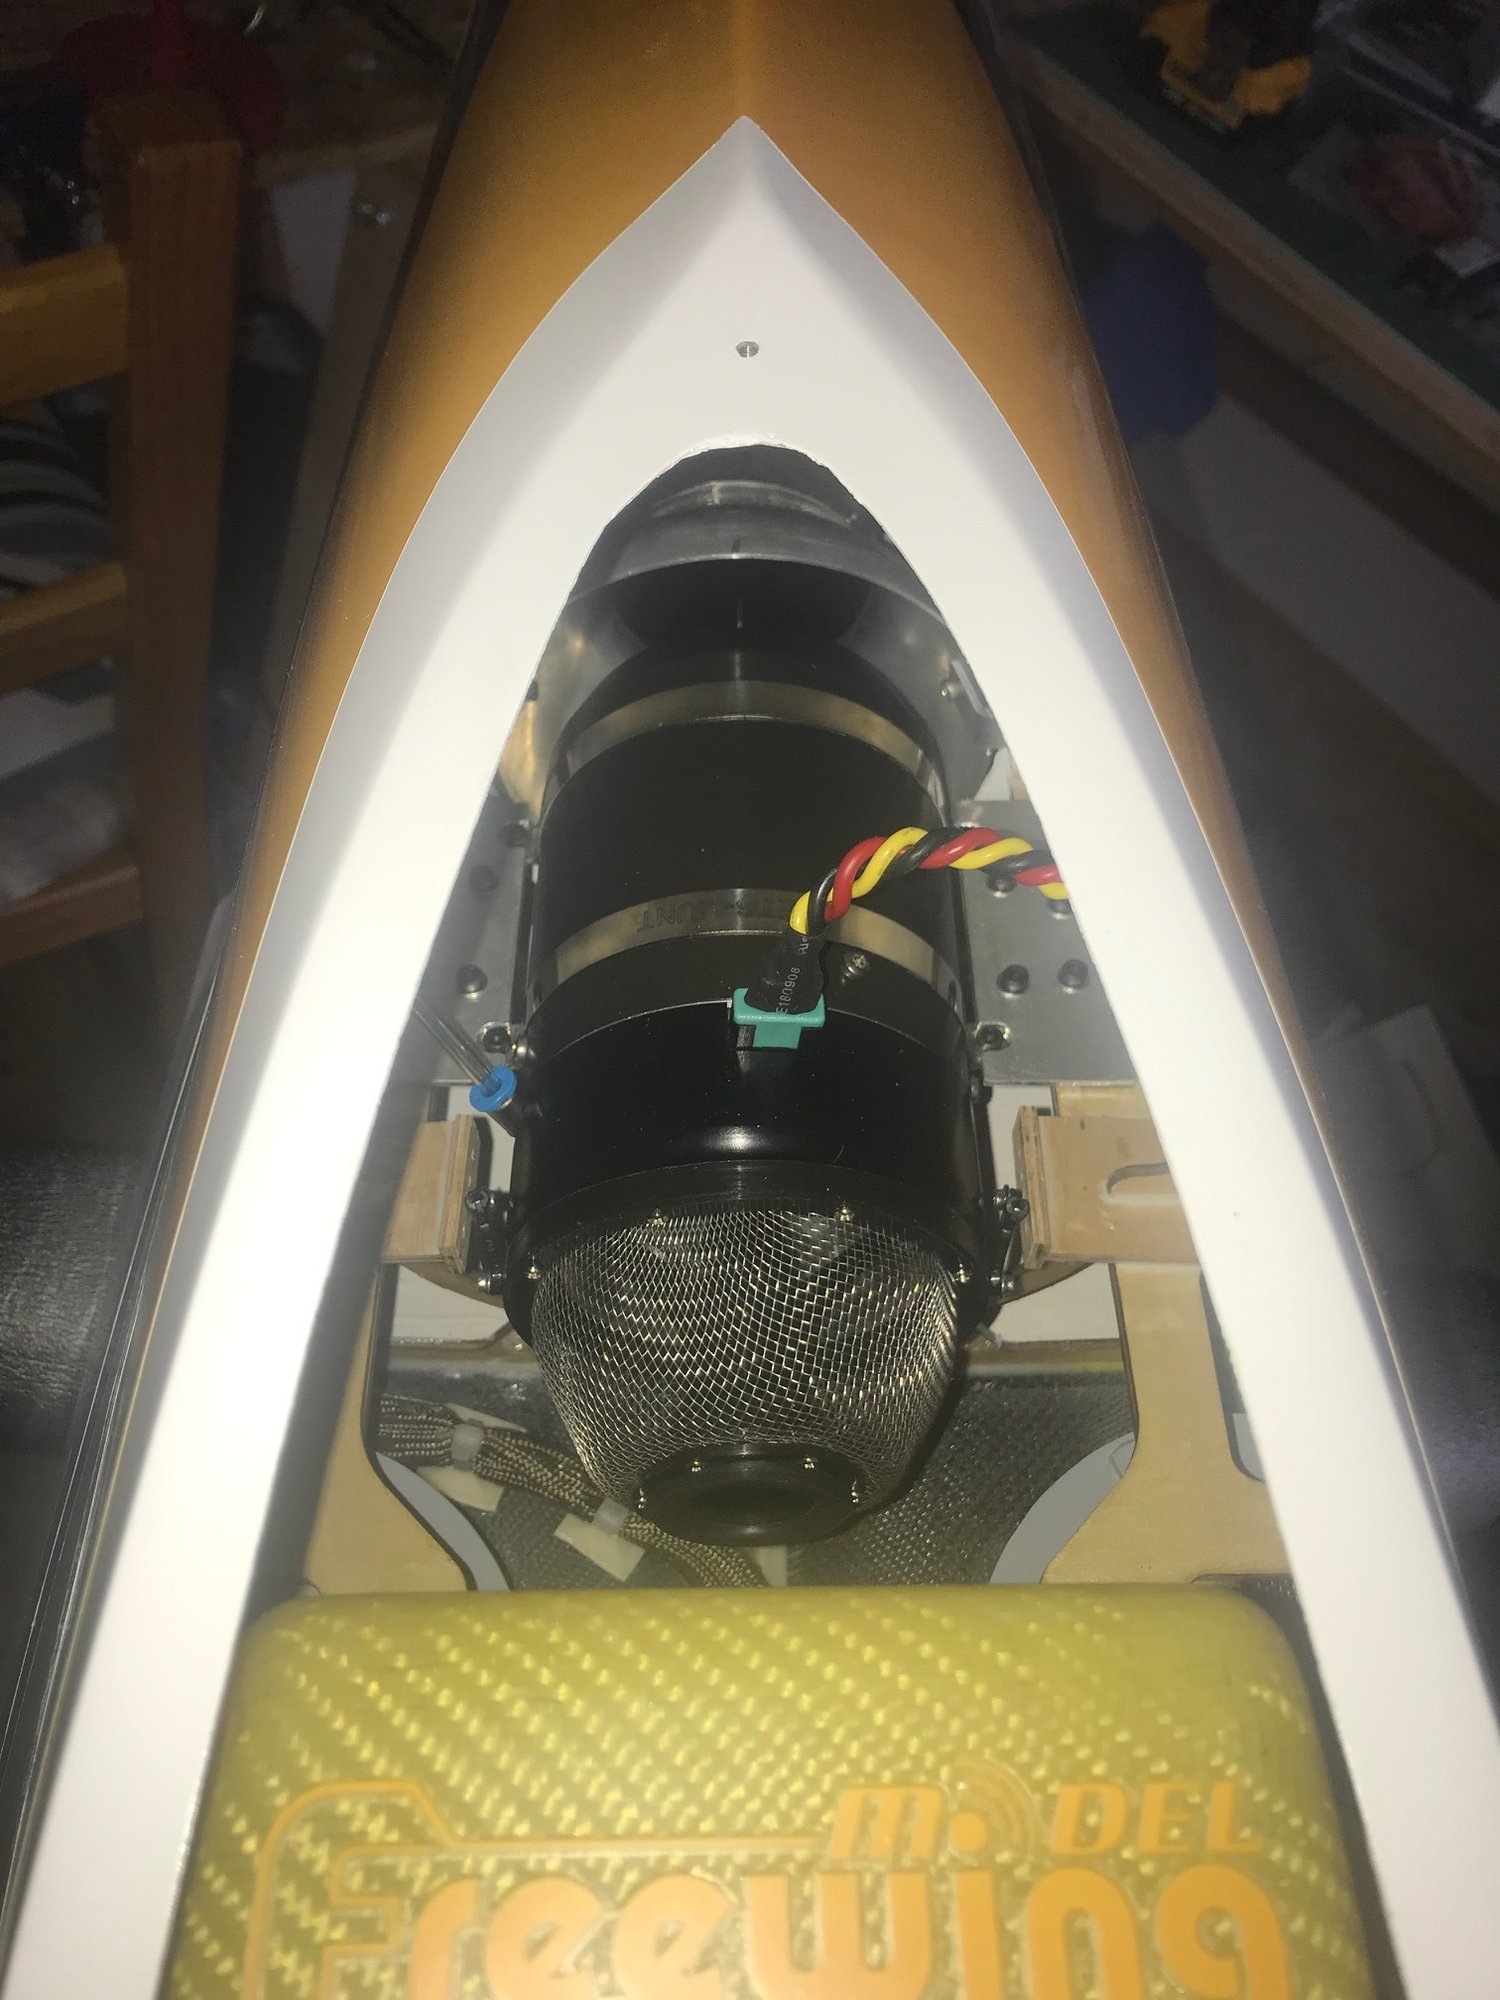
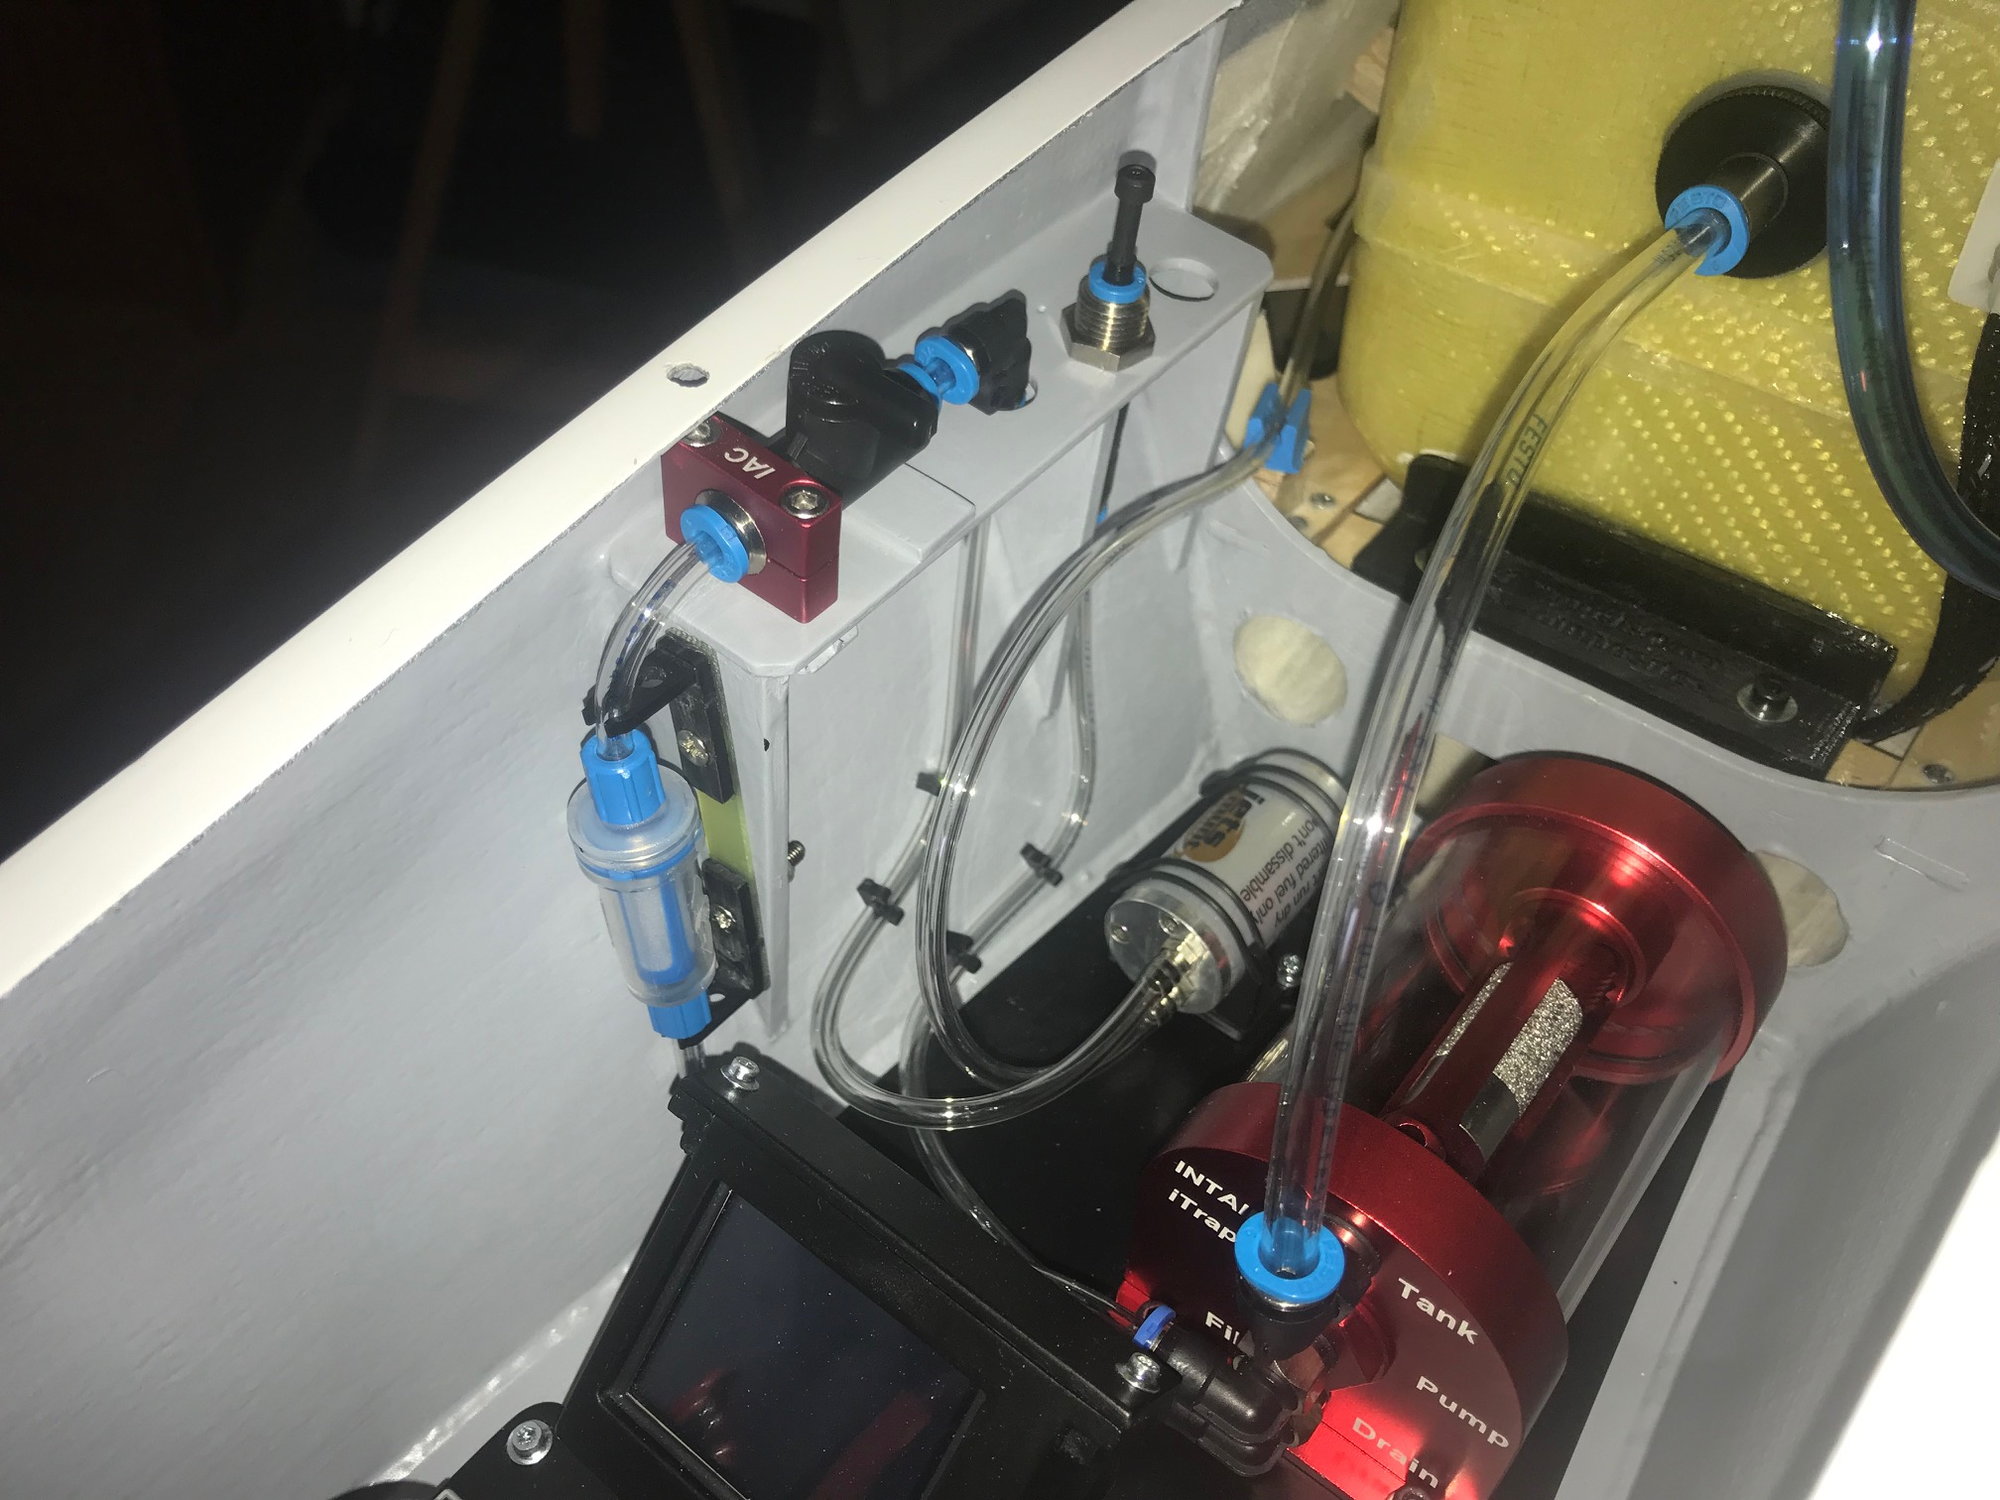
05-20-2019, 12:01 PM
#120

Really slows down for landings.
I now have five flights on my Avanti xs. Mine balances with the gear down, full UAT and maybe 1/4� of fuel in the tank. Balance is very nose light. Flies great. It does good four point rolls. My best slow speed landings have been with full flaps and only ~30% fuel in the tank. When inverted at full speed only need slight down elevator to keep level. My KingTechs K-85g2 is a perfect turbine for this plane. Plenty of vertical. Did numerous top hats, stall turns and large loops with ease. I love this plane.
Last edited by swk550; 05-20-2019 at 12:20 PM.
05-22-2019, 06:52 PM
#122
Junior Member
Join Date: May 2019
Posts: 7
Likes: 0
Received 0 Likes
on
0 Posts
I am about to start the building of my XS. I am going to put K120 into it. I see in the tail the servo wires are exposed and subjected to the heat from the pipe before going into the tube. Is there anybody who put some sort of heat shield in the tail to protect the servo wires from the heat?
Thanks,
Thanks,
05-22-2019, 07:41 PM
#123
My Feedback: (8)
Caliber90,
Don't know whether you have a choice of which engine to put in your XS. I was originally going to put a P-120 in mine but I listened to all the folks who said the P-120 would be too much engine for that airframe. A fellow jet pilot strongly suggested the Kingtech K-85 which is what I put in mine and it has all the power it needs and then some! Smaller, lighter engine, smaller fuel tank, fuel tank exactly over the CG, smaller tailpipe, ....... all add up to a significantly lighter airframe. Lighter flies better, lands slower, just sayin'.
Don't know whether you have a choice of which engine to put in your XS. I was originally going to put a P-120 in mine but I listened to all the folks who said the P-120 would be too much engine for that airframe. A fellow jet pilot strongly suggested the Kingtech K-85 which is what I put in mine and it has all the power it needs and then some! Smaller, lighter engine, smaller fuel tank, fuel tank exactly over the CG, smaller tailpipe, ....... all add up to a significantly lighter airframe. Lighter flies better, lands slower, just sayin'.
Last edited by Steve Collins; 05-22-2019 at 07:43 PM.
05-23-2019, 08:17 AM
#124
SWK550, Neil, Thanks for the feedback, and sweet looking color :-) Probably leave my Wing fences off, and see how it goes at maiden.
Caliber90,
I�d suggest to use at least silicone insulated servo wires in the back, even better PTFE insulated, which resists to about 300�C. I used a Kevlar sleeve to provide additional heat protection to the servo wires in the back. Glassfiber (not with resin!) sleeve would work too.
Caliber90,
I�d suggest to use at least silicone insulated servo wires in the back, even better PTFE insulated, which resists to about 300�C. I used a Kevlar sleeve to provide additional heat protection to the servo wires in the back. Glassfiber (not with resin!) sleeve would work too.