


FokkeRC 1/5 Spitfire MKIX build log


 01-14-2022, 10:00 AM
#153

Thread Starter
 01-14-2022, 10:58 AM
#154
I think your build is best for MK9 1/5 , so I up on our website. You can check your threa on this link and if you want you can write me on PM some words with base info about the model , , engine , landing gears , I will up the inf in the thread : https://www.fokkerc.com/user-builds/...tfire-mk9-1-5/
Here is the all threads : https://www.fokkerc.com/user-builds/
Here is the all threads : https://www.fokkerc.com/user-builds/
01-14-2022, 12:06 PM
#155


 01-19-2022, 04:40 AM
#160
Thread Starter
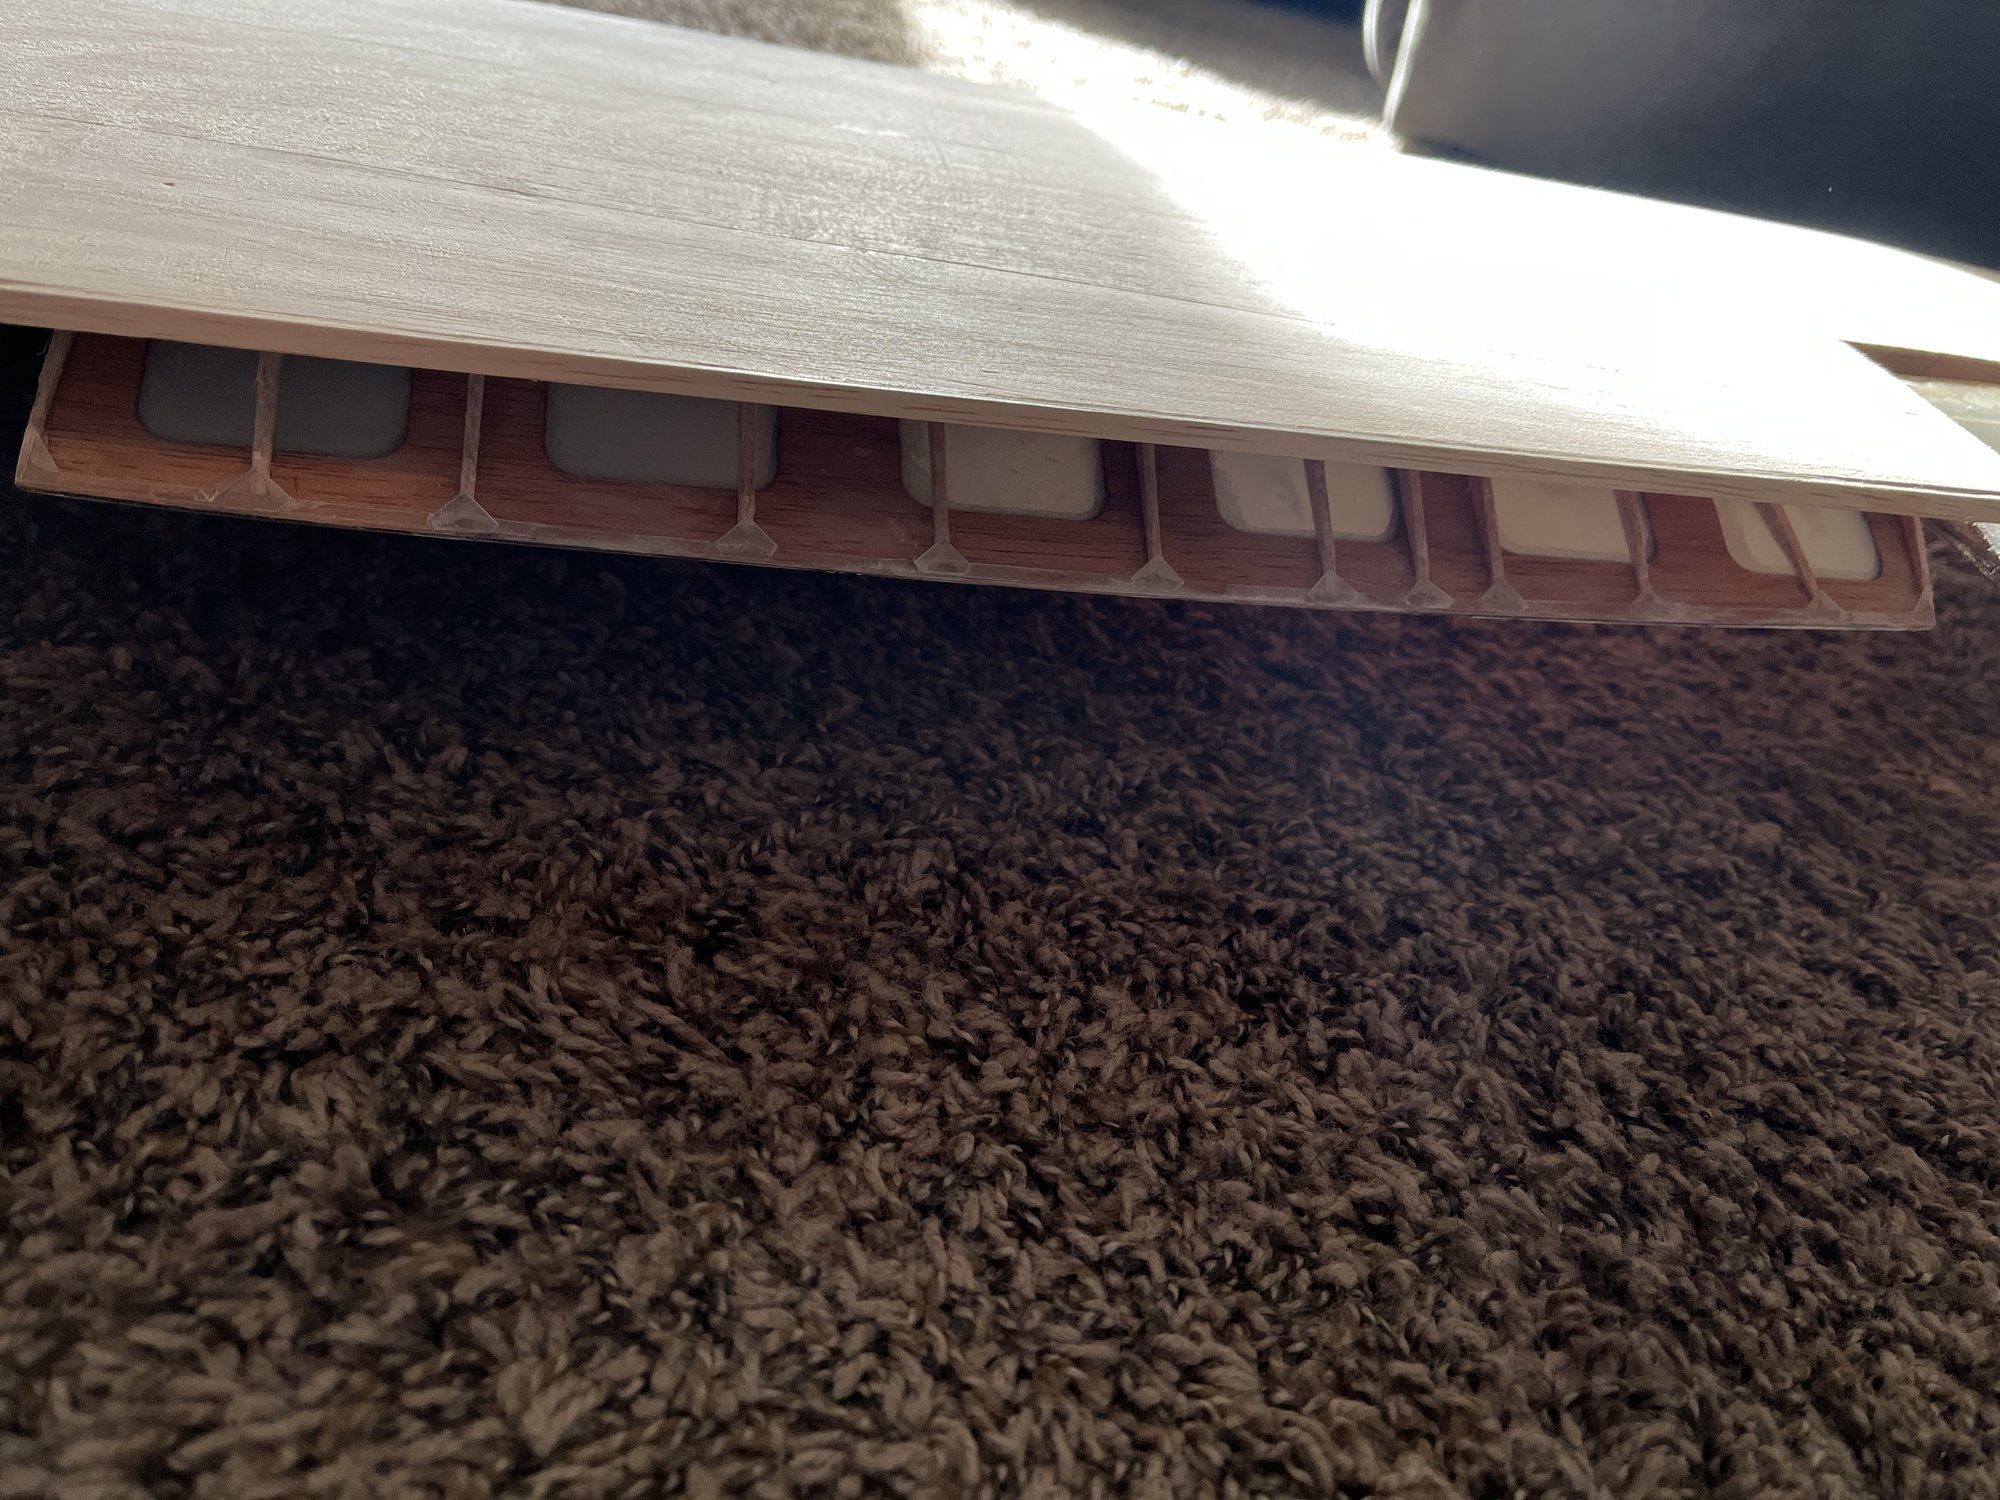
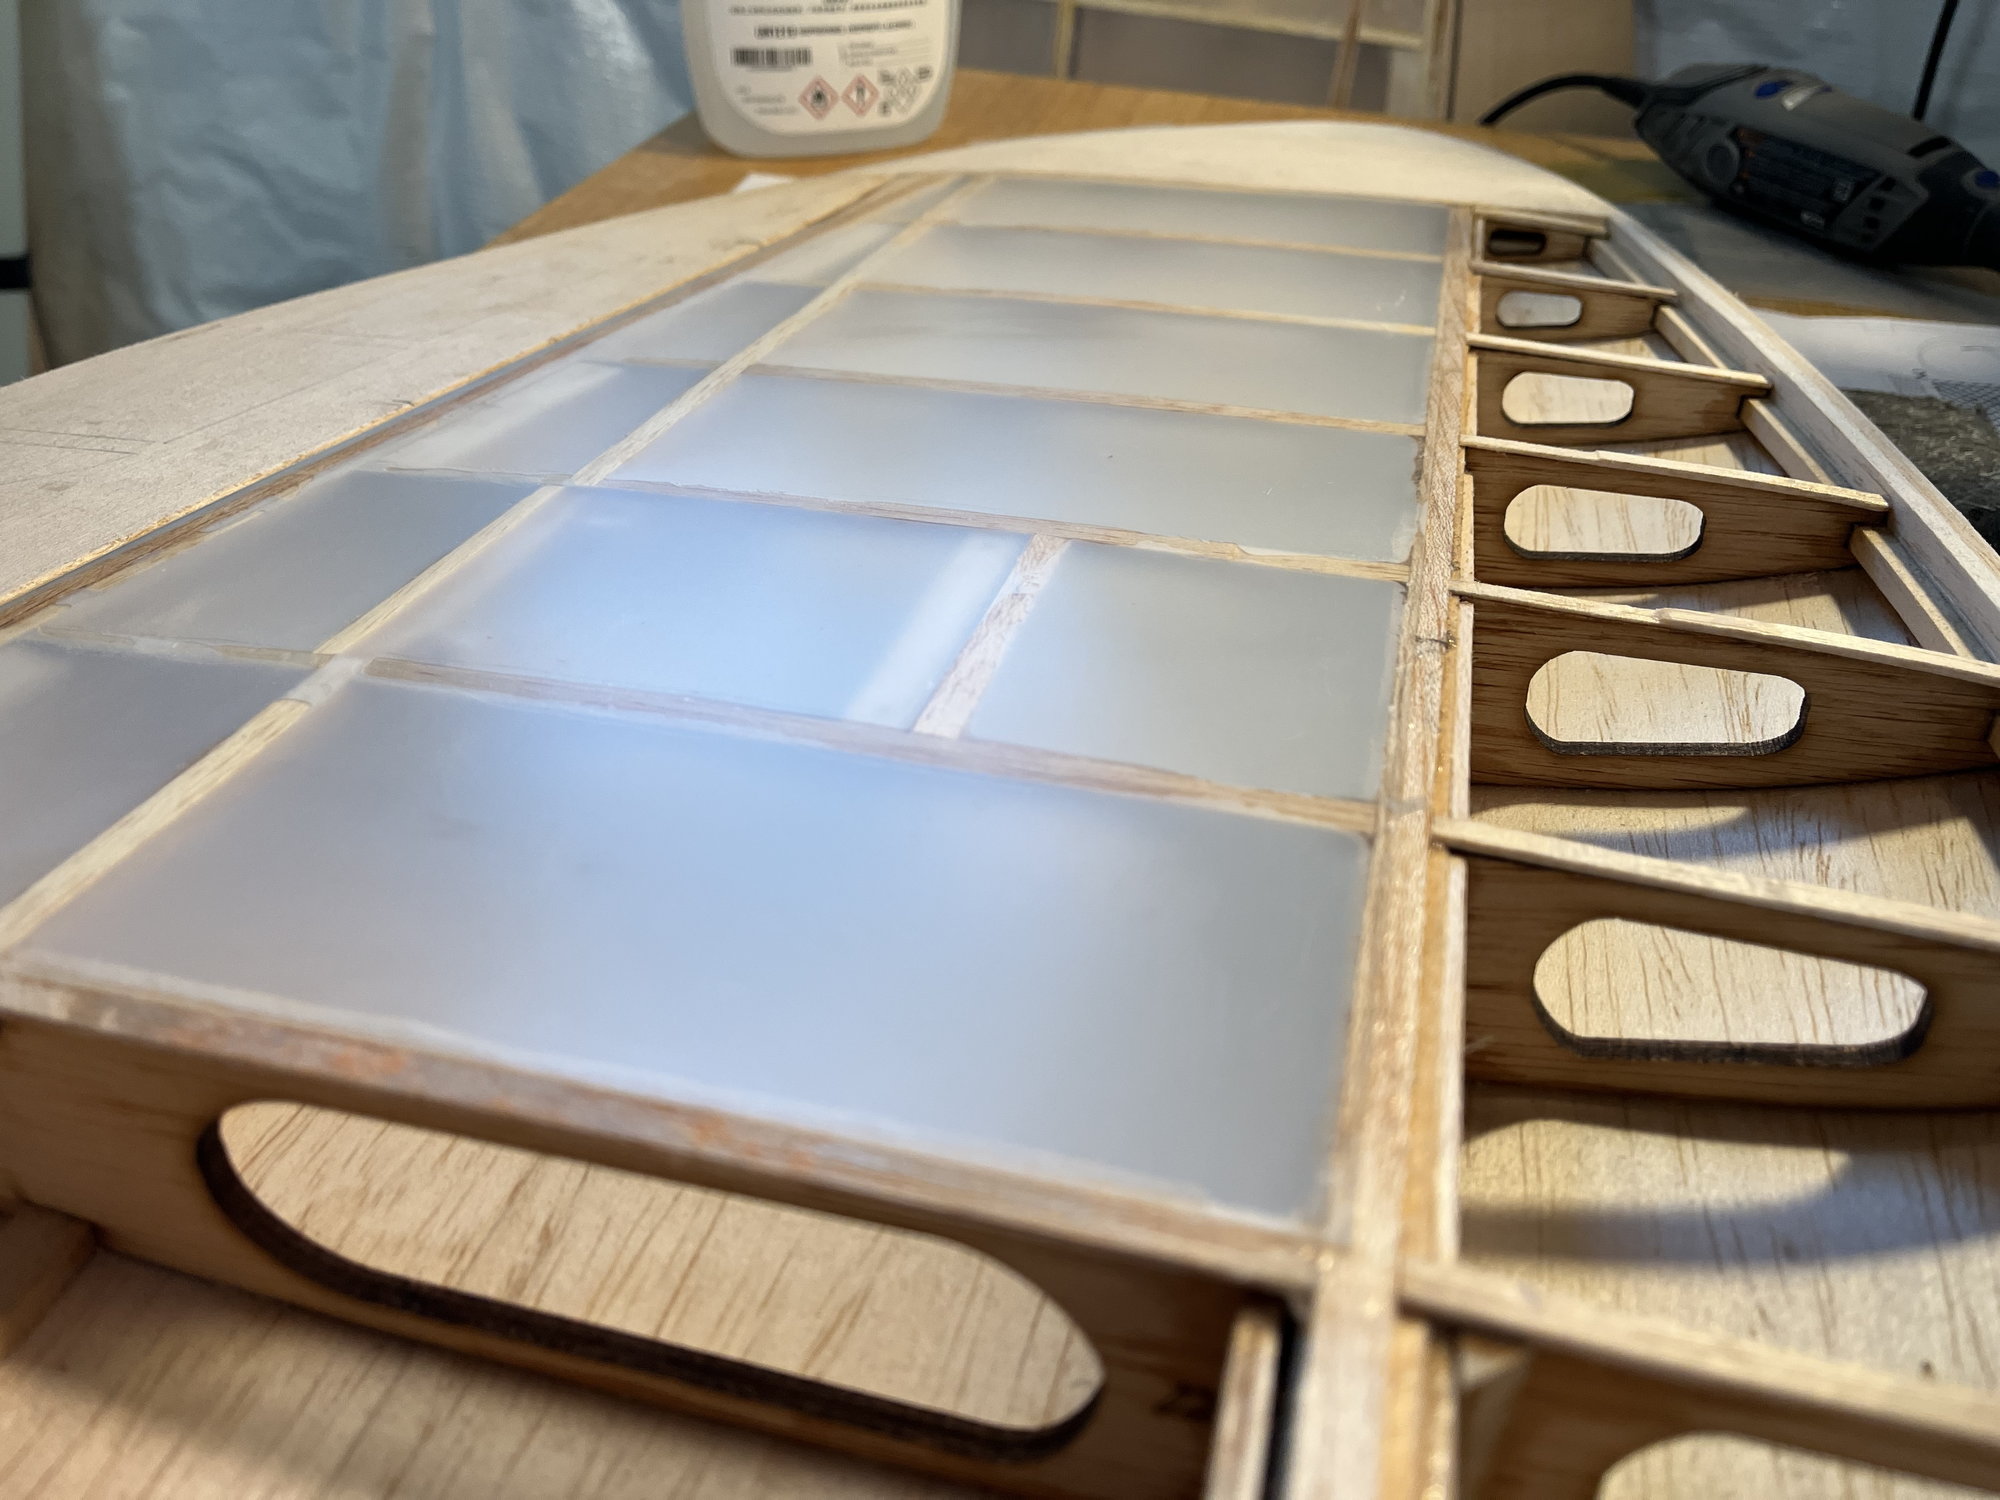
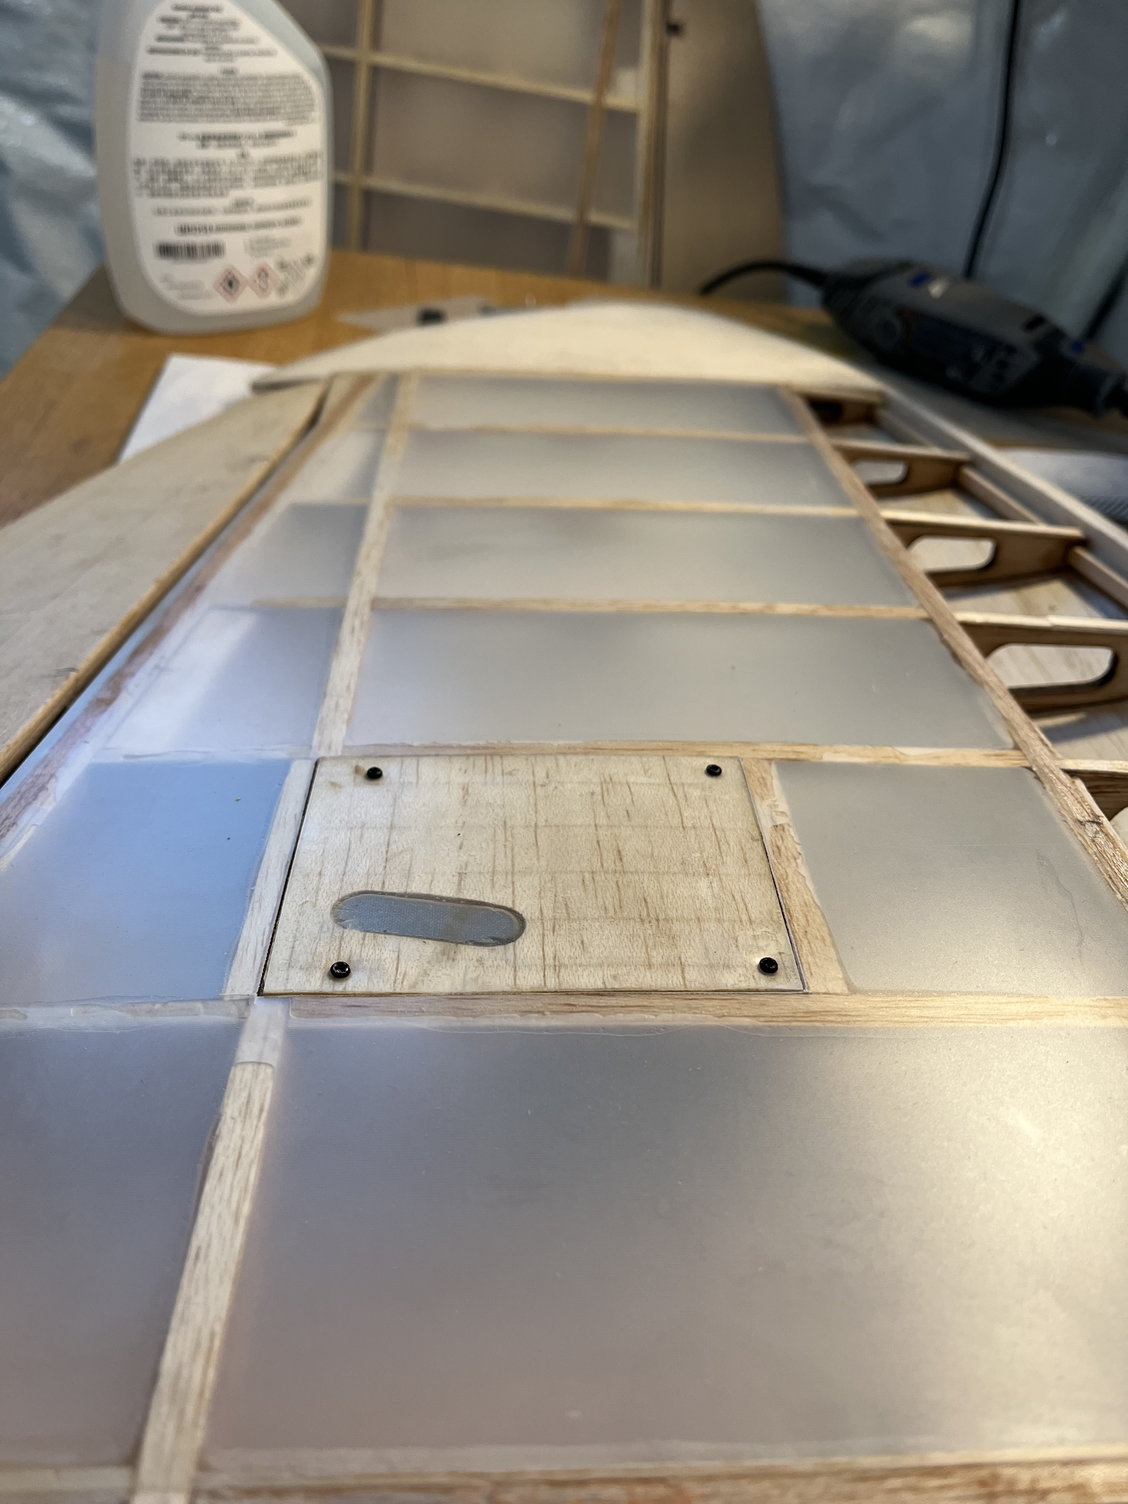
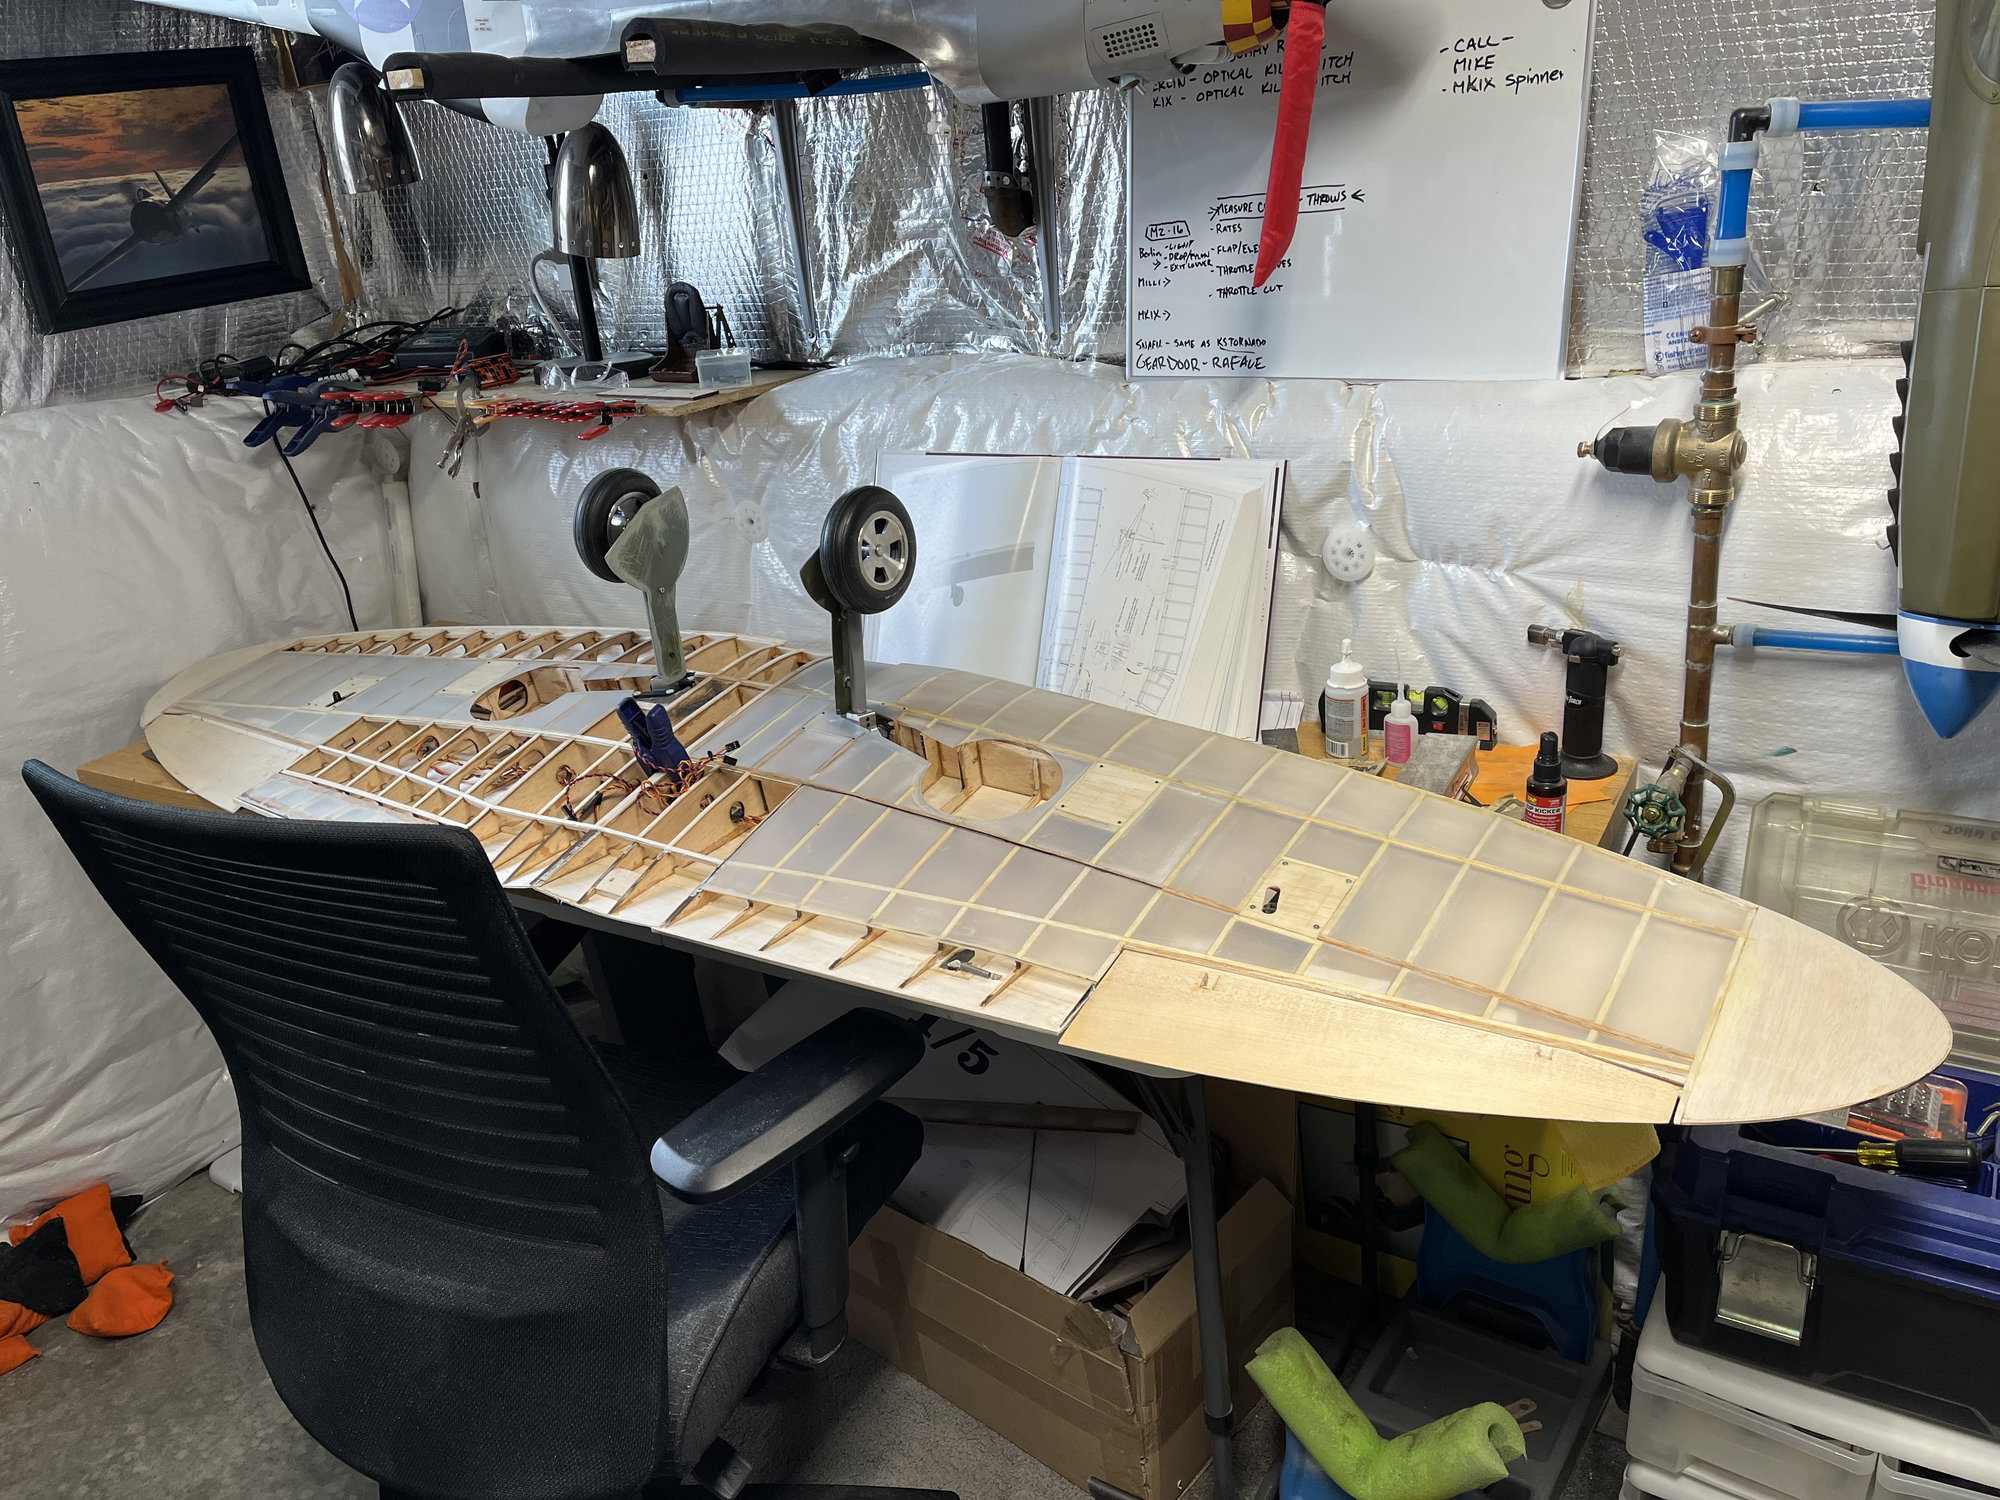
I was able to dive back in yesterday. Finished up the spring return for the flap actuator door on the left wing half, started working on inside flap detail as well. The plans do not call for interior flap sections, just the main sections. I began looking at possibly installing the inboard ones. I think a sliding ball link connection mid cord would work but I’ve got doubled ribs where the interior flap would meet the main flap. So I’d need to remove quite a bit of rib structure there so they can meet. I’m chewing on this, we’ll see.
Also revisited the g-10 gear doors. I heated it up with a gun to shape and then a bit of sanding got it to where I’m happy, still need to finish sand and begin the right side door.
Today I should be able to get my right side gear tapped and mounted, gear door and hopefully remaining fliteskin finished on the underside. Also need to build the flap actuator door for this side.
01-20-2022, 02:27 PM
#162
Thread Starter
Not quite…
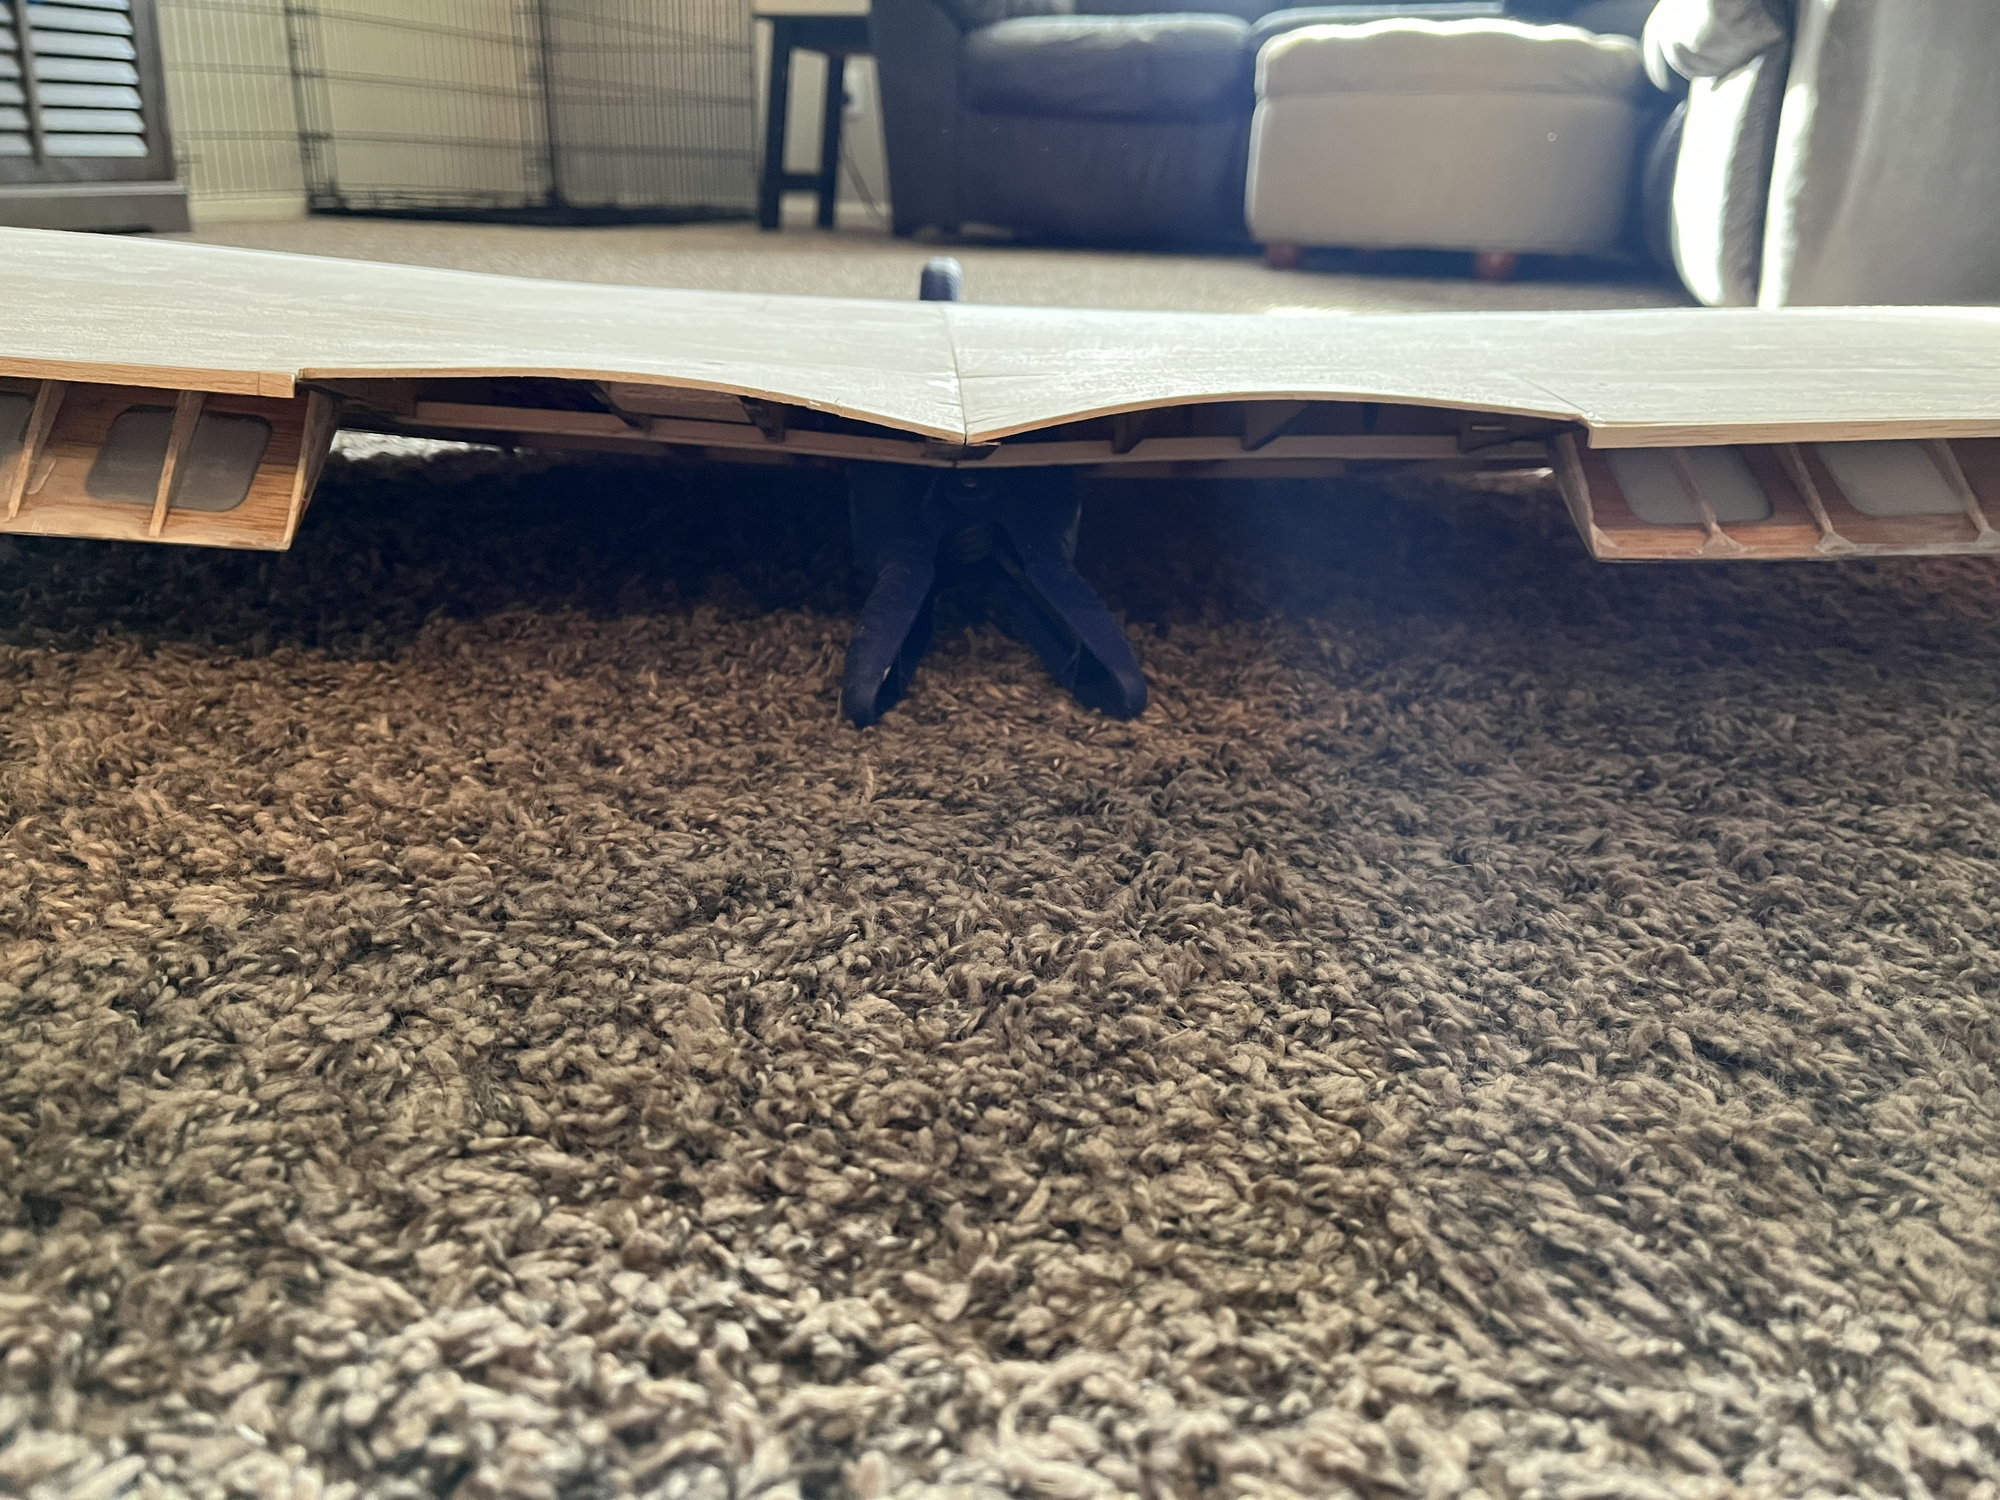
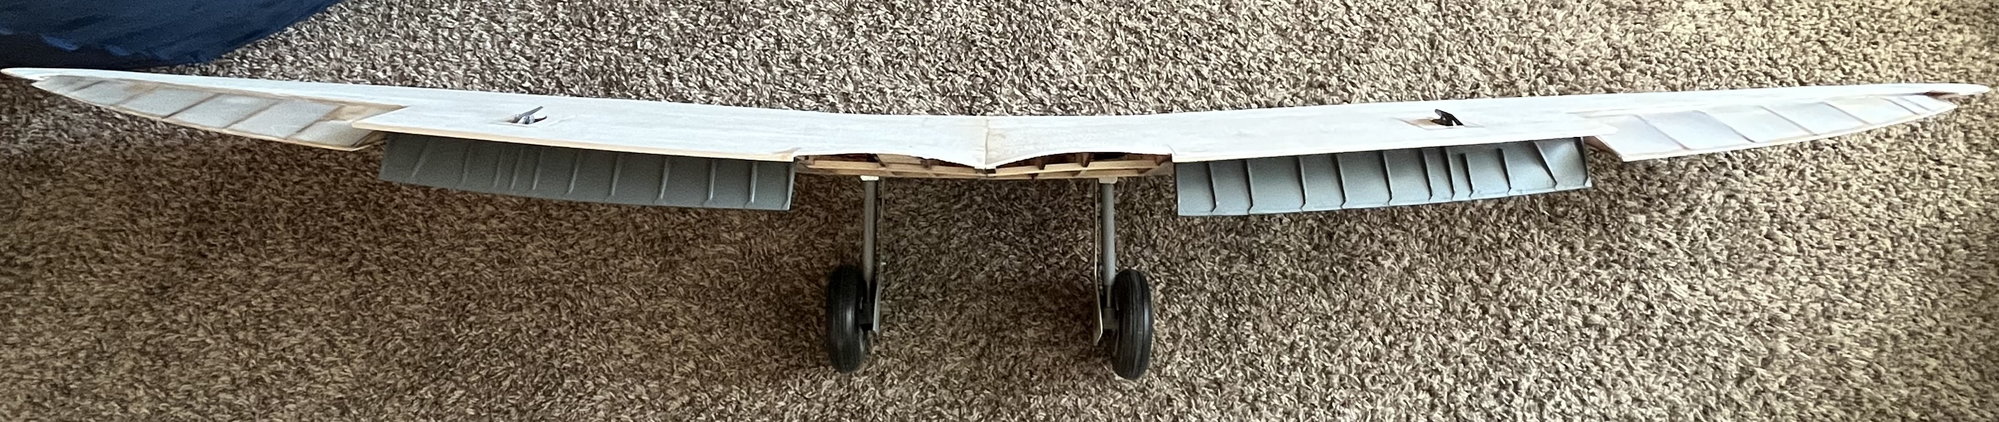
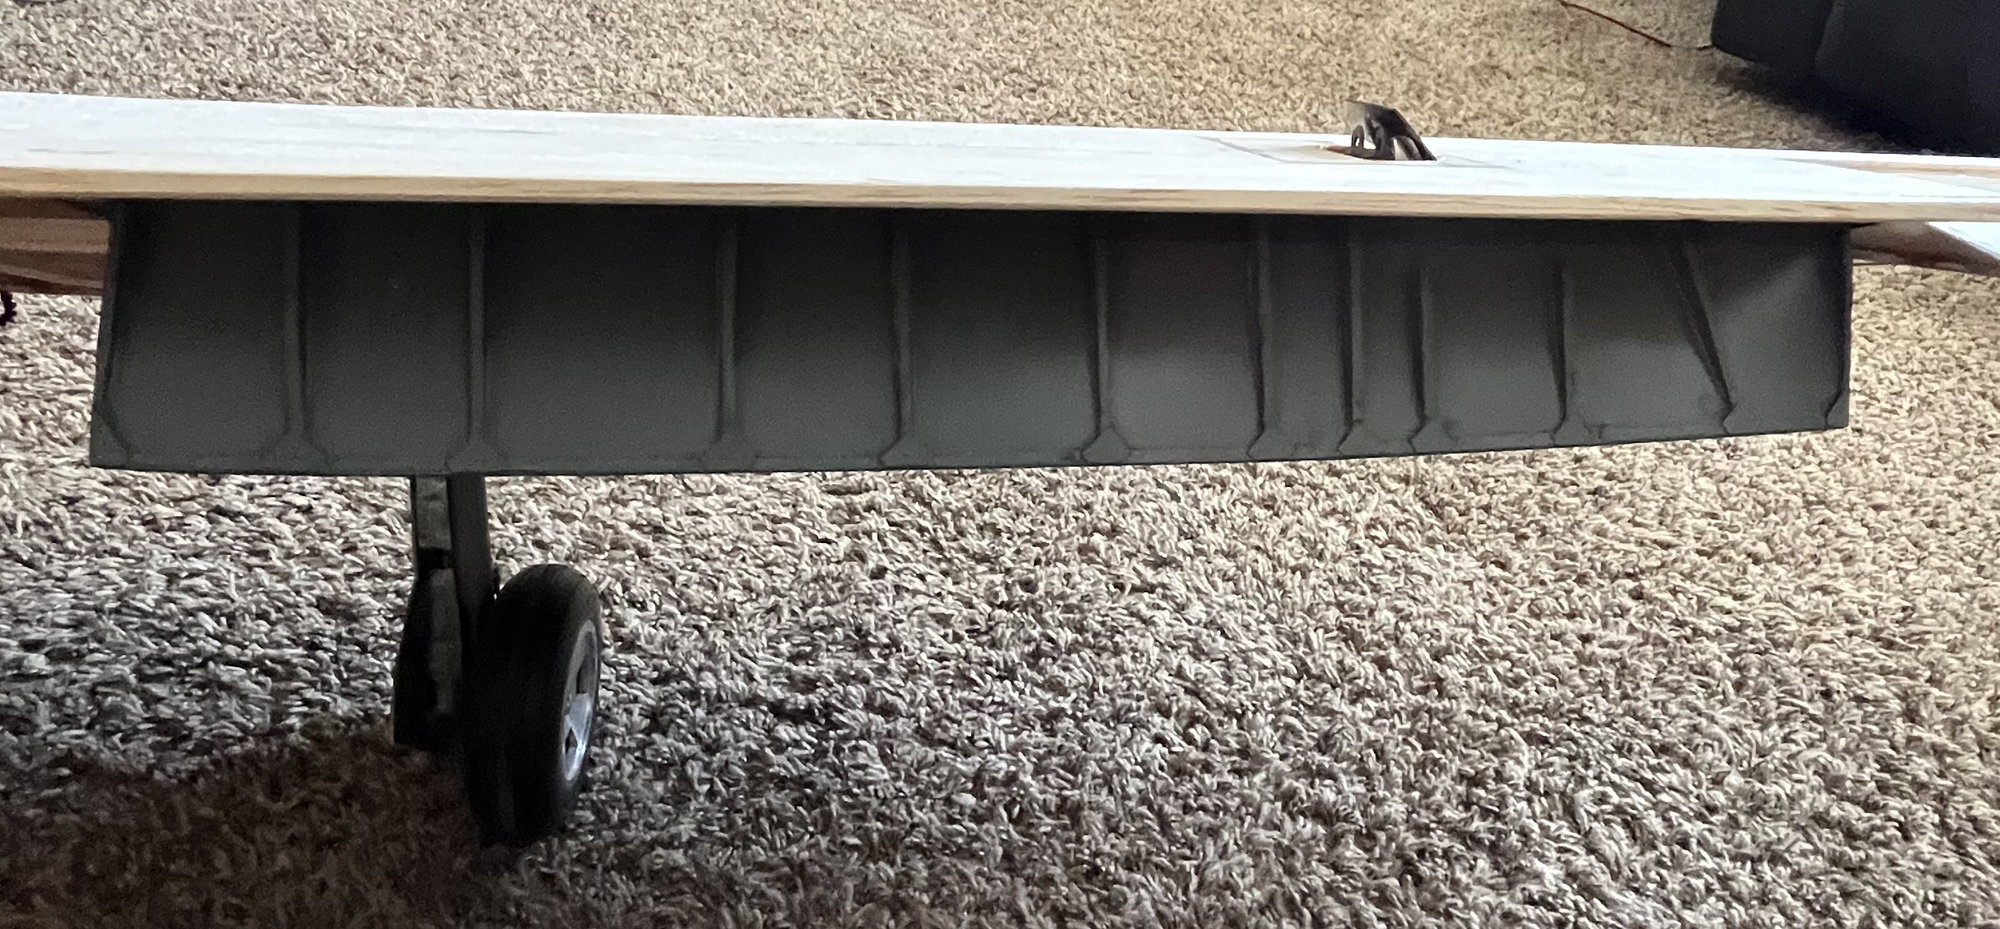
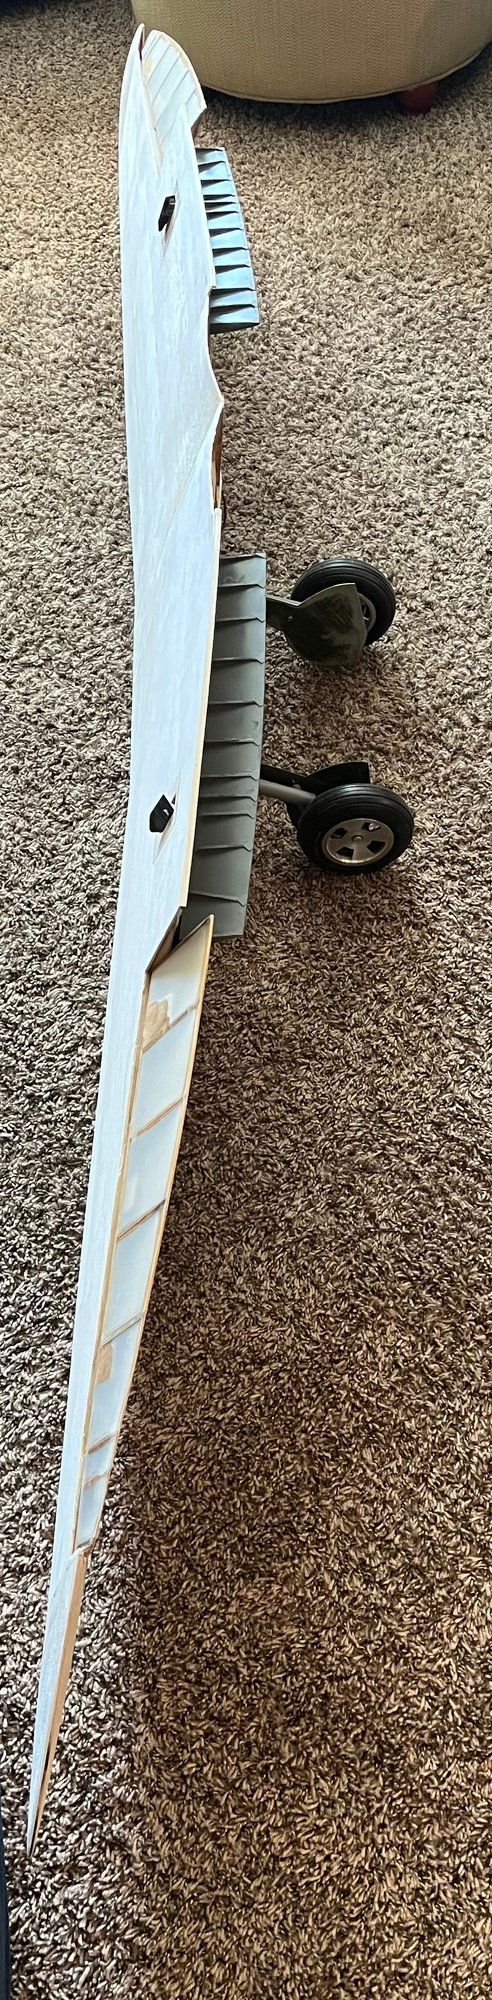
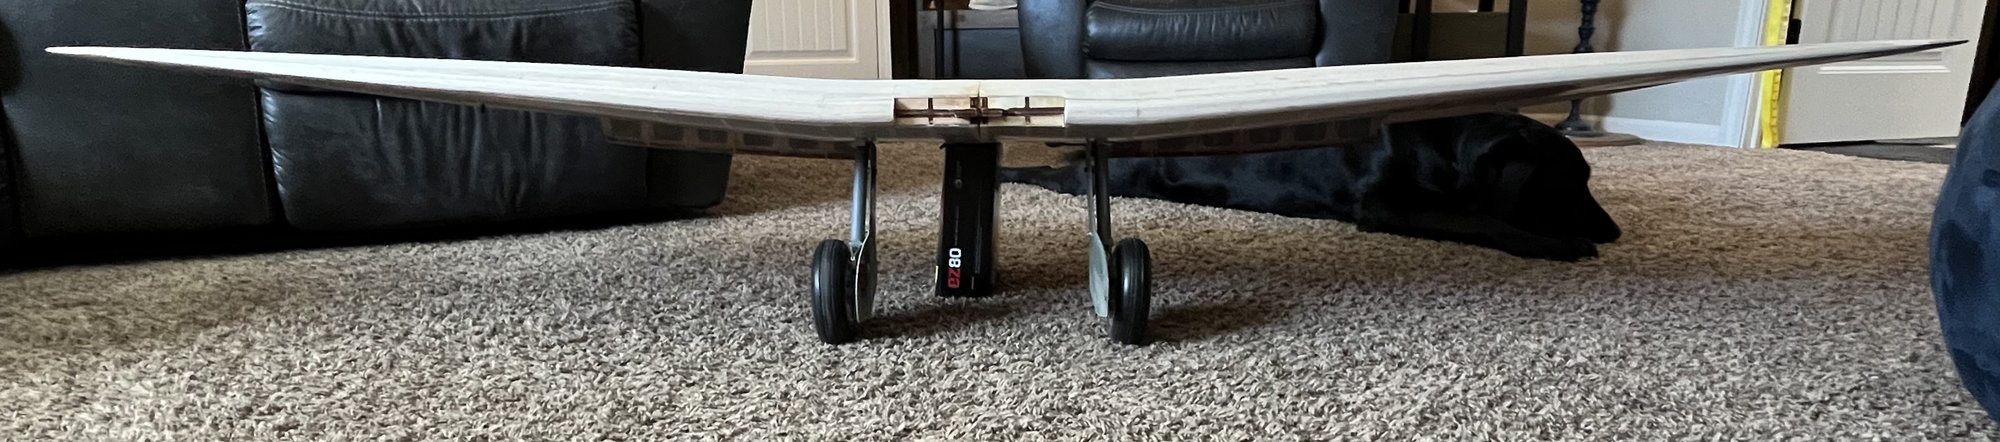
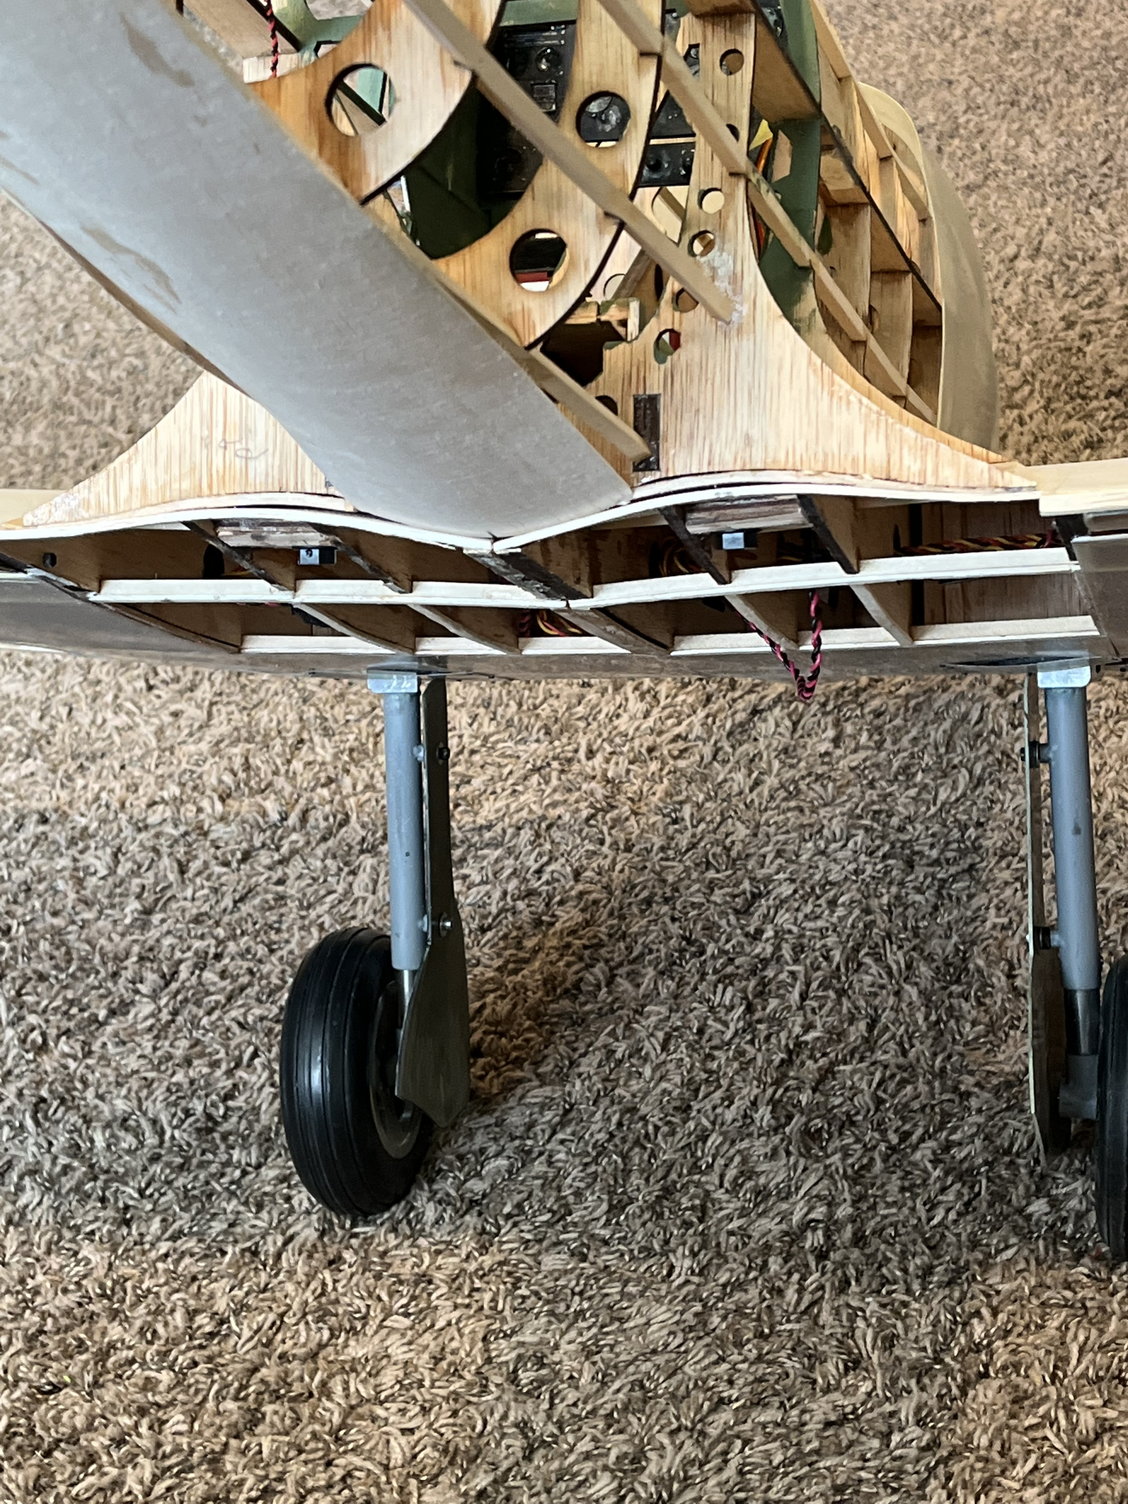
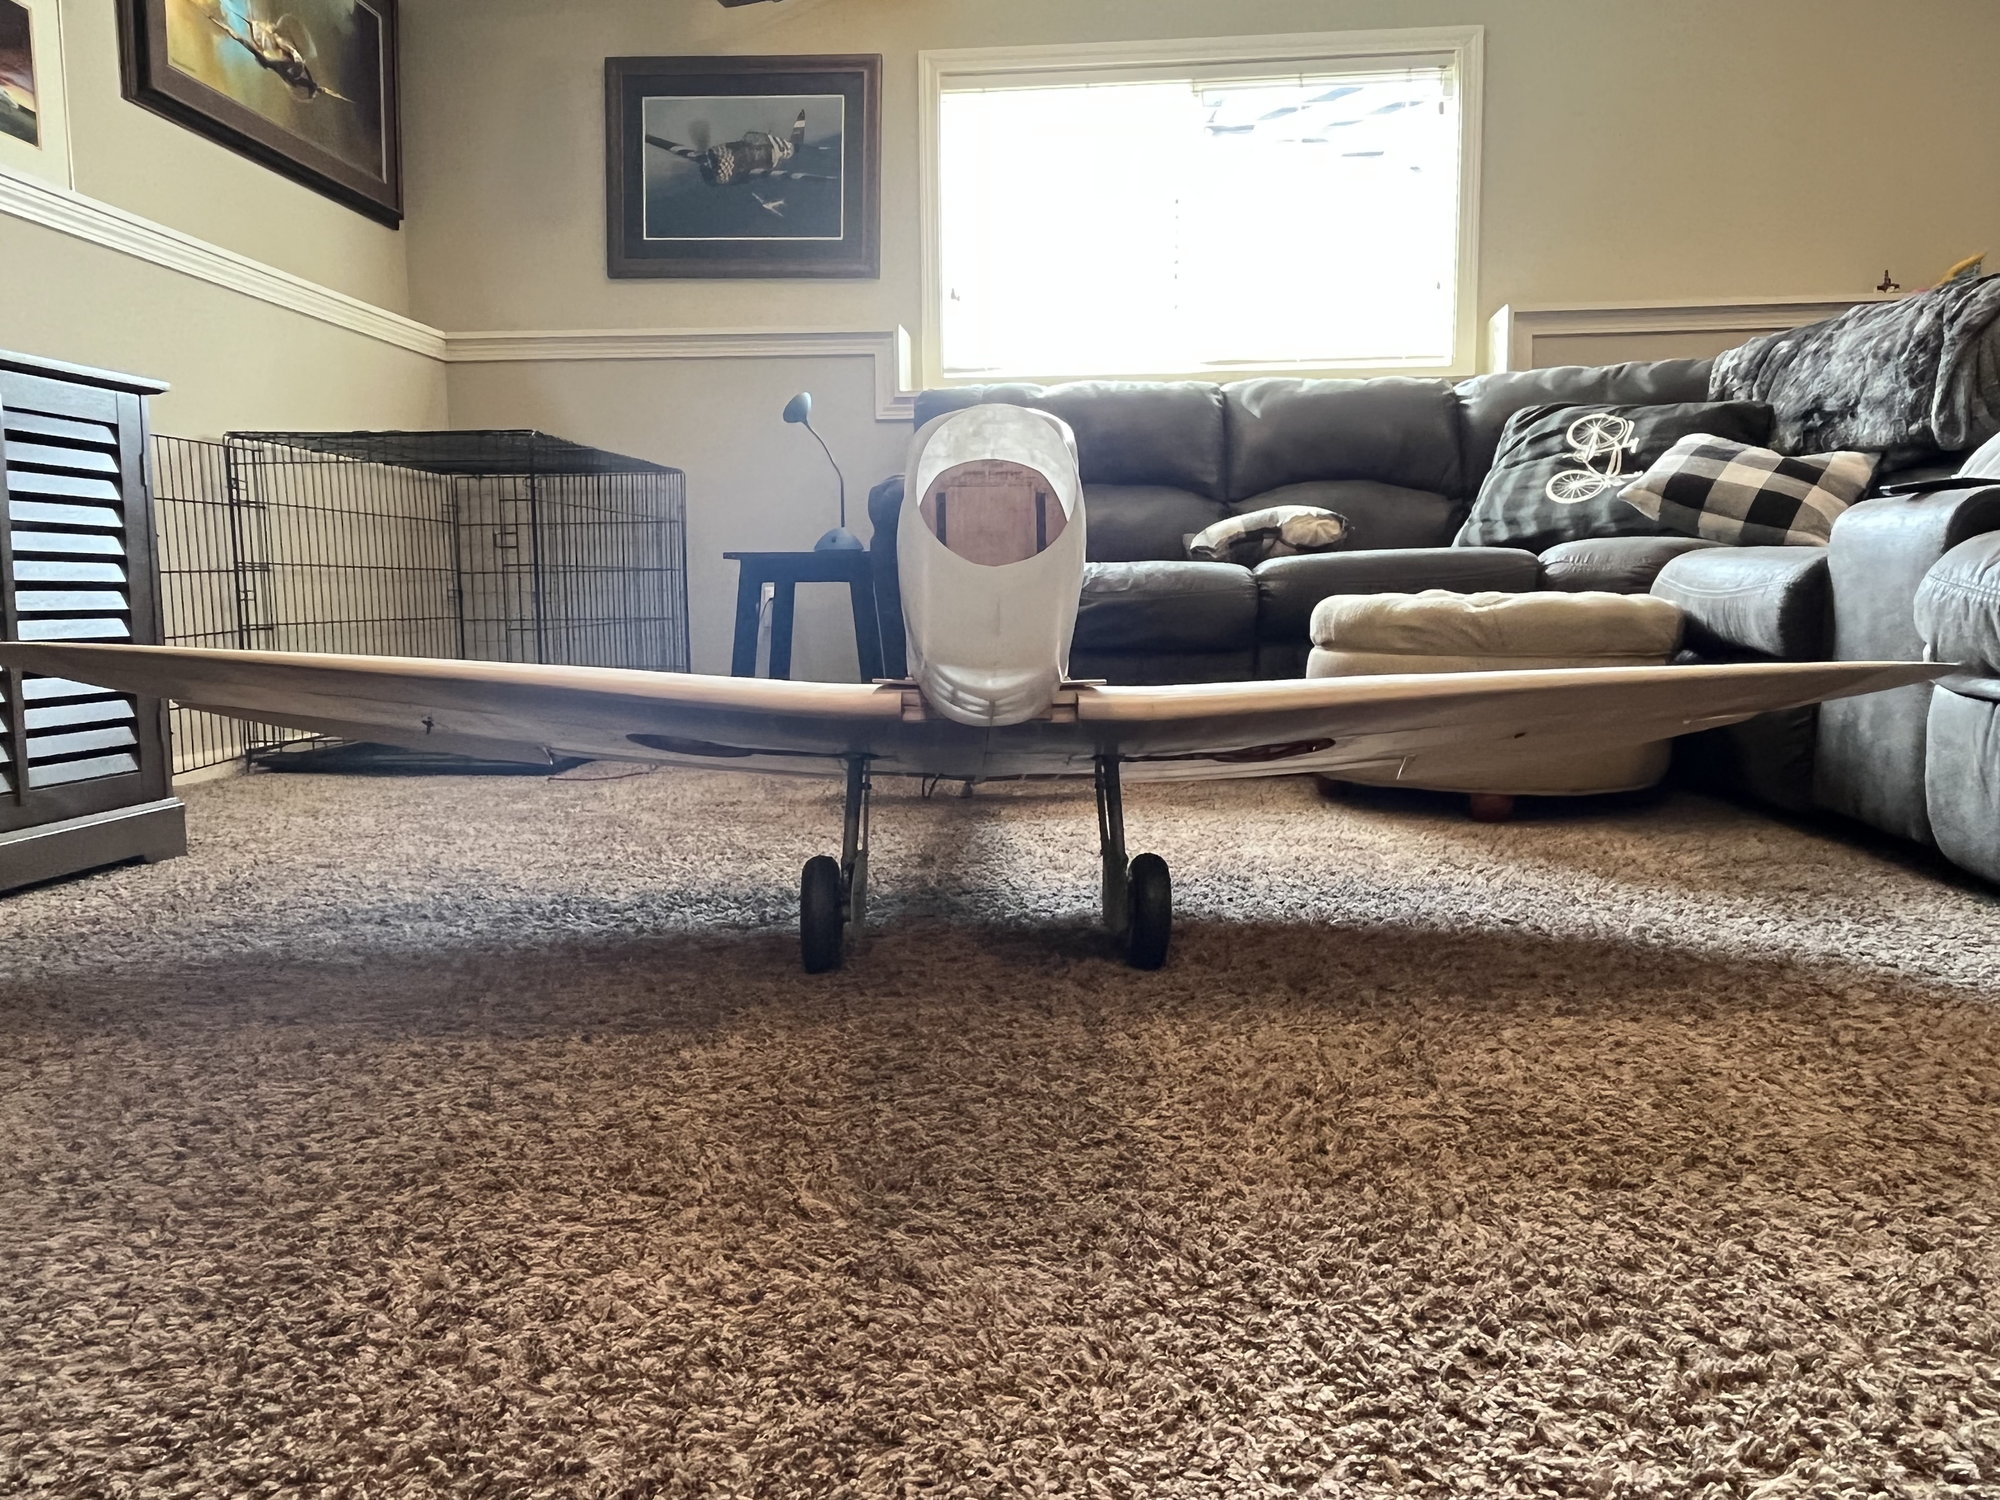
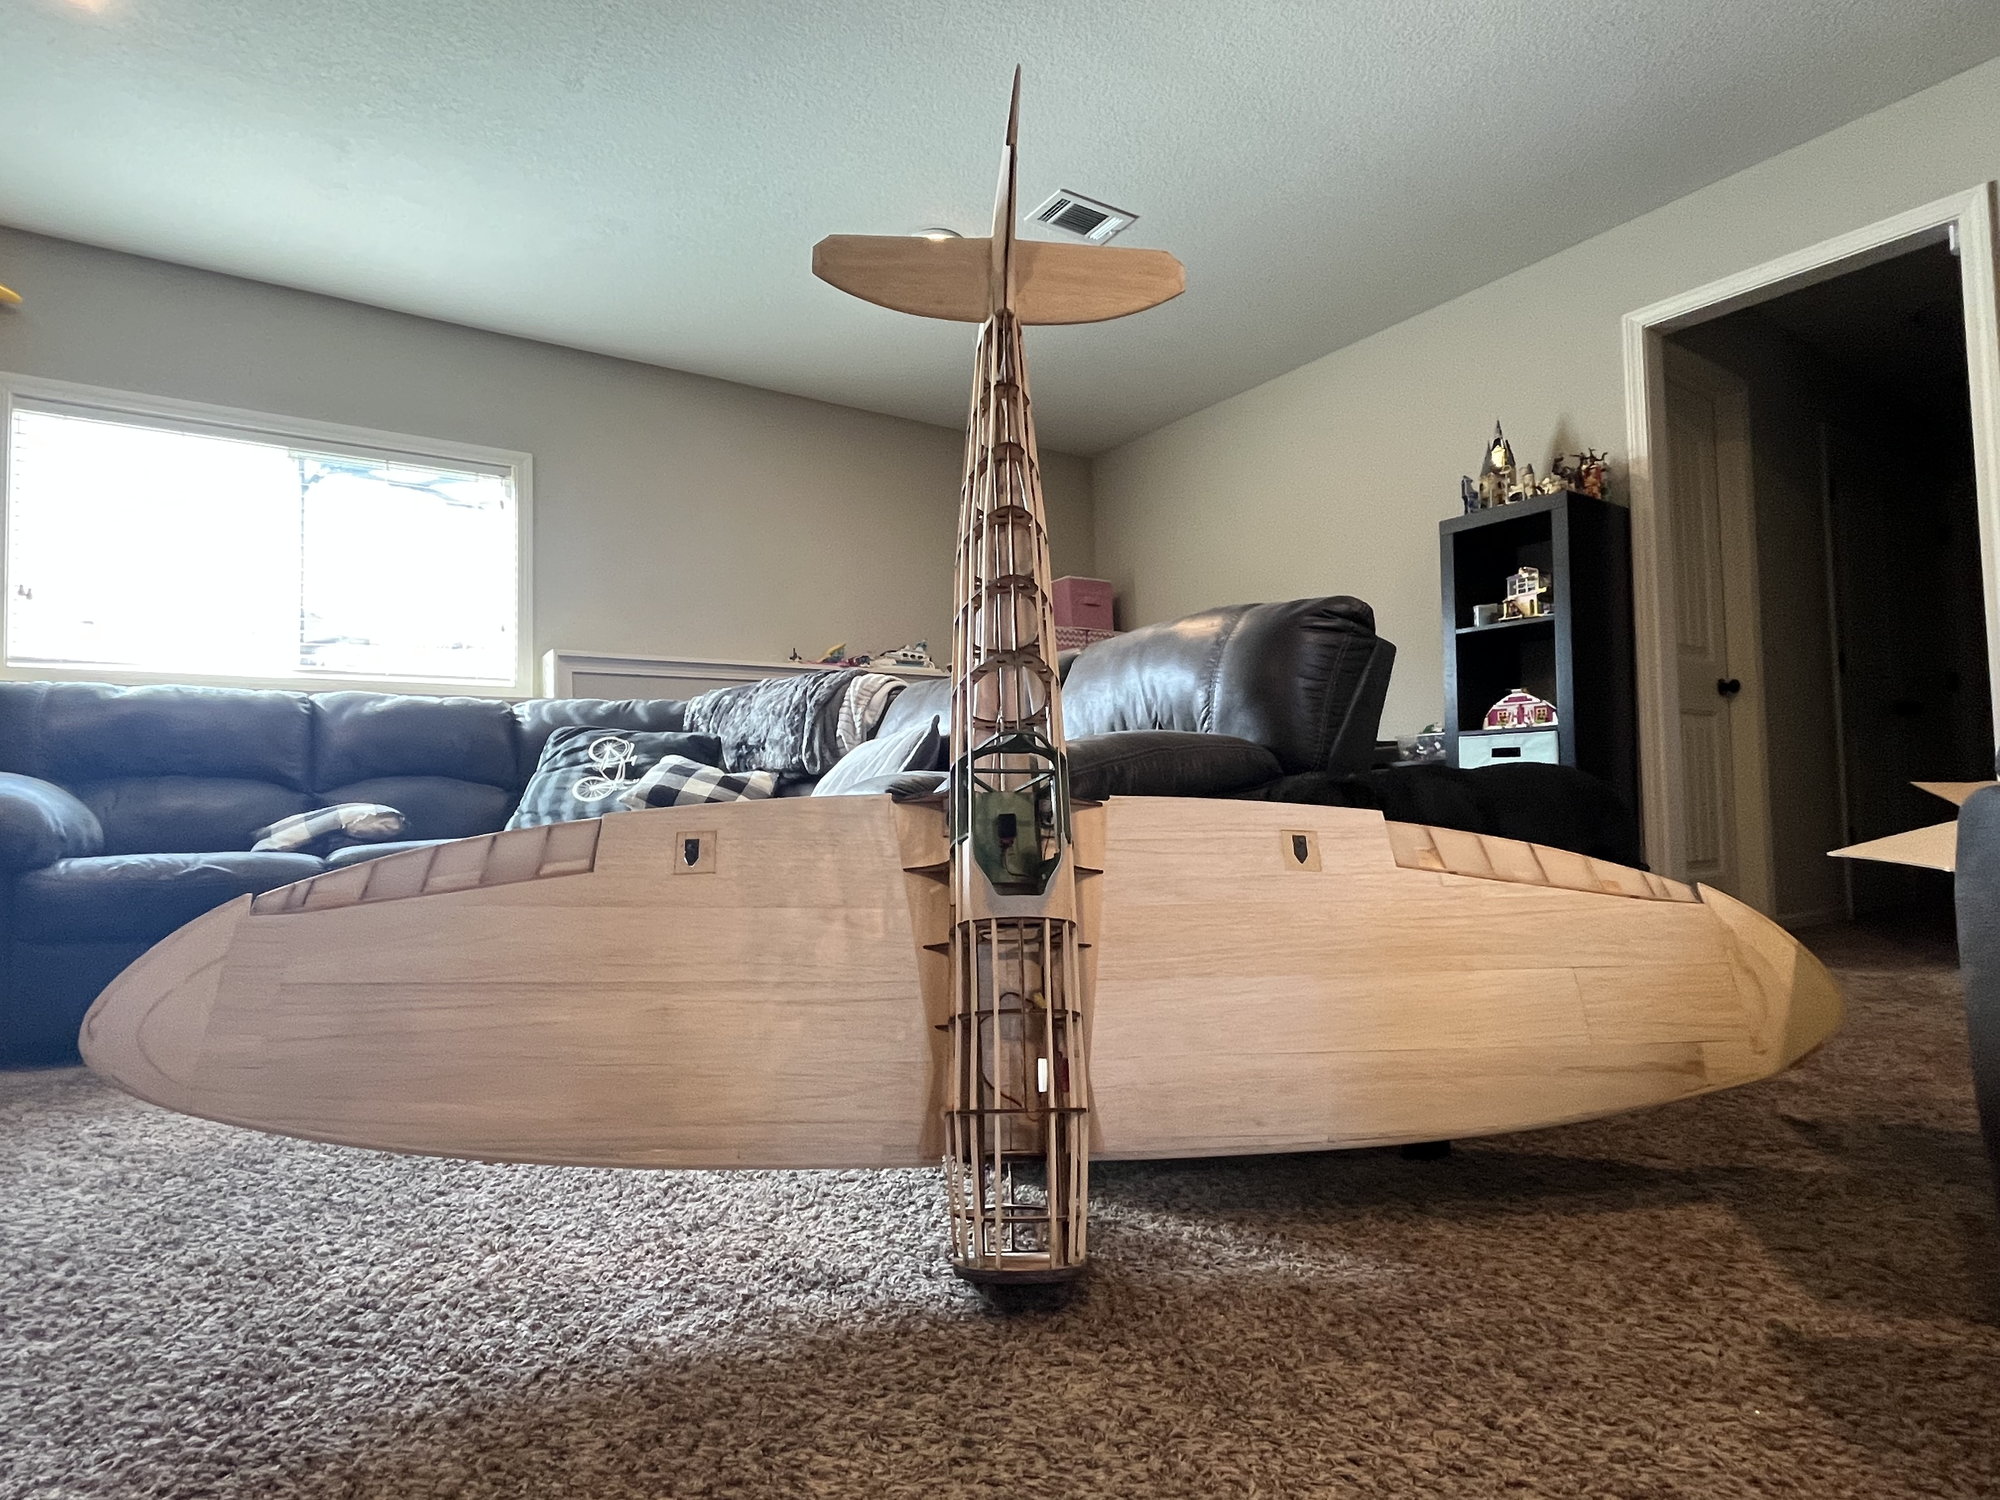
I did get the right wing half caught up to the left side, minus that flap door(Going to try and get that finished tomorrow). Mounted servos, gear and gear door. Shaped the leading edge, finished fliteskin and joined my wing halves this afternoon! Big day!
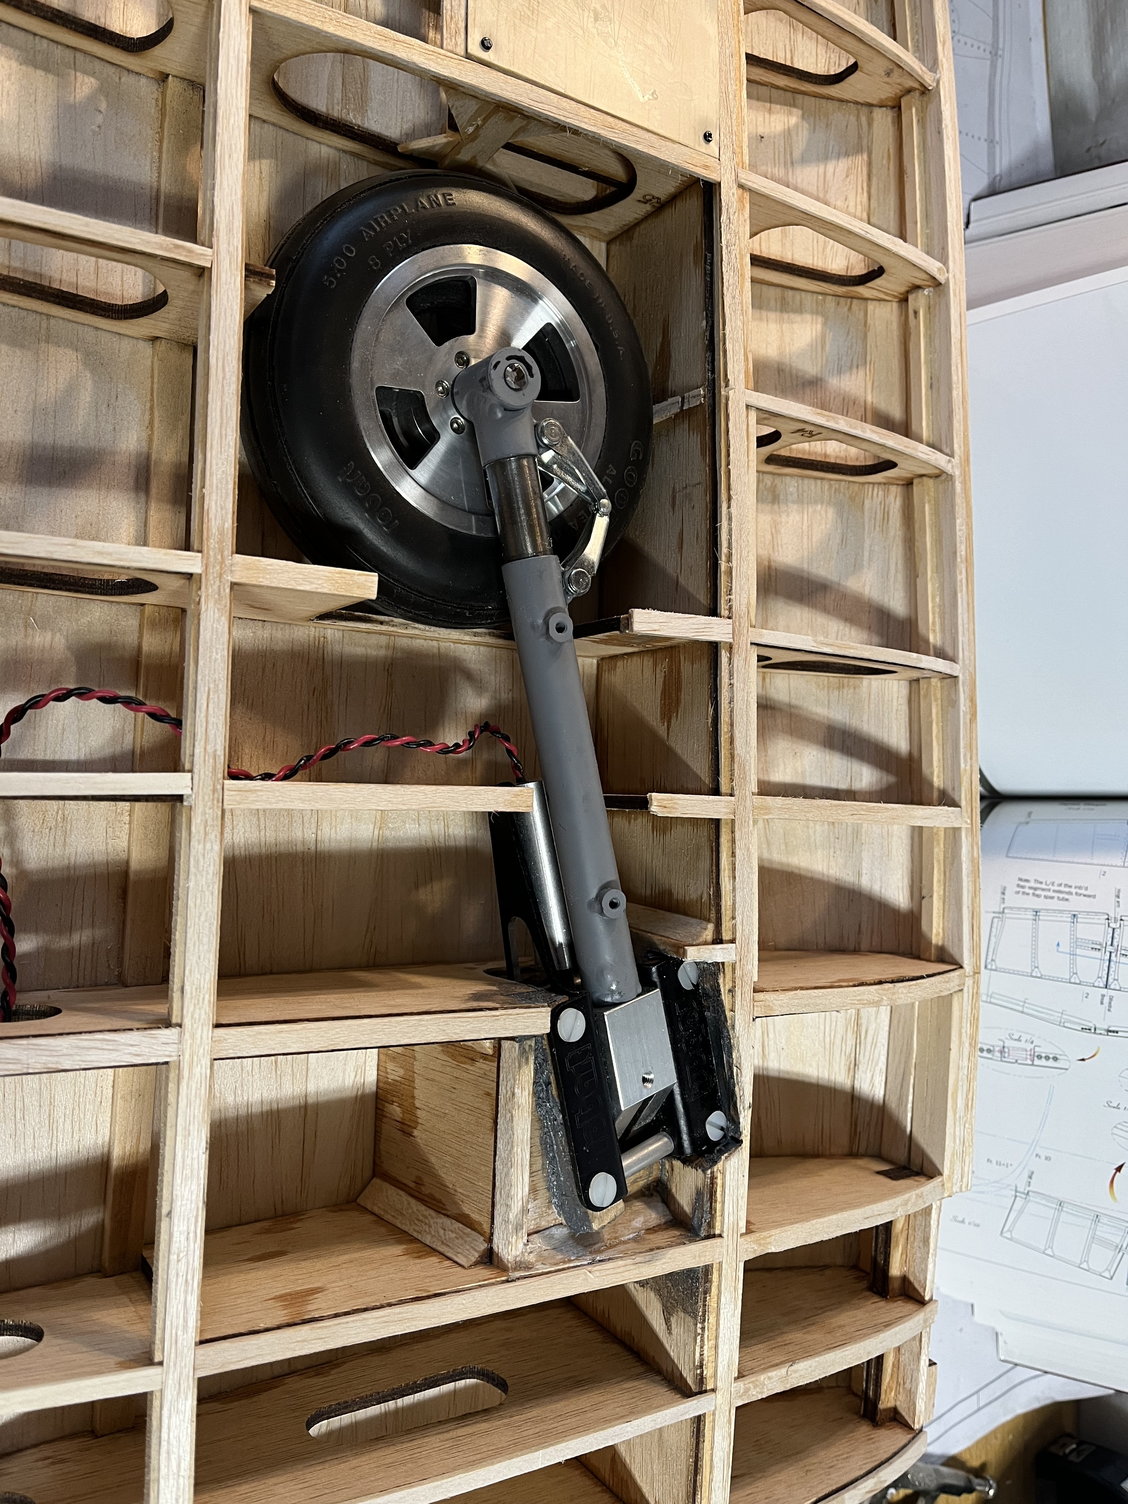
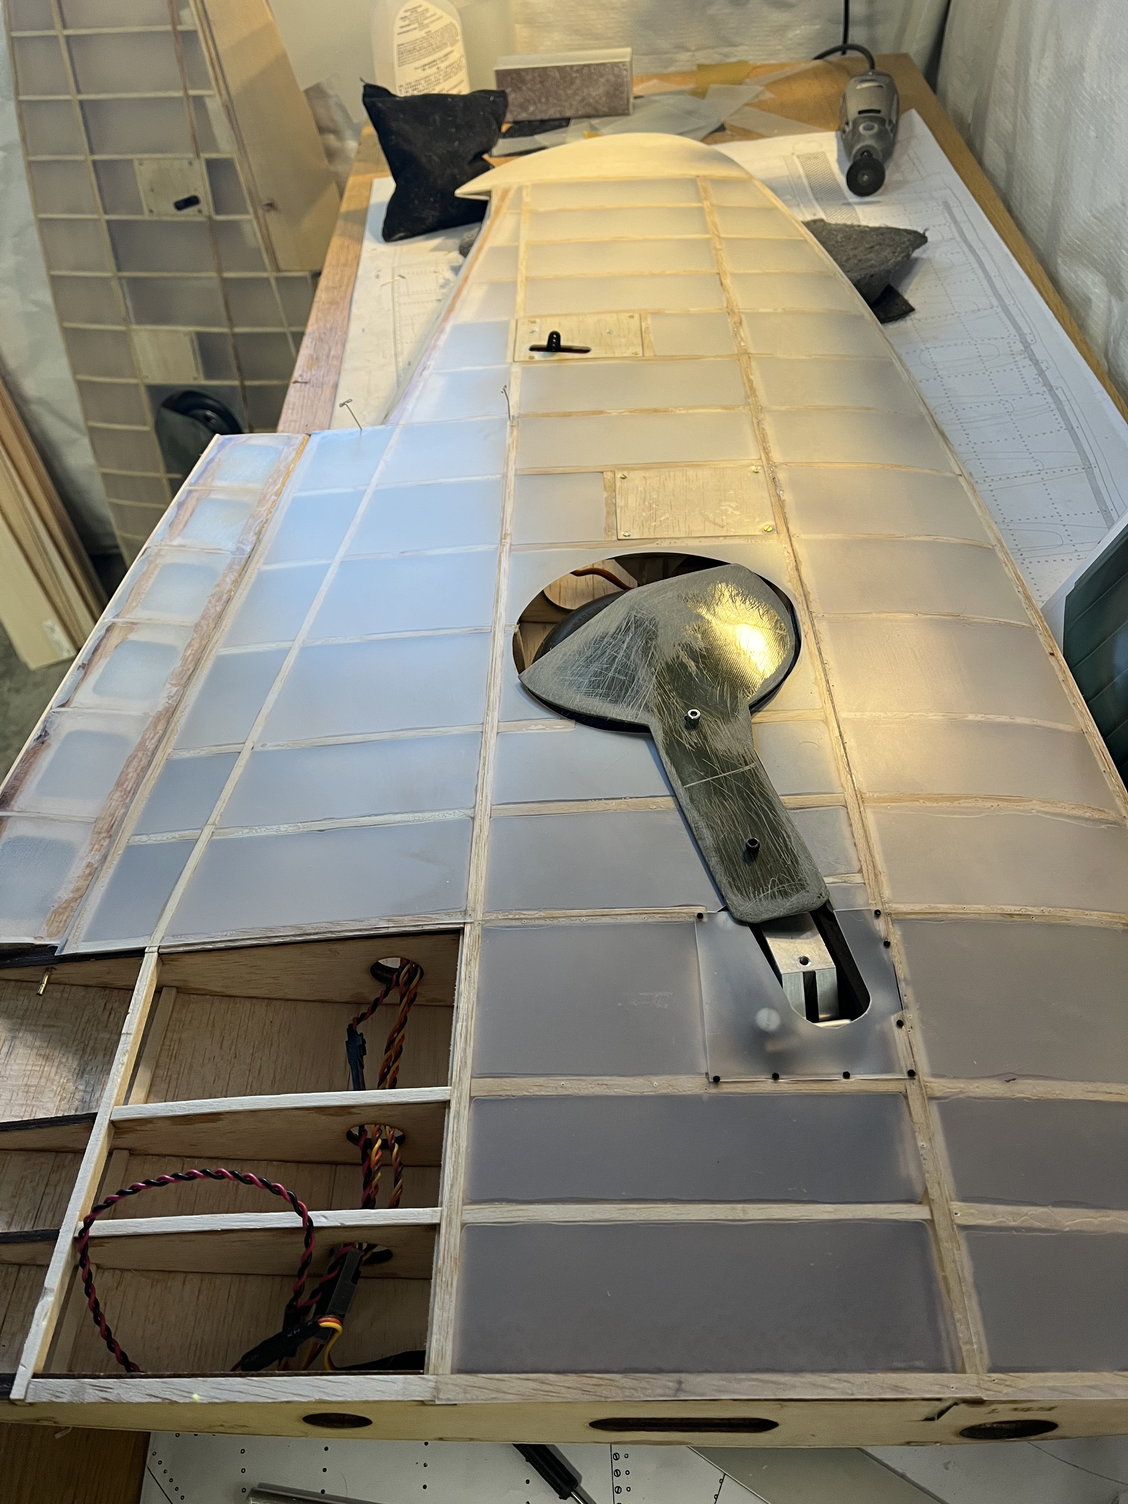

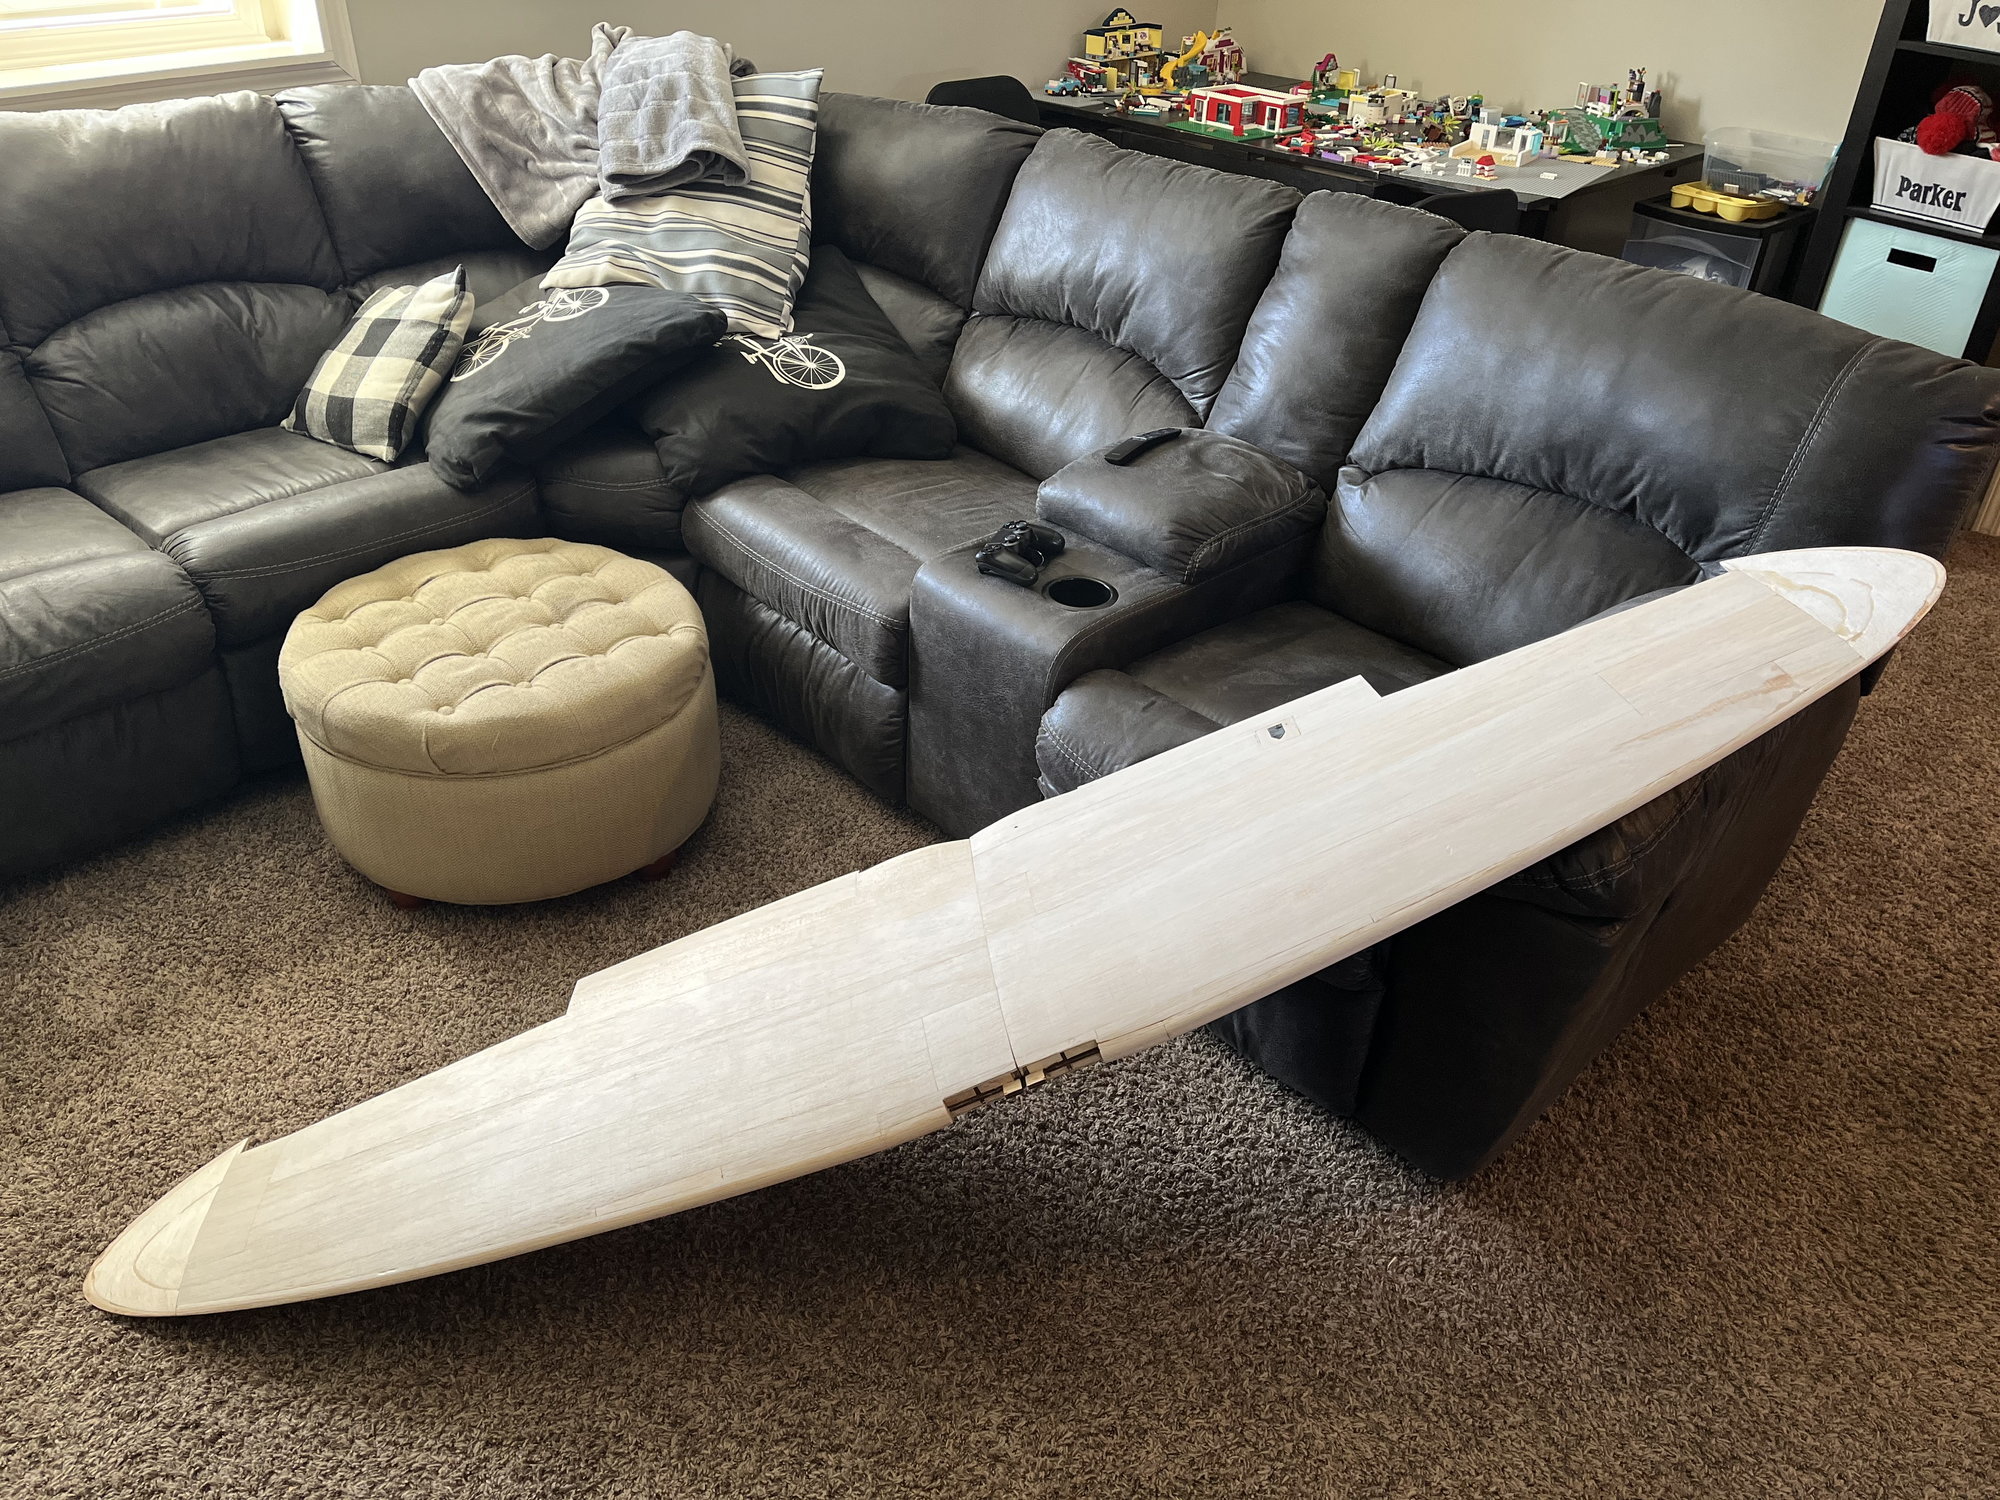
I did get the right wing half caught up to the left side, minus that flap door(Going to try and get that finished tomorrow). Mounted servos, gear and gear door. Shaped the leading edge, finished fliteskin and joined my wing halves this afternoon! Big day!
01-21-2022, 11:34 AM
#165
Thread Starter
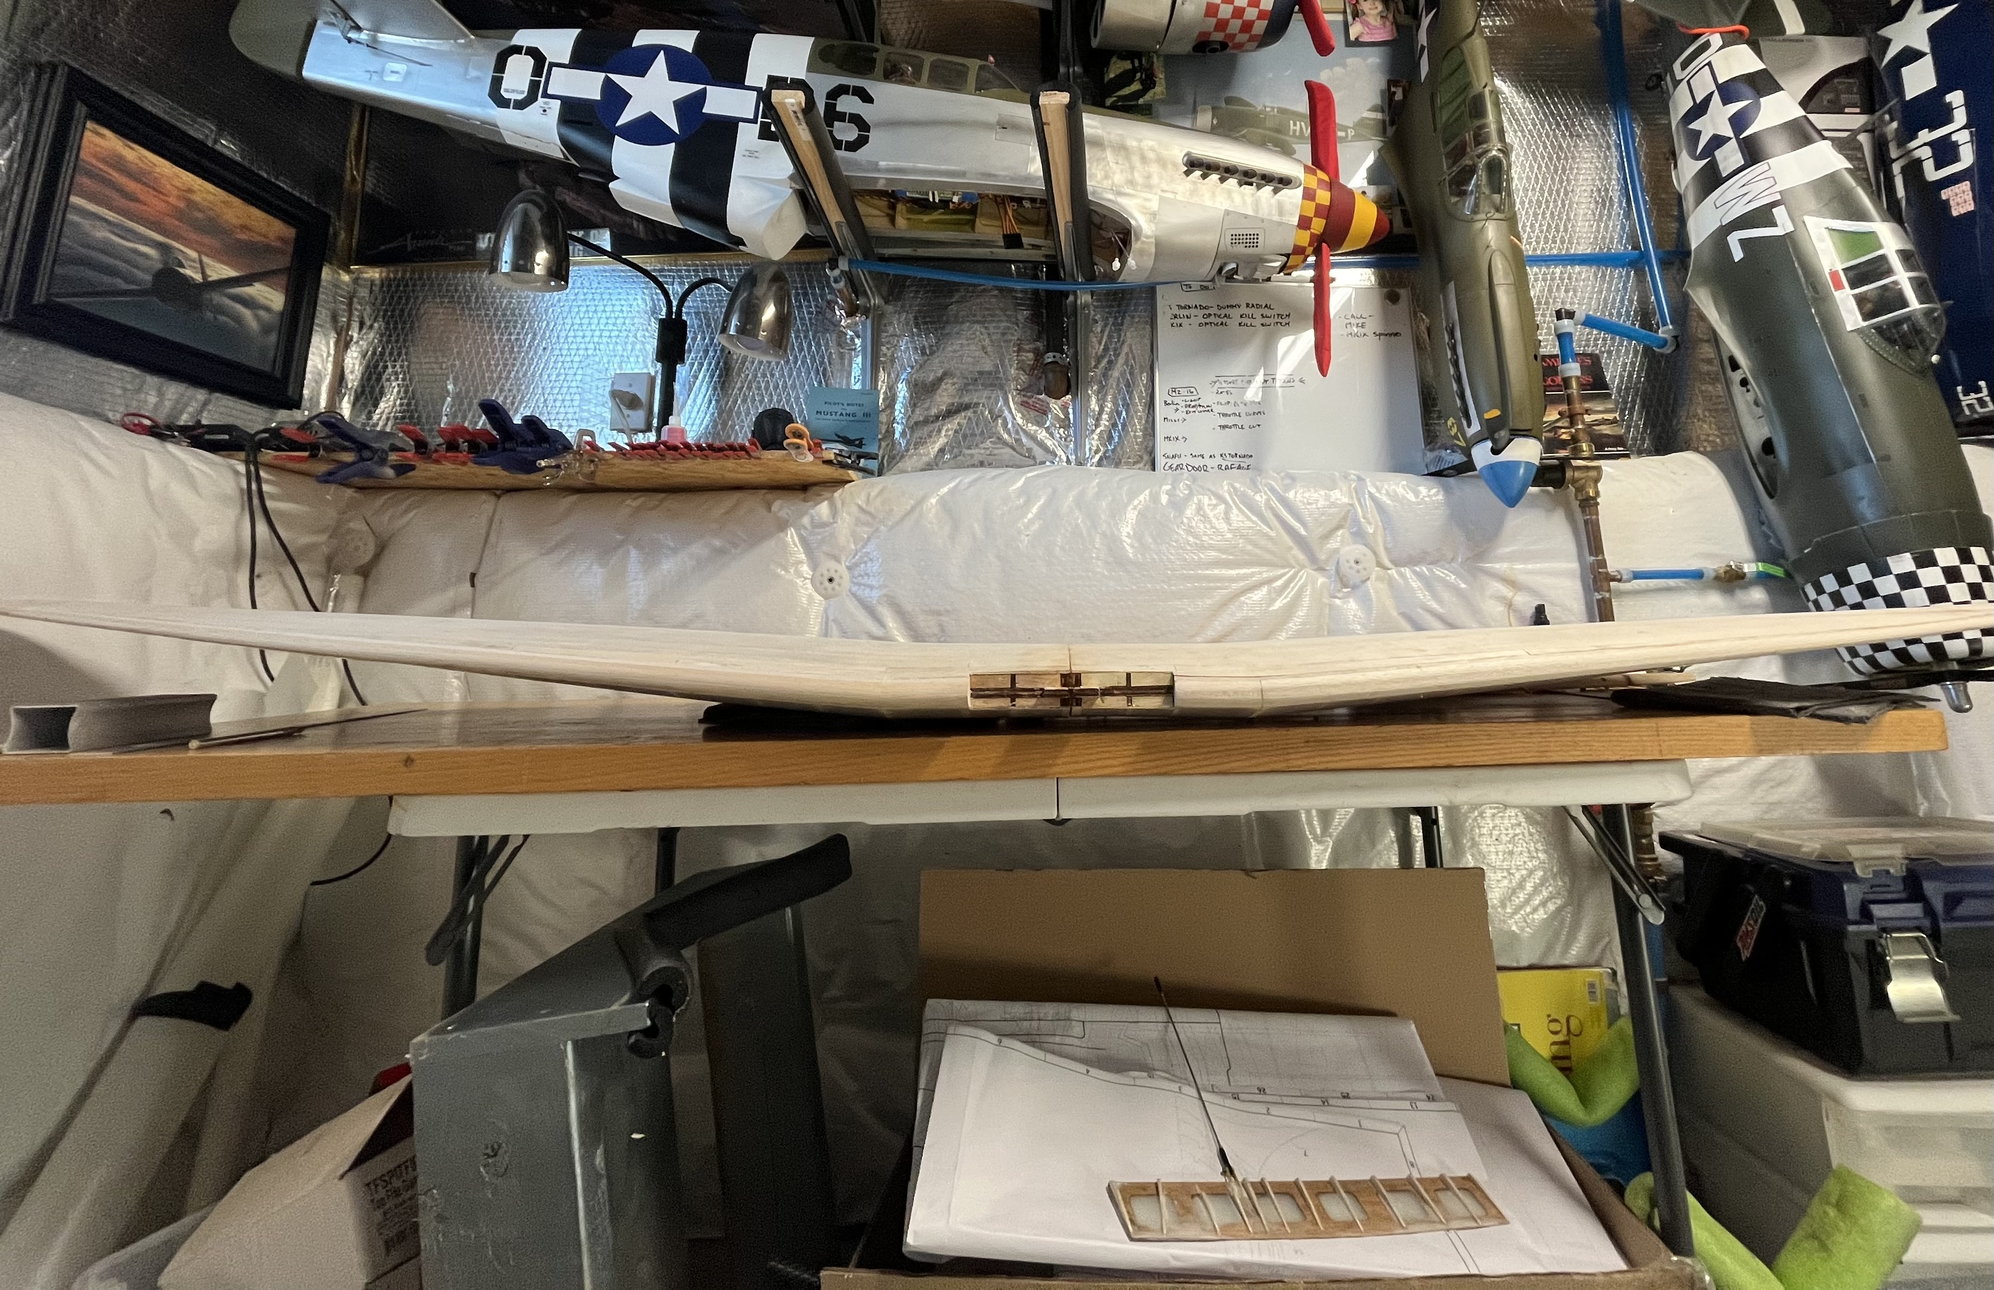
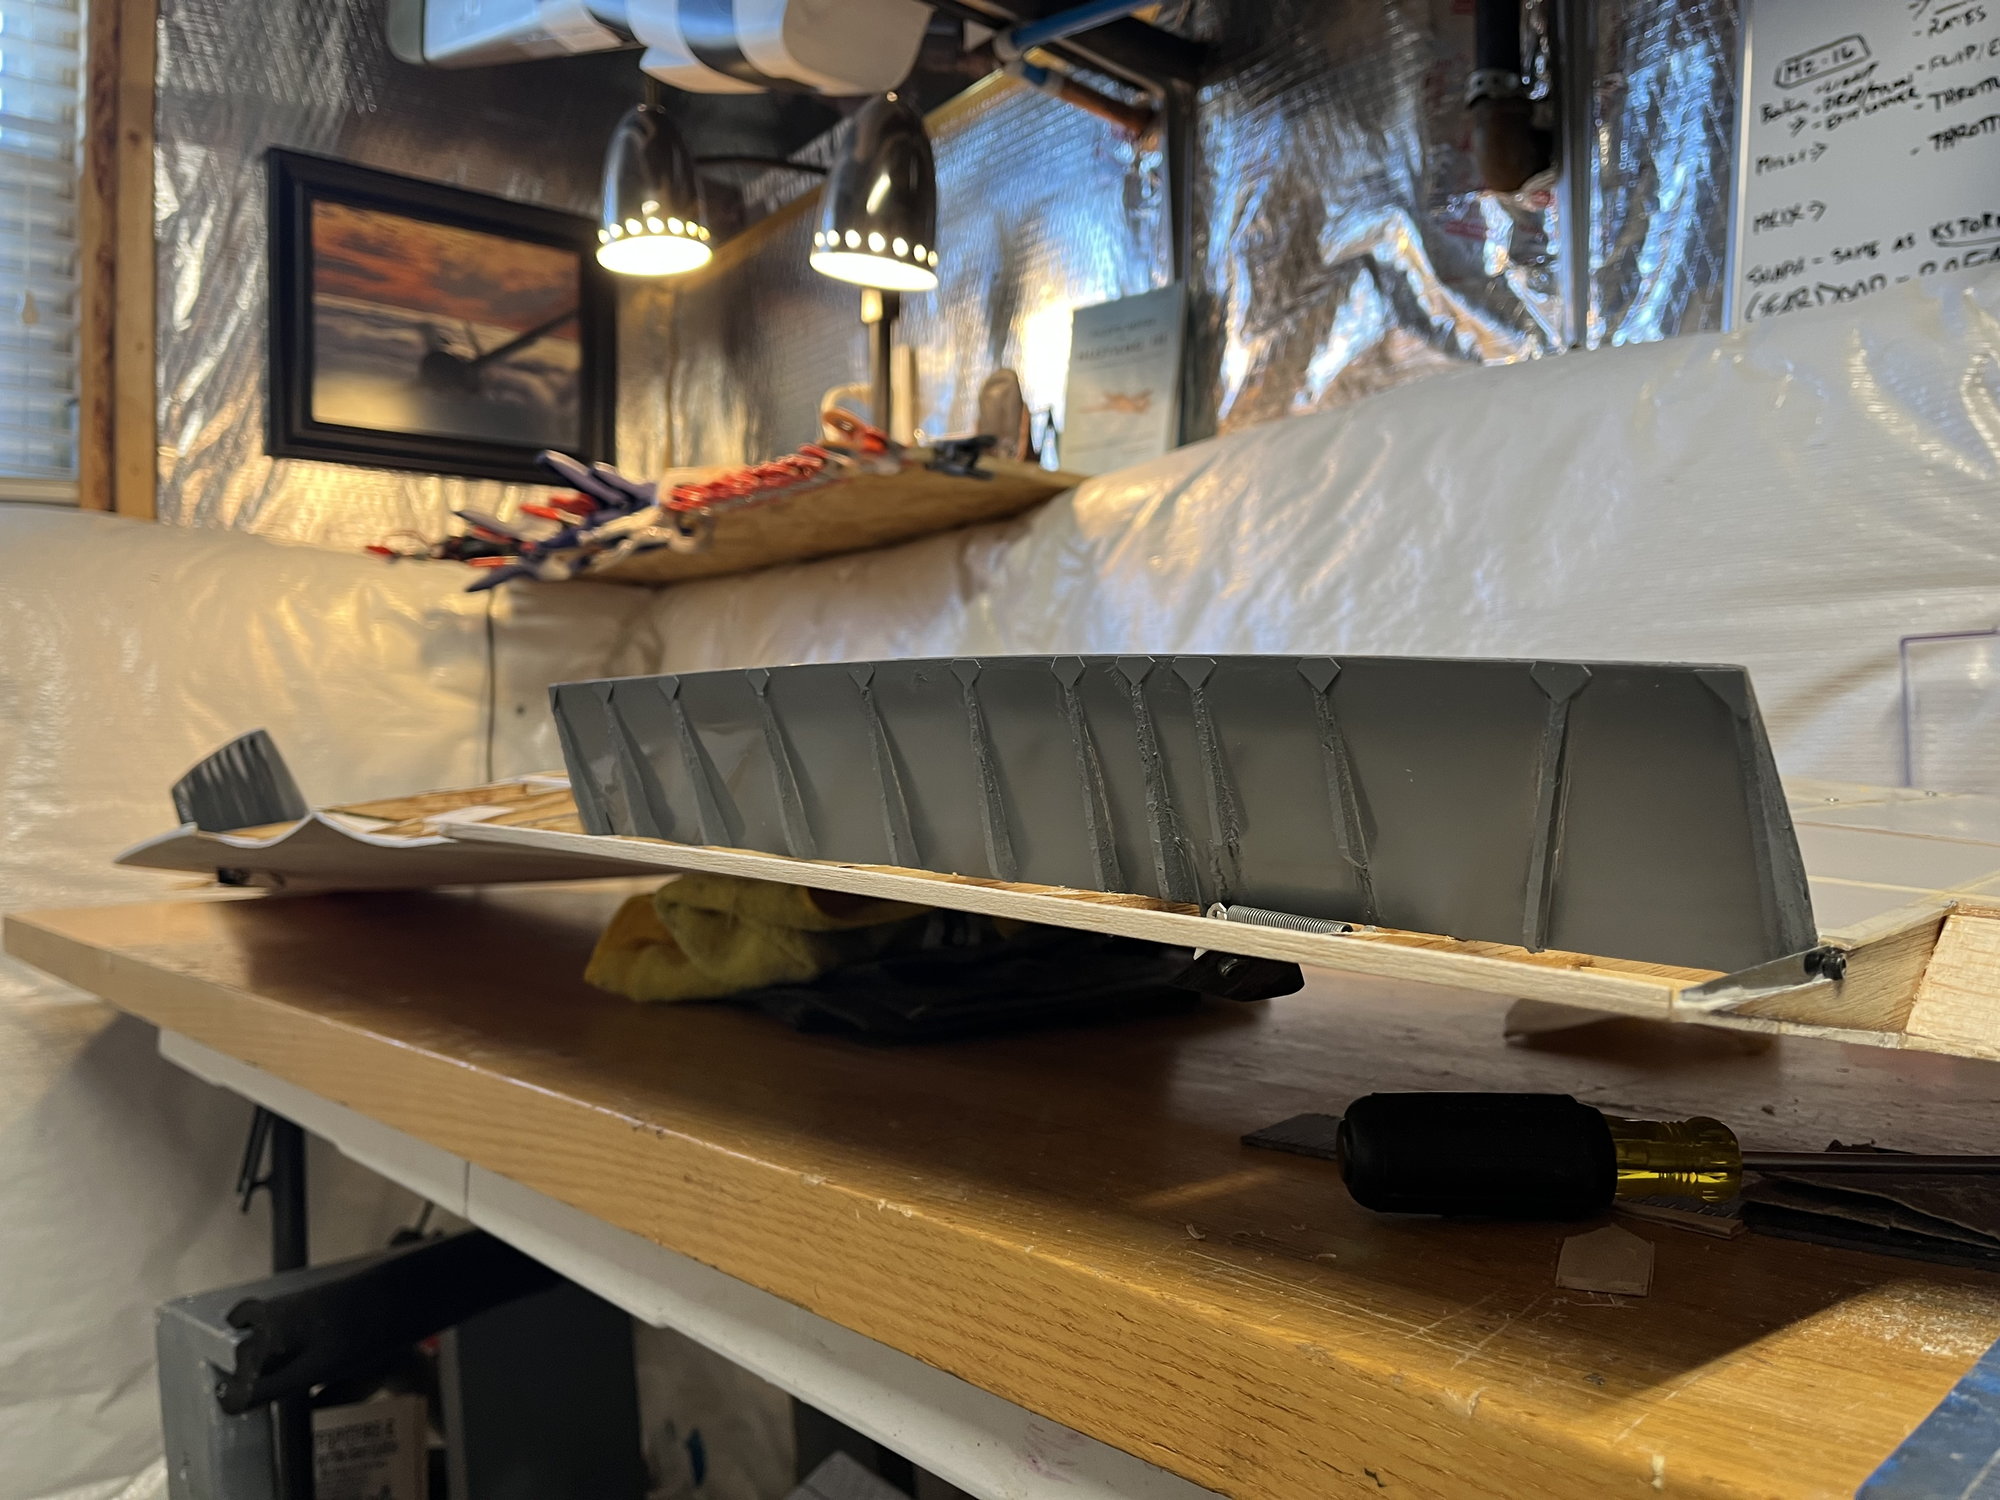
Finished up the right side flap actuator door this morning and spent some time working with the flaps and aileron fit. Hit the inside of the flaps with primer. Next up I need to mate the wing to the fuse and install the mounting brackets Then I can get going on sheeting the fuselage.
 01-22-2022, 03:32 PM
#170
Thread Starter
 01-22-2022, 03:58 PM
#171
Thread Starter
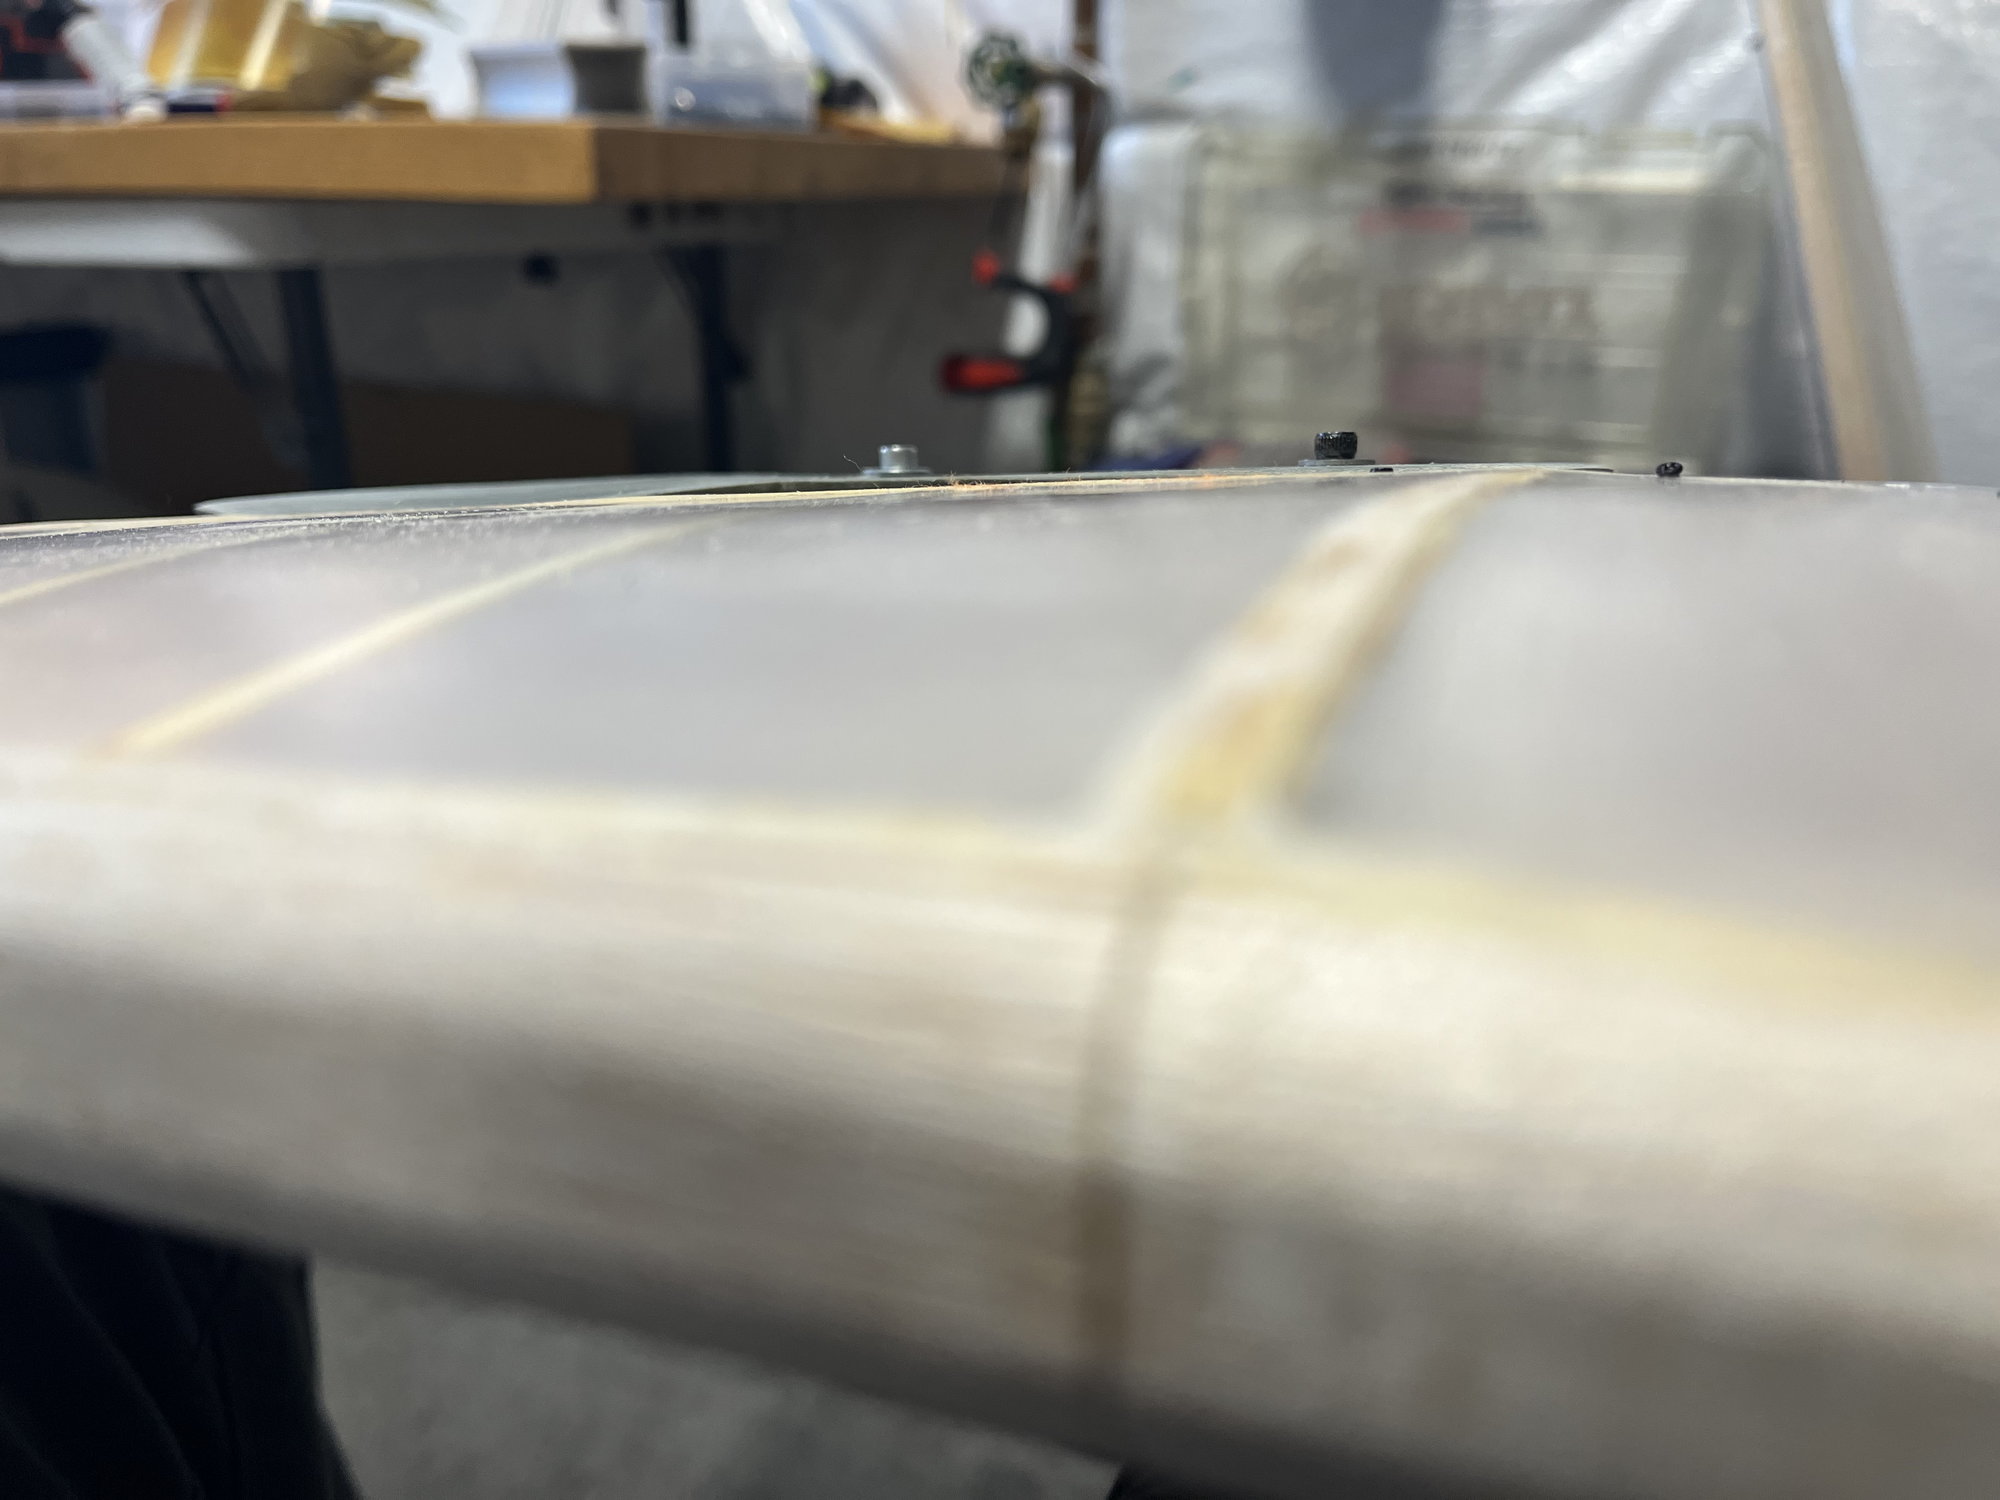
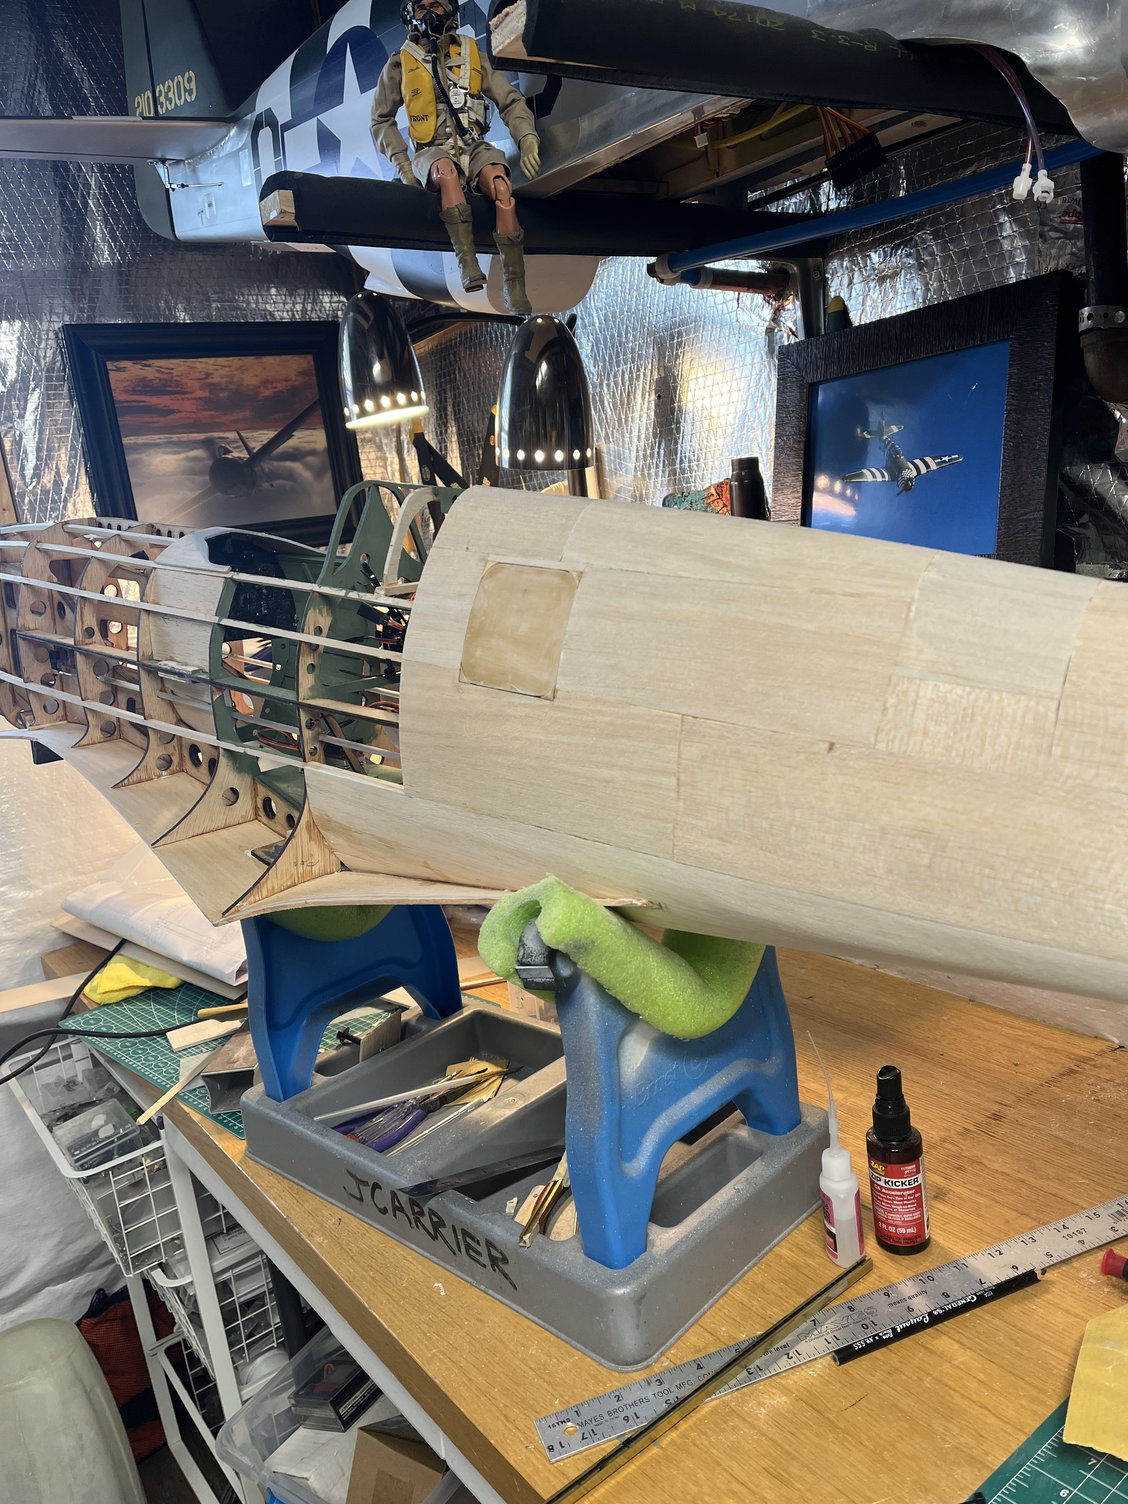
Workin on the cowl I’ve decided some fiberglass reinforcement will be needed, also a cowl-cap of 3/8” basswood upfront on my lathe glassed into the structure should help. I’m thinking of separating the cowl at the scale line to access the engine, using Leo Spychalla’s techinique there..(Thanks Leo!). This will be b
acked by 1/4” ply block and blind nuts. This way I can build the upper cowl into the fuse.
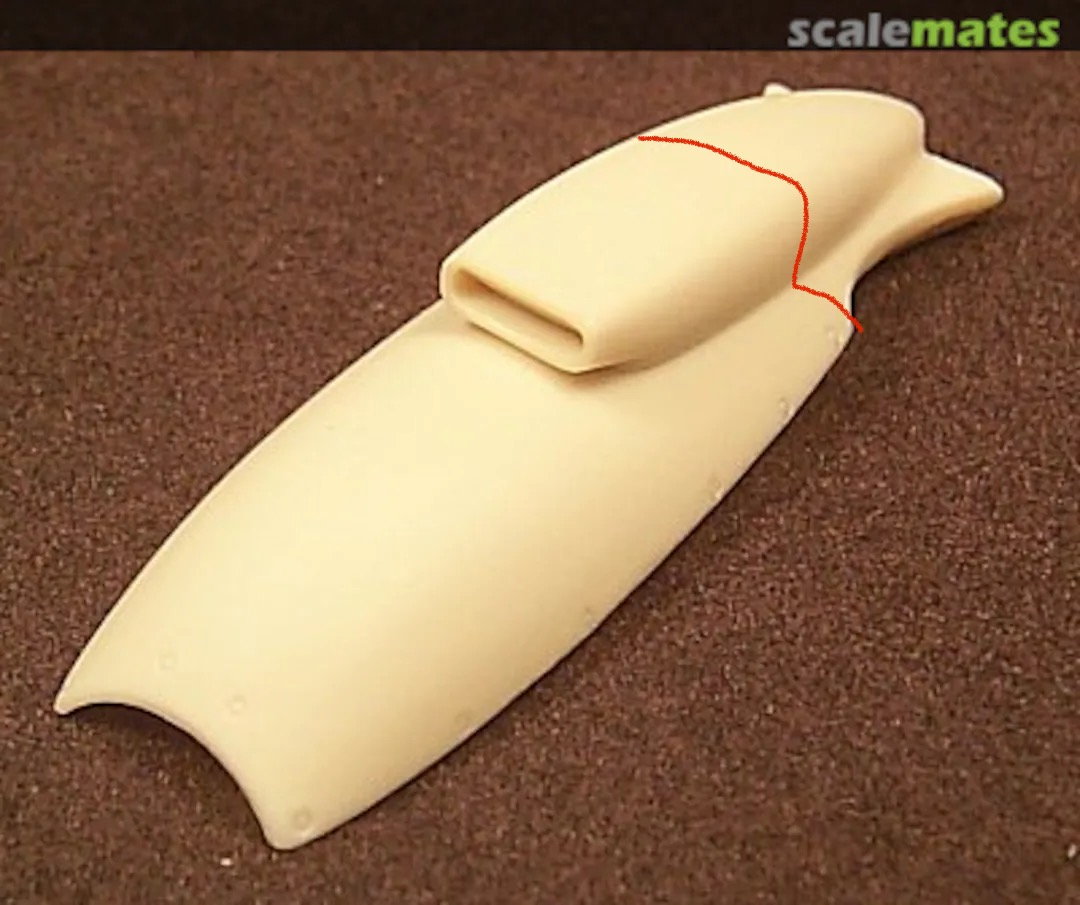
this is not the cowl…but it’s the scale line I’ll remove.
acked by 1/4” ply block and blind nuts. This way I can build the upper cowl into the fuse.
this is not the cowl…but it’s the scale line I’ll remove.
Last edited by Wyoturbine; 01-22-2022 at 04:04 PM.
02-10-2022, 01:51 PM
#172
Thread Starter
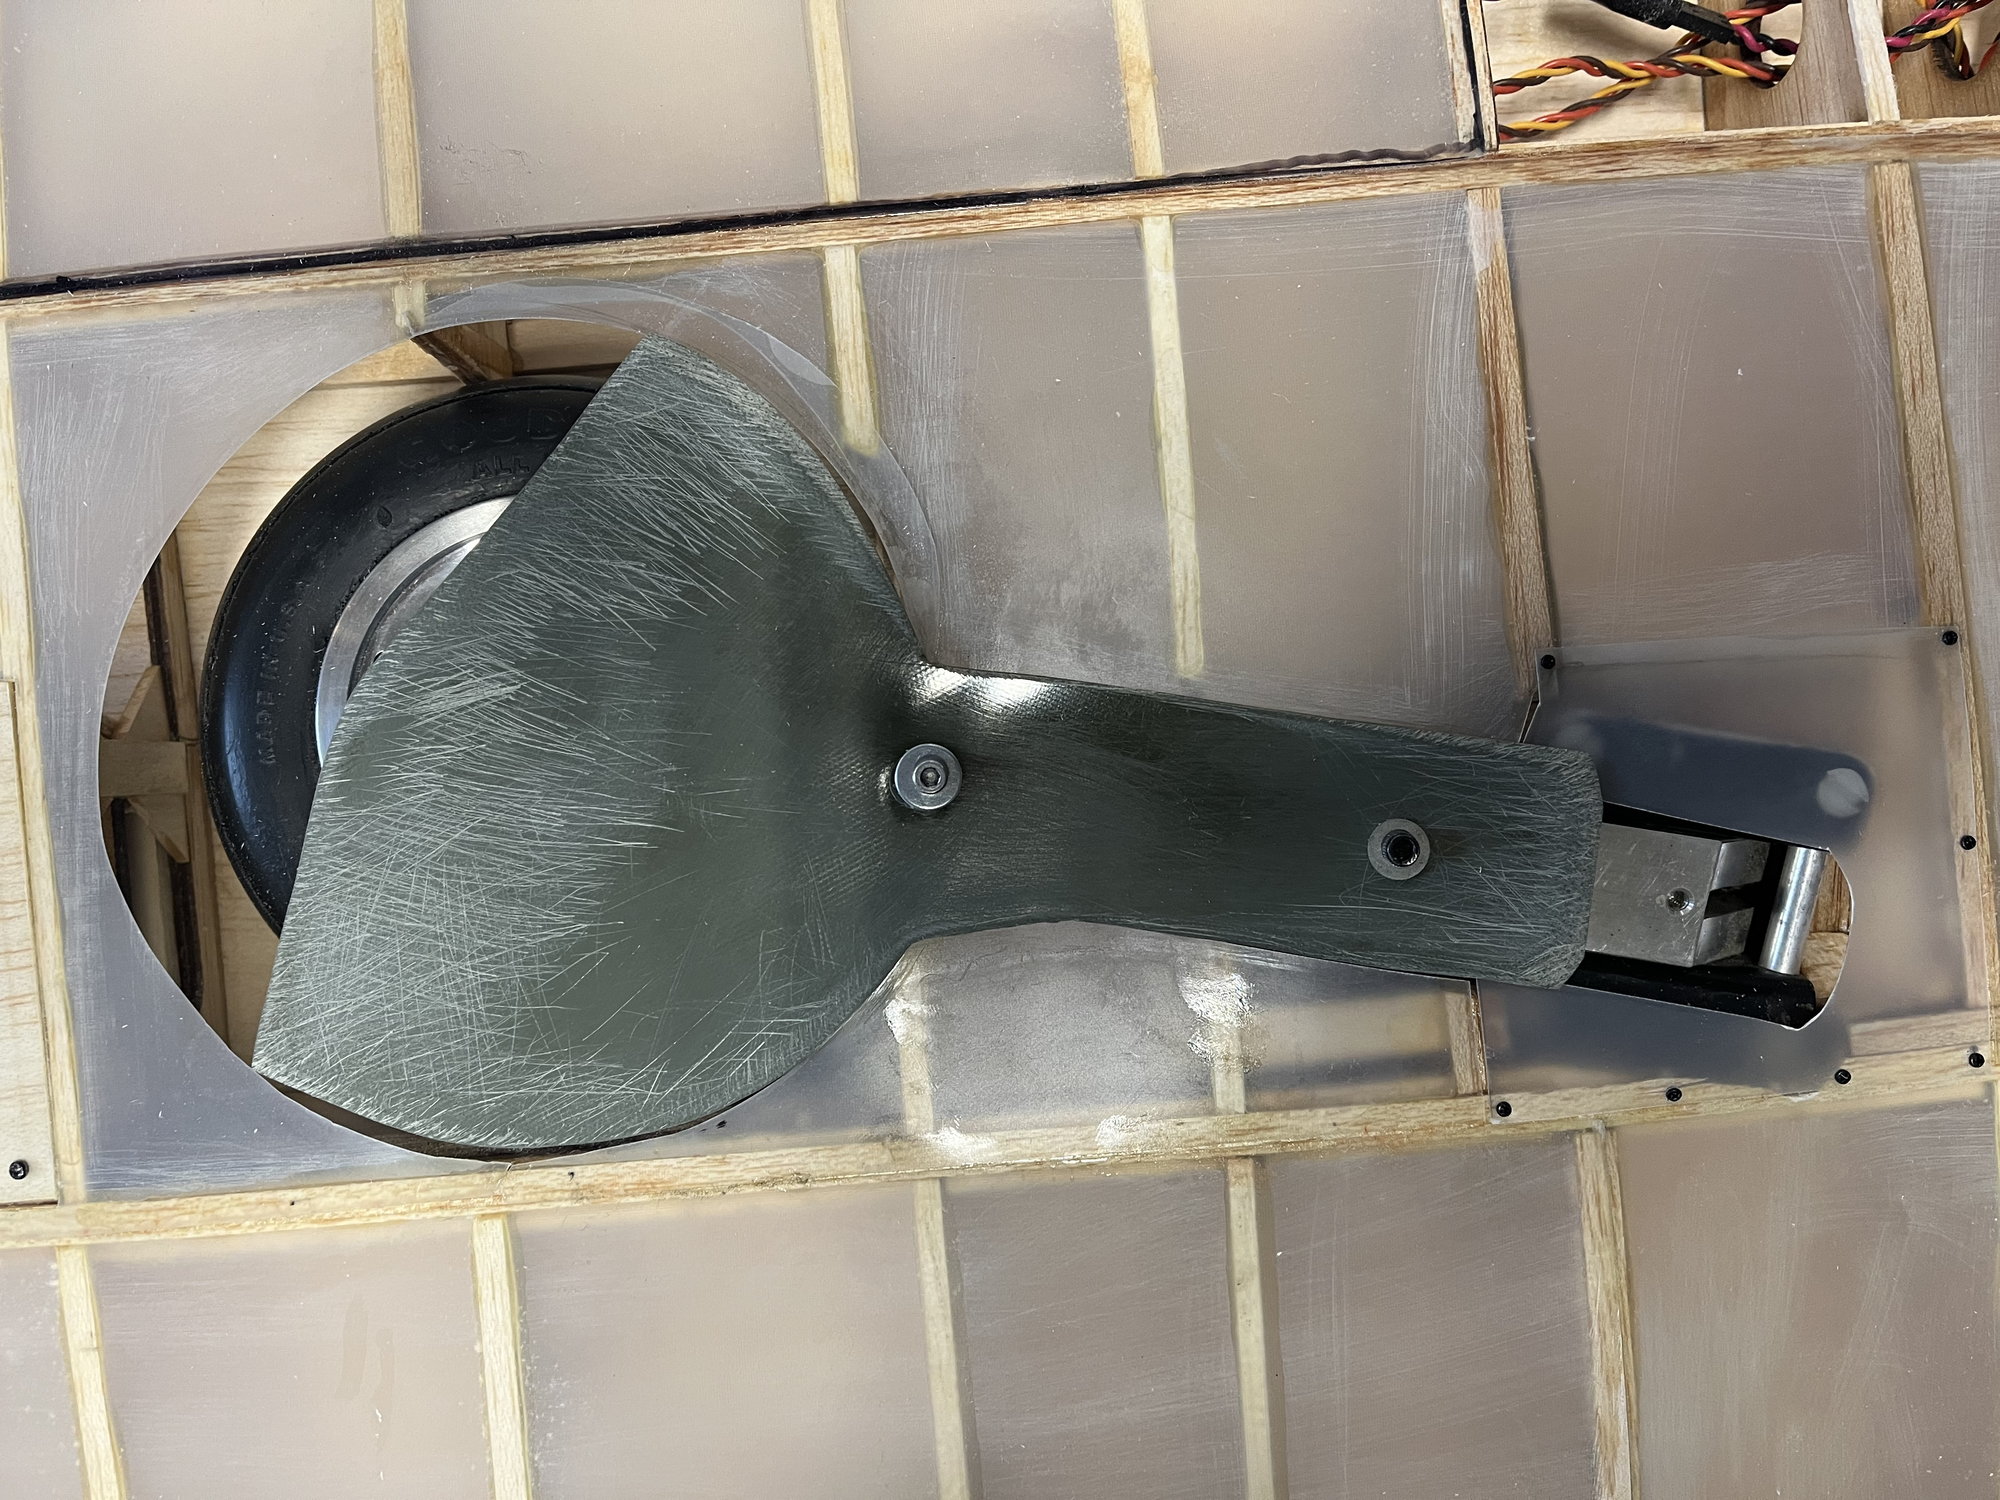
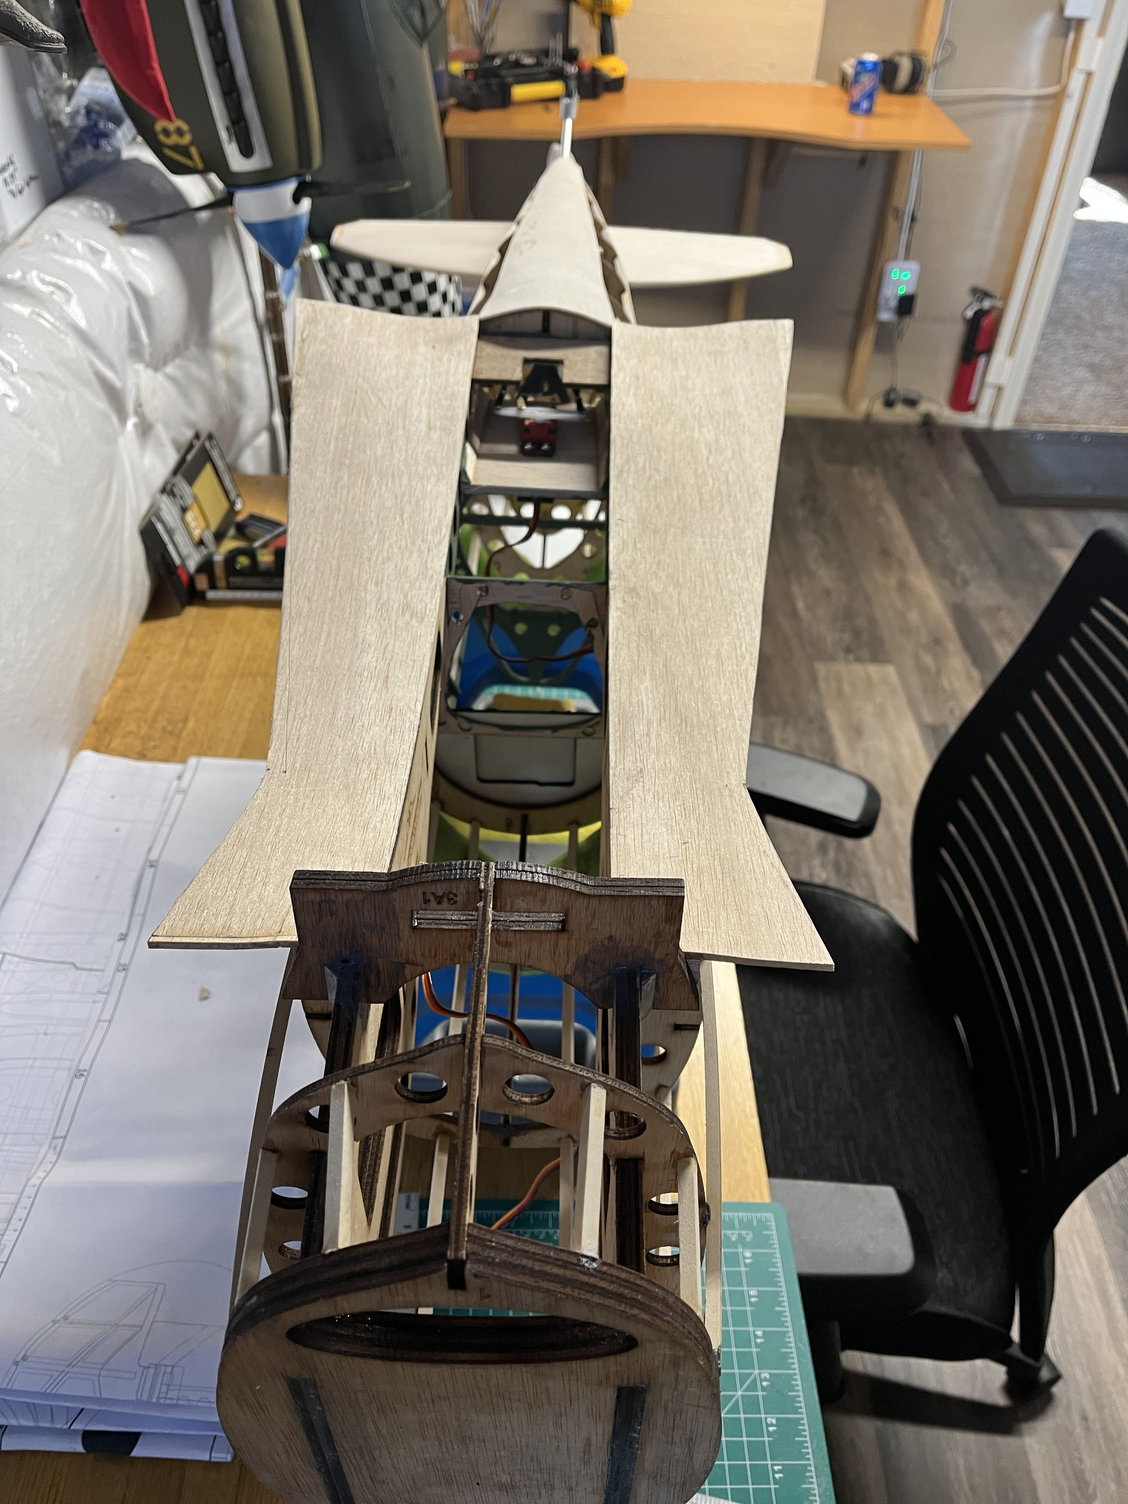
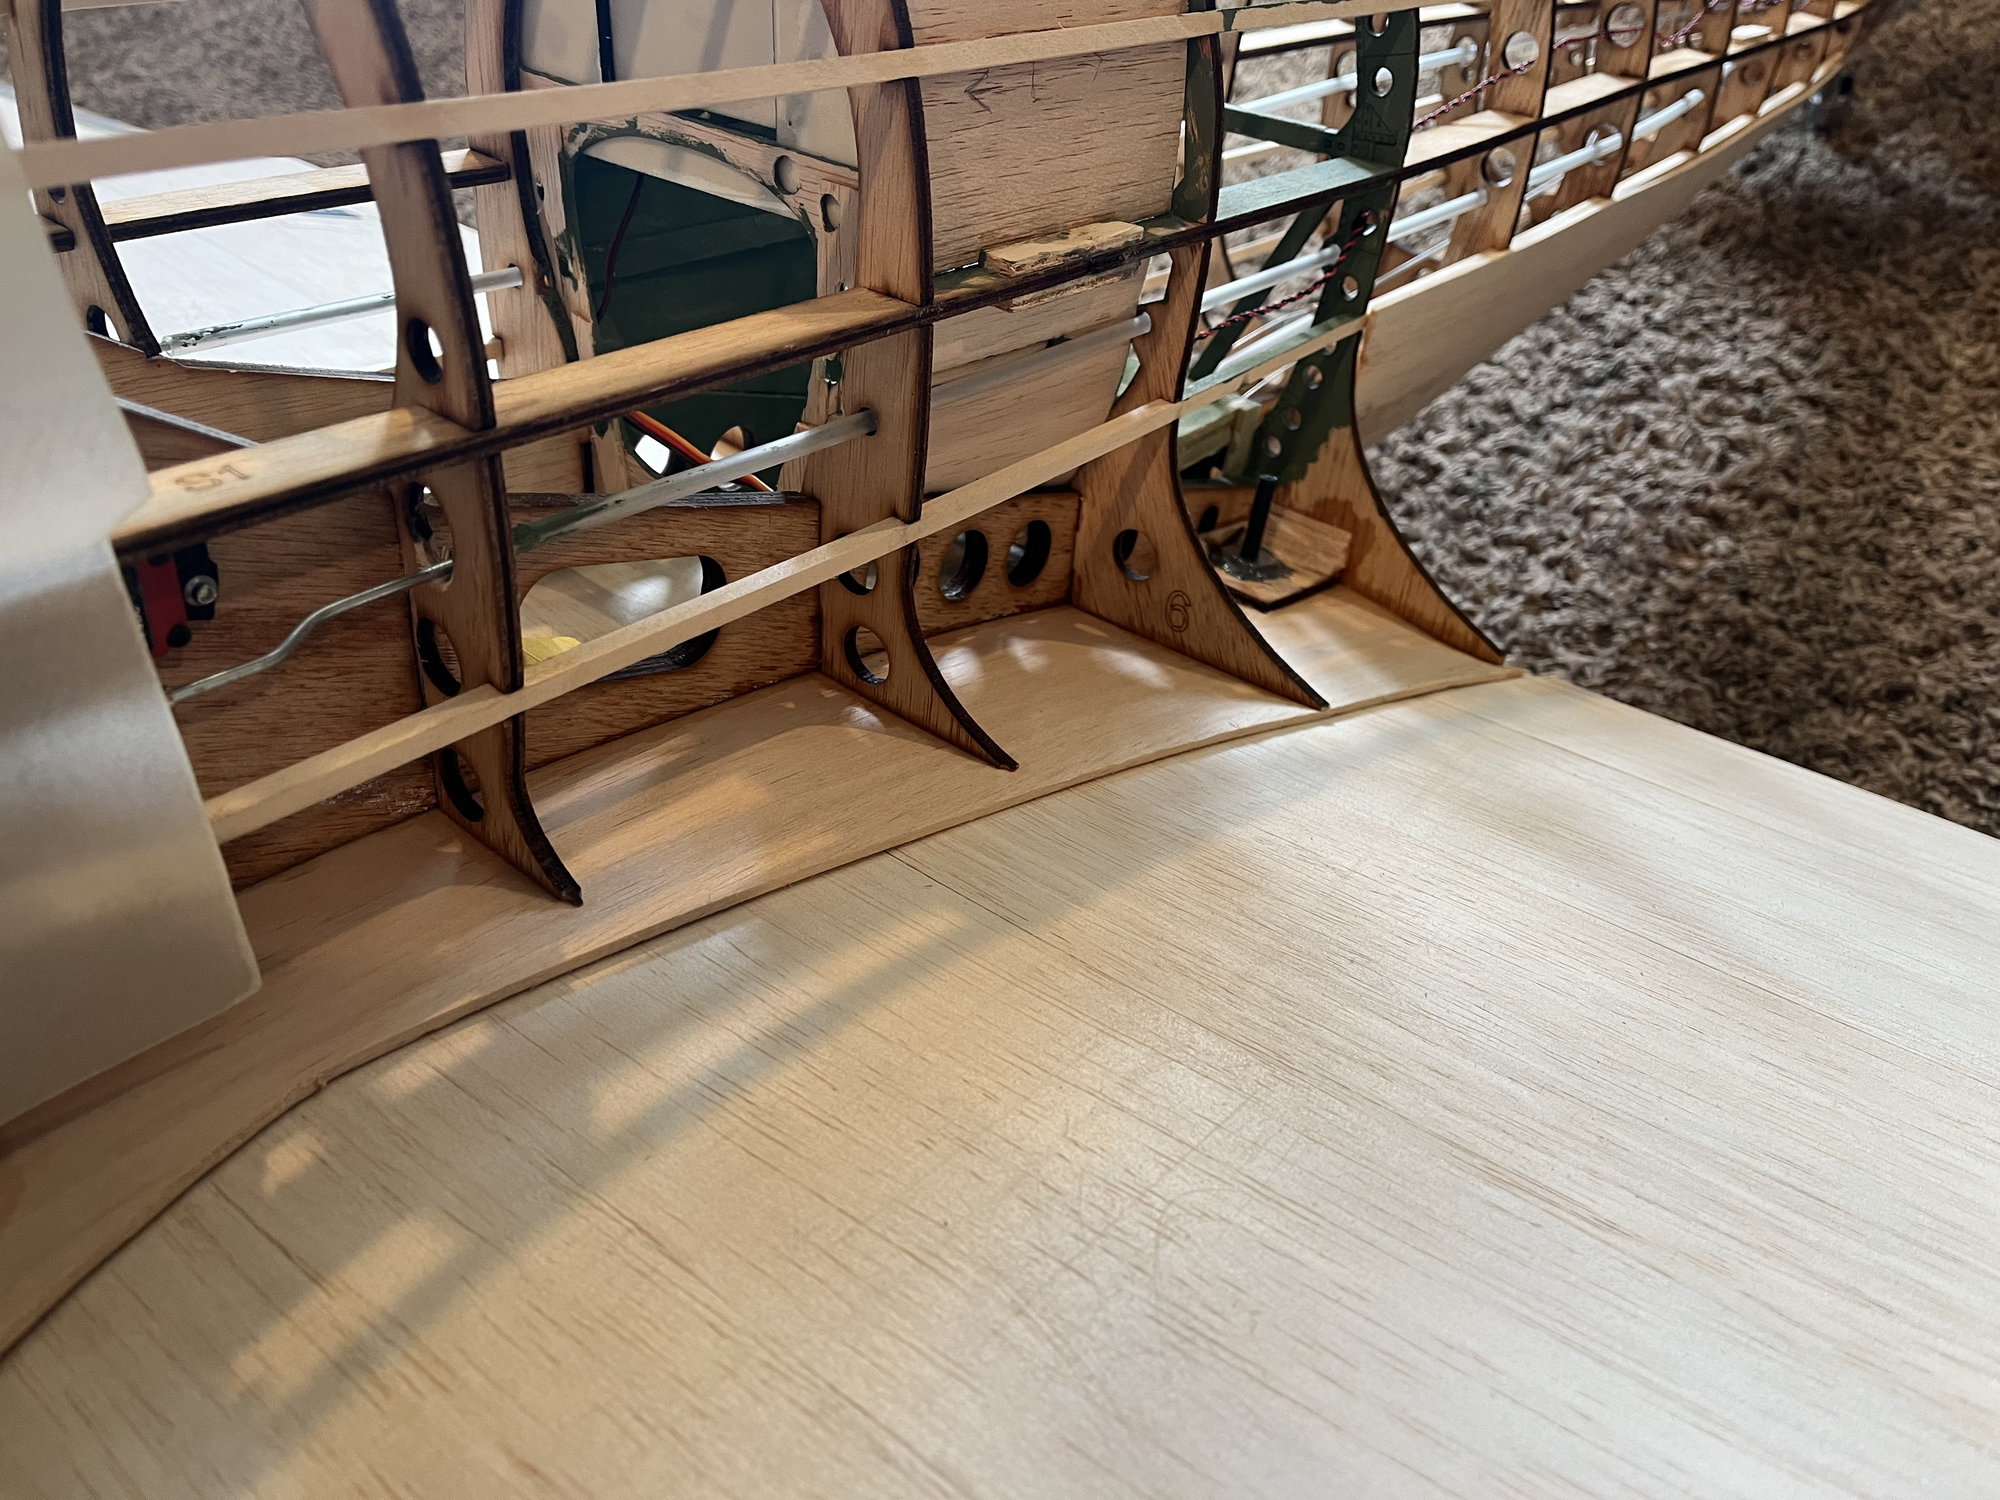
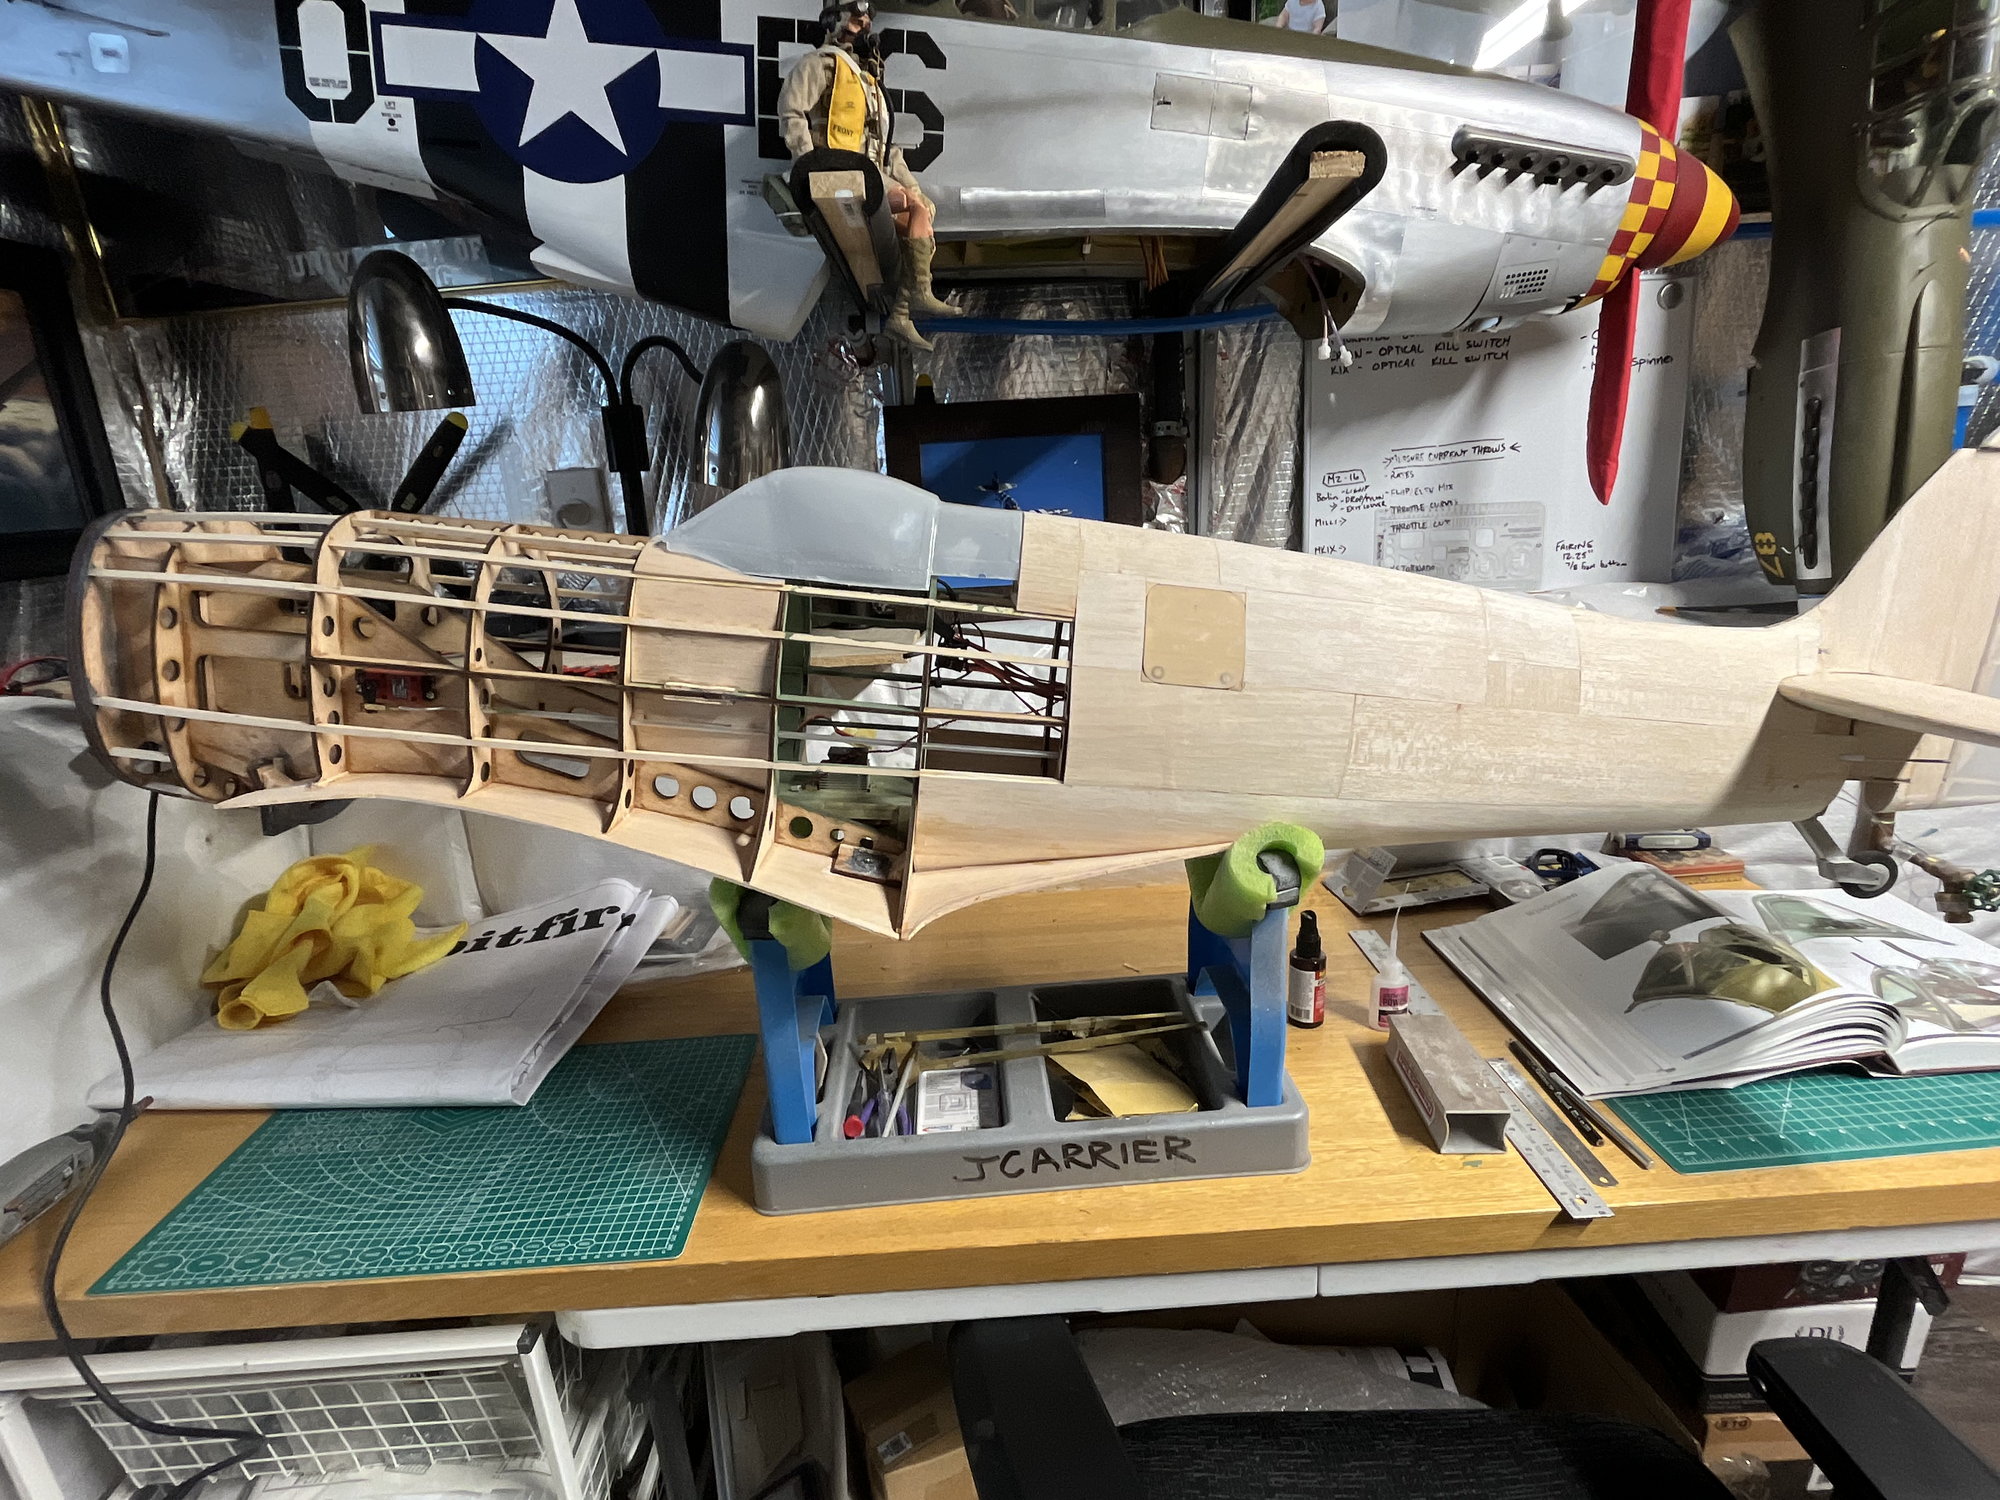
This week made a big jump in progress. Roughed in the wing saddle and mounted the wing, took a bit of fitting/sanding etc, but it mates up very well. I still need to finish roughing in the forward saddle and leading edge then run the wing fairing.
I ran my pull pull for the rudder so I could continue sheeting the fuse. The upper spline sheeting just takes time…and patience….and more time but it’s coming along.
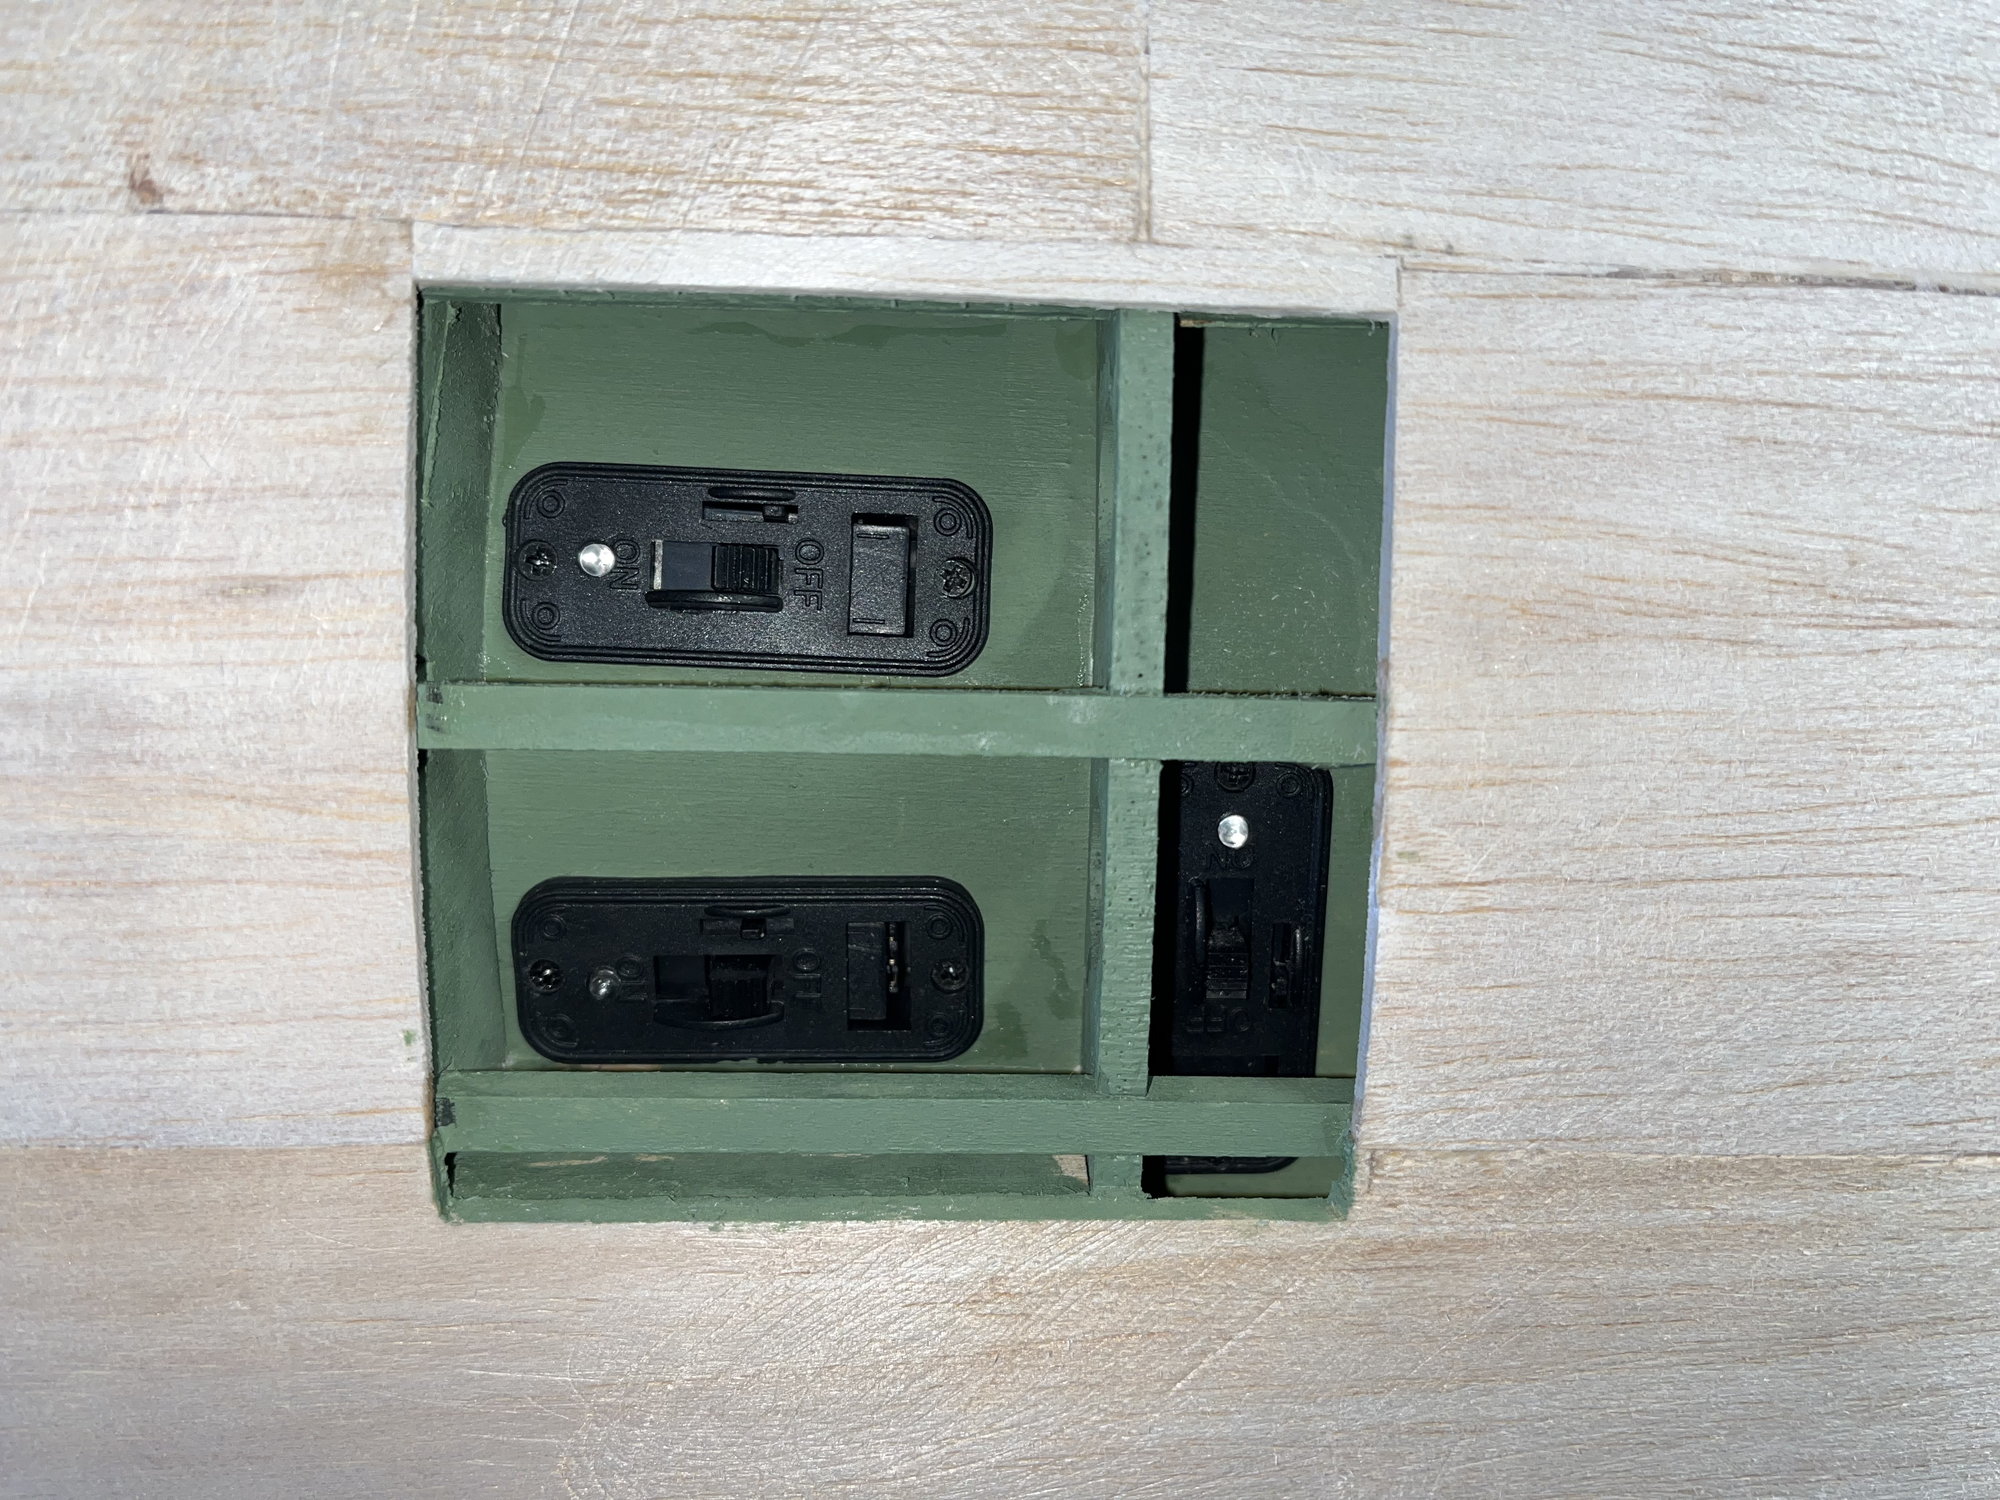
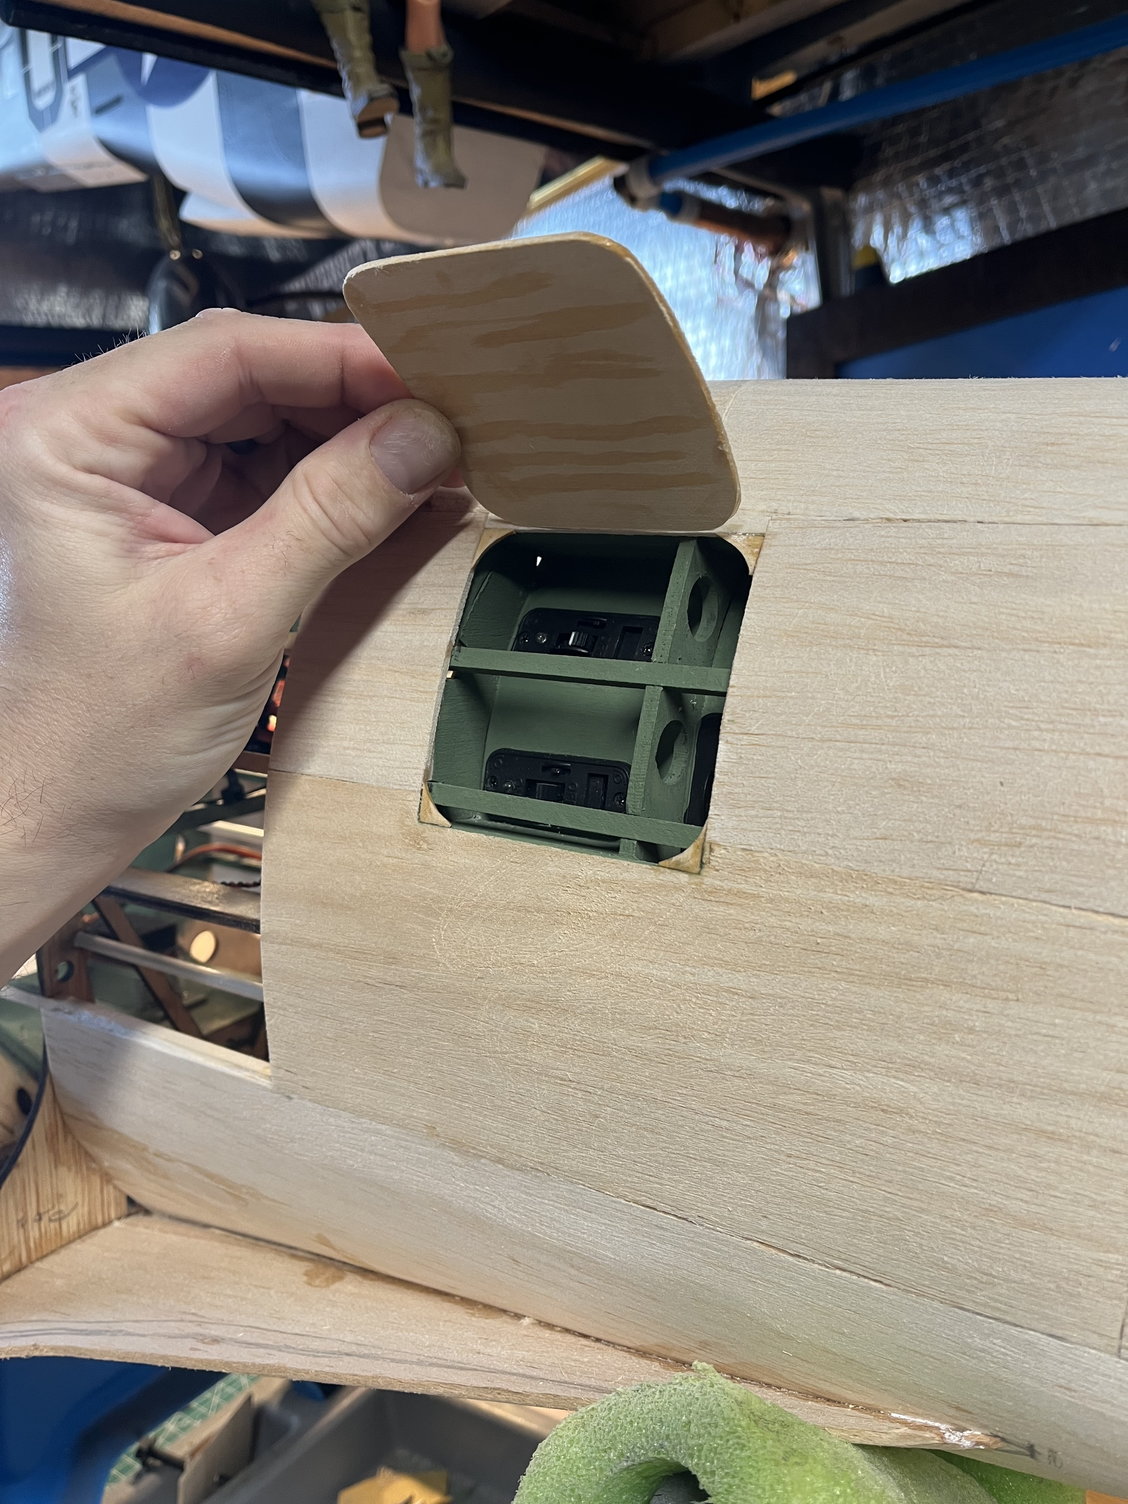
Today I built my switch plate and decided to install it where the scale radio hatch equipment is, seemed fitting.

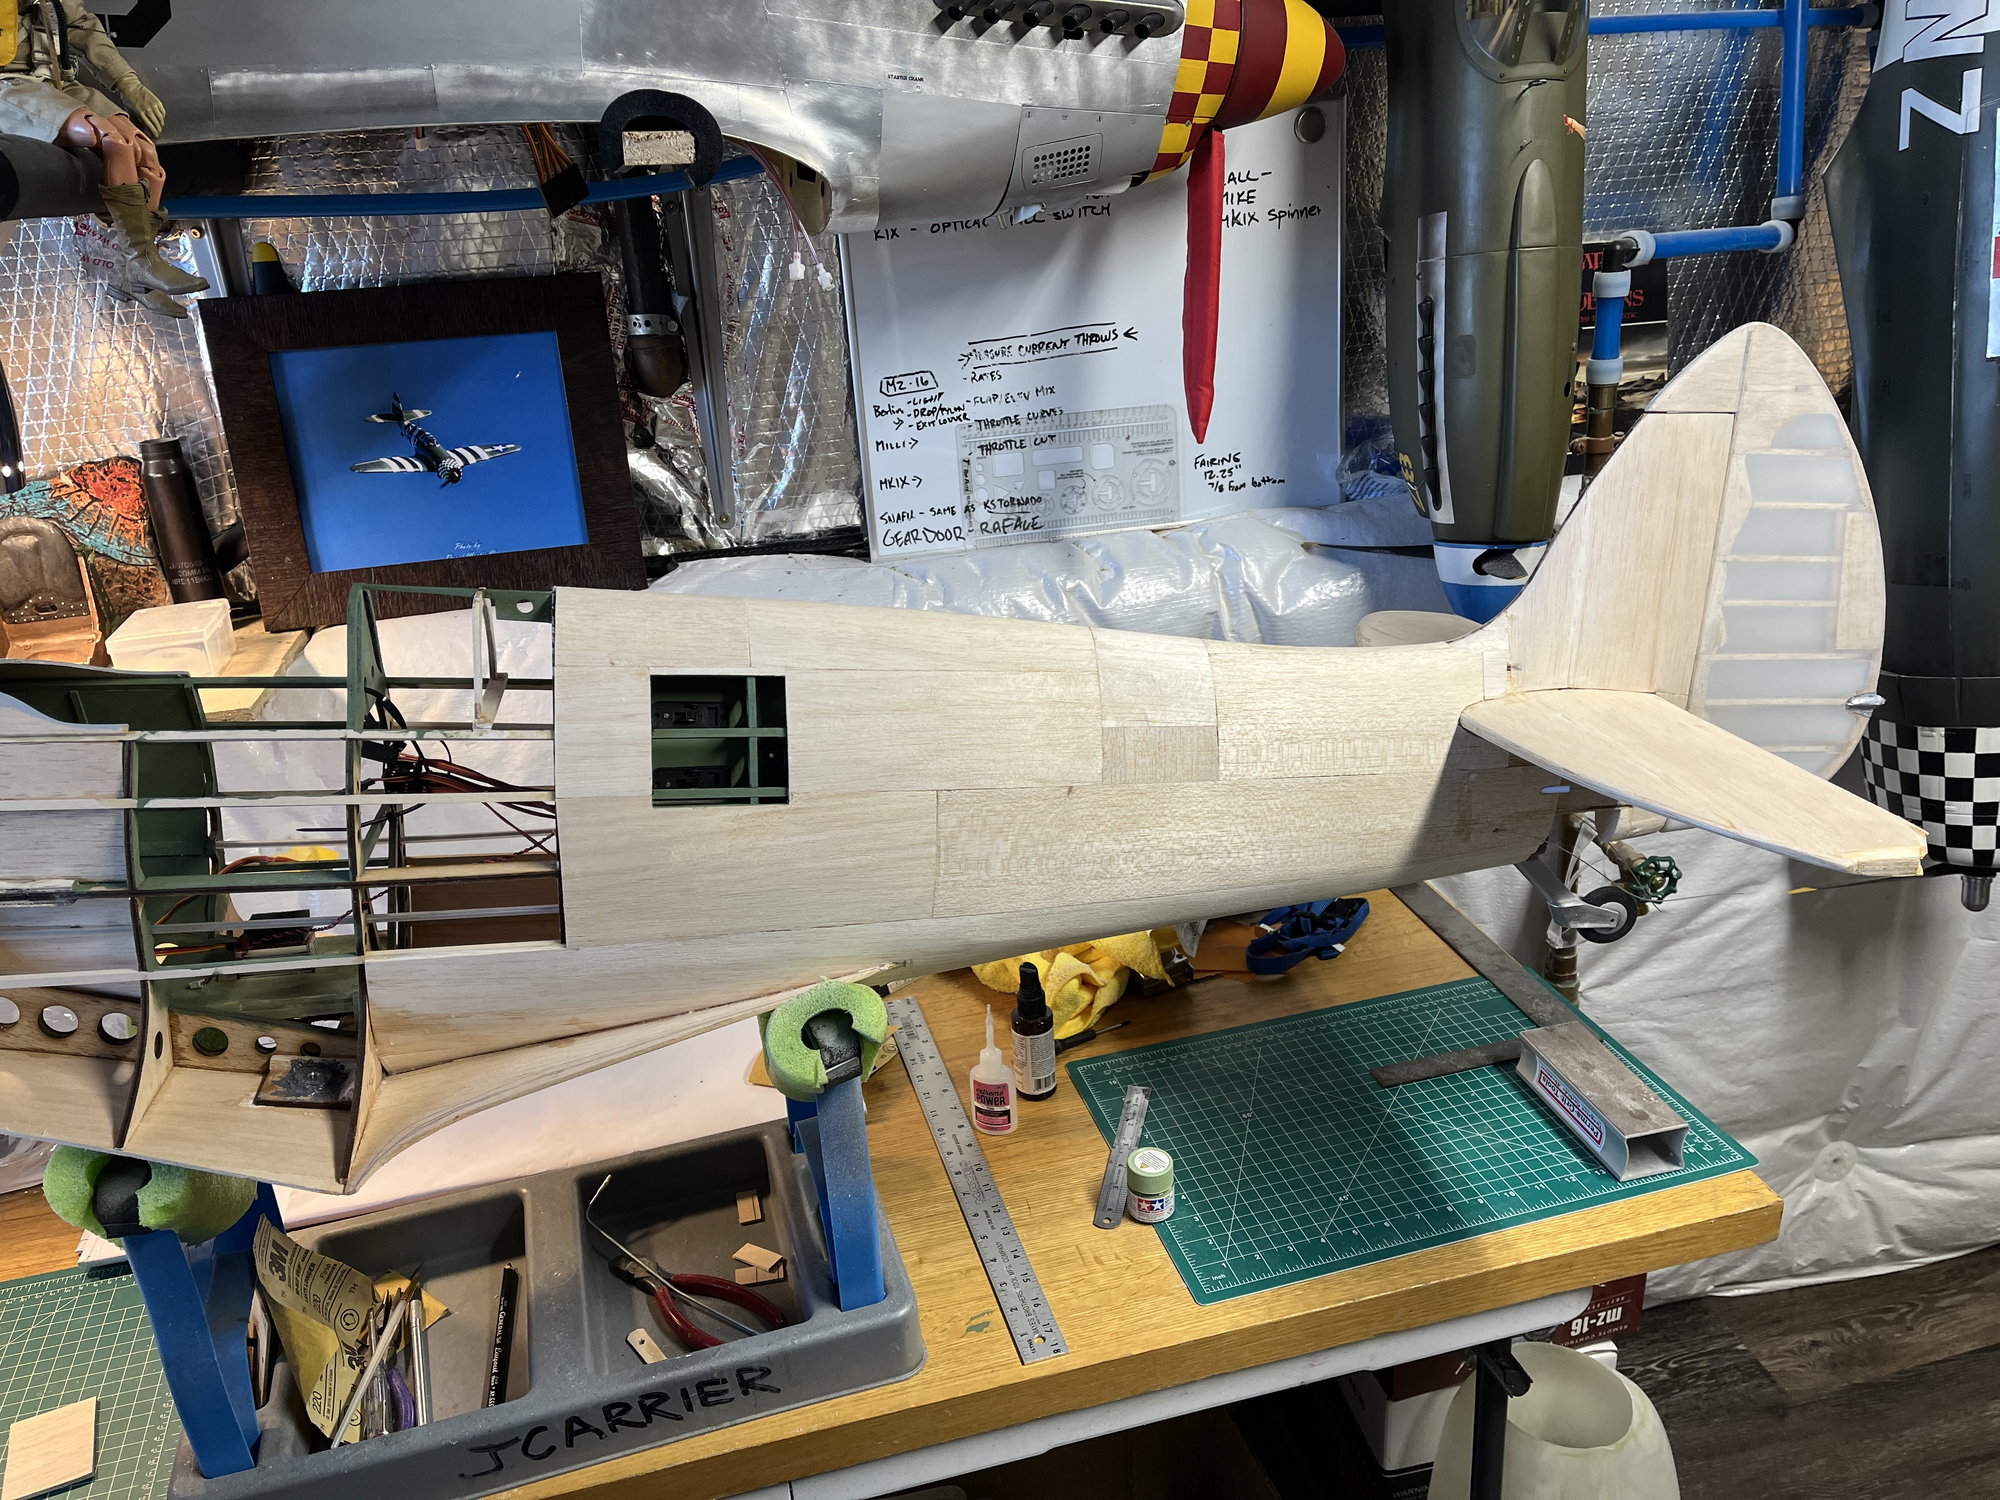
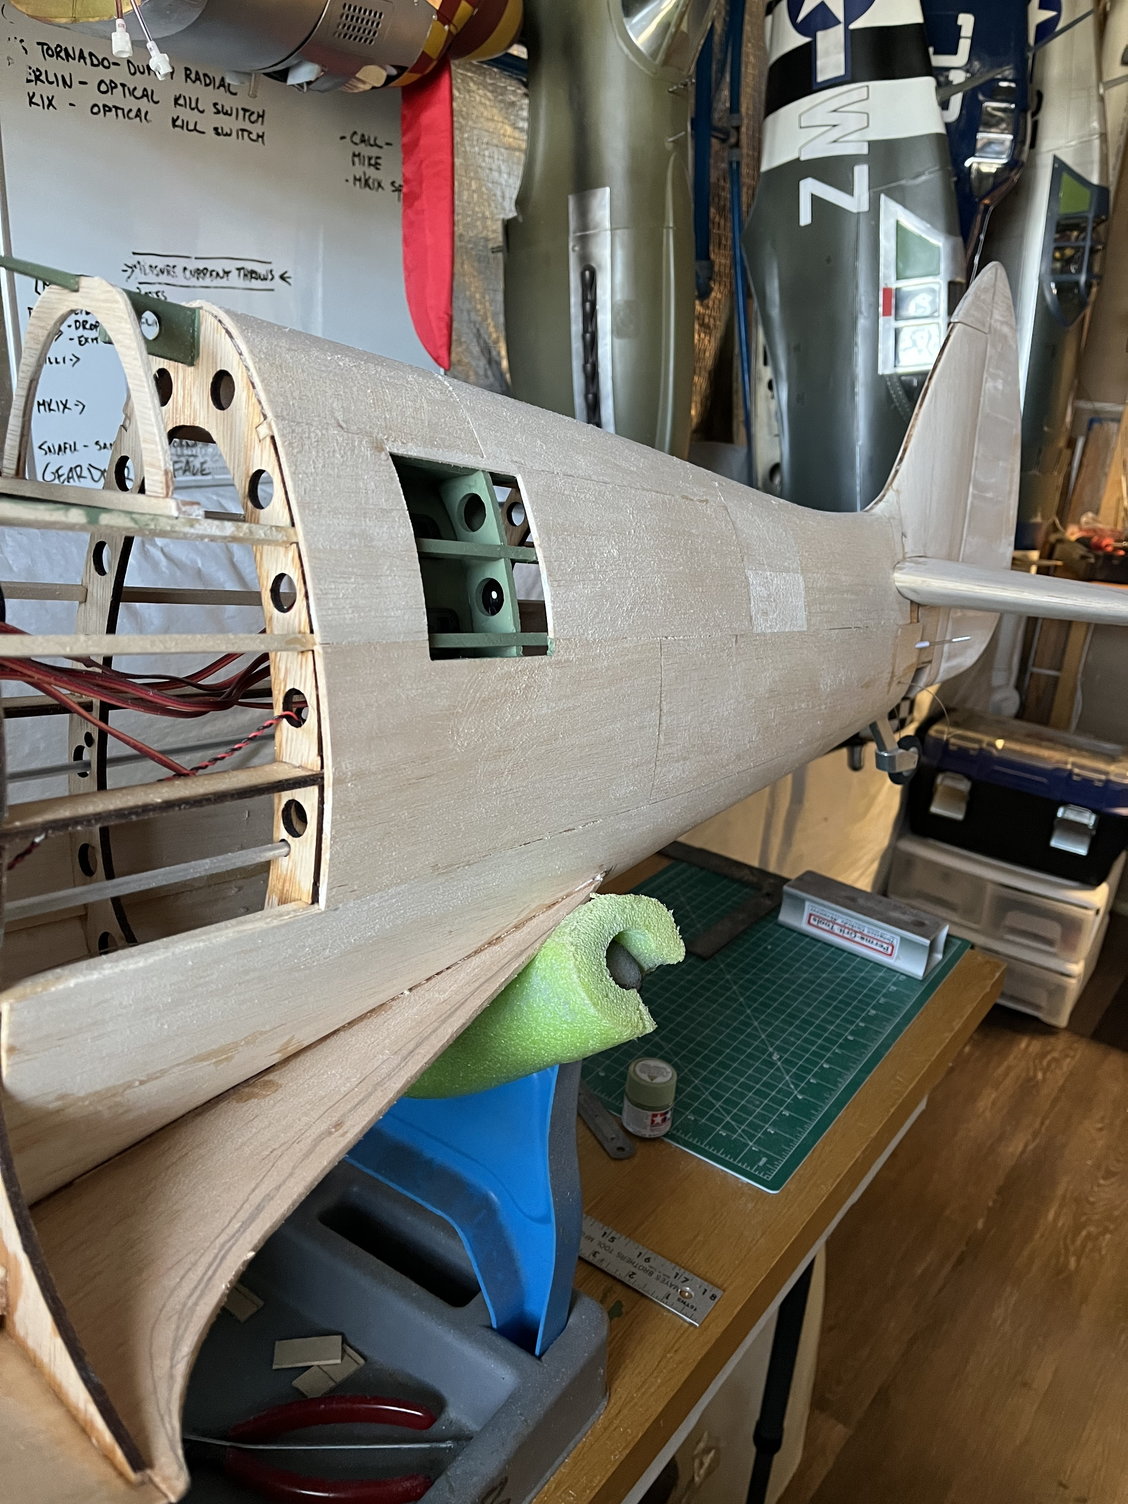
I ran my pull pull for the rudder so I could continue sheeting the fuse. The upper spline sheeting just takes time…and patience….and more time but it’s coming along.
Today I built my switch plate and decided to install it where the scale radio hatch equipment is, seemed fitting.
Last edited by Wyoturbine; 02-10-2022 at 04:51 PM.
02-12-2022, 03:50 PM
#173
Thread Starter
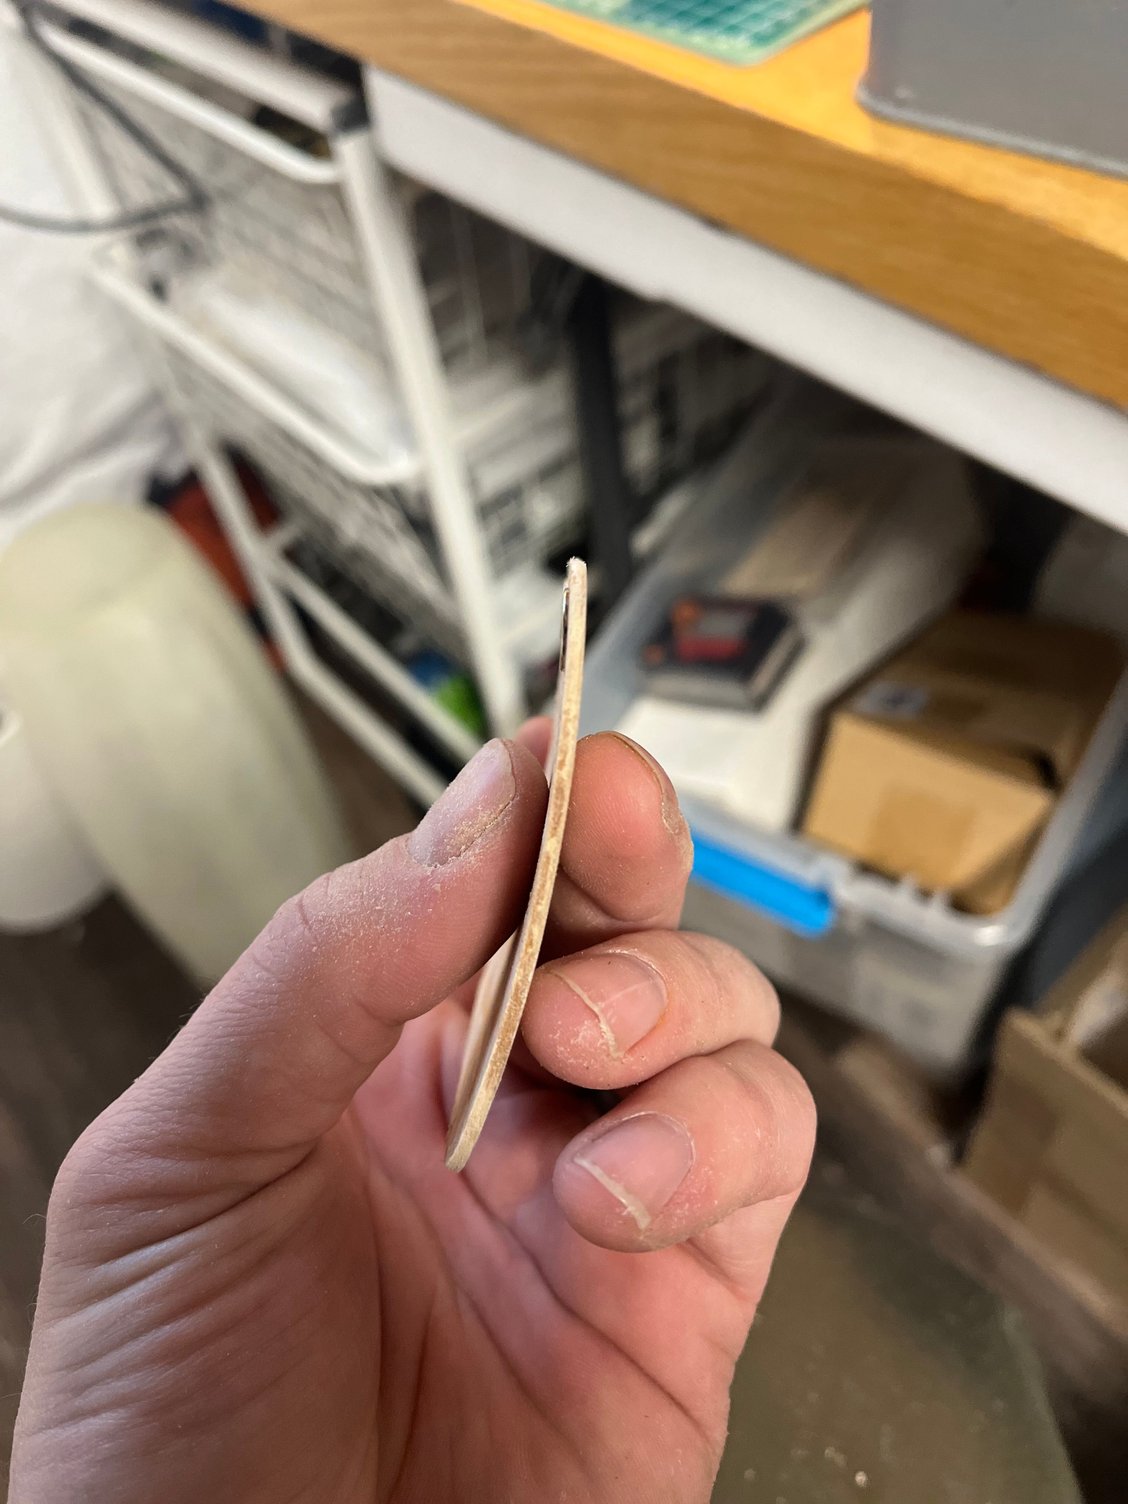
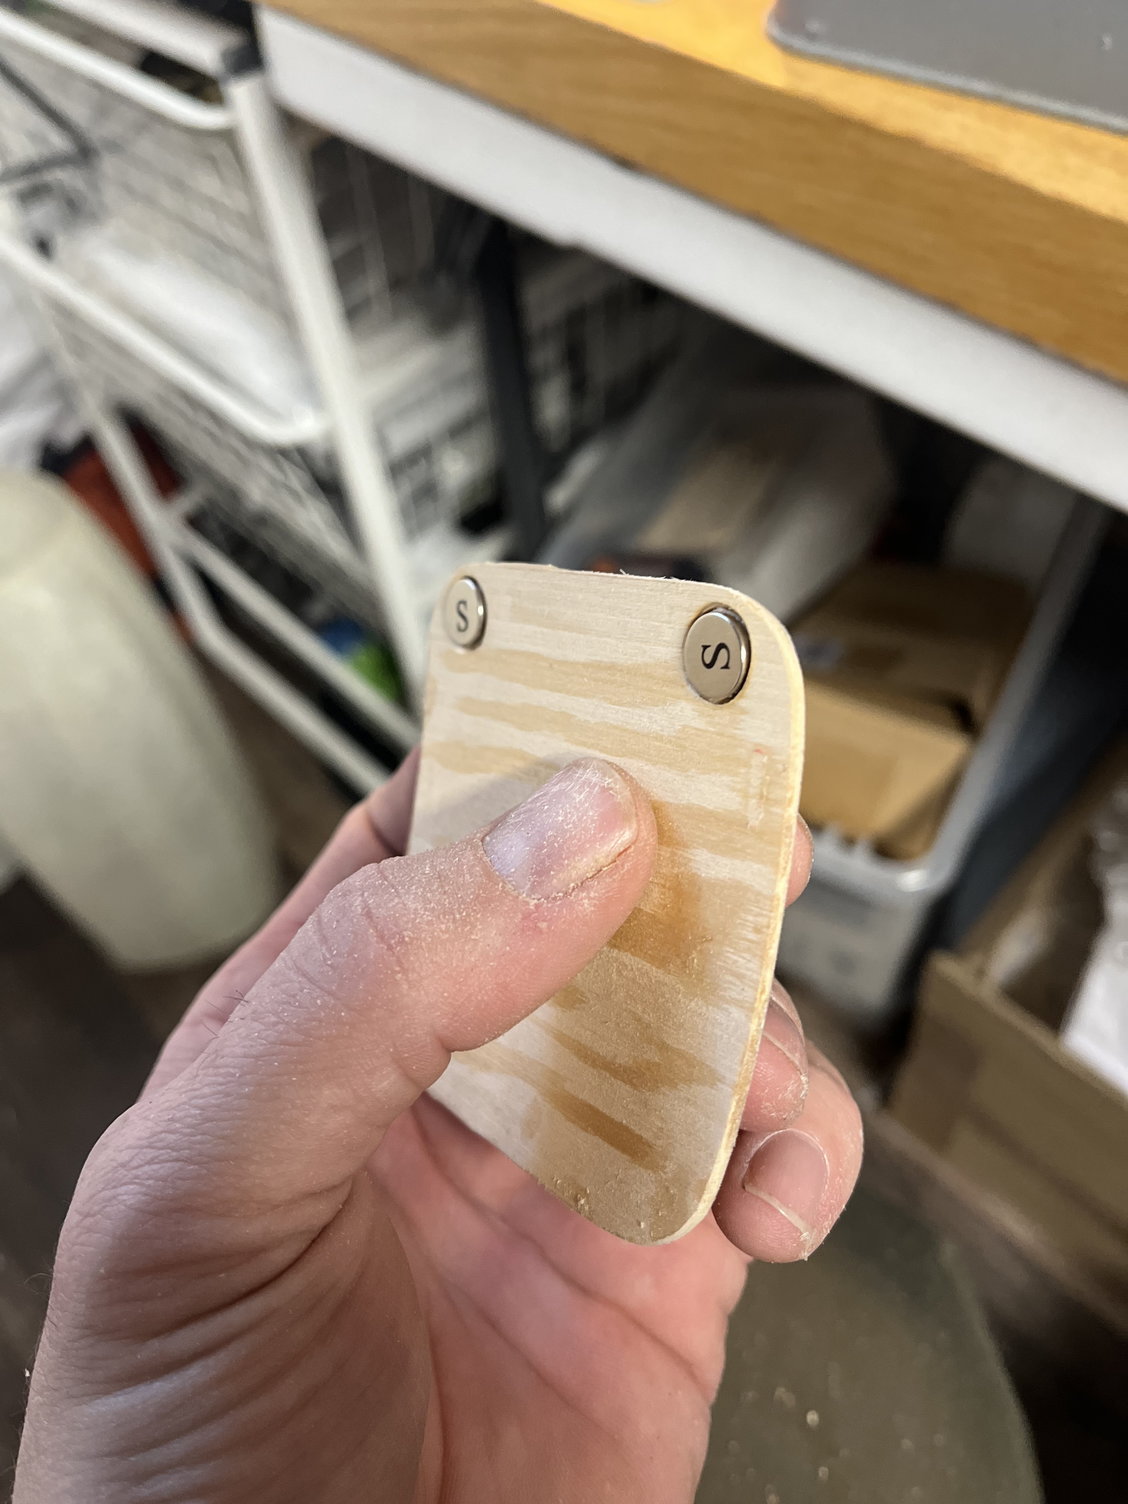
Before headed off to work today I was able to get a bit more done on the access door, it needed to be shaped a bit from the rough-in. I found some low profile magnets that secure it nicely and ordered a mini piano hinge that will be in when I get home. Also started looking at my canopy. I want it to be operable, so before I get too far skinning, I’d like to get that set that up. Nice thing about building, if one spot burns you out, there’s always 30-40 other areas to work on.
02-13-2022, 10:11 AM
#175
Thread Starter
Thanks! I’m looking forward to getting back to it. I need to install my canopy rails then I can get back to skinning and finishing the fairing. I’m really pushing to have her glassed by flying season. I’m not a fan of having raw balsa sitting in the shop. Too susceptible to dents dings and hangar rash.