


Tomahawk Aviation Wilga 3.2m UMS-150
 12-06-2023, 12:50 PM
#1

Thread Starter
Hi,
I live in Belgium and a few years ago I saw a photo of a Wila PZL 104 on our beach.
It was a postal Carrier from DLG express and it was a beauty.
After a few years I bought a Wilga PZL 3.2m kit from Tomahawk Aviation and decided it to make it as the DHL postal carrier I saw before.
The motor will be an UMS-150 radial 5 cylinder, total weight should be around 20kg
This is my first thread so maybe I need some help to get everything online.
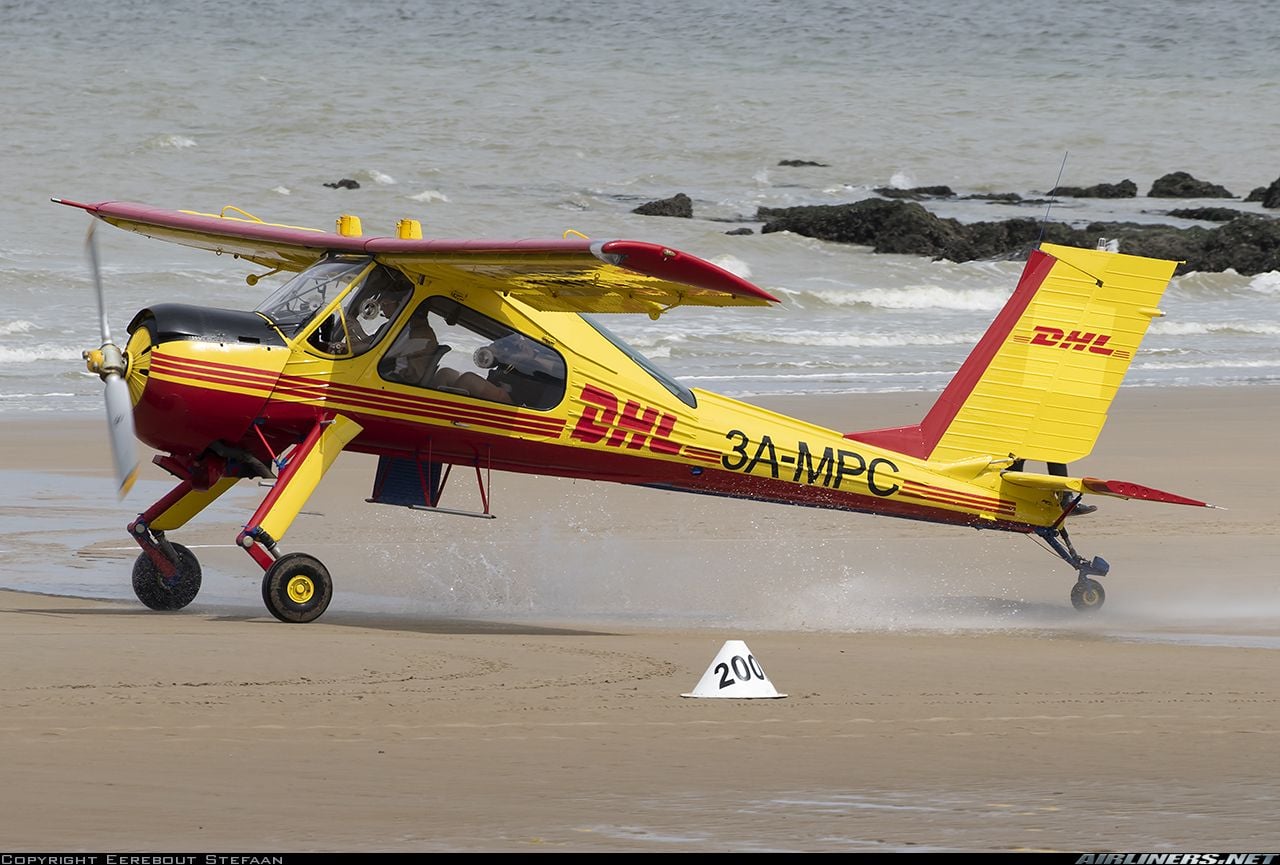
Here's a photo of the Wilga PZL 104 at the beach.
Carlo
I live in Belgium and a few years ago I saw a photo of a Wila PZL 104 on our beach.
It was a postal Carrier from DLG express and it was a beauty.
After a few years I bought a Wilga PZL 3.2m kit from Tomahawk Aviation and decided it to make it as the DHL postal carrier I saw before.
The motor will be an UMS-150 radial 5 cylinder, total weight should be around 20kg
This is my first thread so maybe I need some help to get everything online.
Here's a photo of the Wilga PZL 104 at the beach.
Carlo
 12-08-2023, 03:28 AM
#2
Thread Starter
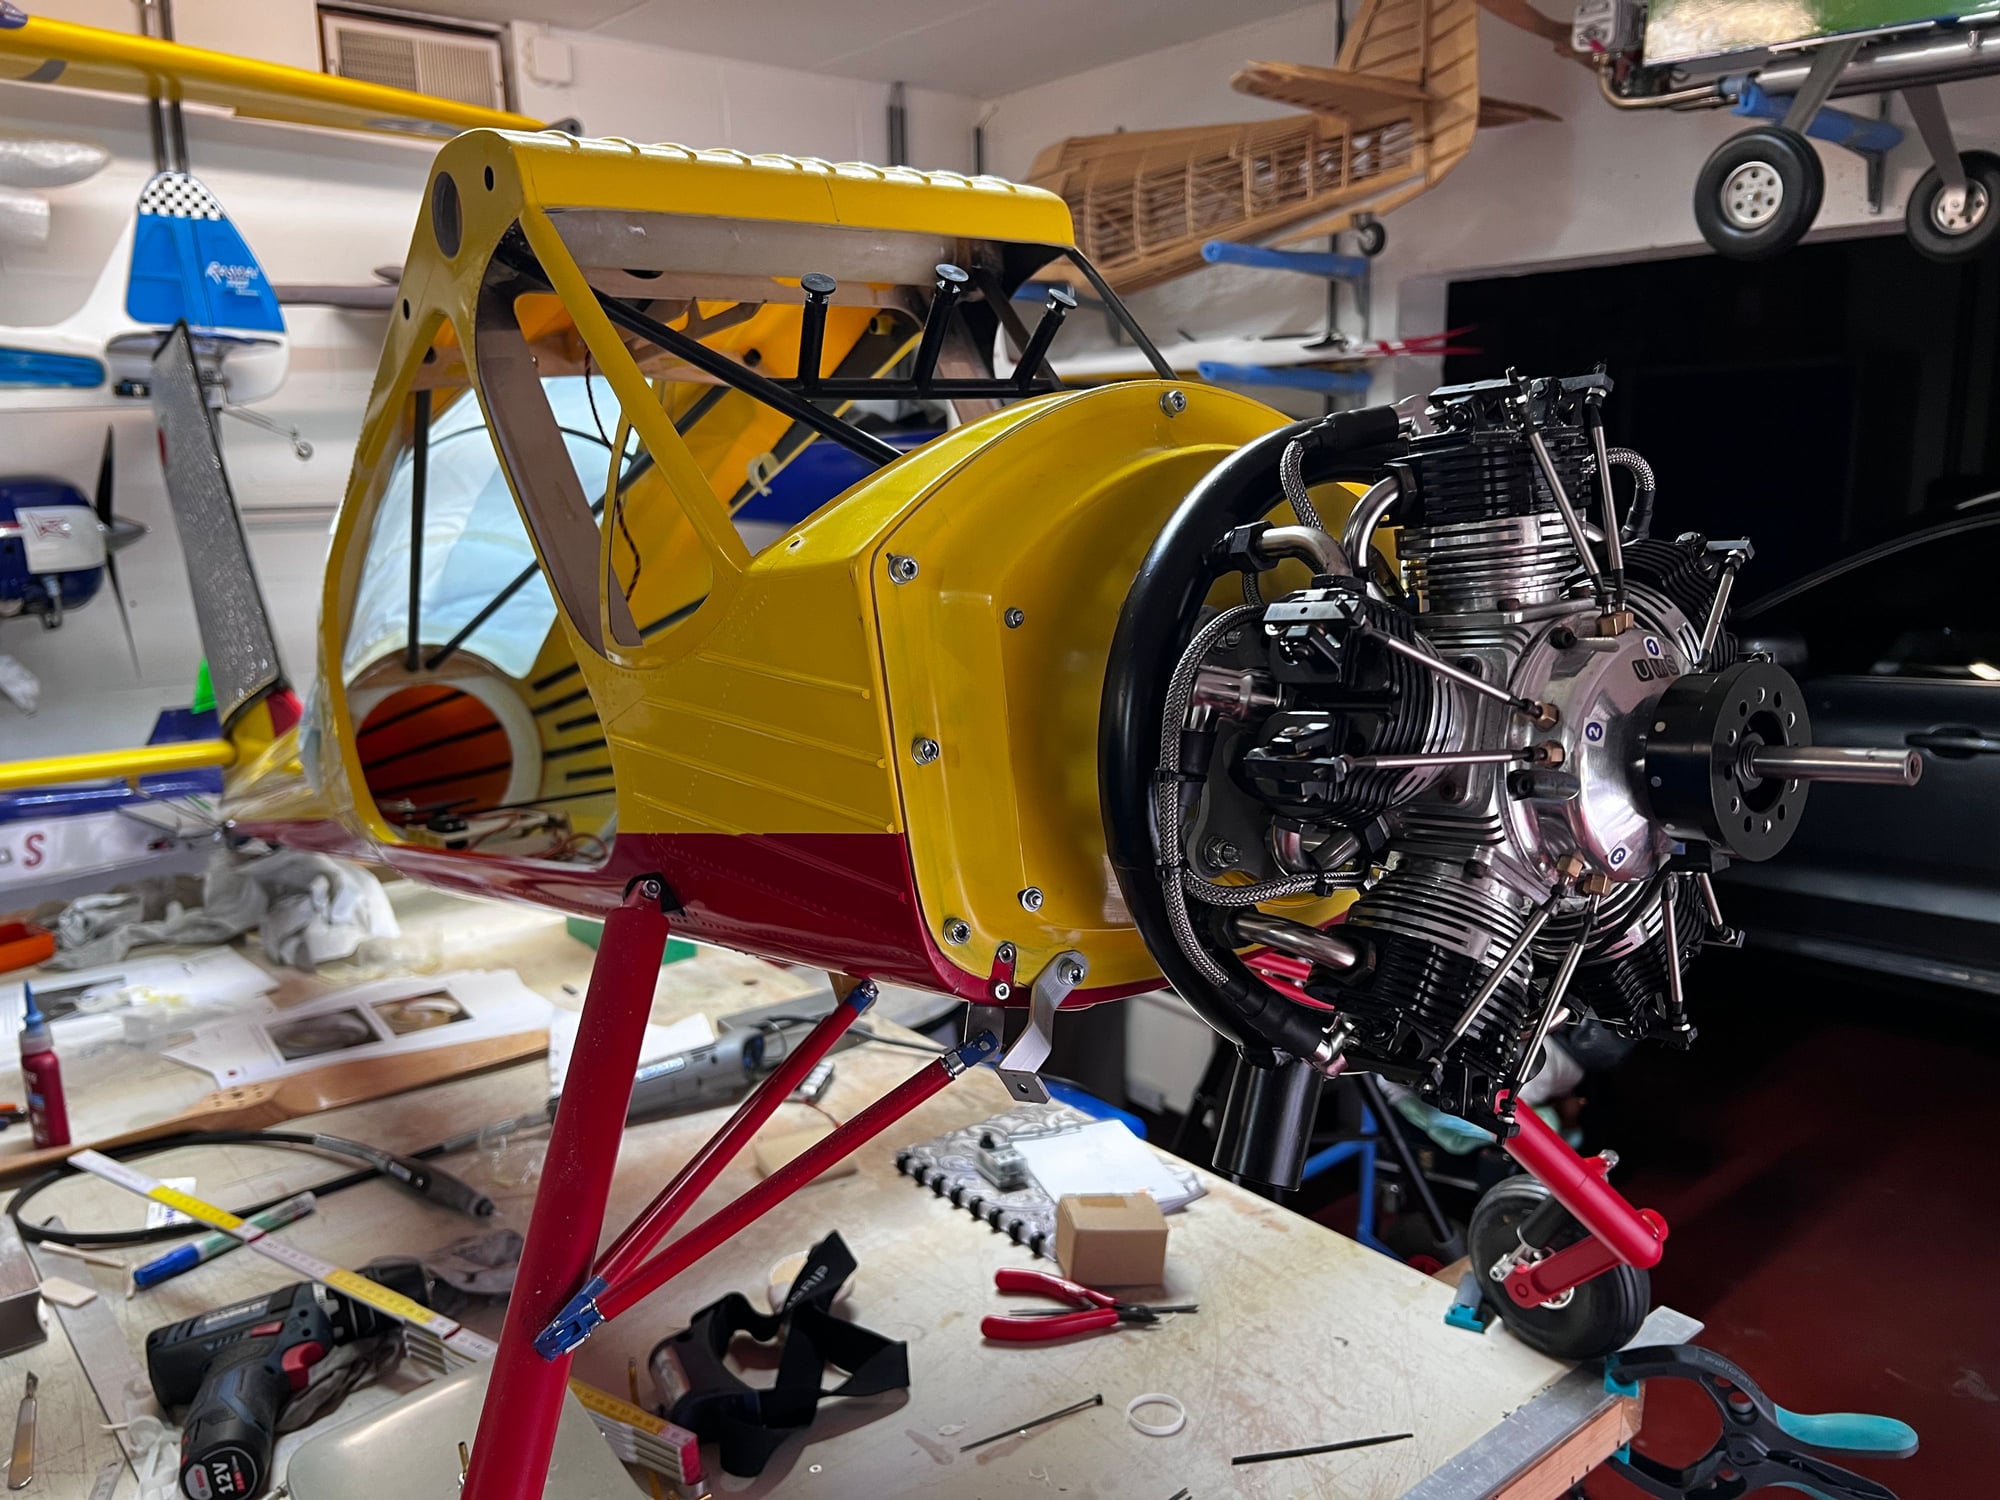
The manual is a collection of photo's of the 3.7m version.
Since my model is smaller, there are several things not the same as for the big bird, so a little improvising is nessecary.
Configuration of the Wilga:
- Powerbox Royal SR2
- 2 Futaba R3008SB receivers
- 2 Lion 3100mAh batteries for the control and fuel pump
- 1 Lion 3100mAh batterie for the lights
- 1 Lipo 2s 1450mAh for the ignition
- Motor UMS 150
- Prop 28x10 Menz wood
- Fuel pump Hacker RX-U V2
- Powerbox GPSIII
- 8 Hitec HS-7954SH servo's
- Unilight Modul Black.4 light system.
- Standard shock absorbers replaced by the system of Wemo-EZFW
I first started with the motor, since it has to run in I mounted it on a test stand and let it run during several days, here's a link to the video.
Running in went fine, I took several days to do it

 12-11-2023, 12:55 PM
#5
Thread Starter
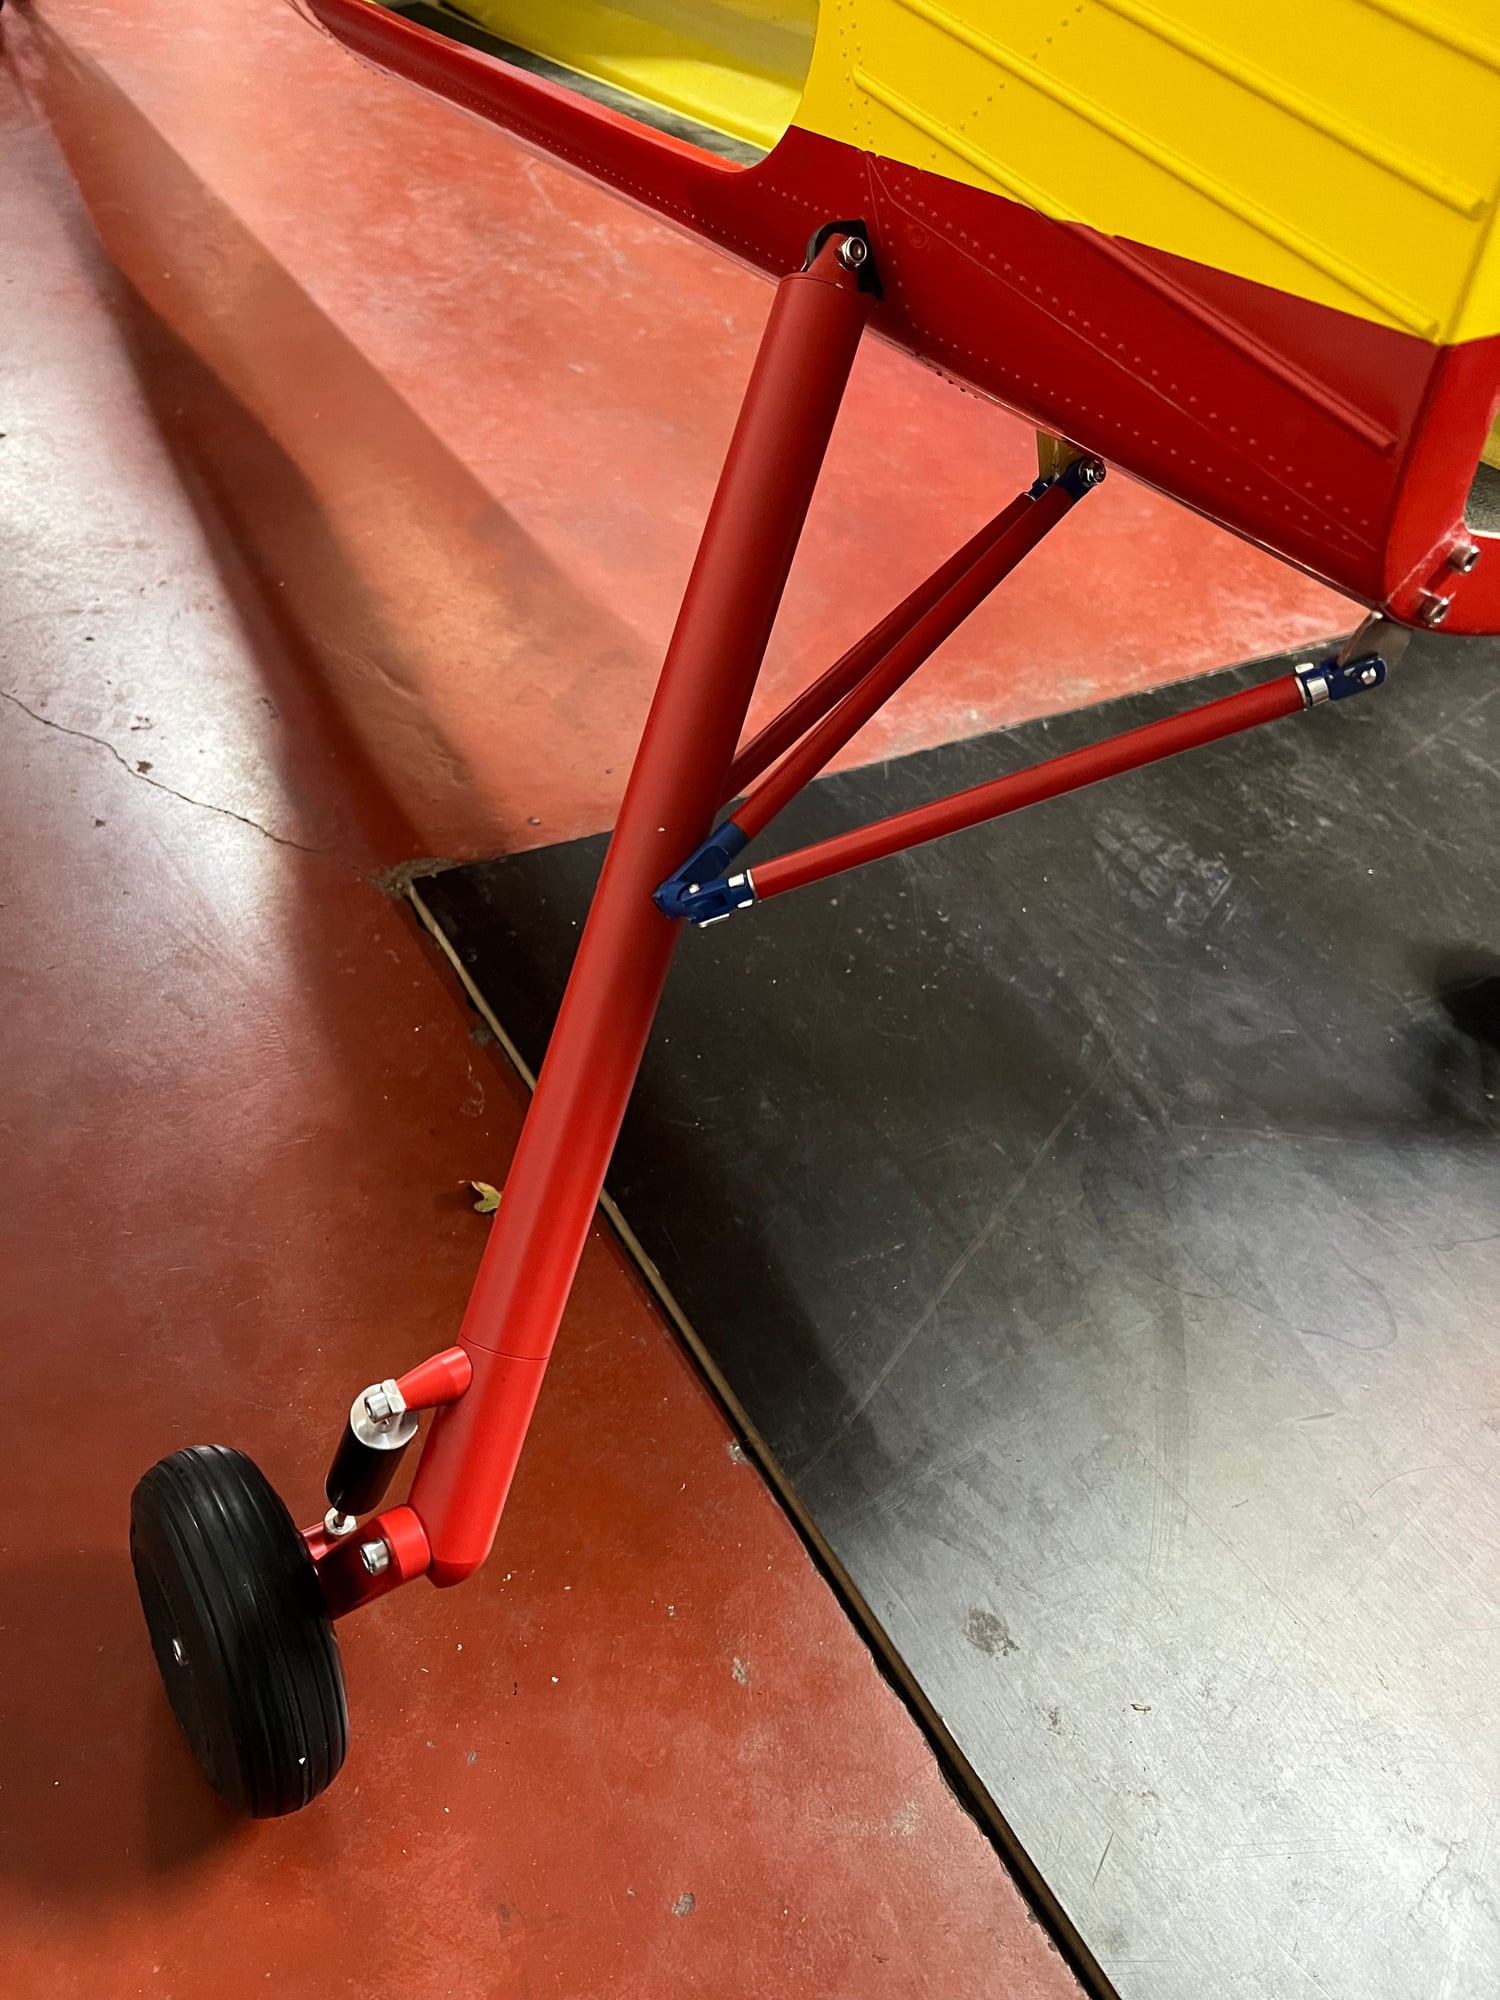
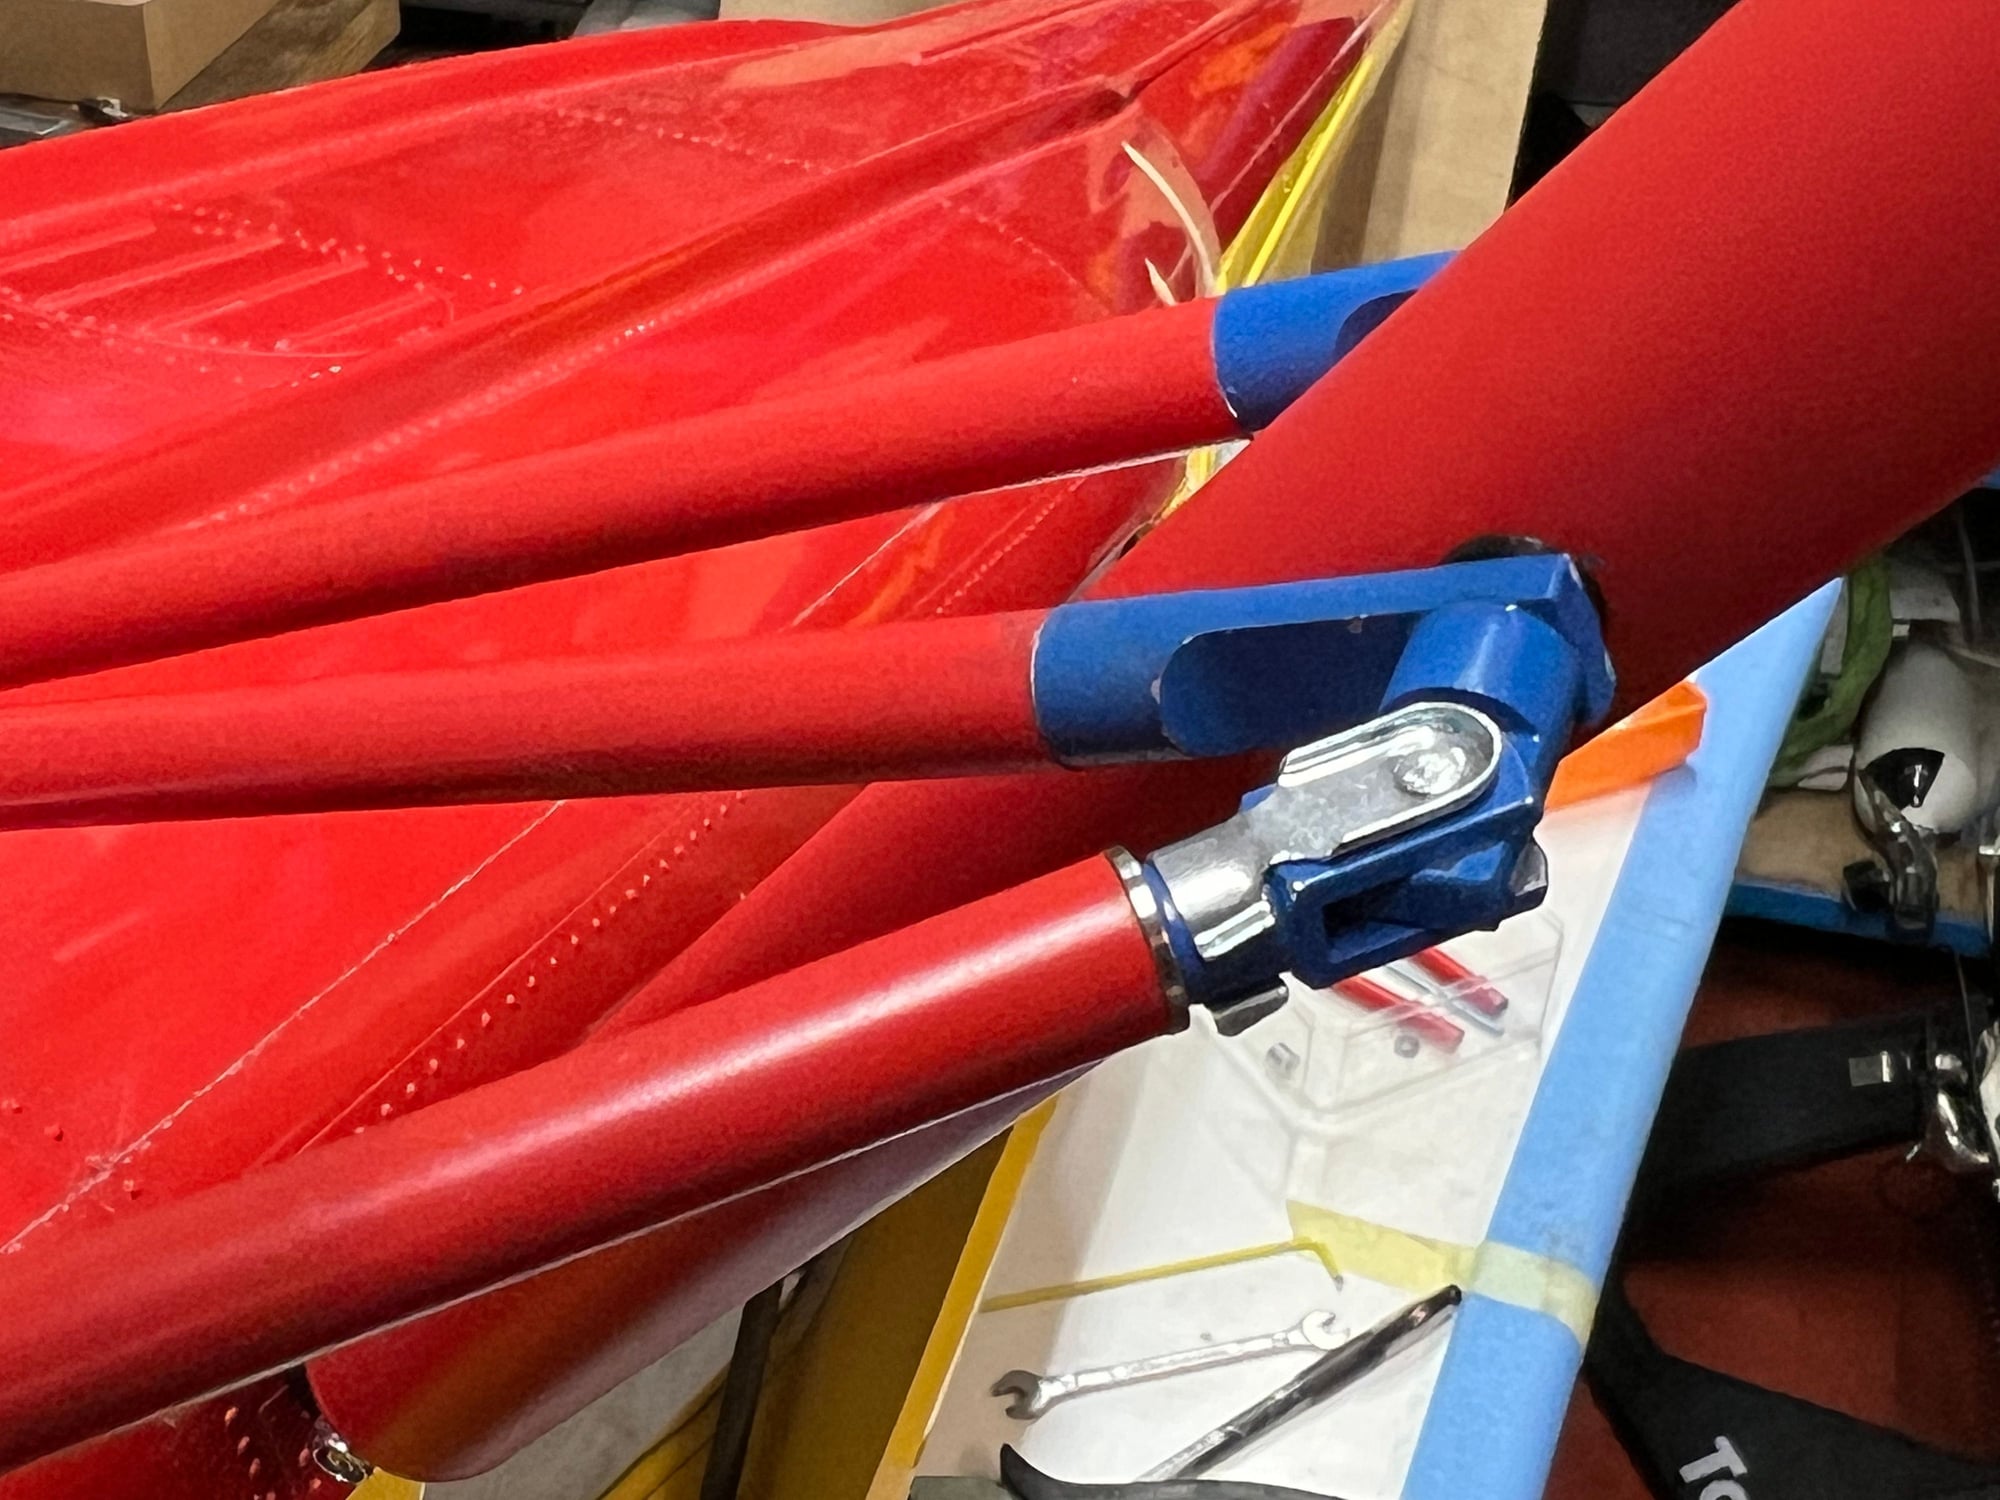
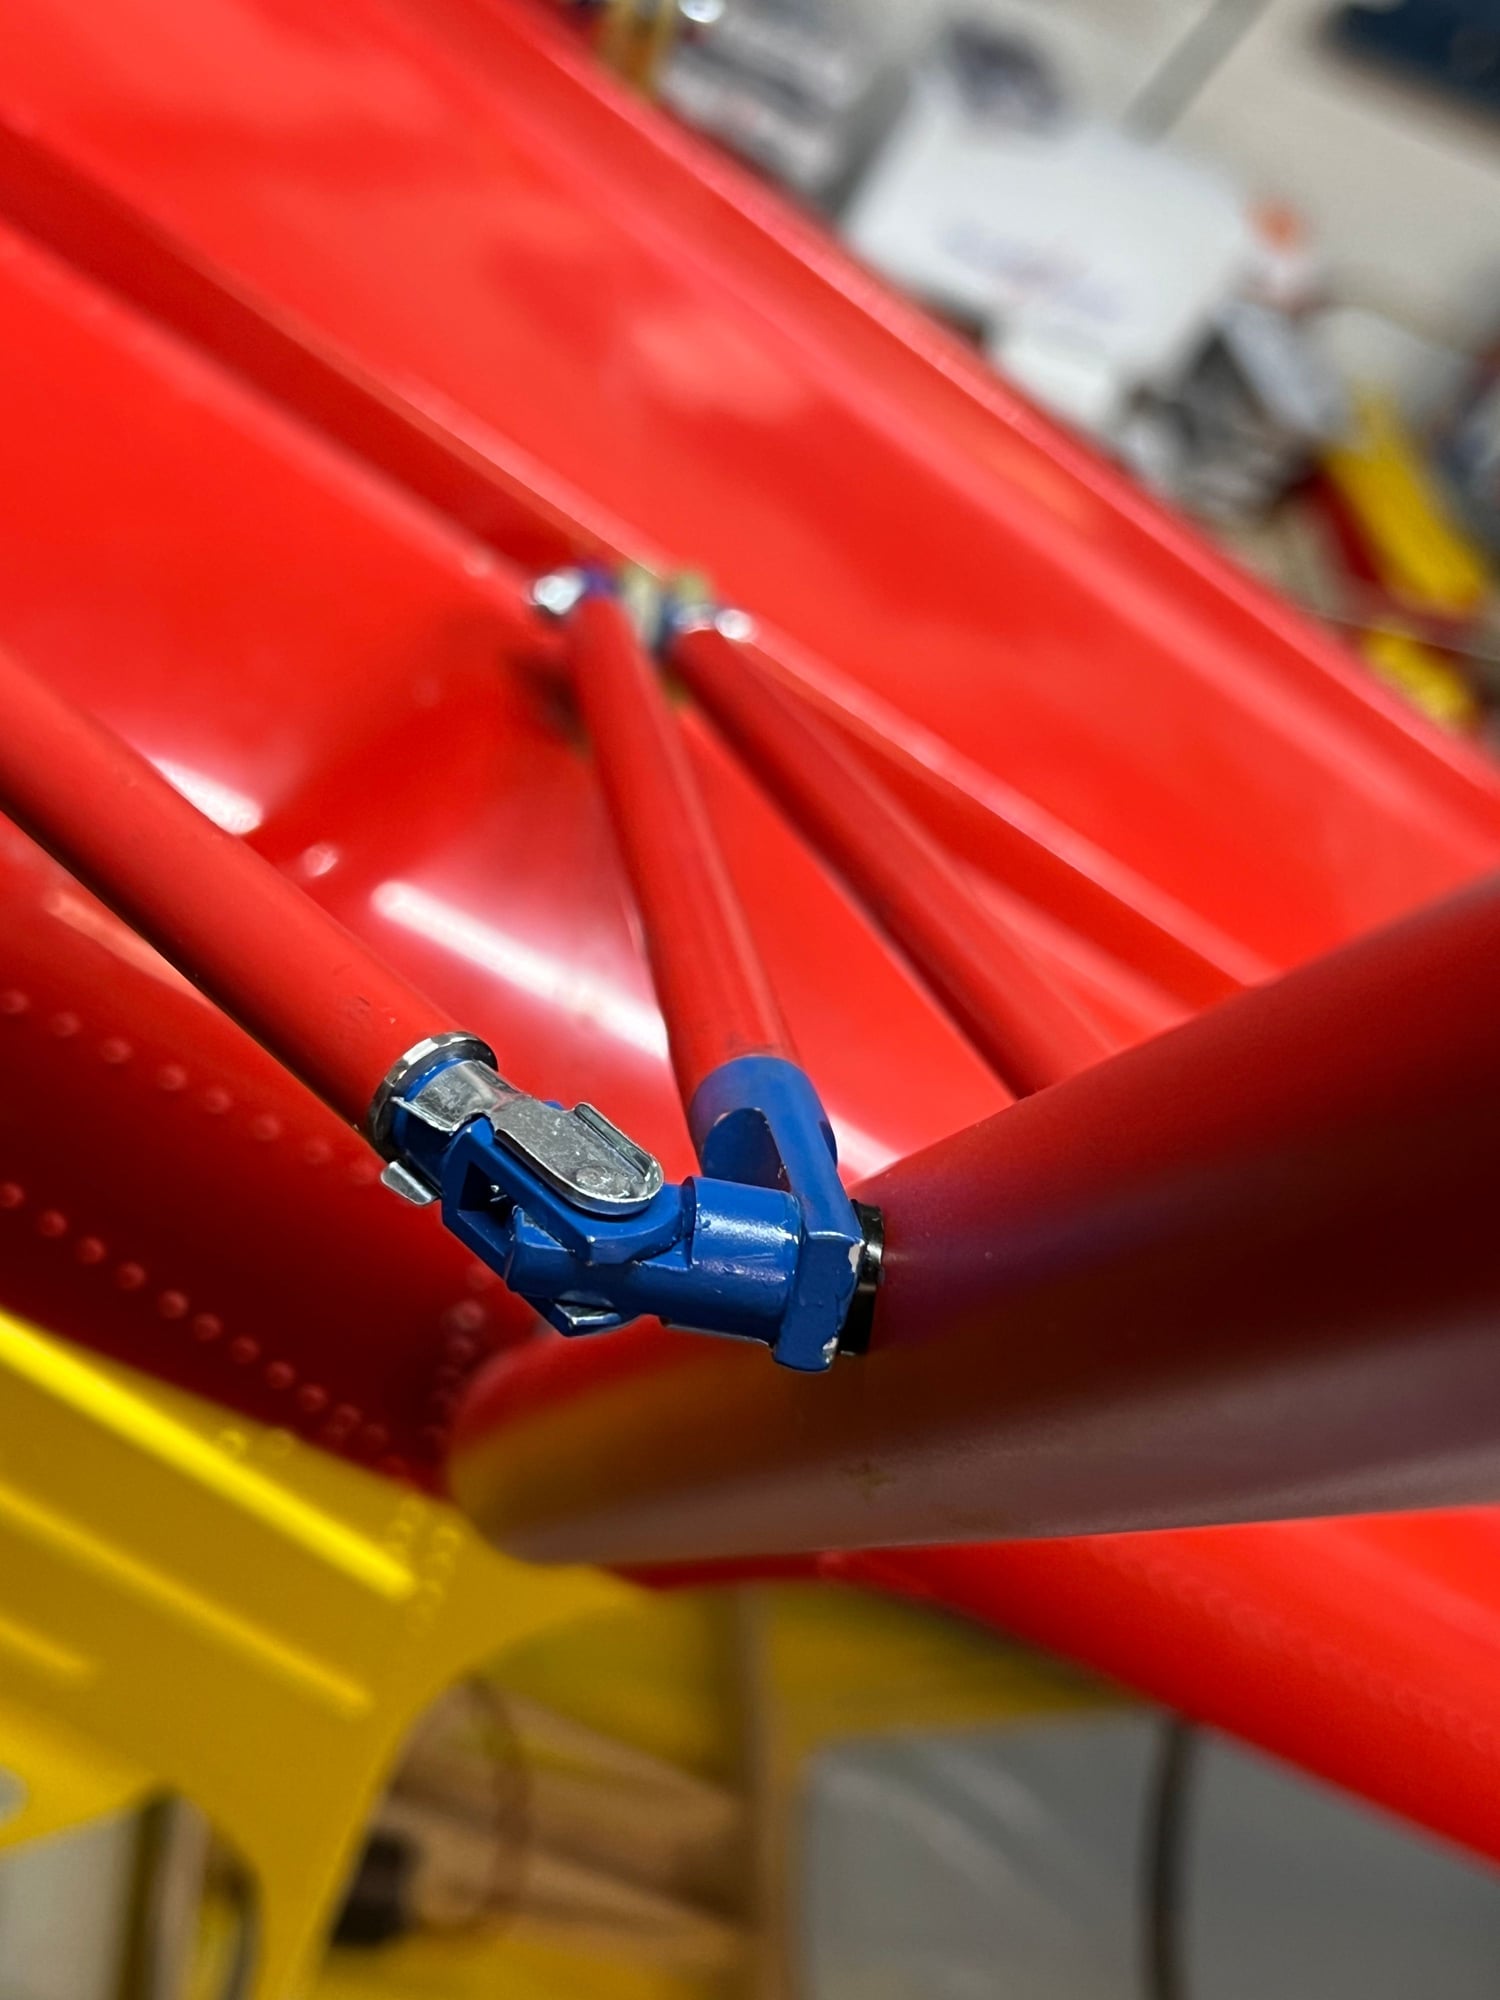
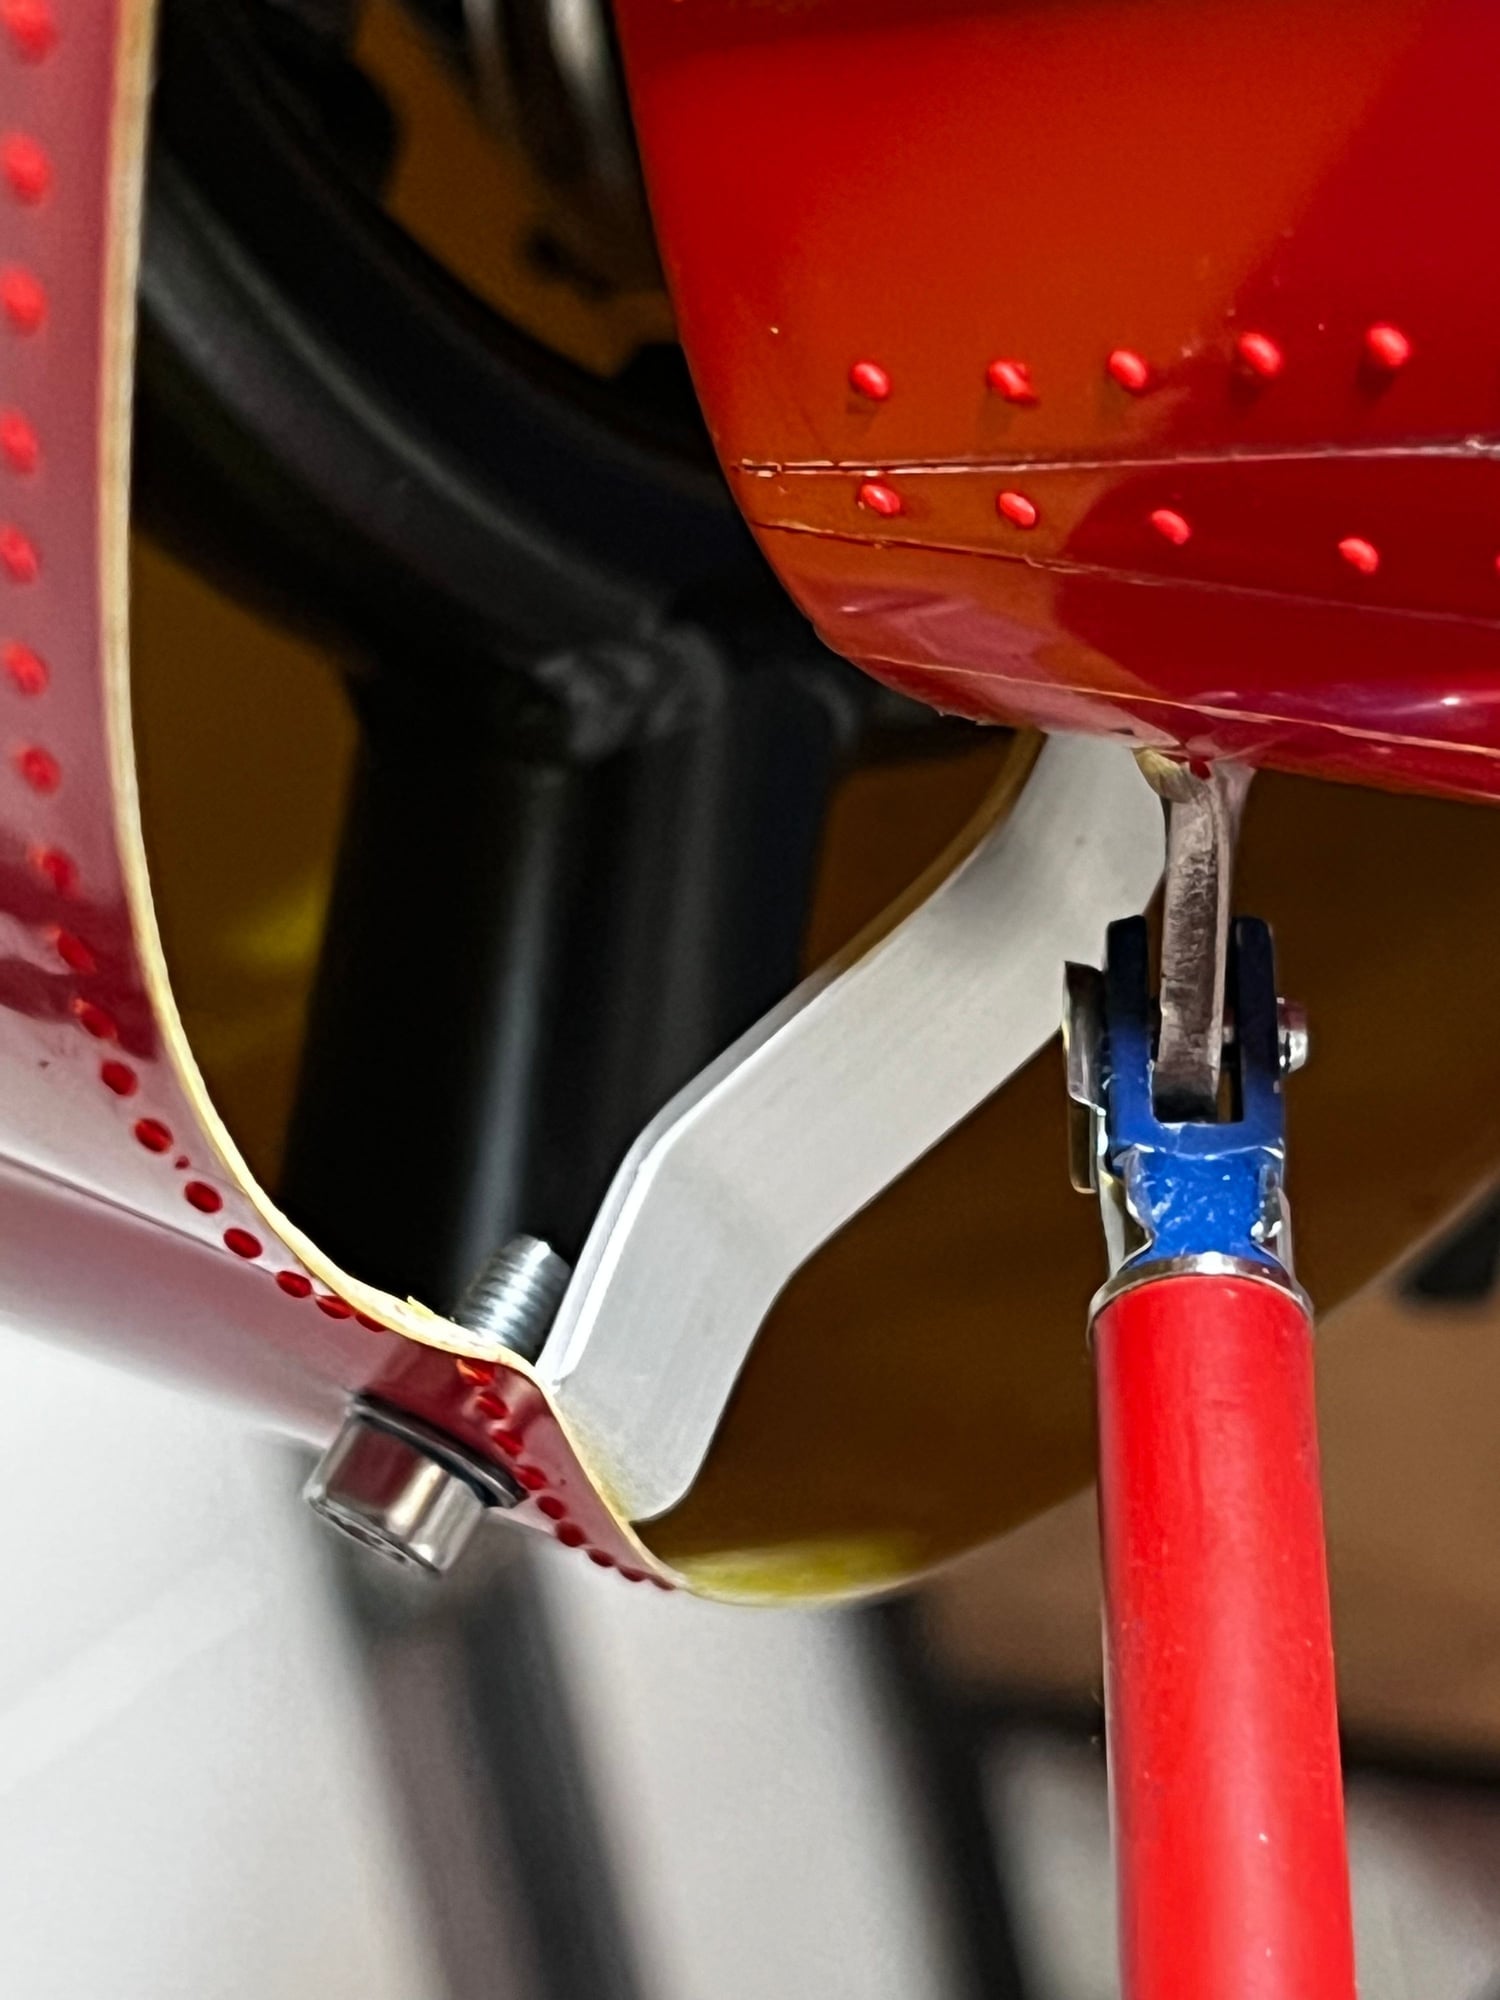
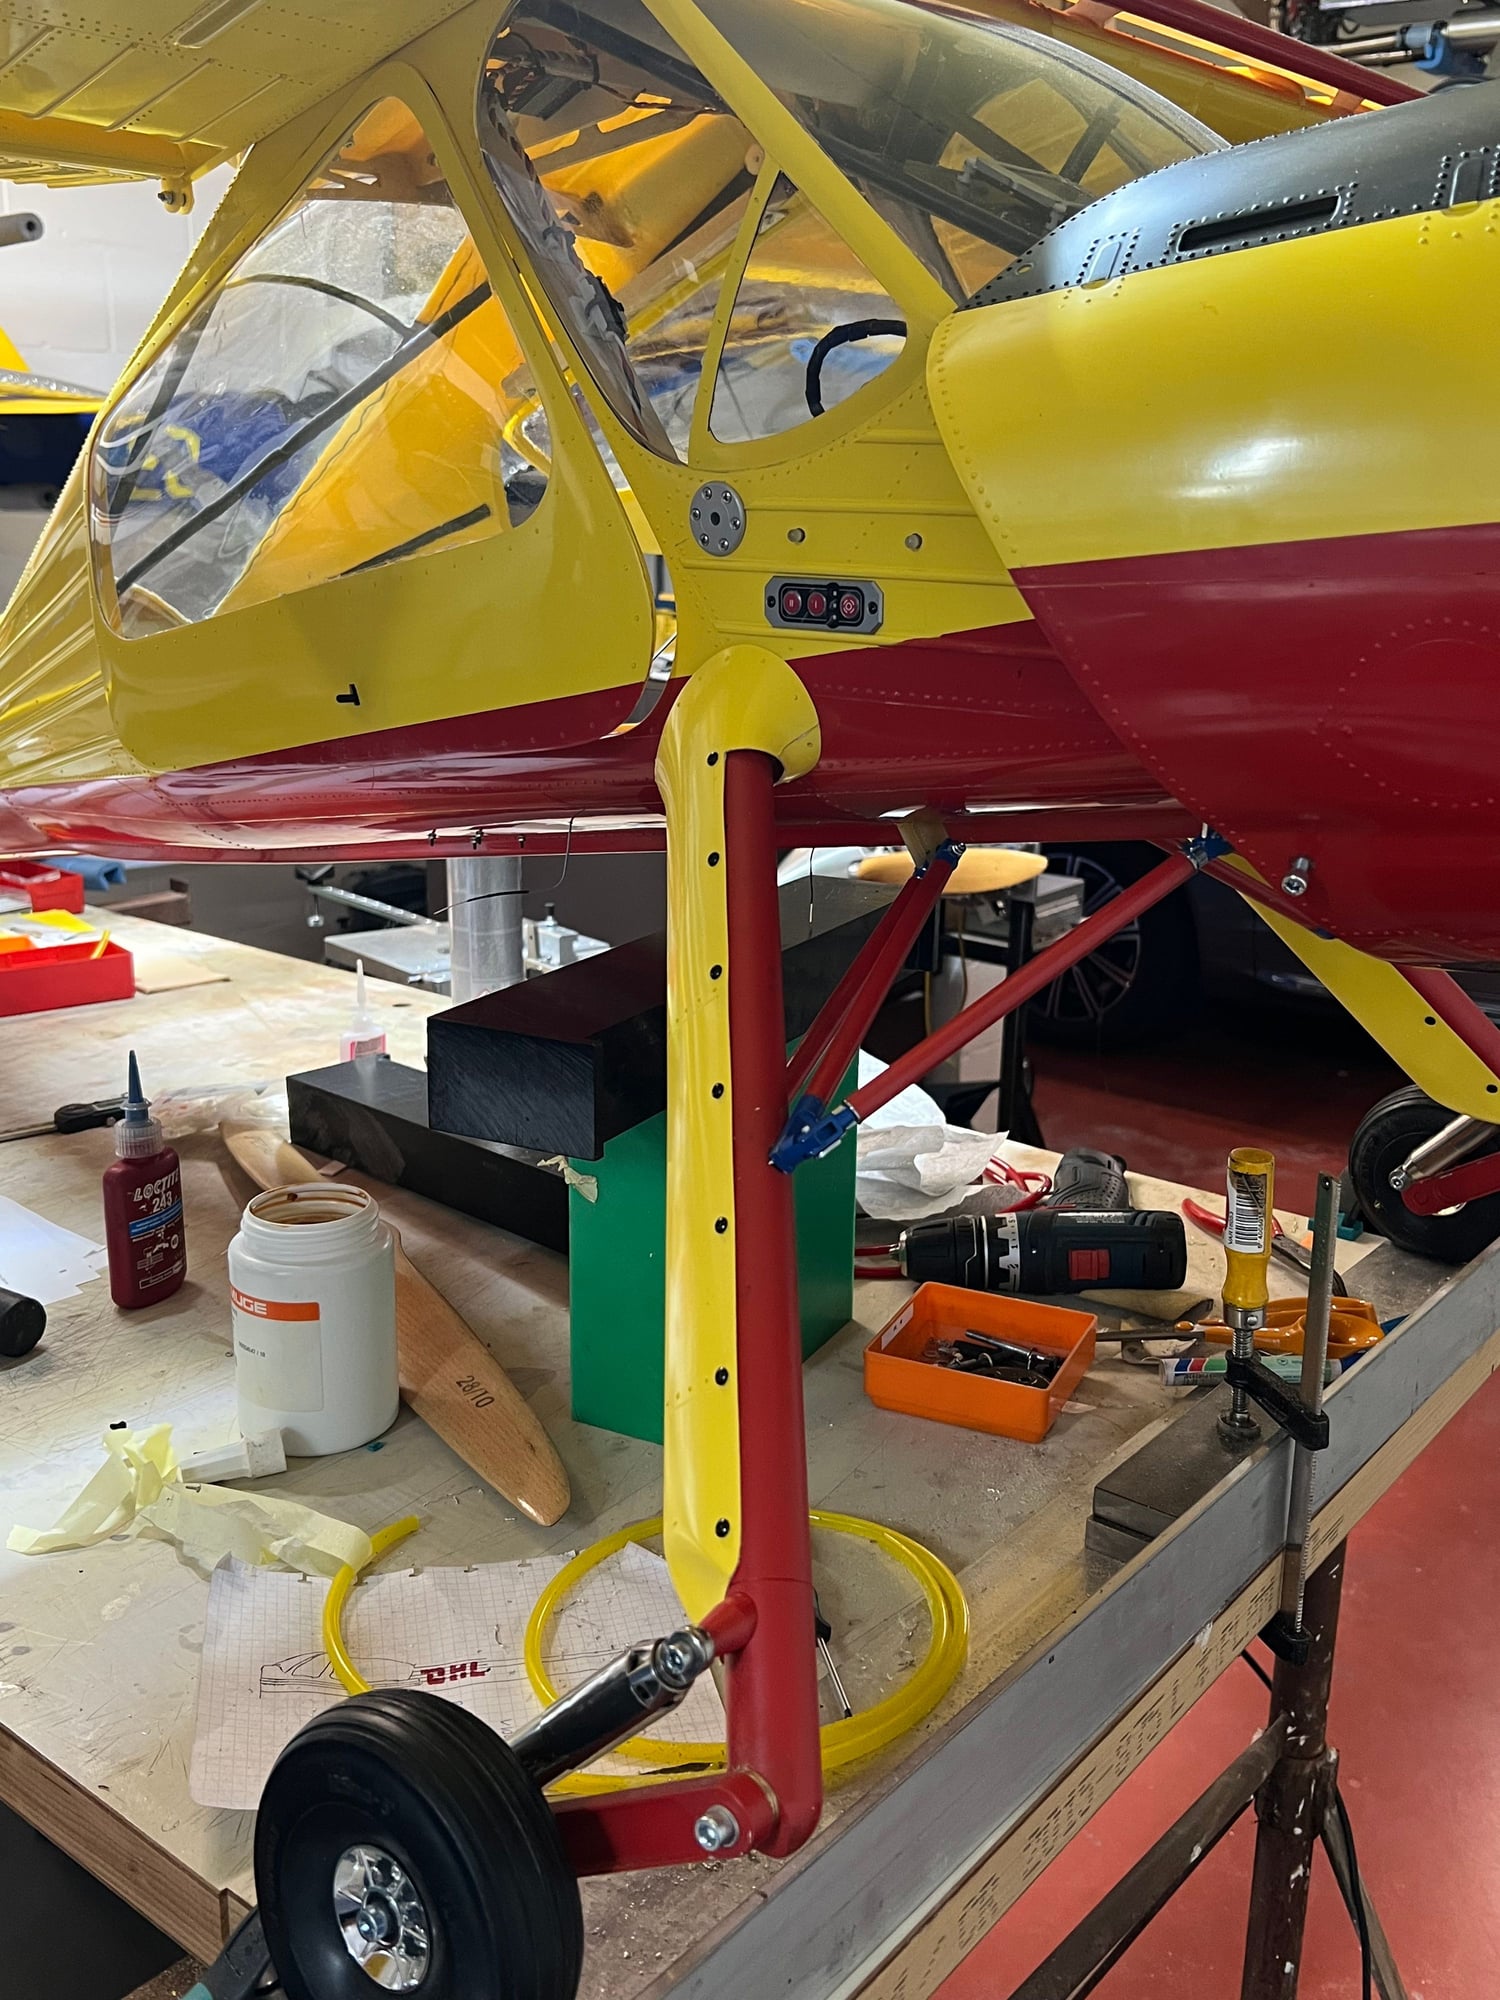
Cutting on length the stainless steel tubes, the length defined in the manual is not good, I had to adjust them.
I also had to make some new bushings to get a better fit. I painted the struts red and the connection rods blue.
I also had to make some new bushings to get a better fit. I painted the struts red and the connection rods blue.
12-13-2023, 09:36 AM
#6
Thread Starter
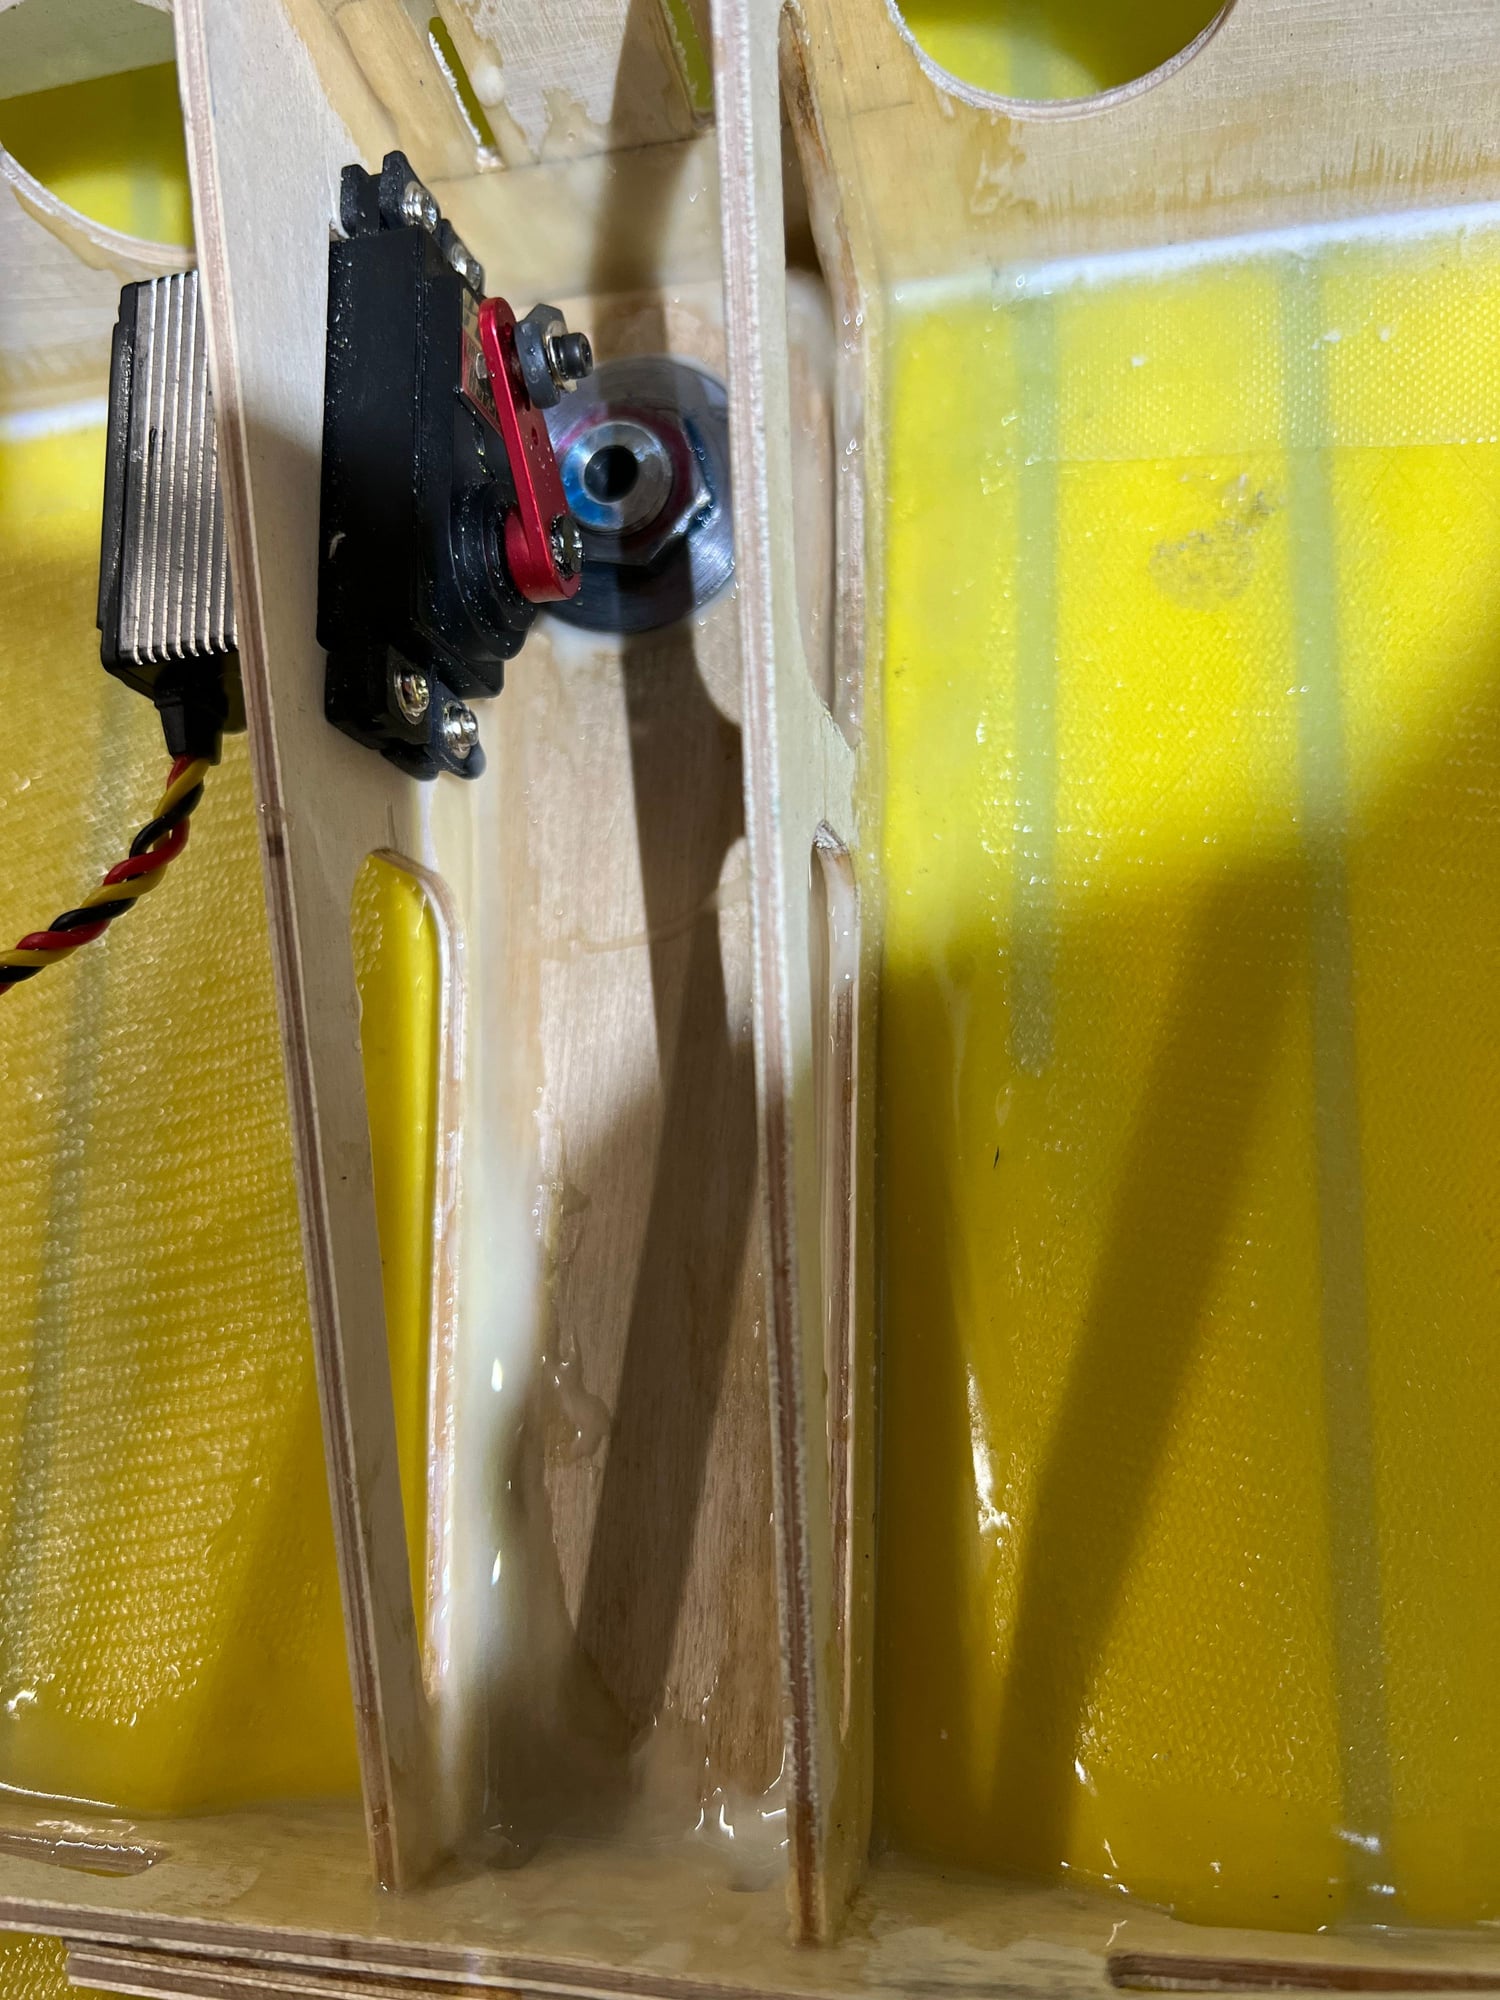
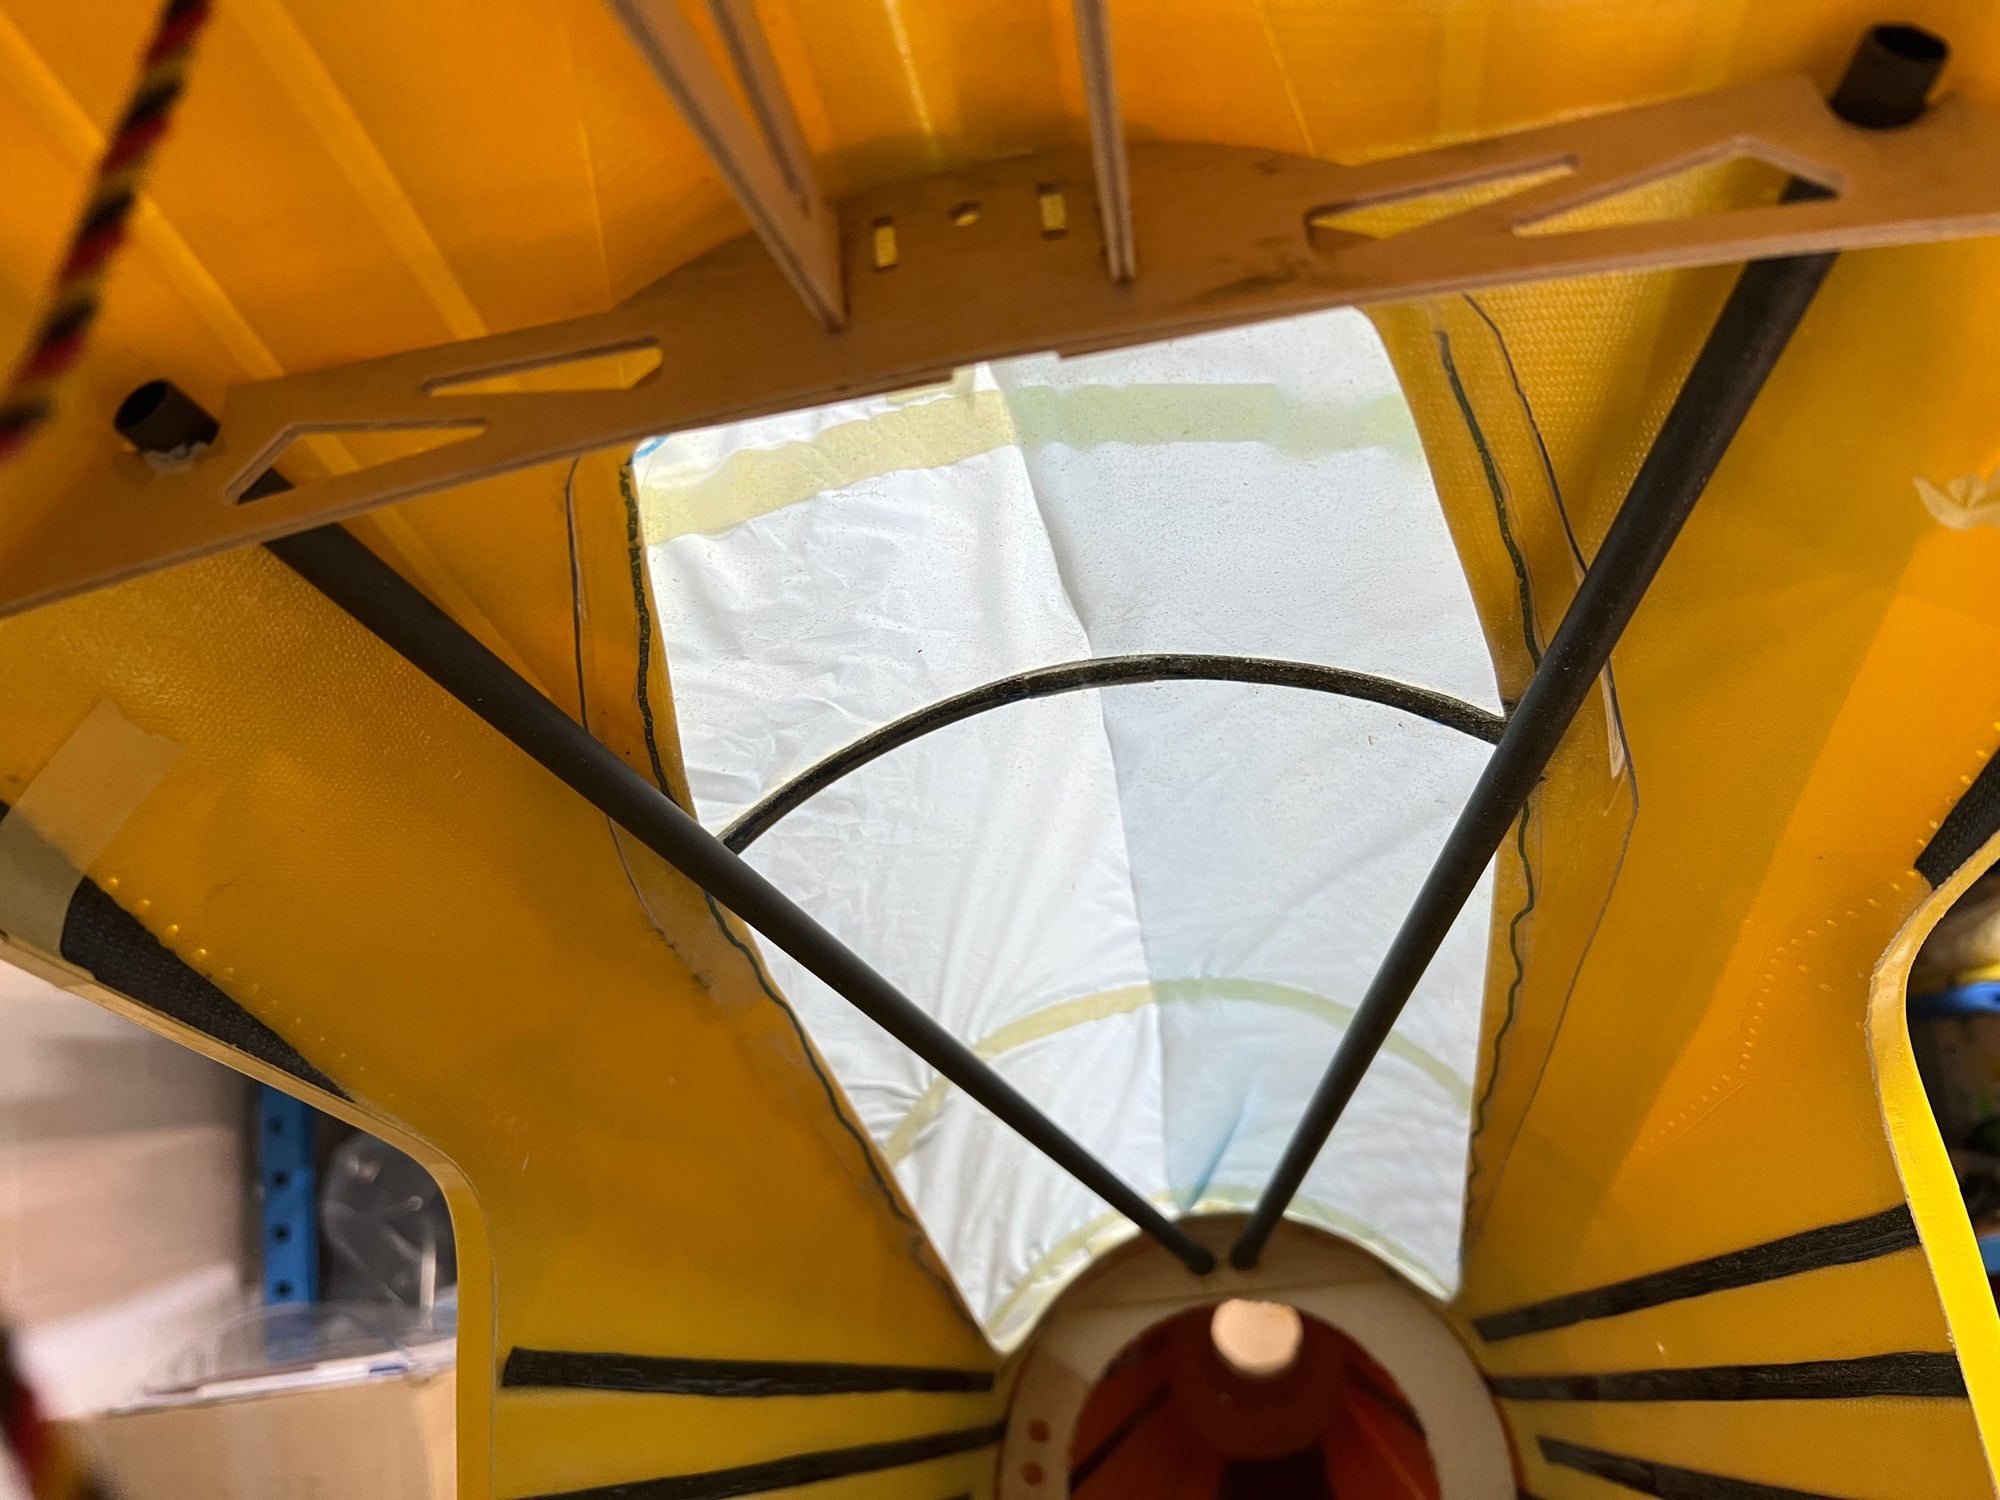
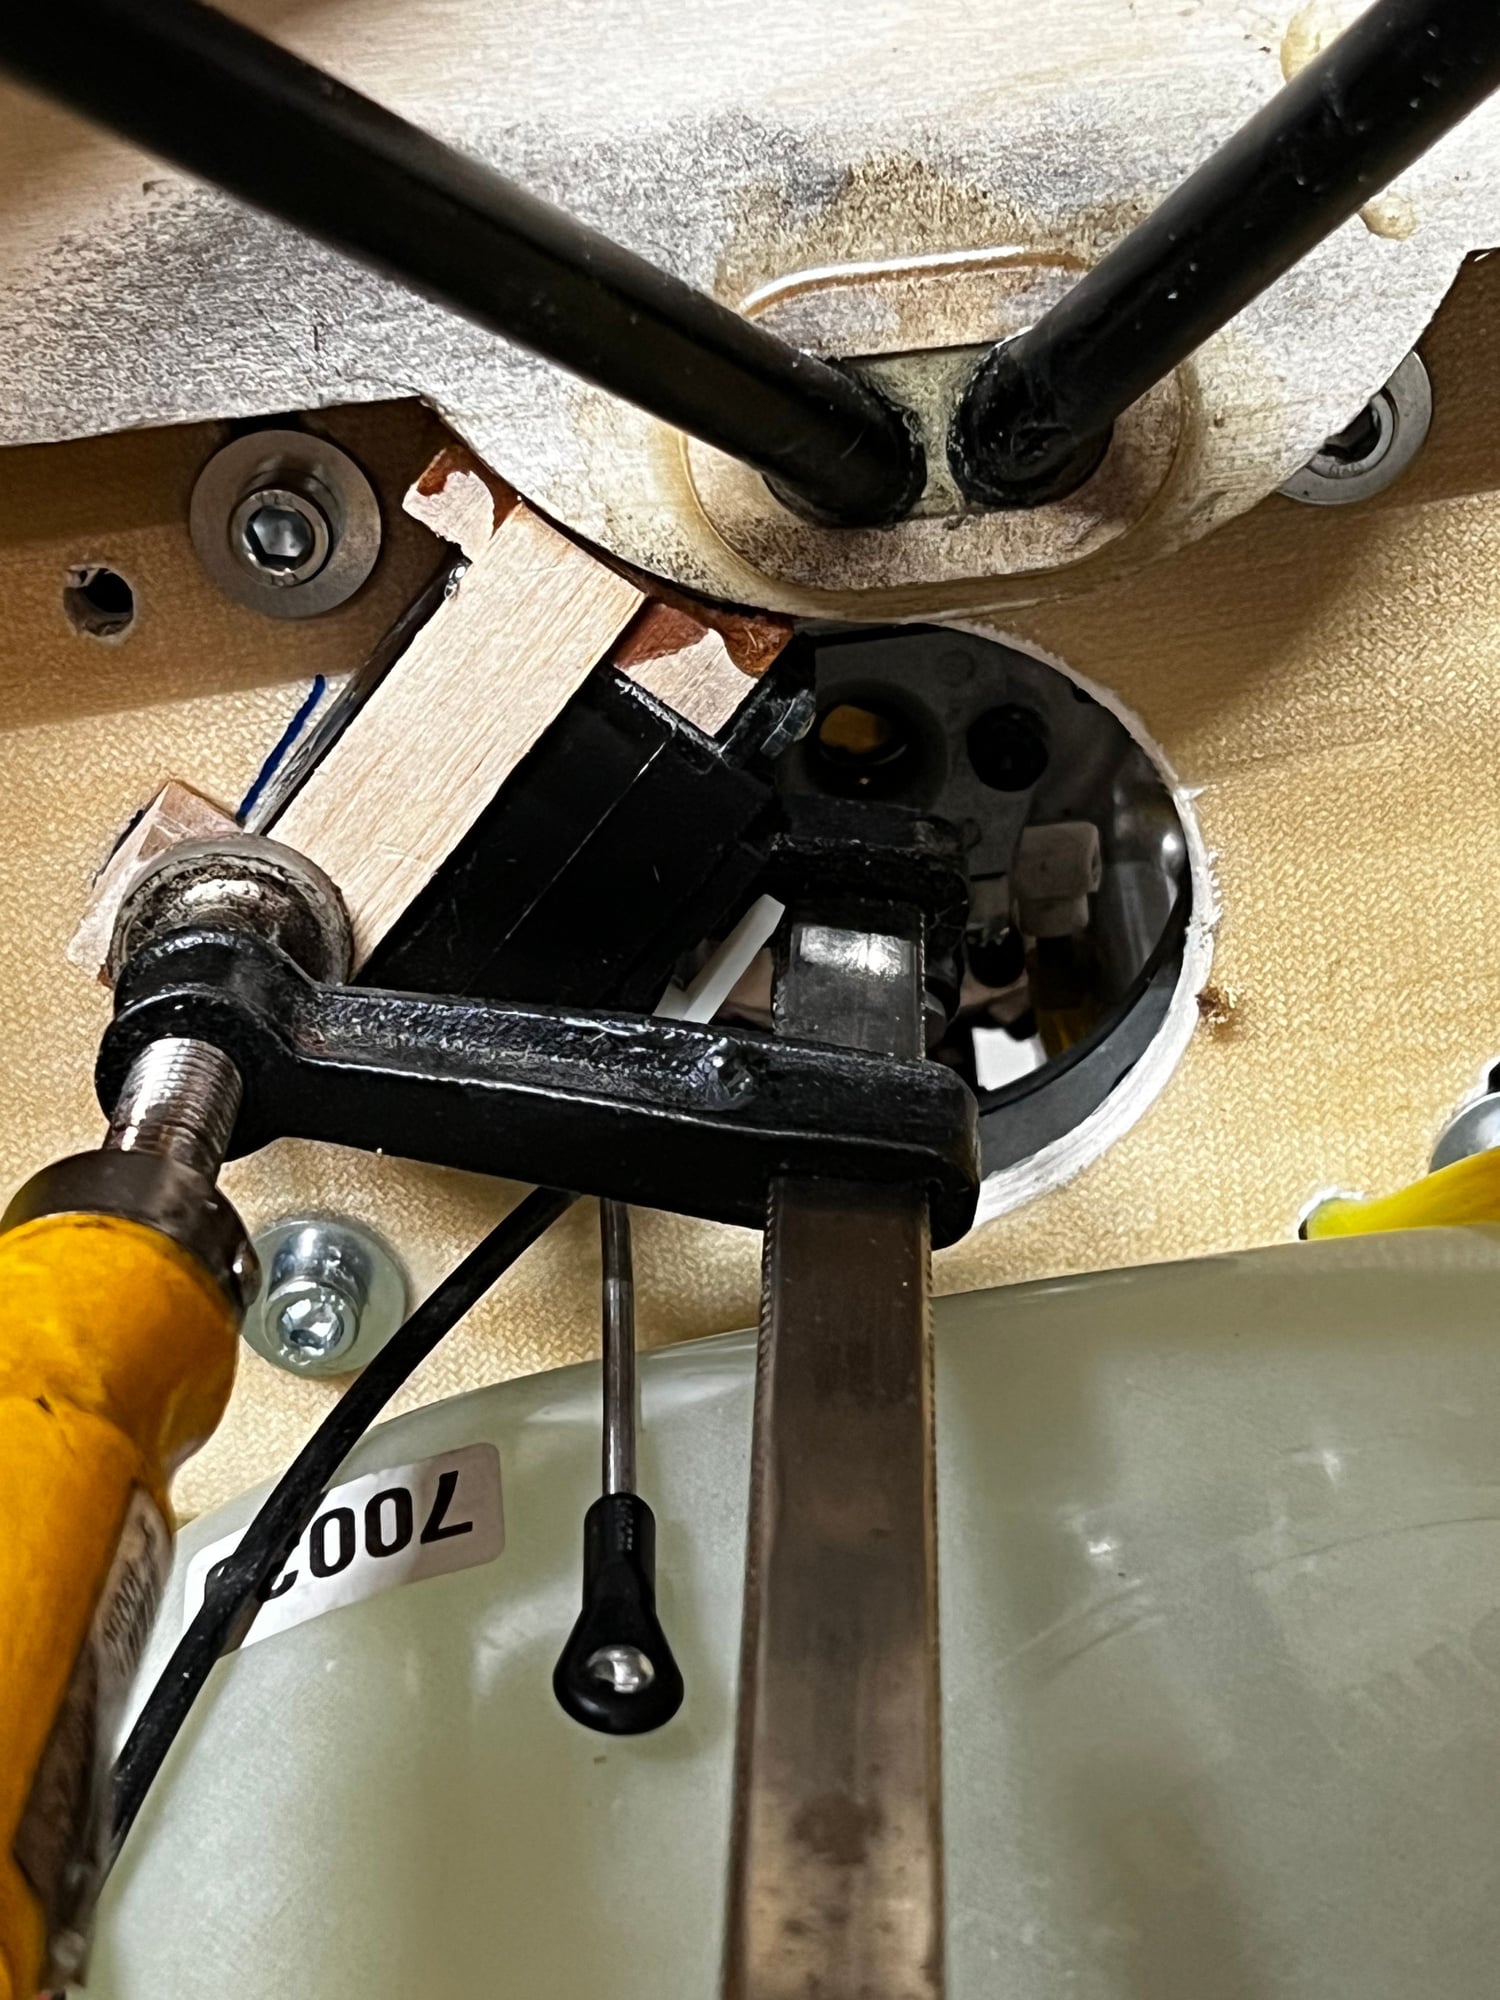
Connecting the tail wheel.
I had to change servo position, at first I wanted to use the elevator mount into the fuselage ( 2 servo's position) but because of the heavy motor, I changed mounted the servo into the back of the fuselage.
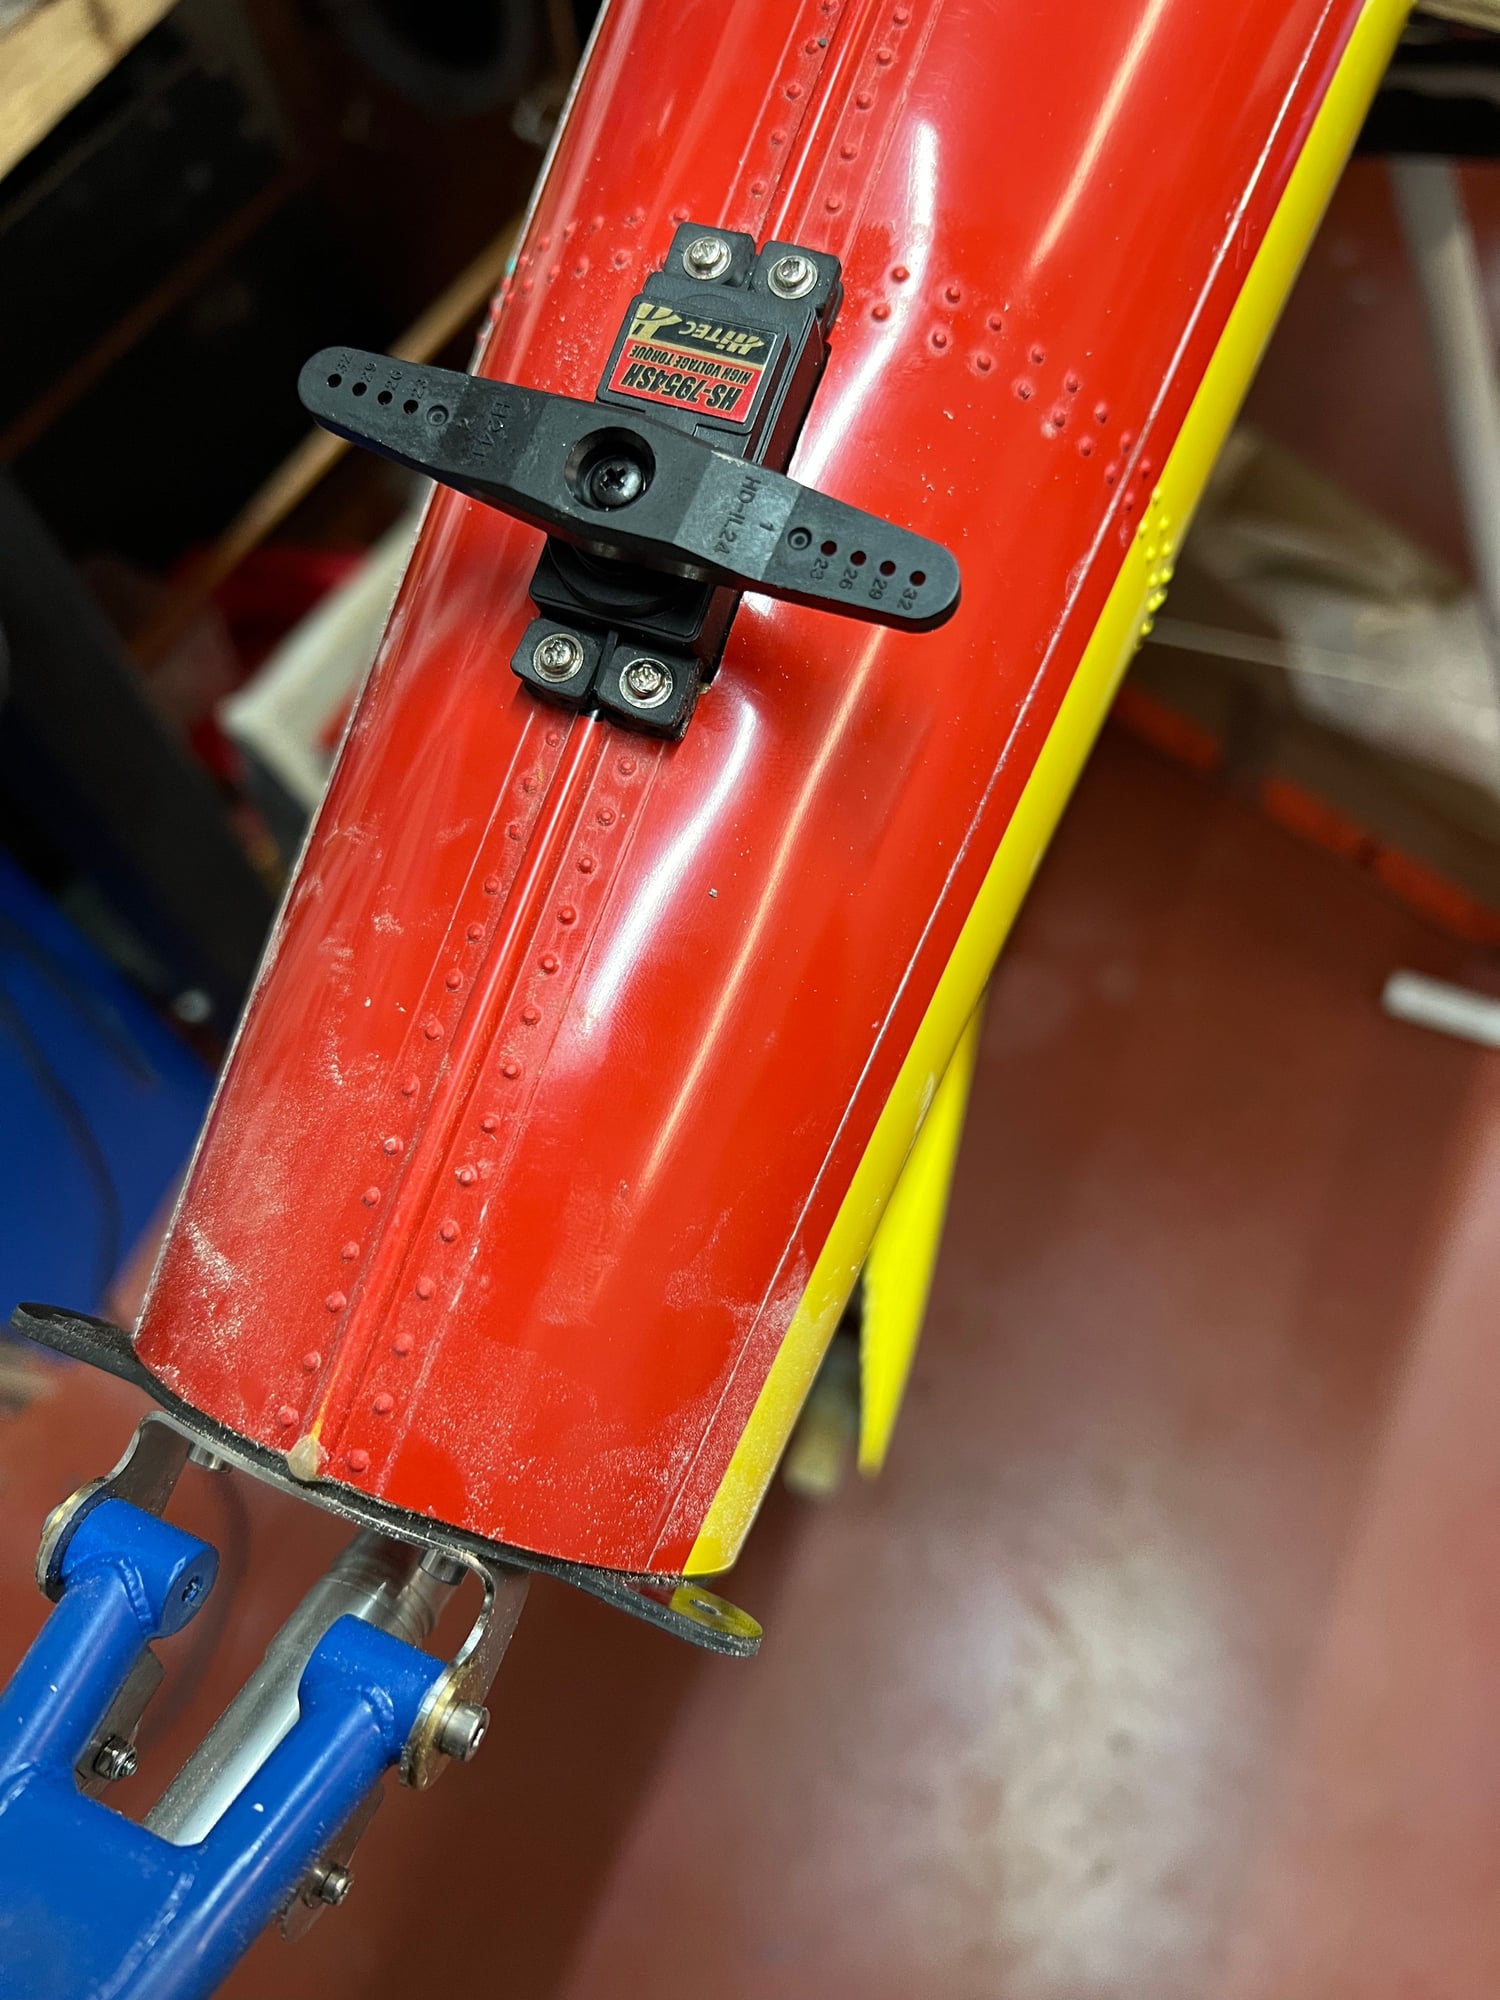
The servo into the back of the fuselage. I probably have to change it later so the servo horn will be in the fuselage.

Mounting of the elevator + side bars
I had to change servo position, at first I wanted to use the elevator mount into the fuselage ( 2 servo's position) but because of the heavy motor, I changed mounted the servo into the back of the fuselage.
The servo into the back of the fuselage. I probably have to change it later so the servo horn will be in the fuselage.
Mounting of the elevator + side bars
12-14-2023, 01:12 AM
#7
Dear Carlo,
Good to see your thread here.
I have also purchased recently the same setup and I am building mine as well since October.
I am doing many upgrades since I find many wek points of the kit. The molded parts are ow an awesome quality but some add ons and hardware included is just poor or unacceptable for me in some points.
I would like to ask you about the engine. Mine sits in the box still. Have you had any issues during break in? What kind of stable RPM range are you getting?
What throtlle setup for the pump are you using?
12-14-2023, 11:24 AM
#8
Thread Starter
Hi Chuck,
What kind of upgrades did you do?
Concerning the engine, I didn't have any issues during breaking in.
A few flips, it started immediately, of course it was running rough but after a few cans, it ran great.
I do not remember the exact rpm but plan to start the engine again on of the following days, I let you know.
Throttle setup for the pump, I didn't use the pump that came with the UMS150, the inside diameter of the fuel lines are too small.
The pump has 2 speeds on a switch of my transmitter, I think that the lowest speed will be enough to get the fuel into the carburetor.
I didn't use a pump during running in because the fuel tank was very close to the engine, now it's further away and I noticed with full throttle I had to unloose the hi-speed screw too much.
12-14-2023, 01:31 PM
#9
Hi Carlo,
Many thanks for the feedback. I will also not use the stock supplied pump. I don't trust the quality. It is rather a smoke pump that constantly working fuel pump.
I am making tons of upgrades since I don't like most of the delivered hardware. it's in my opinion either weak or not well designed.
I cannot however paste pictures since I am new here and I don't have 10 posts yet.
I have reinforced many parts and also made a lot of new ones.
Hopefully soon I will be able to add pictures.
12-14-2023, 11:31 PM
#10
Thread Starter
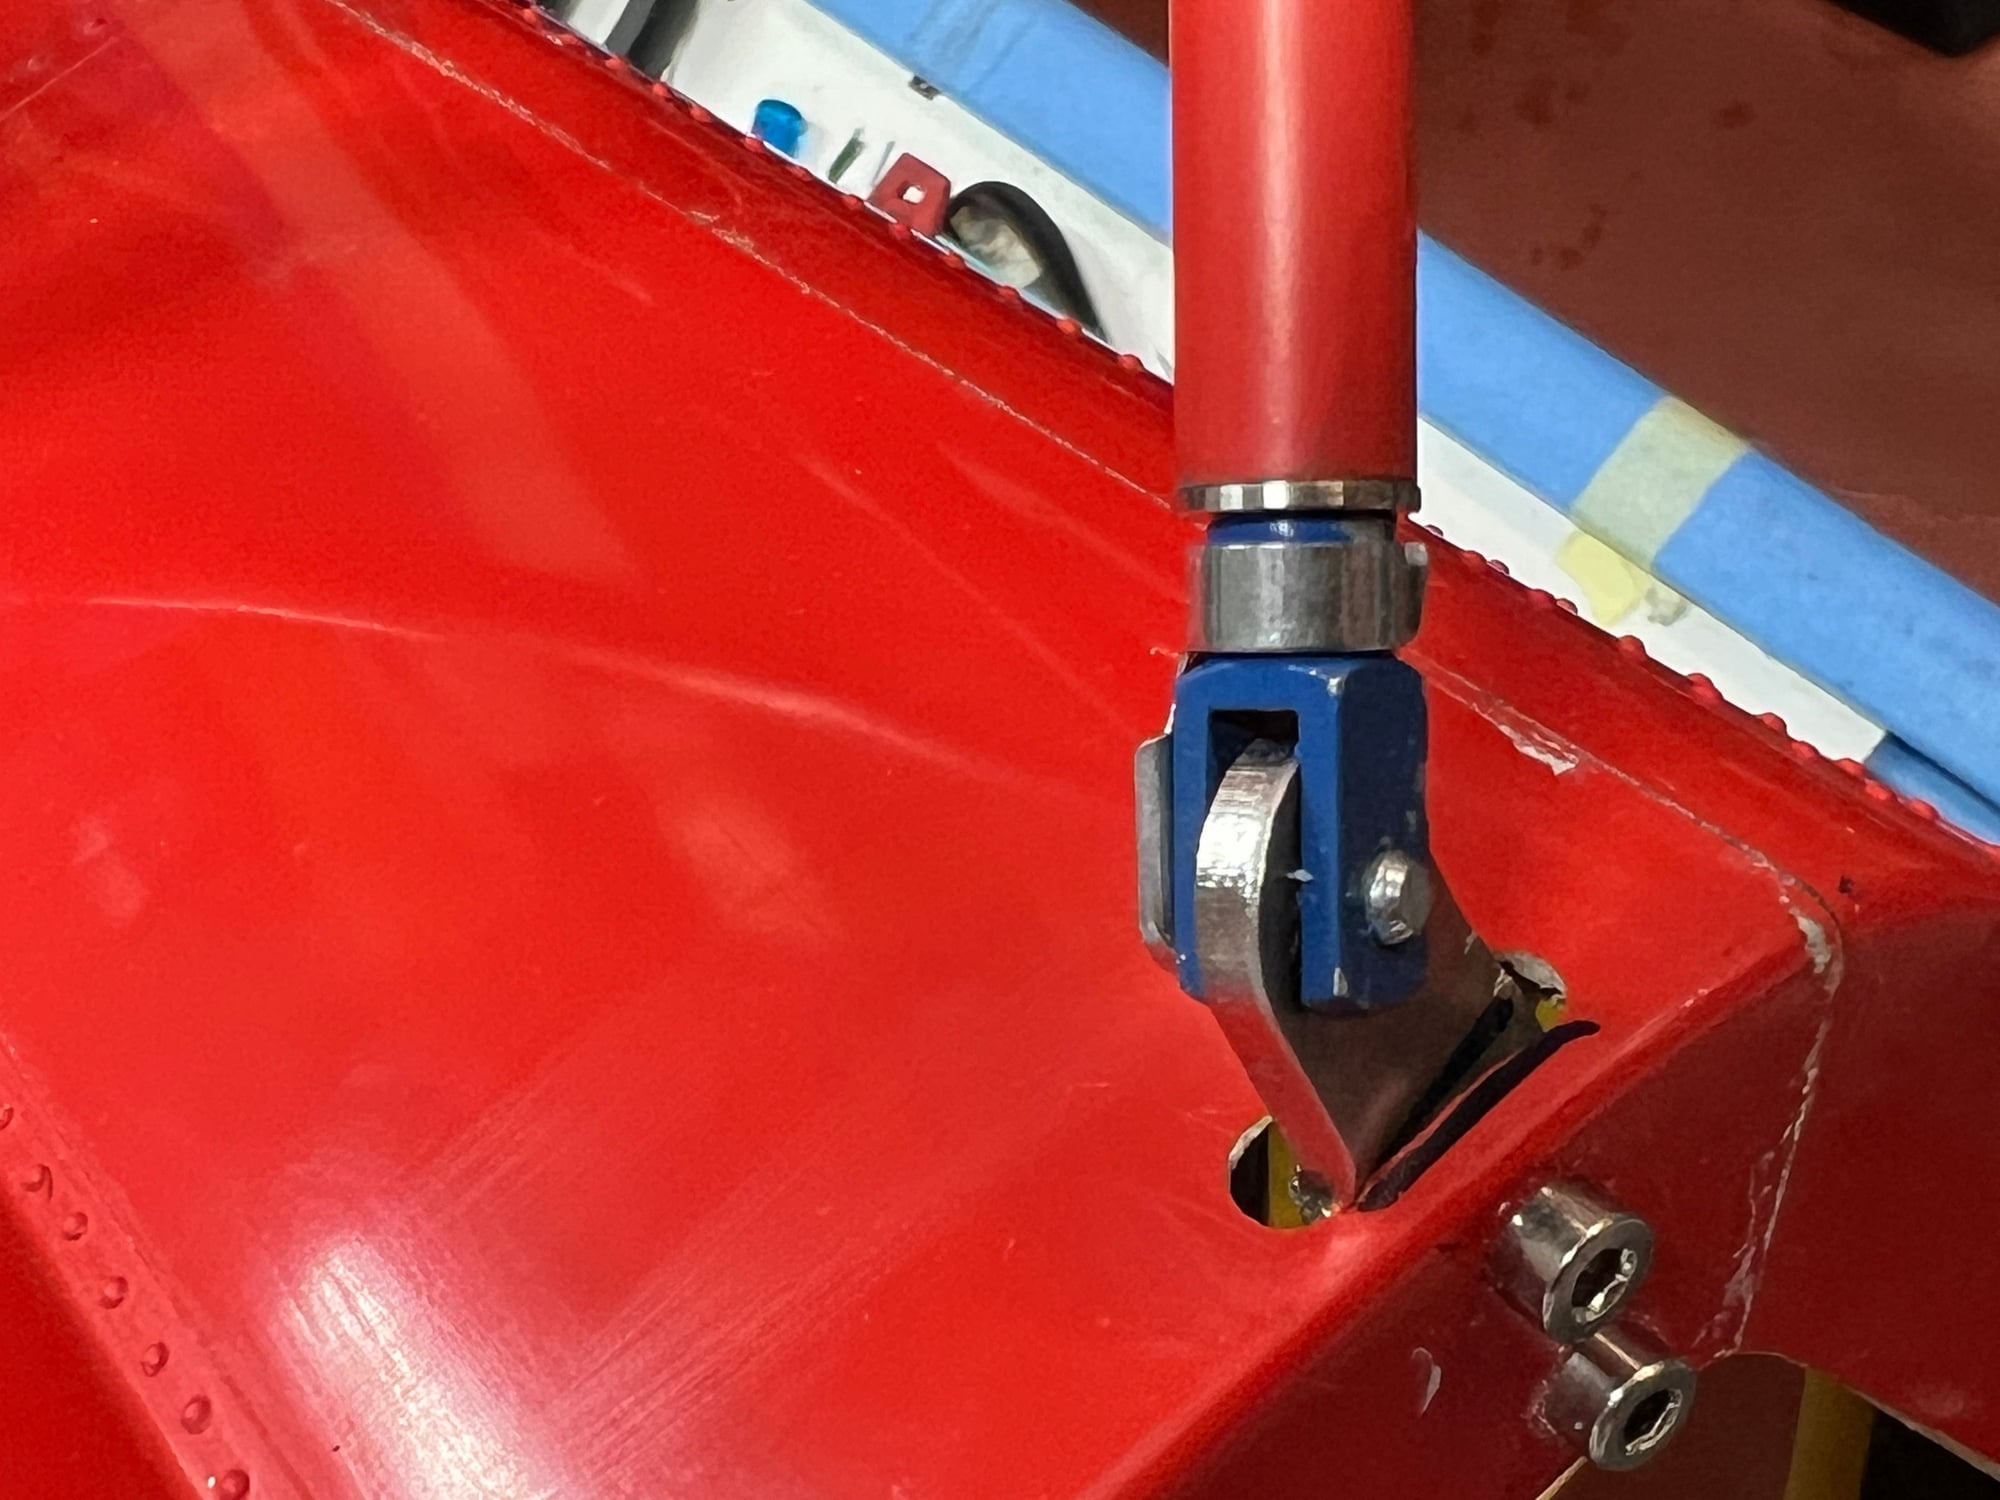
Modifying the rudder pivot system.
It was a very poor design, I made a new support and added a small bearing.
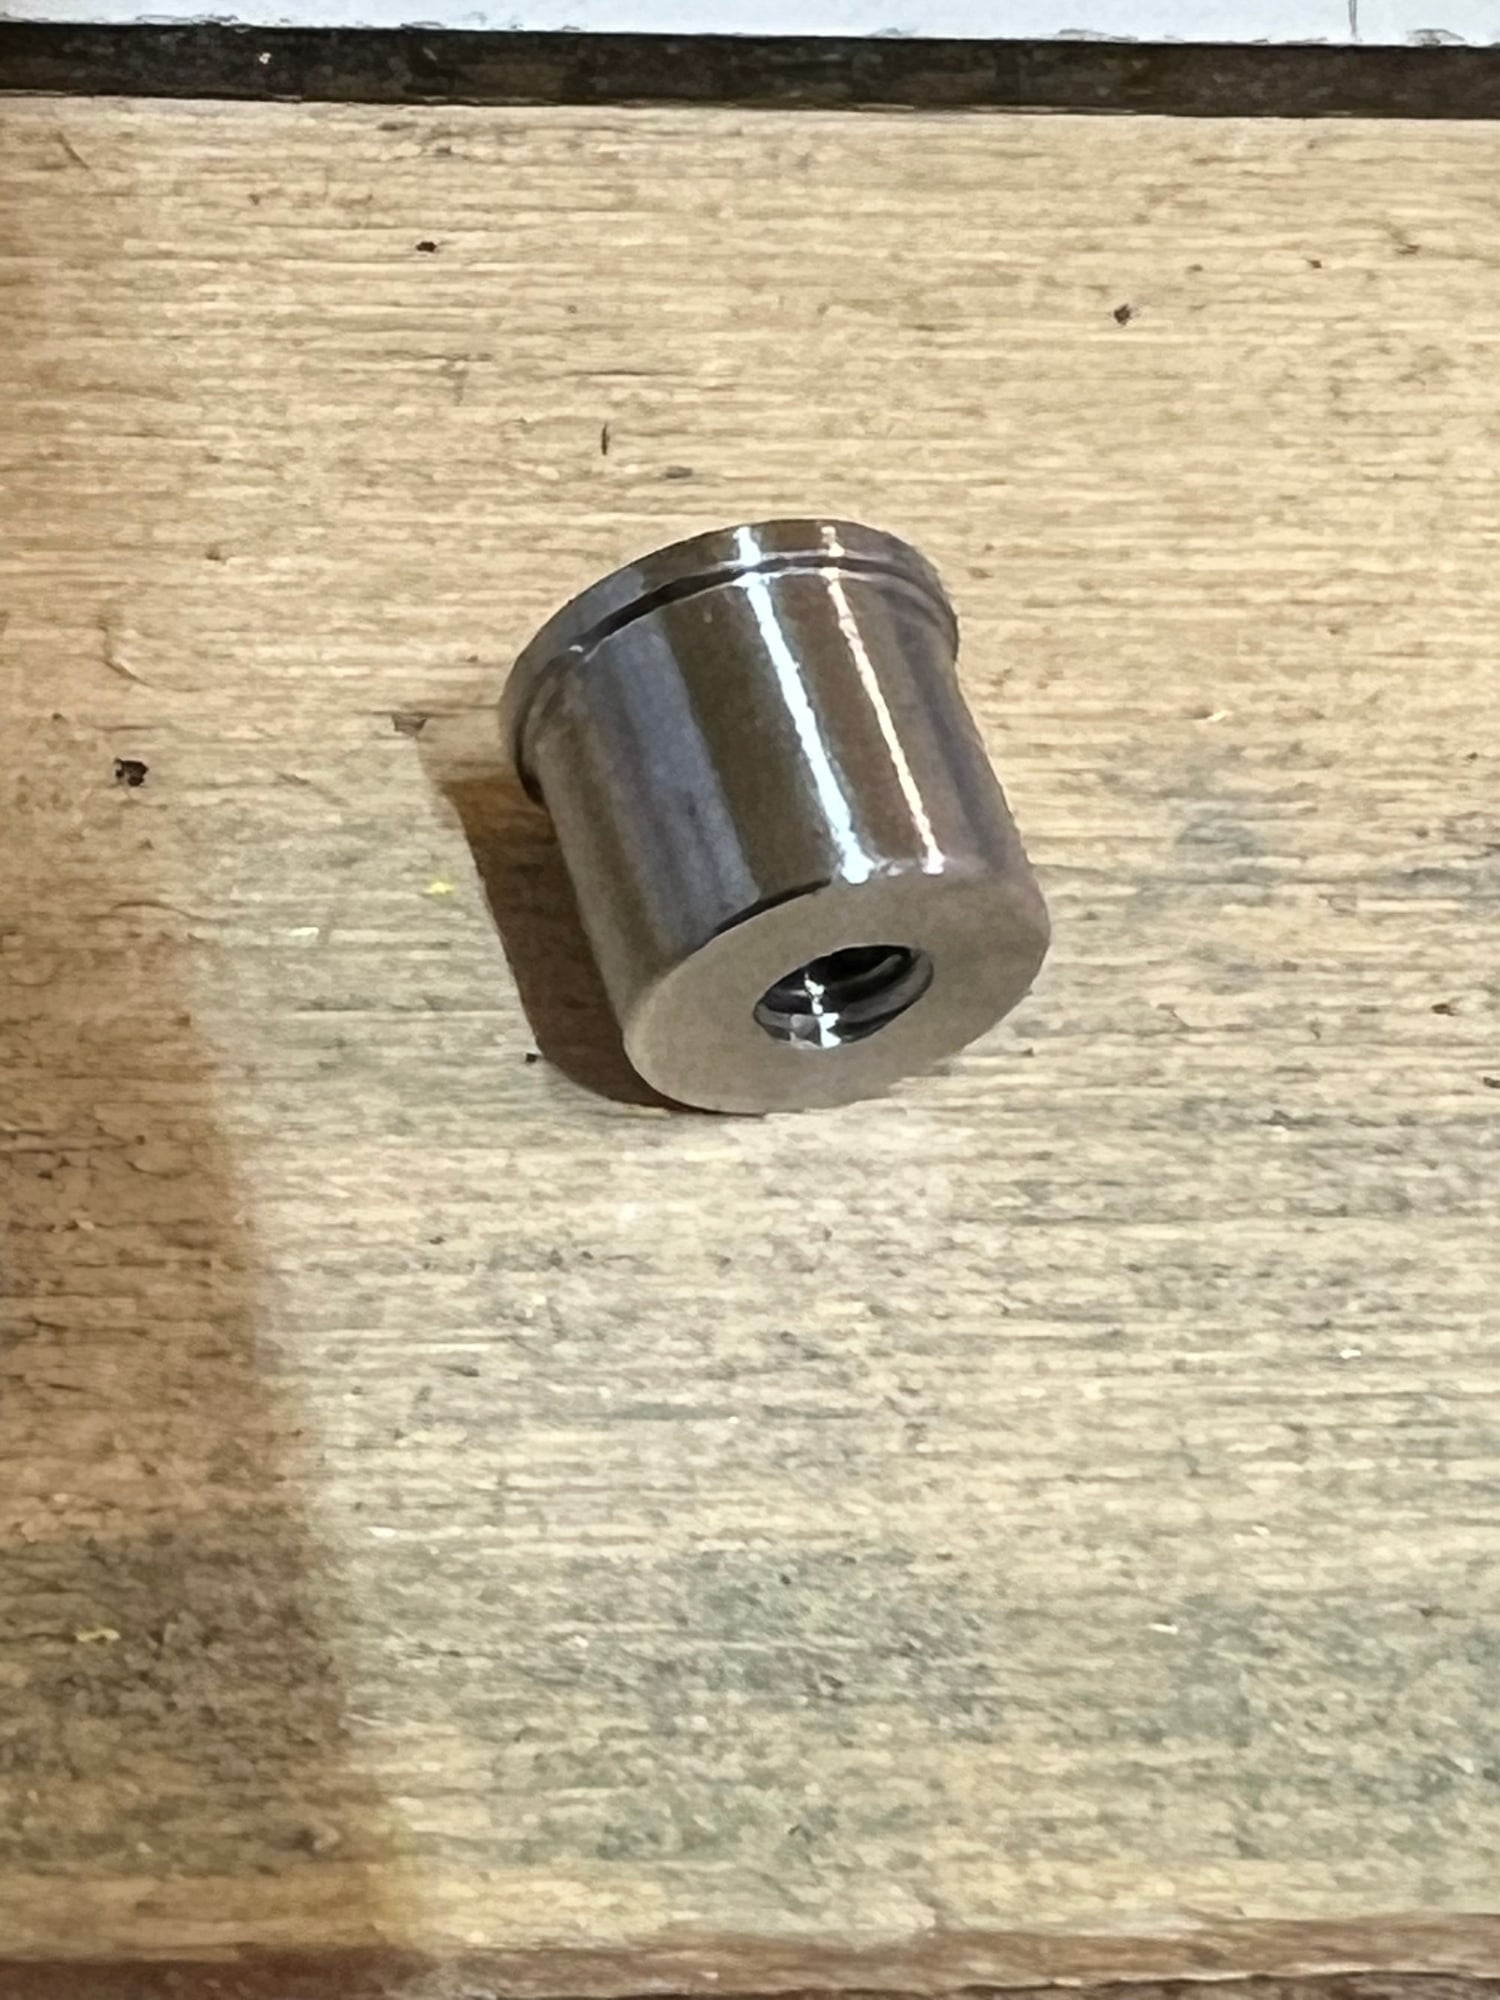
I also mounted the engine with a short stand-off. I maybe have to change this length in function of the CG.
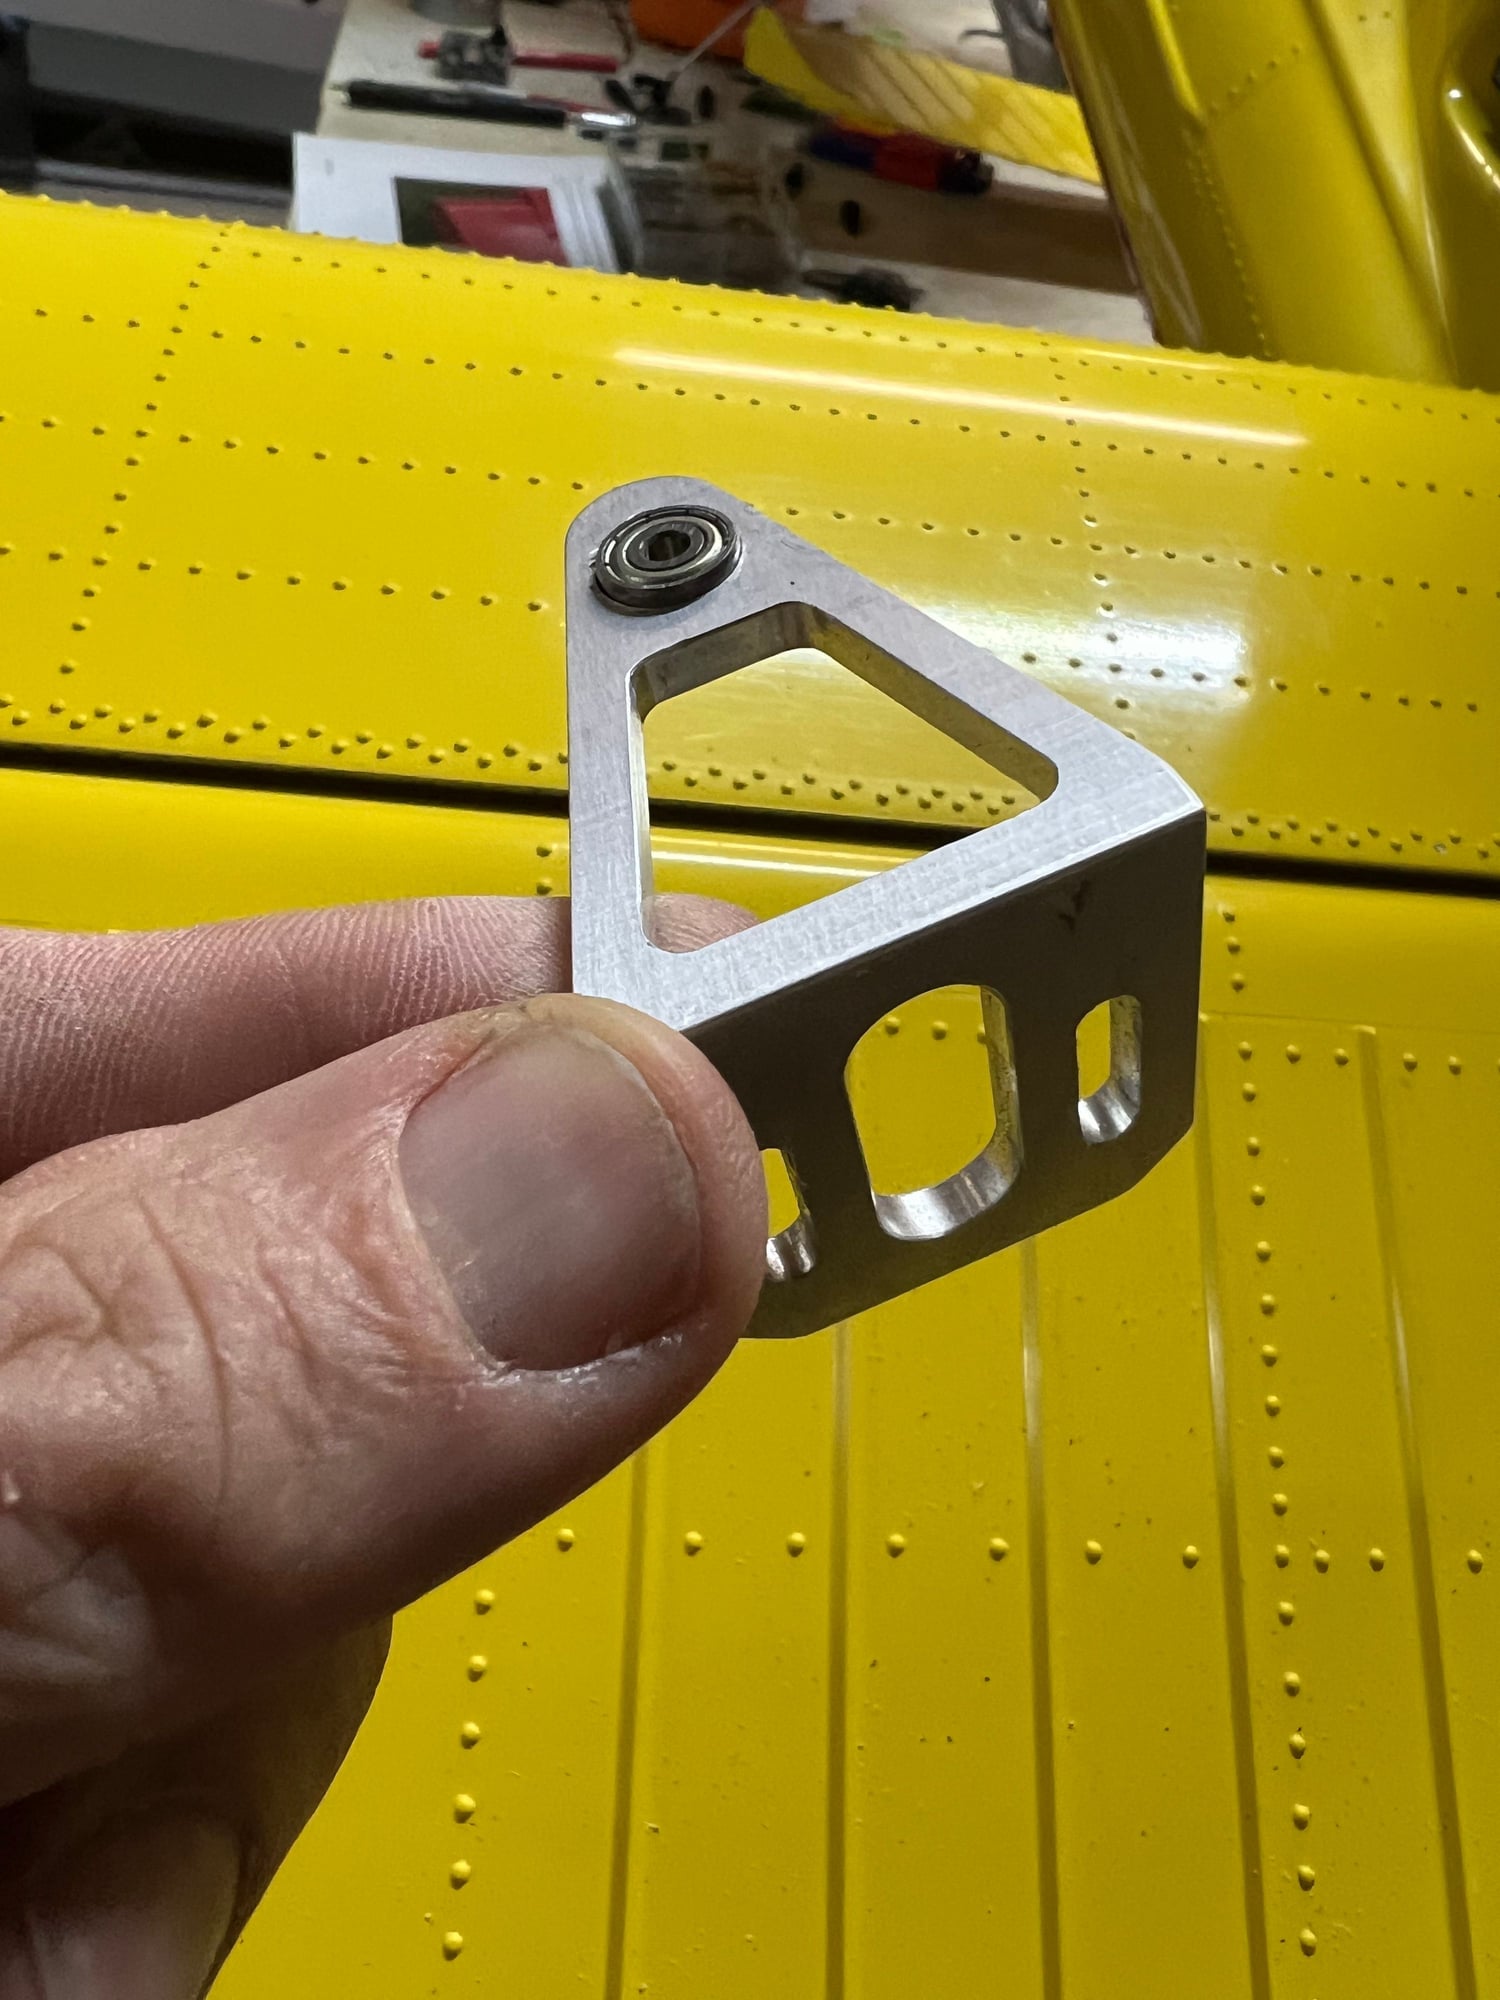

It was a very poor design, I made a new support and added a small bearing.
I also mounted the engine with a short stand-off. I maybe have to change this length in function of the CG.
12-15-2023, 08:36 AM
#11
I have also modified the rudder pivot system since it was really bad design made of welded PCB boards (one side copper covered ones).
I made it however out of carbon fiber laminated on a temporary mold (more than 20 layers of carbon fiber and glass).
I am very cautious about the weight in the back. I have seen many Wilga's where weight had to be added on the nose even though there was a heavy radial installed.
That is why I will take the decision on the steering wheel servo after initial balancing when most of the plane is ready.
12-16-2023, 09:09 AM
#12
Thread Starter
Gluing upper part of the coil
Mounting the coil on to the fuselage
Gas servo against firewall
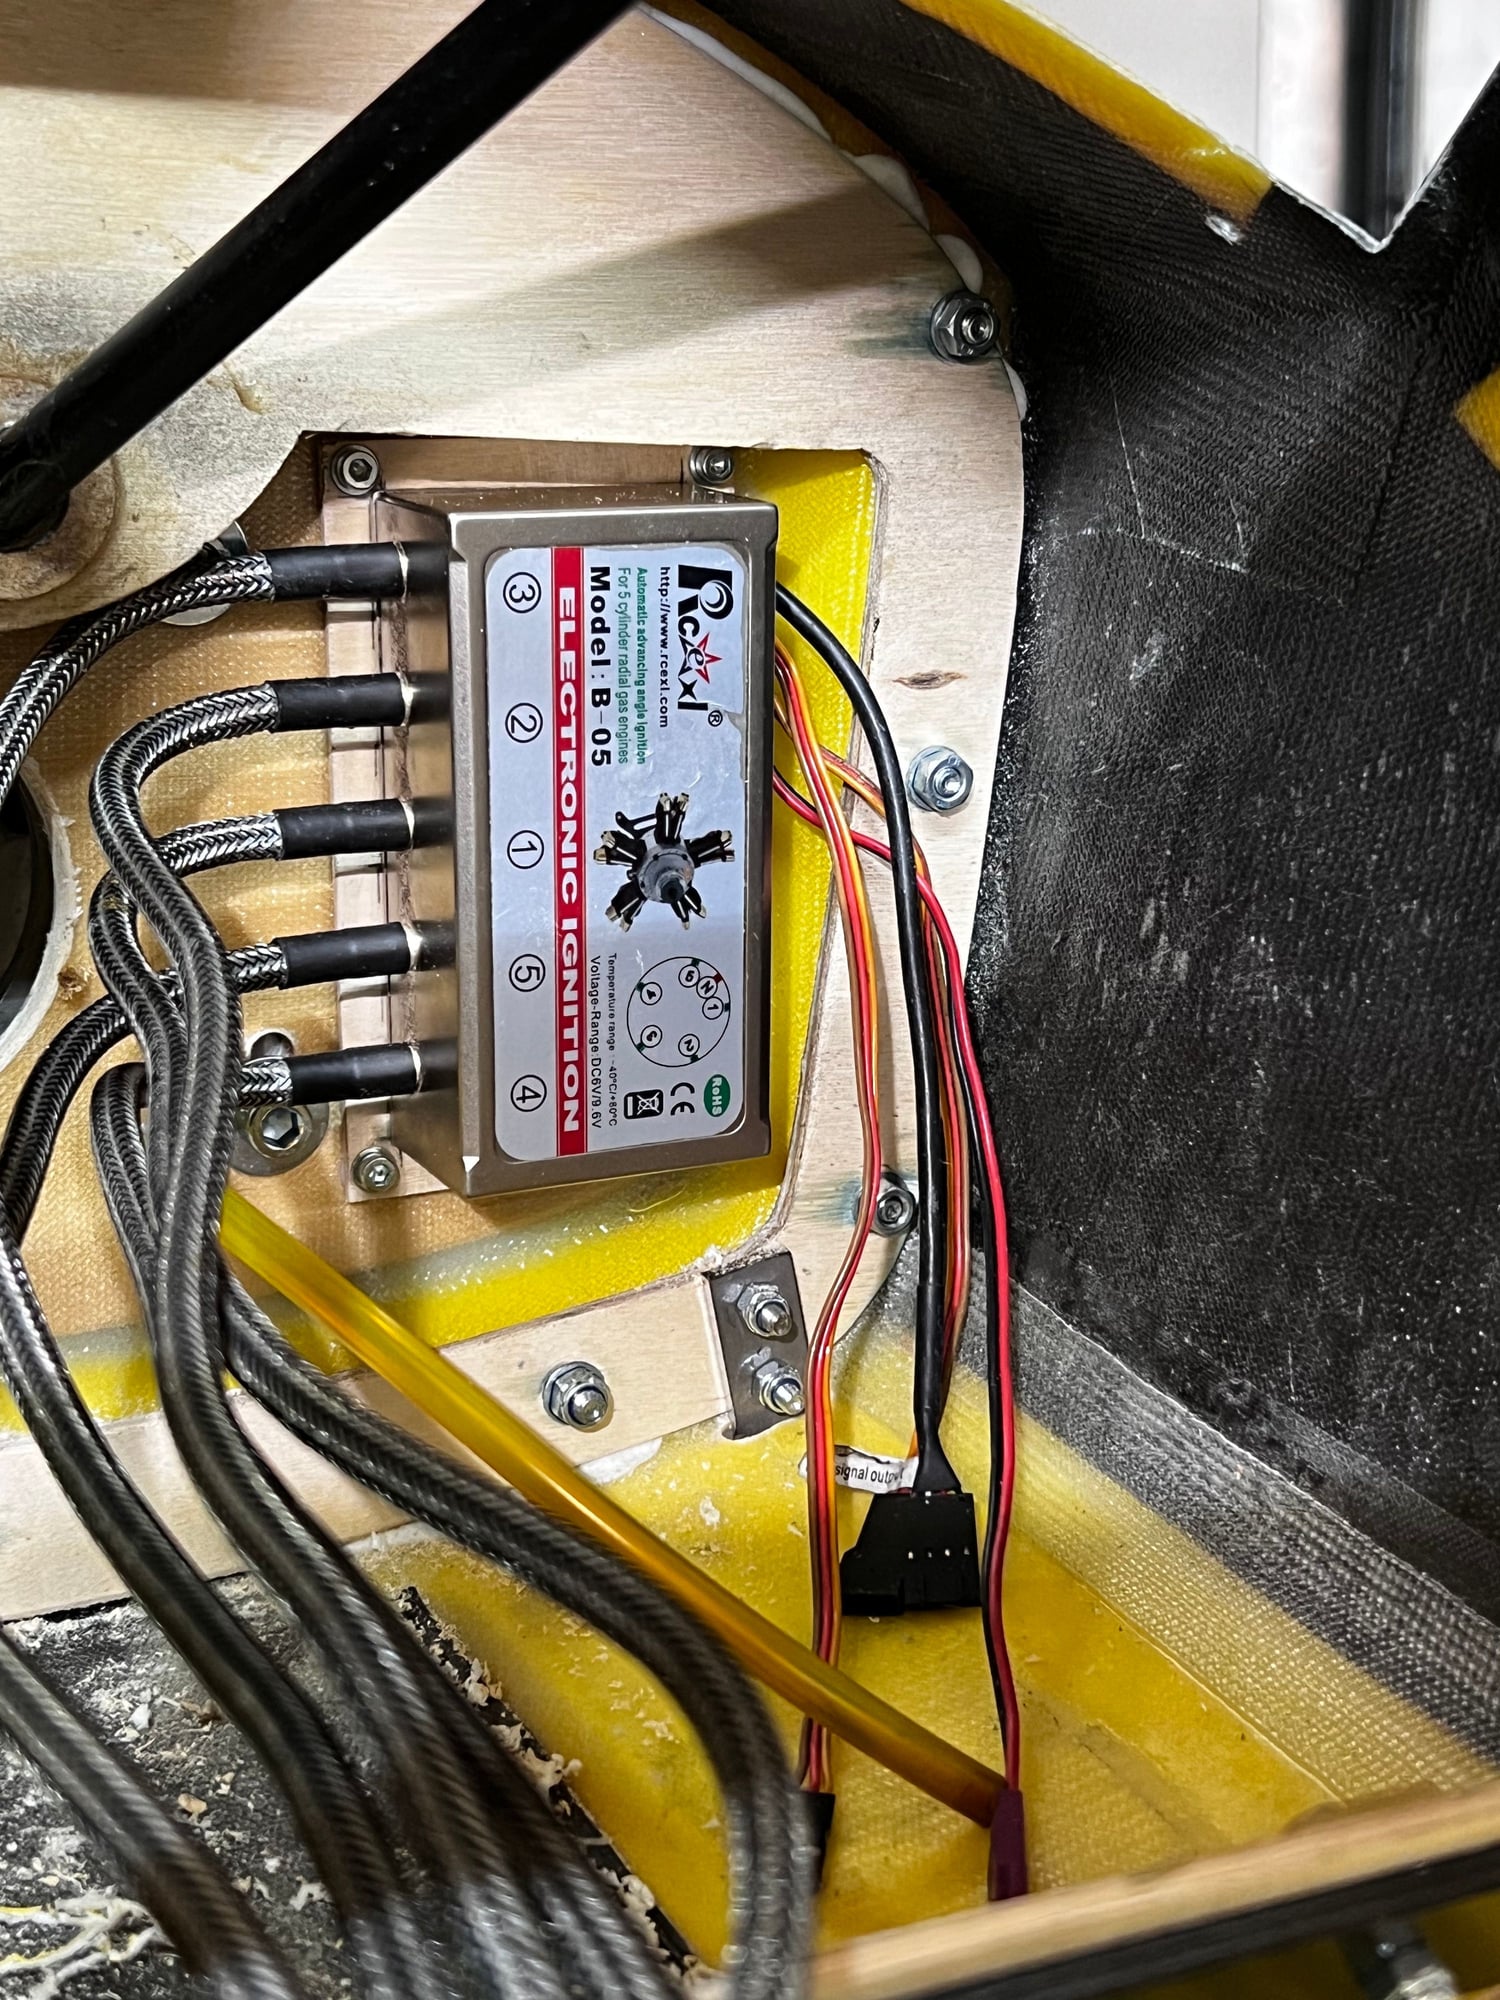
Ignition against firewall
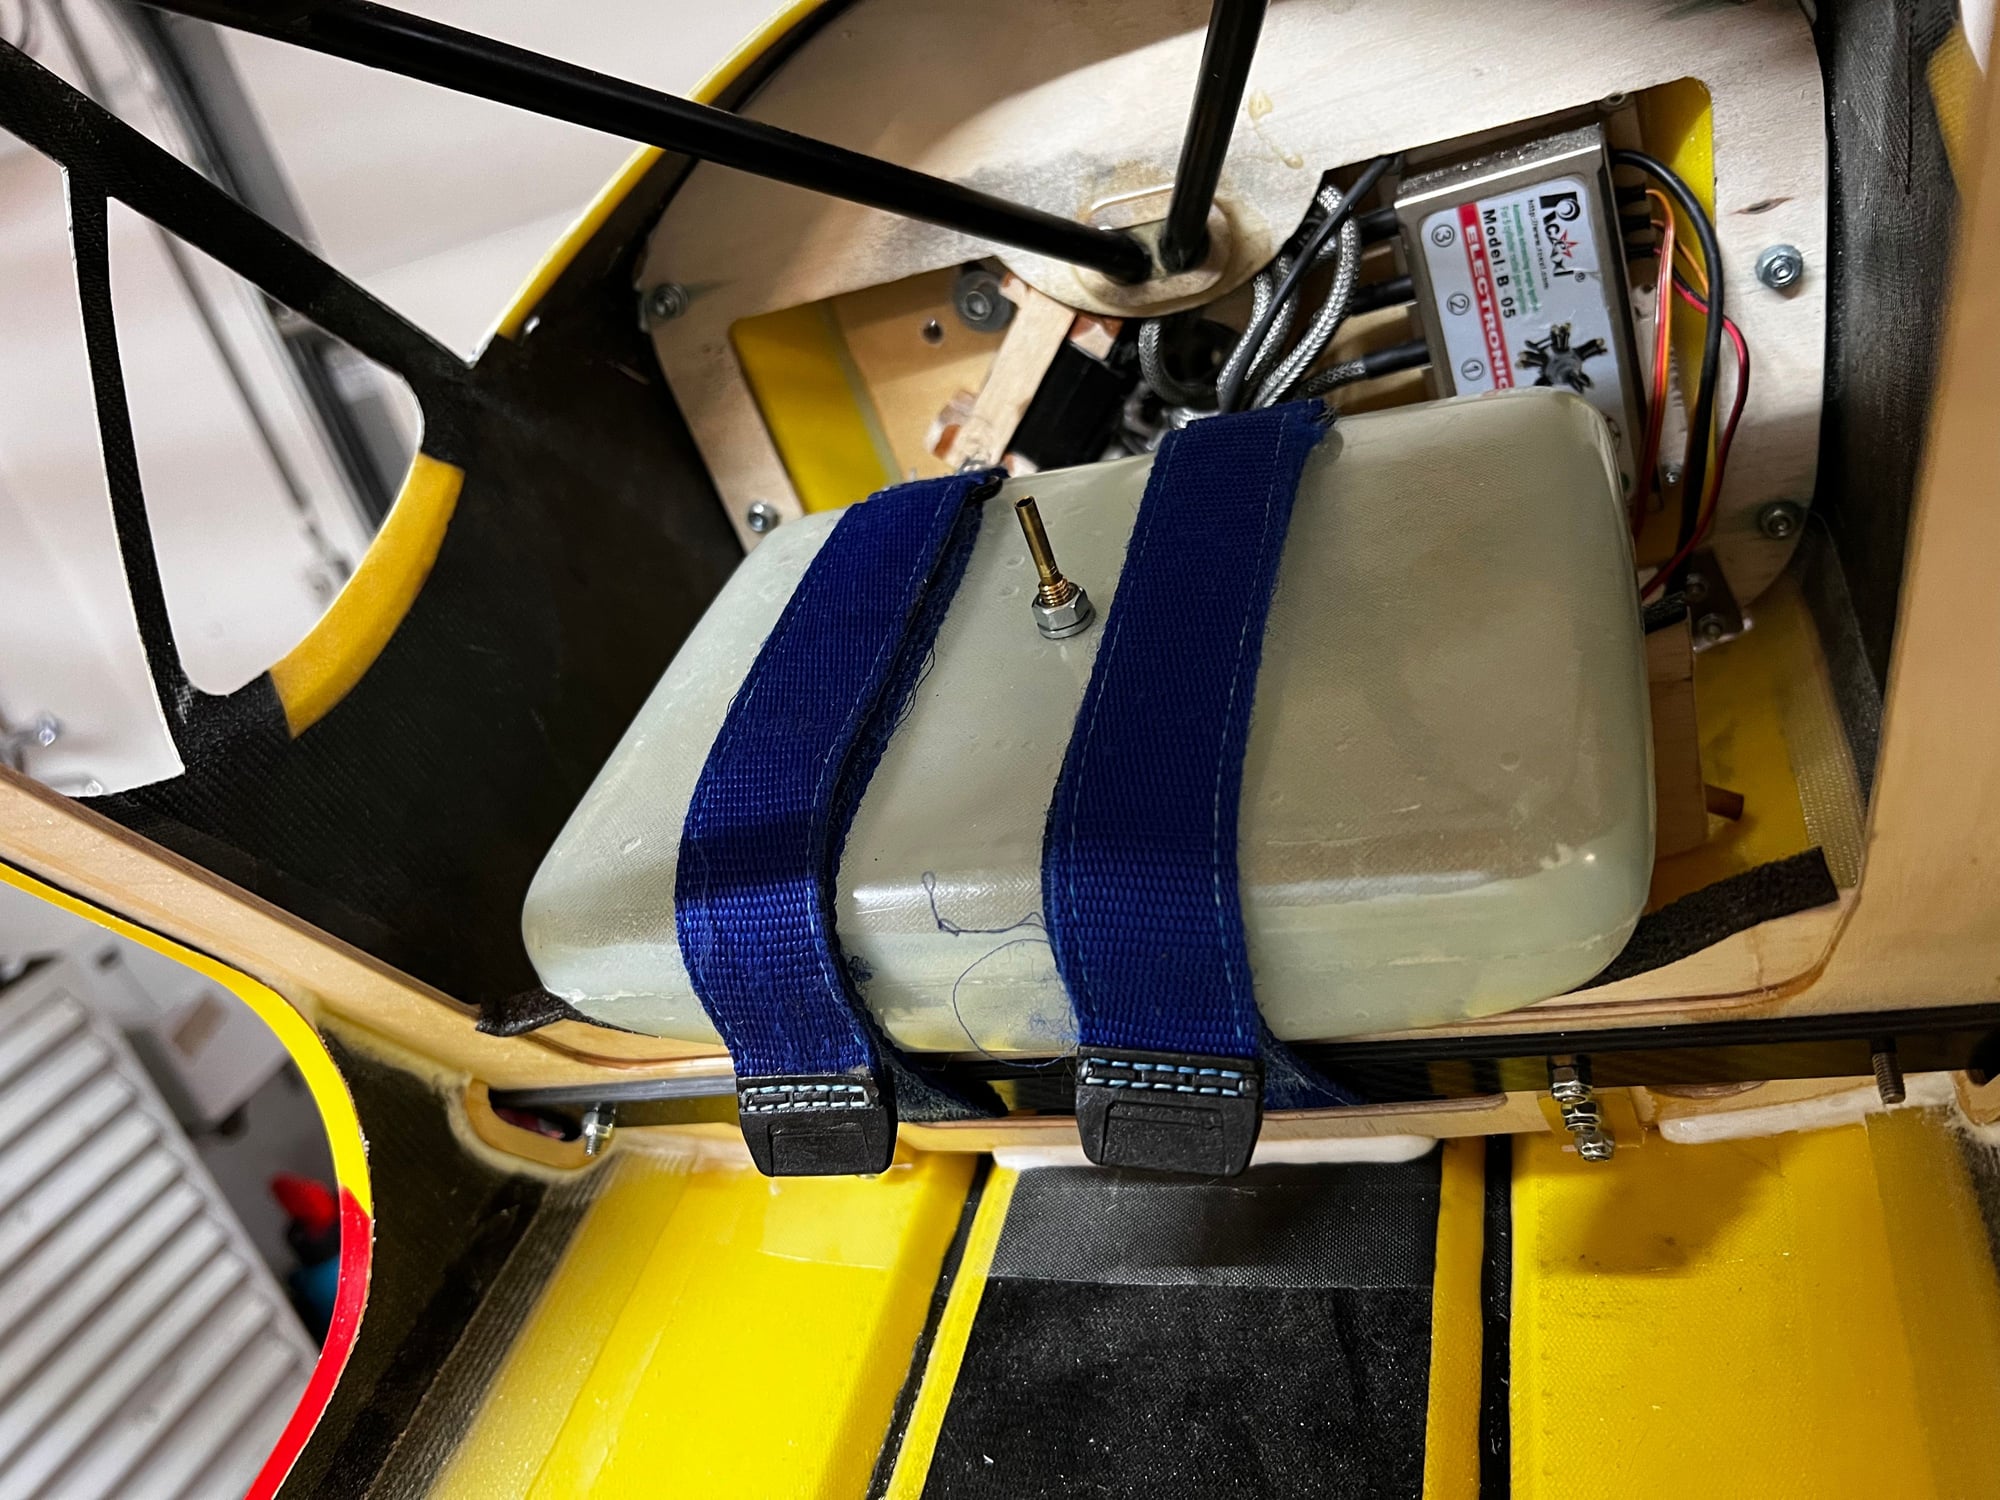
Fuel tank appr. on CG position
Baffling the engine with some plywood
Extending adjustment High/Low needle
12-17-2023, 02:58 AM
#13
Dear Carlo,
I have two polite request to you.
Could you please weight the tank as well as the complete tailwheel assembly for me.
Those are the two elements that I did not yet purchase from Tomahawk. Mostly because of weight considerations. I have a plan to make my own fiber carbo tailwheel assembly but the more time I spent with the kit the more I am coinsidering buying it :-)
Thank you very much for your support.
12-17-2023, 08:49 AM
#14
Thread Starter
Hi Chuck,
My fuel tank and tailwheel assembly are already installed, it's difficult to check the weight rigt now..
Send an mail to Tomahawk Aviation, they will give you this information.
As for the CG, I screwed all 3 batteries to to fire wall, CG is perfect.
Carlo
My fuel tank and tailwheel assembly are already installed, it's difficult to check the weight rigt now..
Send an mail to Tomahawk Aviation, they will give you this information.
As for the CG, I screwed all 3 batteries to to fire wall, CG is perfect.
Carlo
12-17-2023, 09:18 AM
#15
Hin Carlo,
They are not that willing to answer a mail like this but I will try.
By the way - are you going to replace or modify the shock absorbers that come with the kit.
They are quite weak and many folks complain that the 4 mm shatft bends easily.
I am thinking about replacing them with WEMO oil-spring dampers.
12-17-2023, 09:19 AM
#16
Thread Starter
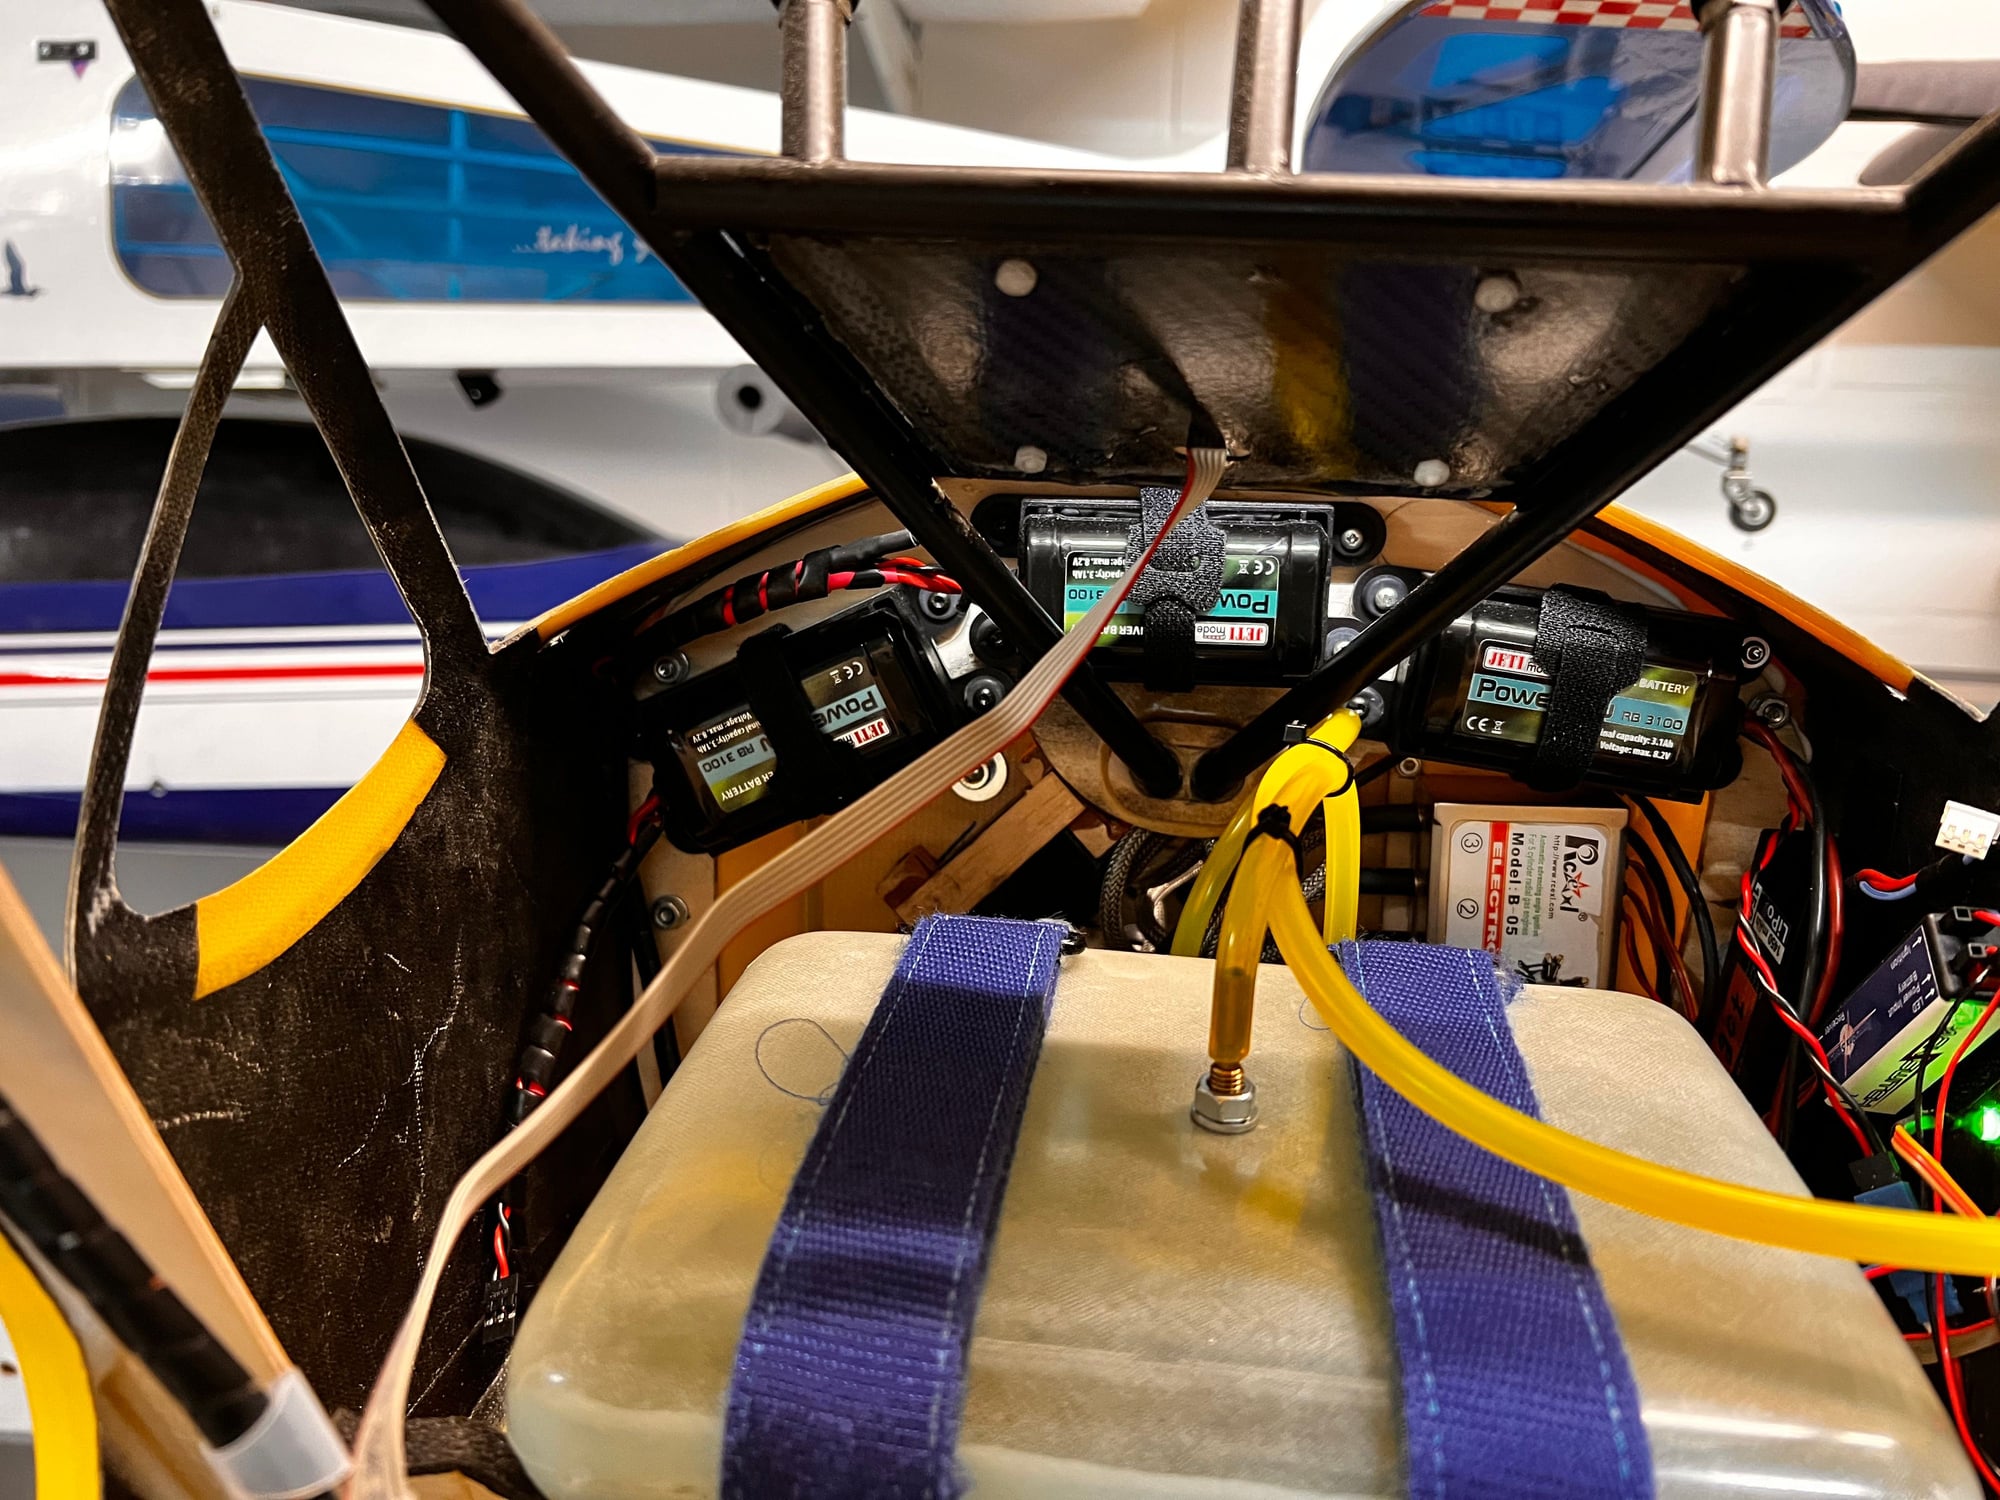
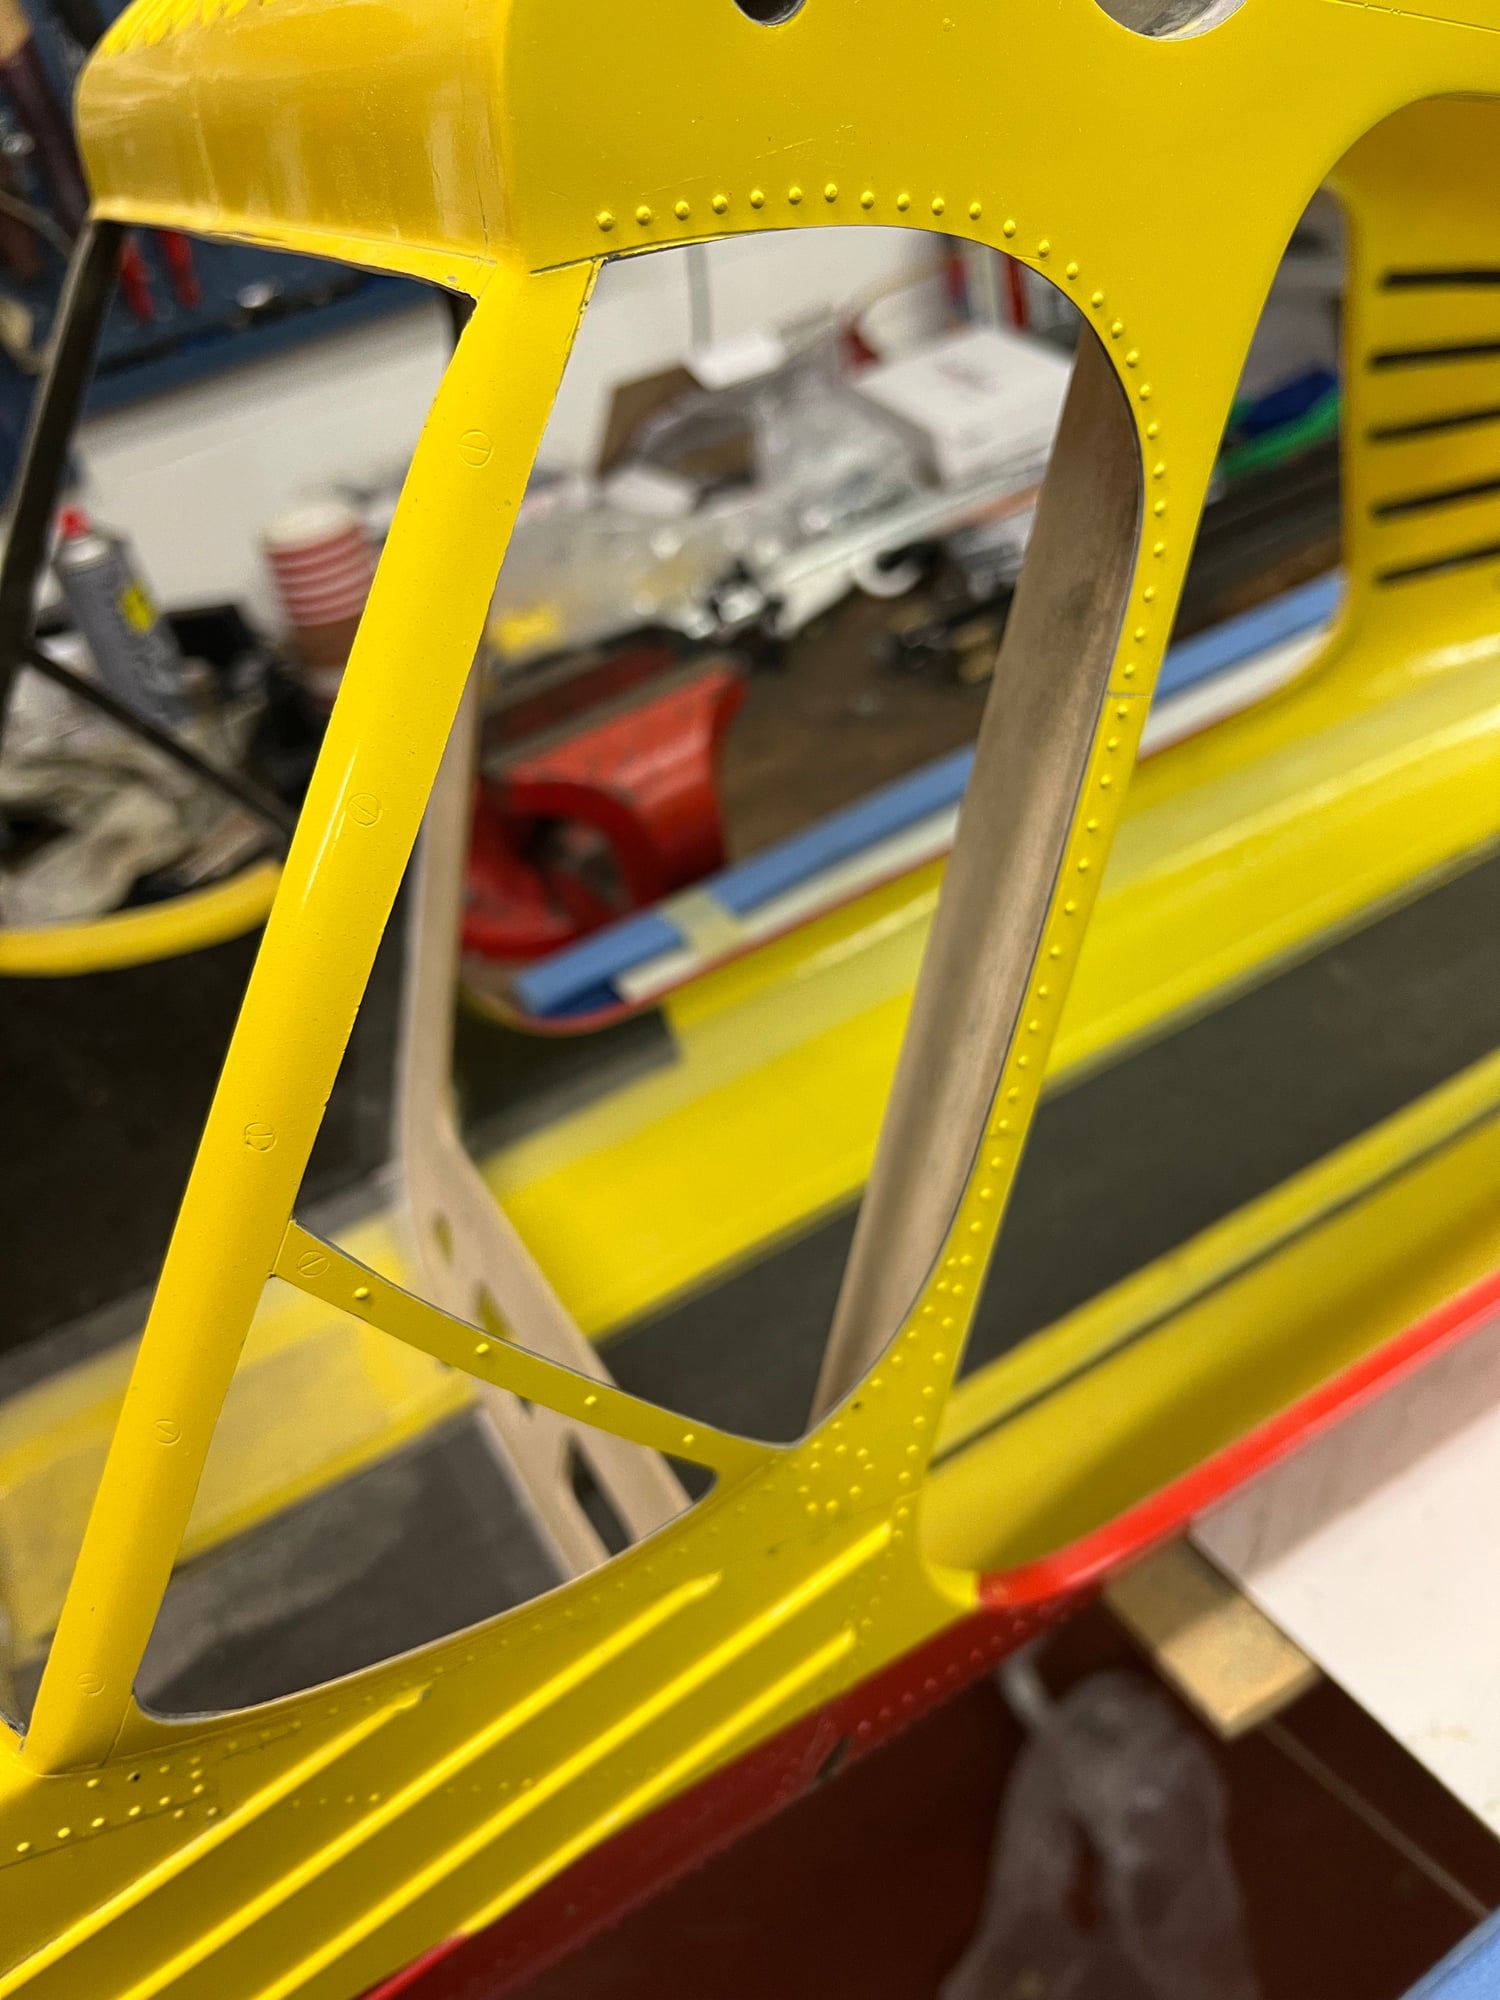
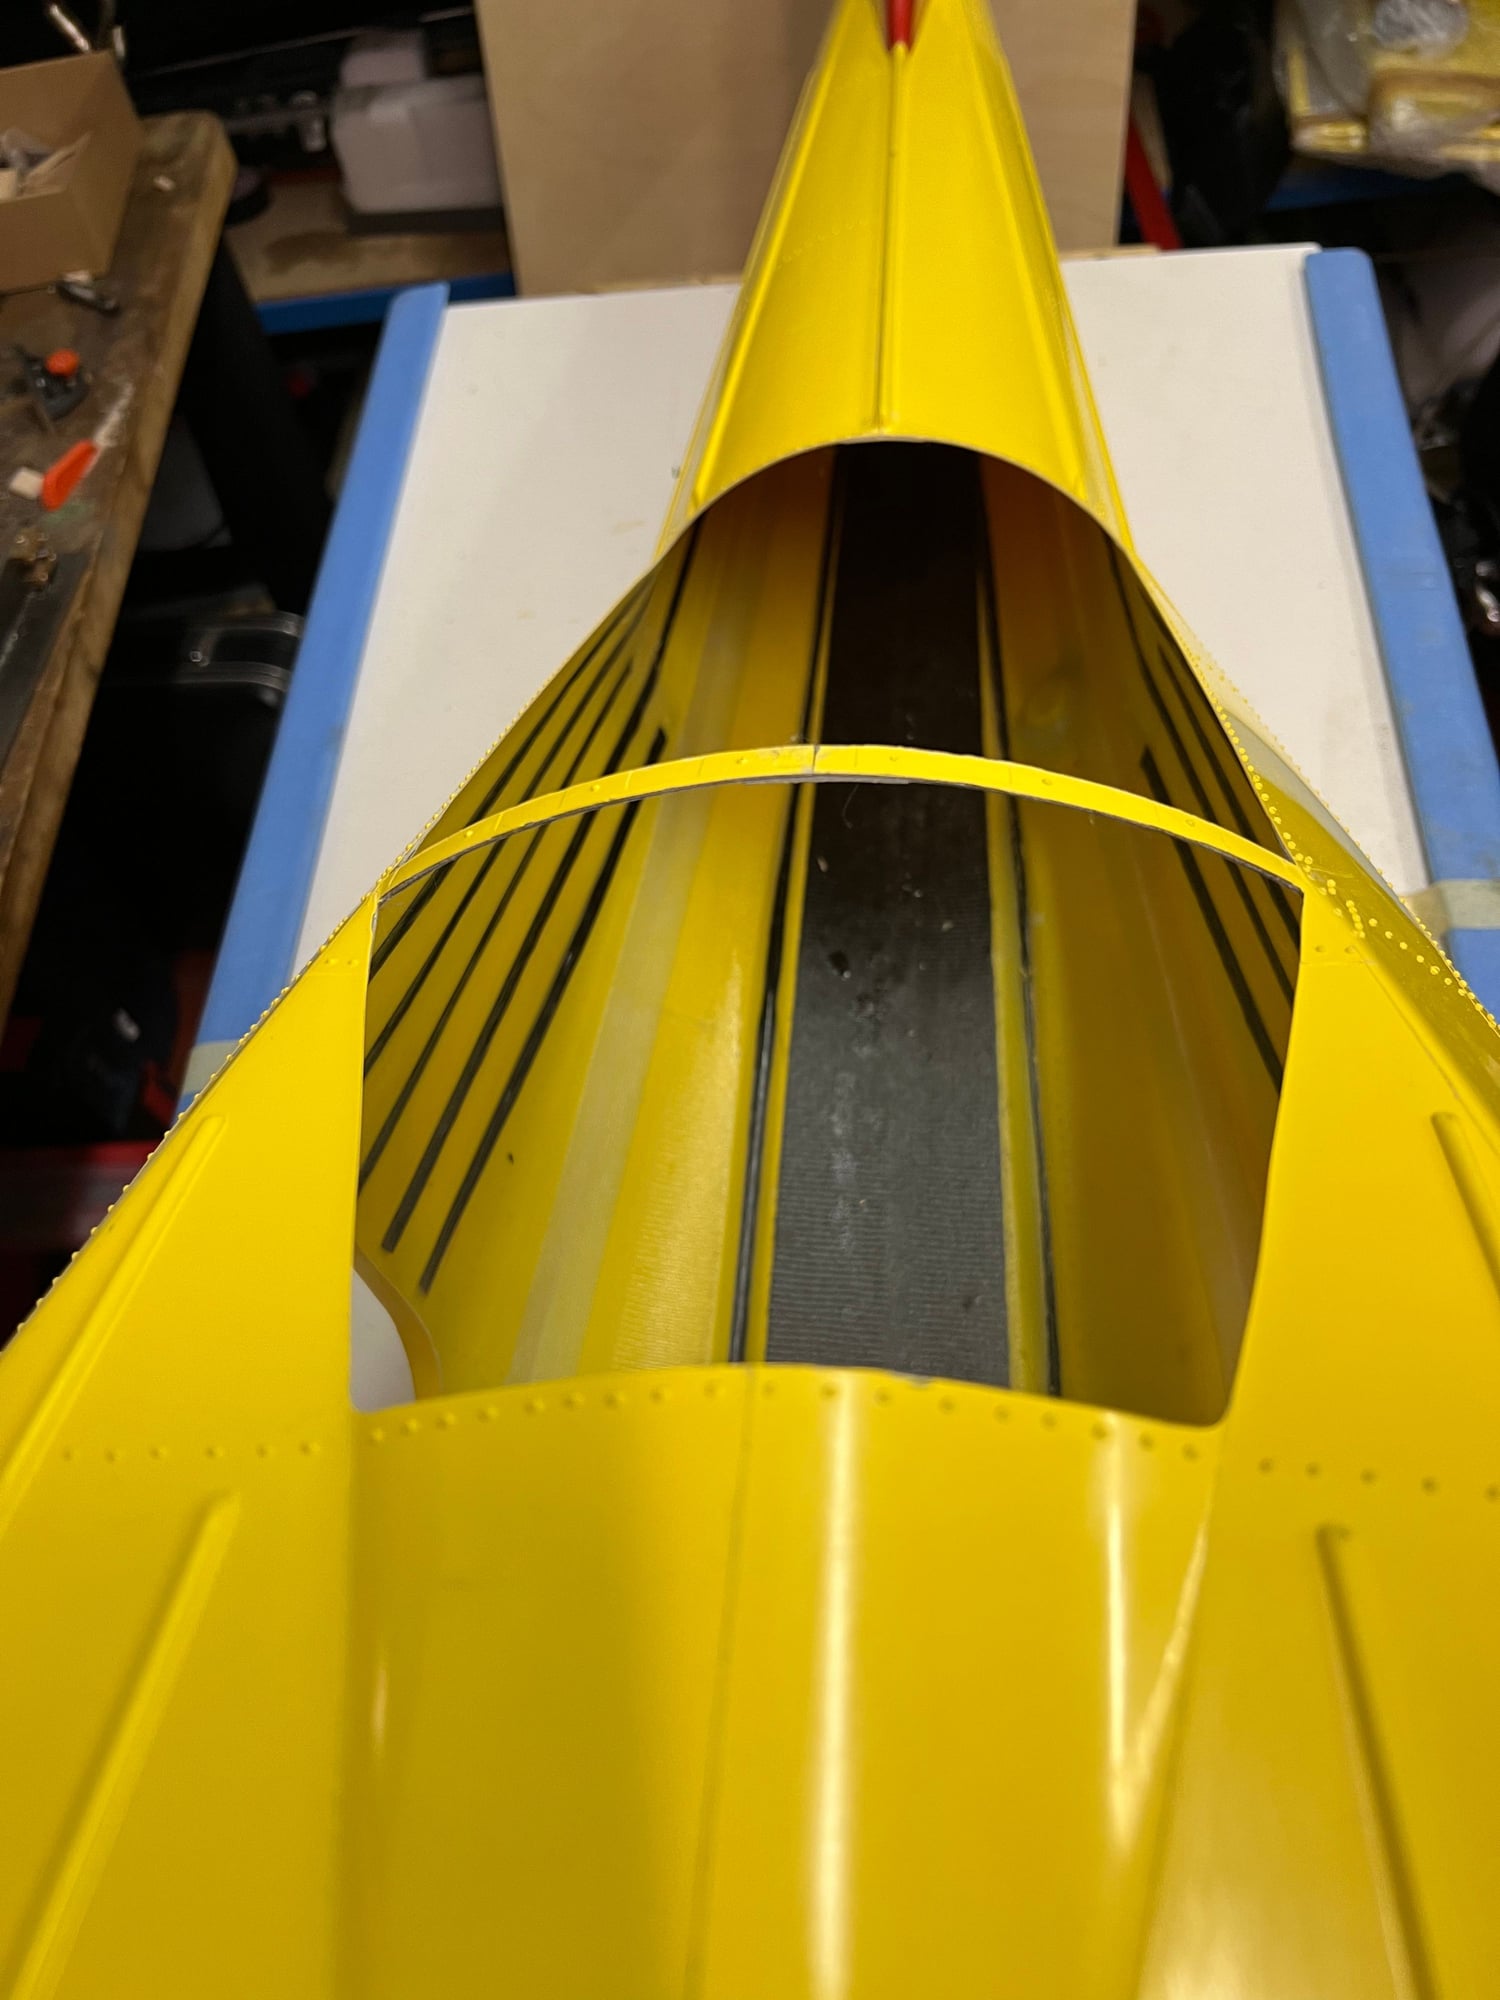
Installing the 3 batteries against the firewall.
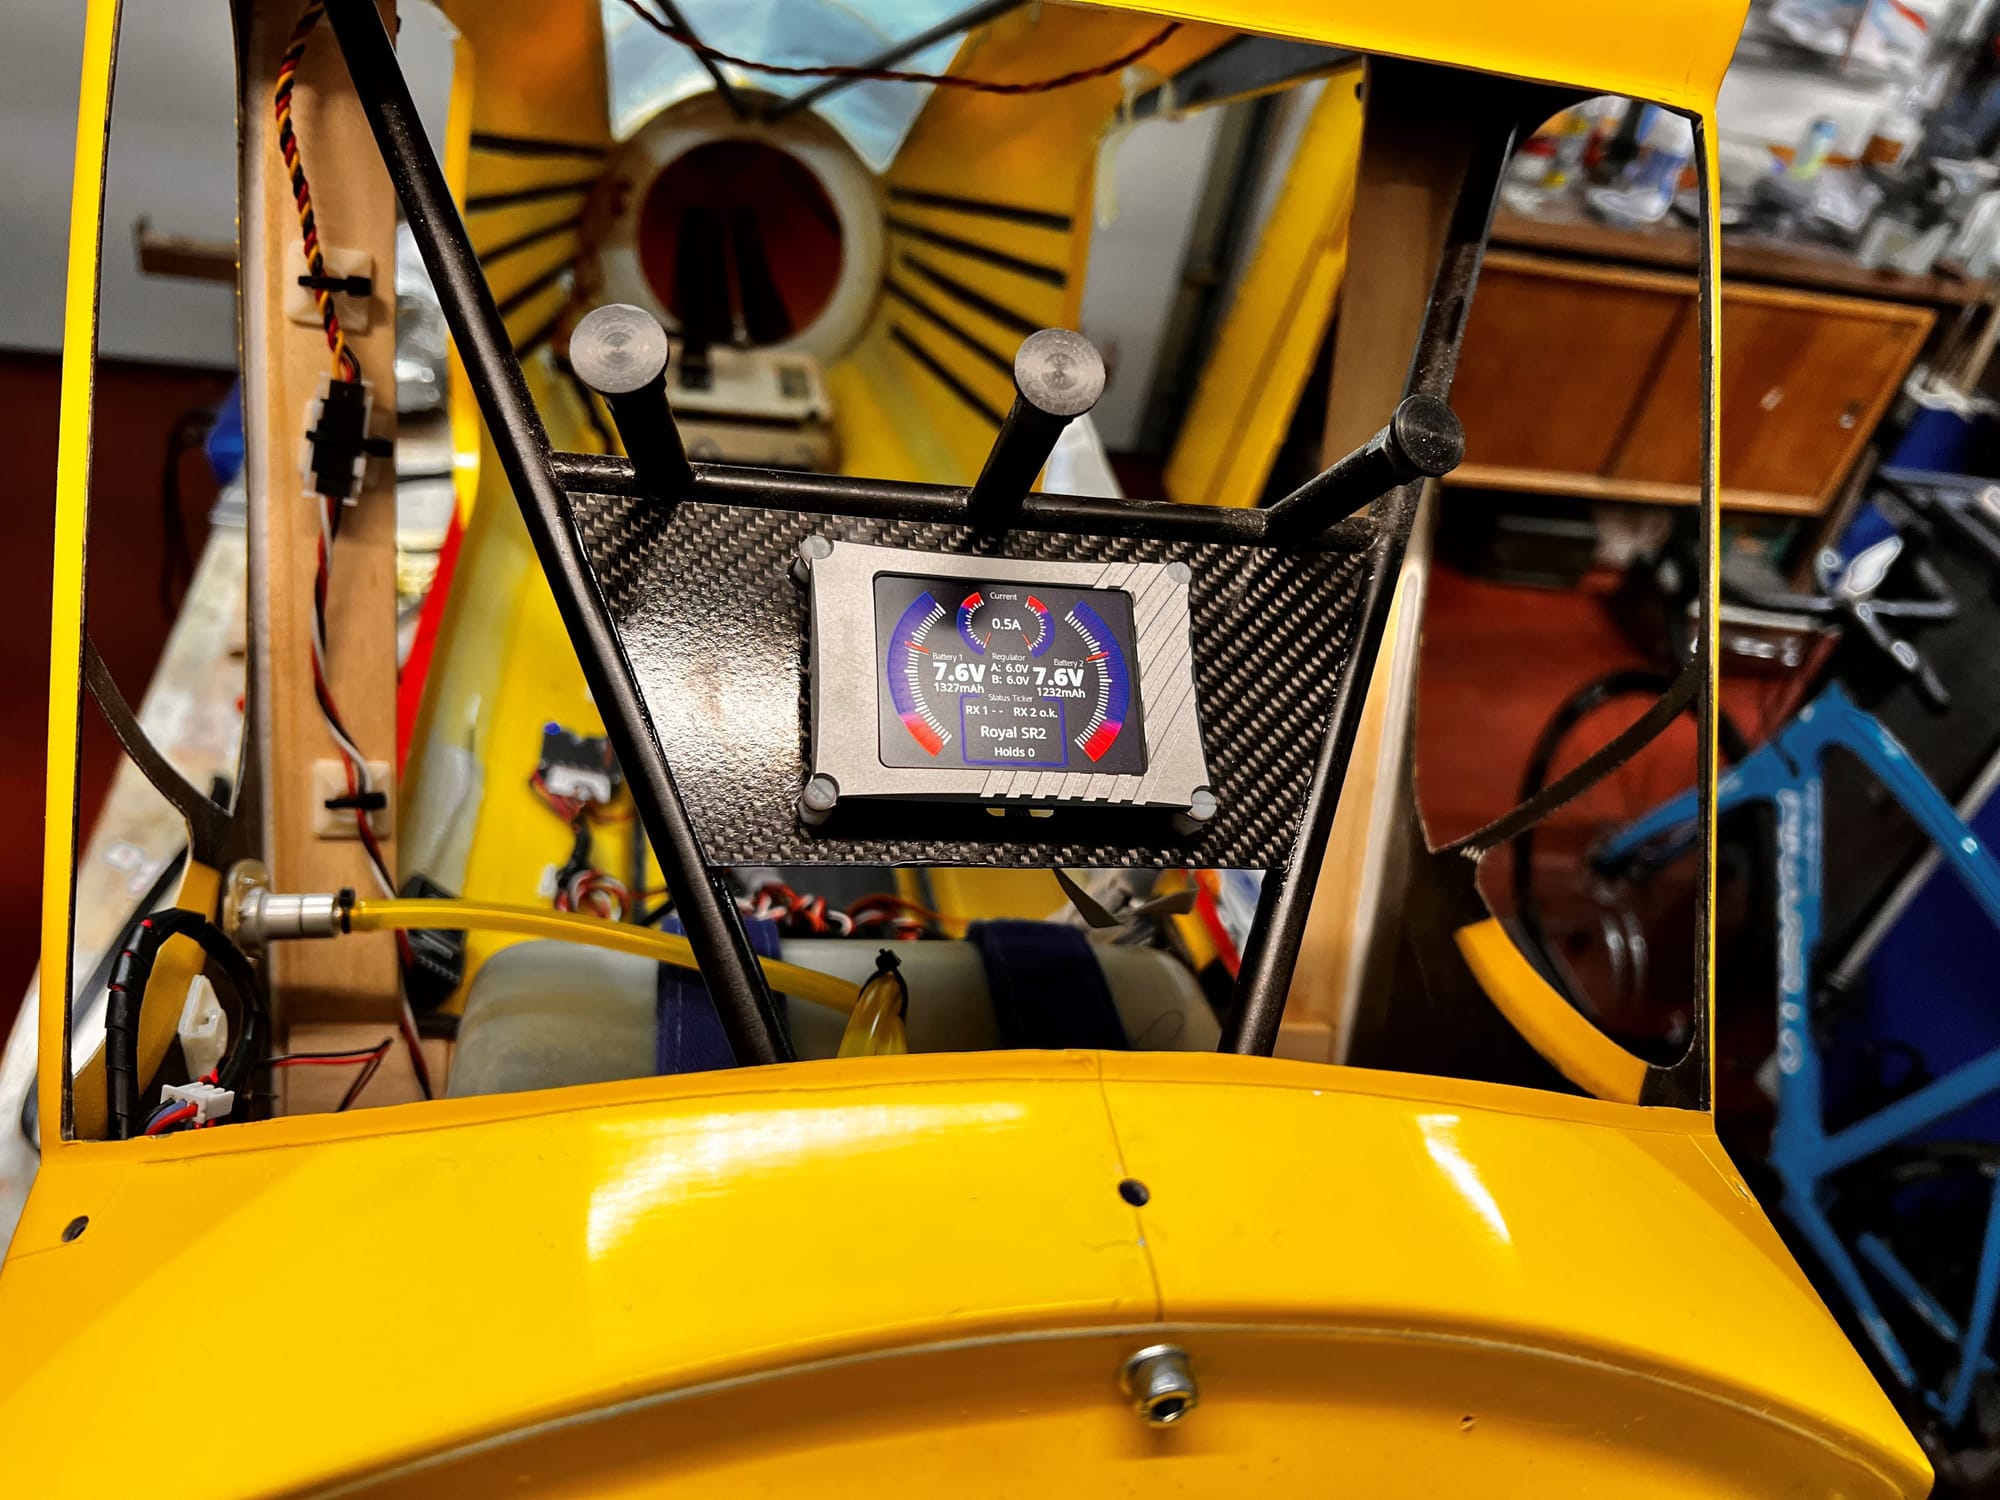
The display of the Powerbox mounted into the front of the wind screen.

Gluing the wind shields
Covers on the wheel hub
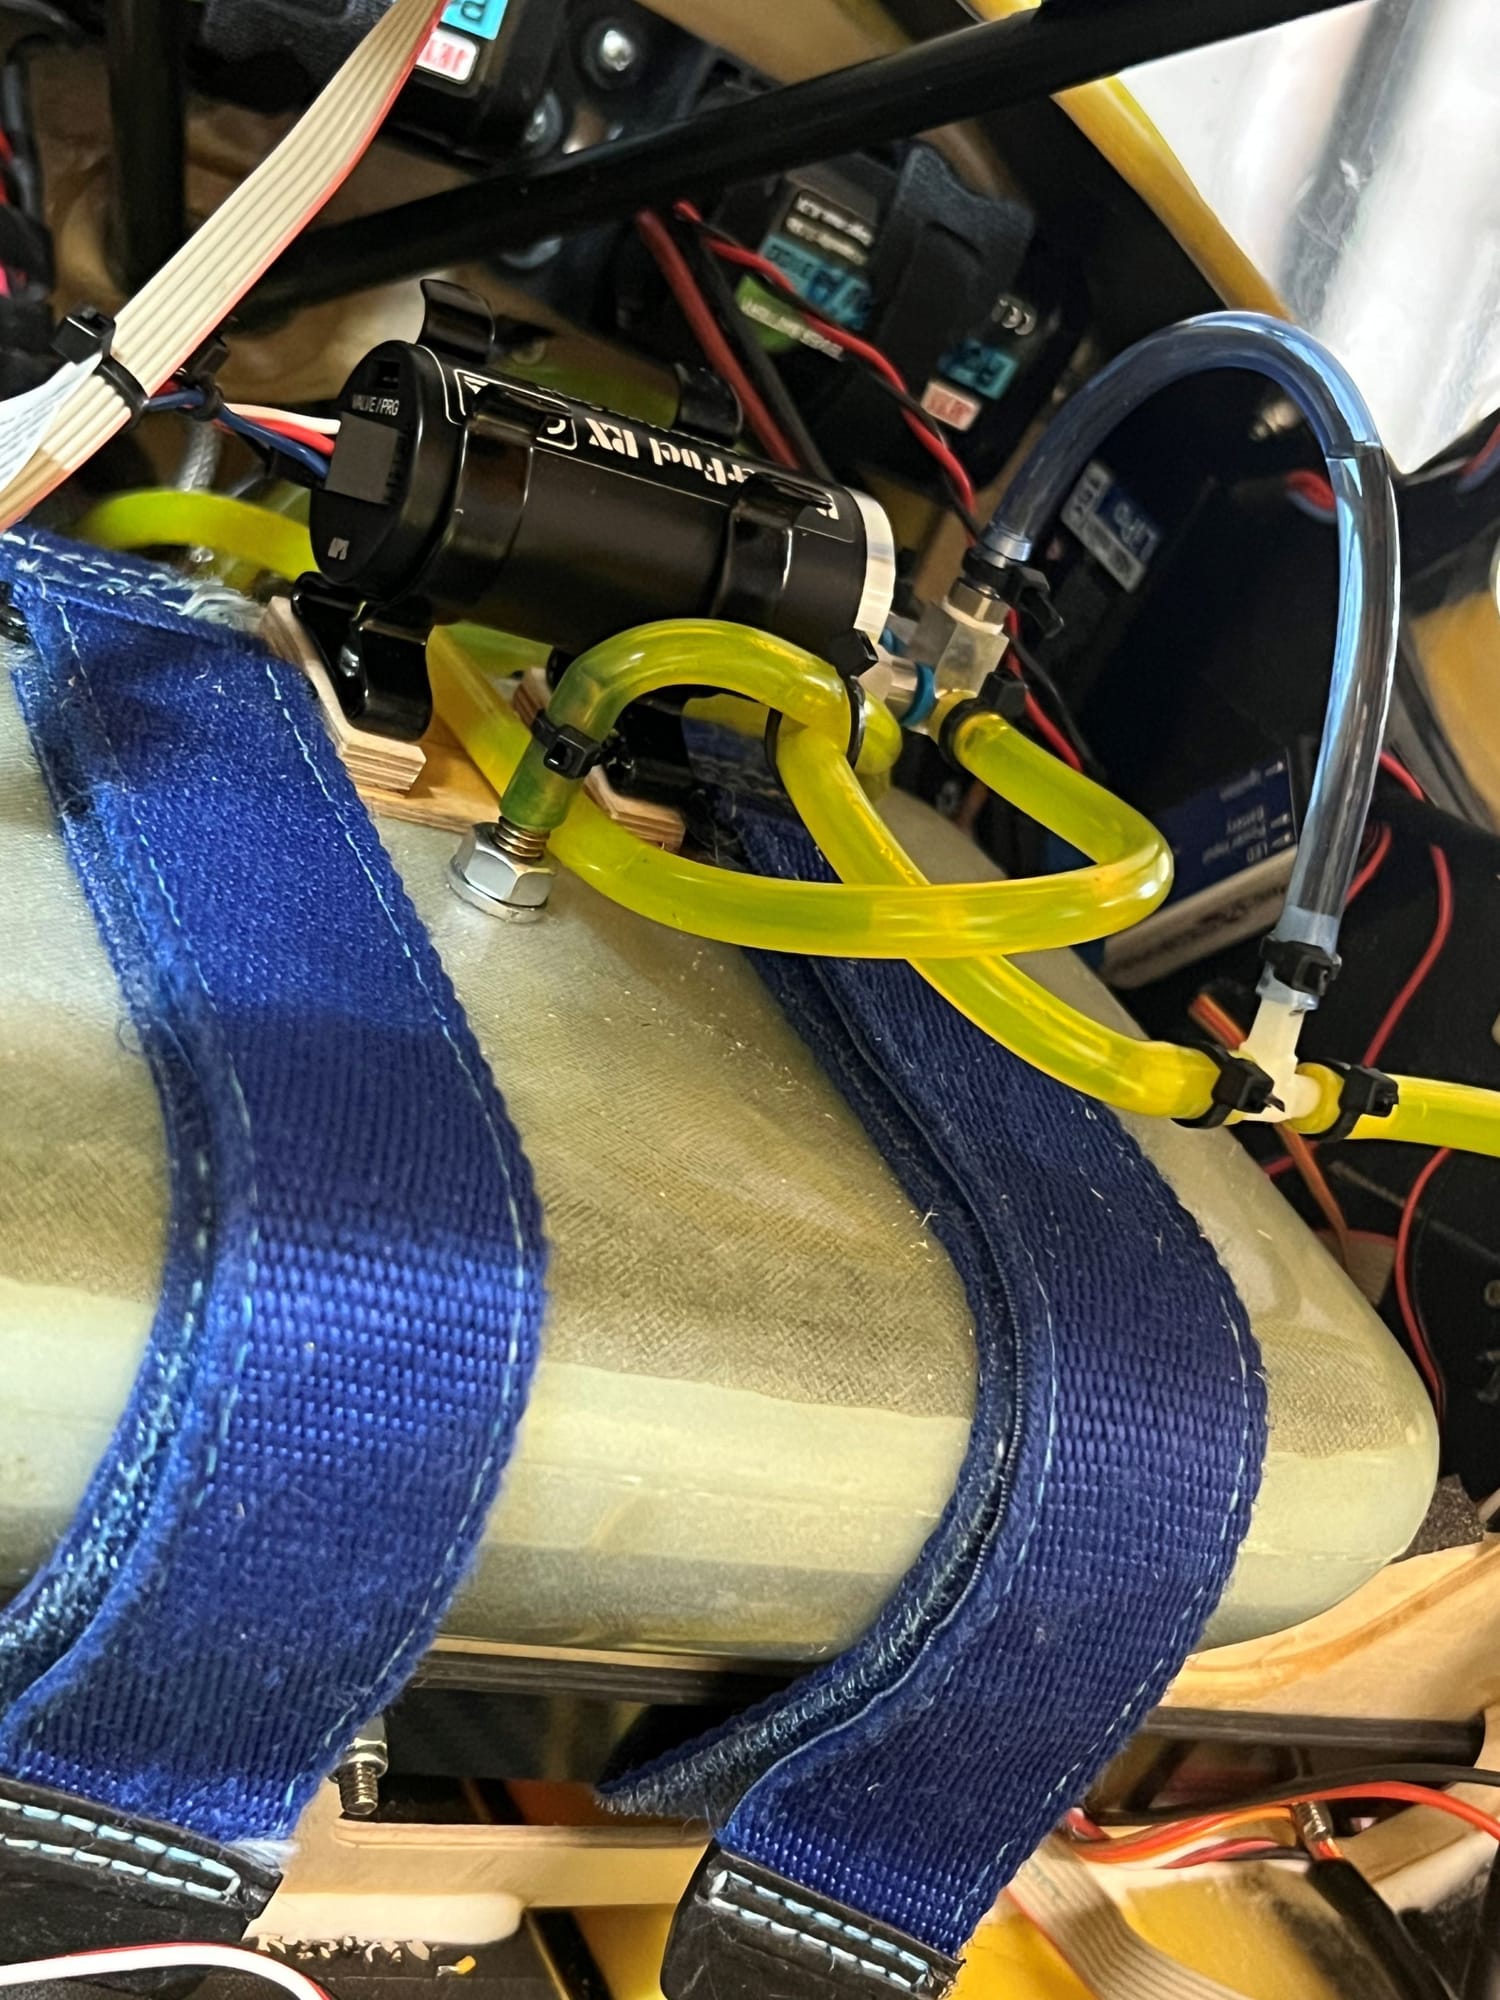
Fuel pomp above the fuel tank
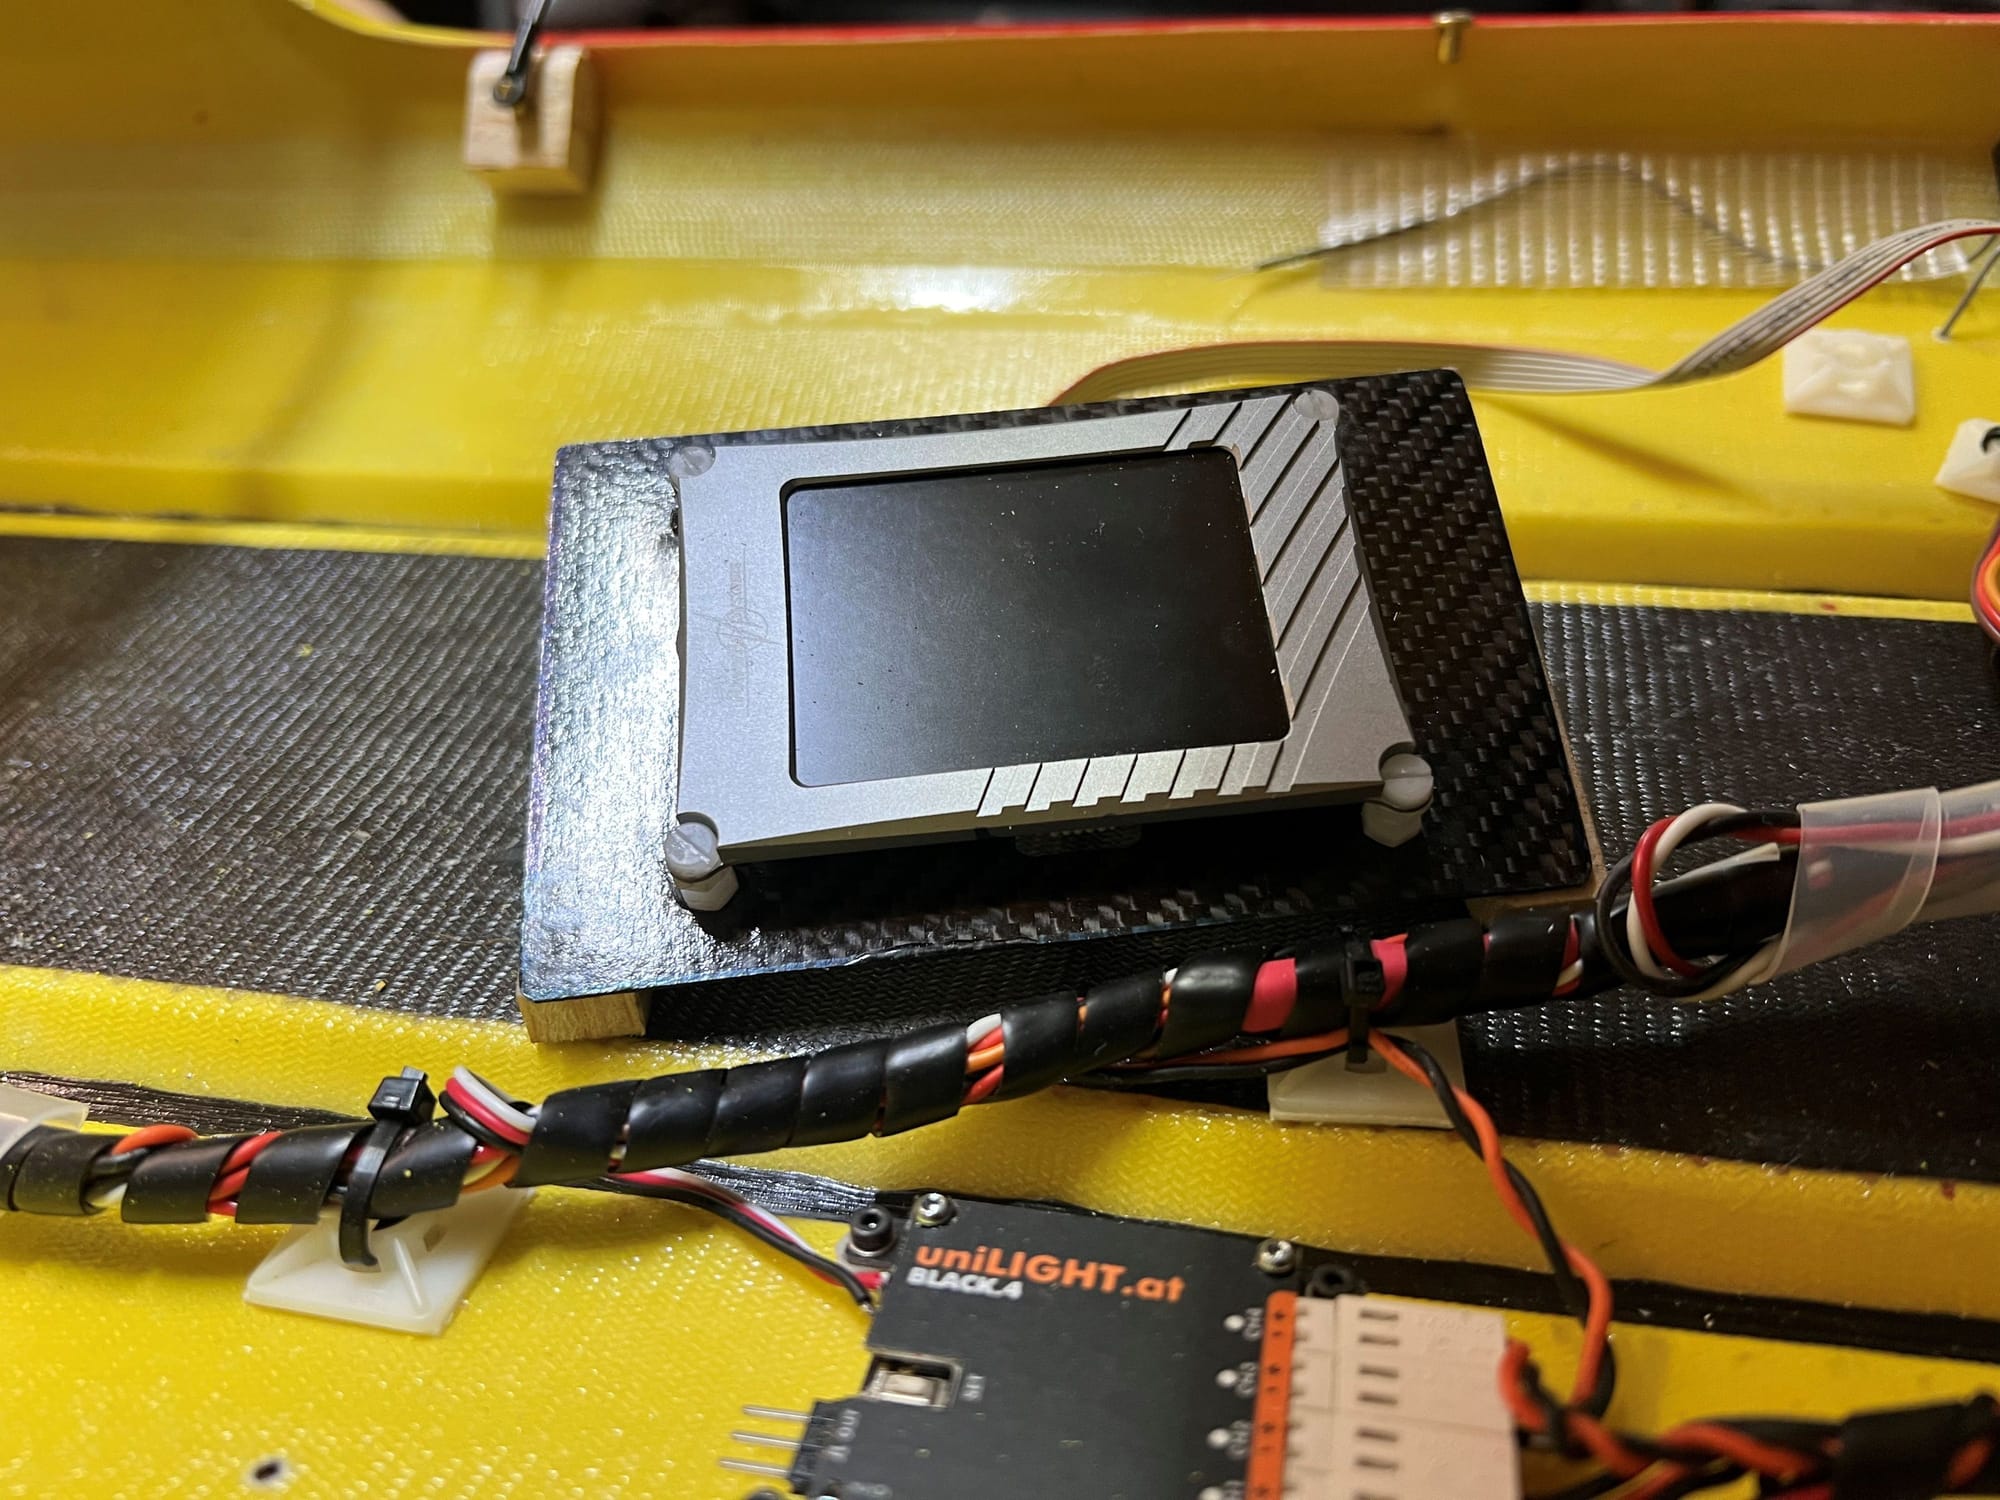
I modified the position of the Powerbox Display. It was too difficult to remove the batteries because the display was in front of the wind screen. I mounted the display on a stand in the fuselage.
12-17-2023, 09:28 AM
#17
Thread Starter
The inflateble wheels supplierd have plastic rims.
I do not think they are strong enough especially when landing with cross wind.
It"s difficult to find inflated wheels with alulinum rims so i will make them myself.
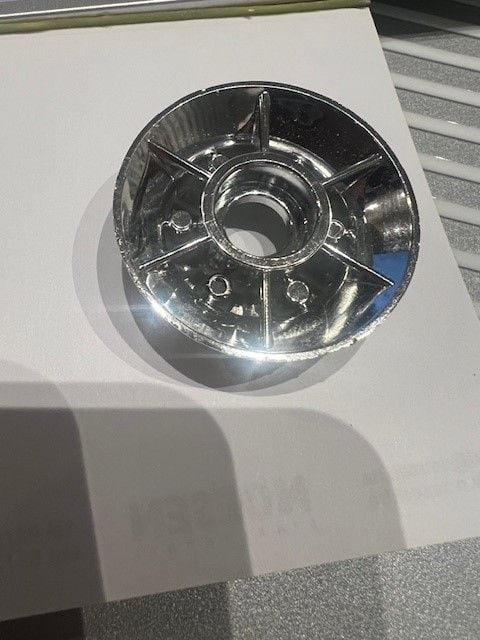
The standard plastic rim
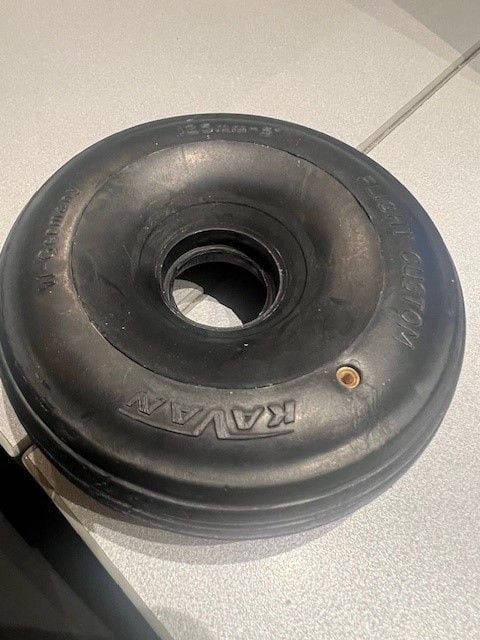
Inflateble wheel D125mm
I do not think they are strong enough especially when landing with cross wind.
It"s difficult to find inflated wheels with alulinum rims so i will make them myself.
The standard plastic rim
Inflateble wheel D125mm
 12-17-2023, 10:17 AM
#19
Thank you Carlo,
Your build progresses very fast. My work duties cause I am very slow with mine.
looking at the pictures I would consider adding a rubber wrap-around over the edges of the main geer legs covers.
They may harm the fuselage soon with that setup.
What is the weight of one WEMO damper? Can you please unscrew one and weight for me please.
12-18-2023, 11:58 AM
#20
Thread Starter
Thank you Carlo,
Your build progresses very fast. My work duties cause I am very slow with mine.
looking at the pictures I would consider adding a rubber wrap-around over the edges of the main geer legs covers.
They may harm the fuselage soon with that setup.
What is the weight of one WEMO damper? Can you please unscrew one and weight for me please.
Your build progresses very fast. My work duties cause I am very slow with mine.
looking at the pictures I would consider adding a rubber wrap-around over the edges of the main geer legs covers.
They may harm the fuselage soon with that setup.
What is the weight of one WEMO damper? Can you please unscrew one and weight for me please.
12-19-2023, 04:23 AM
#22
Dear Carlo,
Thank you very much. At first I am modyfying the stock dampers and will show later on if it worked or not.
Let me show you few areas of my modification.
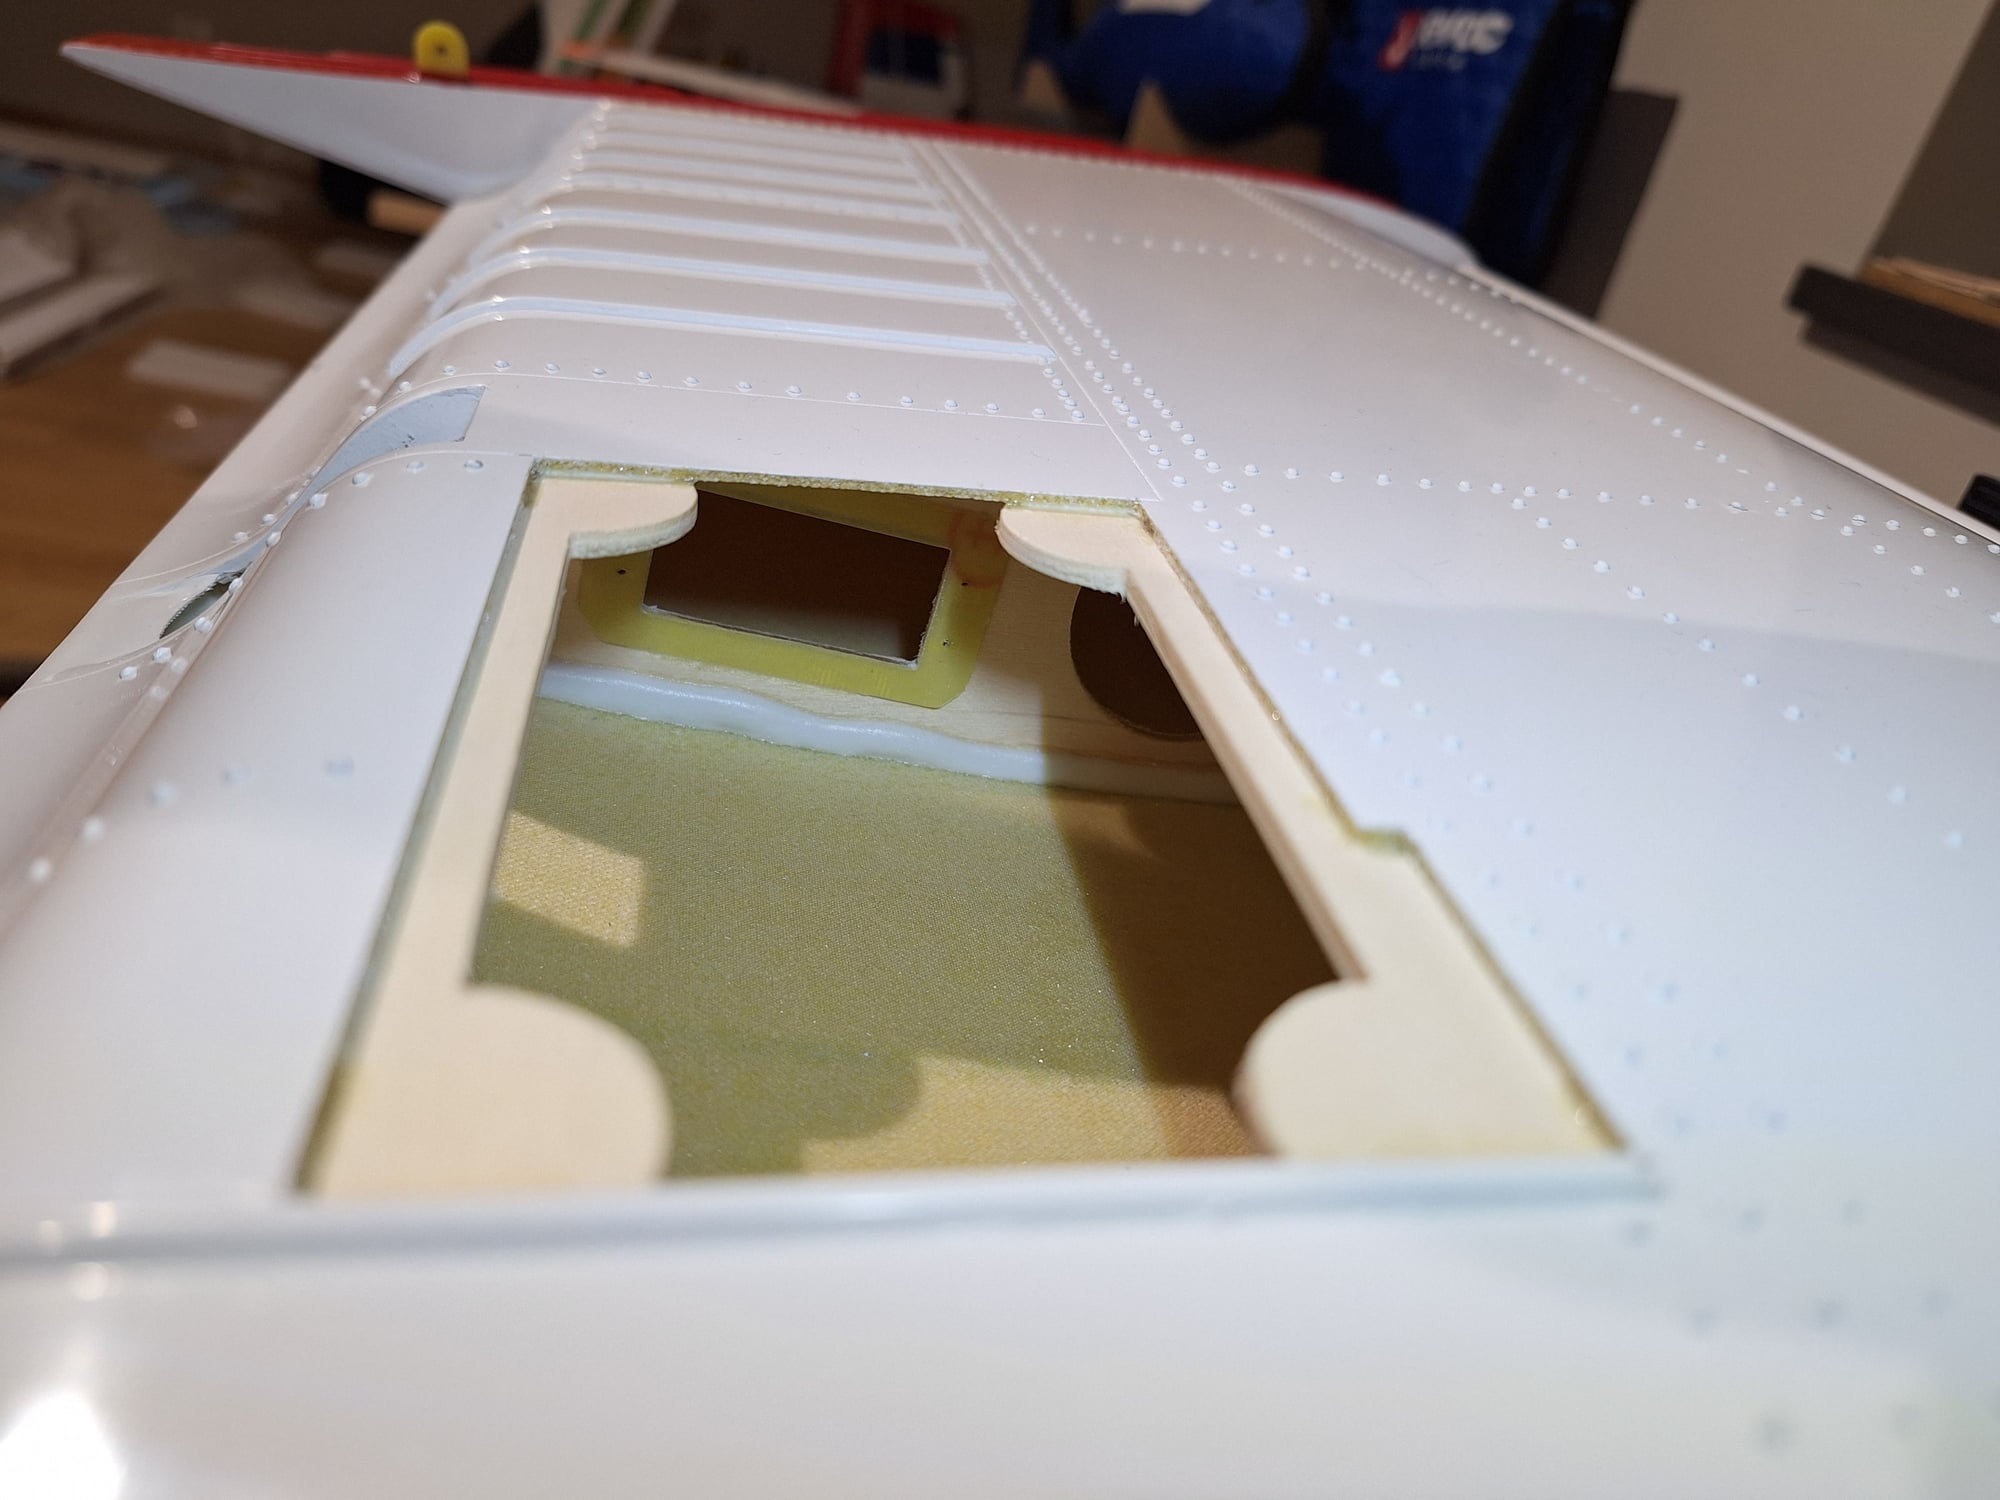
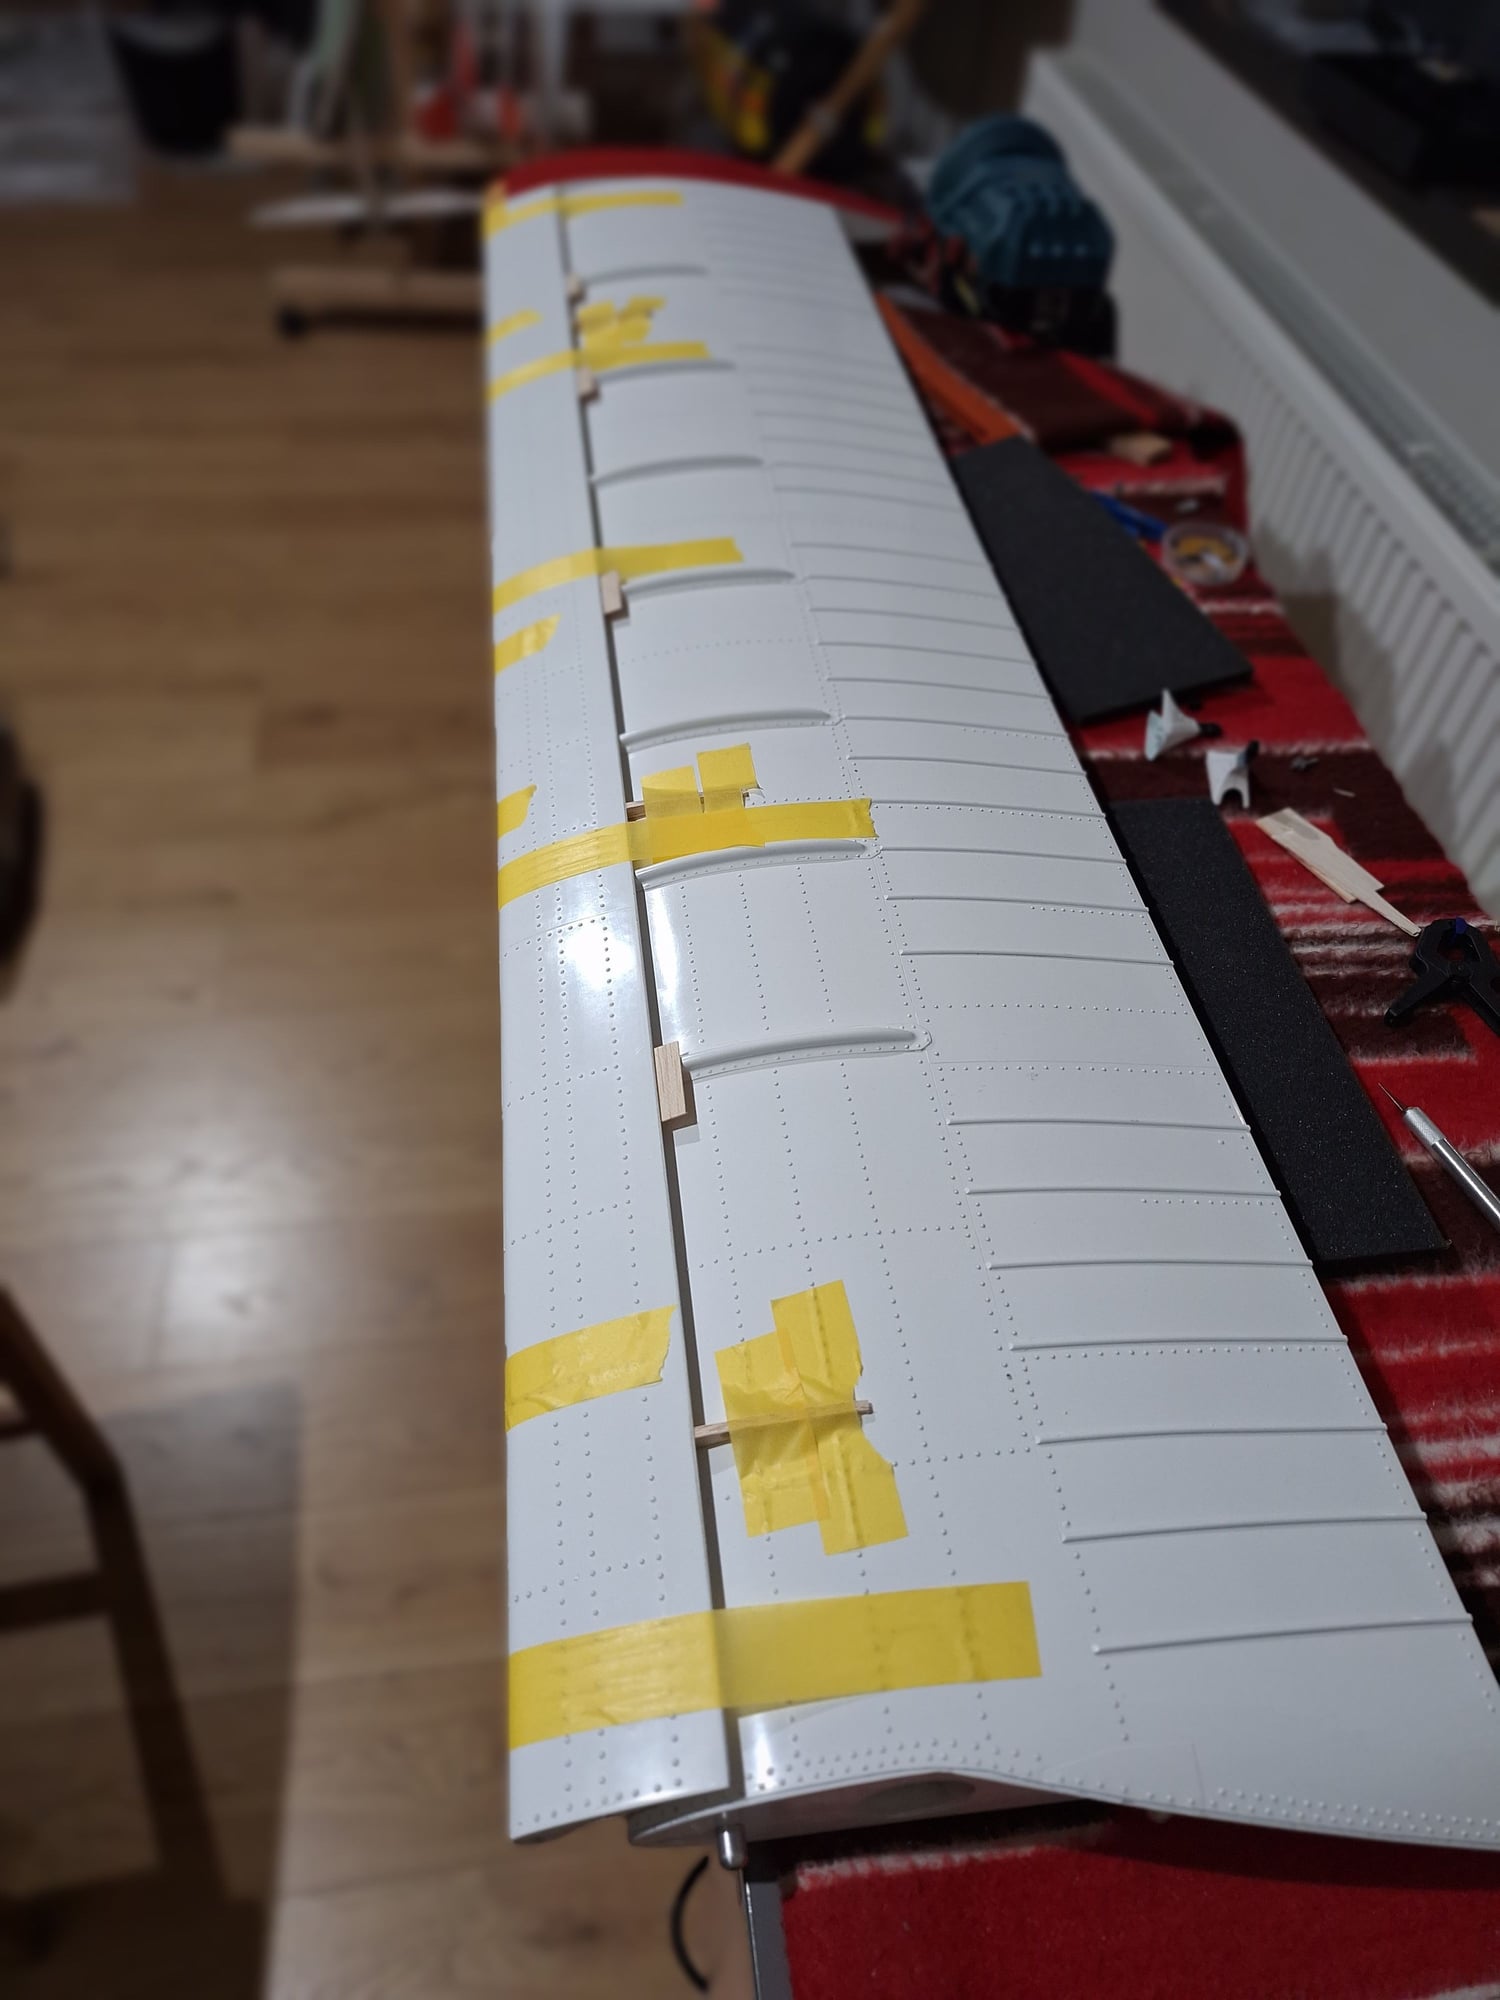
1) main spar reinforces with 0,5 mm glass fiber plate. Adds les than 30 grams and improves durability a lot
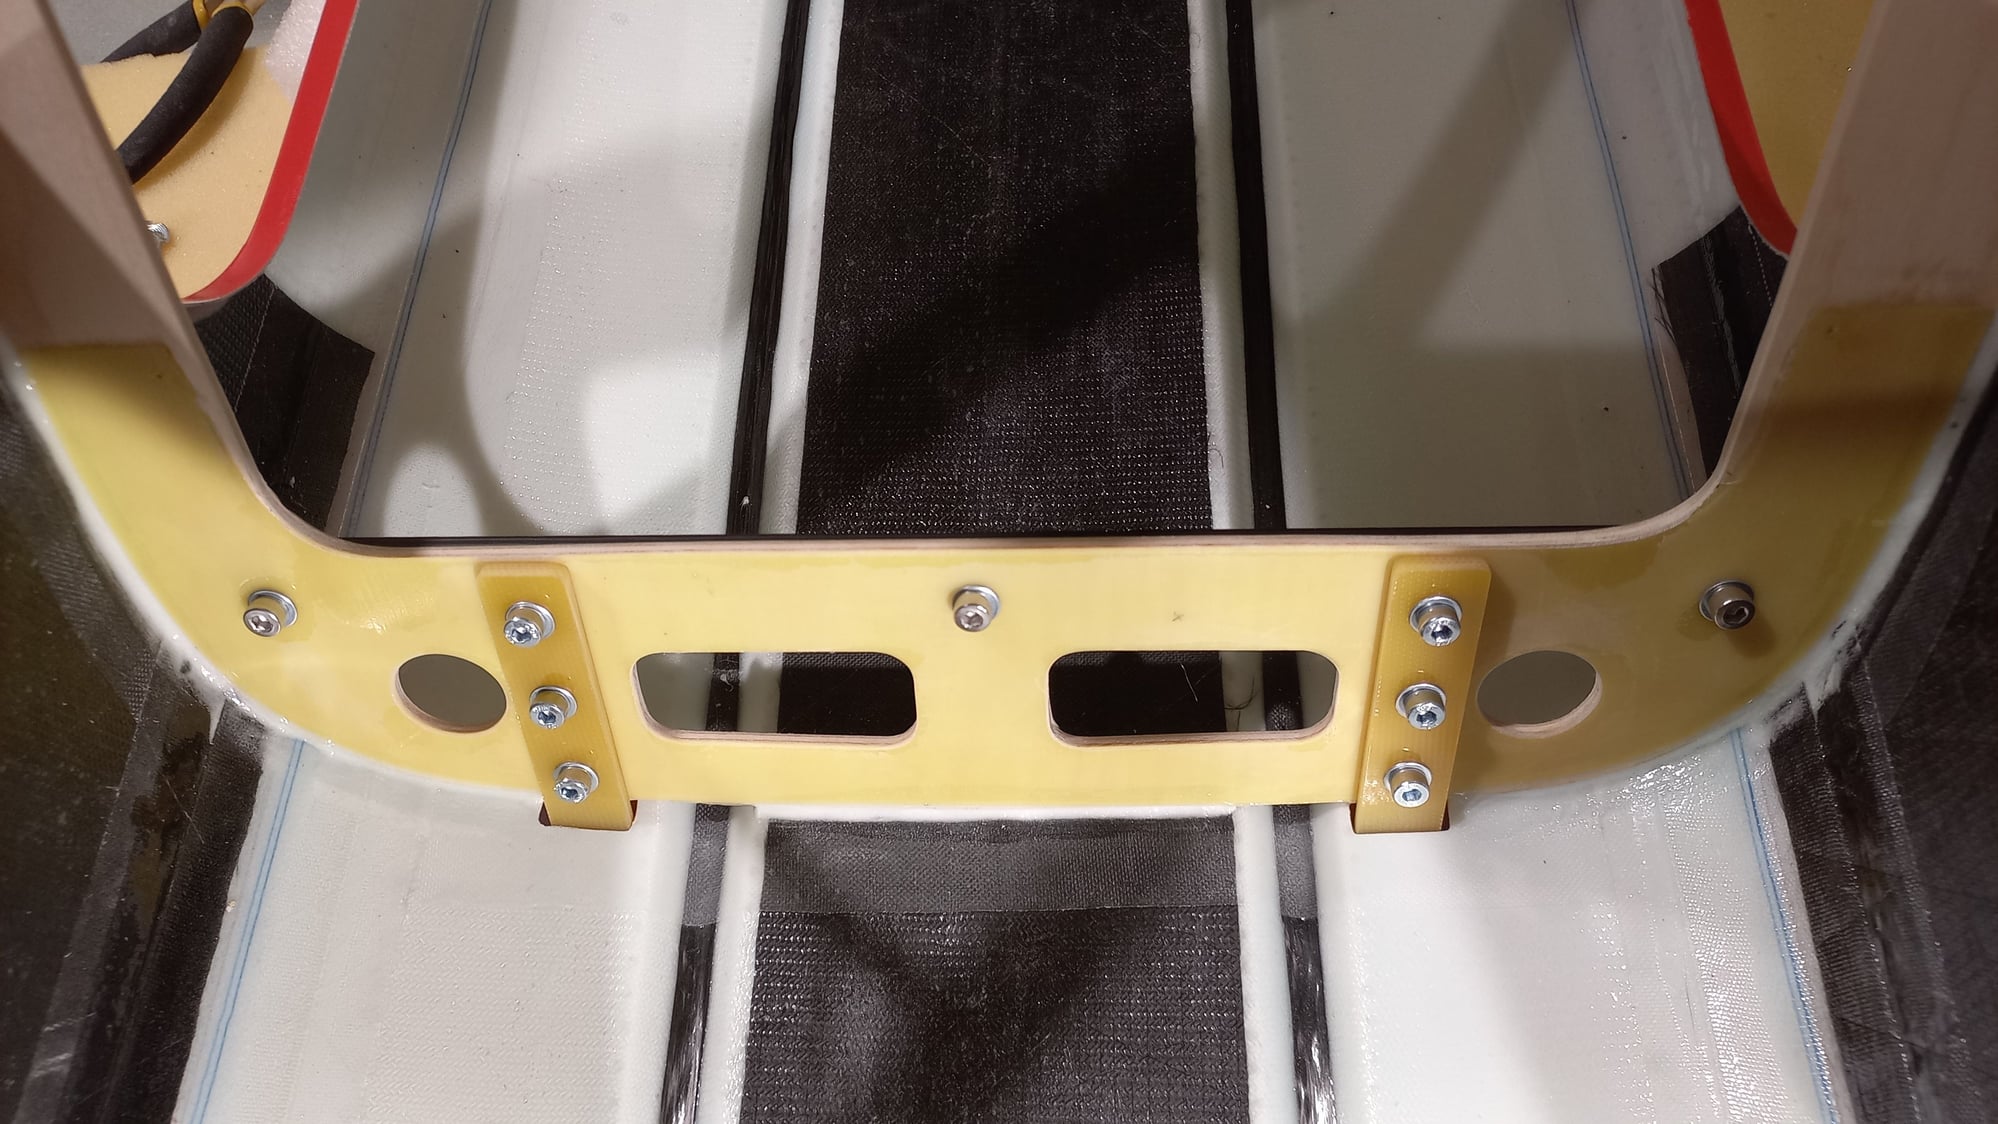
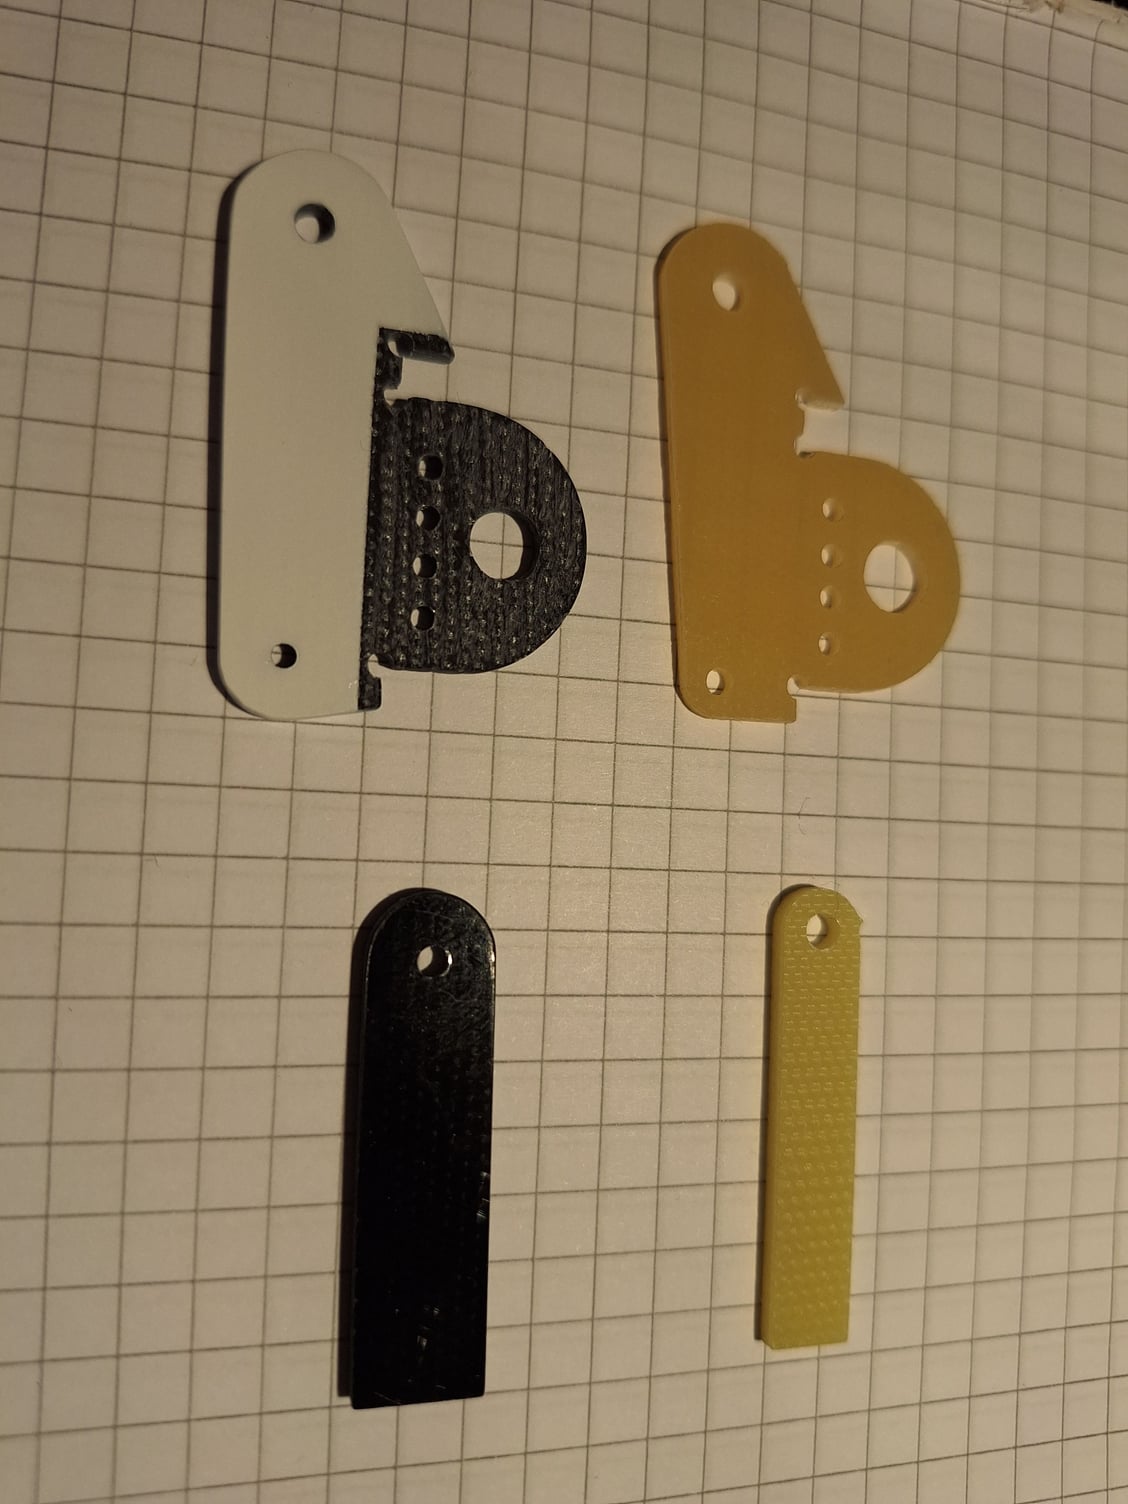
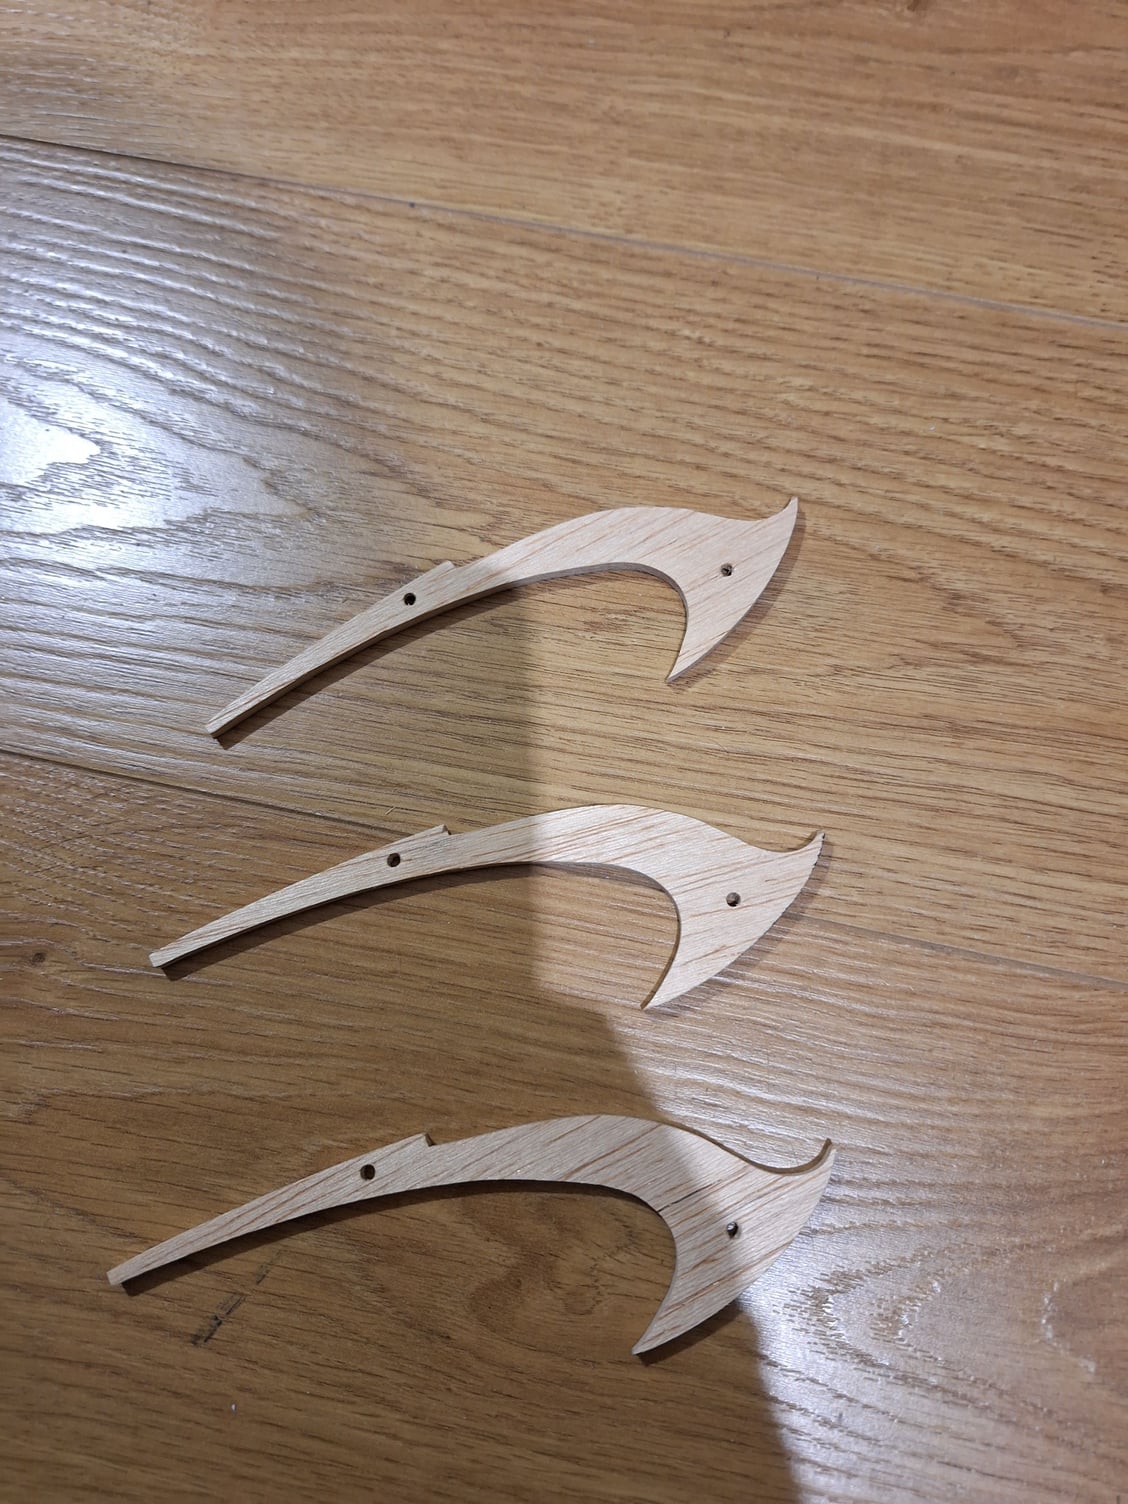
2) Flap and aileron higer made out of better material with more "meat: around the hige and ball joint holes. The original ones seem to be too weak for me. The new ones already painted white
3) 1 mm glass fiber servo frames added to a low quality plywood
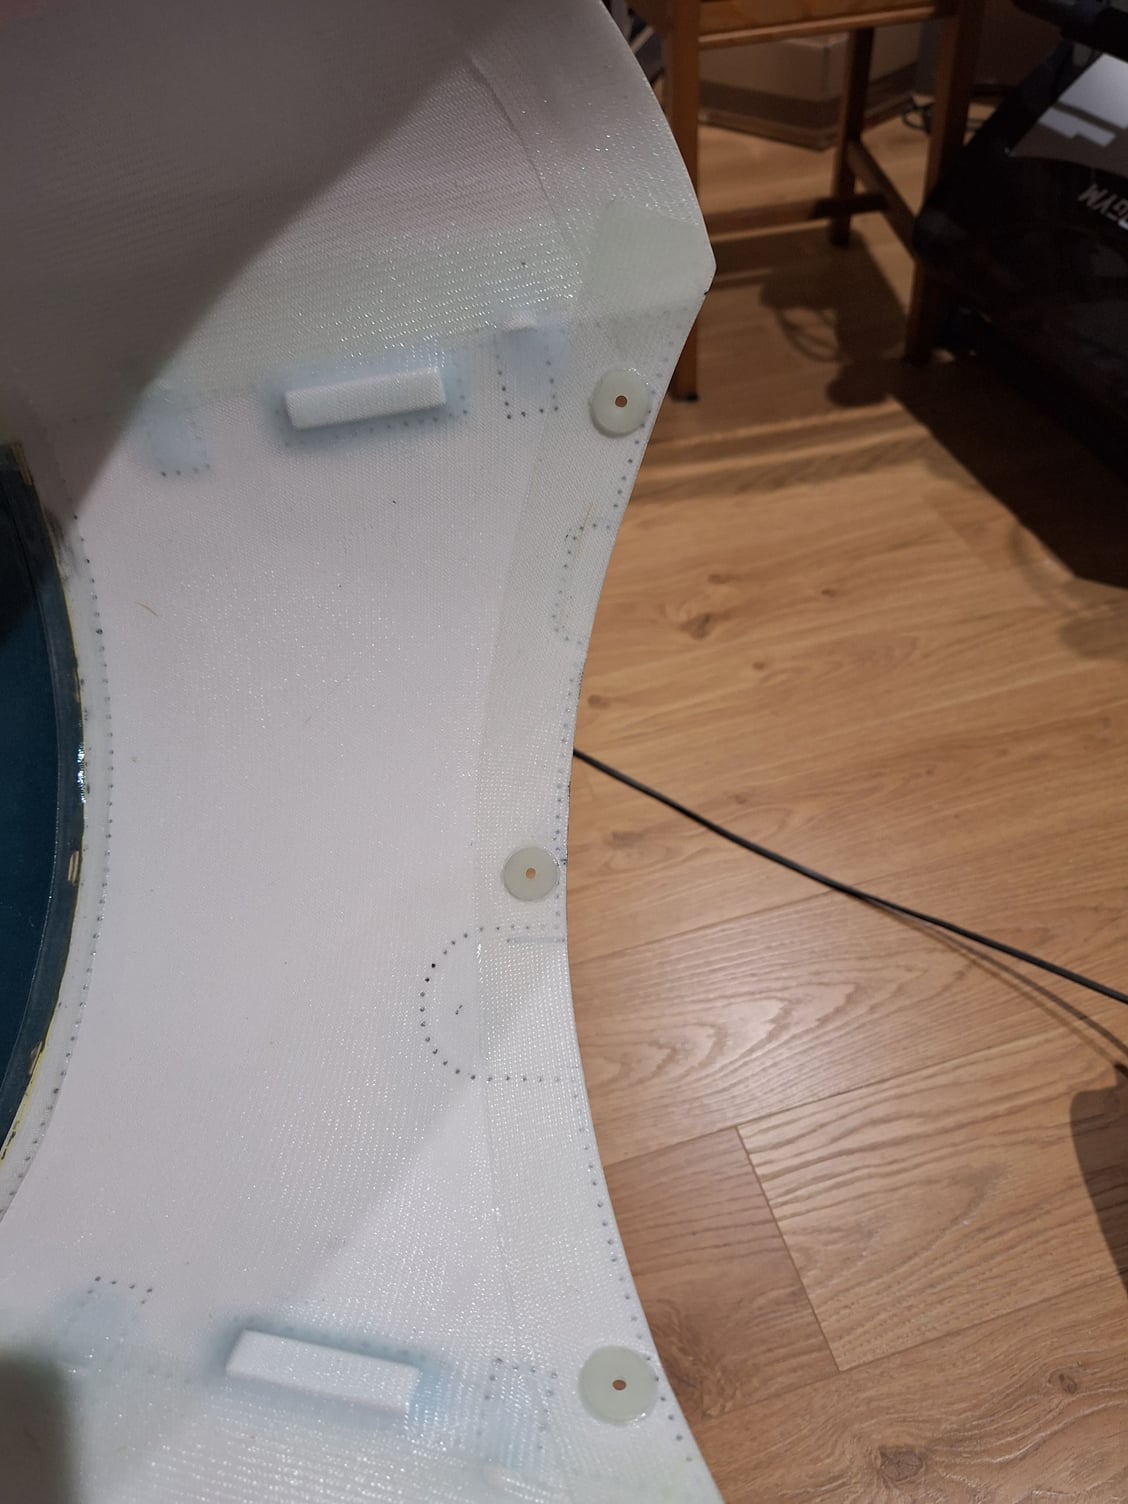
4) Round glass fiber reinforcements in all the places where mounting screw go through the engine cowl
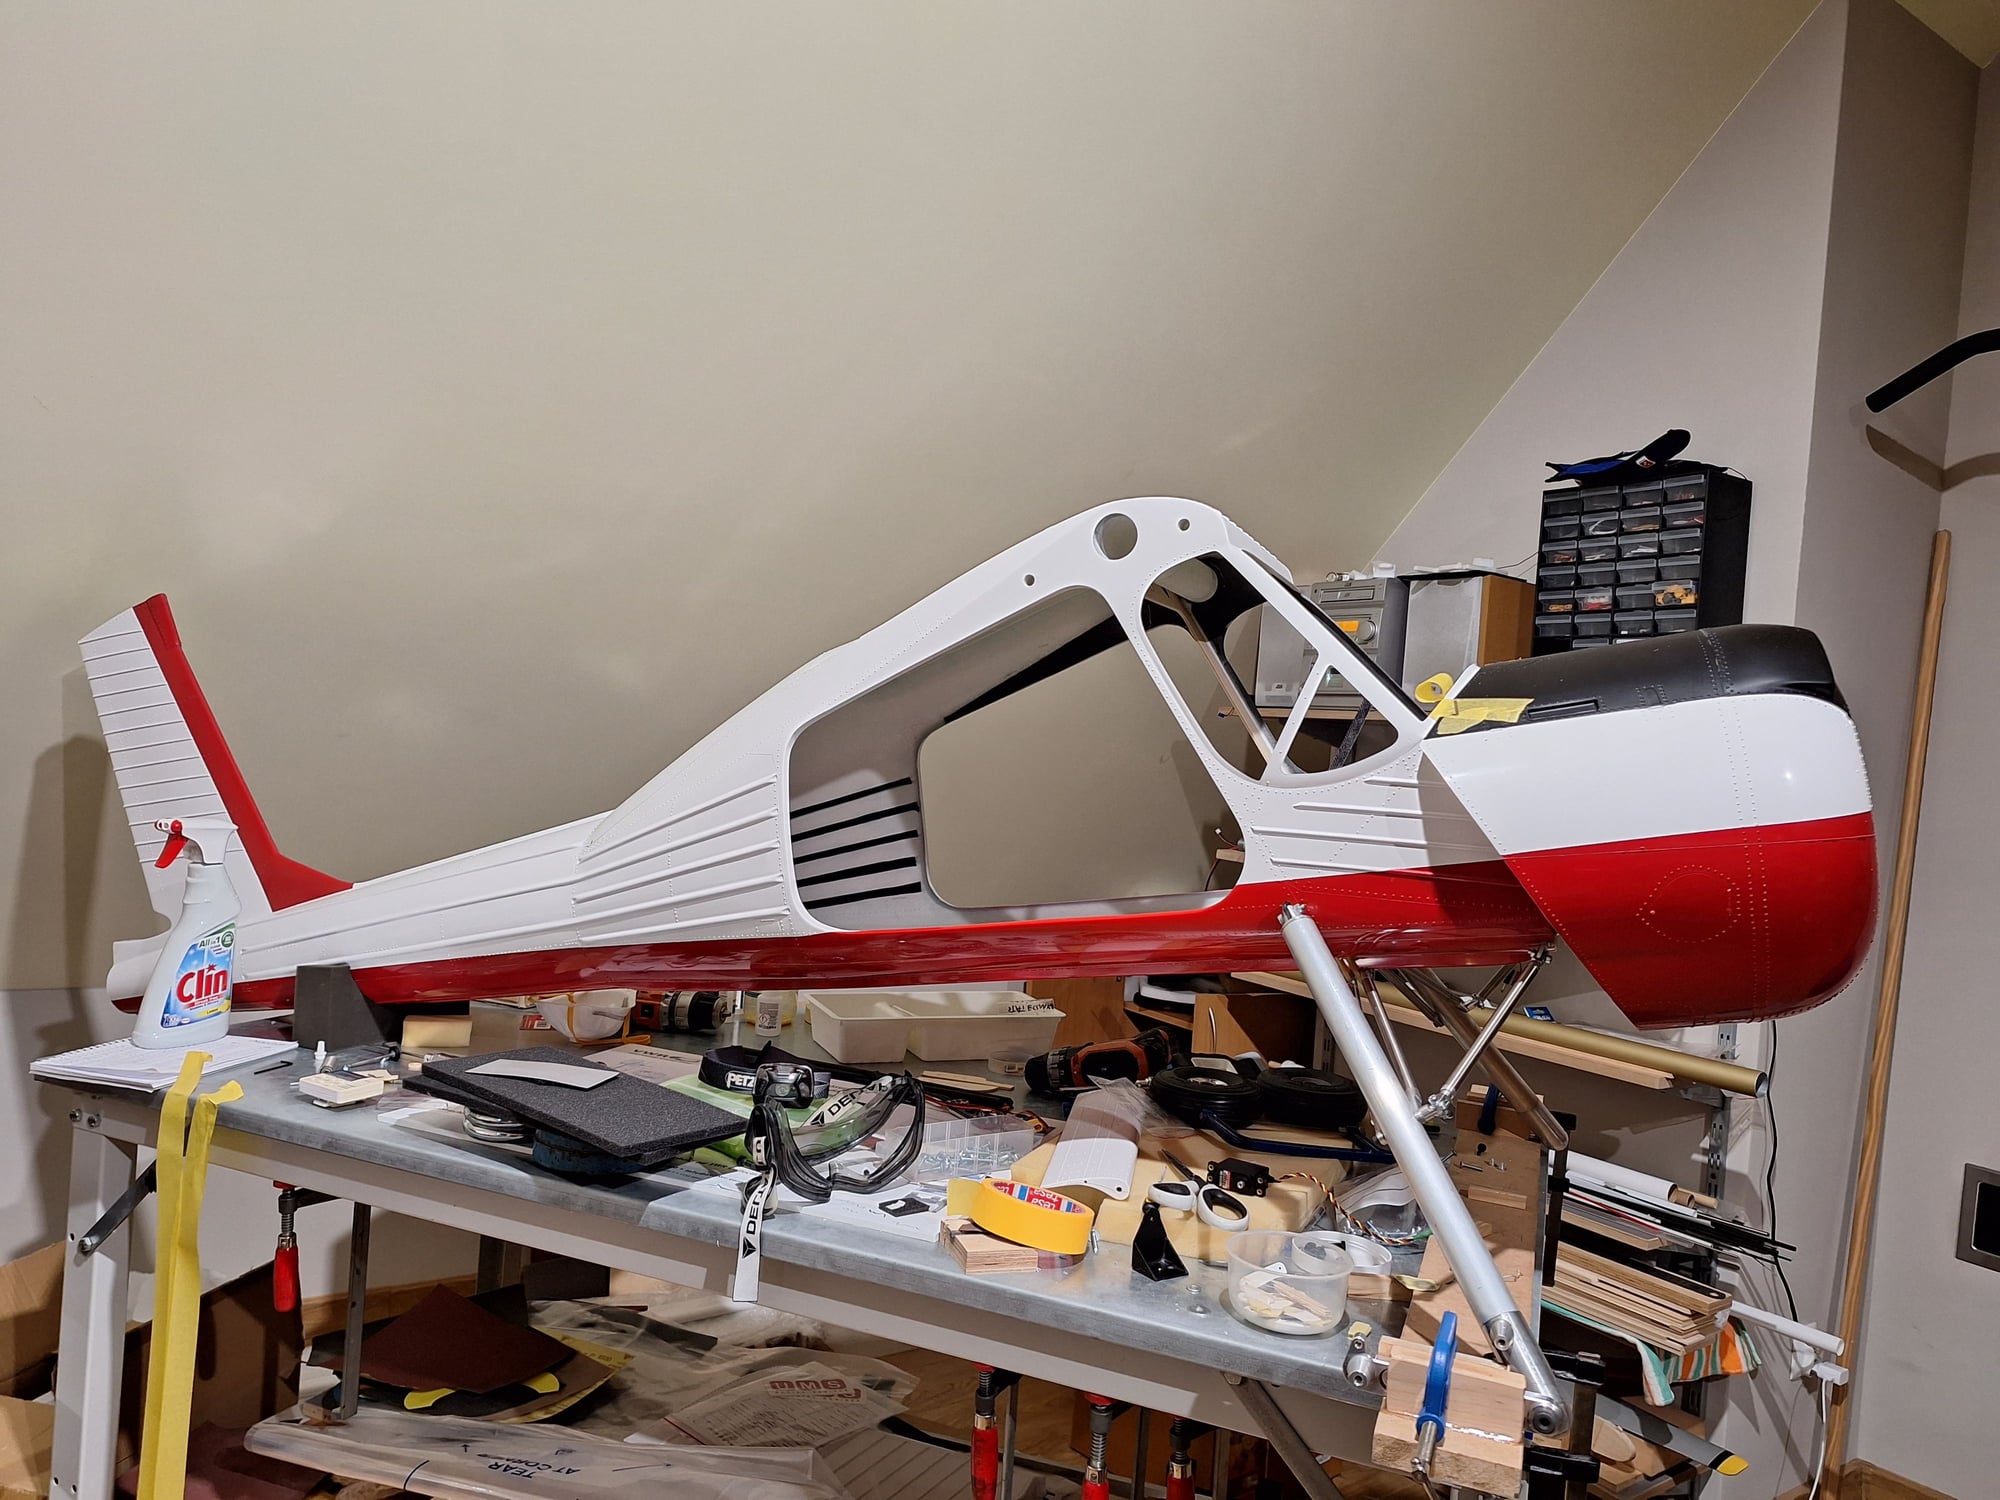
Here is mine so far. My friend owns a full scale one like this and we are flying it from time to time
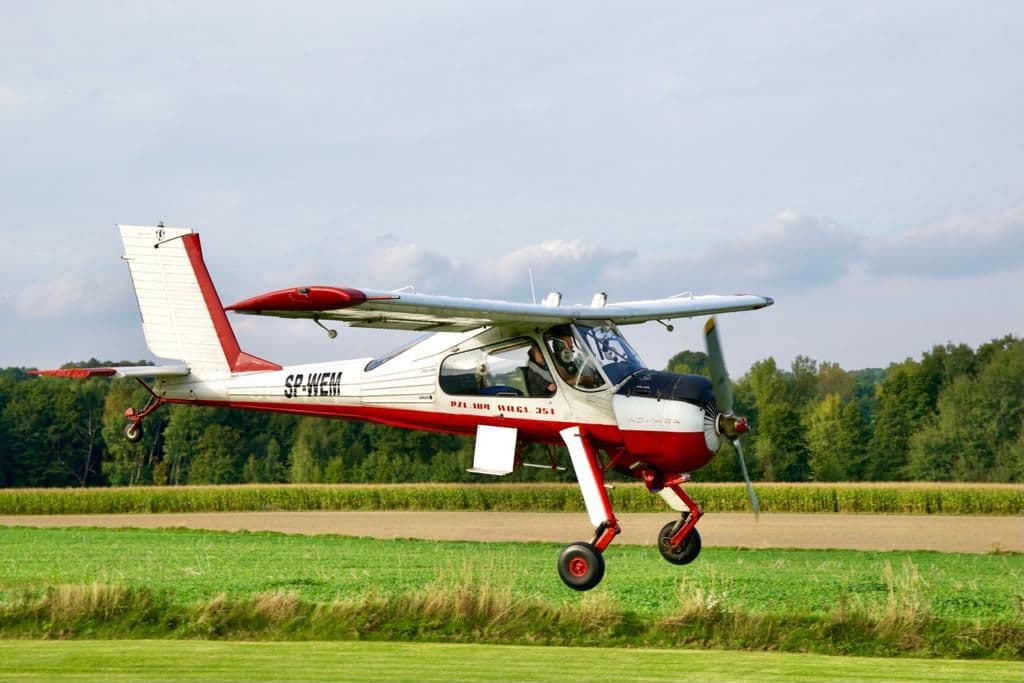
Here is the one owned by my friend during low pass at our field:
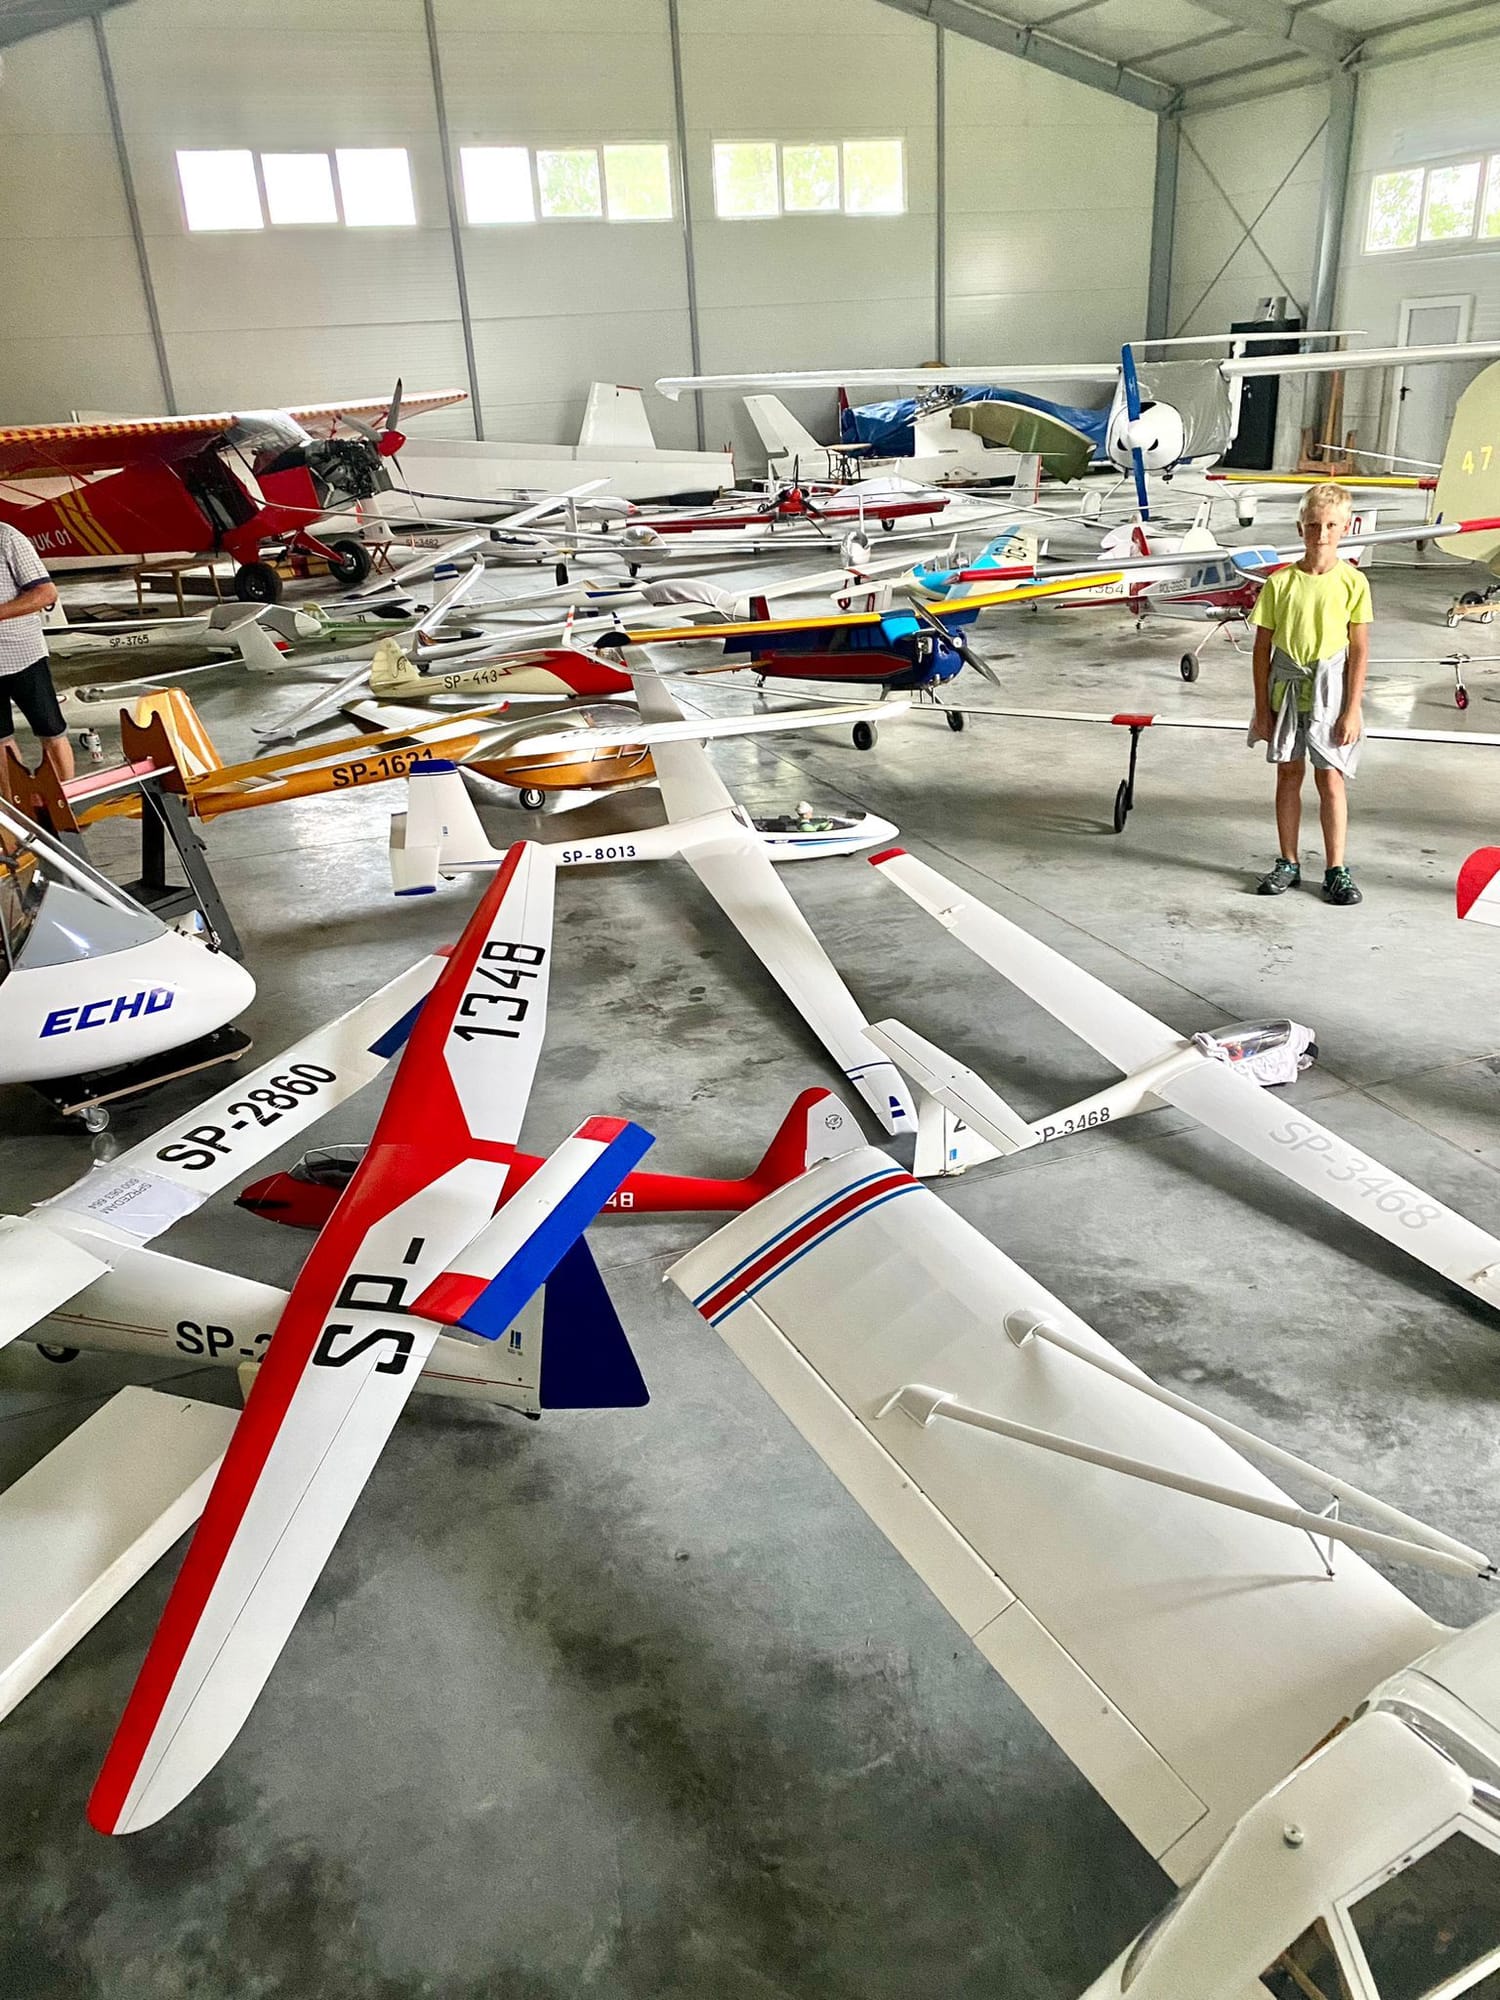
And here is our last year glider meeting in south Poland with my son on the picture (he is already flying since he was 6)
Thank you very much. At first I am modyfying the stock dampers and will show later on if it worked or not.
Let me show you few areas of my modification.
1) main spar reinforces with 0,5 mm glass fiber plate. Adds les than 30 grams and improves durability a lot
2) Flap and aileron higer made out of better material with more "meat: around the hige and ball joint holes. The original ones seem to be too weak for me. The new ones already painted white
3) 1 mm glass fiber servo frames added to a low quality plywood
4) Round glass fiber reinforcements in all the places where mounting screw go through the engine cowl
Here is mine so far. My friend owns a full scale one like this and we are flying it from time to time
Here is the one owned by my friend during low pass at our field:
And here is our last year glider meeting in south Poland with my son on the picture (he is already flying since he was 6)
The following users liked this post:
Tony Hallo (12-19-2023)
12-19-2023, 08:01 AM
#23
Thread Starter
Dear Carlo,
Thank you very much. At first I am modyfying the stock dampers and will show later on if it worked or not.
Let me show you few areas of my modification.
1) main spar reinforces with 0,5 mm glass fiber plate. Adds les than 30 grams and improves durability a lot
2) Flap and aileron higer made out of better material with more "meat: around the hige and ball joint holes. The original ones seem to be too weak for me. The new ones already painted white
3) 1 mm glass fiber servo frames added to a low quality plywood
4) Round glass fiber reinforcements in all the places where mounting screw go through the engine cowl
Here is mine so far. My friend owns a full scale one like this and we are flying it from time to time
Here is the one owned by my friend during low pass at our field:
And here is our last year glider meeting in south Poland with my son on the picture (he is already flying since he was 6)
You make me jealous flying a real Wilga...
Stunning job on that Wilga, I didn't do so many reinforcements.
Your son has some nice toys in his hangar
 12-19-2023, 12:58 PM
#24
Hi Carlo,
No need to be jealous, you just need to finish your Wilga and come to one of our tow meetings. There is even one guy coming from Switzerland to us on regular basis with a trailer full of planes :-) and then you can fly full size Wilga as well.
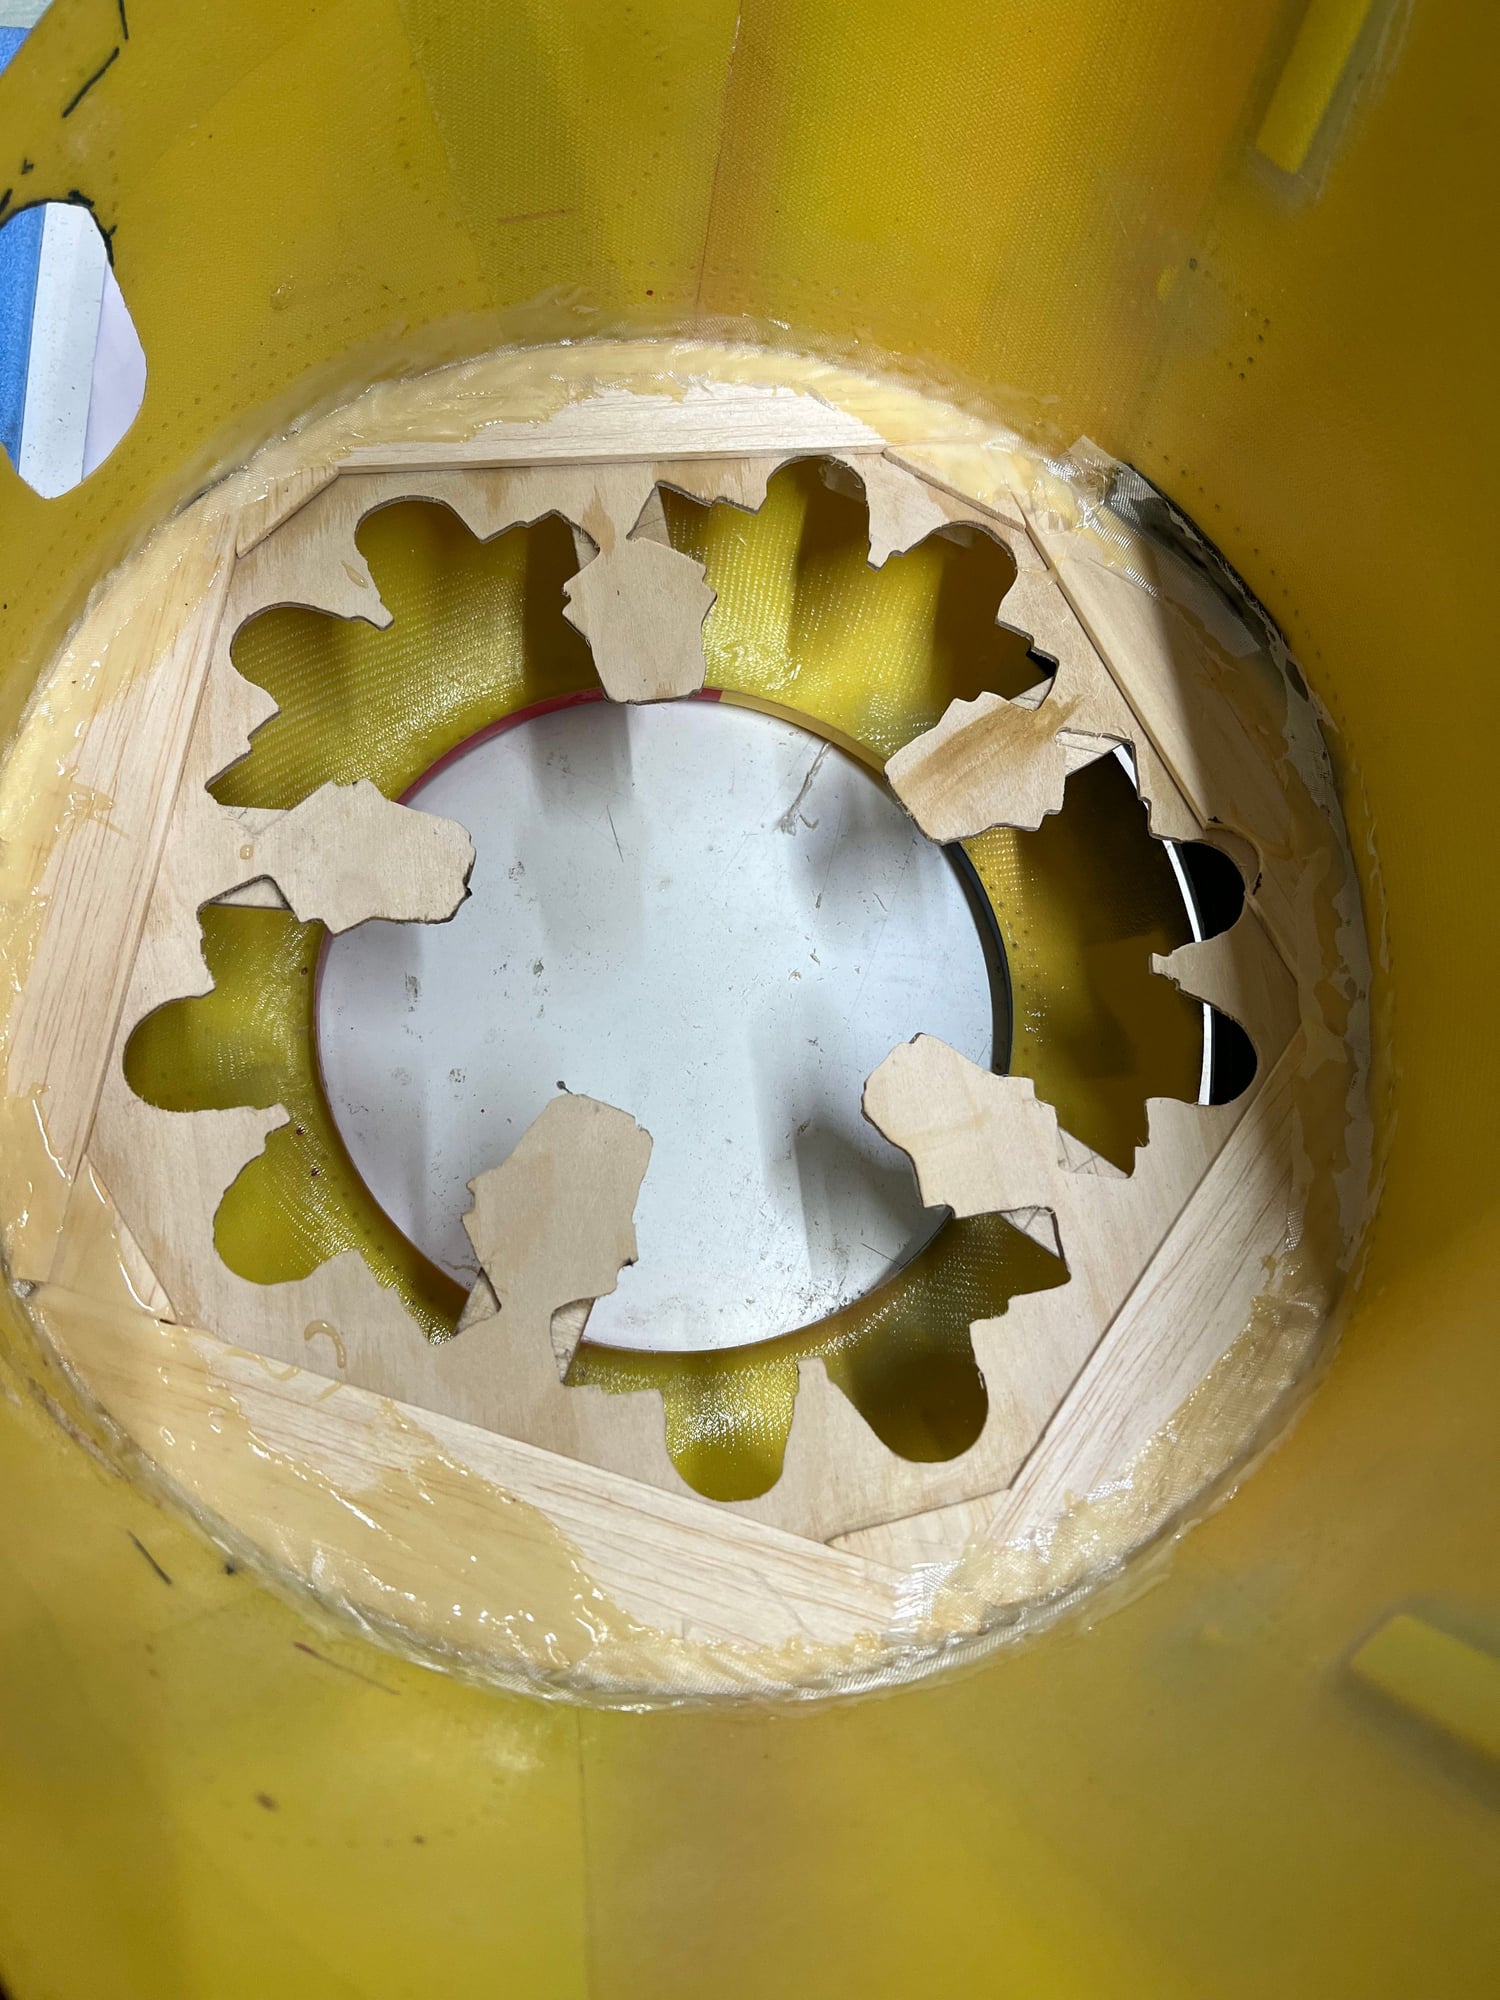
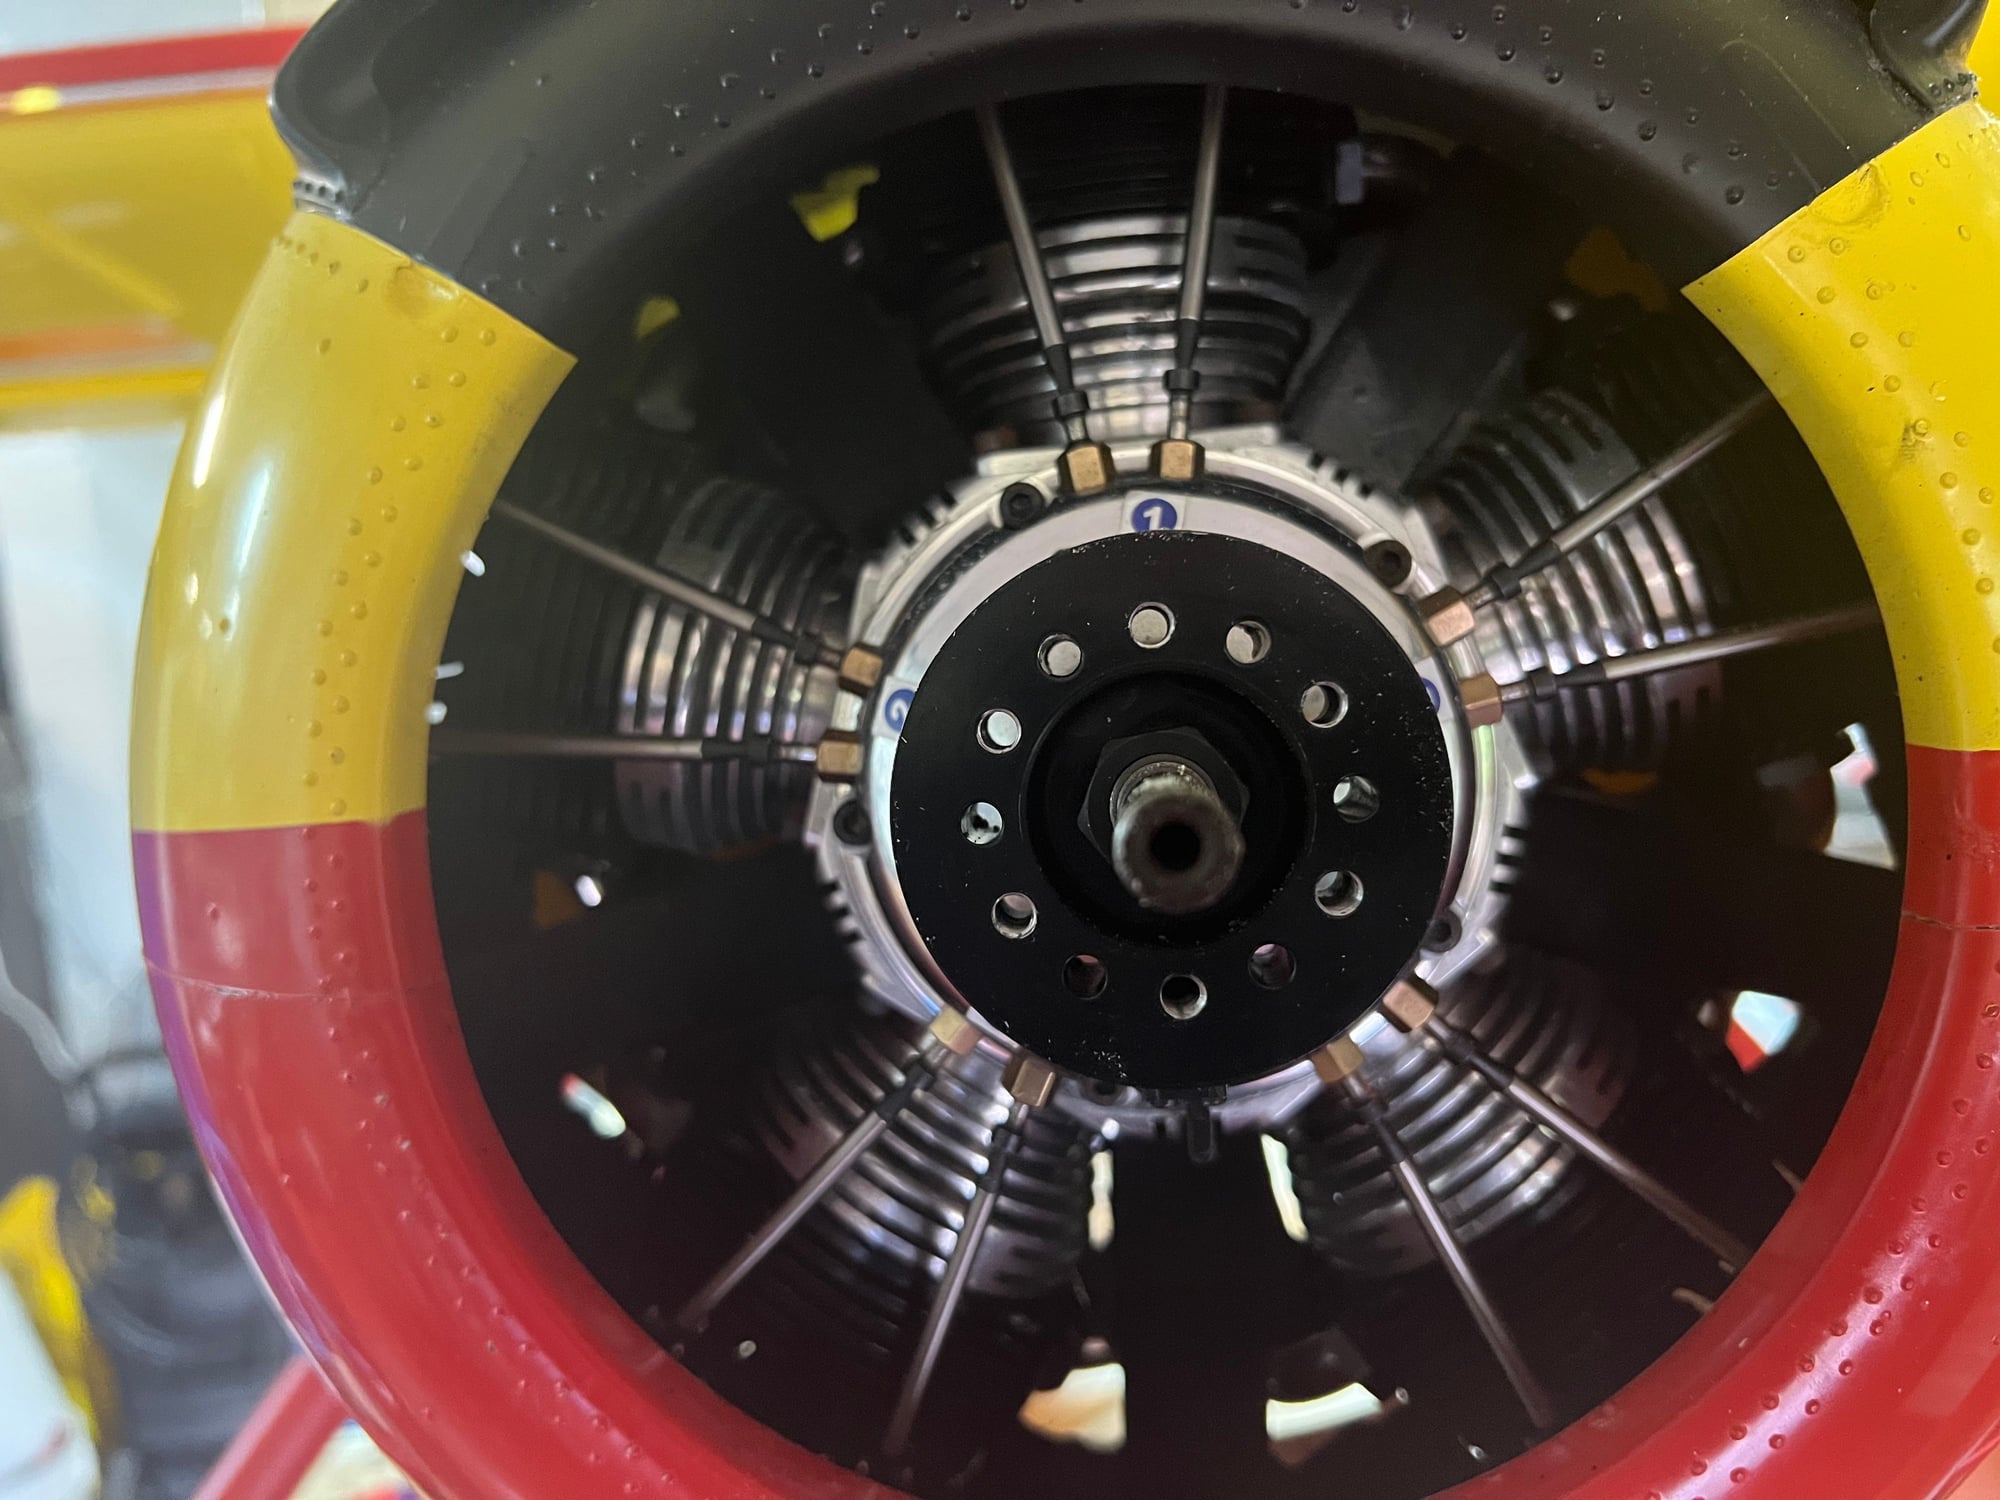
My engine also sits in the cowl already:
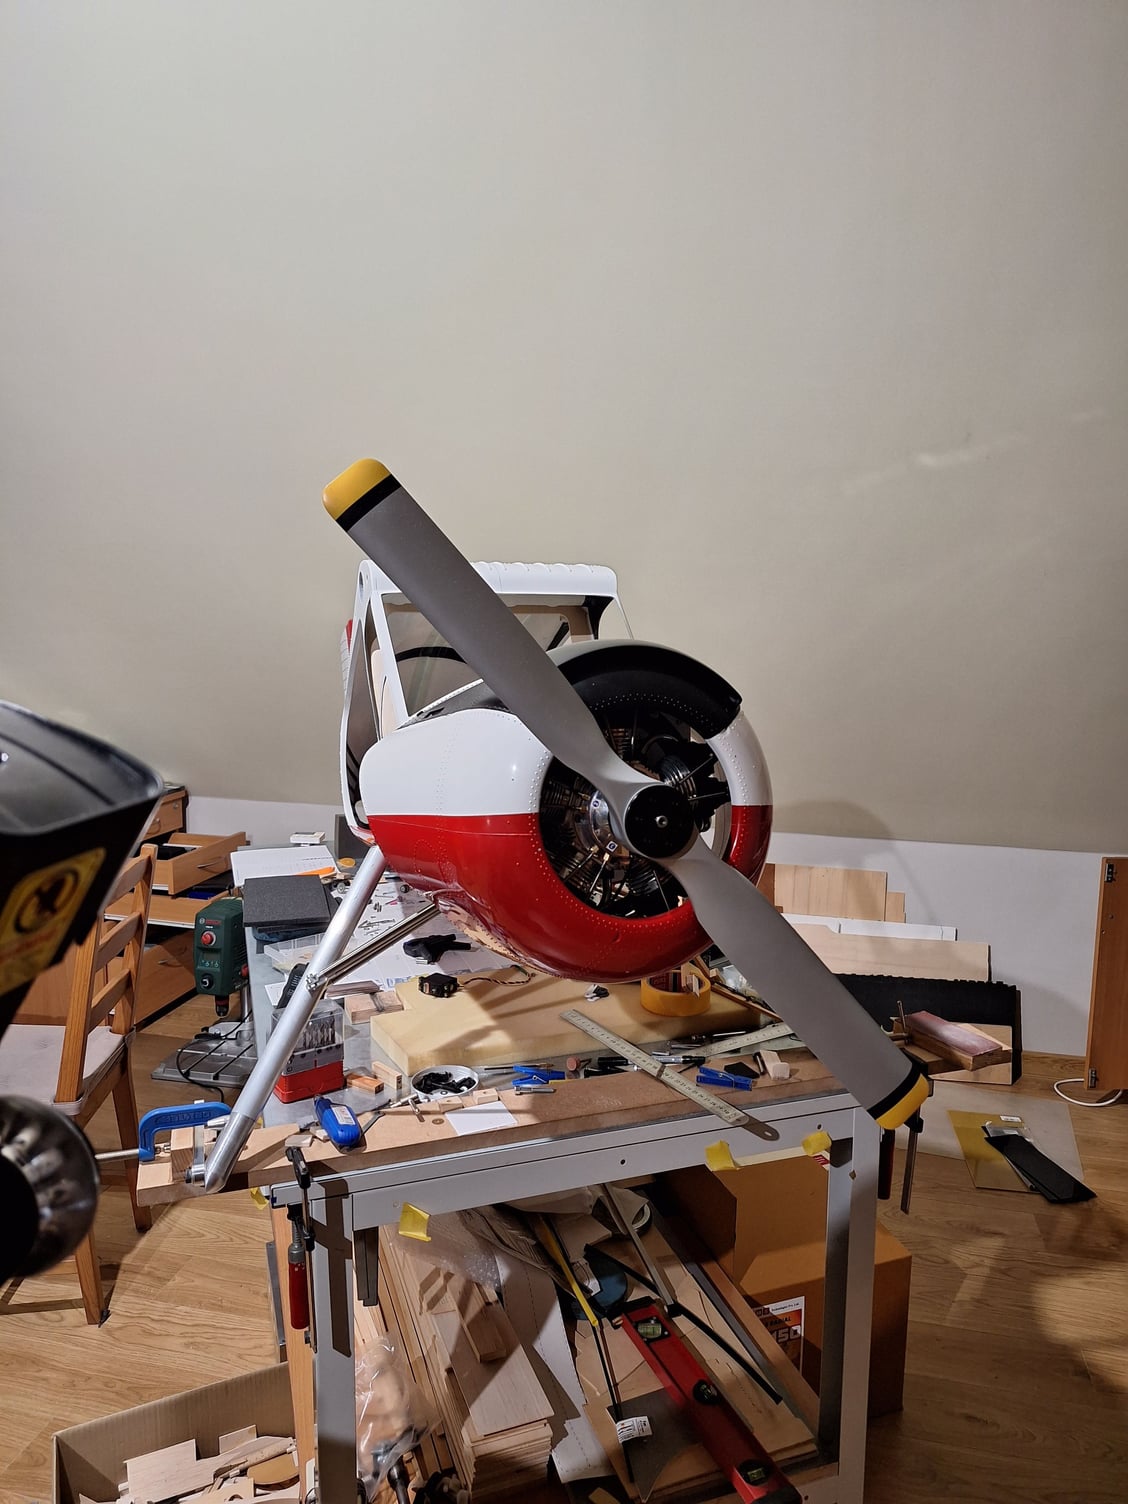
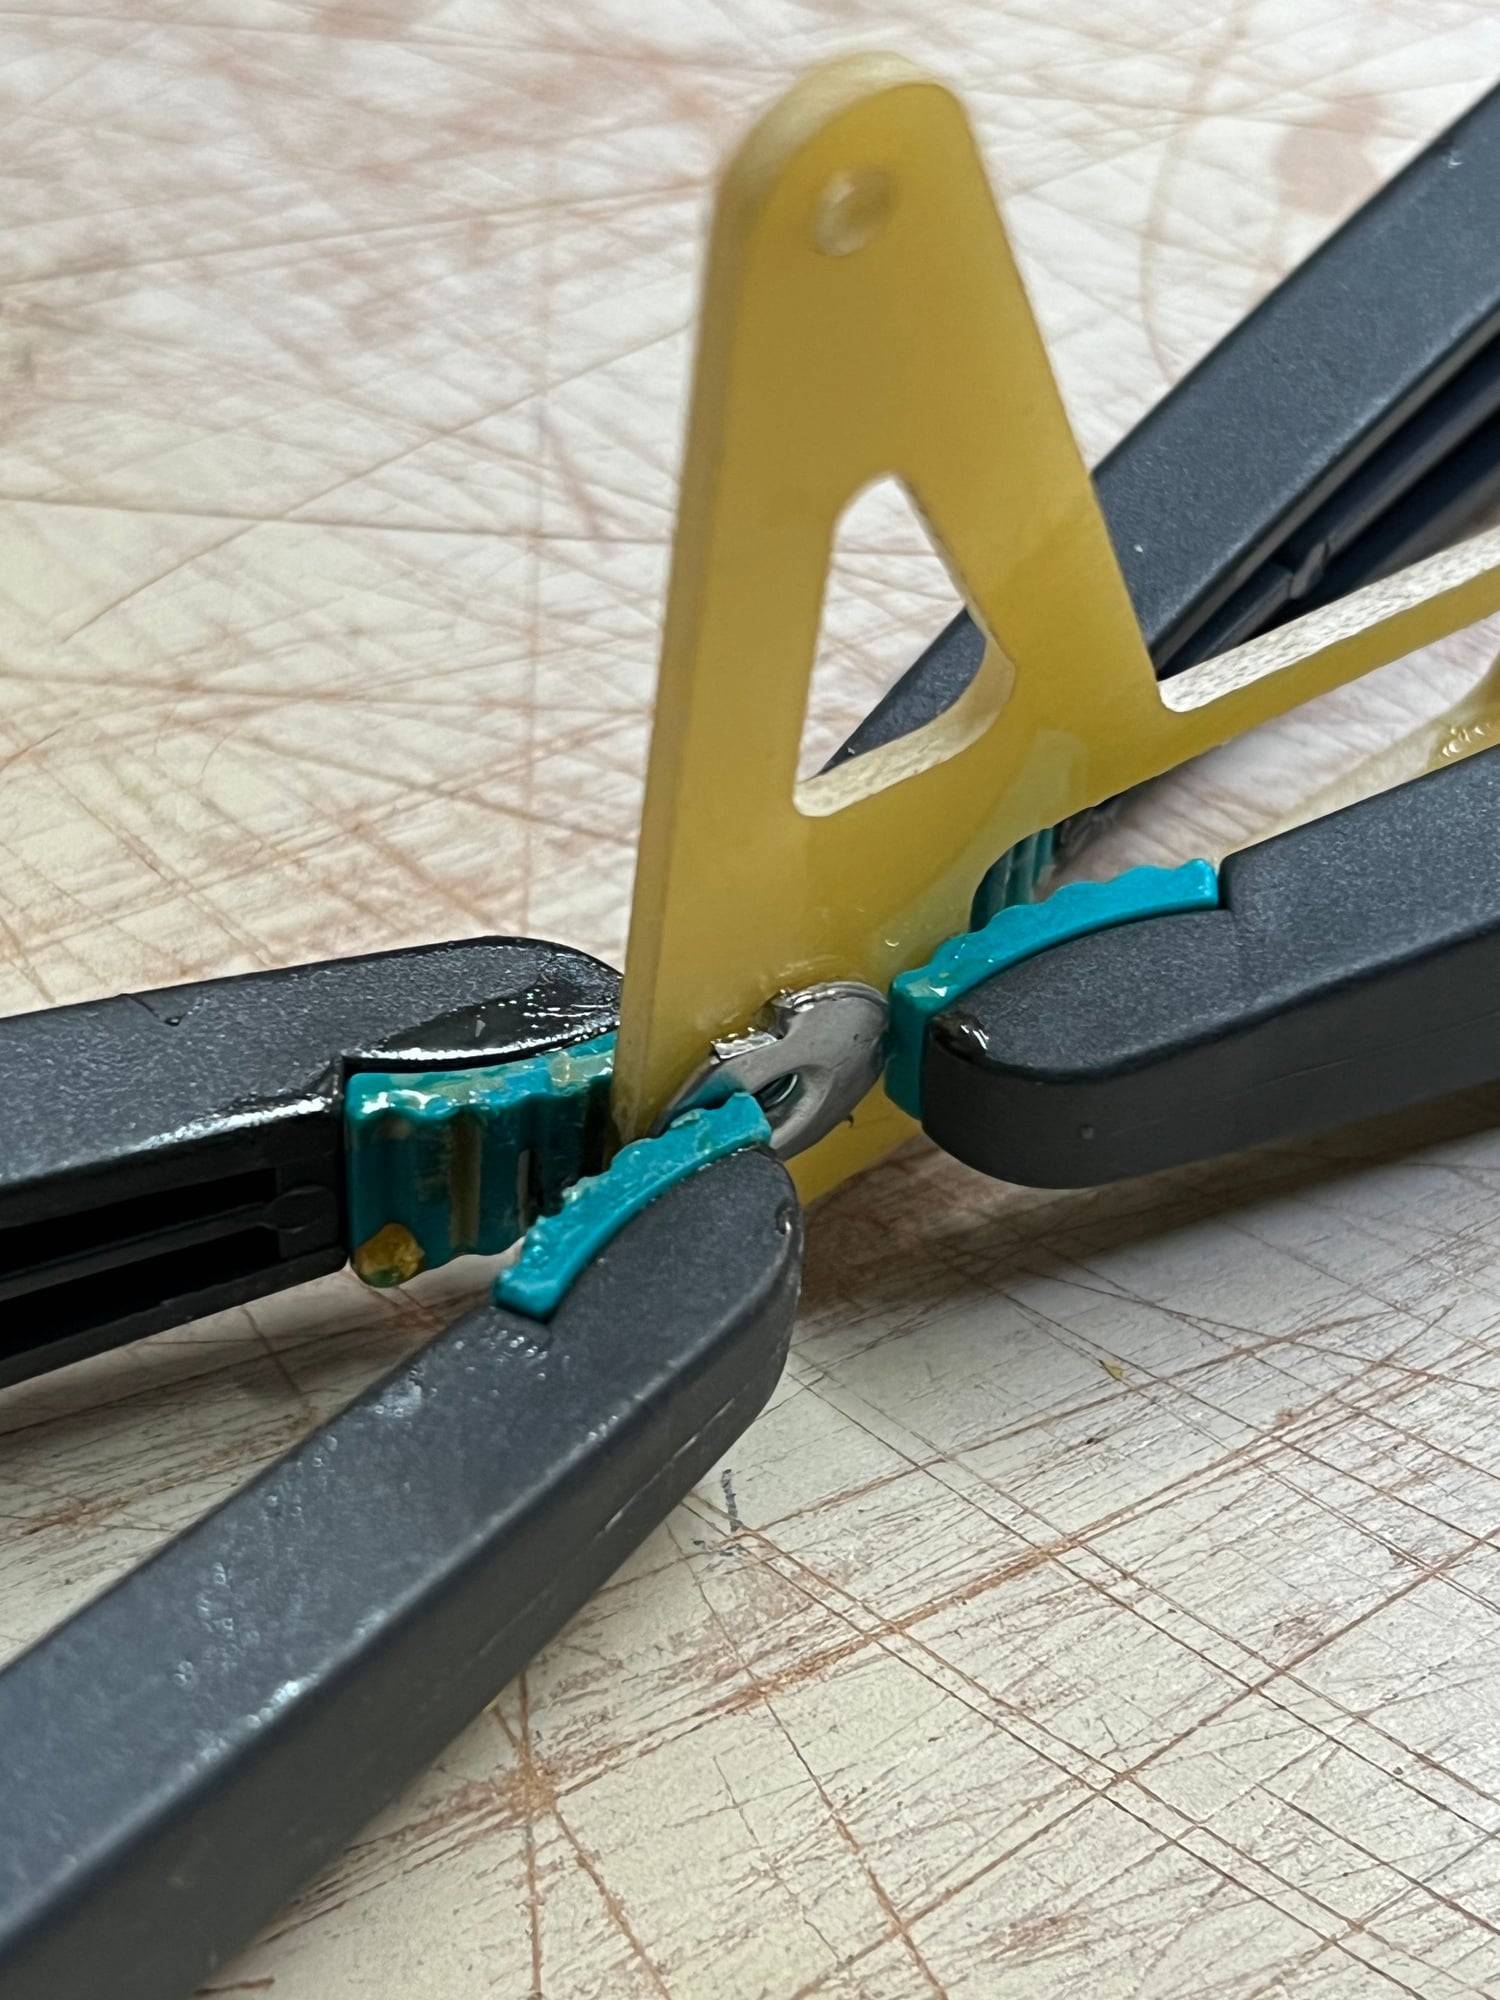
I also made some special temporary spacers in order to positin the slots correctly while the glue cures:
I am also making new aluminiu wheel huns. We know Kavan inflatable wheels well. The tyres serve well but the plastic hubs don't last long.
They used to sell aluminium hubs as well but it was discontinued.
Fortunately my friend is having a bunch of CNC machines and he will make a set for me.
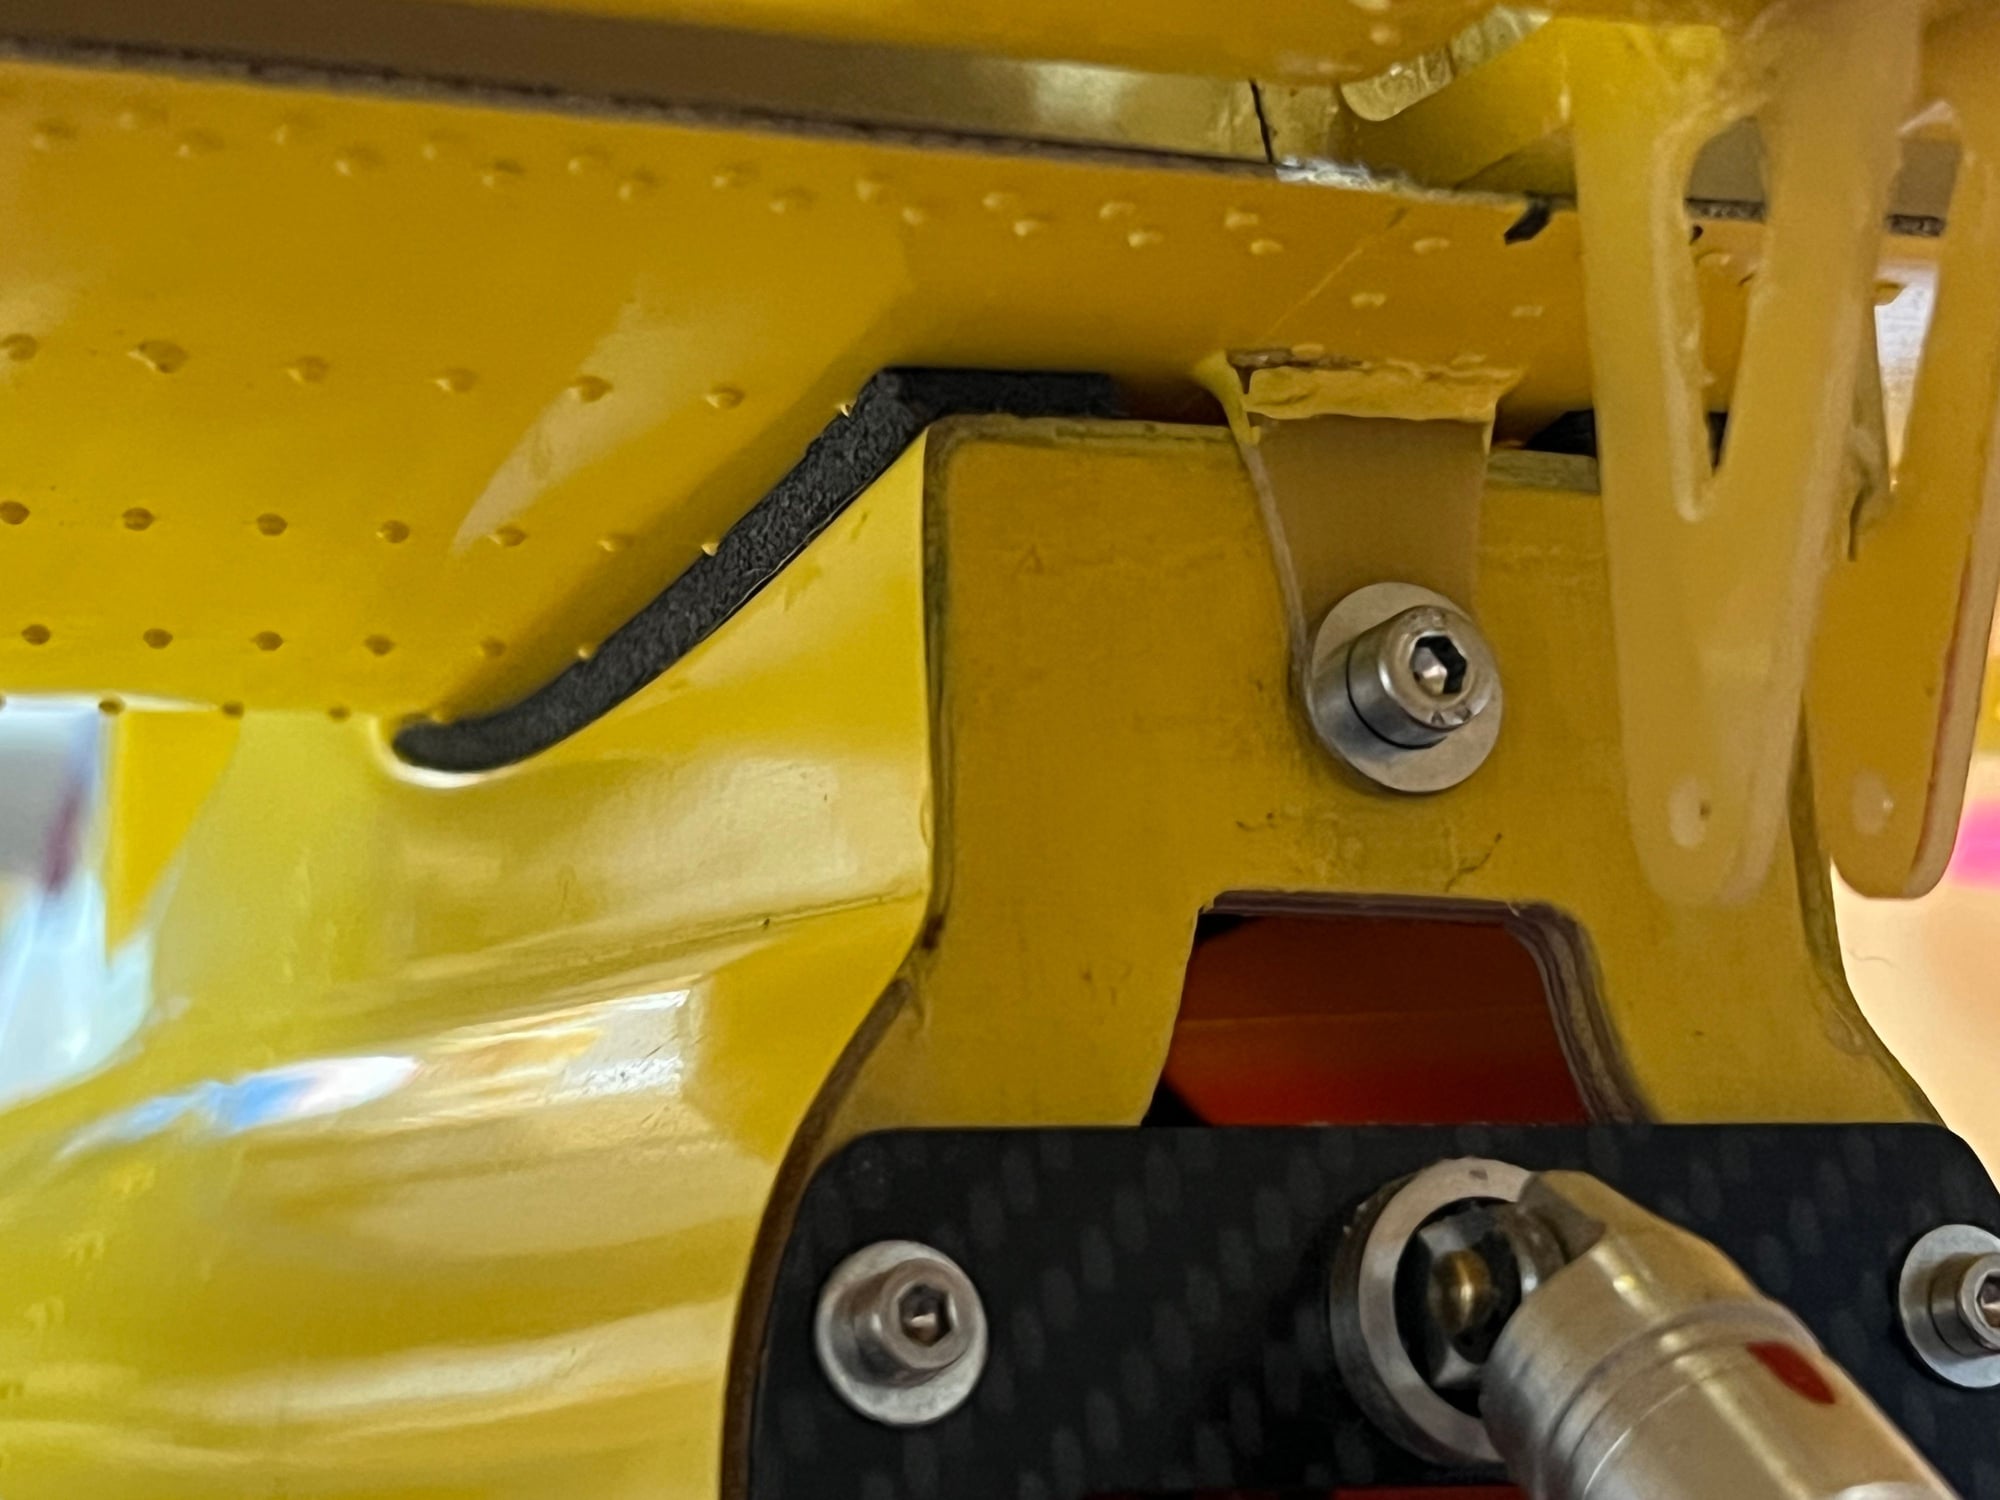
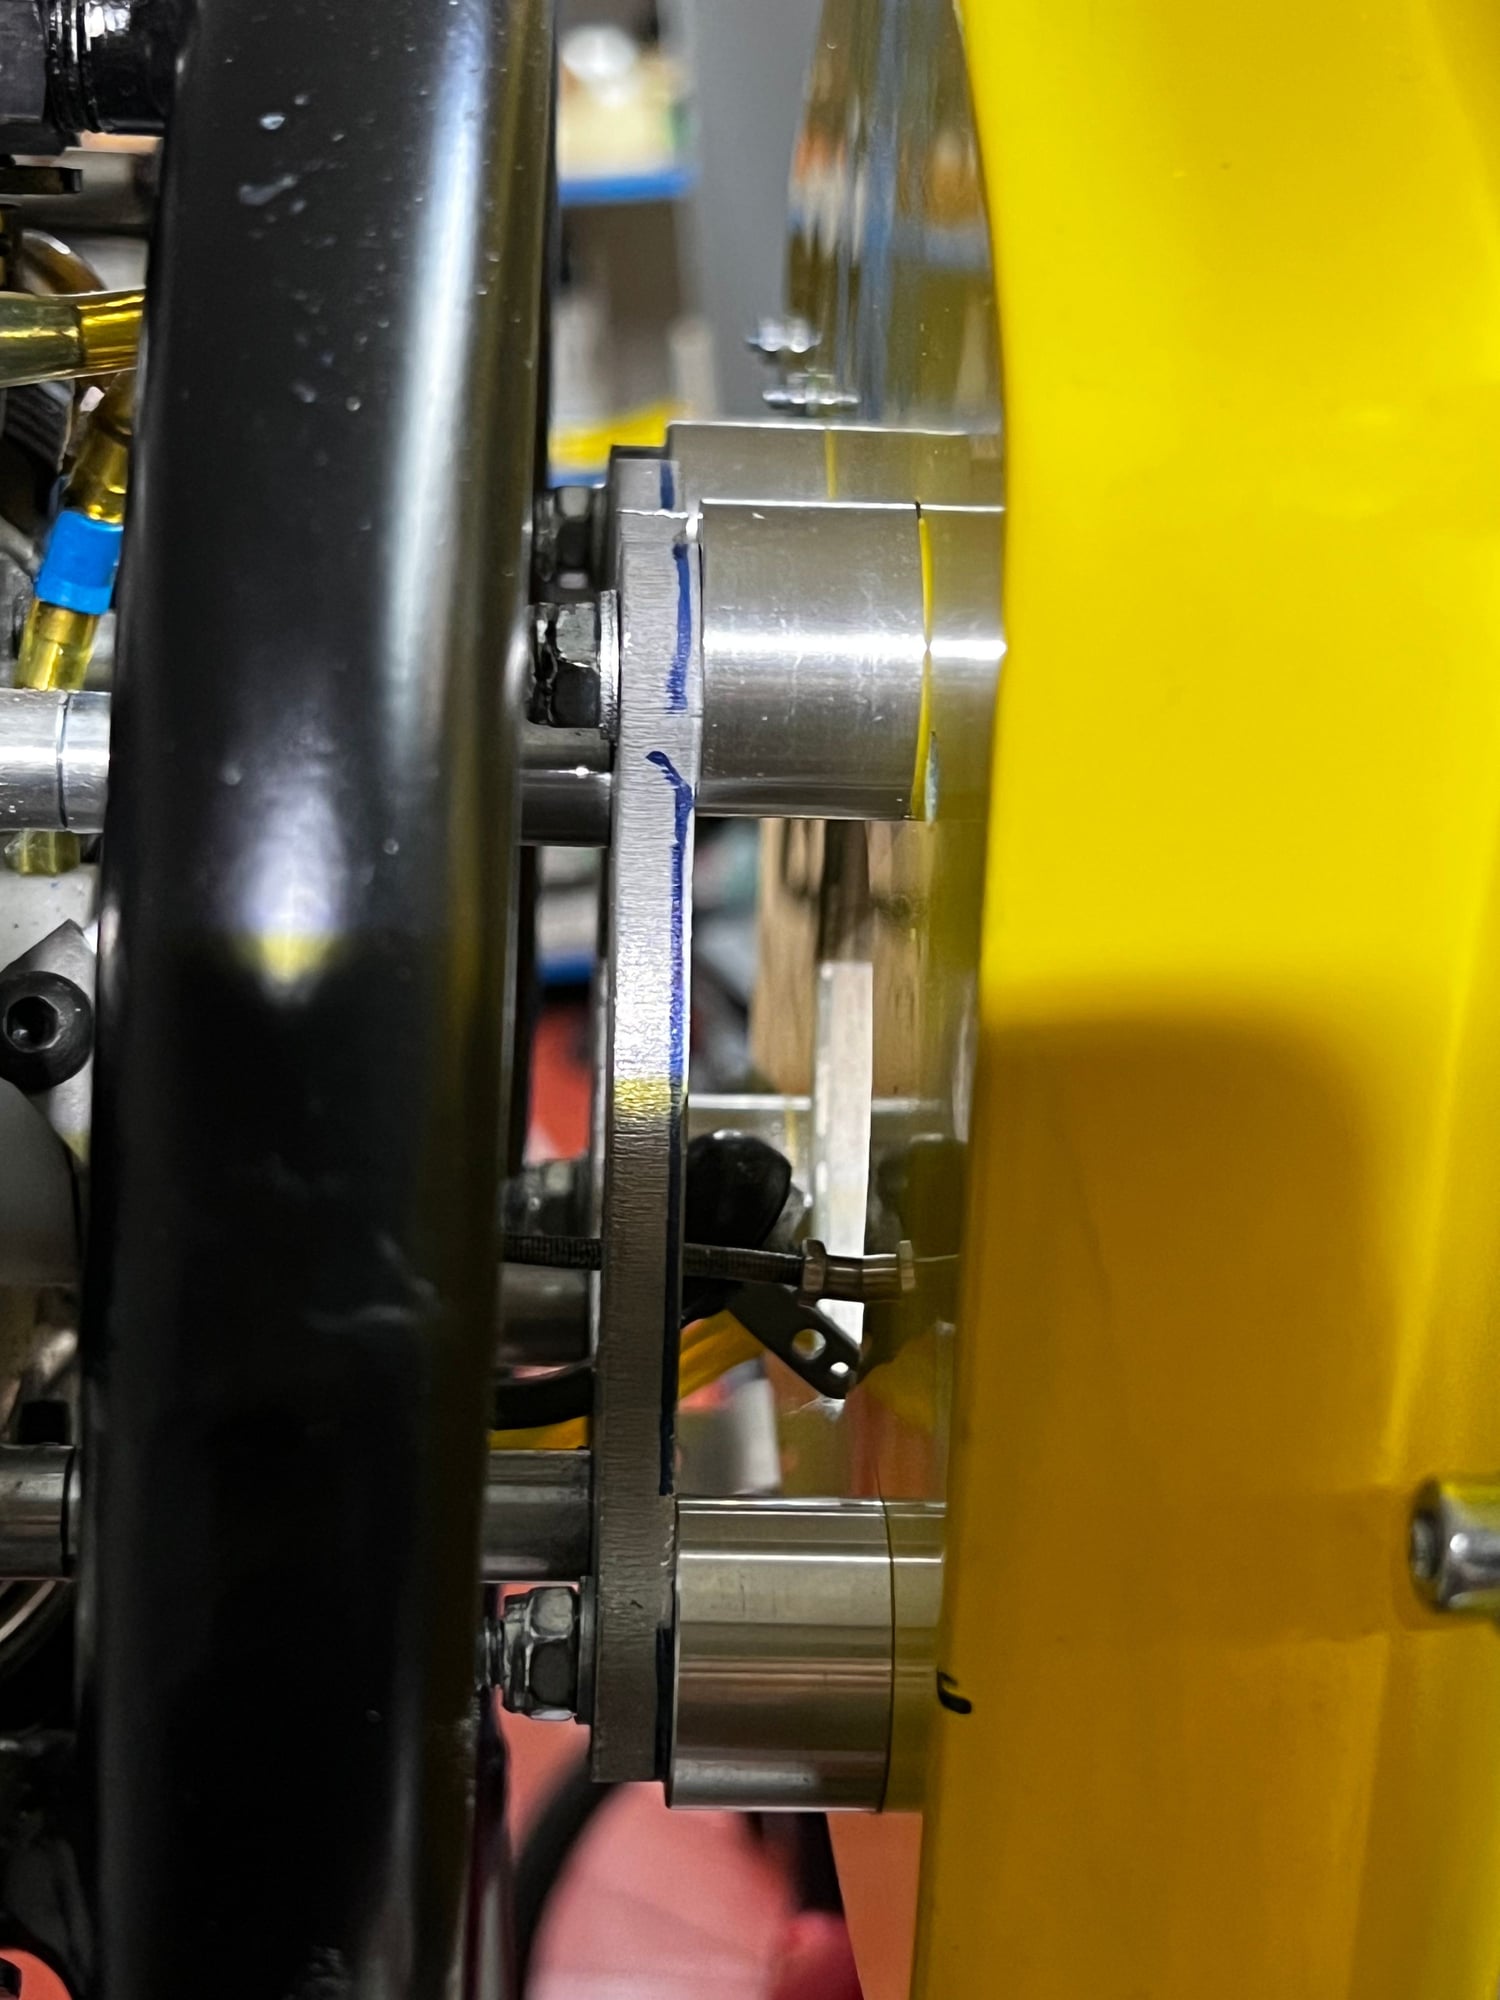
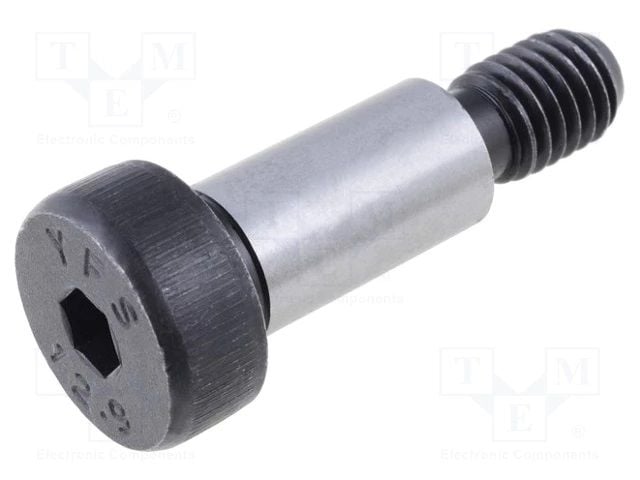
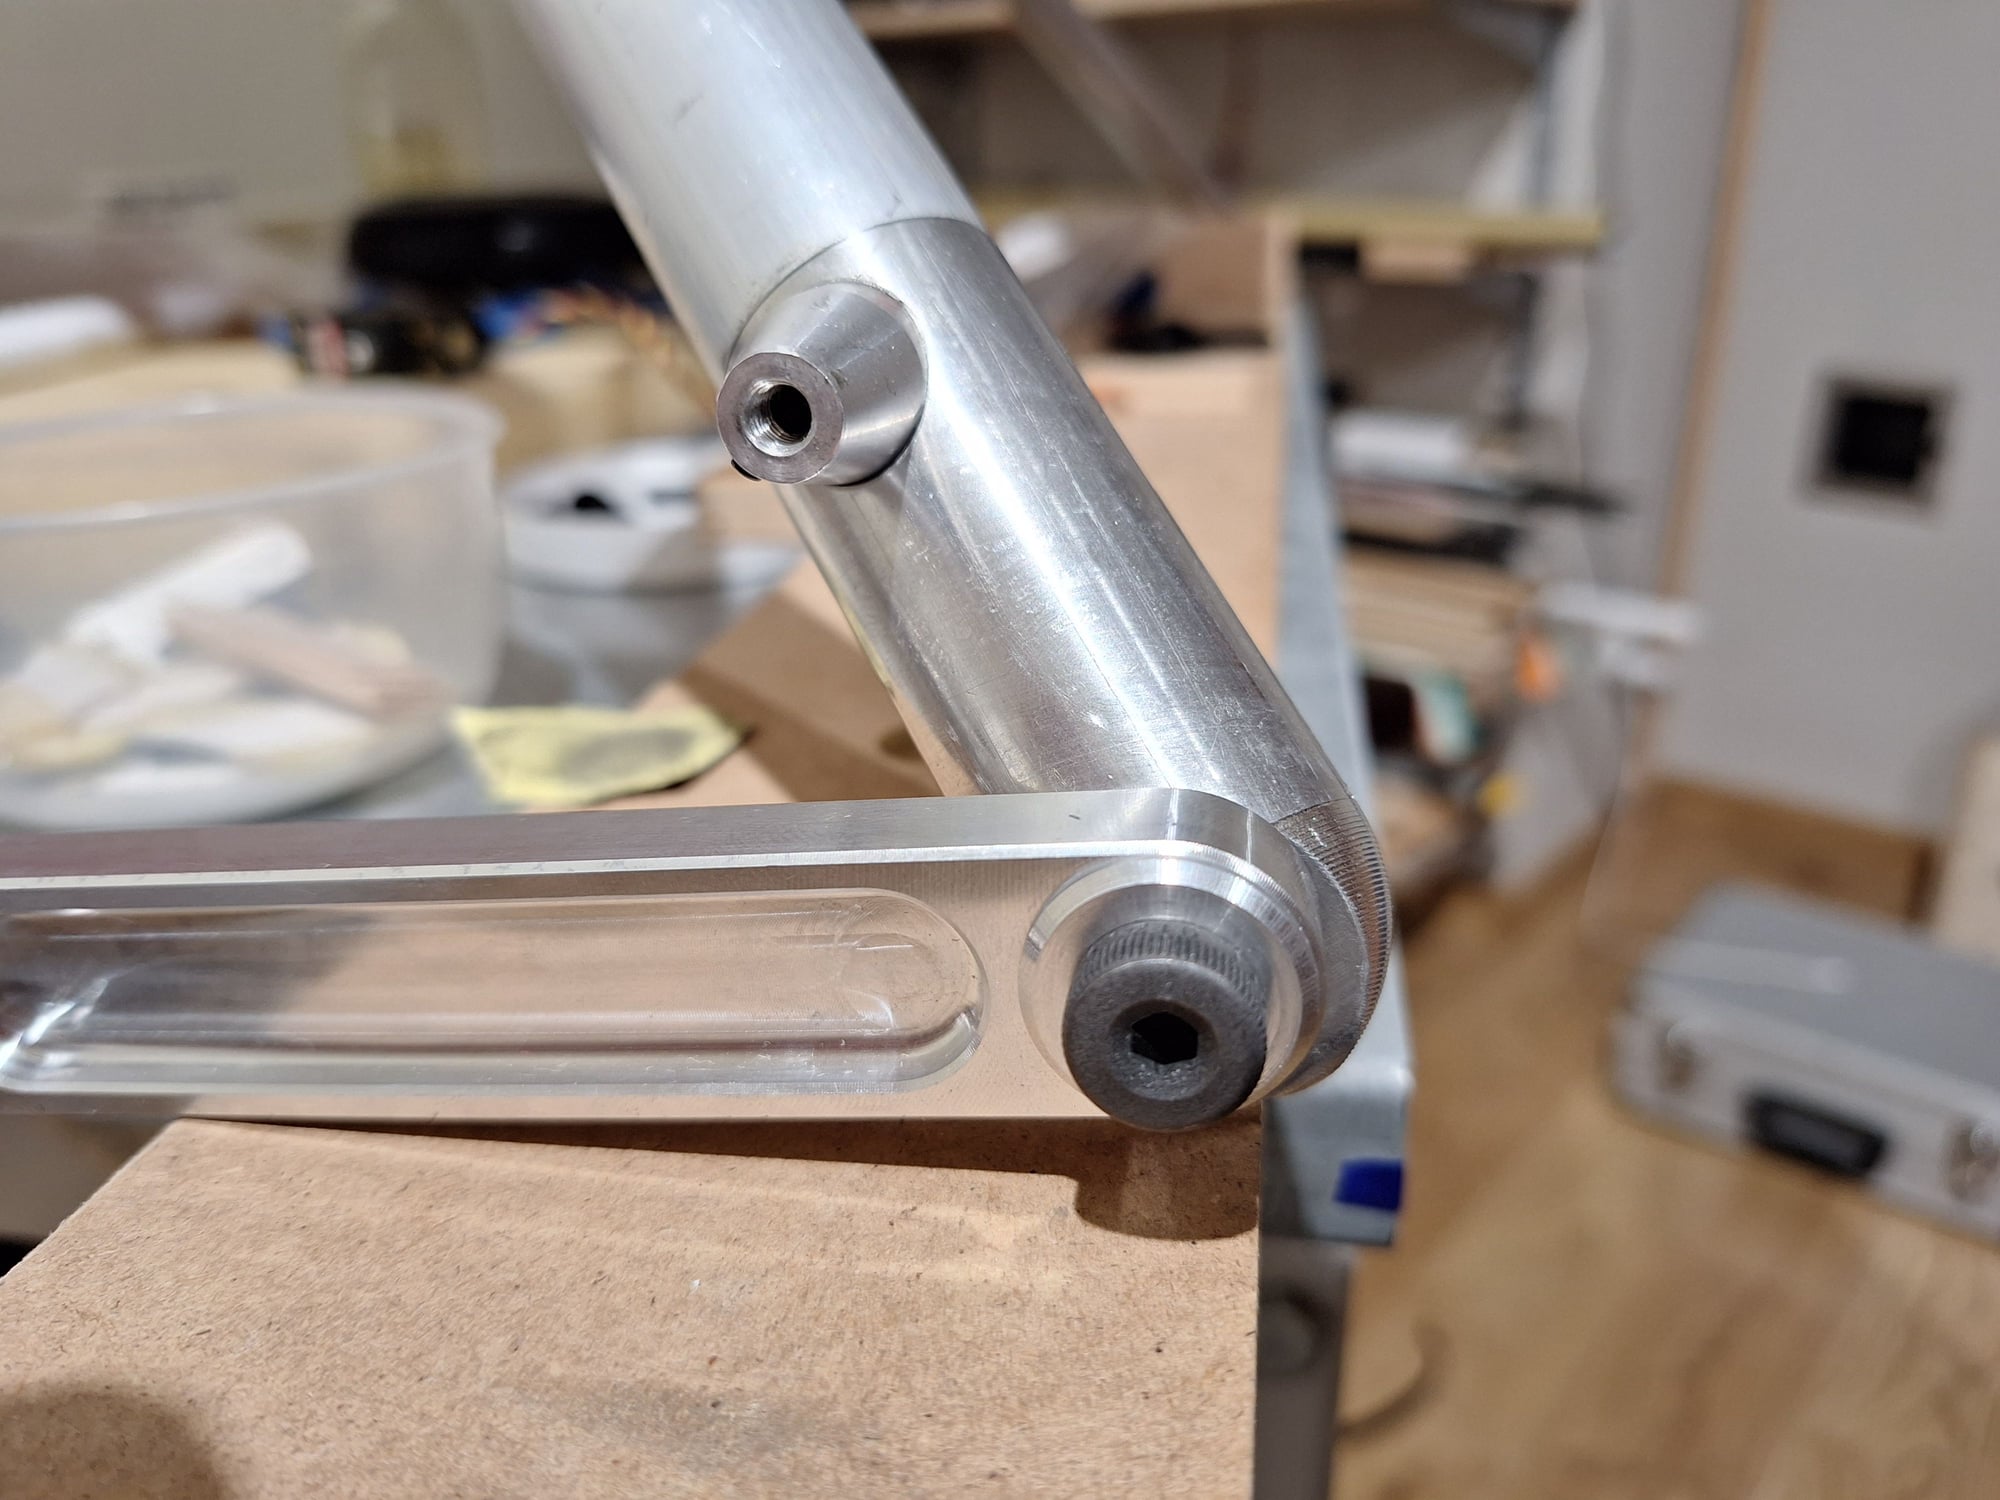
I have also replaced the main gear rocker axle with speccial machine screw. For that purpose I needed to re-drill the hole to 7,95 mm on a cnc machnine and there is very little lateral play at the moment.
It also allows me to screw it fully until it touches the main leg material. It required making proper thickness spacers but I have an old manual lathe and I love to use it
No need to be jealous, you just need to finish your Wilga and come to one of our tow meetings. There is even one guy coming from Switzerland to us on regular basis with a trailer full of planes :-) and then you can fly full size Wilga as well.
My engine also sits in the cowl already:
I also made some special temporary spacers in order to positin the slots correctly while the glue cures:
I am also making new aluminiu wheel huns. We know Kavan inflatable wheels well. The tyres serve well but the plastic hubs don't last long.
They used to sell aluminium hubs as well but it was discontinued.
Fortunately my friend is having a bunch of CNC machines and he will make a set for me.
I have also replaced the main gear rocker axle with speccial machine screw. For that purpose I needed to re-drill the hole to 7,95 mm on a cnc machnine and there is very little lateral play at the moment.
It also allows me to screw it fully until it touches the main leg material. It required making proper thickness spacers but I have an old manual lathe and I love to use it
Last edited by Chuck Yeager; 12-19-2023 at 01:01 PM. Reason: new picture
12-20-2023, 02:04 PM
#25
Thread Starter
Aluminum rims, painted them yellow
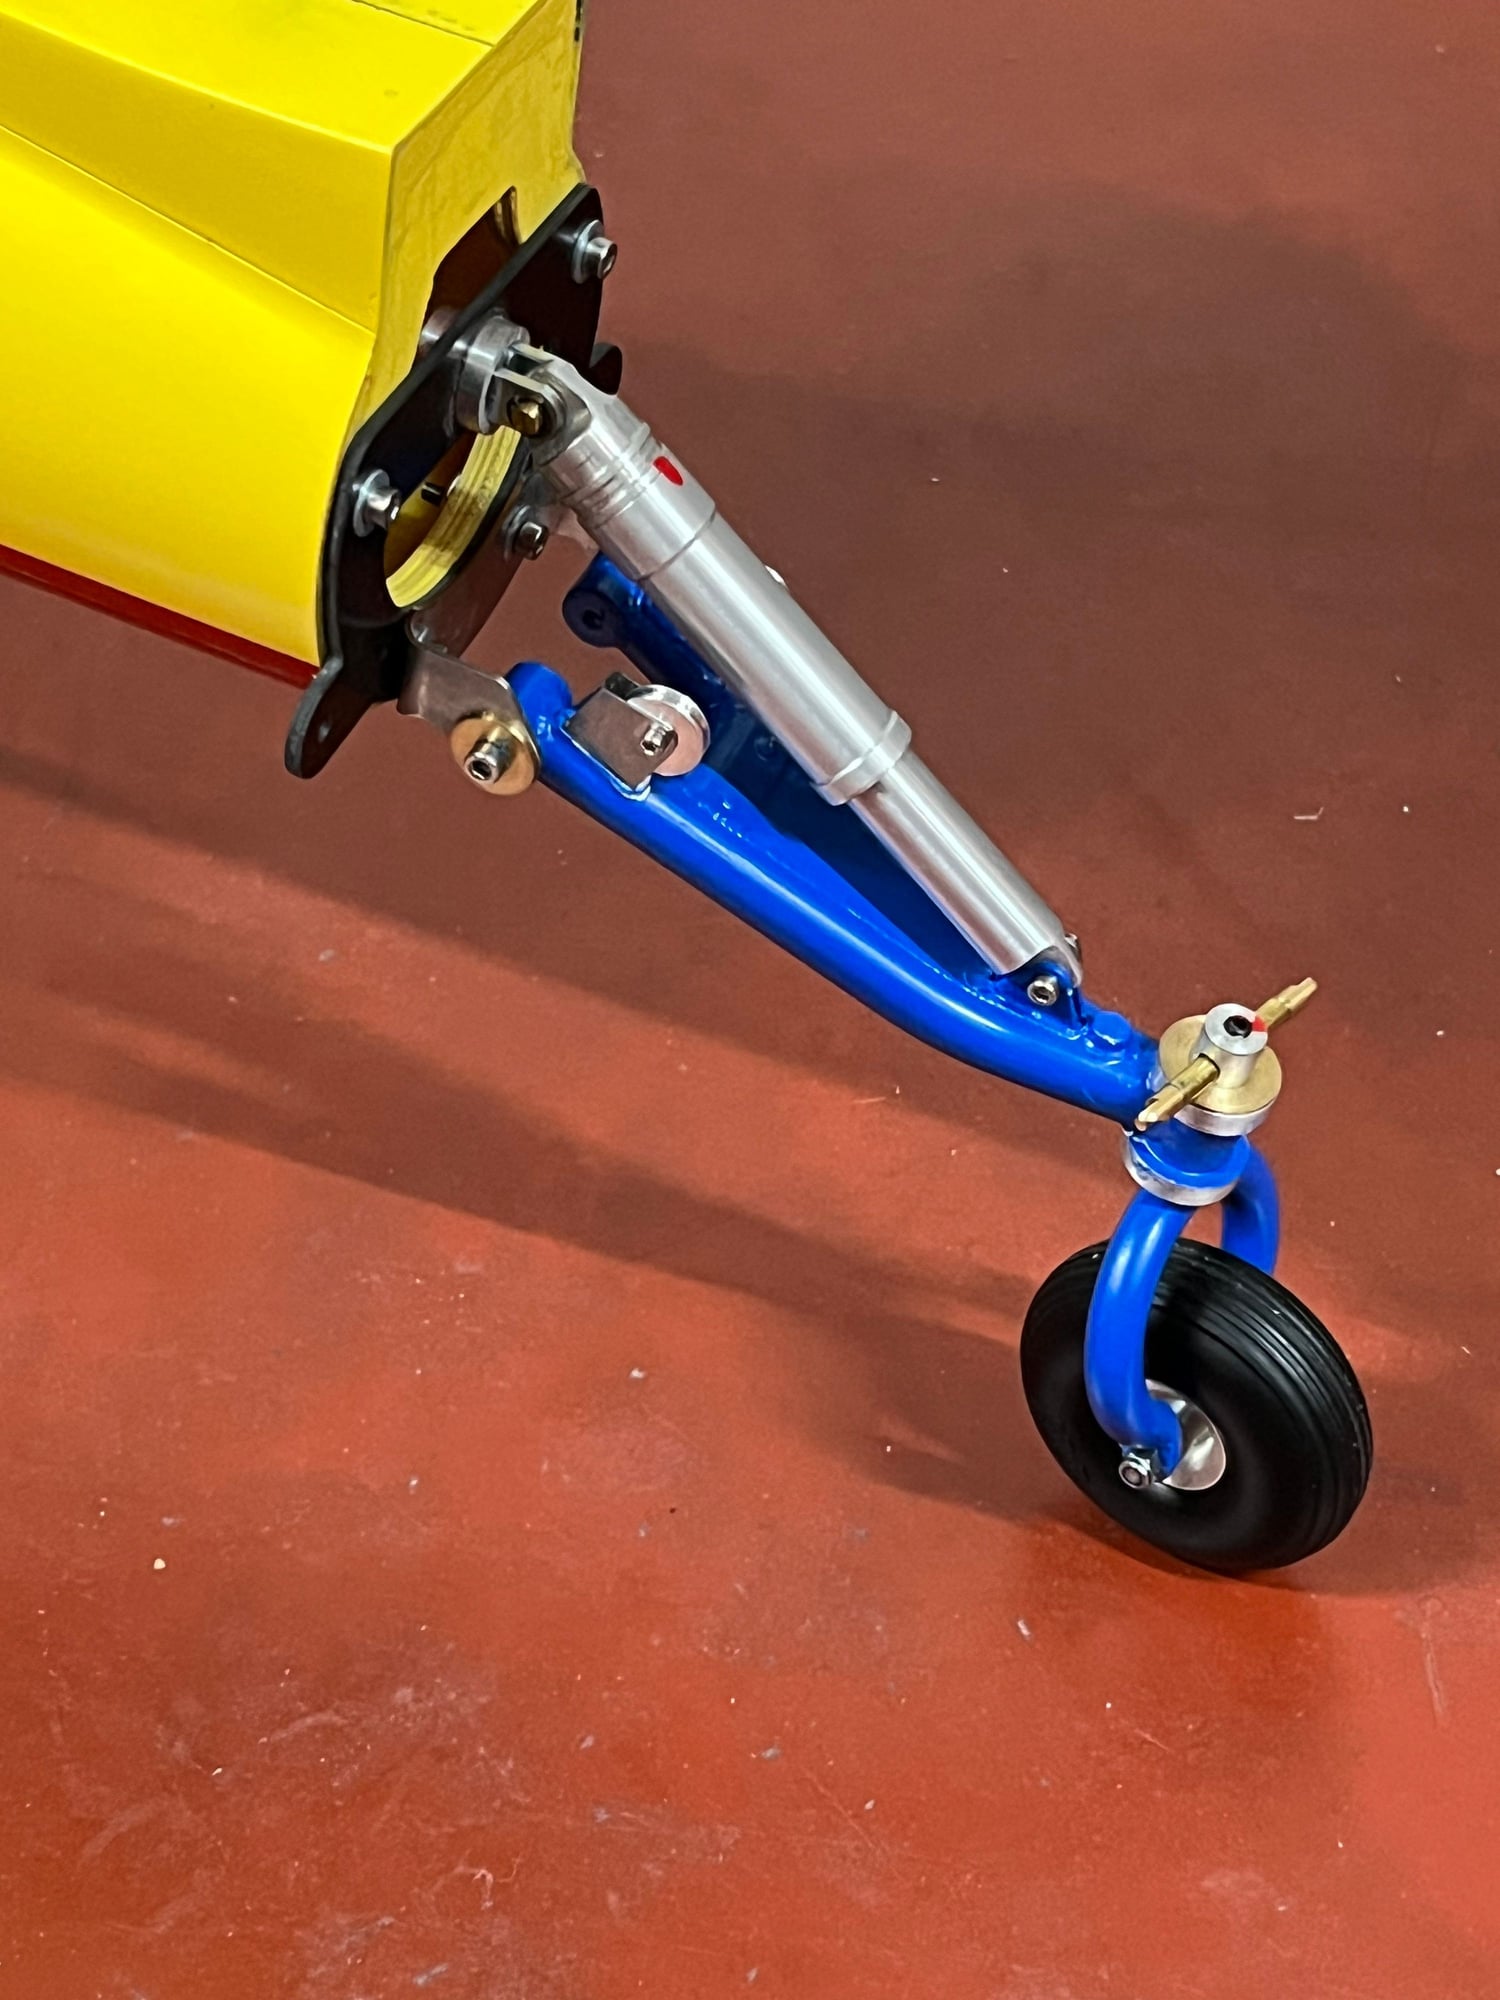
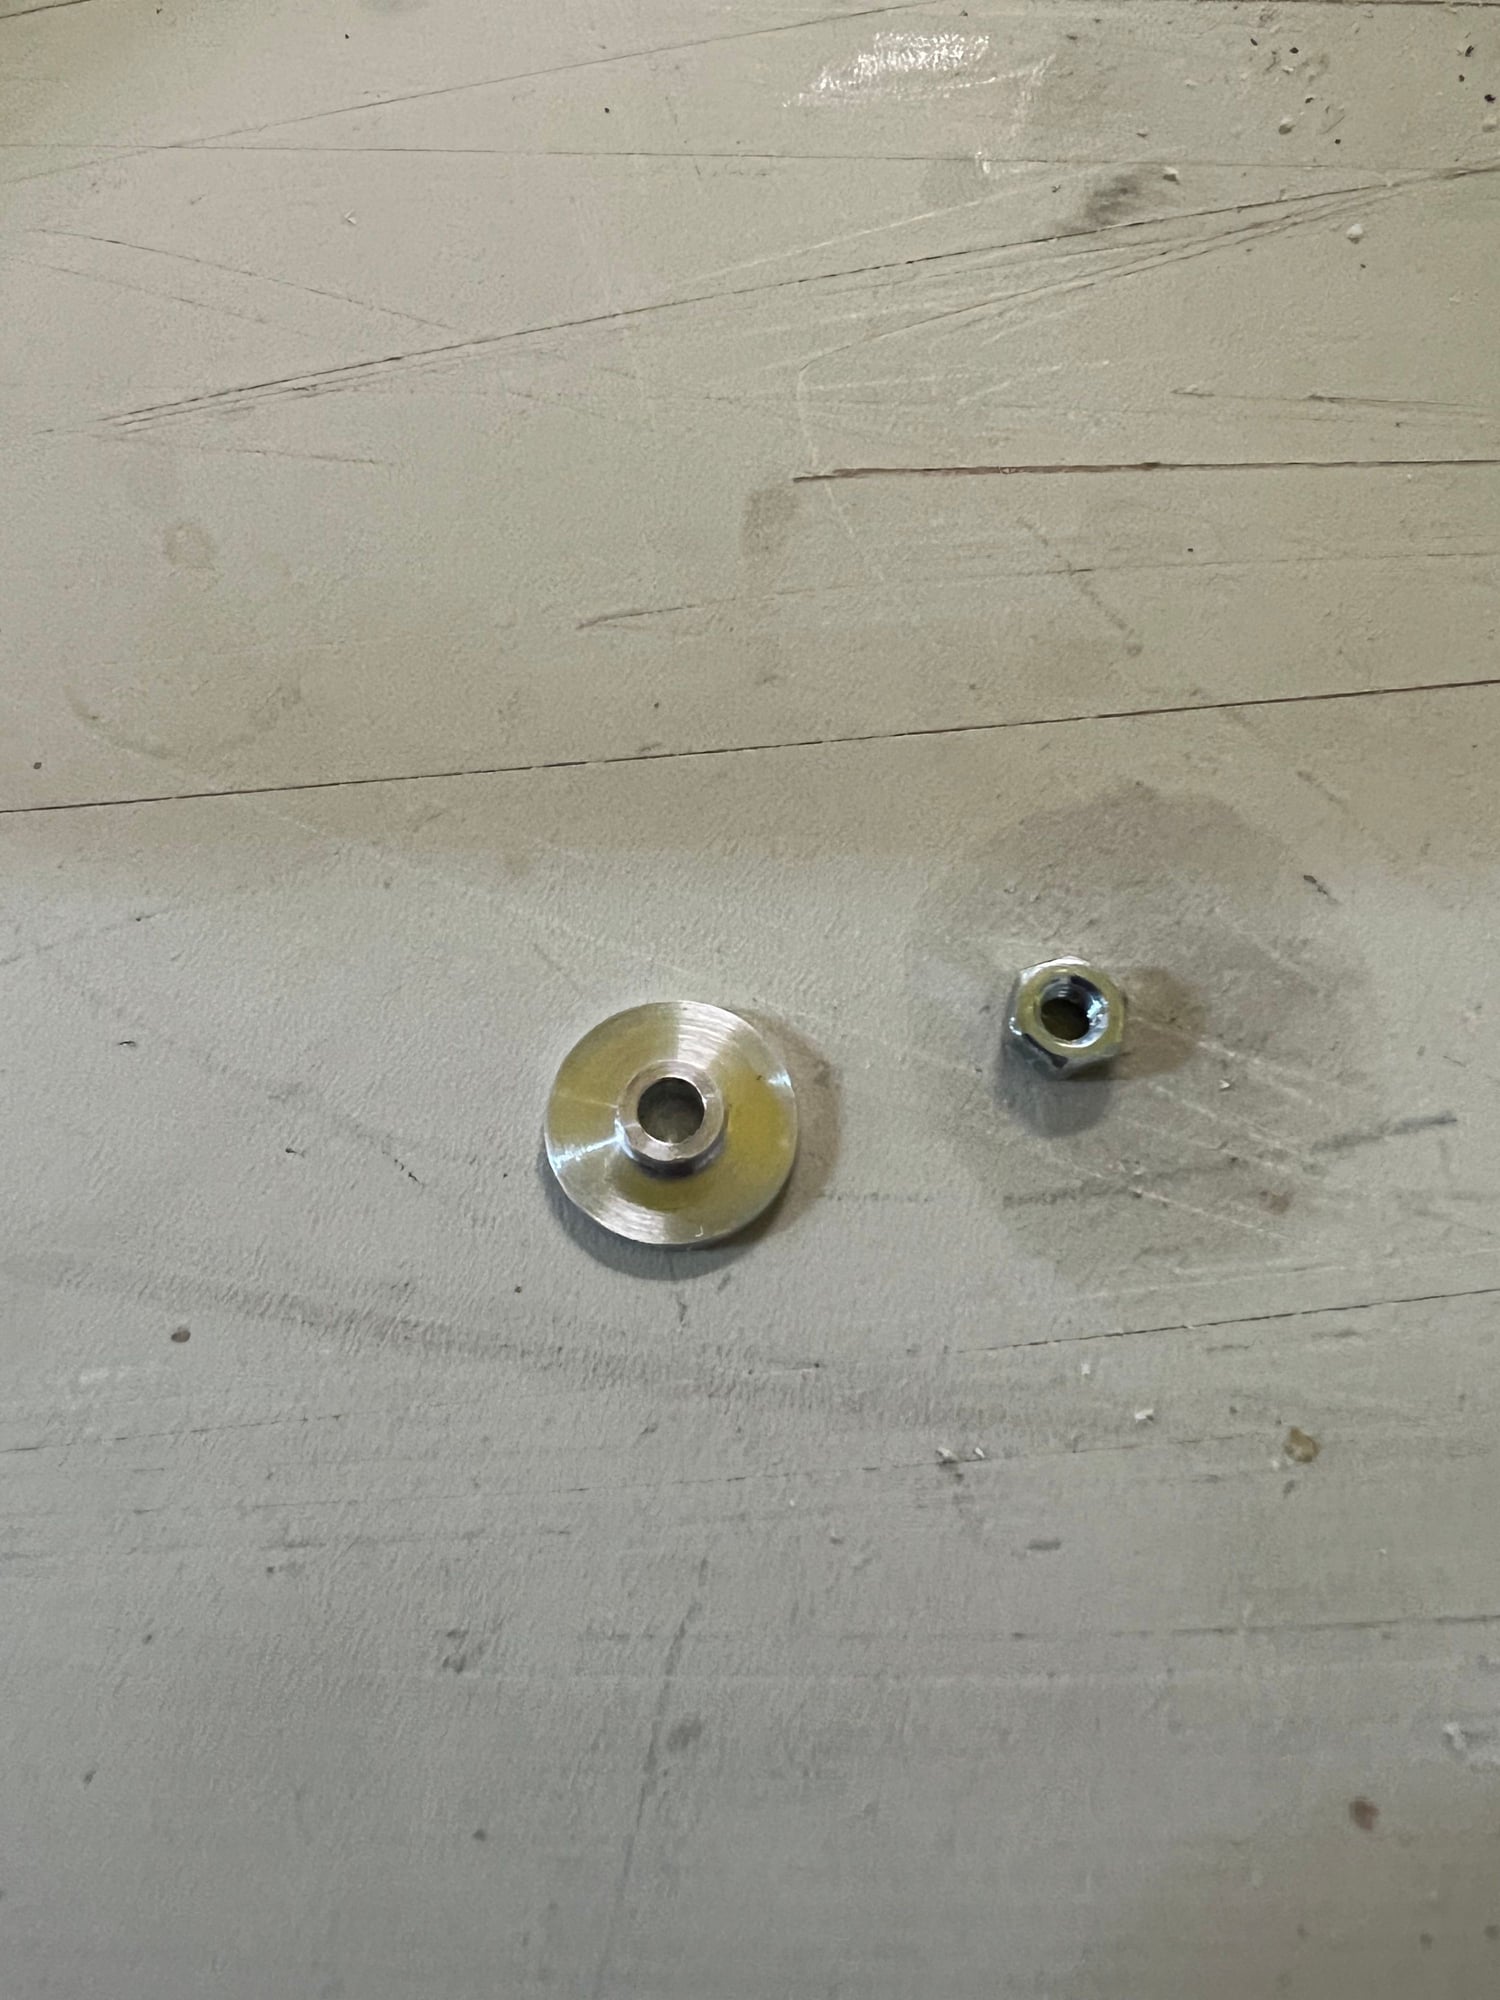
I thought about it using real bearings but changed my mind because I need some resistance during landing., I made the bearings out of bronze.
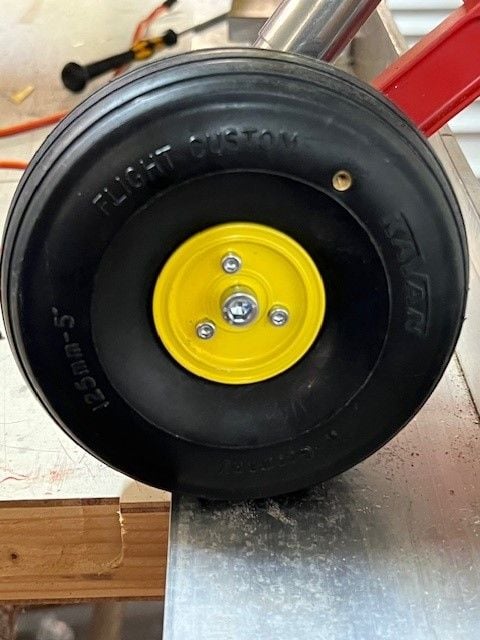
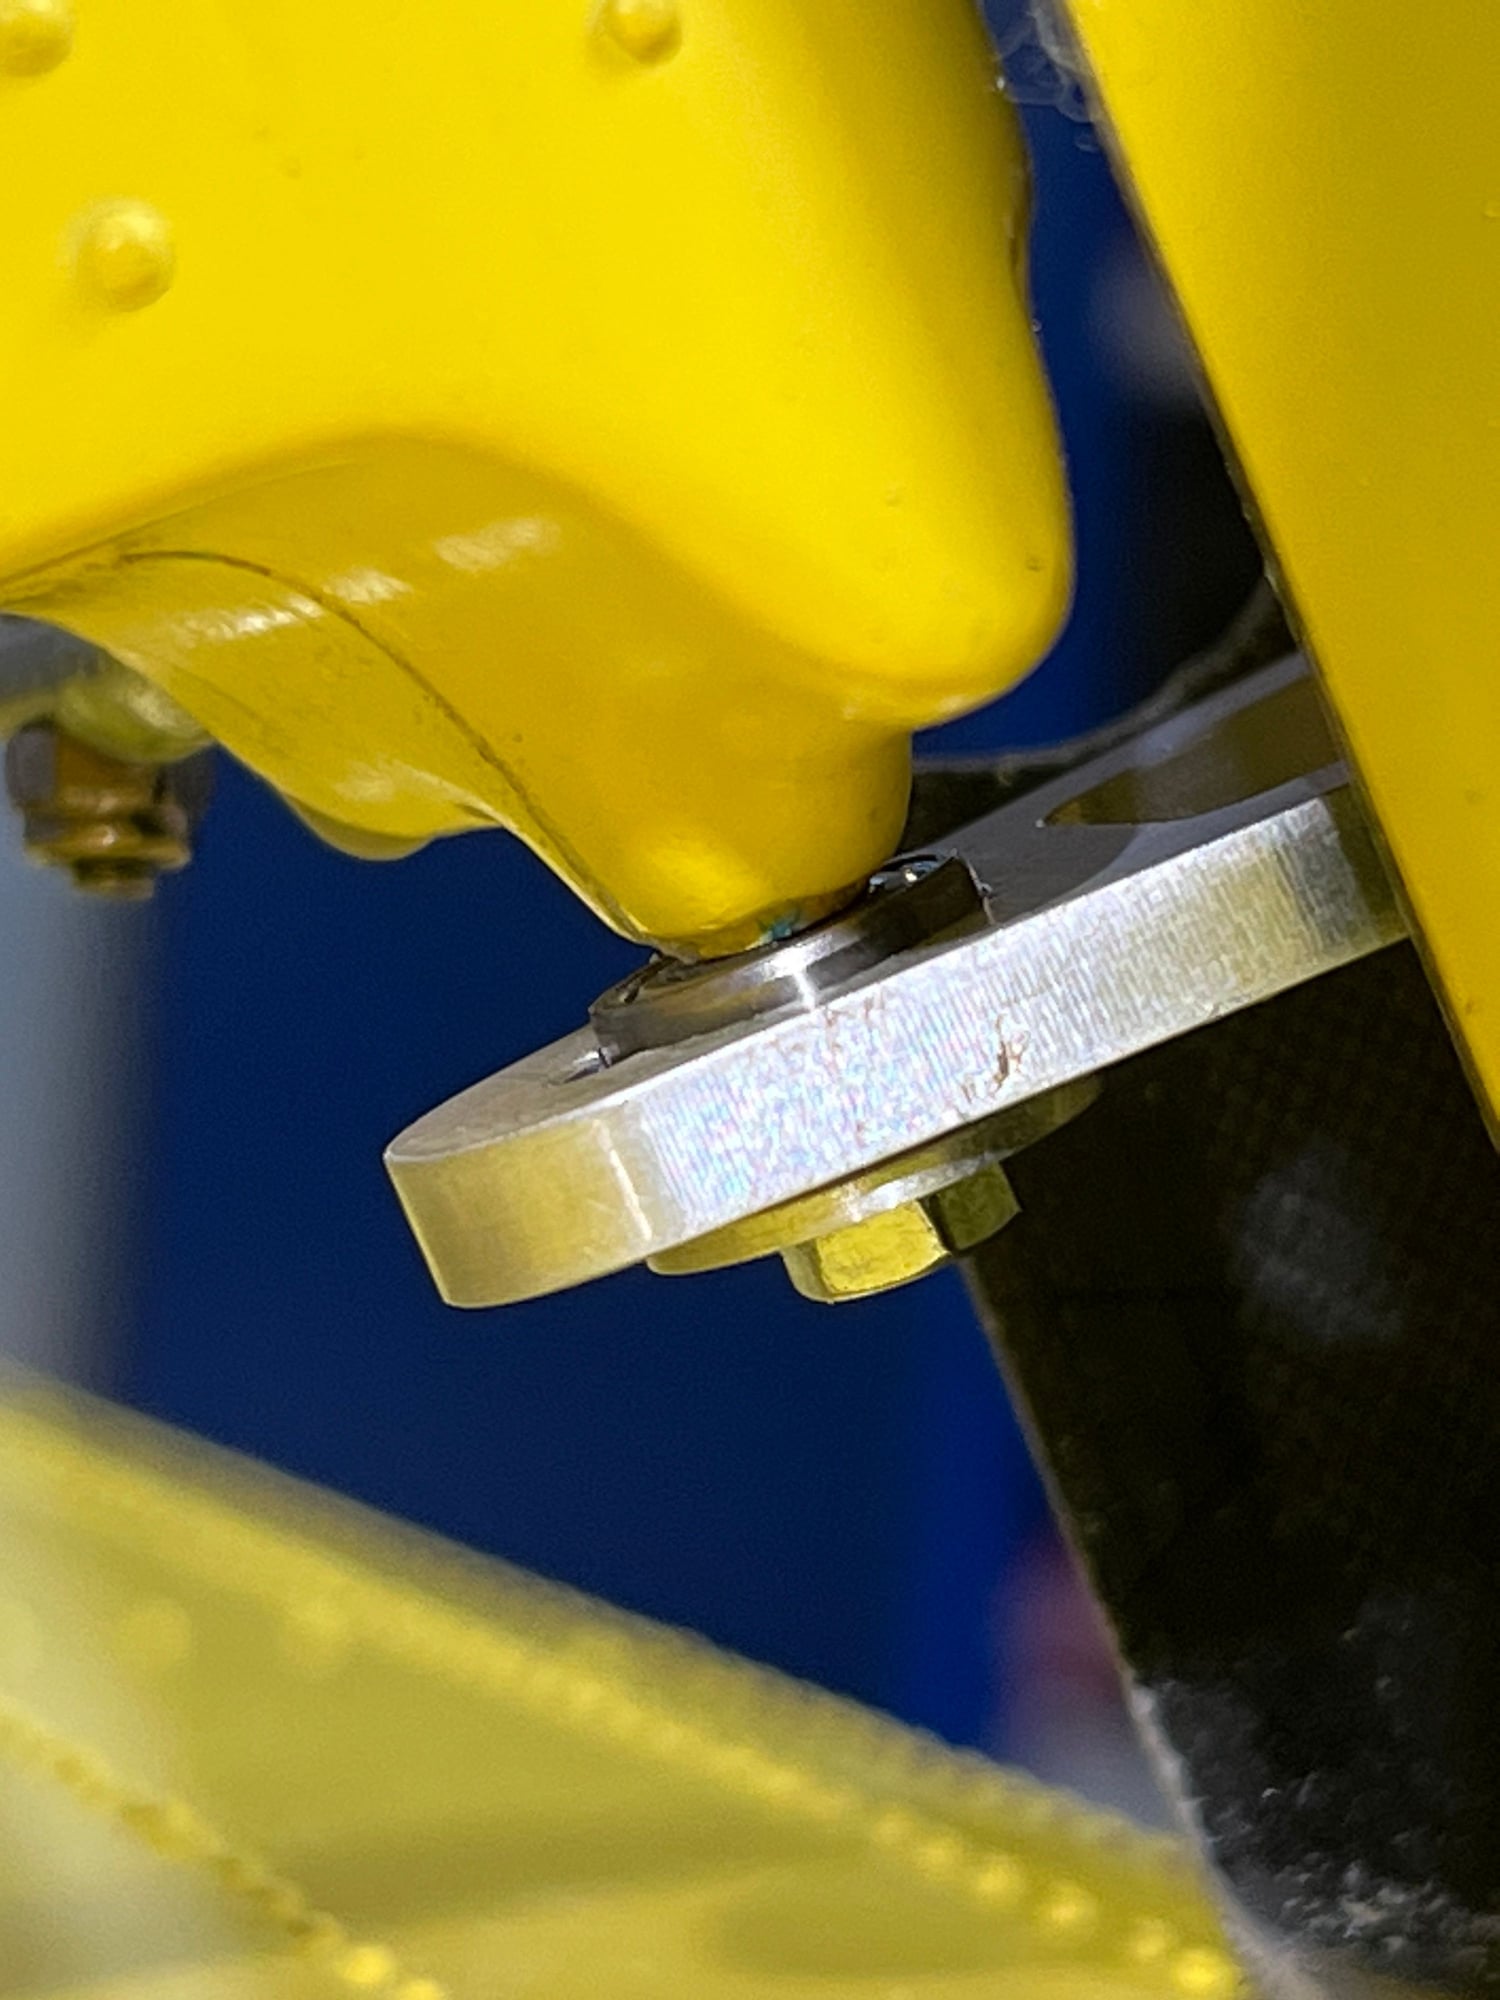
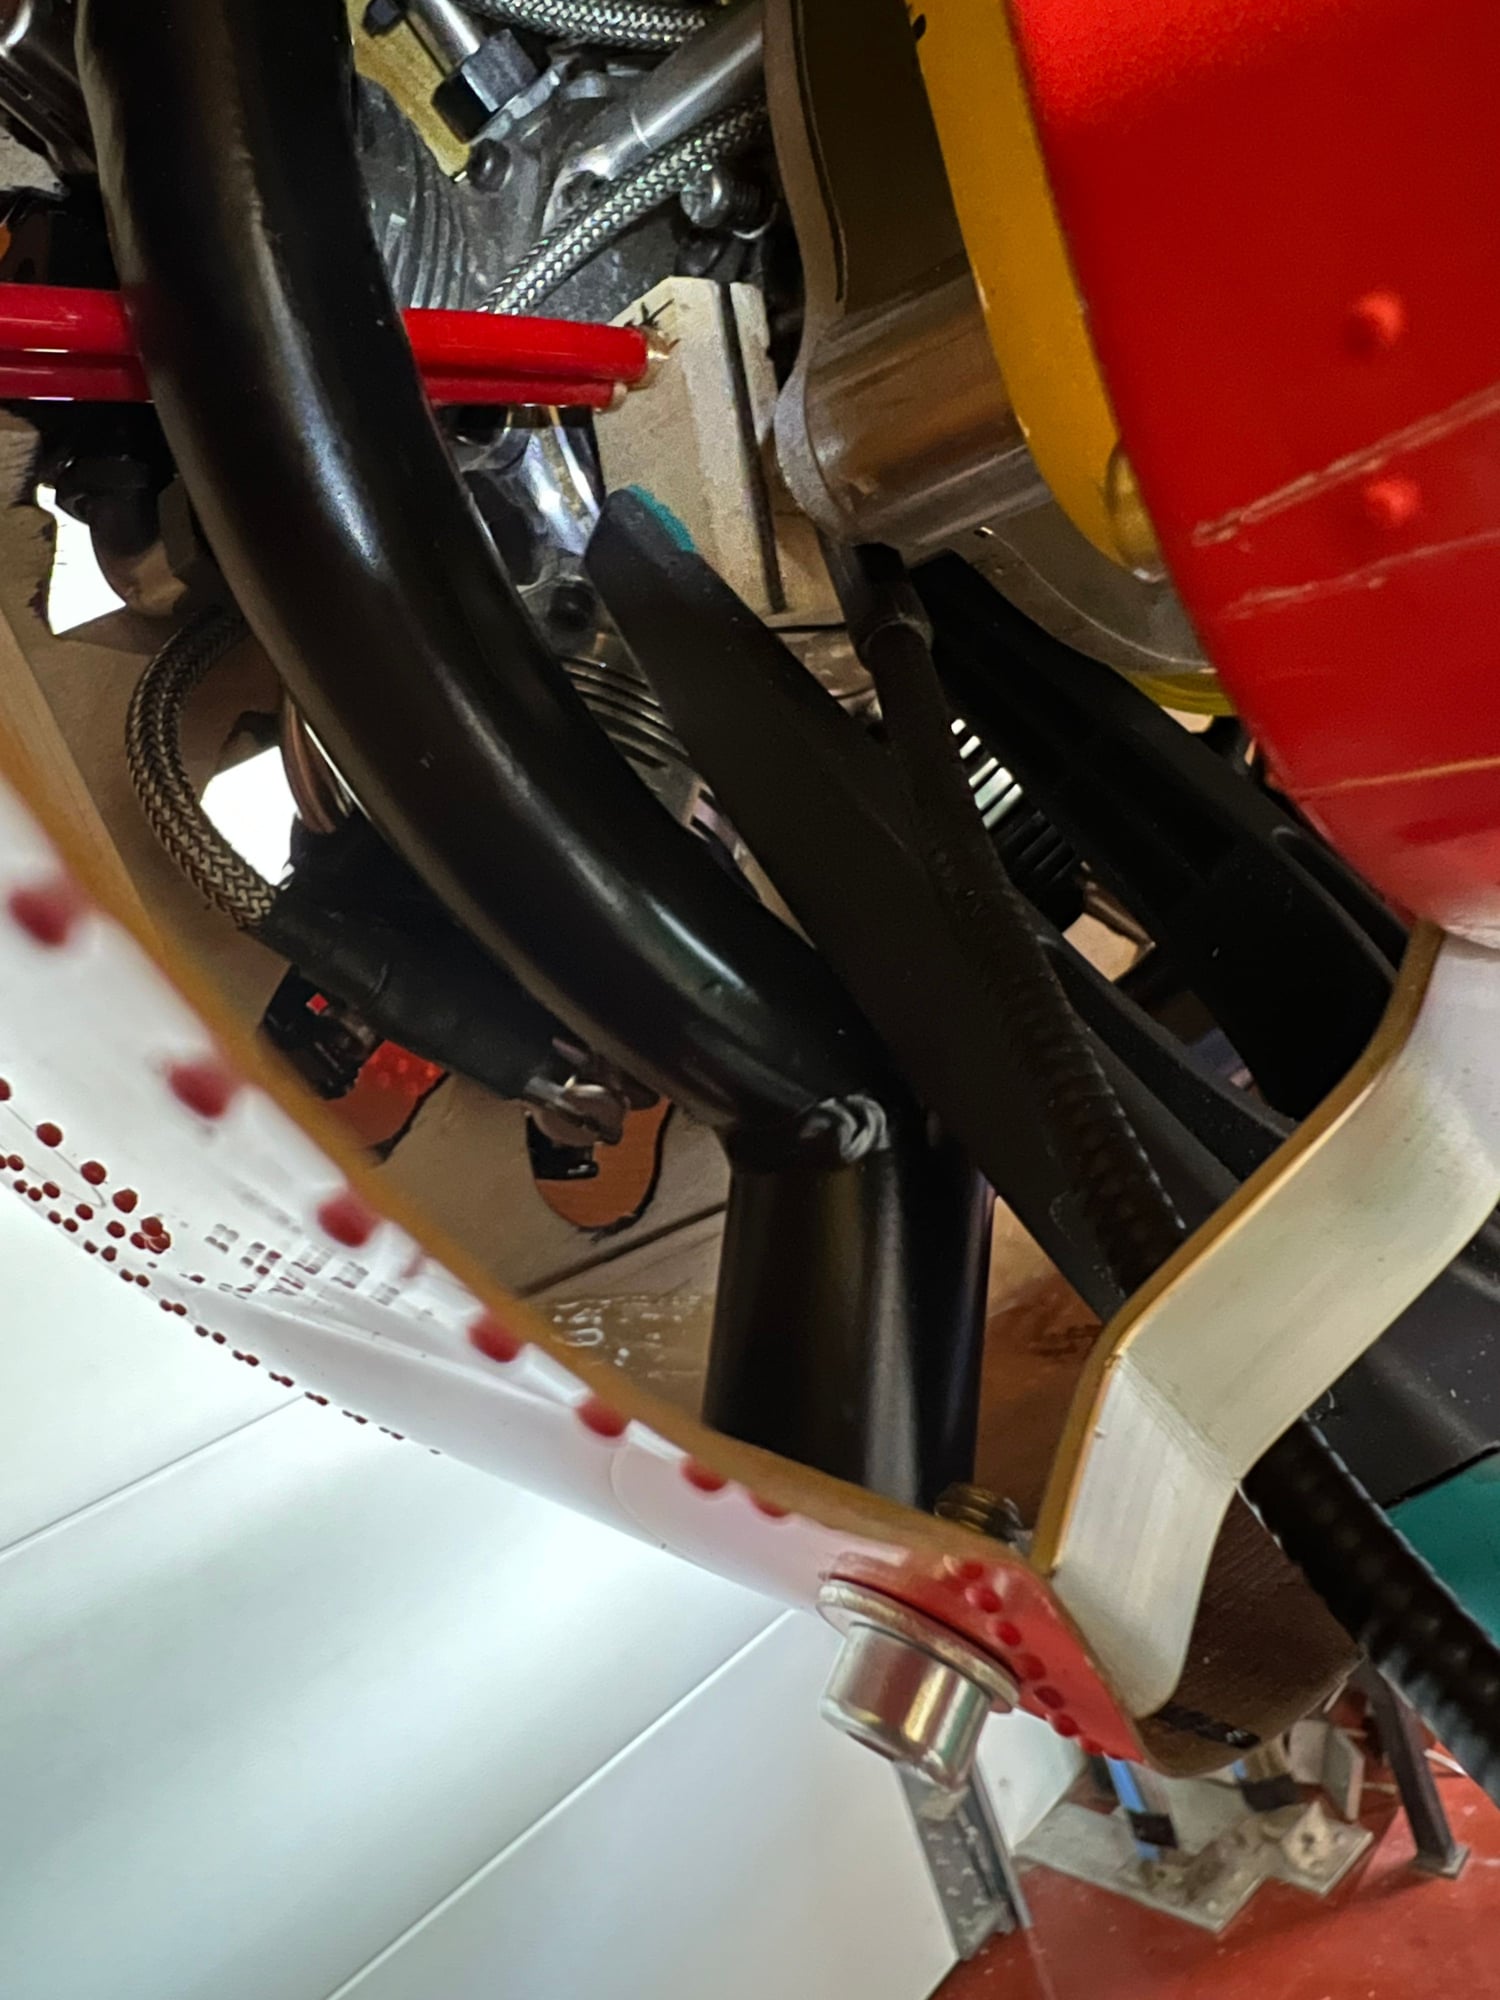
Since the legs are made of aluminium and quite vulnarable during take of and landing, I modified the pivot point of the shock absorbers, I mounted 2 discs made out of bronze to reduce the friction.
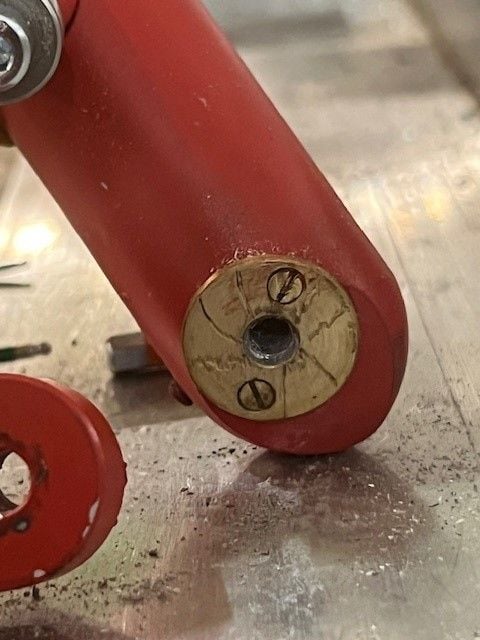
Pivot point shock absorber
I thought about it using real bearings but changed my mind because I need some resistance during landing., I made the bearings out of bronze.
Since the legs are made of aluminium and quite vulnarable during take of and landing, I modified the pivot point of the shock absorbers, I mounted 2 discs made out of bronze to reduce the friction.
Pivot point shock absorber