


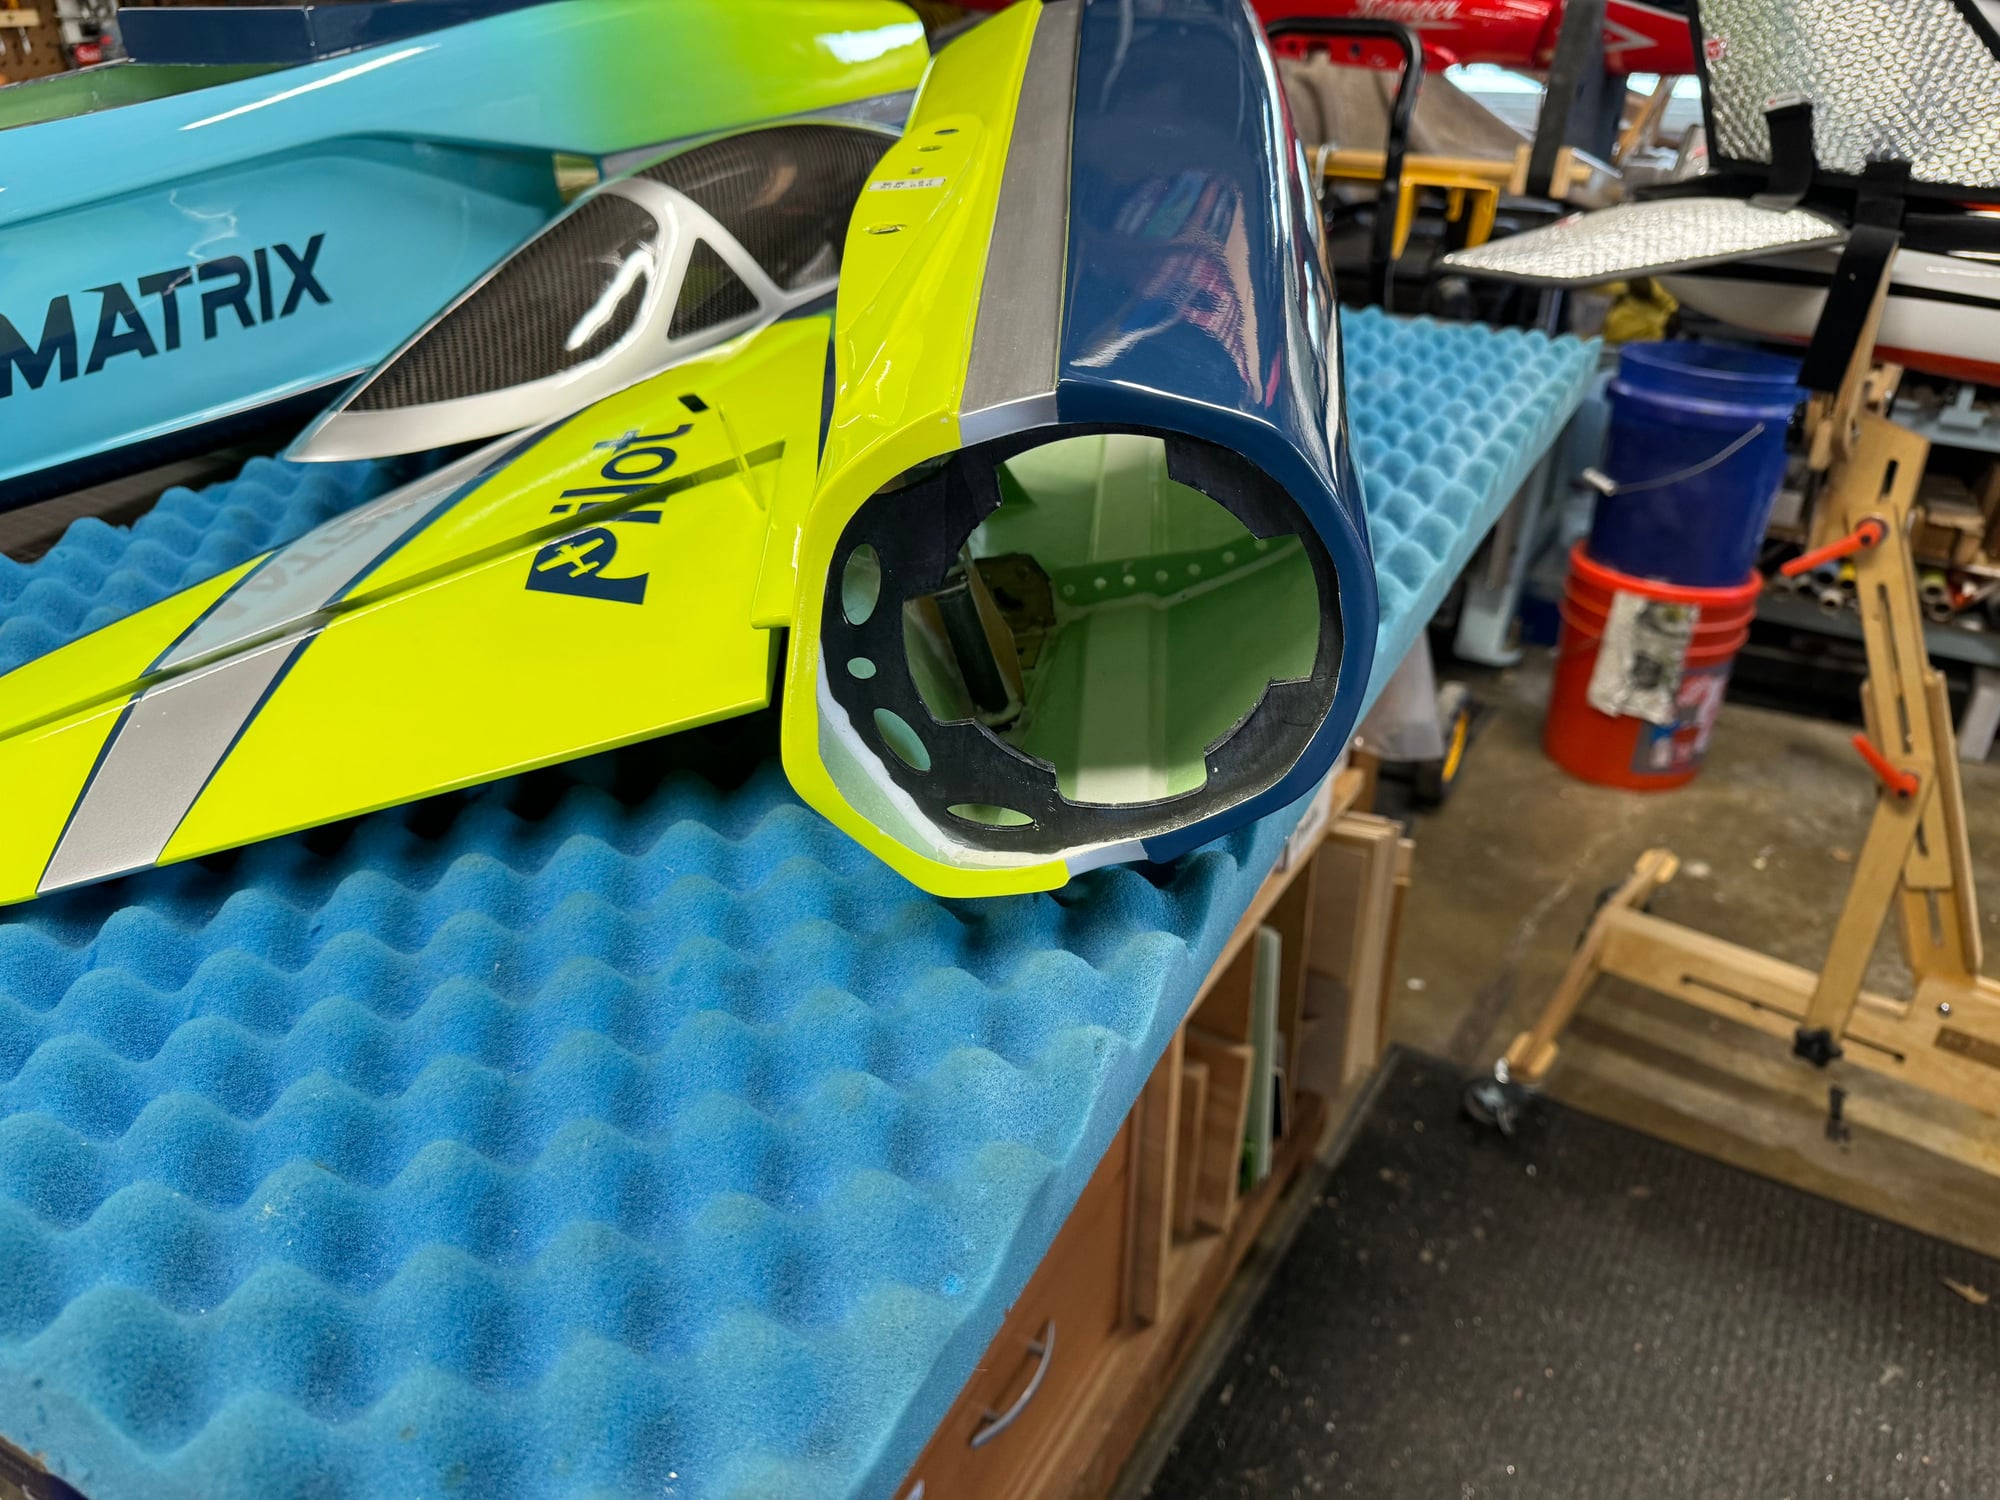
Pilot RC Matrix - Thoughts
 02-14-2024, 03:24 PM
#1

Pilot RC really has stepped up the game with this model. The hardware pack is the best I've seen. It looks like the control linkages are righthand and lefthand threads for easy adjustments. They even included the wrench for them.
I'll put up more photos as I build it.
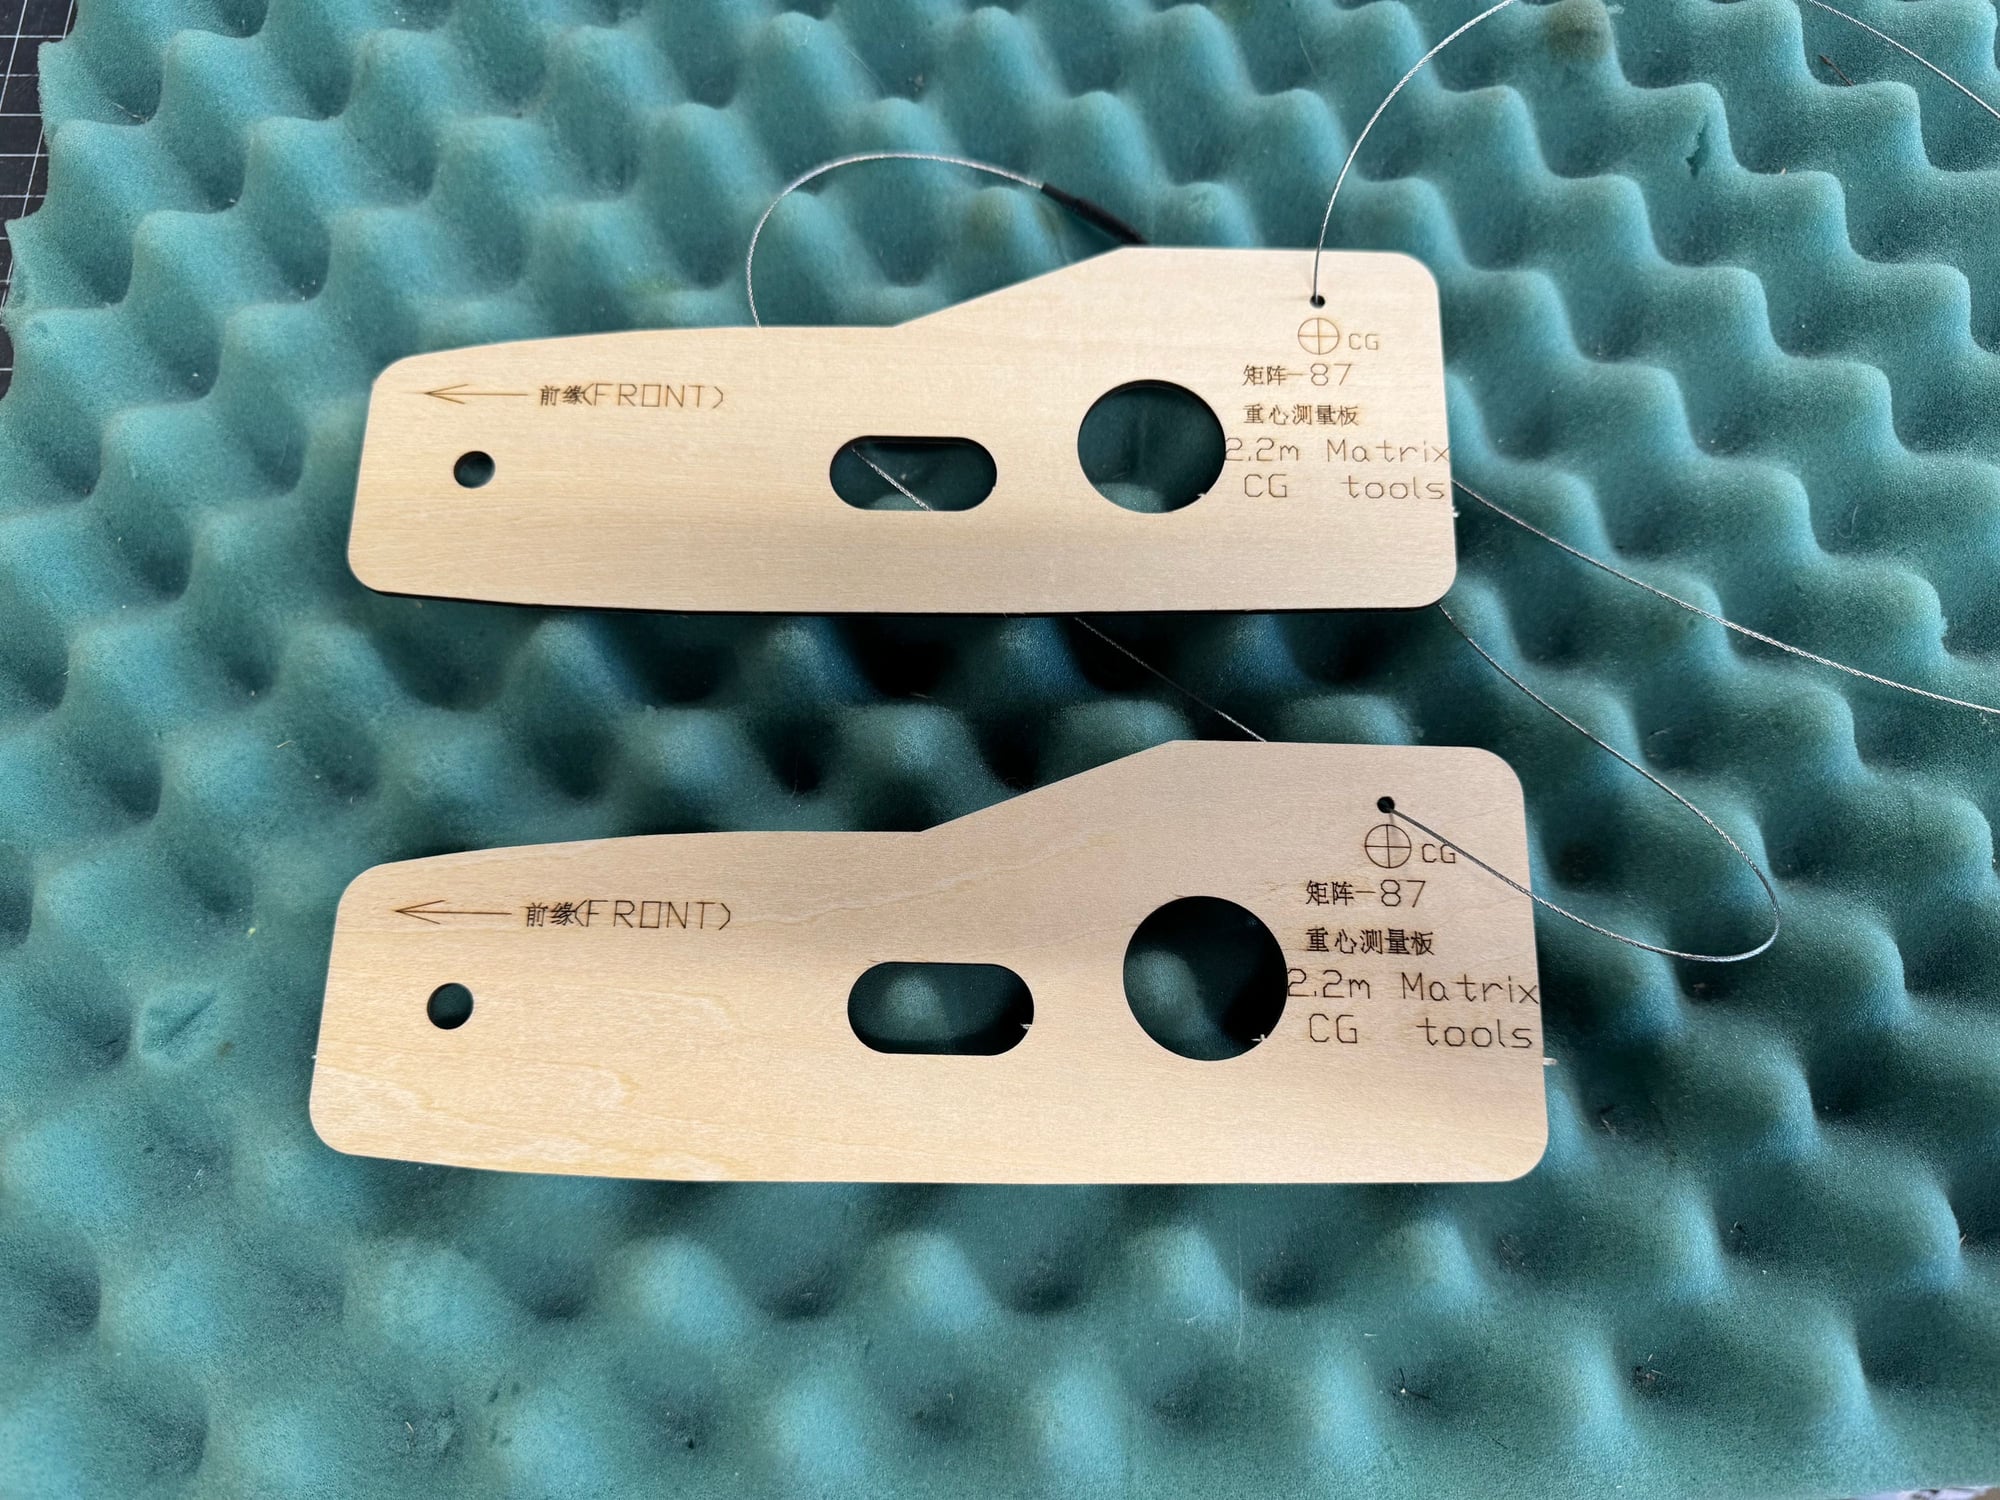
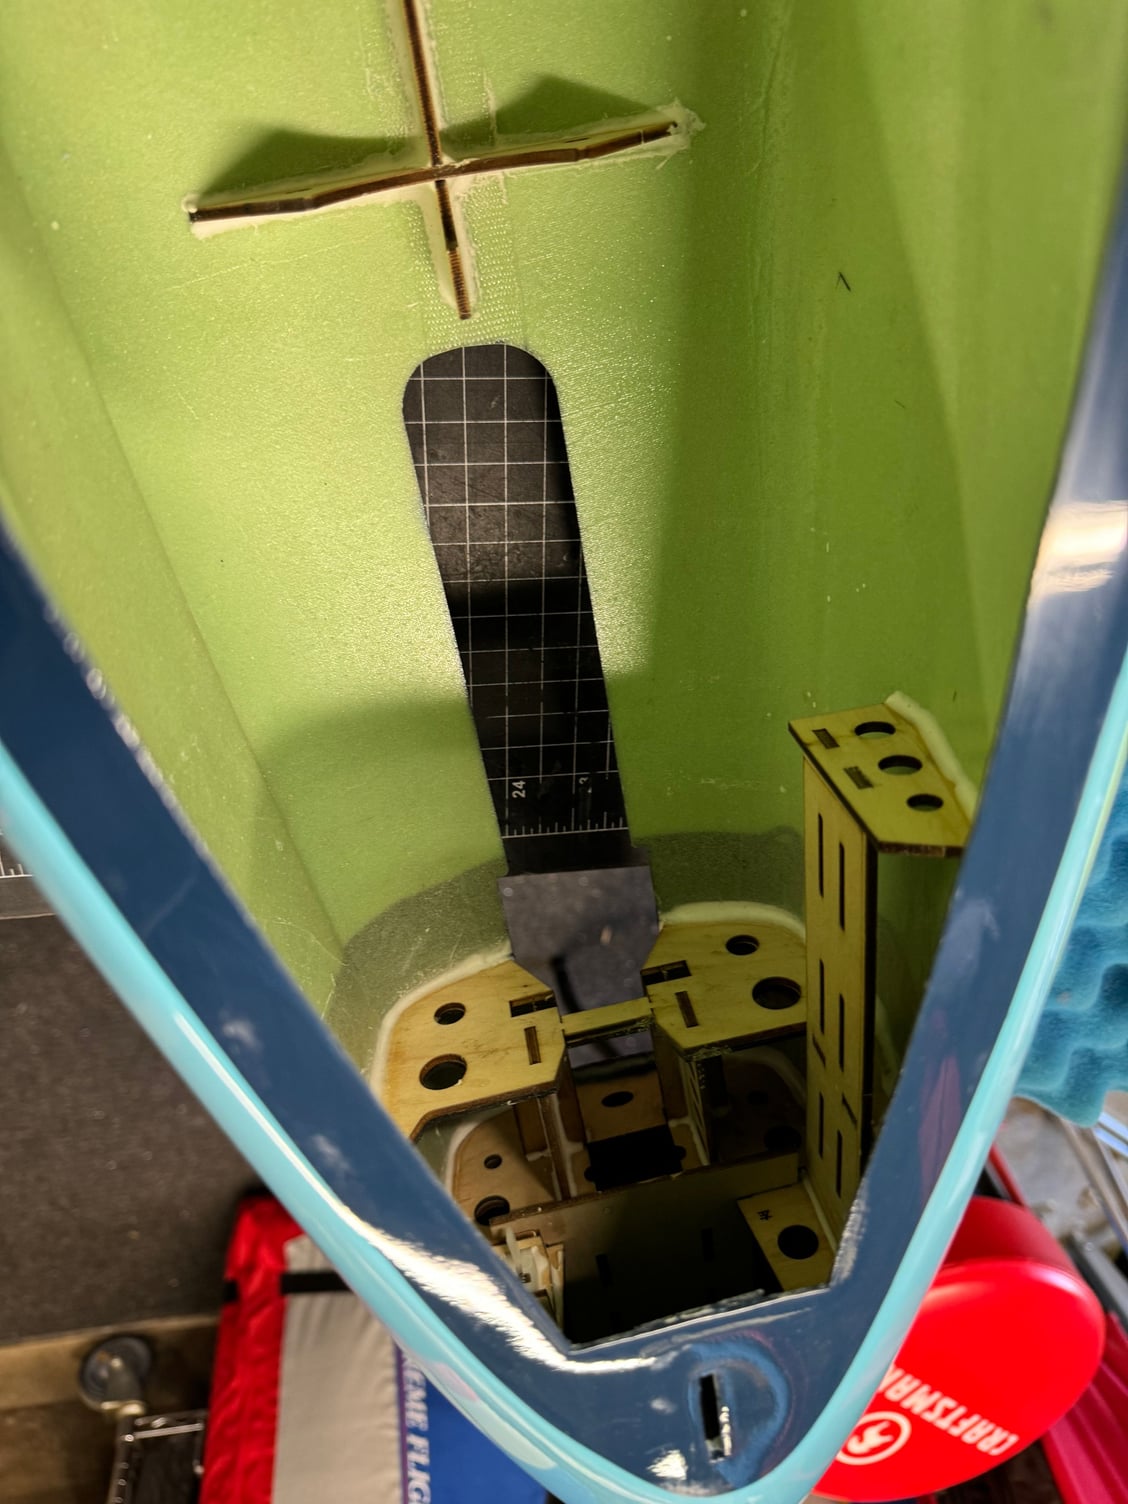
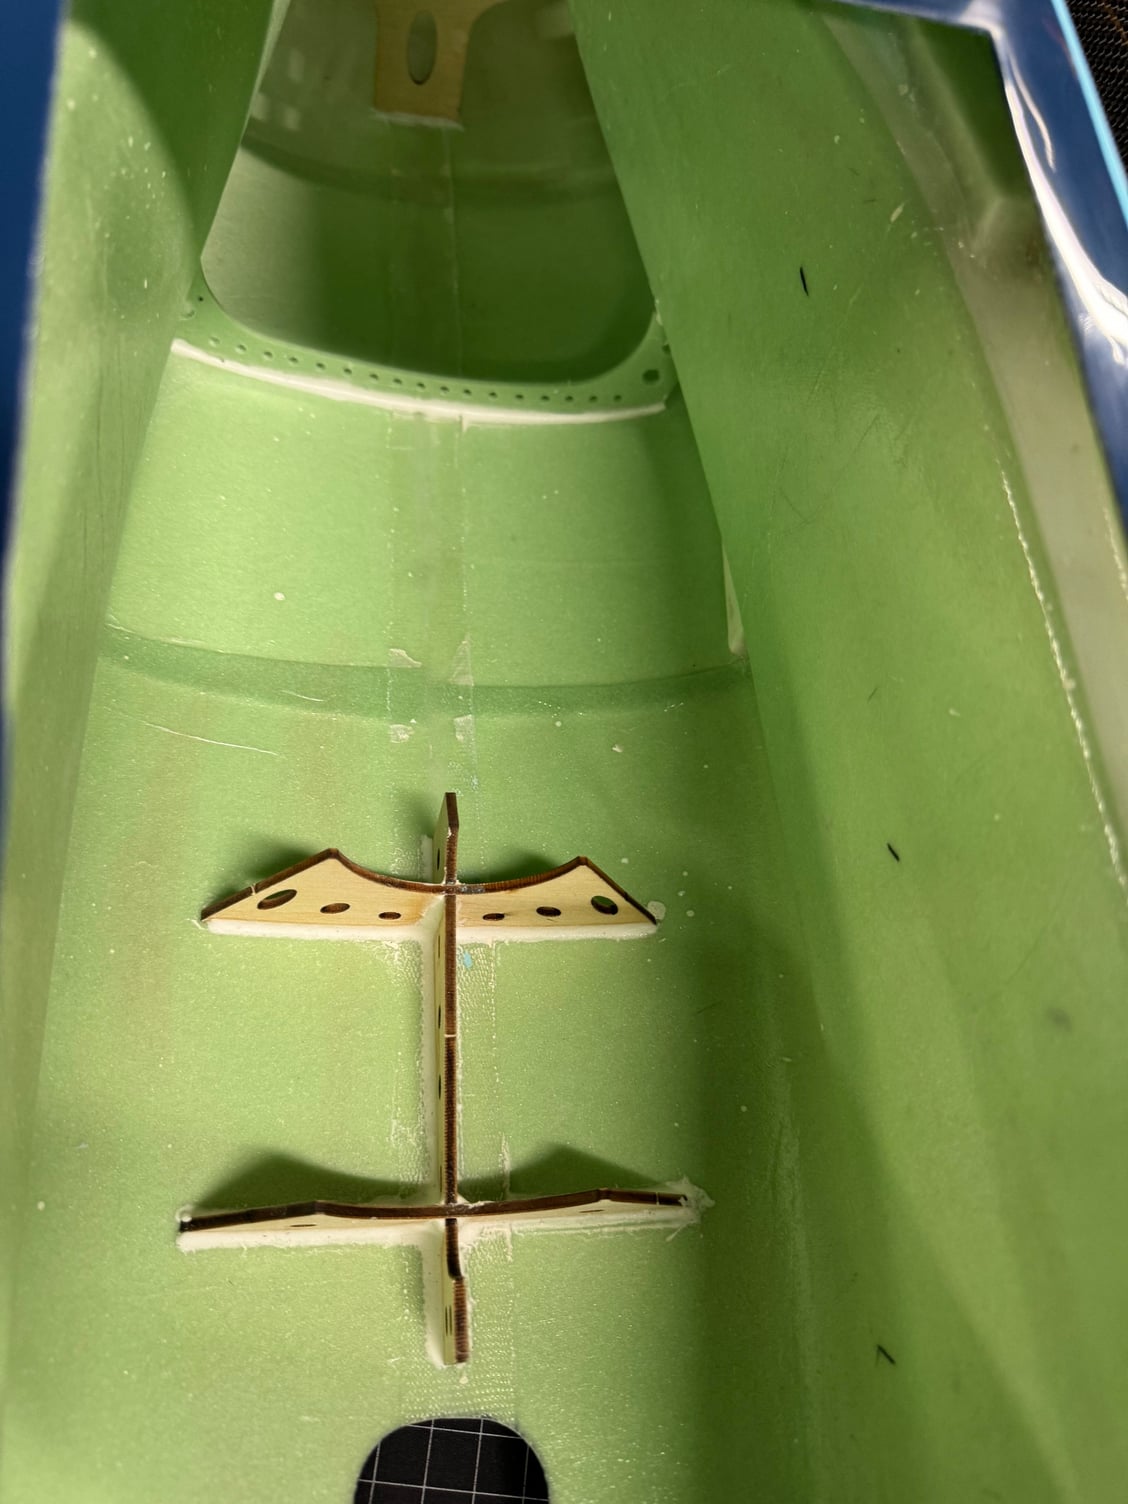
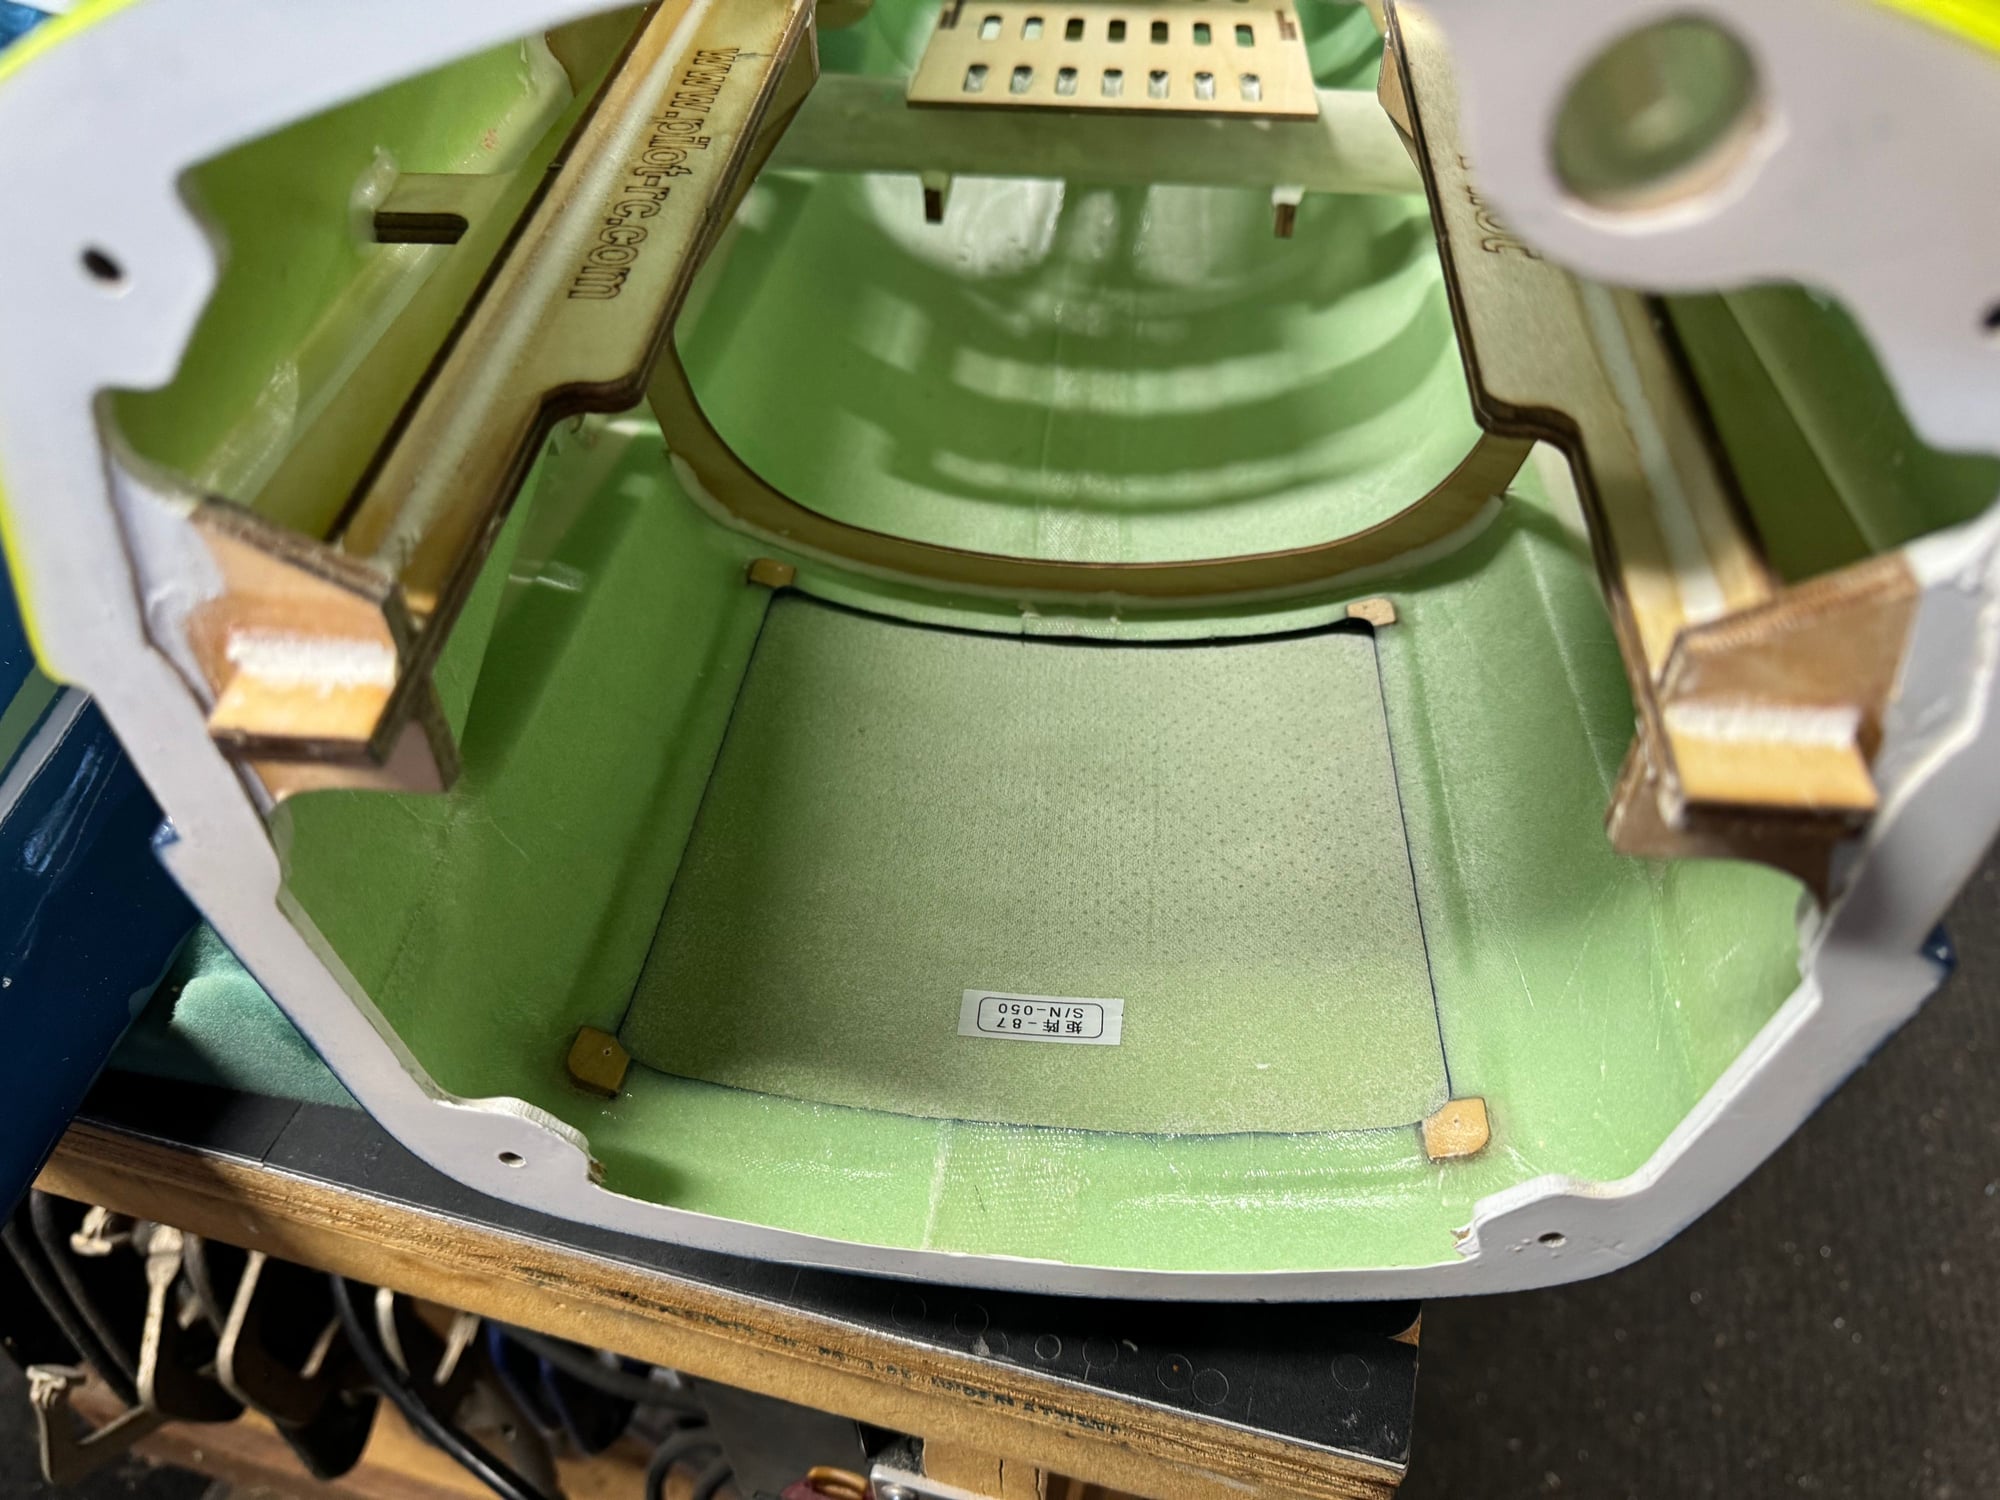
Plates to check the CG
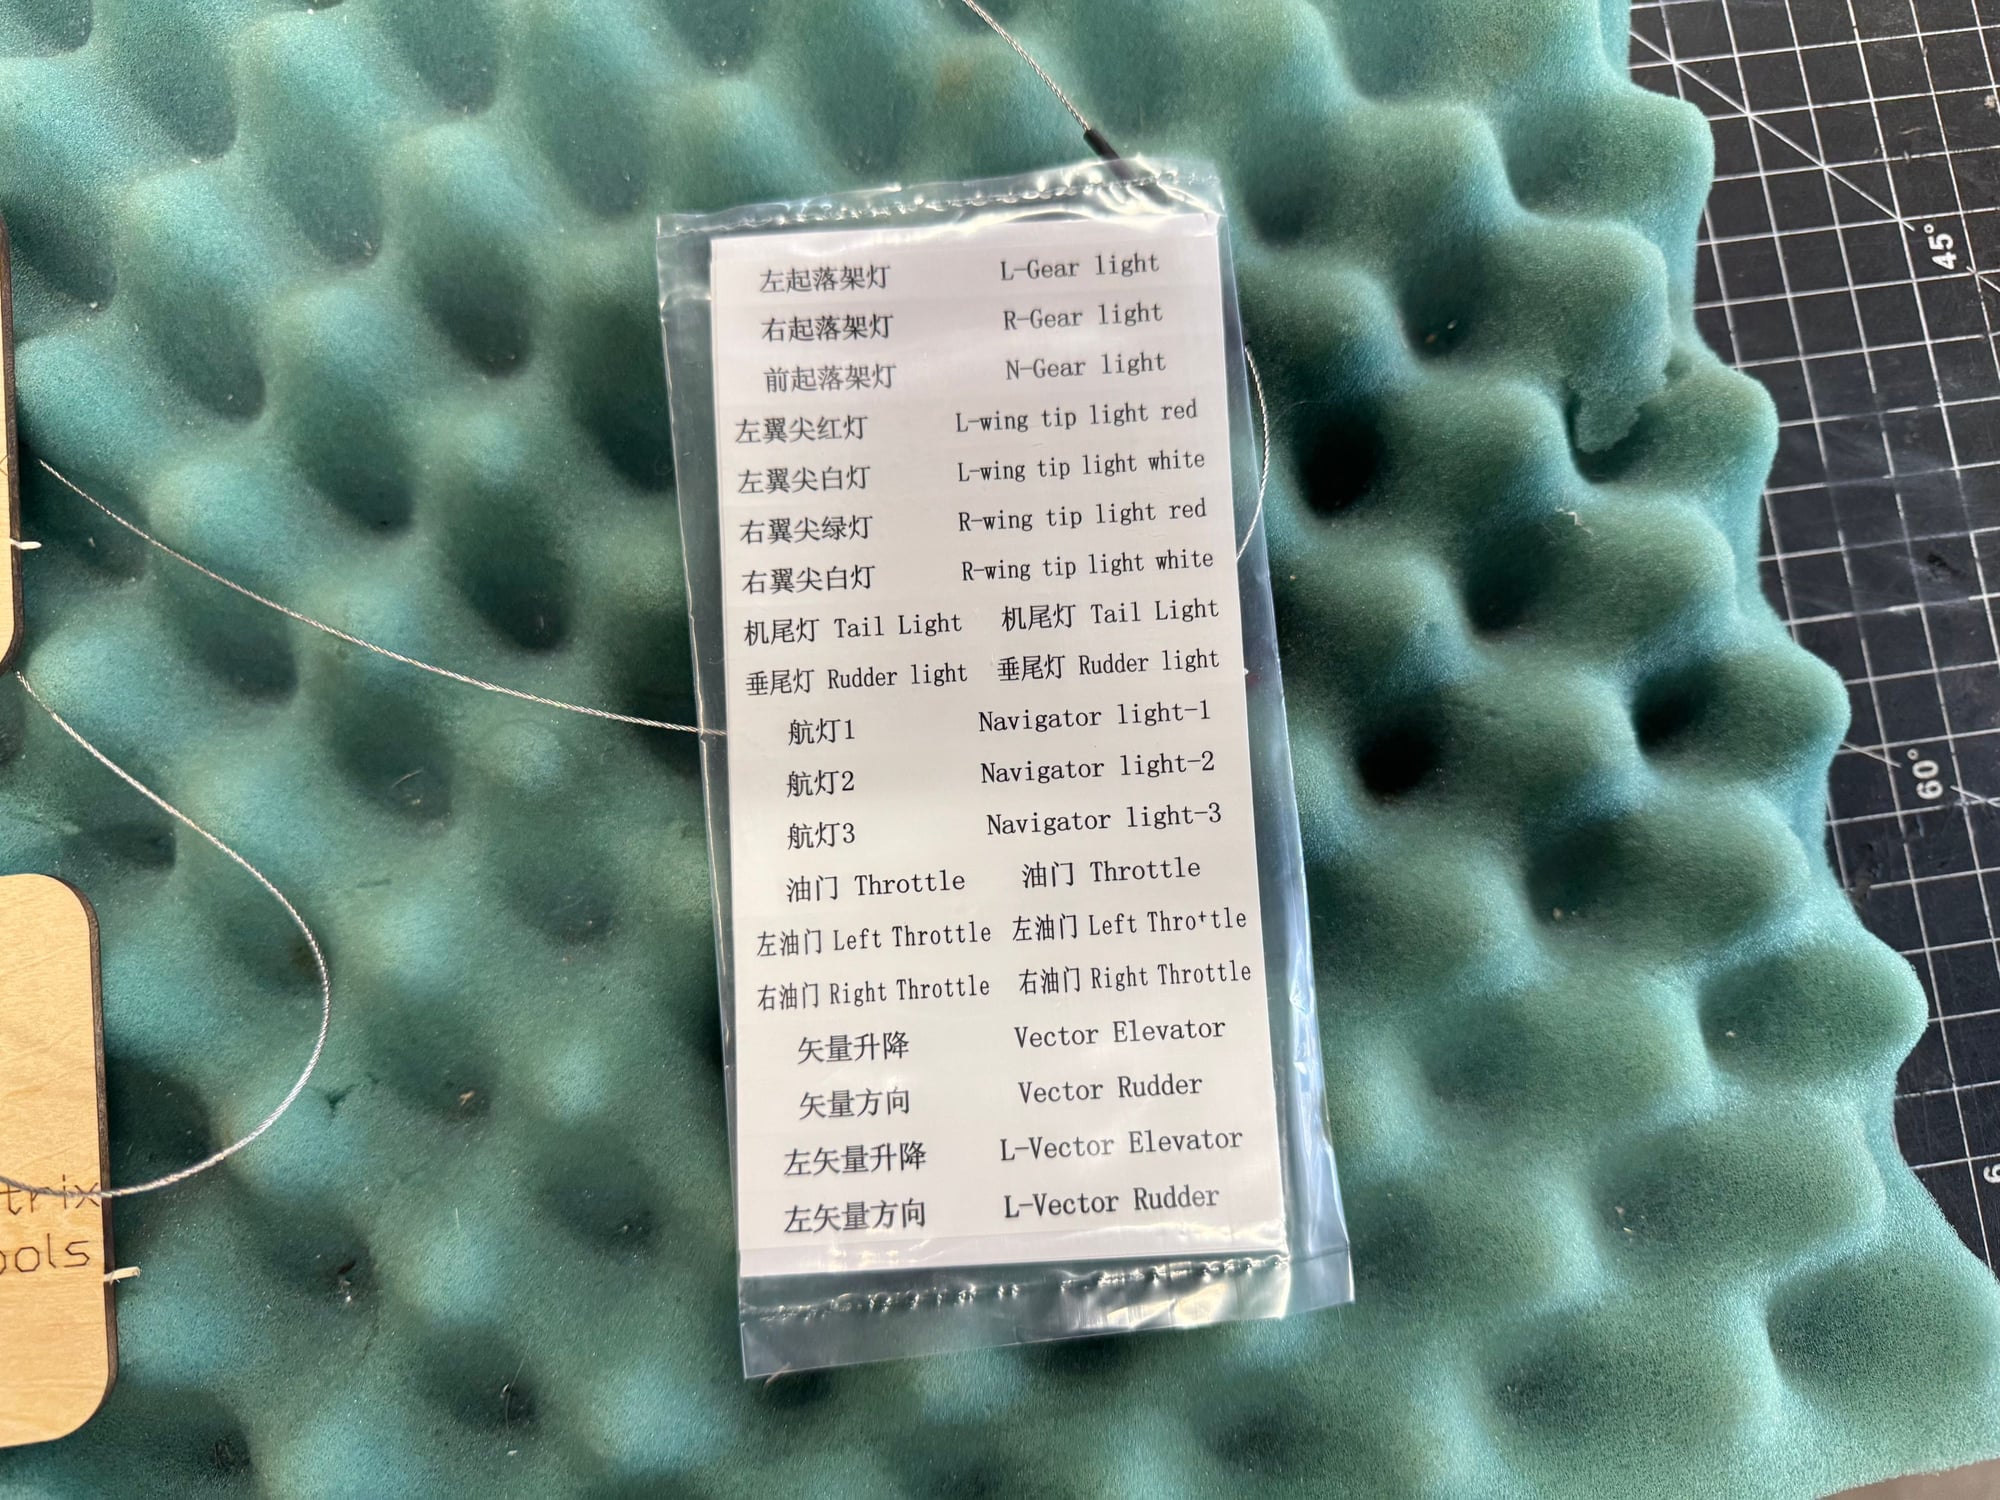
Labels for the various wires
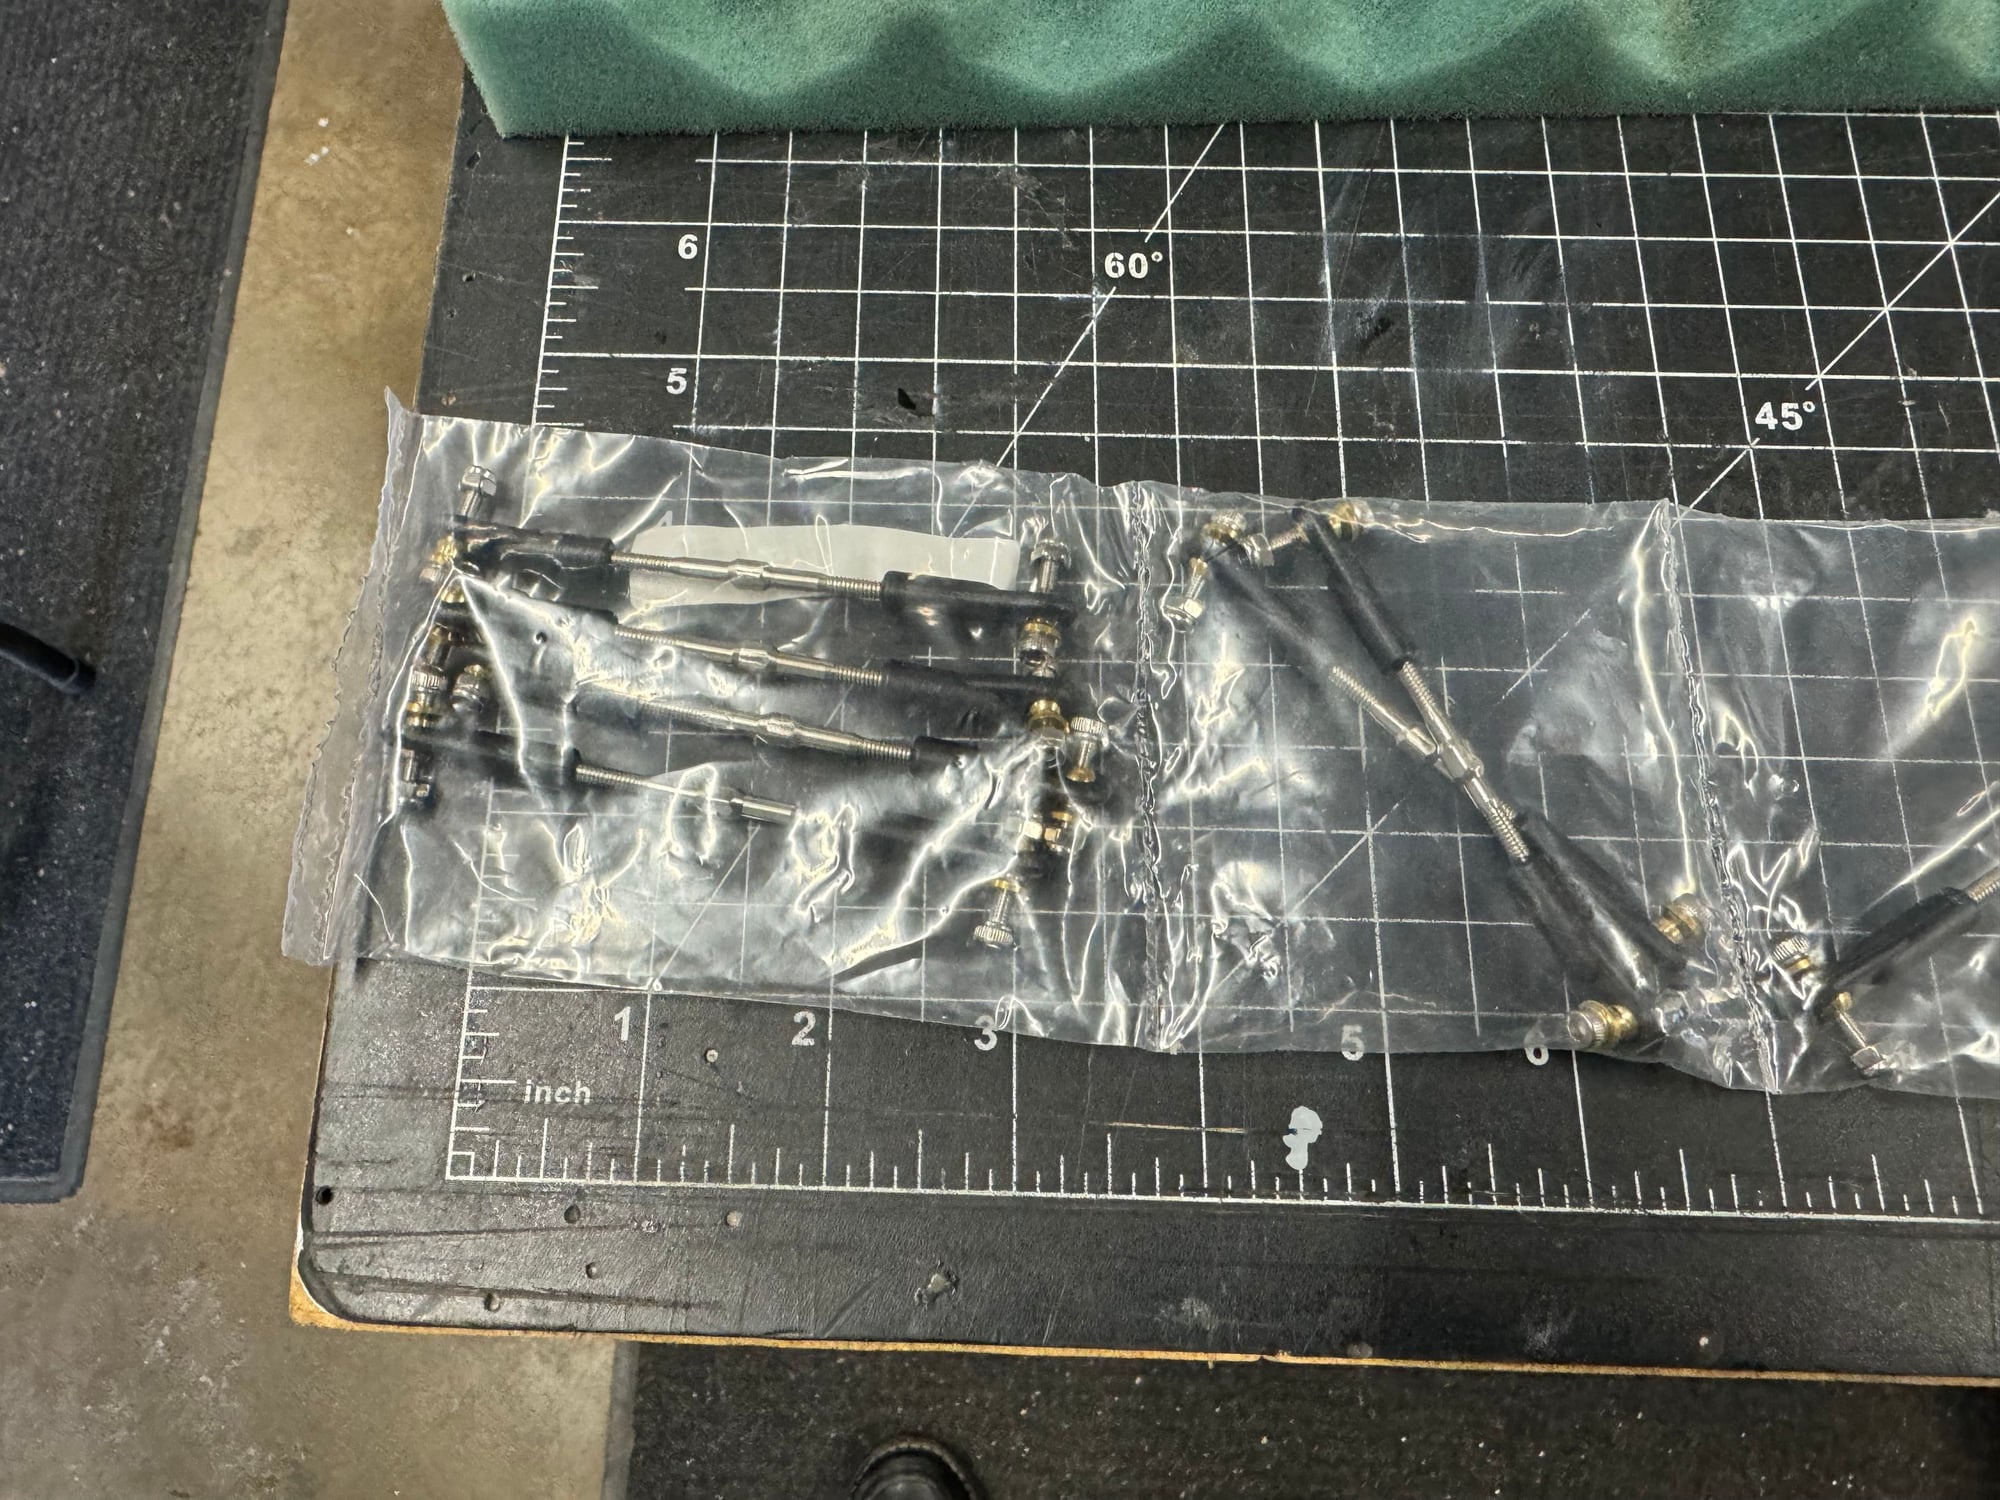
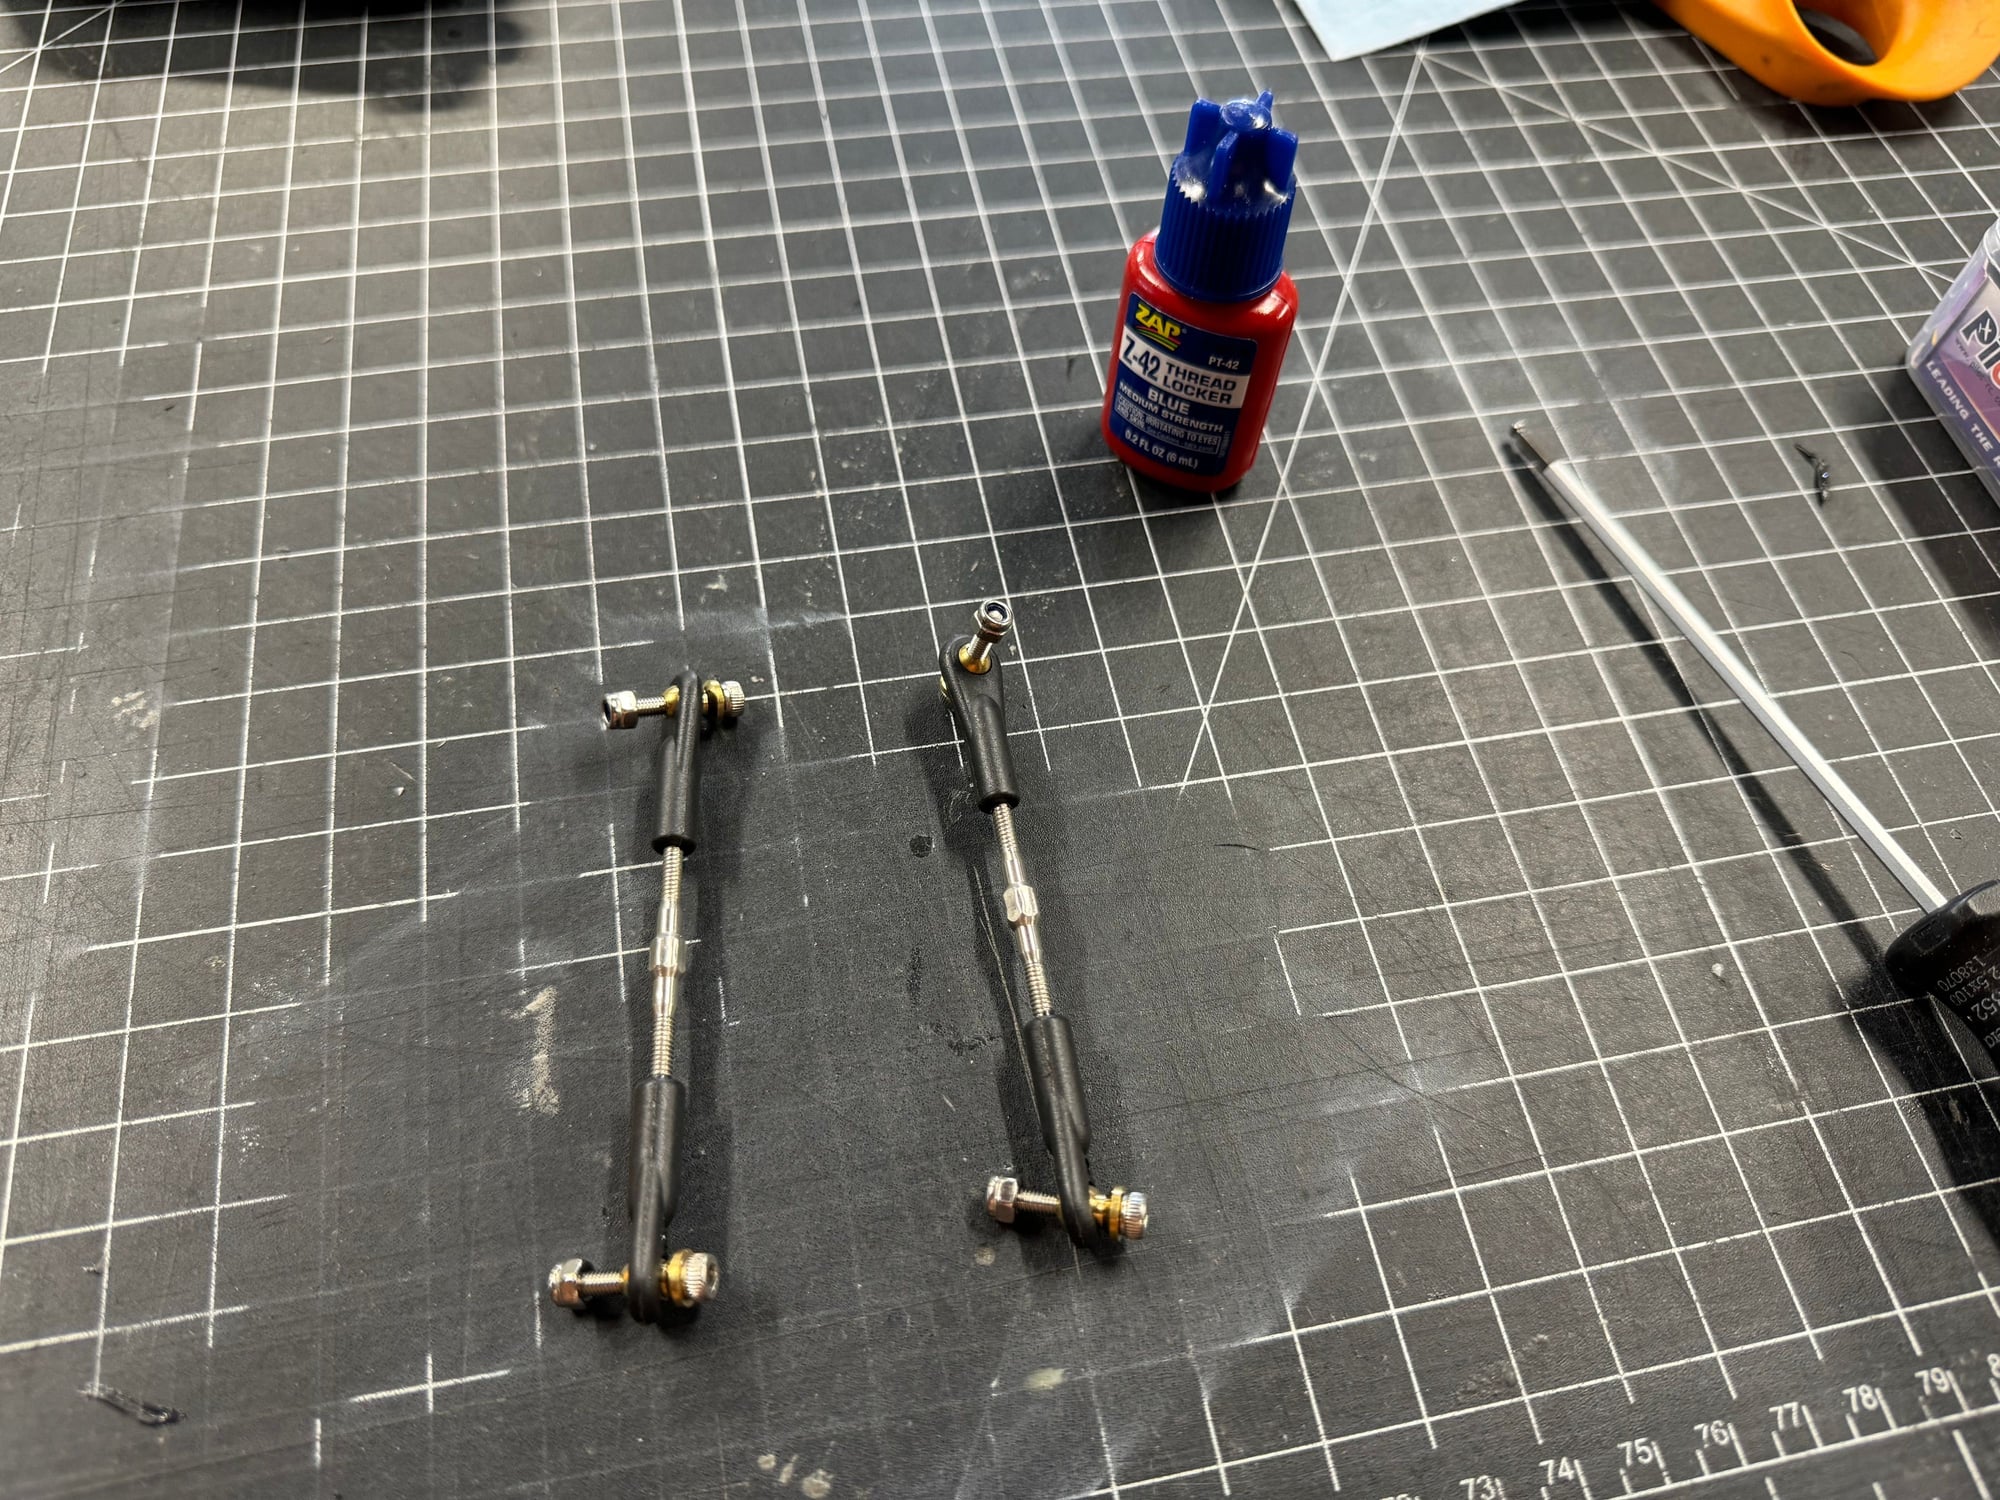
RH/LH turnbuckles for the ball end links
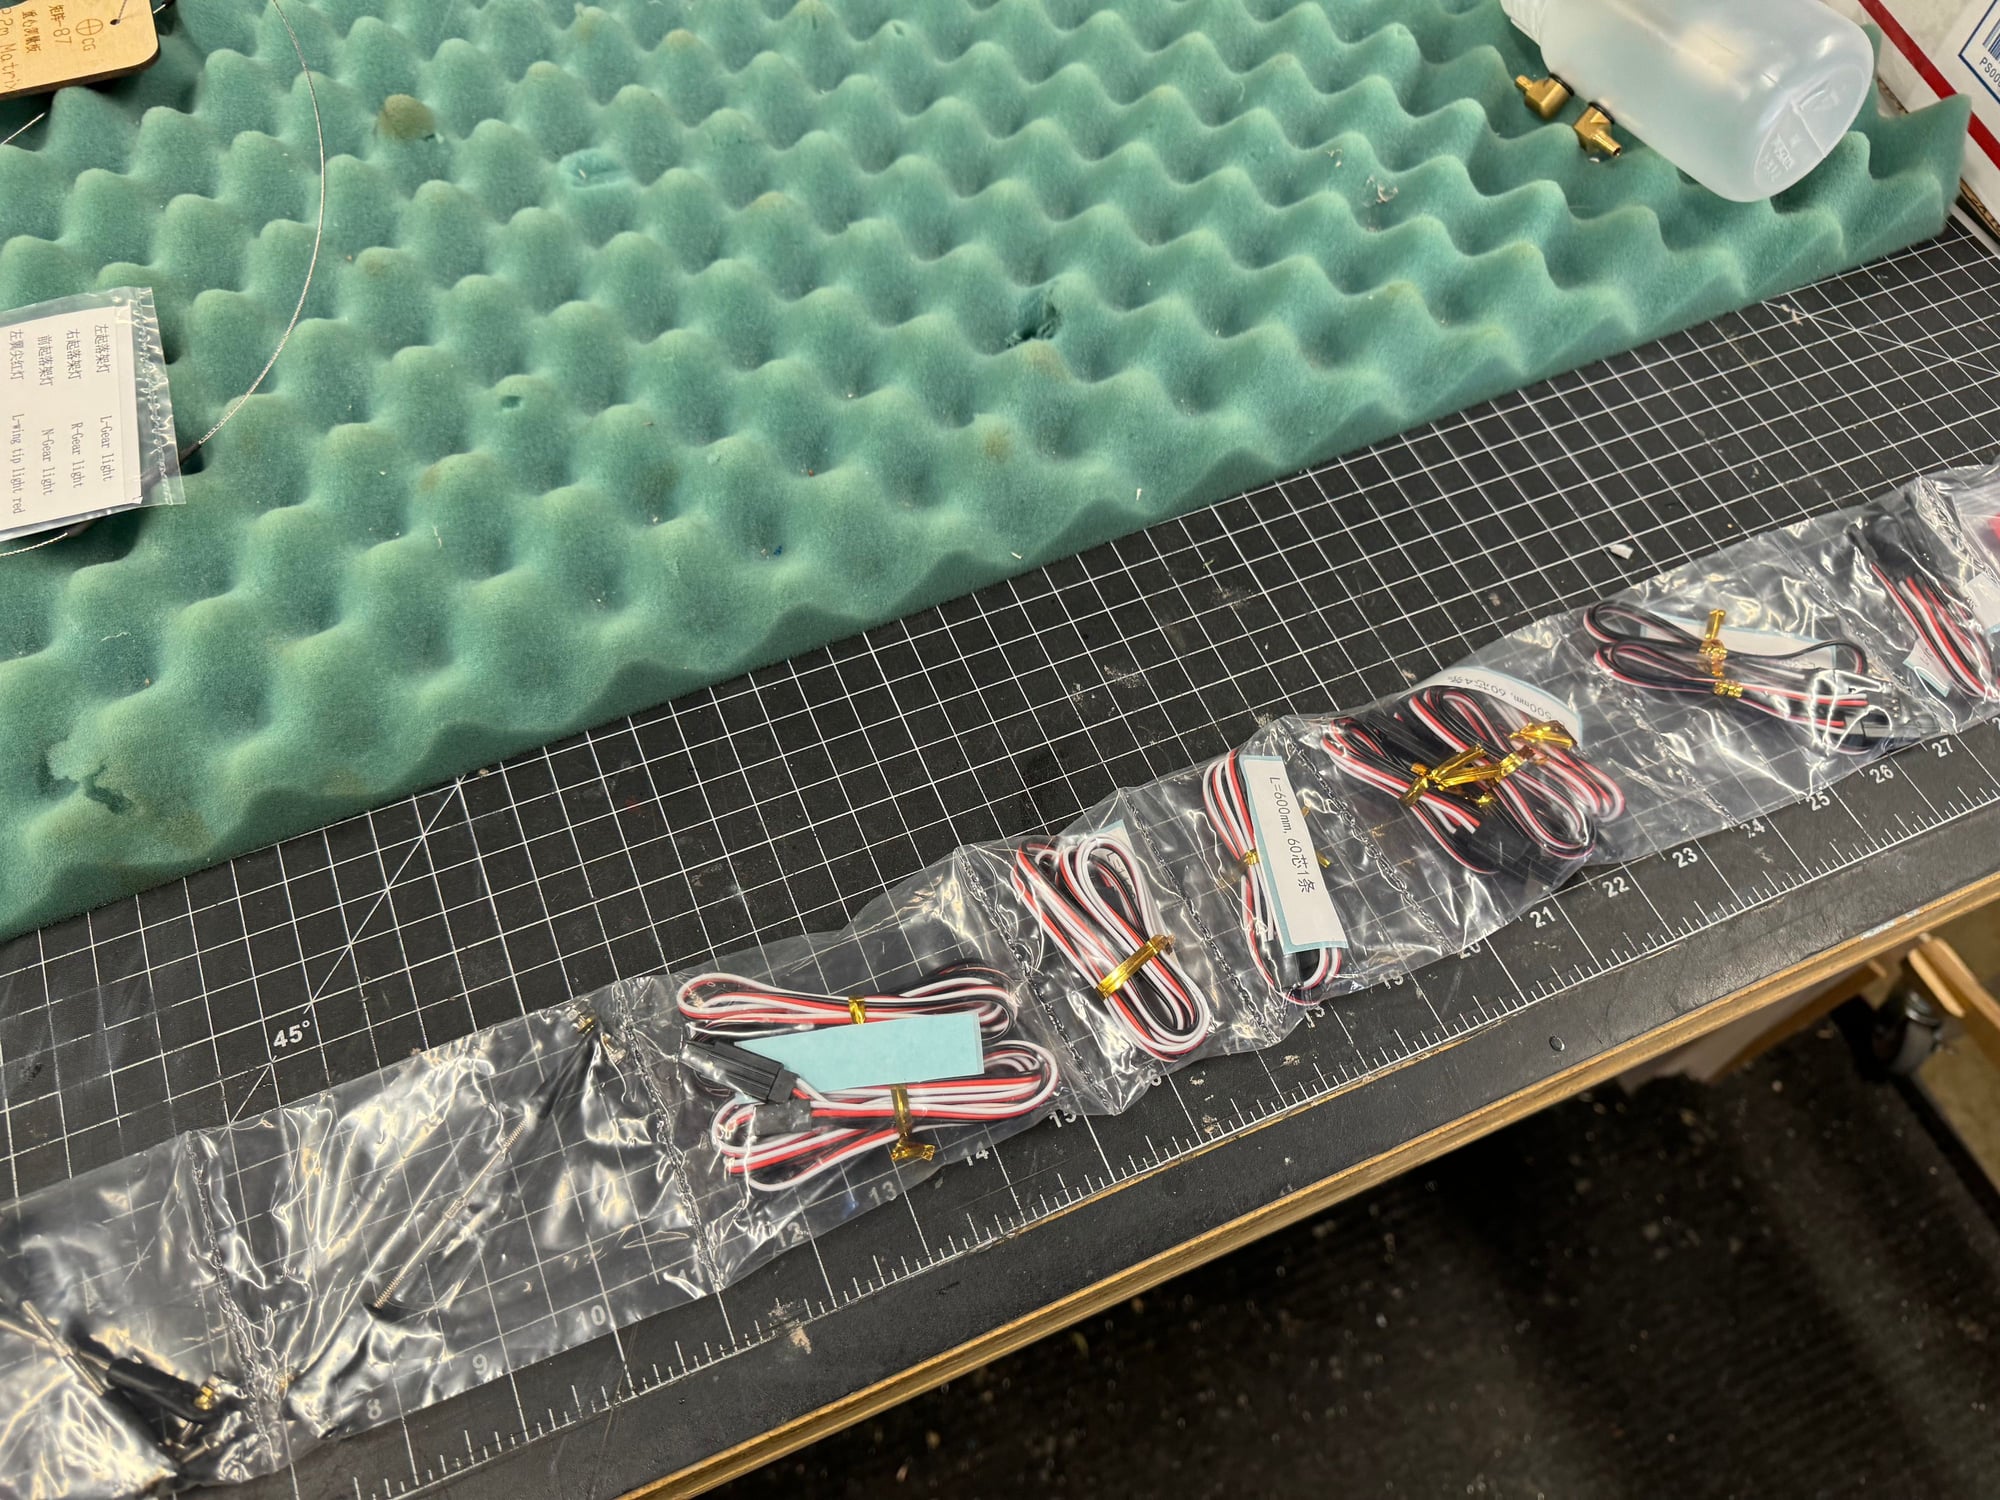
Servo extensions are included - that will save me hours of making wire harnesses
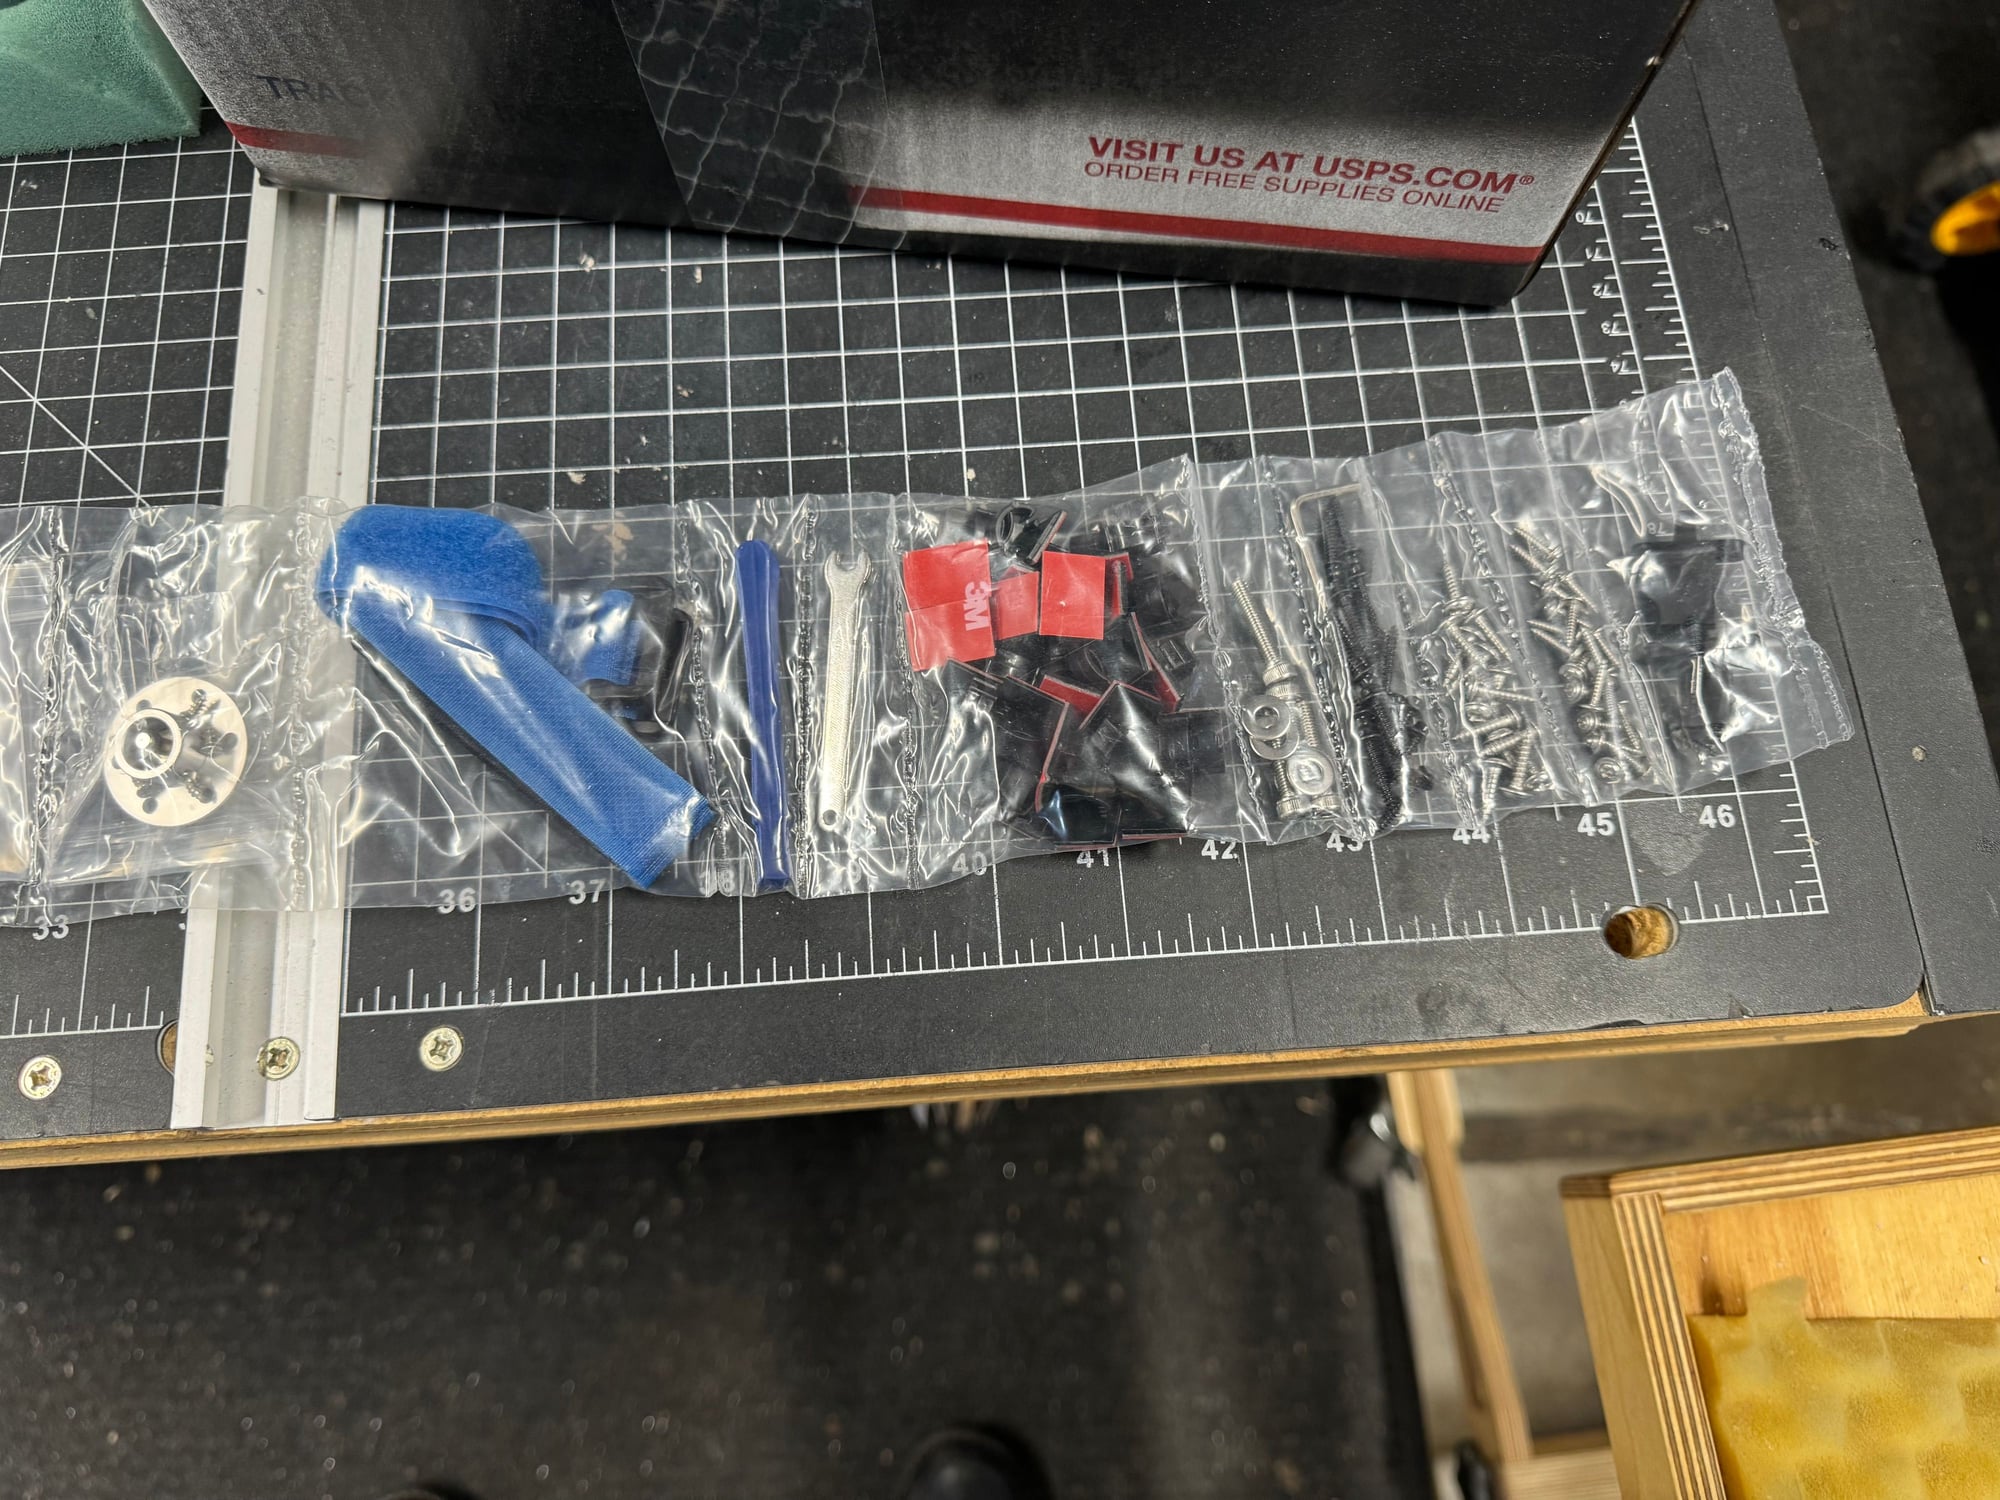
Fuel dot is included


The UAT looks good too. I like that there is a bubble eliminating felt clunk in it.
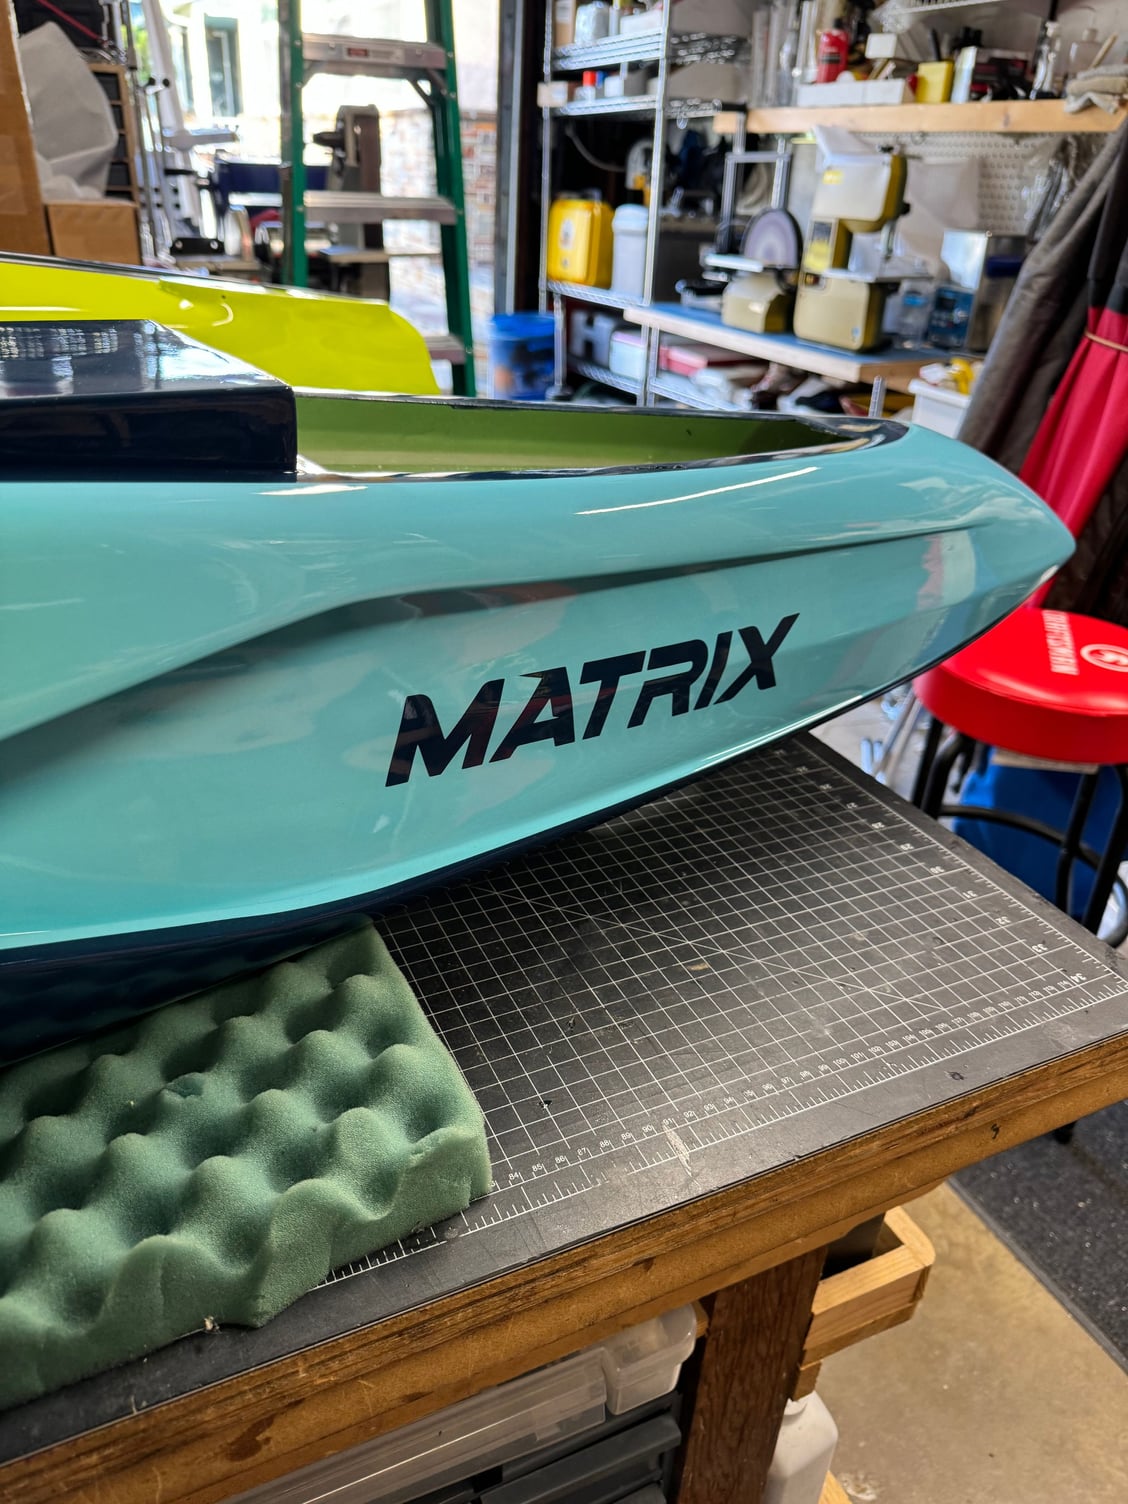
Stab half. The composite work is excellent
Top of Stab.
I'll put up more photos as I build it.
Plates to check the CG
Labels for the various wires
RH/LH turnbuckles for the ball end links
Servo extensions are included - that will save me hours of making wire harnesses
Fuel dot is included
The UAT looks good too. I like that there is a bubble eliminating felt clunk in it.
Stab half. The composite work is excellent
Top of Stab.


 02-16-2024, 03:41 PM
#4
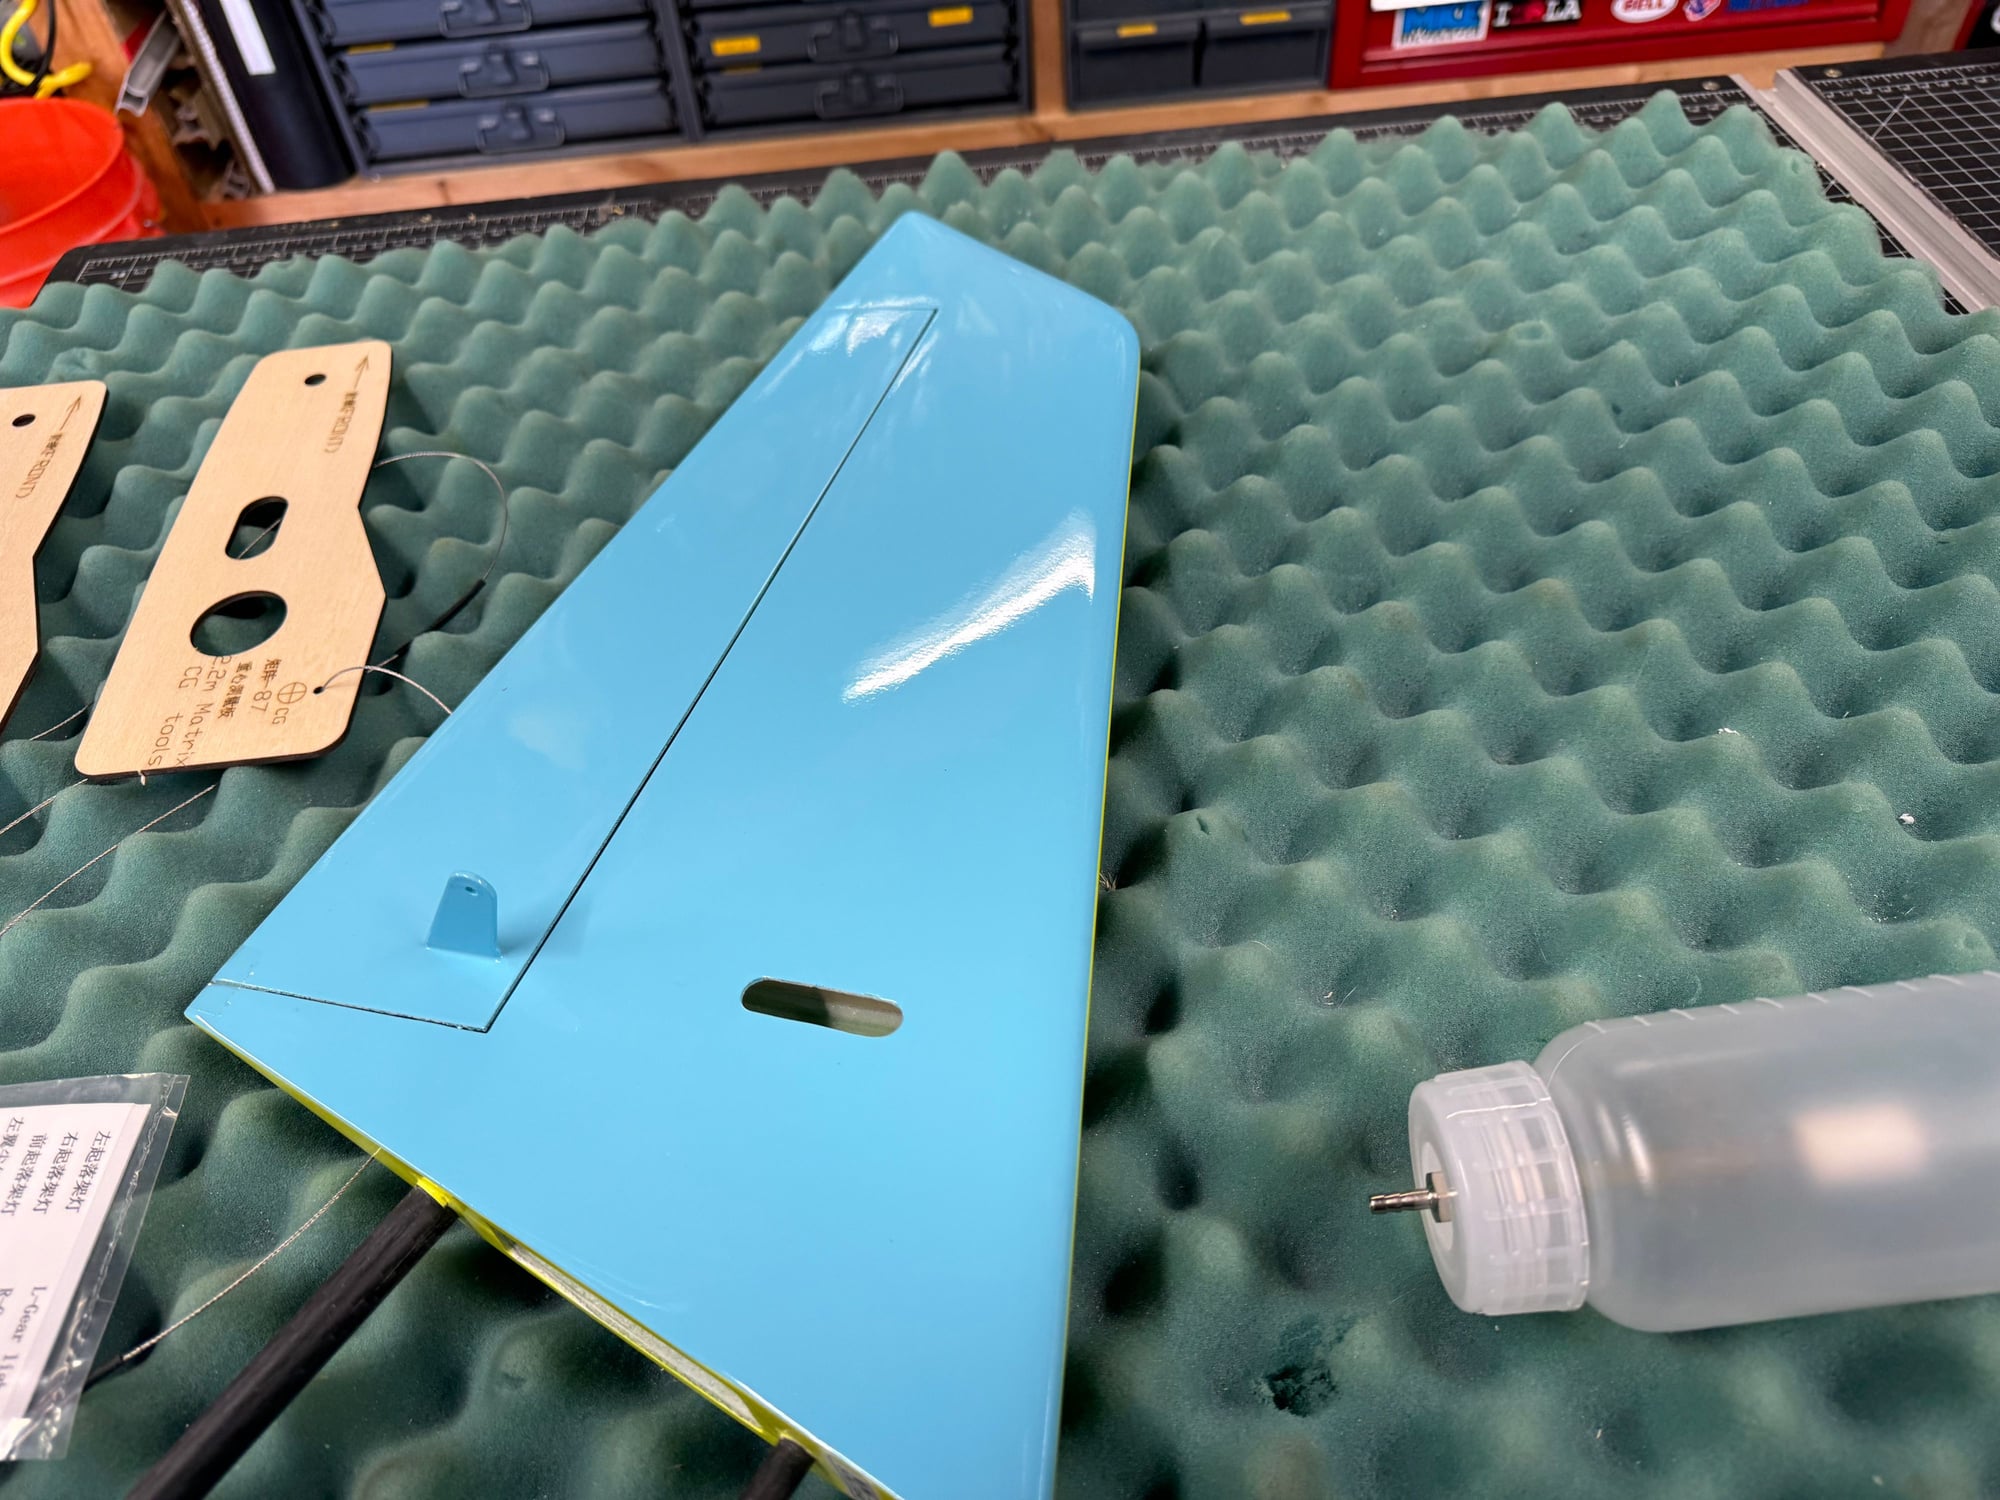
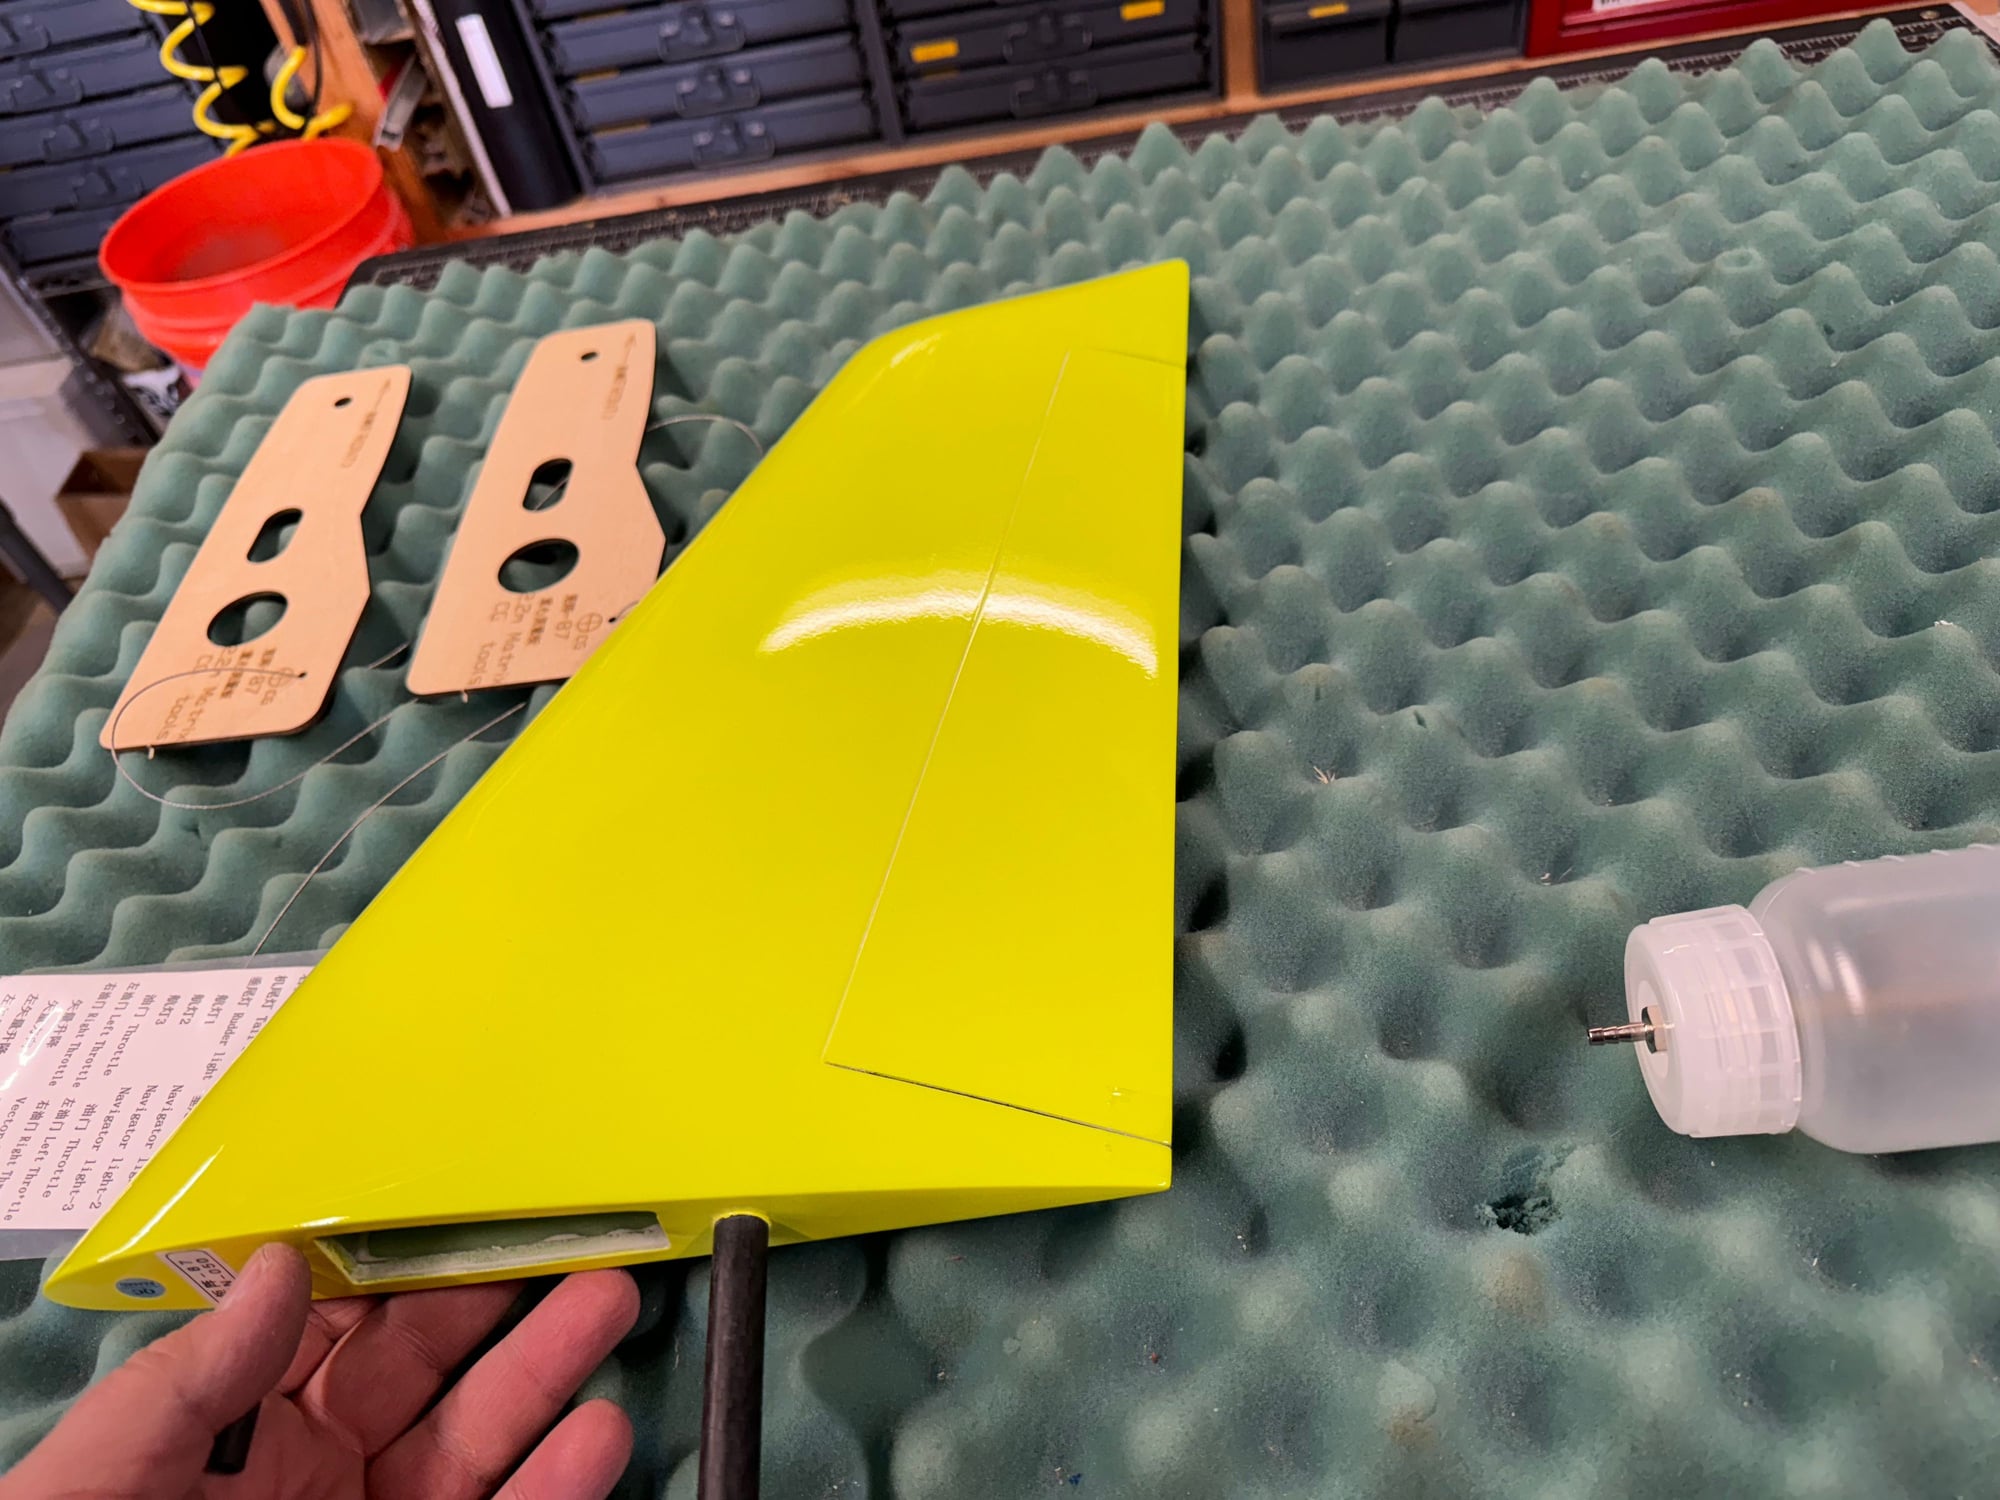
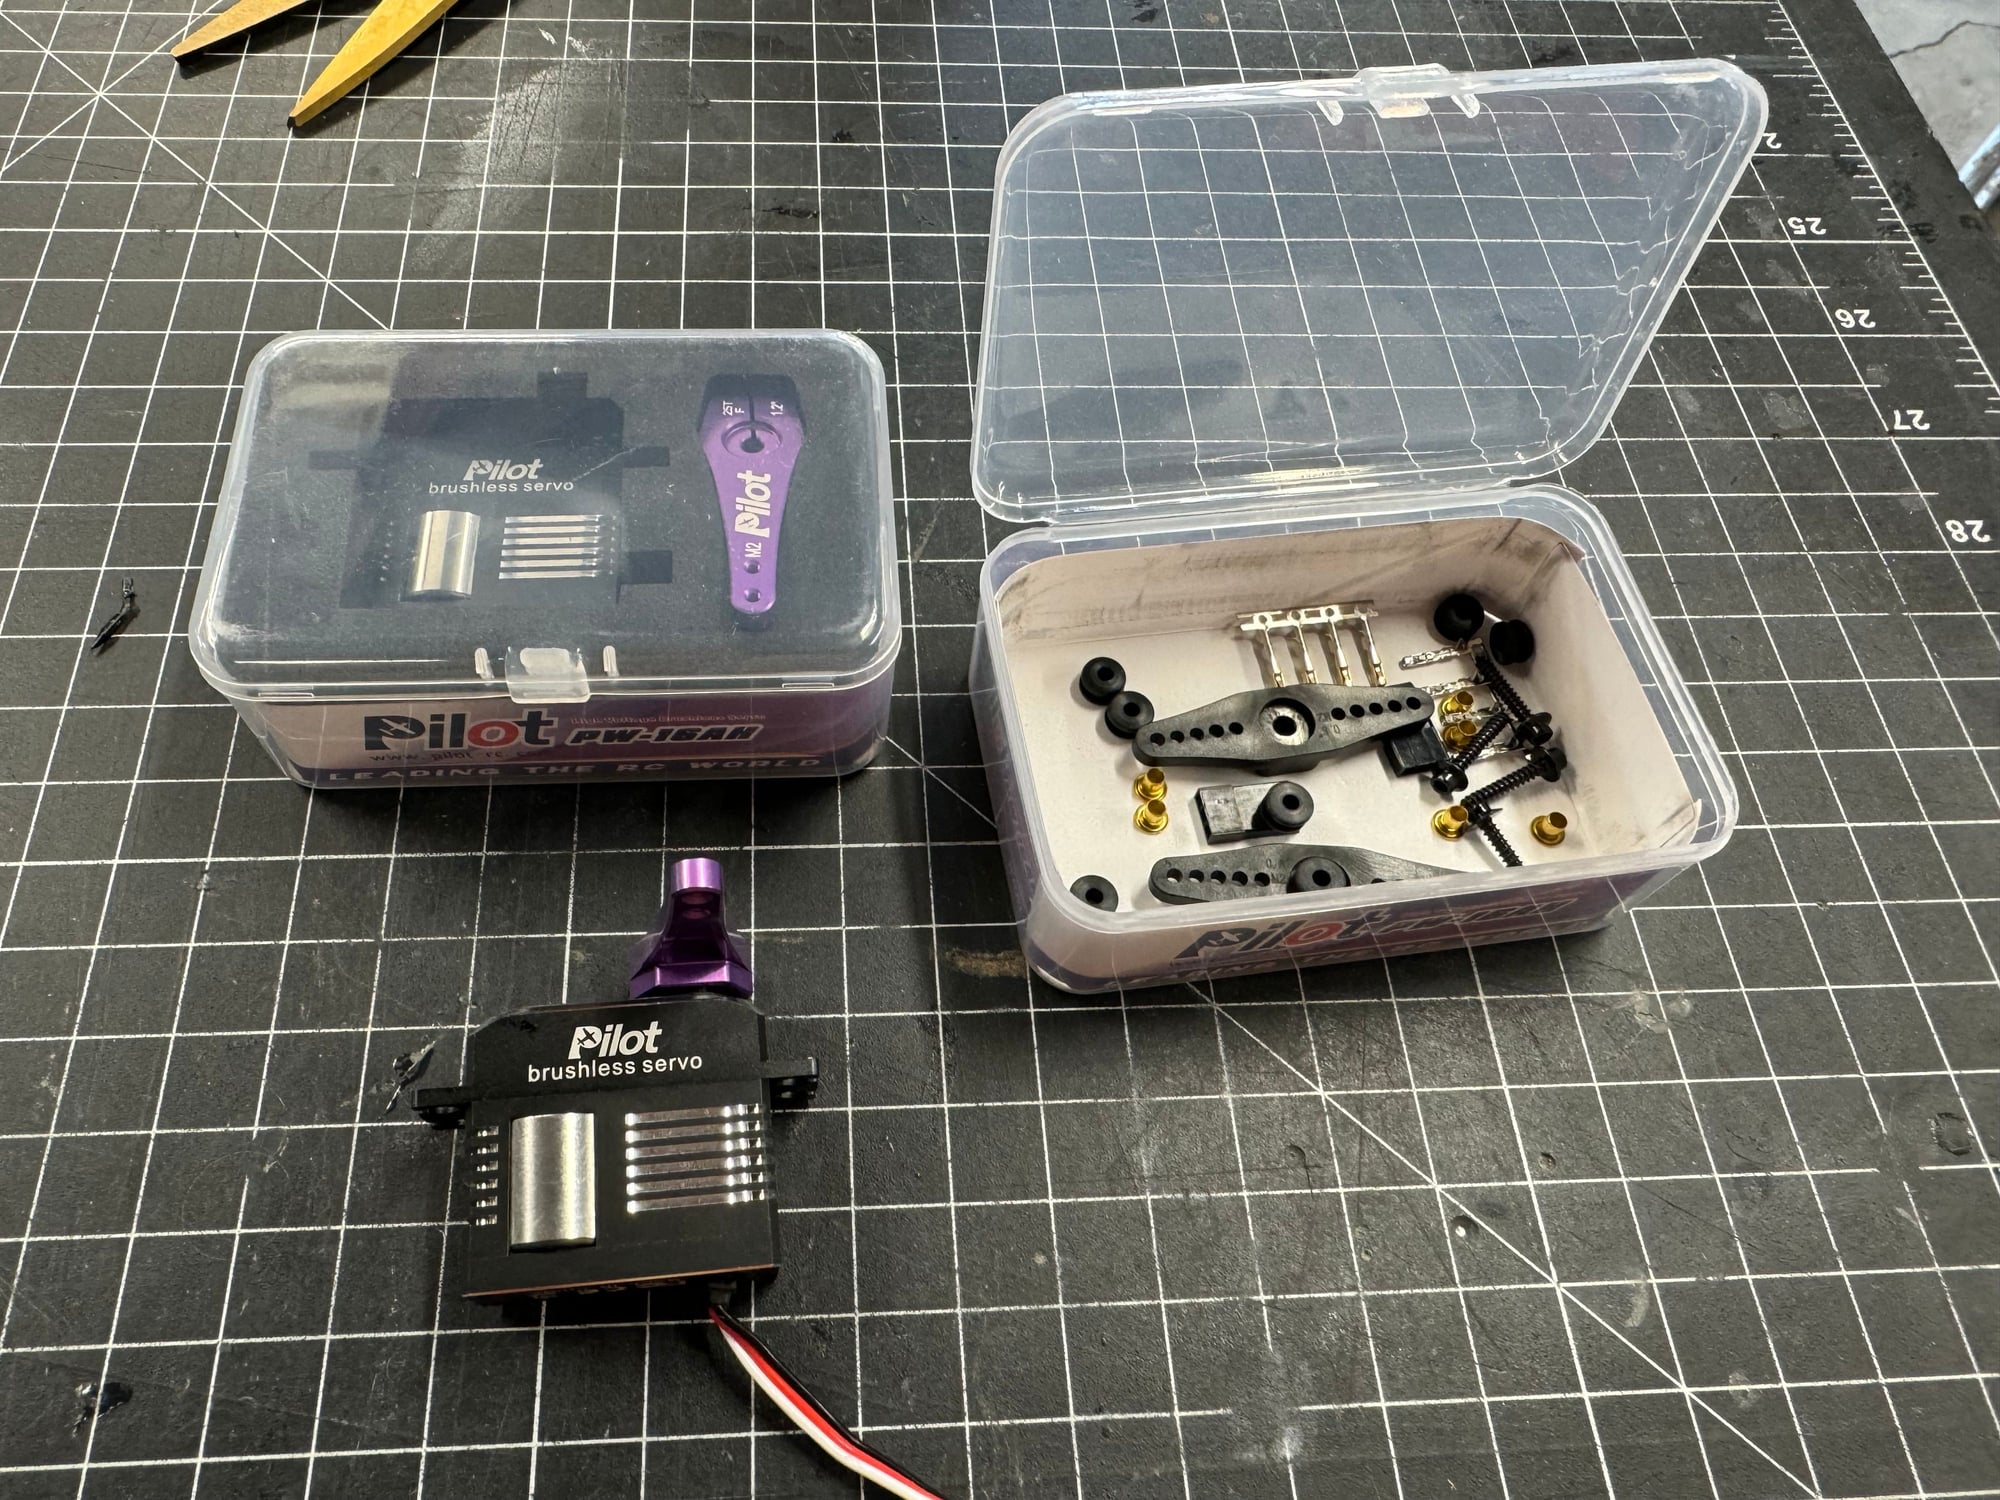
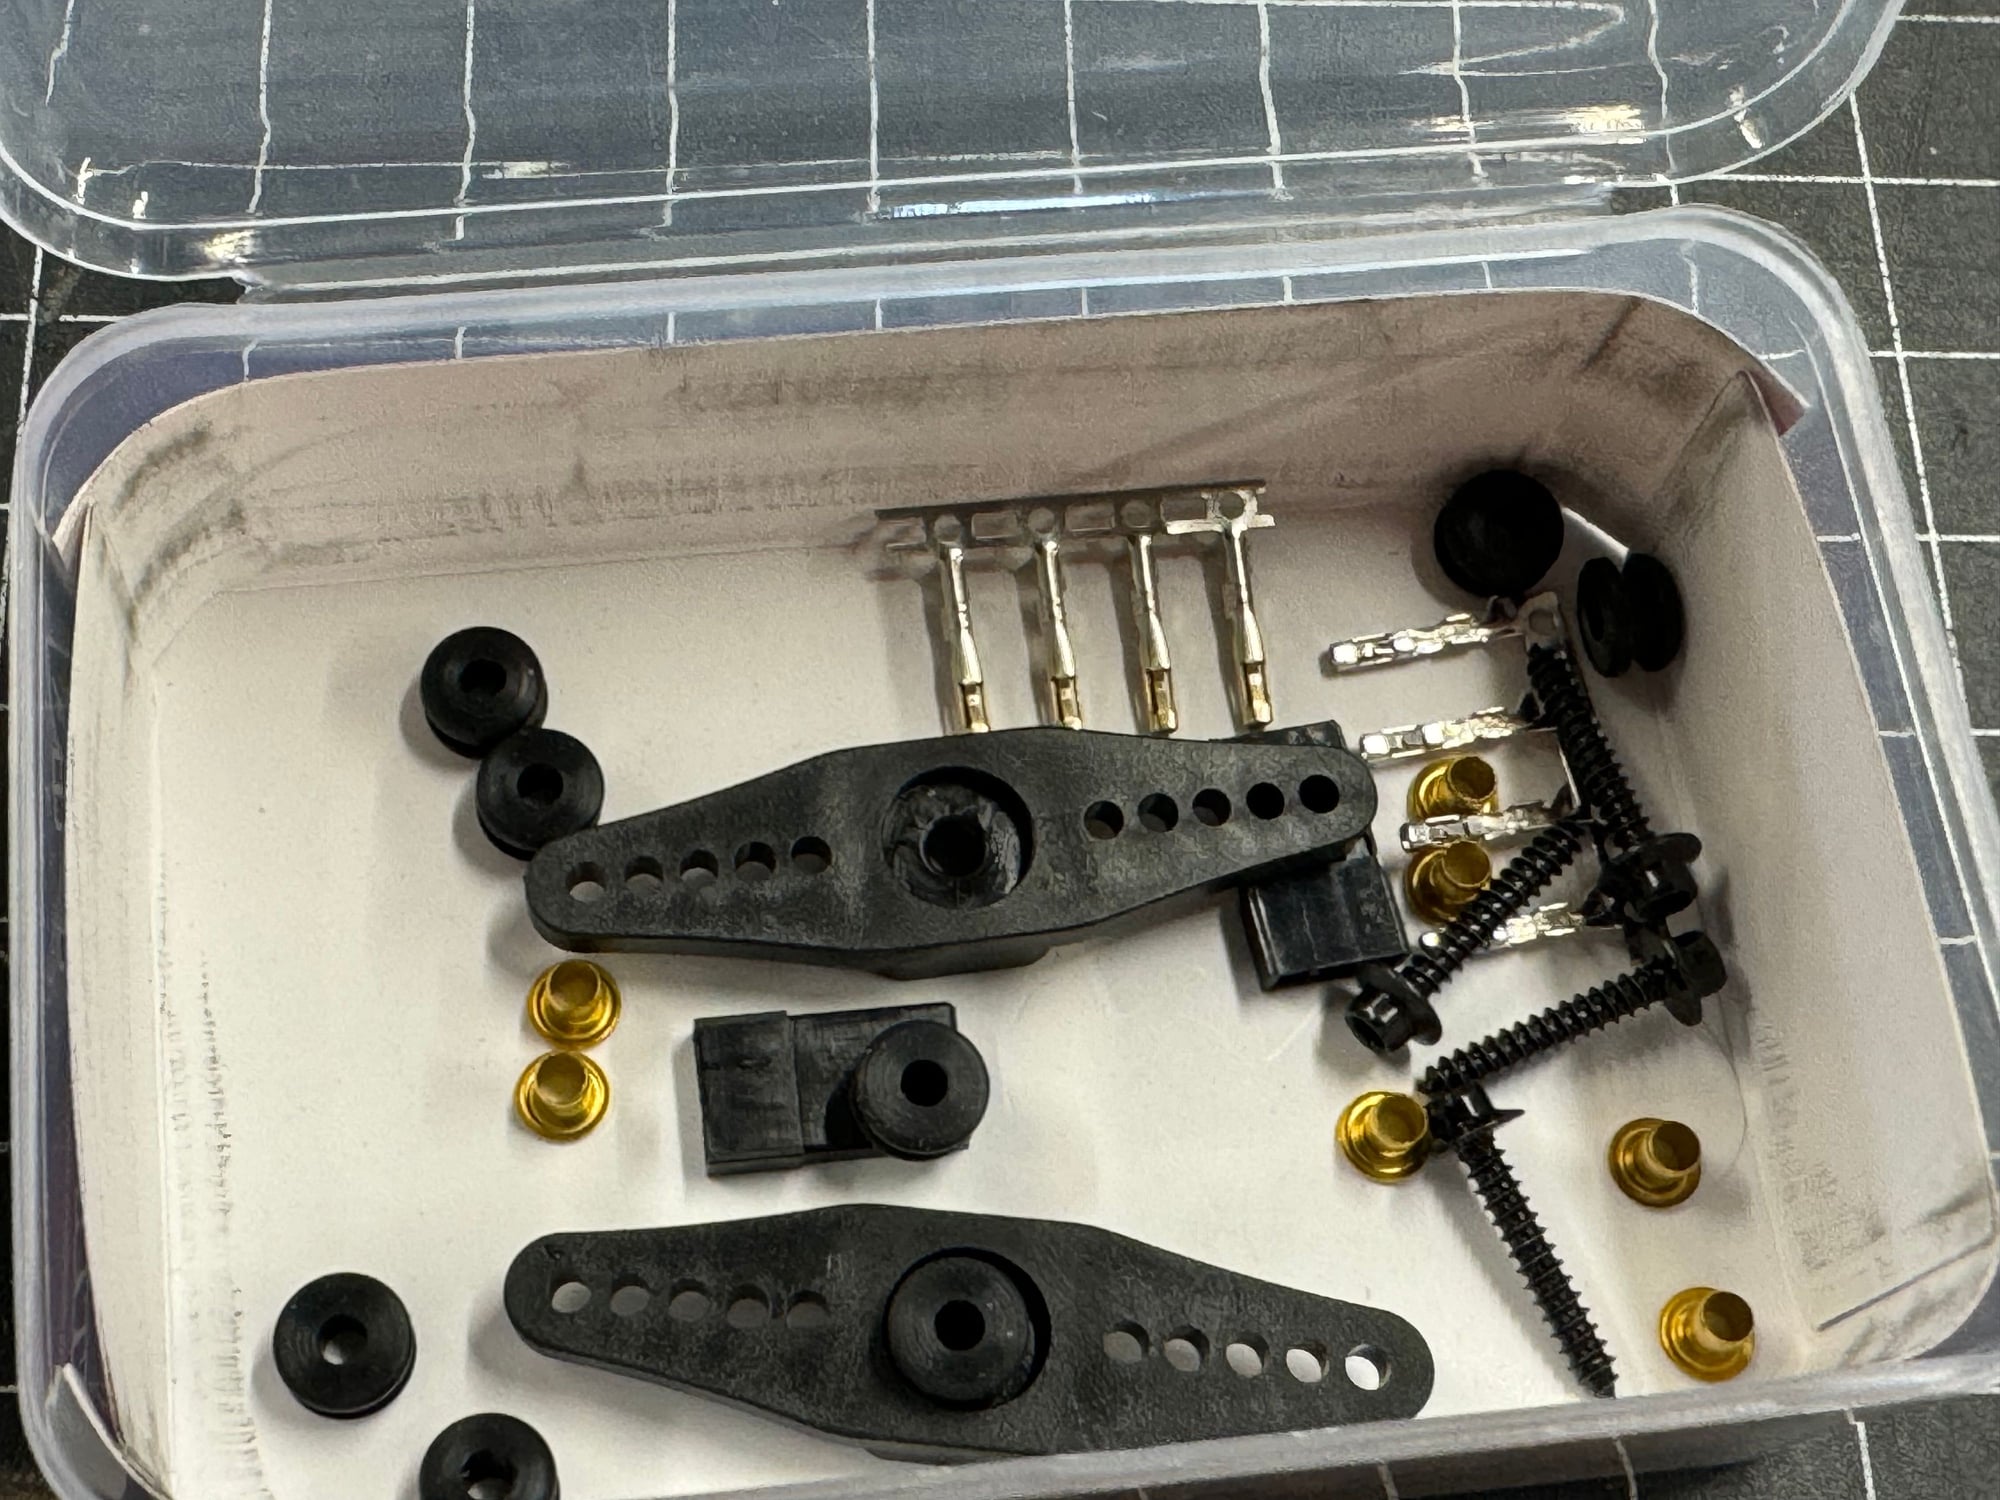
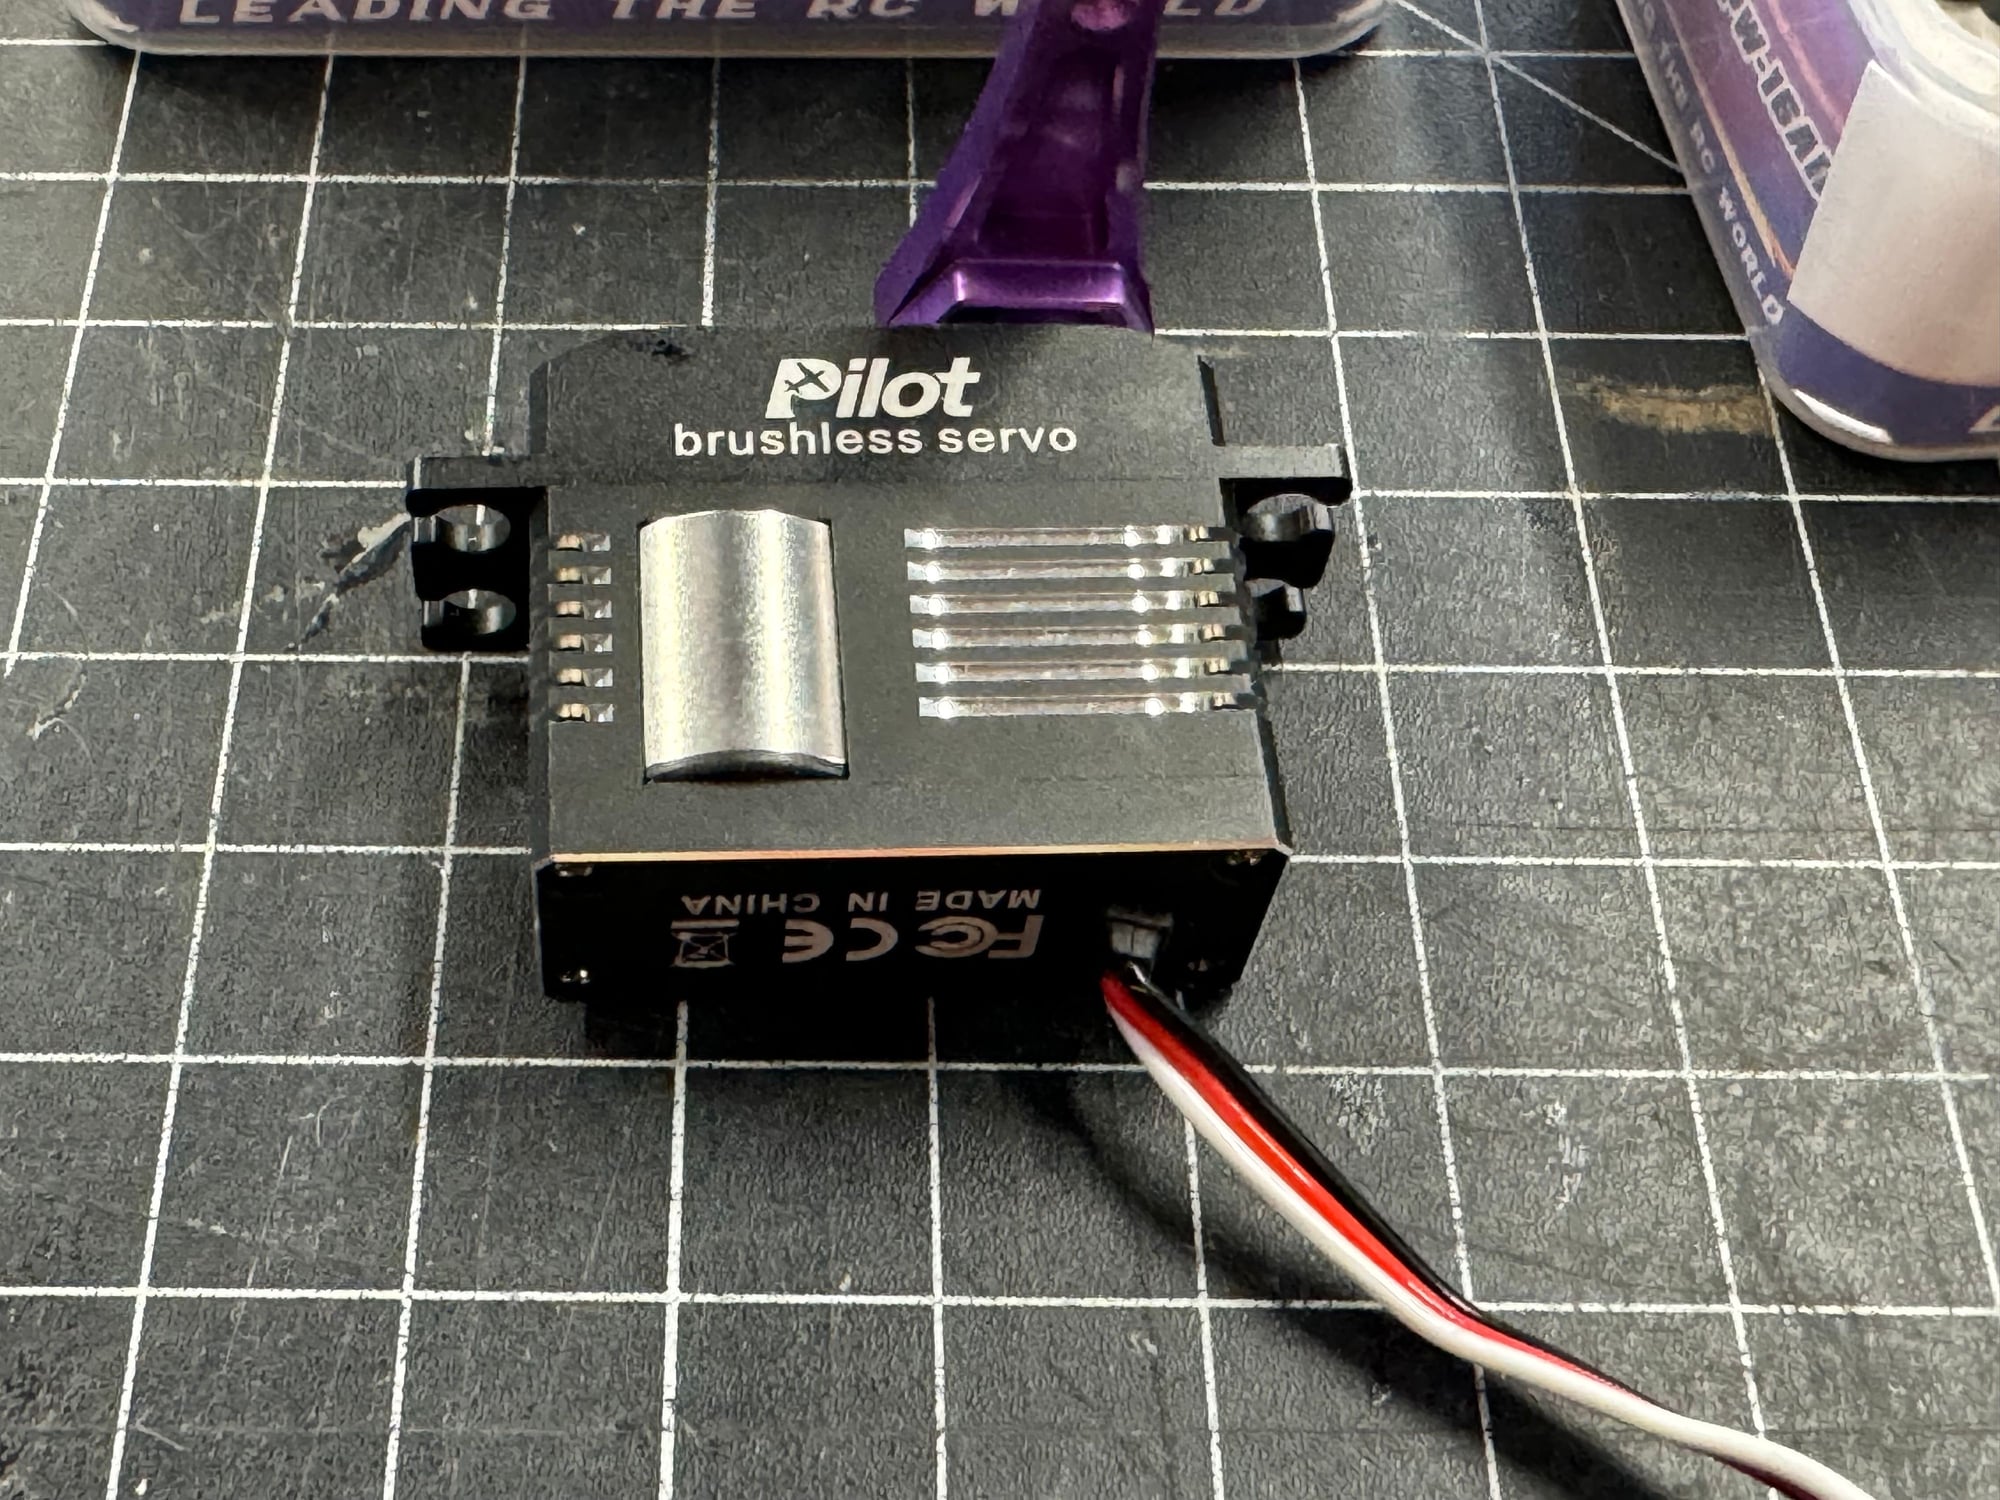
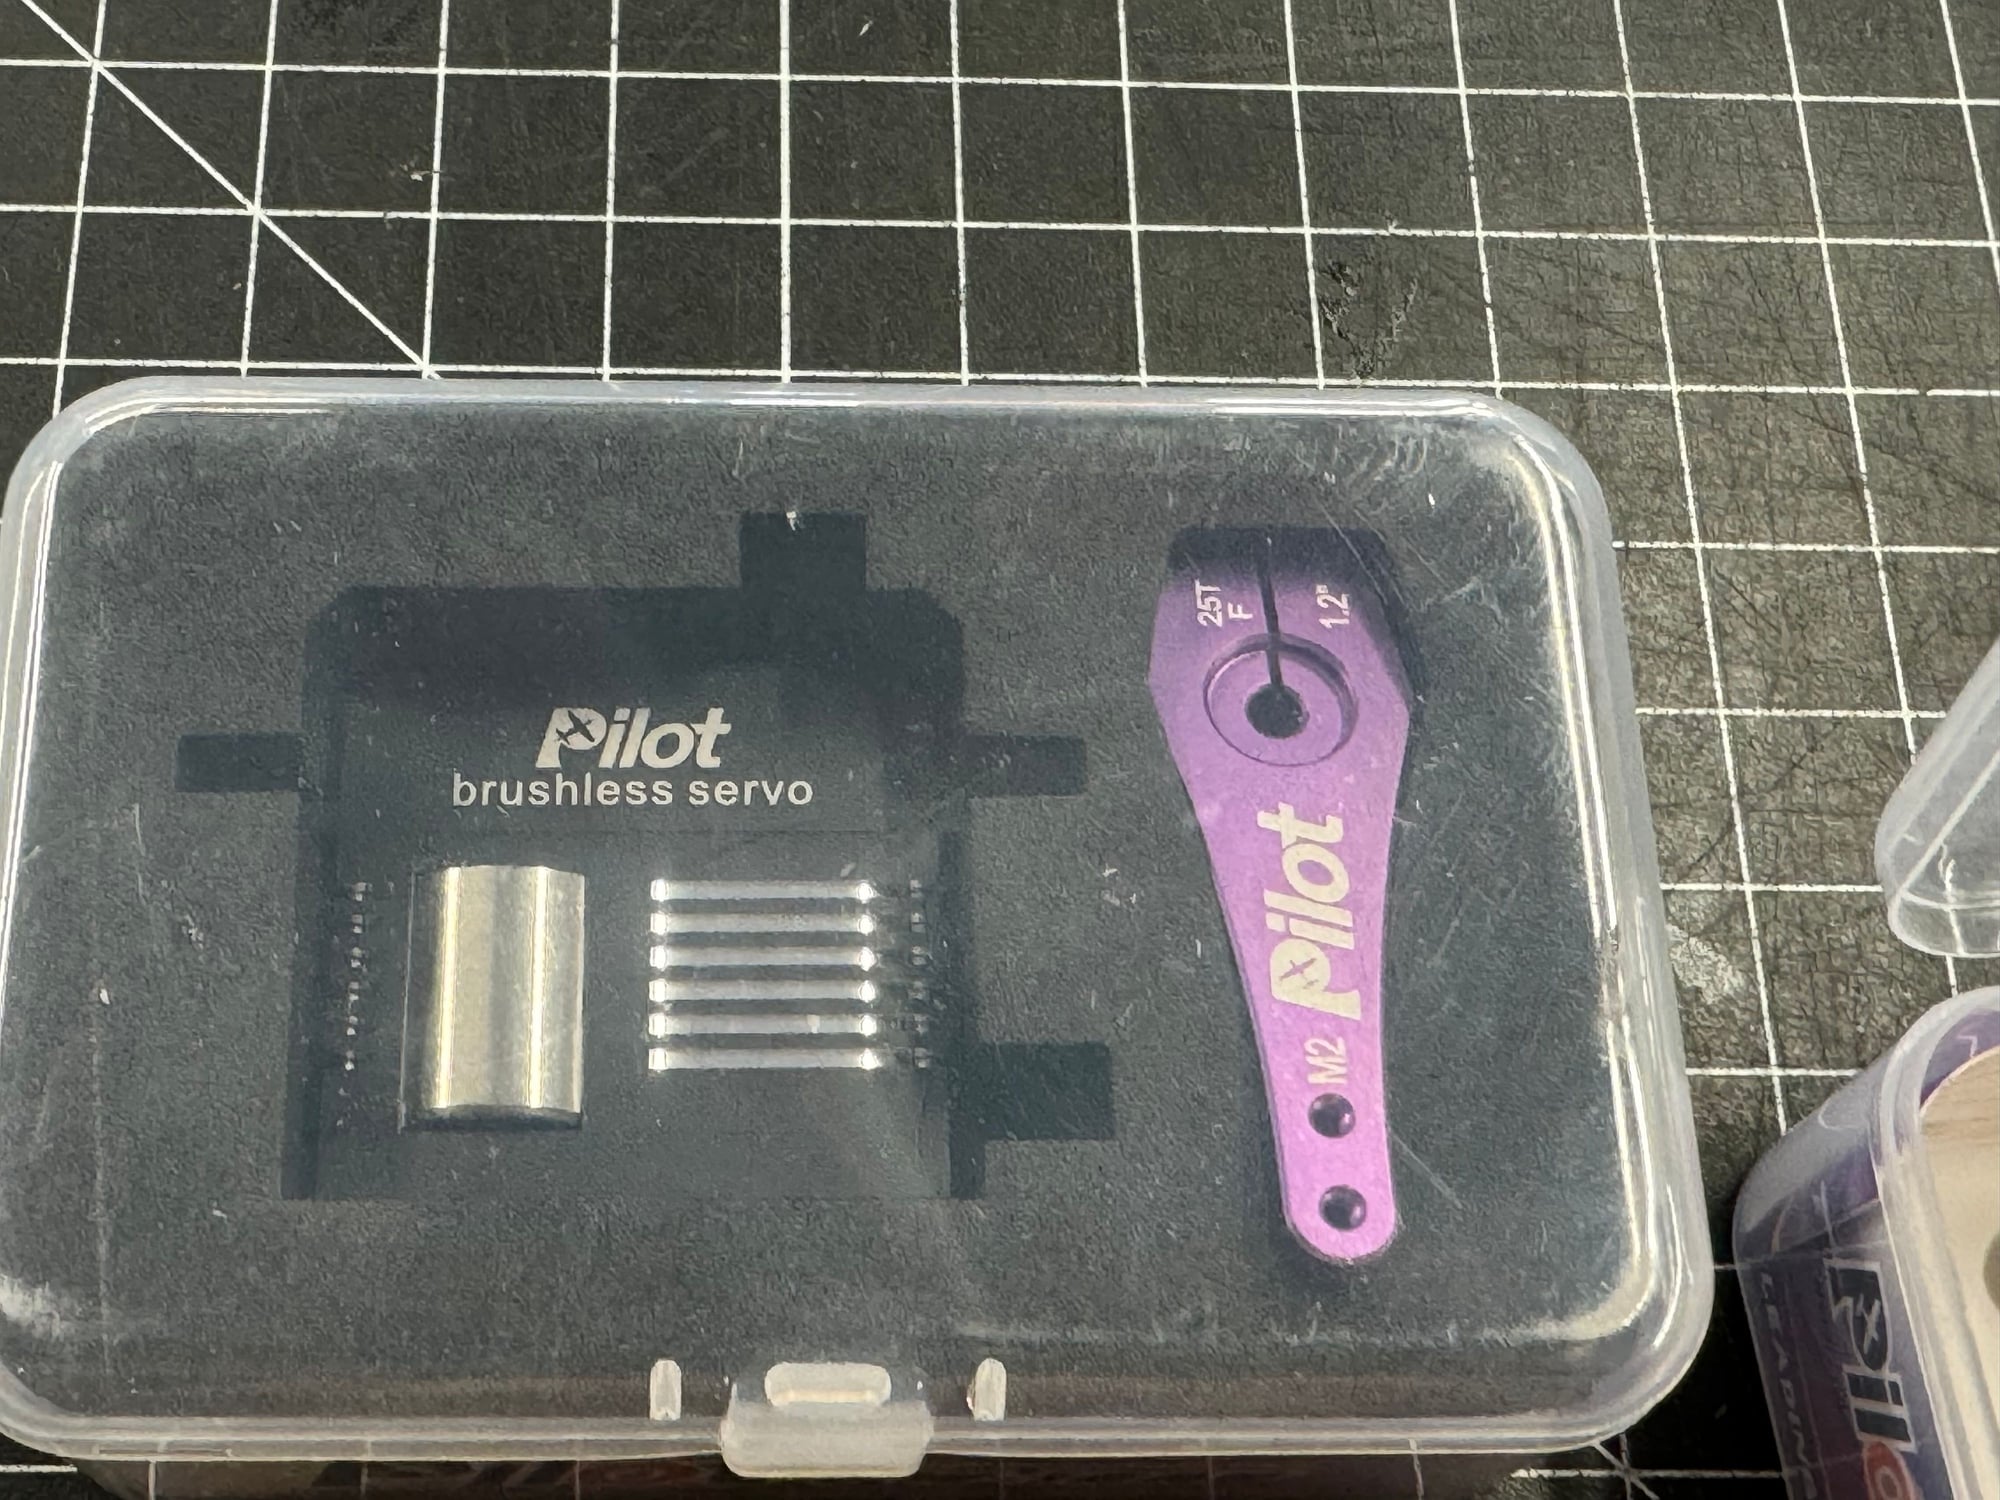
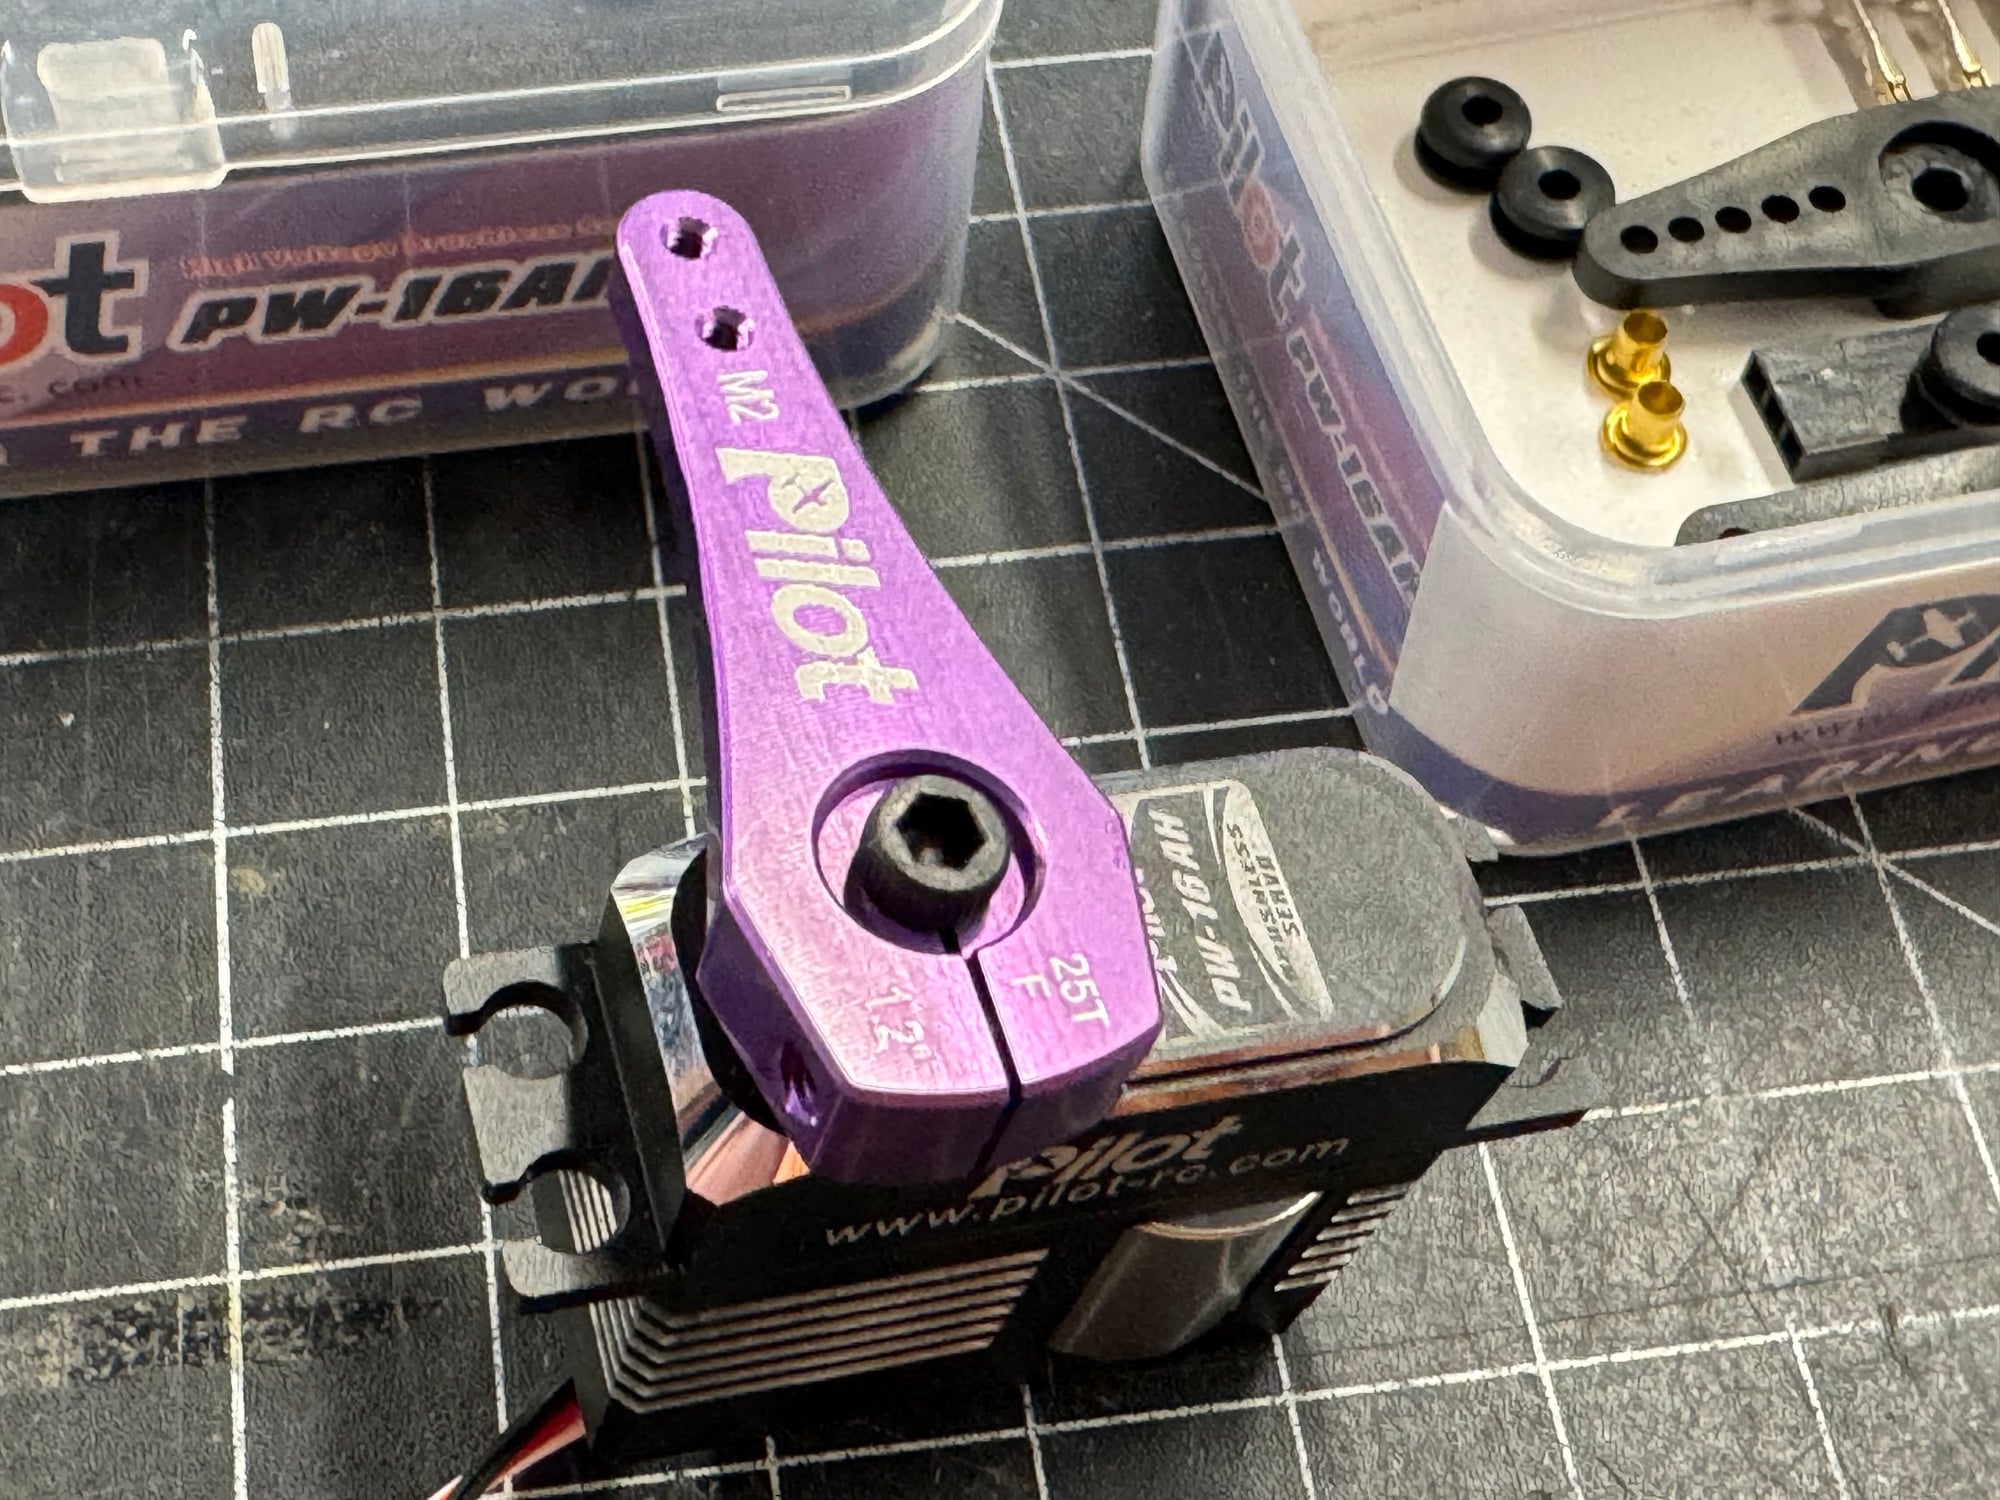
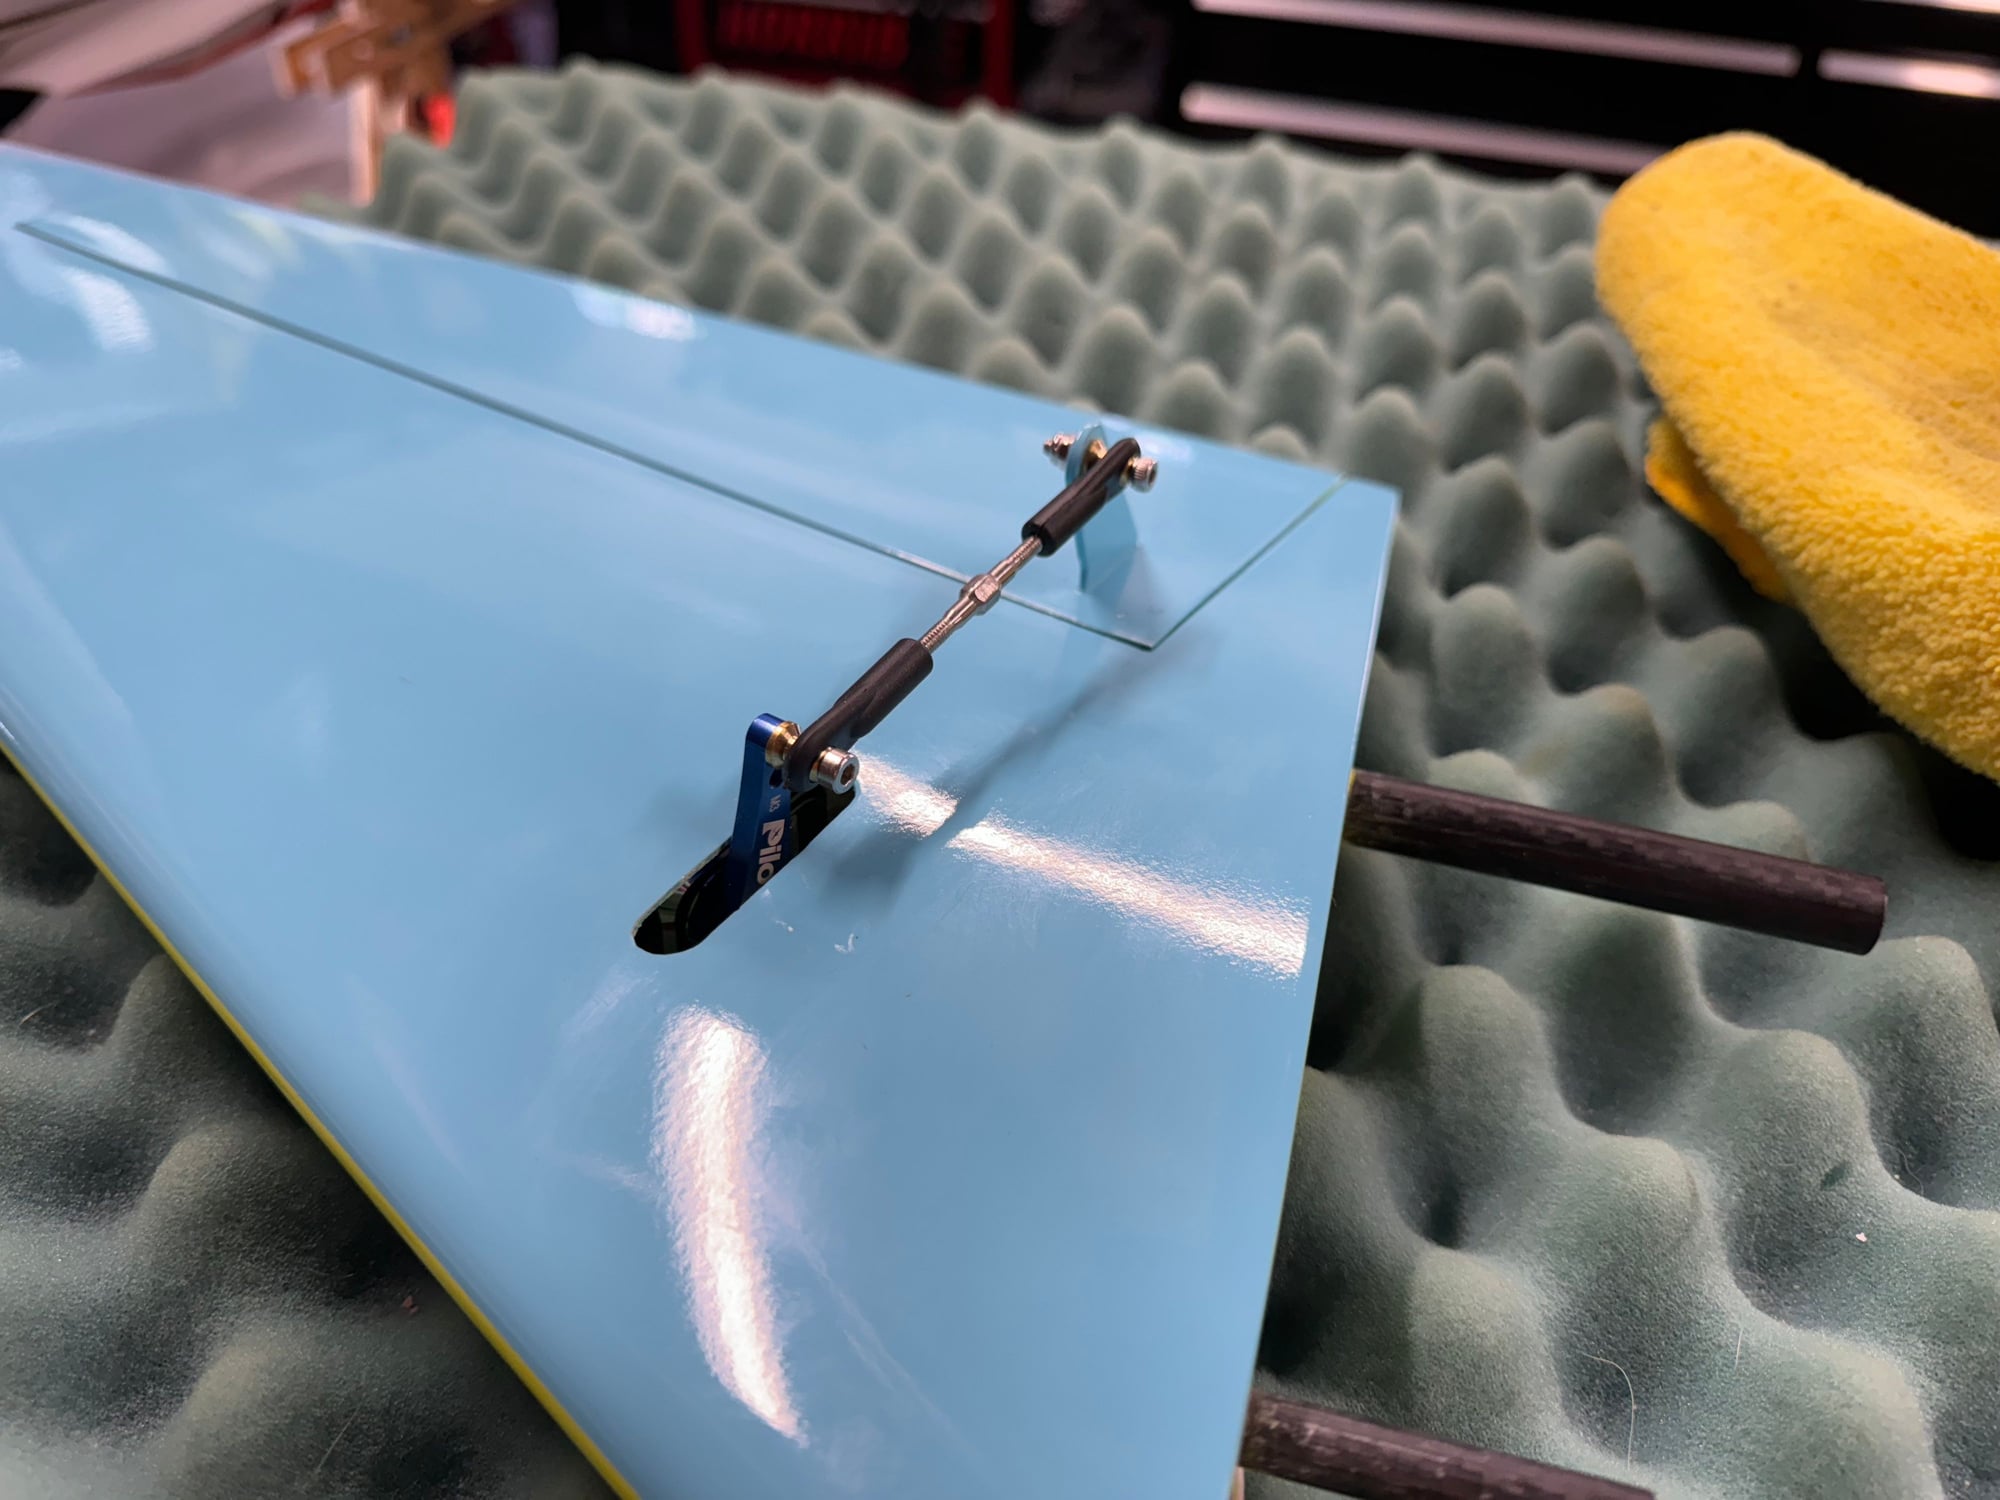
I got the stab servo installed. I use the Pilot RC mini servos. I am impressed with the servos. They are brushless and come with a nice aluminum arm, a plastic arm, a servo connector, and hex-head mounting screws. The servo wire exits the case at the bottom. This is brilliant and makes installation very easy.
The stabs do not have a symmetrical airfoil. It is lifting. I have not seen this before. But I've seen the airplane fly and it can really pivot tight, even without the vector nozzle. I wonder if the stab airfoil helps here?
Here are my installation notes:
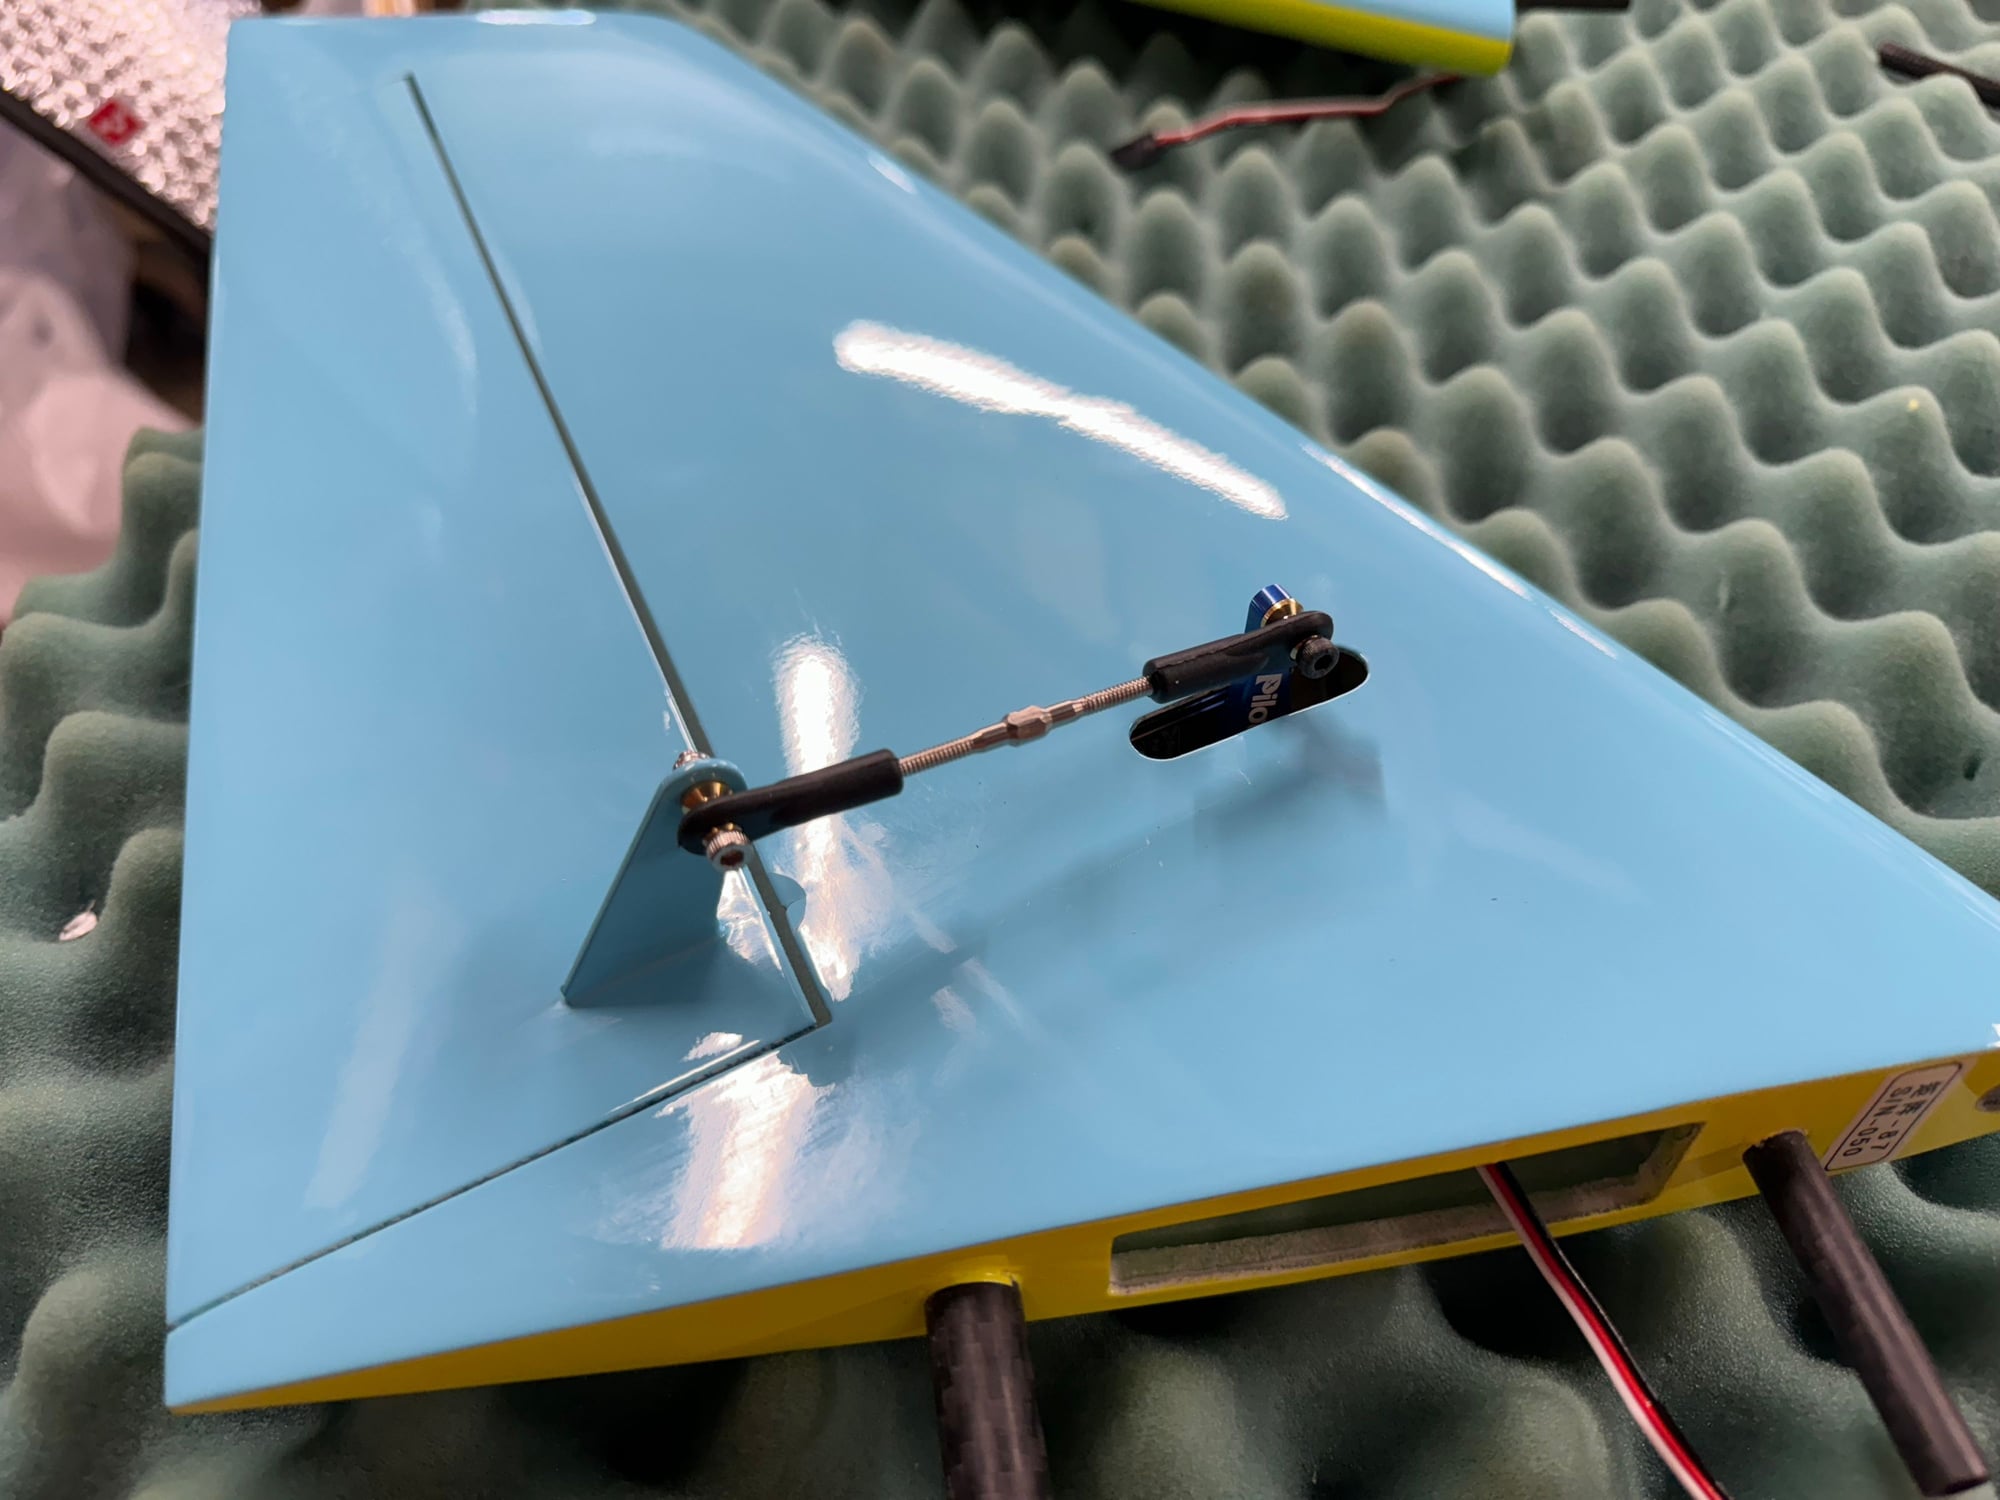
1. The Pilot RC servos drop right in. The openings are cut the right size.
2. The purple arms have 2mm threaded holes. The kit hardware is 3mm. I replaced the purple arms with blue arms which are 3mm. However, I could have re-sized the purple to 3mm as there is enough metal to do that.
3. The servos go in first, without the arms on. There is enough room to install the arms after the servos are inside the stab.
4. The turnbuckles are left-hand & right-hand threaded. You turn the turn buckle on way or the other to change its length.
5. Do not use the rubber grommets - they are not needed for jets and will mess up the spacing.
Of course, if different servos & arms are used, adjustments may be required.
The stabs do not have a symmetrical airfoil. It is lifting. I have not seen this before. But I've seen the airplane fly and it can really pivot tight, even without the vector nozzle. I wonder if the stab airfoil helps here?
Here are my installation notes:
1. The Pilot RC servos drop right in. The openings are cut the right size.
2. The purple arms have 2mm threaded holes. The kit hardware is 3mm. I replaced the purple arms with blue arms which are 3mm. However, I could have re-sized the purple to 3mm as there is enough metal to do that.
3. The servos go in first, without the arms on. There is enough room to install the arms after the servos are inside the stab.
4. The turnbuckles are left-hand & right-hand threaded. You turn the turn buckle on way or the other to change its length.
5. Do not use the rubber grommets - they are not needed for jets and will mess up the spacing.
Of course, if different servos & arms are used, adjustments may be required.
02-17-2024, 05:58 AM
#5
Member
I'm glad you are doing this build thread, I bought the Turbine Ready Pro version and will be going over every inch myself to make sure she is maiden ready in the near future. I was impressed with the whole kit when I received it about a month ago. paint finish is not as smooth to the touch (there is this drag) as my Rebel Pro, I am going to clay bar it to see if it smooths it a bit. Are you using the Pilot RC UAT or something else? I have an FCT UAT in the shop but am not sure if it's necessary, if the Pilot version is good?
Pete
Pete
 05-25-2024, 02:17 PM
#7
If you get time can you please tell us how it compairs to your ranger, I wanted something a little larger than the ranger. I guess by now you got a few flights on it please tell us a little about the flying and landing speed. thanks
t green
t green
06-23-2024, 08:54 AM
#8
Member
I got to maiden the Matrix last weekend, it was an adventure, see maiden video
I received new firmware for the Vspeak and hot glued connectors for a more permenant fit and got 4 flights Saturday on the Matrix.
06-23-2024, 10:48 AM
#9
I am happy you sorted out the communications issue with the V-speak without damaging the Matrix.
Did you end up needing down trim when using landing flaps? If so, how much? I hope to test fly mine soon. Right now its a bit nose heavy and I may move the UAT back towards the tank.
Did you end up needing down trim when using landing flaps? If so, how much? I hope to test fly mine soon. Right now its a bit nose heavy and I may move the UAT back towards the tank.
06-23-2024, 04:14 PM
#10
Member
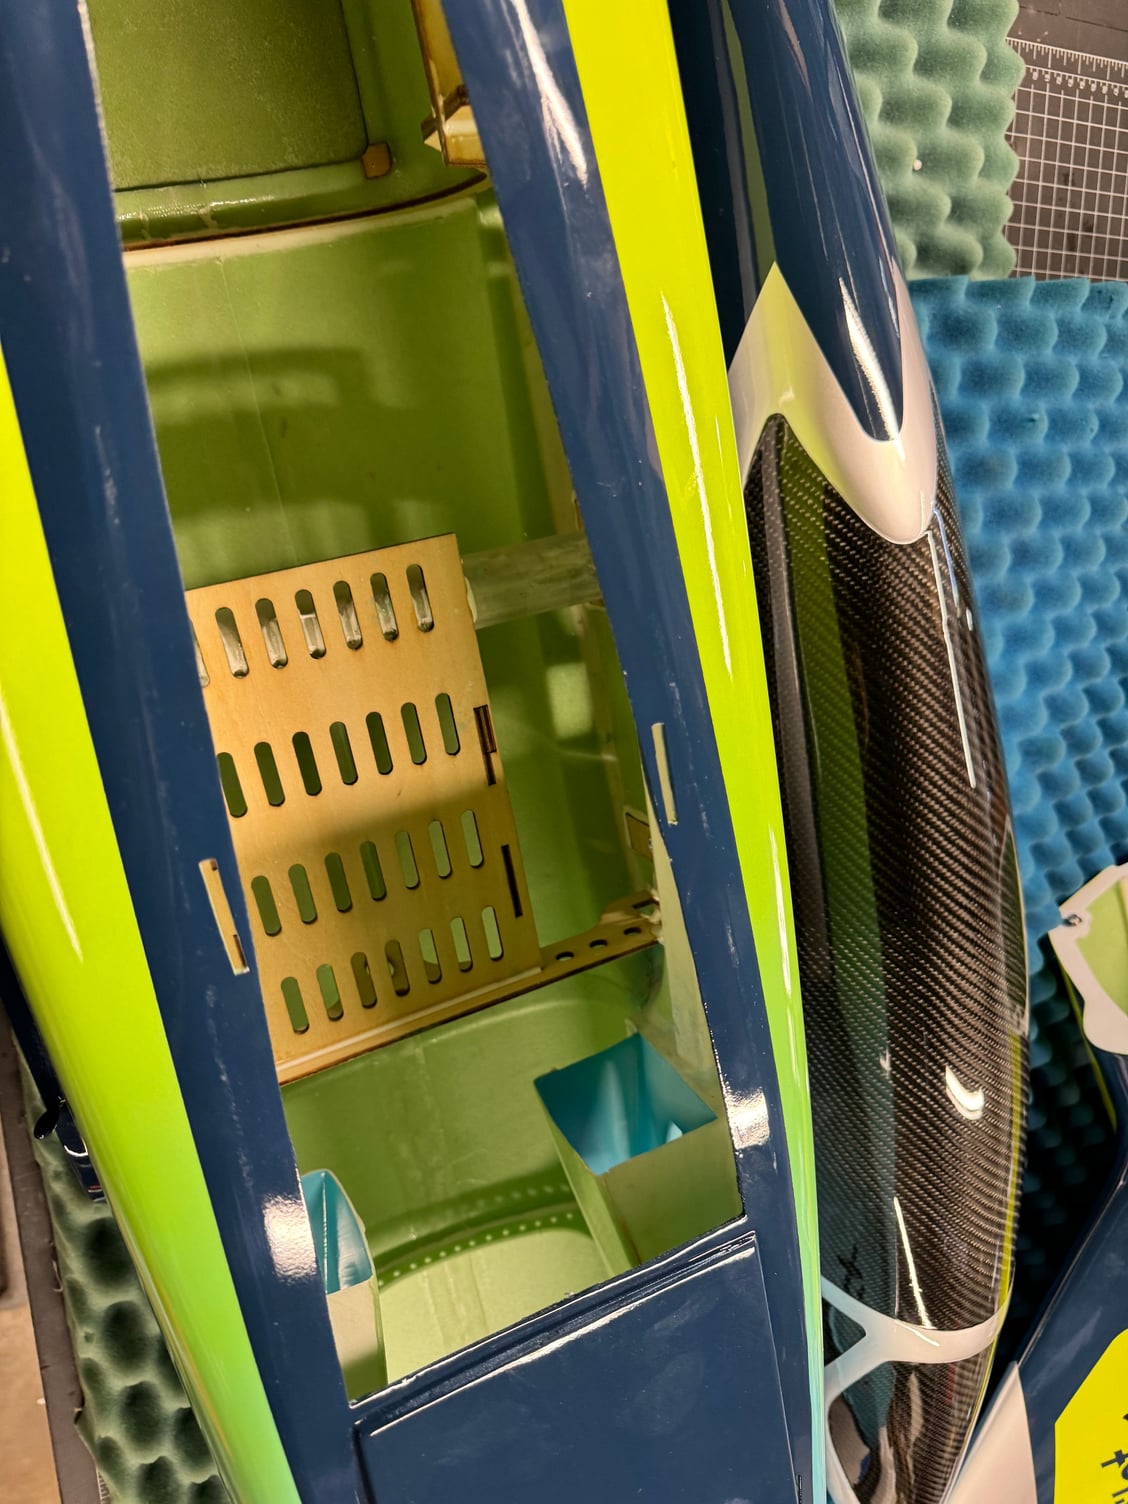
I used very little if any down trim on the landing flaps, it will balloon if you are still moving at a good clip but settles nicely with full flaps. I moved the 2200mah turbine battery under the deck and used 2x 2200mah 2s in the nose tray and one on the side tray to balance with the supplied jig.
06-25-2024, 04:12 PM
#14
I used very little if any down trim on the landing flaps, it will balloon if you are still moving at a good clip but settles nicely with full flaps. I moved the 2200mah turbine battery under the deck and used 2x 2200mah 2s in the nose tray and one on the side tray to balance with the supplied jig.
I got my Matrix A few weeks ago, I know it will not take long to get together, but I have had a lot of things to do. No VT on my jet. and I am going to build it as light as I can, and use a KT130, I am at sea lever so it should make for a good flyer. I hope. When I get it all up, I will post some photos,
thanks Terry G

 06-26-2024, 05:17 AM
#16
Hope to see you guys soon


