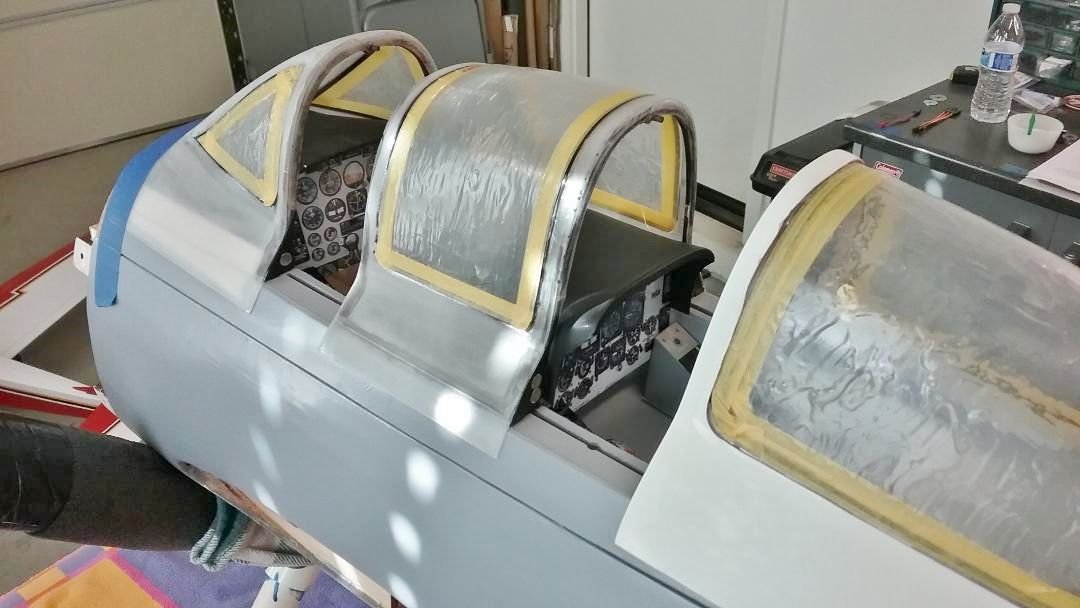
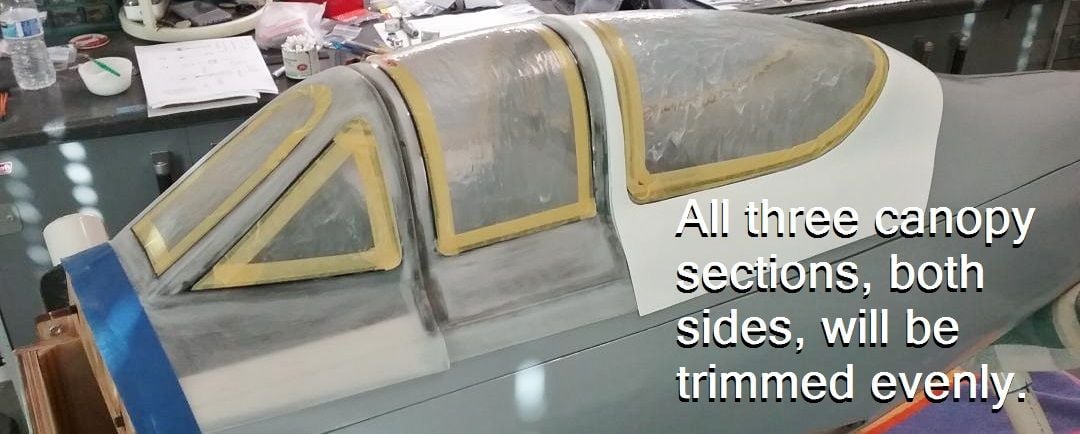
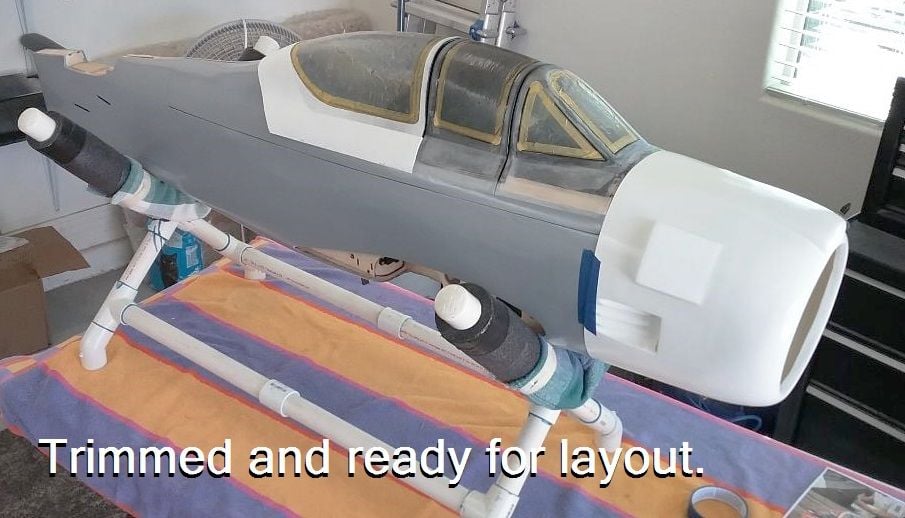
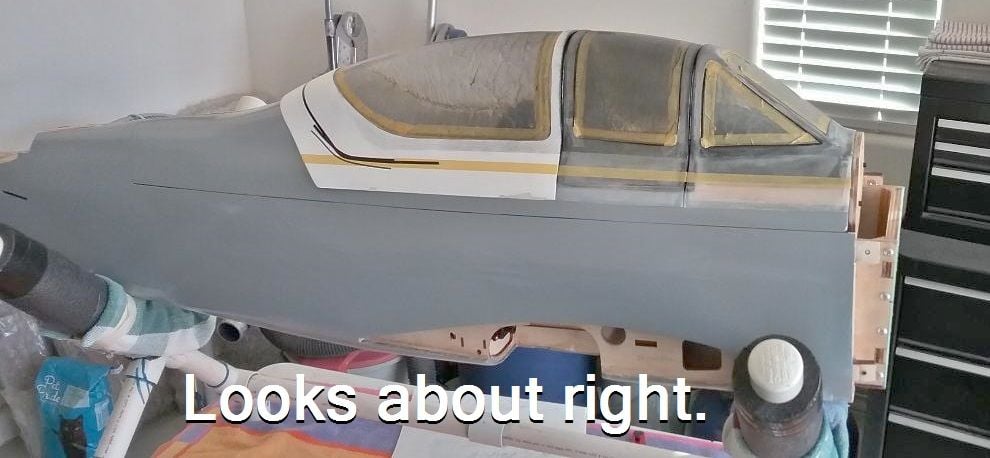
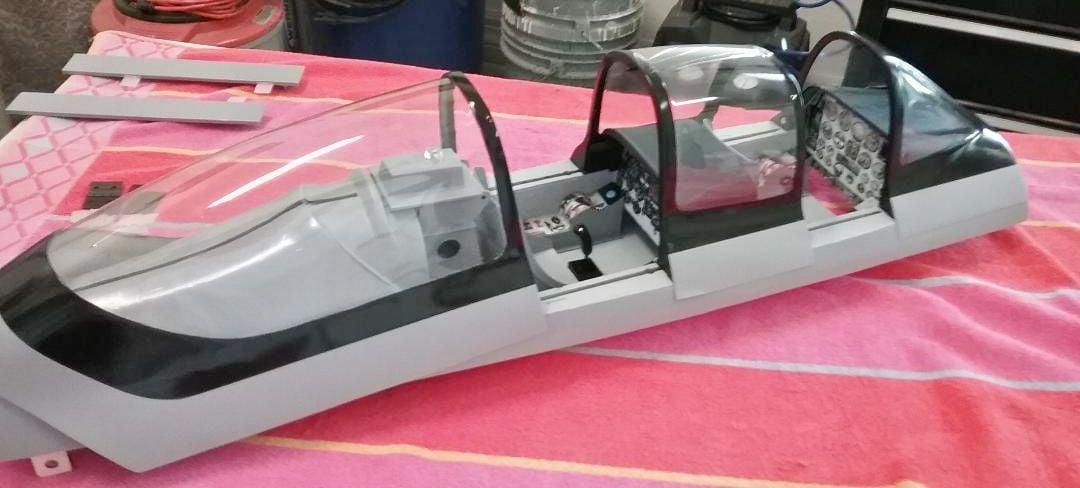
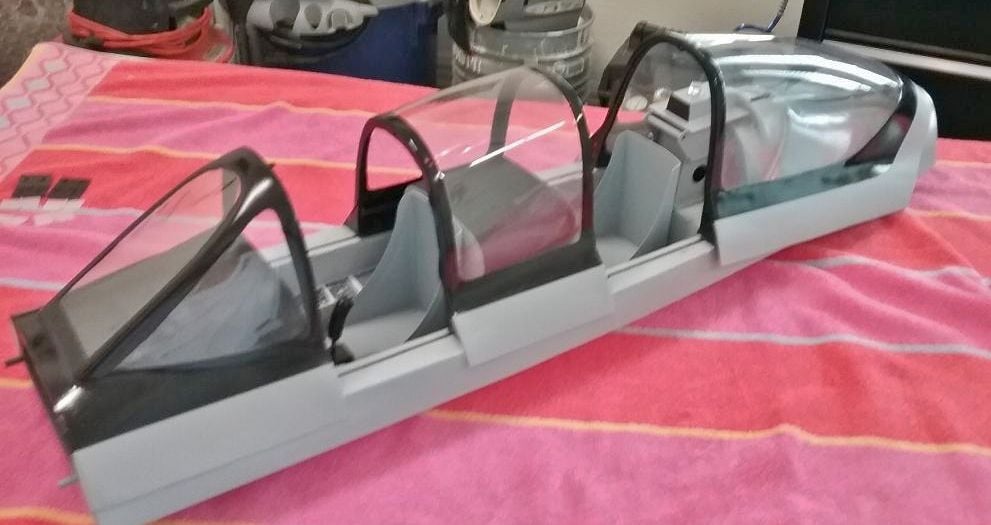
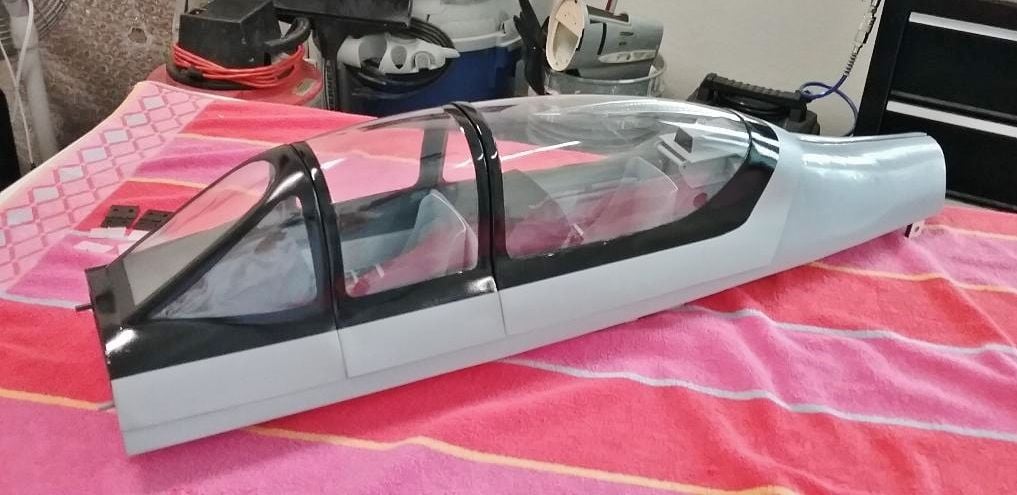
Legend Hobby 82" T-28 ARF (Unfinished version)
#1

Thread Starter
Back around June of last year, I pre-ordered one of Legend Hobby's new 1/6 Scale T-28B Trojans. An online
poll had been taken to see which paint schemes would be the final iterations offered (there were four choices -
all Yellow, red/wht. Trainer, China Lake, and Unfinished), the Trainer, China Lake, and Unfinished were the final
three to choose from. (The all yellow version evidently did not get enough votes).
The pre-order ad stated that the plane was to fly with the RCGF Twin Stinger 40cc gas engine and that it would
neatly fit inside the cowl. Optional retractable electric gear from JP was offered as well as pneumatic gear from
Sierra Precision. A custom designed muffler set which exits out both sides of the cowl was also available as were
wheels/tires and other items.
I've been flying giant scale gassers for over 13 years and this T-28 really caught my eye. So I pre-ordered the
Unfinished version along with the muffler set and months later I bought the JP electric gear. I sourced a brand
new RCGF Twin 40cc gas engine elsewhere.
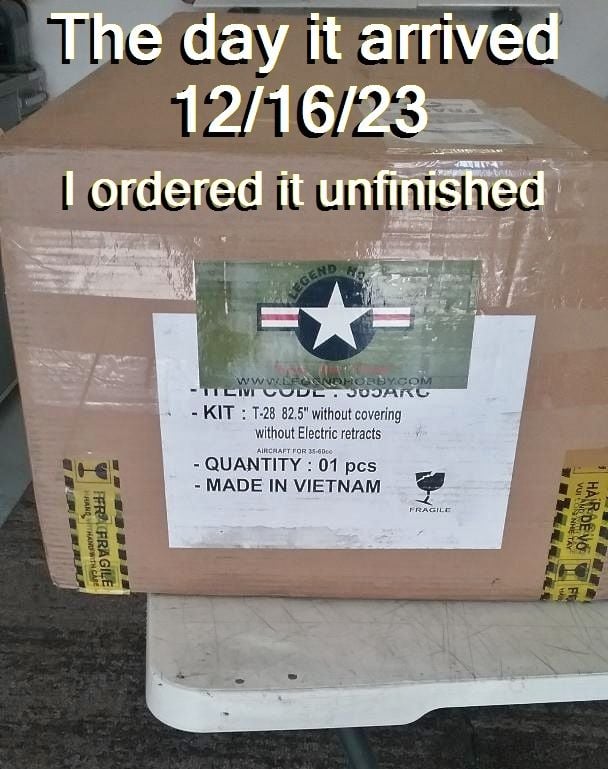
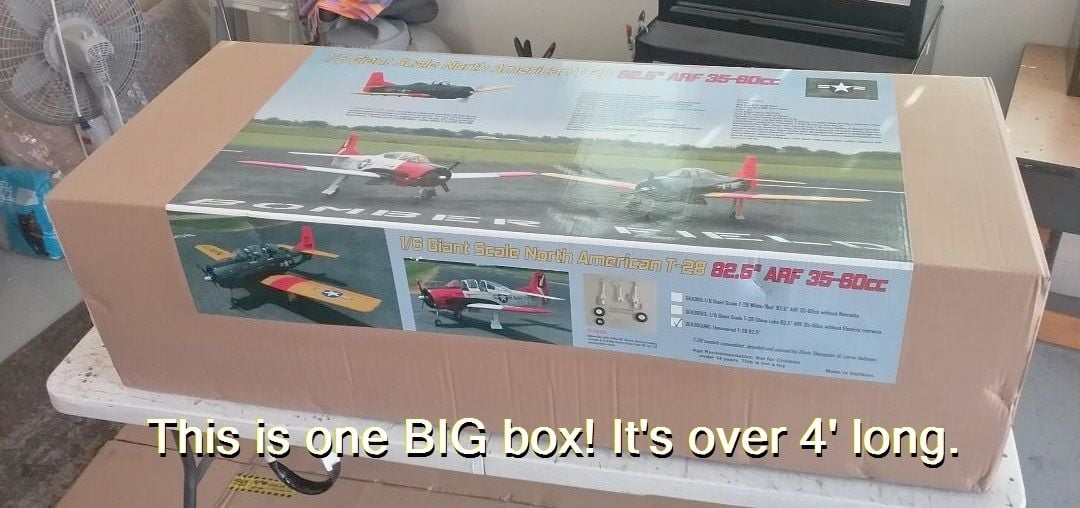
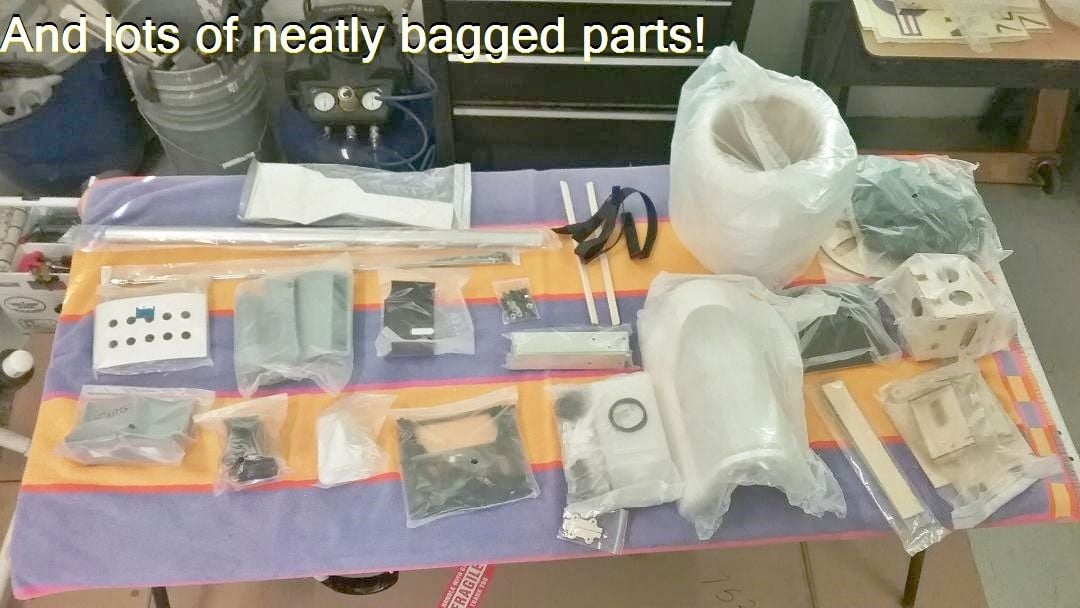
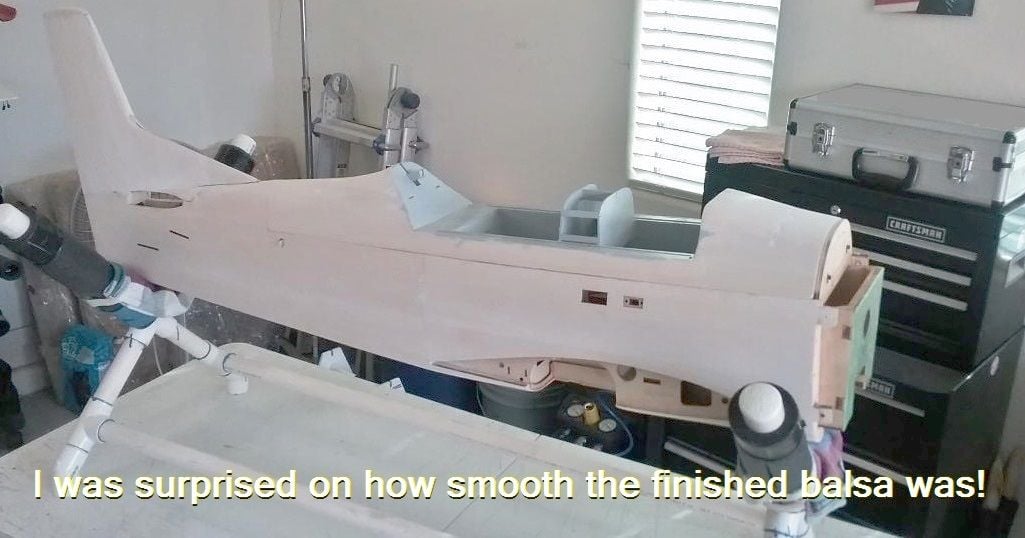
Six months and three days later, a huge box arrived from Texas....
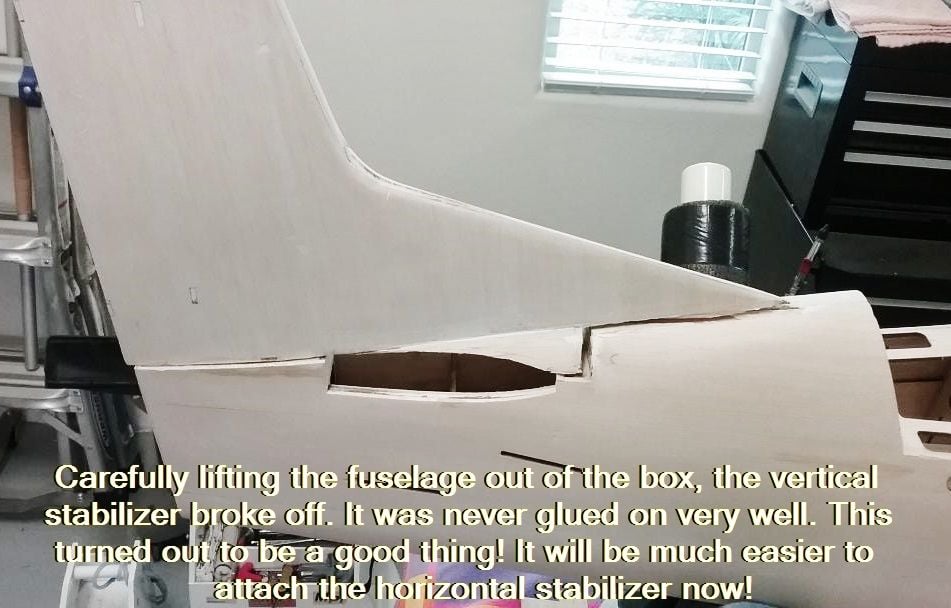
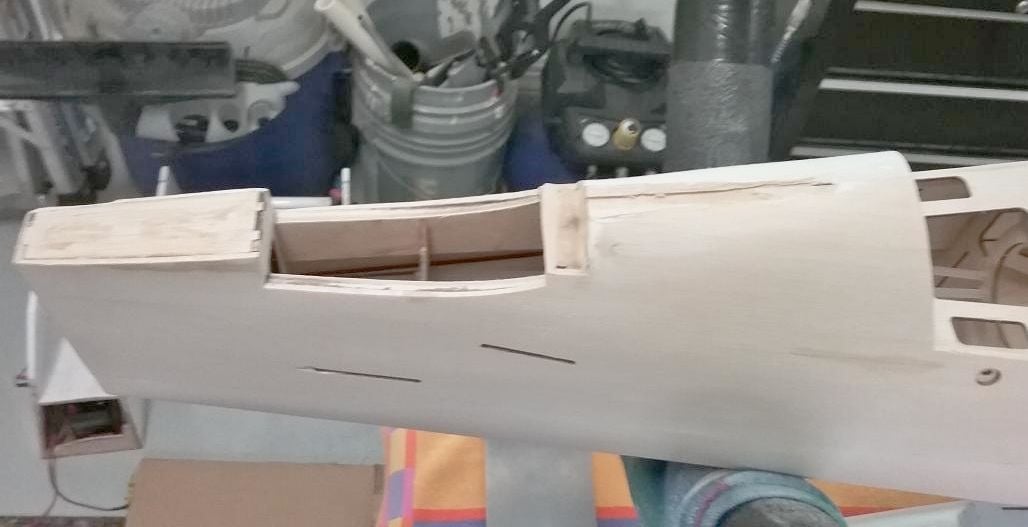
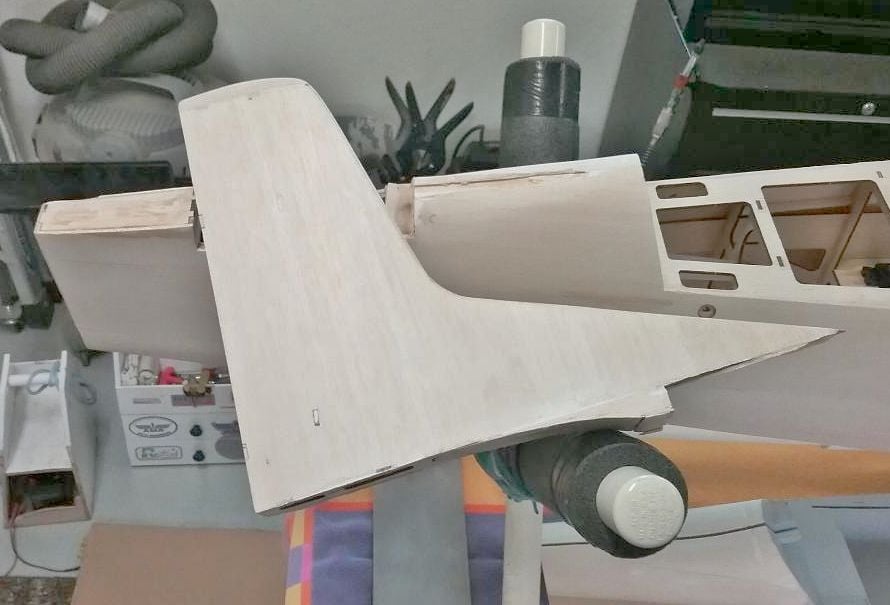
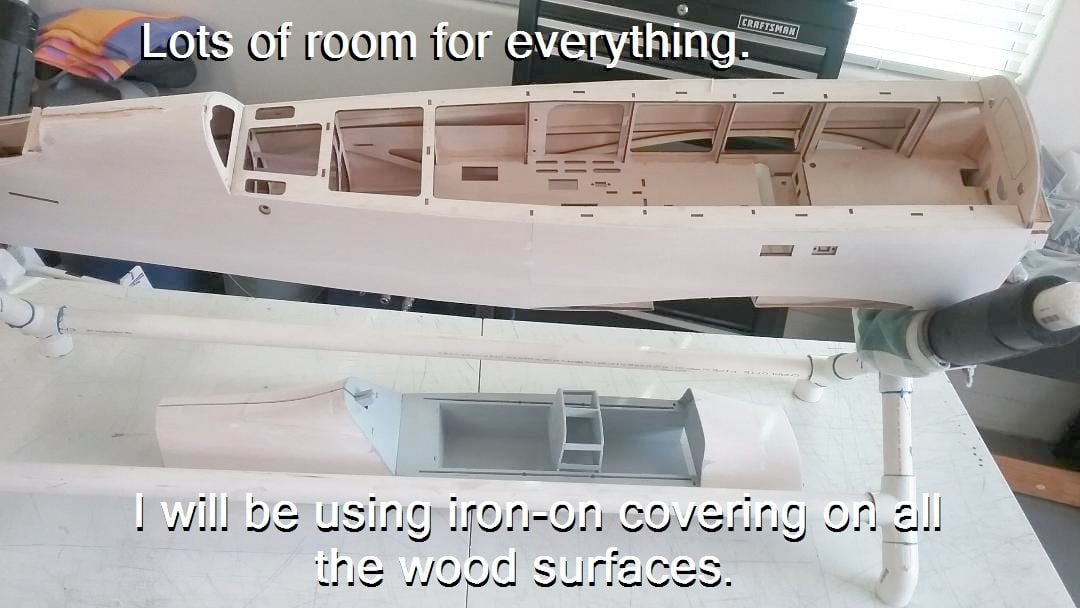


Last edited by V35BFLYER; 02-19-2024 at 09:24 PM.
#3

Thread Starter
Awaiting moderator's reply on how to convert pictures to "Thumbnails." It's been many years since my last Build Thread
here on RCU and maybe "Thumbnails" are no longer available. Maybe I'll just have to upload the bigger versions.
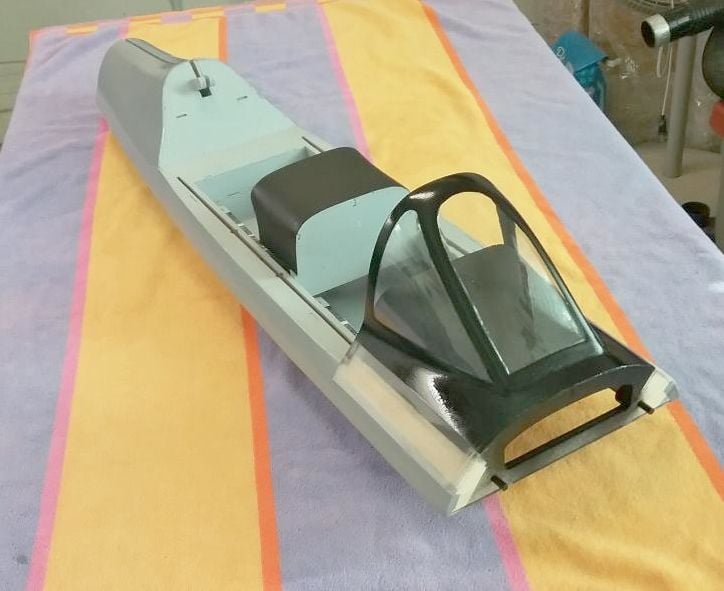
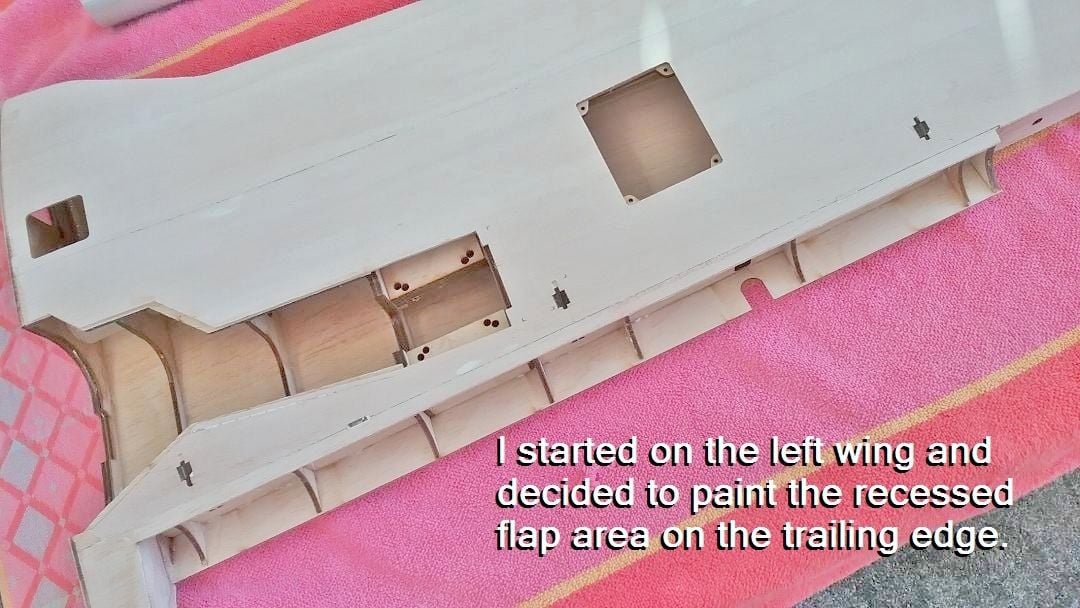
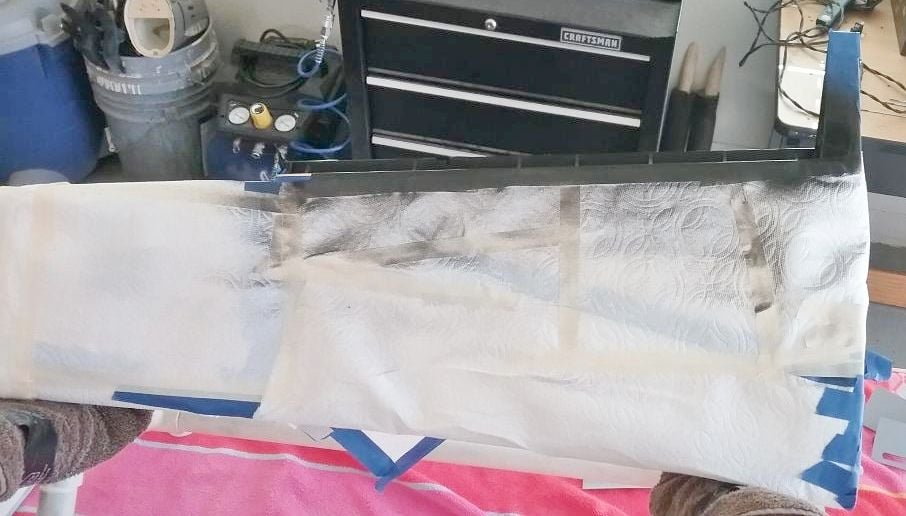
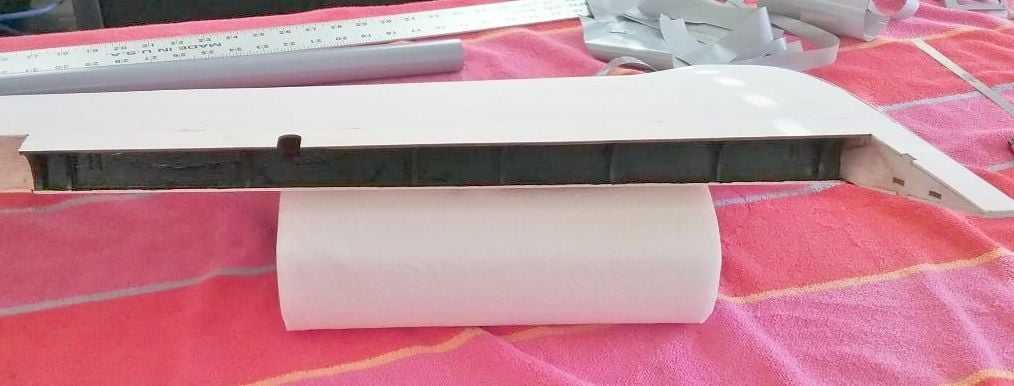
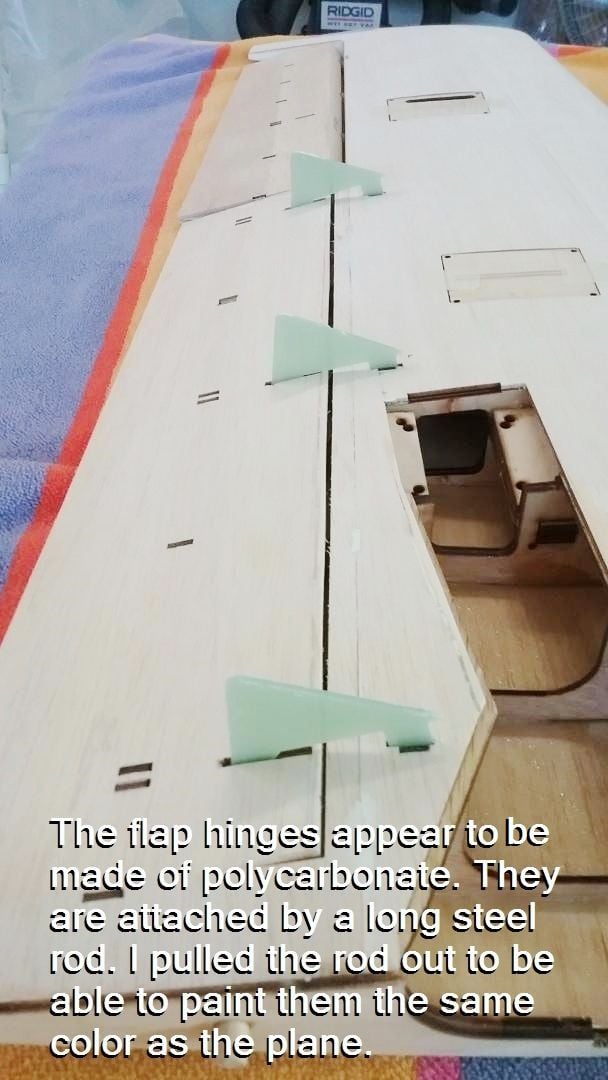
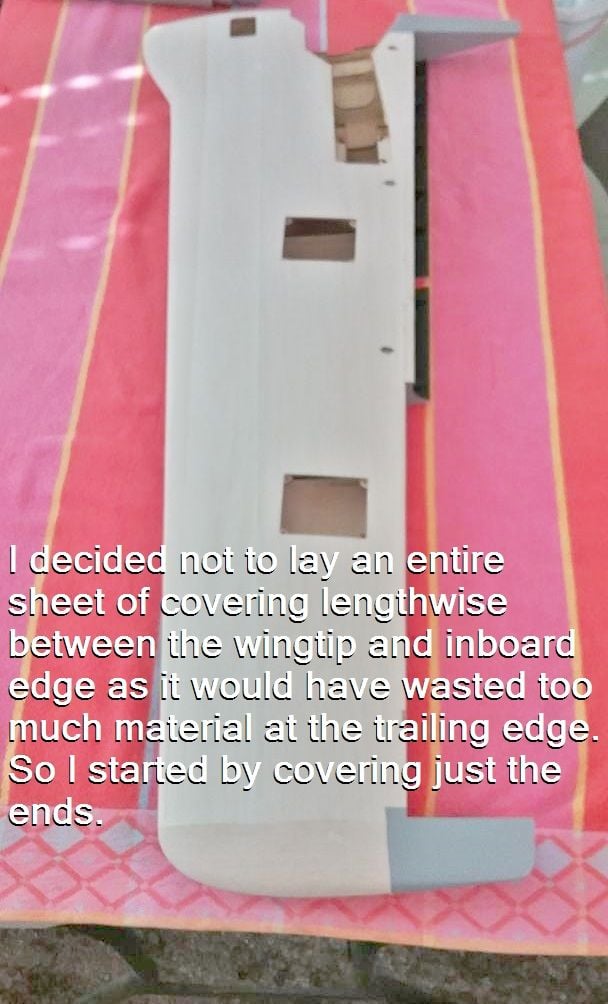
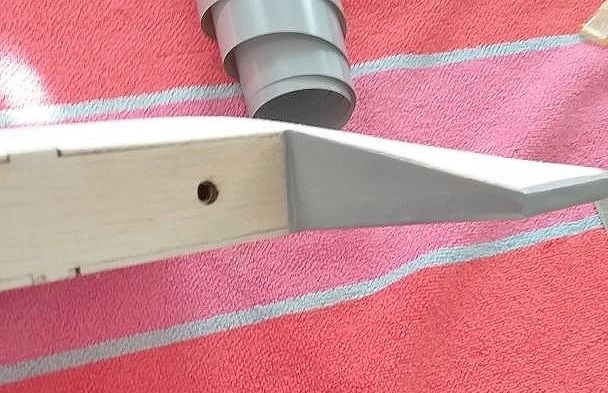
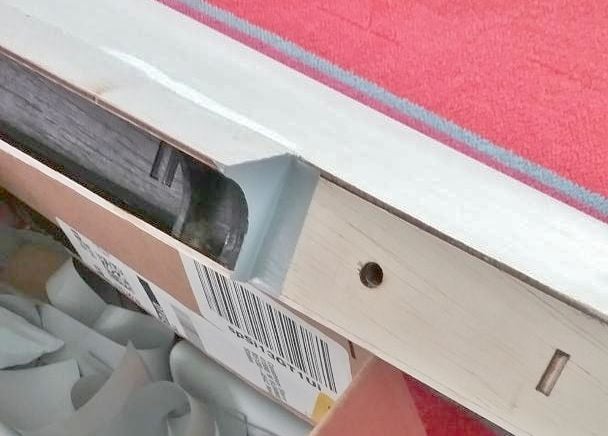
Working away on my T-28. It does come with a downloadable manual (72 pages) which I
have familiarized myself with. I'm not actually following the manual; mostly using it as a reference
because the build is pretty straightforward not unlike many other planes I've assembled over the years.
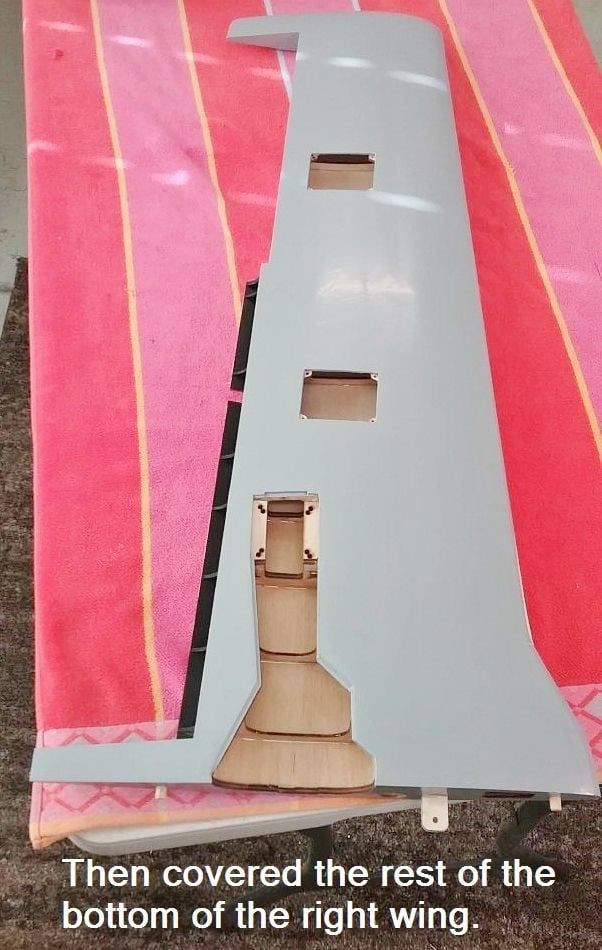
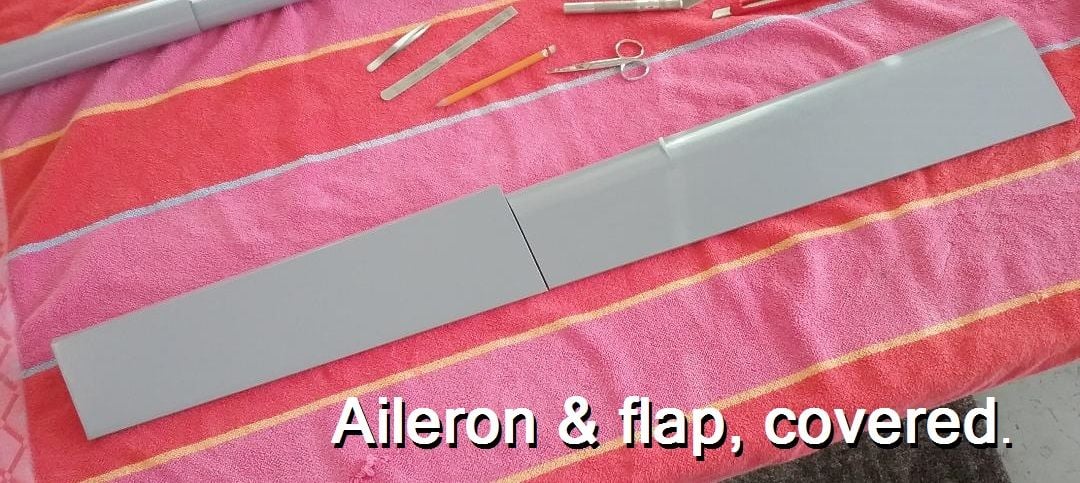
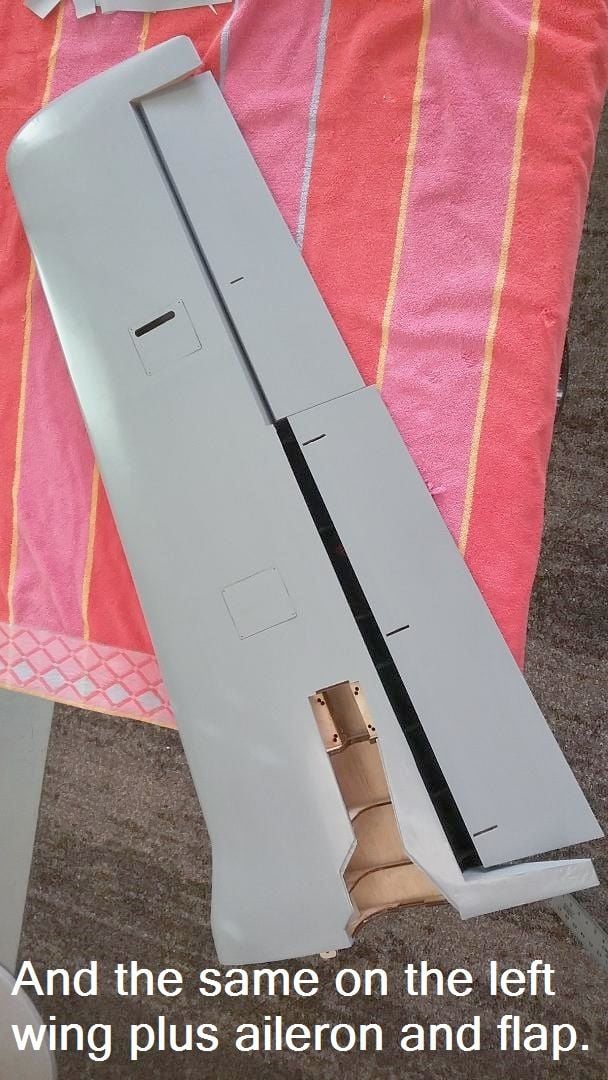


Last edited by V35BFLYER; 02-19-2024 at 09:22 PM.
The following users liked this post:
Stikum (10-15-2024)
The following users liked this post:
Stikum (10-15-2024)
The following users liked this post:
Stikum (10-15-2024)
#11

Thread Starter
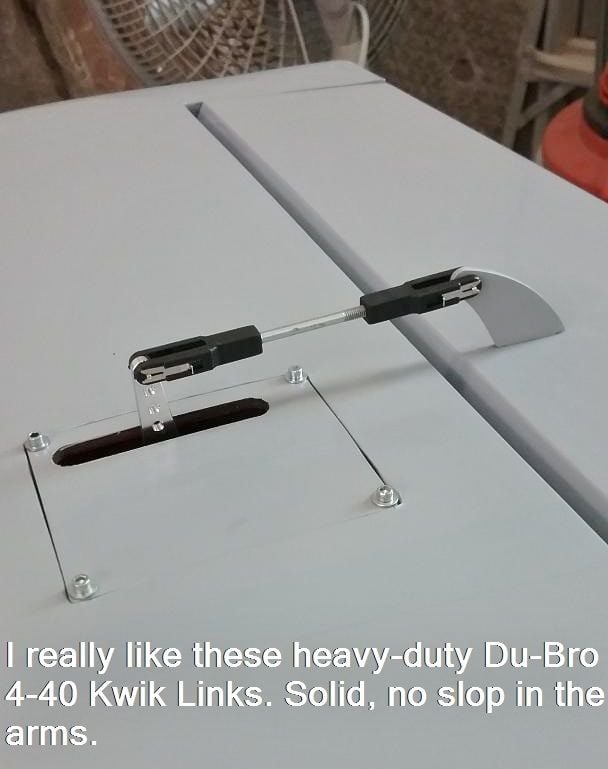
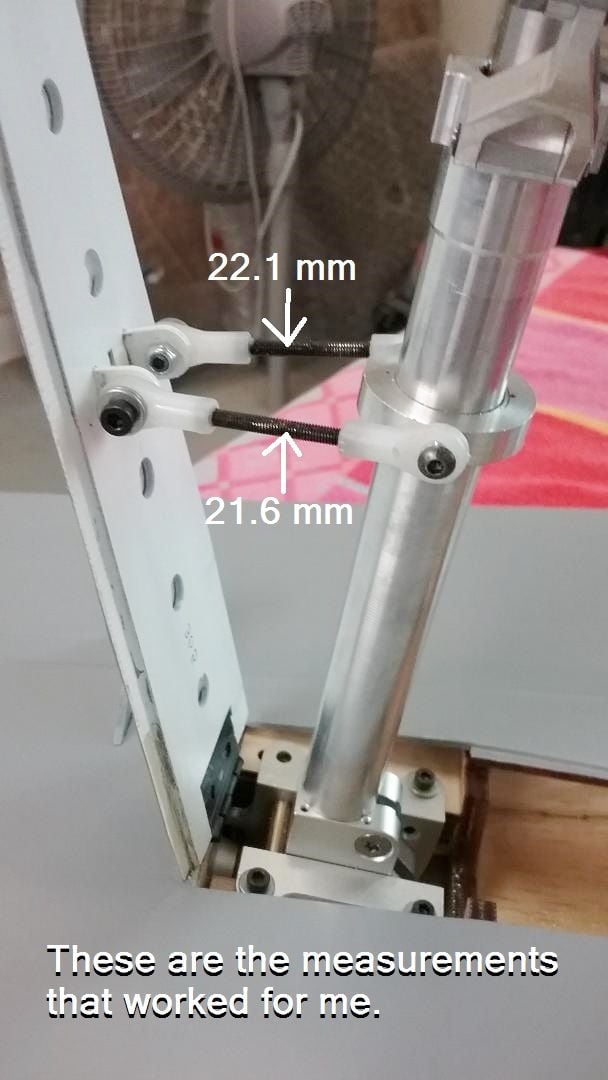
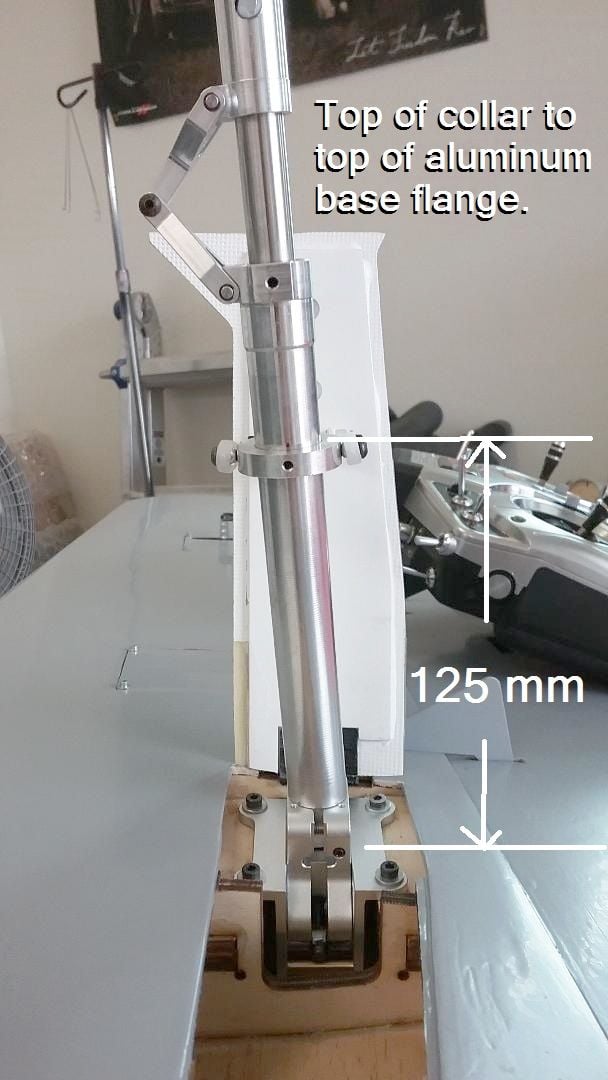
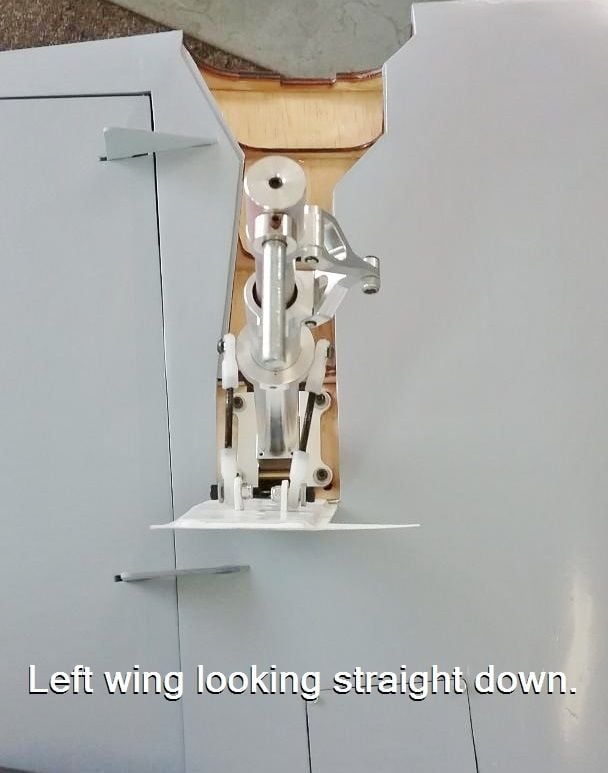
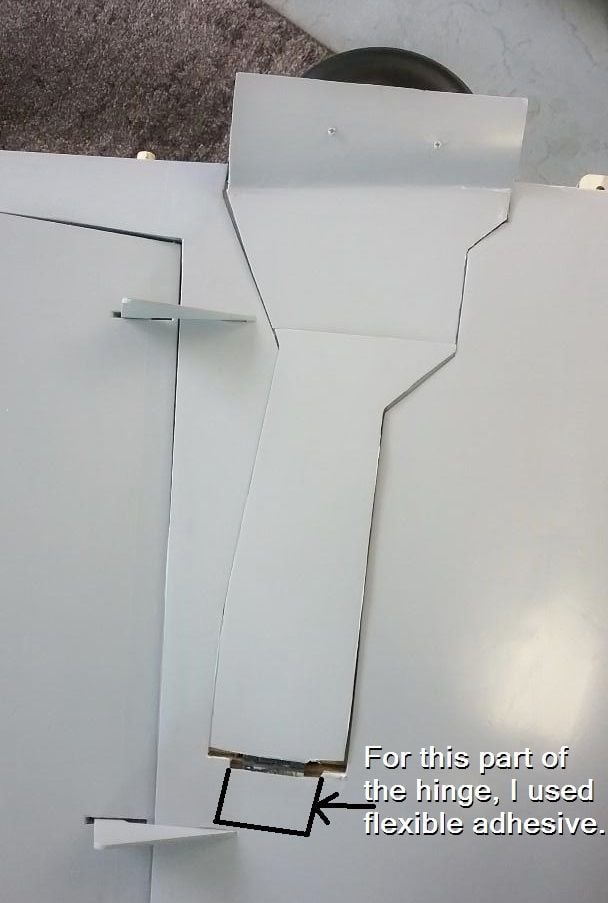
I had a heck of a time figuring out the geometry of the main gear door. Most-likely I made it
harder than it should have been. Studying Jeff's pictures helped a great deal although my
measurements were not "exactly" the same as his on the two threaded shafts between ball links.
This is my left wing only, and there might possibly be differences in the pictured measurements
when I next do the right wing.
Further, I had to trim the bottom of the door where it contacted the wing. When extended, it
threw everythiung off. I found that the middle door was not nearly as difficult to install. I hope
these pics can help others in assembling their T-28 gear doors.
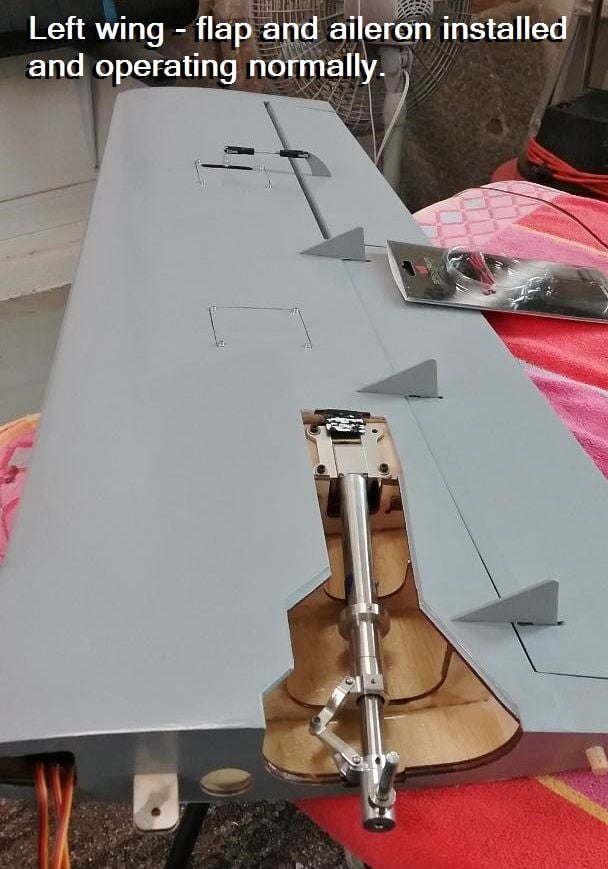


Last edited by V35BFLYER; 03-17-2024 at 03:23 PM.
#12

Thread Starter
This afternoon, I installed the right wing's main gear. Much easier than the self-imposed geometry
problems I had with the left main gear door. But, I think I discovered the source of why it took so long
to get the left main gear door installed....
For the right main gear door, I did two things:
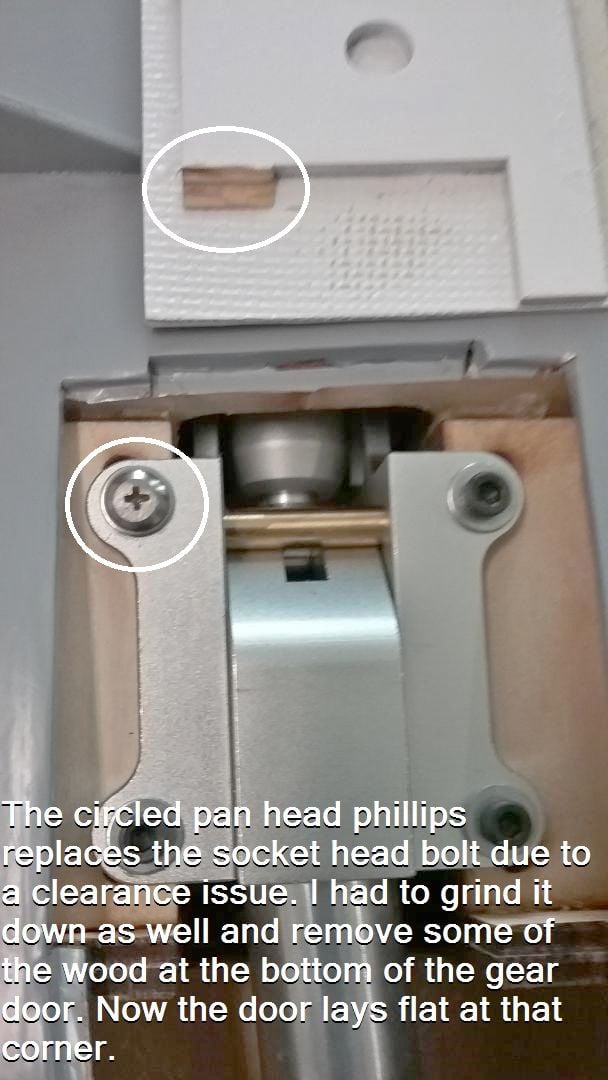
First, I replaced the corner (trailing edge side of the wing) socket head bolt with a phillips head M3
(same thread as the socket head) from my local hardware store. I had to grind the head down a bit
as well as carefully remove some of wood in that area of the main gear door. See attached. The door
now lies flush.
The second thing I did this time was to epoxy the hinge to the door first. THEN install the hardware onto
the door and affix it to the strut using my left door's approx. measurements. I did tighten the collar again
to 125mm above the base that's bolted to the wing which seems to work for both gear. After several
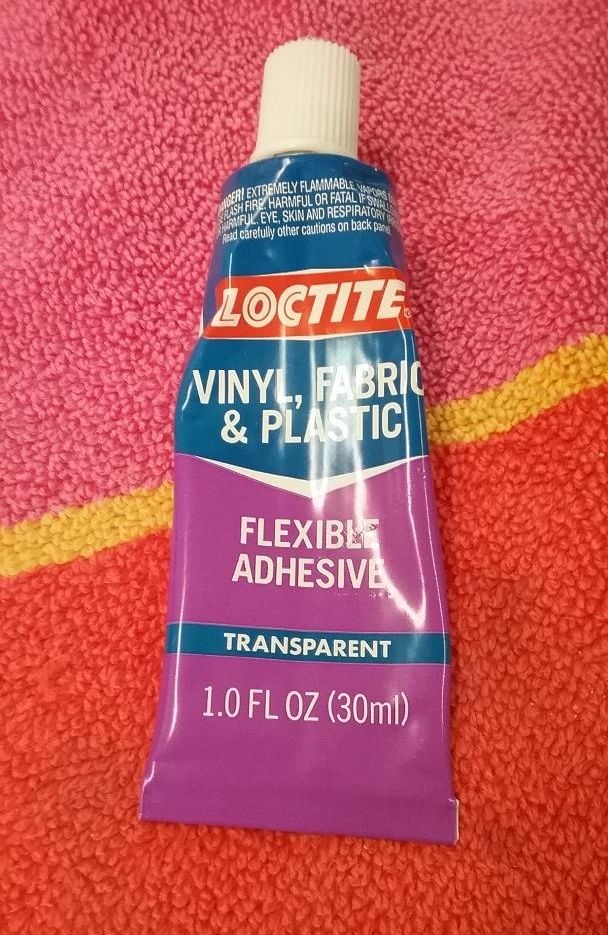
extensions and retractions adjusting the ball link spacings, I again used the Locktite flexible adhesive to
attach the other end of the hinge into the wing. This was done last.

#13

Thread Starter
It is my understanding that there are approx. 45 individuals who purchased one
of the new Legend T-28s. And no one to my knowledge has yet received their set
of the custom T-28 mufflers.
Question: has anyone flown theirs yet? I would have to assume that absent the
custom mufflers, the plane could still be flown with the twin 40 carb and factory
mufflers pointing down. If anyone reading this has done so, I'm sure a lot of us
would appreciate some feedback as to engine/prop combinations, electric motor/prop
combos. as well as a flight review.
#15

Thread Starter
My project has come almost to a standstill due to not as yet having received the custom mufflers. I cannot
align my unpainted cowl with the fuse until the mufflers are attached to the engine.
align my unpainted cowl with the fuse until the mufflers are attached to the engine.
#17

Thread Starter
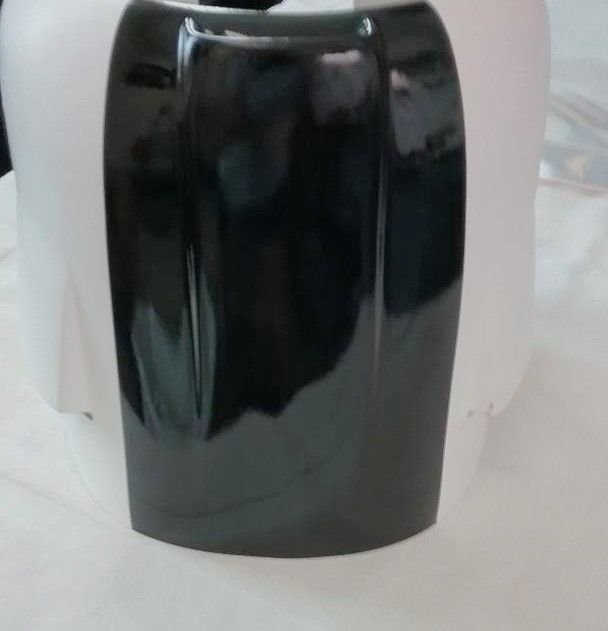
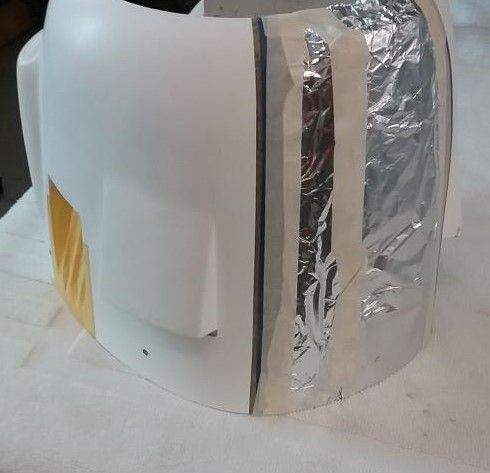
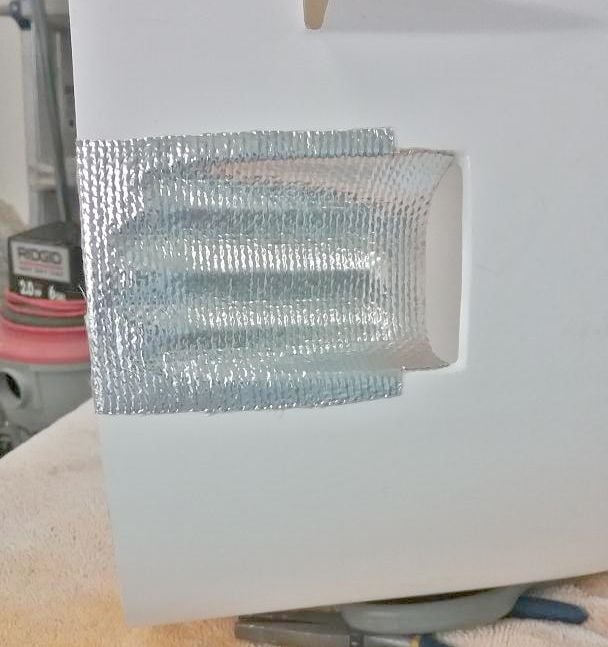
Aluminum tape, regardless of thickness, will only TRANSFER the heat to the surface underneath! You need something
that actually reflects the heat away. Beware of the so-called experts on youtube and fb. They do not know what they are
talking about! My background/experience dealt with the manufacturing side of fiberglass products. High heat can and will
ruin gelcoat, fiberglass, and painted fiberglass surfaces.
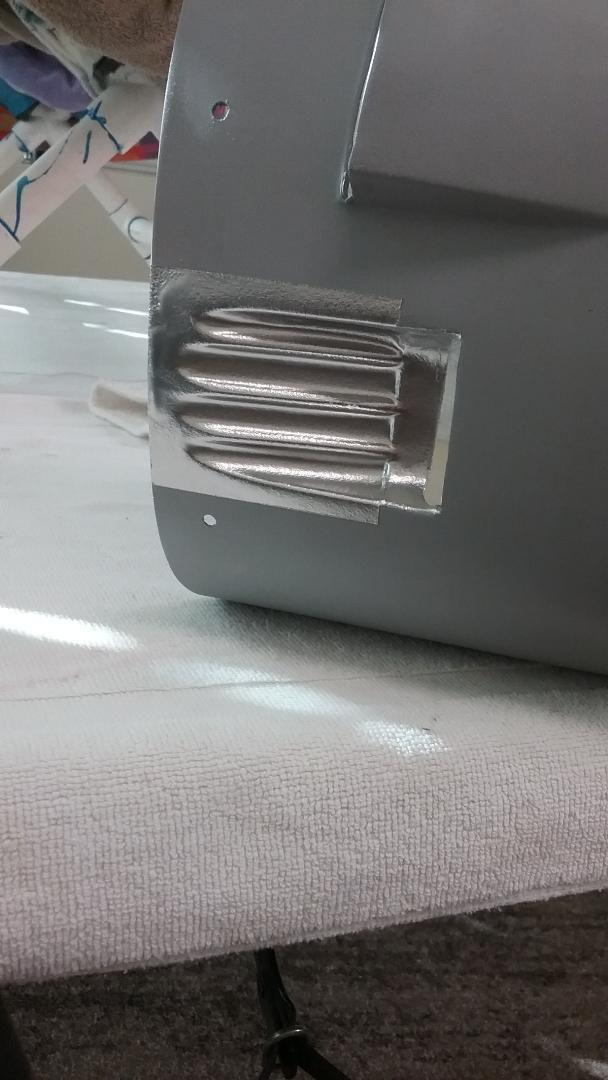
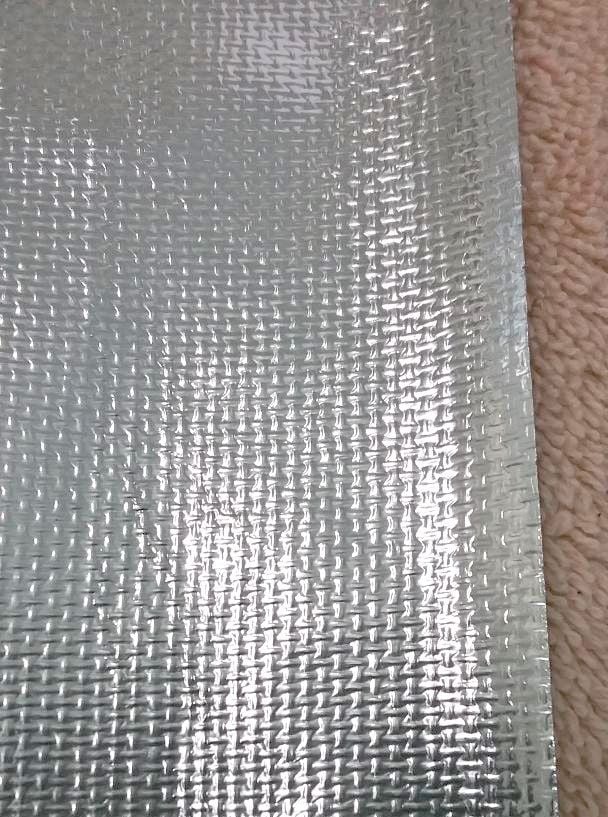
I found this first product online recently and decided to give it a try. I like the fact it reflects heat as opposed to "absorbing"
heat. (I still have not received my mufflers, so I have no direct experience yet how this aluminized heat shield will hold
up to the rigors of flight). It is FLASLD Aluminized Heat Shield Thermal Barrier Adhesive Backed Heat Blanket and is
approximately .08mm thick. Bought on Amazon, about $10.
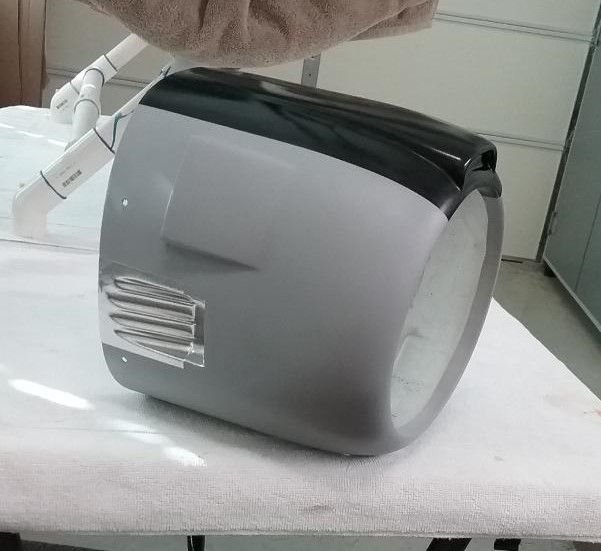
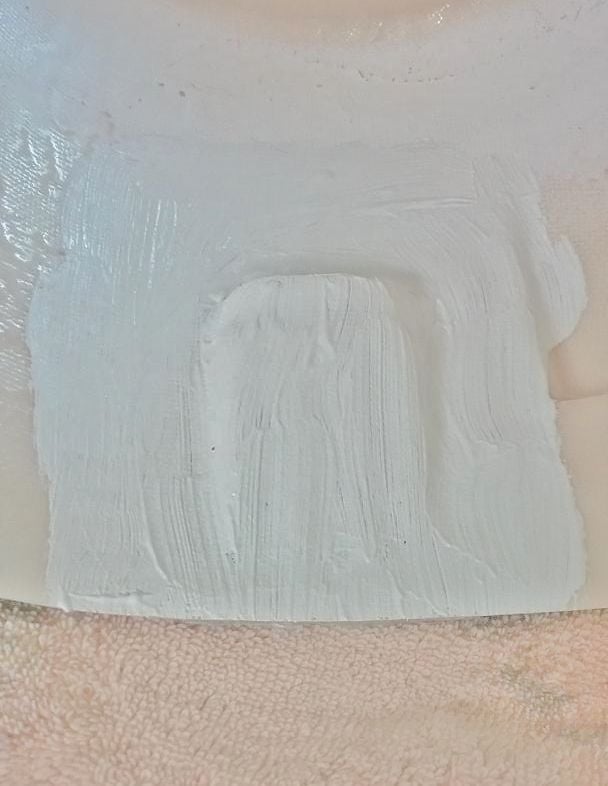
The other product I have used is BVM Heat Shield. It has the consistency of Coolwhip. I will apply about 5 to 6 coats
using a disposable acid brush applying heavier coats near the three exhaust stacks. Takes maybe 15 minutes to dry
between coats. An 8 oz. can w/shipping, about $32.


#18

Thread Starter
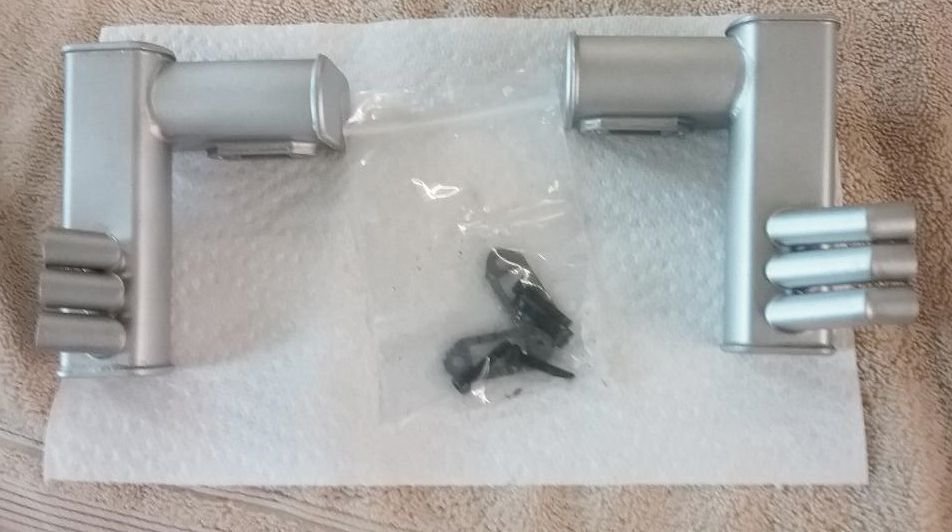
Got mine today via FedEx. Order date - June 13, 2023.
Only took one (1) year and five weeks to arrive....
Hopefully in the next couple of weeks, I will be able to get this project
completed. Stay tuned.
Only took one (1) year and five weeks to arrive....
Hopefully in the next couple of weeks, I will be able to get this project
completed. Stay tuned.

#20

Thread Starter
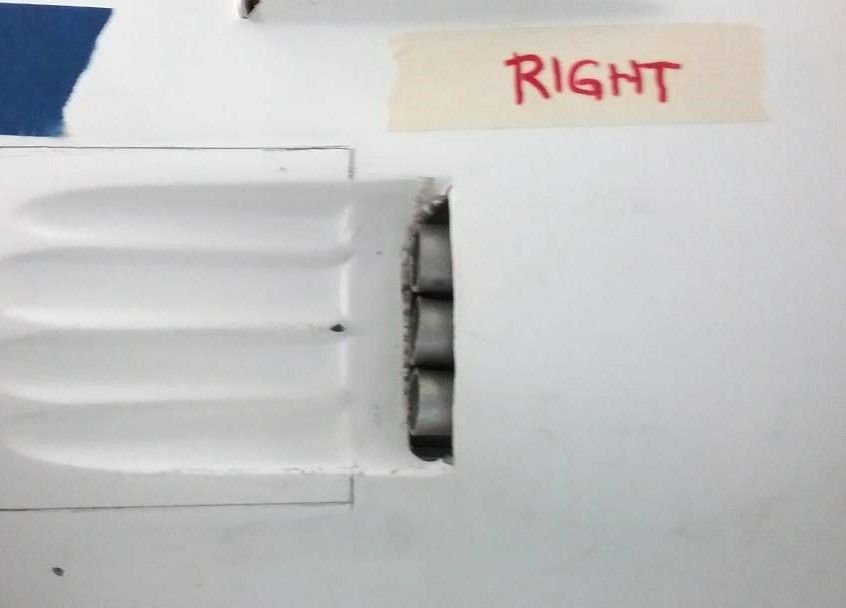
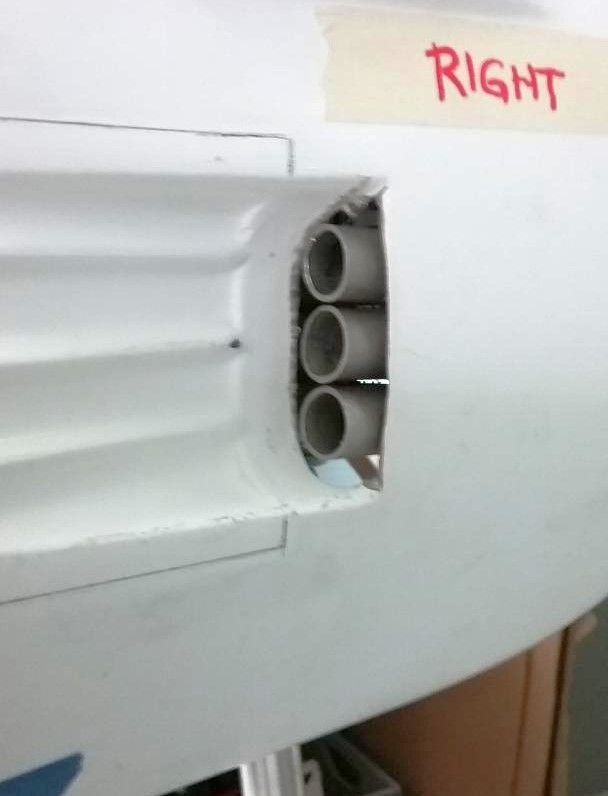
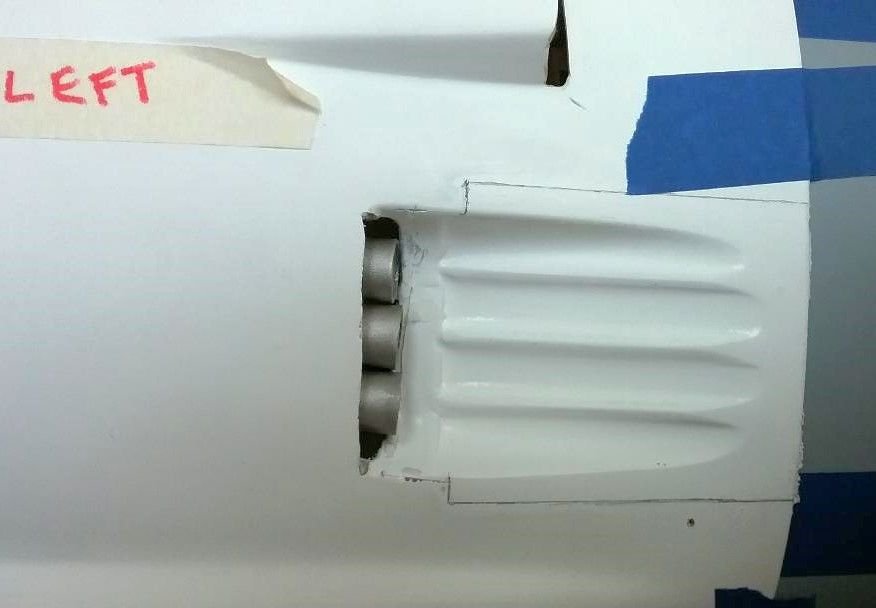
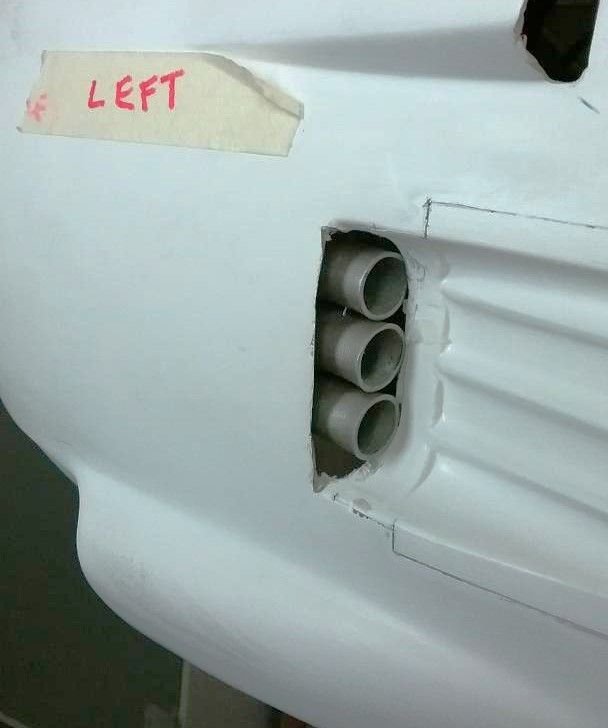
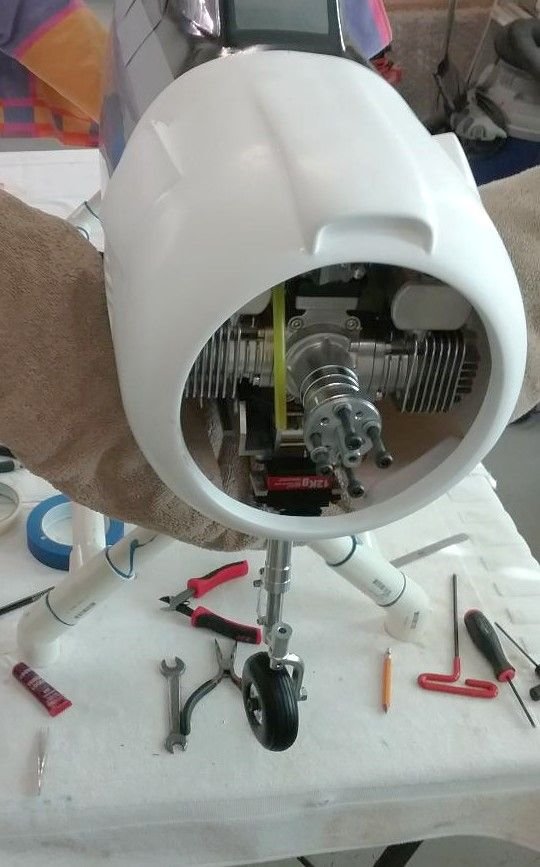
Well, it's only been about 5-1/2 months since any "real" work has been done on my Legend T-28 project due primarily to
a snafu with the custom mufflers. But, I'm back on it now and will continue to completion. As I mentioned several times,
getting the mufflers in their correct orientation attached to the engine was an absolute must in order to correctly align
everything that followed. Enjoy the pics.
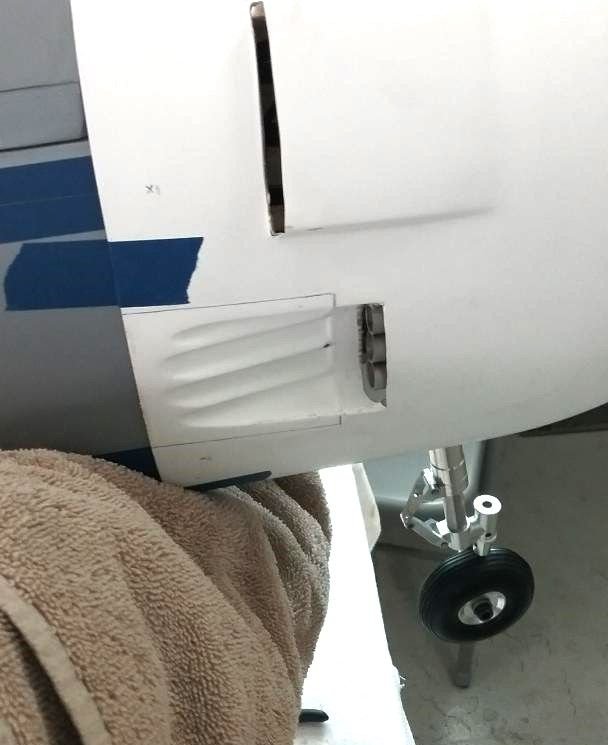
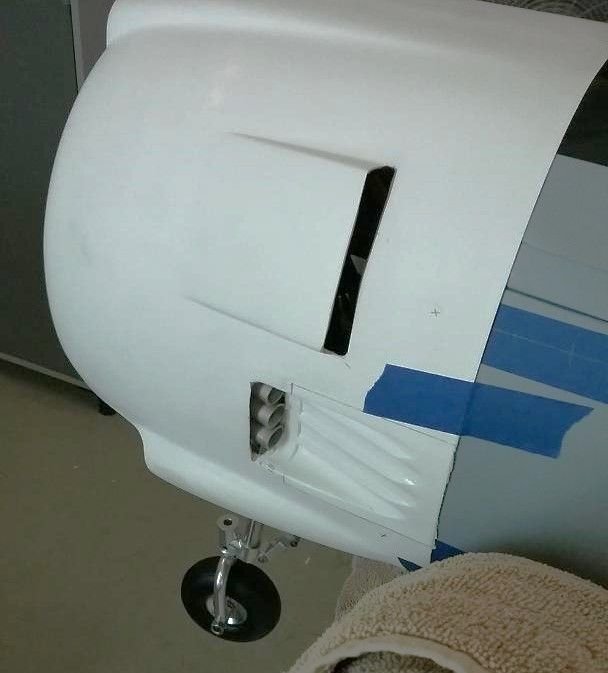
a snafu with the custom mufflers. But, I'm back on it now and will continue to completion. As I mentioned several times,
getting the mufflers in their correct orientation attached to the engine was an absolute must in order to correctly align
everything that followed. Enjoy the pics.


#21

Thread Starter
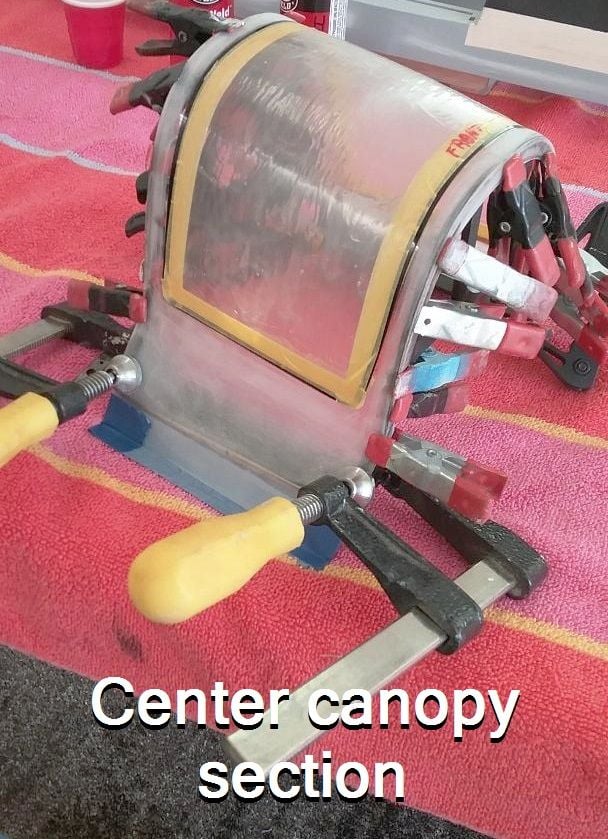
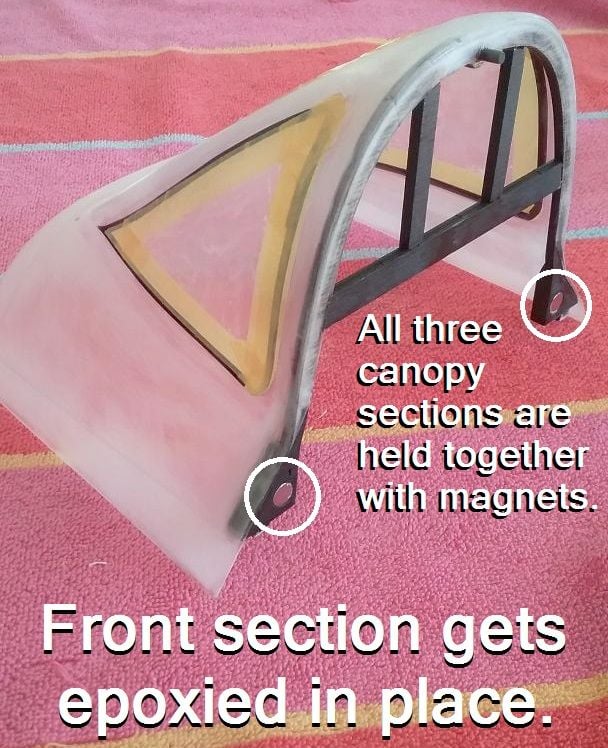
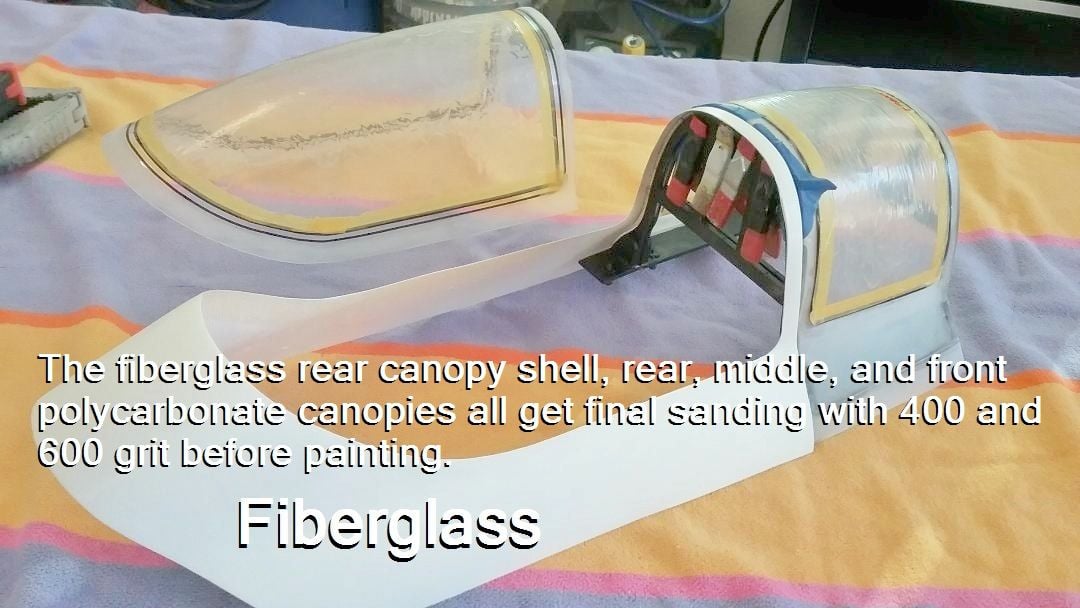
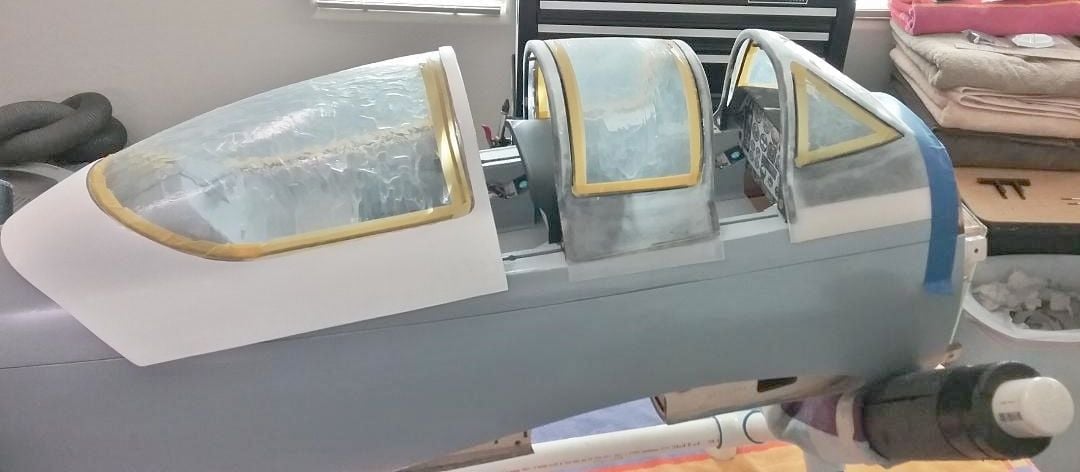
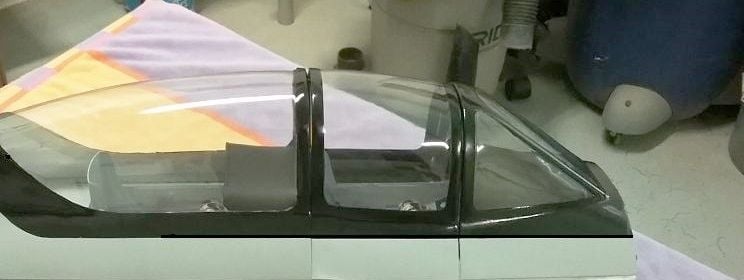
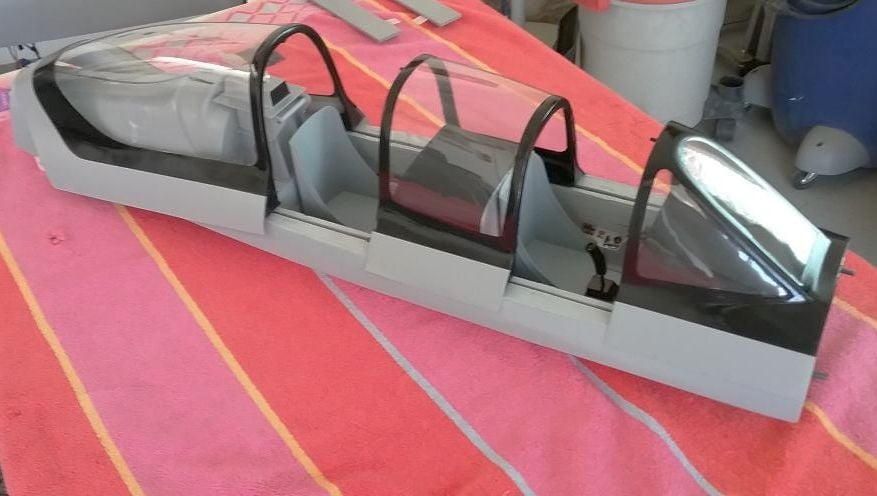
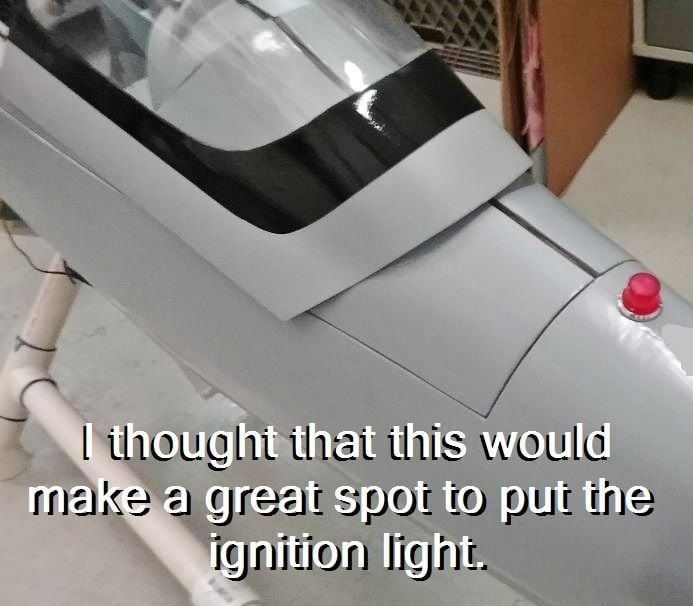
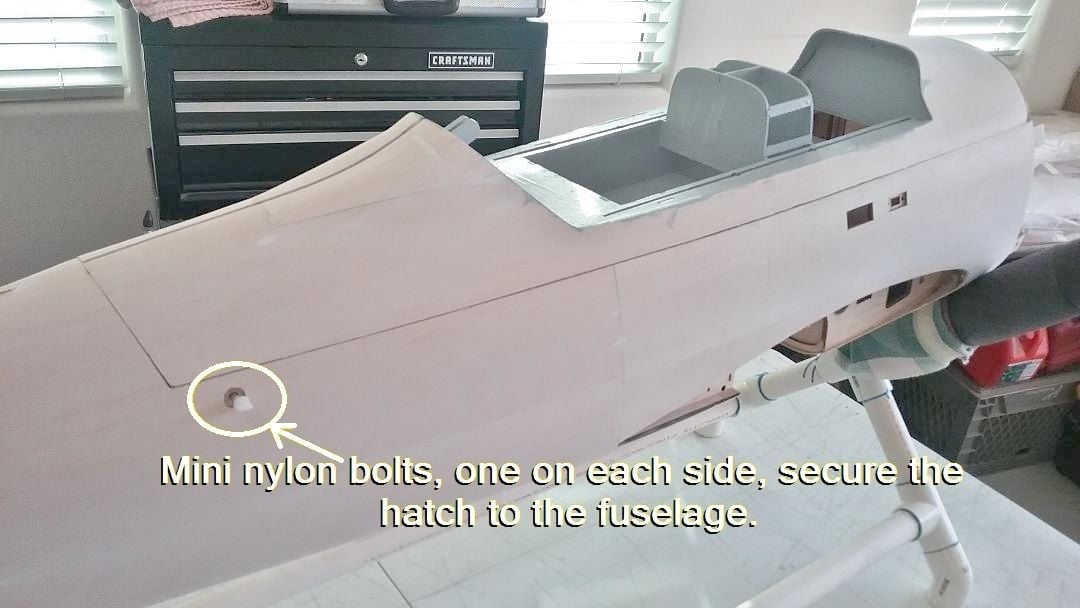
I decided to go a different route with the way the canopy was secured to the fuselage. Instead of using
the nylon bolt that came with the model, I opted for a screw covered by a painted plug. I think it now
has a more finished look.


the nylon bolt that came with the model, I opted for a screw covered by a painted plug. I think it now
has a more finished look.


#23

Thread Starter
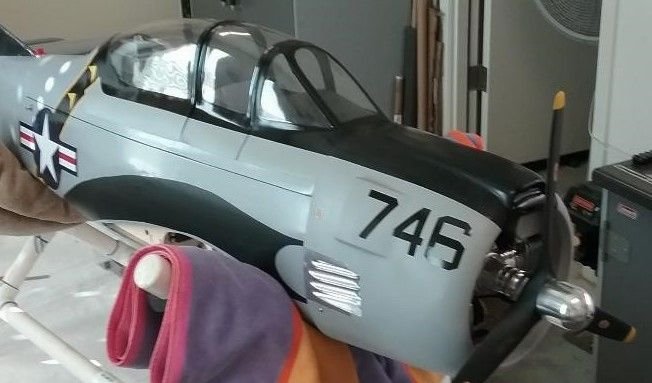
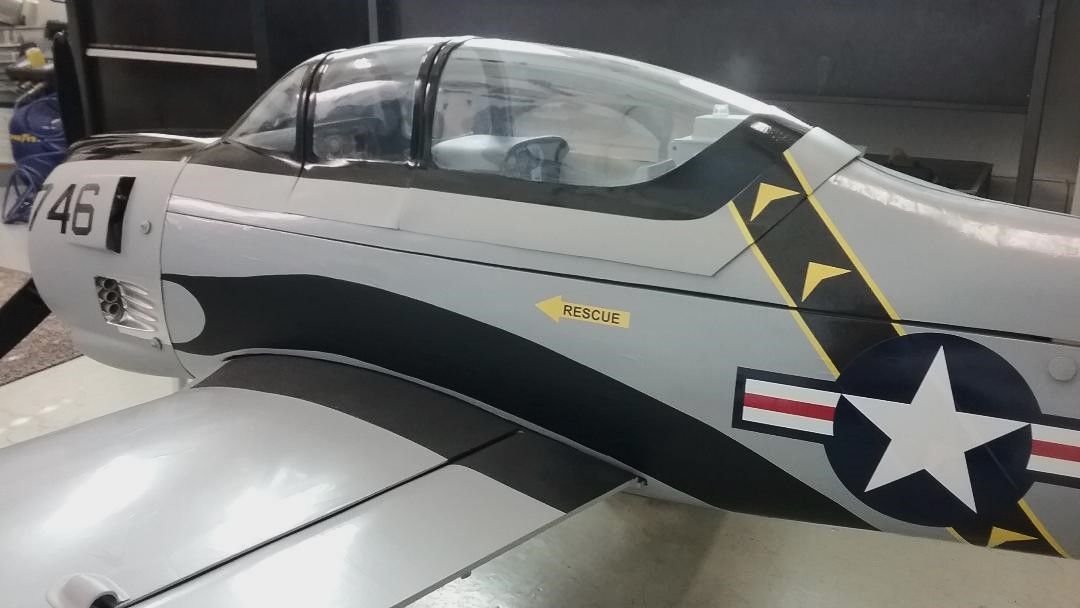
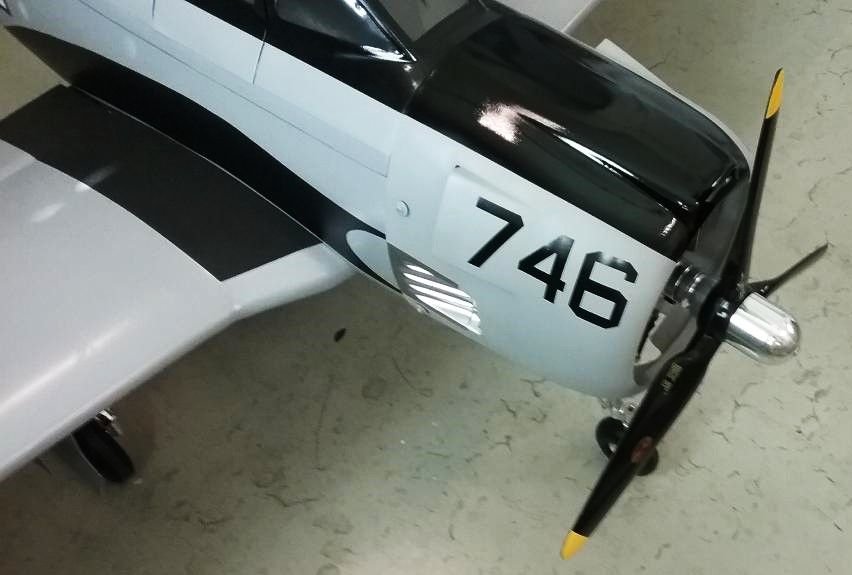
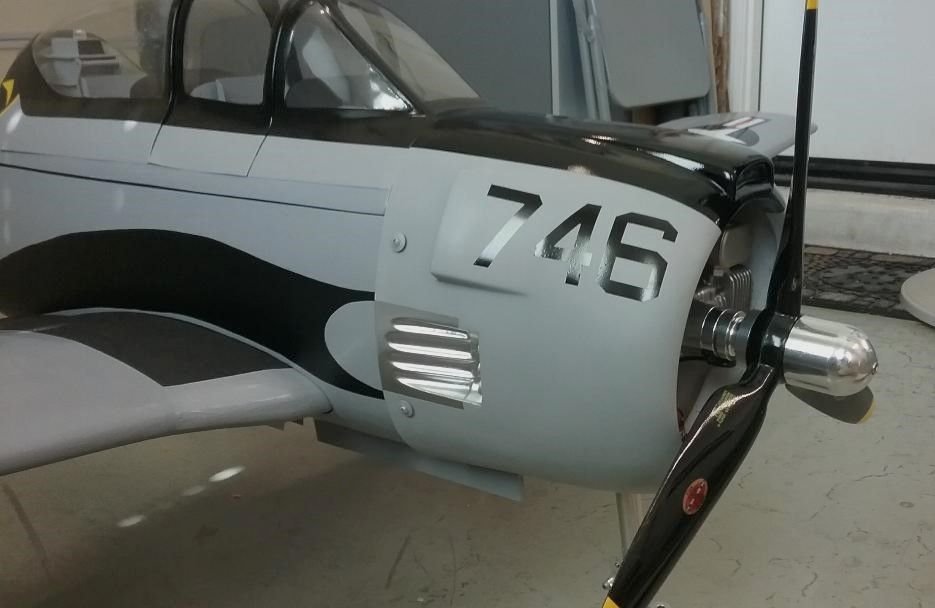
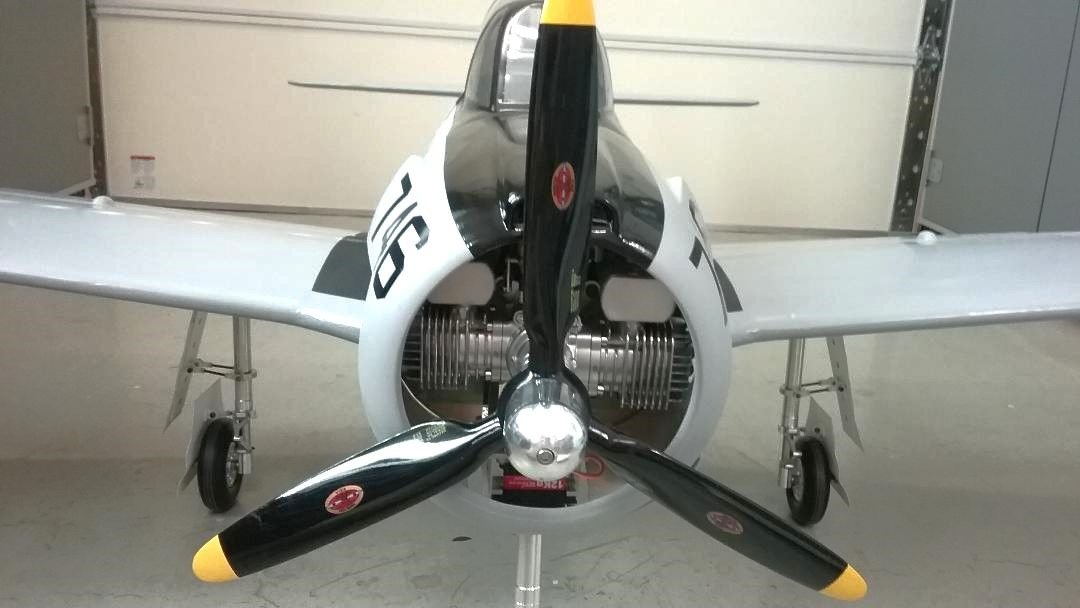
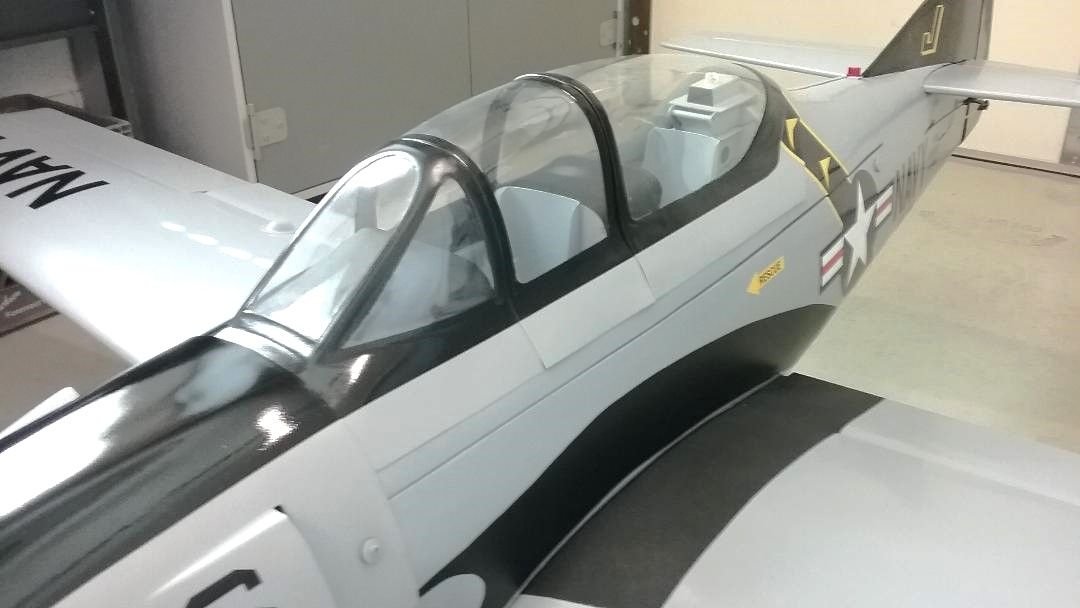
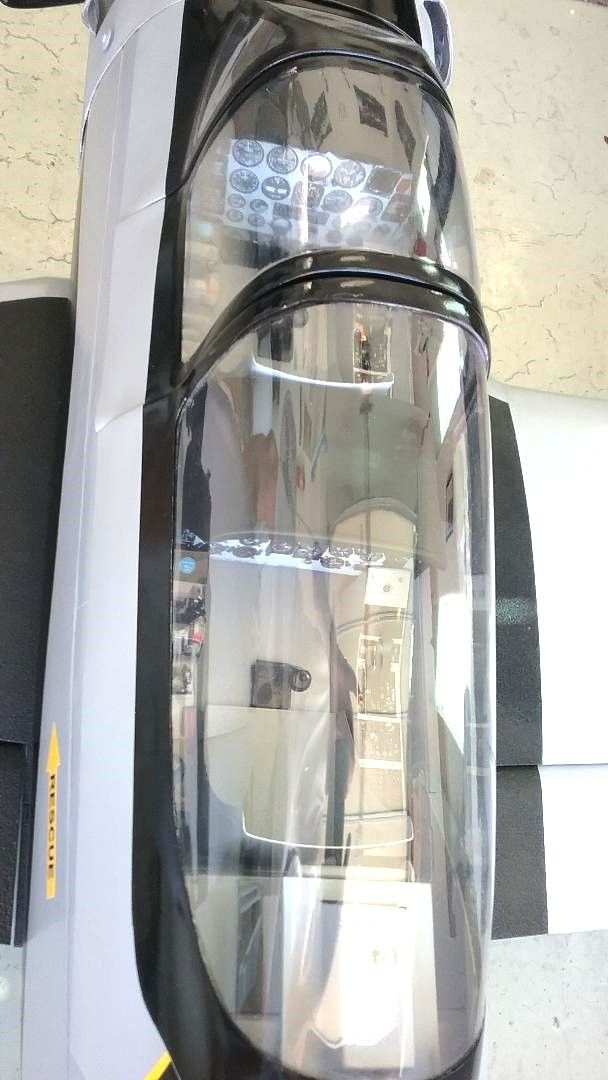
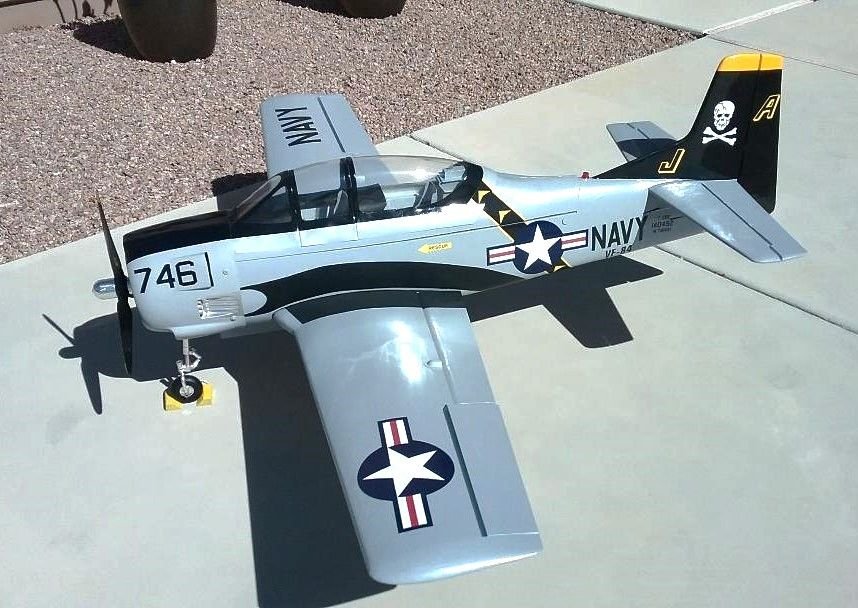
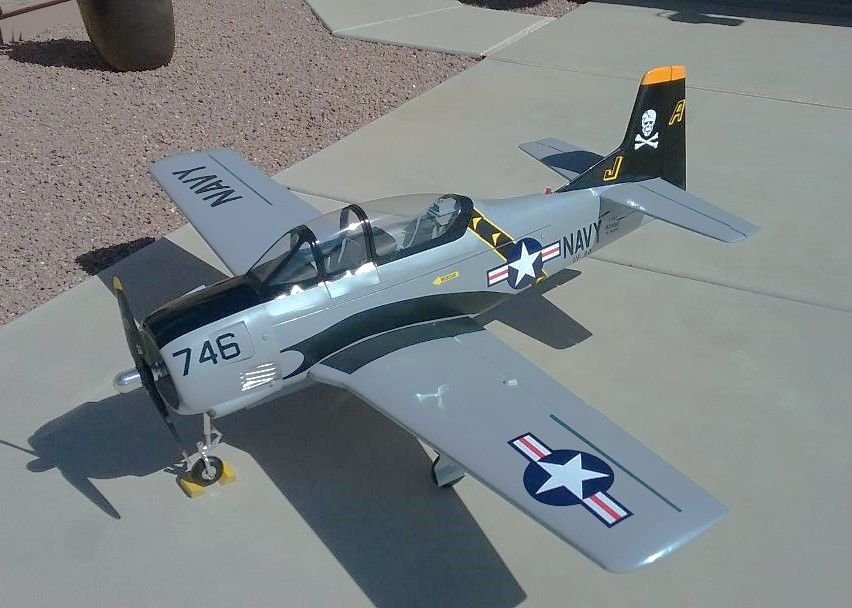
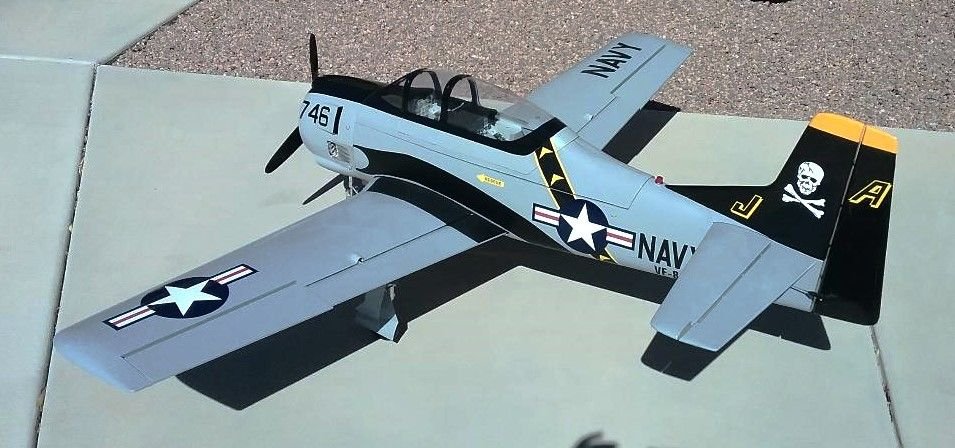
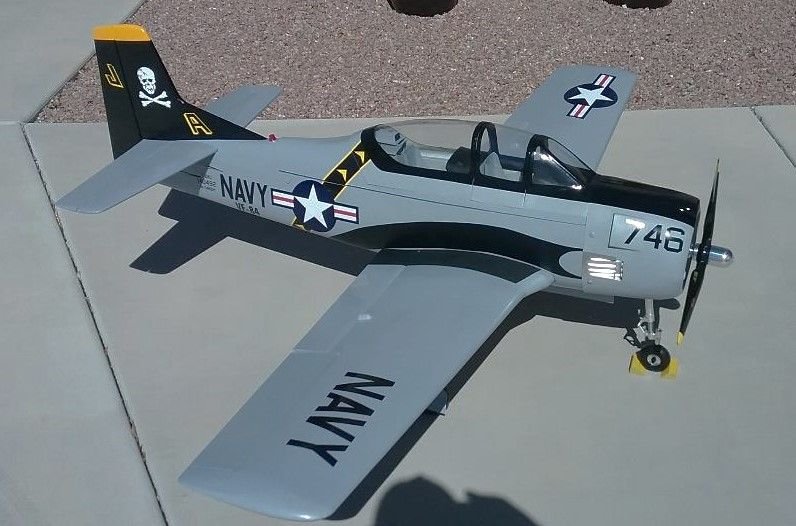
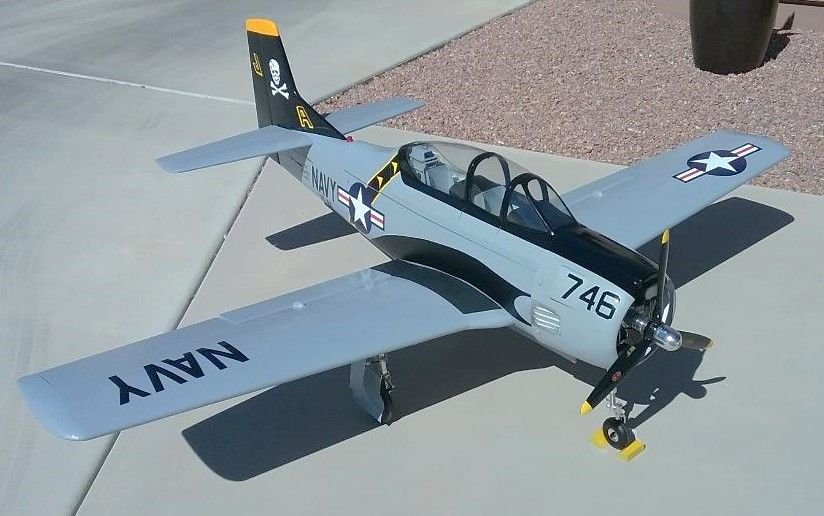
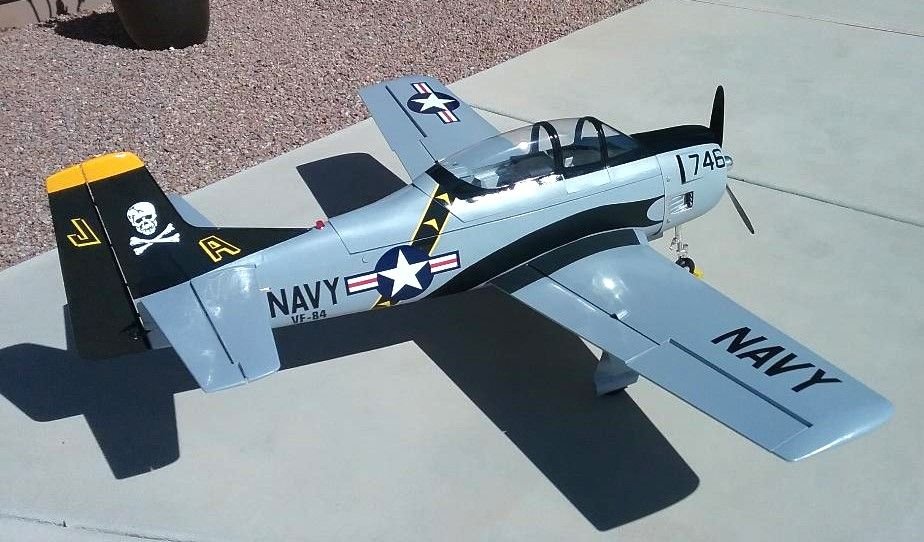
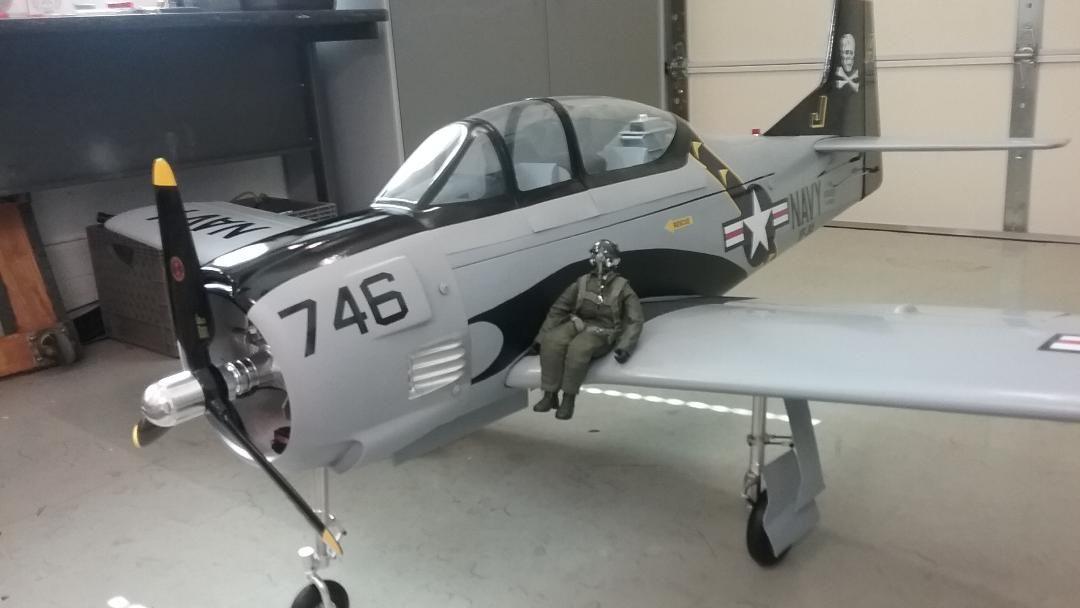
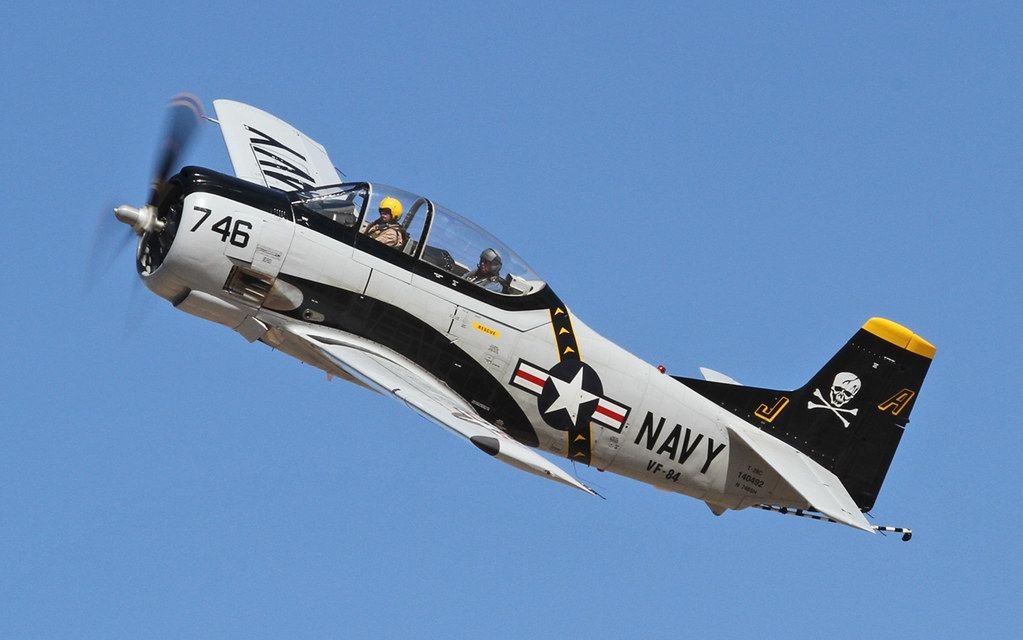
It's DONE. Haven't done one this extensive in many years and even with the issues
along the way that did get worked out, I think it was well-worth it! My Legend Hobby 82"
T-28 ARF (Unfinished version).
The last picture shows what I was going for, and I think I came close. Enjoy the pics.

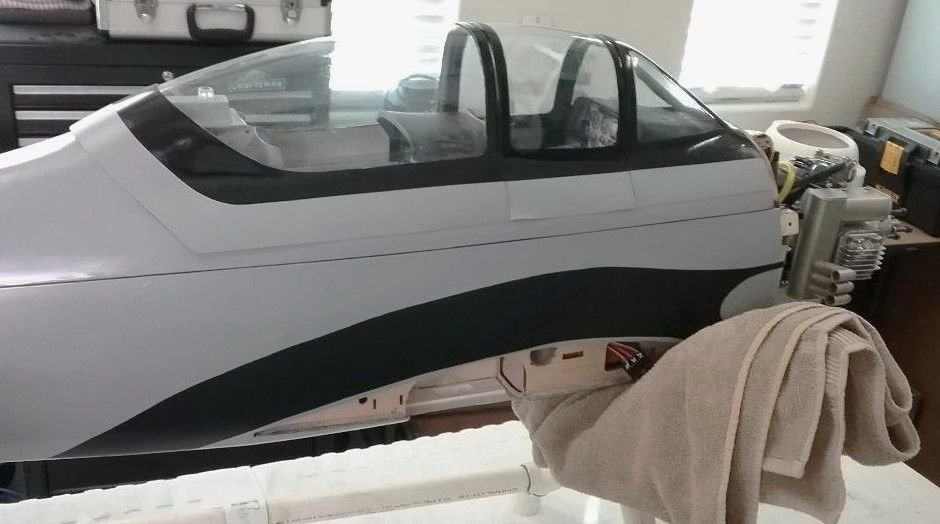
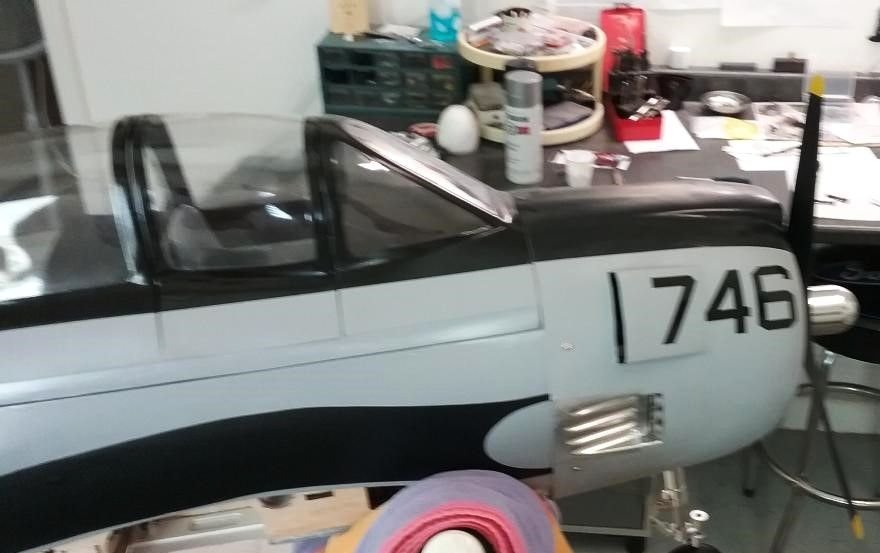
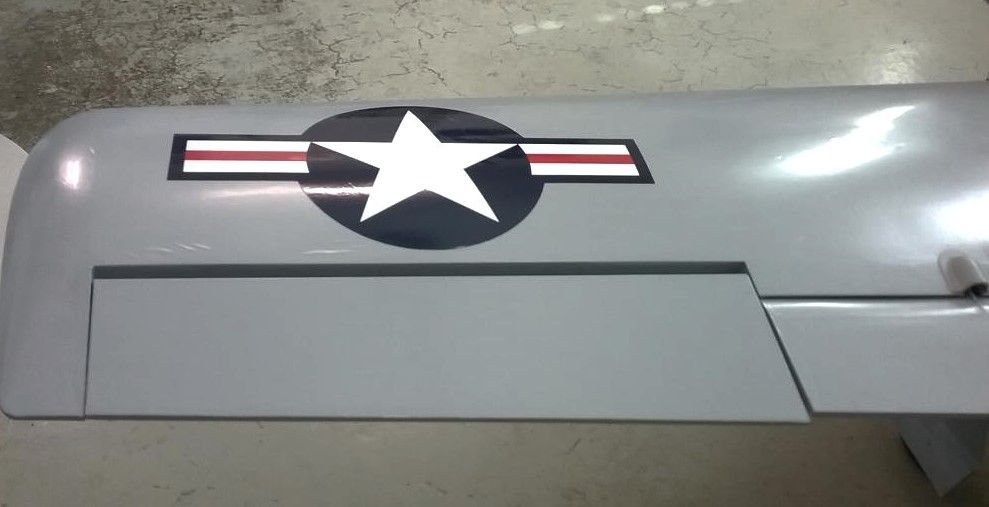
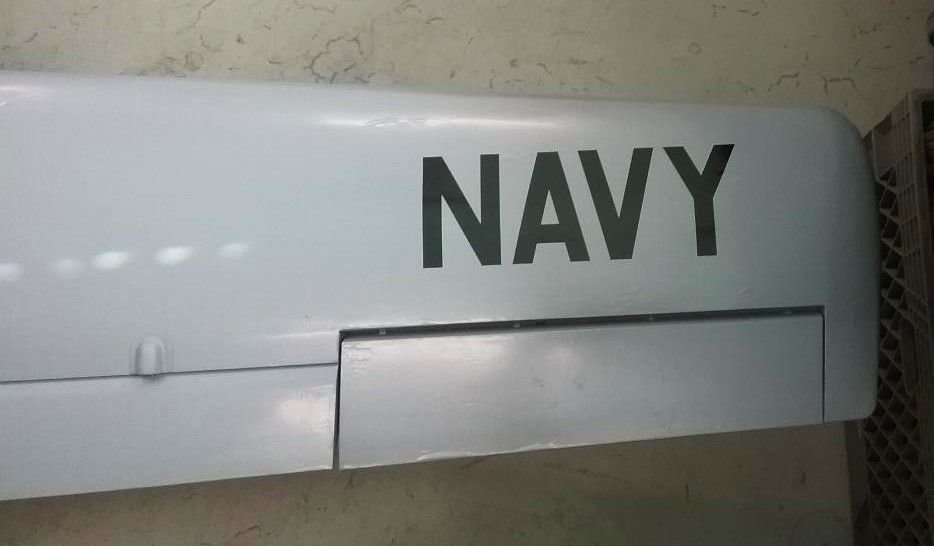
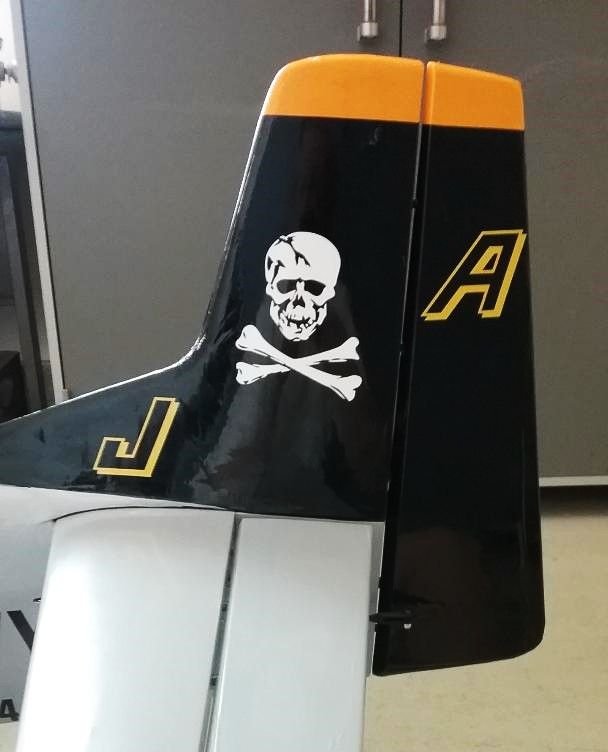
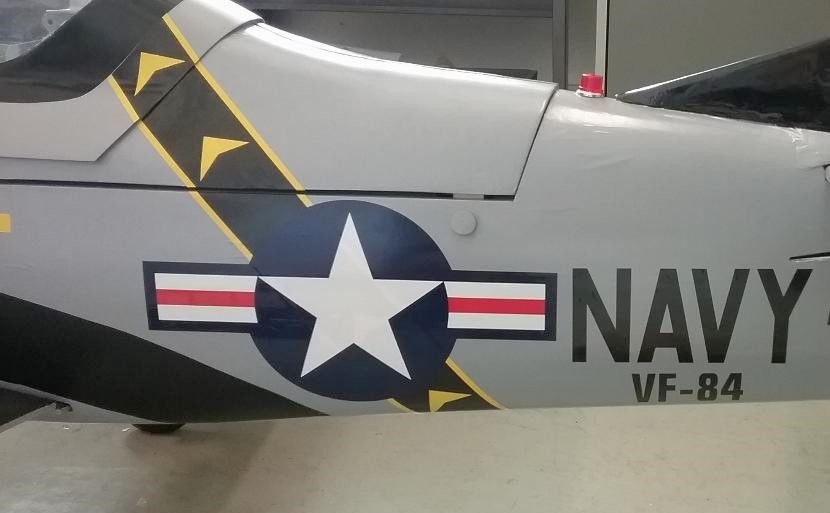
along the way that did get worked out, I think it was well-worth it! My Legend Hobby 82"
T-28 ARF (Unfinished version).
The last picture shows what I was going for, and I think I came close. Enjoy the pics.


Last edited by V35BFLYER; 10-17-2024 at 08:57 AM.


