Go Back  RCU Forums > RC Airplanes > Kit Building
Reload this Page >

Flight Hobby Top Stage 70

Notices
Kit Building If you're building a kit and have questions or want to discuss kit building post it here.

Flight Hobby Top Stage 70

Old 04-09-2024, 08:44 AM
  #26  
gil.s
Member
Thread Starter
 
gil.s's Avatar
 
Join Date: Mar 2024
Posts: 36
Received 2 Likes on 2 Posts
Default

Originally Posted by RICKSTUBBZ
is that 1/16 thick balsa for the "TURTLE DECK"
It is 2 mm balsa sheet. In inches it is 5/64”.
The following users liked this post:
RICKSTUBBZ (04-10-2024)
Old 04-27-2024, 12:26 AM
  #27  
gil.s
Member
Thread Starter
 
gil.s's Avatar
 
Join Date: Mar 2024
Posts: 36
Received 2 Likes on 2 Posts
Default


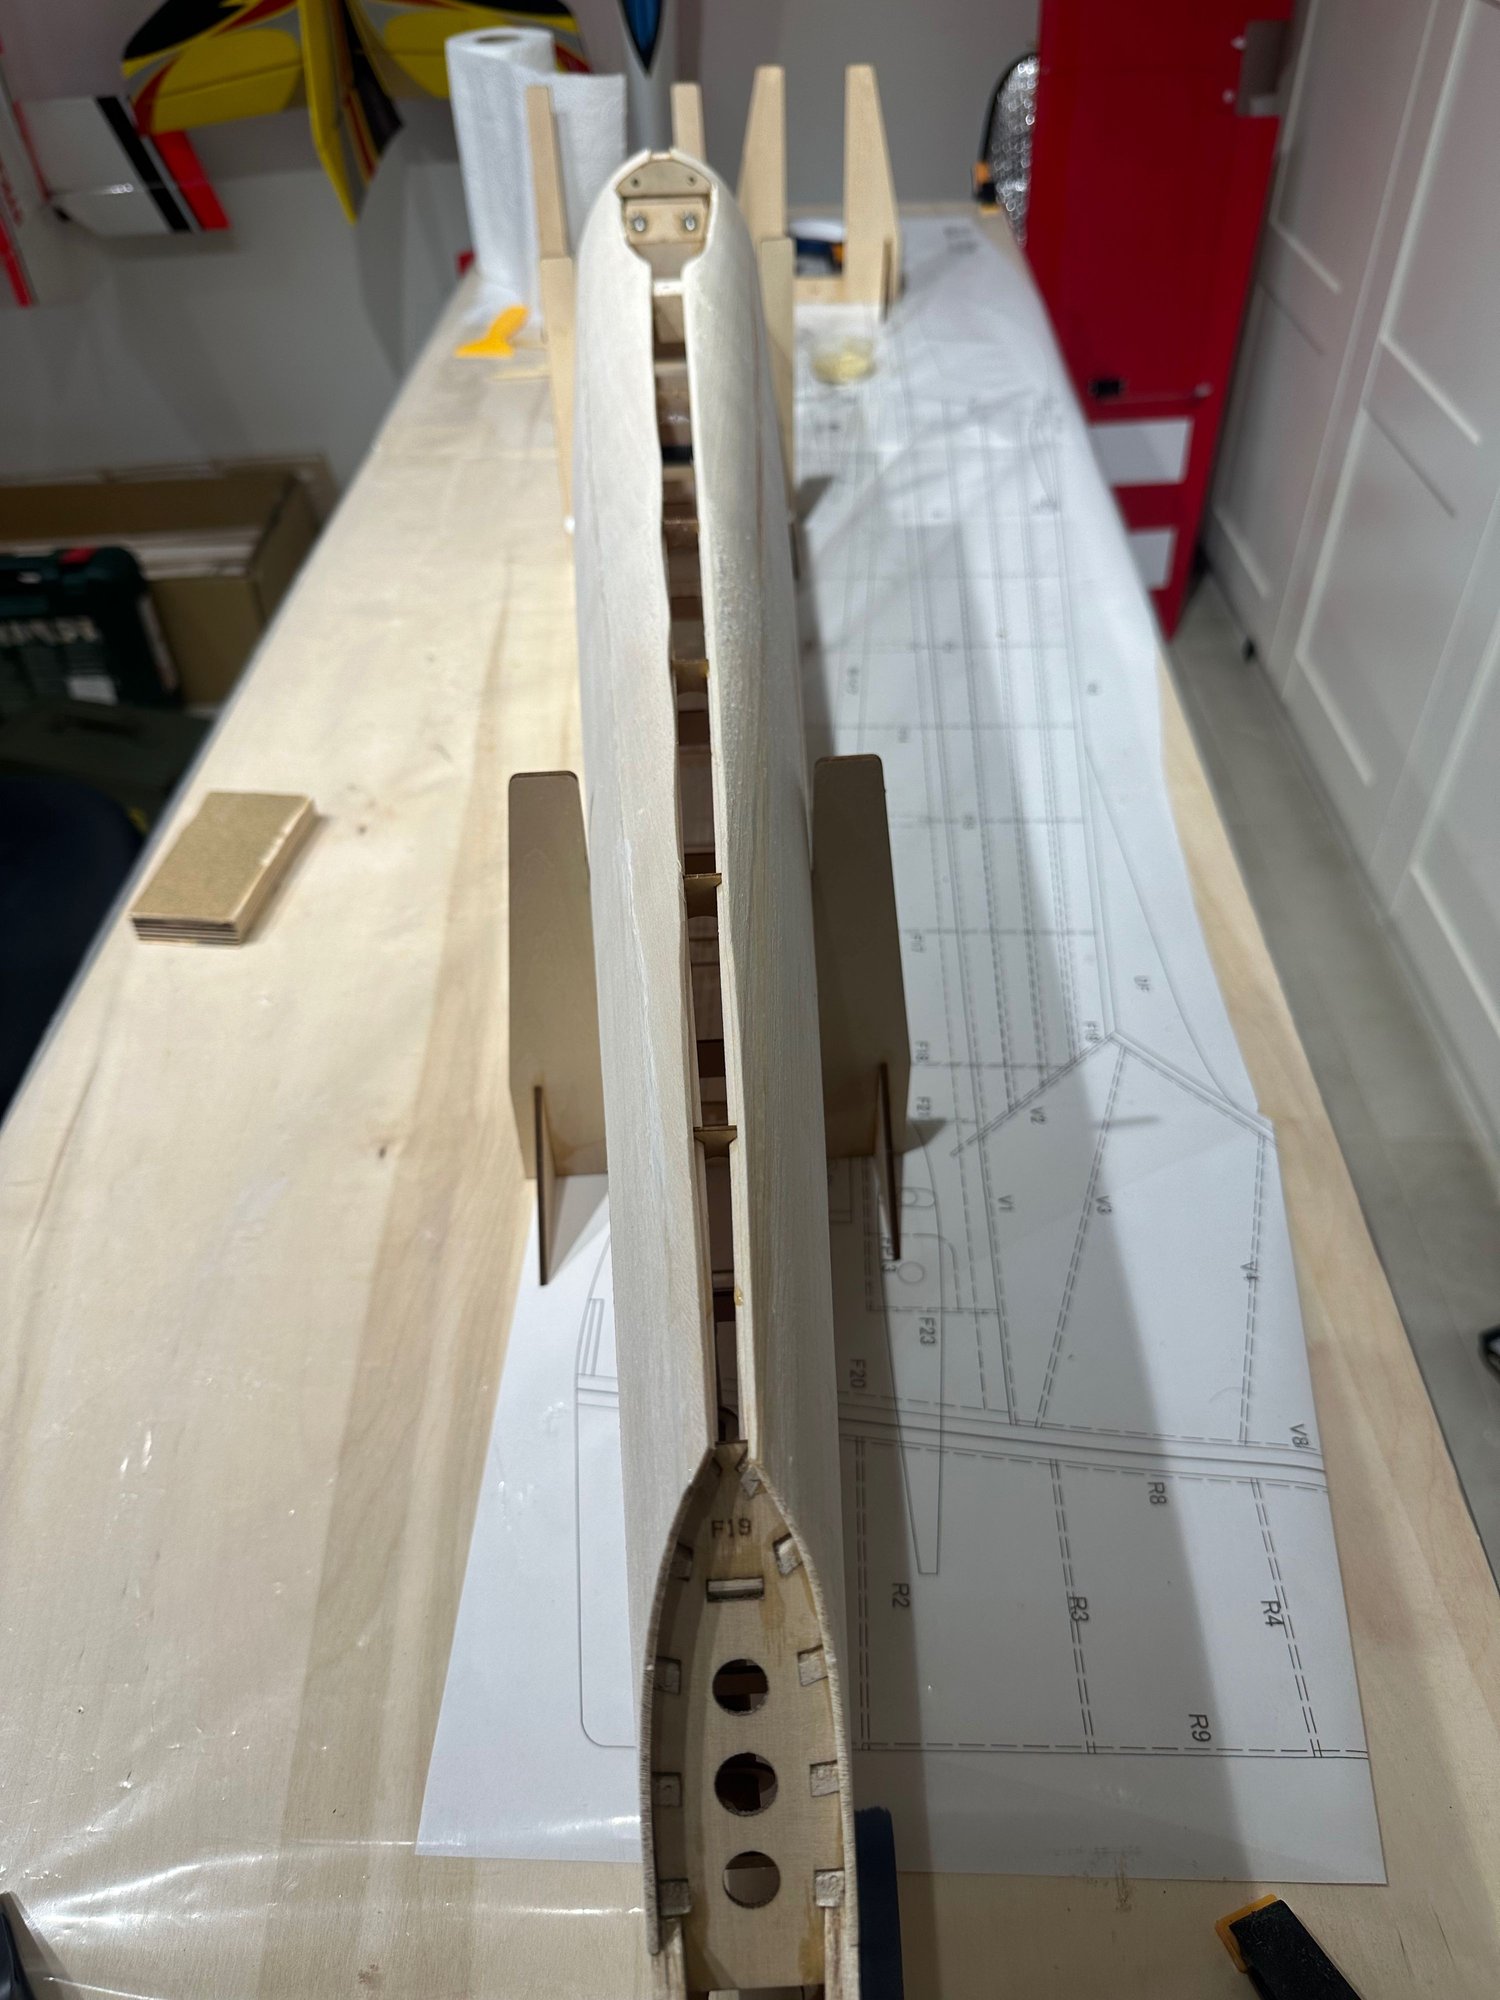
The fuselage sheets are now glued.

Some sending of the edges.

Glue the top cover of the fuselage.

The wood cover of the front
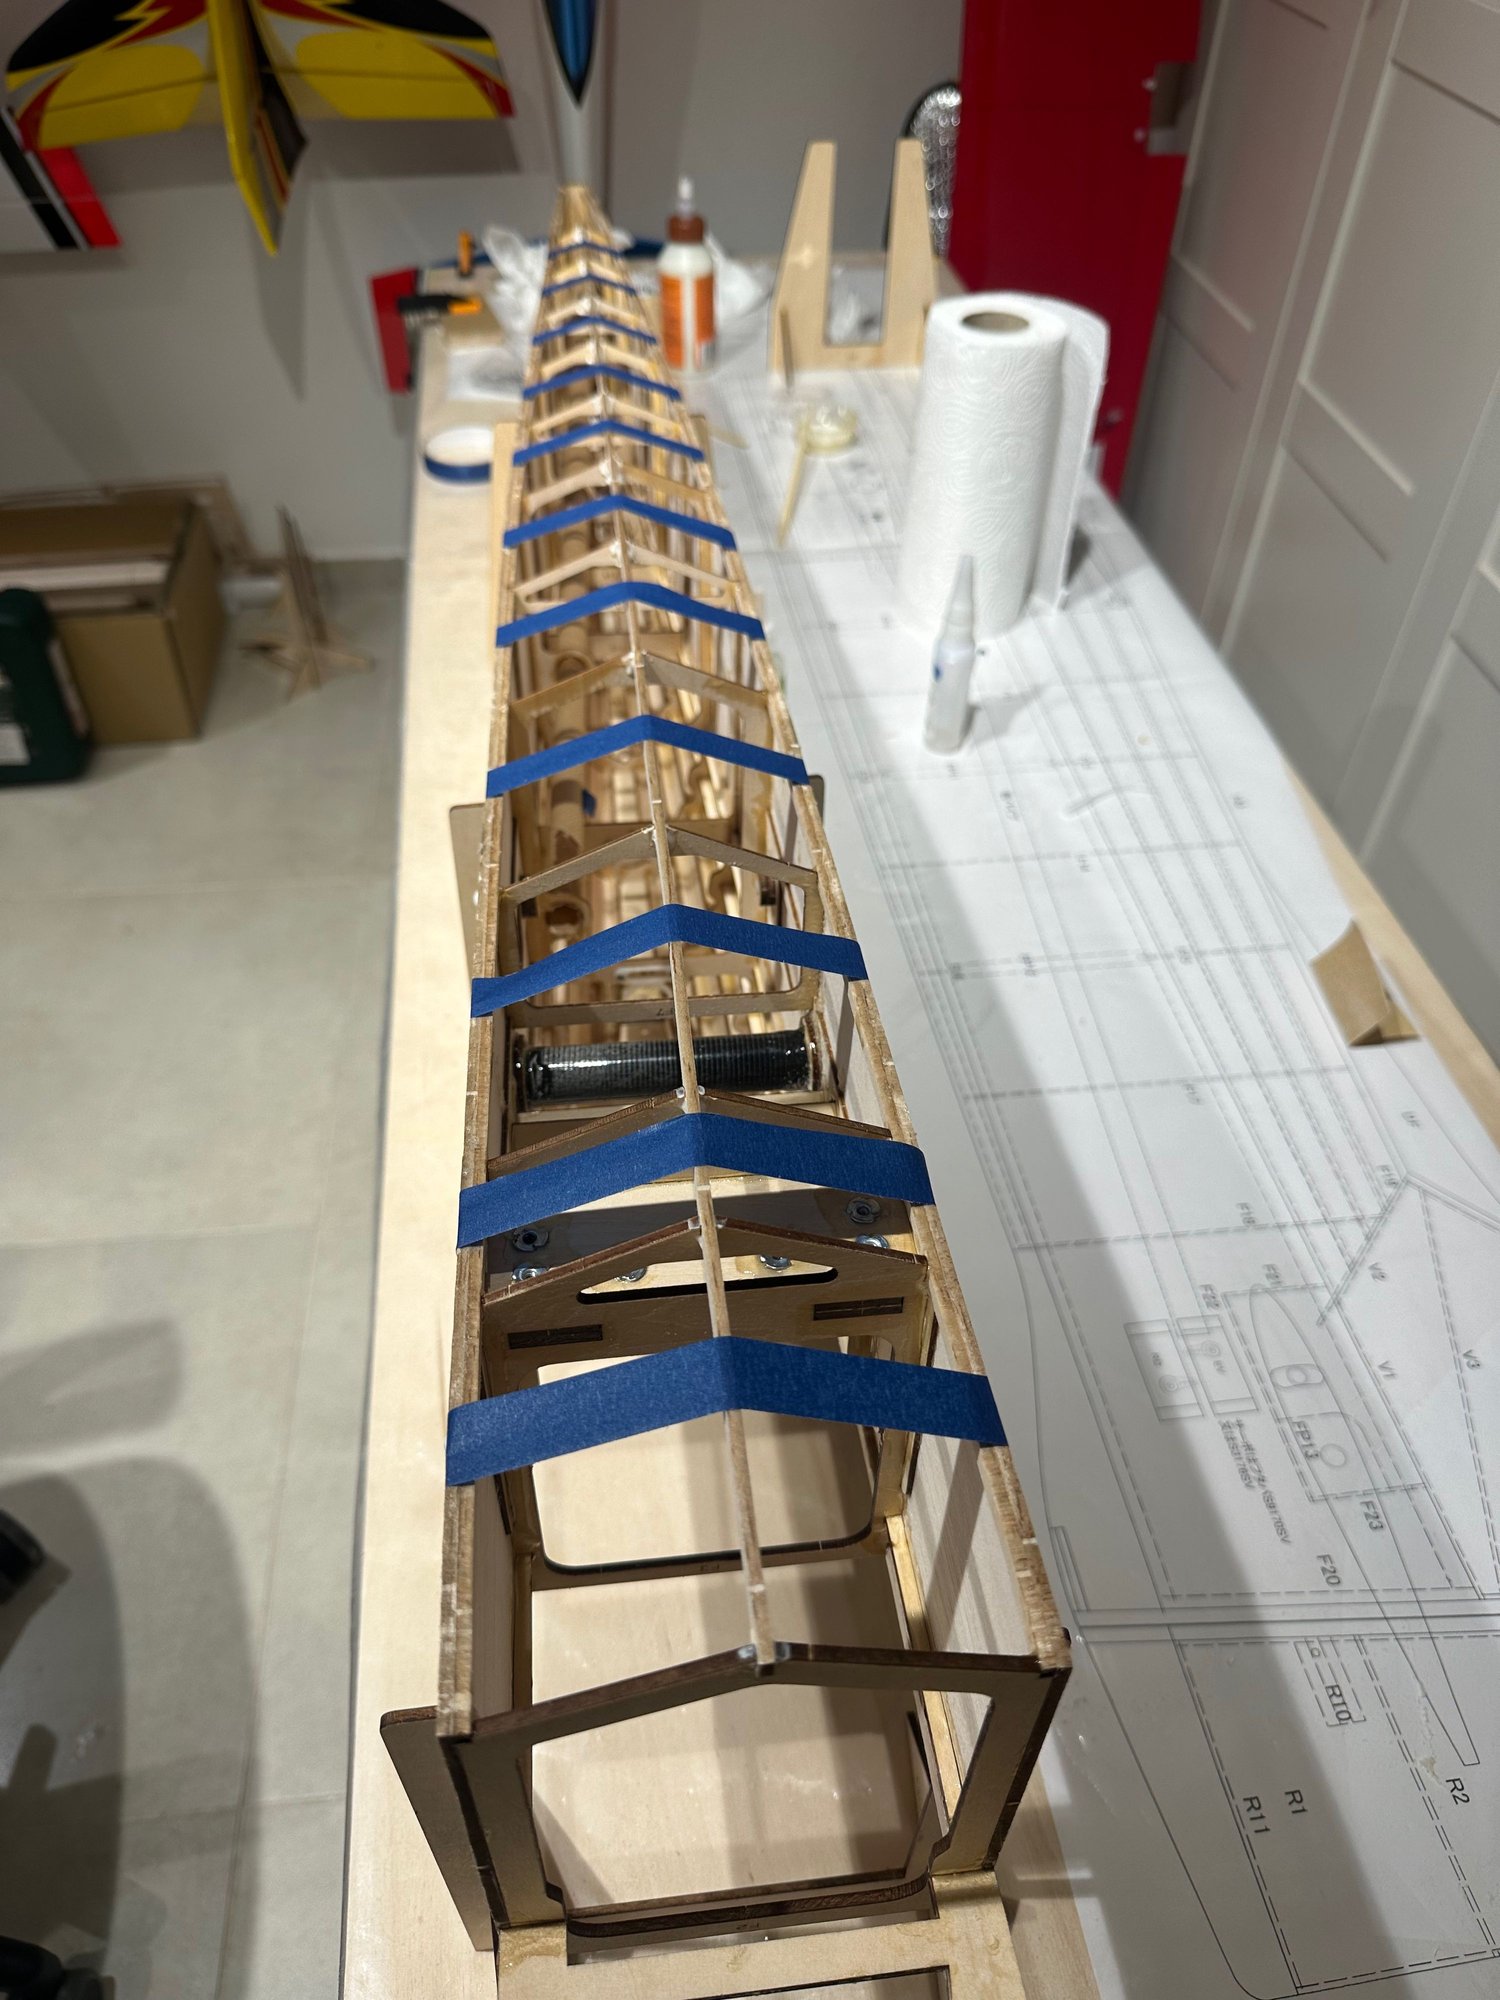
the main beam of the fuse bottom.
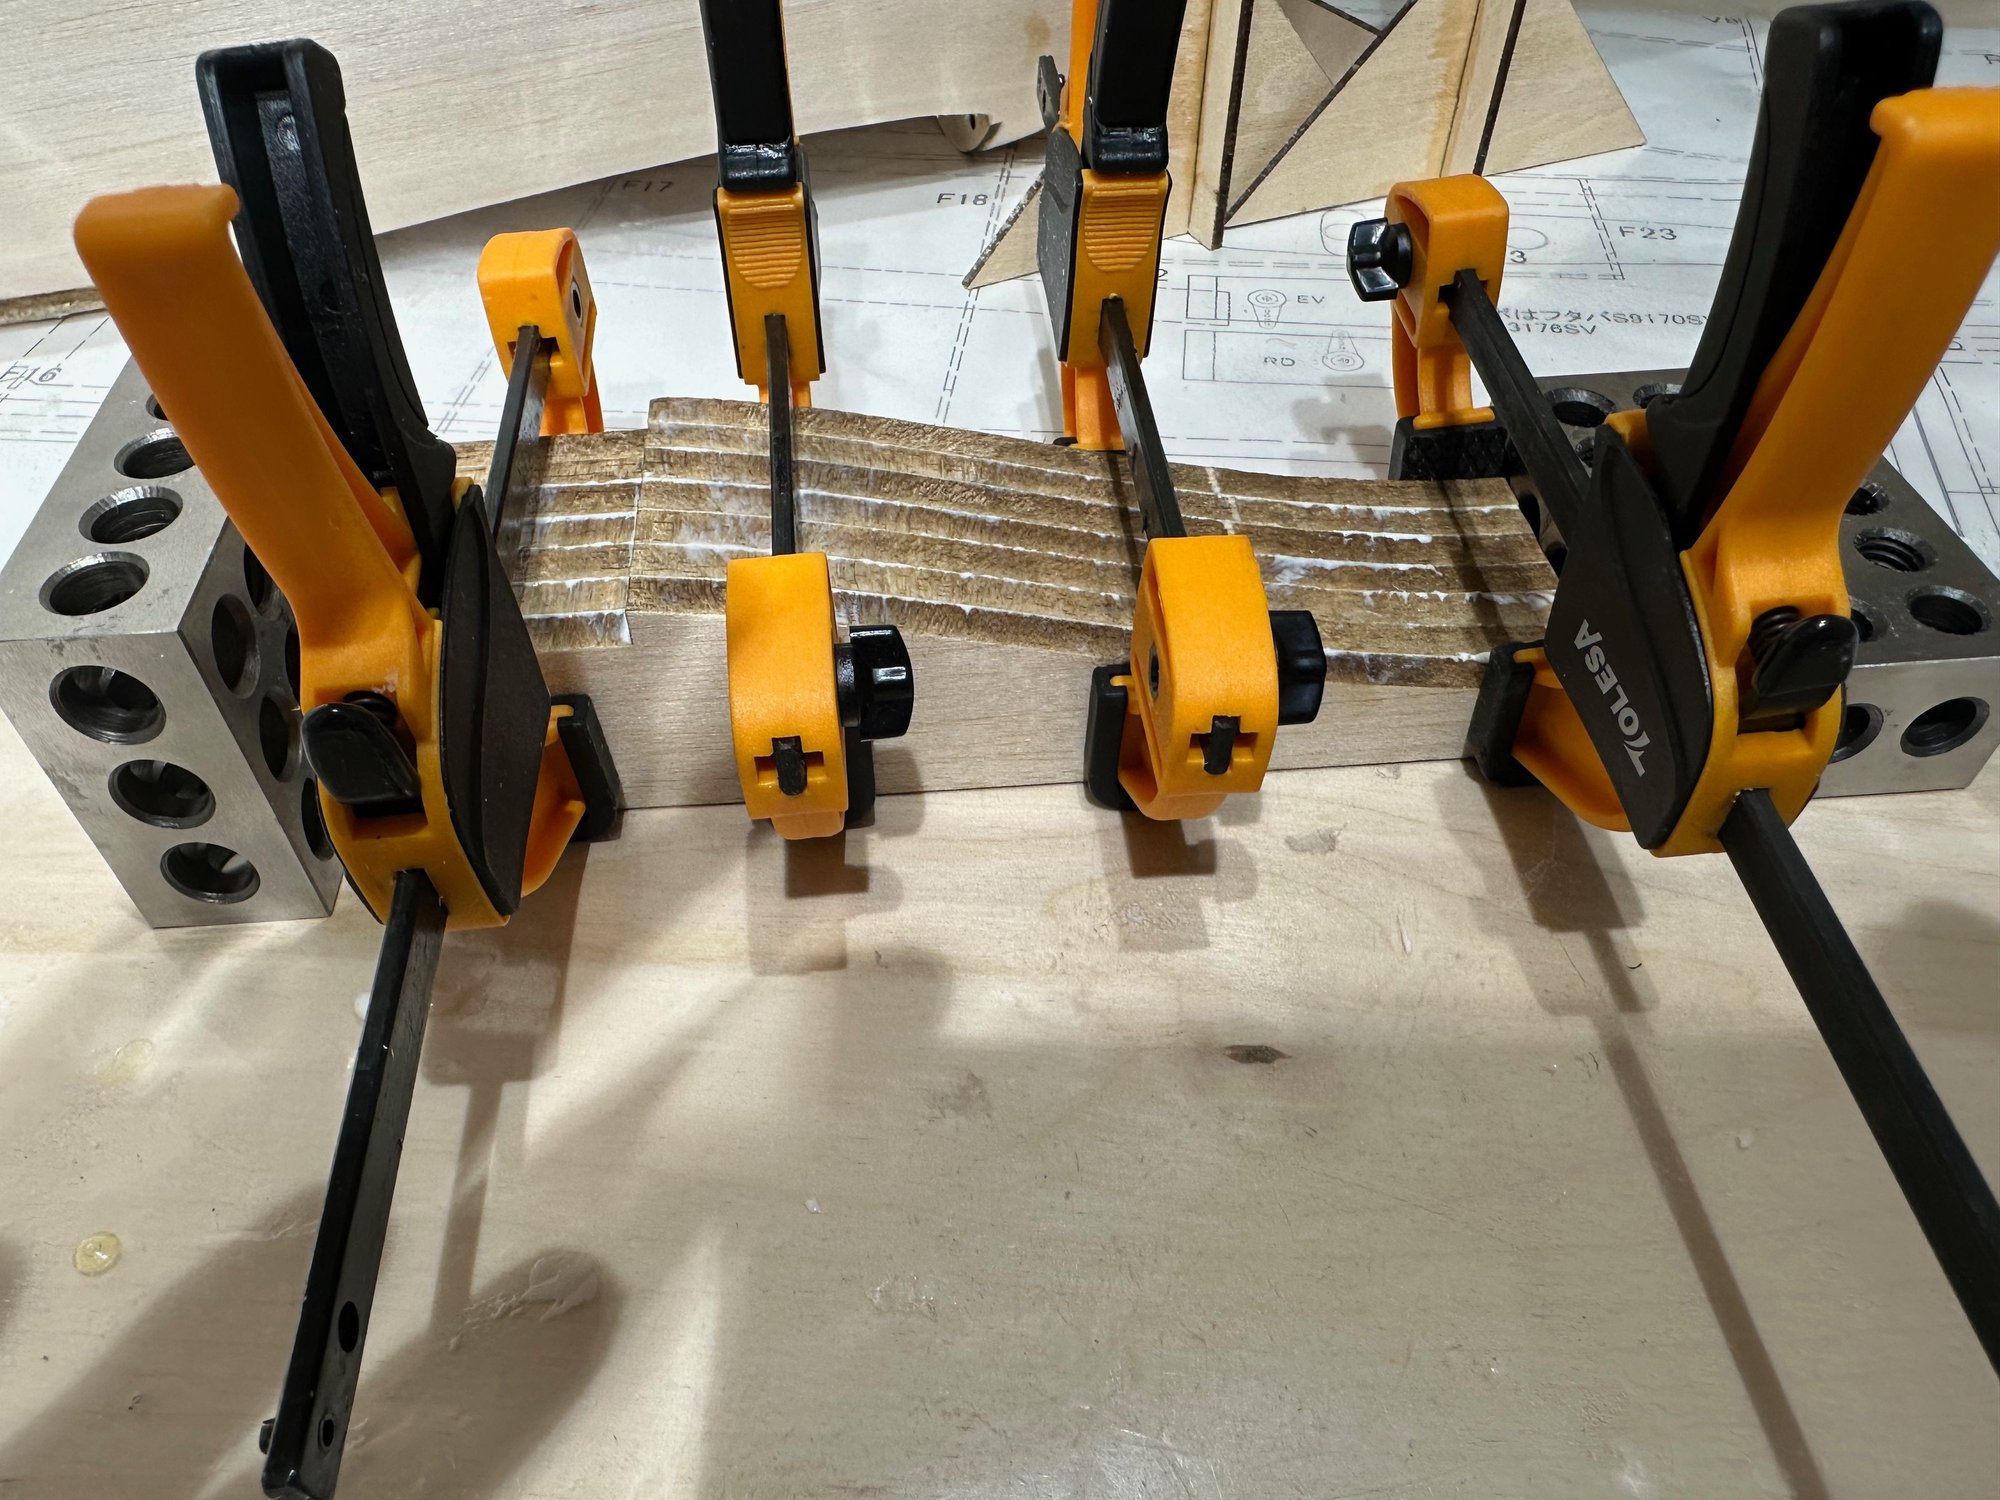
The tail bottom

Now on the fuselage. Will need some serious sanding.
Old 04-27-2024, 01:46 AM
  #28  
gil.s
Member
Thread Starter
 
gil.s's Avatar
 
Join Date: Mar 2024
Posts: 36
Received 2 Likes on 2 Posts
Default


Preparing the tape in advance before glueing the bottom. This will save time when attaching the bottom sheets with the glue on.

Let it dry for a while.

Old 04-27-2024, 10:06 AM
  #29  
flywilly
My Feedback: (121)
 
Join Date: Feb 2002
Location: glen allen, VA,
Posts: 2,276
Received 32 Likes on 31 Posts
Default

Coming along very nicely. I would precut that bottom tail block on a band saw to the approximate shape to reduce sanding, I’m lazy whenever possible.
Old 04-30-2024, 06:36 AM
  #30  
gil.s
Member
Thread Starter
 
gil.s's Avatar
 
Join Date: Mar 2024
Posts: 36
Received 2 Likes on 2 Posts
Default

Originally Posted by flywilly
Coming along very nicely. I would precut that bottom tail block on a band saw to the approximate shape to reduce sanding, I’m lazy whenever possible.
Thanks!
Yes, it makes sense.
Old 04-30-2024, 06:43 AM
  #31  
gil.s
Member
Thread Starter
 
gil.s's Avatar
 
Join Date: Mar 2024
Posts: 36
Received 2 Likes on 2 Posts
Default


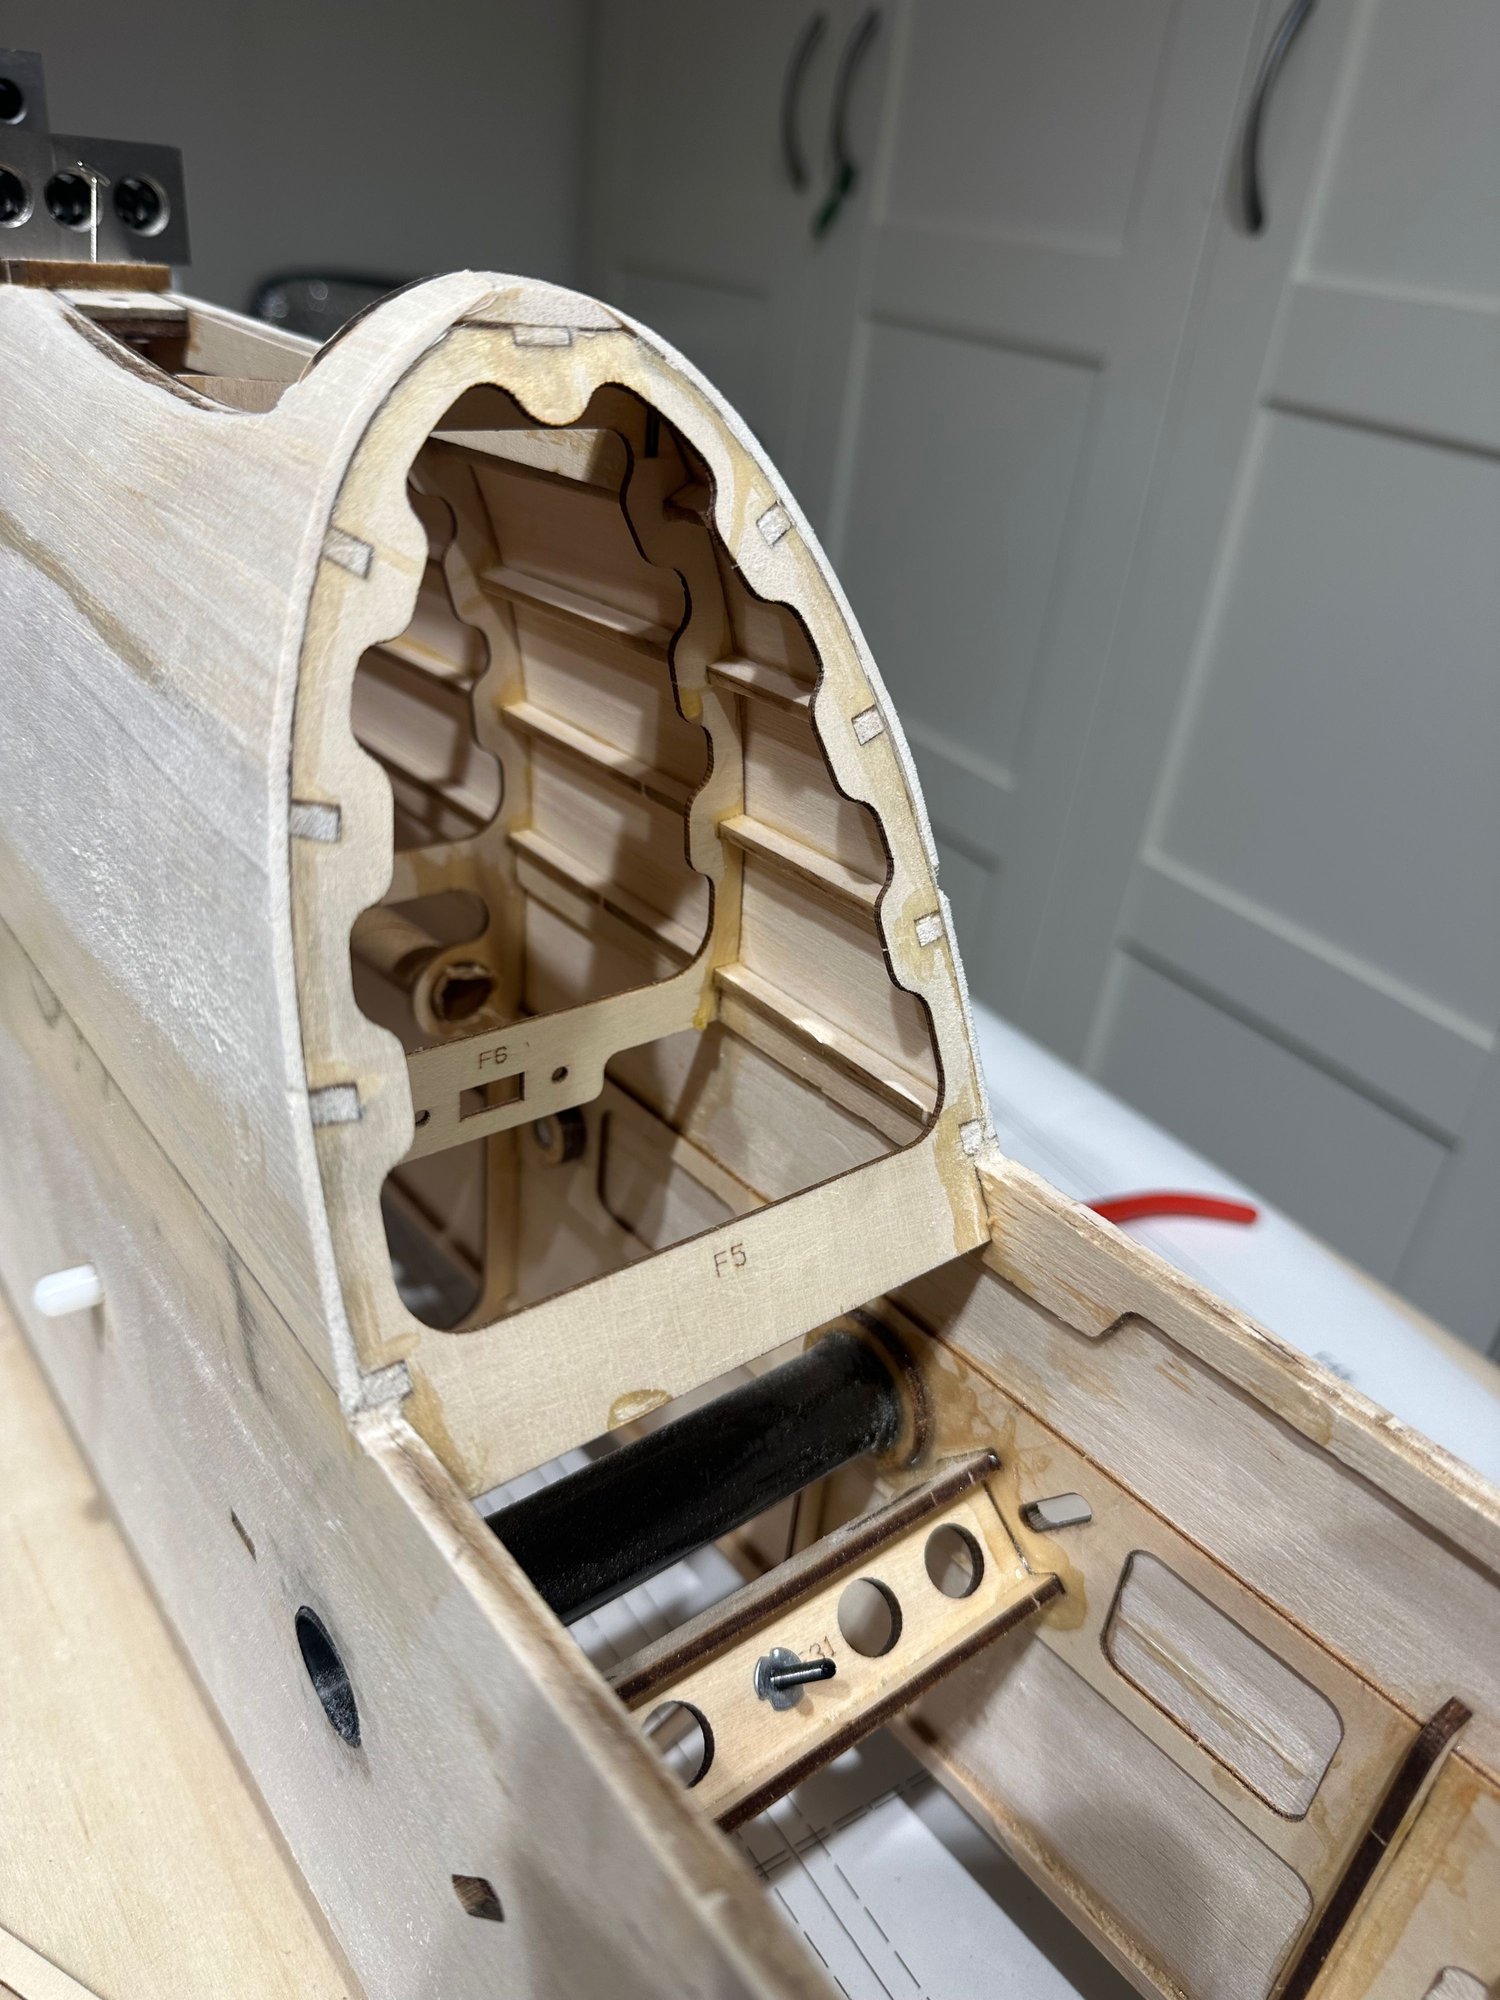
The fuselage is coming along nicely. I will now build the Canalyzer to assure proper fit to the fuselage and sanding. After that I will glue the cowl and build the canopy.
Old 04-30-2024, 06:44 AM
  #32  
gil.s
Member
Thread Starter
 
gil.s's Avatar
 
Join Date: Mar 2024
Posts: 36
Received 2 Likes on 2 Posts
Default


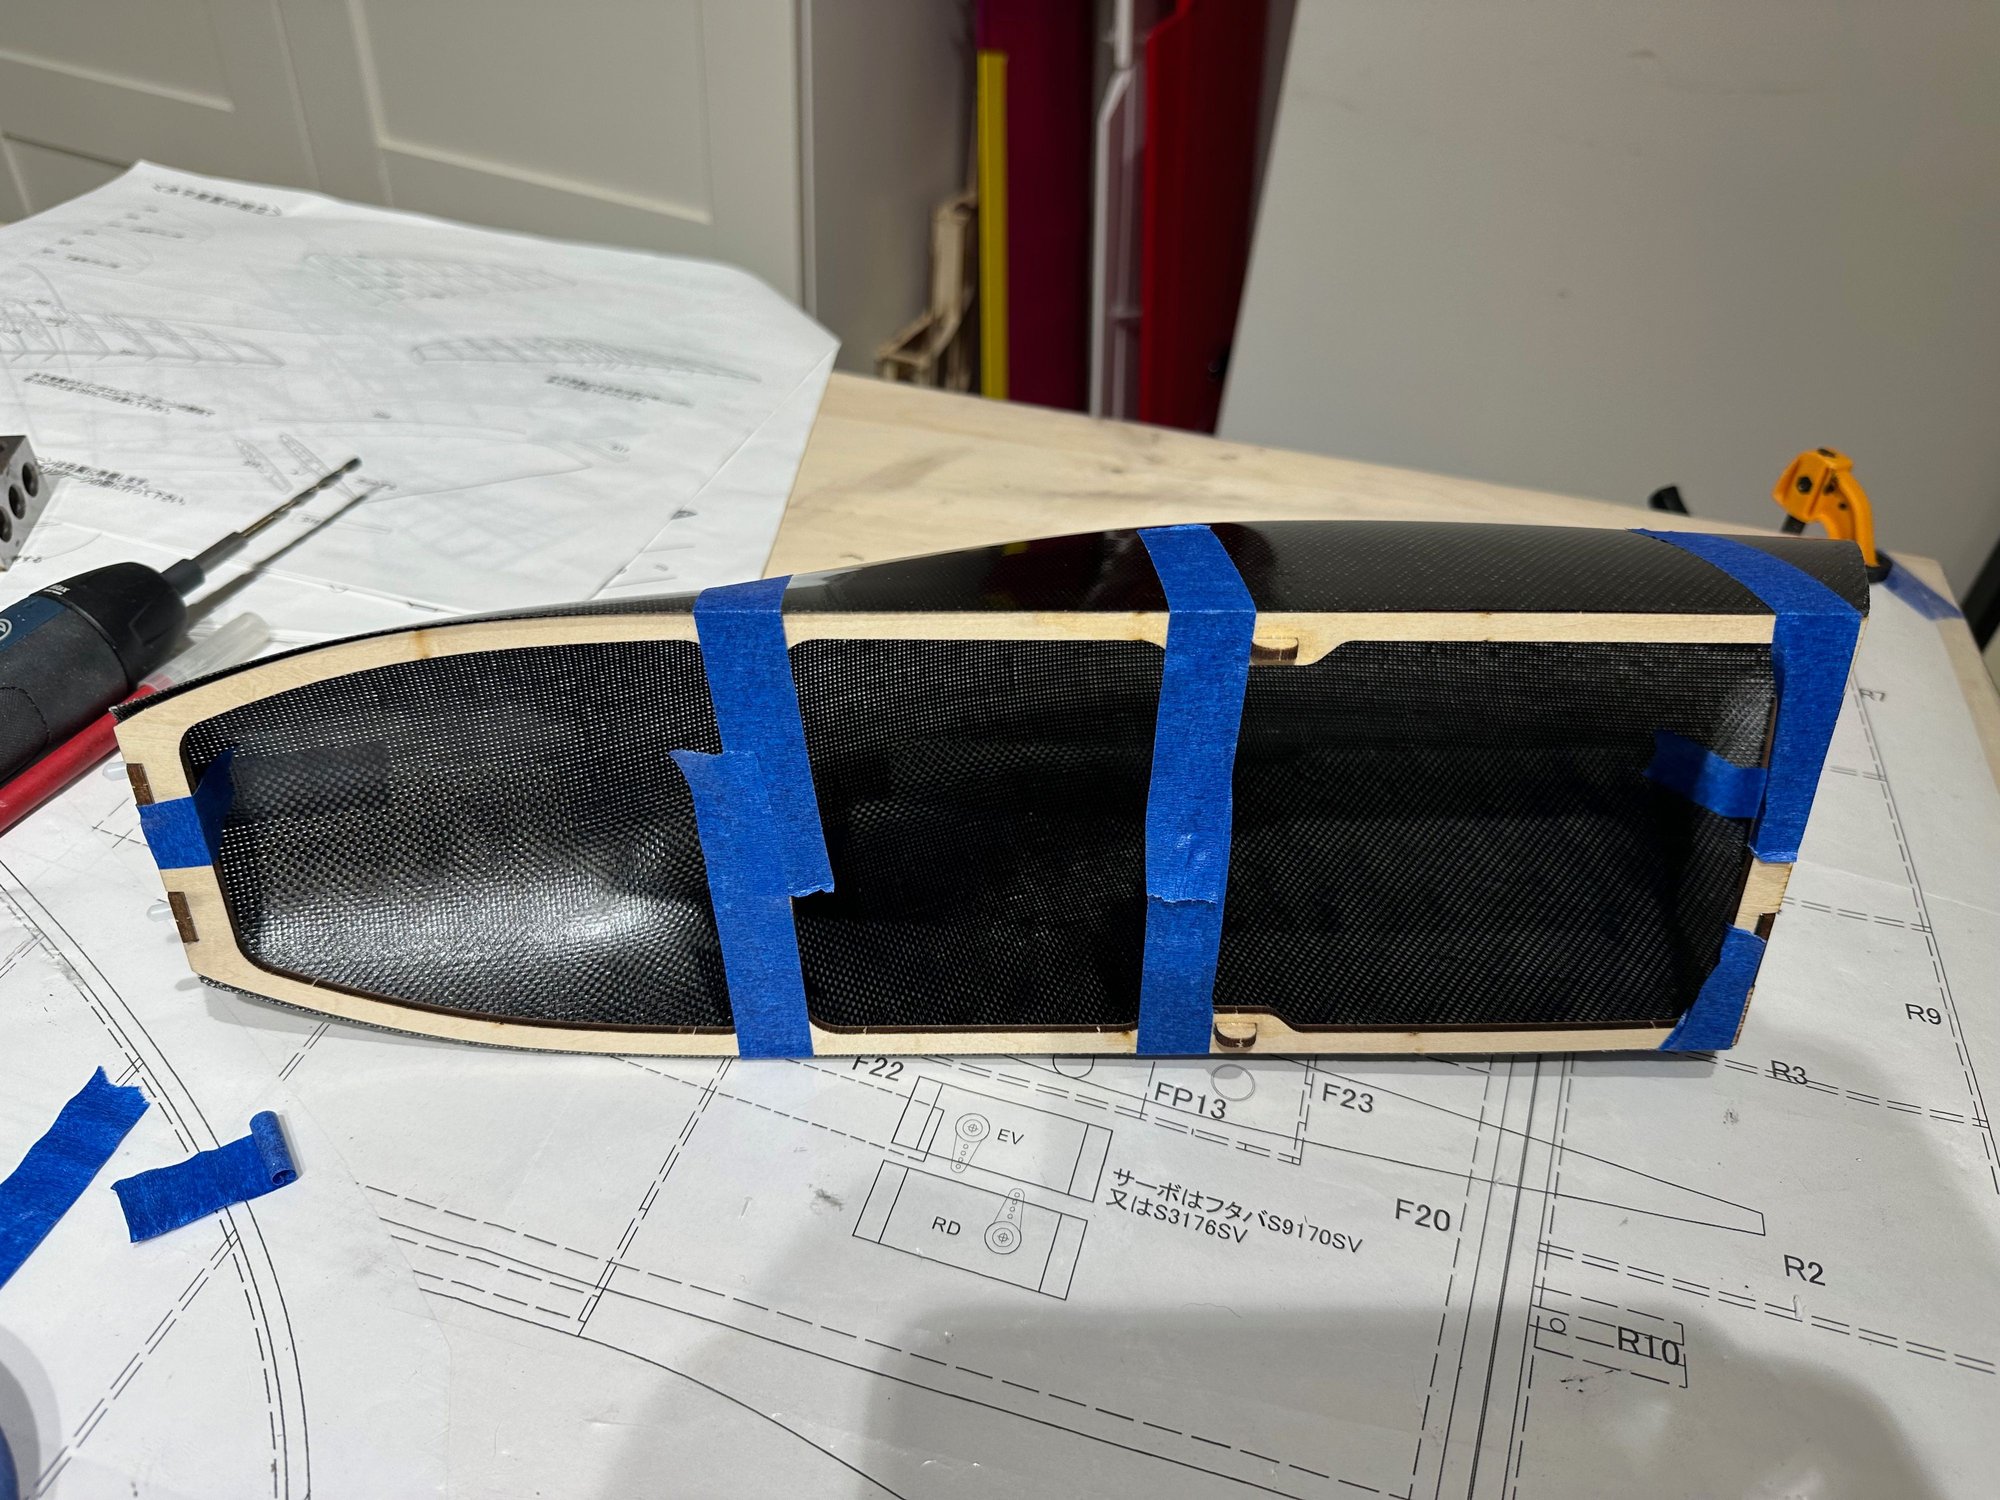
So this is the Canalyzer and Jig.

The Jig is done, using CA.
Old 04-30-2024, 07:16 AM
  #33  
RICKSTUBBZ
 
RICKSTUBBZ's Avatar
 
Join Date: Oct 2007
Location: Hempstead, TX
Posts: 1,540
Received 31 Likes on 27 Posts
Default

Because of your build I did hop over to the "Flight Hobby" website the other day to check out what all they offered.
I was in for sticker shock when I converted the cost of their kits. And I didn't even get to the shipping part.

None the less, it sure appears to be a well engineered airplane with all the right tools available to build it square...


What is the theory on using a Canalyzer?
Old 04-30-2024, 09:37 PM
  #34  
gil.s
Member
Thread Starter
 
gil.s's Avatar
 
Join Date: Mar 2024
Posts: 36
Received 2 Likes on 2 Posts
Default

Originally Posted by RICKSTUBBZ
Because of your build I did hop over to the "Flight Hobby" website the other day to check out what all they offered.
I was in for sticker shock when I converted the cost of their kits. And I didn't even get to the shipping part.

None the less, it sure appears to be a well engineered airplane with all the right tools available to build it square...


What is the theory on using a Canalyzer?
Thanks for following!
Yes, Japanese kits are not cheap, but I enjoy the process, and F3A 70 size planes are a rare find.

The Canalyzer streamlines the slipstream on the rudder and elevator, for better stability, and knife edge flying.
Old 05-01-2024, 02:26 AM
  #35  
flywilly
My Feedback: (121)
 
Join Date: Feb 2002
Location: glen allen, VA,
Posts: 2,276
Received 32 Likes on 31 Posts
Default

Hey Rick,
Now is the time to buy a flight hobby kit. The yen to $ exchange rate is very favorable; today about a 37% discount. I buy from RC-Japan, they are great to deal with.
Flight Hobby kits are top quality as you can see in this build thread.
T-cans definitely increase rudder authority. Pattern moving to constant, generally slower, speed; more ‘gadgets’ are needed to provide aerodynamic assistance.
The following users liked this post:
RICKSTUBBZ (05-01-2024)
Old 05-21-2024, 08:41 AM
  #36  
gil.s
Member
Thread Starter
 
gil.s's Avatar
 
Join Date: Mar 2024
Posts: 36
Received 2 Likes on 2 Posts
Default


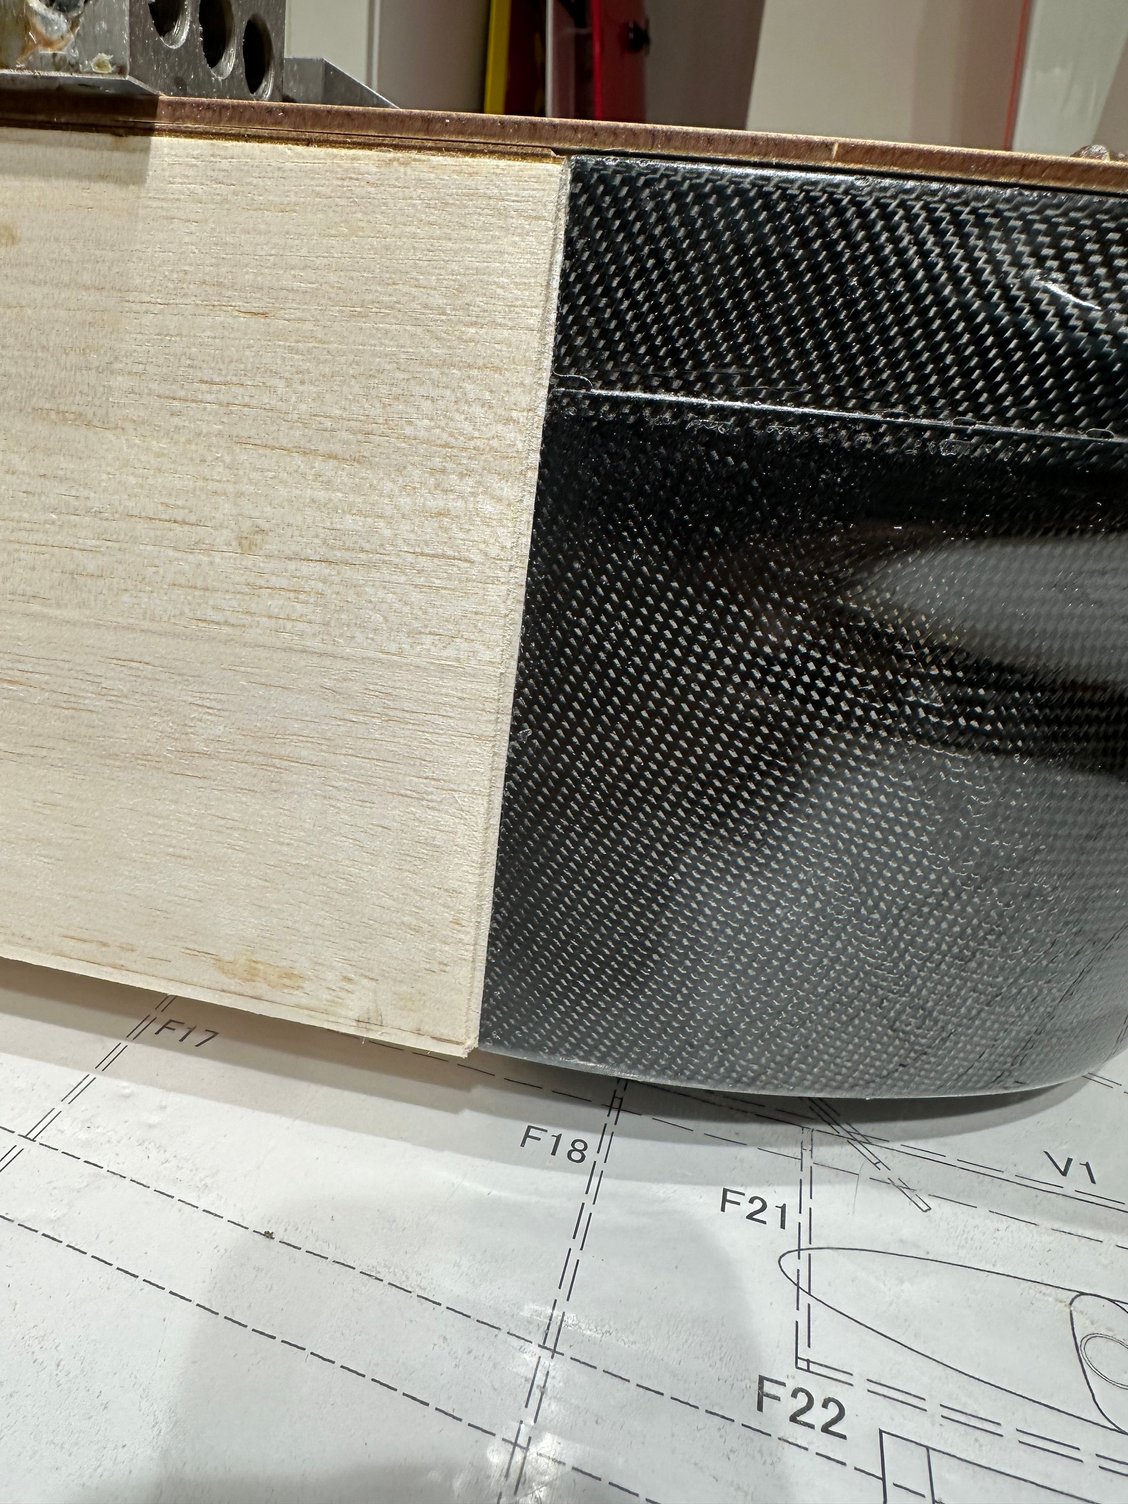
Canalyzer on the dedicated jig

glued with the cover sheets
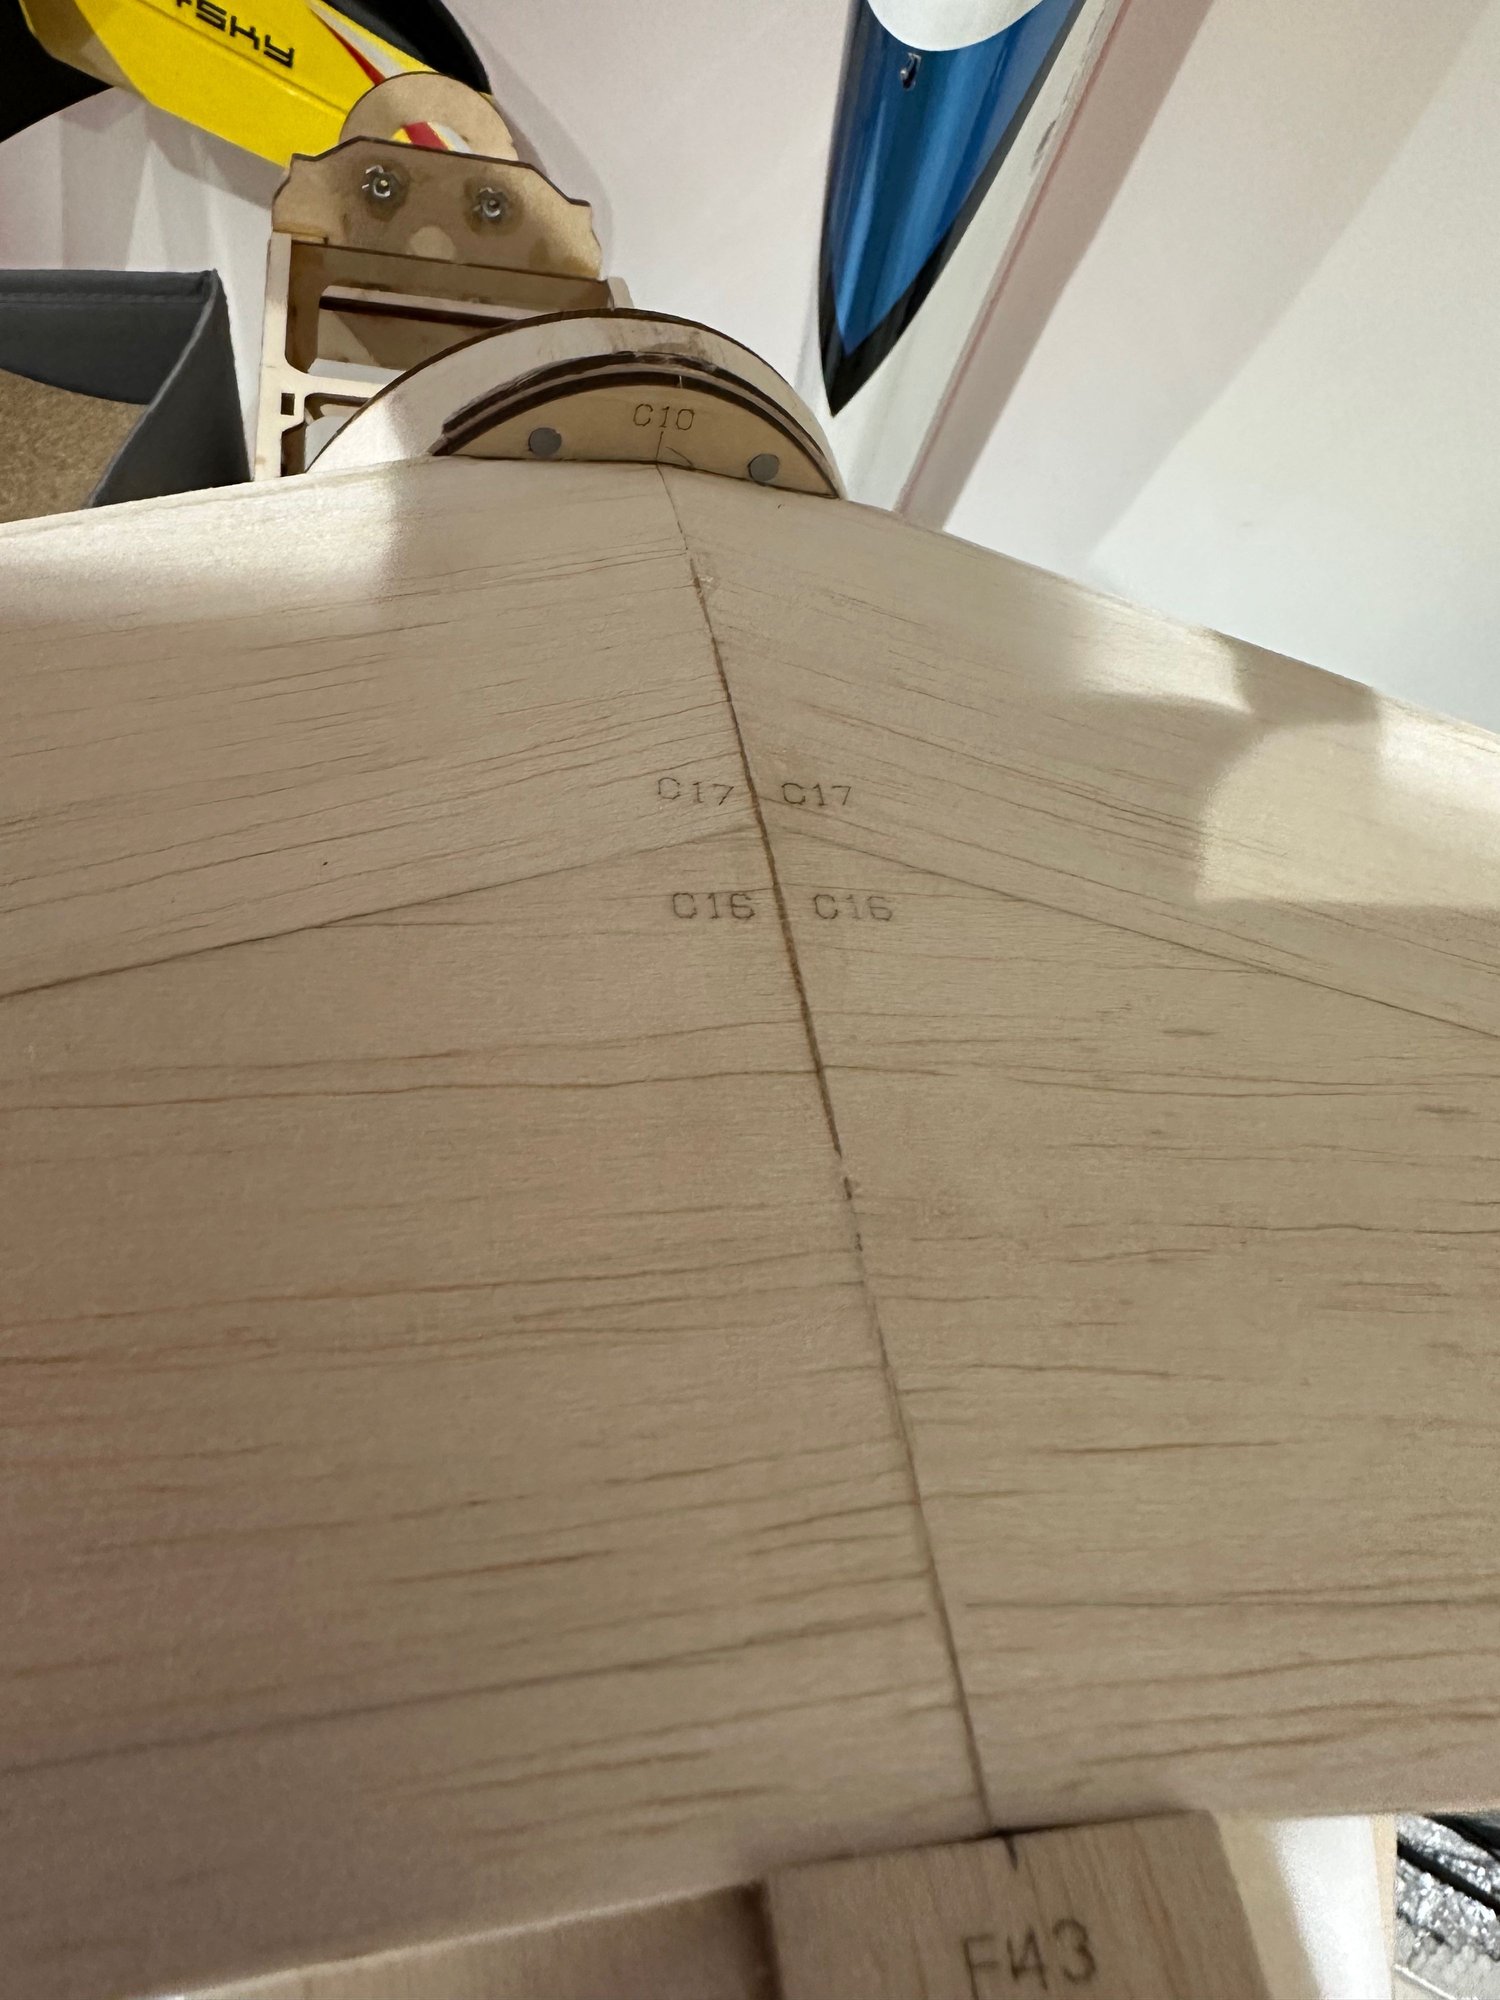
now need to fit it to the fuselage
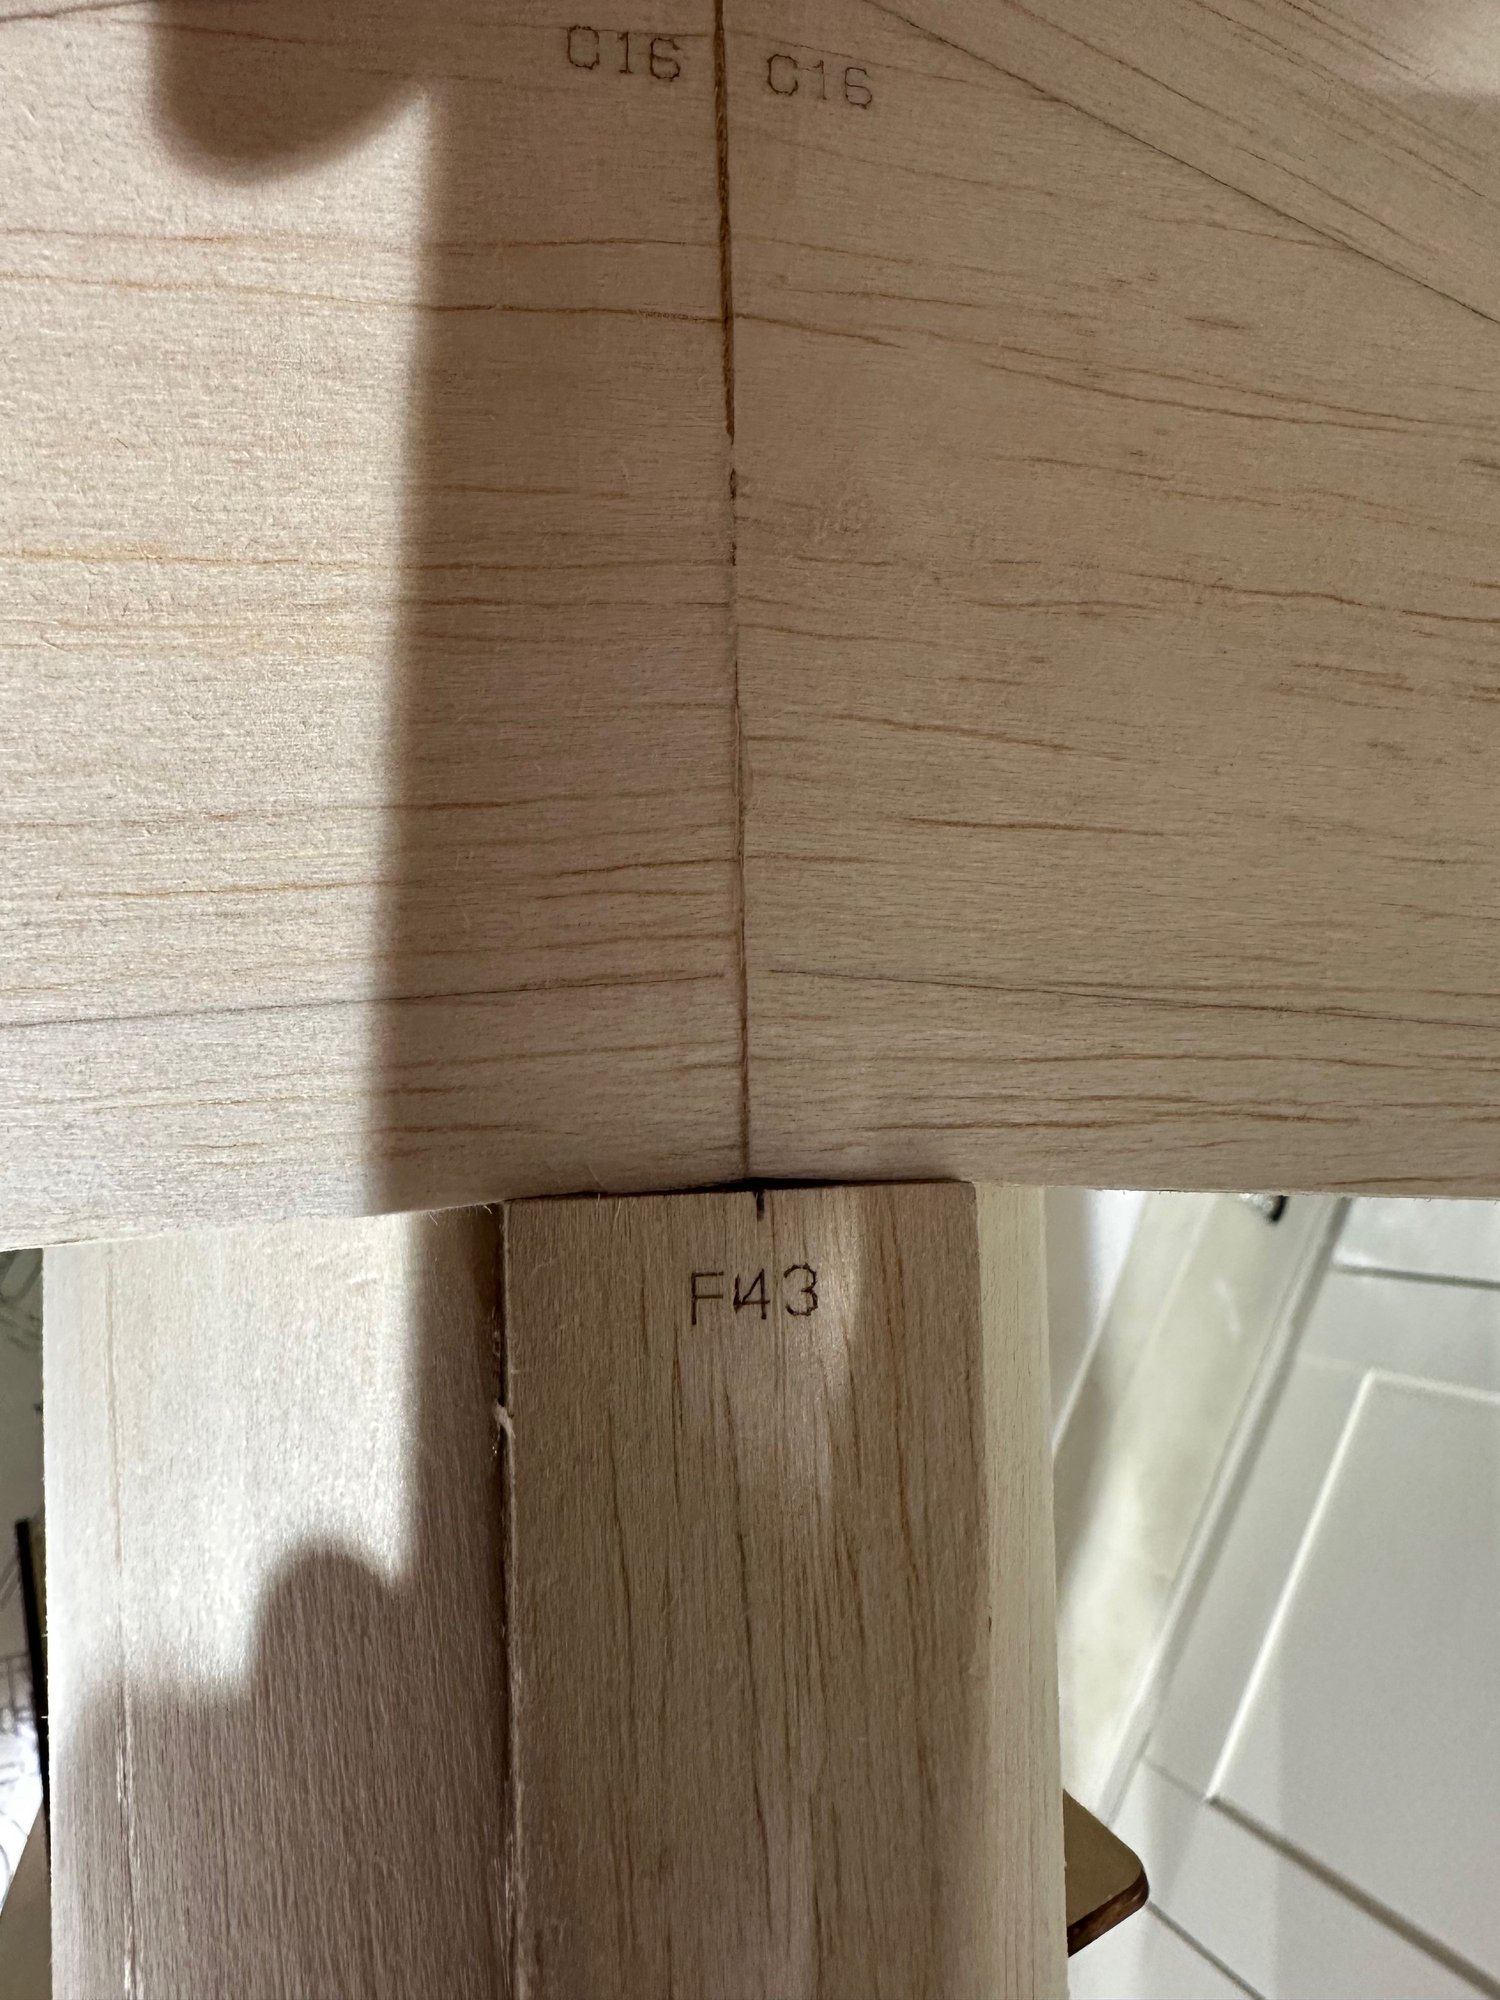

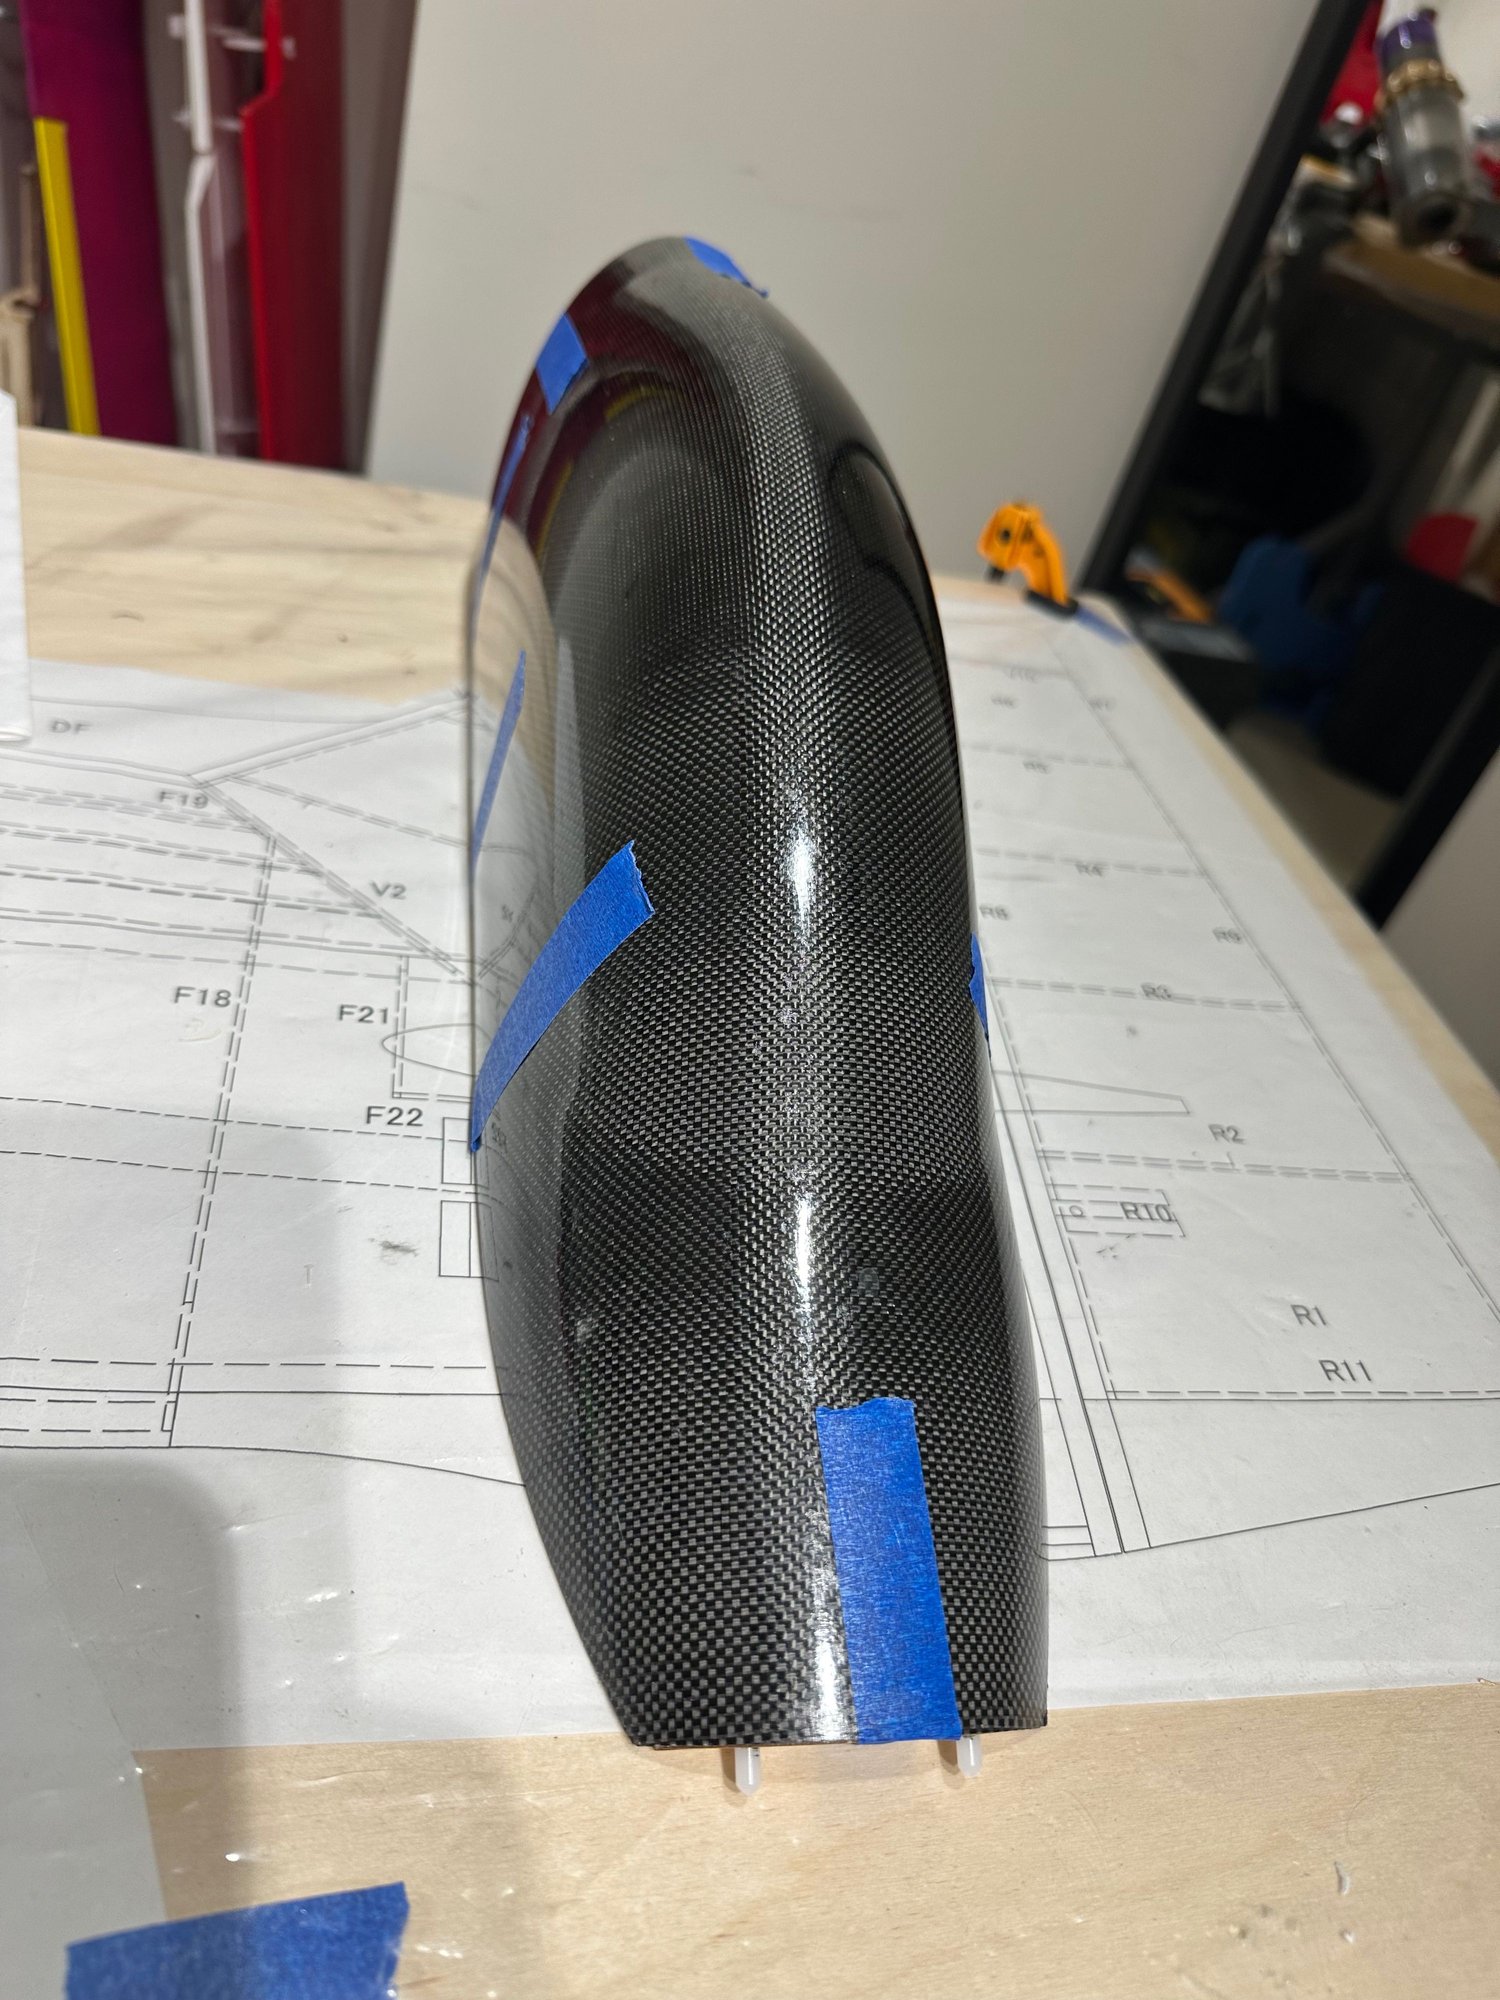
I glued the canalyzer front and pins, in place, using nylon to separate from the glue.
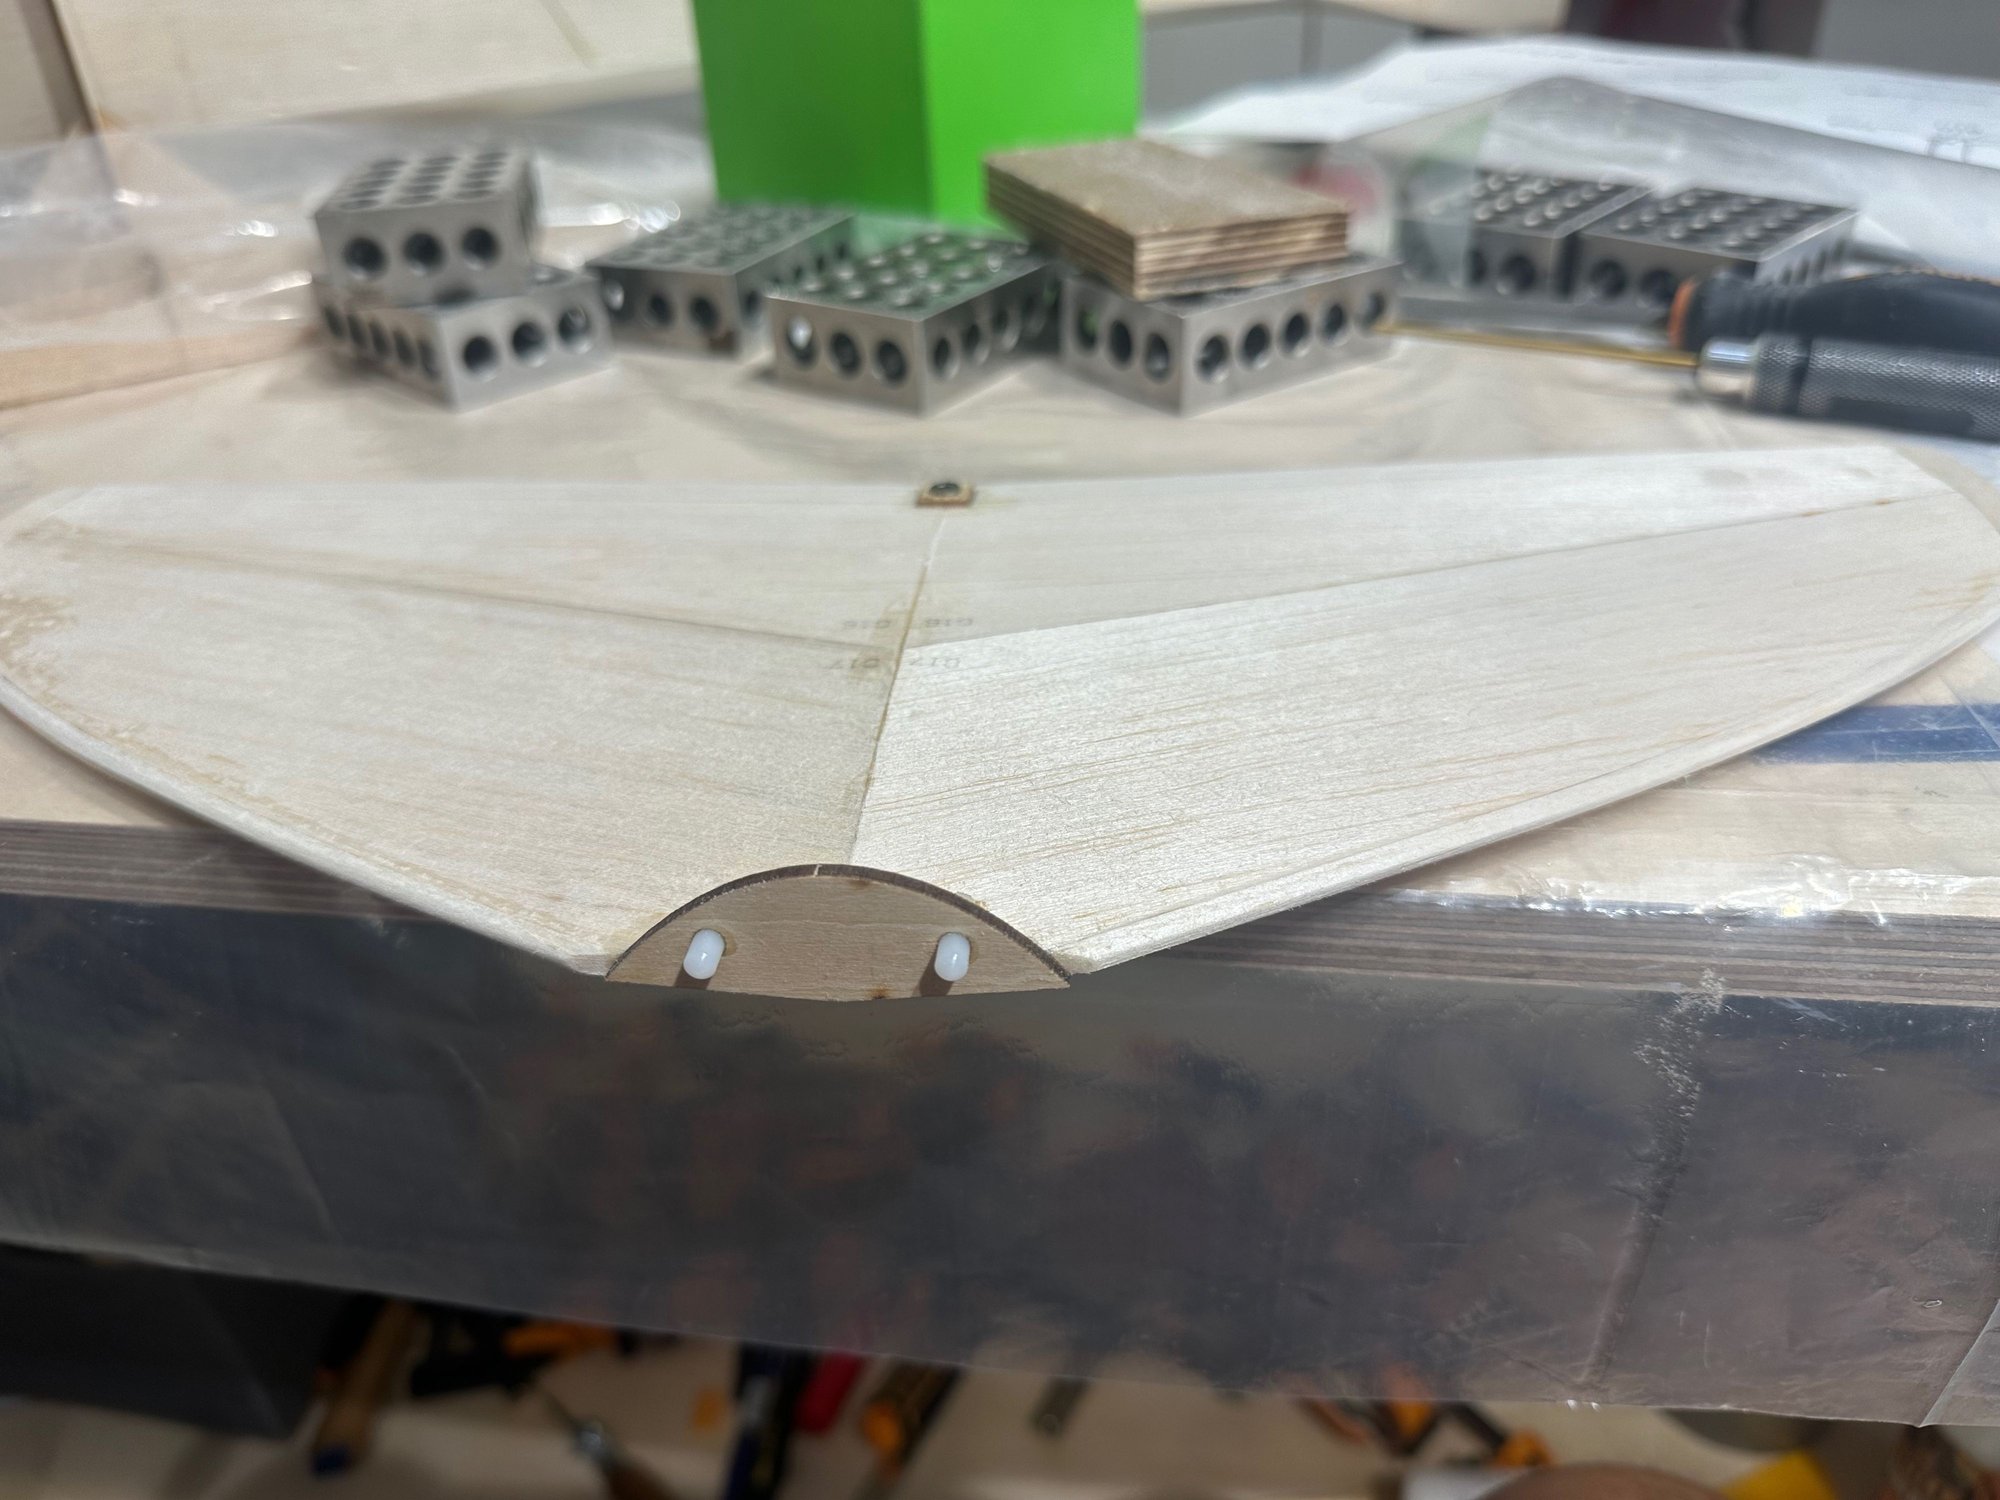
now it is ready for the fiberglass covering
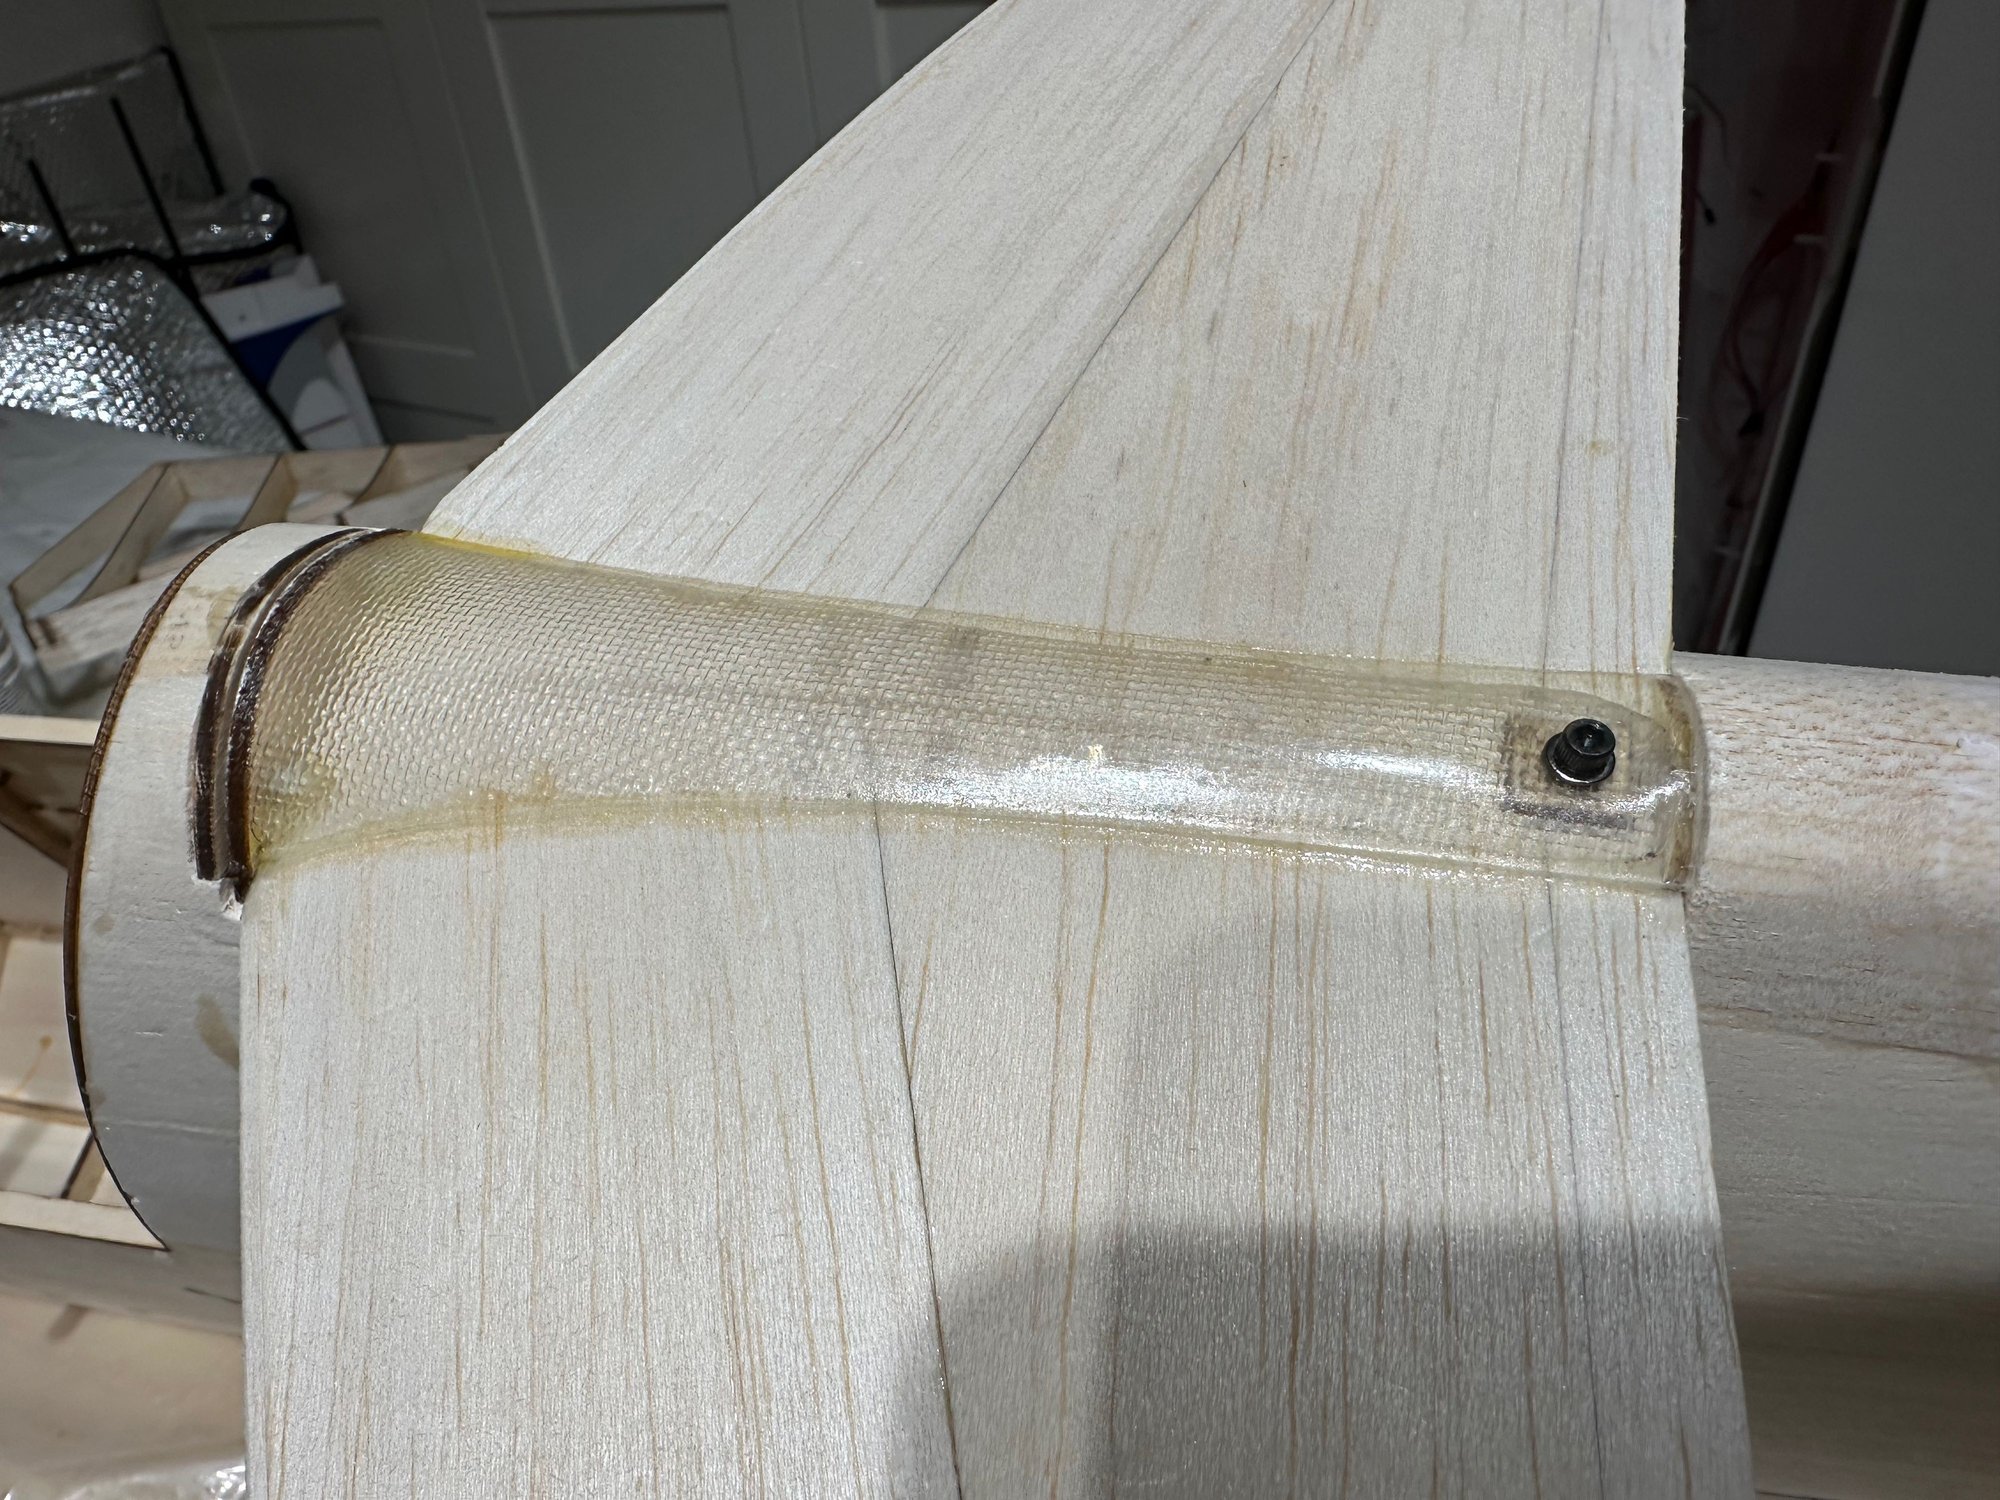
the canalyzer ready and fit in the fuselage.
The following users liked this post:
ram_z (05-26-2024)
Old 08-15-2024, 04:42 AM
  #37  
gil.s
Member
Thread Starter
 
gil.s's Avatar
 
Join Date: Mar 2024
Posts: 36
Received 2 Likes on 2 Posts
Default


Old 08-15-2024, 04:44 AM
  #38  
gil.s
Member
Thread Starter
 
gil.s's Avatar
 
Join Date: Mar 2024
Posts: 36
Received 2 Likes on 2 Posts
Default

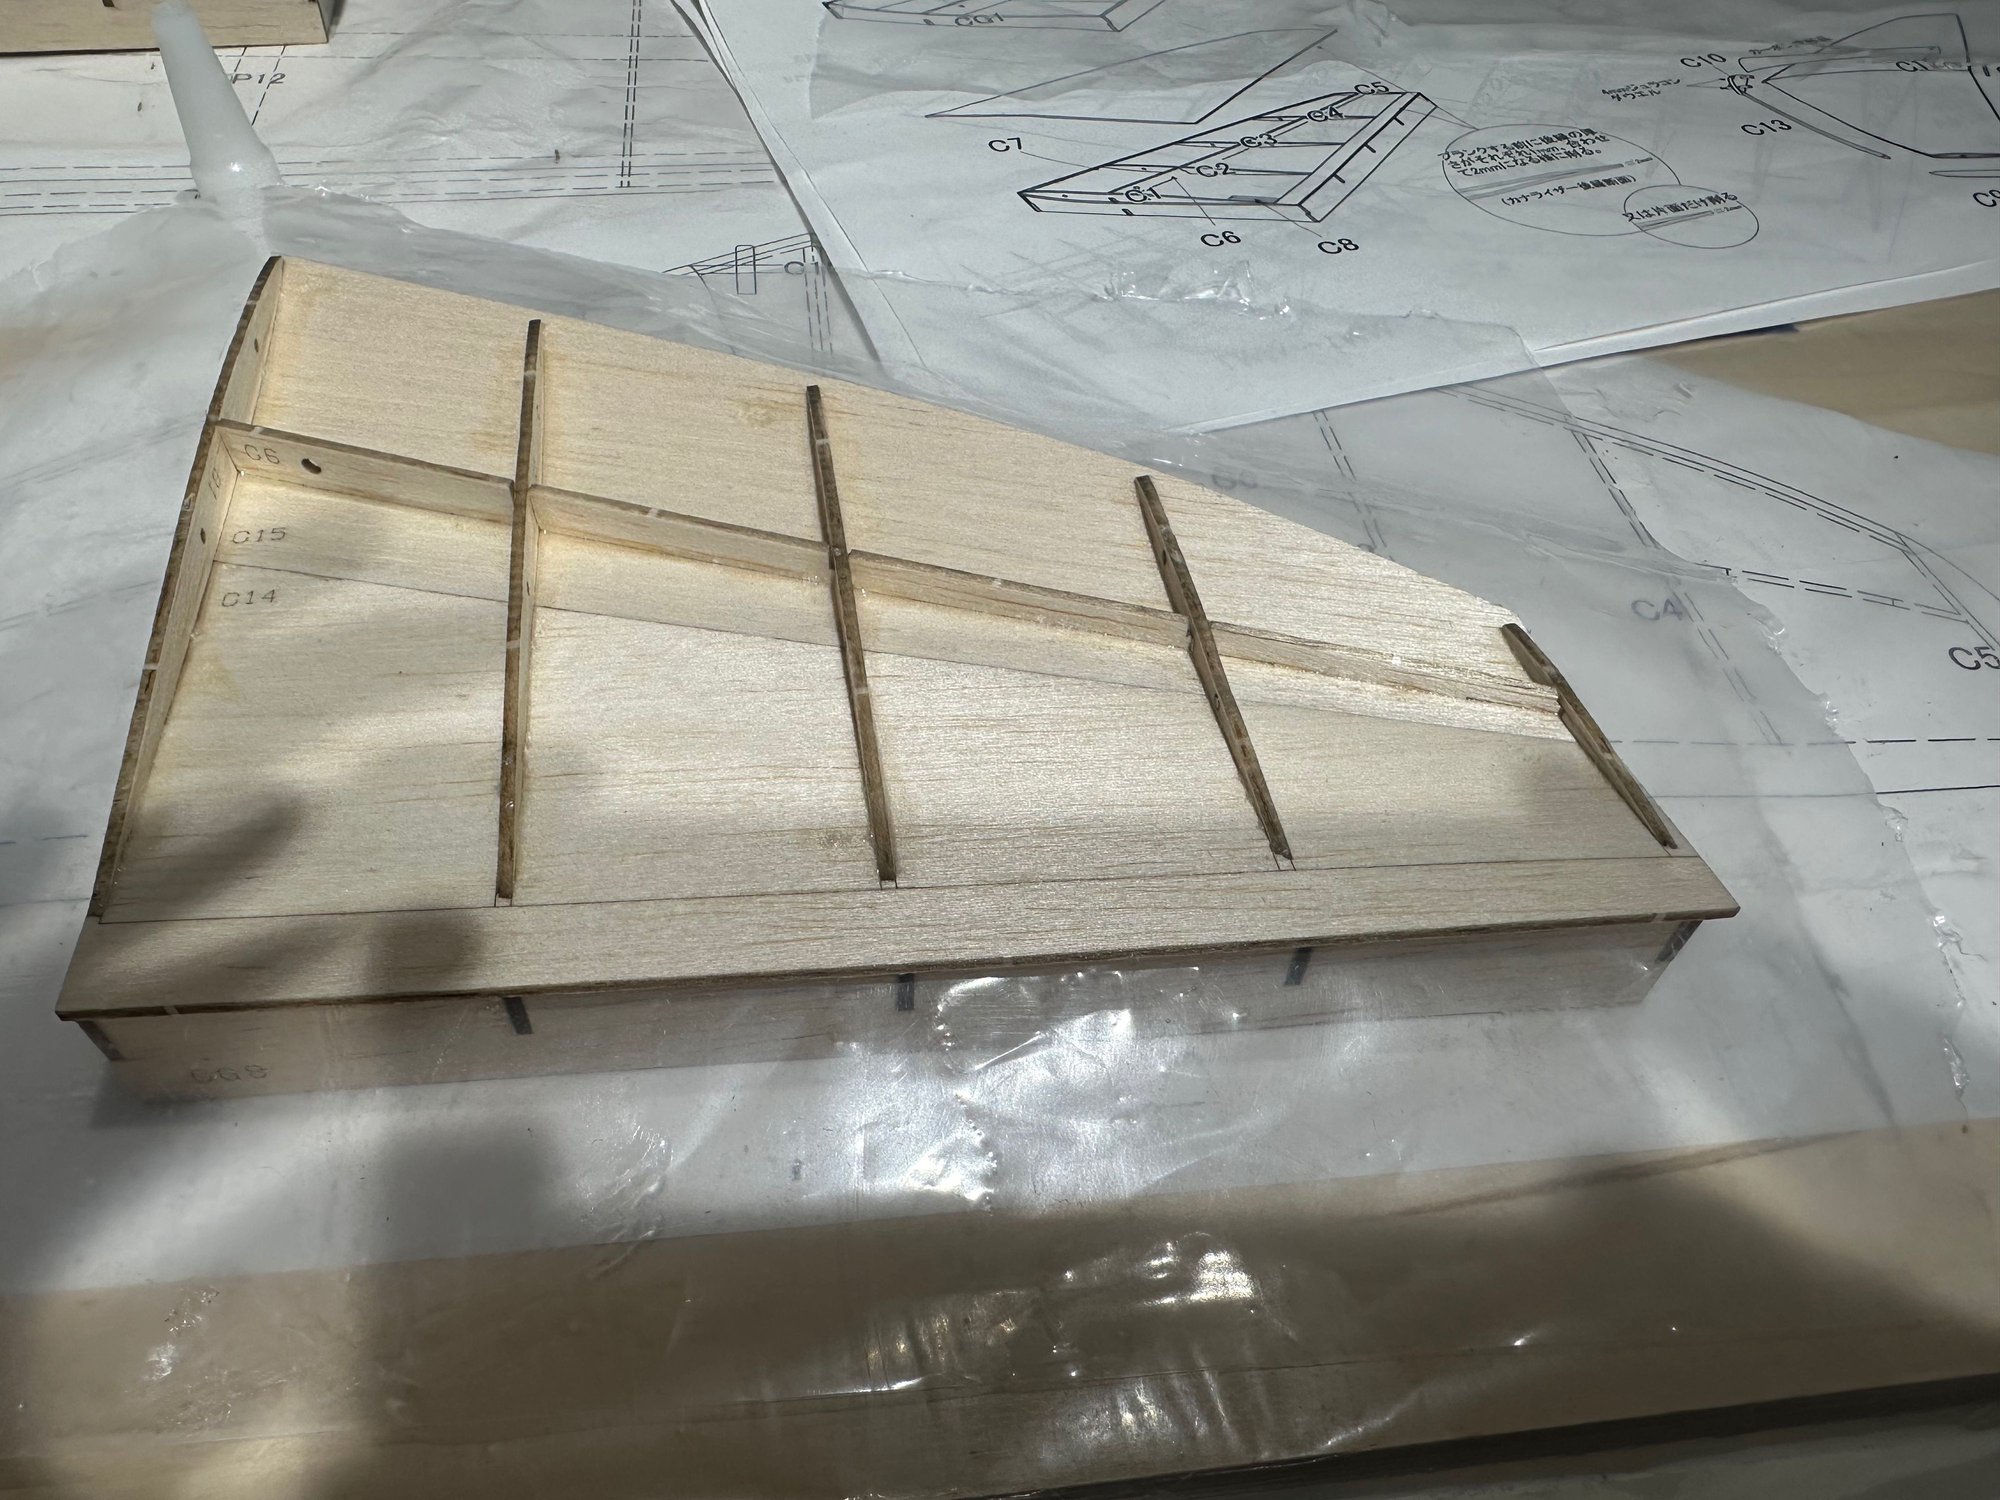
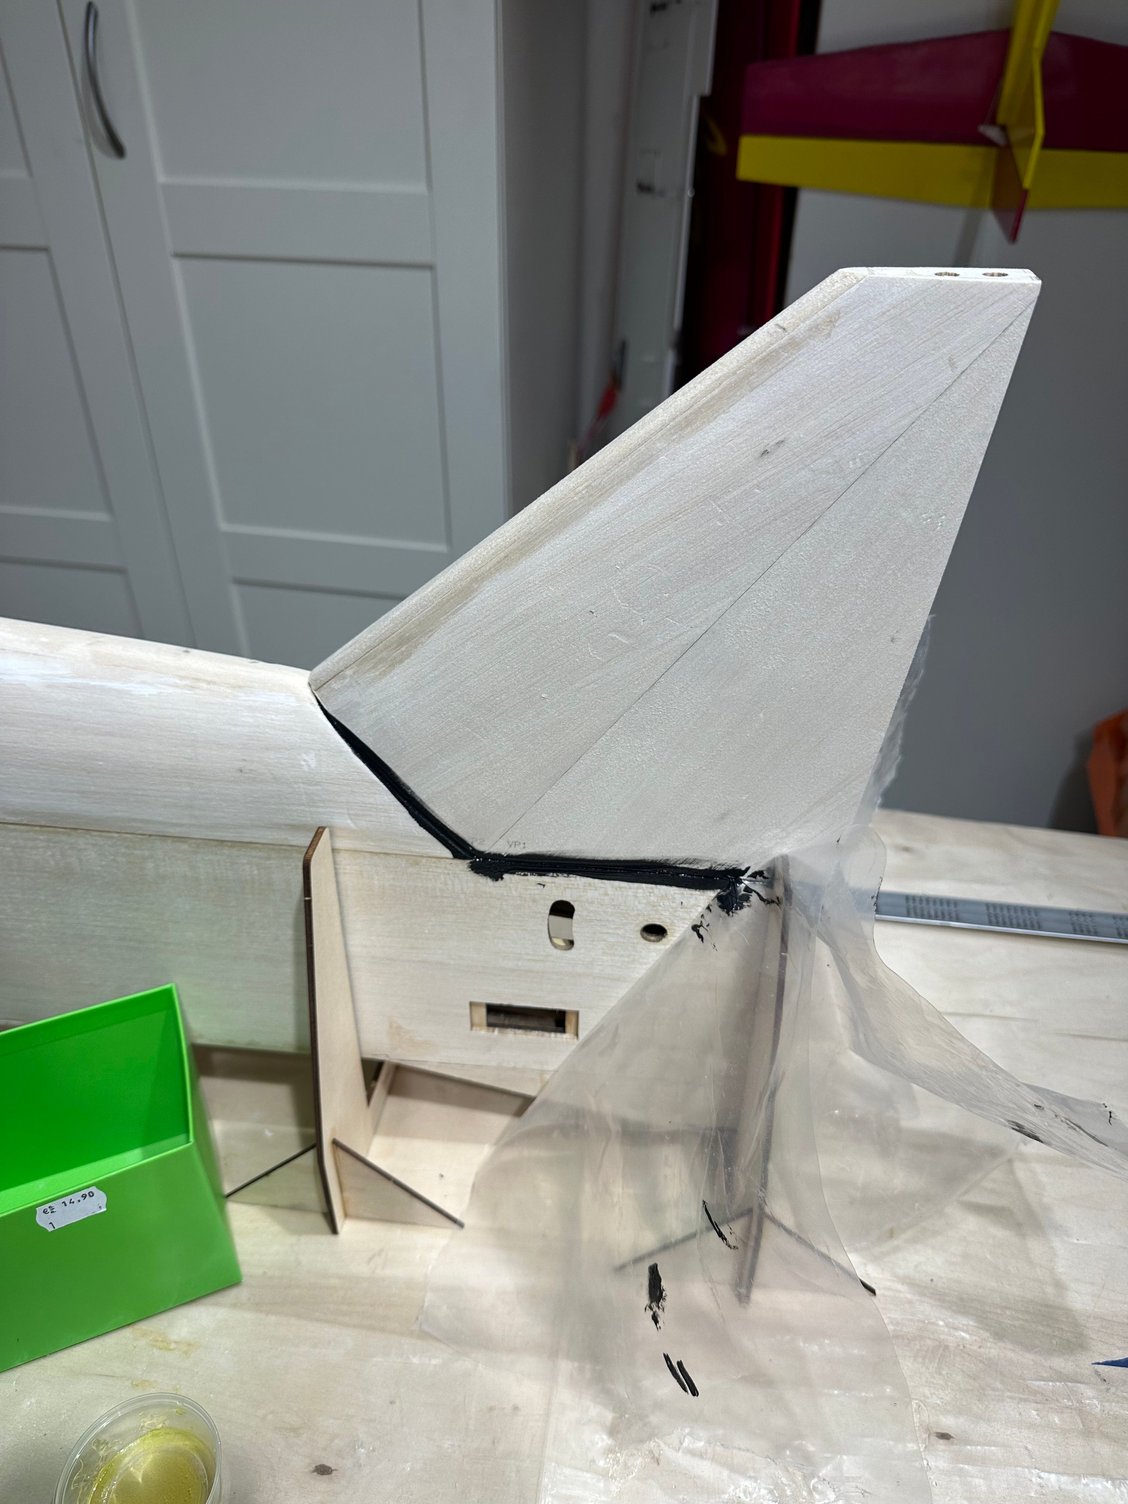
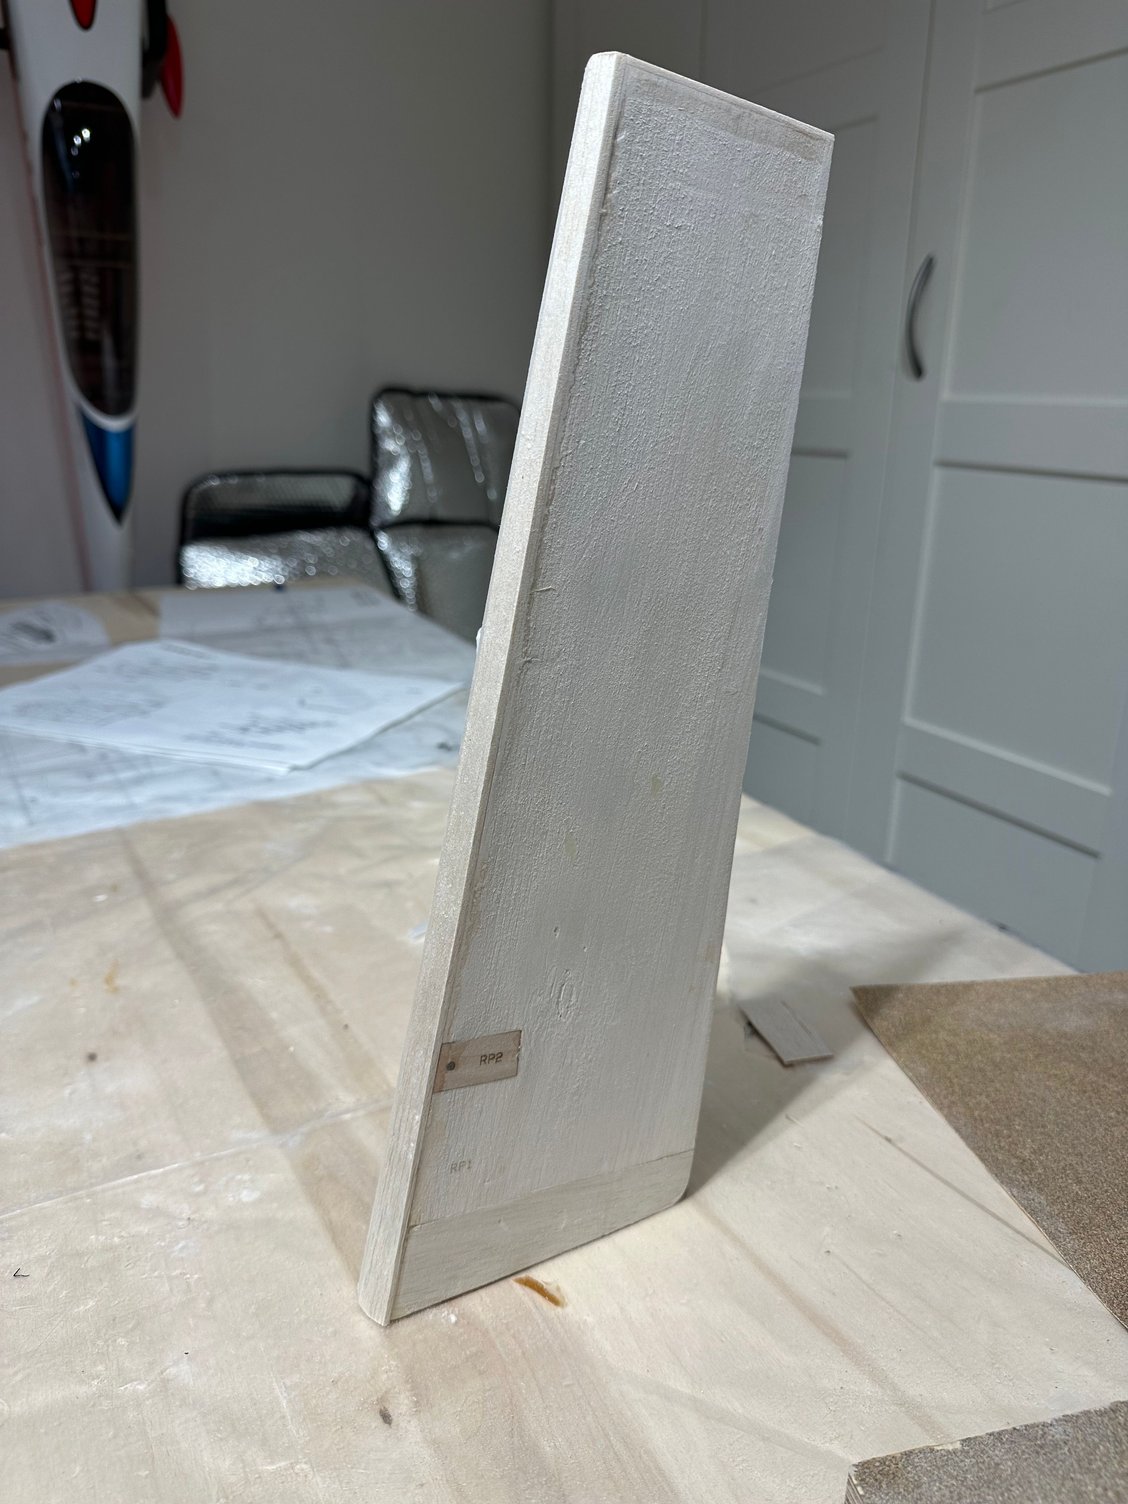
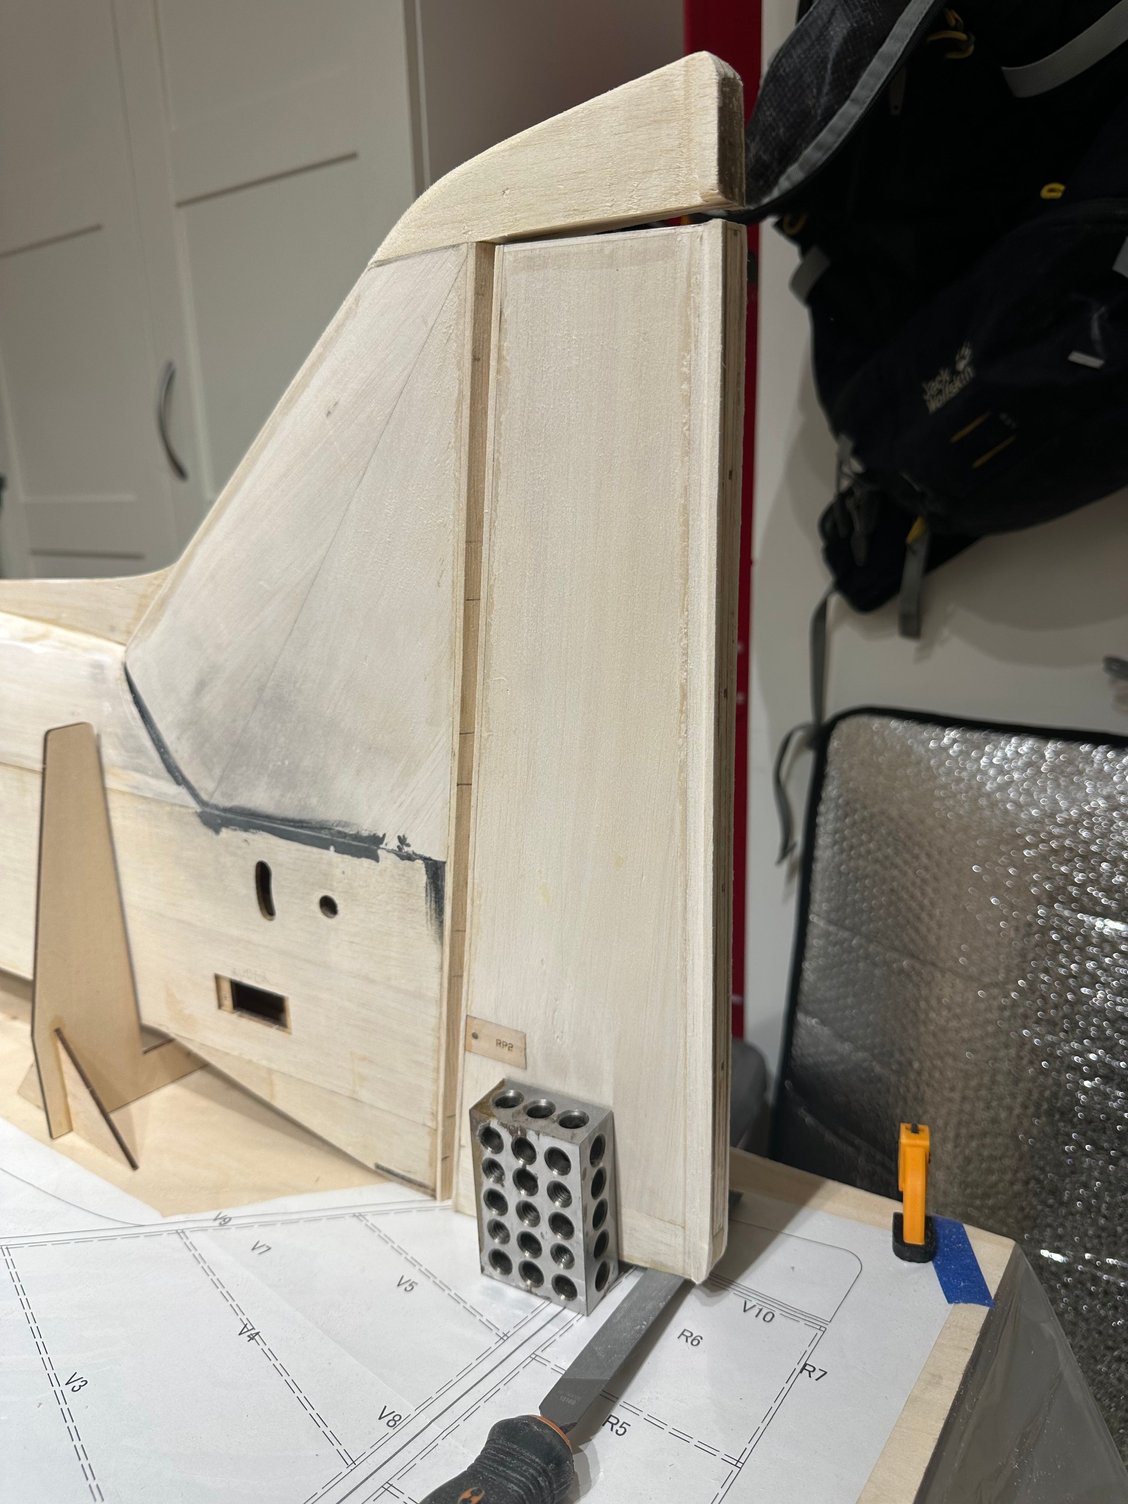
It has been a while, as a summer is a flying season... But some progress on the direction stabilizer and the rudder.
Old 08-16-2024, 05:45 AM
  #39  
flywilly
My Feedback: (121)
 
Join Date: Feb 2002
Location: glen allen, VA,
Posts: 2,276
Received 32 Likes on 31 Posts
Default

Looking good!
it is tough to get much building done during flying season!
The following users liked this post:
gil.s (08-20-2024)
Old 08-20-2024, 09:02 AM
  #40  
gil.s
Member
Thread Starter
 
gil.s's Avatar
 
Join Date: Mar 2024
Posts: 36
Received 2 Likes on 2 Posts
Default


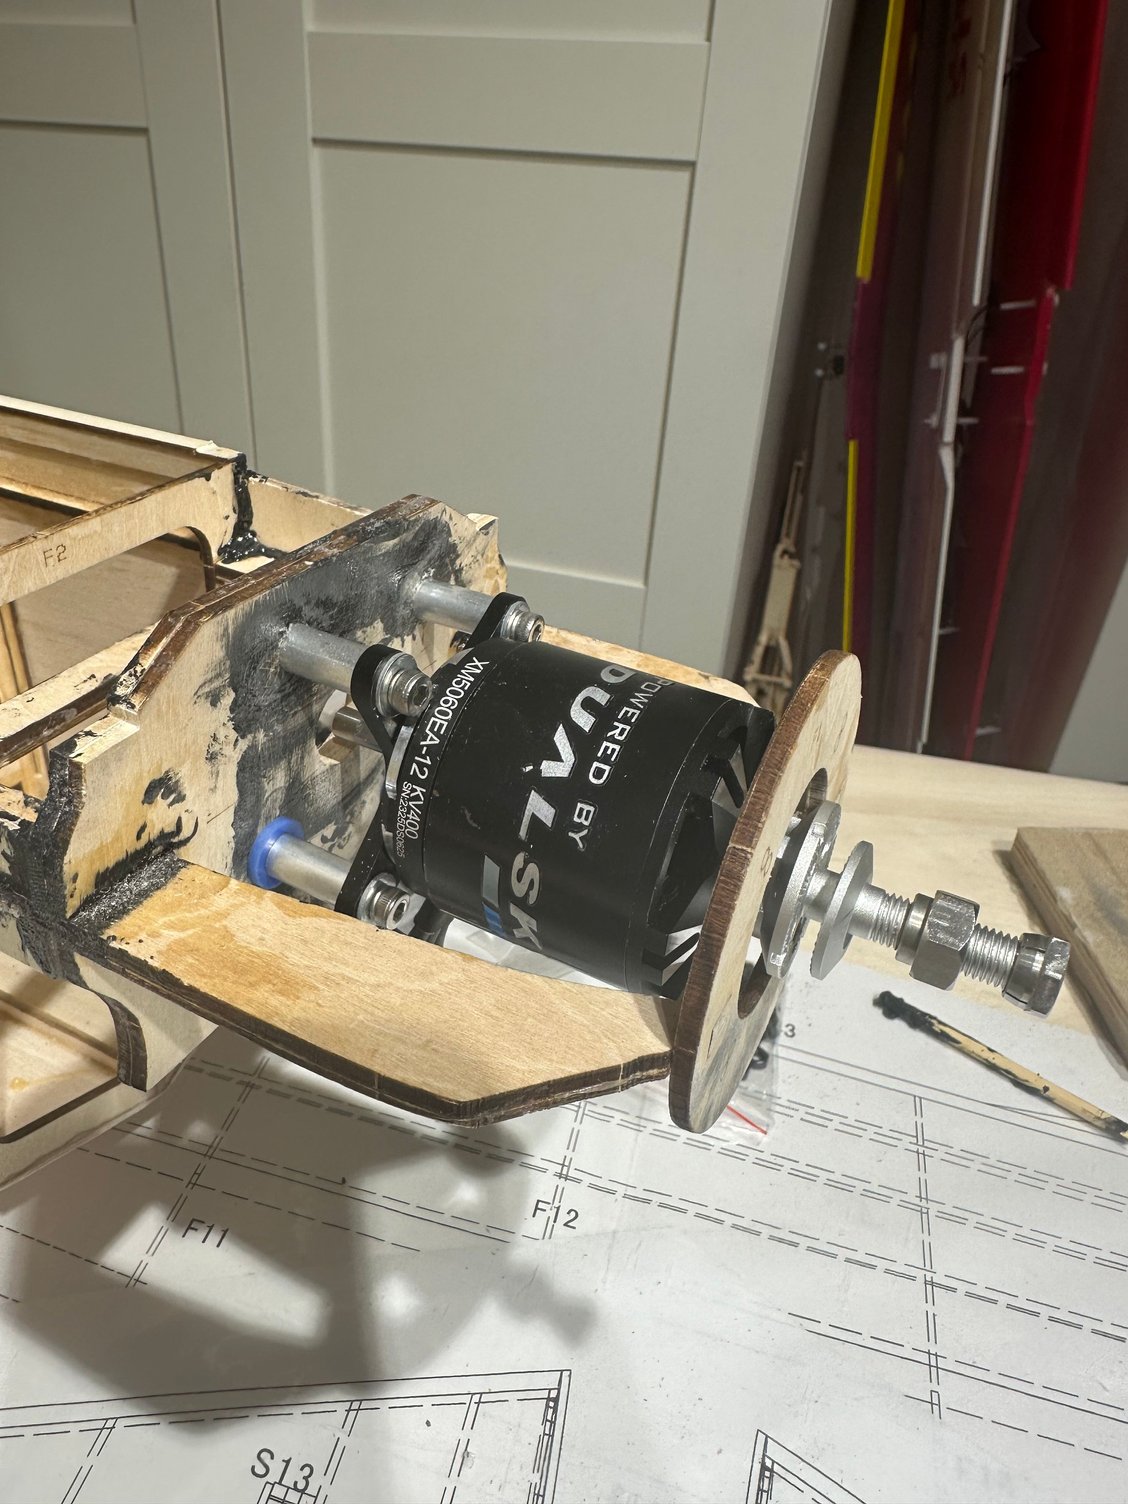
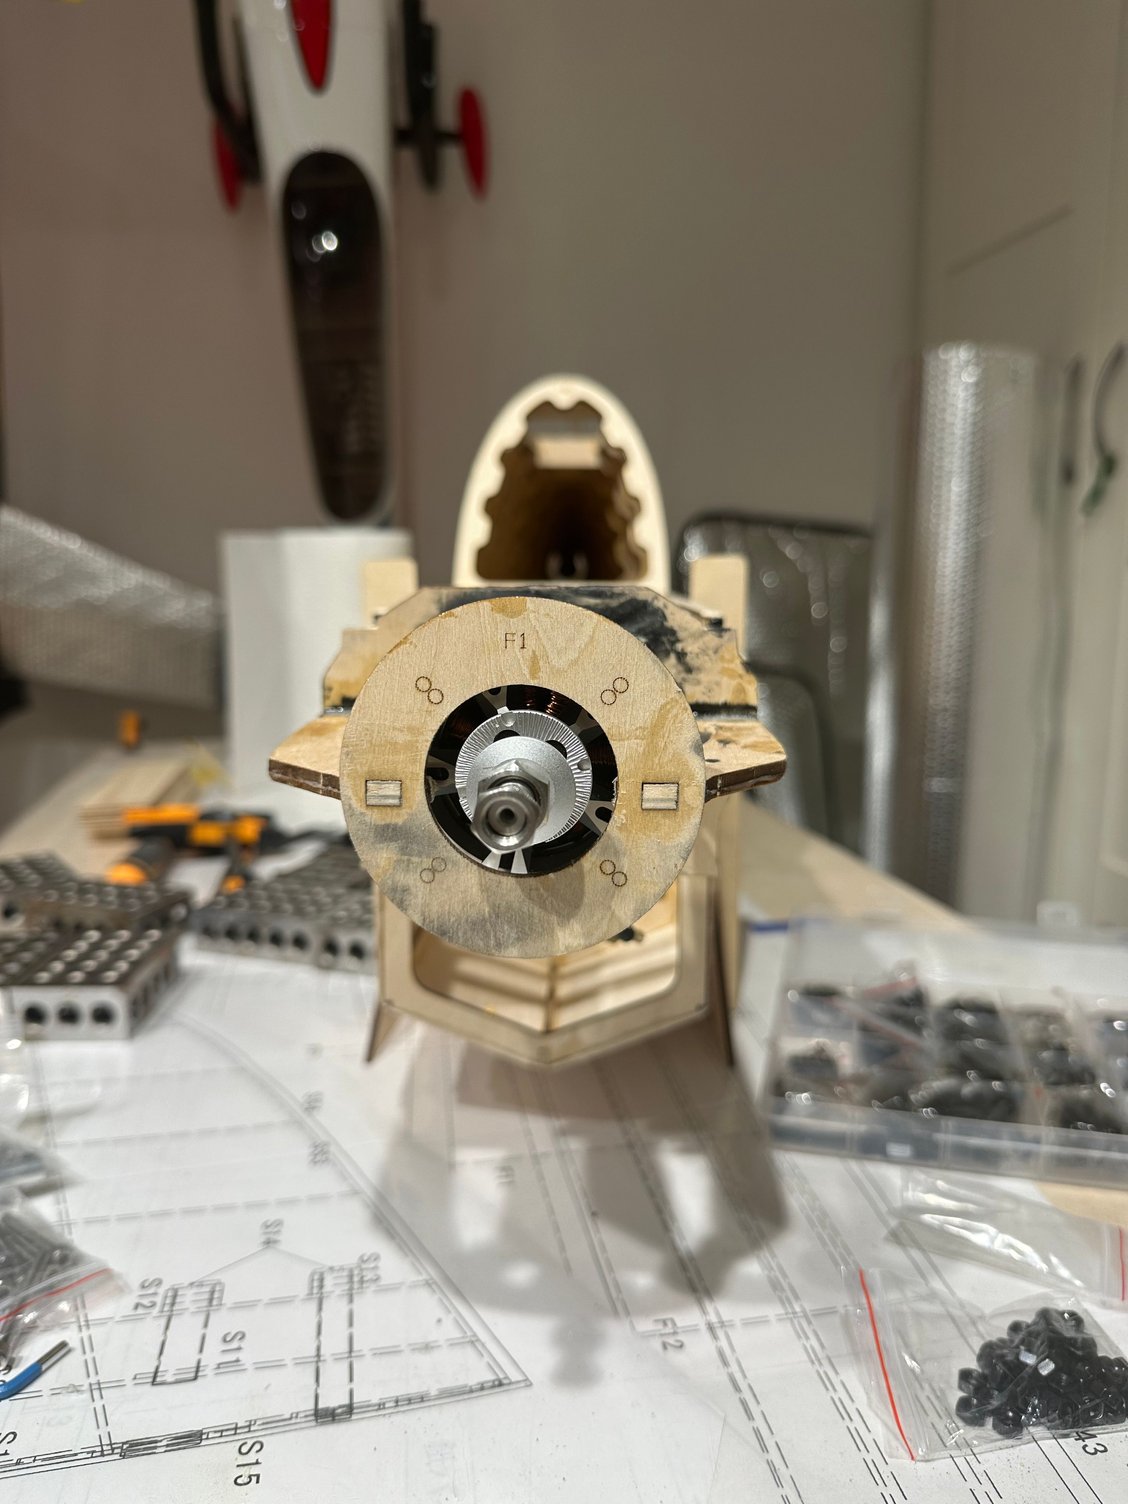
aligning the motor

Old 08-20-2024, 09:15 AM
  #41  
gil.s
Member
Thread Starter
 
gil.s's Avatar
 
Join Date: Mar 2024
Posts: 36
Received 2 Likes on 2 Posts
Default


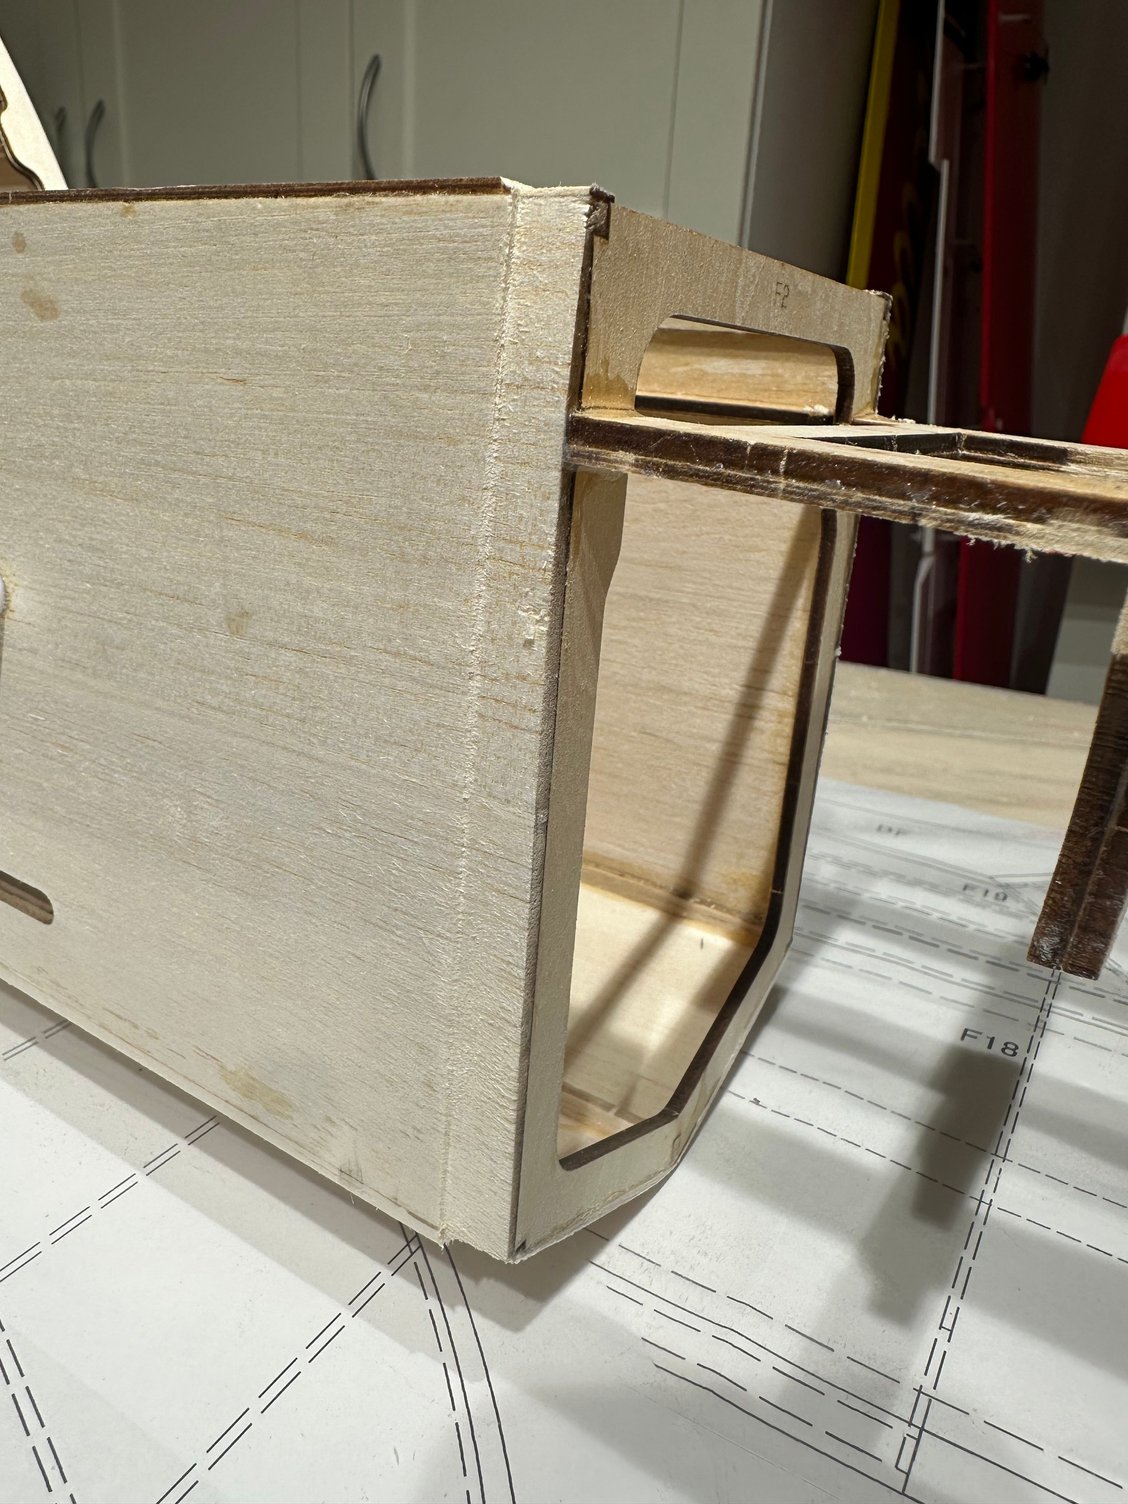
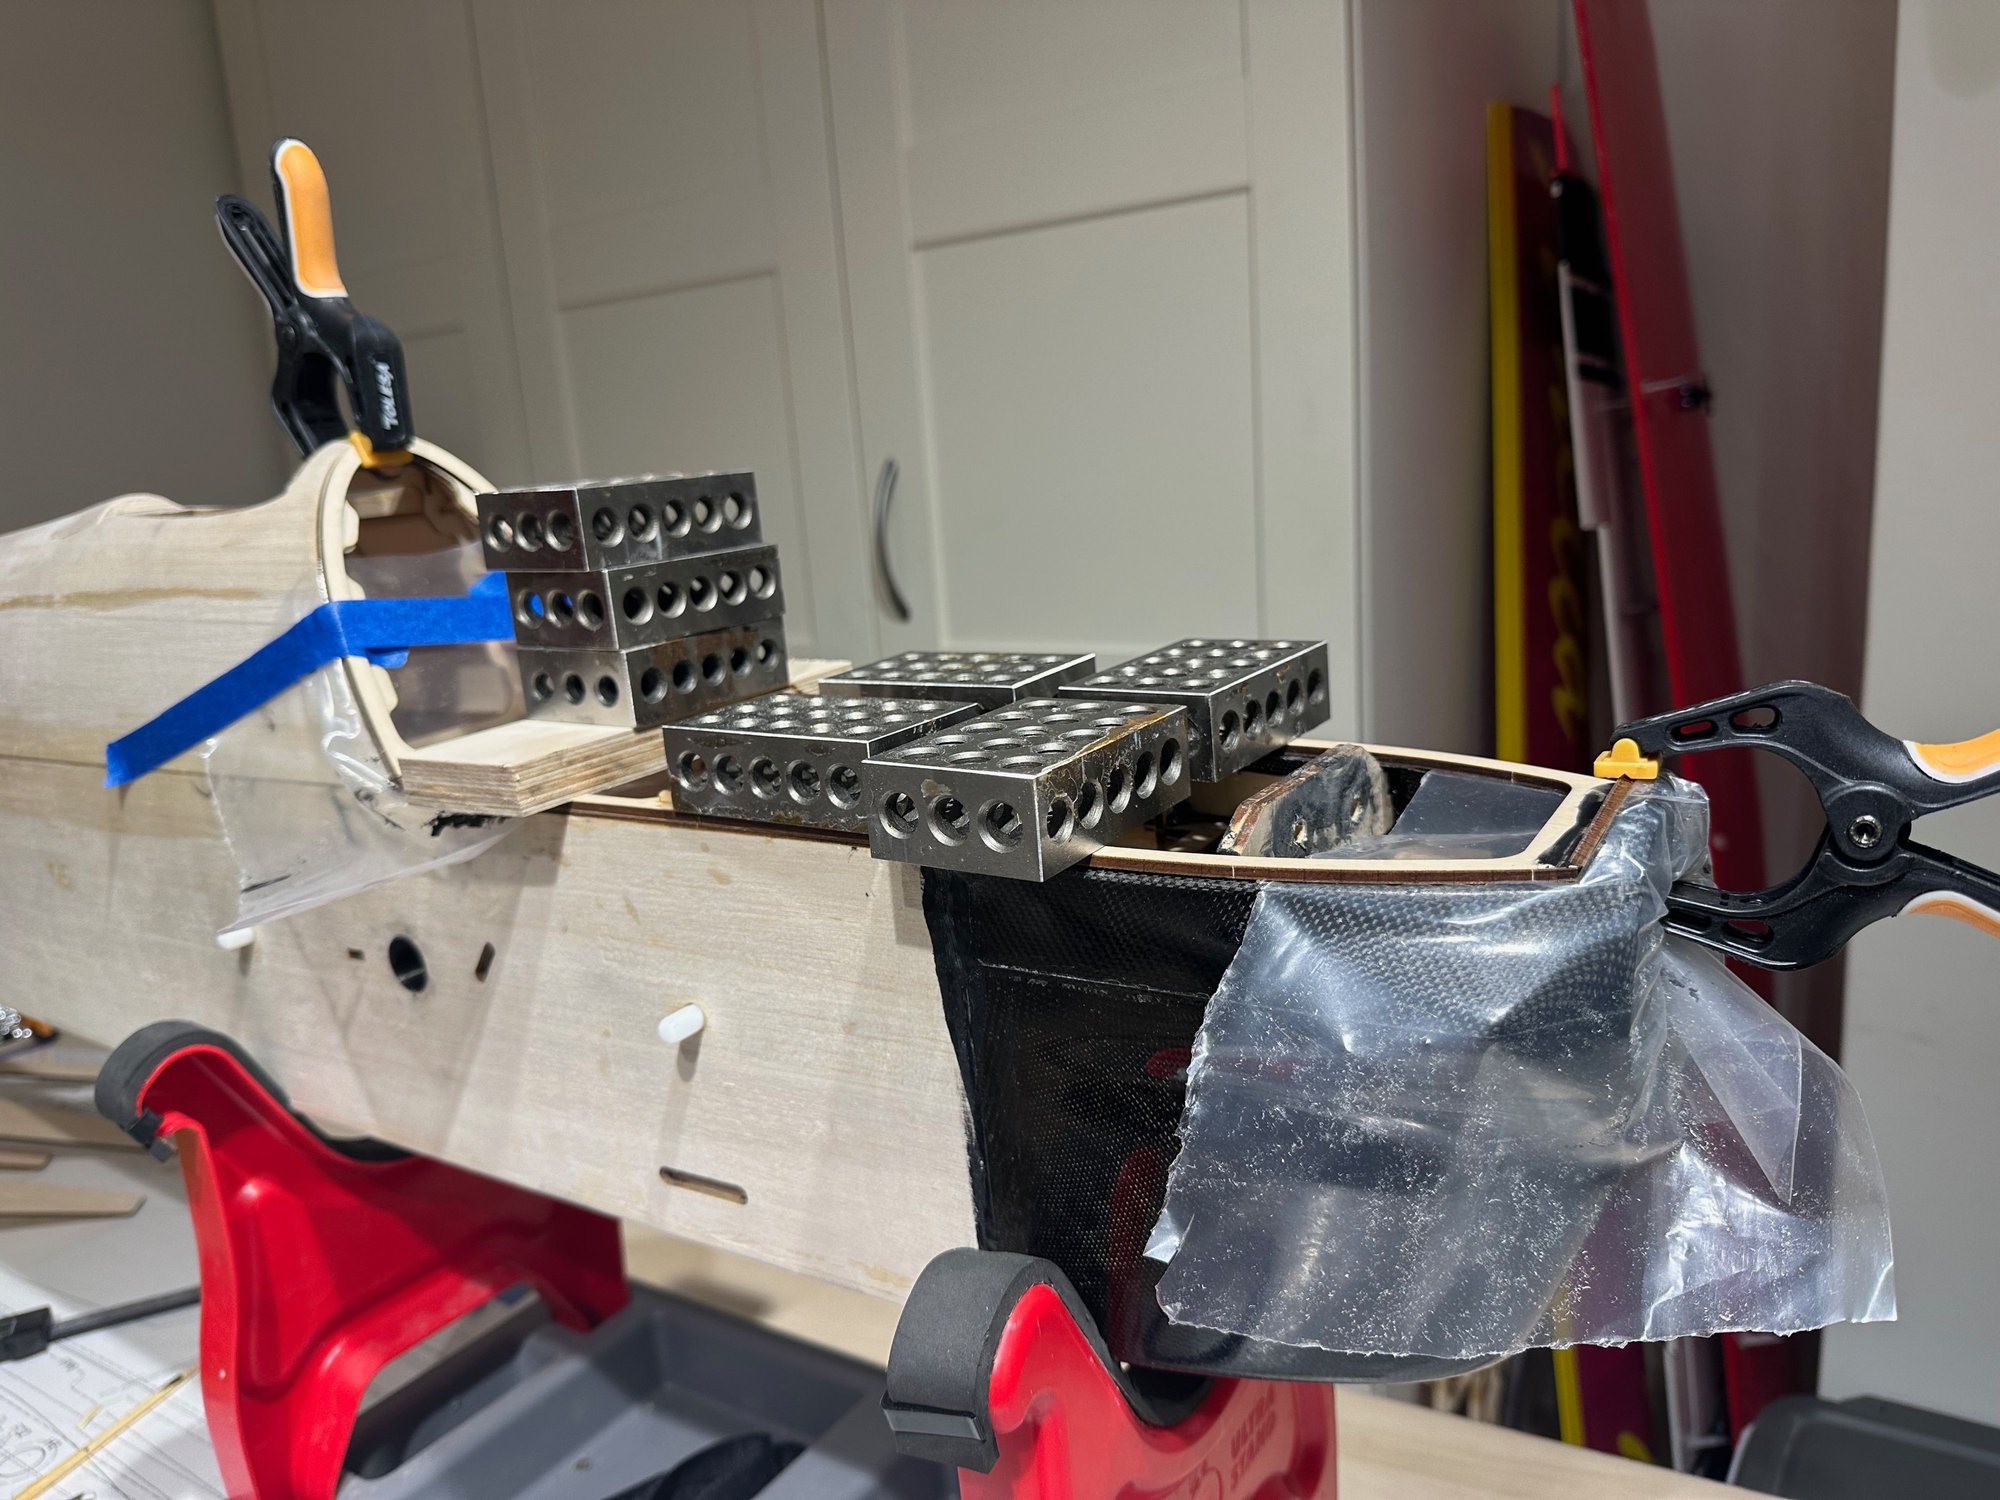
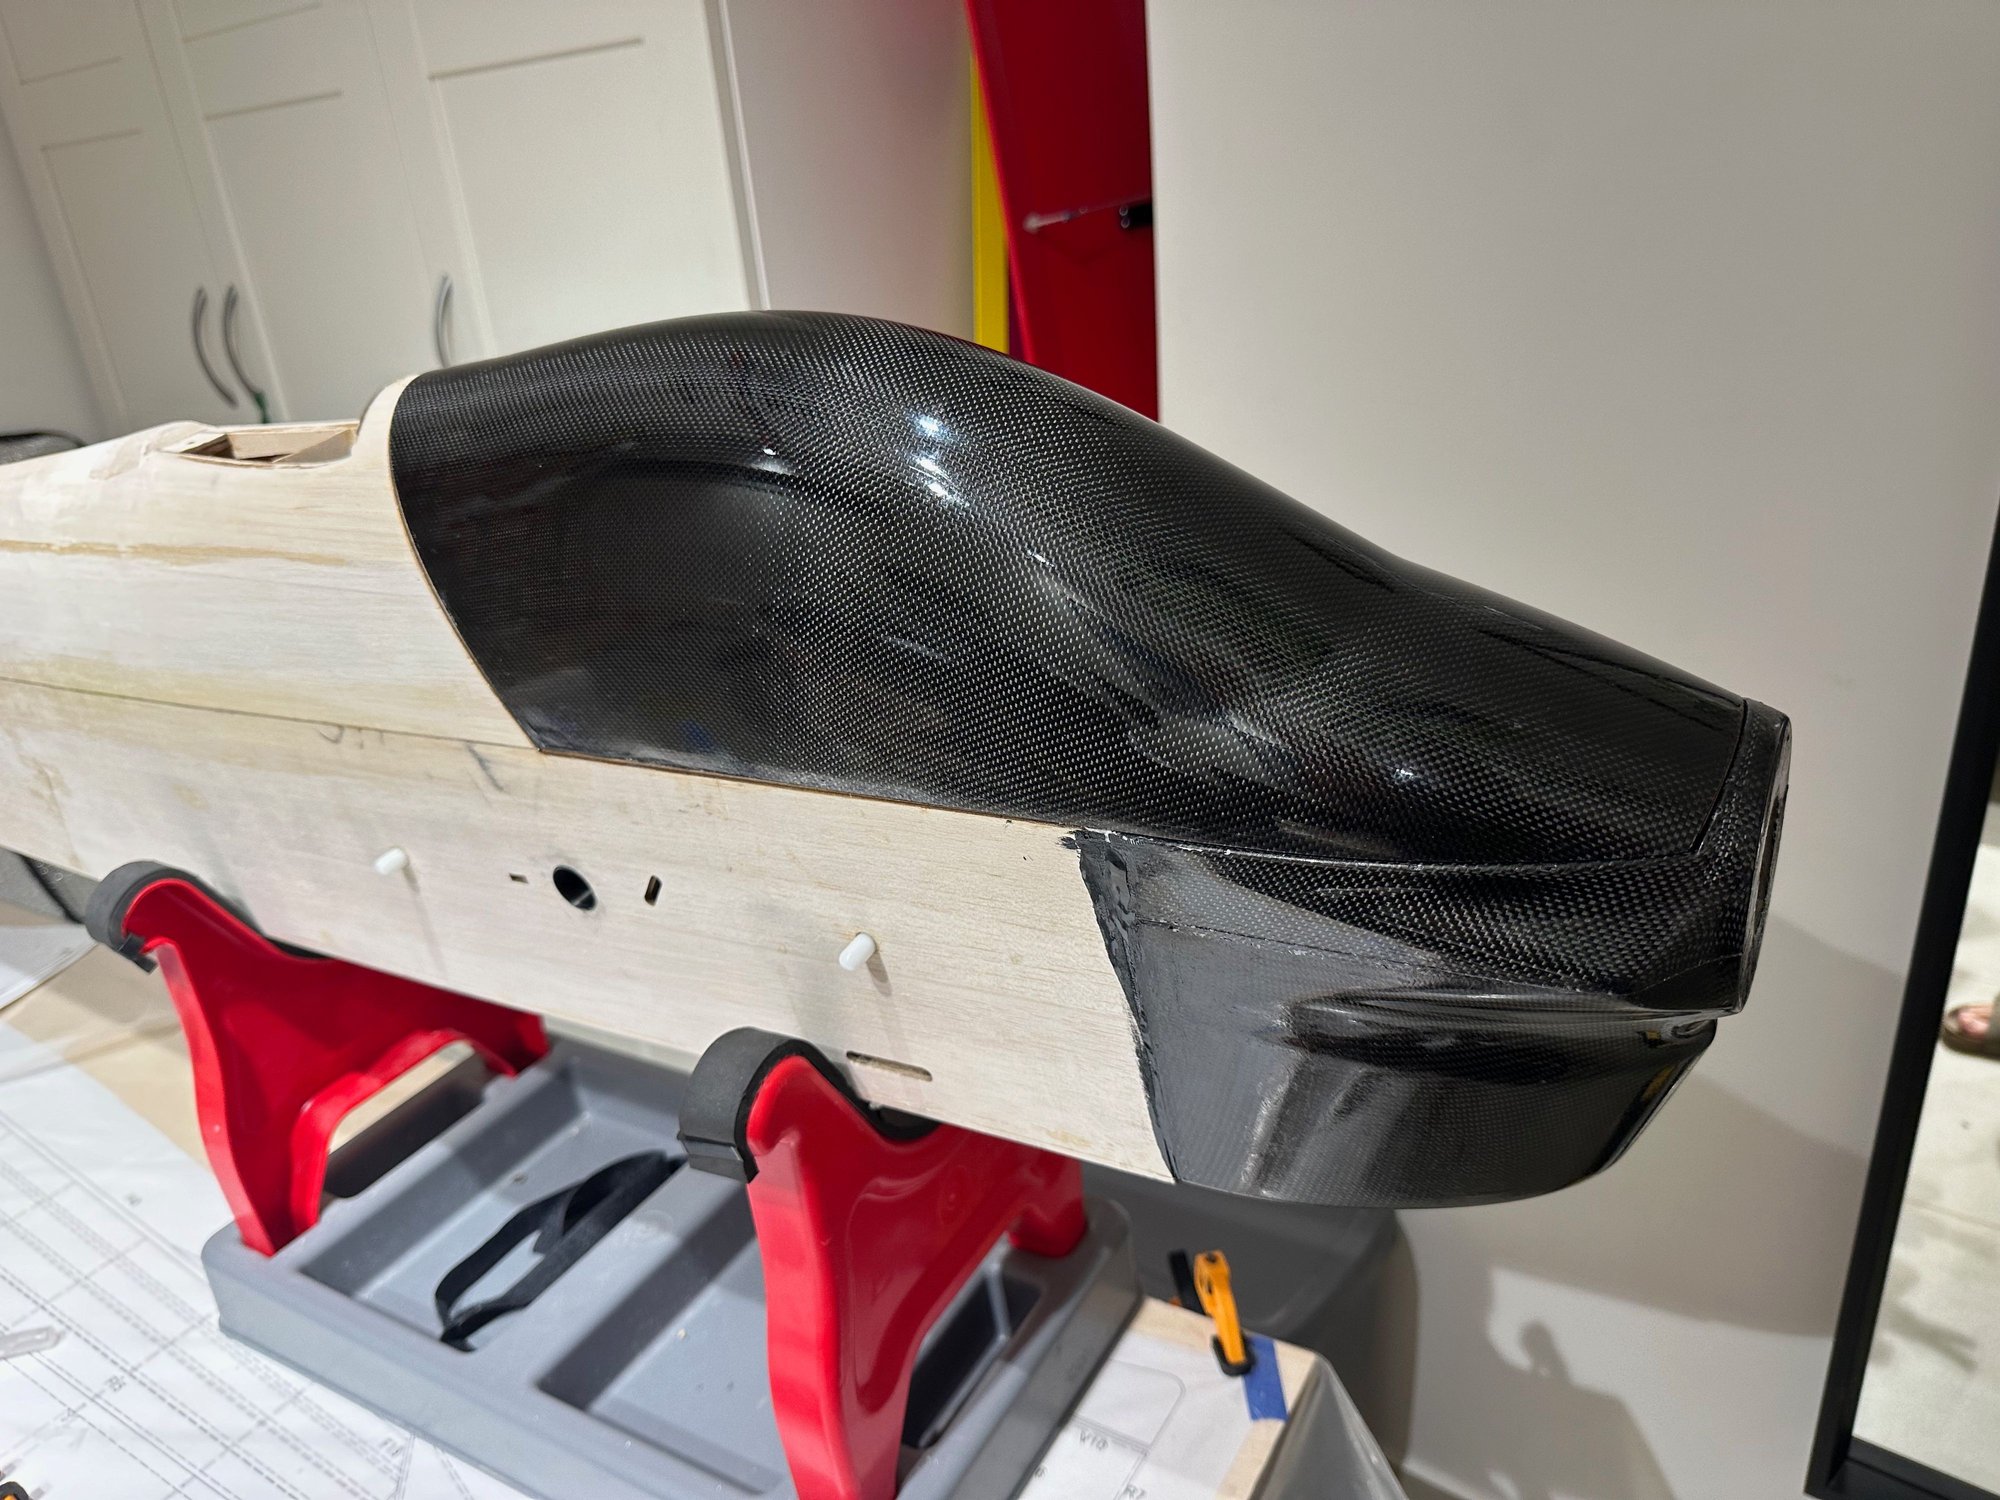
Preparing the fuselage for the cowl.

checking that the cowl fits prior to glueing
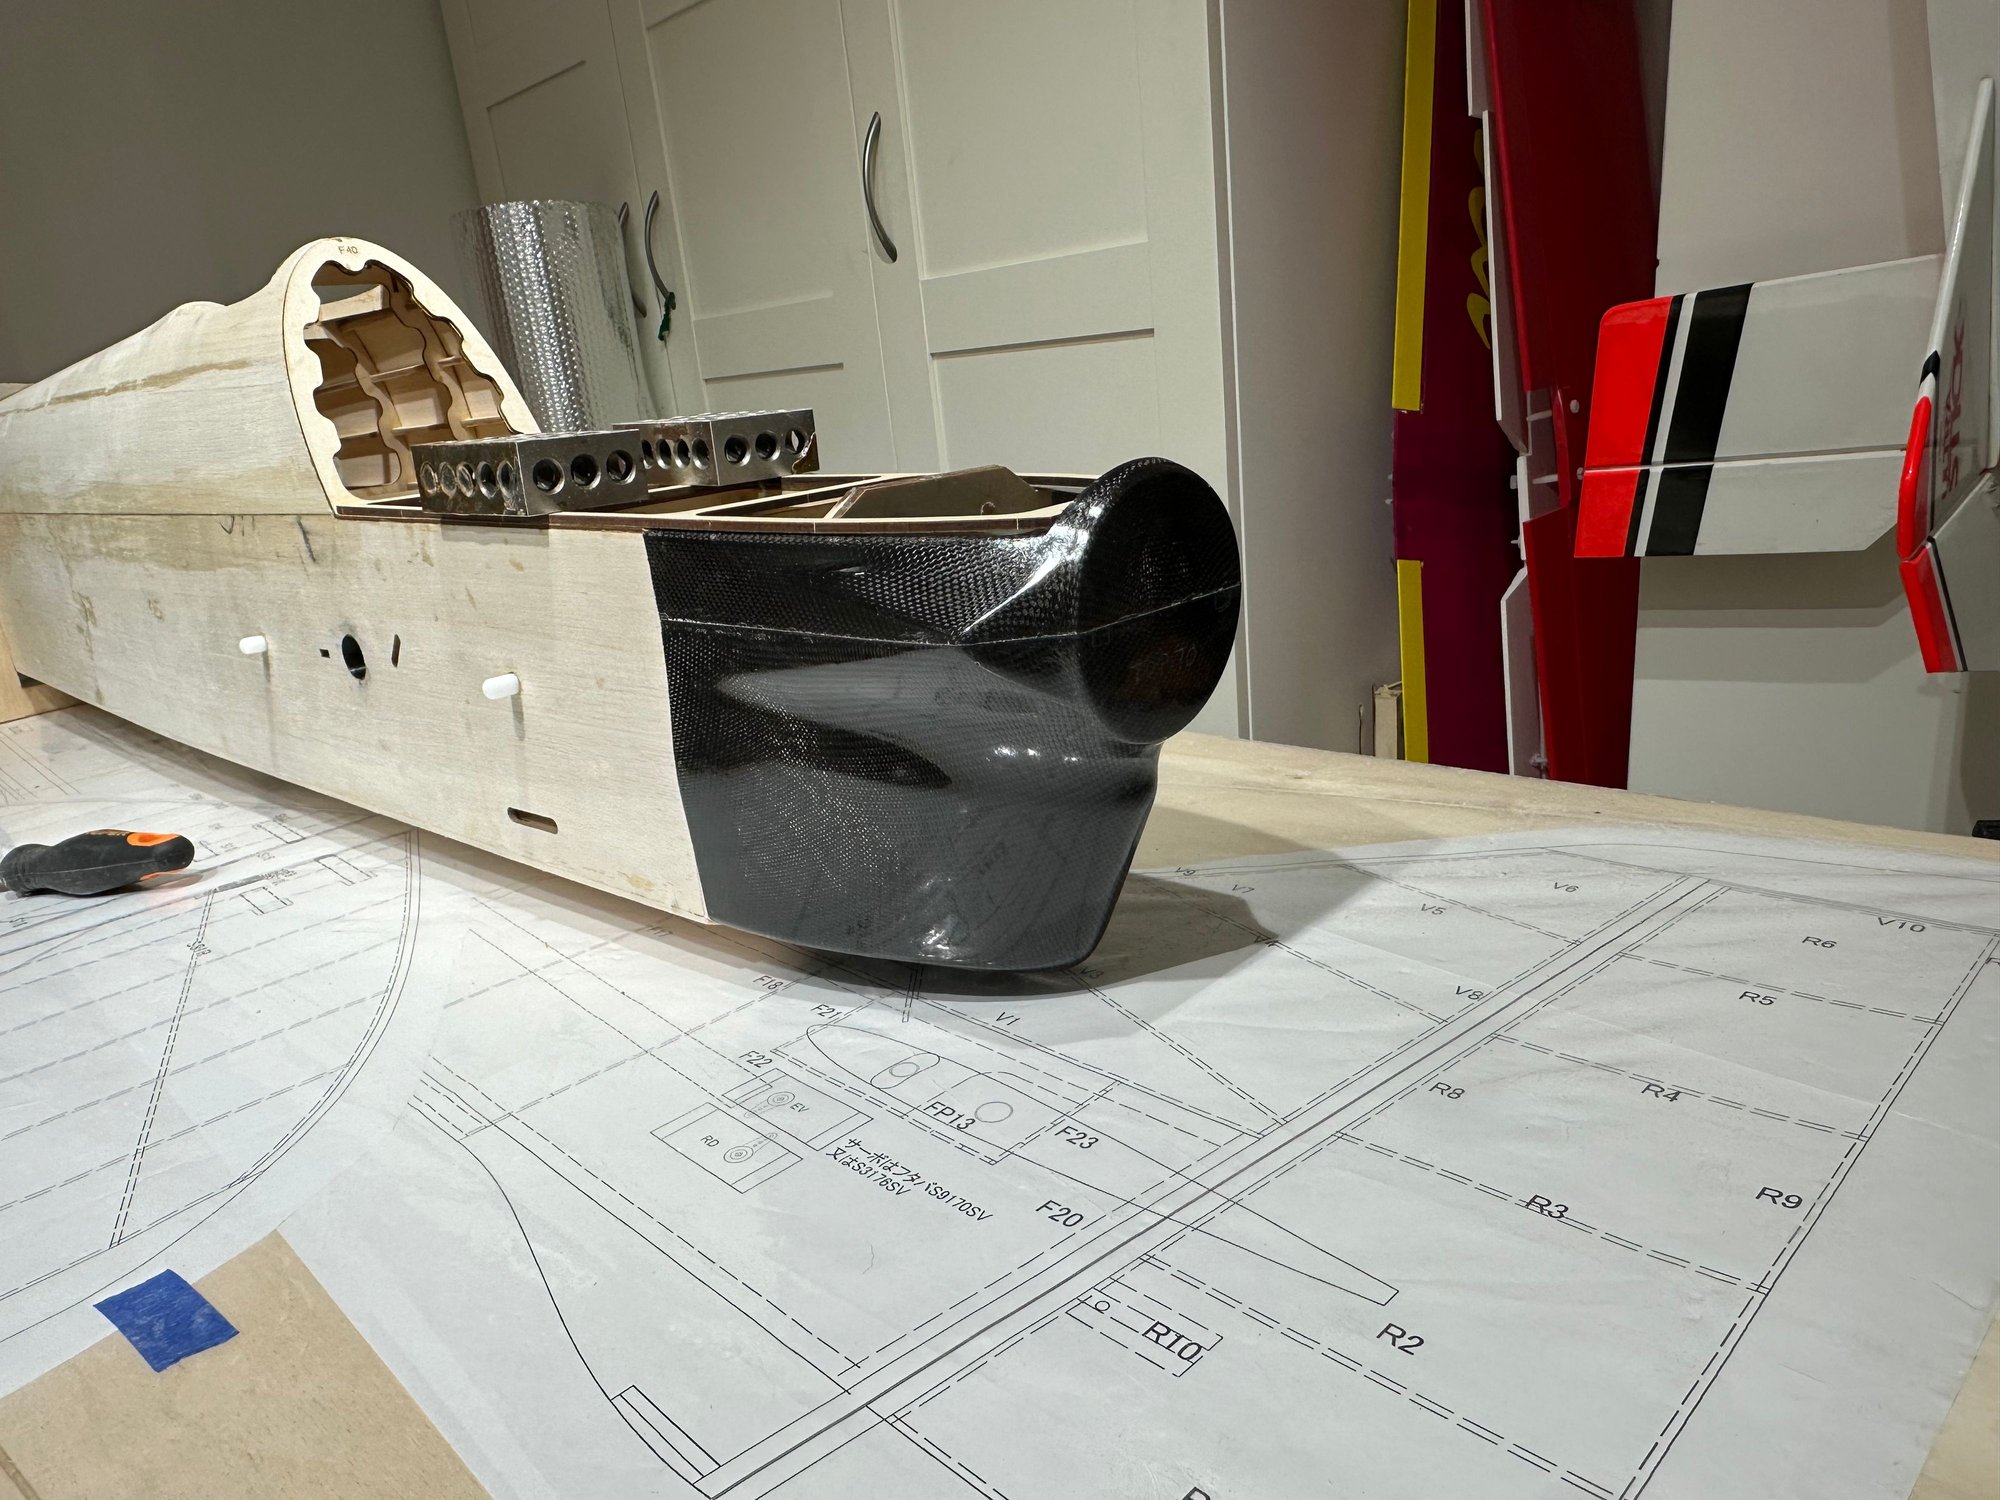
Checking the fit of the canopy base as well
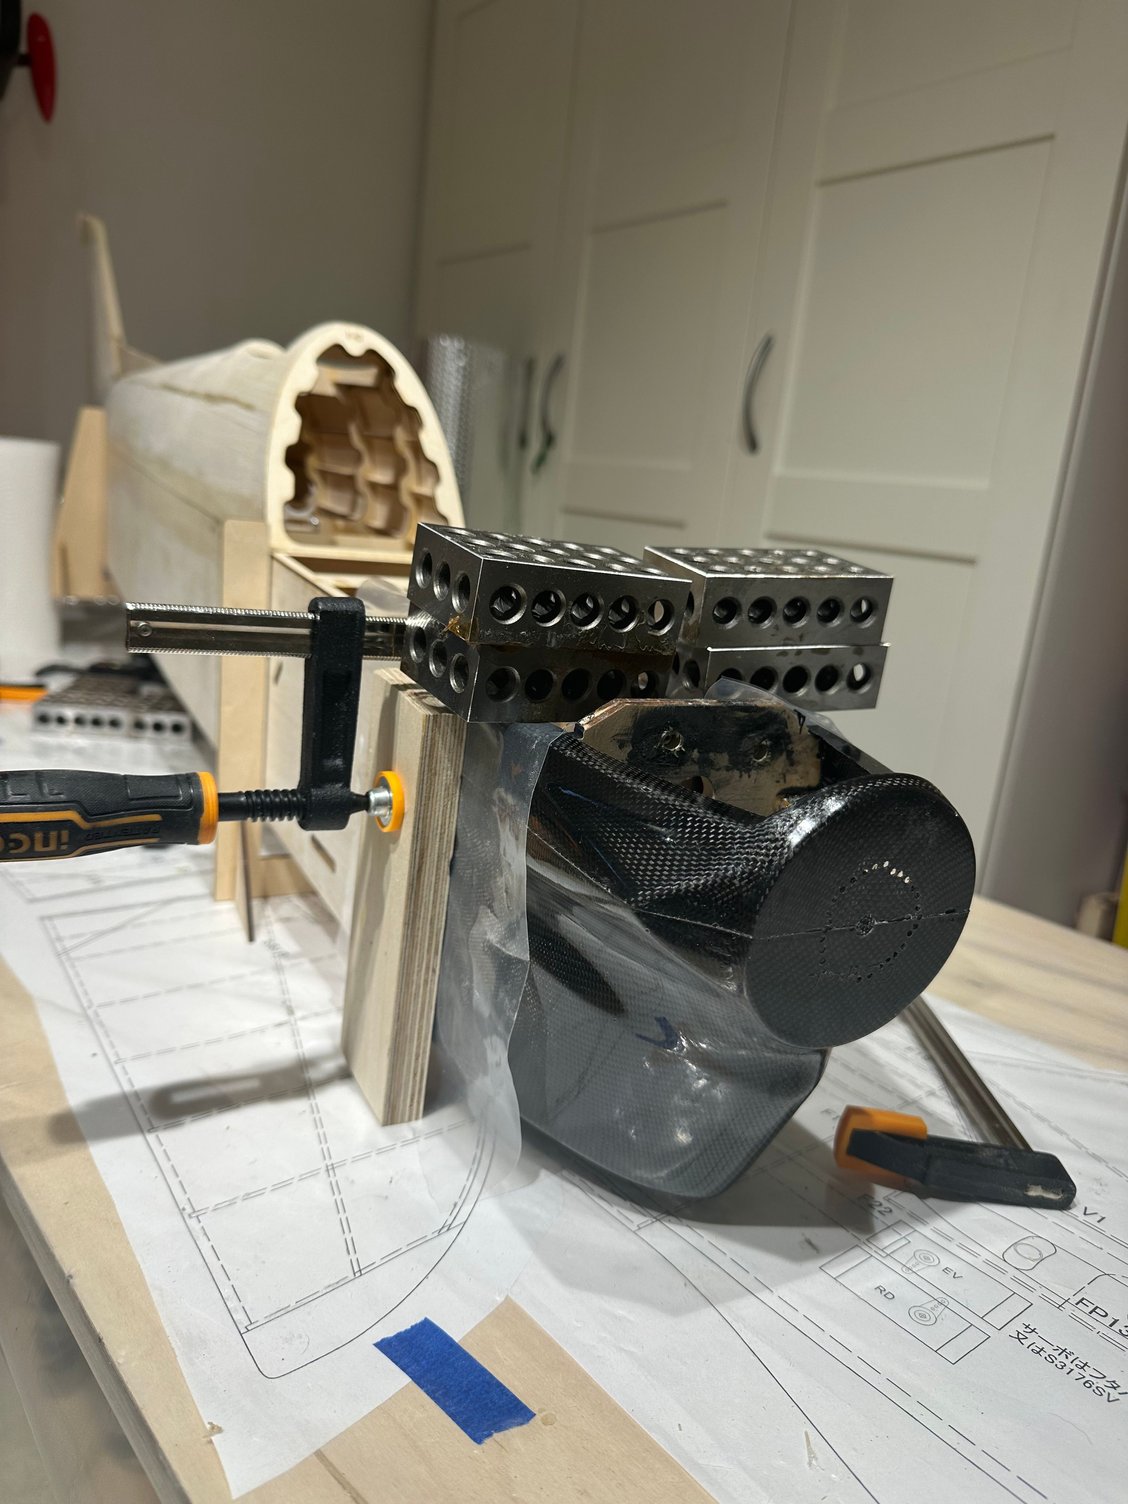
Okay, glueing in progress. I used black epoxy to do the magic.
Old 10-06-2024, 10:08 PM
  #42  
gil.s
Member
Thread Starter
 
gil.s's Avatar
 
Join Date: Mar 2024
Posts: 36
Received 2 Likes on 2 Posts
Default Canopy


Gluing the canopy frame in place to make it fit.


Old 10-06-2024, 10:14 PM
  #43  
gil.s
Member
Thread Starter
 
gil.s's Avatar
 
Join Date: Mar 2024
Posts: 36
Received 2 Likes on 2 Posts
Default


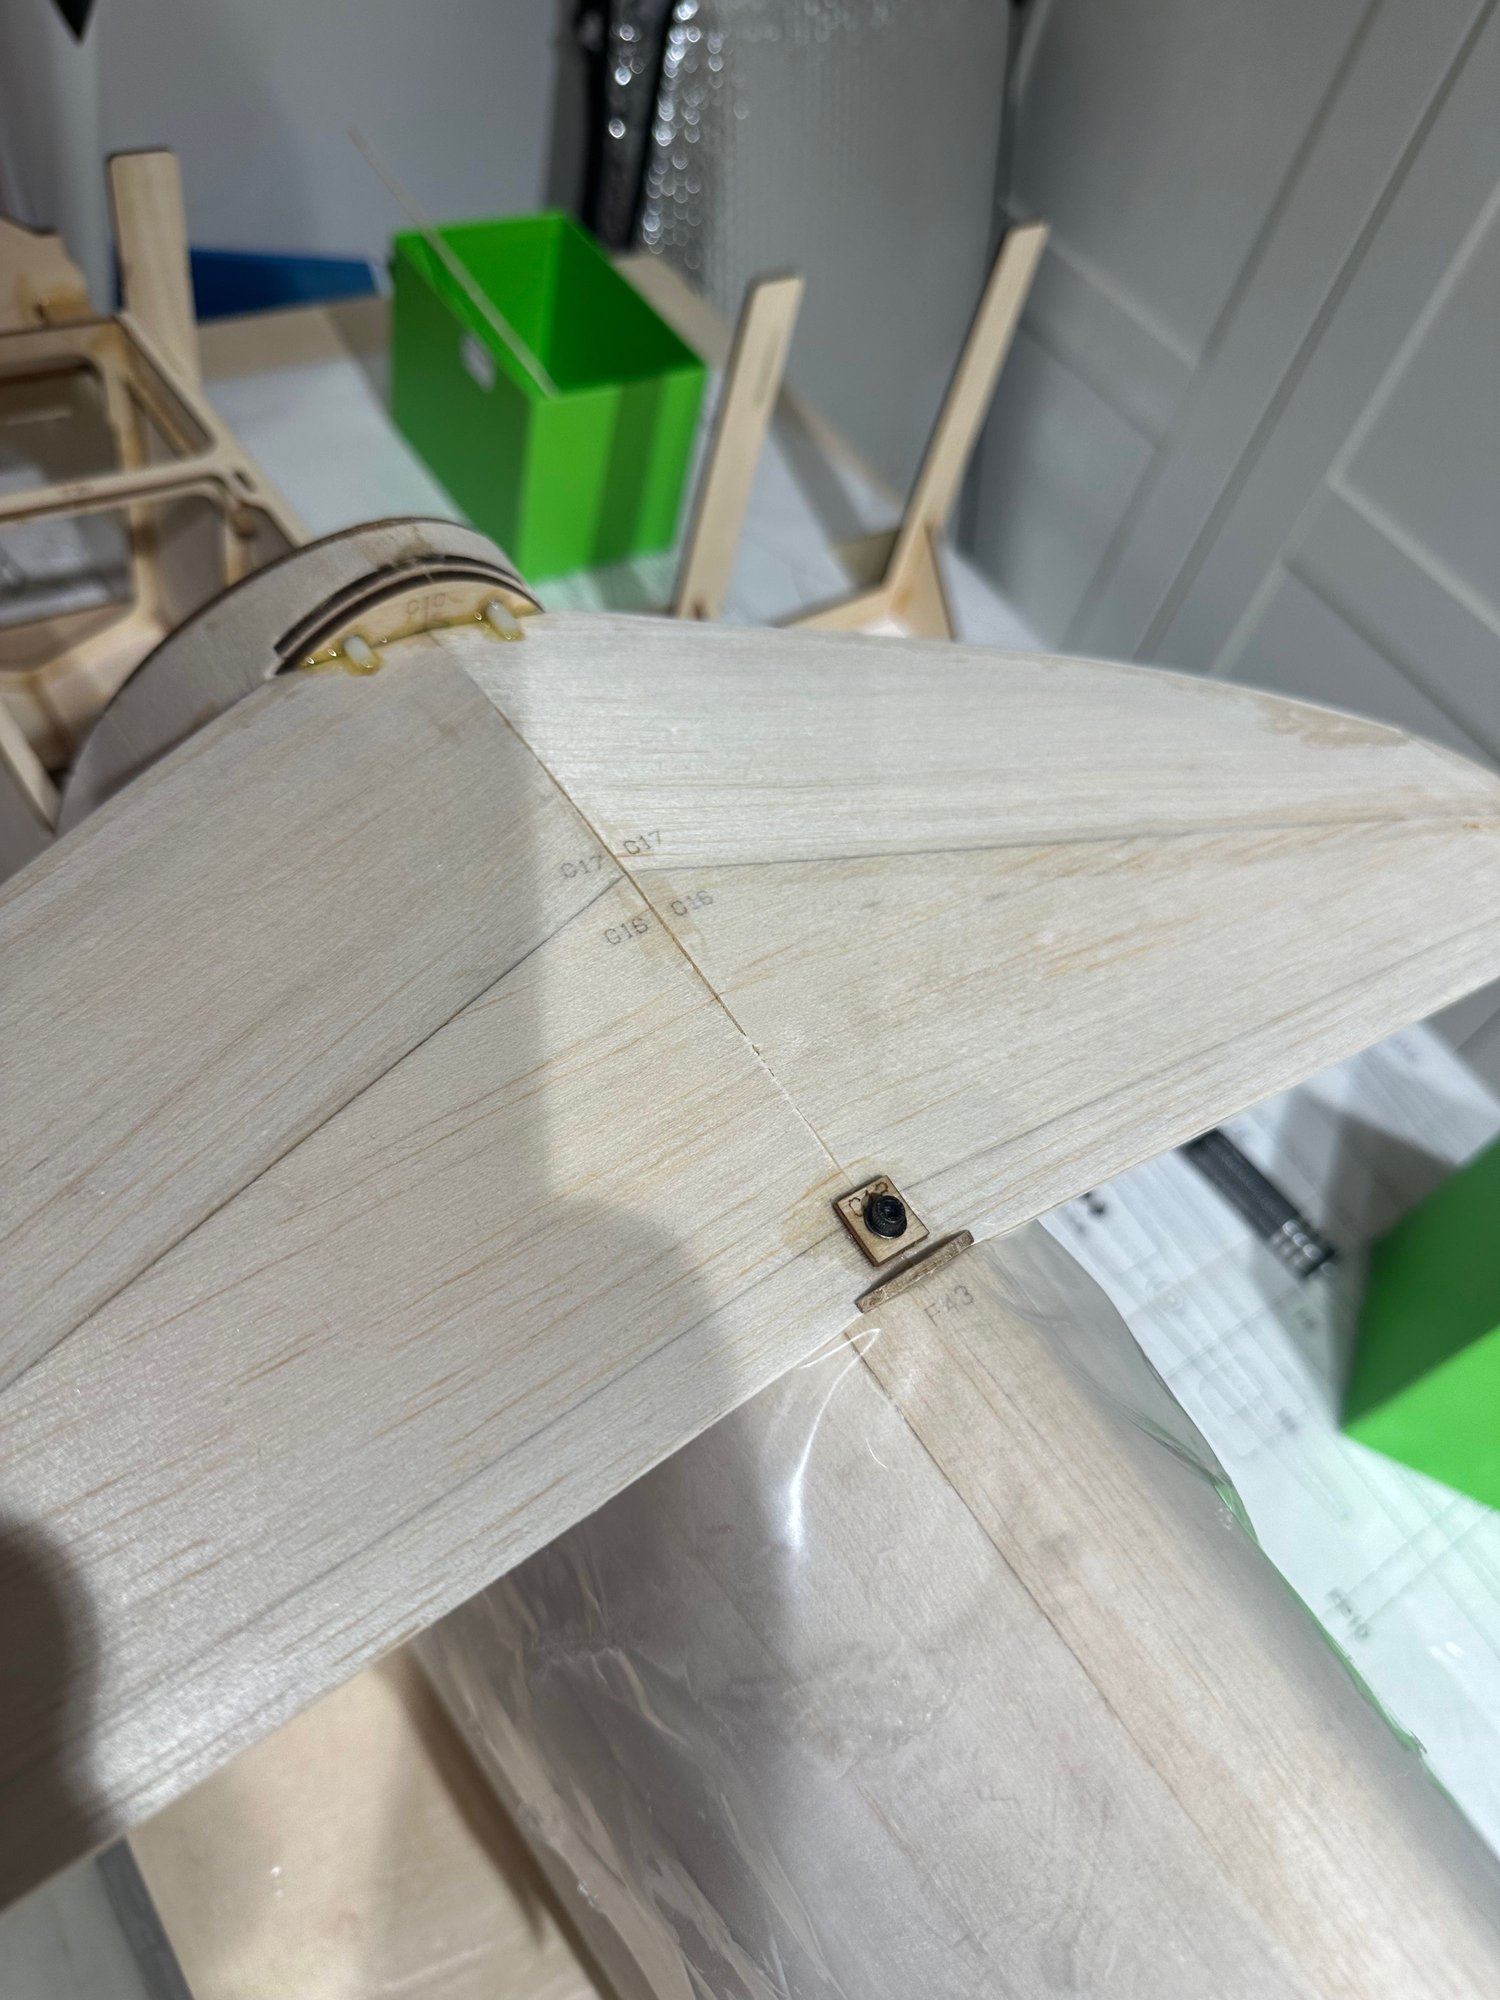
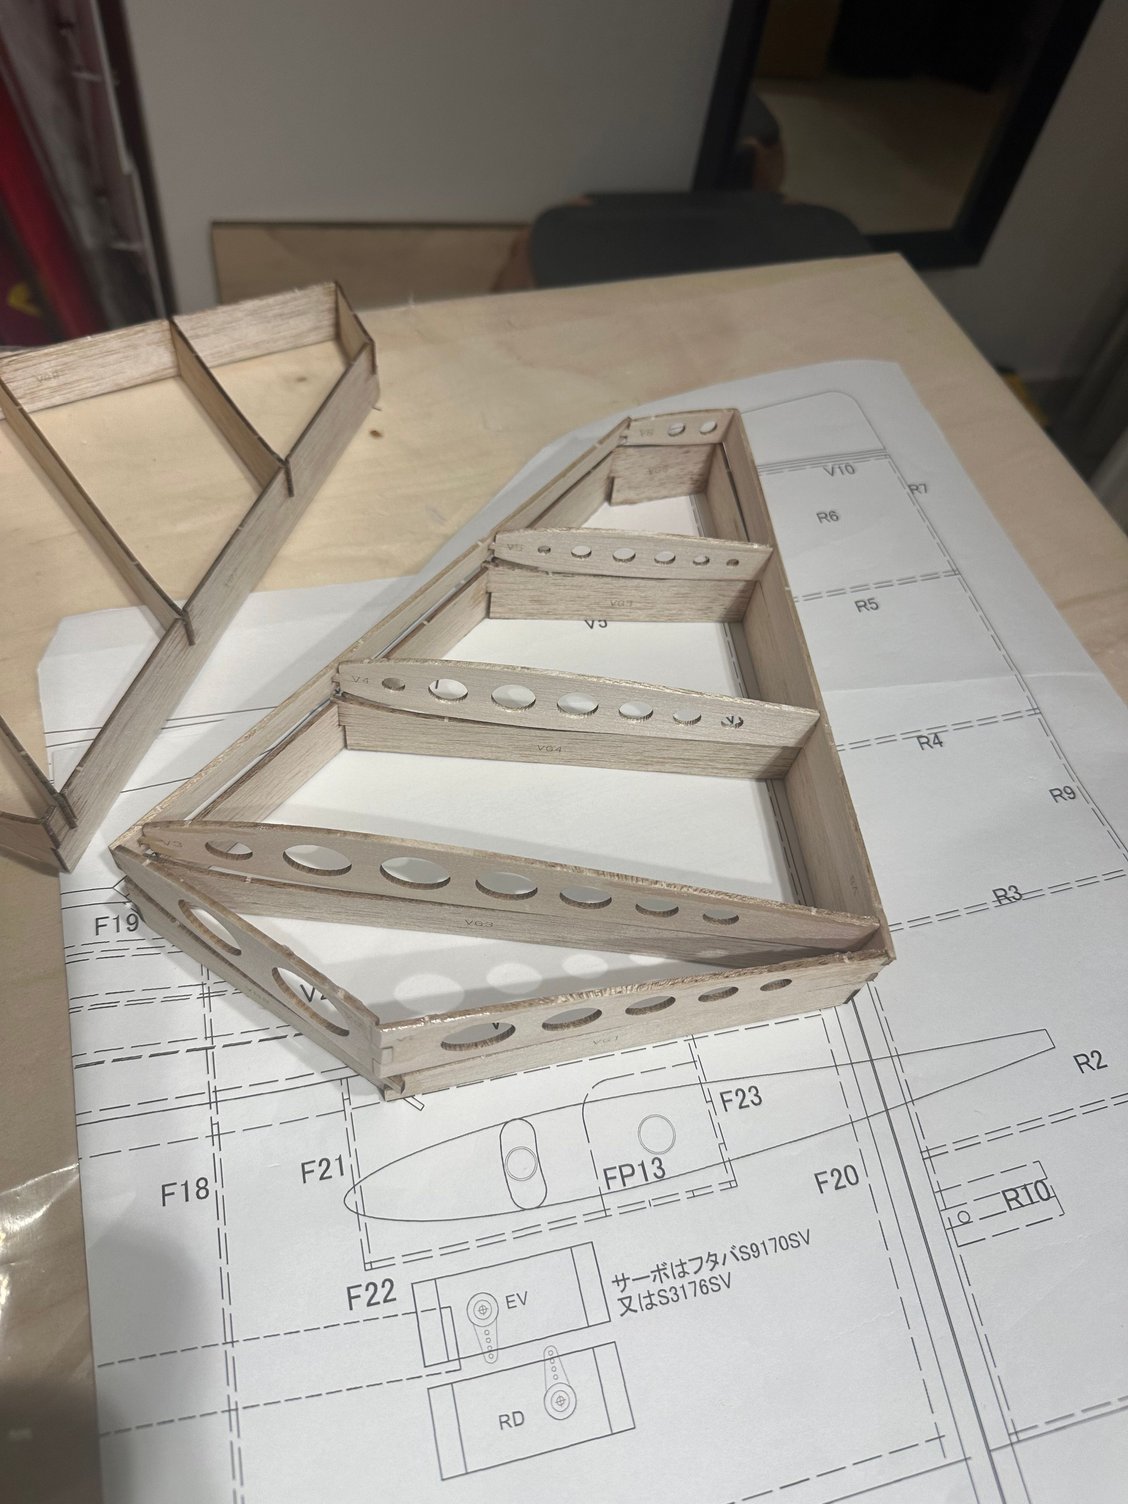
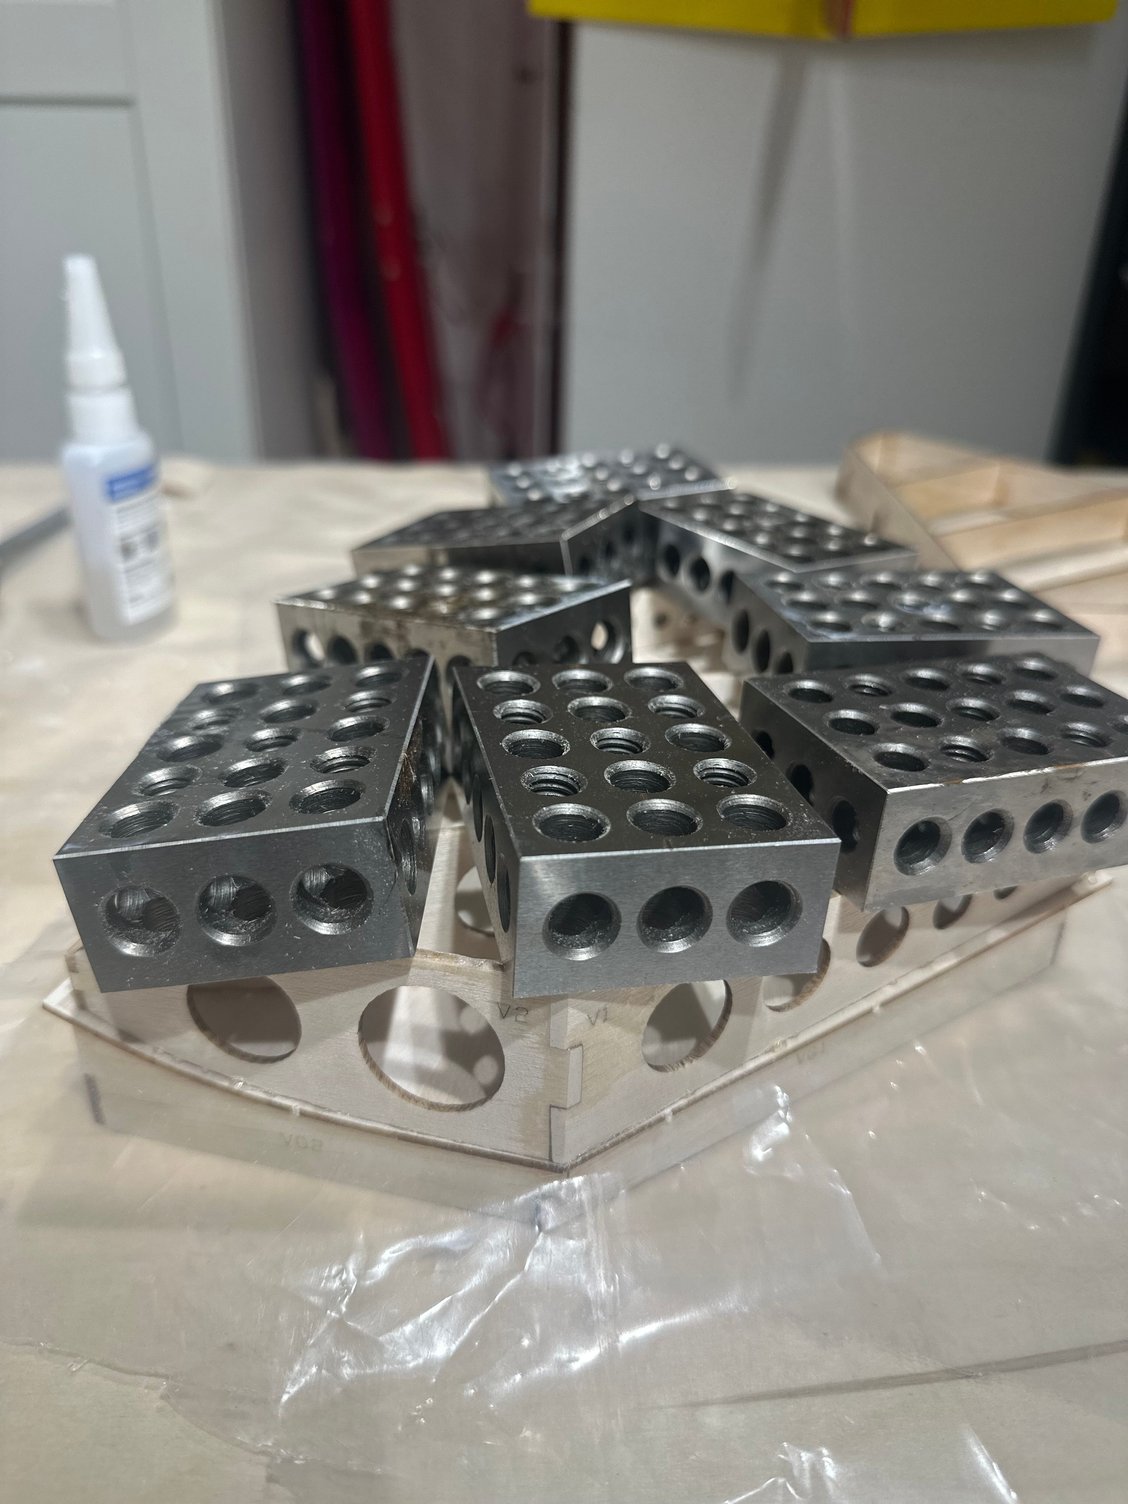
First the stabilizer jig, and then the ribs.
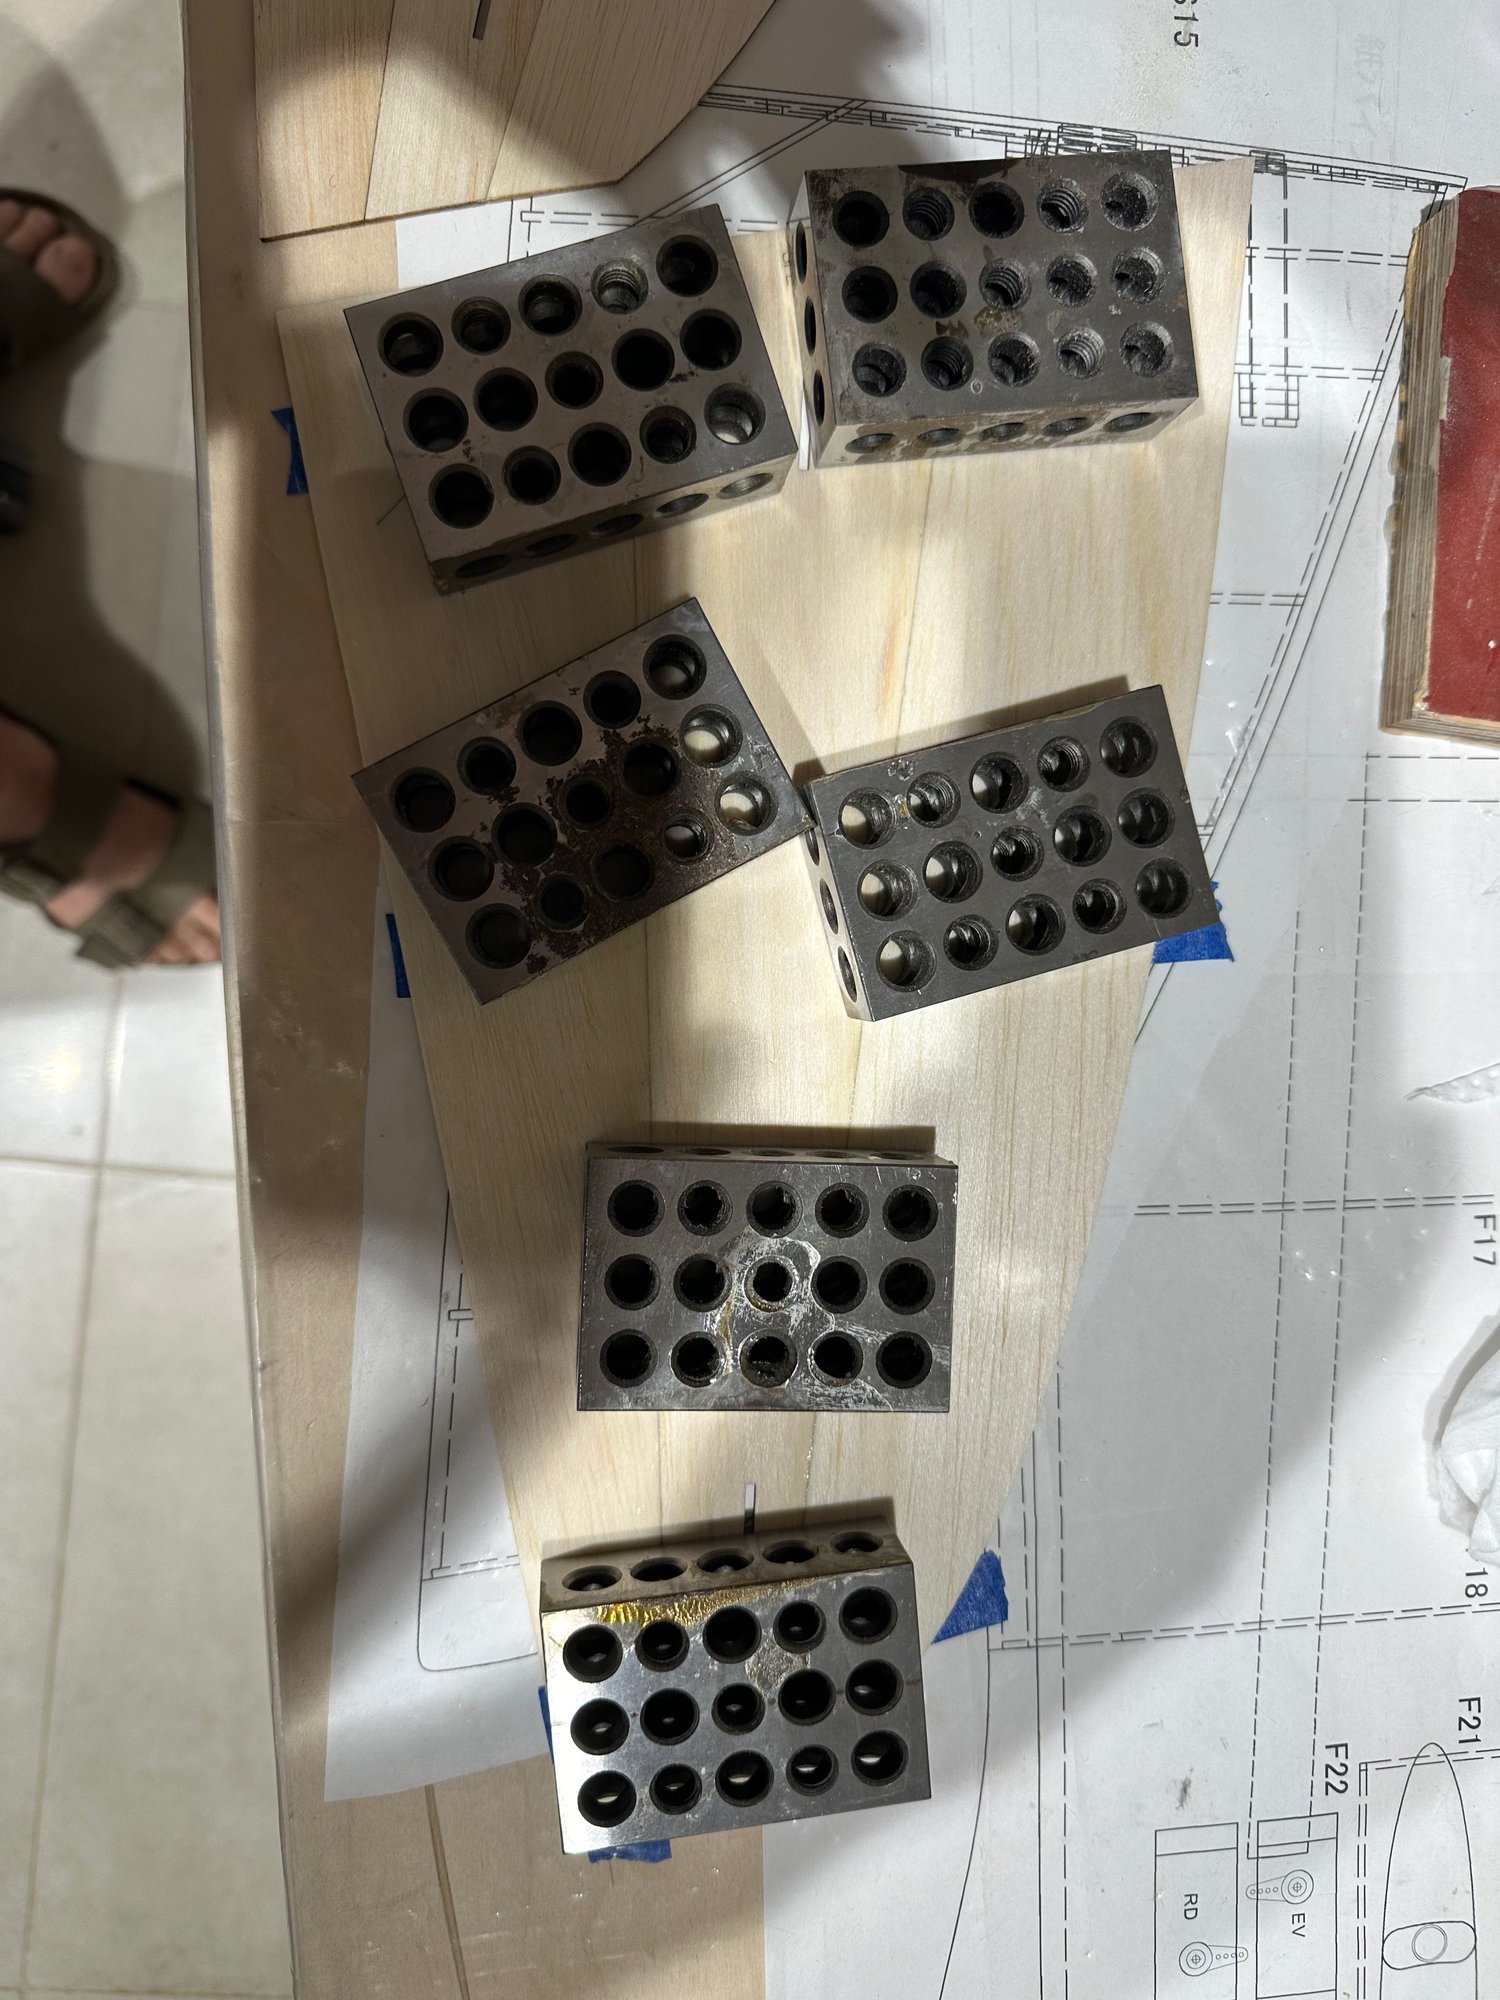
one side cover sheet.
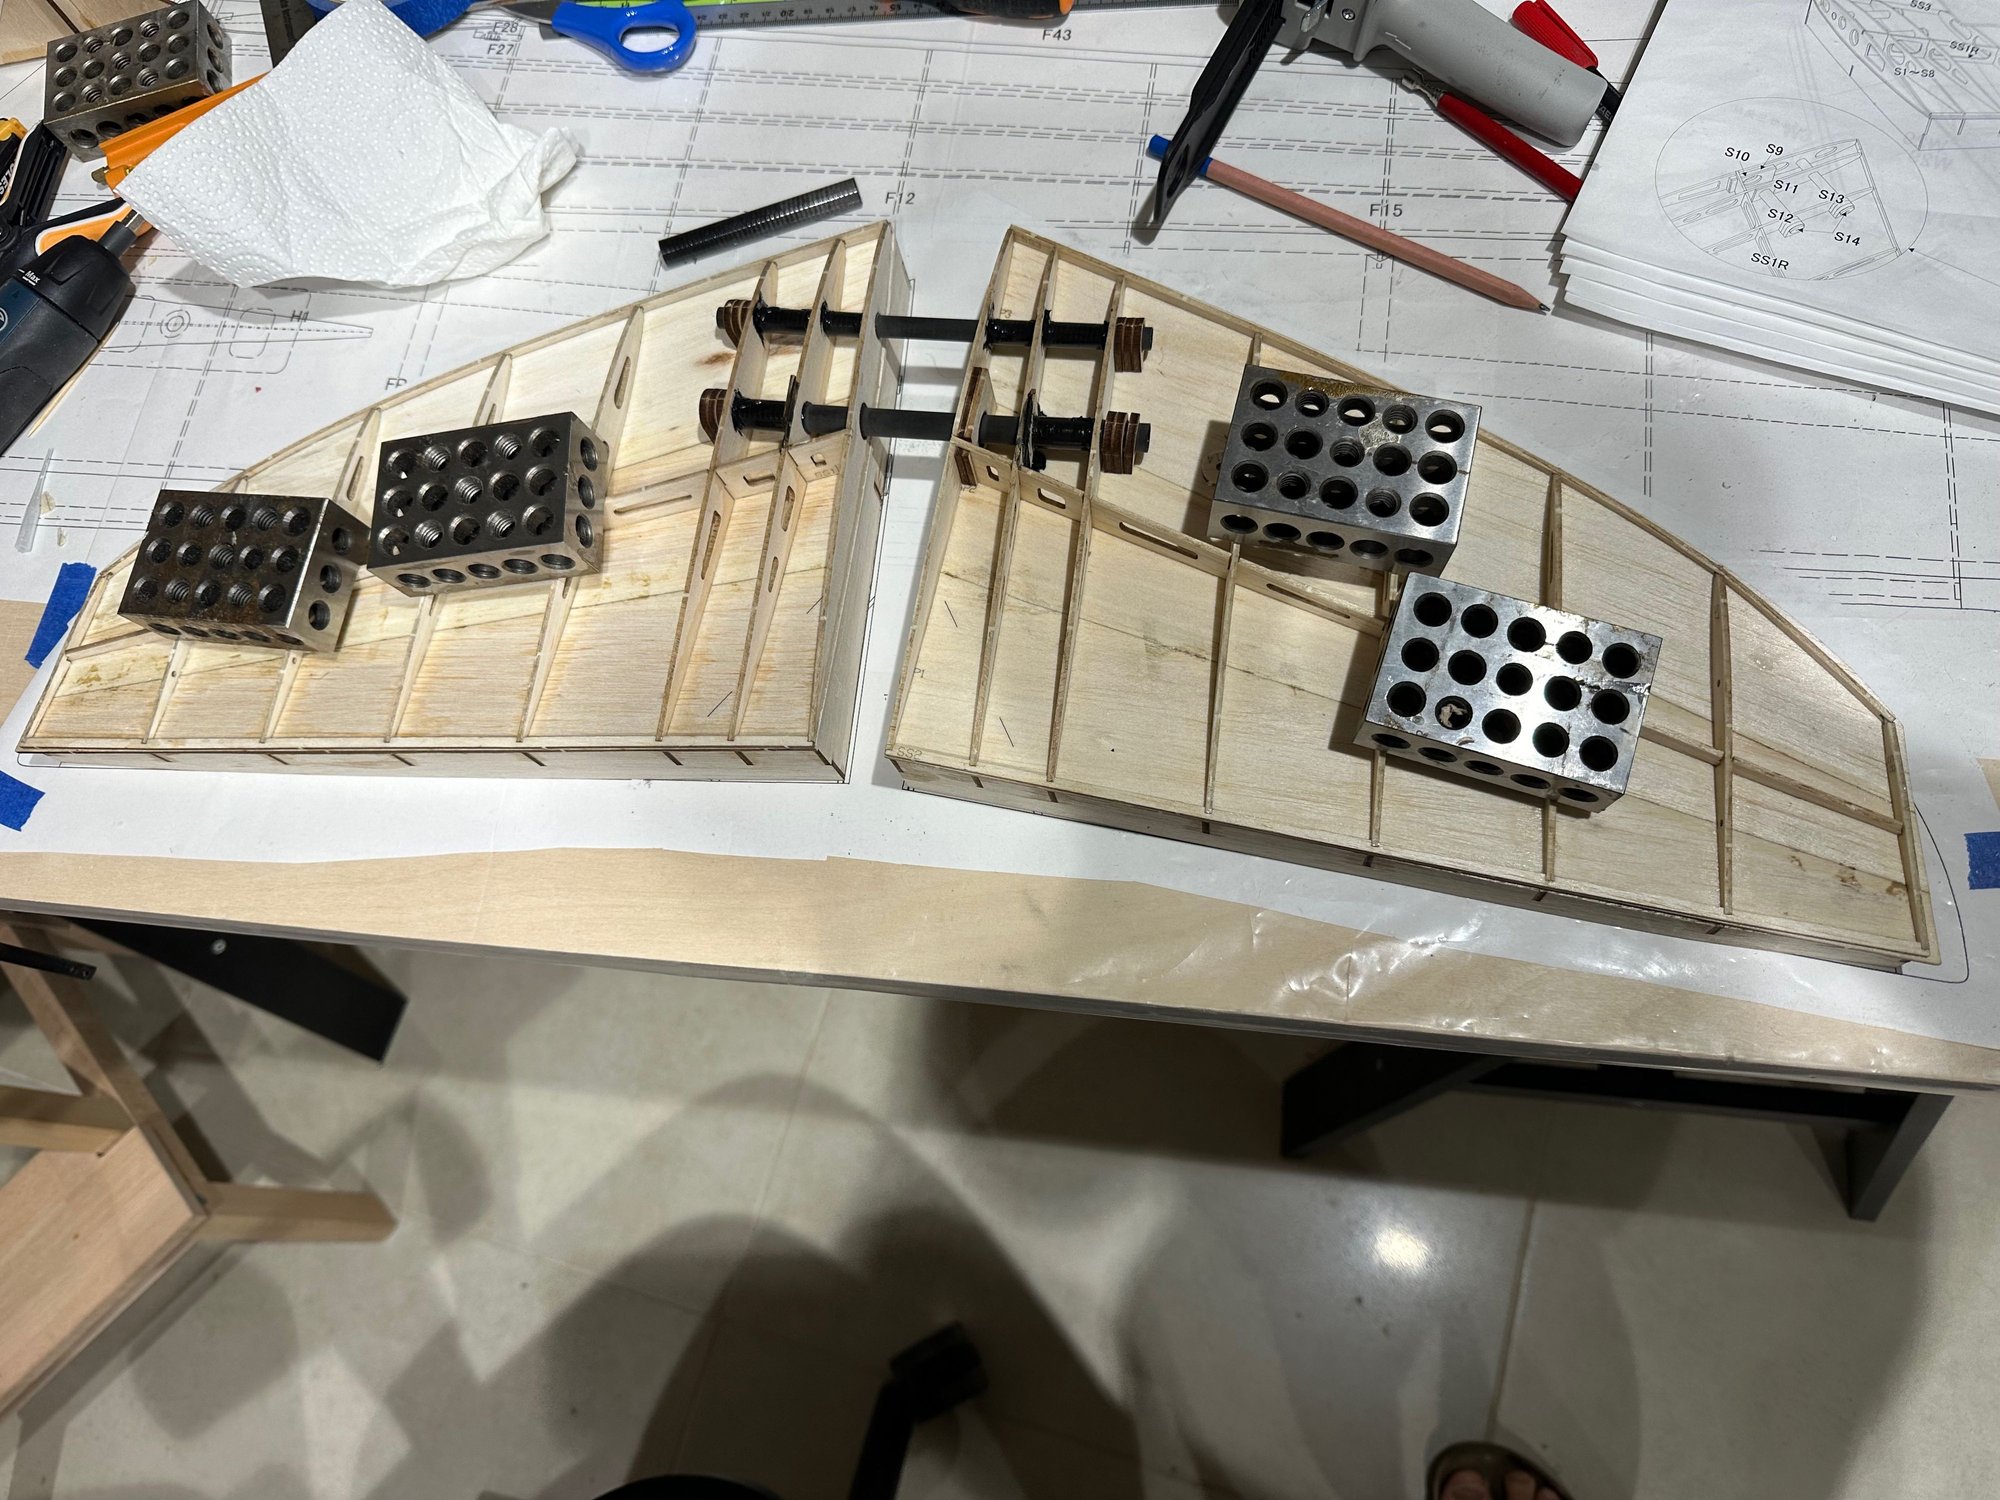
gluing the carbon pipes, aligned on the jig, using epoxy.
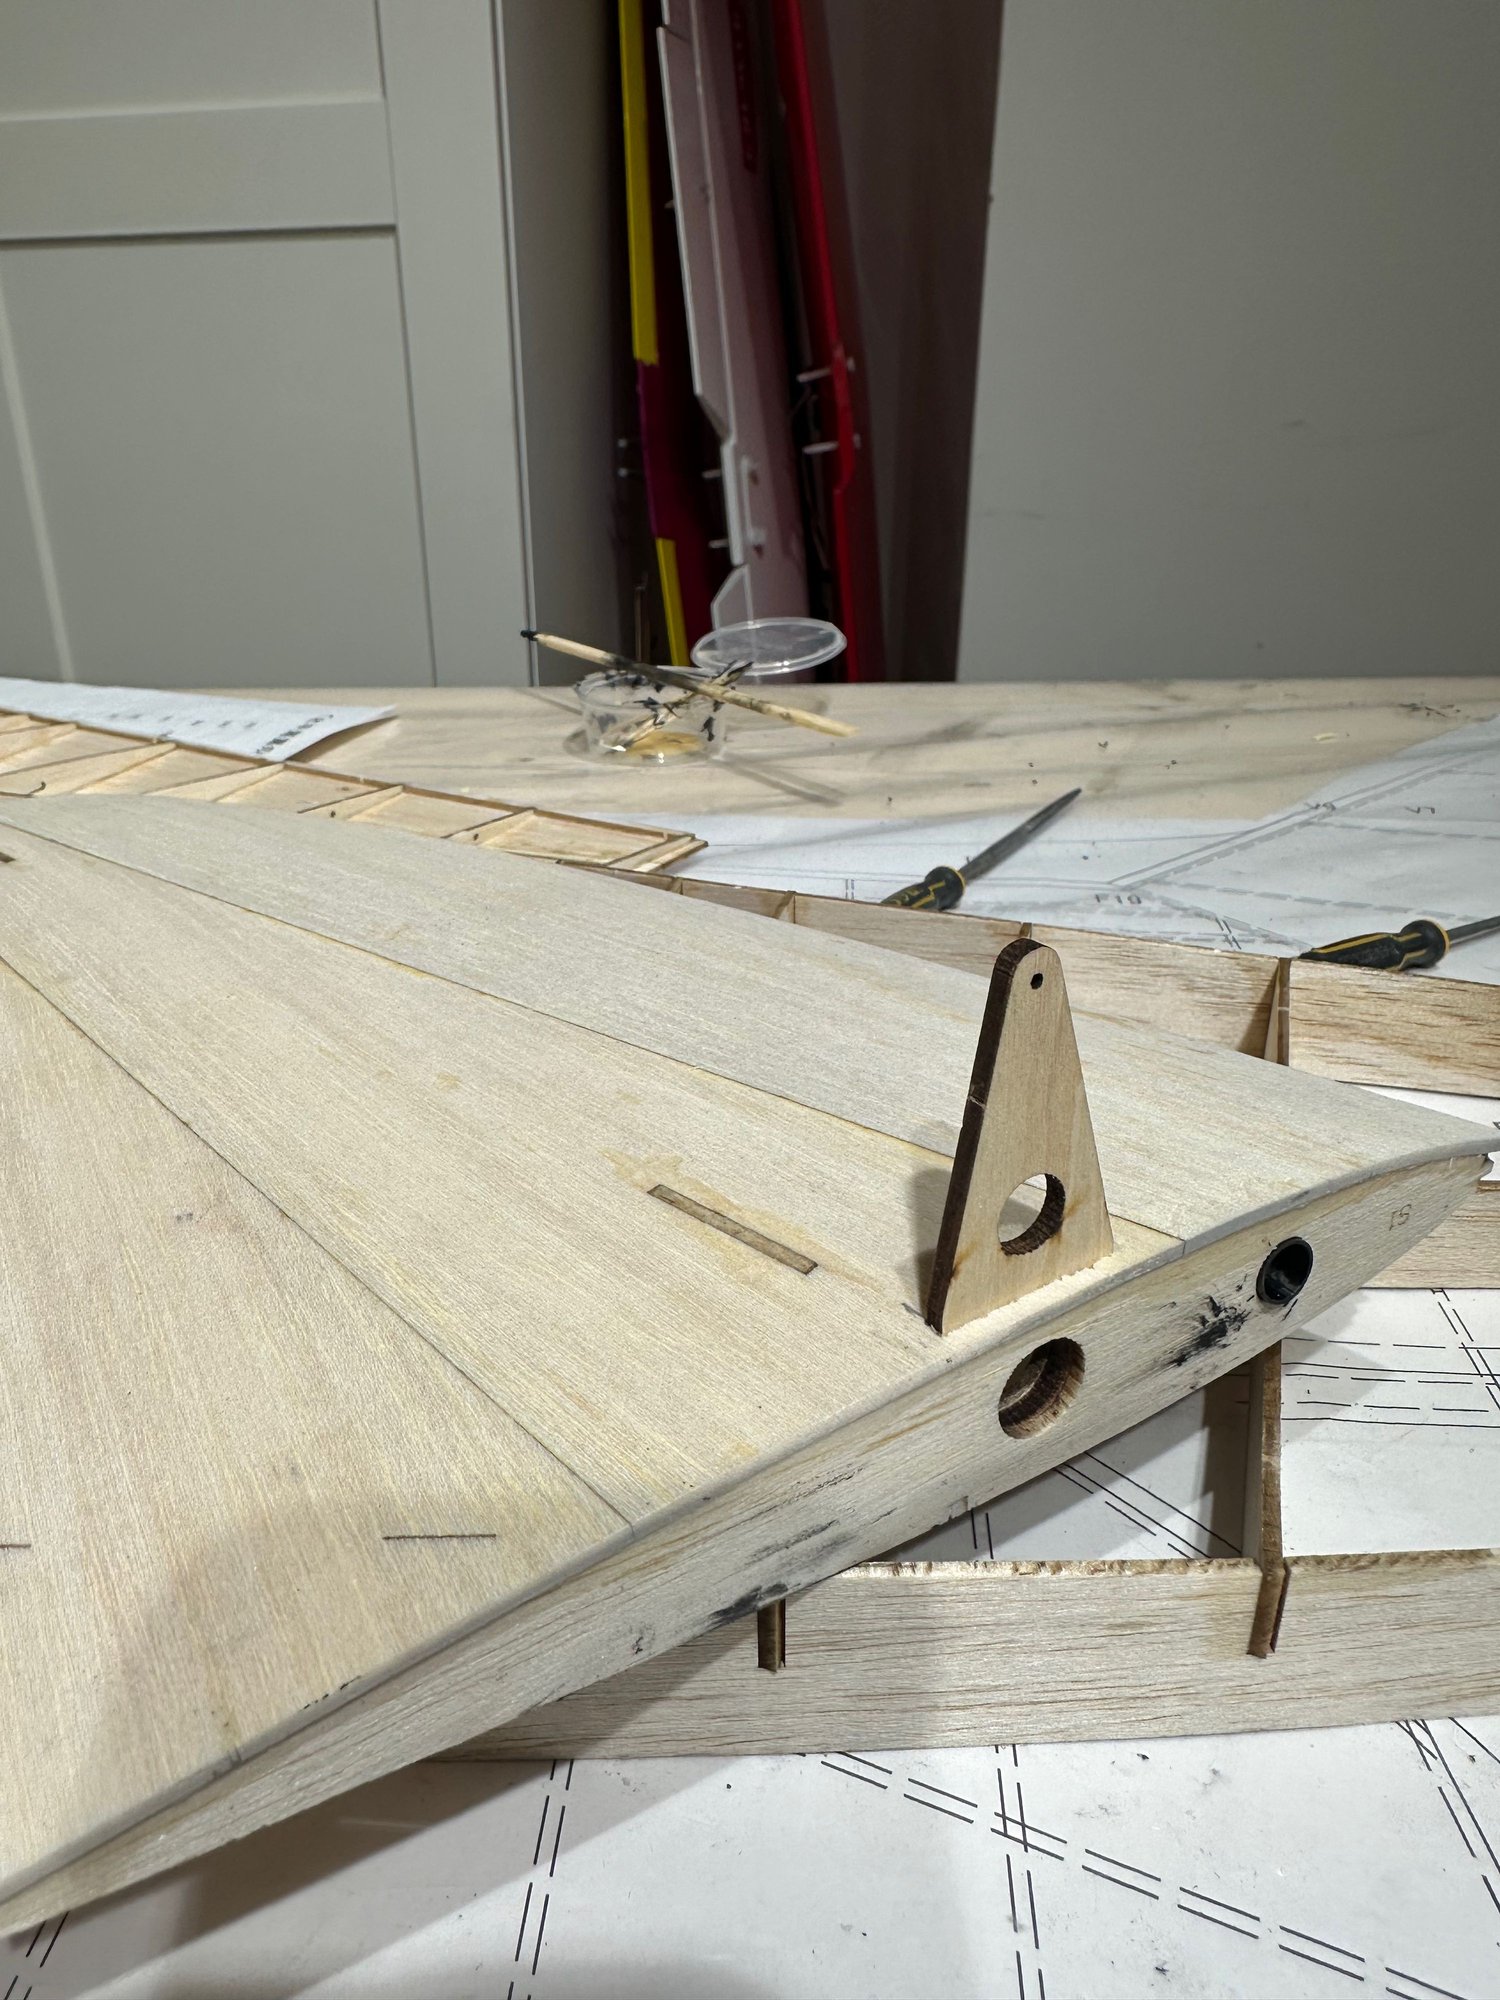
cutting place to the control horn.
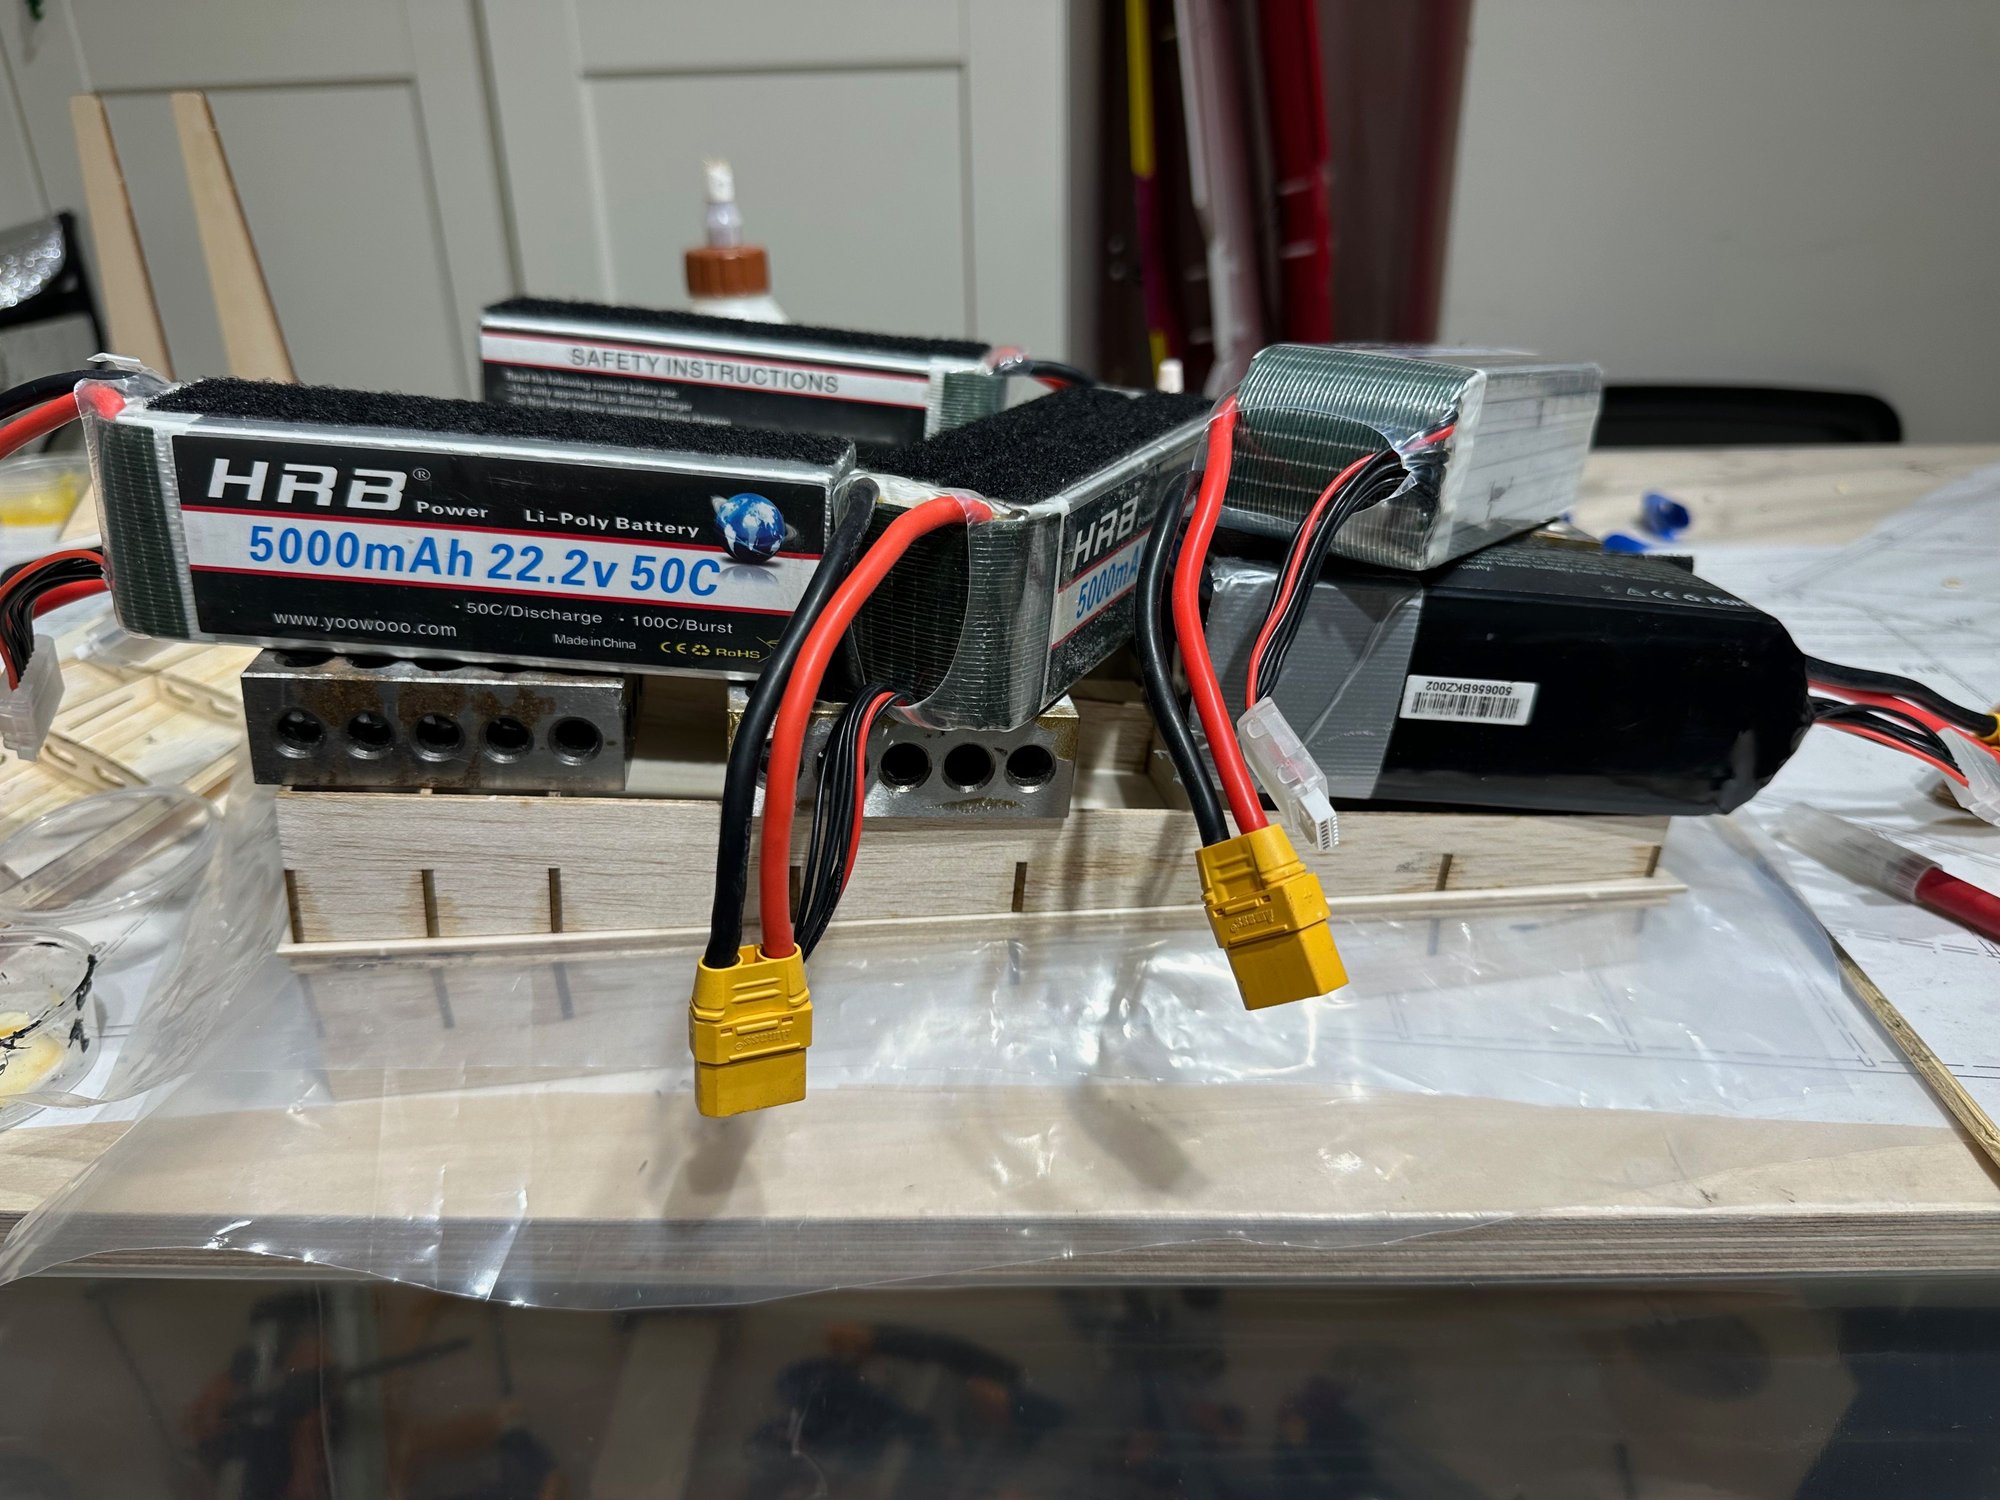
second cover.
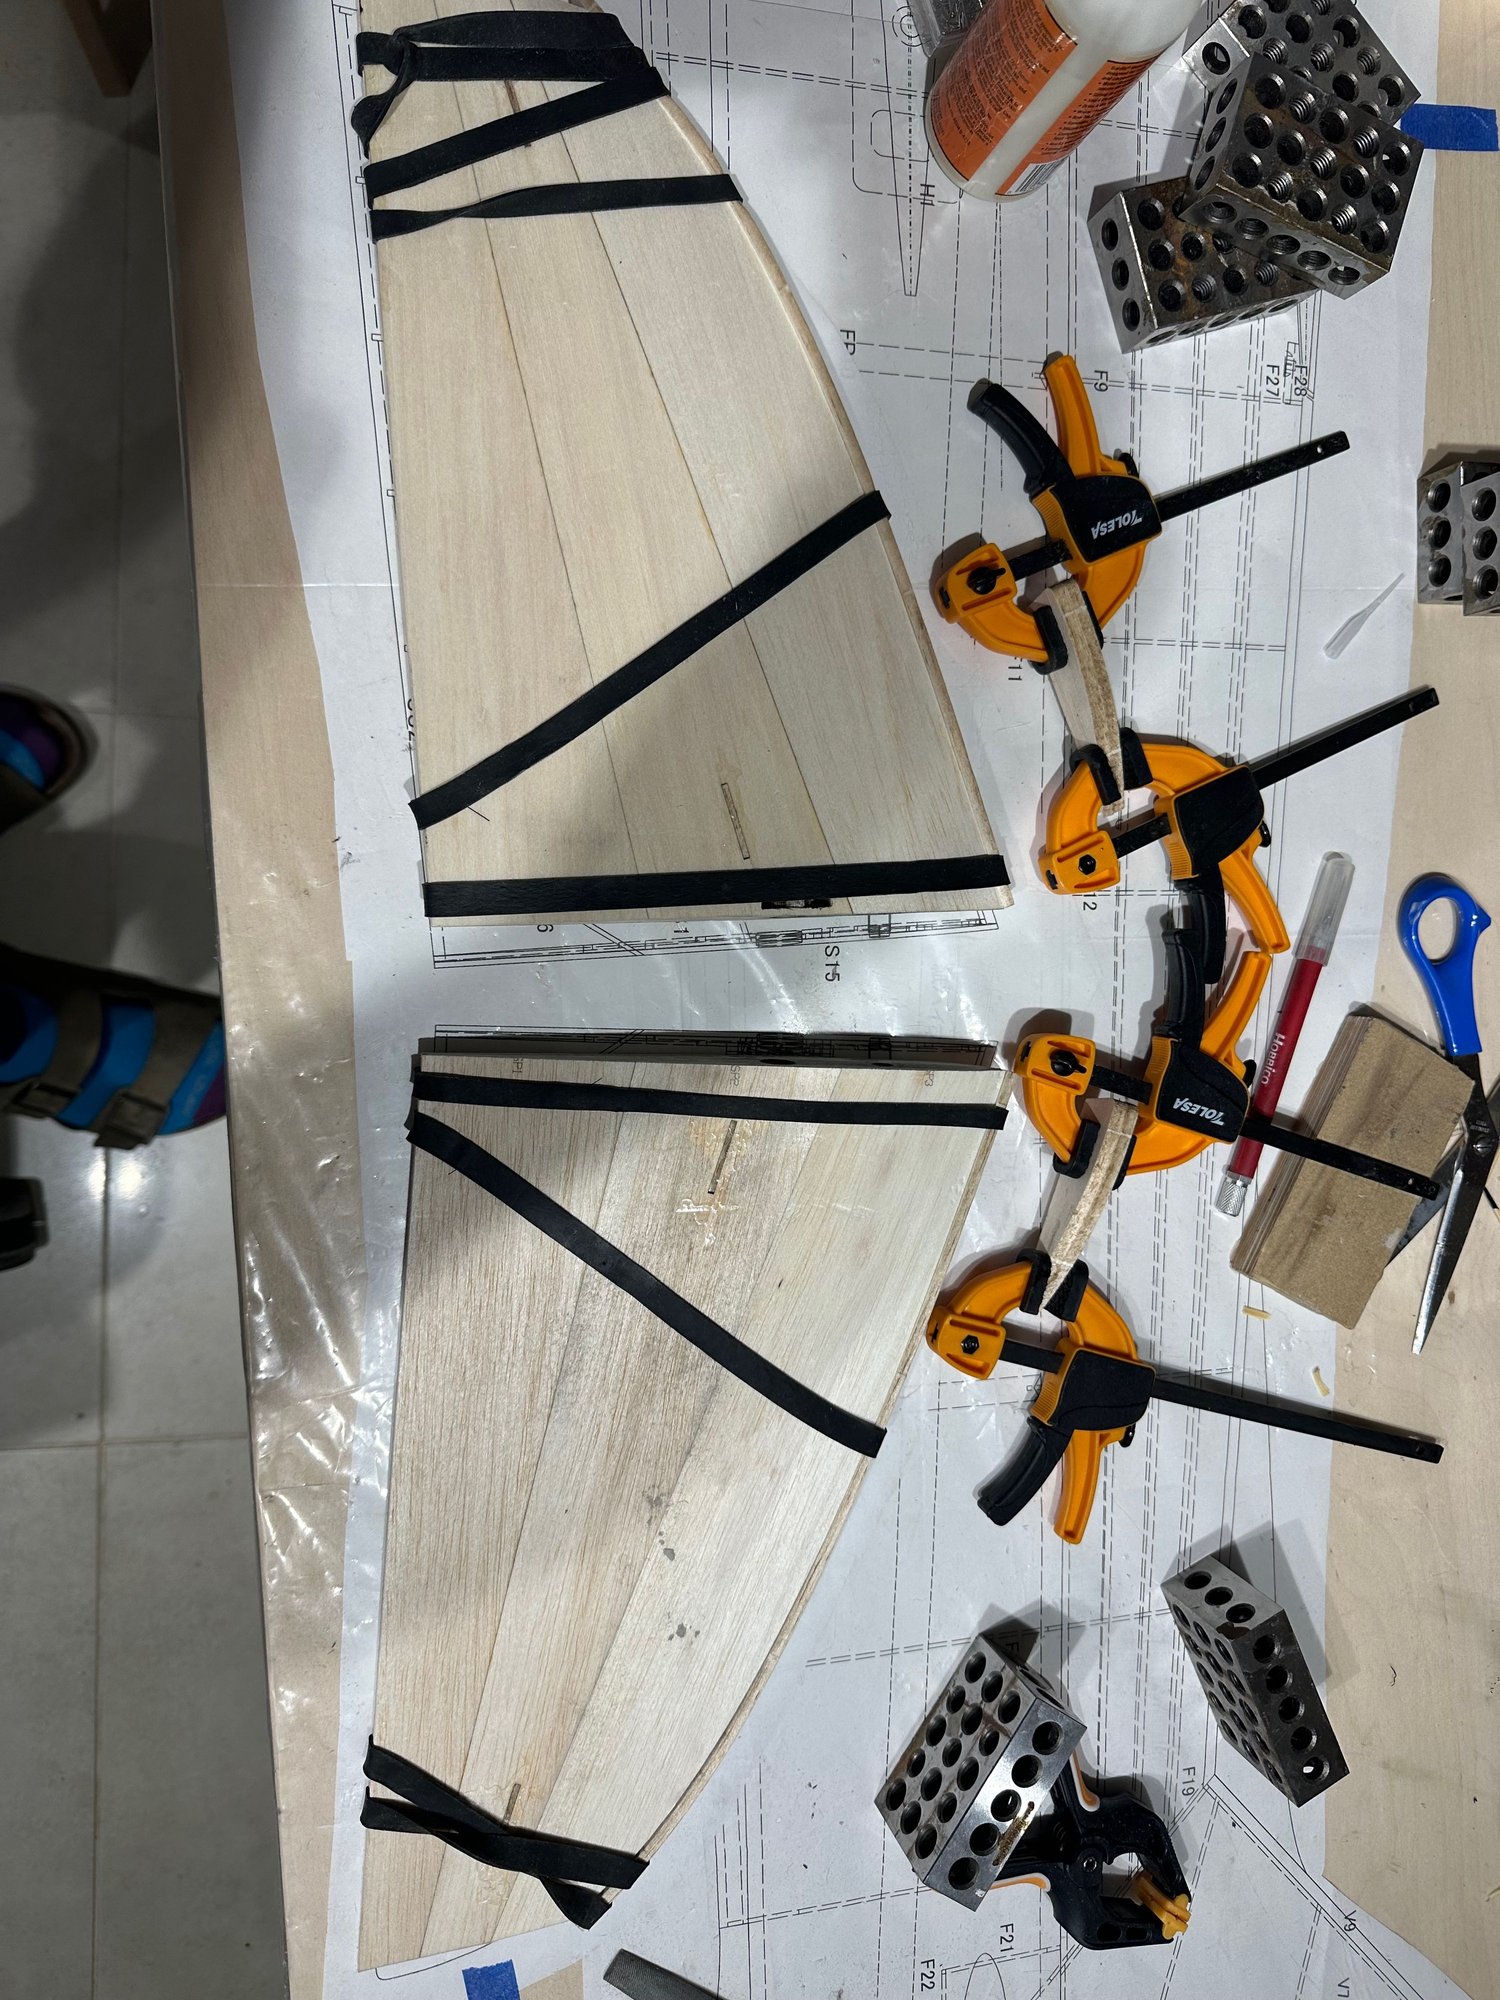
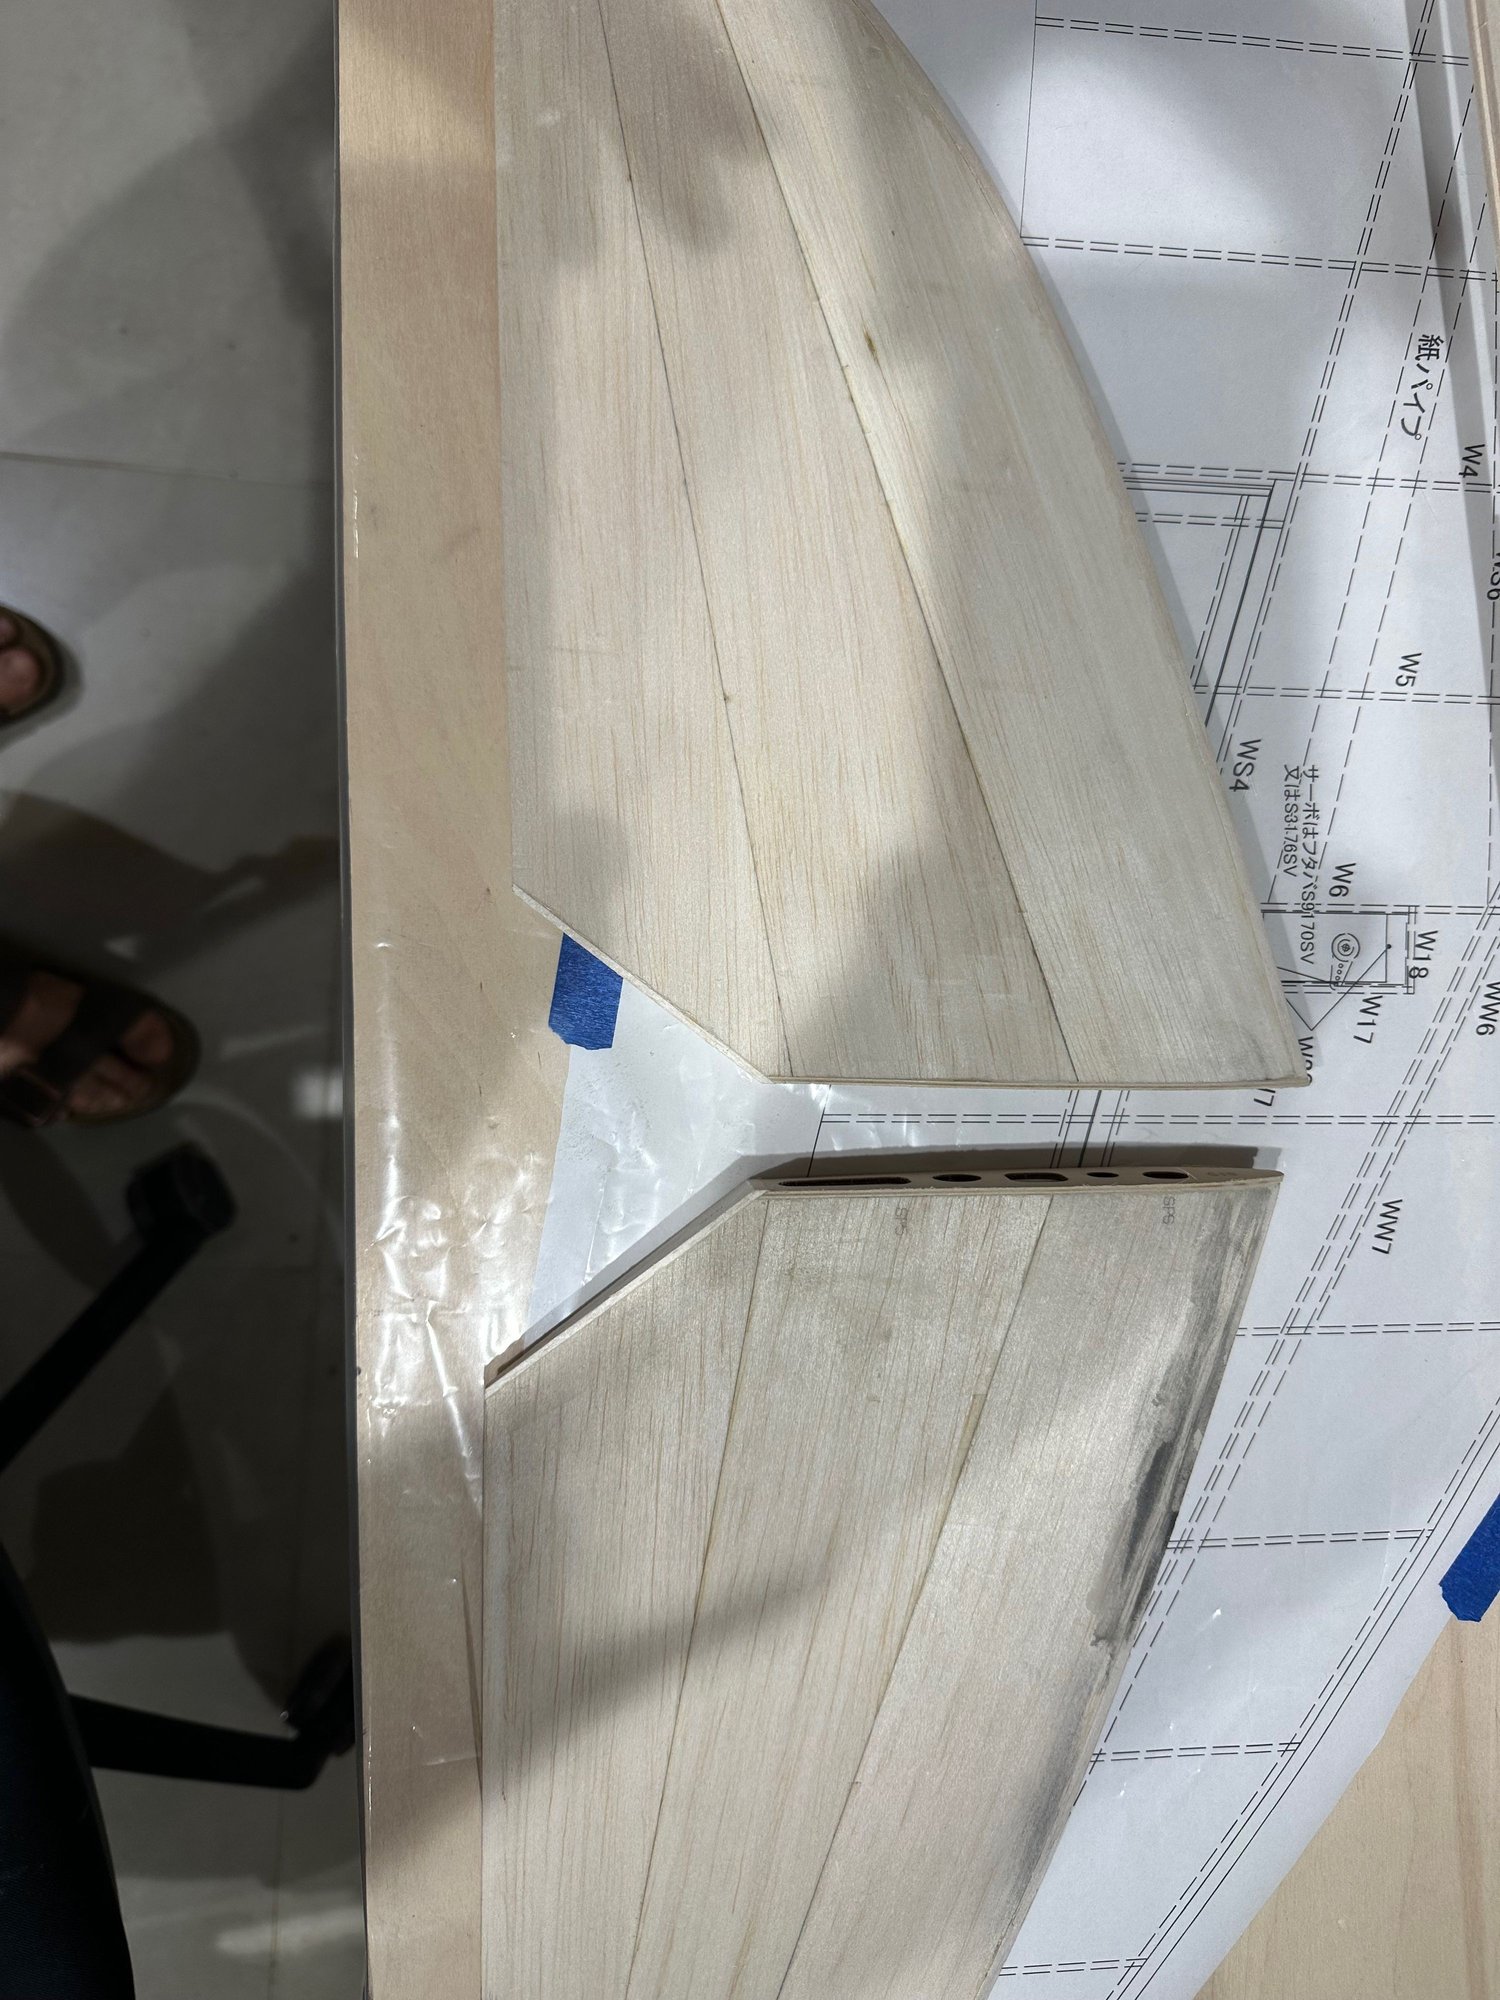
cut the corners and glue cover for the rudder movement.
Old 10-07-2024, 02:44 AM
  #44  
flywilly
My Feedback: (121)
 
Join Date: Feb 2002
Location: glen allen, VA,
Posts: 2,276
Received 32 Likes on 31 Posts
Default

Very nice! The first 90% of the build is about done. Now for the 2 nd 90%: the finishing.😉
Old 10-07-2024, 04:06 AM
  #45  
gil.s
Member
Thread Starter
 
gil.s's Avatar
 
Join Date: Mar 2024
Posts: 36
Received 2 Likes on 2 Posts
Default

Thanks Willy for all of the support!!!
There is also the 90% of building the wing Another 180% and will be flying!
Old 10-07-2024, 05:41 AM
  #46  
flywilly
My Feedback: (121)
 
Join Date: Feb 2002
Location: glen allen, VA,
Posts: 2,276
Received 32 Likes on 31 Posts
Default

Oops, forgot the wing.
Old 10-17-2024, 10:41 AM
  #47  
gil.s
Member
Thread Starter
 
gil.s's Avatar
 
Join Date: Mar 2024
Posts: 36
Received 2 Likes on 2 Posts
Default


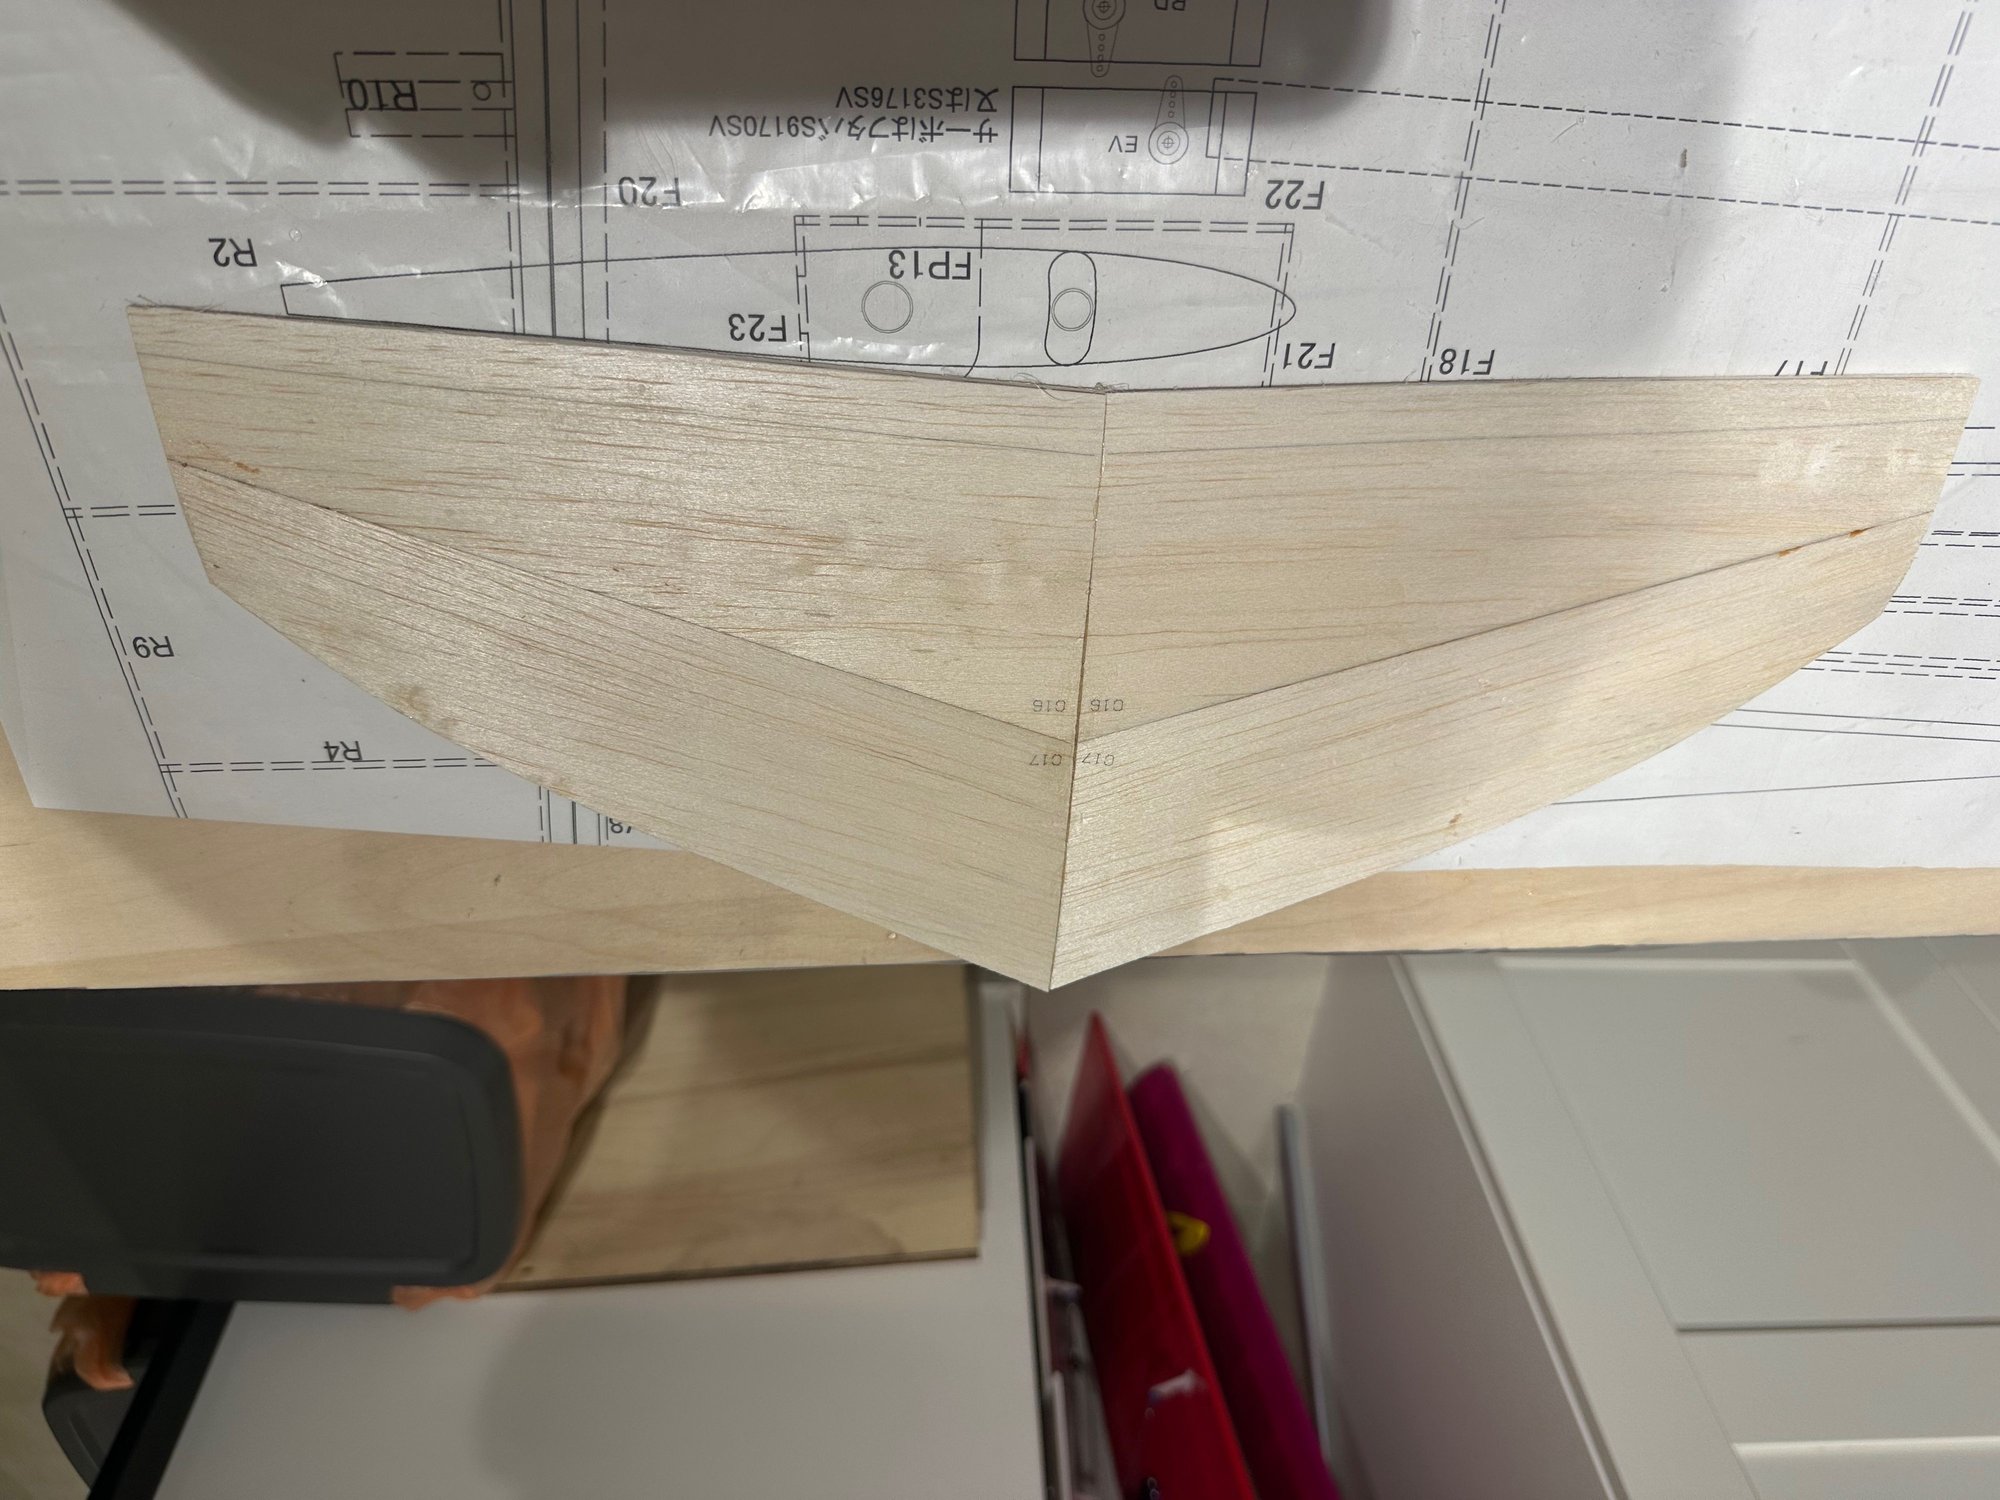
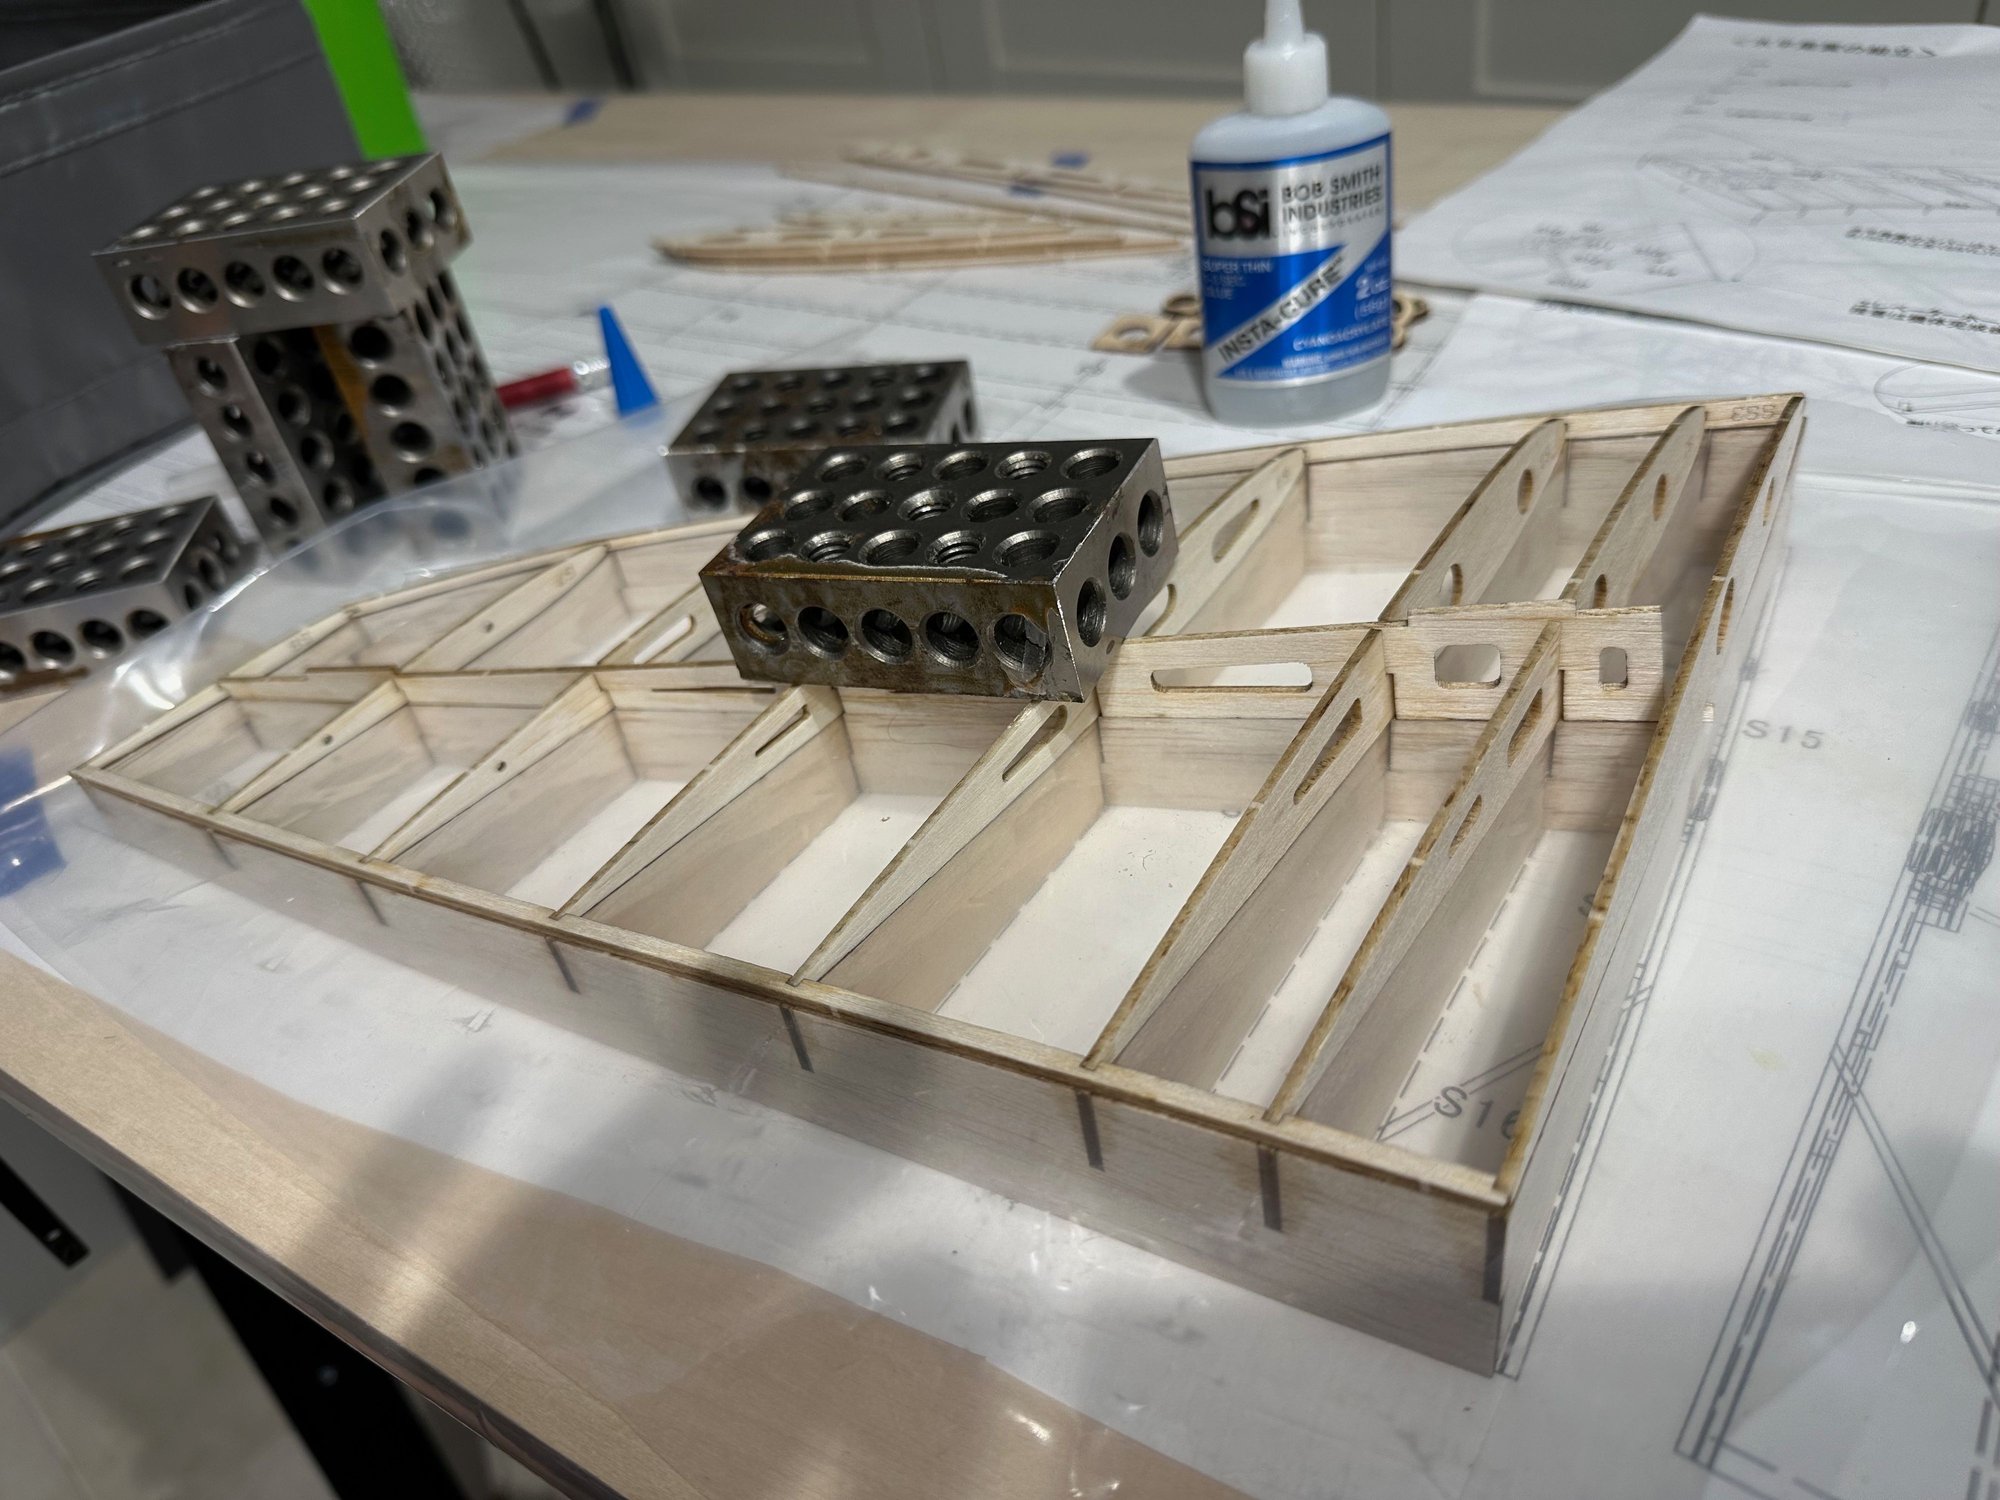
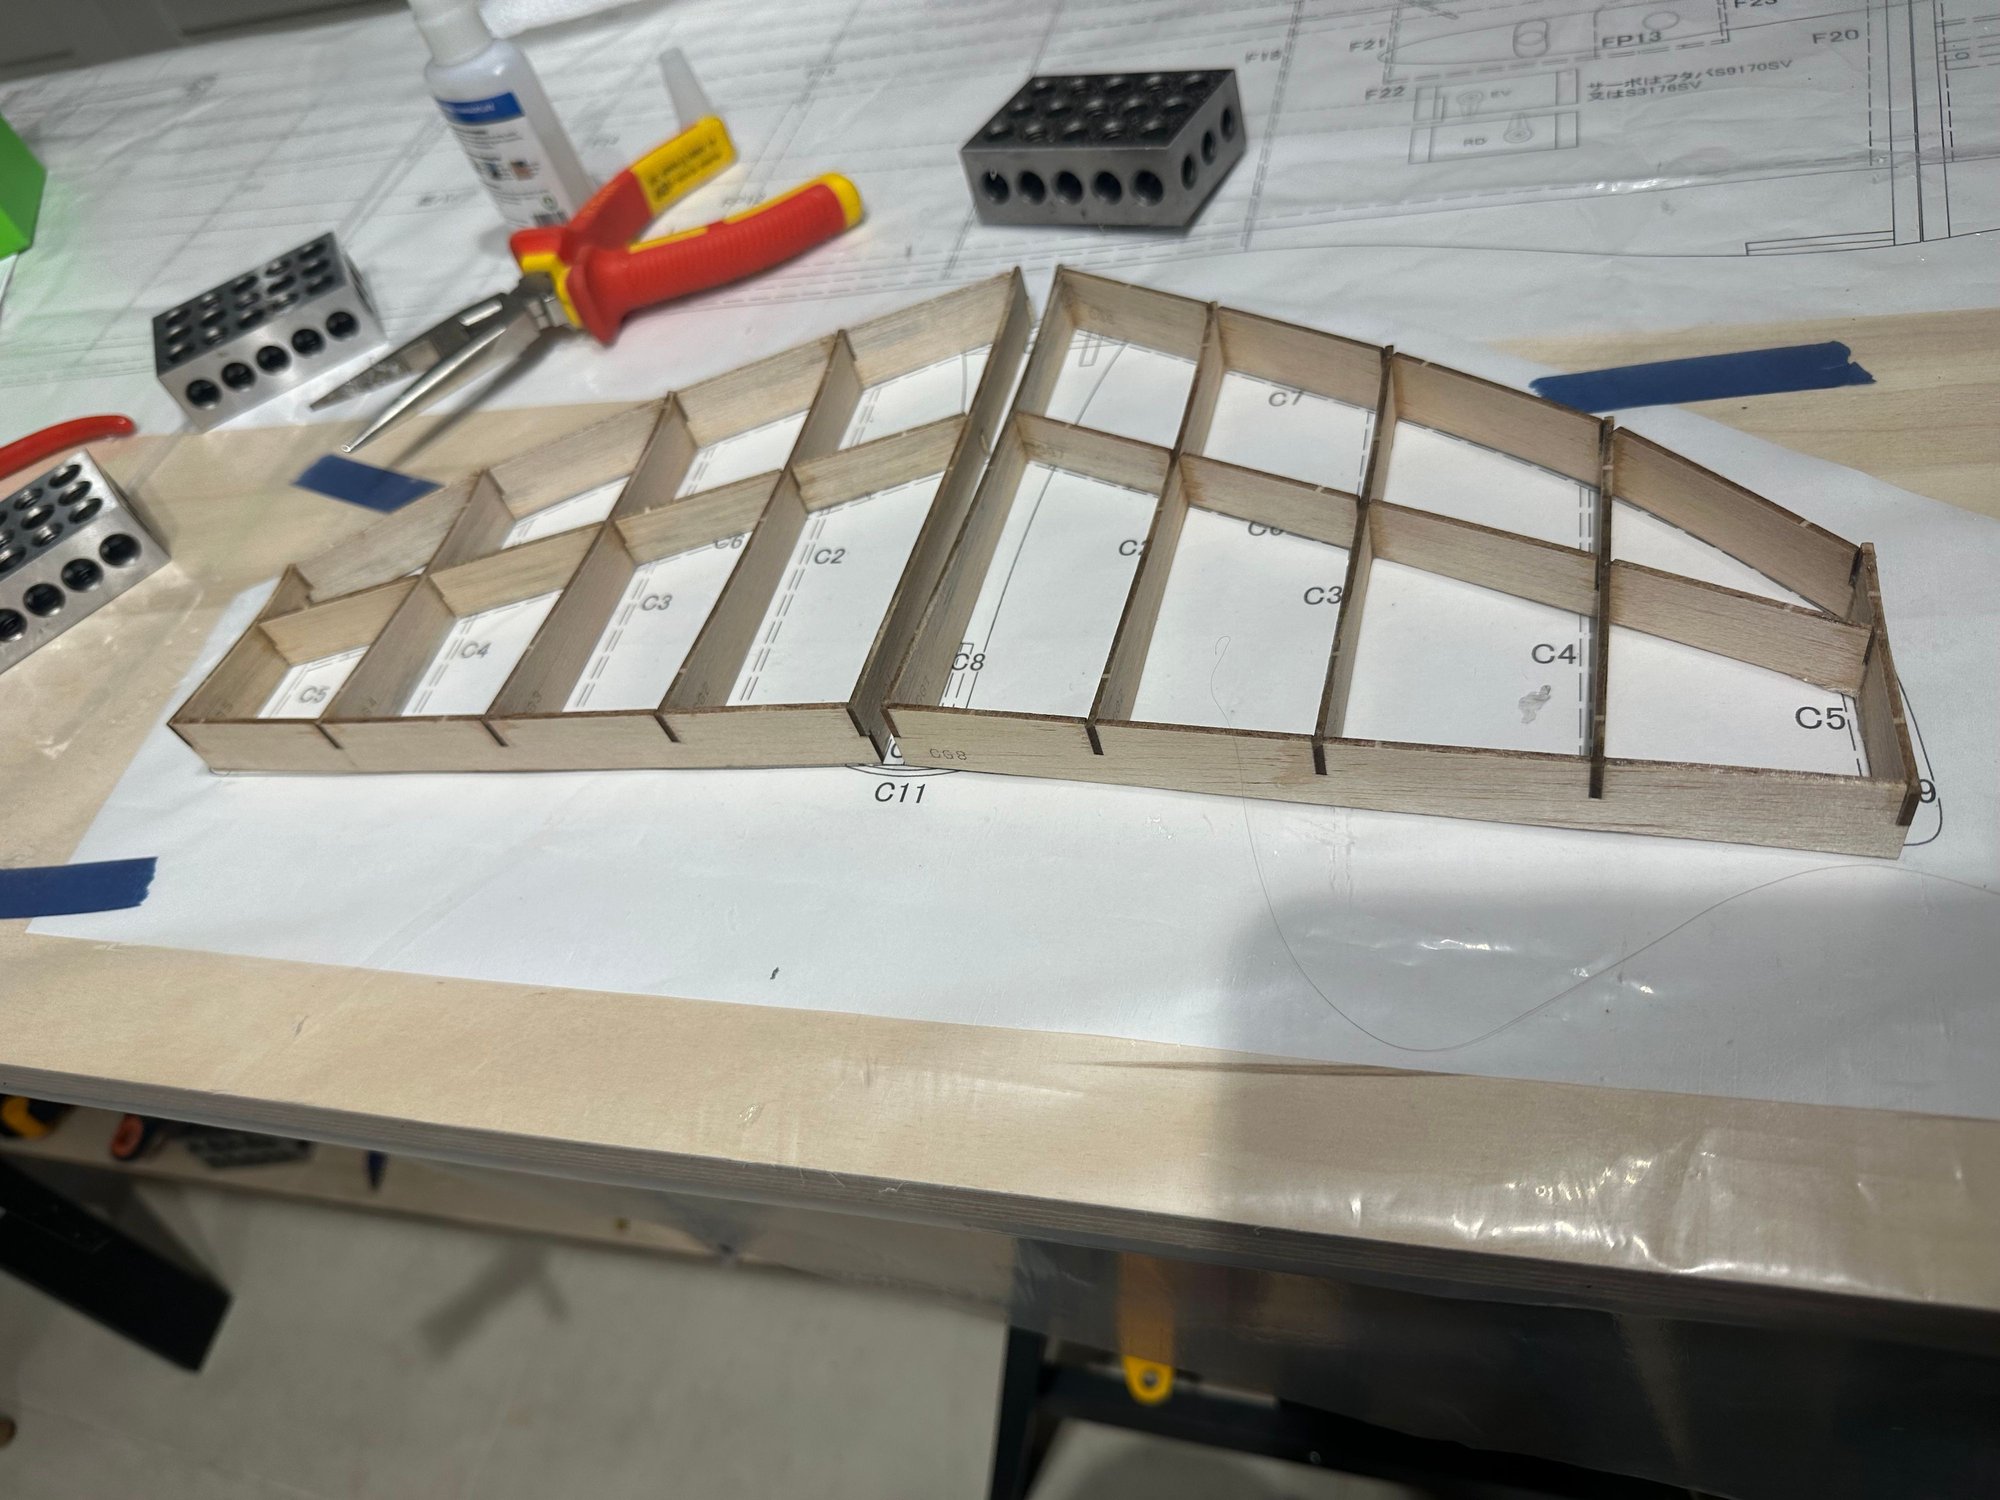
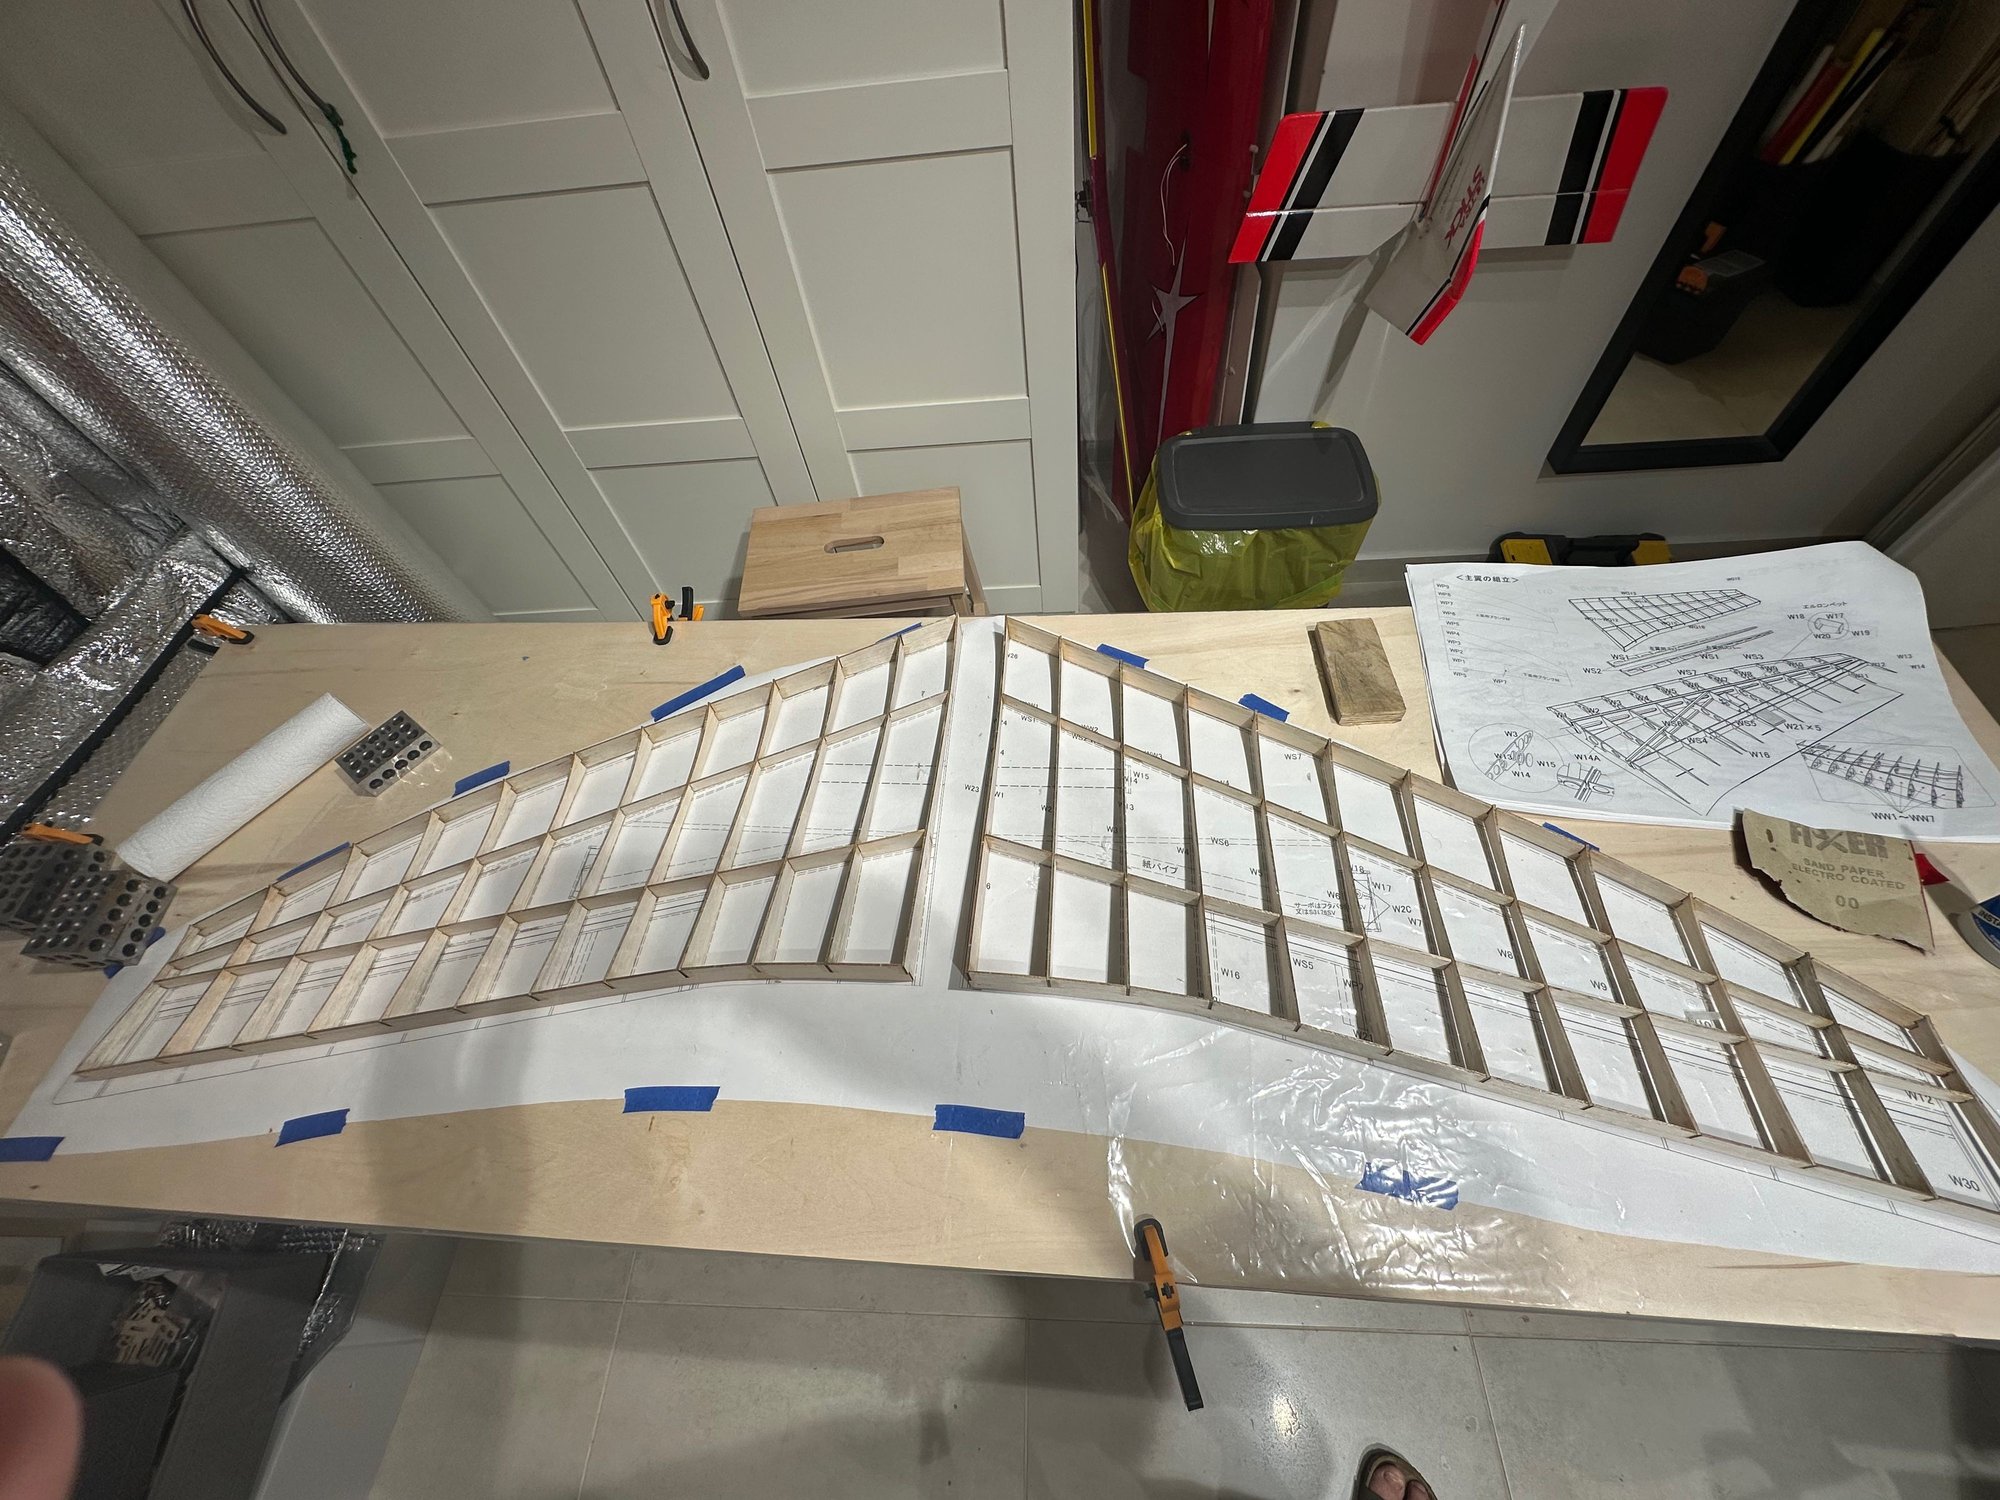
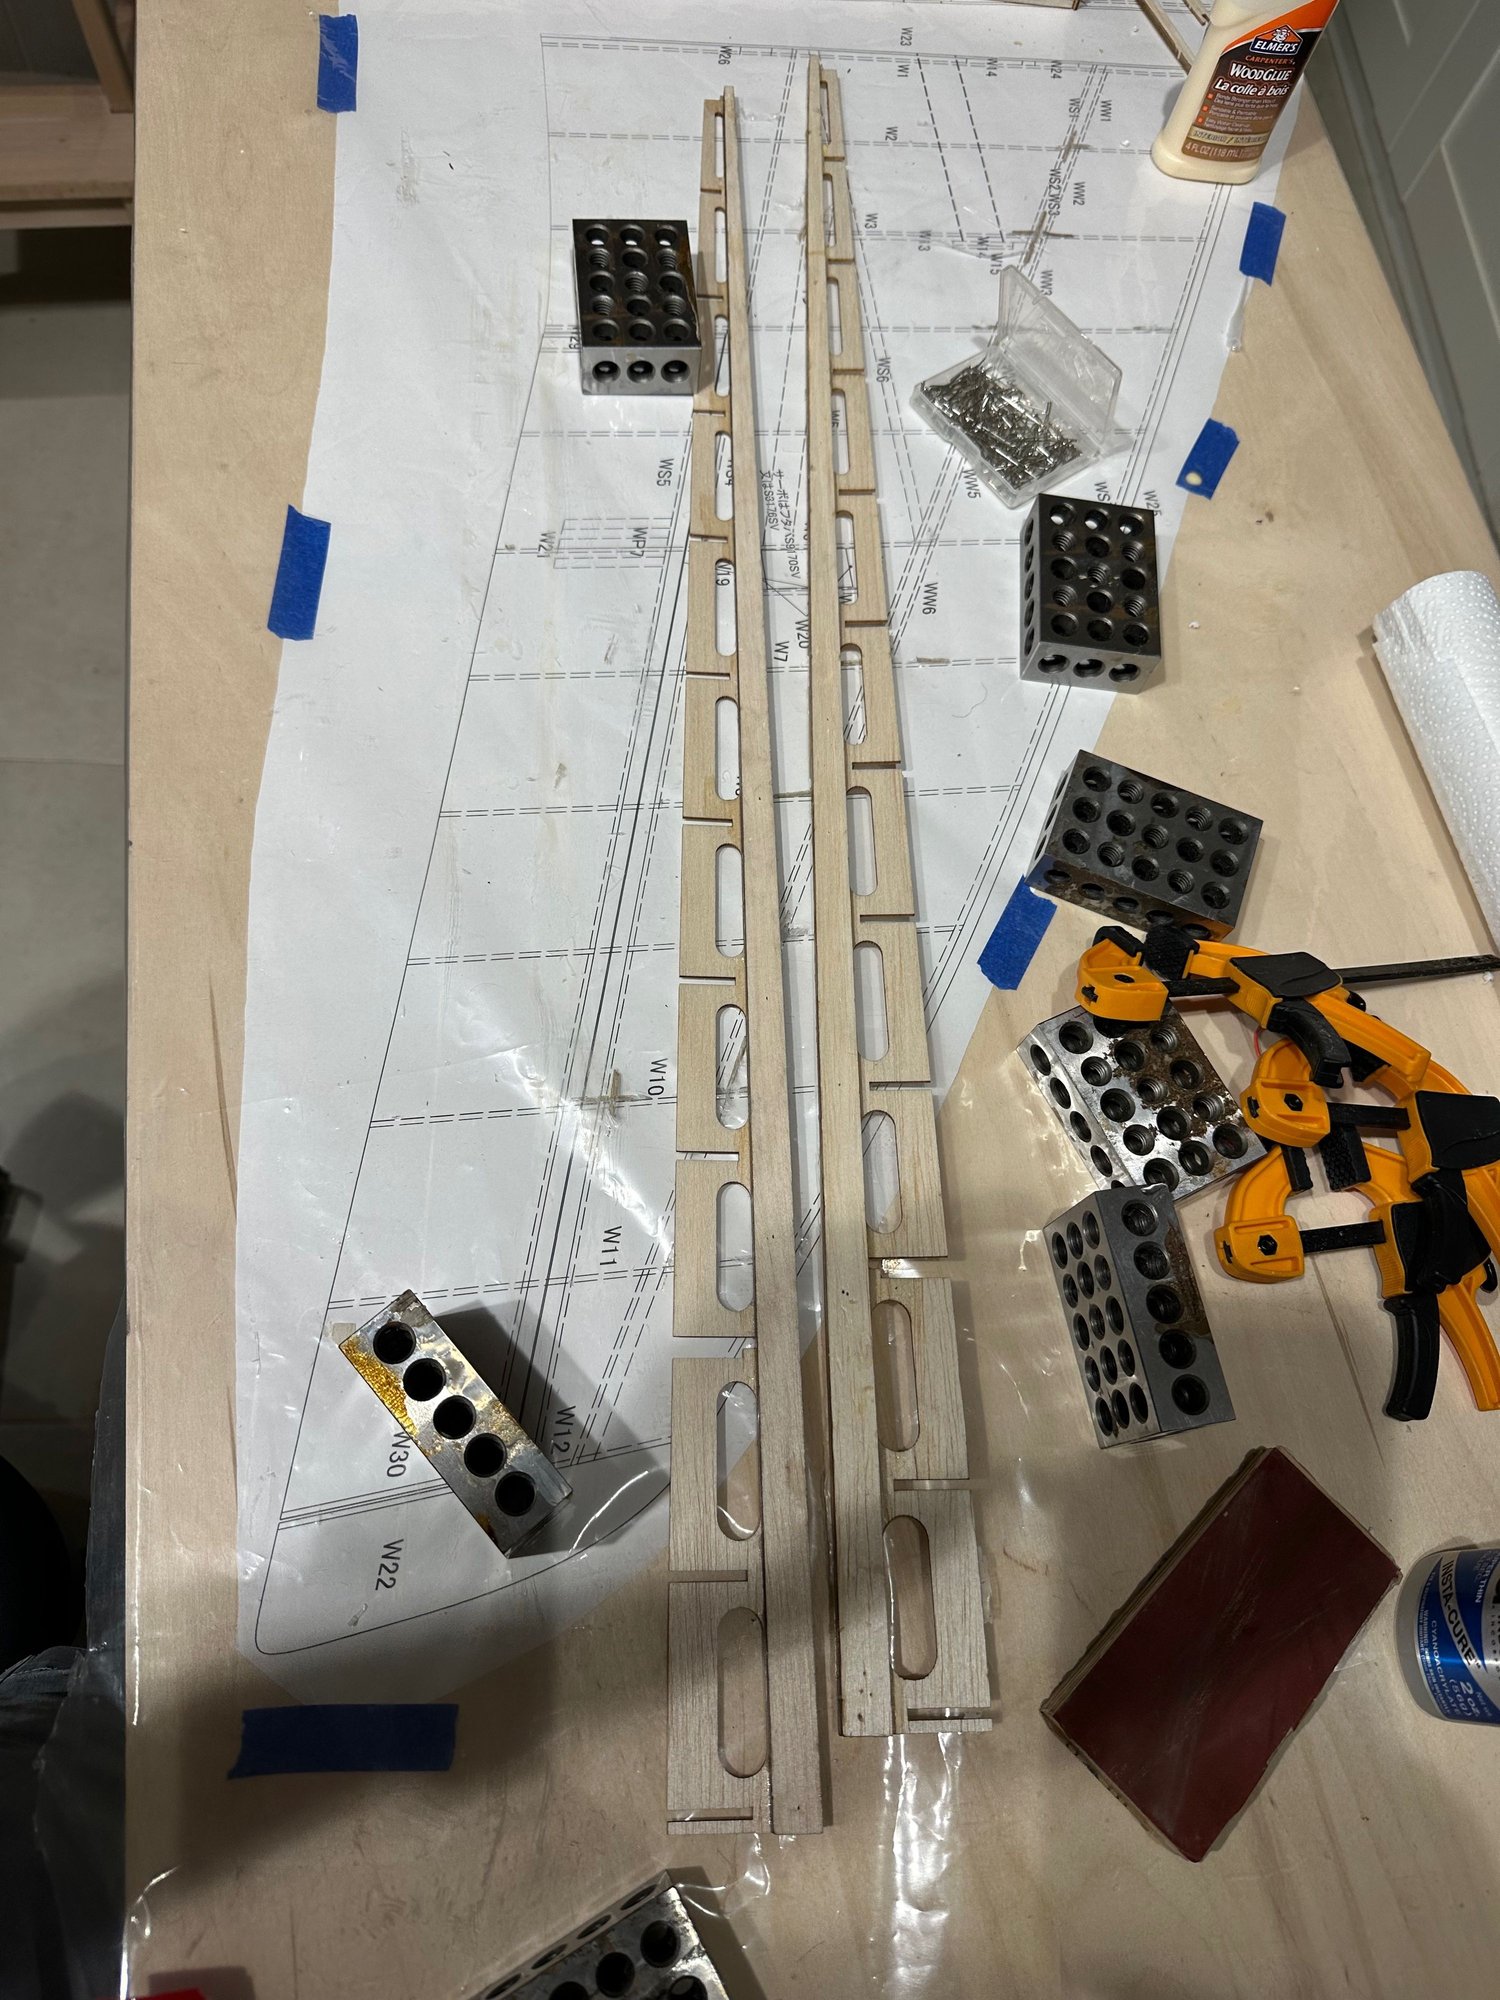
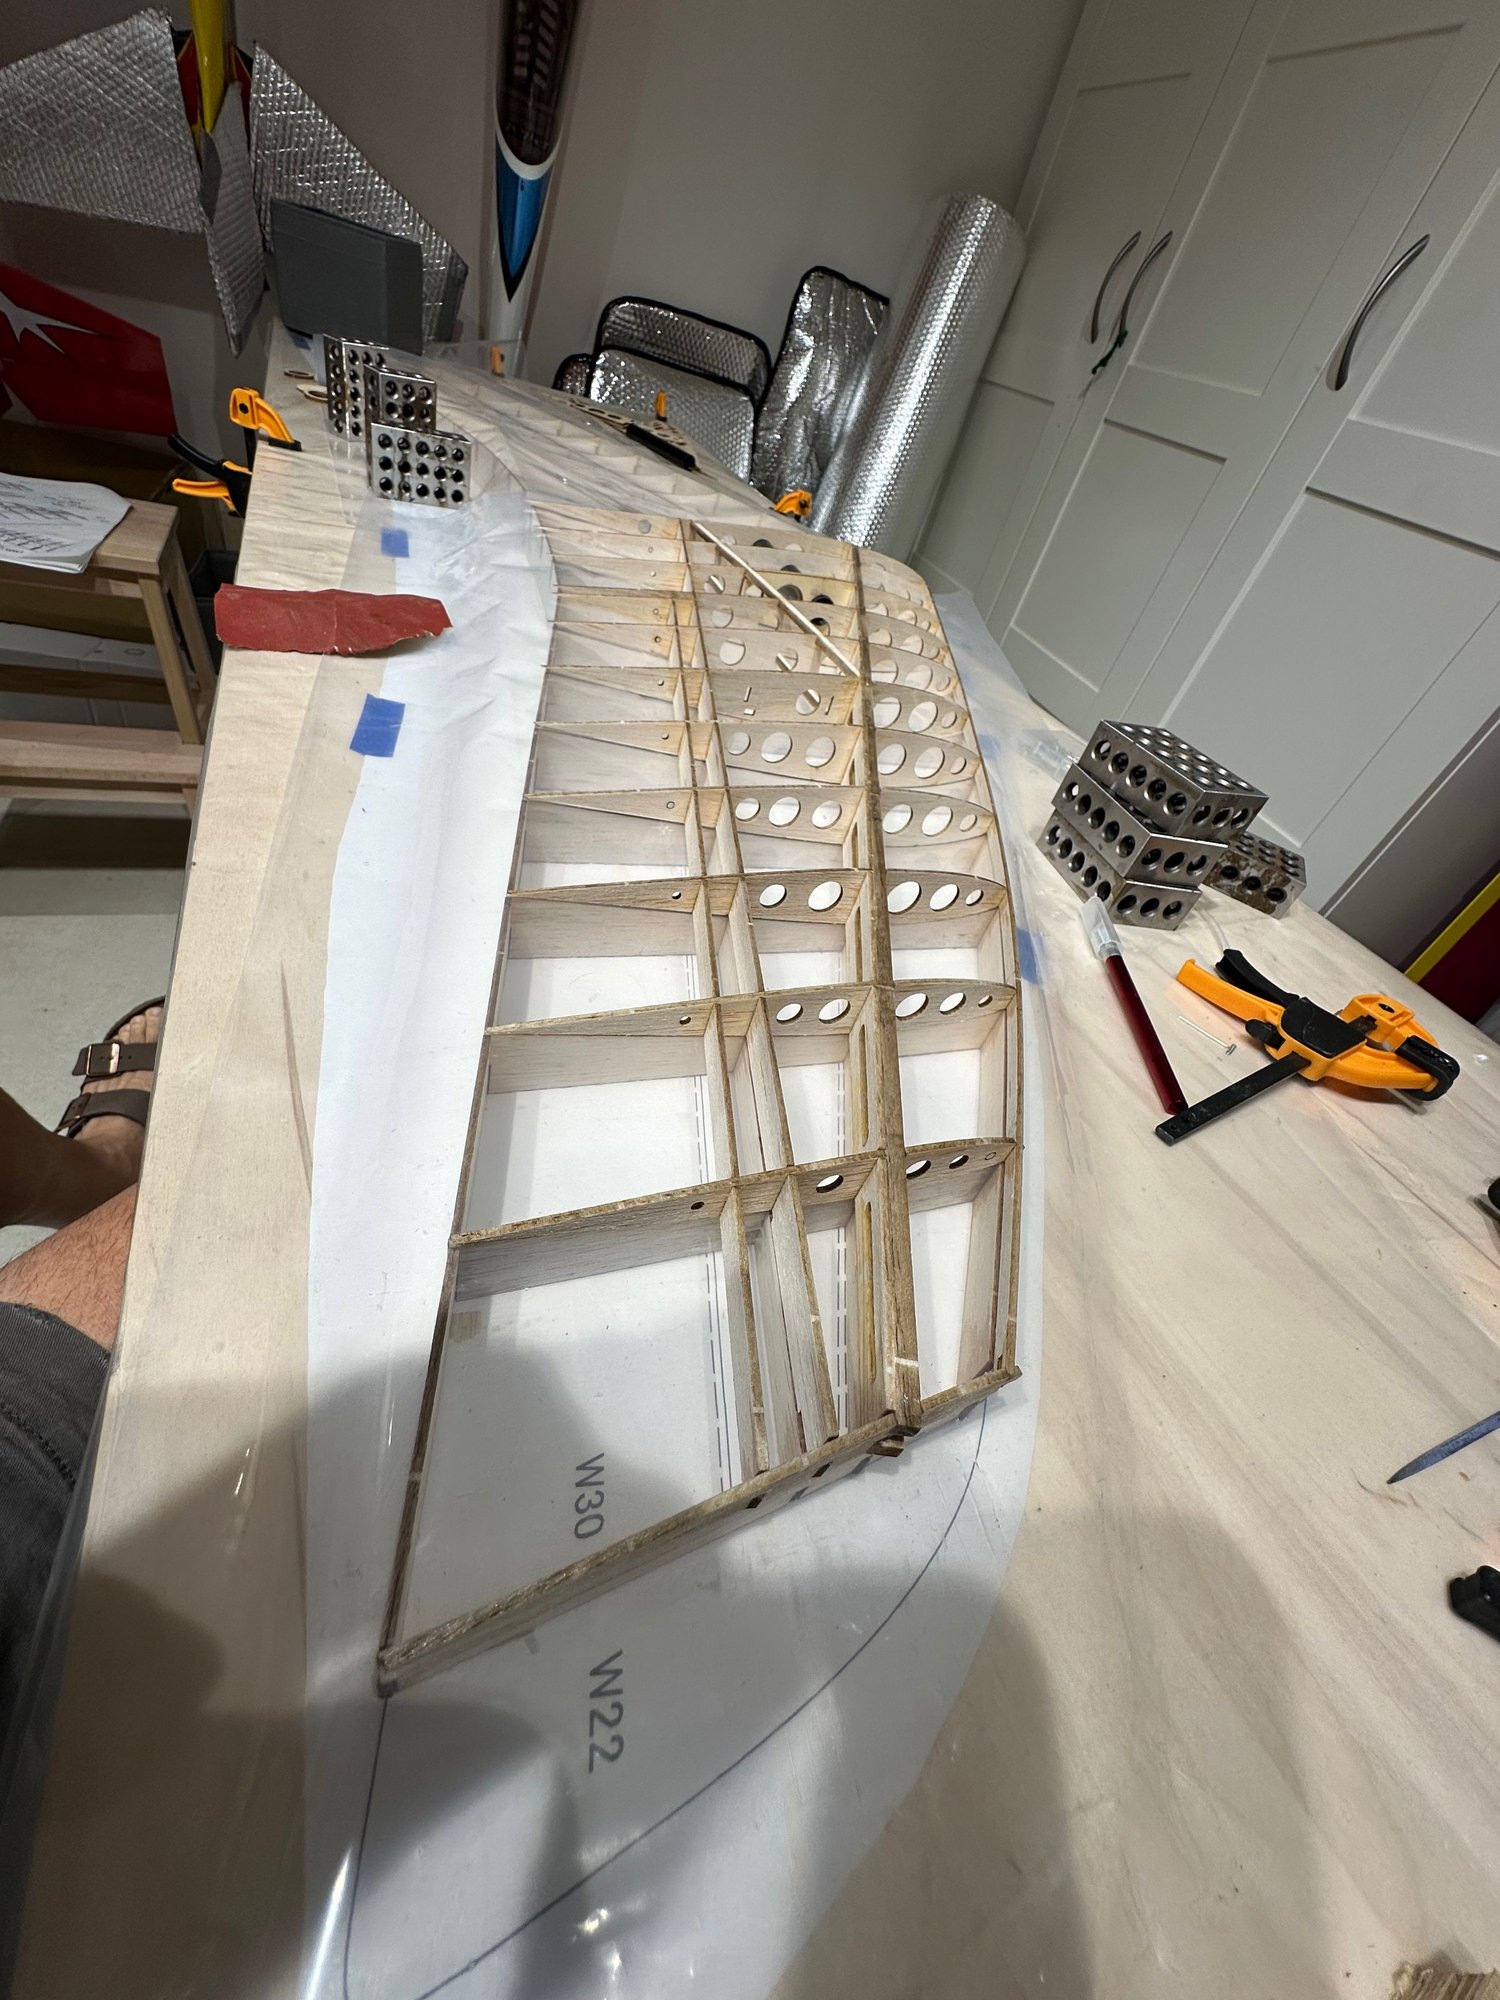
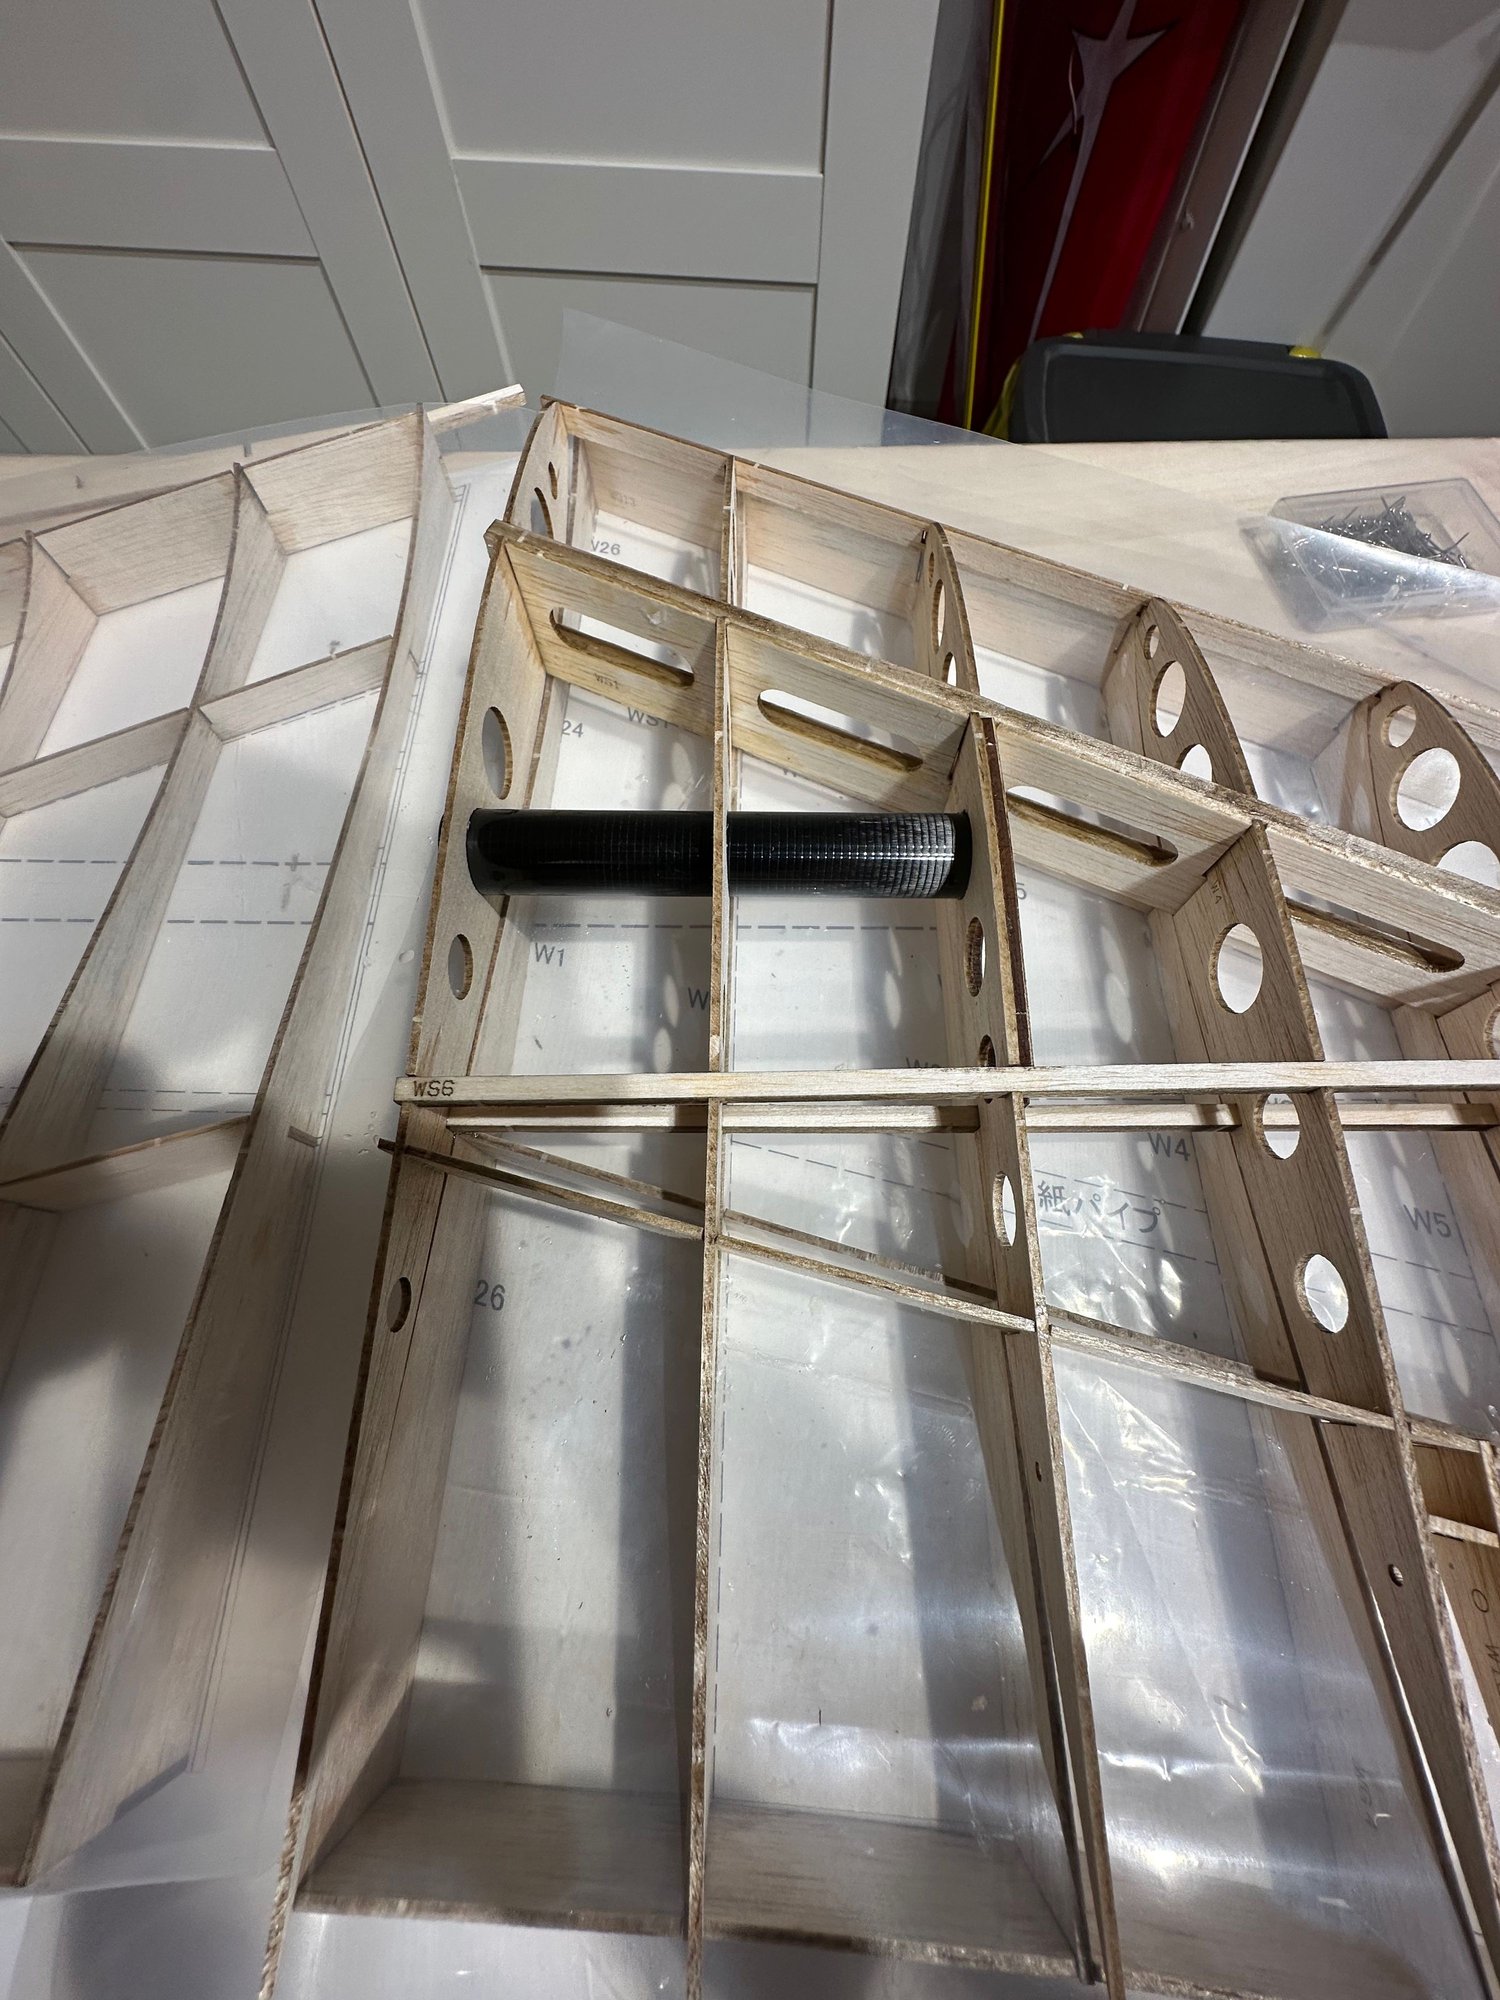
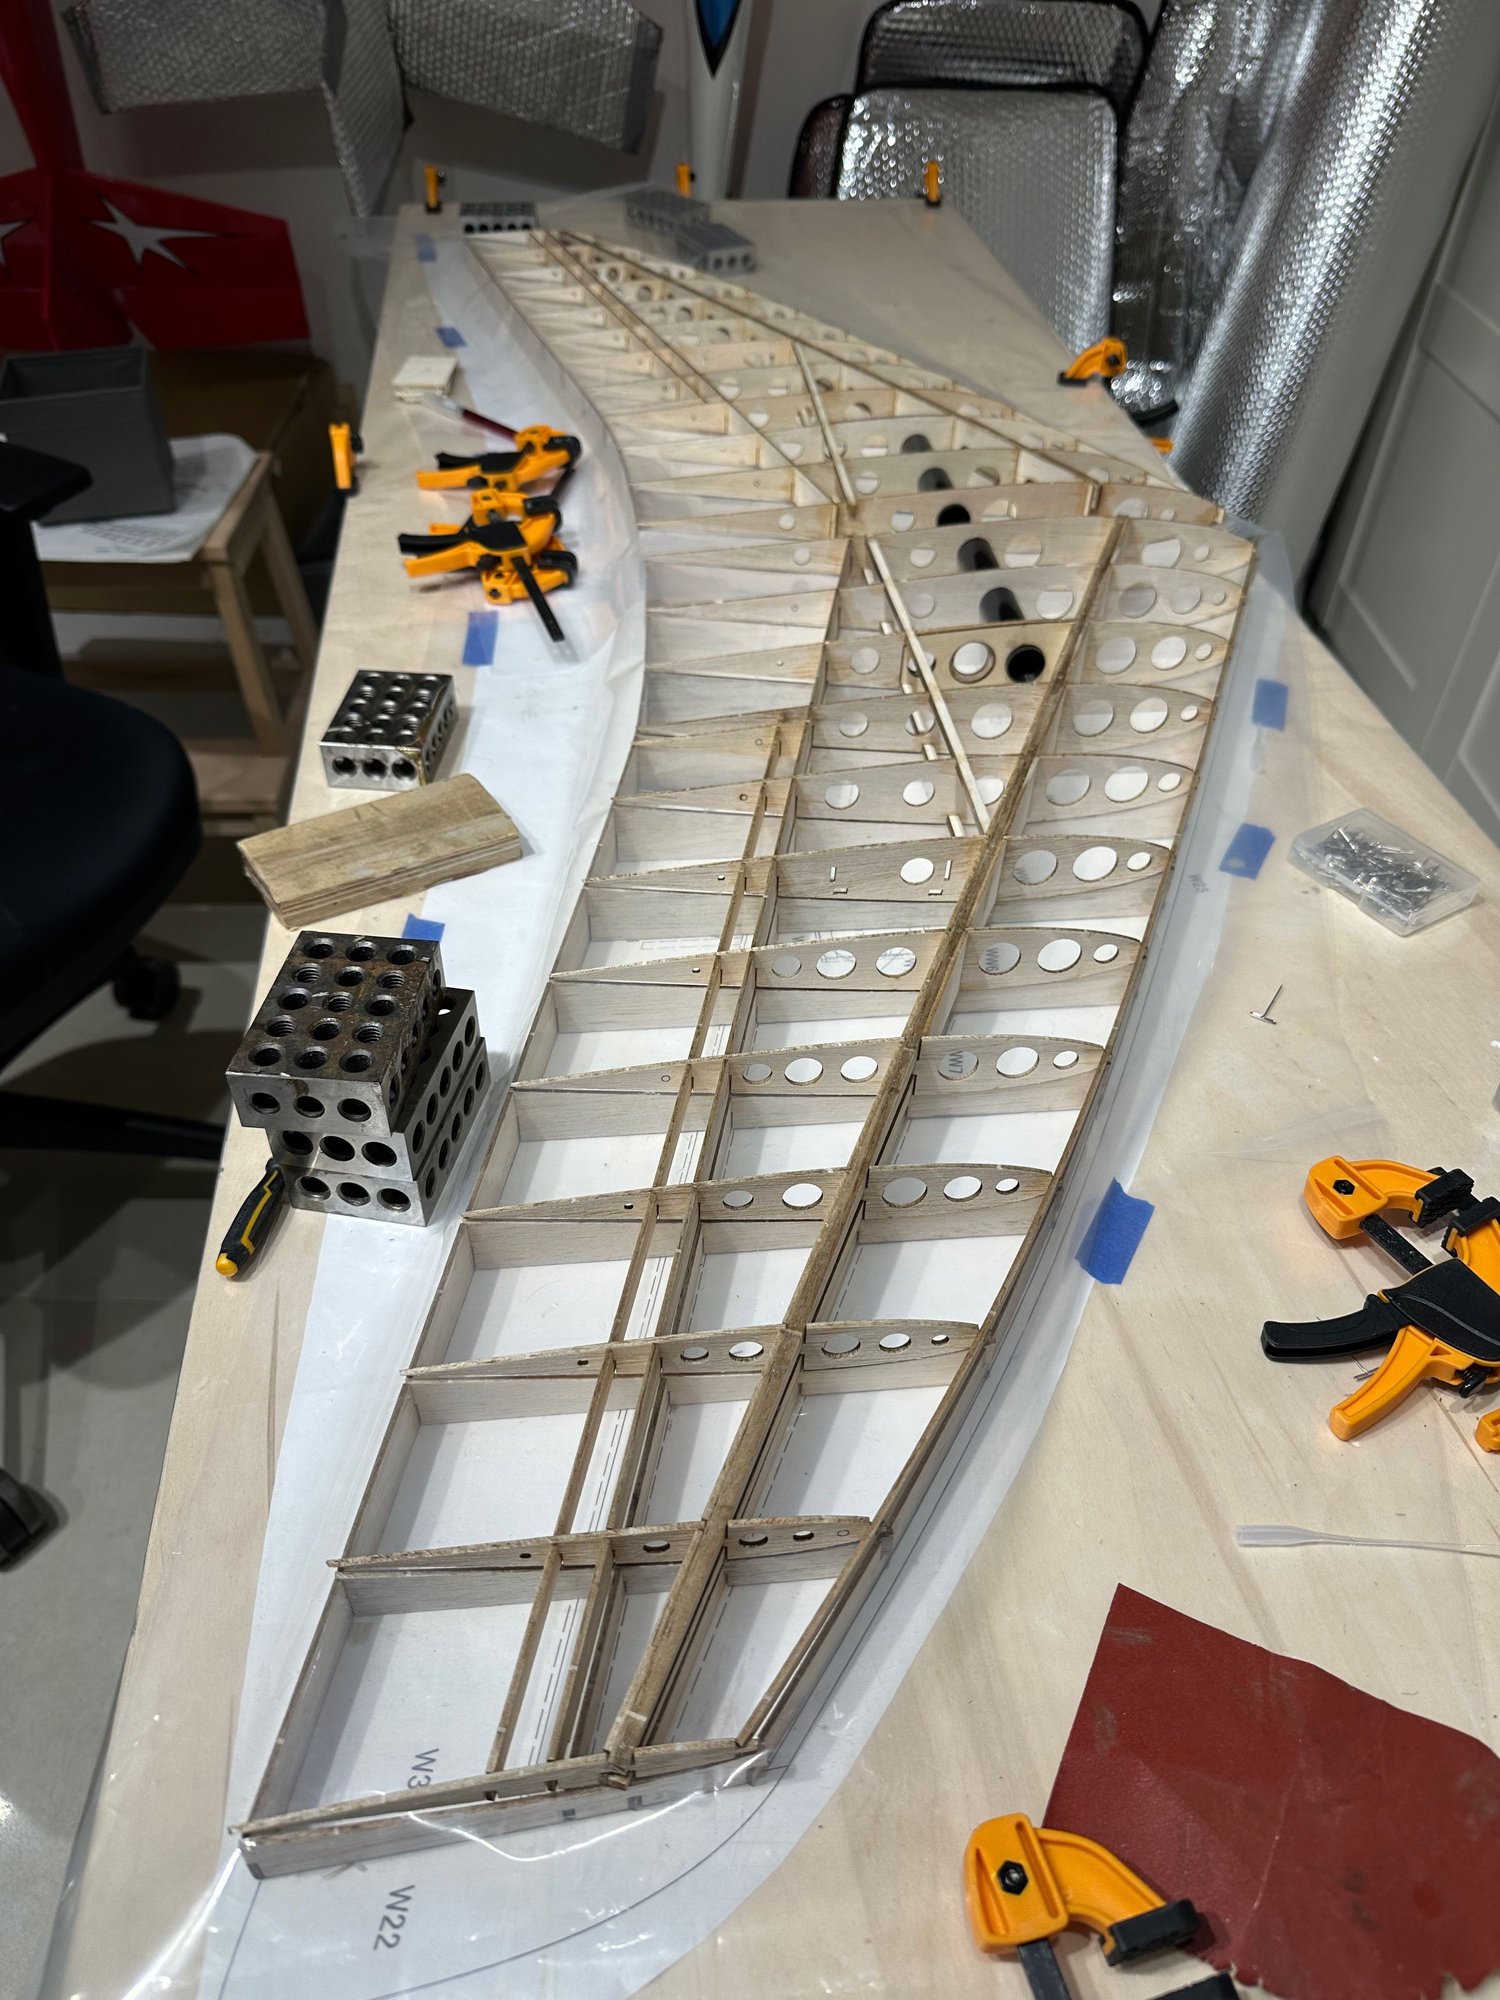
Wing Jig. CA on te wing plan.

Main wing struts


Old 10-17-2024, 10:47 AM
  #48  
flywilly
My Feedback: (121)
 
Join Date: Feb 2002
Location: glen allen, VA,
Posts: 2,276
Received 32 Likes on 31 Posts
Default

Very nice! The jigs sure help.
how are you planning to finish it? Paint? Film?
What is the estimated completion date/test flight?

Posting Rules
You may not post new threads
You may not post replies
You may not post attachments
You may not edit your posts

BB code is On
Smilies are On
[IMG] code is On
HTML code is Off


Thread Tools
Search this Thread

Contact Us - Manage Preferences Archive - Advertising - Cookie Policy - Privacy Statement - Terms of Service

Copyright © 2024 MH Sub I, LLC dba Internet Brands. All rights reserved. Use of this site indicates your consent to the Terms of Use.