Building from Plans
#2
The old school way is to trace onto onion skin paper and lightly glue with rubber cement or a glue stick the paper onto the wood for cutting. You can also pop down to the local blueprint shop and have a couple of copies of the plans made. One to cut up and one to build on. Blue print shops are often less expensive than the chain stores like Kinkos. The people working there actually know what they are doing and you are supporting a local business.
#3
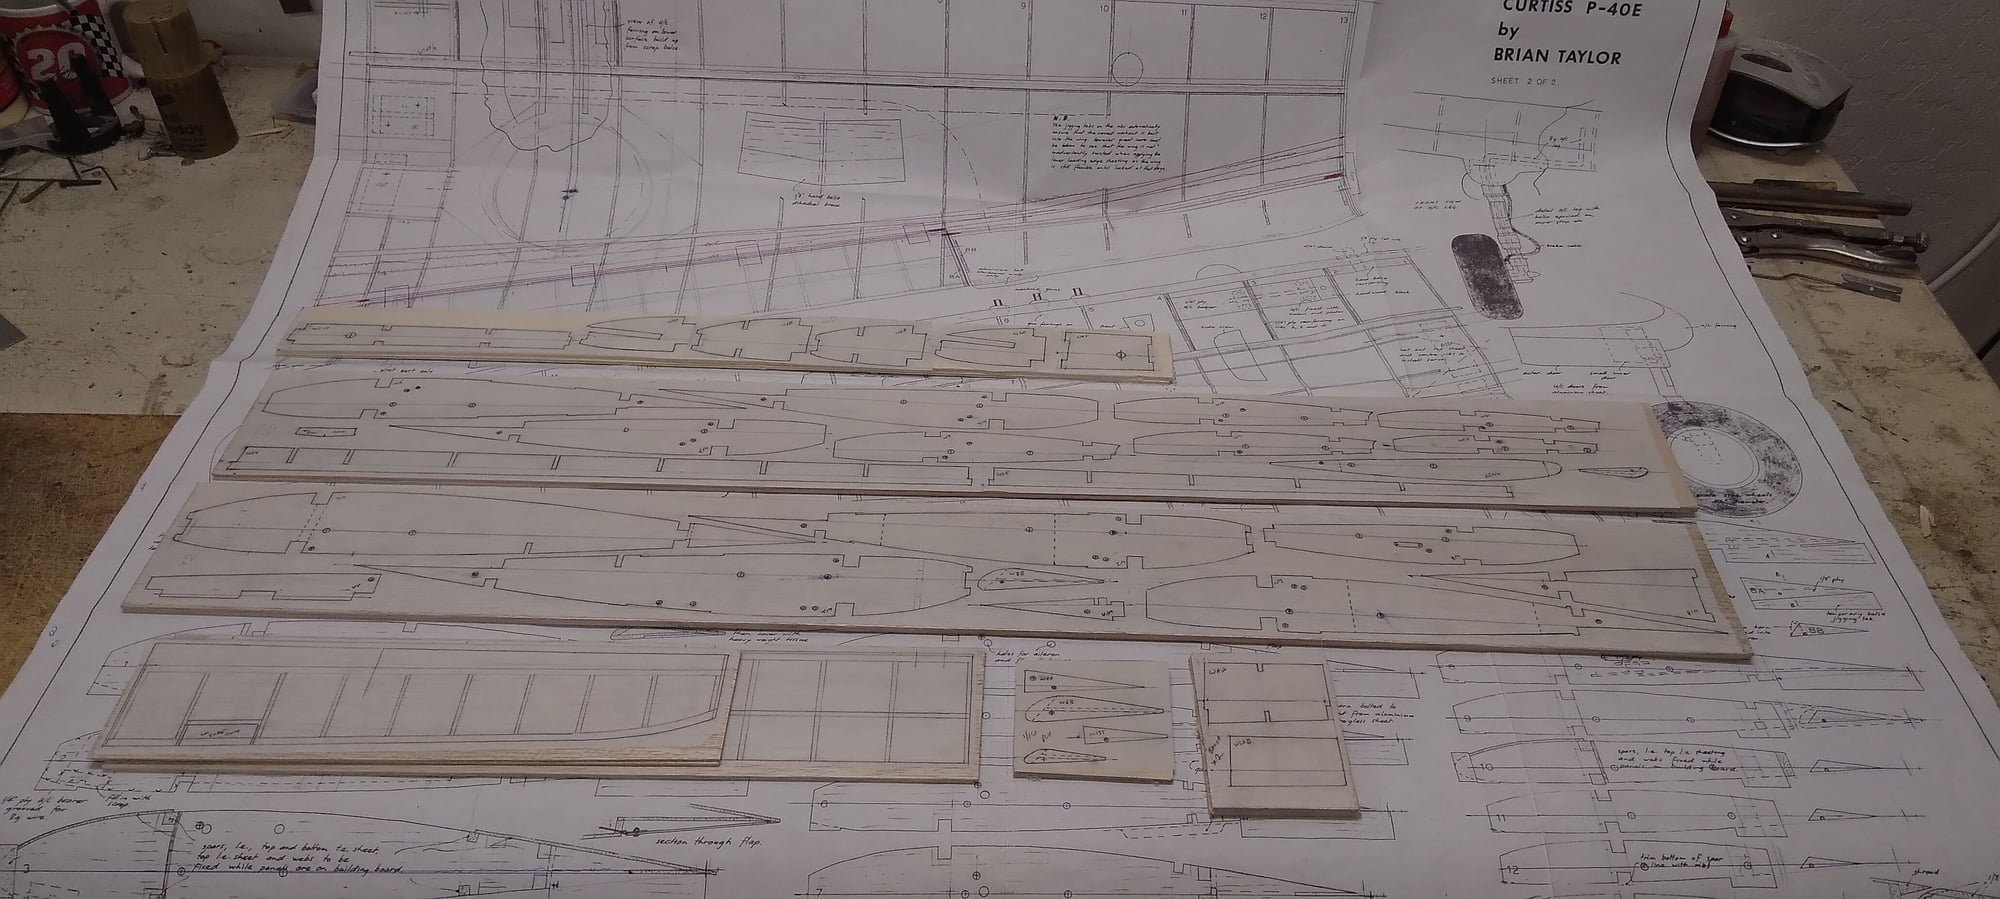
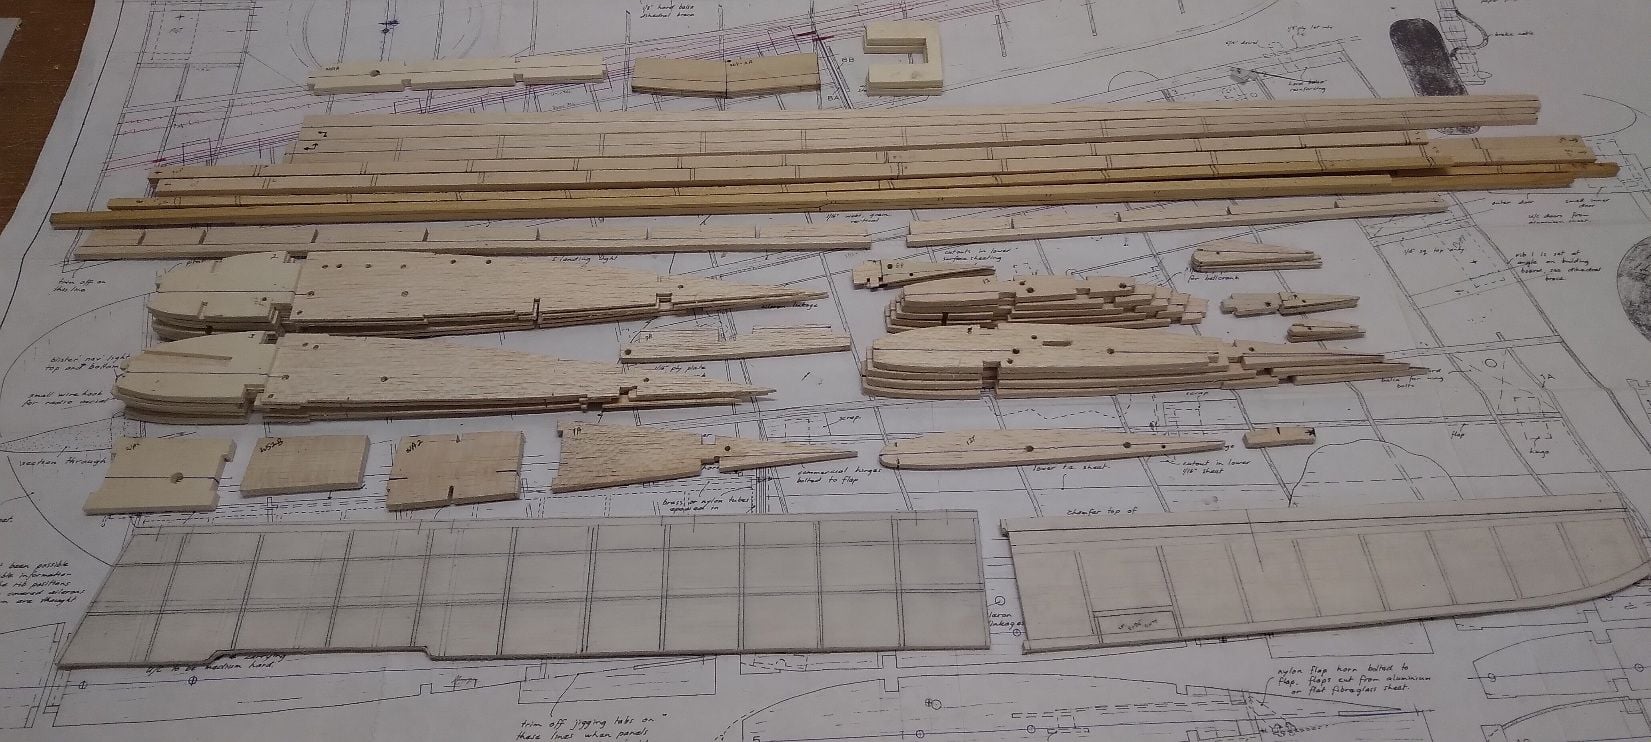
More or less as above. I do several copies/print outs of the templates. Then gluing the paper template onto the balsa with a glue stick. For parts that are done in pairs like wing ribs etc, I tack glue sheets of balsa together to cut both parts in the same go. Then cut/saw out the parts slight oversized, then sanding down to the lines on the template. At the end, the paper is easily pulled of the balsa and the sheets tack glued together separated with a sharp knife.
#4
Senior Member
My Feedback: (2)
Join Date: Apr 2020
Location: Metro Atlanta GA, USA
Posts: 452
Likes: 0
Received 36 Likes
on
32 Posts
Good advice in the 2 posts above. Just don't use spray adhesive to attach the plans to the wood, and don't ask how I know.  I played heck removing what was left behind on the GB Ultimate that I am building from plans.
 I played heck removing what was left behind on the GB Ultimate that I am building from plans.
#6
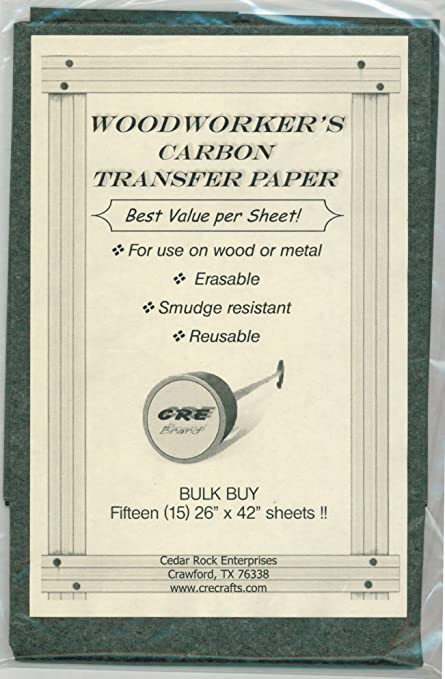
I was looking for some tracing paper, I found this stuff at Amazon. I bought the 5 piece.
About this item
- Woodworking carbon transfer tracing paper.
- BULK BUY for the PROFESSIONAL WOODWORKER - 5 large, 26" x 42" sheets.
- Easily transfer patterns to wood. Erasable lines won't bleed thru paint.
- Clean, smudge resistant formula. Long lasting, large sized re-usable sheets.

#7
Senior Member
My Feedback: (2)
Join Date: Apr 2020
Location: Metro Atlanta GA, USA
Posts: 452
Likes: 0
Received 36 Likes
on
32 Posts
I was looking for some tracing paper, I found this stuff at Amazon. I bought the 5 piece.
About this item
- Woodworking carbon transfer tracing paper.
- BULK BUY for the PROFESSIONAL WOODWORKER - 5 large, 26" x 42" sheets.
- Easily transfer patterns to wood. Erasable lines won't bleed thru paint.
- Clean, smudge resistant formula. Long lasting, large sized re-usable sheets.

I hope you follow up with how it works, hopefully with some suggestions that you learn while using it.
#10
Senior Member
My Feedback: (2)
Join Date: Apr 2020
Location: Metro Atlanta GA, USA
Posts: 452
Likes: 0
Received 36 Likes
on
32 Posts
Not sure I ever did that, but I probably tried it, way back when. Right after I tried using a pounce wheel. Anyone remember those? I was too cheap (or broke) to buy one, so I tried using one of my Mom's pattern transfer wheel (same concept as a pounce wheel). The points weren't very sharp, so it didn't work well at all - I do recall that from ~40 years ago.
#11

My Feedback: (18)
Depending on the size of the plane, I usually pull up the plan on my computer and then crop out a significant part like a fuselage former, then I print to my inkjet printer at 100% scale. The part prints actual size, then I cut out the part and glue stick it to the wood and cut on my saw. I do this for each part with a unique shape. Larger shapes can be printed as tiles that you can piece together and then cut out. You can buy card stock heavy paper to print on to make the tracing a little easier.
I have also tile printed entire plans and then taped them together. Works OK for small planes but a large plane will print out on a couple of dozen pages. Better have plenty of tape, and big worktable!
I have also tile printed entire plans and then taped them together. Works OK for small planes but a large plane will print out on a couple of dozen pages. Better have plenty of tape, and big worktable!
#13

Join Date: Oct 2002
Location: Chilliwack, BC, CANADA
Posts: 12,425
Likes: 0
Received 22 Likes
on
19 Posts
I was a huge fan of carbon paper for many of my early years. But it became harder to find thanks to computers and printers. I got a pack from the the usual office supply place some years back. But it was too "hard" or was very old stock and did not work well at all.
Thanks to this thread I've just ordered up some new stuff off Amazon. I'll report back on how it works with softer balsa once it arrives.
Thanks to this thread I've just ordered up some new stuff off Amazon. I'll report back on how it works with softer balsa once it arrives.
#14

My Feedback: (1)
Join Date: Mar 2004
Location: Tolleson AZ
Posts: 60
Likes: 0
Received 0 Likes
on
0 Posts
I trace the templates on to vellum using pencil then using a light coat of 3m77 on the wood only, lay the vellum on the wood and smooth out hands. The vellum is easy to remove after cutting.


#15

Maybe the "old score and snap" templating plastic SEE TEMP?
It isn't cheap, but if you are building from an original set of plans you can't reprint and/or don't want to damage it is an option.
You can get templates for several .60 size planes from a 22" x 52" sheet. I always put the templates in a manila envelope and file them away- makes repair parts easy to layout.
The plastic is very stable. I still have templates for models I built in the 90's.
link= ( https://www.dbalsa.com/product/see-temp-qty-1-clear/ )
I print my templates with an ancient Panasonic KX-P3626 24 pin wide format printer set in banner mode on 14 7/8" x 11" paper. I can get strips over 5 feet long. 2 strips will make templates for a big plane.l
I


