


Royal Ki-61 Build
 02-18-2020, 11:56 AM
#26

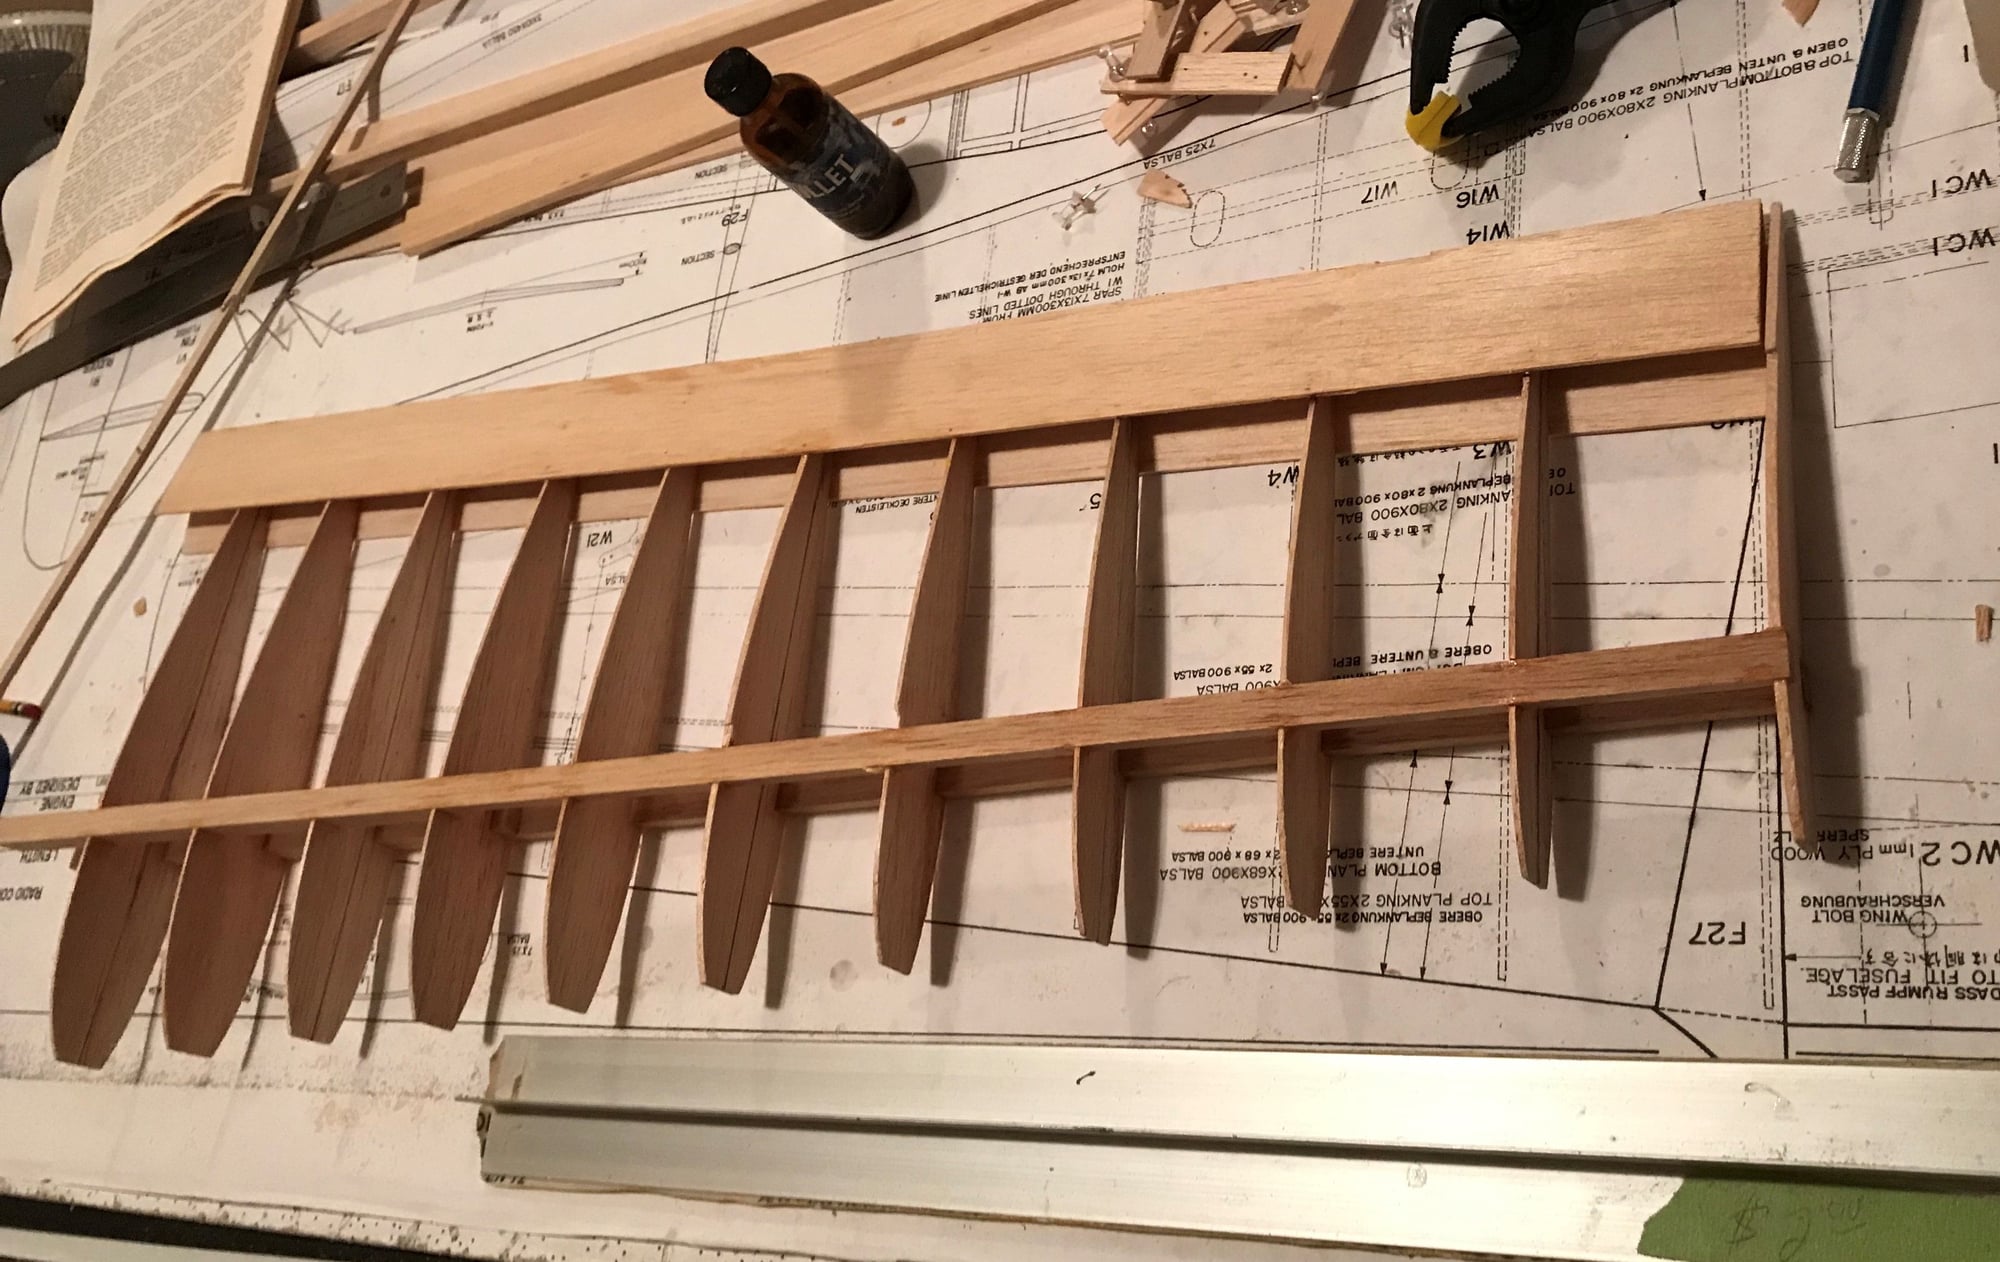
Okay I know I have been off here for a while but I ran into a problem and haven't got it fixed yet. when I had the trailing edge done it all looked good then I put on the bottom trailing edge and let it dry over night and looked down the trailing edge and had a bout a 1/4 to 3/8" curve in the trailing edge. I have removed the sheeting and some of the ribs and have been trying to figure out if it is my board the wing spar or something else I have done wrong. I am still working on getting it right. When I get it figured out I will post an update and let you all know what I did wrong. until then if anyone has any ideas let them fly I appreciate all the help.
 02-18-2020, 12:10 PM
#27
Can be due to many reasons and without seeing how you did it, it�s difficult to determine however...
Was the TE wood straight in the first place?
Was the TE well supported while the glue dried?
Was it a shrinking type?
Any change in humidity while it was drying?
My procedure sometimes when adding the second TE plank is to remove the structure from the board and re-pin it with a re-positioned jig spar, so that the complete TE area can be flat pinned to the board while drying (and I select straight wood in the first place, which is easy since I mostly scratch build anyway).
03-13-2020, 07:06 AM
#28
I know I have been off here for a while but I have taken the wing apart and then wet the spars and clamped them in place while they dried out and now they are looking much straighter and no twist. I will try to get it all glued back together again this weekend. I will let you know how it goes.
 03-13-2020, 09:14 AM
#30

Just a bit of advice as you reassemble the wing. Along with the usual practice of pinning everything down or in place I also like to lay a yardstick spanwise across the wing ribs and weight it down to keep any unwanted twists from creeping in. It will help to keep everything in place until you get enough sheeting in place on the wing to lock it in place.
 03-27-2020, 09:13 PM
#36
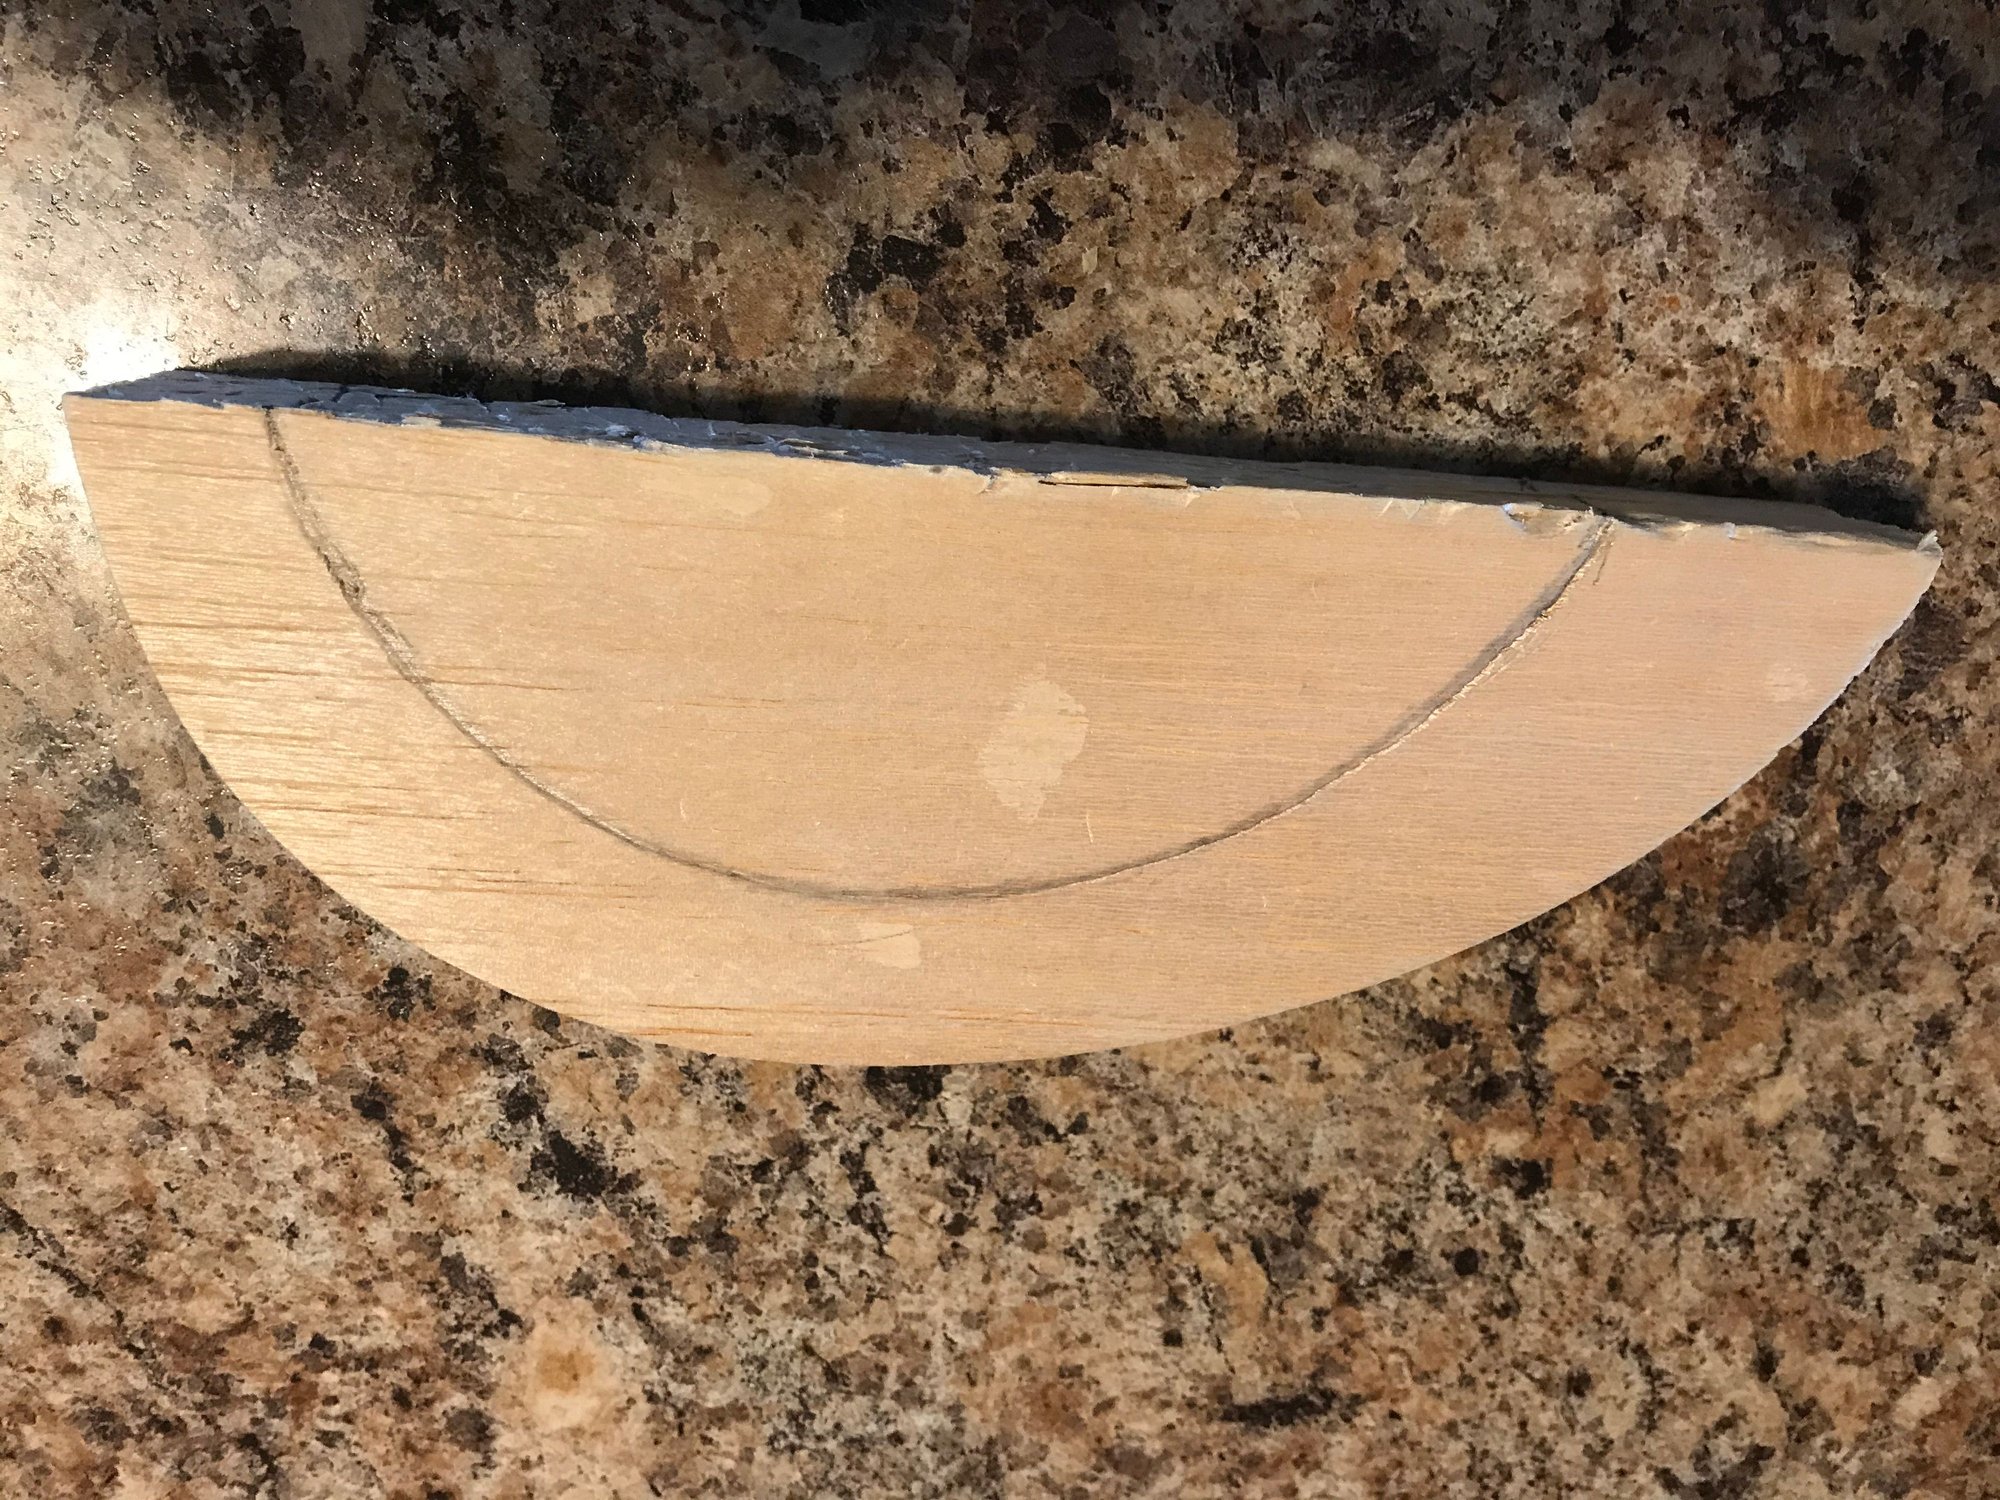
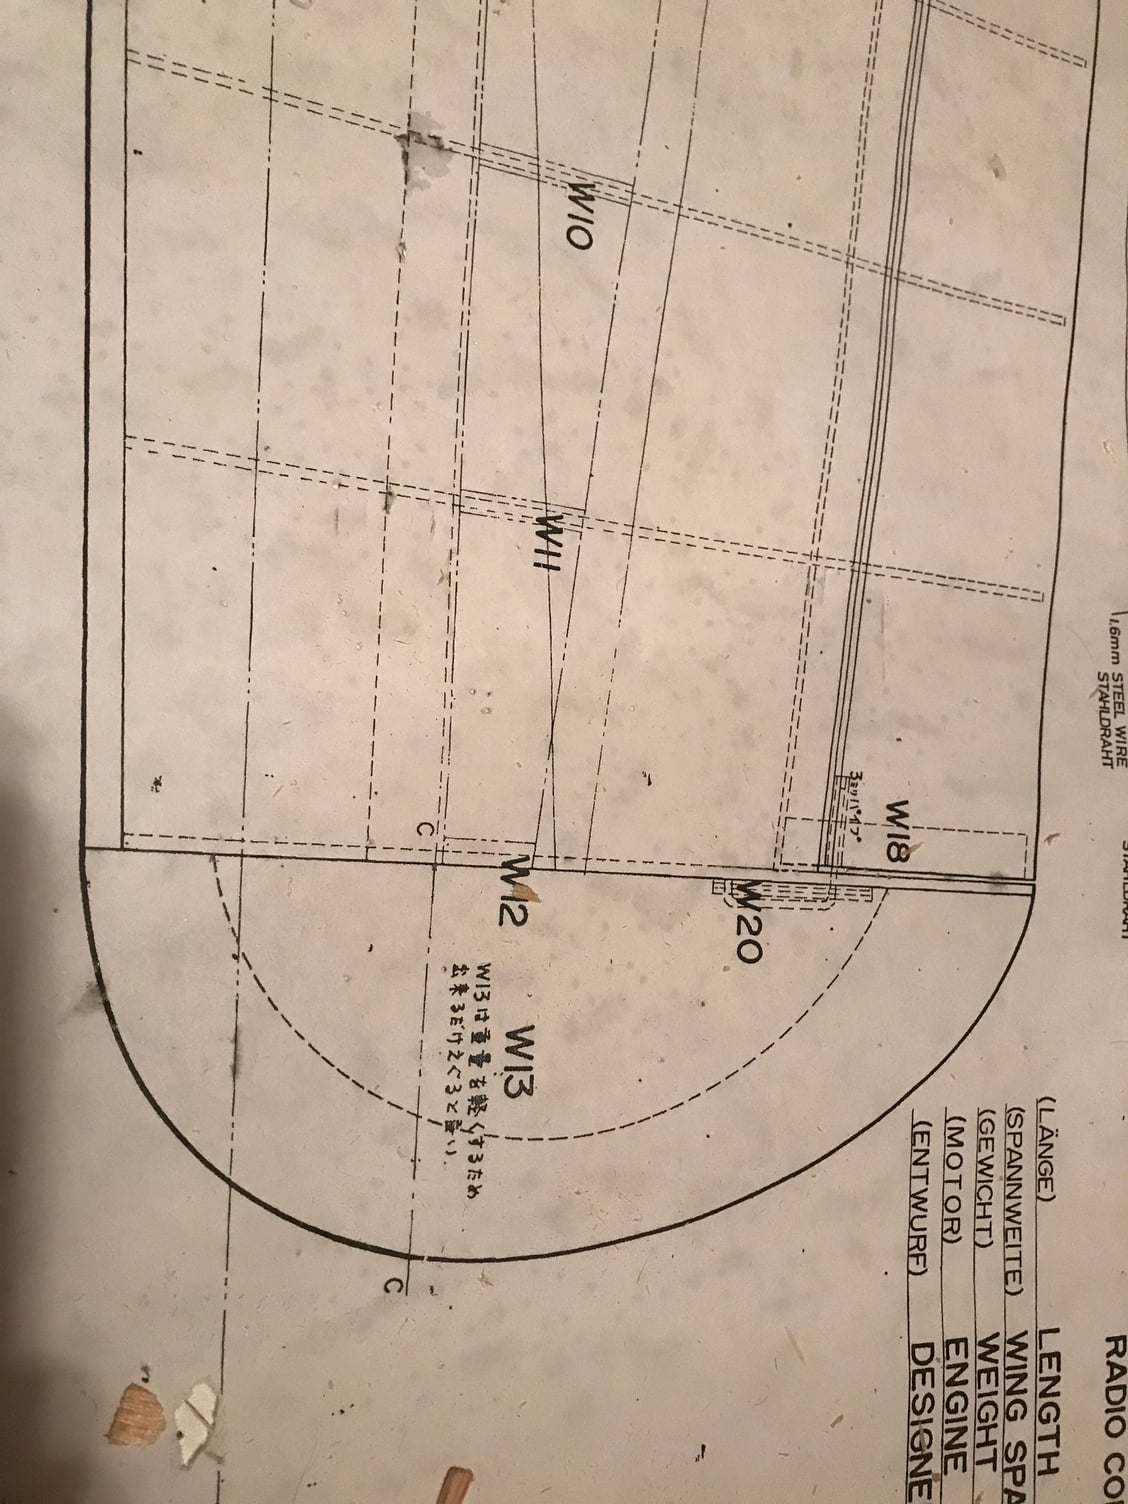
It roughly indicates the �pocket� you�re supposed to carve out of that block.
To avoid frustration further on, the way I would do it is tack glue the tip block, carve and rough sand the outer surface to shape, then remove it from the wing and carefully hollow out leaving enough thickness so the tip doesn�t become too flimsy.
It�s a trial and error process, work slowly.
 03-28-2020, 08:01 PM
#38
 04-20-2020, 06:14 AM
#42
That is so true OKC.
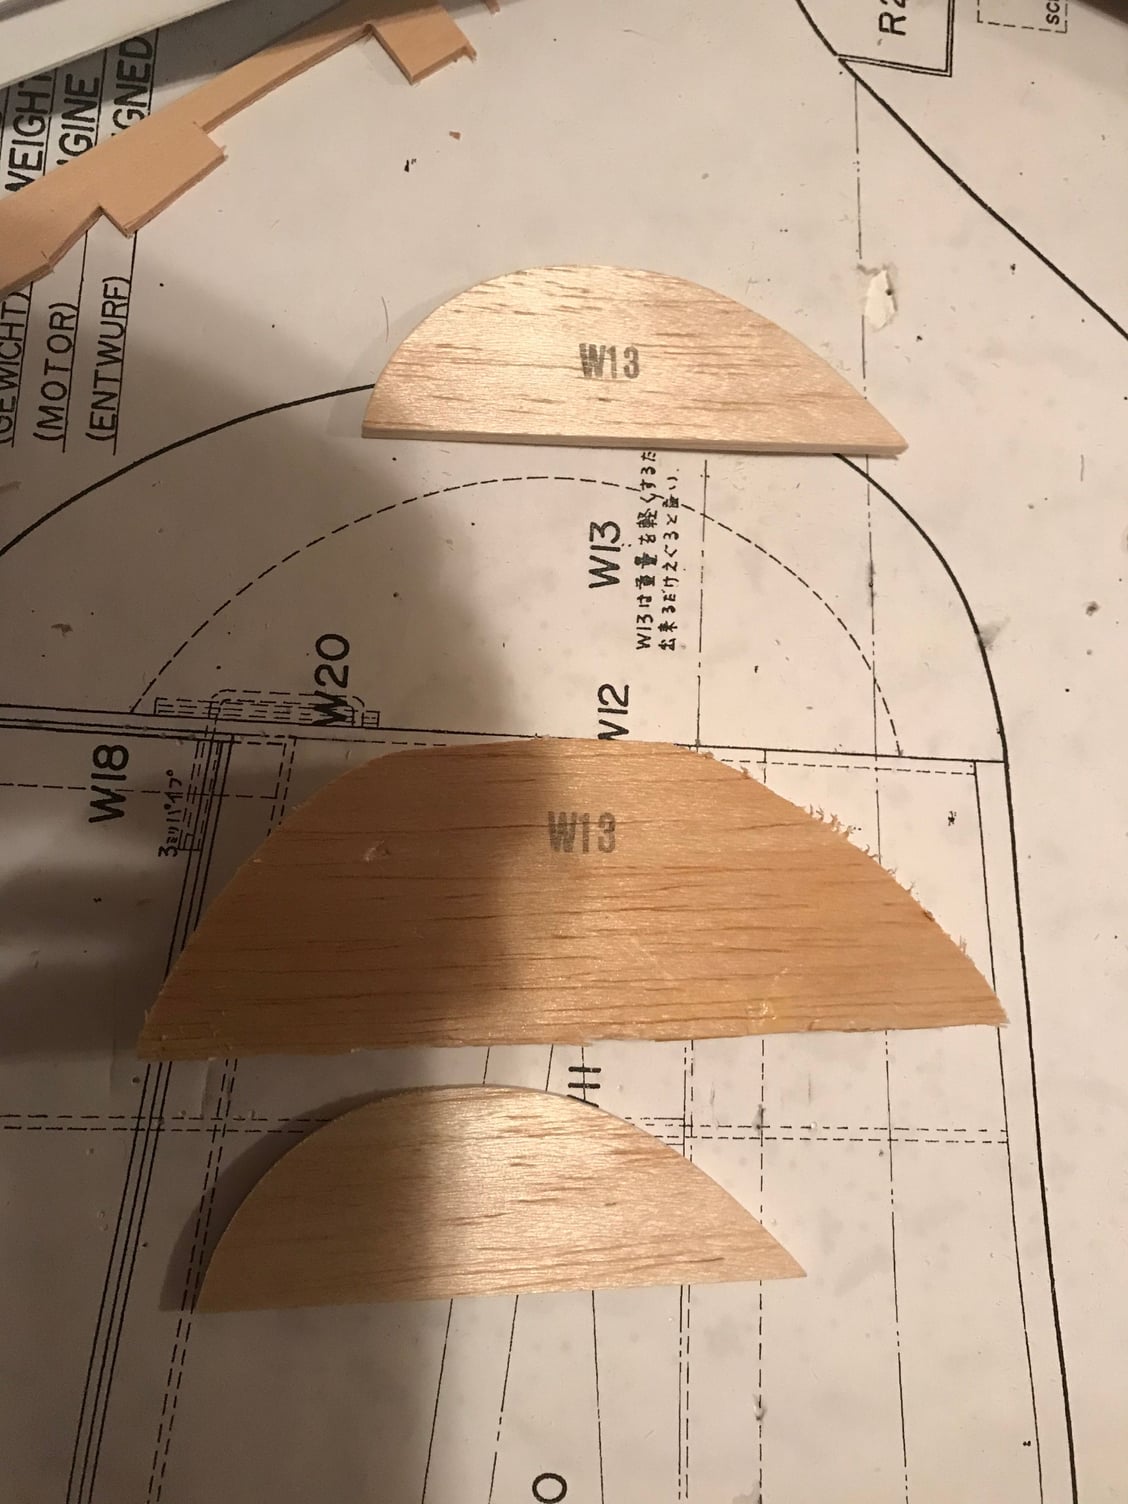
Well here is my up date. i have finally got one wing tip tacked on and shaped. now i need to remove it and hollow it out some. I do have the second tip tacked on and will be starting to shape it this week. here are a couple of shots of the first wing tip.

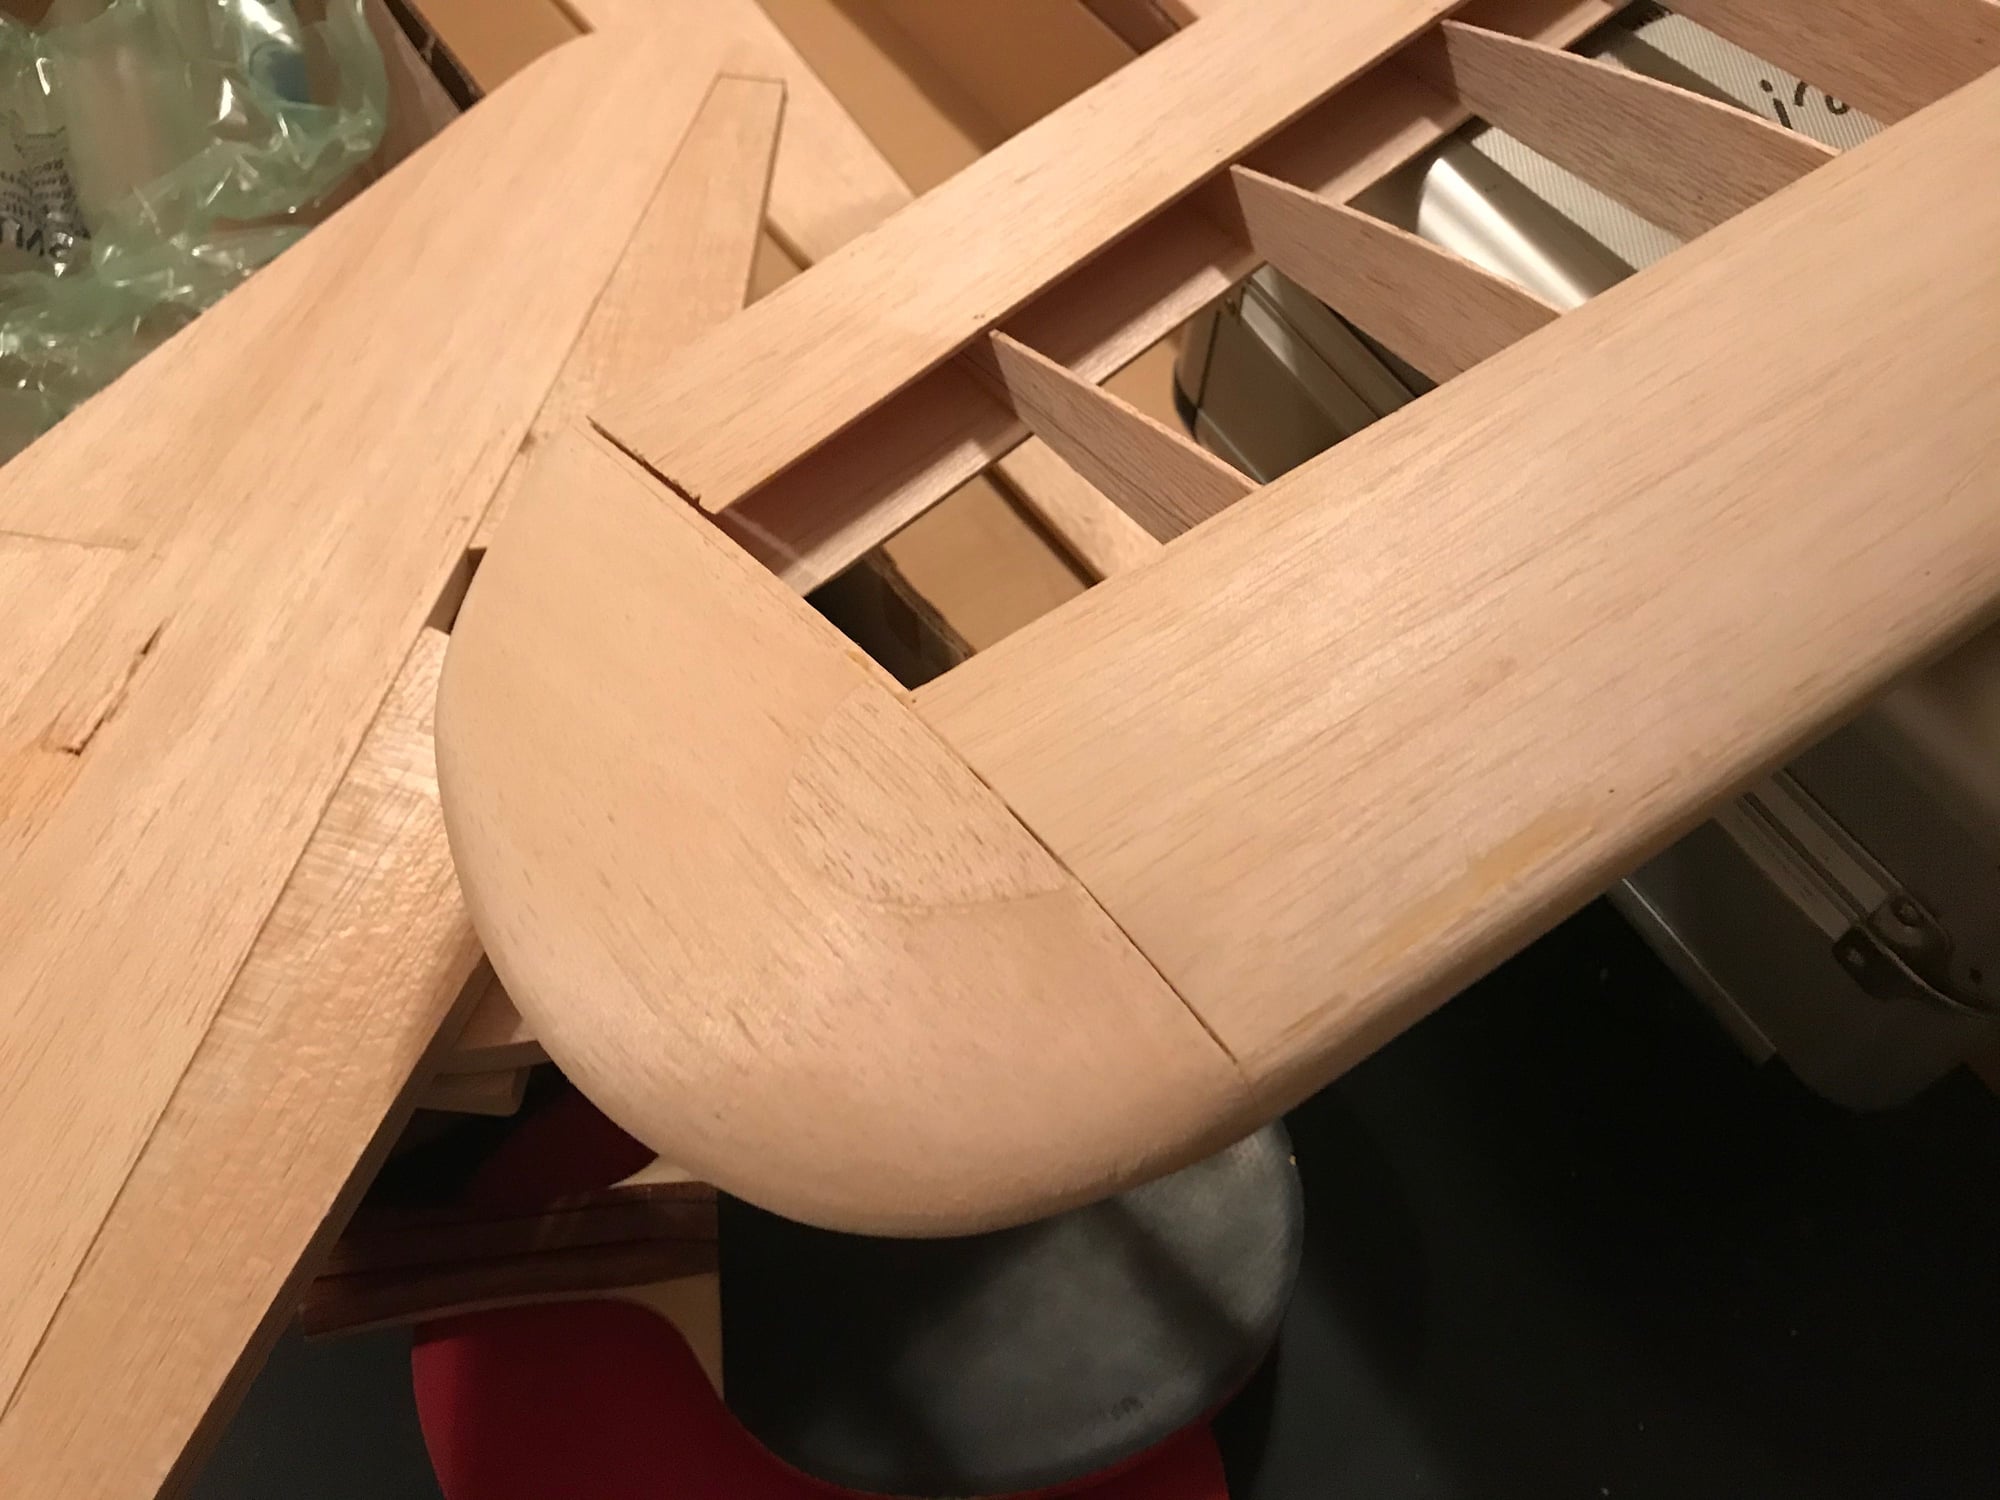
Well here is my up date. i have finally got one wing tip tacked on and shaped. now i need to remove it and hollow it out some. I do have the second tip tacked on and will be starting to shape it this week. here are a couple of shots of the first wing tip.
05-08-2020, 06:06 AM
#44
Okay I know I have not done an update in a while. I have been busy with a very long honey do list and a little flying and fishing. Now that it is time to go back to work I have a question about retracts. I have been looking at the e flight sets but don't know which one to get the 85 deg. 90 or 95 deg.? Any help will as always be appreciated.
05-08-2020, 08:21 AM
#46

My Feedback: (20)
If you look at a front view of the full-size Ki-61 you will note that the wing has dihedral and the gear leg is straight down. The 85 deg unit will most likely be best for achieving this configuration with your model. I had the Don Smith Ki-61 with 90 deg retracts. In order to keep them within the wing cross section while retracted they had to be splayed outward when extended. I got a deduct at every contest I entered. I had the Royal Ki-61many,many years ago.
Chuck
Chuck
06-22-2020, 09:33 AM
#47
I know it has been a while since I posted. I received my landing gear and have been trying to figure out the best way to install them. I have also been flying and working outside lately. I want to get them mounted so I can get the wing put together. If anyone has some good ideas of how to make sure I get it right them please let me know. until next time keep them flying.
02-22-2022, 01:00 PM
#49
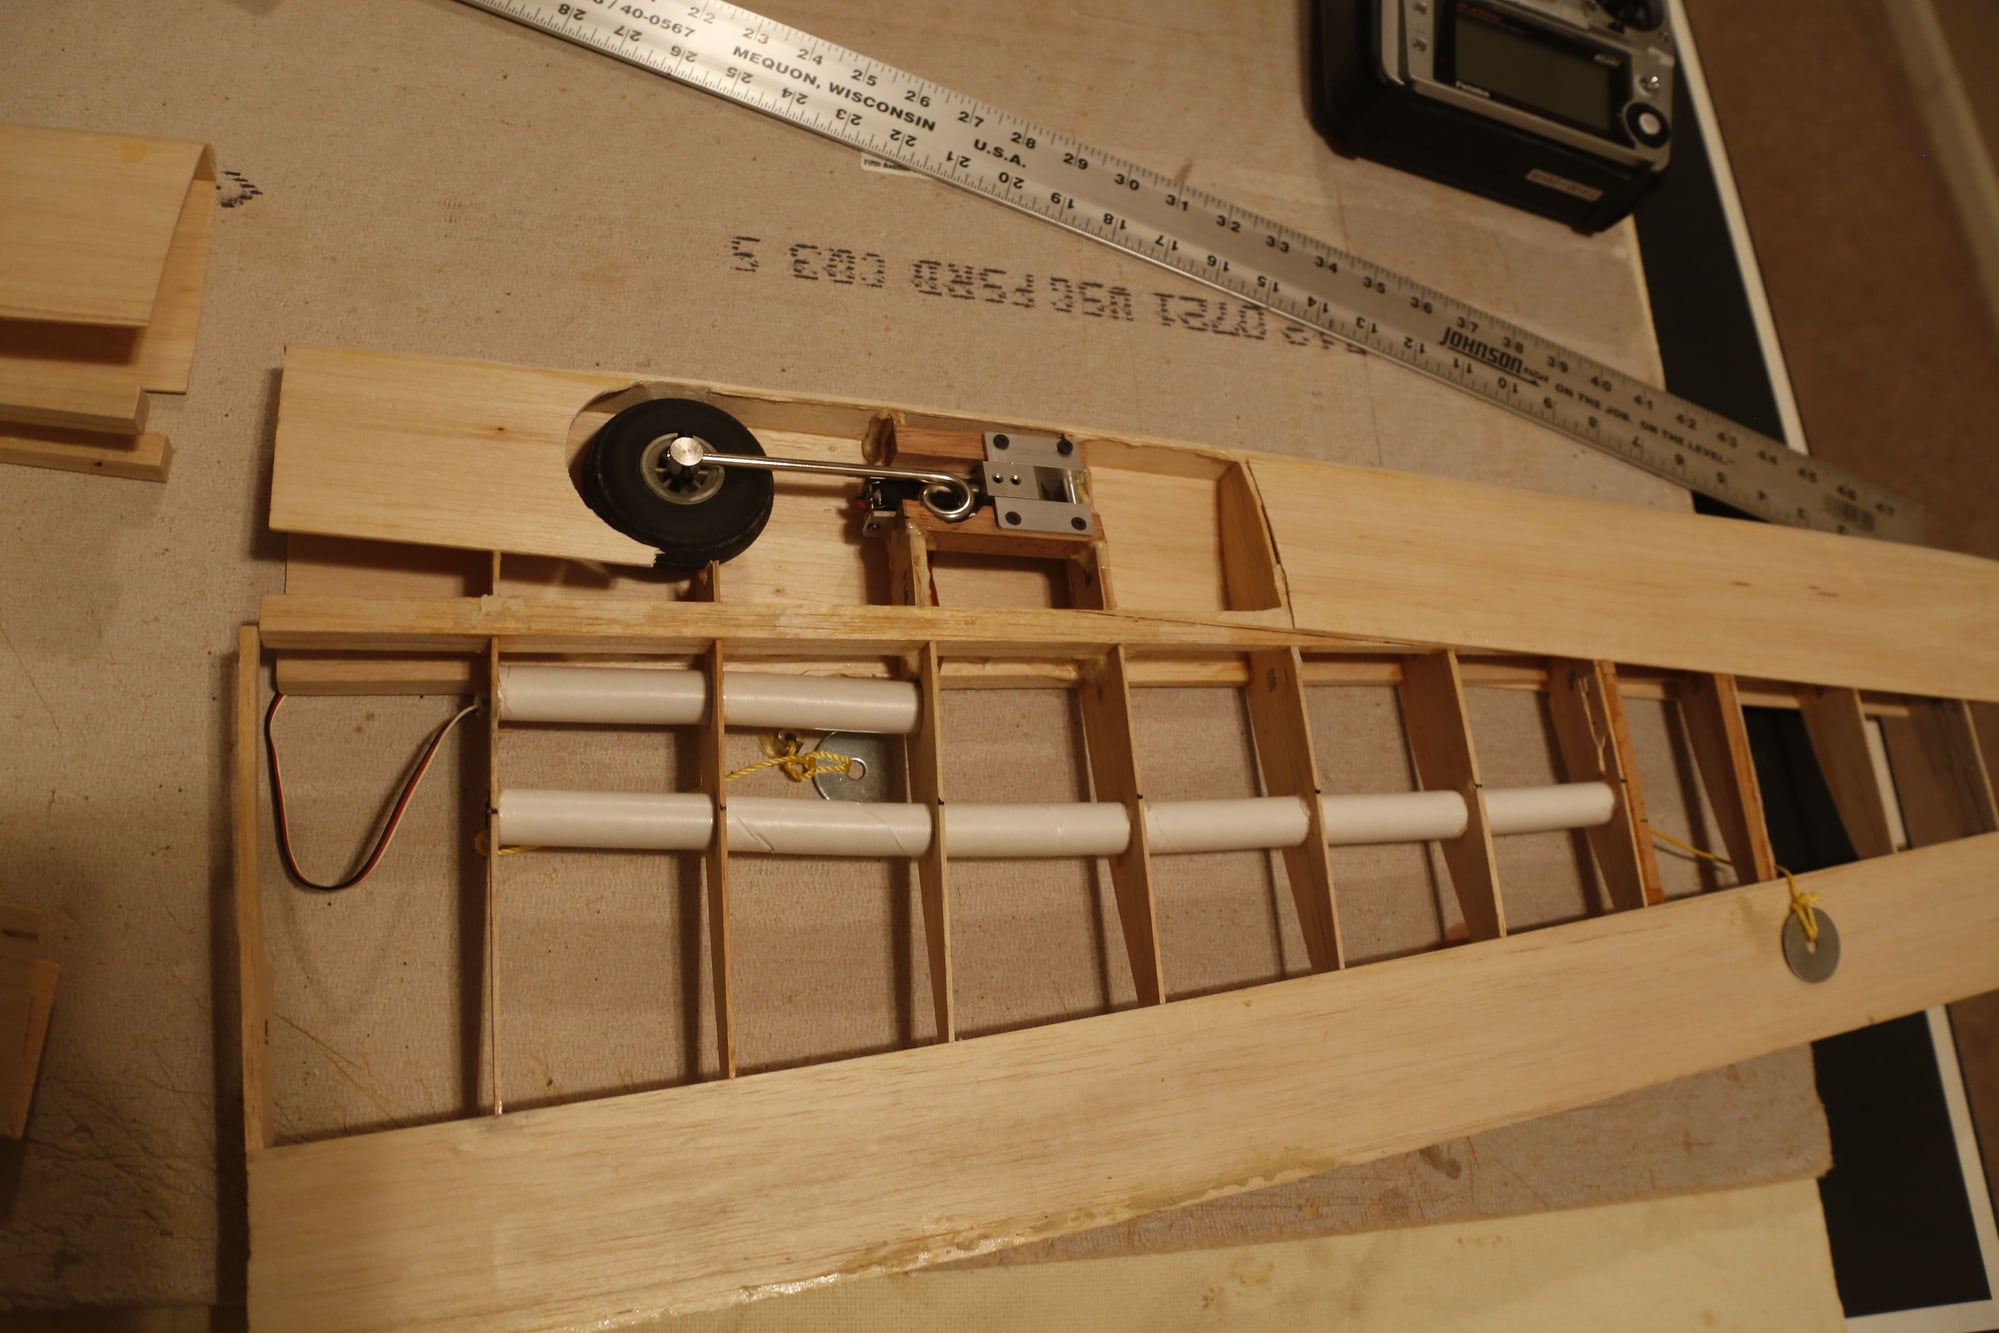
Okay I know it has been sometime since I have made an update here. I will try and do better. I have the first retract put in the wing. I need to do a bit of clean up I got a bit carried away with the glue. I also need to get the wheel well built in and the wing skin back on the leading edge of the wing. The kit came with the gear doors that attach to the struts. In need to build the other door and closing mechanism.
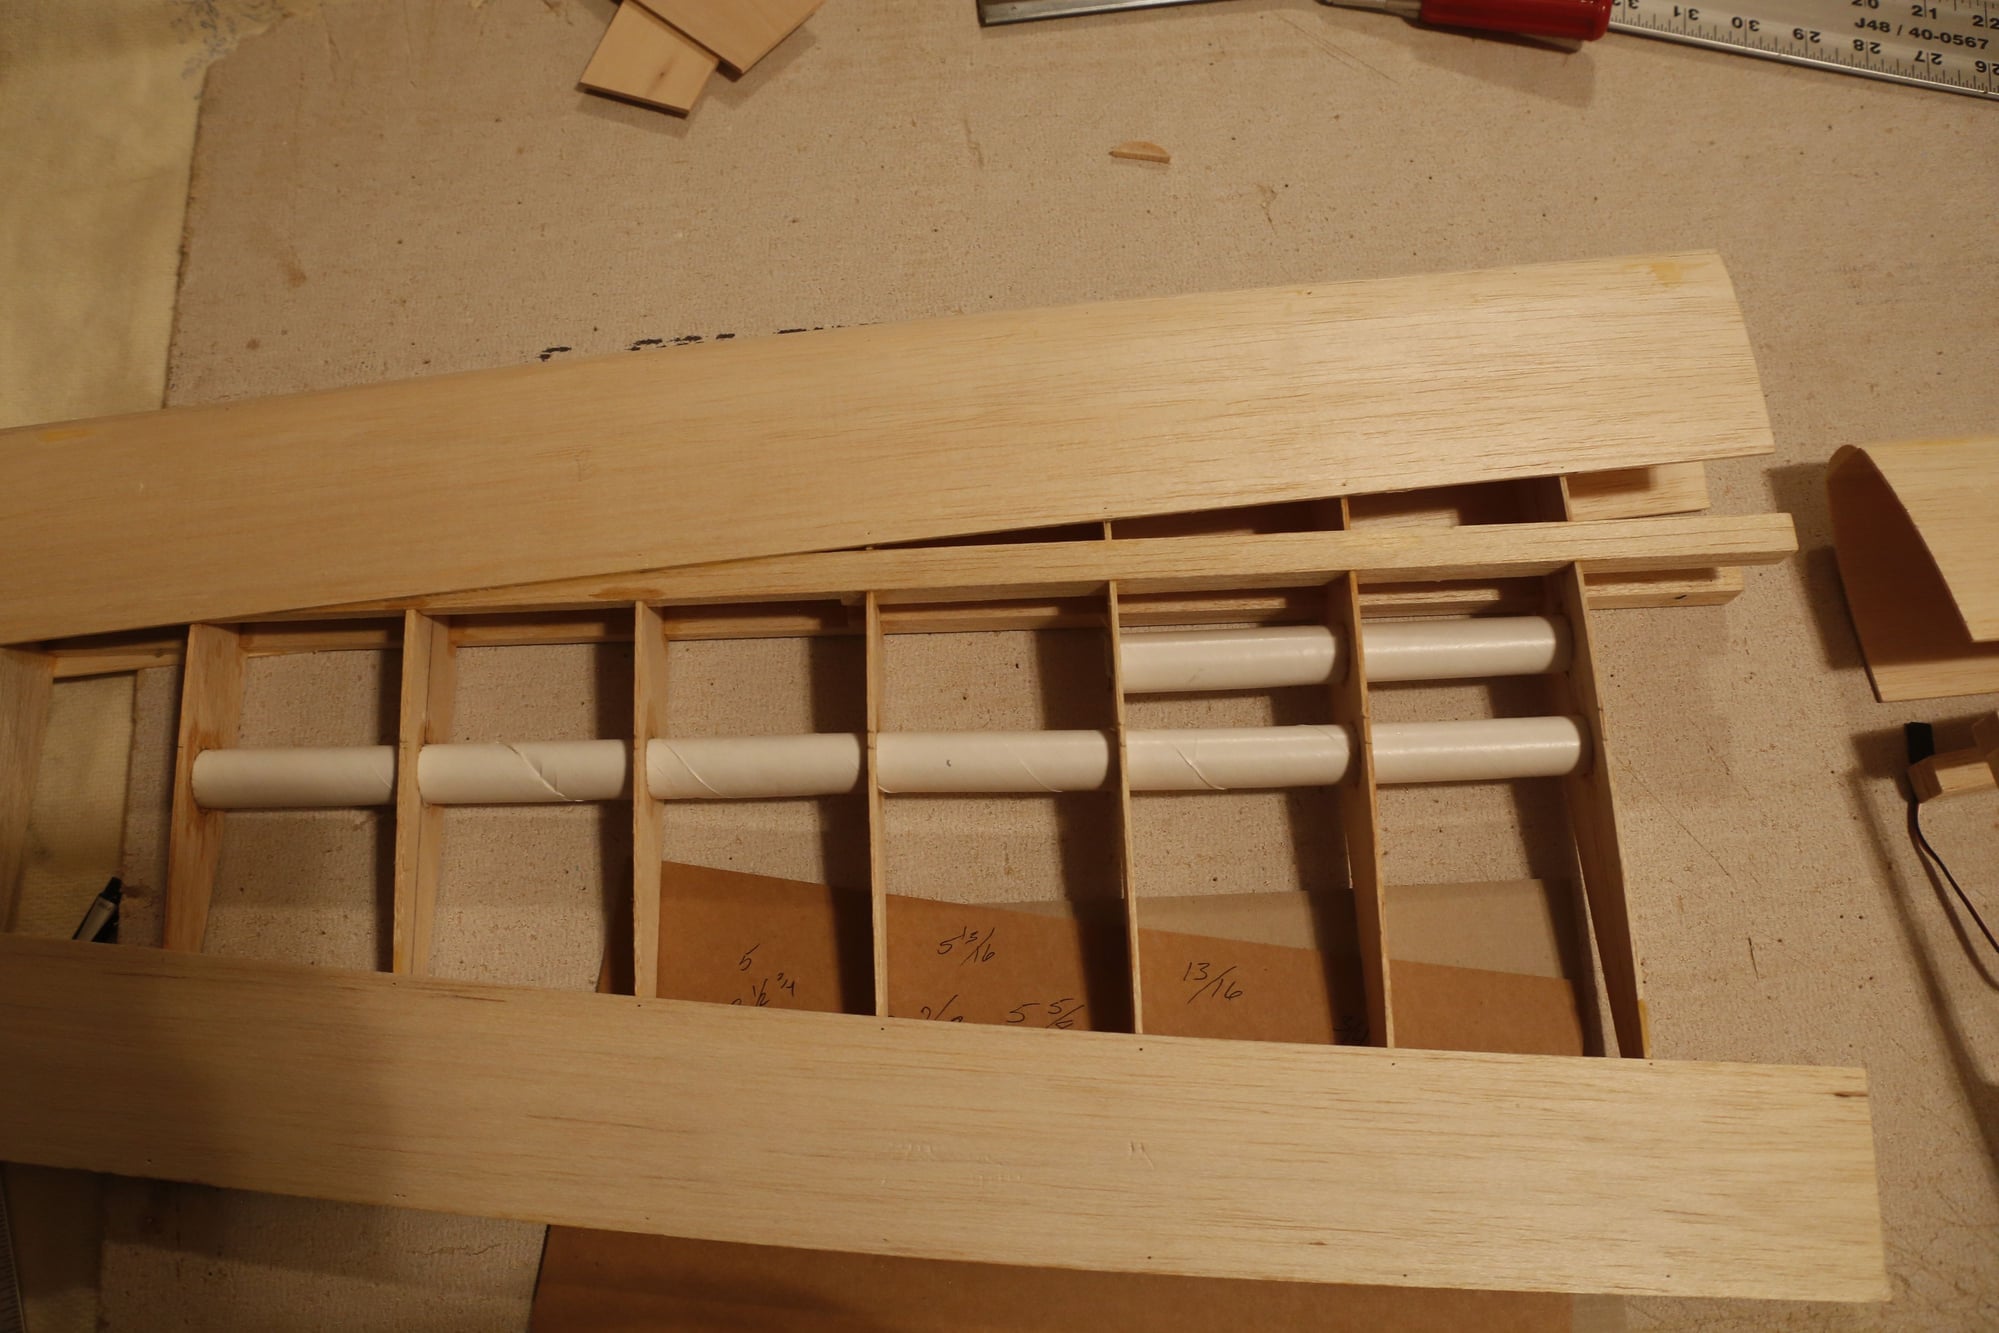
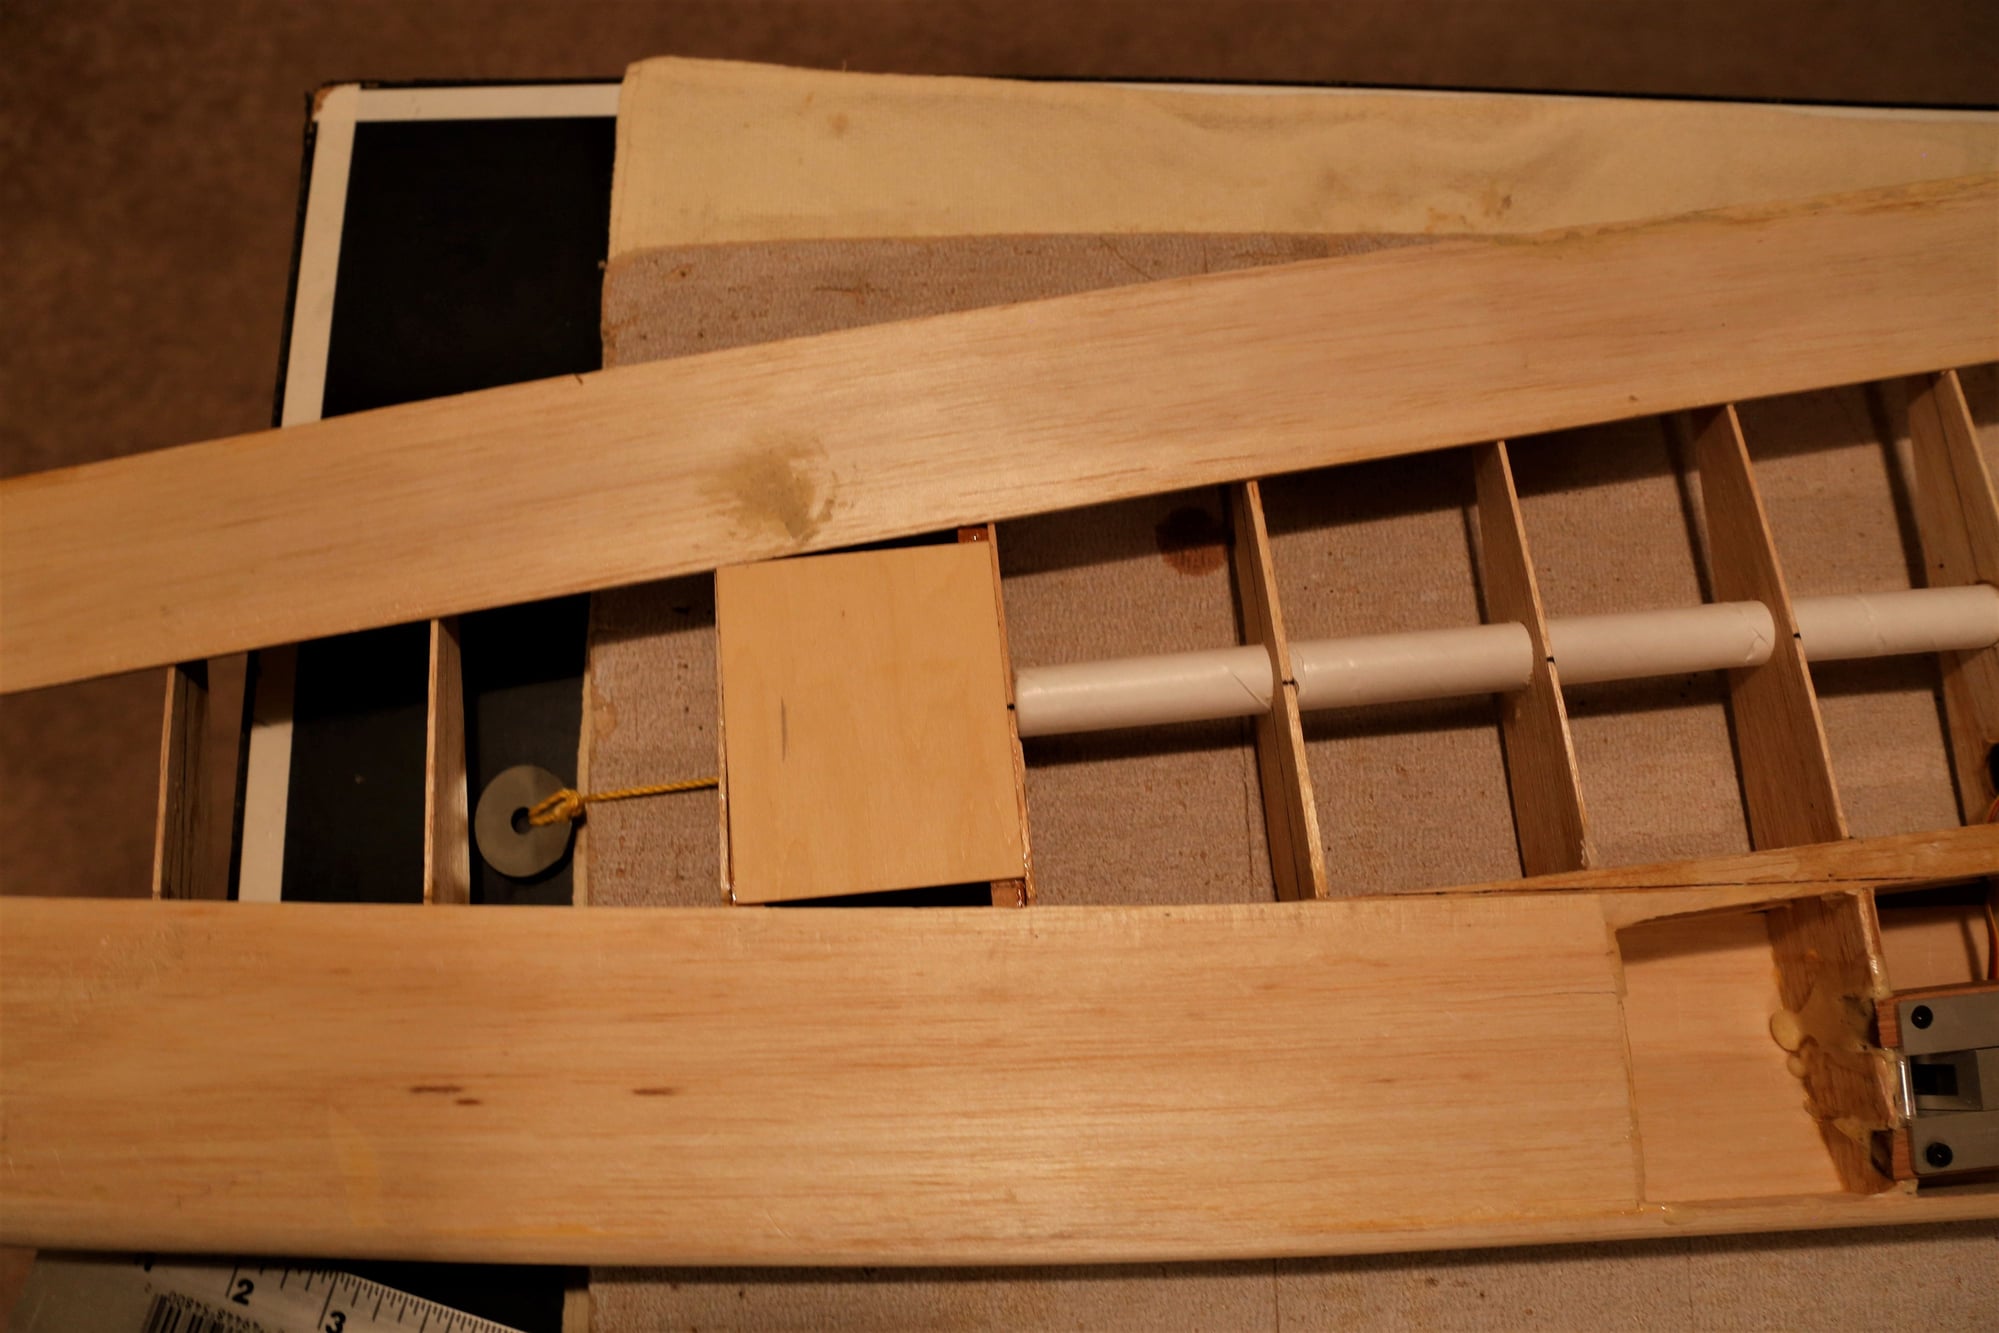
I have also put in tubes for my servo wires to pass through the long tube is for the ailerons. I have decided to use one in each wing.
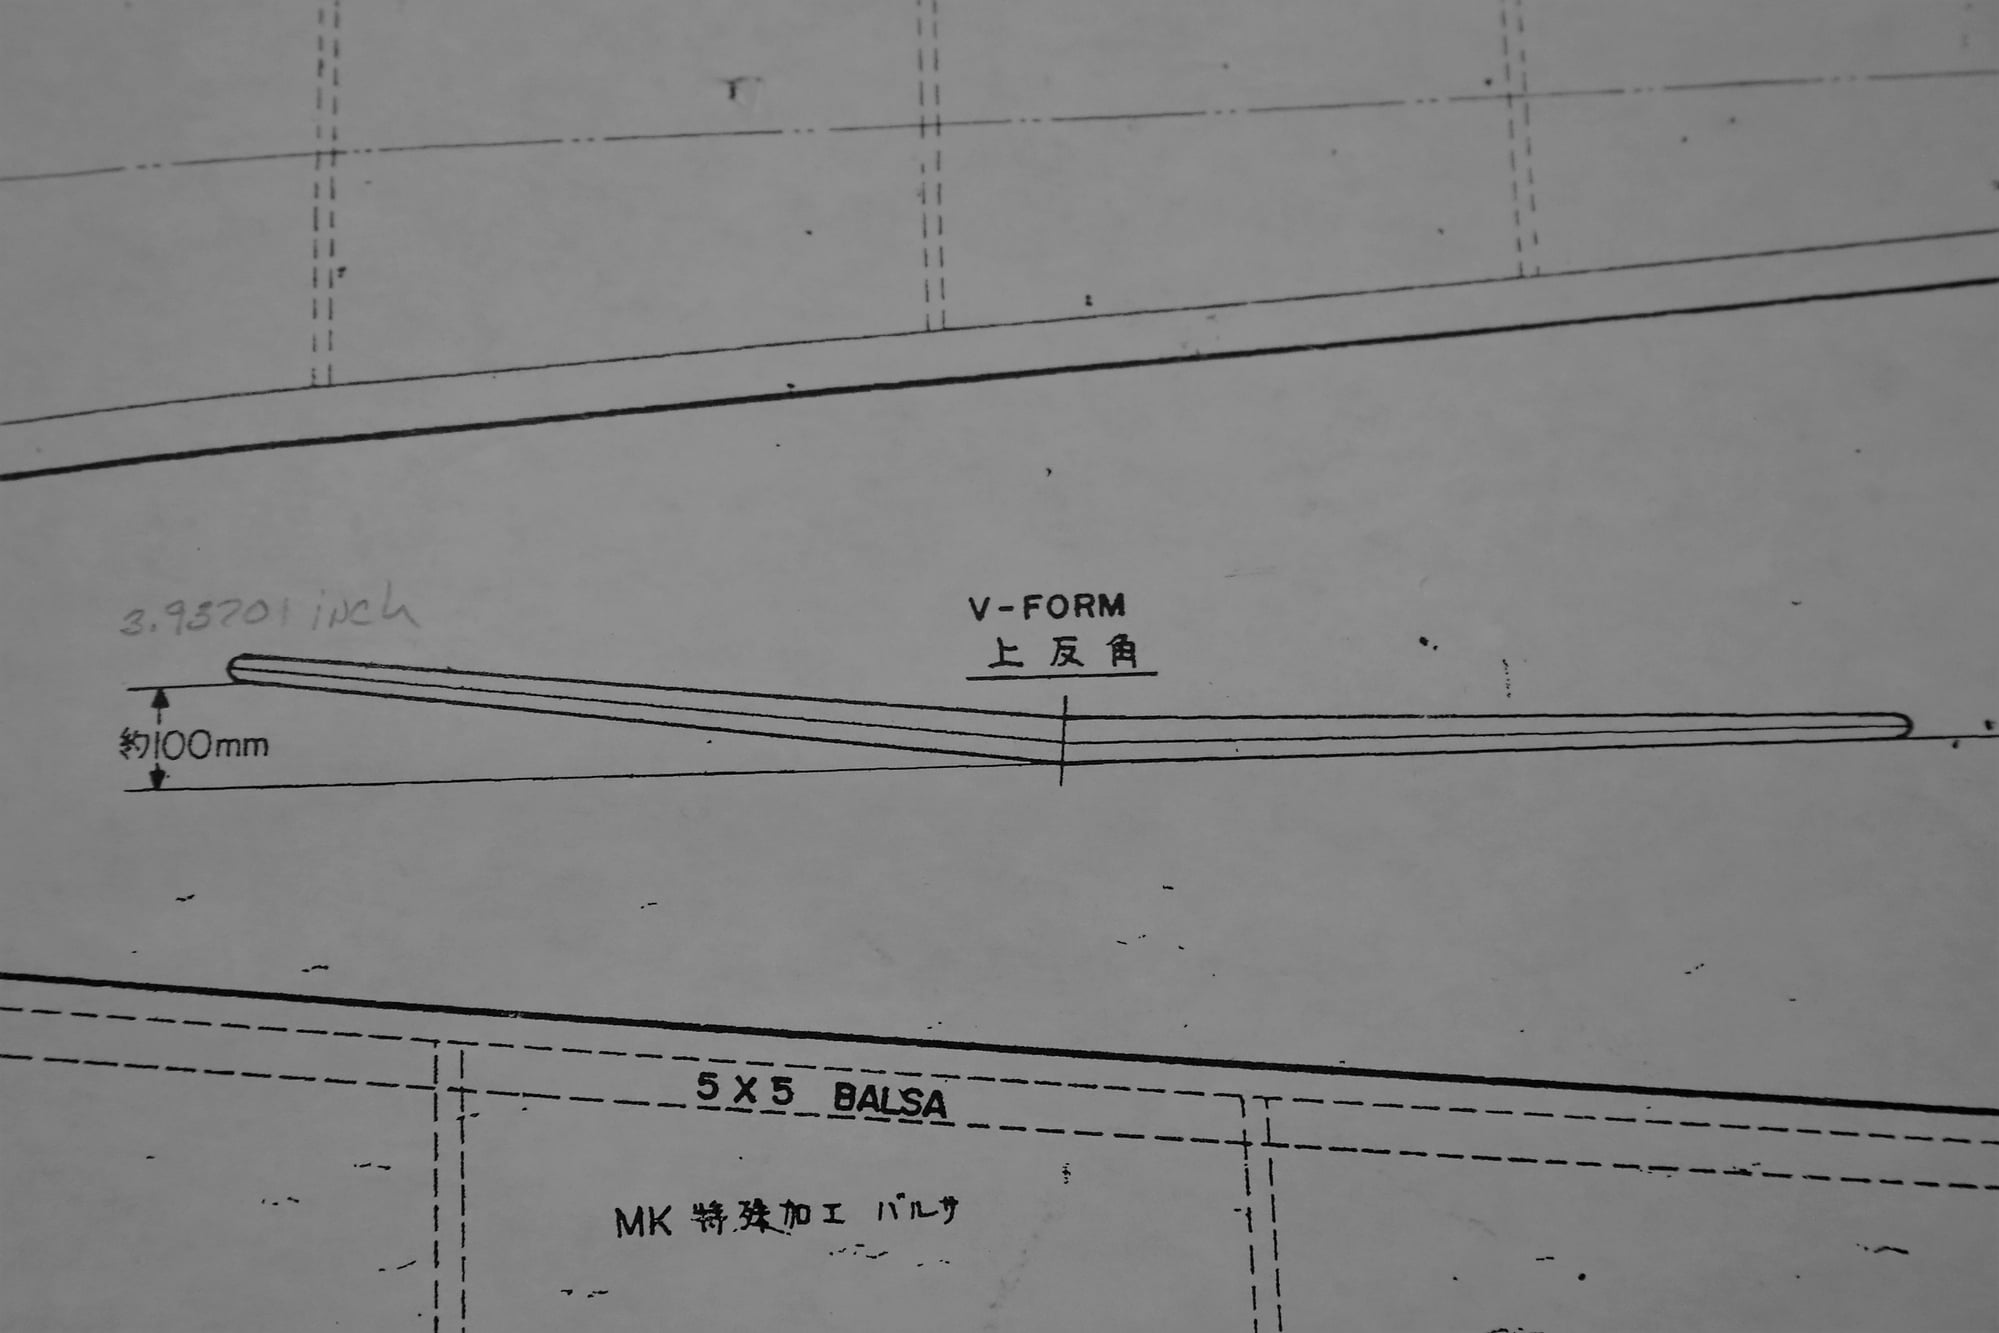
I am getting ready to put the wings together soon per the plans and just want a sanity check that I have got it right 100MM = 3.9370 inches, this seems like a lot of dihedral to me. Granted this is an old kit and a lot of kits had a lot of dihedral back then. Any thoughts on this?
I have also put in tubes for my servo wires to pass through the long tube is for the ailerons. I have decided to use one in each wing.
I am getting ready to put the wings together soon per the plans and just want a sanity check that I have got it right 100MM = 3.9370 inches, this seems like a lot of dihedral to me. Granted this is an old kit and a lot of kits had a lot of dihedral back then. Any thoughts on this?