So What Have You Been Doing To Pass The Time
#26
I'm outgrowing my 8x16 work shop for a need of larger planes. I started remodeling my garage by covering the walls with plywood and adding a good number of electrical plugs. It's been slow due to the Texas heat then a little over a month ago my left shoulder started giving me troubles. Finally started therapy, so I missed over a month of working on the garage. Therapy seems to be working so hopefully I'll be building models again soon.
Now I have a mess to clean up and a friend passed away about month ago and the family gave me all of his planes, radios, etc. Two 1/3 scale and two 1/4 scale 3D type planes. All old school stuff. A .60 size trainer and a 85" wing span Extra Stick with a 1.20 glow engine. Finding a place to put this stuff has been a trip. LOL But fun!!
sherm
#28
Guess I didn't finish my reply above. About the time of the shut down for the pandemic I started the resurrection of an old Sig Astro Hog, normally a 60 size airplane that is a dream to fly. Only this time I decided to install a RCGF 15cc gasoline engine. Due to years away from the building seen, it took me some time to come up with a plan for mounting a rear carburetor style engine within the same space of a glow engine. I started out just cutting a big hole in the firewall but the normal firewall mounted engine mounts wouldn't allow the engine to set back far enough. I ended up building wood rail mounts that reach back to the first former. I also had to move the fuel tank back to the leading edge of the wing. It's been a real trip finding room for the electronic equipment but I think it all going to work out fine. I'm in the process of covering the plane and looking forward for the first flight.
sherm
sherm
#31
Senior Member
#32
I will be using two cameras on this. One for the lower section and one for the top section. I am currently a long ways from finishing this.
Here is the link to the build: https://www.rcuniverse.com/forum/mod...-saturn-v.html
Here is the link to the build: https://www.rcuniverse.com/forum/mod...-saturn-v.html
Last edited by Saturn V Guy; 11-30-2020 at 03:01 PM.
#33
I had quite a good year with vintage models in 2020. I finished the construction of my Big Guff and of my double sized Tomboy and managed to get both of them flying successfully.
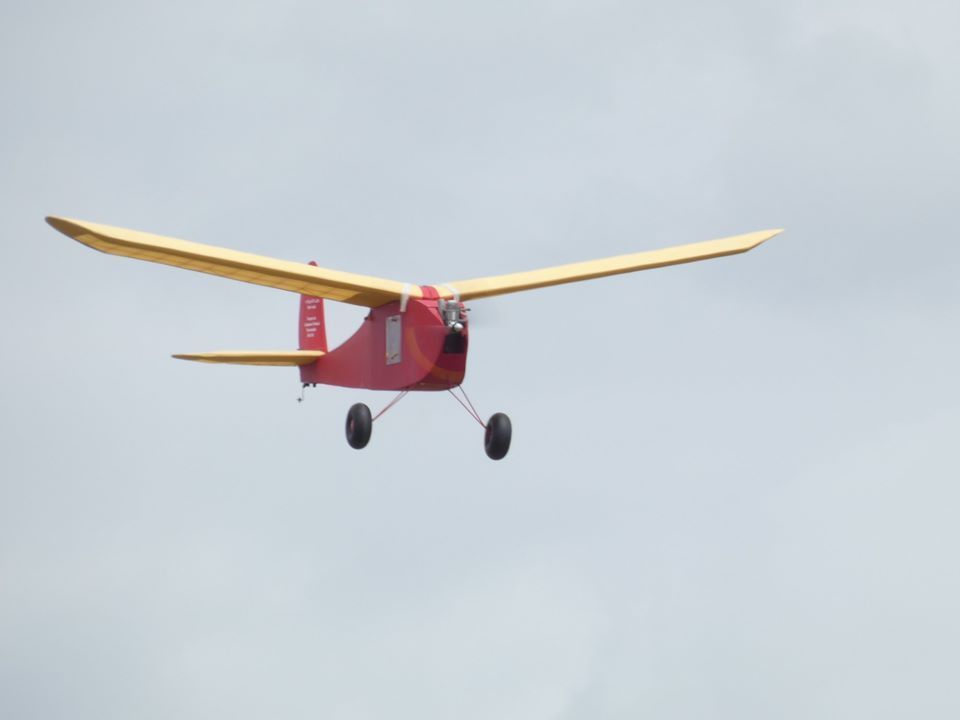
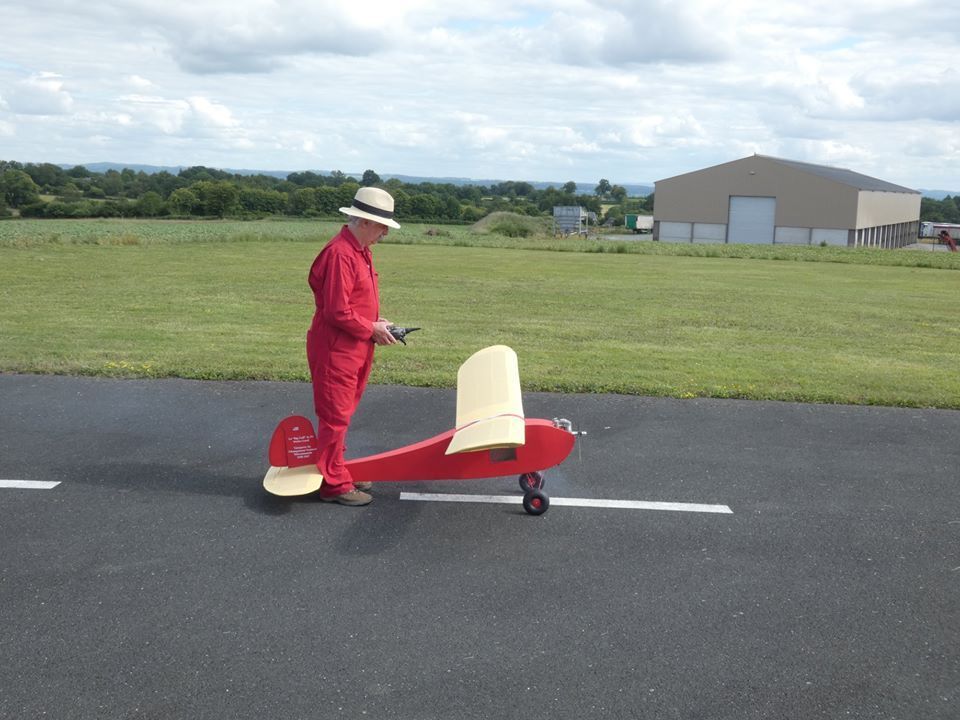
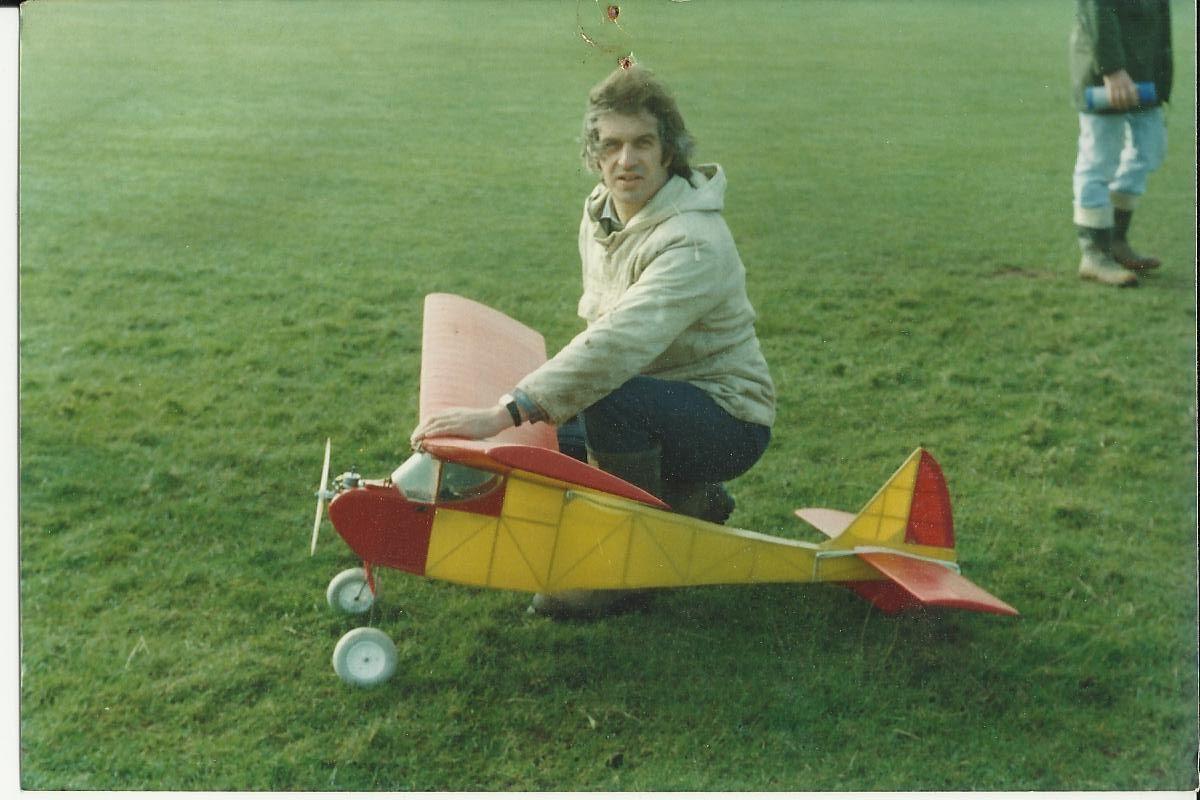
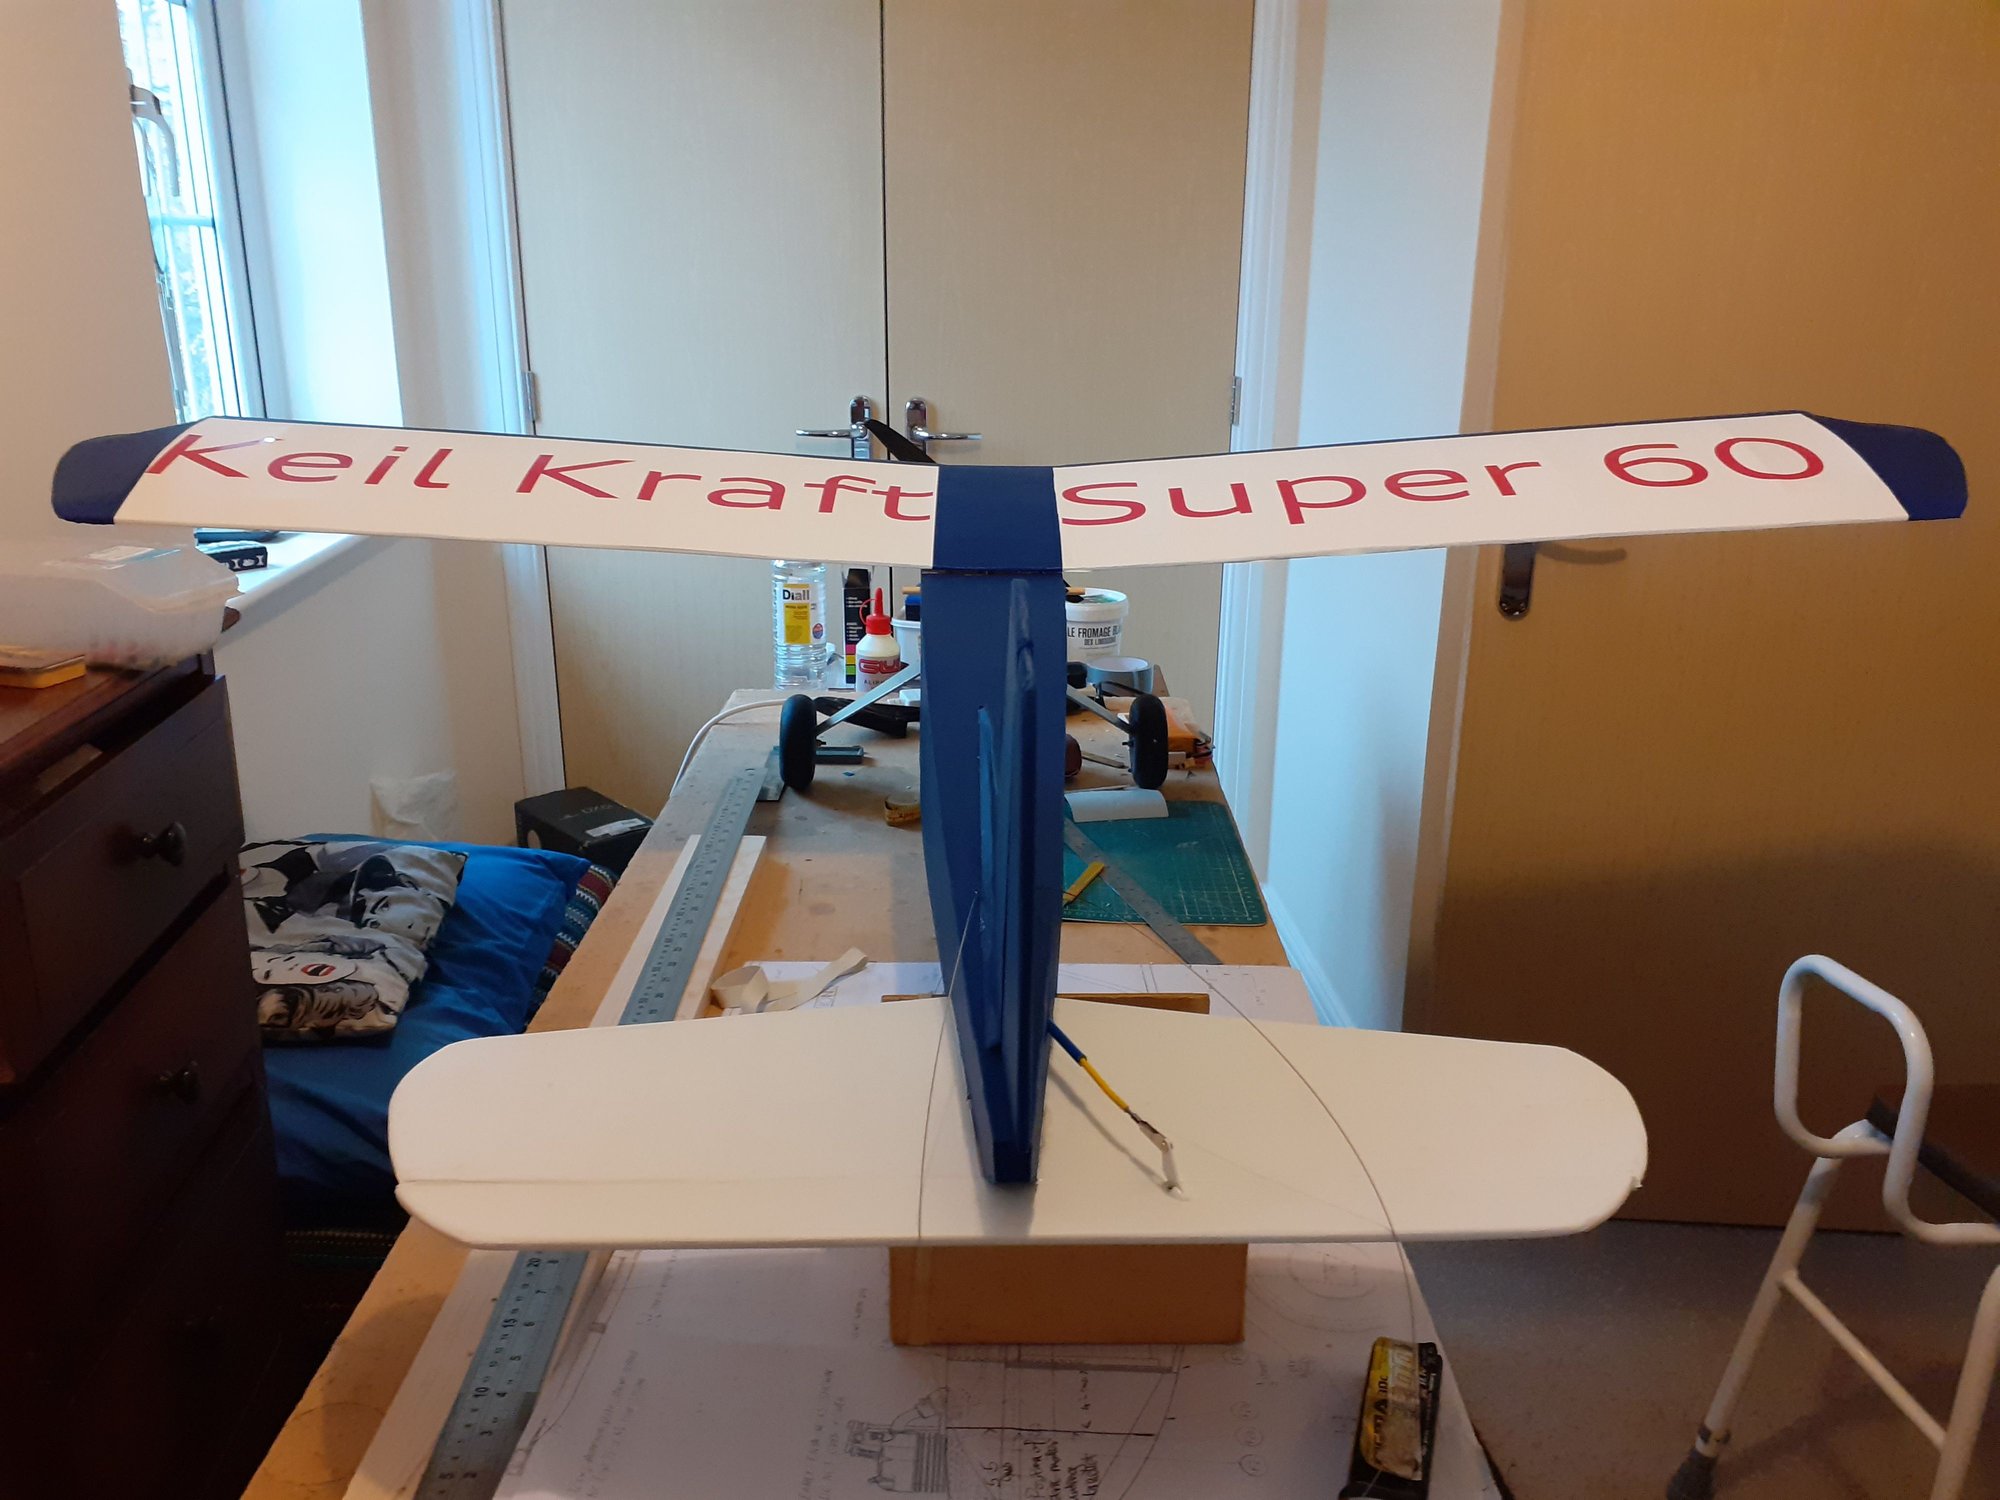
I have also just about finished the construction of a Super 60 which I have been building with my partner Trish. It's not the best model I've ever built. I'm not 100% happy with the windscreen and I wish I'd rigged the elevator pushrod to come out centrally at the fuselage. It would have been more efficacious and it would have looked neater. I suppose I could change those in the future if I wanted to. I'm sure it'll fly alright once the lockdown has ceased and my Spektrum transmitter has come back from the menders. It's intended as a basic trainer for Trish.
I plan to build and restore some sports aerobatic models for 2021 including a Dave Smith Models Aerostar.
The following users liked this post:
bisco (12-02-2020)
#34
Senior Member
those are beautiful planes, well done! i hope to improve my building skills to that level someday.
The following users liked this post:
Propworn (02-17-2021)
#35
Thank you Bisco for your kind remarks. I was taught to build by my Uncle Geoff when I was eleven years old; I shall be seventy-three in March! In those days if you wanted a model aeroplane you had to build it yourself! It was a keil Kraft Ajax, a rubber-powered model with 1/8" longerons!
My own building skill have developed over the years as your's will. All of my models have a few mistakes in them but they all fly!
My own building skill have developed over the years as your's will. All of my models have a few mistakes in them but they all fly!
The following users liked this post:
bisco (12-02-2020)
#36
Senior Member
that is what i have found as well so far. you do your best to be perfect, but it is very difficult. when you fly the airplane, unless you have made an egregious mistake, they do pretty well.
#38
Junior Member
Join Date: Nov 2020
Posts: 20
Likes: 0
Received 0 Likes
on
0 Posts
i have a few hobbies, doing OG plastic cement kits though im rather rusty in that department as the plastic cement loves to eat plastic axles.. there are the snap fit Gundam models im more familiar with and ive been dividing my time building the GUndam kits and getting my RC built, stickered afer painting the shell and trying to progam the RC controller (without much luck ATM...). im a bit stuck on the RC car ATM as i need to figure out how to program it as a newb to RC but i do have some Gundam kits that need to be built and a few books to read.
#39
Senior Member
what tranny model? they are very confusing, and poorly written manuals
The following users liked this post:
Propworn (02-17-2021)
#40
Junior Member
Join Date: Nov 2020
Posts: 20
Likes: 0
Received 0 Likes
on
0 Posts
TT02D + Tactic TTX300+ TBLE 02s and yeah the guide tells the basics but not the finer details... the controller has 2 small square buttons as 3rd function for adjustment if im correct. each time i tryto do that the right side is tapped out already and its either set badly due to my confusion or its still in program mode when i try to drive it after "saving the settings. it doesnt help either that the short servo saver screw loosening after a few attempts keeps backing off. the servo has 270 degrees but i just dont know if its at the limit. i can try removing the steering link and trying to back off the servo to clear more movement room. the steering trim button used to work well but the wheels/steering just kept drifting to the right.
i just went and got the servo removed and one direction of steering is set for a larger range than the other (mostly solved by manually righting the steering links). its probably an issue with the end point adjustments s or some sort of setting of the servo saver arm. its safe to say this is slightly infuriating for me, the servo arm has good range but the action when i do turn the wheels when it works is good but they dont settle straight ahead and i had to reset the steering links manually by keeping servo arm stationary and removing the steering link. it works well a bit then drifts each time so i would need to figure out this programming thing. i did go ahead and add blue locktite on the servo screw to lock it to the arm.
i just went and got the servo removed and one direction of steering is set for a larger range than the other (mostly solved by manually righting the steering links). its probably an issue with the end point adjustments s or some sort of setting of the servo saver arm. its safe to say this is slightly infuriating for me, the servo arm has good range but the action when i do turn the wheels when it works is good but they dont settle straight ahead and i had to reset the steering links manually by keeping servo arm stationary and removing the steering link. it works well a bit then drifts each time so i would need to figure out this programming thing. i did go ahead and add blue locktite on the servo screw to lock it to the arm.
Last edited by nel33; 12-13-2020 at 11:19 PM.
#41
I'm not familiar with your equipment Nel 33, neither am I interested in radio controlled model cars, but my advice to anyone in your situation would be to join a model car and a model aircraft club too. There will be lots of more experienced drivers and pilots there who will willingly pass on their knowledge to you.
#42
Junior Member
Join Date: Nov 2020
Posts: 20
Likes: 0
Received 0 Likes
on
0 Posts
I'm not familiar with your equipment Nel 33, neither am I interested in radio controlled model cars, but my advice to anyone in your situation would be to join a model car and a model aircraft club too. There will be lots of more experienced drivers and pilots there who will willingly pass on their knowledge to you.
#44
Junior Member
Join Date: Nov 2020
Posts: 20
Likes: 0
Received 0 Likes
on
0 Posts
i recently figured out the issues i had with the steering and programming. its all working fine now and on my second brief run i had my first body damage, 1 inch crack between the top of the front bumper and below the right head light. im gonna repair it with amazing goop and some wall mesh but running into a concrete wall at low to medium speed isnt fun, i did a pretty nice paint job and it hurts a bit to see i damaged the body...i did spray the exterior with the corresponding paint to cover up the silver backing coat that was starting to show but im going to have to live with it once the body is repaired...
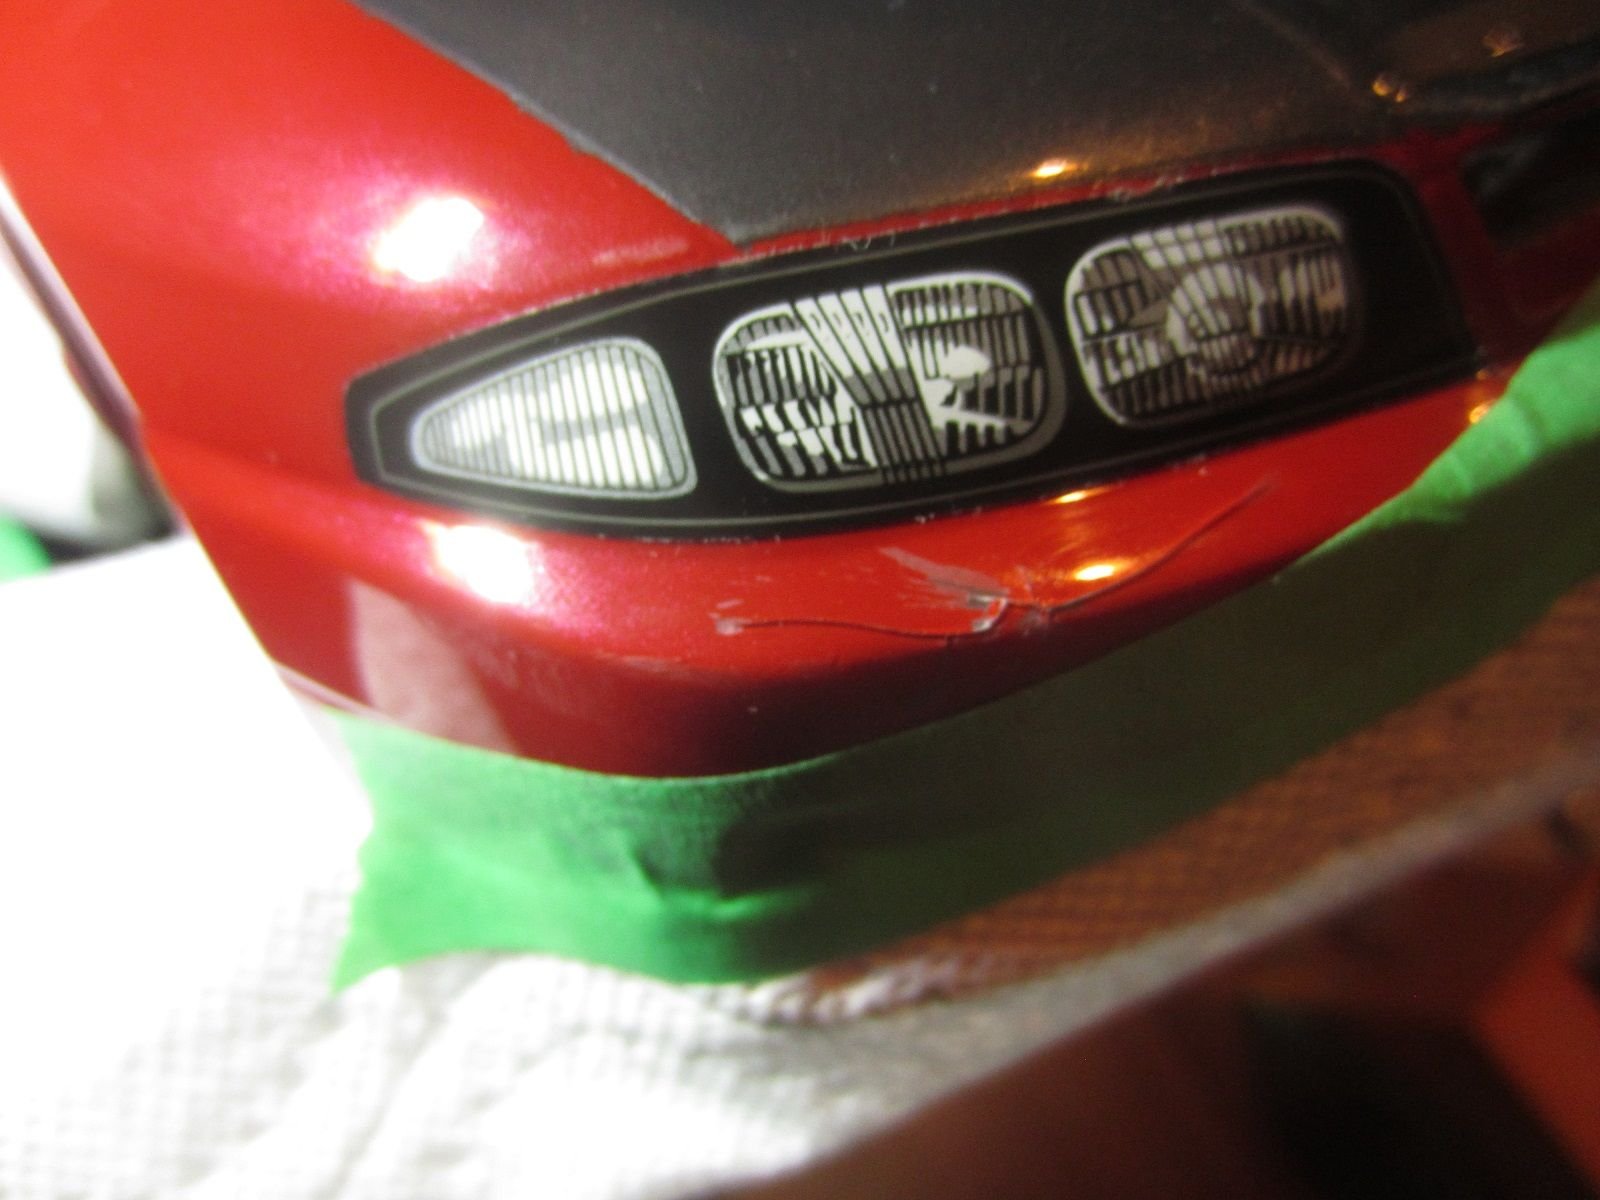
im gonna be more careful where and when i run it to avoid more damage in the future... or alteast try to limit the body damage as much as possible. are there any good sites where you can buy 1:10 body shells? im rather attached to this color scheme and its hurts to see that crack...i do have an interest in finding a R33, 180sx (sil80 is even better) or an FD3S. im going to go and fix the damage and reinforce the whole front body while it remains in good condition. front collisions seem to be my thing atm...
i did just order some soft rubber tires for the car so my drift tires wont get so beaten up in the future. edit: i cancelled that order, my wheel nuts are 8mm and the tires ordered are 12mm so i dont think they are compatible... though for some reason i think the nut size dont matter but the inner Hex on the disk plate... its 12mm.
Last edited by nel33; 12-16-2020 at 10:16 PM.
#45
When I'm not working, I really enjoy covering with Monokote -
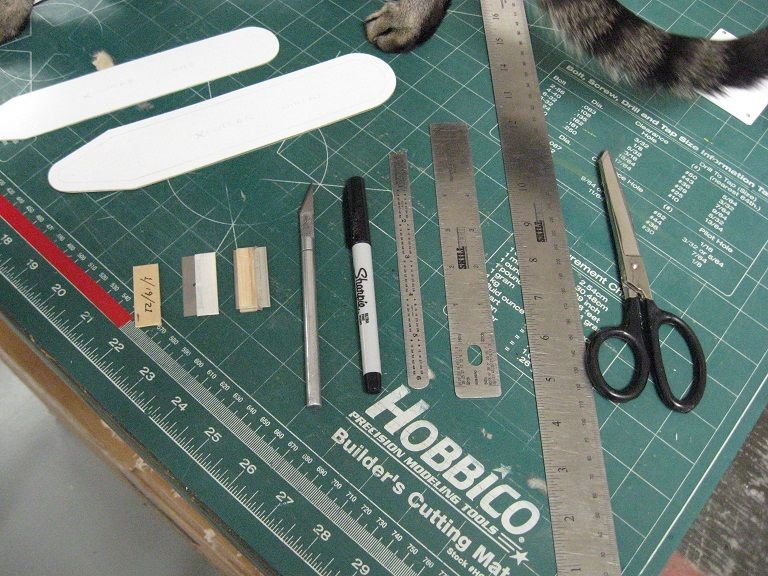
Cardboard/G-10 templates and tools -
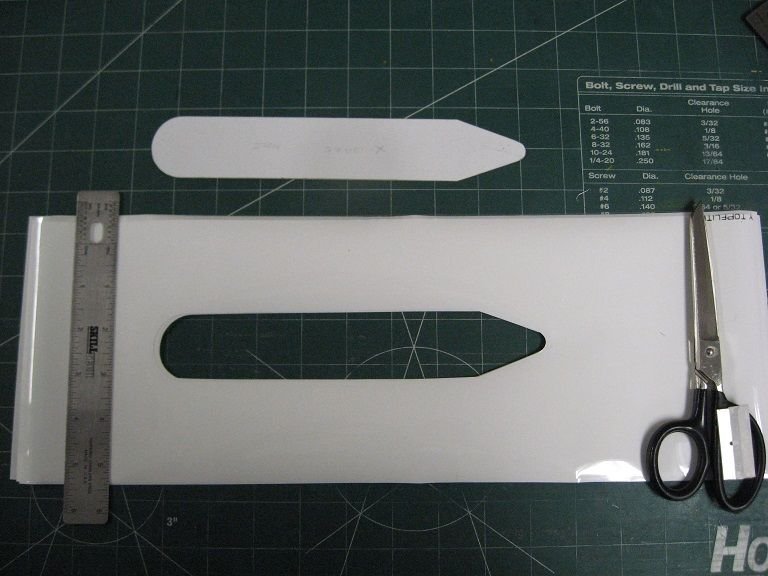
Covering stacked and cutout for transparent window using template -
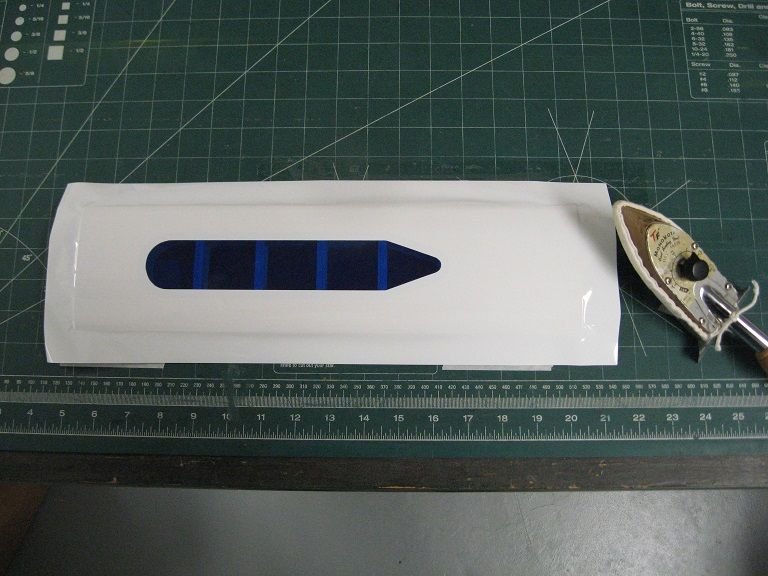
Wing panel framework covered -
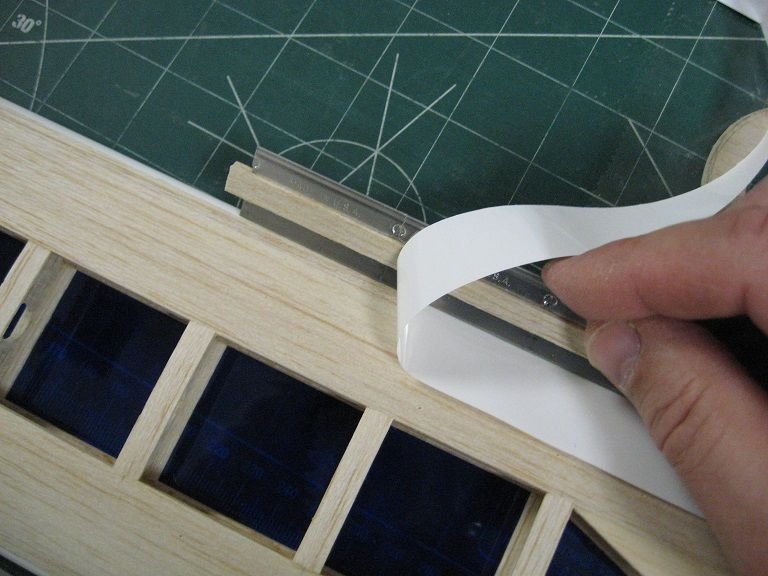
Trimming excess Monokote from LE using a pulling technique with 3 single-edge blades ganged together -
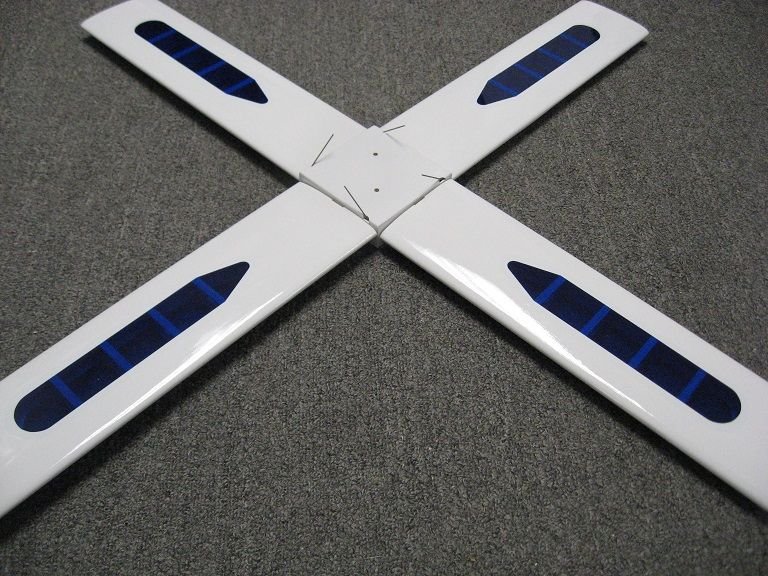
Nearly complete wing assembly -

Cardboard/G-10 templates and tools -

Covering stacked and cutout for transparent window using template -

Wing panel framework covered -

Trimming excess Monokote from LE using a pulling technique with 3 single-edge blades ganged together -

Nearly complete wing assembly -
The following users liked this post:
bisco (02-21-2021)


