1/10 RC Formula 1 Cars...lets see'em
#926
Junior Member
Join Date: Feb 2016
Posts: 2
Likes: 0
Received 0 Likes
on
0 Posts
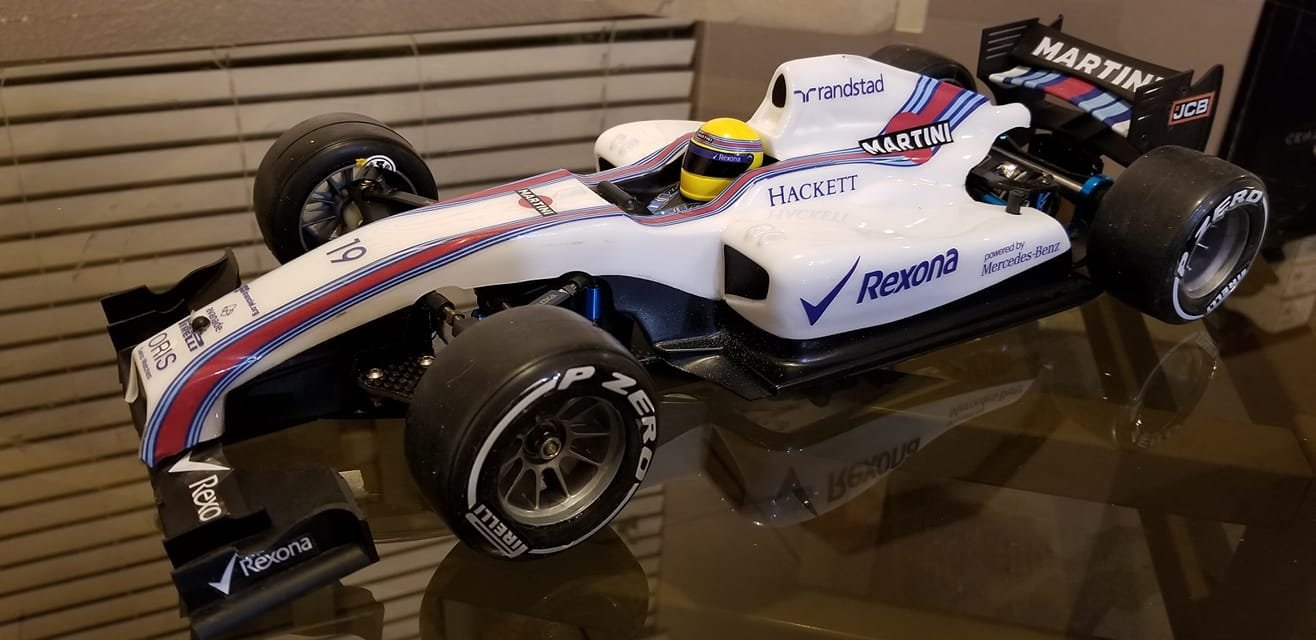
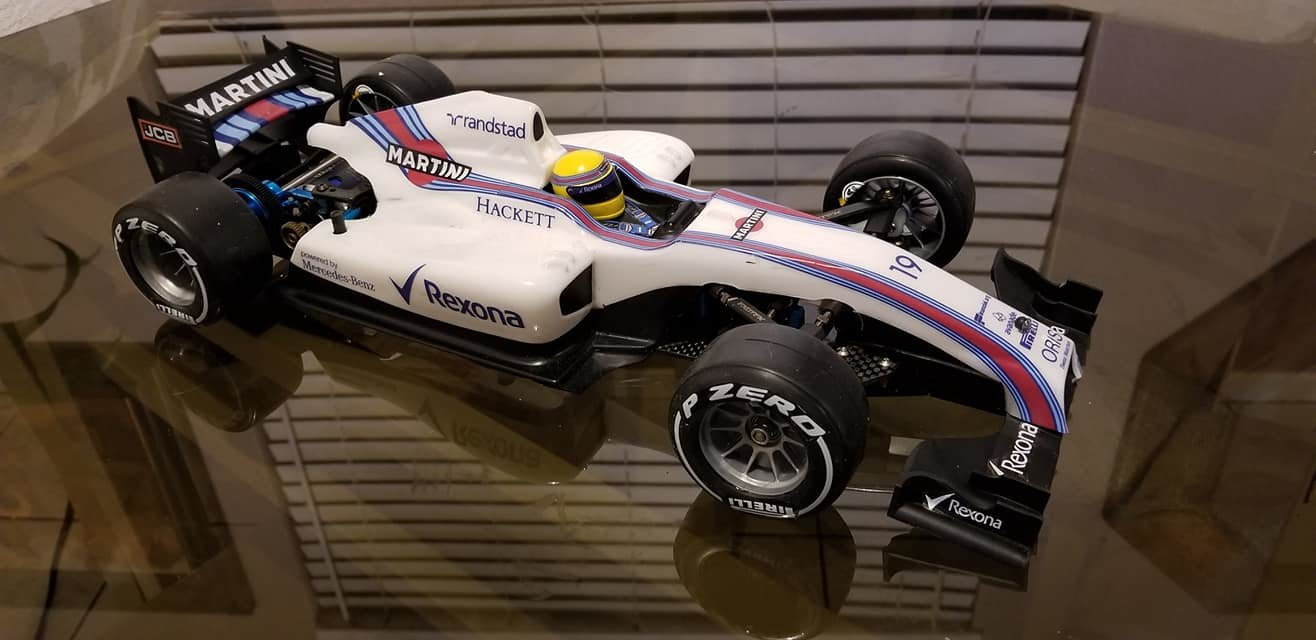
Nevermind, I think I've figured it out. The first one appears to be a Tamiya F103RX, and the other one appears to be a standard F103. If anyone wants to point out incorrect conclusions on my part, I would welcome being corrected. Otherwise, I'll be picking one of these to fix up and look forward to being able to share my final product eventually.
#927
Senior Member
Thread Starter
Join Date: Jun 2006
Location: Jackson, MS
Posts: 269
Likes: 0
Received 0 Likes
on
0 Posts
Nevermind, I think I've figured it out. The first one appears to be a Tamiya F103RX, and the other one appears to be a standard F103. If anyone wants to point out incorrect conclusions on my part, I would welcome being corrected. Otherwise, I'll be picking one of these to fix up and look forward to being able to share my final product eventually.
The second chassis is also Tamiya, it�s an F103GT. This is a kit that is based on the F103, but uses a link-type front suspension and the big thing is, it had wheel hubs for sedan tires. This one also looks like it�s been converted to F1 as well.
Hope this helps and best of luck.
#928
Junior Member
Join Date: May 2016
Location: Indiana
Posts: 8
Likes: 0
Received 0 Likes
on
0 Posts
Hey guys. Couple of questions on tires. I ran searches and didn't find exactly what I was looking for, so sorry if these have already been answered!
I am running the Tamiya F104 F1 car currently. I am having some traction issues that I am trying to work out. This car isn't going to be raced. I bought it strictly for playing around on asphalt. It has the stock tires that came with the kit. The car is spinning out pretty regularly on turns (back end comes around). Tires spin at heavy throttle and accelerating during the turns, but thinking that is a result of the power of the motor. I recently put a 17.5T Hobbywing Motor and ESC combo in it to tame it down from what came in it from the previous owner (4300kv).
1. I think the stock tires are hard in the back and soft in the front. Is this ideal for what I am looking to do, or do I need to go soft and soft?
2. Are tires the problem (assuming the rears are hard) or do I need to work on the suspension?
3. Would a grooved tire do me well for what I am doing with the car or do I stick with slicks?
In case anyone is wondering, I have the t-bar that came with the CF frame. Also, the rear is at 7MM and the front is at about 5MM I am guessing. Haven't adjusted any other suspension components. Thanks guys.
#929
Senior Member
My Feedback: (5)
Join Date: Dec 2008
Location: Chesapeake,
VA
Posts: 158
Likes: 0
Received 0 Likes
on
0 Posts
That's a lot of power in something so light! Tires are available, personally I would go soft, but they will chew up fairly quick for that sort of power on asphalt. That said, I don't use mine to bash so I am happy to use quicker wearing tires.
Grooved, I don't know. Someone else may, personally I would stick to slicks (unless you want to replicate a rainy lap!!) but as much as anything that is my desire to look scale on my vehicles.
My gut says to go to a lower motor again, 21.5 / 25.5 area. See how it goes, you may just be overpowering the chassis.
#930
Junior Member
Join Date: Mar 2013
Location: , TX
Posts: 2
Likes: 0
Received 0 Likes
on
0 Posts
Spin out is also cause by a loose rear diff, you may want to tighten it and see if that improves it a bit, I run a tight diff, and have not had the spinout problems, also soft compound tires make a big difference. I currently run and VBC F1 Lightening, WRC Fone, MD Racing F1, Mach4 F1, all on soft compound Ride tires.
#934
Hi all,
sharing my 'ancient' F102 car. I got this one in 1995 (originally from 1992), based on the F102 chassis. At the time, it was equipped with a TK-S03 steering servo, Acoms AT-5 ESC, and powered by those 7.2 V NiCd packs. Communication went via the 40 MHz band. In the years following, I added an aluminium front body mount, larger snap pins, an aluminium differential joint set for the steel rear axle, a hi-torque servo saver, and rear aluminium motor mount, ball-bearings on all axles.
After collecting dust for nearly two decades, I took it from the shelf and drastically updated the car:
It now weighs approximately 1.4 kg
See my website for more descriptions, photos, and movies (I'm not allowed to post photos here...).
sharing my 'ancient' F102 car. I got this one in 1995 (originally from 1992), based on the F102 chassis. At the time, it was equipped with a TK-S03 steering servo, Acoms AT-5 ESC, and powered by those 7.2 V NiCd packs. Communication went via the 40 MHz band. In the years following, I added an aluminium front body mount, larger snap pins, an aluminium differential joint set for the steel rear axle, a hi-torque servo saver, and rear aluminium motor mount, ball-bearings on all axles.
After collecting dust for nearly two decades, I took it from the shelf and drastically updated the car:
- Increasing the height of the central upper deck to accommodate larger batteries (I went with NiMH... didn't feel to secure about LiPo).
- A Reflex Stick Pro 3.1 LCD 2.4 GHz FHSS 4-channel transmitter and receiver (supporting ABS, EPA, DR, and EXP).
- A new Mtroniks tio Storm 14 electronic speed controller.
- Replaced the engine with a brushed Mabuchi Sport Tuned RS-540 23T engine (silver can), and fitted with an extra heat shield. The rear axle was replaced with a carbon axle.
- The steering servo was replaced with a high voltage splash-proof brushless digital HRC Racing HV titanium gear 44 kg torque servo, and the fixed steering rods were replaced with adjustable blue anodised aluminium turnbuckles of 32 mm and 50 mm and accompanying reinforced adjusters (short and long).
- The central damper system was replaced with a TRF special aluminium tension-adjustable damper, filled with medium damper oil, in addition to new front springs.
- A SkyRC GSM-015 GNSS speed and GPS positioning sensor was installed that allows full trajectory sampling up to 10 Hz (their newer version is compacter, but does not store the trajectory).
- In addition, a SkyRC GC-401 gyroscope was initially mounted near the middle of the vehicle for additional steering assistance. It was then replaced with a Yokomo DP-302 V4 aluminium drift steering gyroscope (with assist mode) and moved to the centre of the vehicle on top of the bridge. The car now easily takes high-speed corners without drifting out of control.
- Those pesky and painful-to-the-fingers Tamiya-style battery connectors were also replaced with IC3 ones.
- The lexan cockpit has been equipped with white LED lights and a rear red LED light.
It now weighs approximately 1.4 kg
See my website for more descriptions, photos, and movies (I'm not allowed to post photos here...).
#935

Join Date: Mar 2008
Location: Thunder Bay, ON, CANADA
Posts: 339
Likes: 0
Received 0 Likes
on
0 Posts
Sorry to cross post websites but if anyone is looking to buy a F1 car I have one with batteries & a bunch of parts for sale. Excellent condition.
https://www.rctech.net/forum/r-c-ite...eries-etc.html
https://www.rctech.net/forum/r-c-ite...eries-etc.html
#936

Join Date: Jun 2012
Location: Wellington, NEW ZEALAND
Posts: 91
Likes: 0
Received 0 Likes
on
0 Posts
OK, I got some time tonight to throw some stickers on the Sauber. I thought I'd start with a clean picture of the car before any stickers get applied. I also decided to take it up a notch from the stock Tamiya supplied stickers.
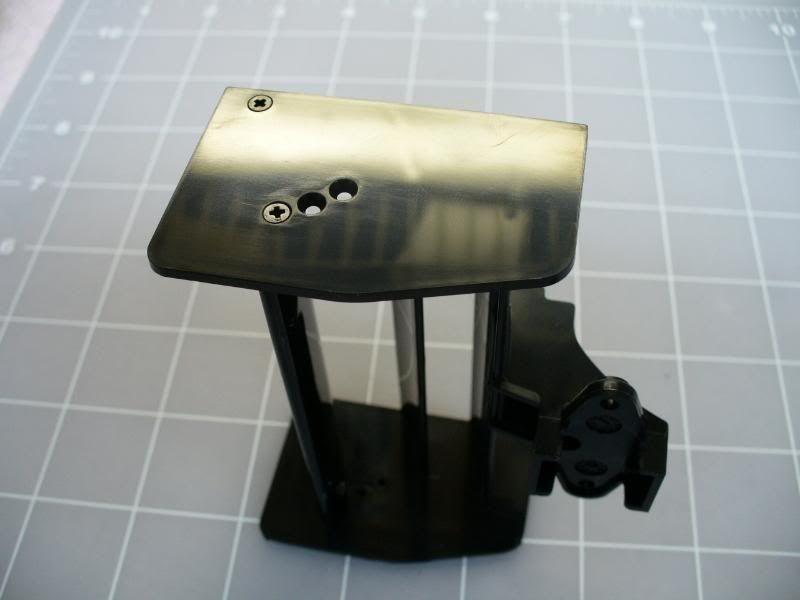
This is the plain car with just paint.
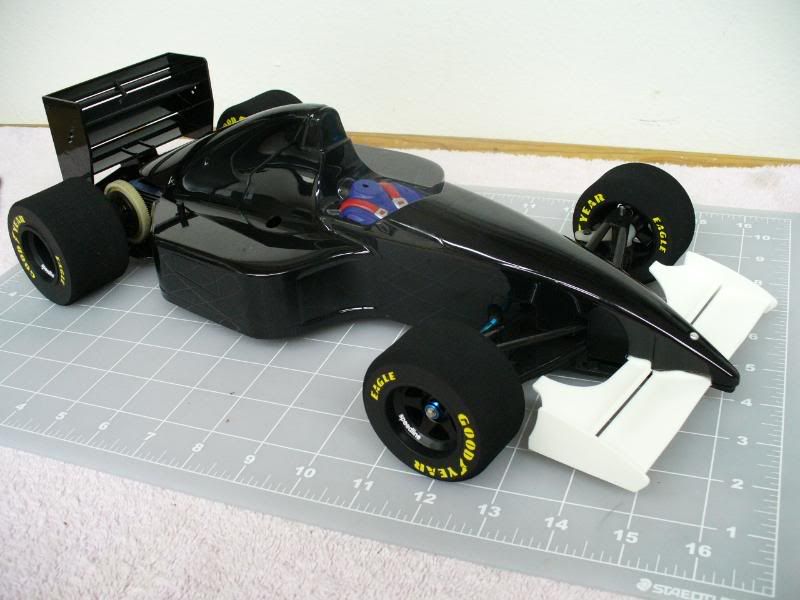
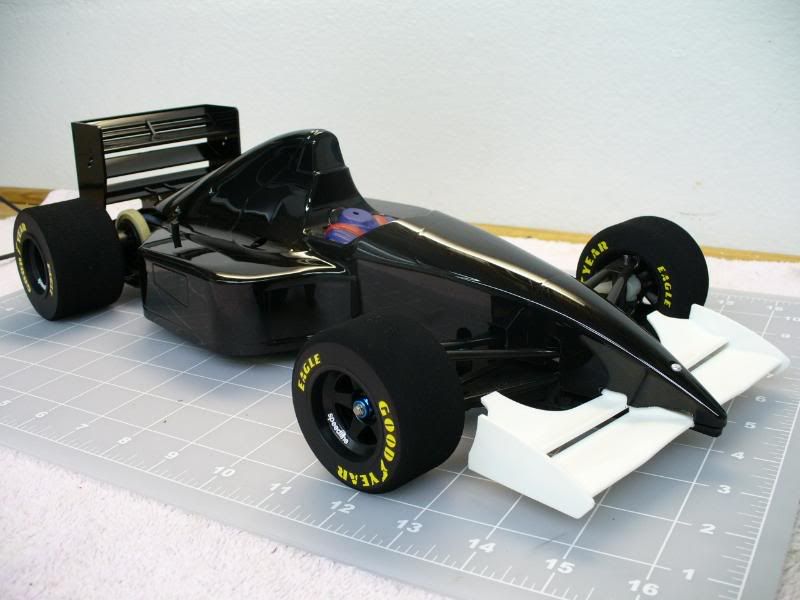
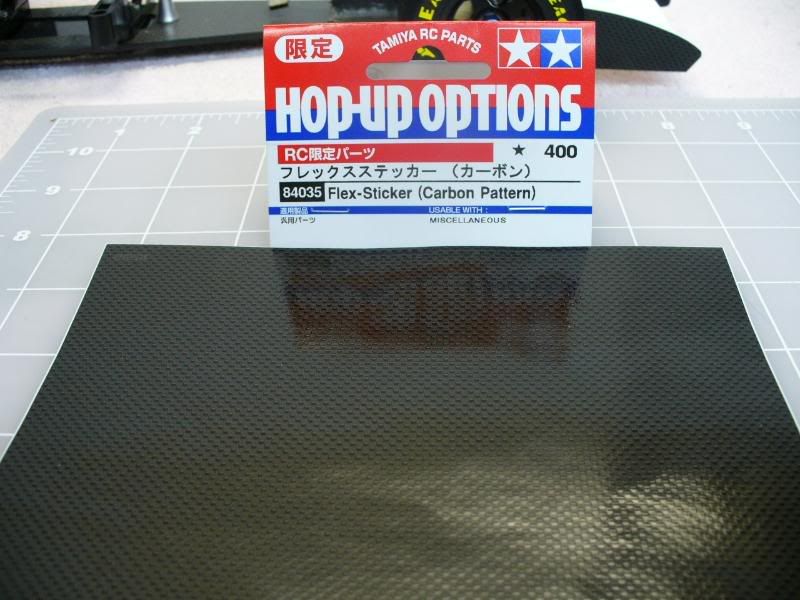
As I mentioned I decided to go a little extra so I opted out of the simple plain black stickers that go on the sides of the front wing. I picked up a sheet of Tamiya's new Carbon Fiber Pattern sticker sheet. It's not completely true to scale but it gets the point across and has a nice effect.
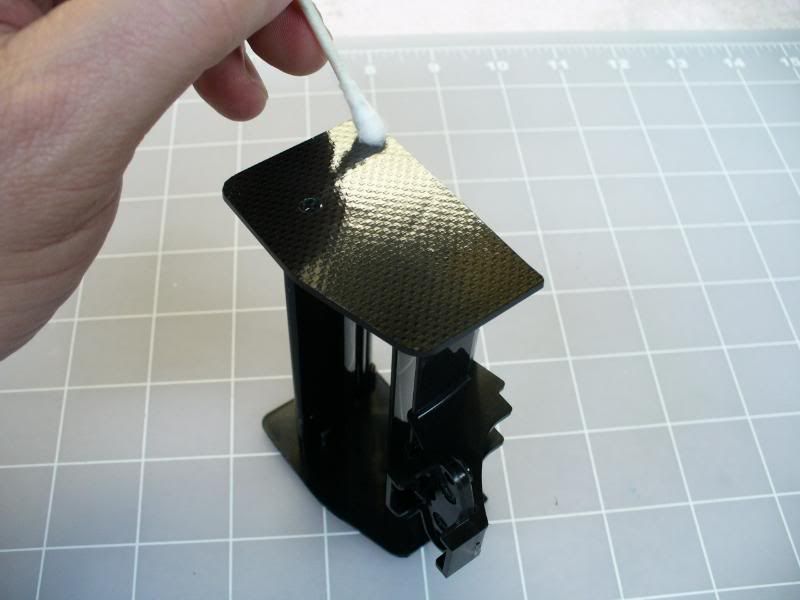
I used some rubbing alcohol to clean the wings off, removing any oils and fingerprints. To get this to work I pealed the backing up and laid each of the wings on its side and pressed down. I used the exacto knife to trim along the edges and cut to fit.
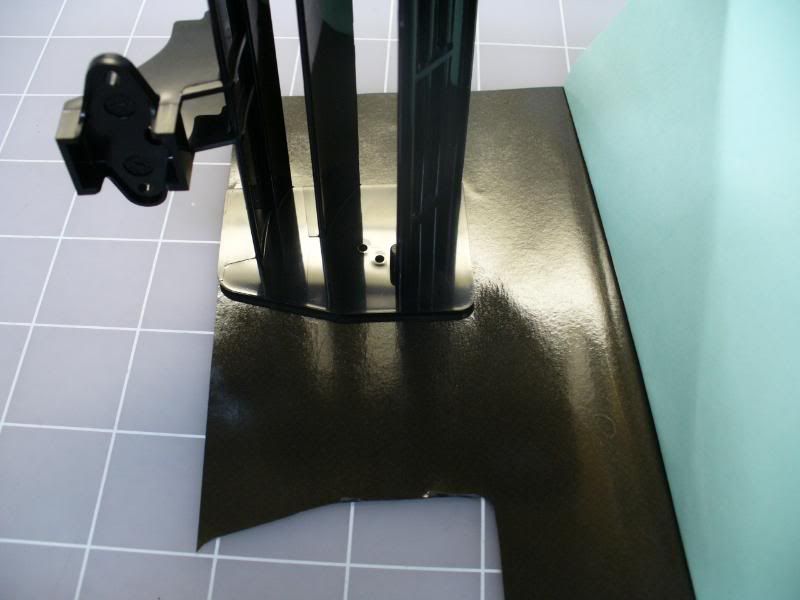
Because the rear wing is adjustable I cut an X pattern in the sticker once applied, then used a quetip to push the sticker in. This helps prevent the sticker from rumpling up when the screws get tightened.

I used the same sticker sheet for the front wing.
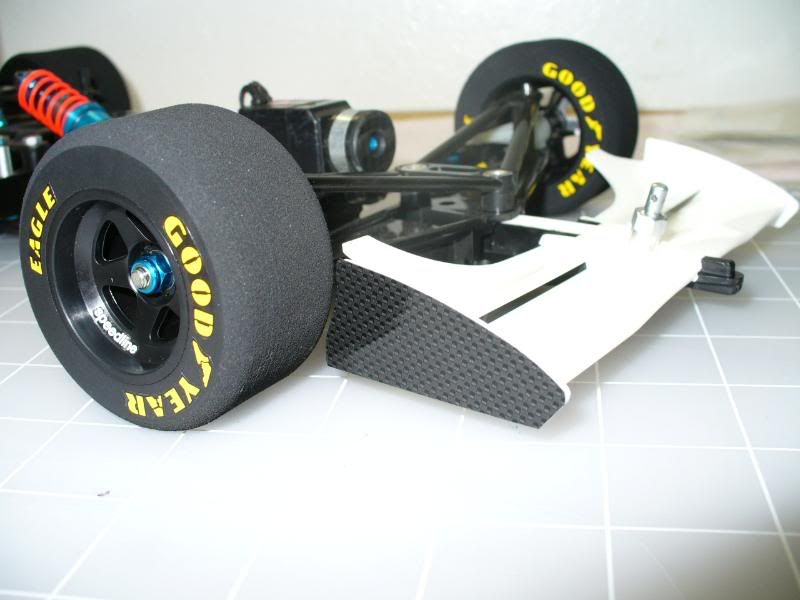
With the carbon backing on I was ready for to apply the kit supplied stickers to the wings.
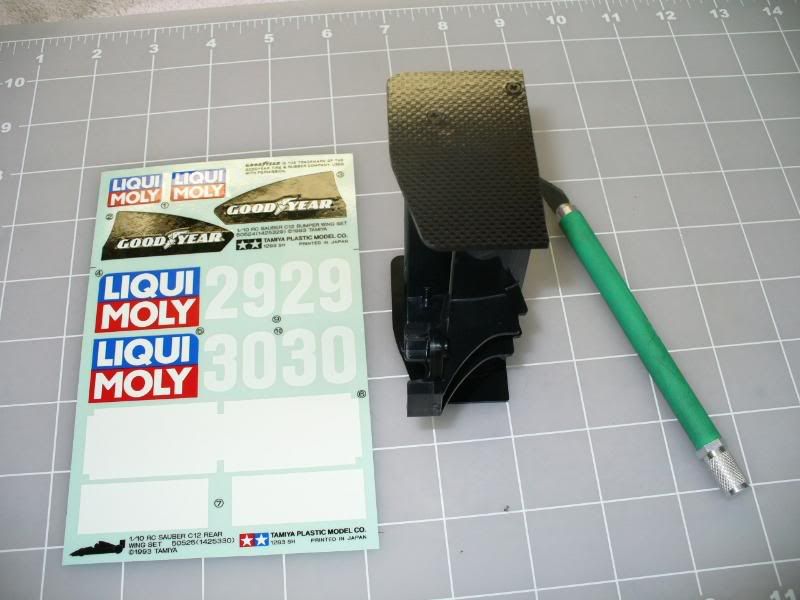
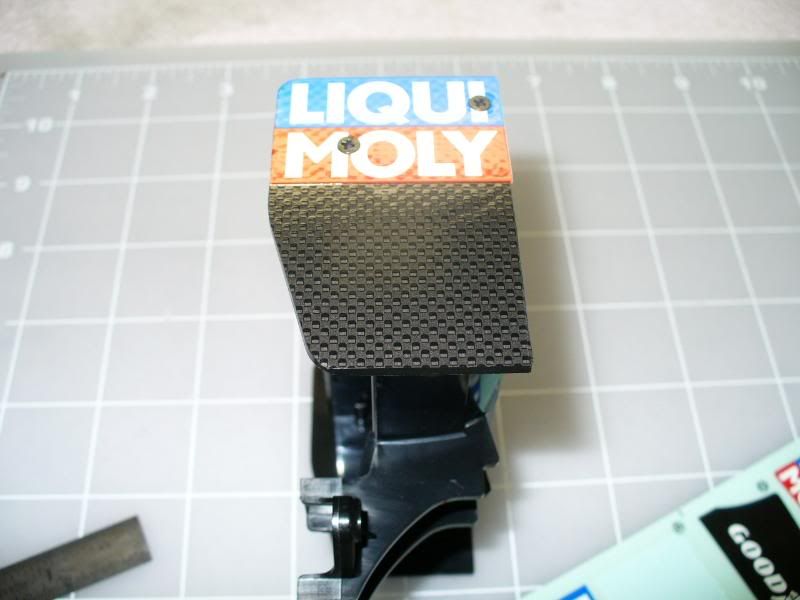

I also decided to throw some paint on the front wing to add that little bit extra to it. I used Tamiya Semi Gloss Black on the inside of the front wing. This should give it enough reflection to simulate that epoxy carbon look. I taped off both wing elements and applied a few coats of paint using the wide tipped brush mentioned earlier.

I didn't get a chance to finish the rear wing. I still have apply the white stickers to the upper wing element. But it's late, I have work in the moring, I'm tired, I'm hungry and I'm done for the night. Below are the pics showing the car with the wings mounted and the cock painted.
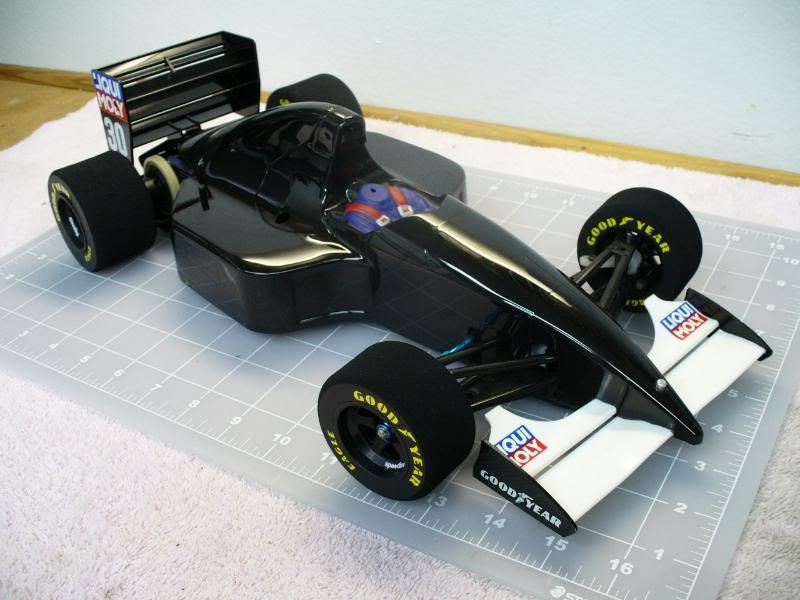
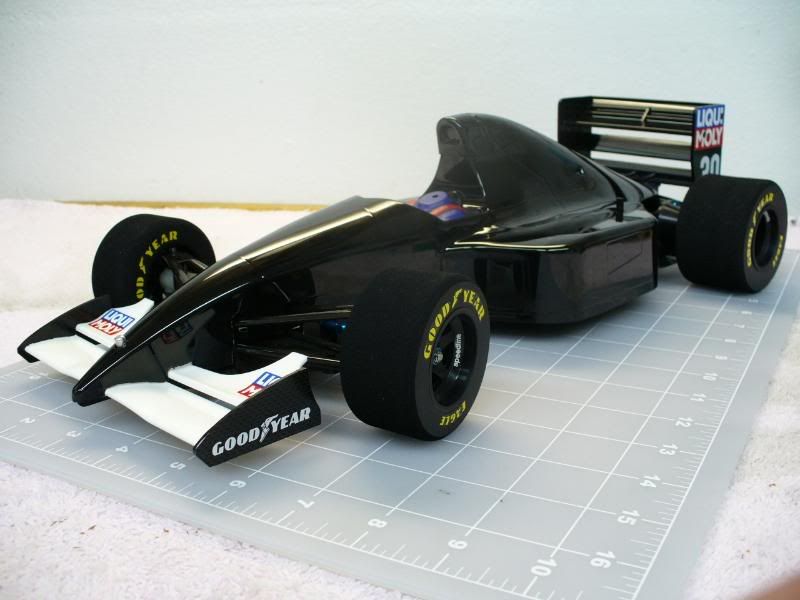
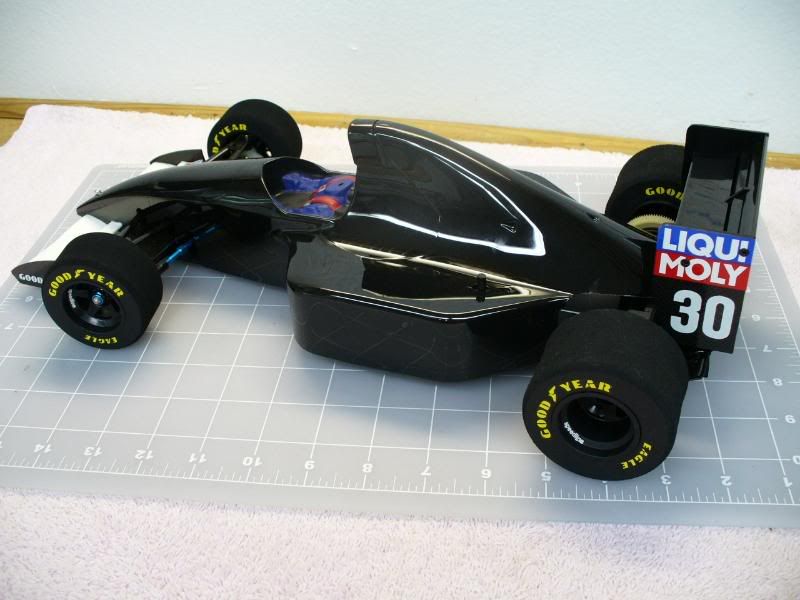


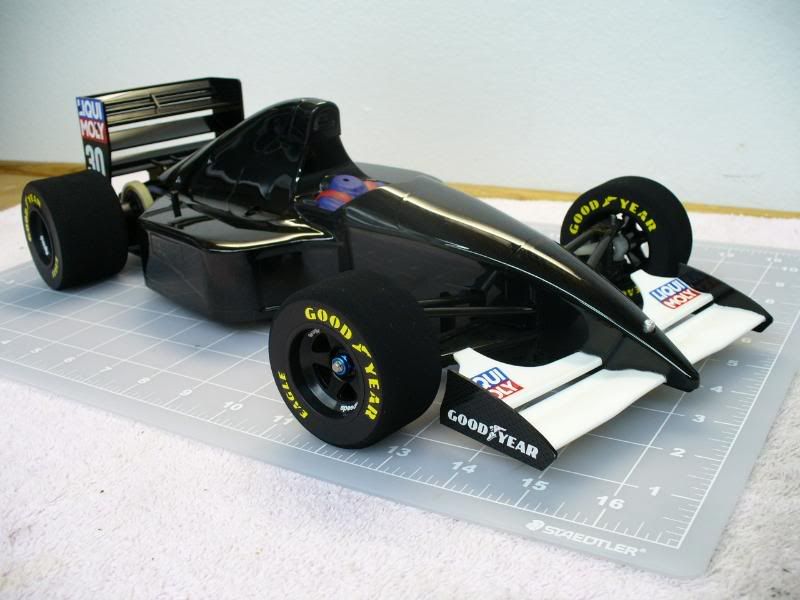
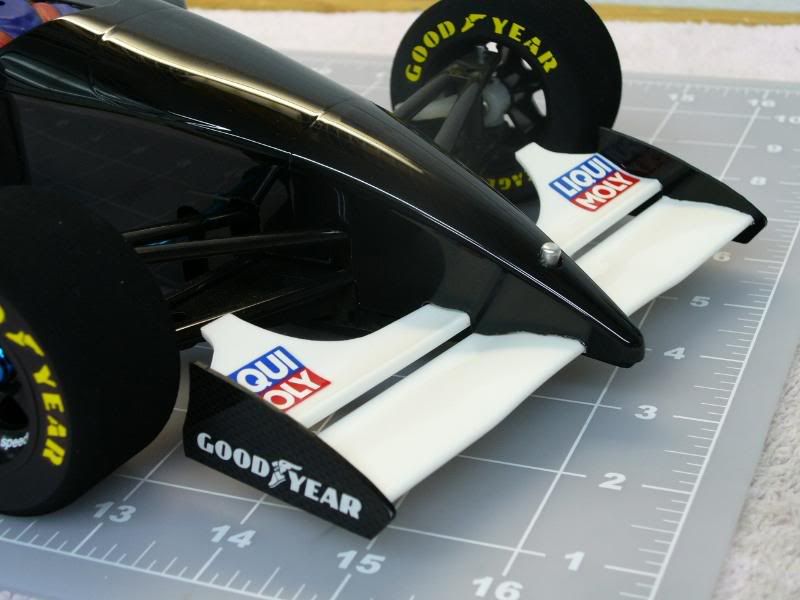
This is the plain car with just paint.


As I mentioned I decided to go a little extra so I opted out of the simple plain black stickers that go on the sides of the front wing. I picked up a sheet of Tamiya's new Carbon Fiber Pattern sticker sheet. It's not completely true to scale but it gets the point across and has a nice effect.
I used some rubbing alcohol to clean the wings off, removing any oils and fingerprints. To get this to work I pealed the backing up and laid each of the wings on its side and pressed down. I used the exacto knife to trim along the edges and cut to fit.


Because the rear wing is adjustable I cut an X pattern in the sticker once applied, then used a quetip to push the sticker in. This helps prevent the sticker from rumpling up when the screws get tightened.


I used the same sticker sheet for the front wing.

With the carbon backing on I was ready for to apply the kit supplied stickers to the wings.


I also decided to throw some paint on the front wing to add that little bit extra to it. I used Tamiya Semi Gloss Black on the inside of the front wing. This should give it enough reflection to simulate that epoxy carbon look. I taped off both wing elements and applied a few coats of paint using the wide tipped brush mentioned earlier.
I didn't get a chance to finish the rear wing. I still have apply the white stickers to the upper wing element. But it's late, I have work in the moring, I'm tired, I'm hungry and I'm done for the night. Below are the pics showing the car with the wings mounted and the cock painted.


Anyway, seeing this Sauber C12 reminded me I recently managed to pick up a BNIB genuine body set... Not cheap n it will probably remain in the box, although I have another couple of builds in progress, too...
Would be great to hear from you n see what you're up to these days!
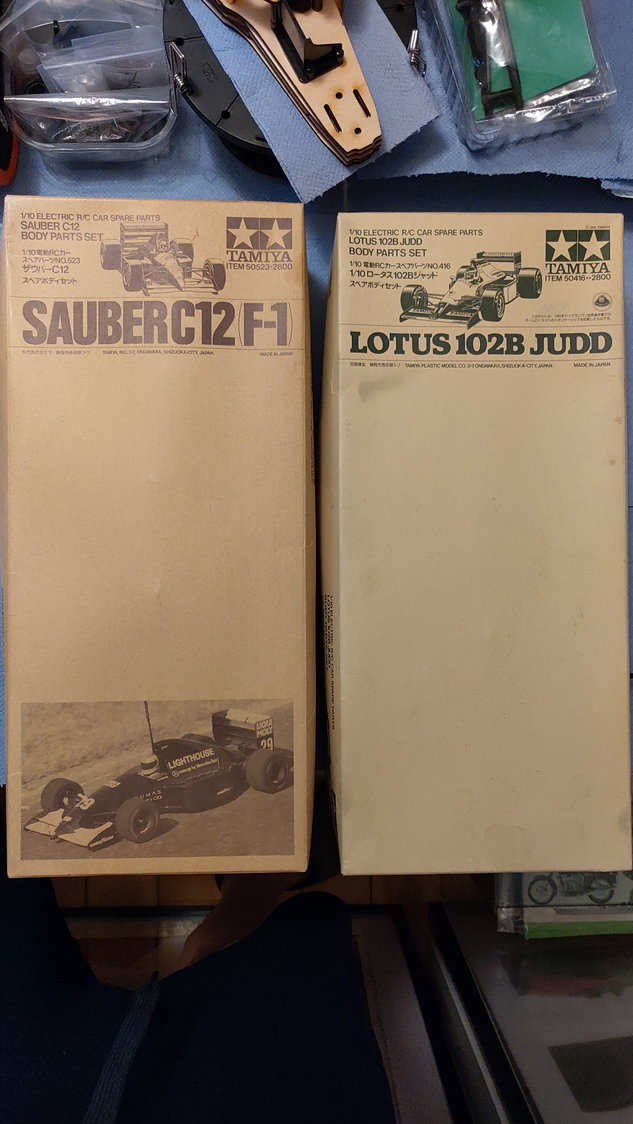
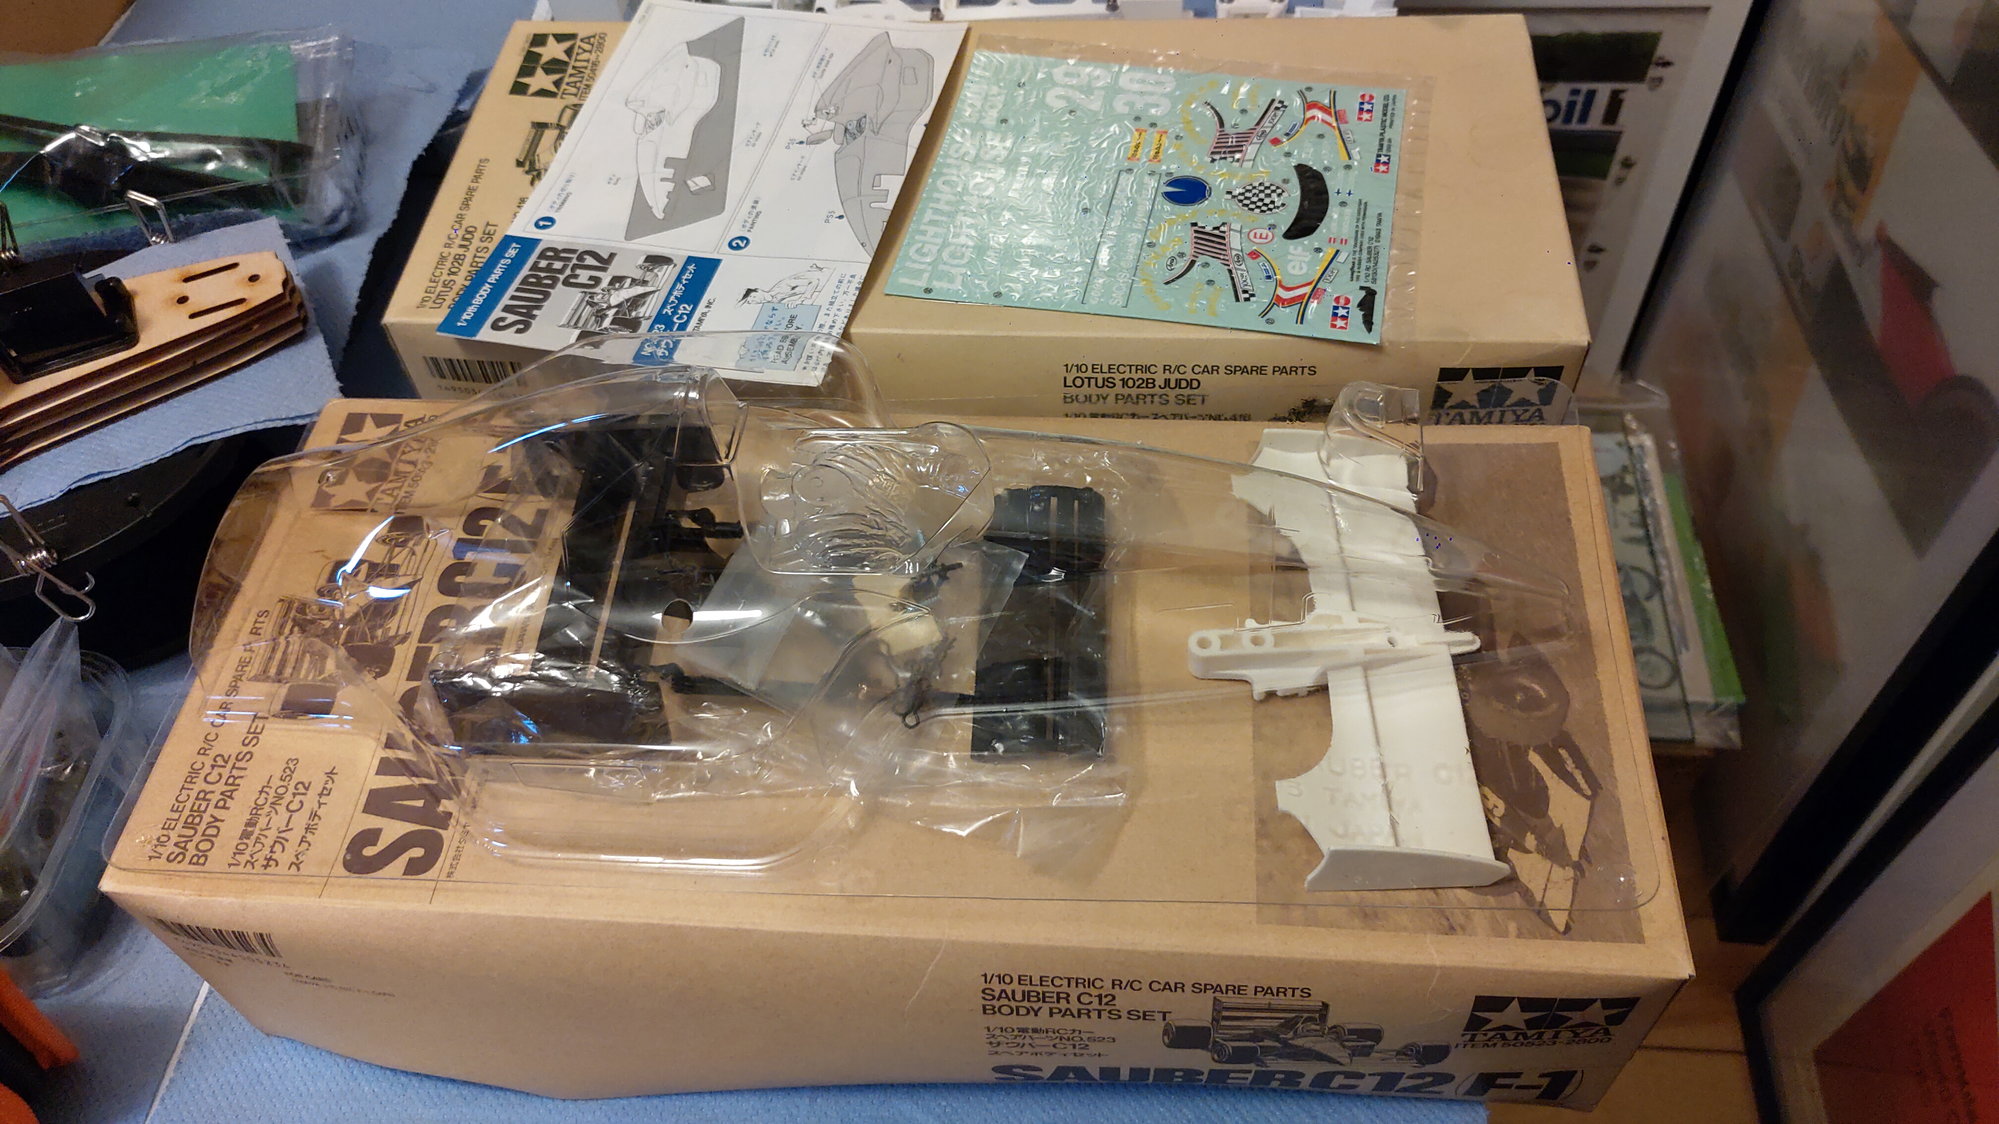
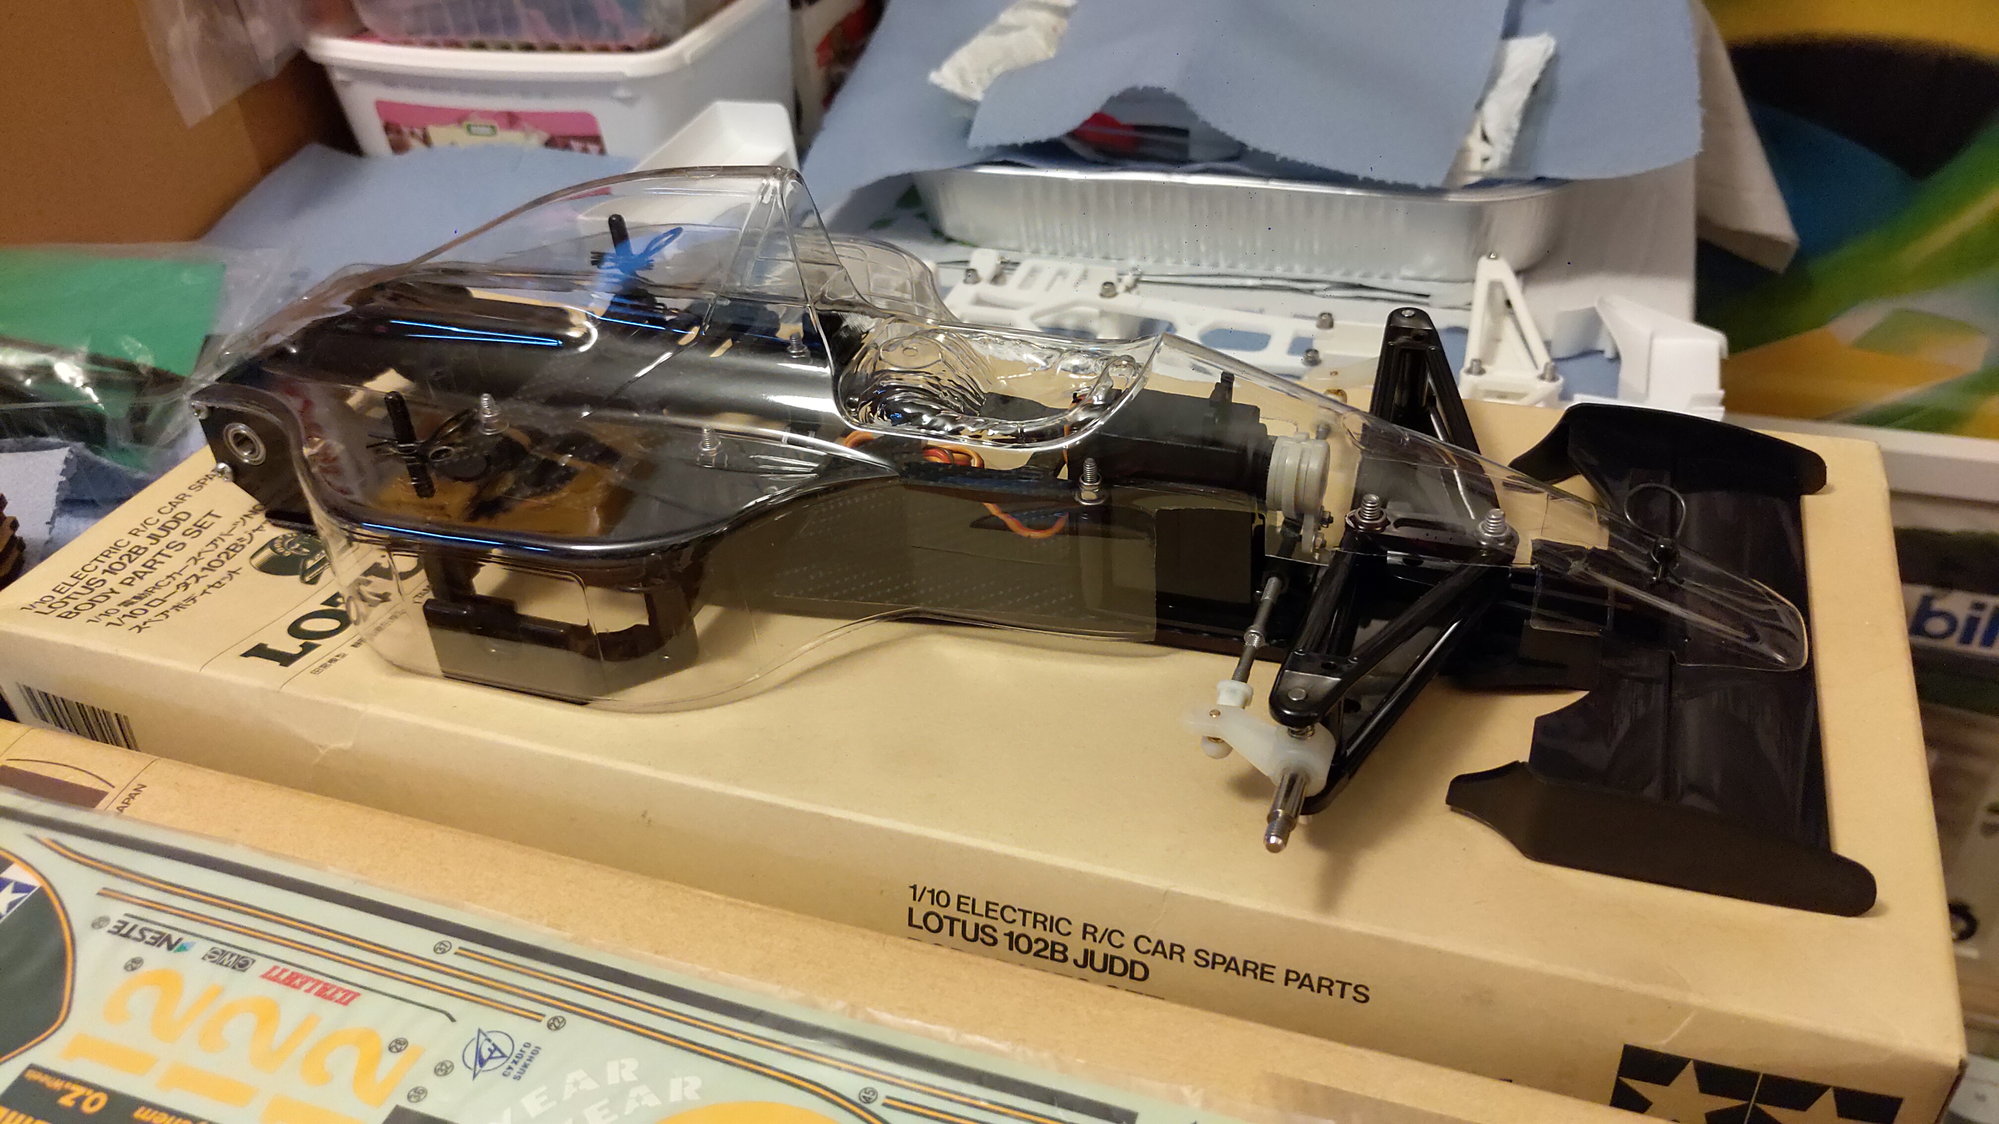
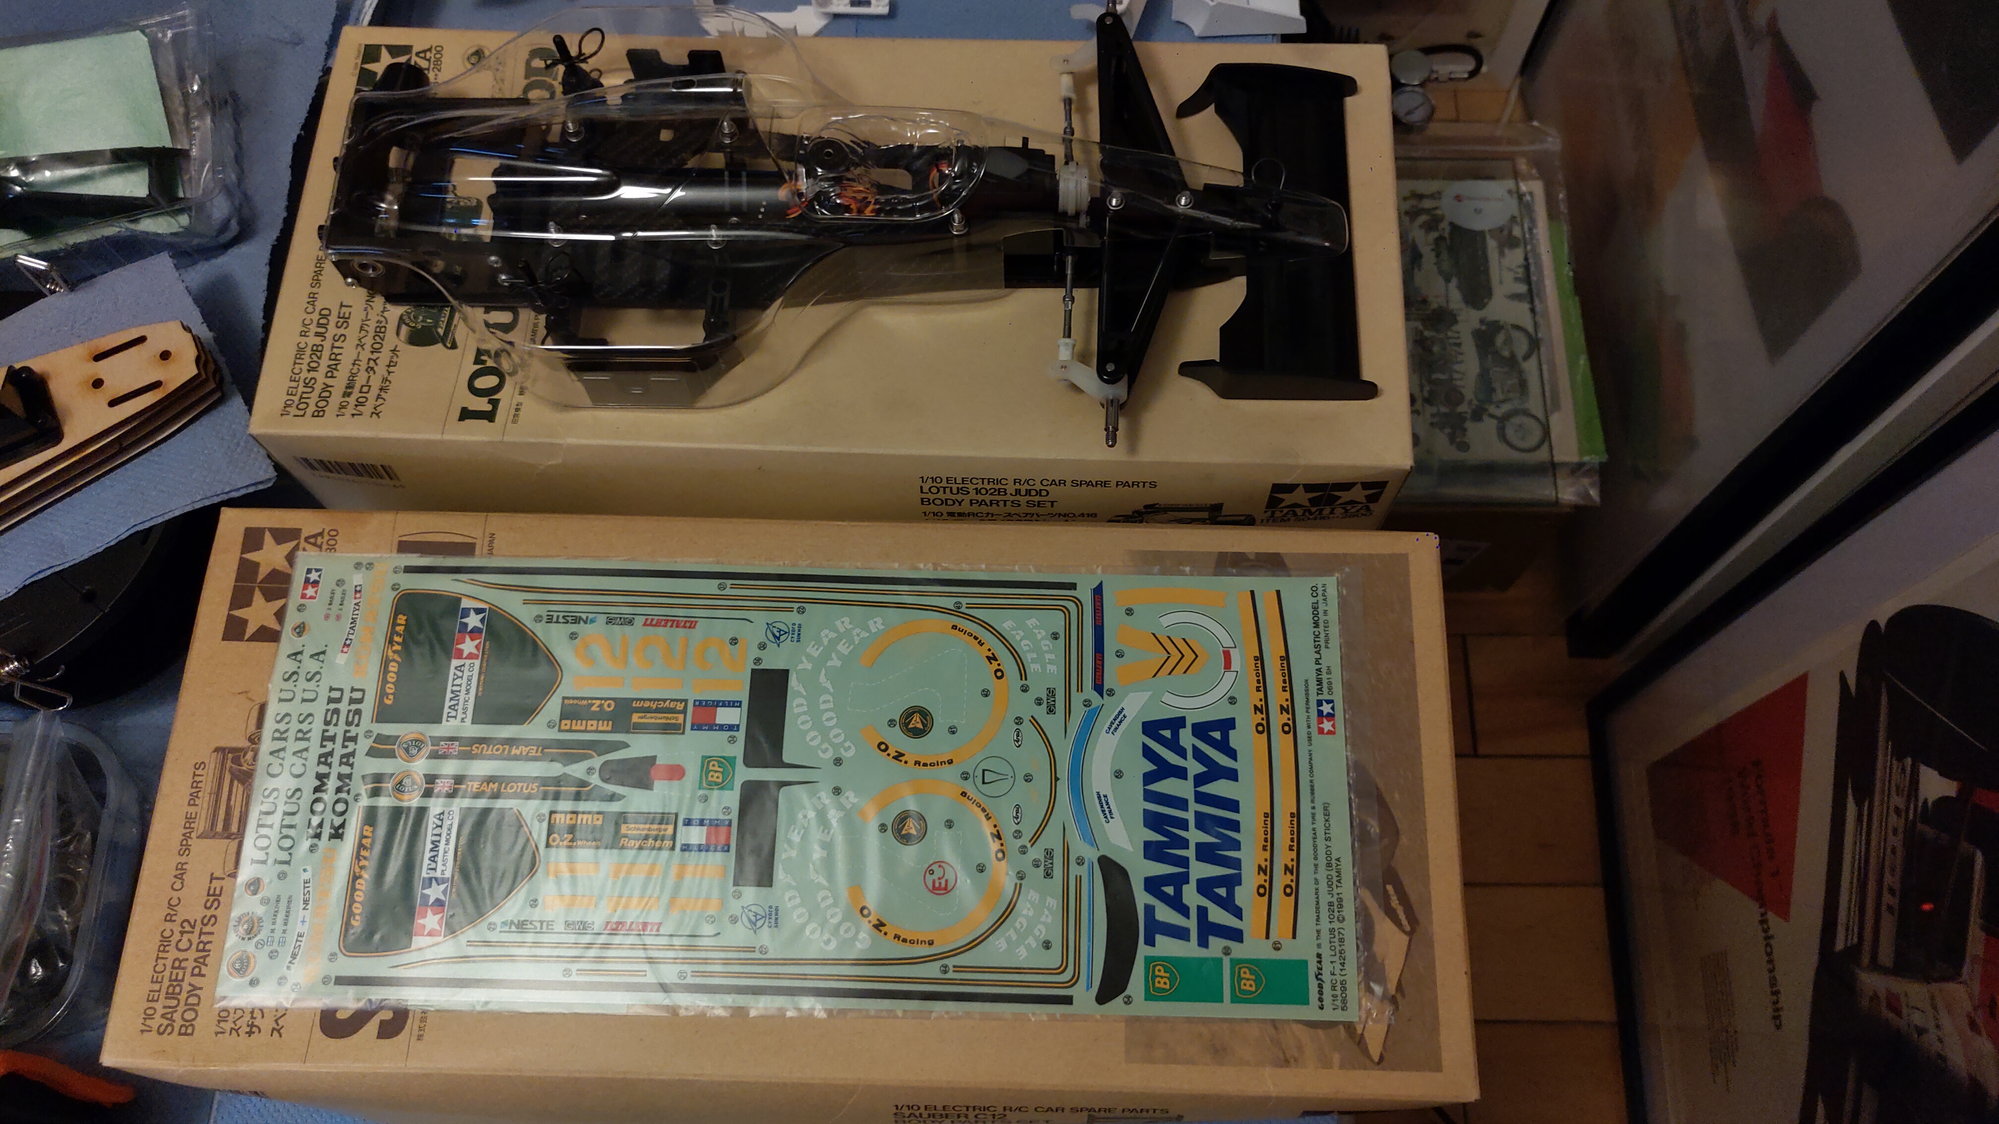
Cheers, Kramer 🙂👍
#938

Join Date: Jun 2012
Location: Wellington, NEW ZEALAND
Posts: 91
Likes: 0
Received 0 Likes
on
0 Posts
Cool, it's a very rewarding process, although the kits and parts are getting very difficult to come by these days... Where are you located? I can help point you in the right direction if not able to help directly.
#939
Junior Member


