


Flight Hobby Top Stage 70
 03-21-2024, 06:43 AM
#1

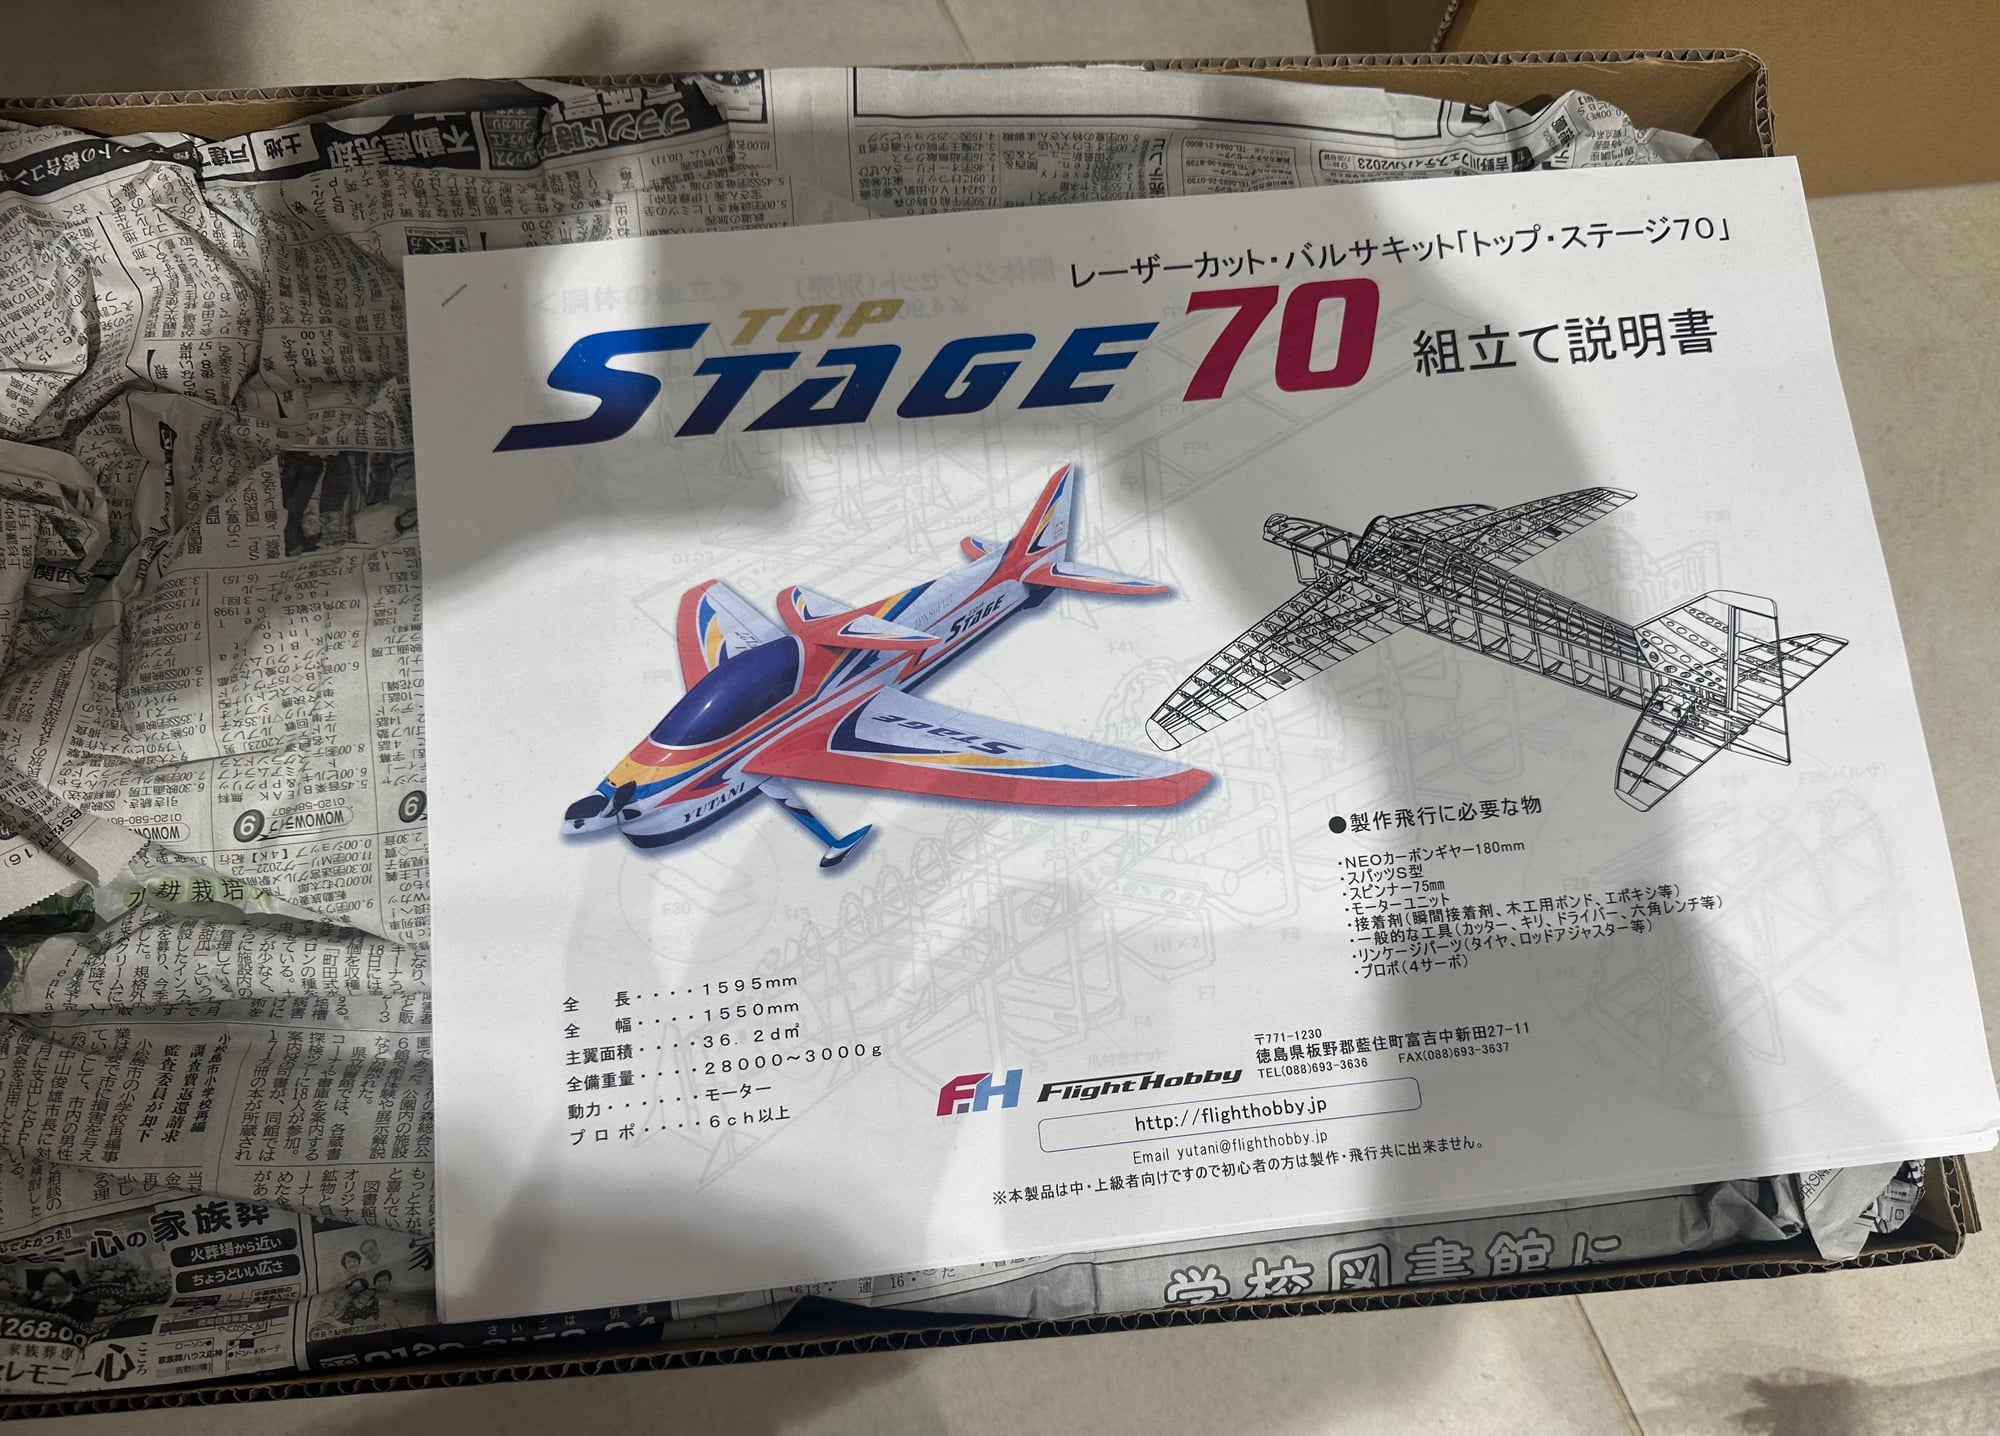
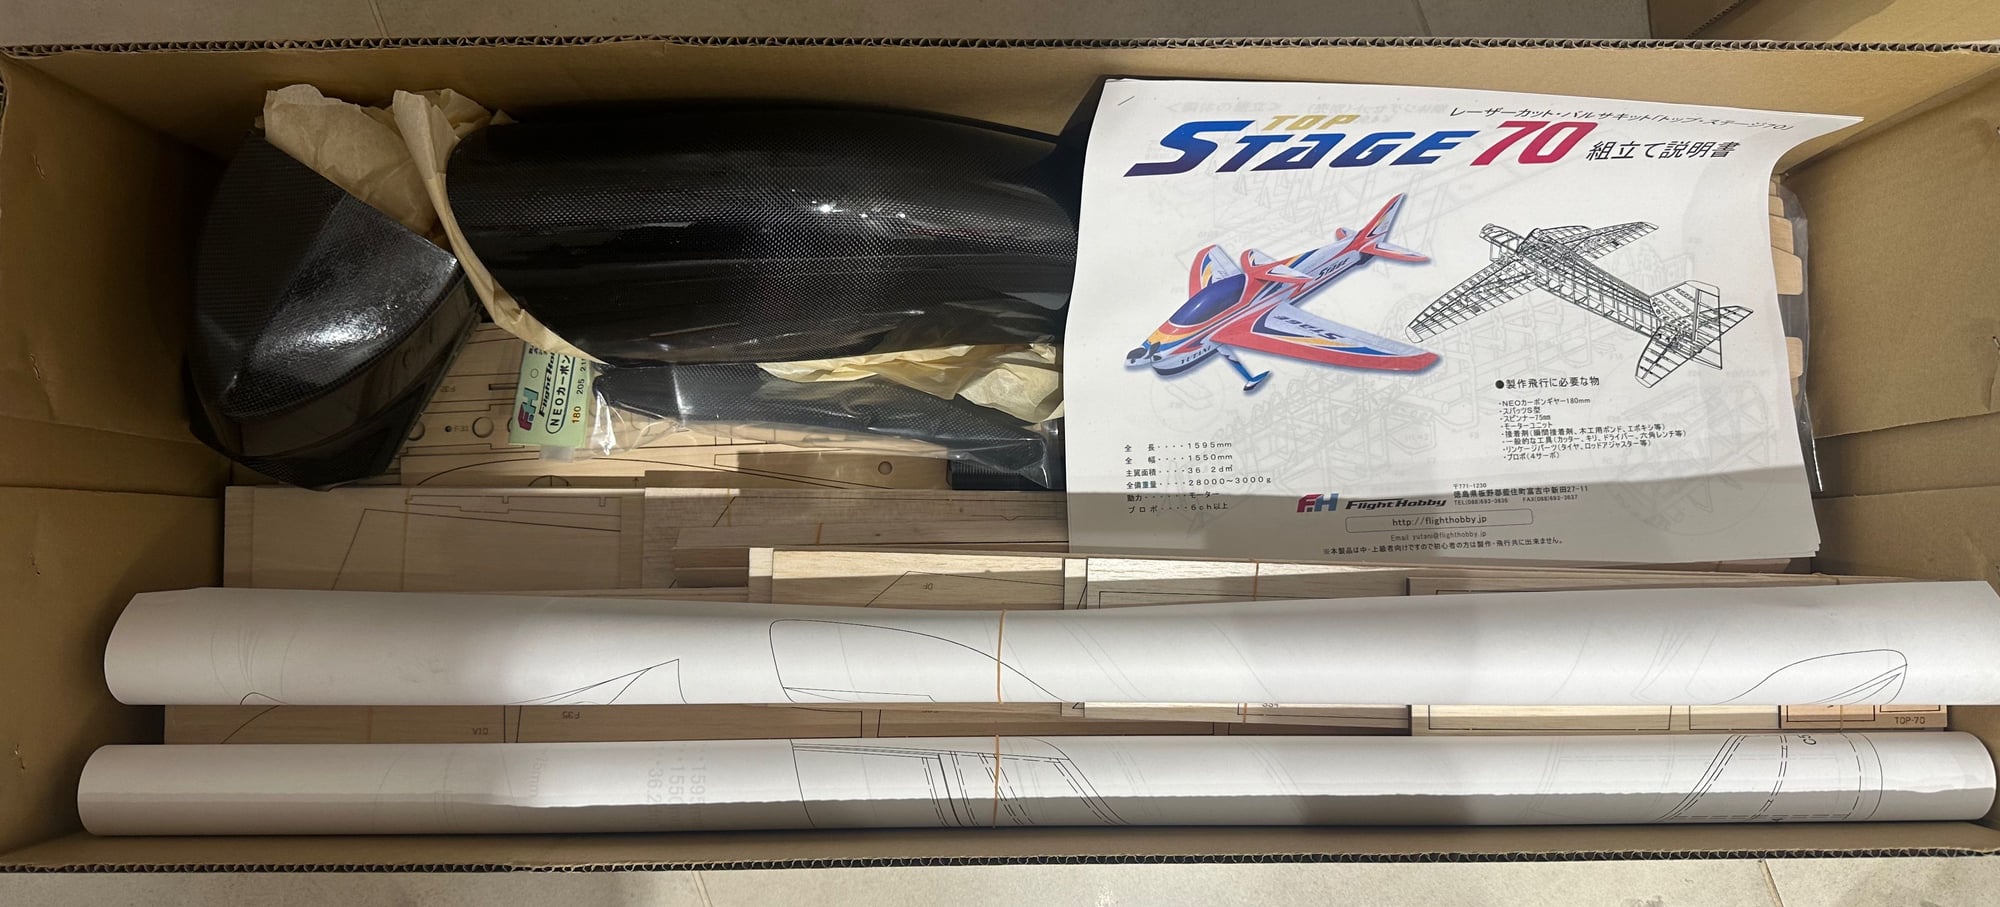
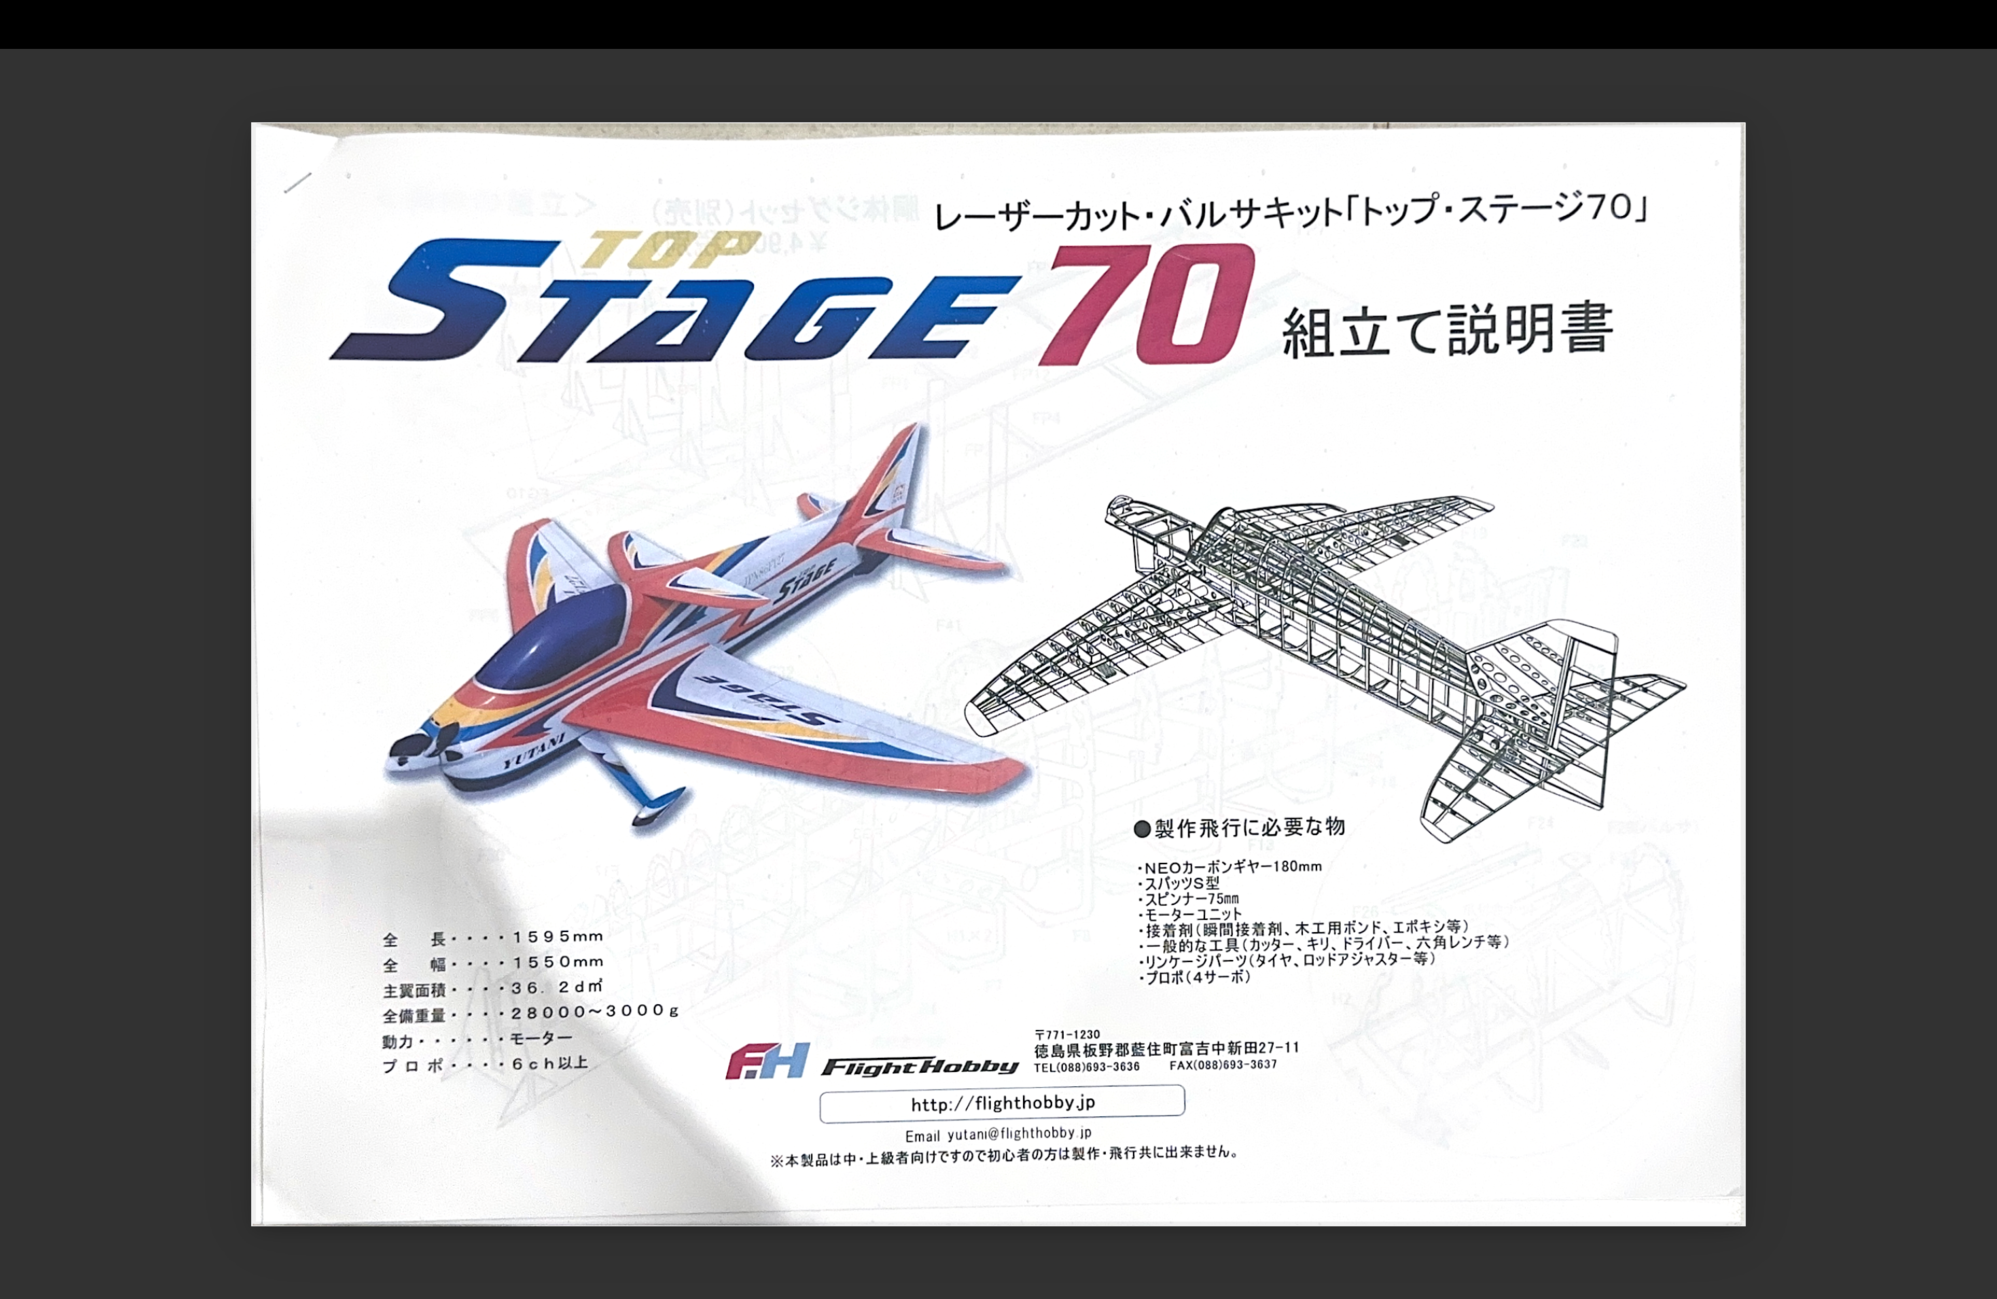
Okay, so I am starting to build Flight Hobby Top Stage 70 kit. This is a 70e class F3A kit, made in Japan. It is the successor of the Nero, and on the small version.
Last edited by gil.s; 03-21-2024 at 06:52 AM.
 03-21-2024, 07:20 AM
#5
The kit assumes one knows how to build kits, so I am definitely out of my league. Mistakes are about to happen, and I will try to minimize them as much as I can.
Things that I need to think of and not trivial on ARFs or trainer kits:
How do I attach the motor?
How do I connect the wing?
How to I handle the canopy and cowl?
How do I handle the moving parts, elevator, ailerons and rudder.
How do I cover/paint this?
Things that I need to think of and not trivial on ARFs or trainer kits:
How do I attach the motor?
How do I connect the wing?
How to I handle the canopy and cowl?
How do I handle the moving parts, elevator, ailerons and rudder.
How do I cover/paint this?
03-22-2024, 05:50 AM
#6

My Feedback: (121)
https://www.rcgroups.com/forums/show...STAGE-70-Build
https://flighthobb-exblog-jp.transla...n&_x_tr_pto=sc
Hi Gil,
A couple of links which you may enjoy. Congratulations on your purchase! Flight Hobby kits are top quality. I have the Top Stage kit myself. I’ve been flying pattern since 1973 and have built quite a few Japanese kits (MK, Yoshioka, Pilot and Flight Hobby) and, with the exception of Pilot, the build instructions are typically very minimal, often just added diagrams on the plans. Not ideal for inexperienced builders. However, the parts fit of these kits is outstanding; so dry assemble components, if the parts don’t seem to fit correctly you have probably misassembled them.
Enjoy the build! Please post any questions. I will try and stop by frequently.
Will
The following users liked this post:
gil.s (03-22-2024)
03-23-2024, 11:40 AM
#11
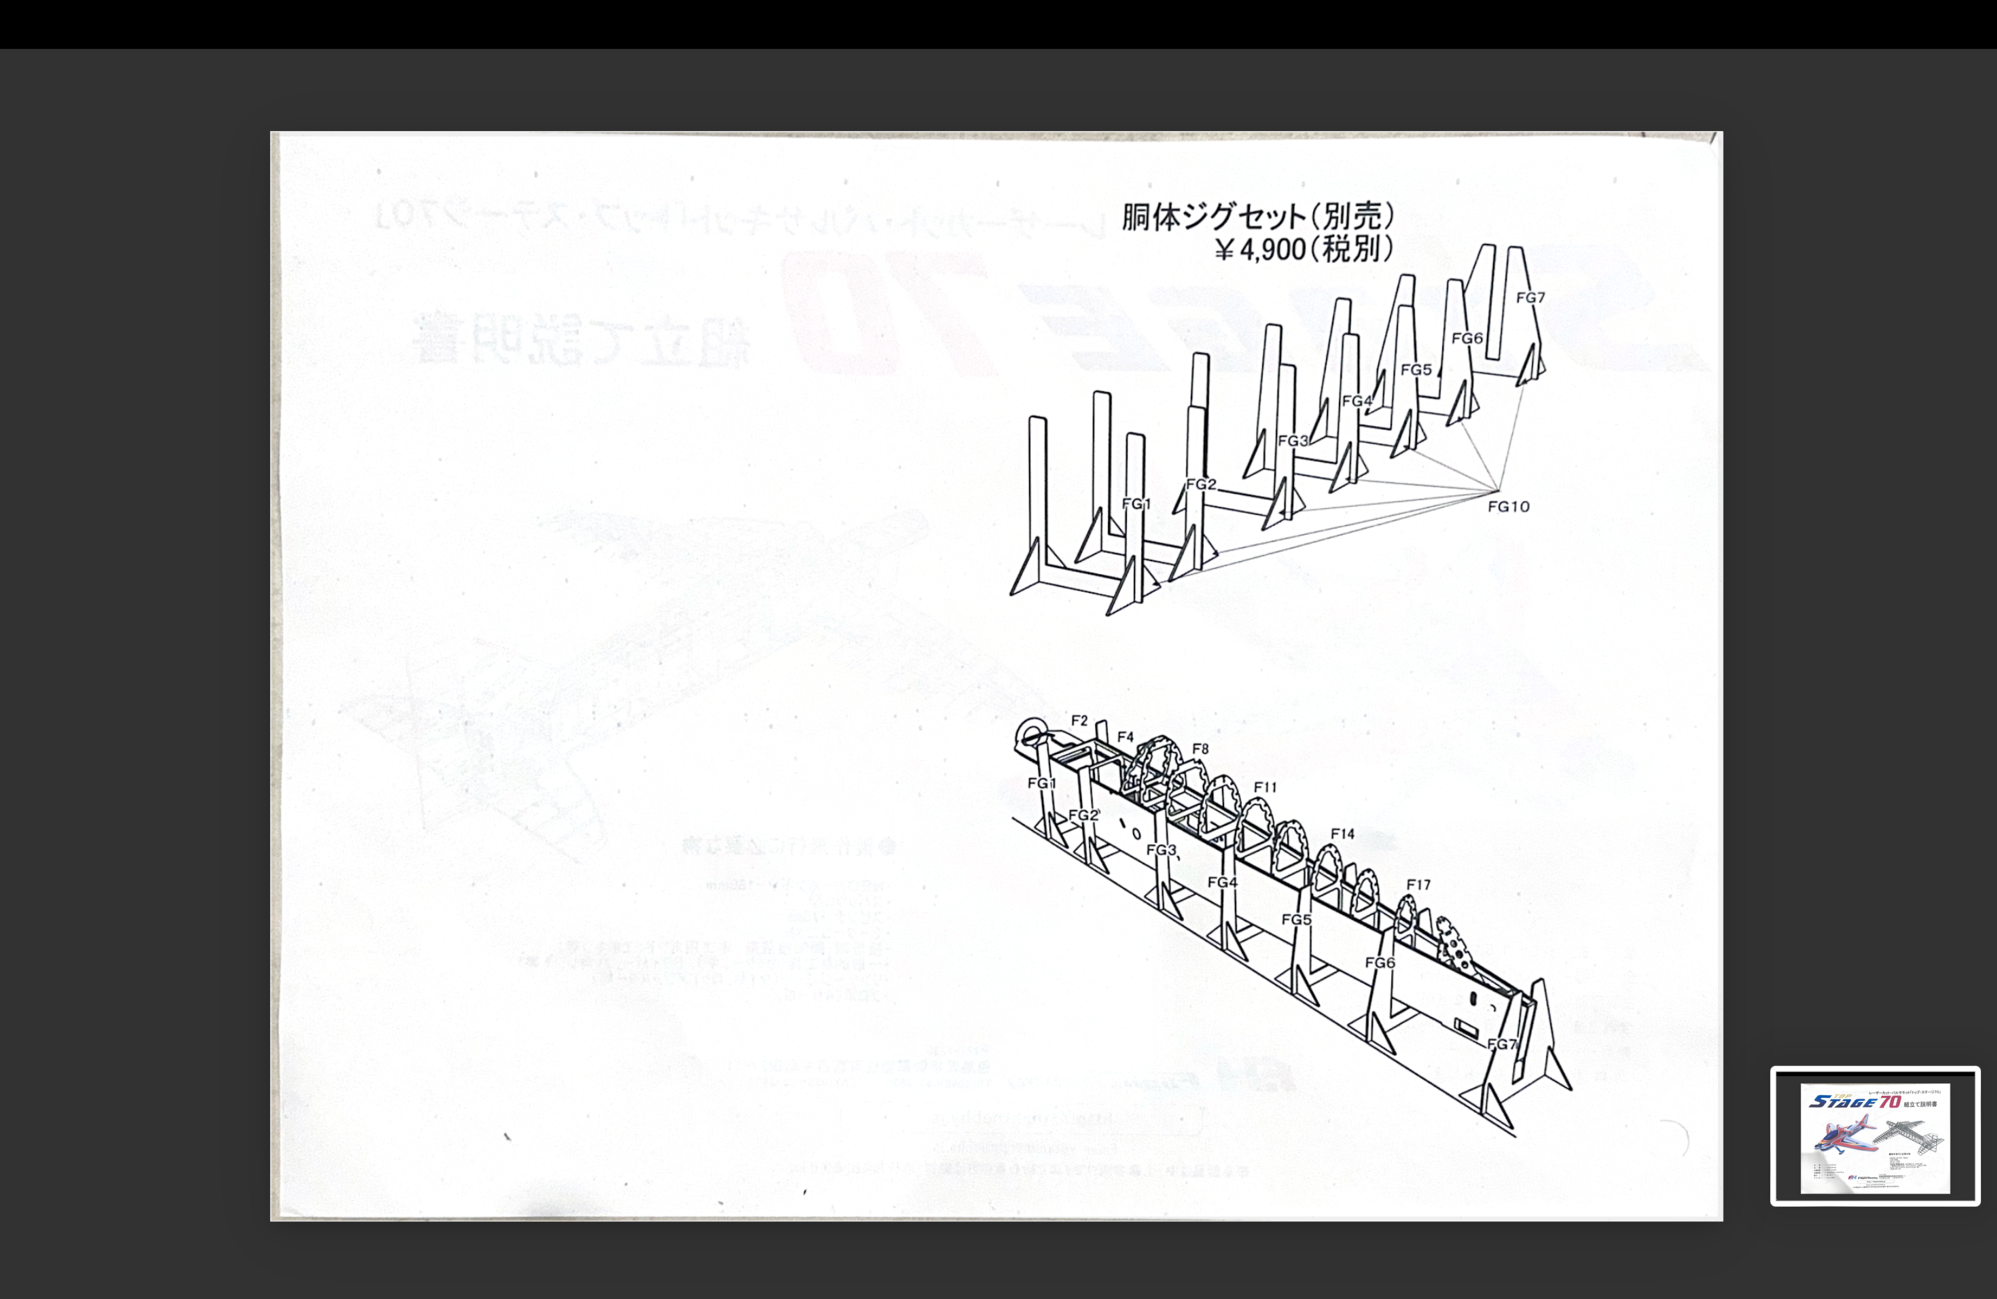
Task #4:
Assemble the fuselage nicely within the jig without glue. Assure that all parts are identified, fit nicely.
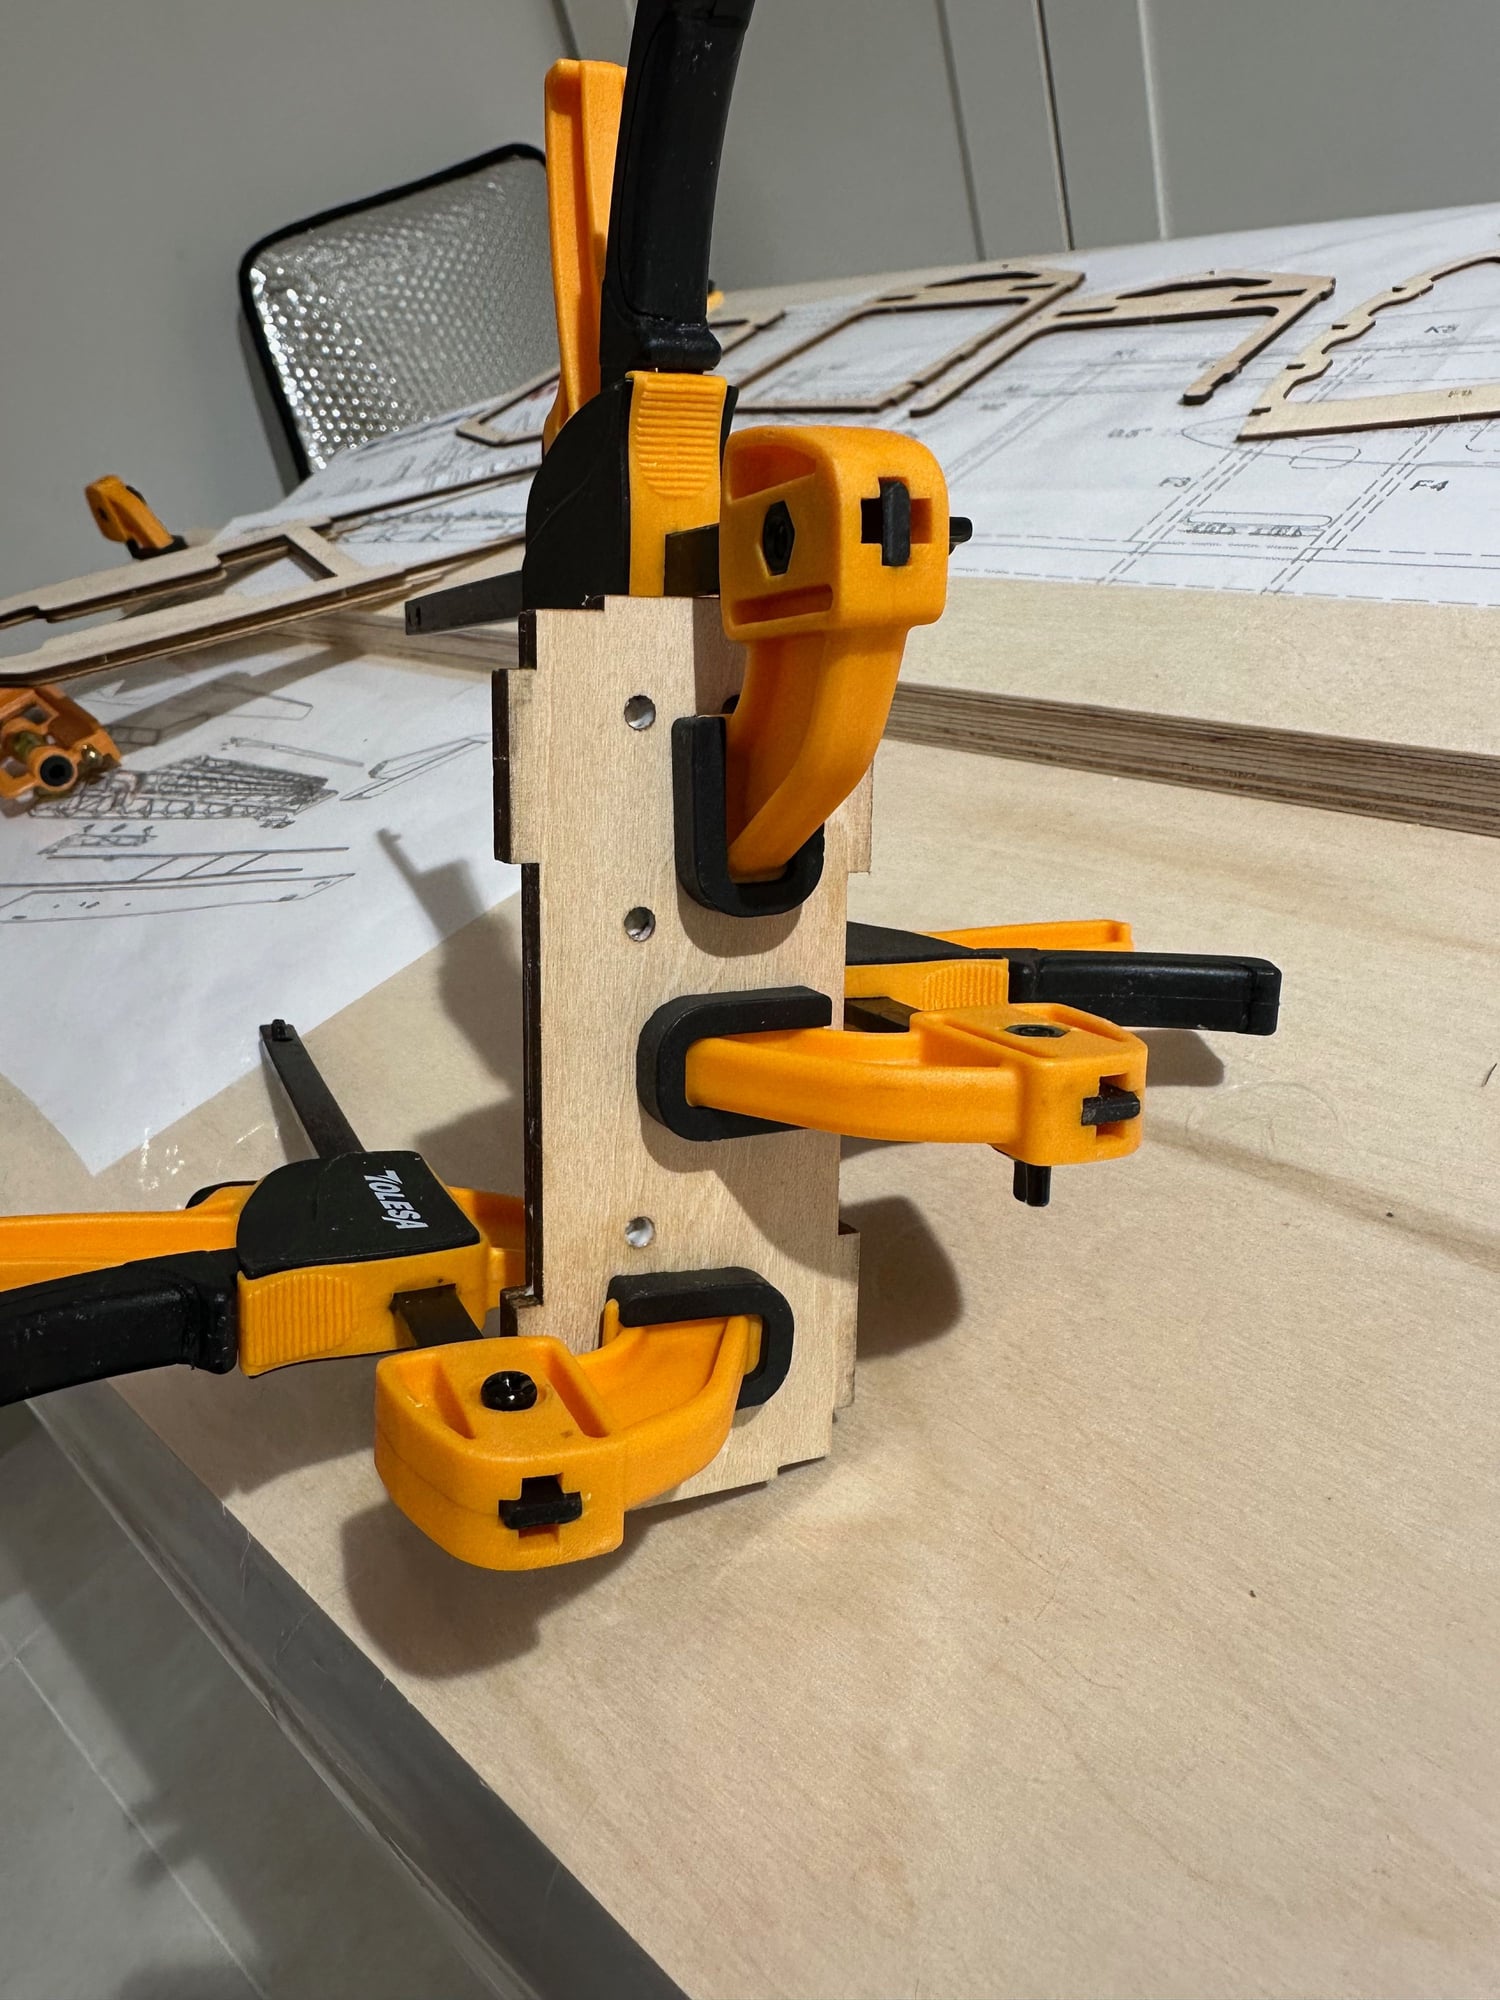
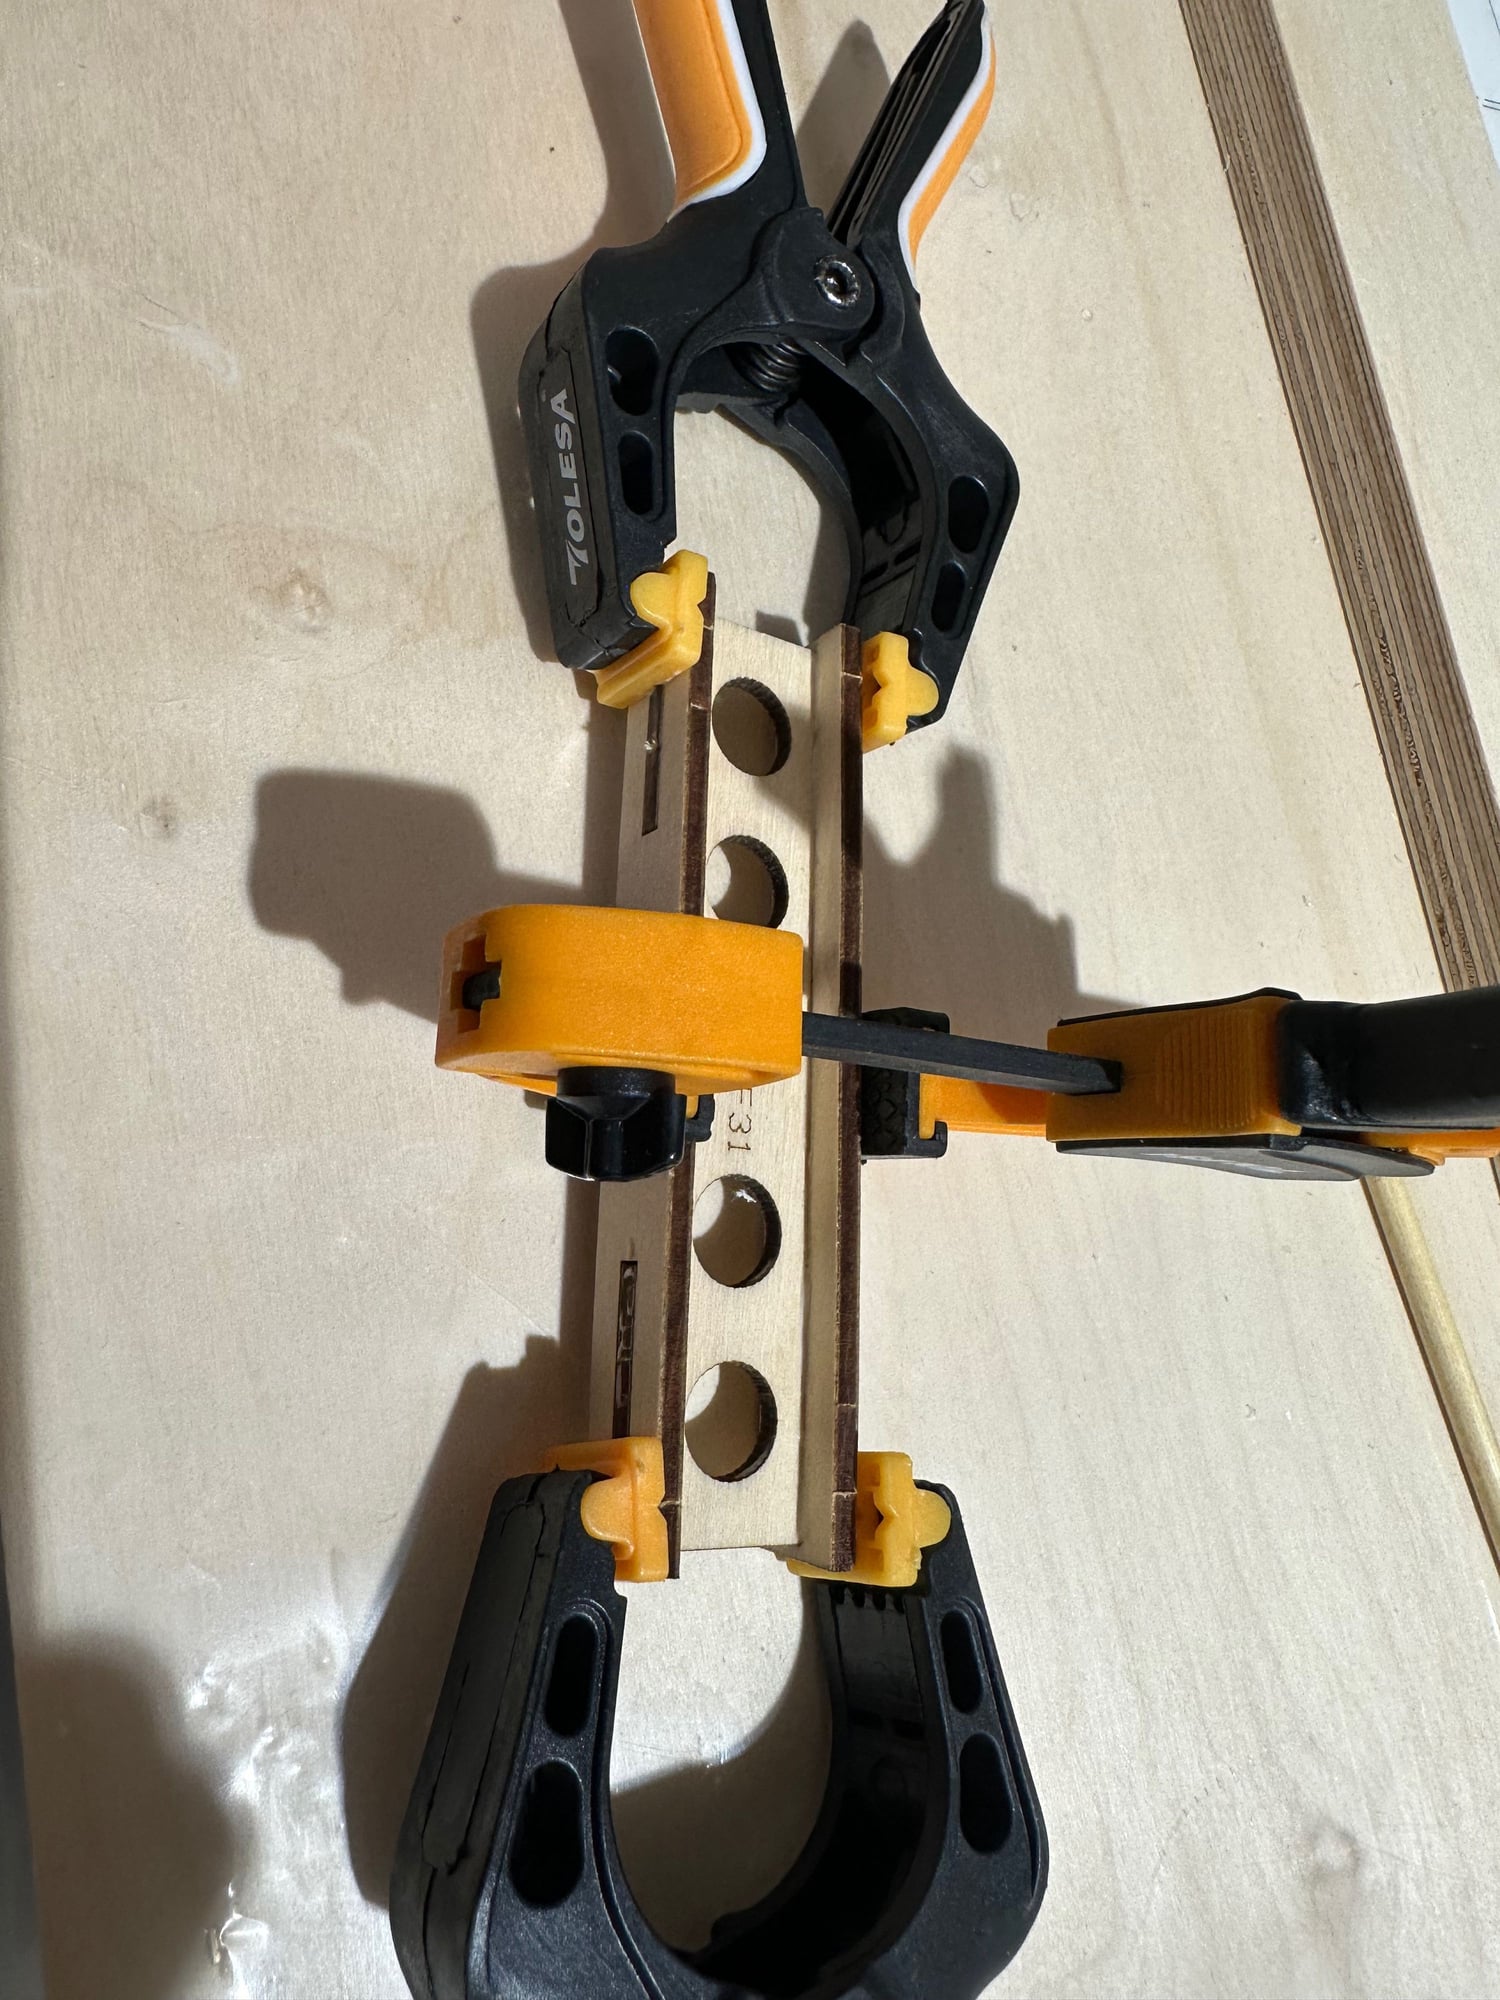
Get to understand the complex parts that need pre gluing and drilling:
Landing gear support
Motor Firewall and support
Wing connection support
Assemble the fuselage nicely within the jig without glue. Assure that all parts are identified, fit nicely.
Get to understand the complex parts that need pre gluing and drilling:
Landing gear support
Motor Firewall and support
Wing connection support


The following users liked this post:
gil.s (03-25-2024)

 03-25-2024, 03:25 AM
#16
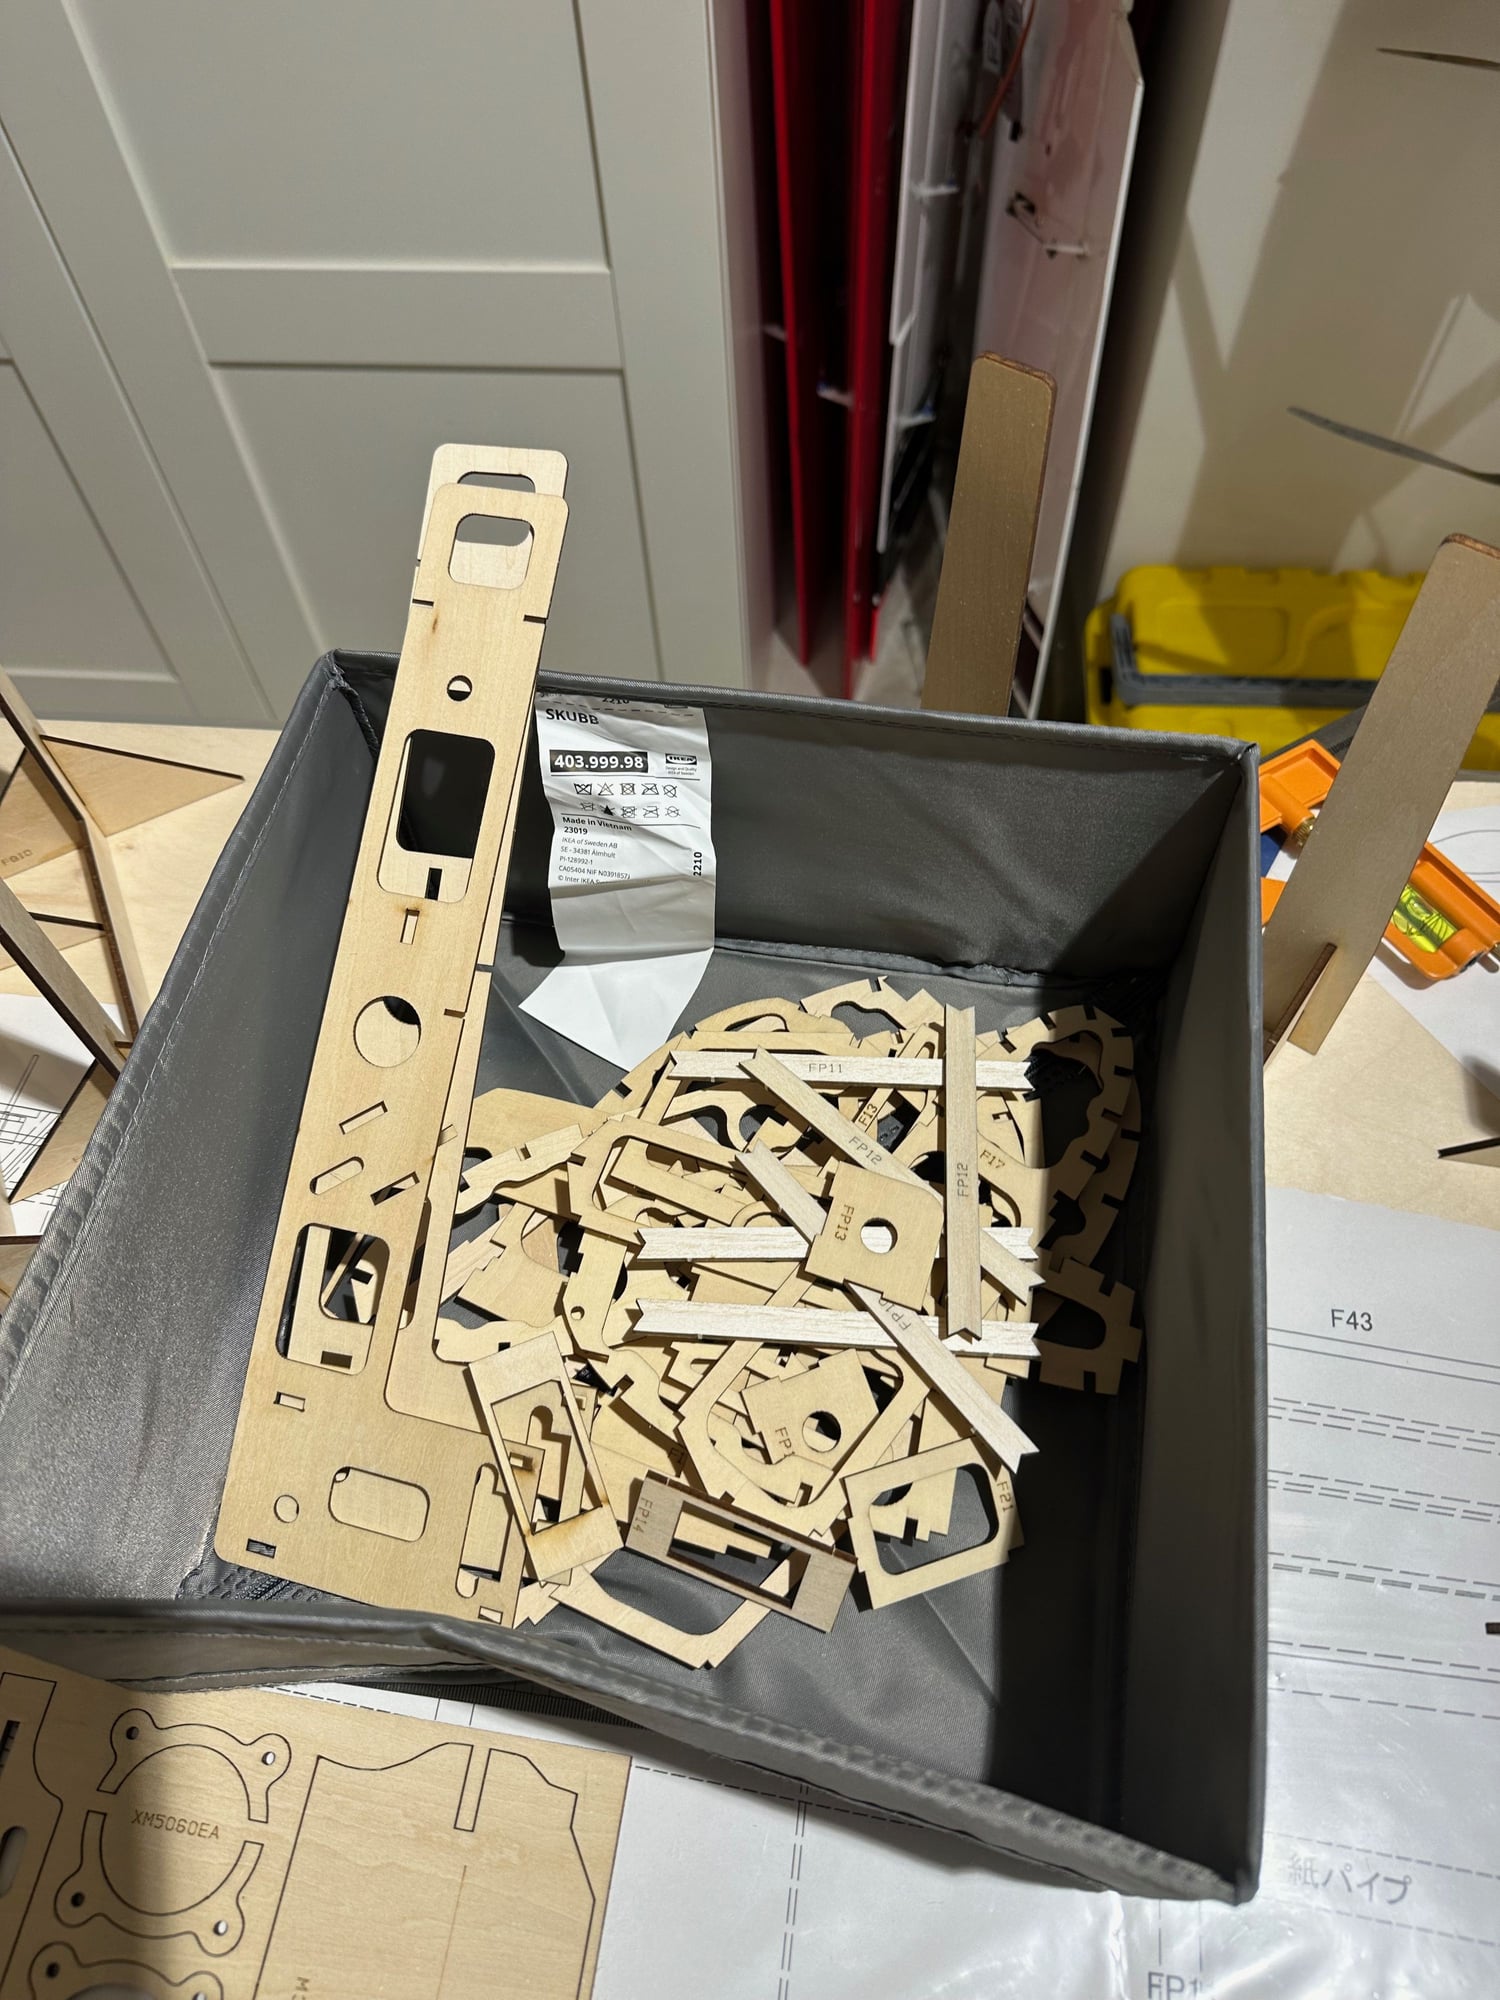
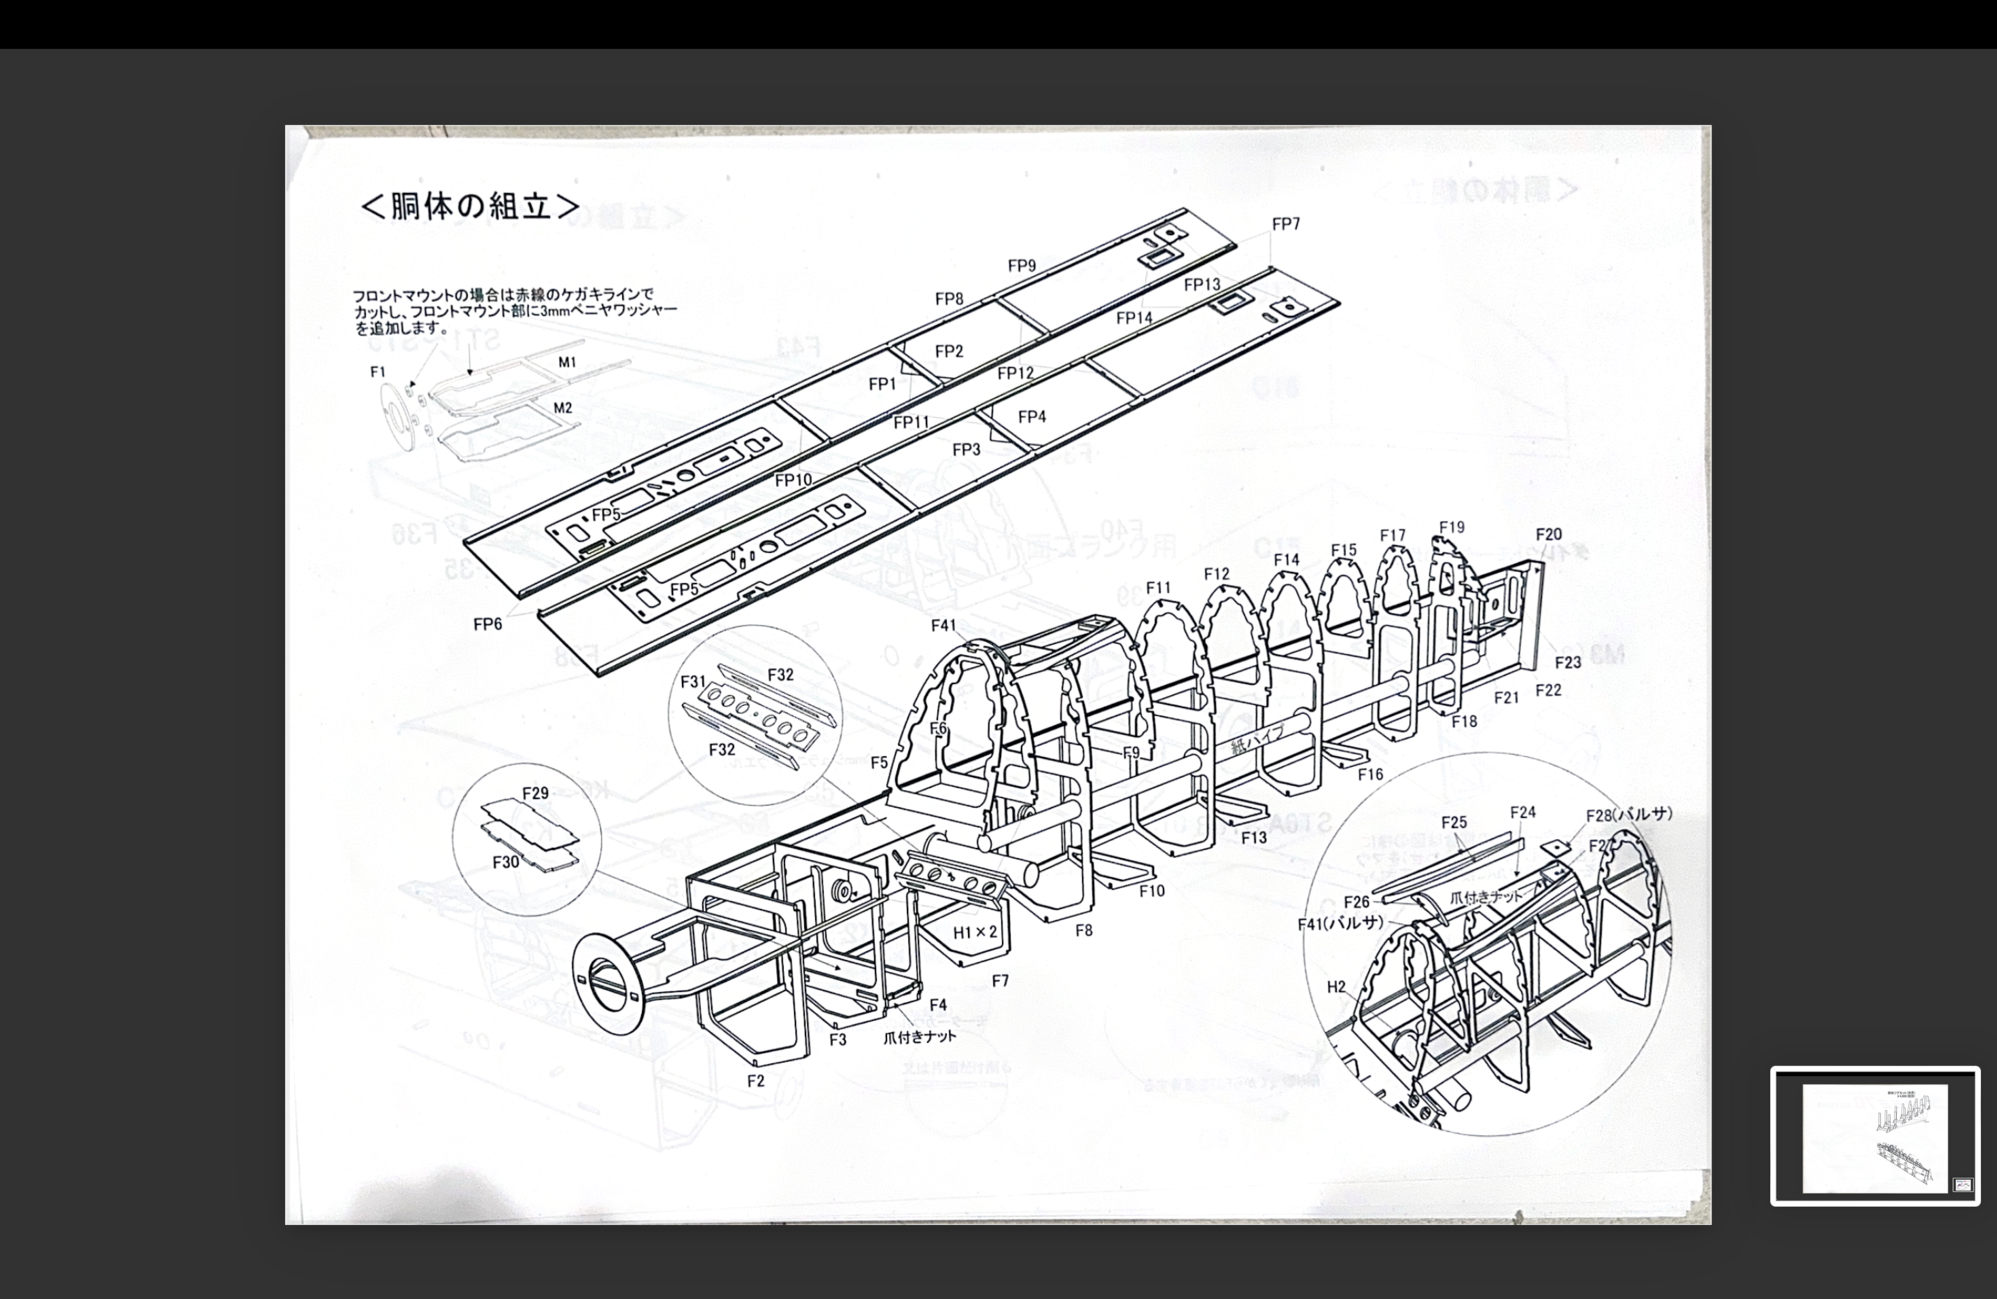
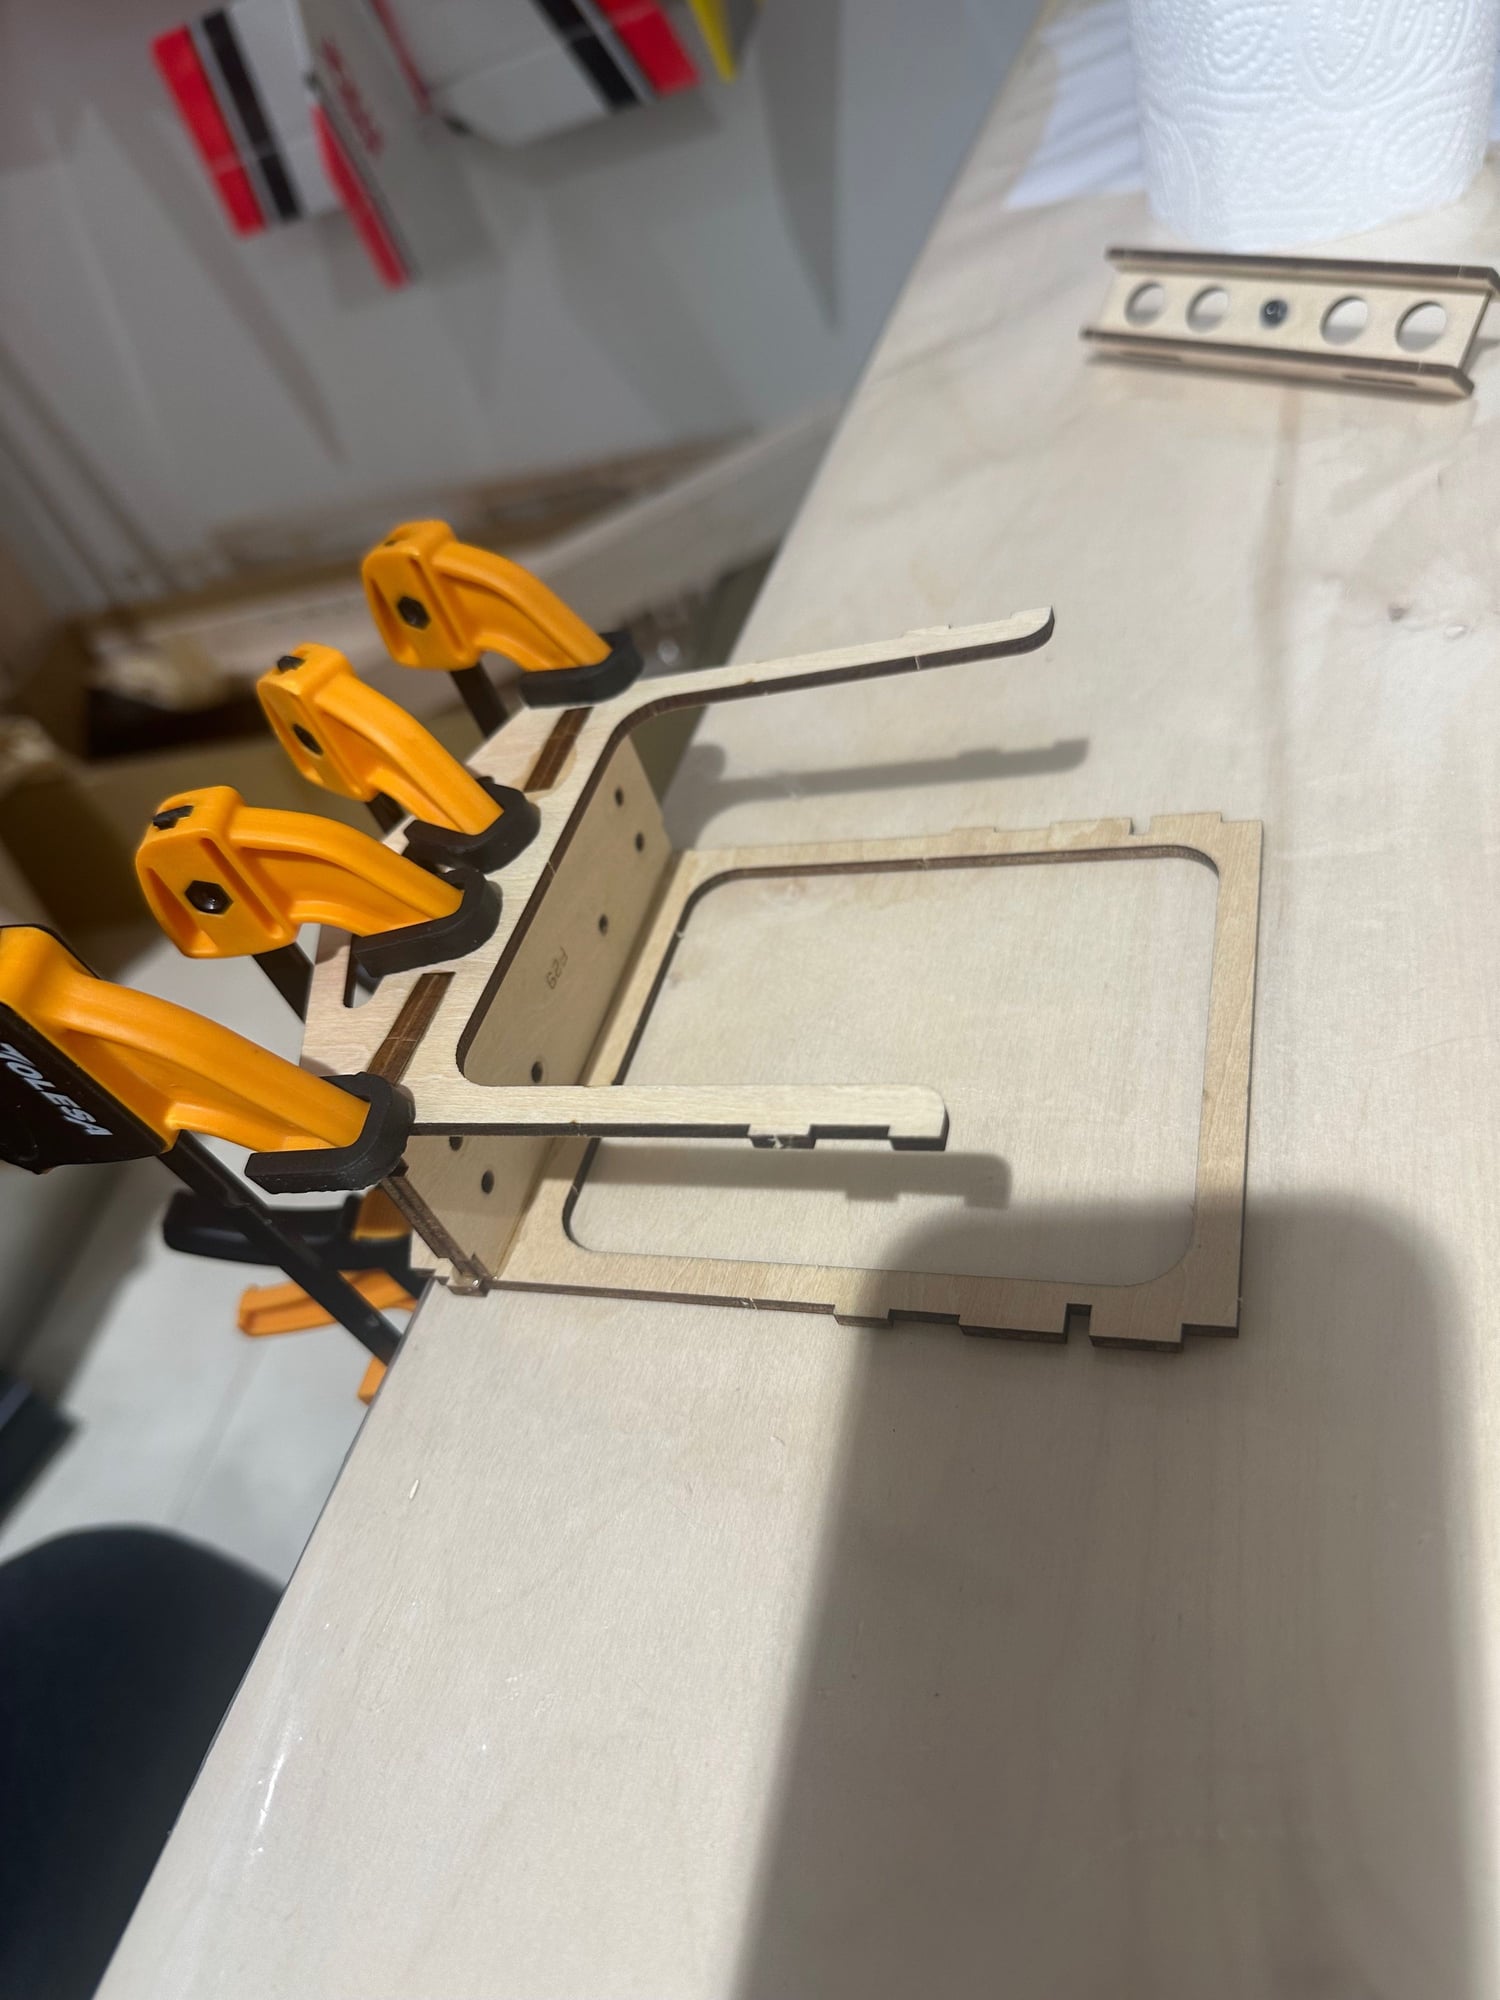
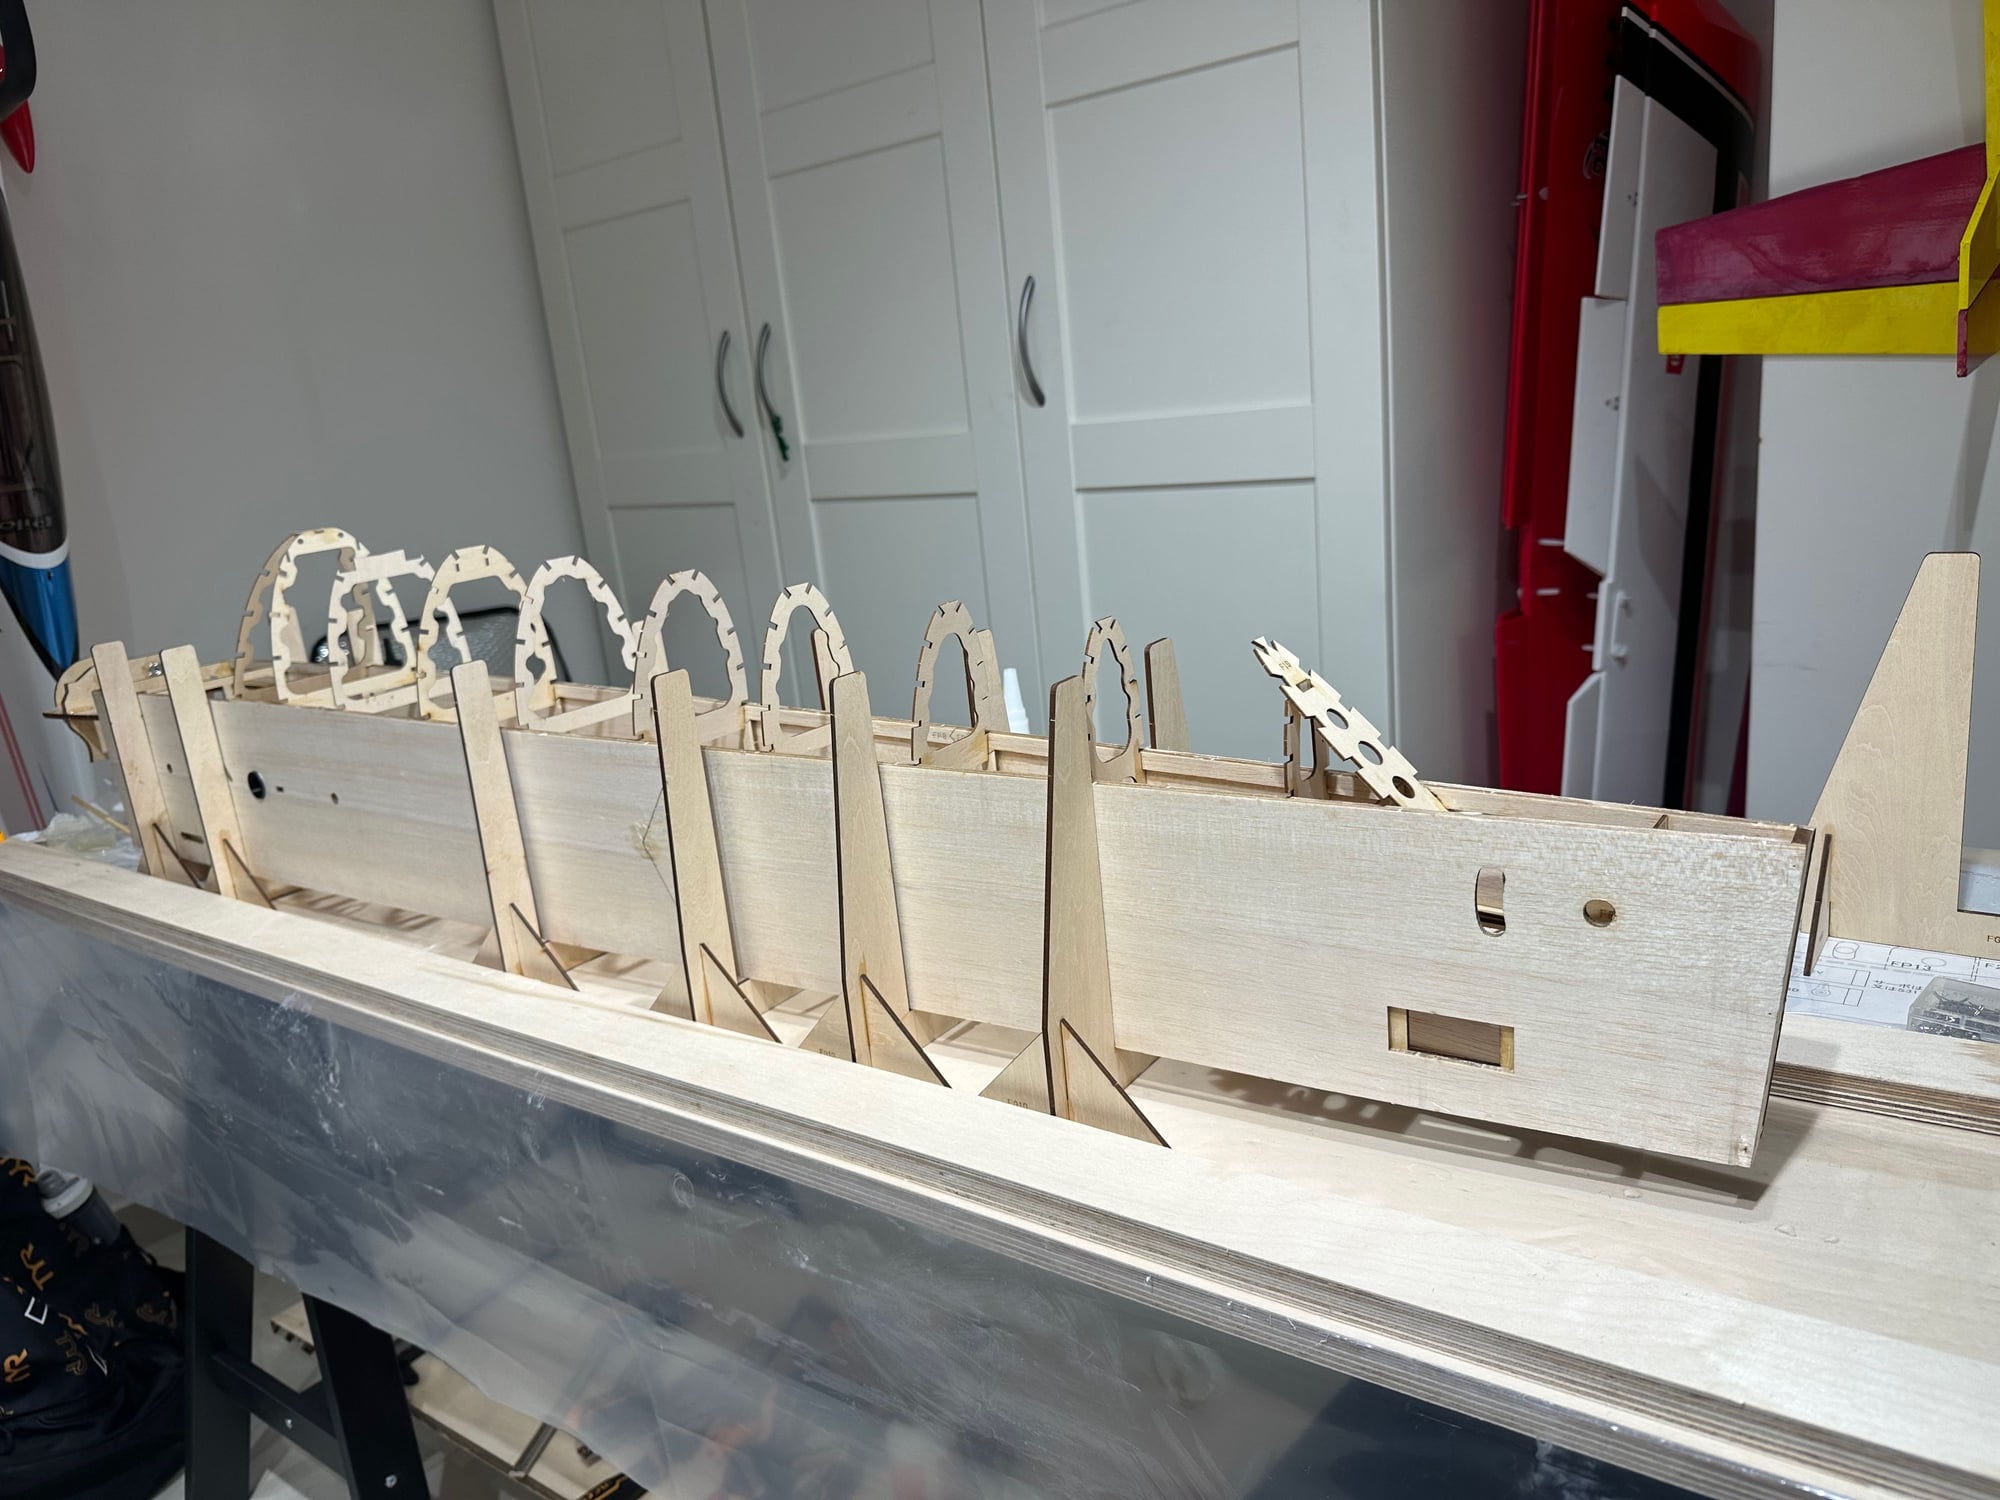
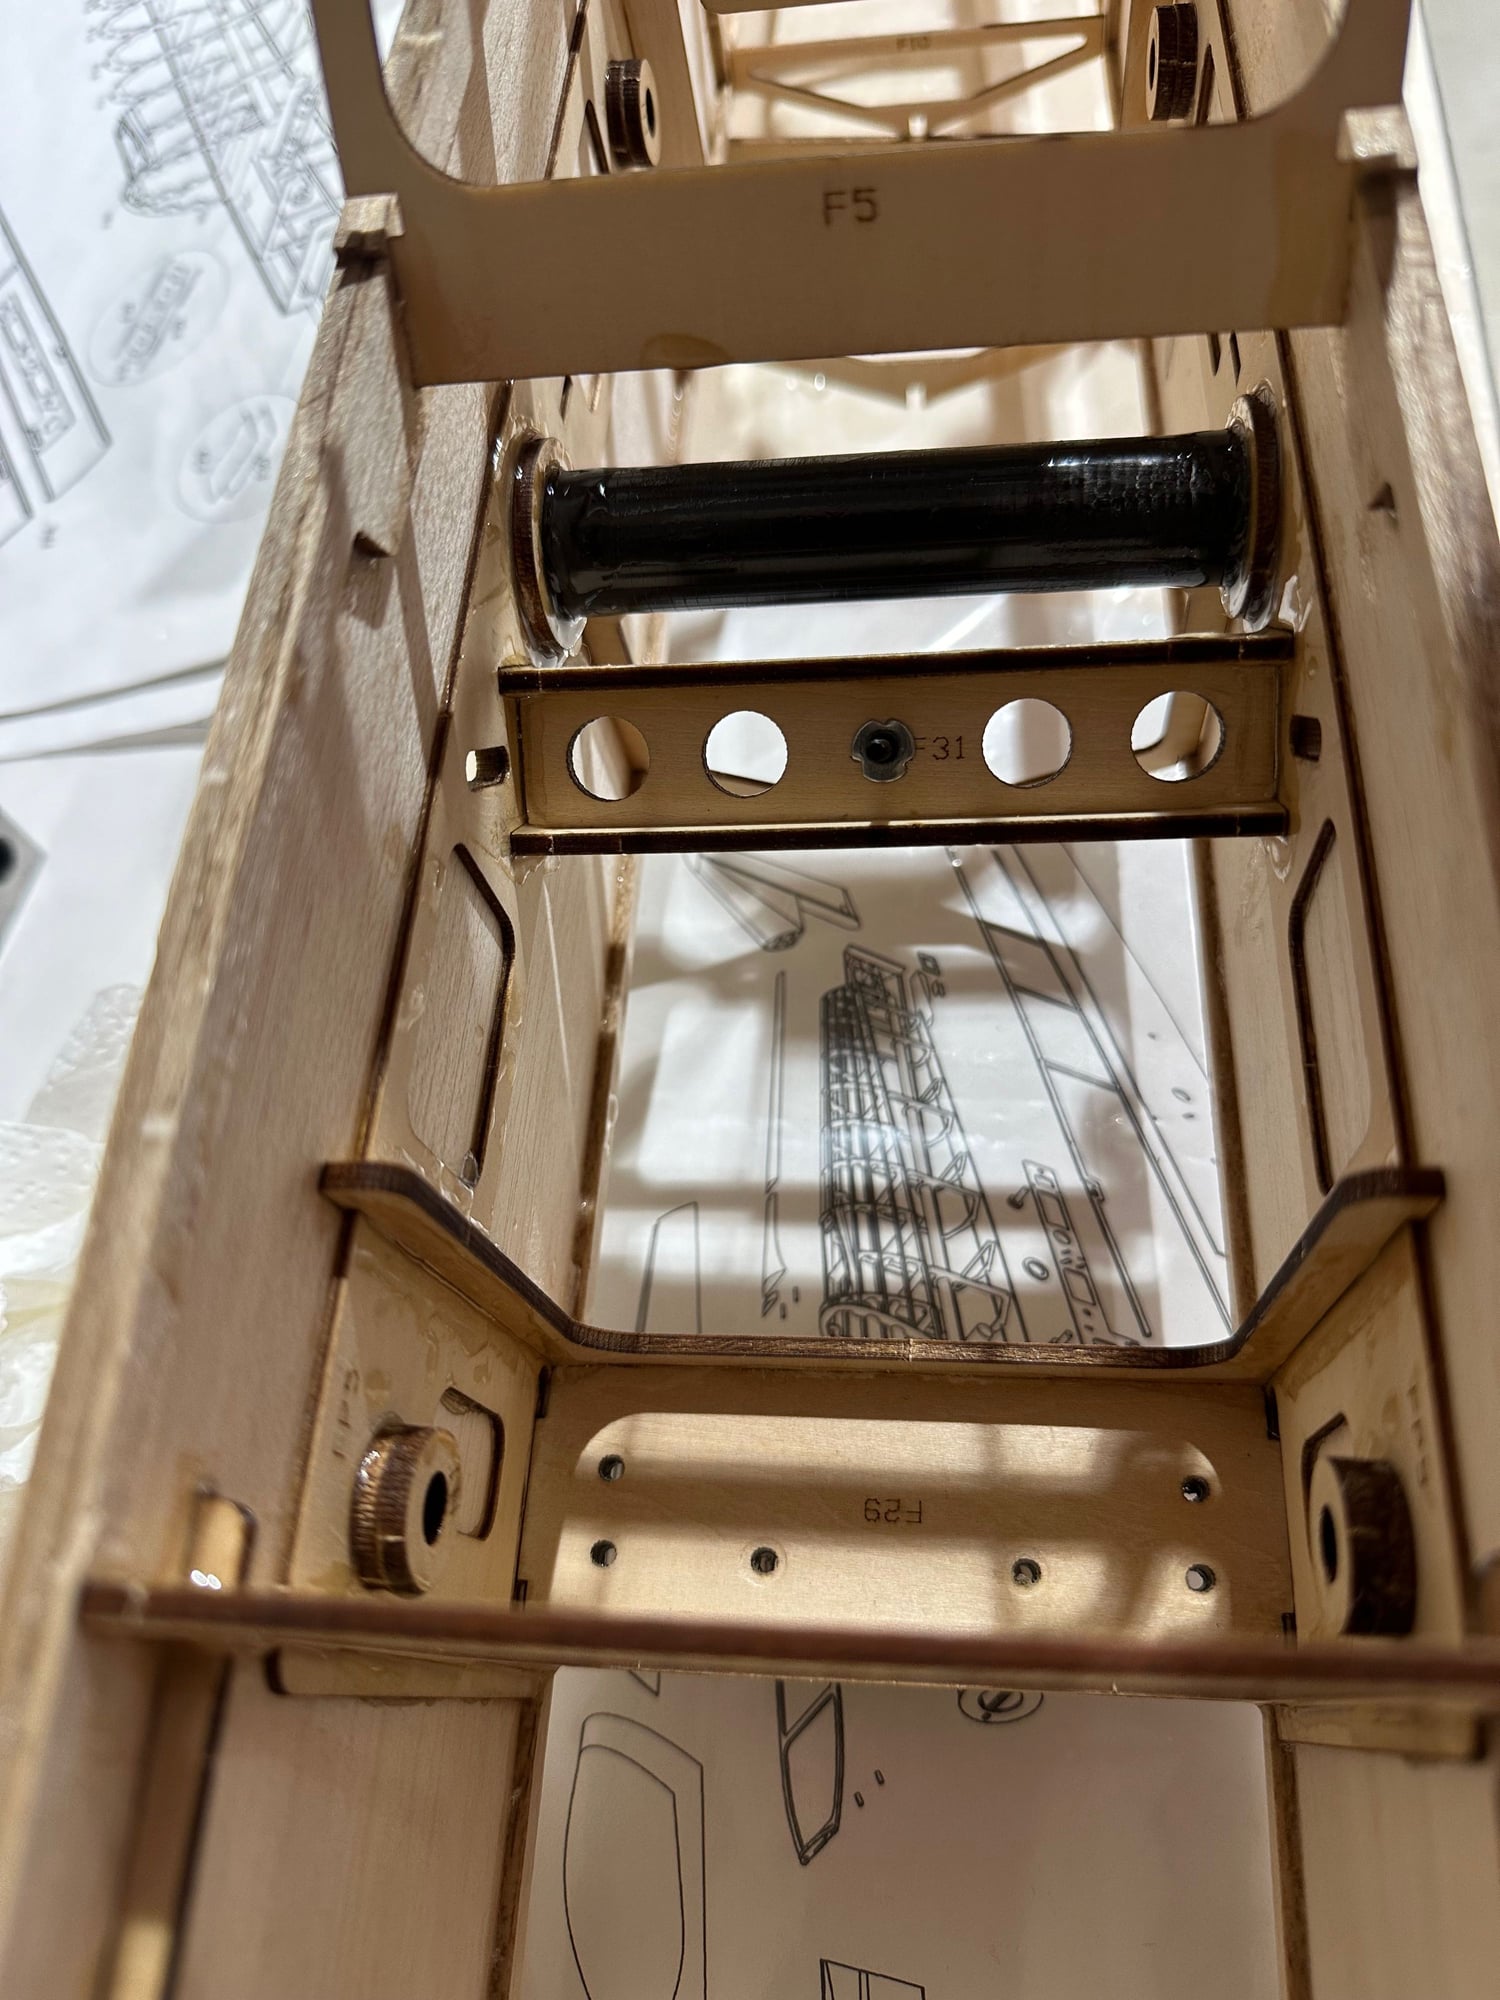
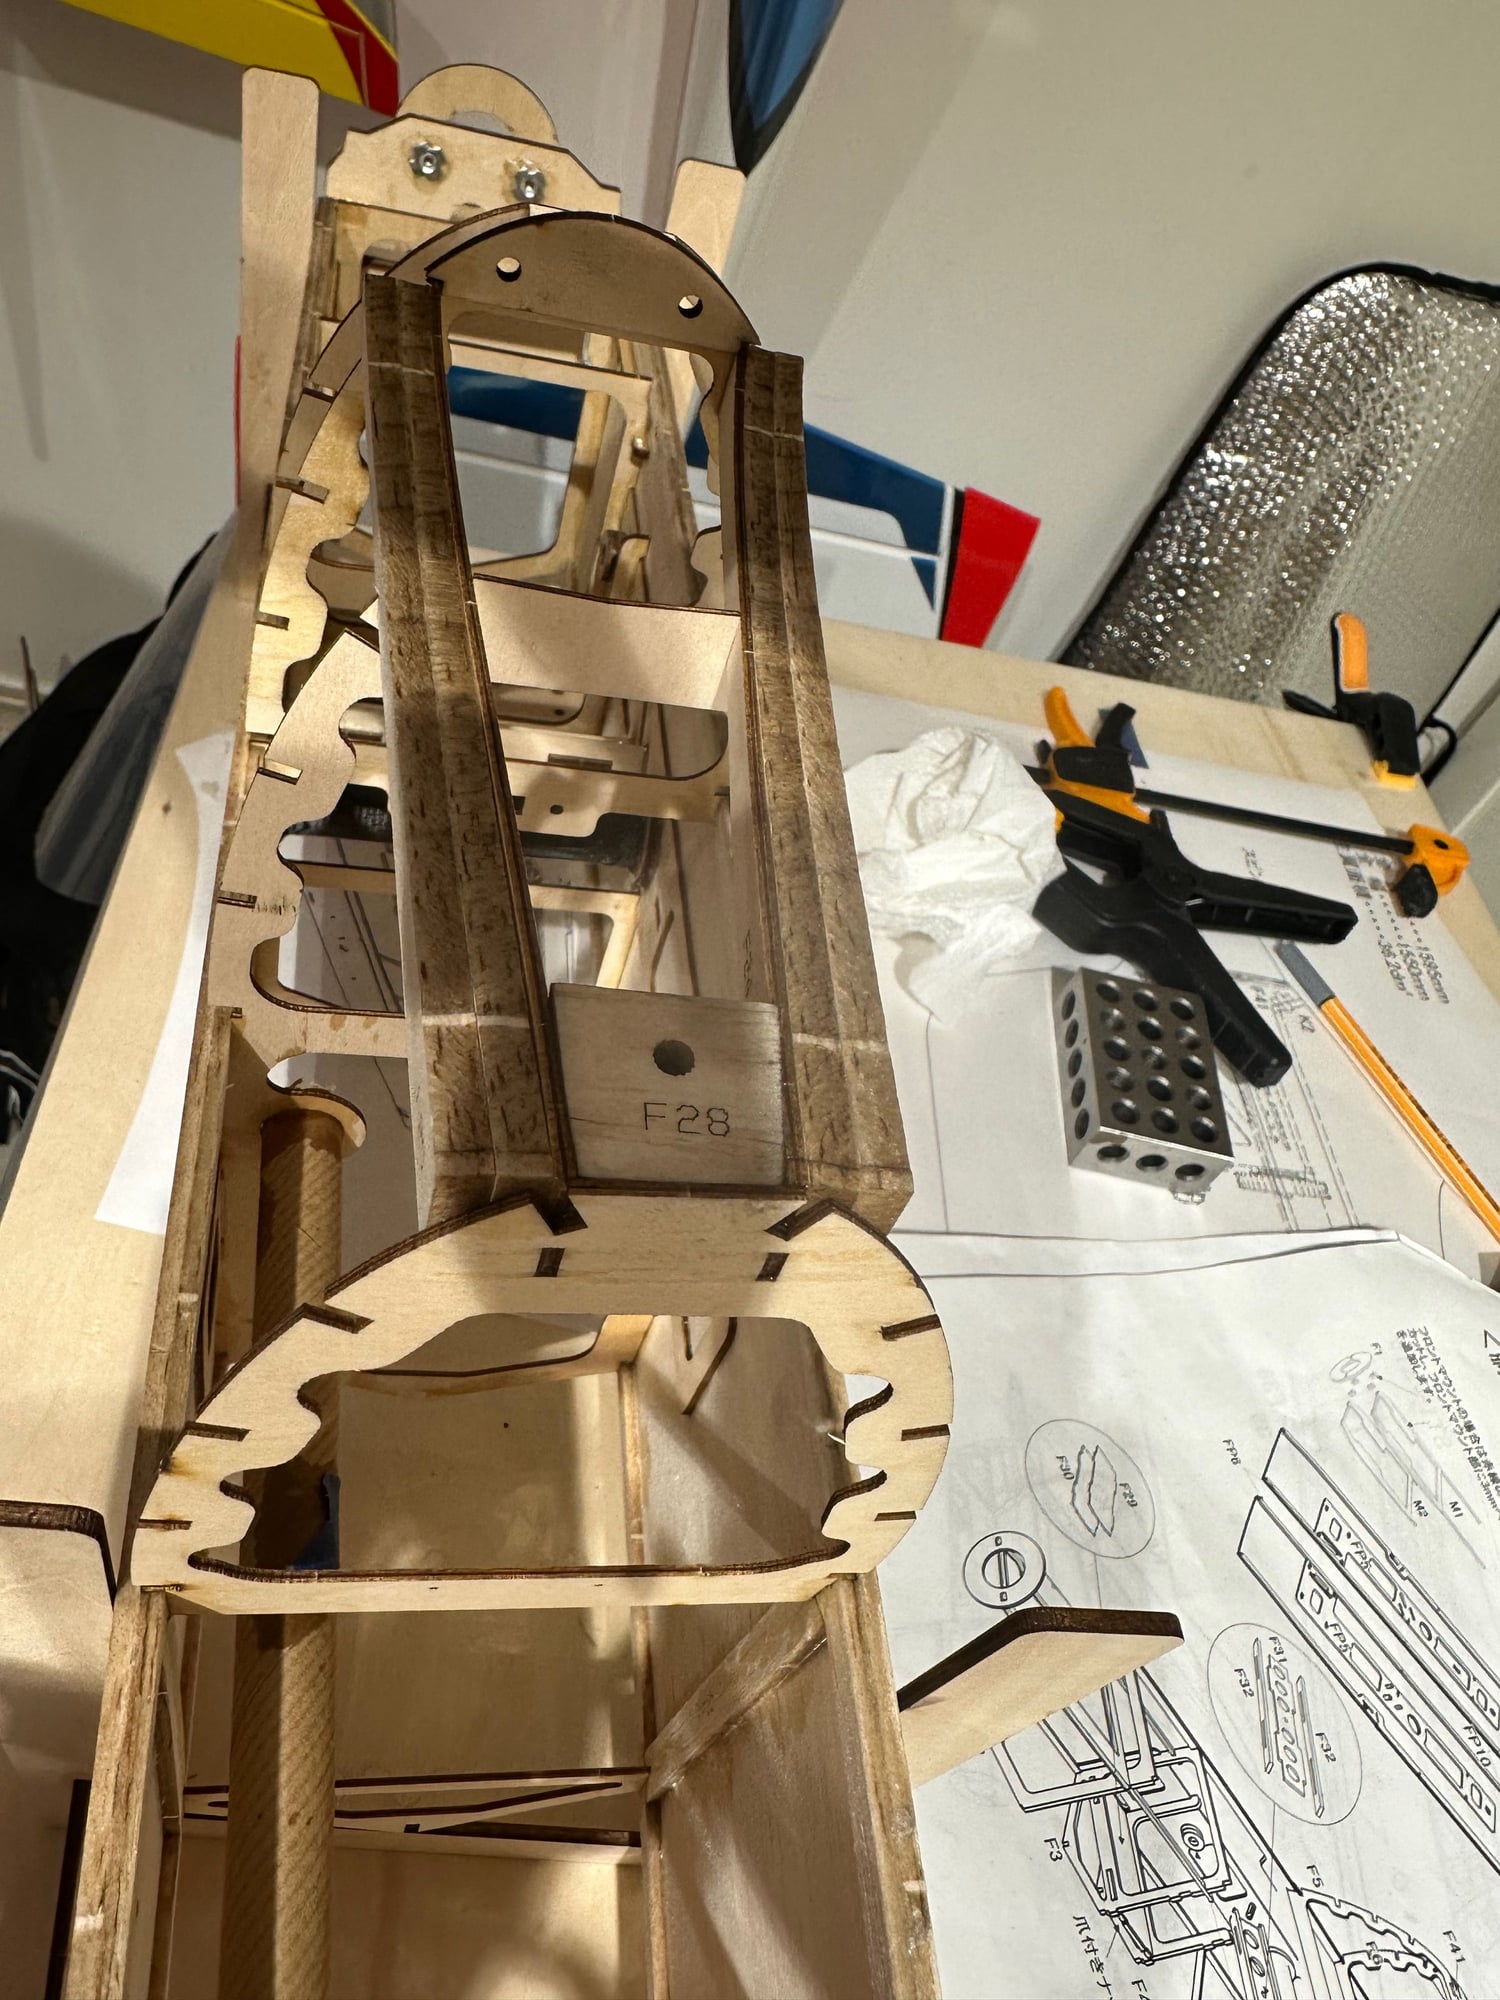
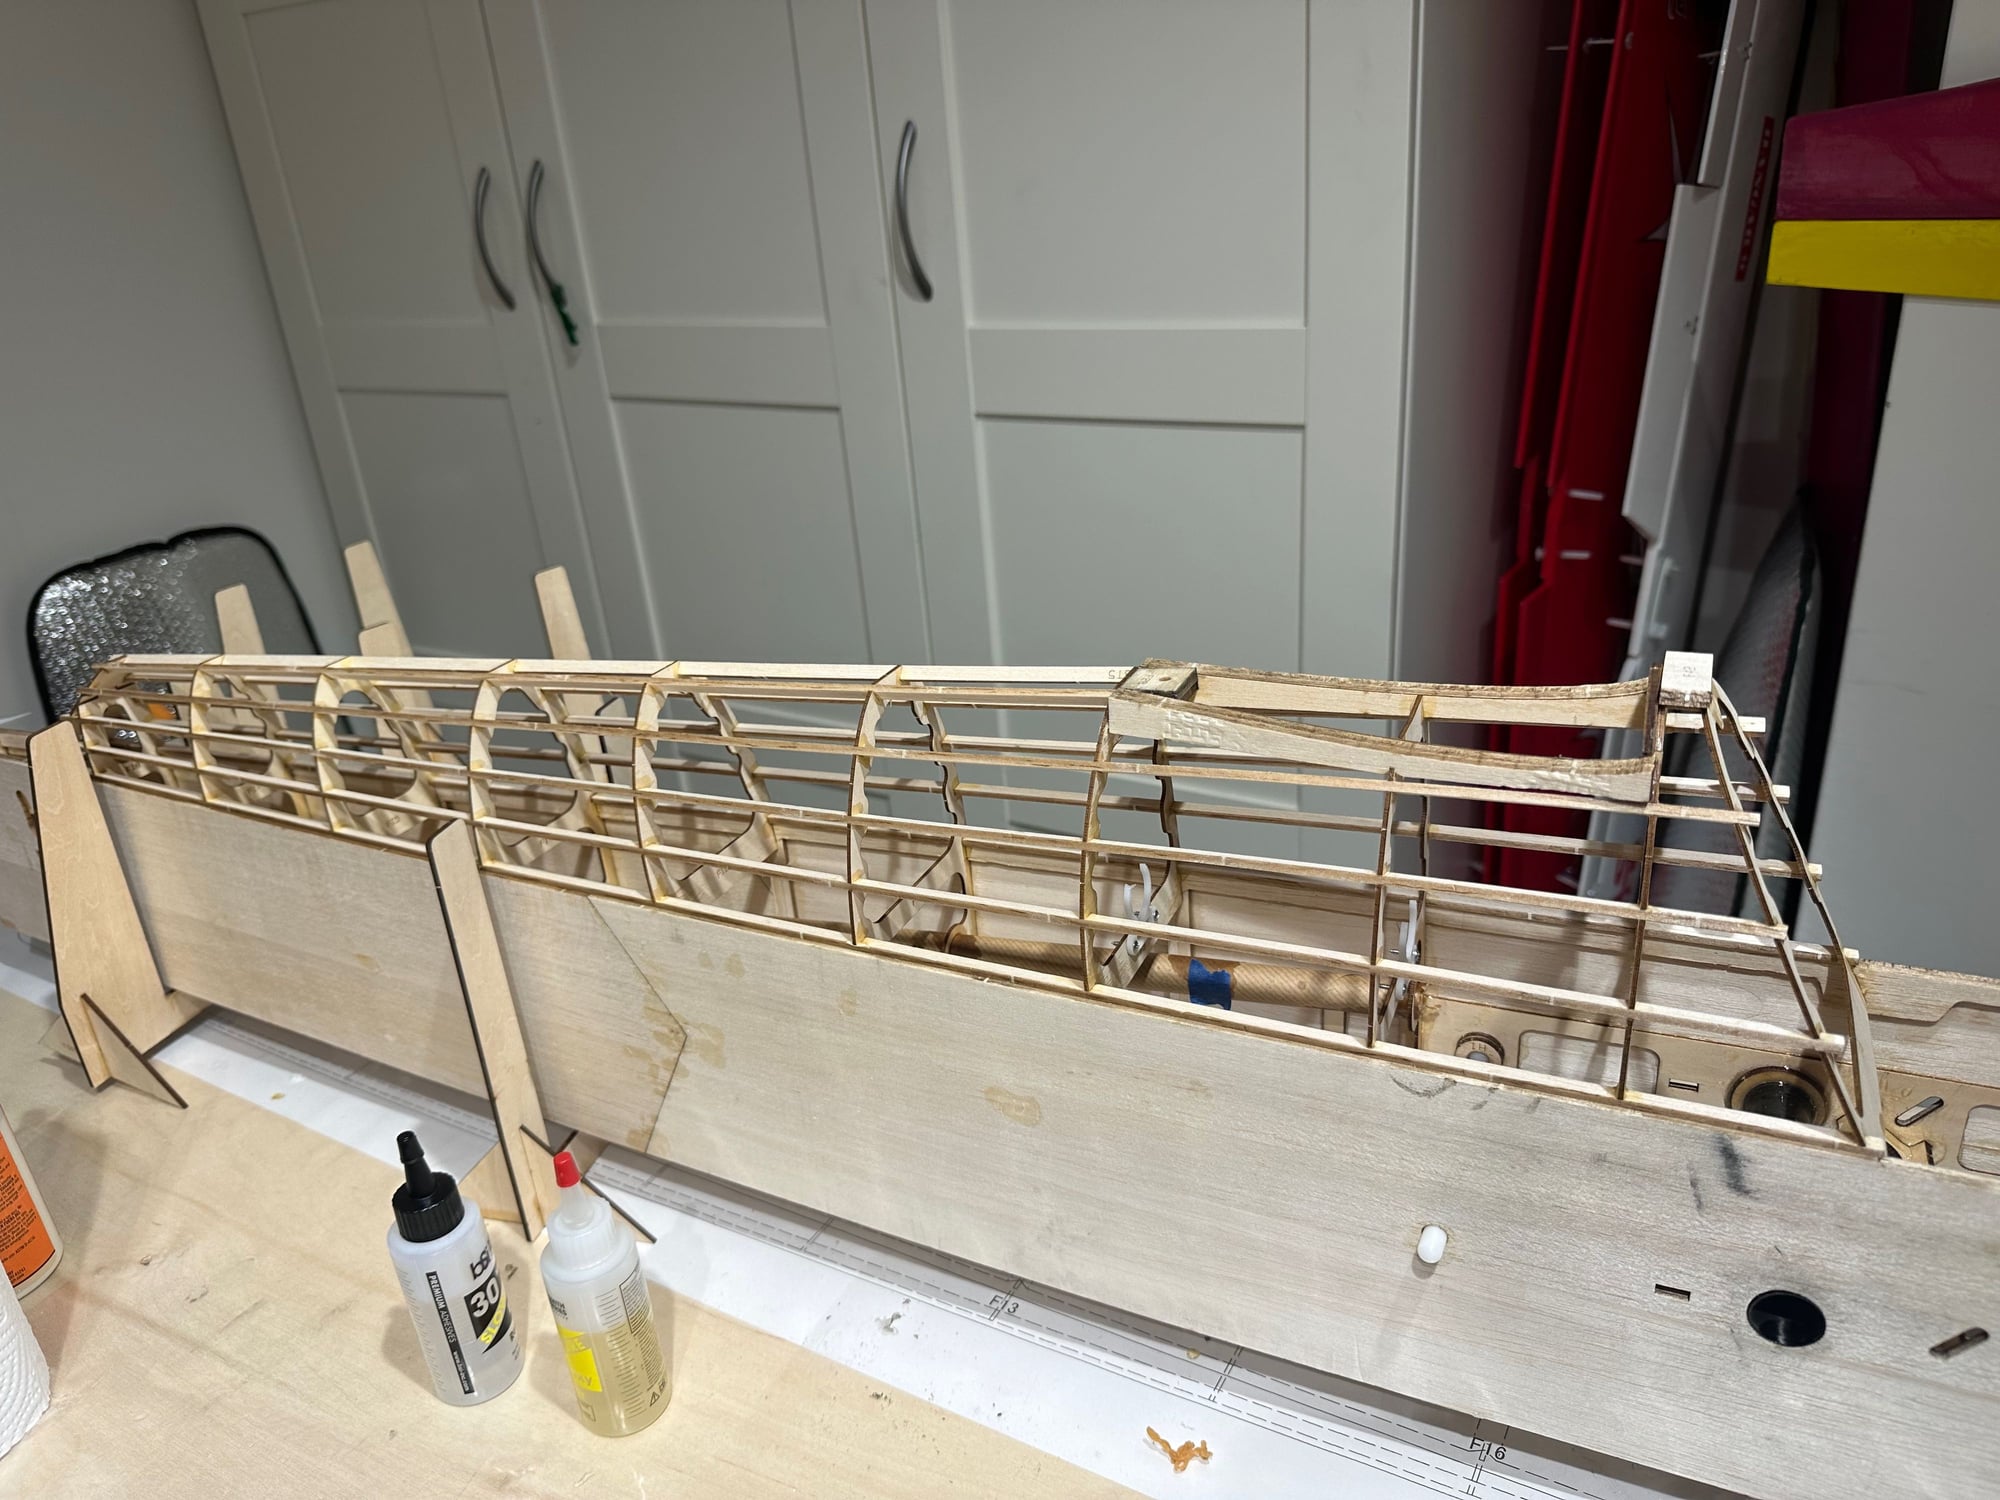
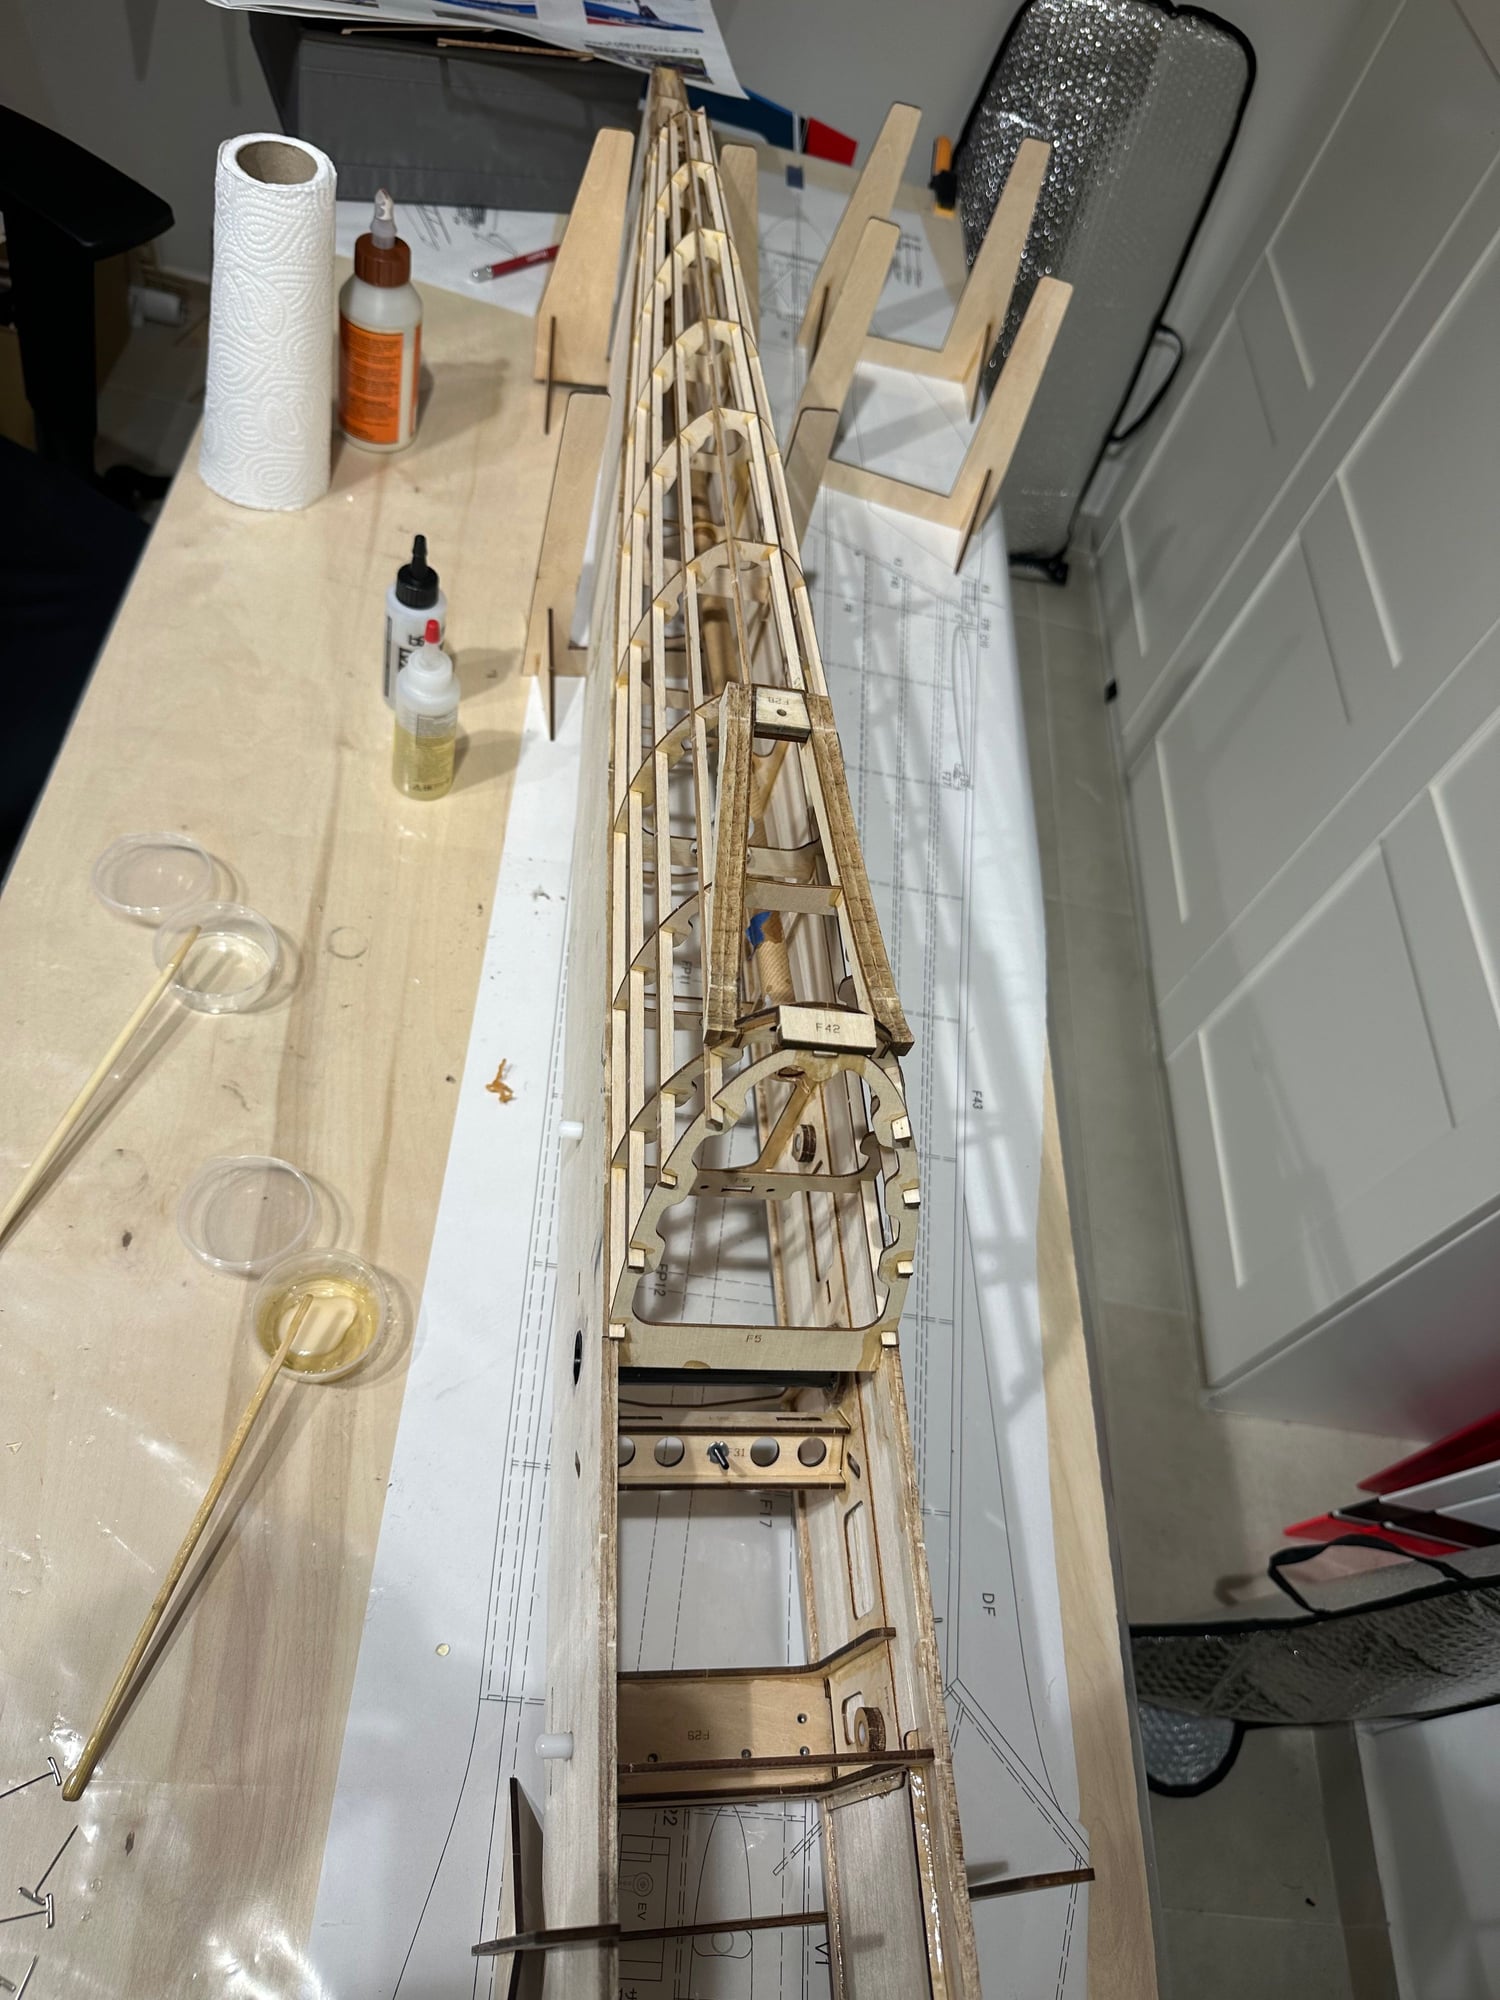
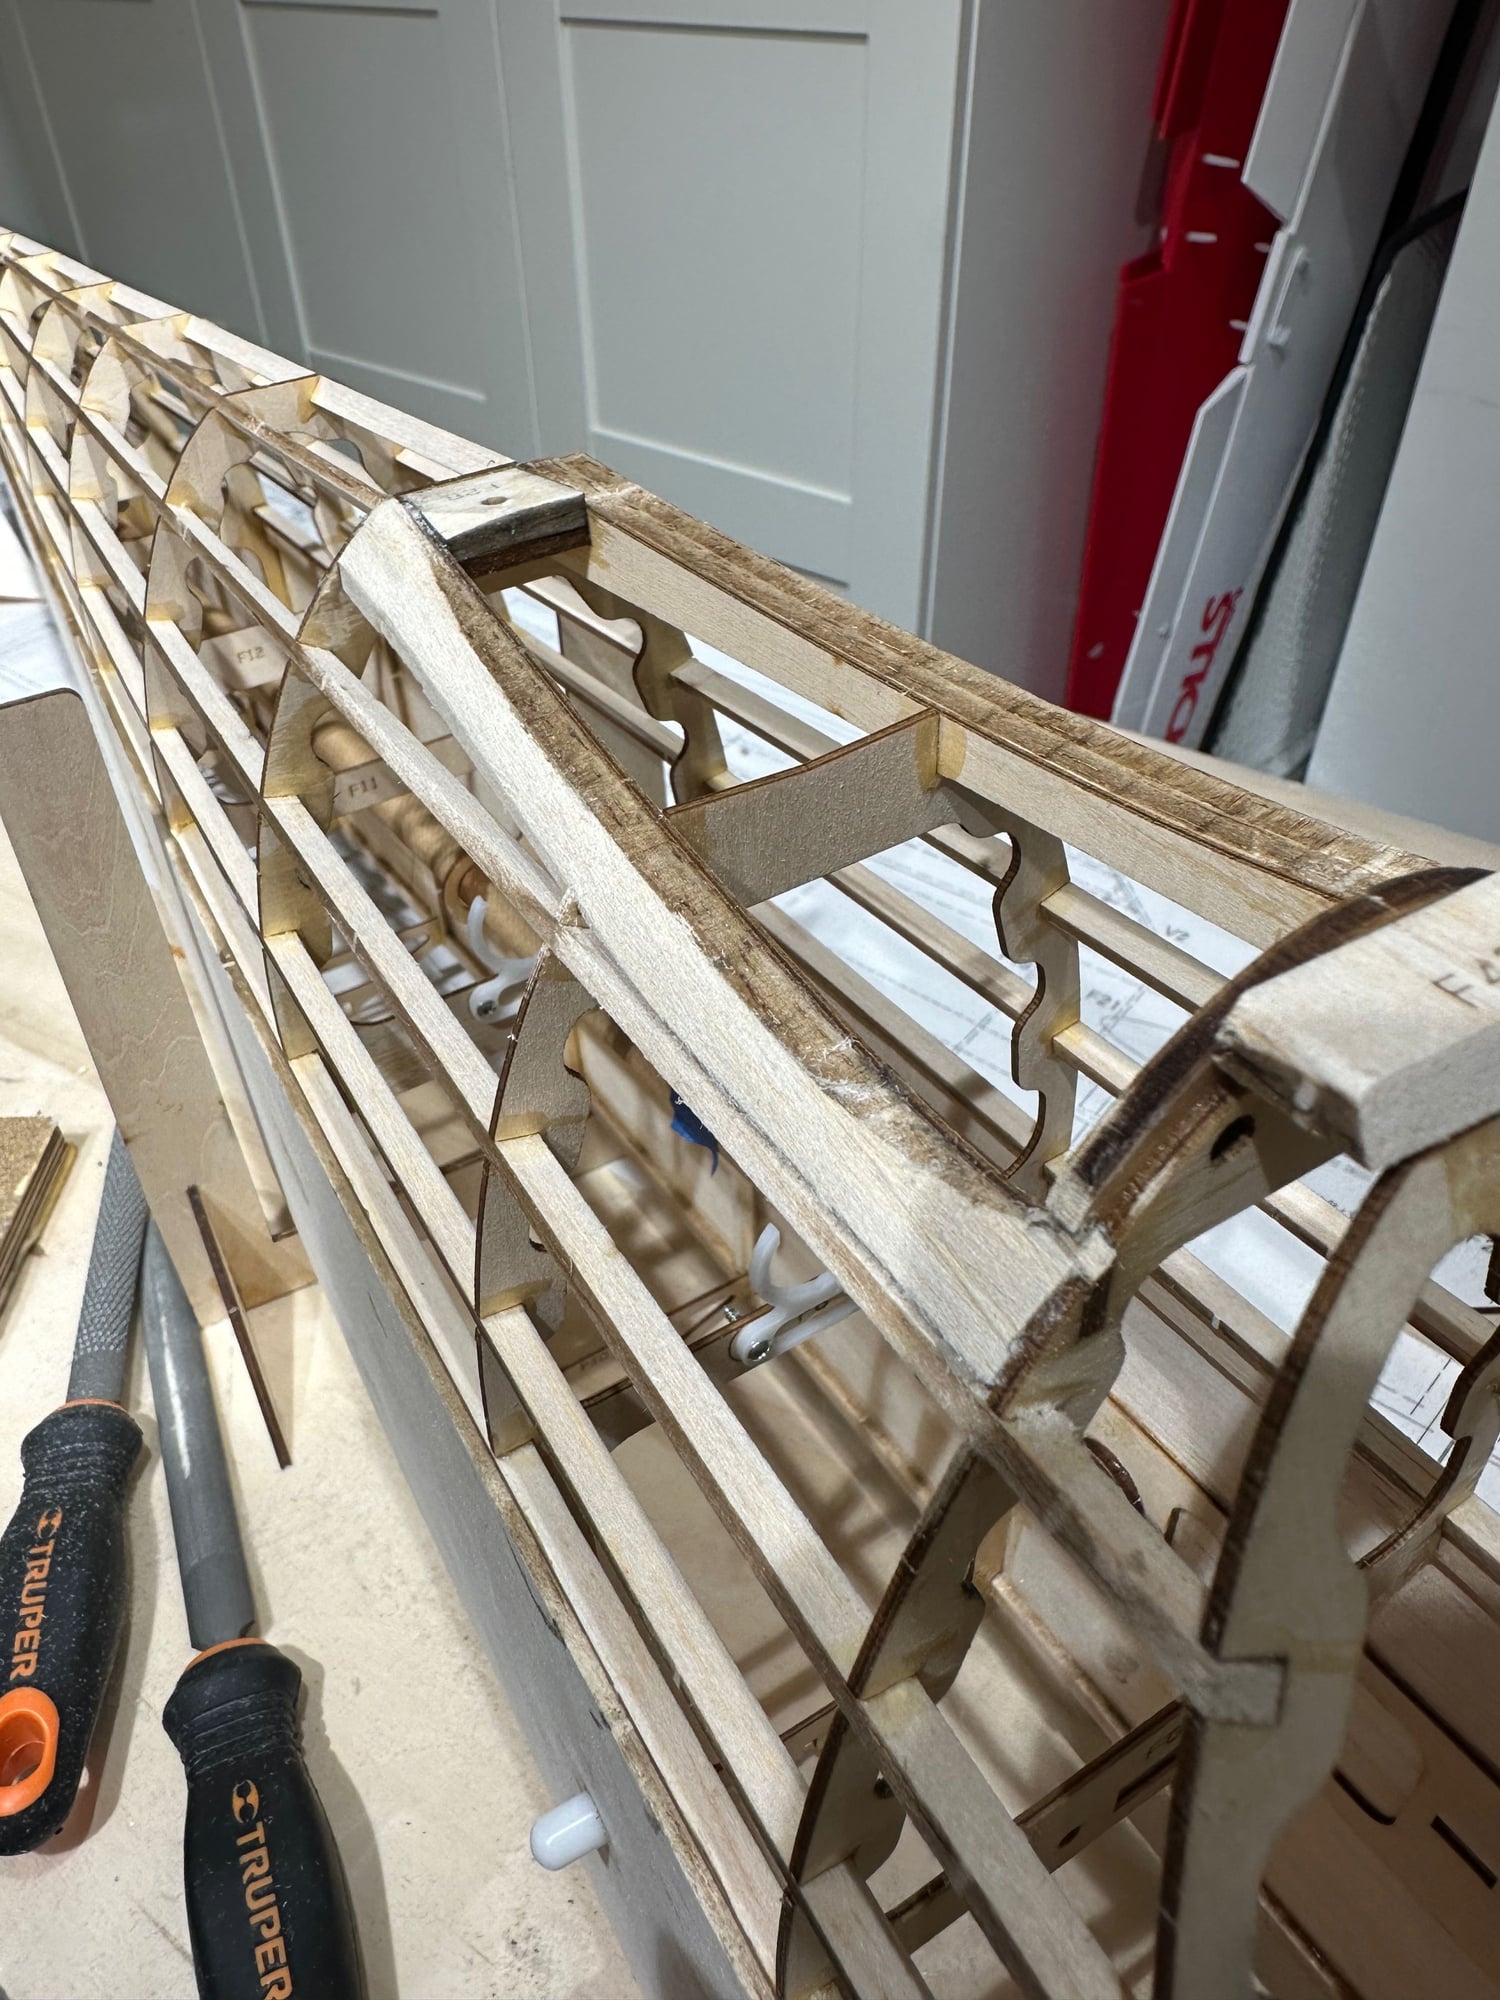
Identifying all the fuselage parts.
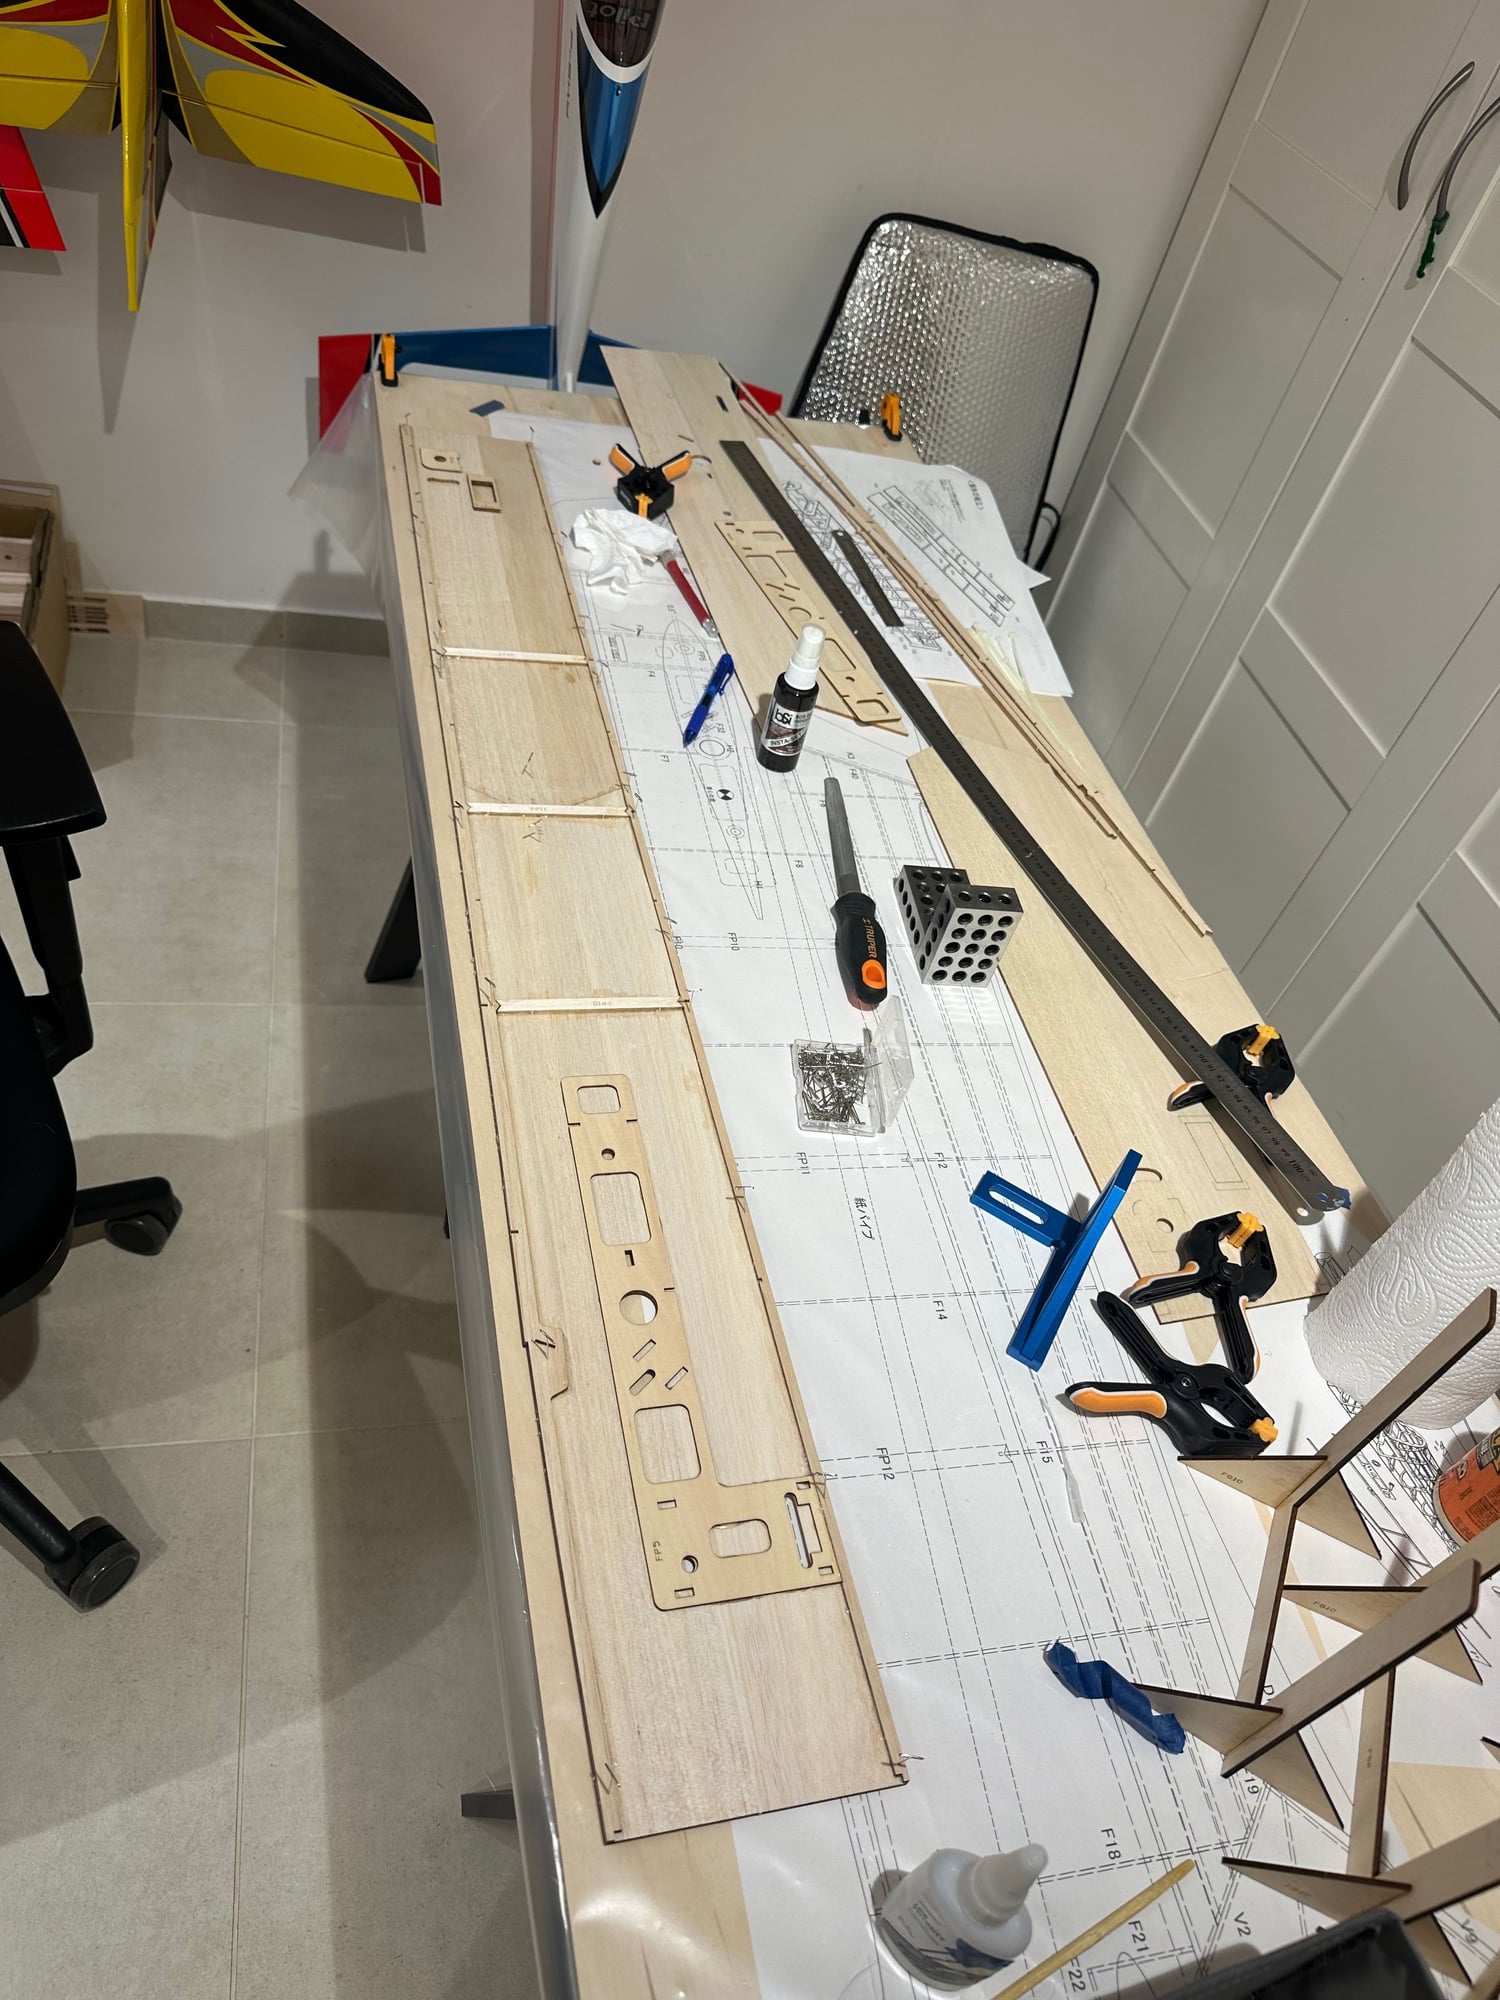
Using wood glue and CA, glueing the fuselage sides and frame, using wood glue and CA.
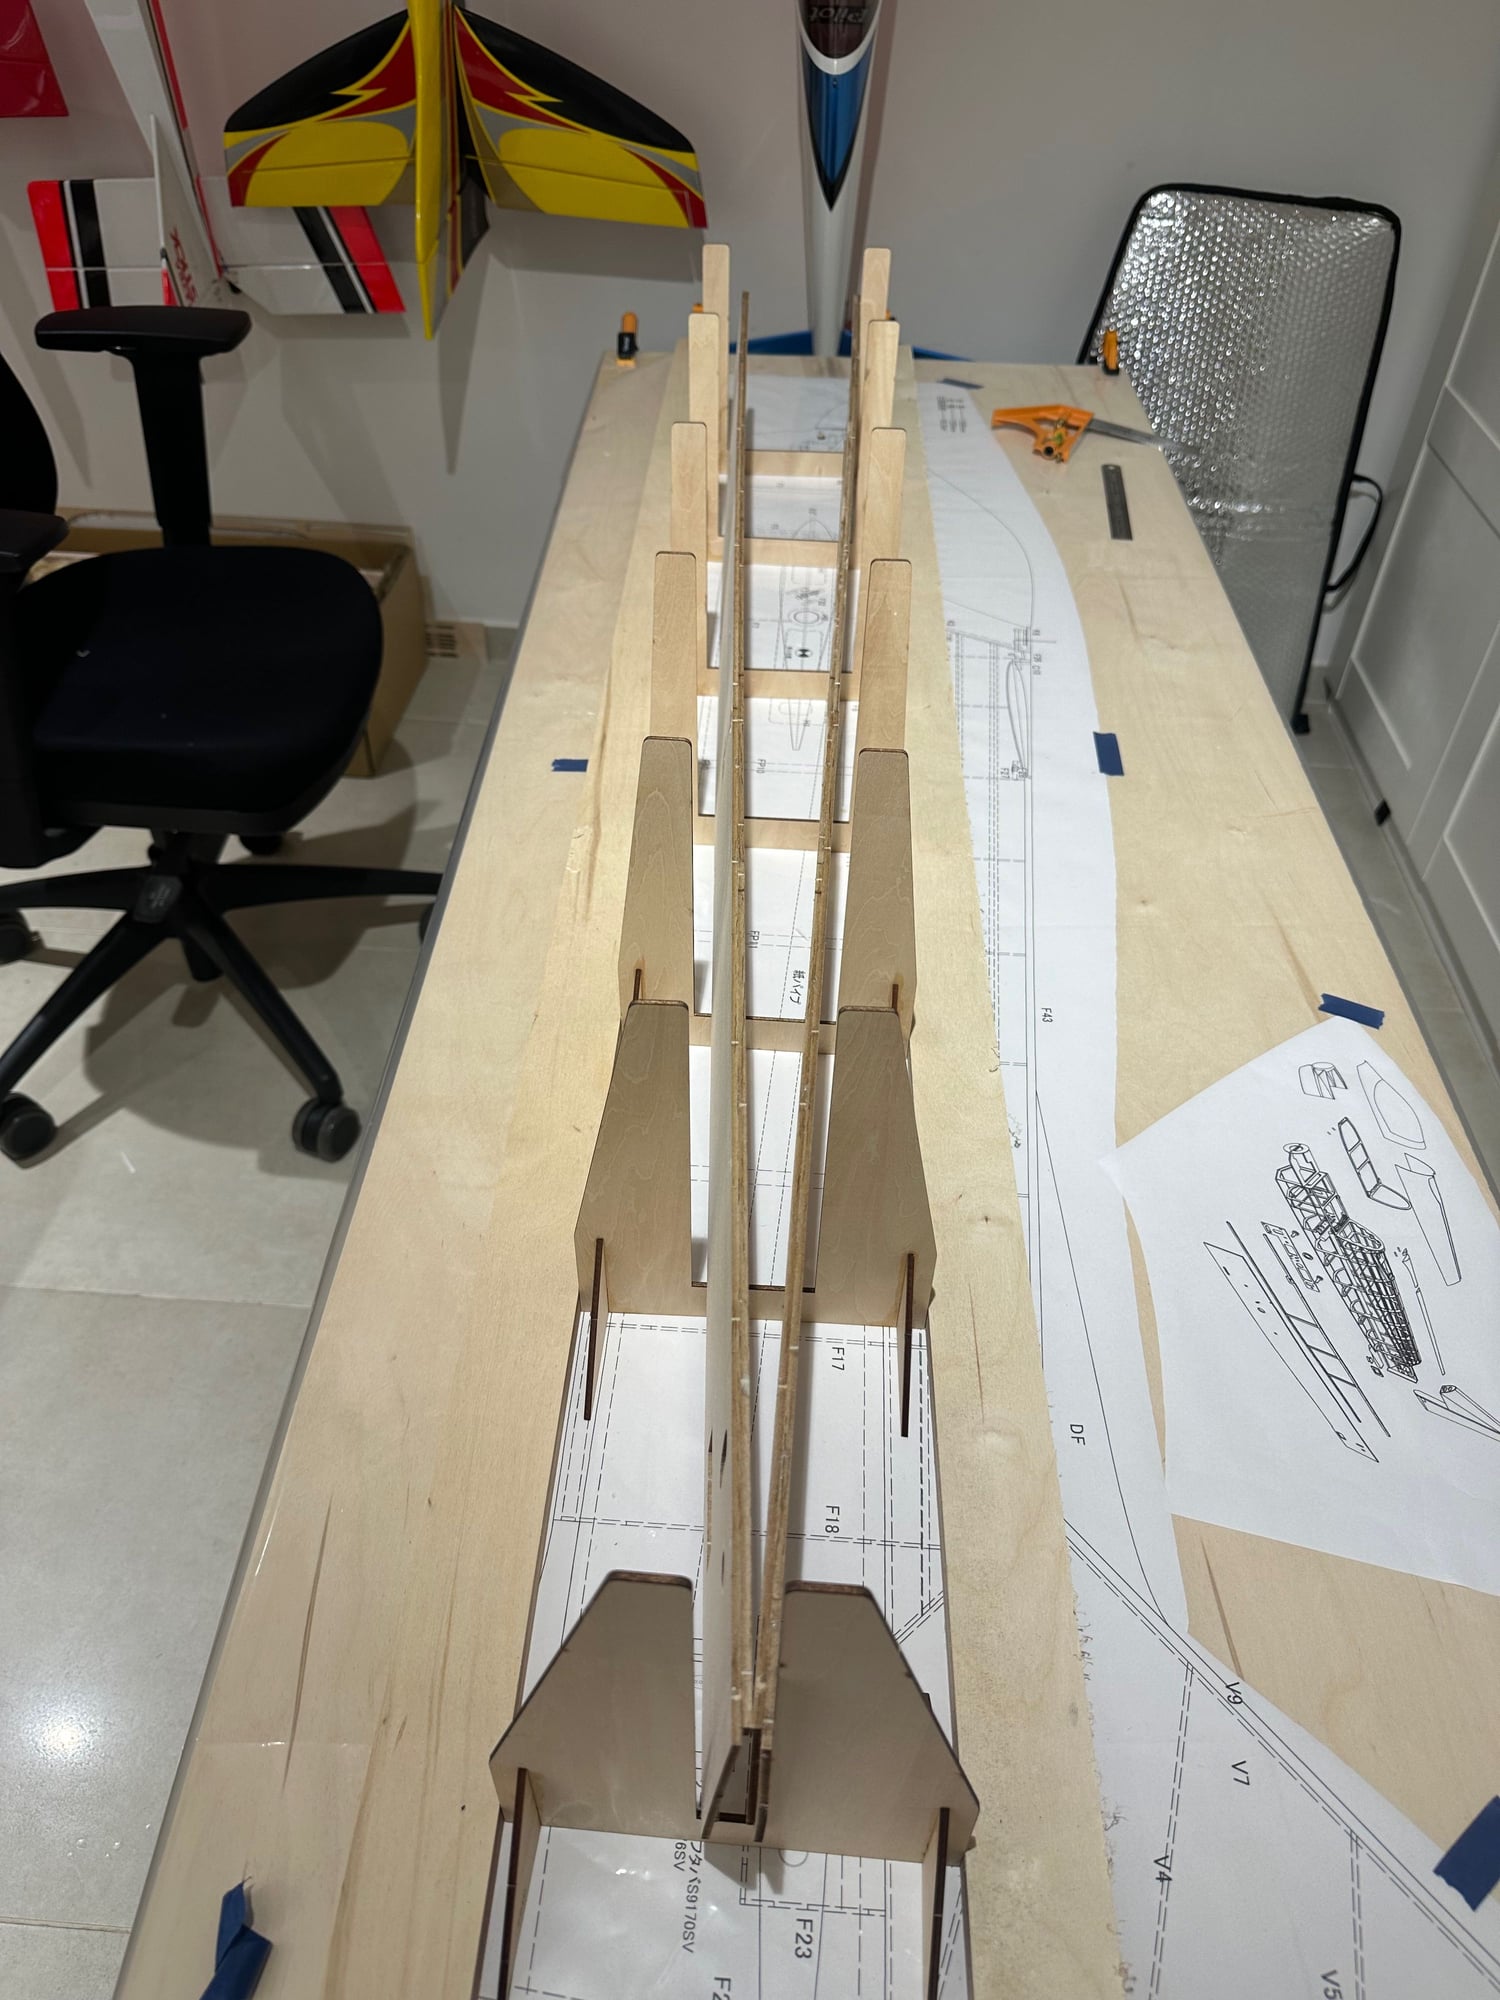
Dry run of setting the fuselage parts in the Jig

Now I have understanding of what I need to put together

 03-25-2024, 03:34 AM
#18
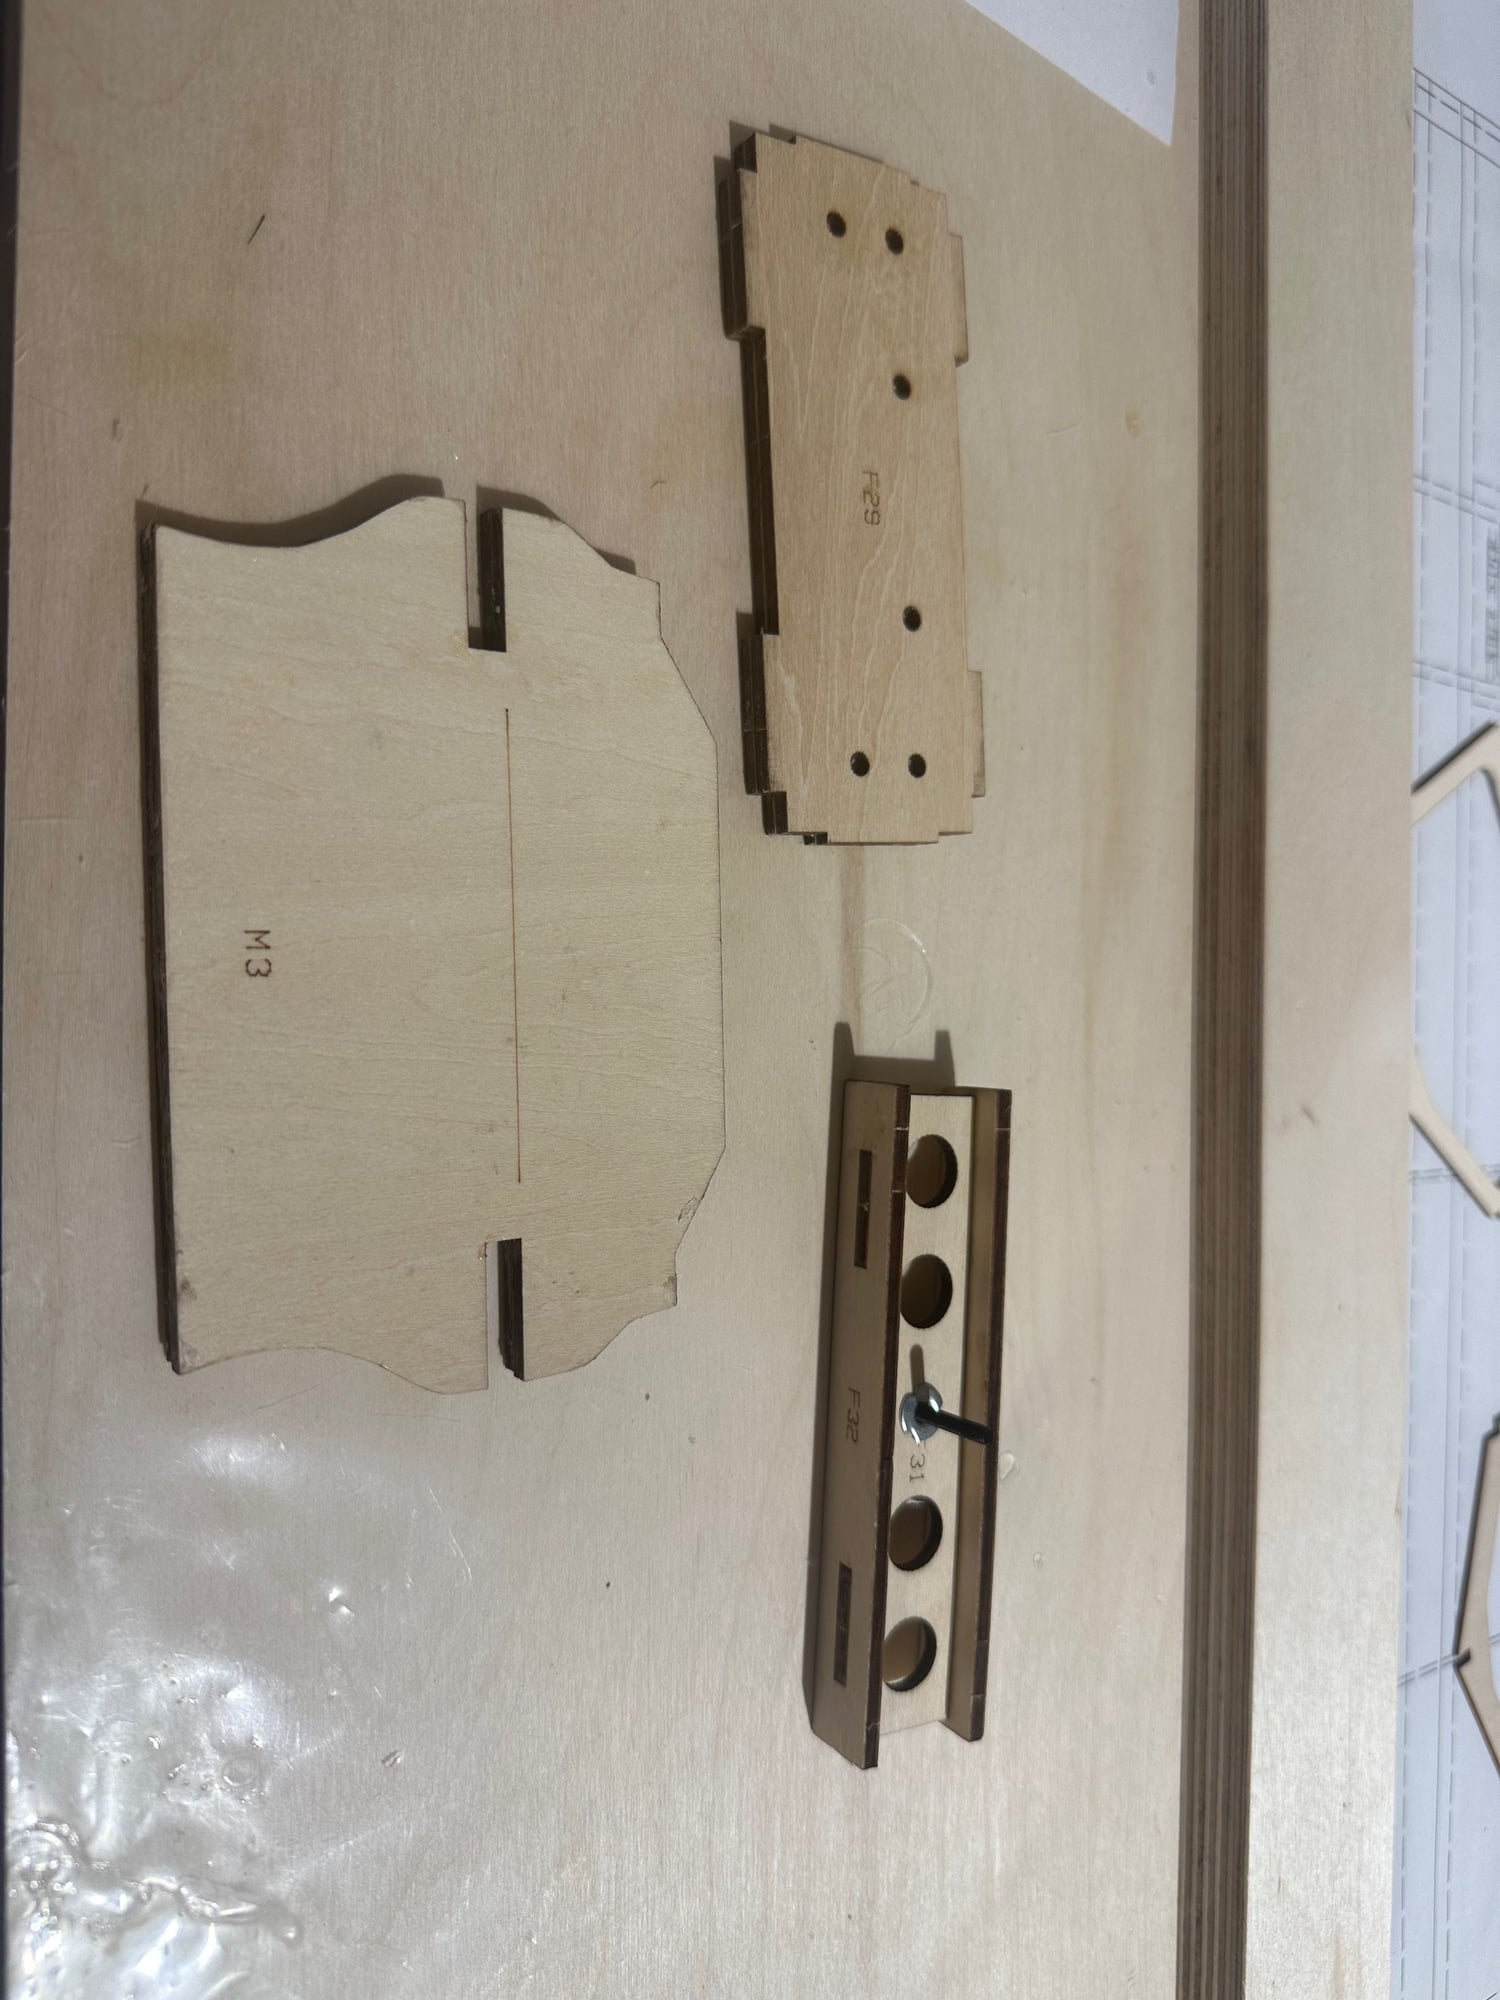
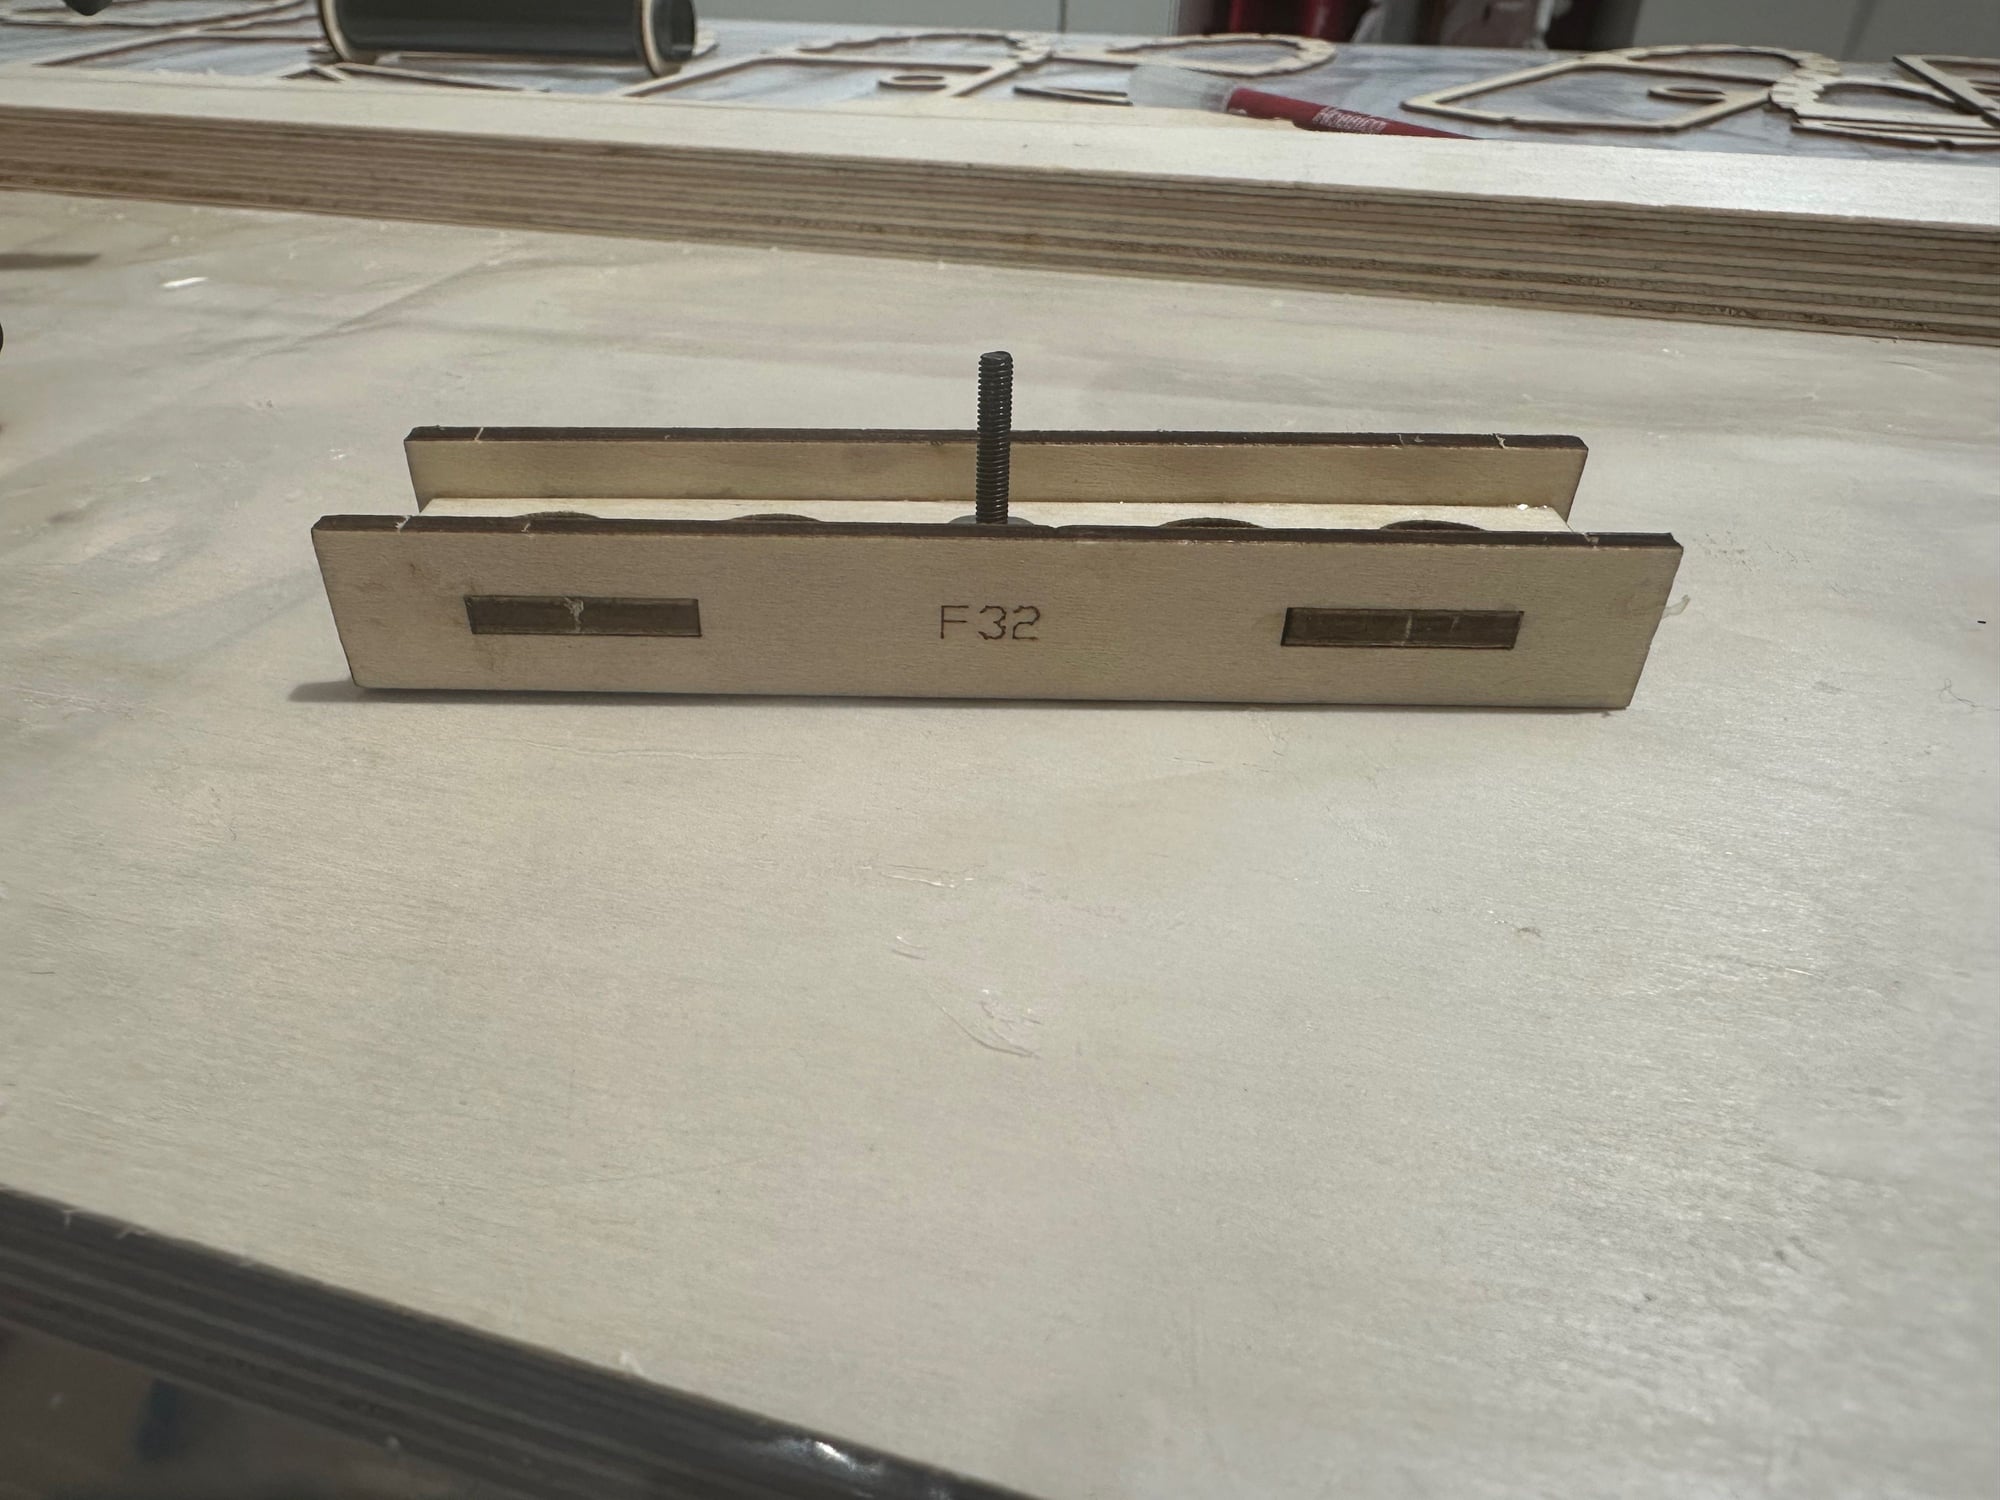
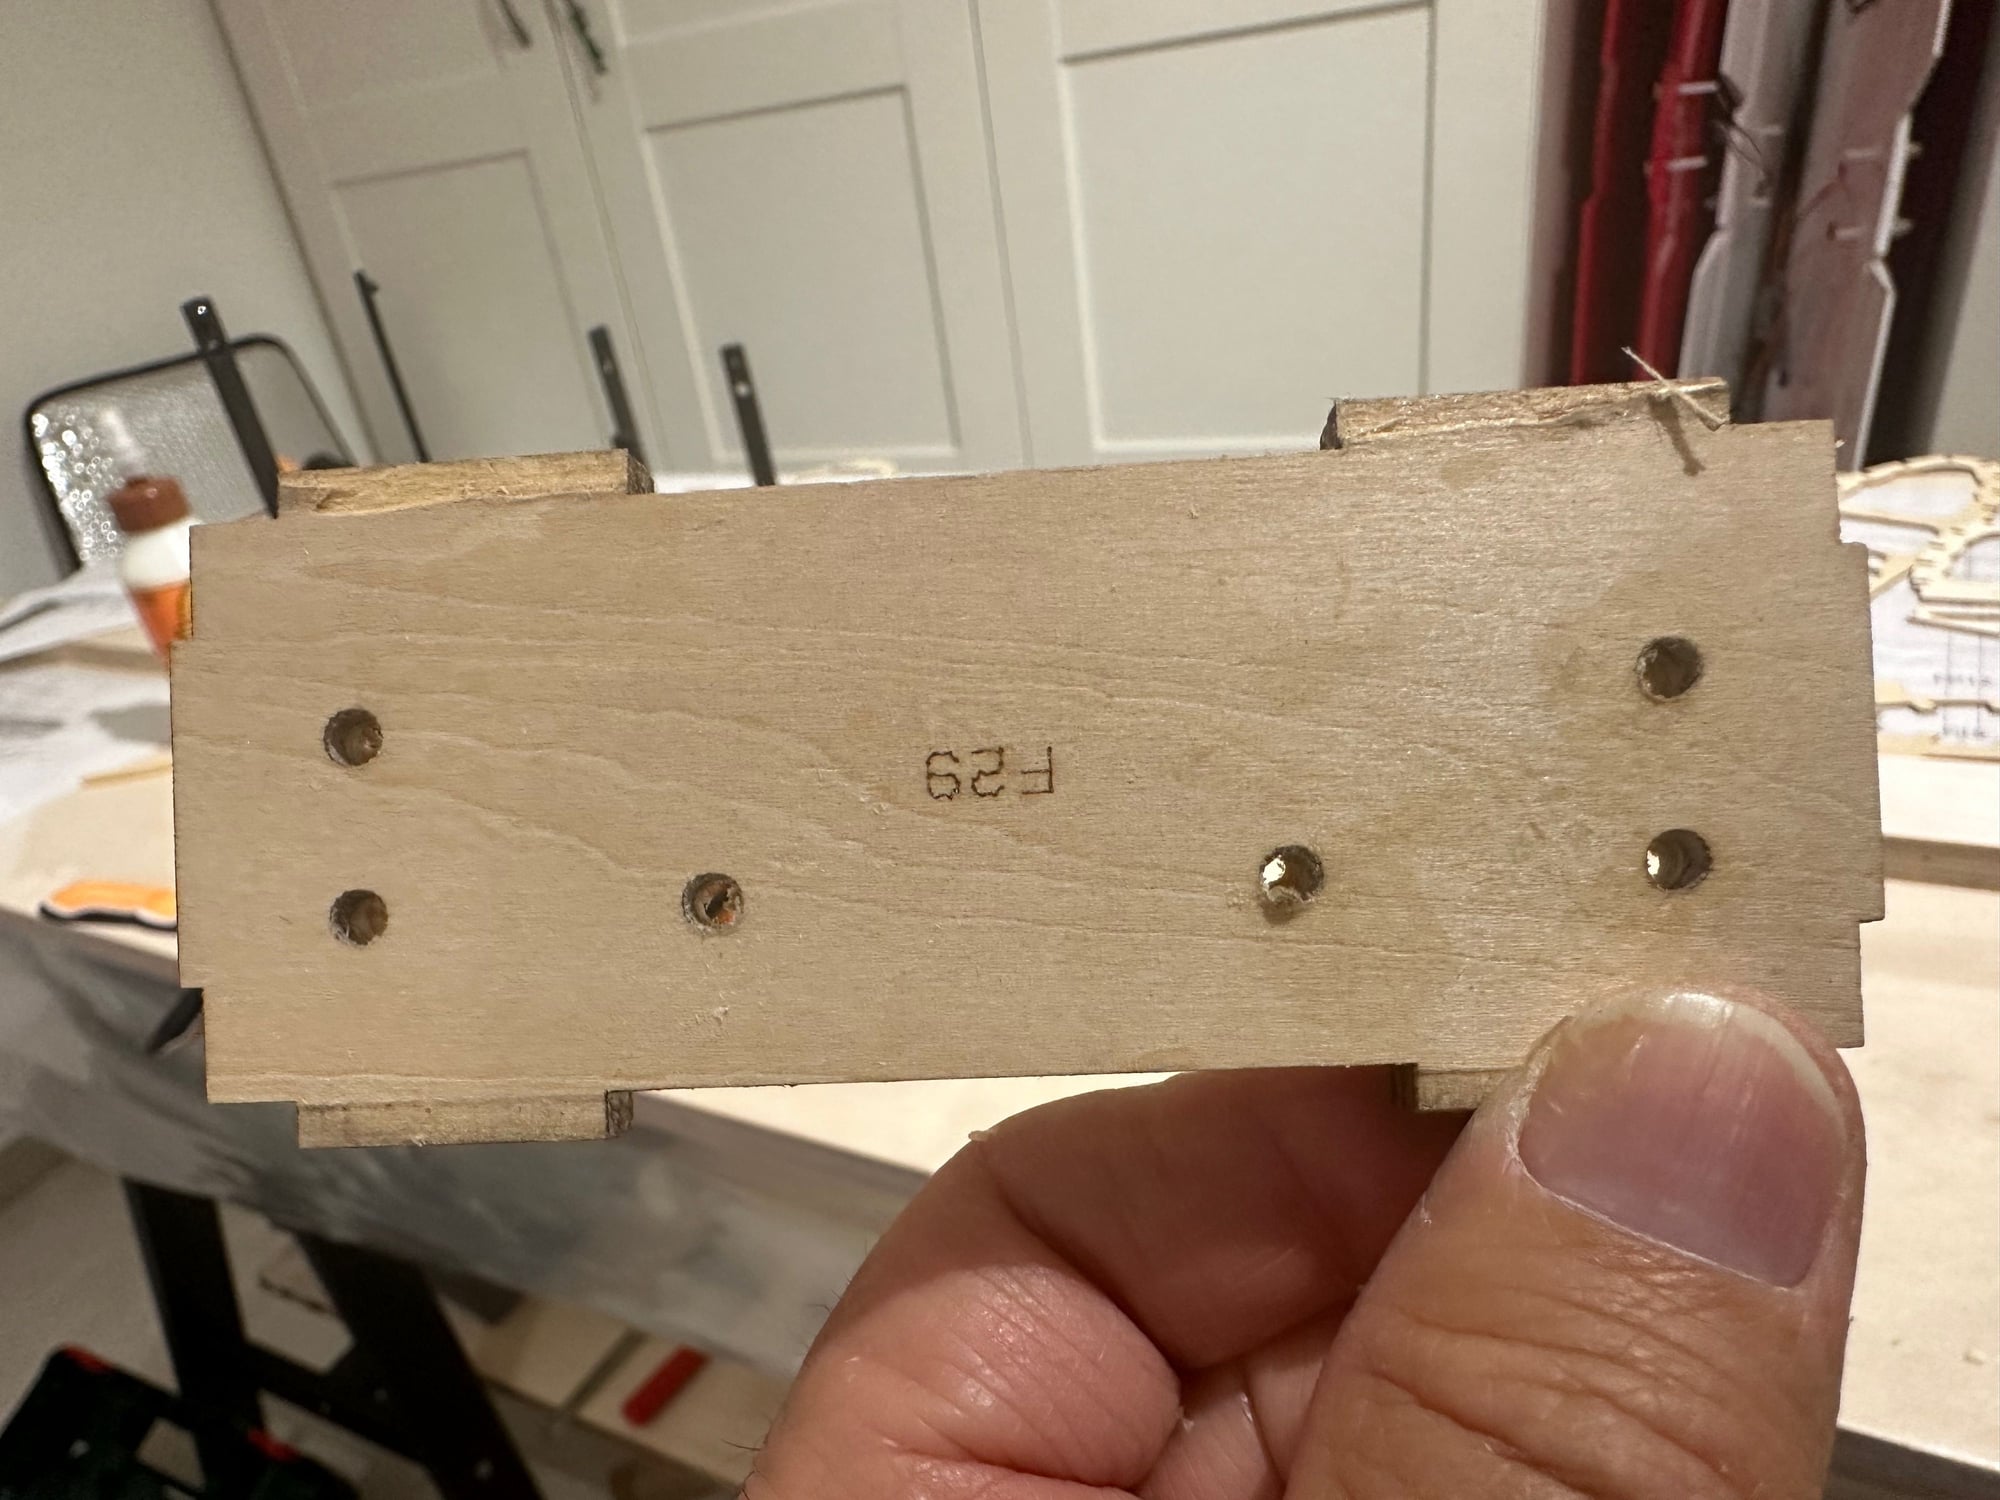
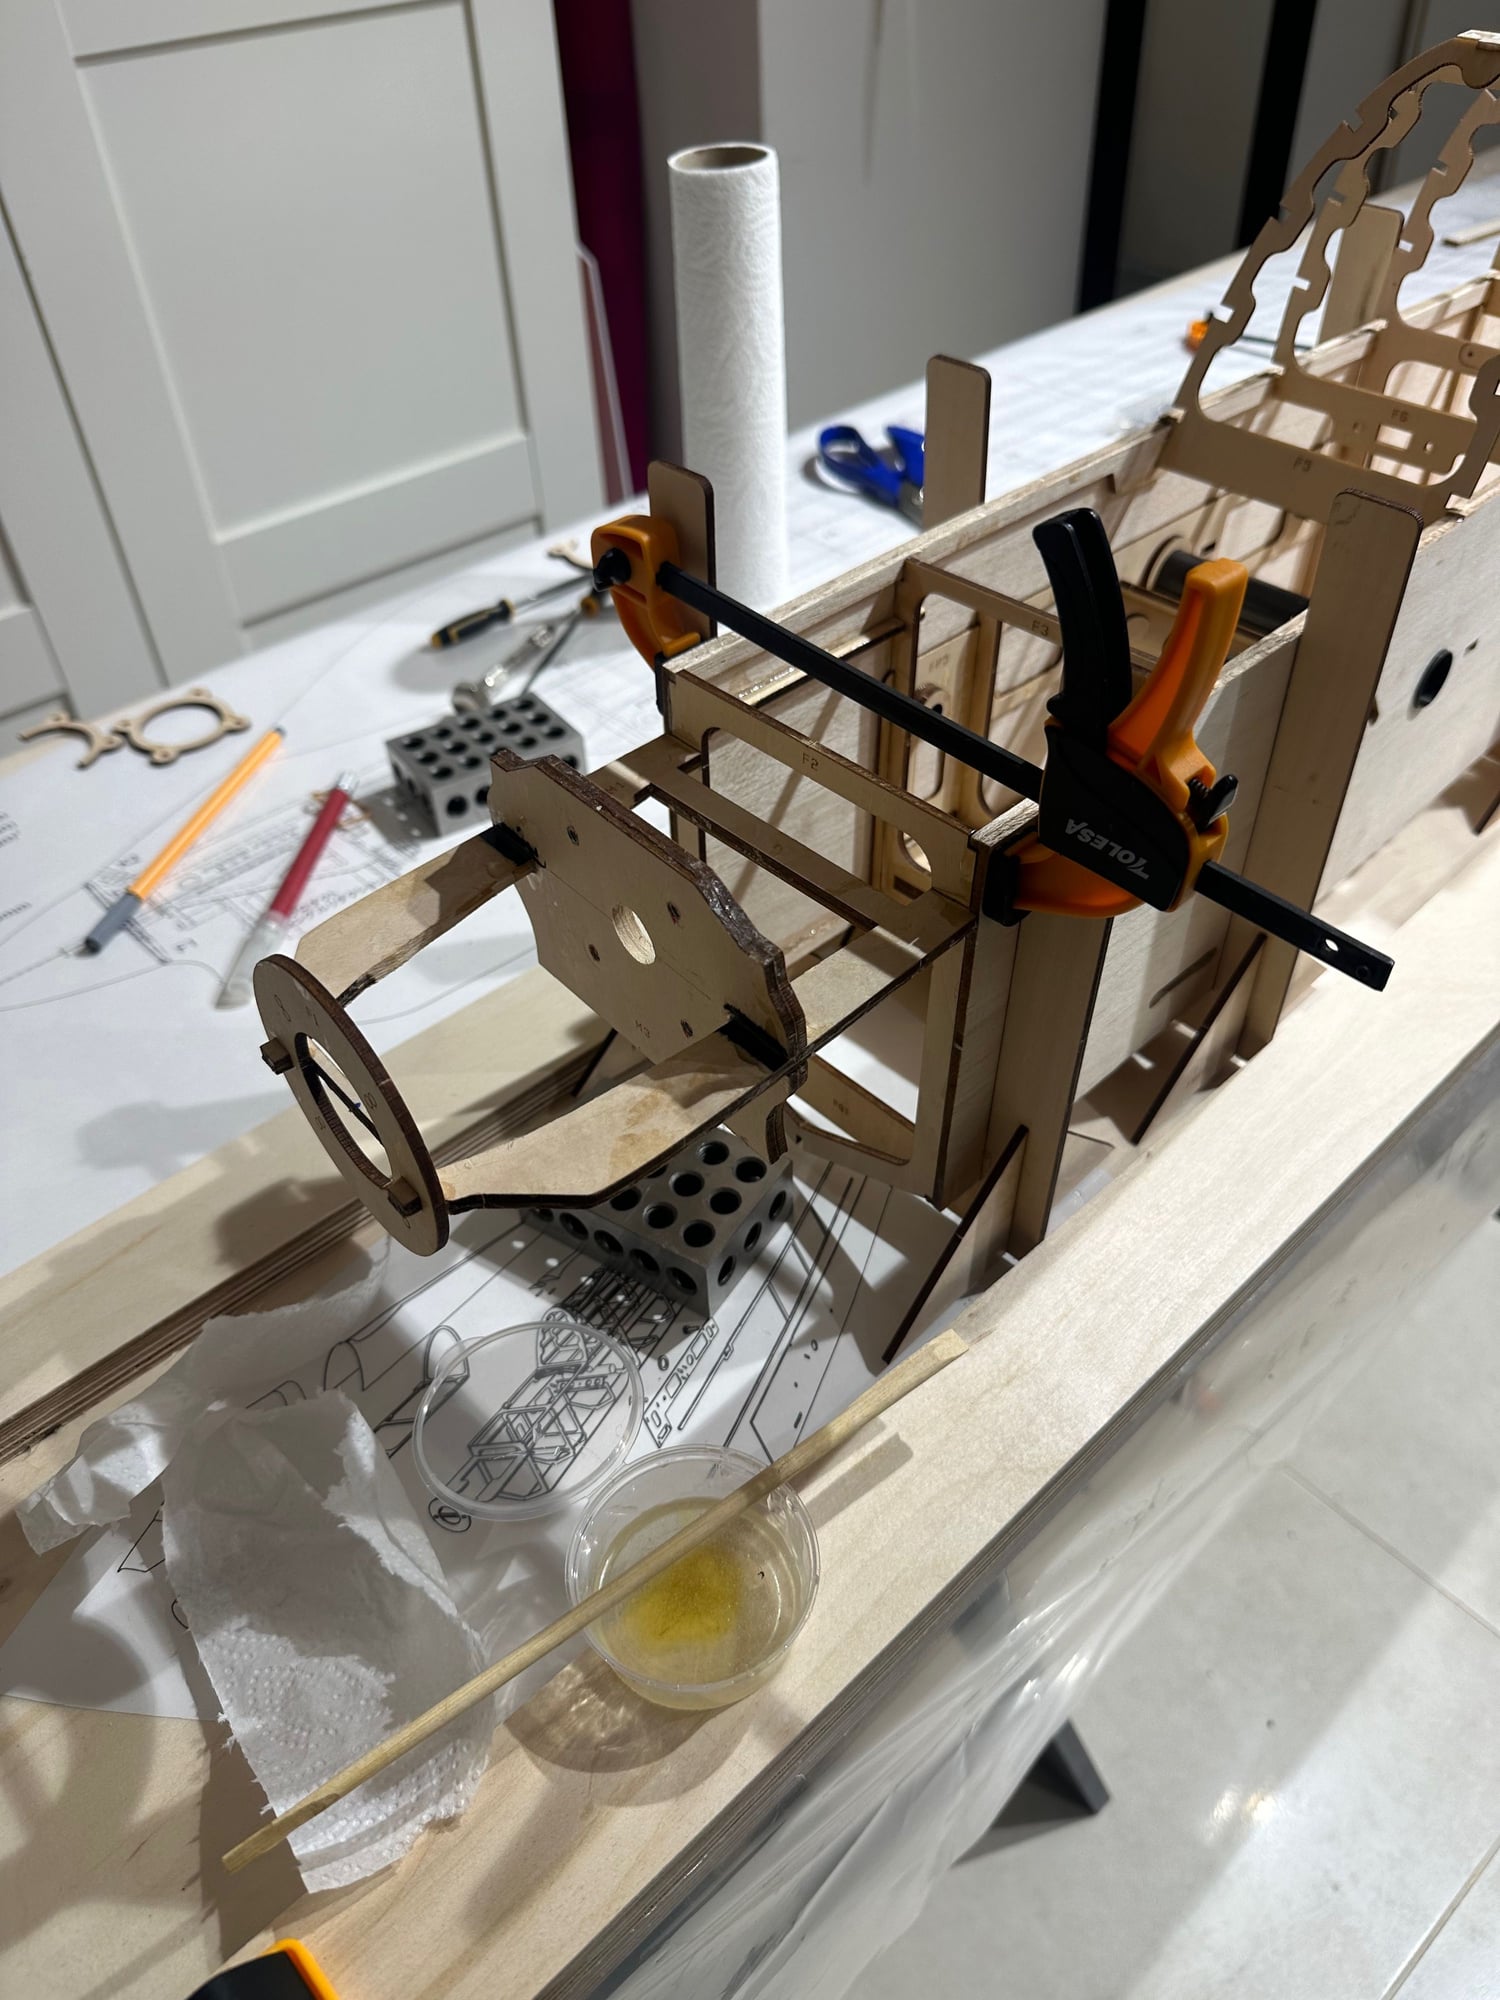
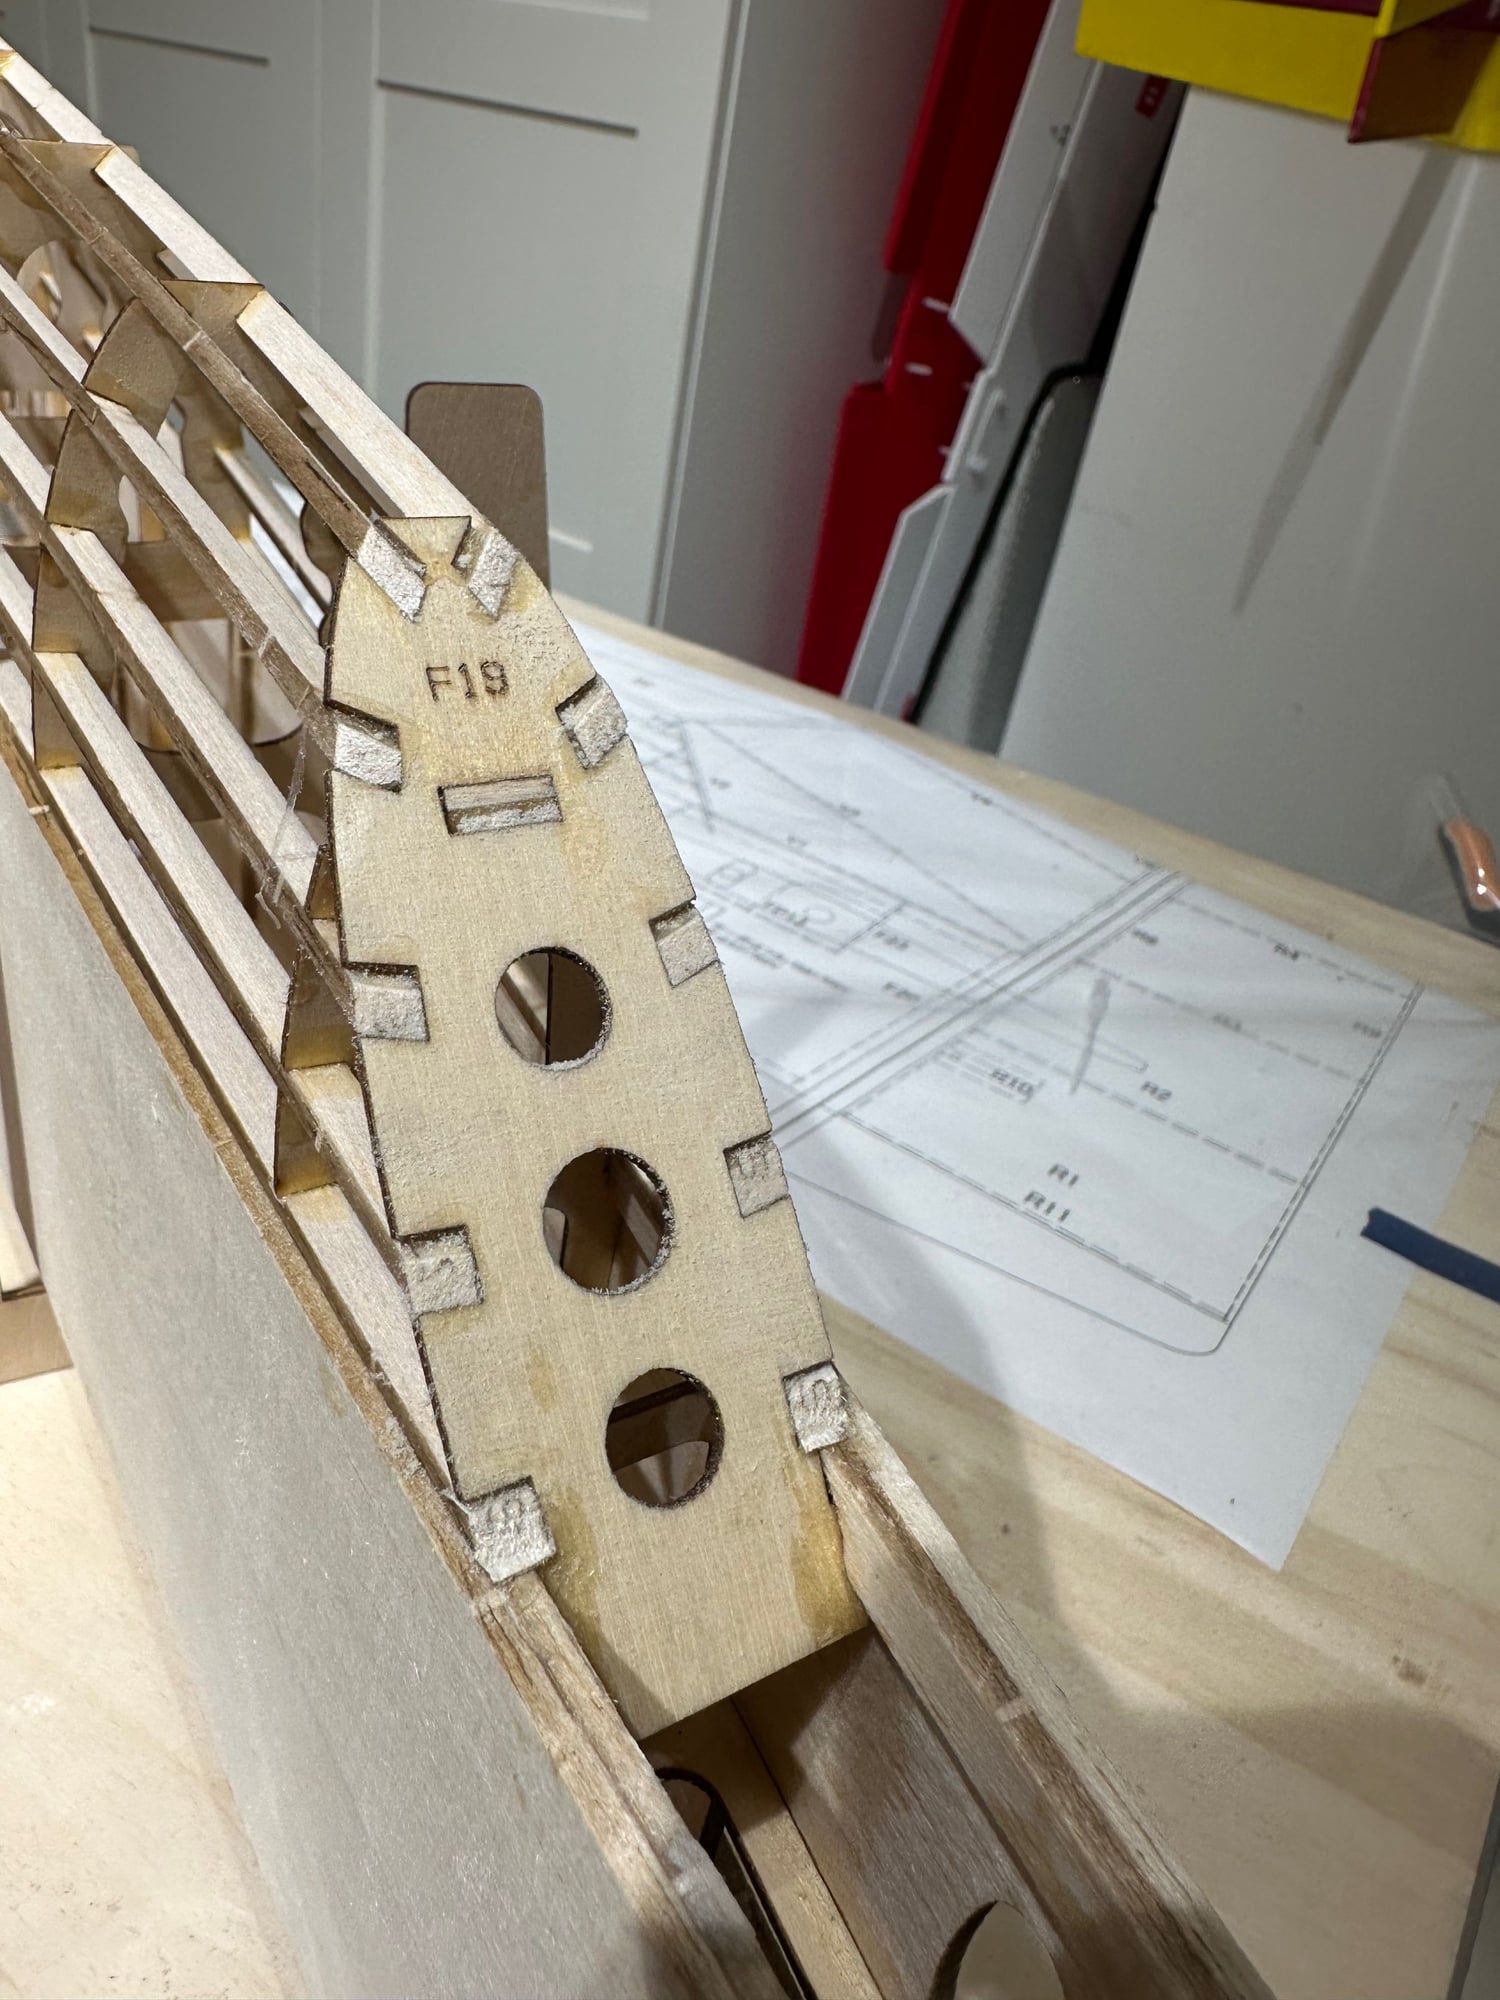
Preparing the motor firewall, assuring it is with the right tilt to match the nose. Prepare the drilling in advance. Using Epoxy.
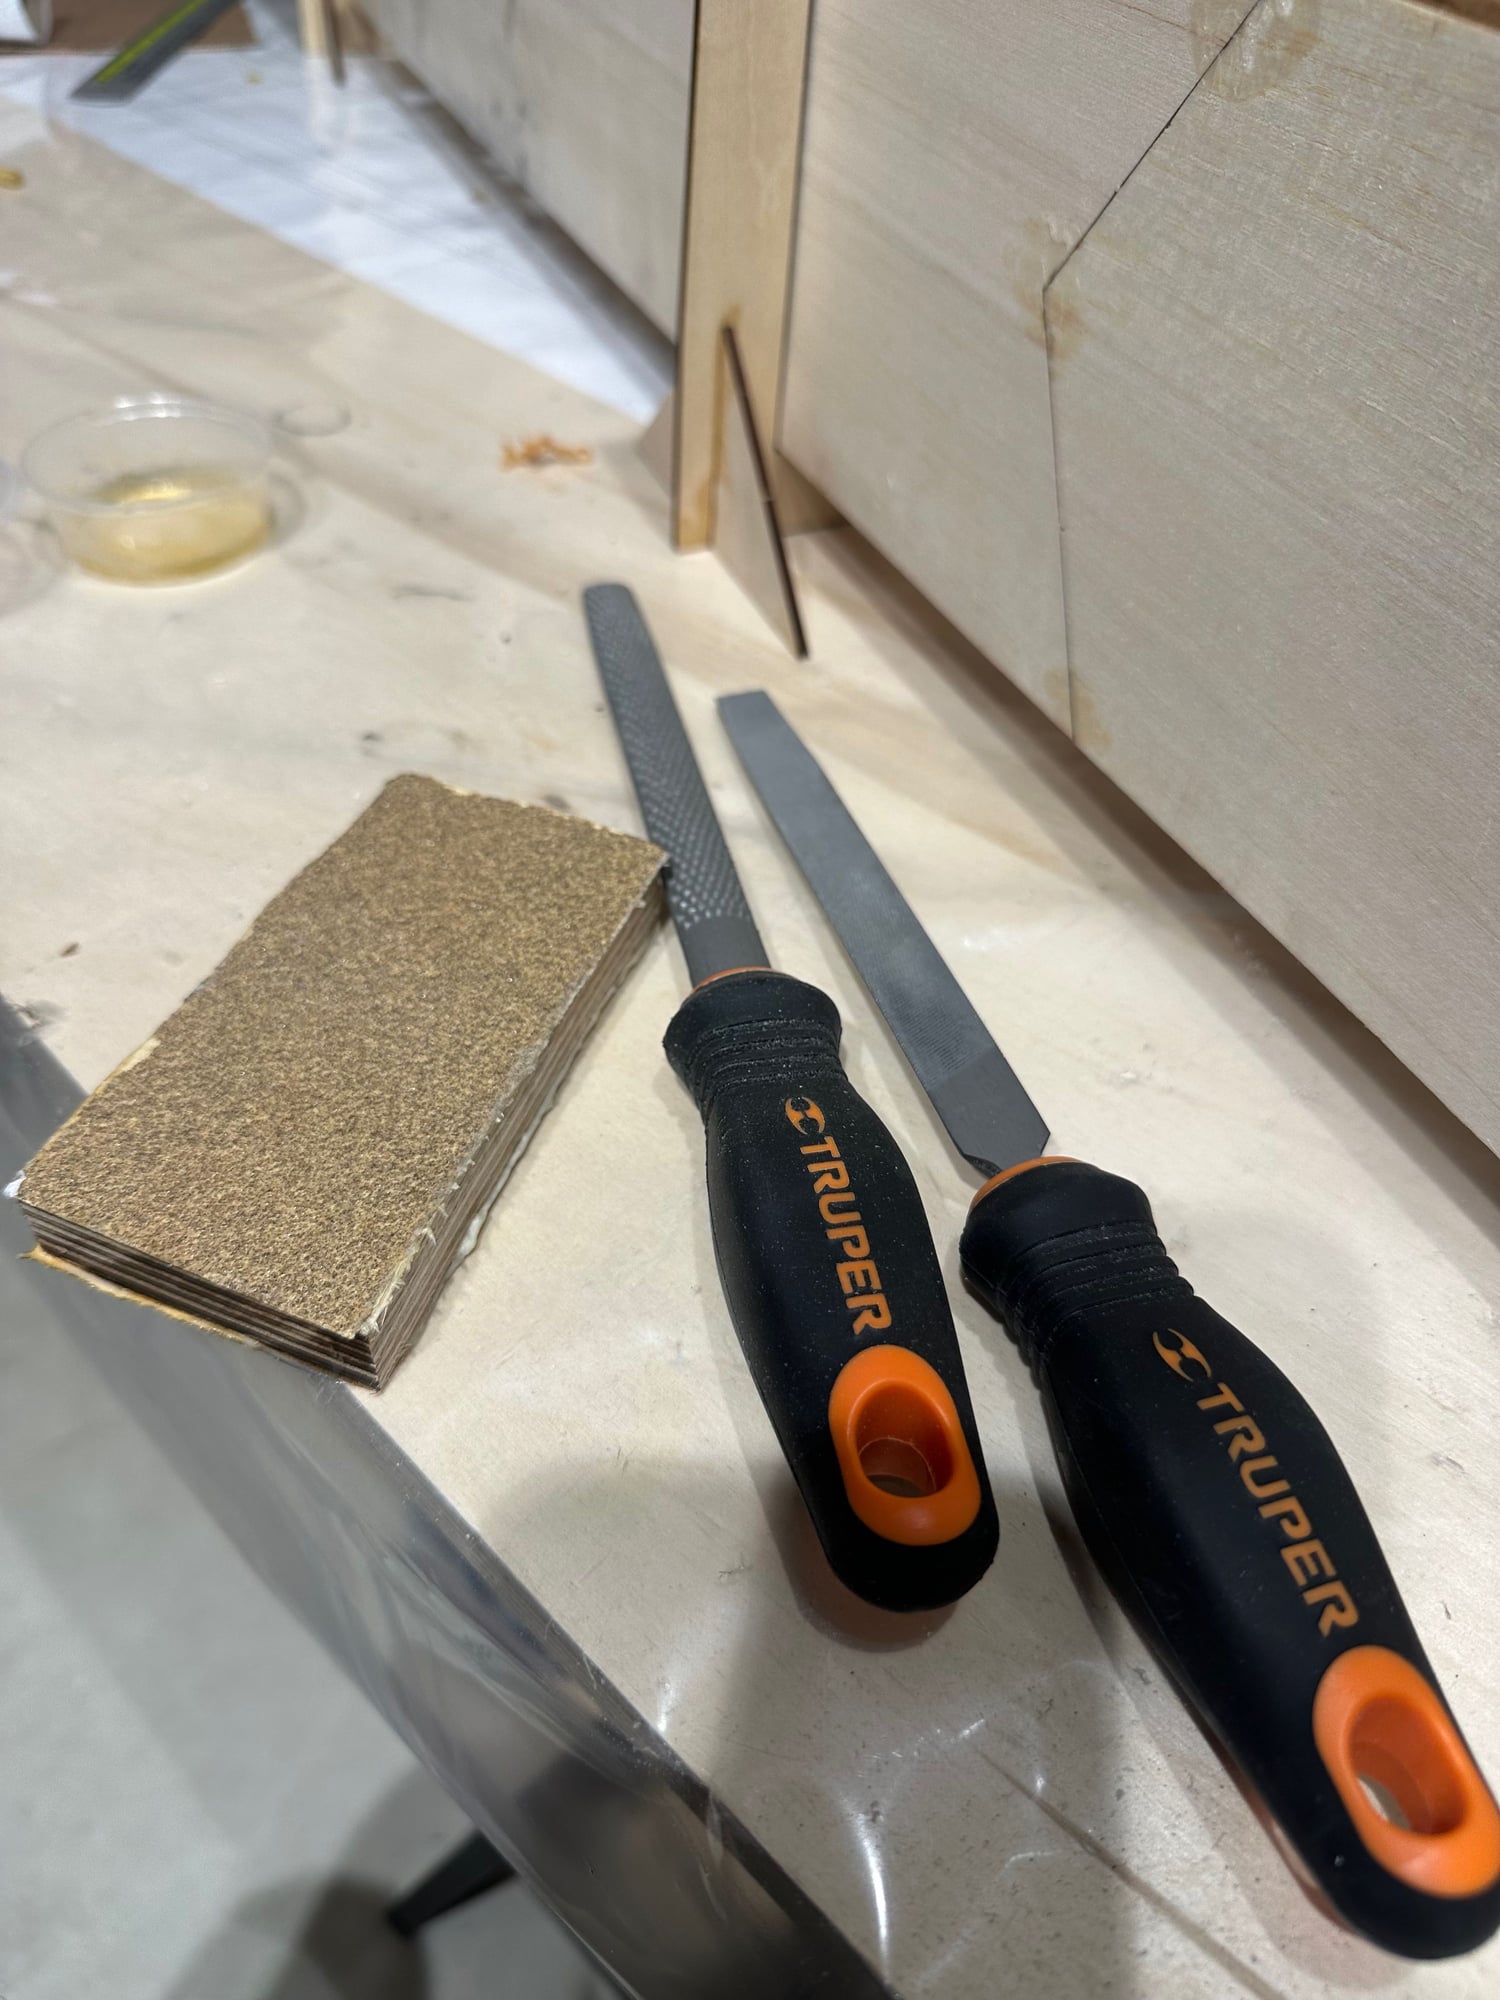
Cutting the redundant wood, for the rear mount motor. I will be using Dualsky 5060EA 12
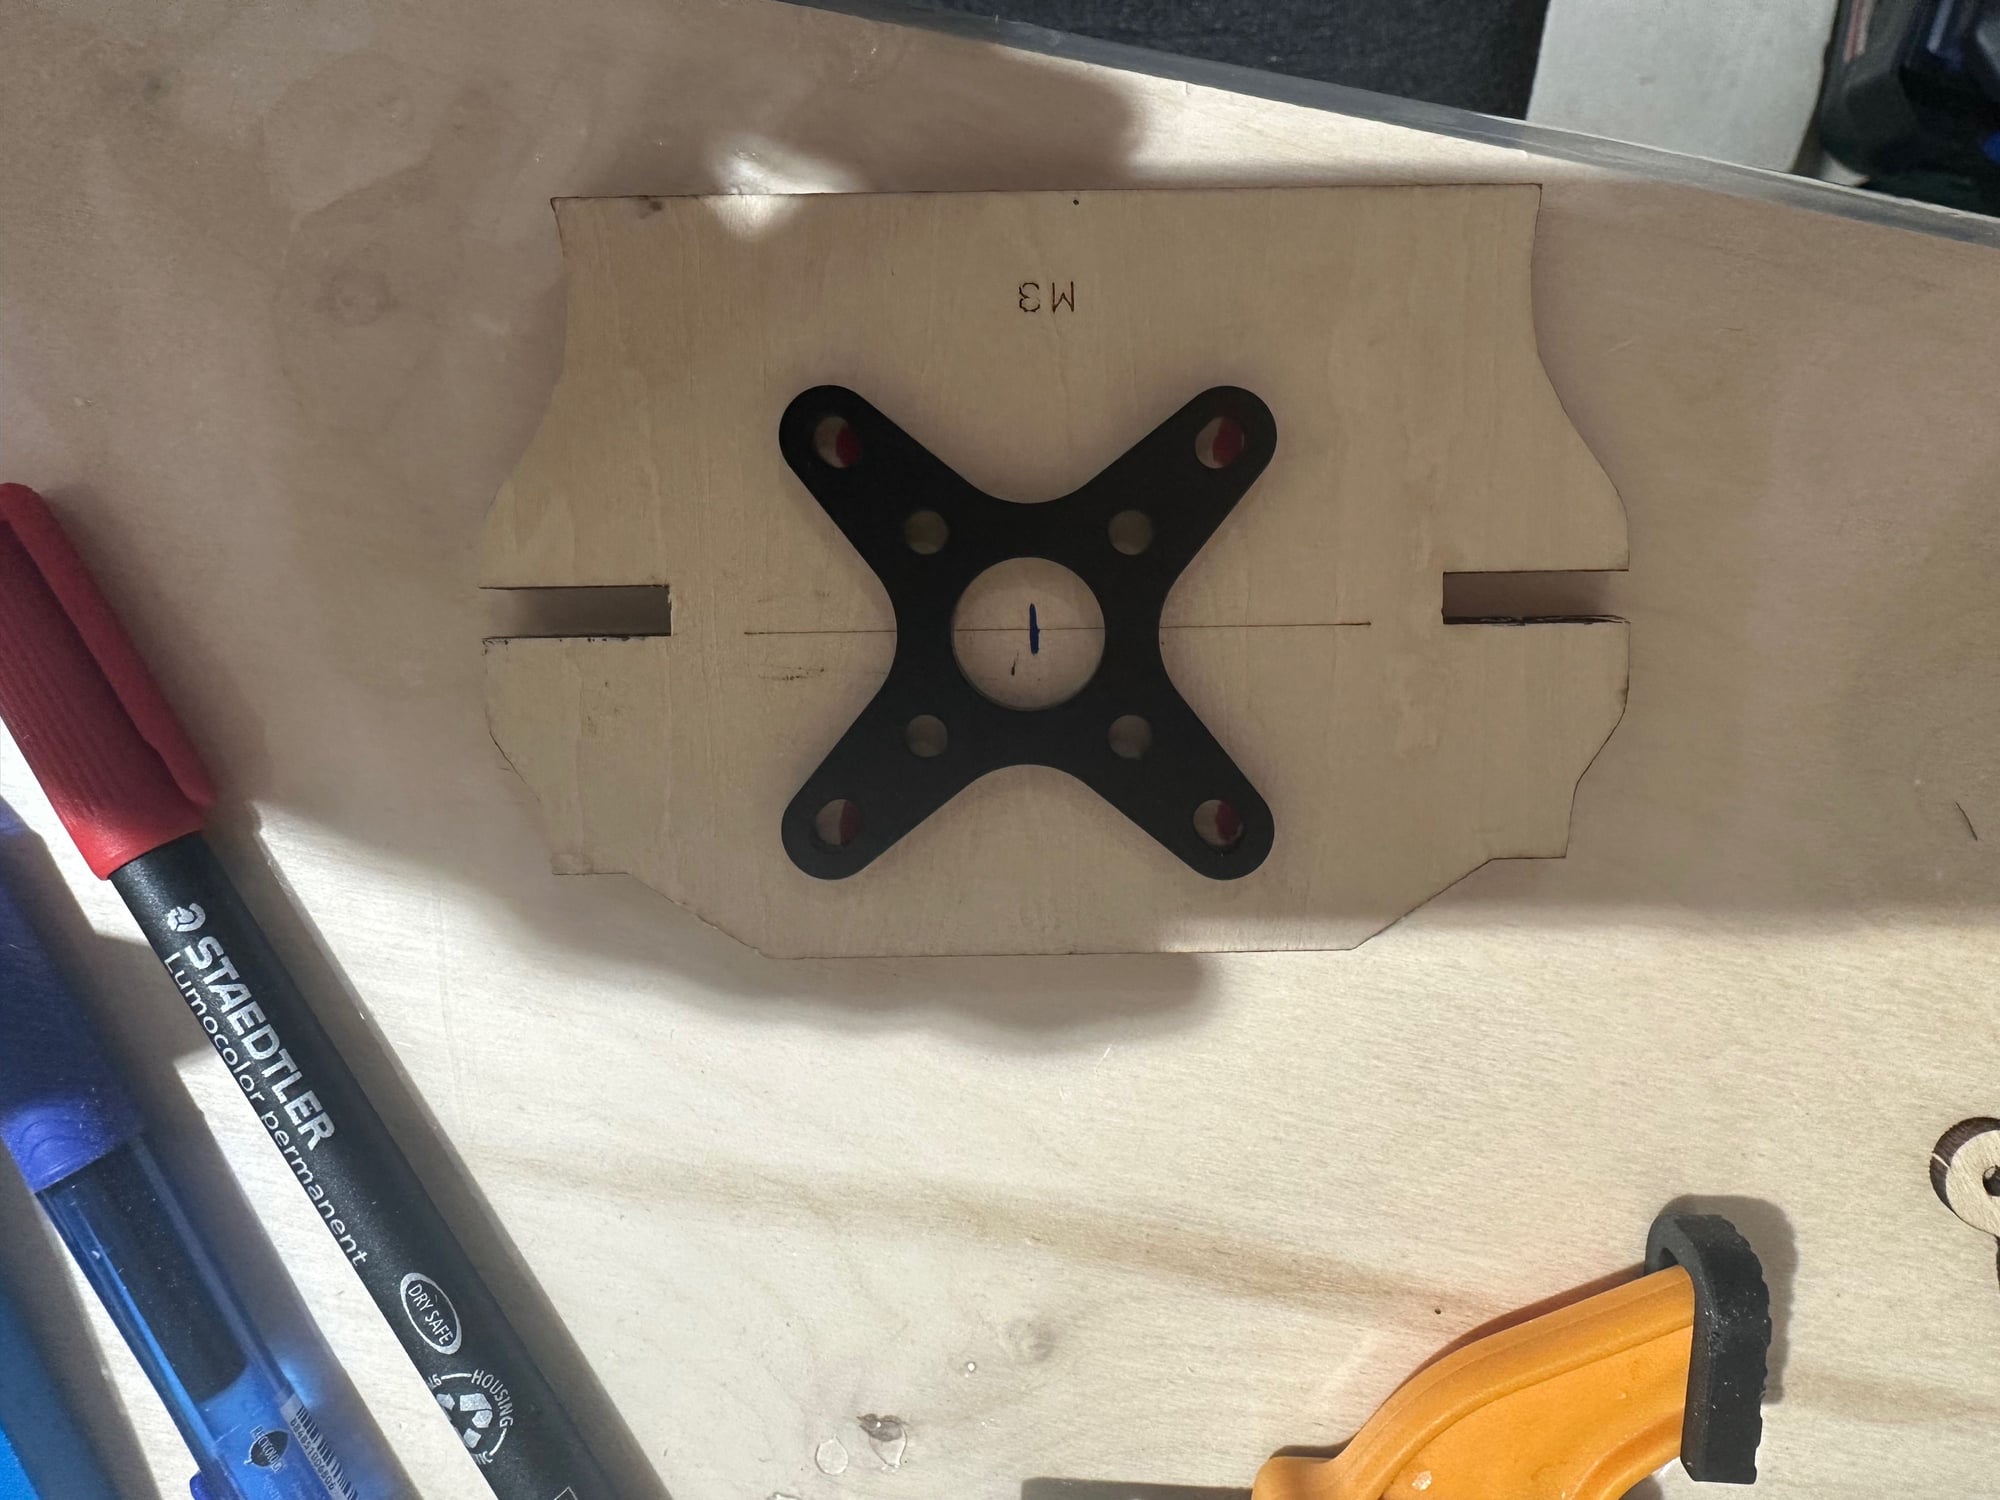

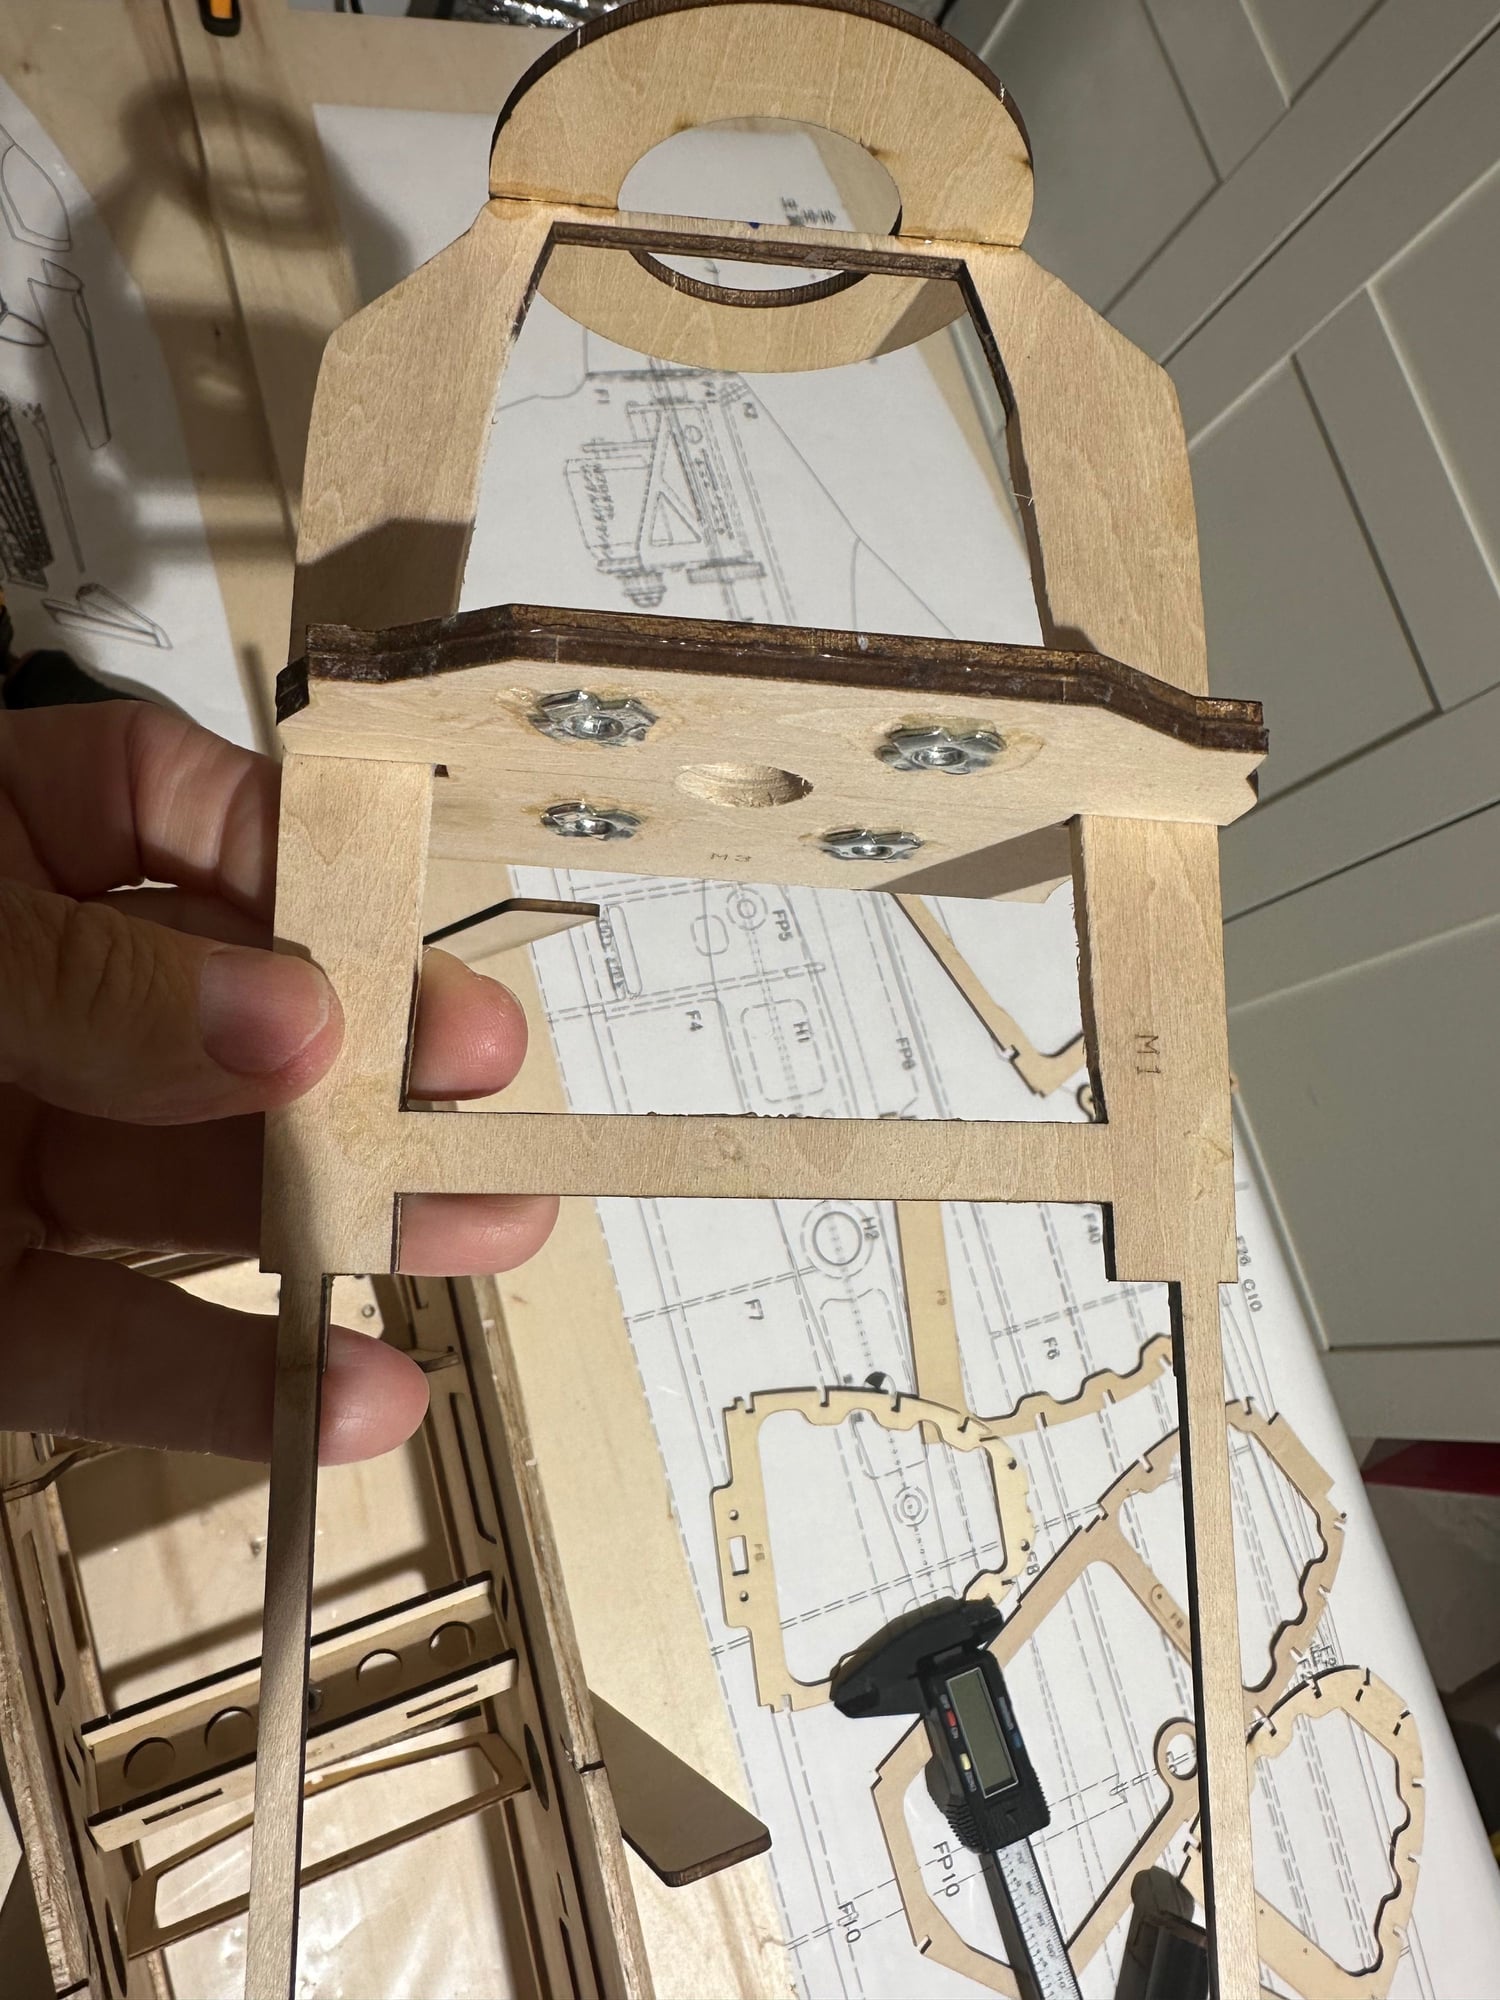
Cutting the redundant wood, for the rear mount motor. I will be using Dualsky 5060EA 12
 04-09-2024, 03:50 AM
#24
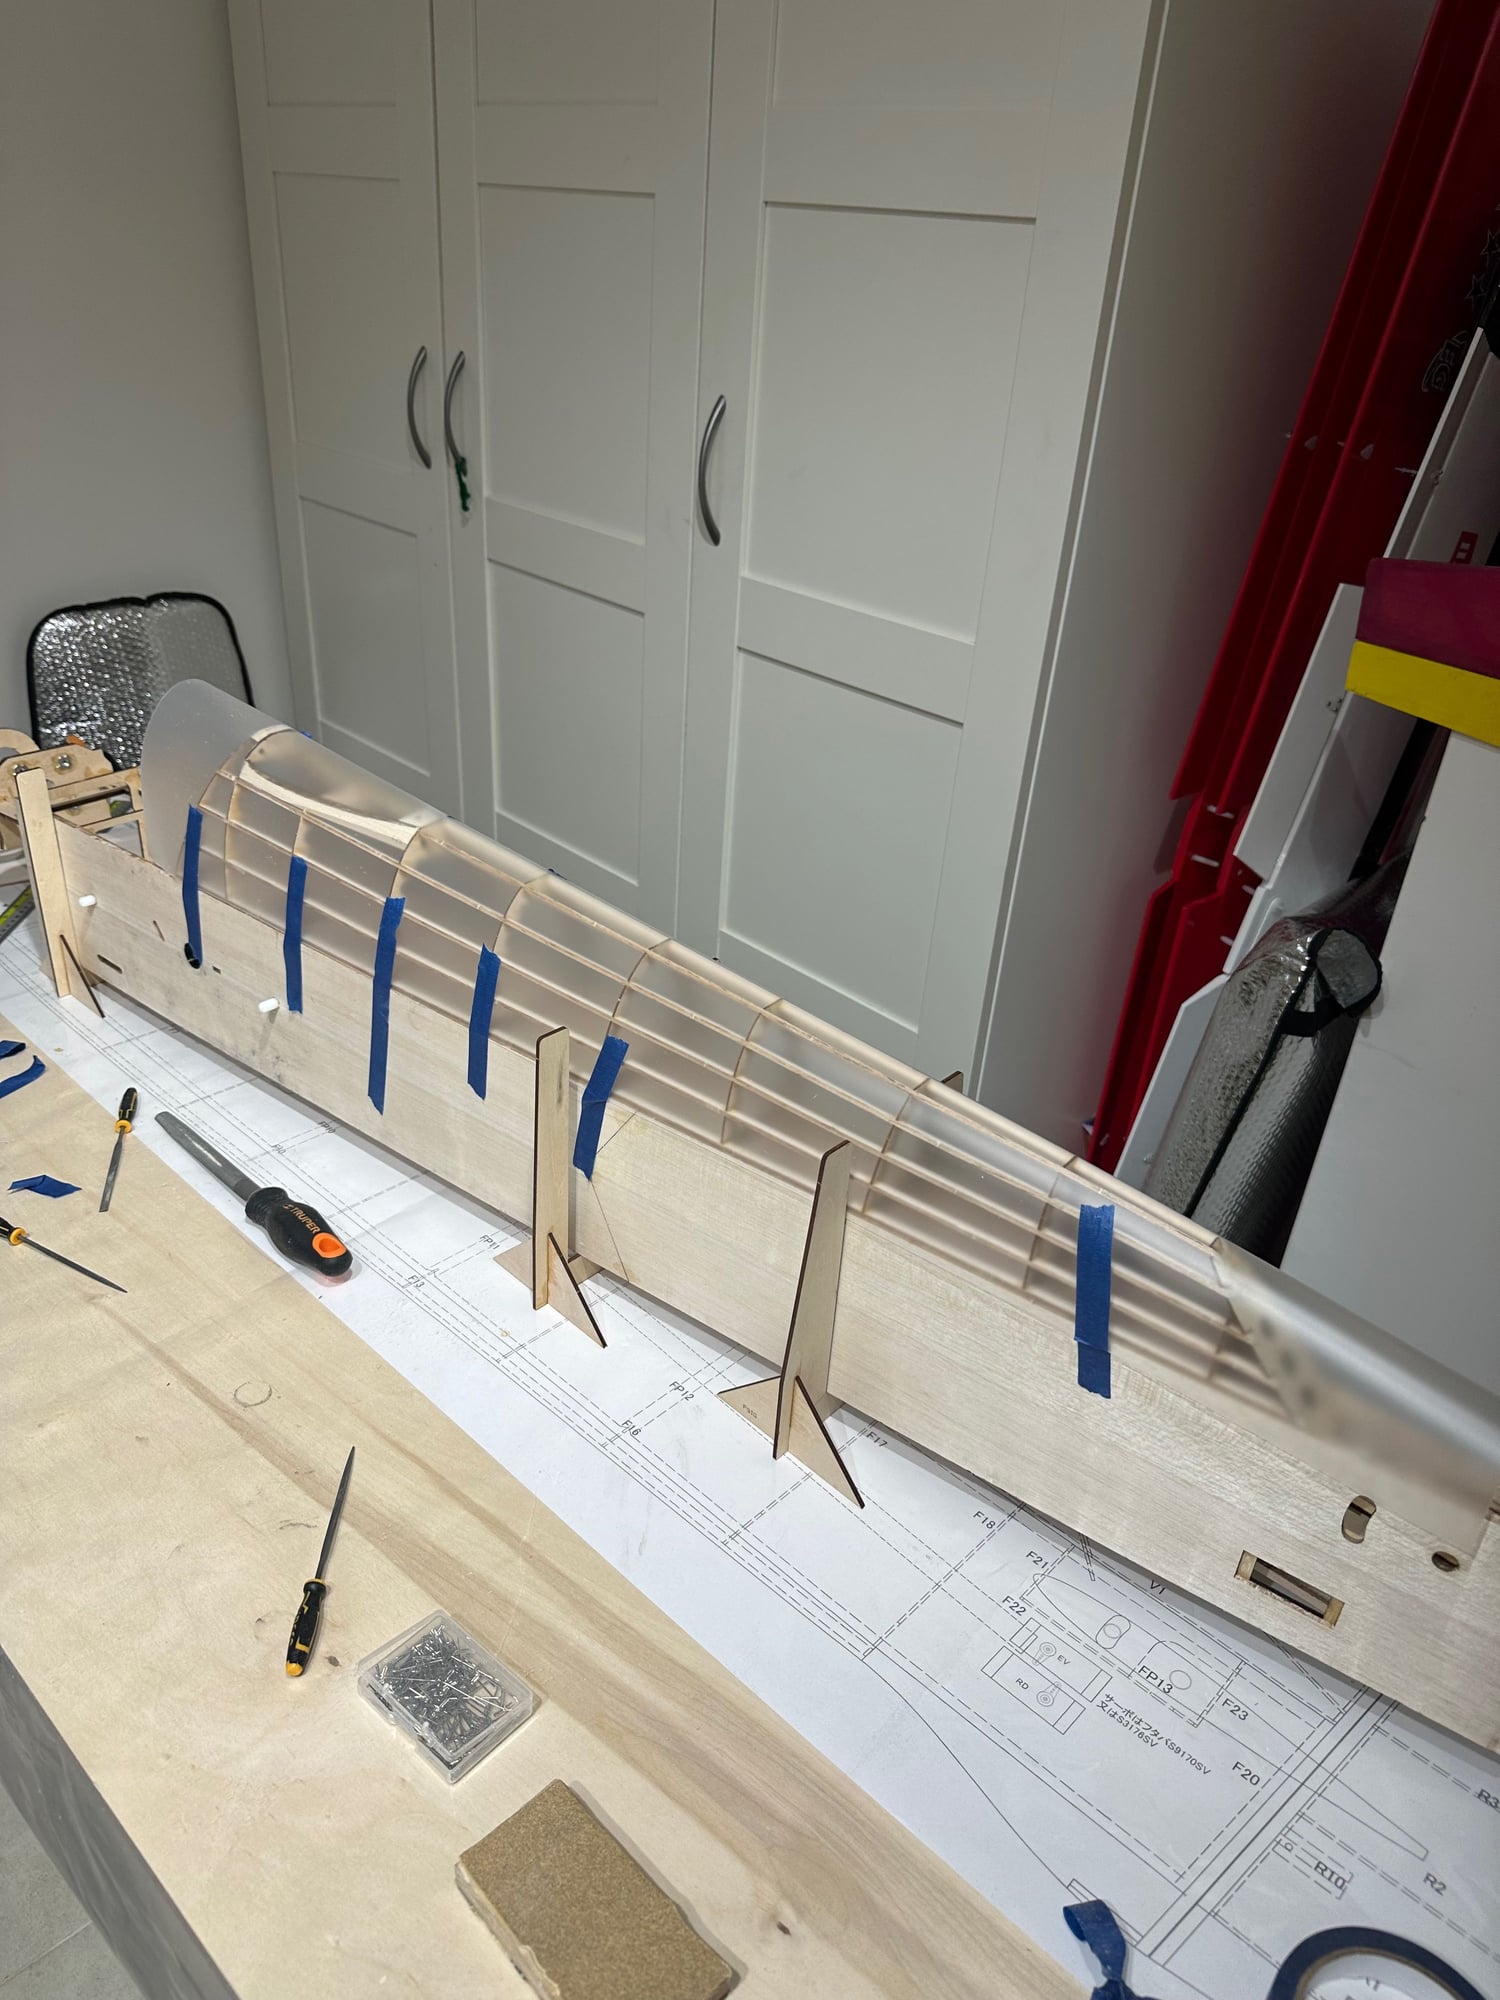
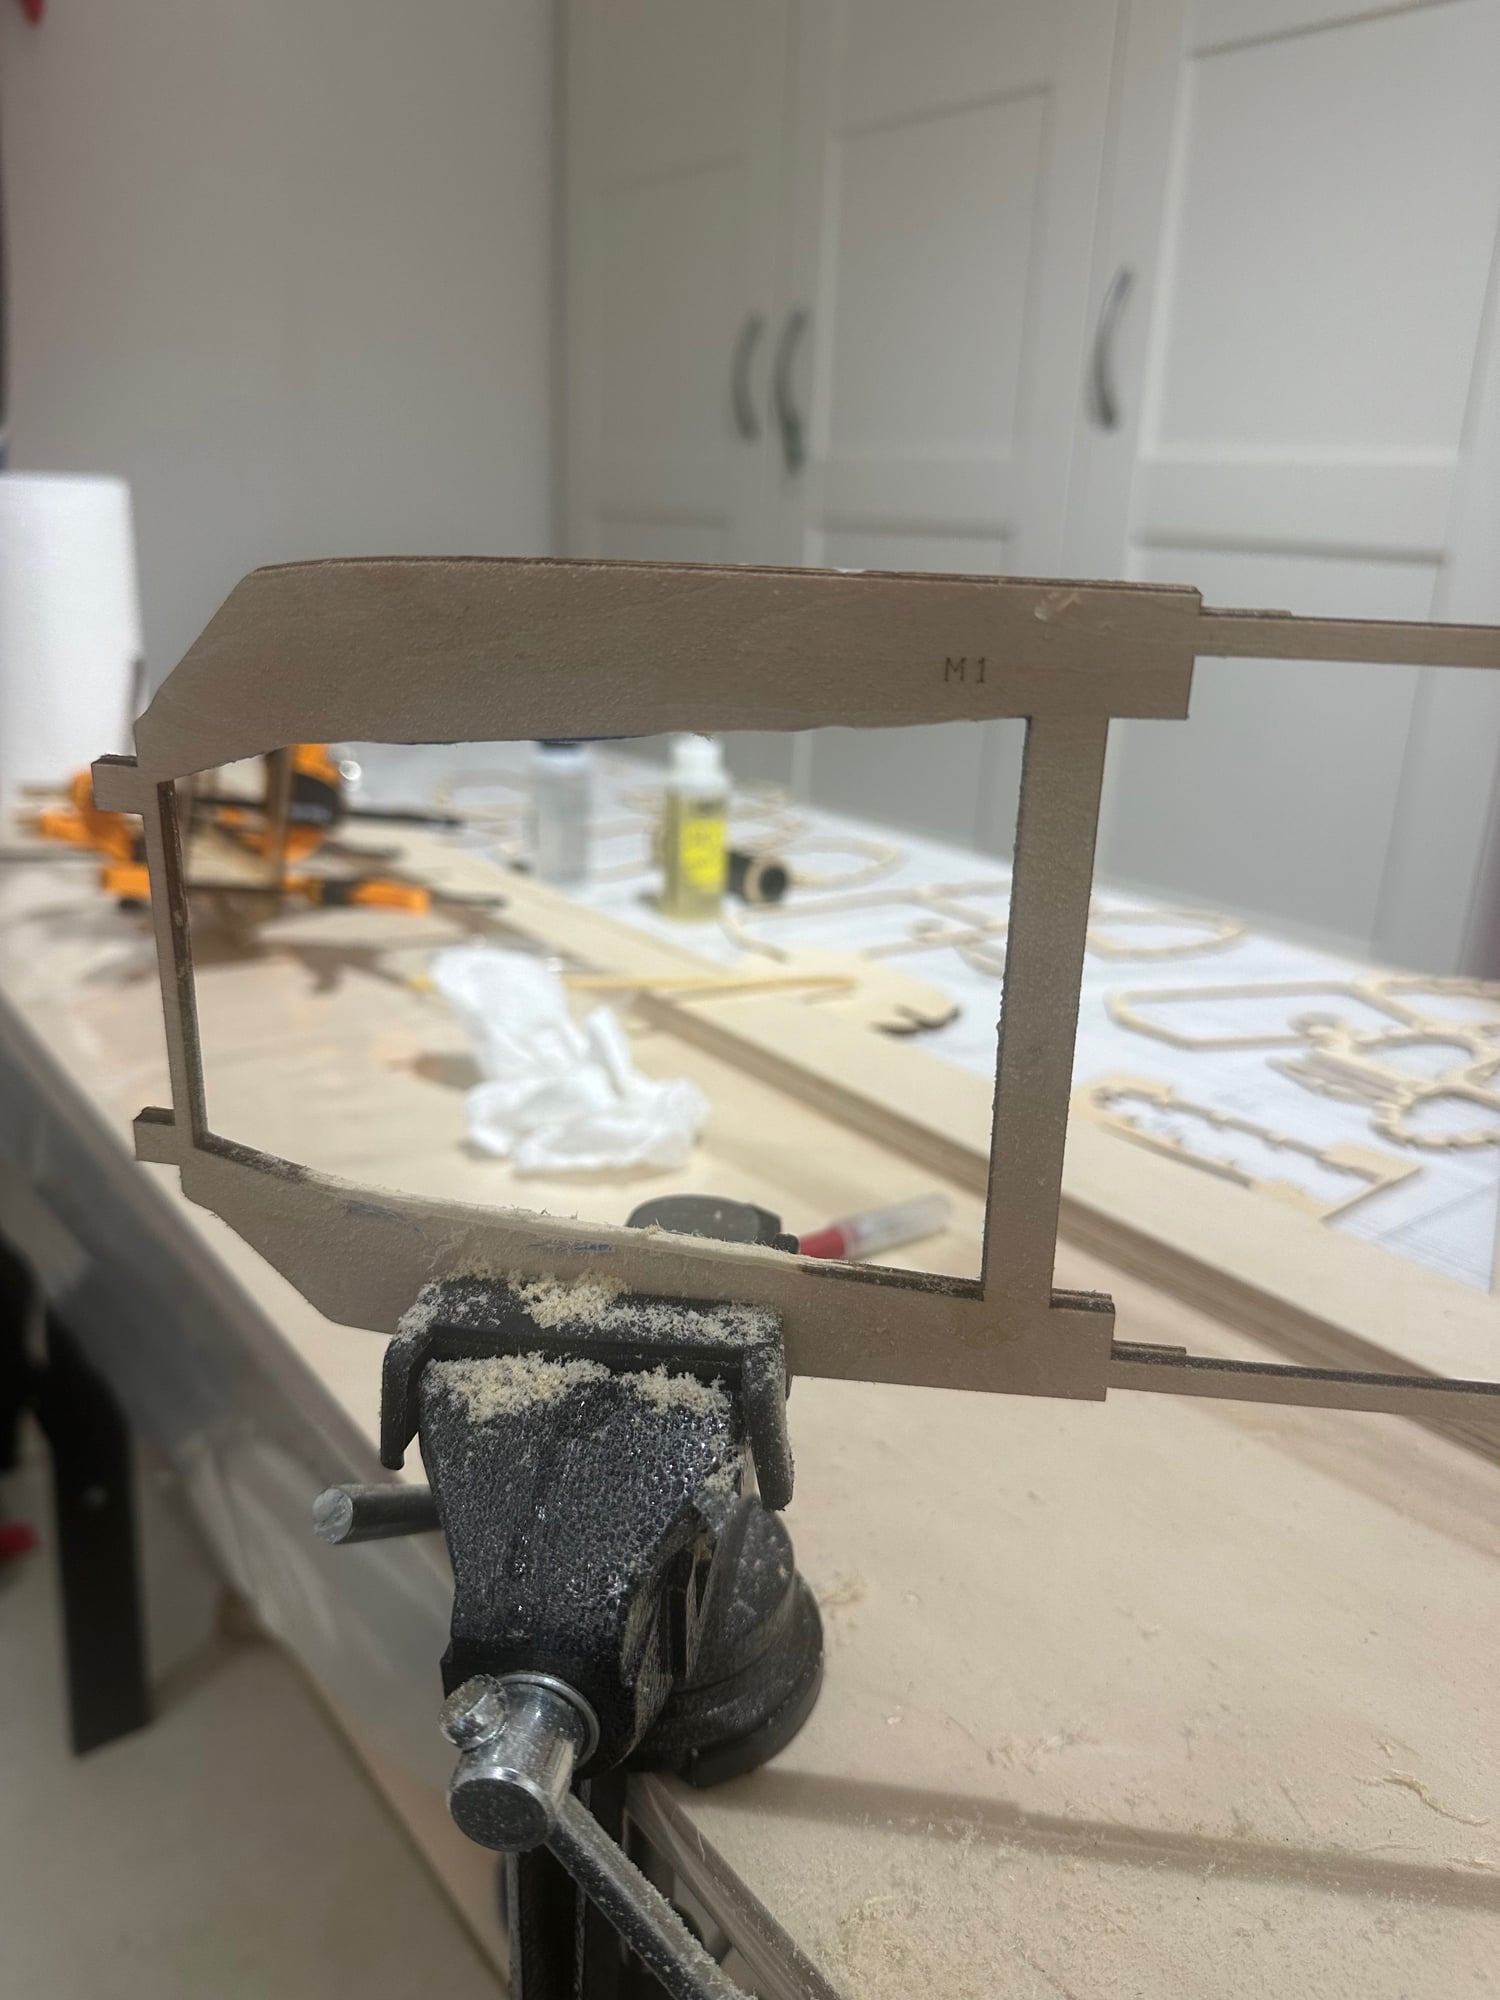
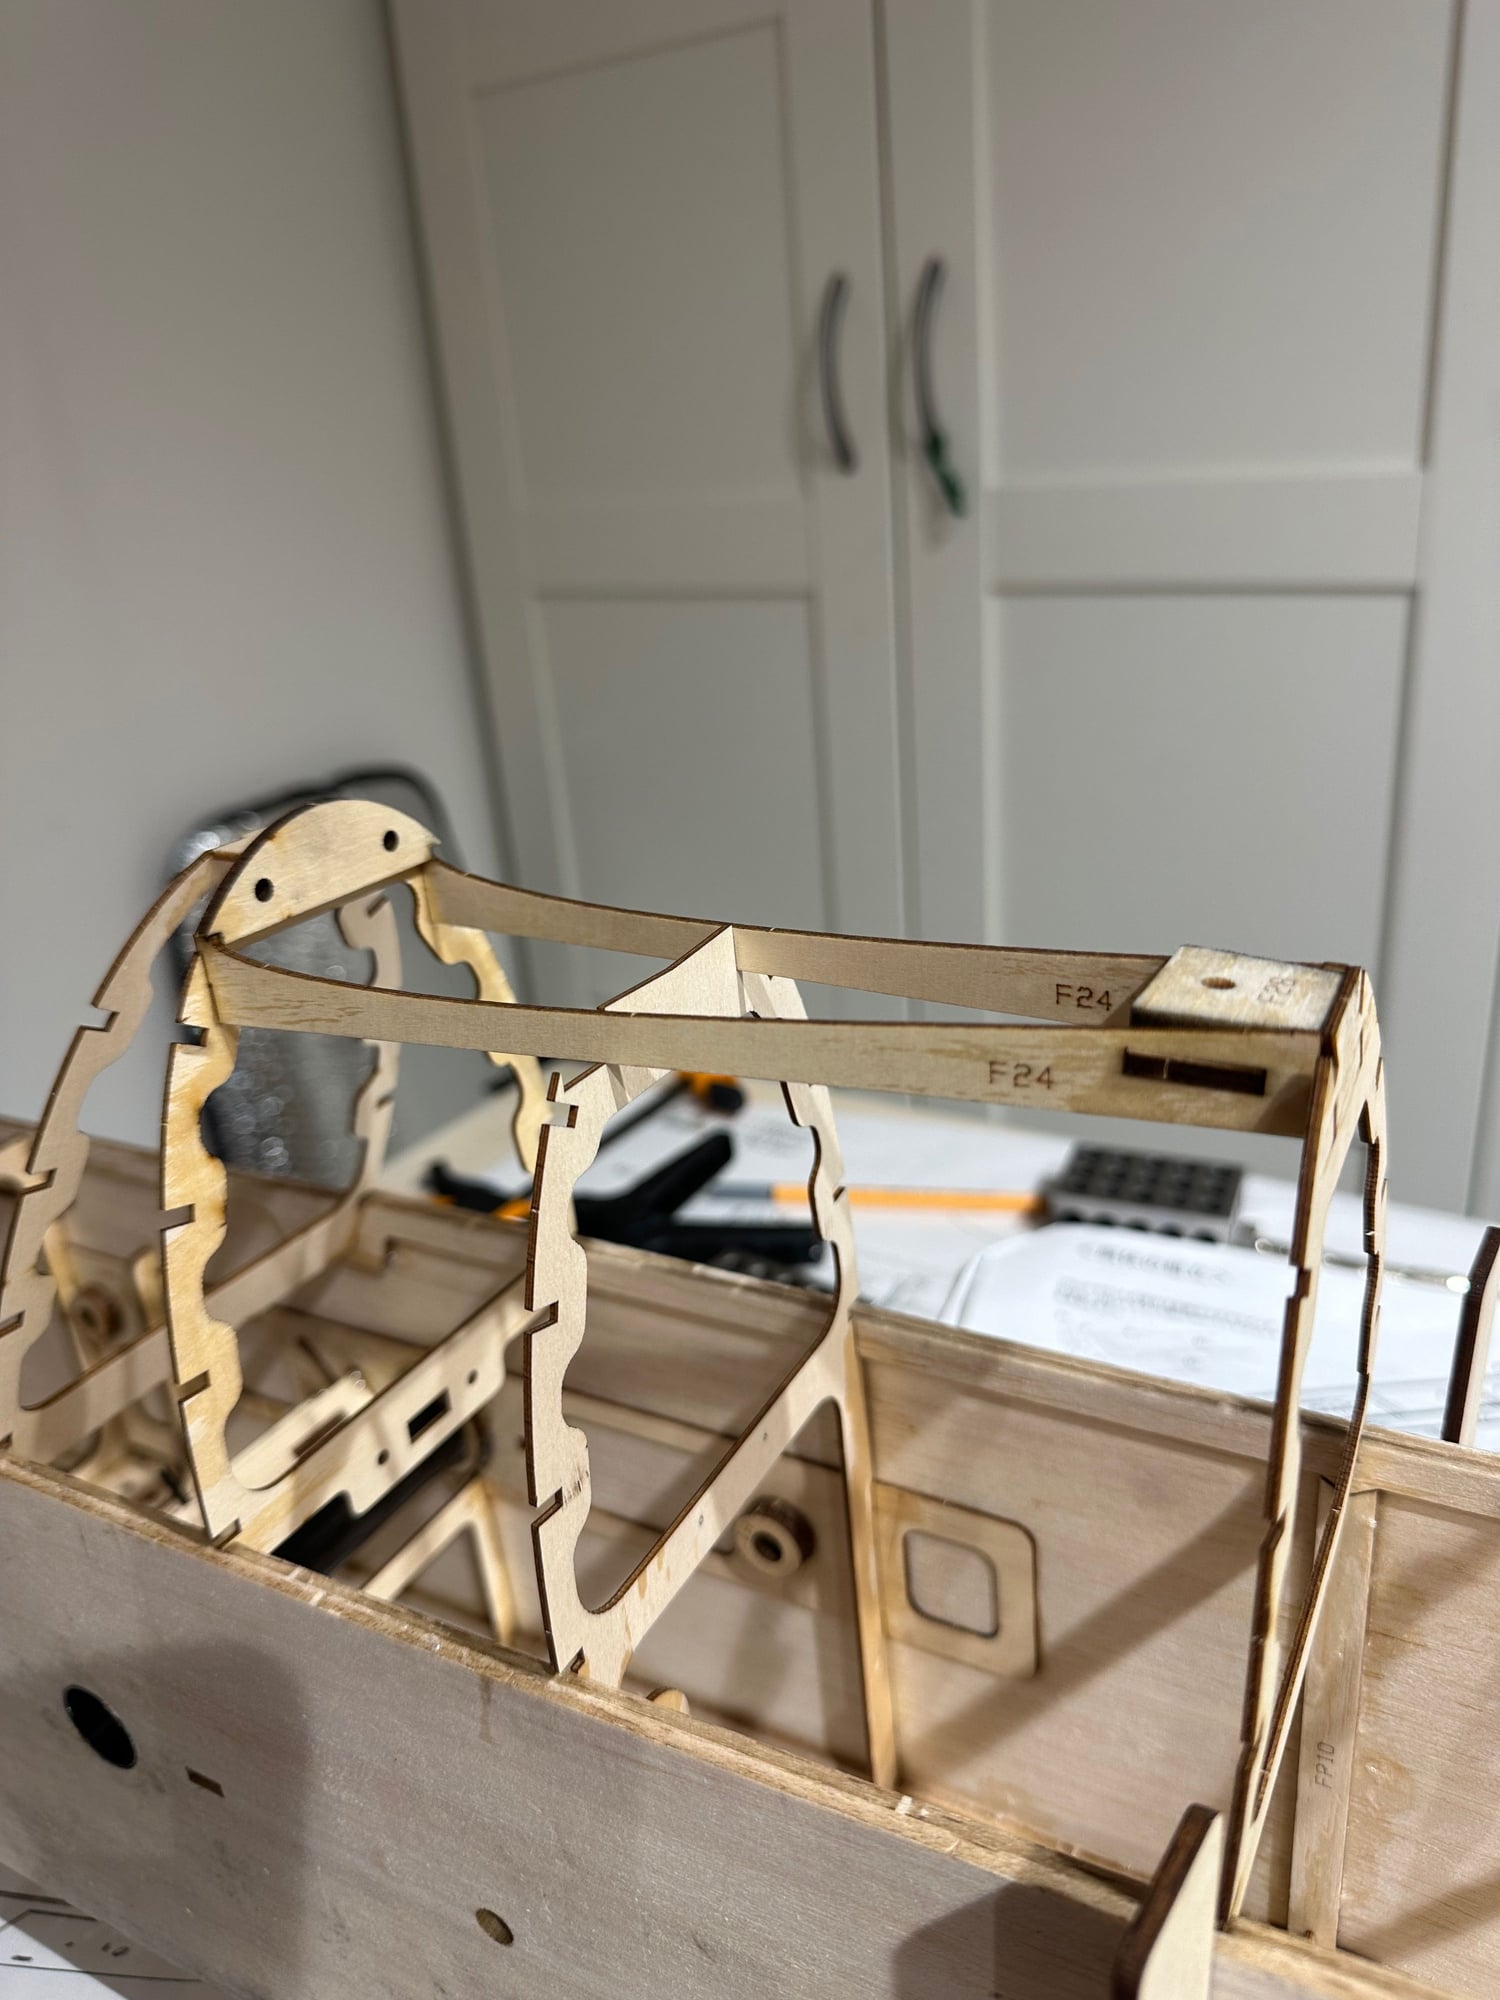
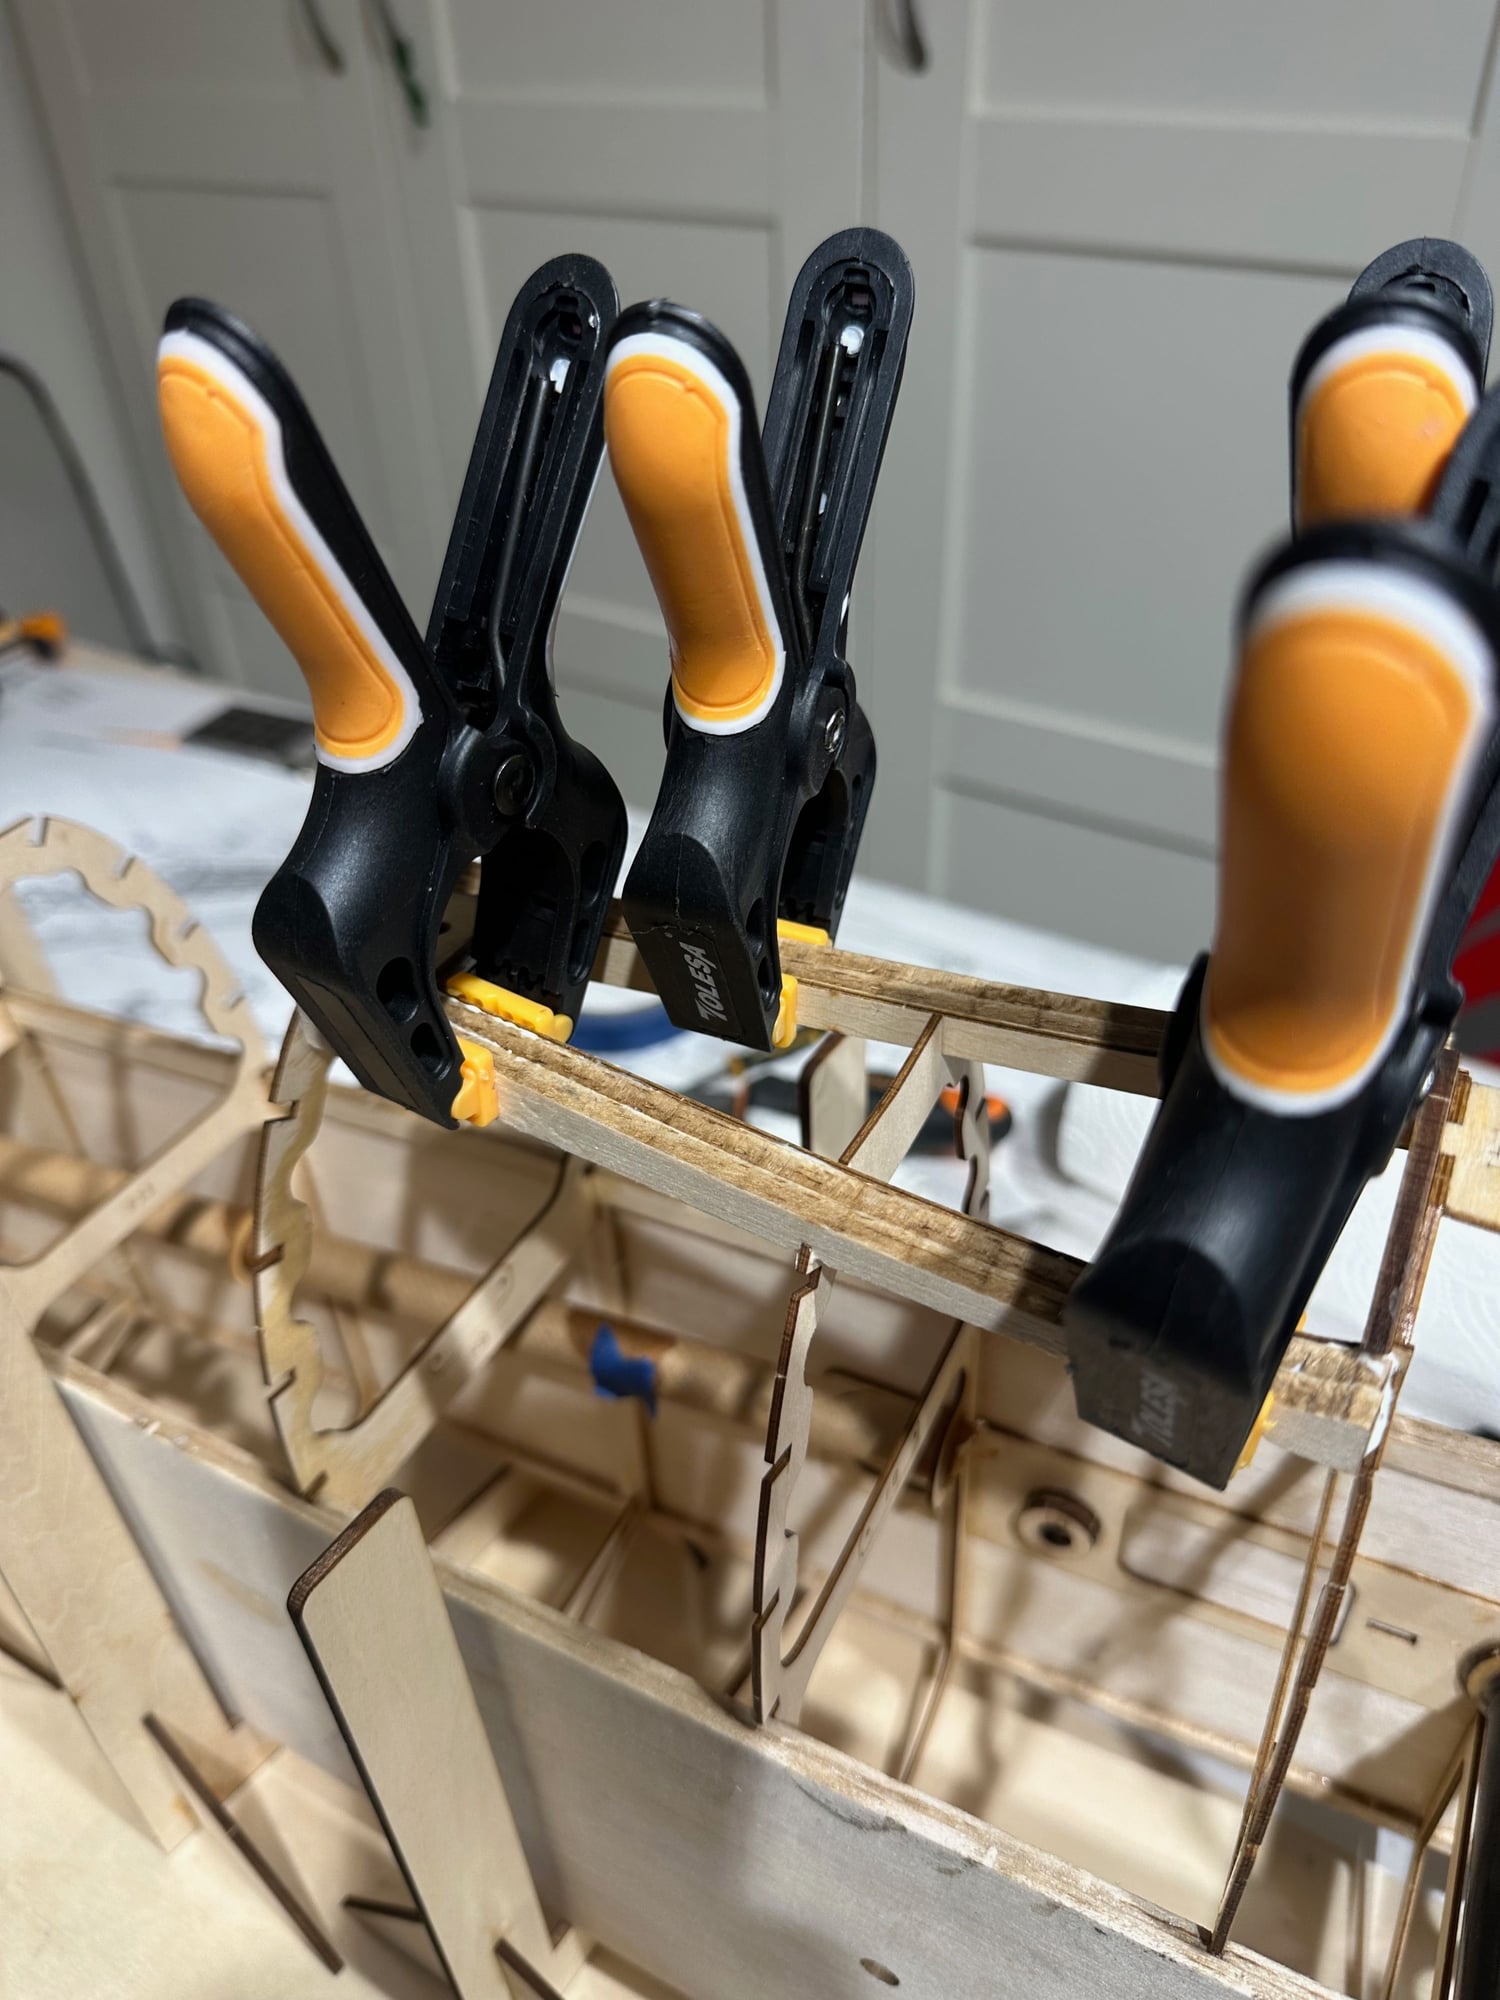
I used a thin plastic to create the fuselage profile.
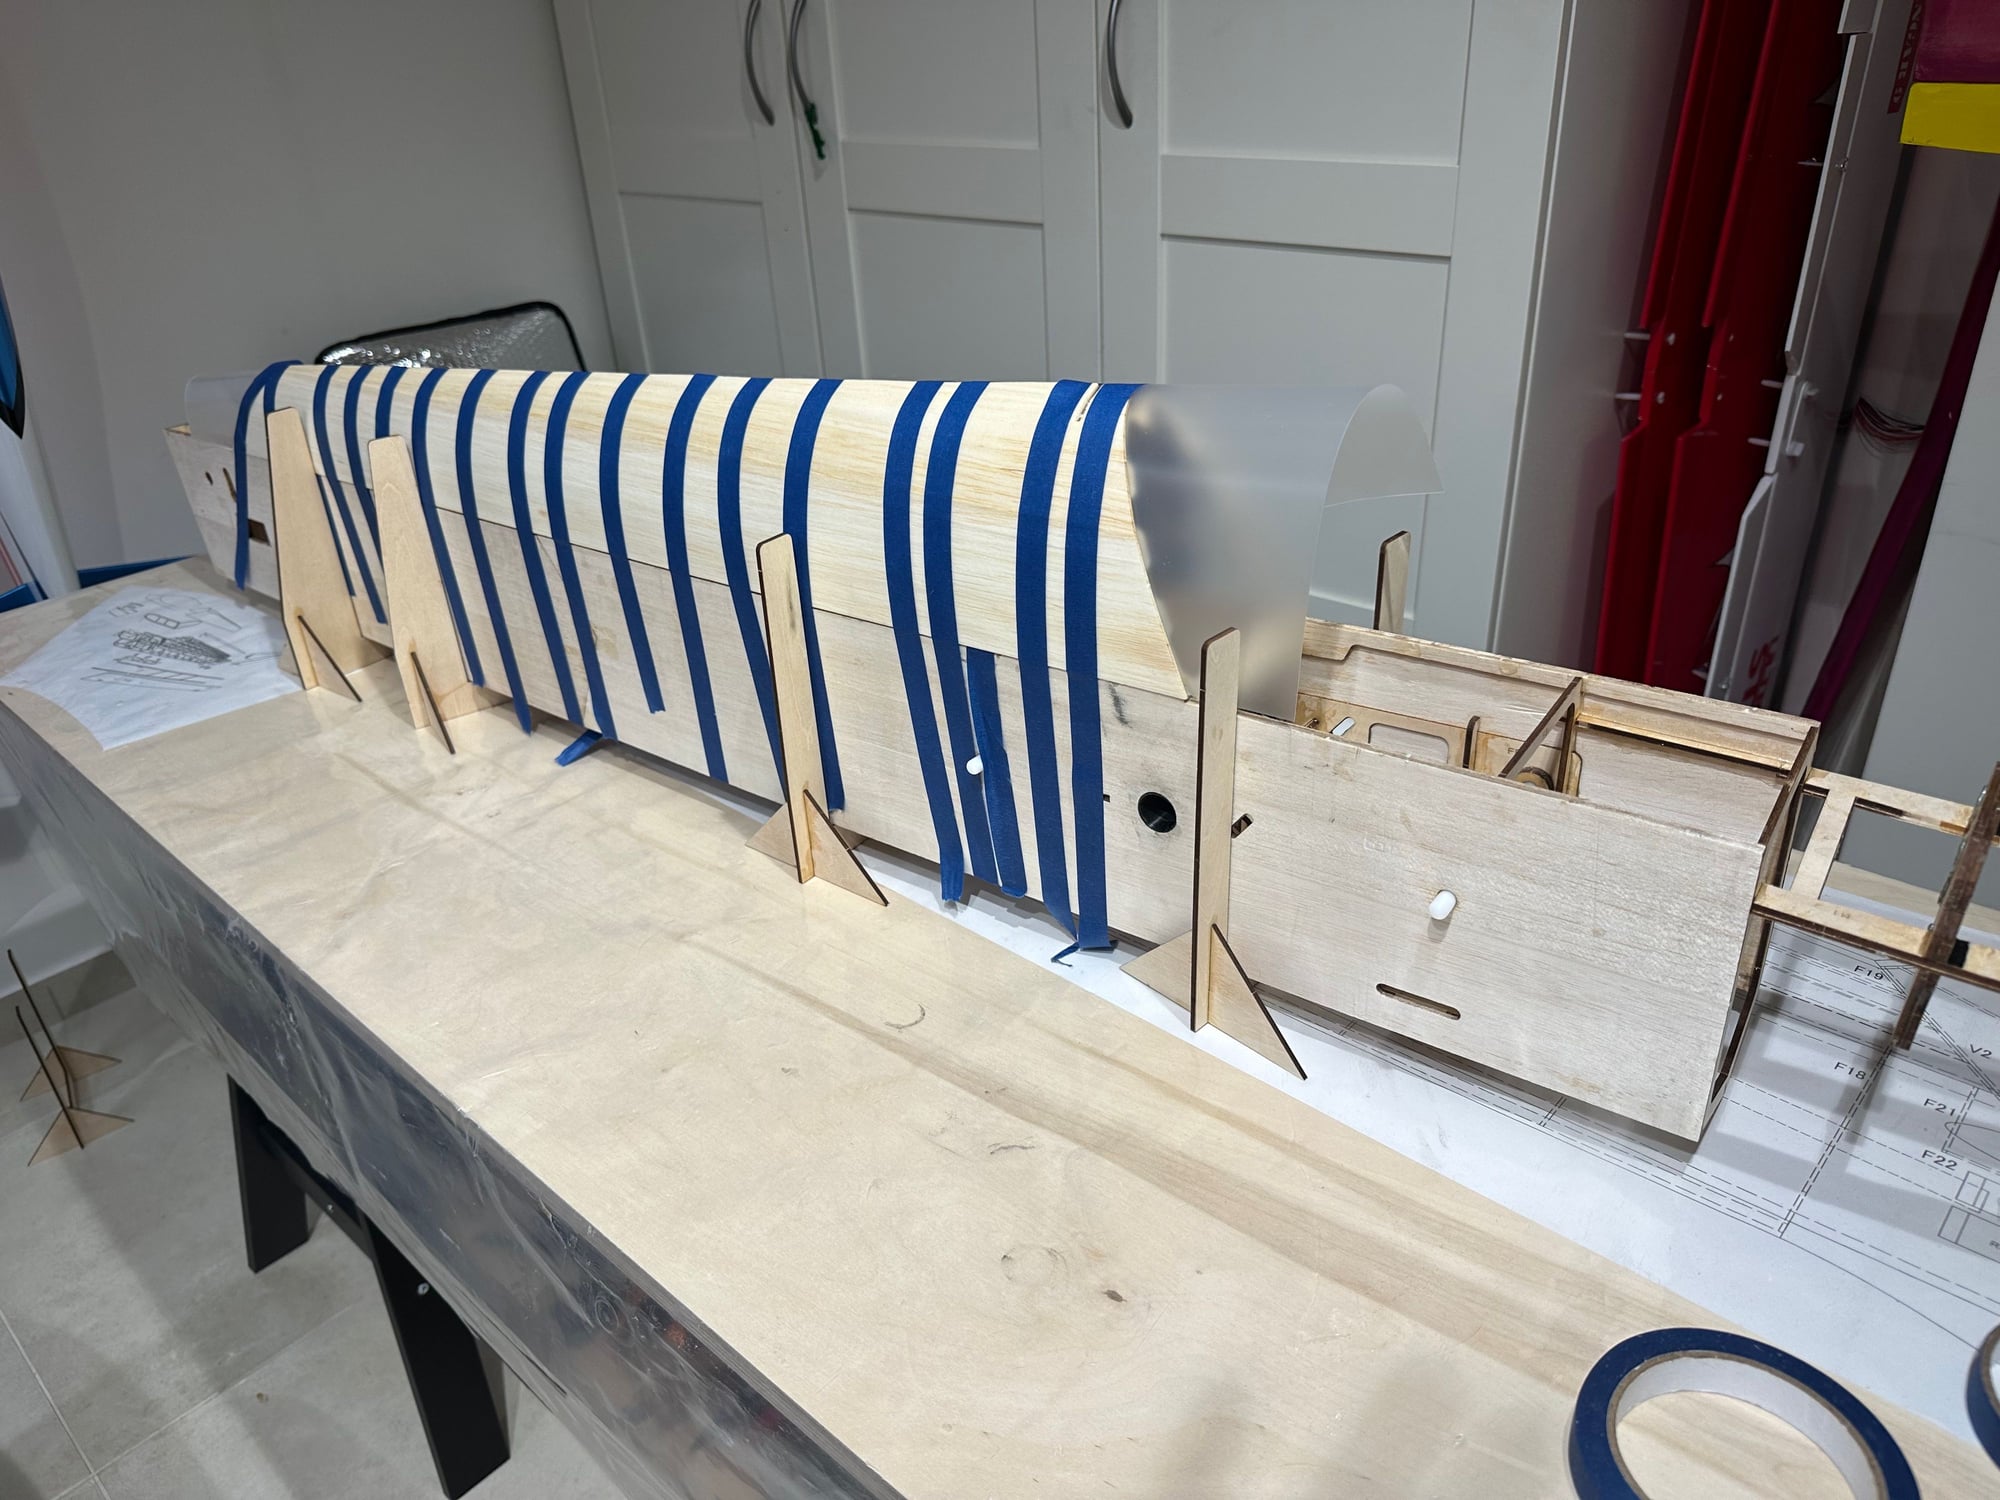
Wet the Balsa with hot water, and band it on the thin plastic to form the fuselage back profile.
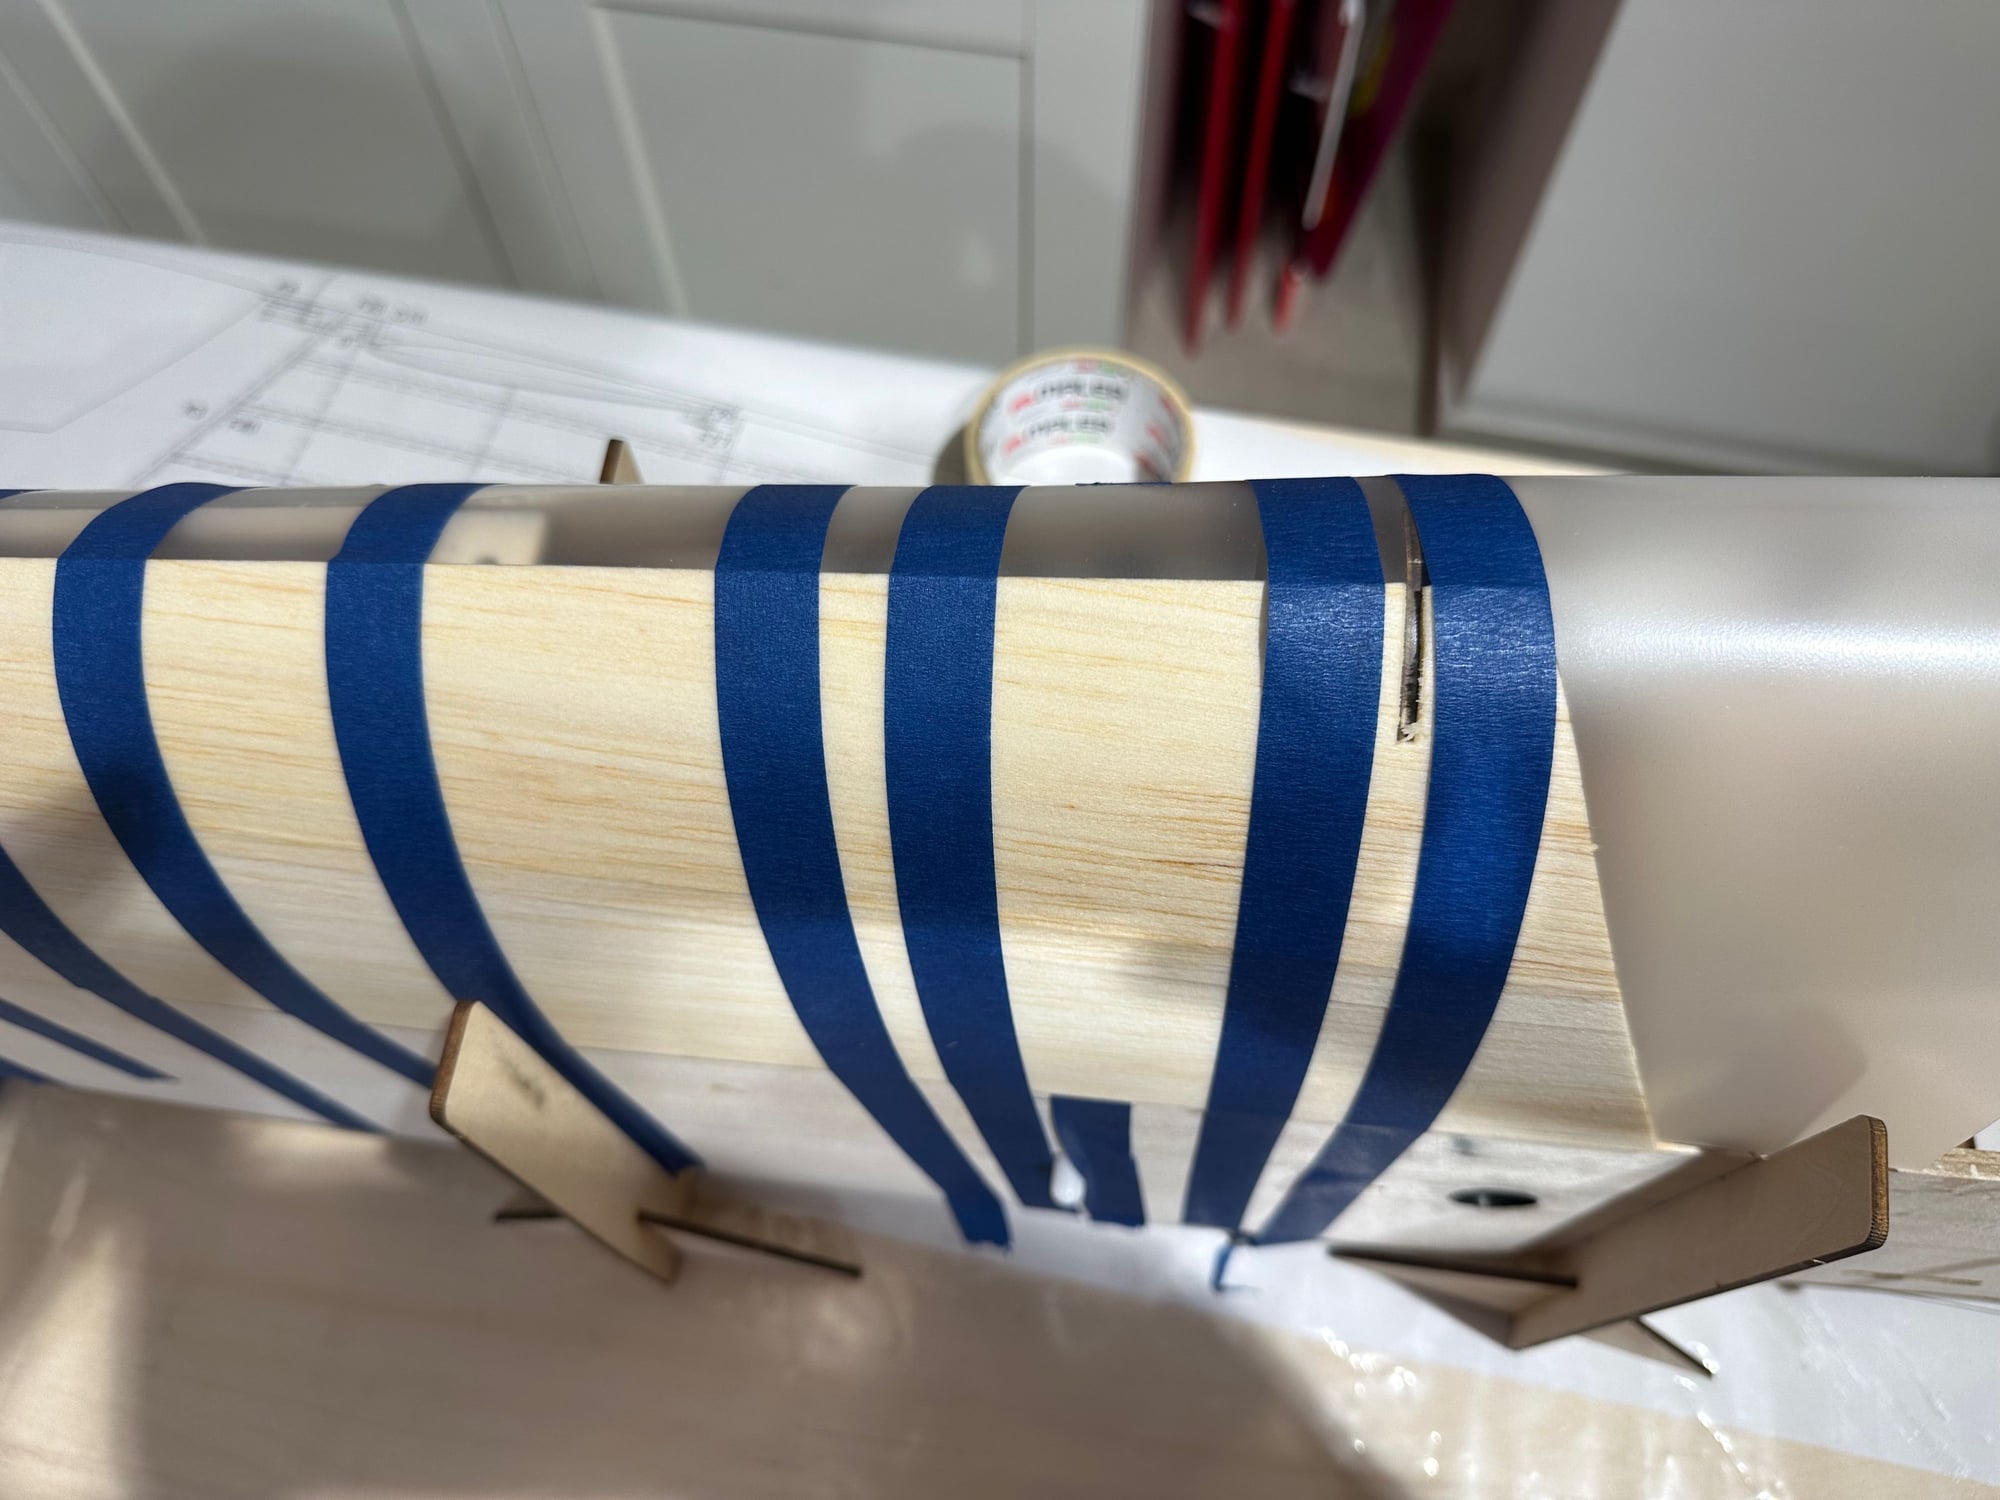
Let it dry for several hours.