


New Clod build *UPDATE (Deathproof look?!)*

 04-08-2008, 05:30 PM
#52
Senior Member
Thread Starter
Join Date: Sep 2007
Location: , PUERTO RICO (USA)
Posts: 381
Likes: 0
Received 0 Likes
on
0 Posts
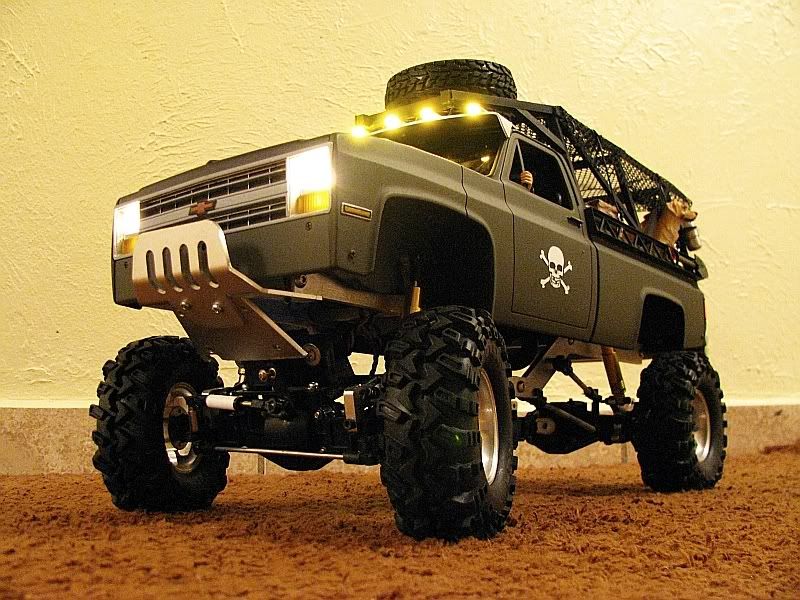
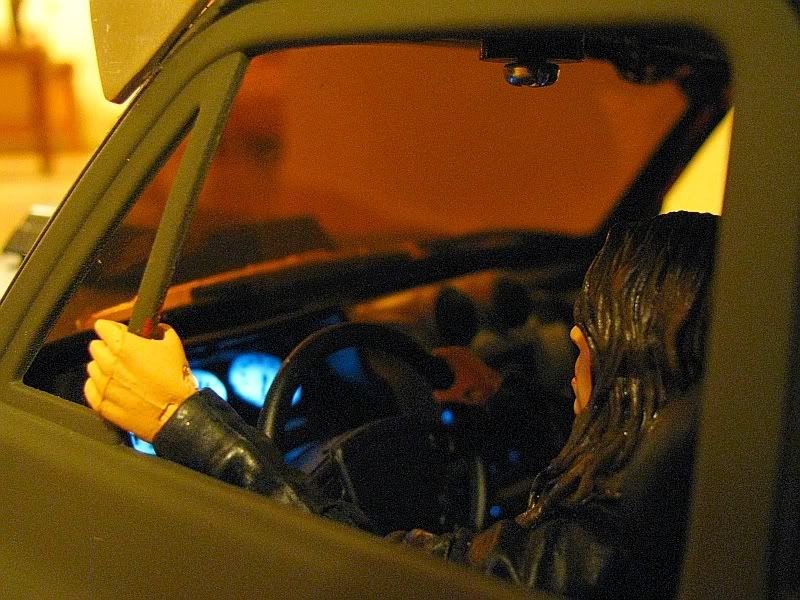
The gauges leds and signal lights are rated at 12v but the 9v battery lights them well. The head lights and the roof lights are mini-bulbs though. Roof lights are rated at 9v and headlights at 6v.Still 9v seems not to affect them due to resistance added by the rest of the lights. Rear lights will be leds also at 12v.
04-11-2008, 12:03 PM
#53
Senior Member
Thread Starter
Join Date: Sep 2007
Location: , PUERTO RICO (USA)
Posts: 381
Likes: 0
Received 0 Likes
on
0 Posts
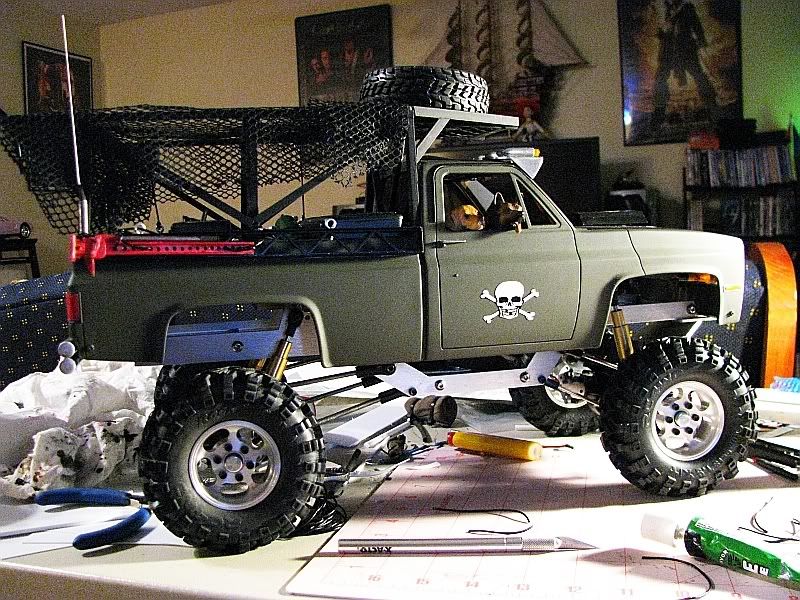
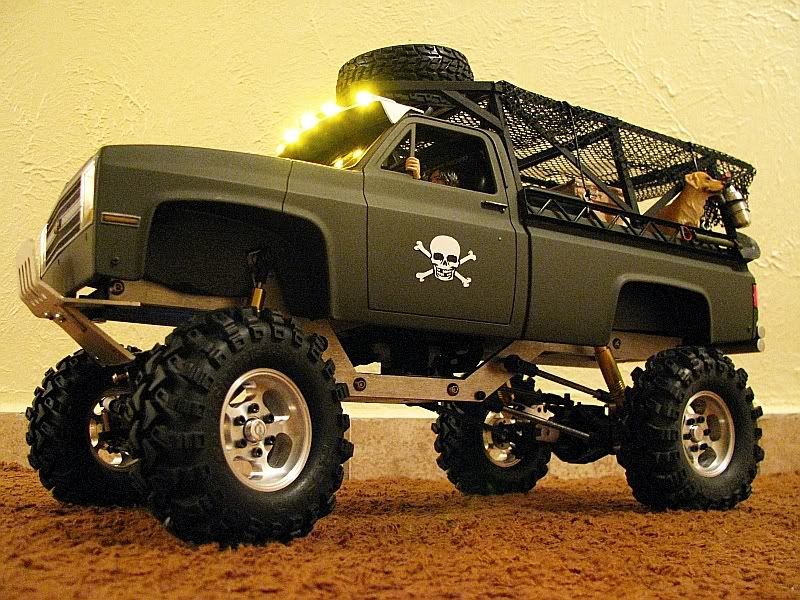
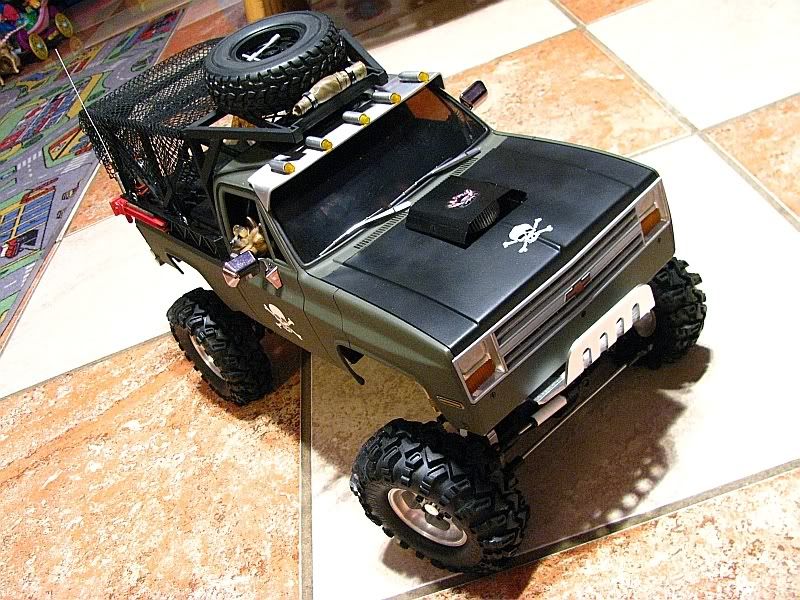
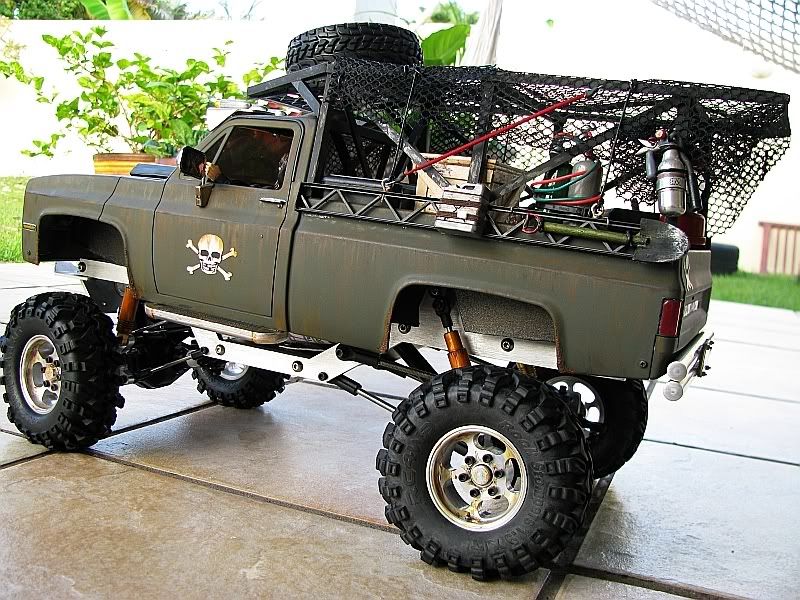
Well cage mostly done with spare tire carrier on top and netting covering(that will be painted black of course!)Completed pics will be here shortly.
Next I will paint this thing, add a few touches, move to finish the rear lights, modify the tranny plate etc....man! As said before the idea of a trailer to attach to this also came to mind.....damn...
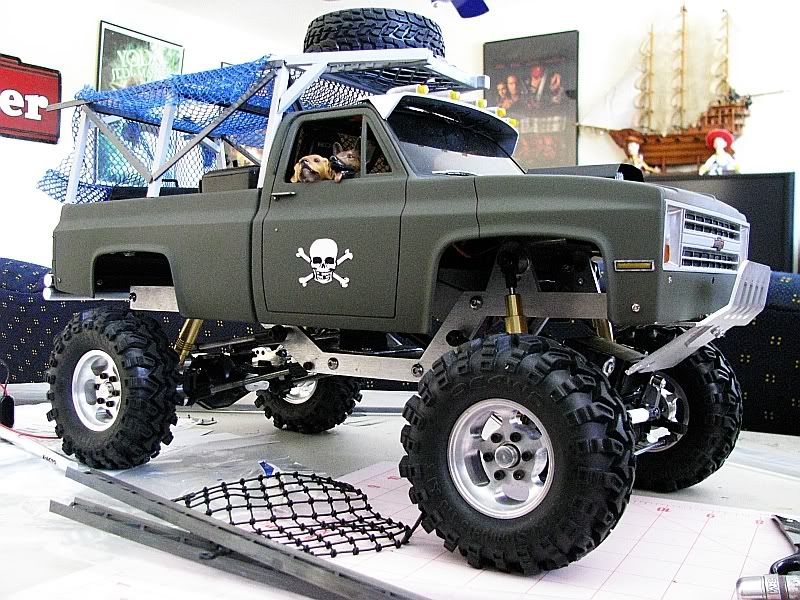
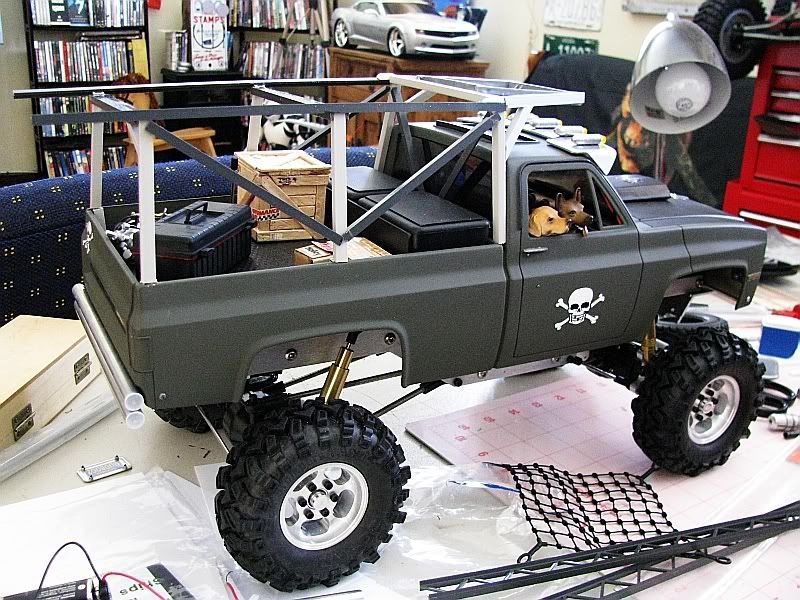
Hope you like!
Next I will paint this thing, add a few touches, move to finish the rear lights, modify the tranny plate etc....man! As said before the idea of a trailer to attach to this also came to mind.....damn...
Hope you like!
04-11-2008, 01:41 PM
#54
Senior Member

Join Date: Feb 2005
Location: los angeles,
CA
Posts: 100
Likes: 0
Received 0 Likes
on
0 Posts
Damn!!! The detail on your rigs is insane!! The guys here at work couldn't believe that they're working models & not full-scale trucks! Great job. I wish I had the time & talent not to mention patience to build one myself. I'll be checking in for a look at the finshed product
04-11-2008, 06:59 PM
#56


Join Date: Apr 2005
Location: Pacifica,
CA
Posts: 4,719
Likes: 0
Received 0 Likes
on
0 Posts
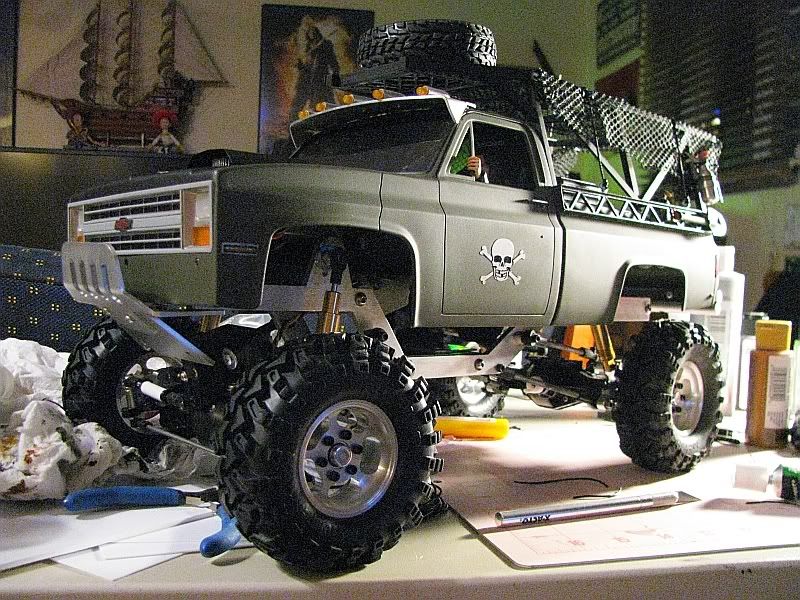
Don't paint it! That color already looks great.
Also, please tell us about the silver Camaro concept in the background. Is that a model kit or RC? It looks nice... [:-]
Also, please tell us about the silver Camaro concept in the background. Is that a model kit or RC? It looks nice... [:-]
04-11-2008, 07:32 PM
#58
Join Date: Apr 2005
Location: Pacifica,
CA
Posts: 4,719
Likes: 0
Received 0 Likes
on
0 Posts
It does look like one of those 1/6 cars they sell. I was just hoping it could be something... wonderful 
chaman, that color looks like OD green. Is it a primer?
chaman, that color looks like OD green. Is it a primer?
 04-12-2008, 04:30 PM
#60
Senior Member
Thread Starter
Join Date: Sep 2007
Location: , PUERTO RICO (USA)
Posts: 381
Likes: 0
Received 0 Likes
on
0 Posts
Update:
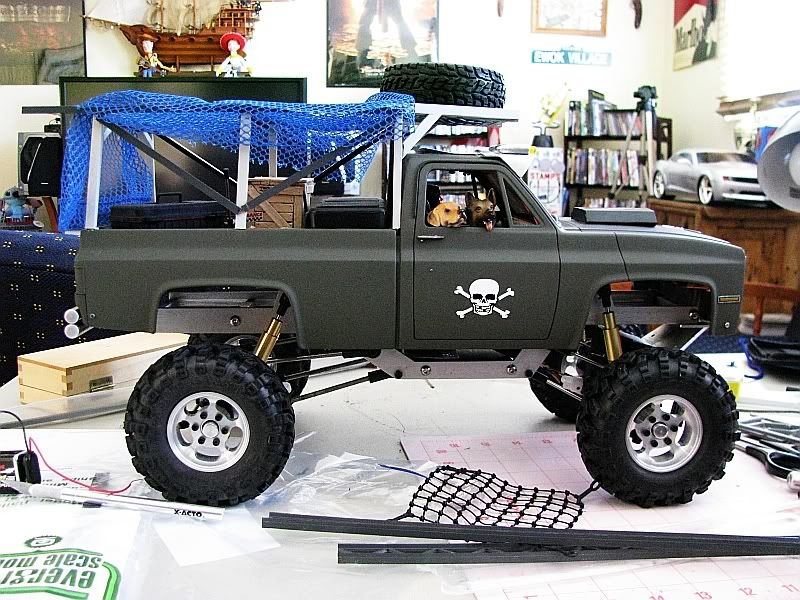
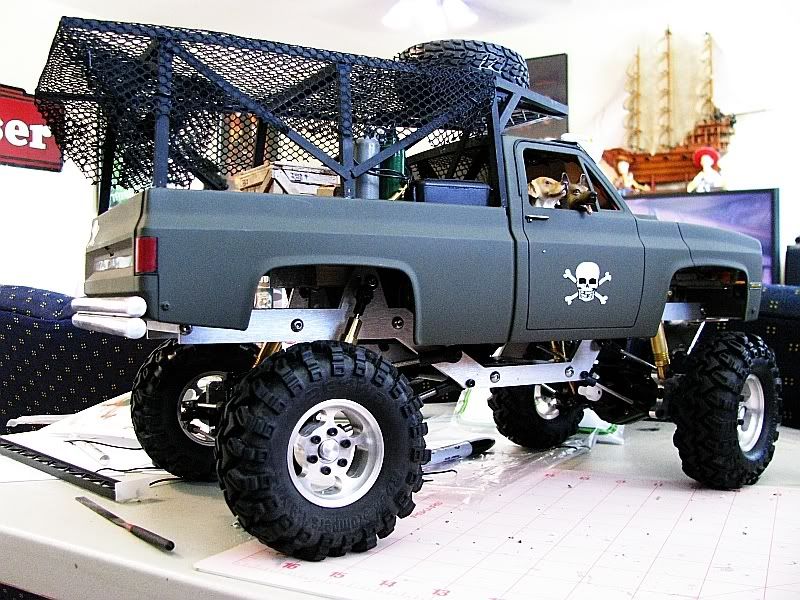
Rear lights were cut and lenses installed. Next..letb there be light!!
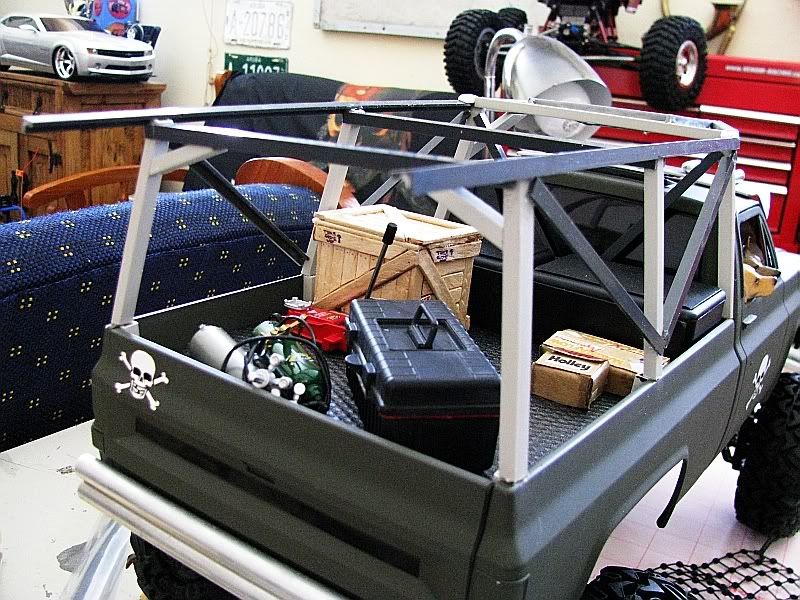
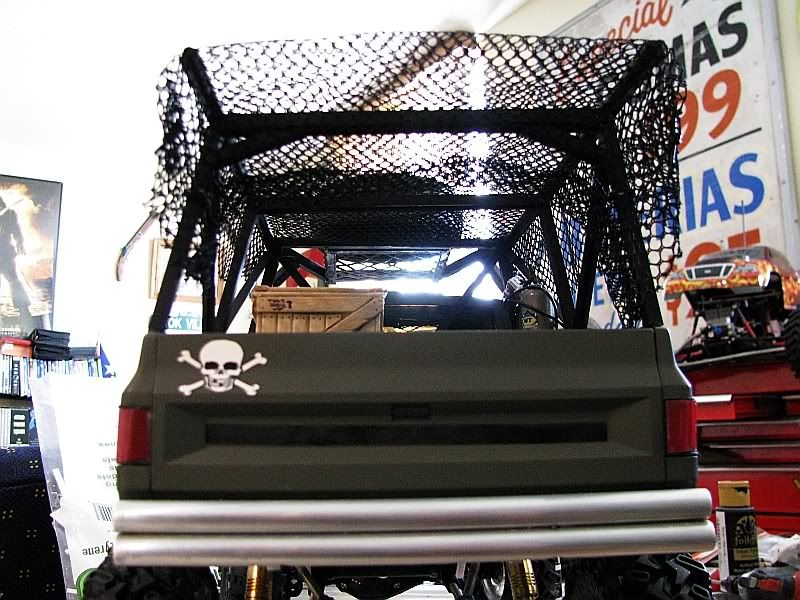
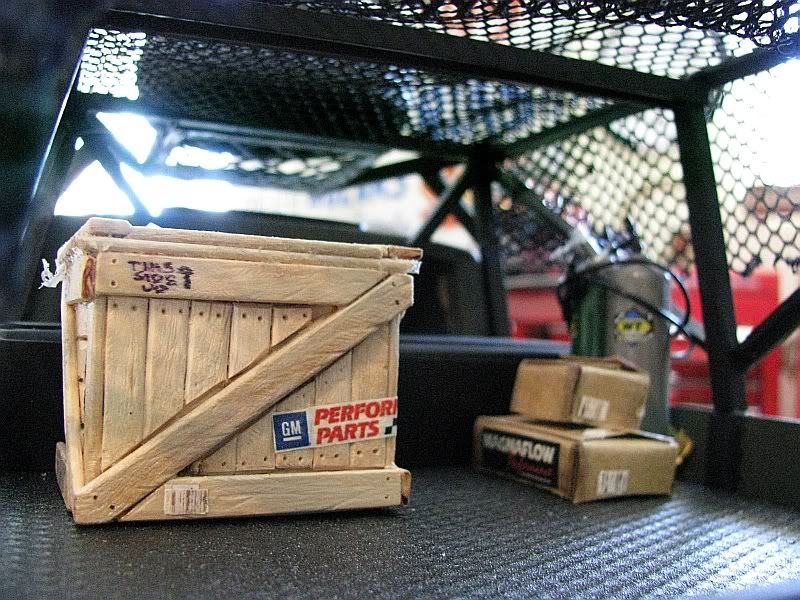
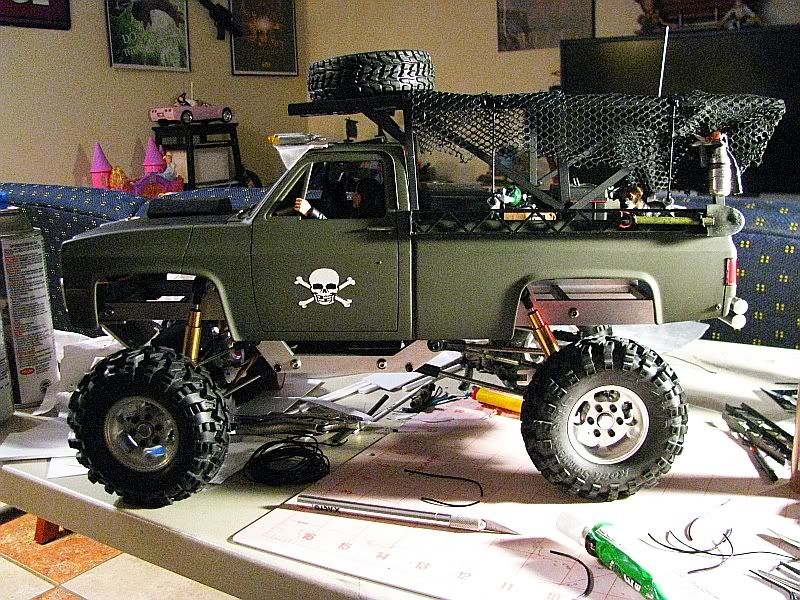
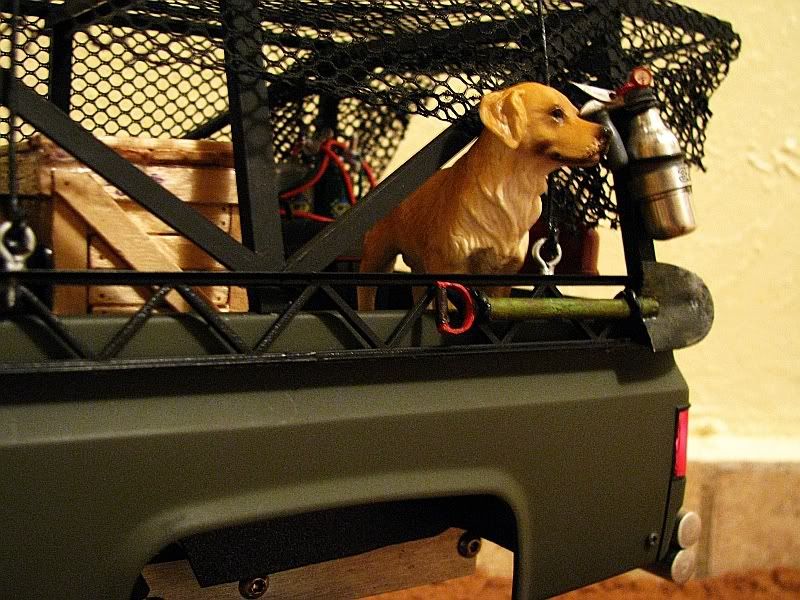
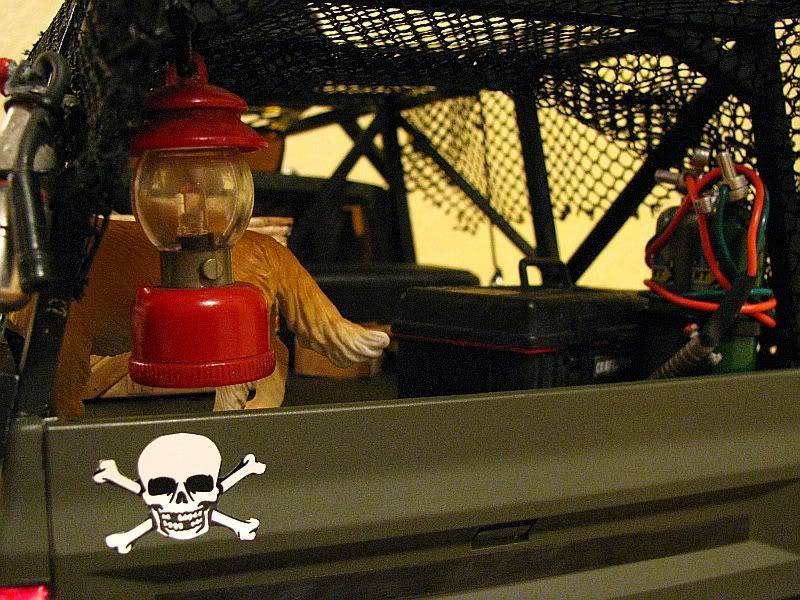
Also bed cage was painted and netting installed. Scale items are for reference only, final items and array still to be determined. This has been fun so far, hope you like the pics...

:chug::banana:
Rear lights were cut and lenses installed. Next..letb there be light!!
Also bed cage was painted and netting installed. Scale items are for reference only, final items and array still to be determined. This has been fun so far, hope you like the pics...
:chug::banana:
04-12-2008, 10:51 PM
#61
Senior Member
Thread Starter
Join Date: Sep 2007
Location: , PUERTO RICO (USA)
Posts: 381
Likes: 0
Received 0 Likes
on
0 Posts
Update...kind of...
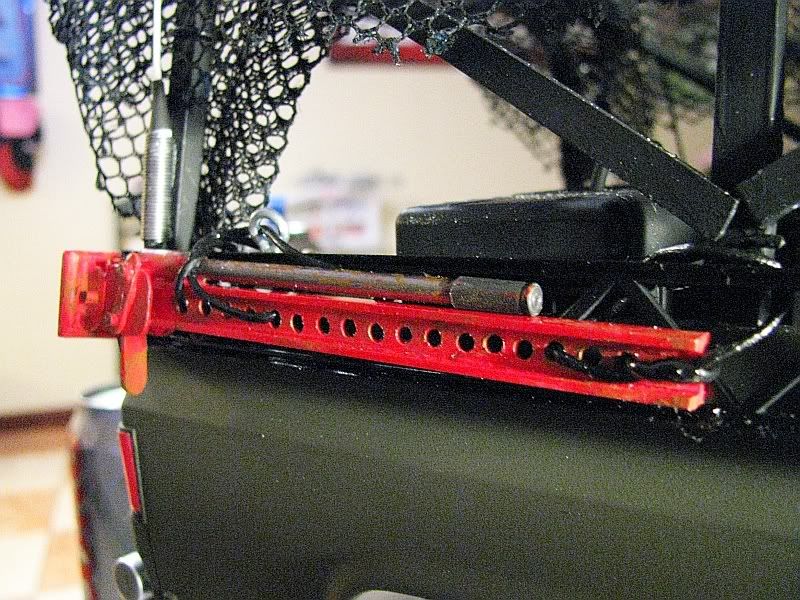
Decided to test my hand at some nice styrene scratchbuilding accesories tips...love this site!
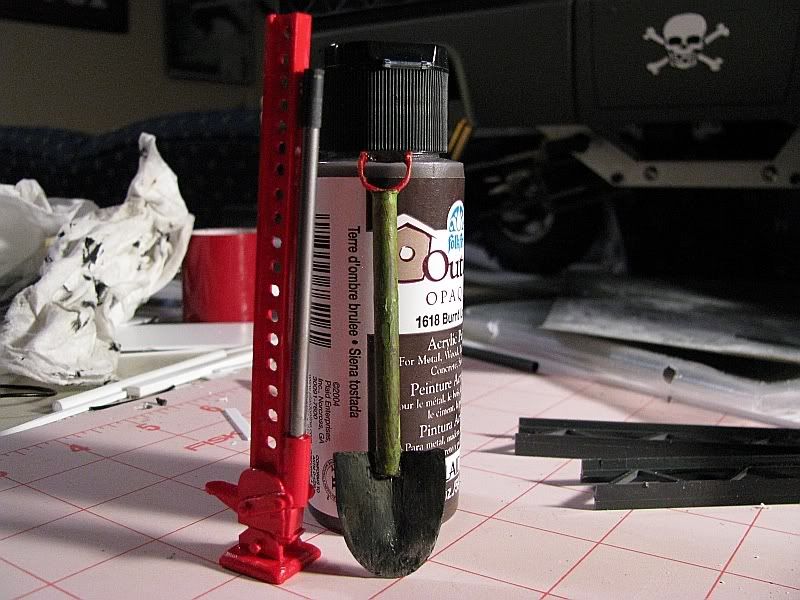
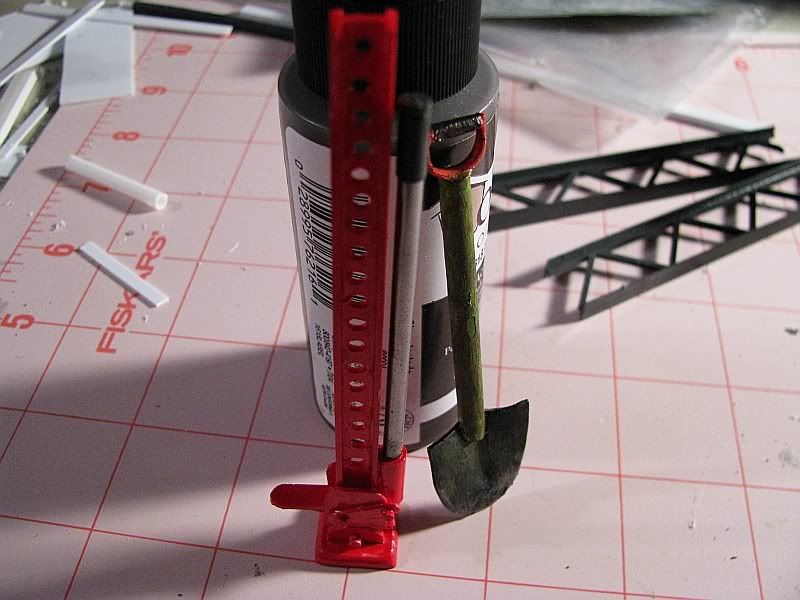
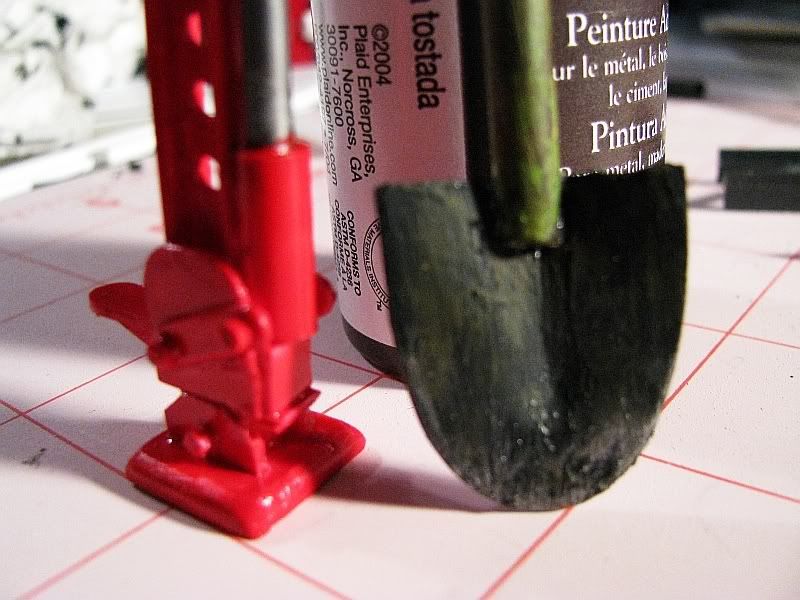
Decided to test my hand at some nice styrene scratchbuilding accesories tips...love this site!
04-13-2008, 02:06 AM
#62
Senior Member
Thread Starter
Join Date: Sep 2007
Location: , PUERTO RICO (USA)
Posts: 381
Likes: 0
Received 0 Likes
on
0 Posts
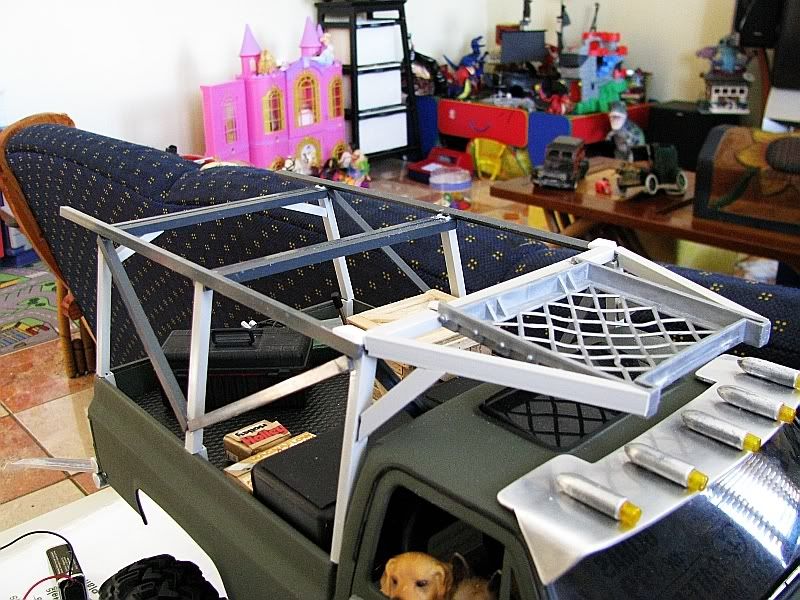
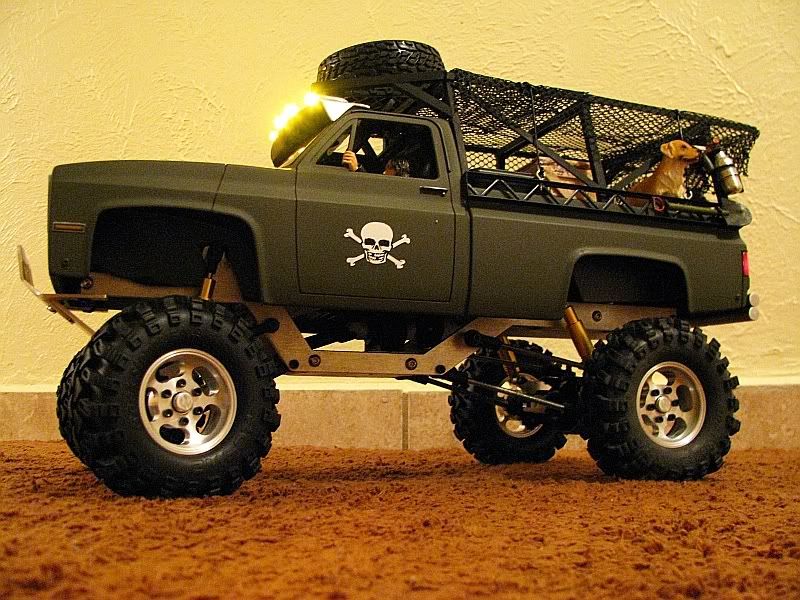
Update:
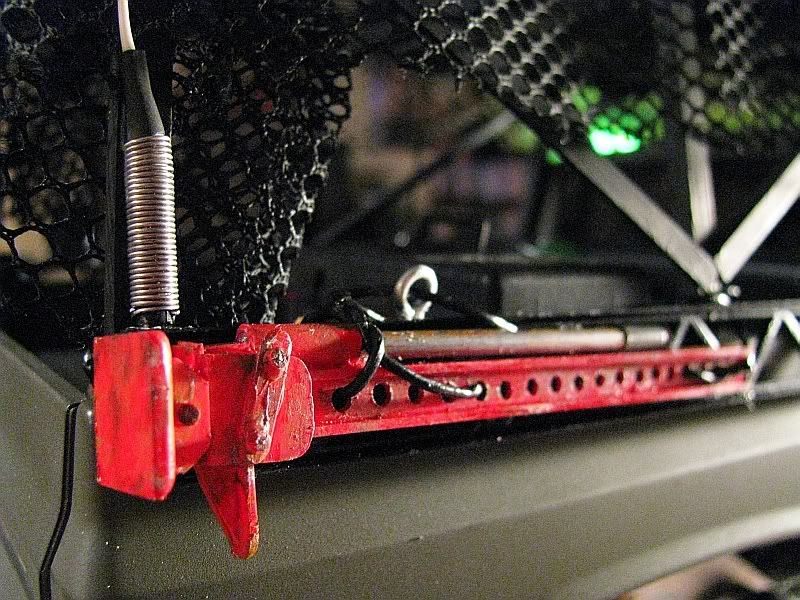
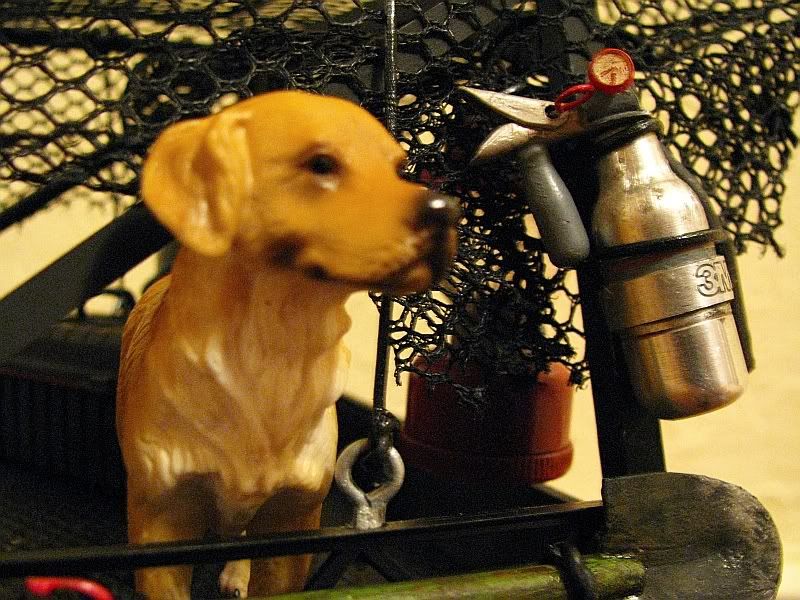
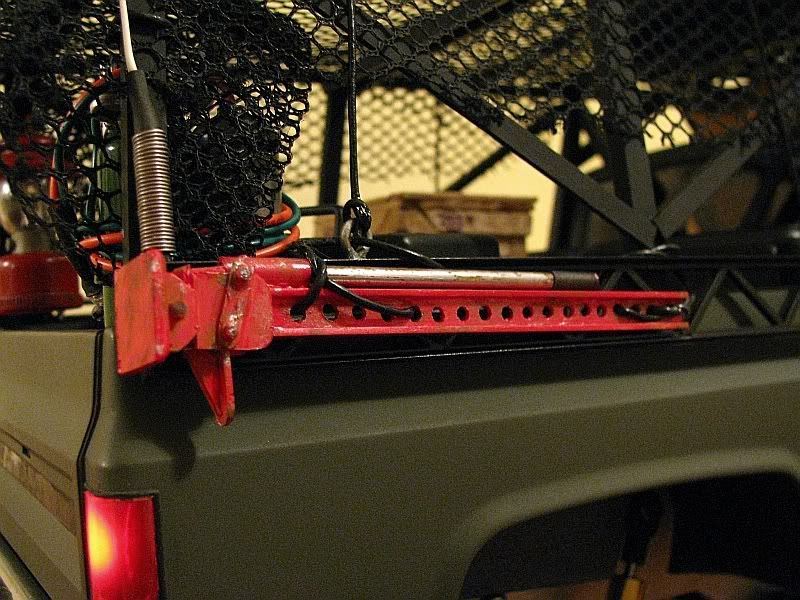
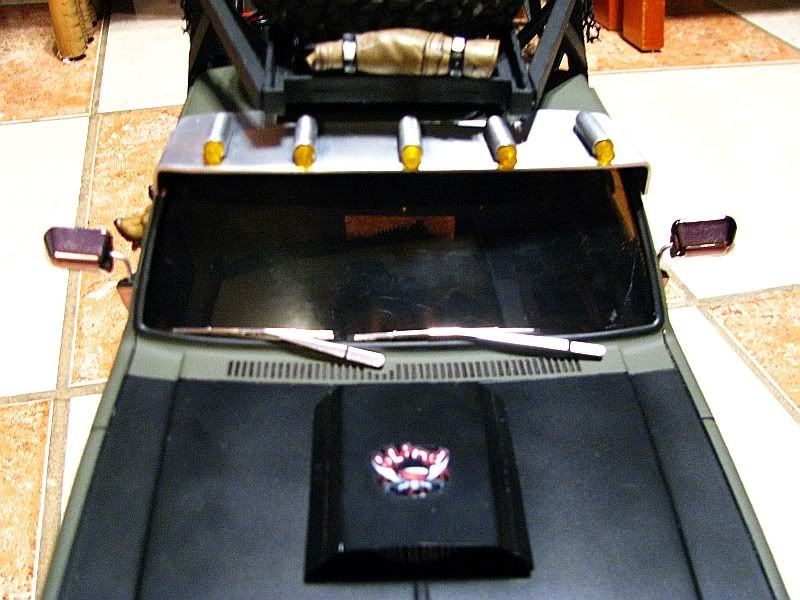
Accesories that were scratchbuilt earlier were installed. I also added a CB antenna made of heated and lengthed styrene and some fine solder wire to made up the base. Thinks it add a nice touch!
i hope tomorrow to at least have the rear lights working....a lot to do!
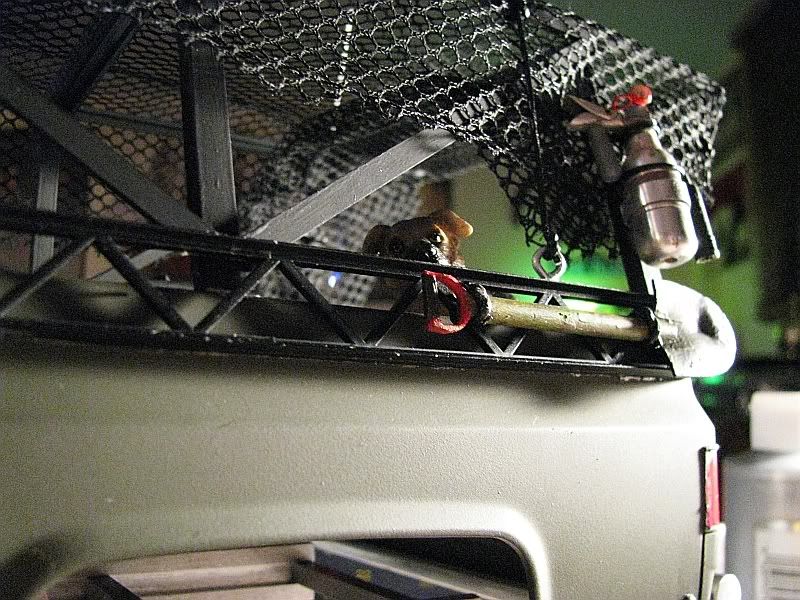
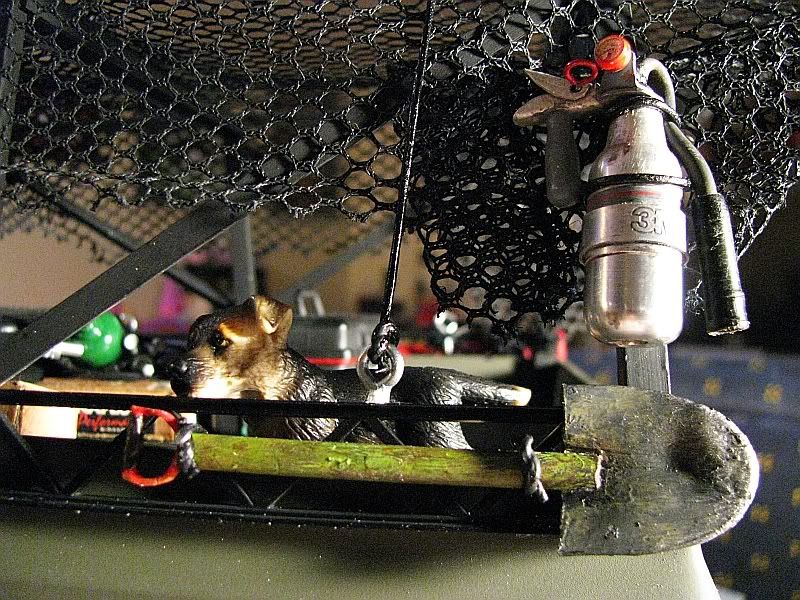
Accesories that were scratchbuilt earlier were installed. I also added a CB antenna made of heated and lengthed styrene and some fine solder wire to made up the base. Thinks it add a nice touch!
i hope tomorrow to at least have the rear lights working....a lot to do!
04-14-2008, 07:51 AM
#63
Senior Member
Thread Starter
Join Date: Sep 2007
Location: , PUERTO RICO (USA)
Posts: 381
Likes: 0
Received 0 Likes
on
0 Posts
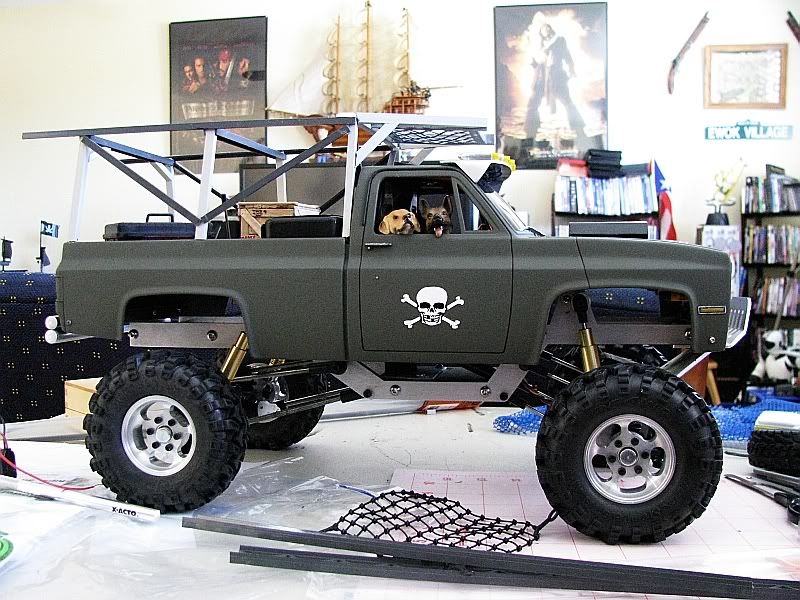
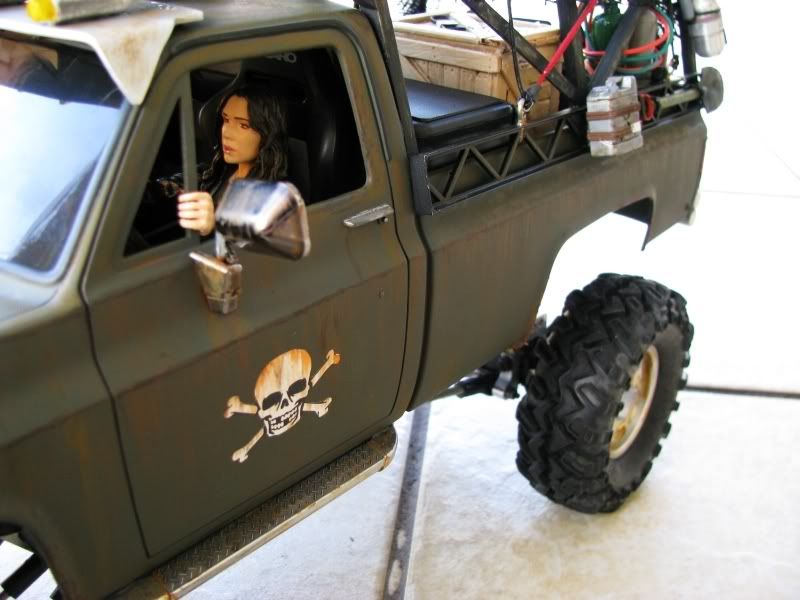
:update:...First photoshoot!
Still a few things left like door mirrors but I wanted to see how she looked in some pics. The Blue Blazer was added to compare the two. Stay tuned!!
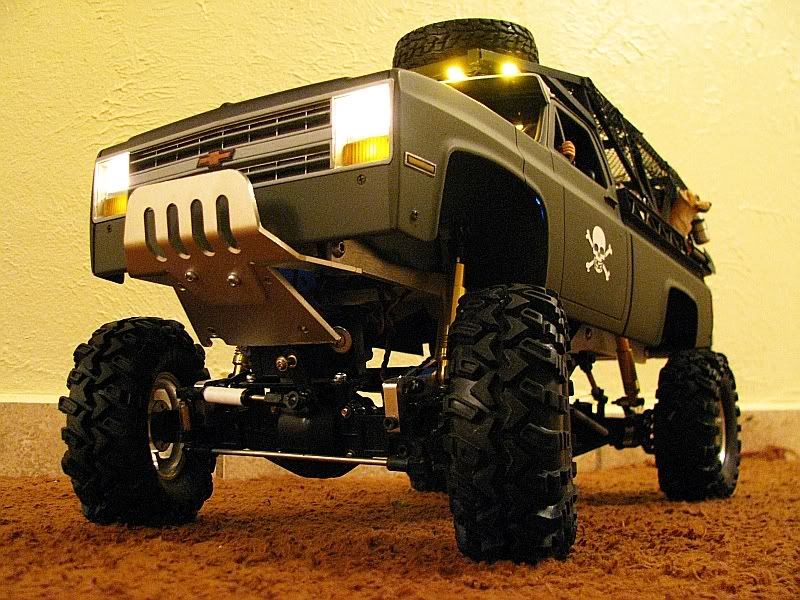
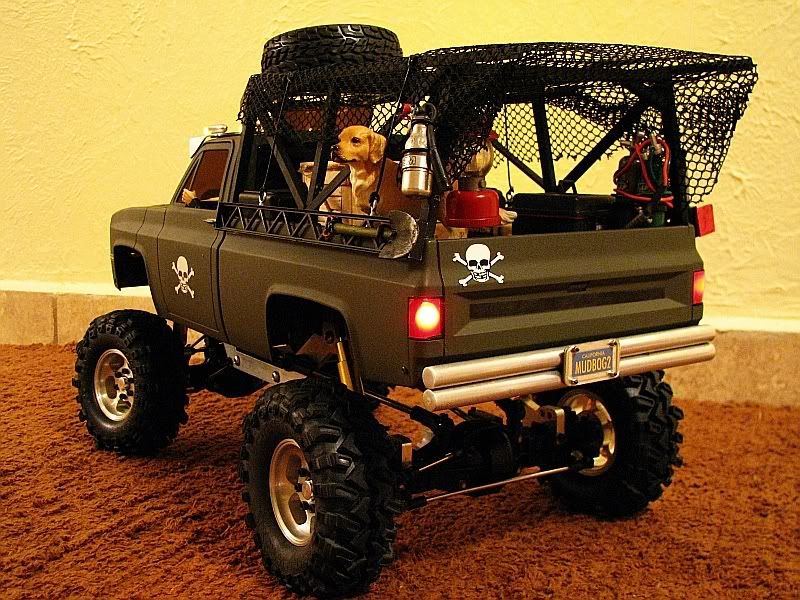
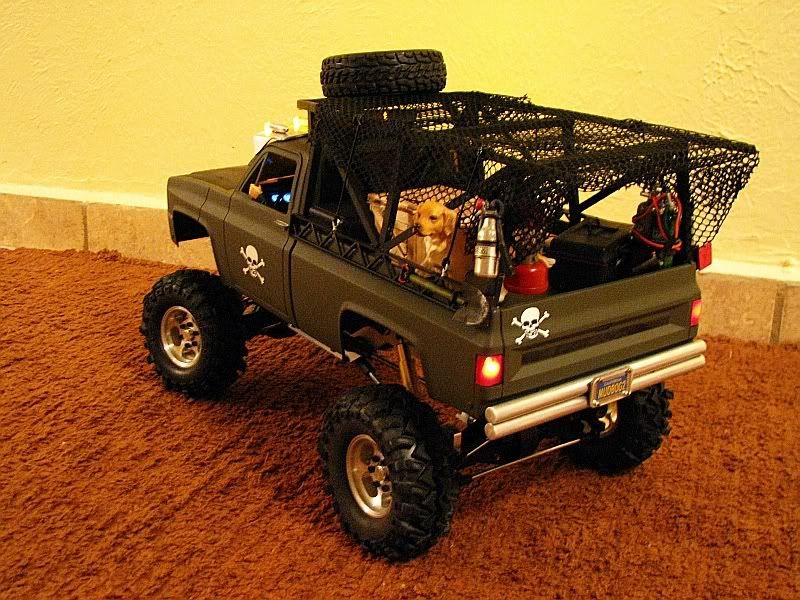
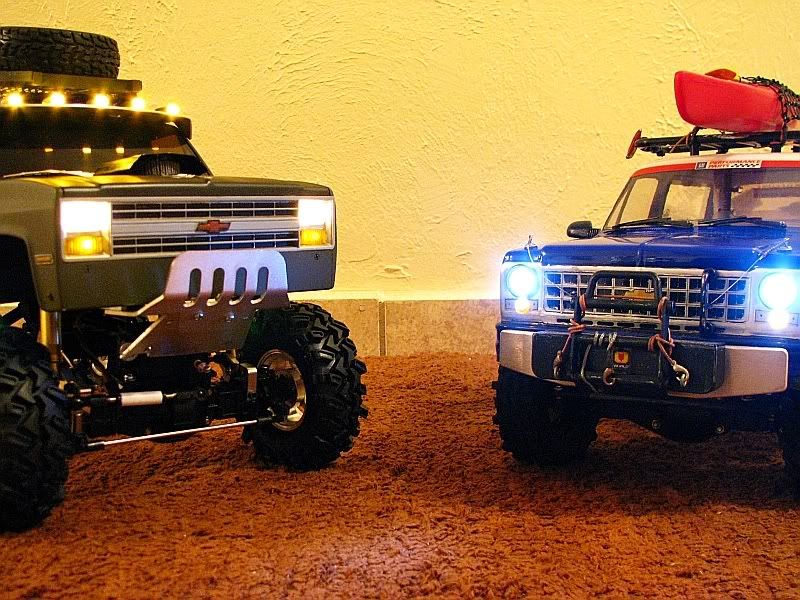

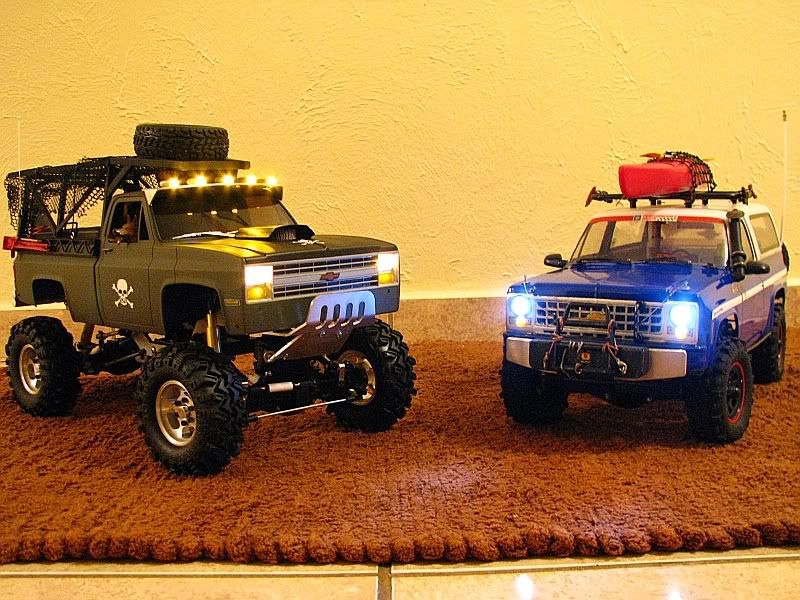
The scale items will possibly stay where they are in the pics.
Still a few things left like door mirrors but I wanted to see how she looked in some pics. The Blue Blazer was added to compare the two. Stay tuned!!
The scale items will possibly stay where they are in the pics.
04-14-2008, 11:46 PM
#65
Senior Member
Thread Starter
Join Date: Sep 2007
Location: , PUERTO RICO (USA)
Posts: 381
Likes: 0
Received 0 Likes
on
0 Posts
I guess around $300 in getting all the materials and parts. Specially getting them at Ebay and having patience as you score good deals.
Thanks for the kind words! Adding scale tire valves as we speak. Pictures later in the week!
Thanks for the kind words! Adding scale tire valves as we speak. Pictures later in the week!
04-15-2008, 10:07 PM
#66
Senior Member
Thread Starter
Join Date: Sep 2007
Location: , PUERTO RICO (USA)
Posts: 381
Likes: 0
Received 0 Likes
on
0 Posts
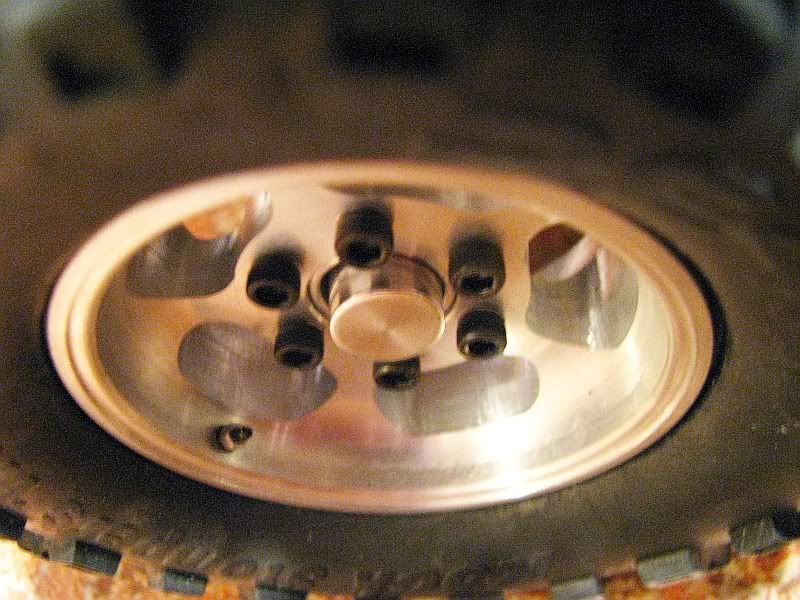
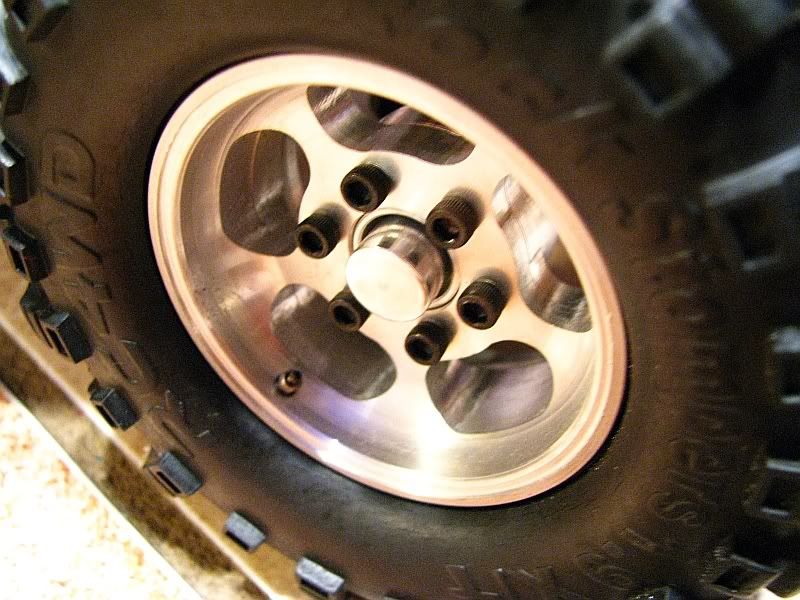
Scale tire valve stems. Center wheel caps are crooked since they were just placed there for testing and pic purposes.
04-16-2008, 08:51 PM
#67
Senior Member
Thread Starter
Join Date: Sep 2007
Location: , PUERTO RICO (USA)
Posts: 381
Likes: 0
Received 0 Likes
on
0 Posts
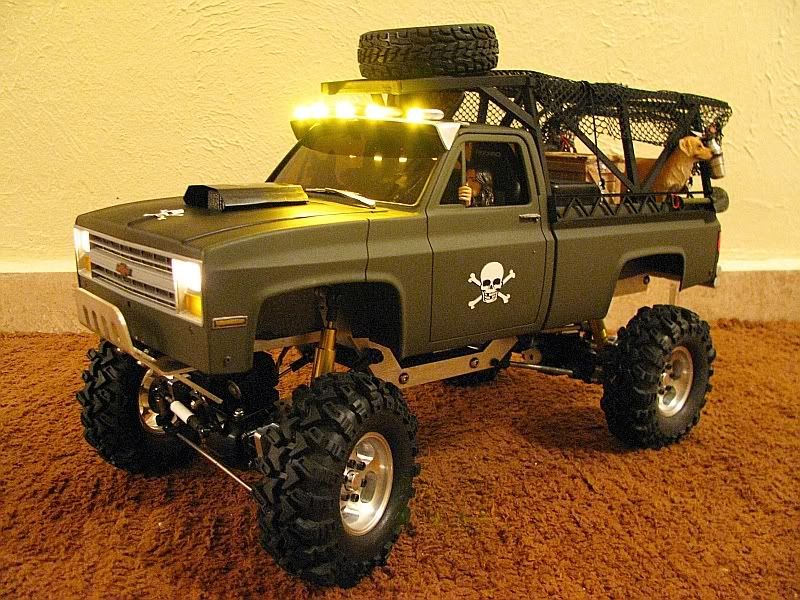
Door mirrors installed. Taken from a new Hilux Tamiya kit and slightly modified.
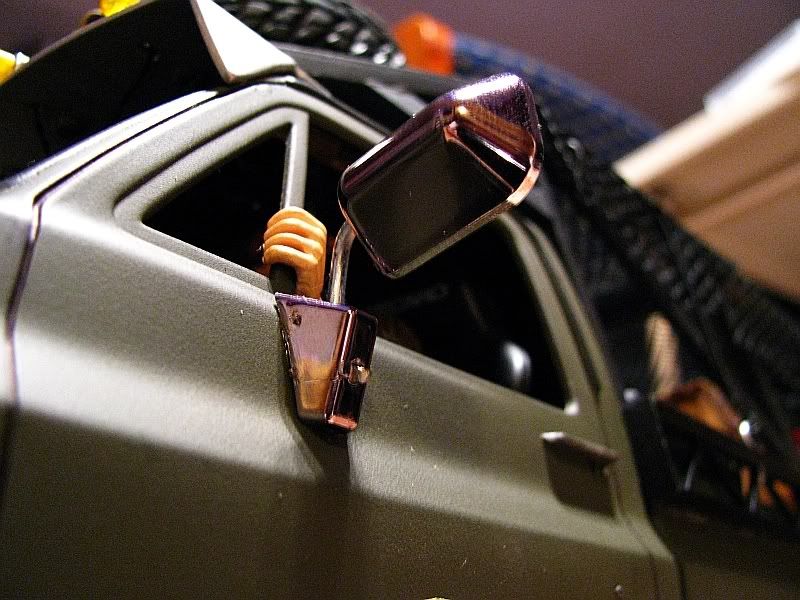

Back to your regular programing!
Back to your regular programing!
04-18-2008, 11:14 PM
#68
Senior Member
Thread Starter
Join Date: Sep 2007
Location: , PUERTO RICO (USA)
Posts: 381
Likes: 0
Received 0 Likes
on
0 Posts
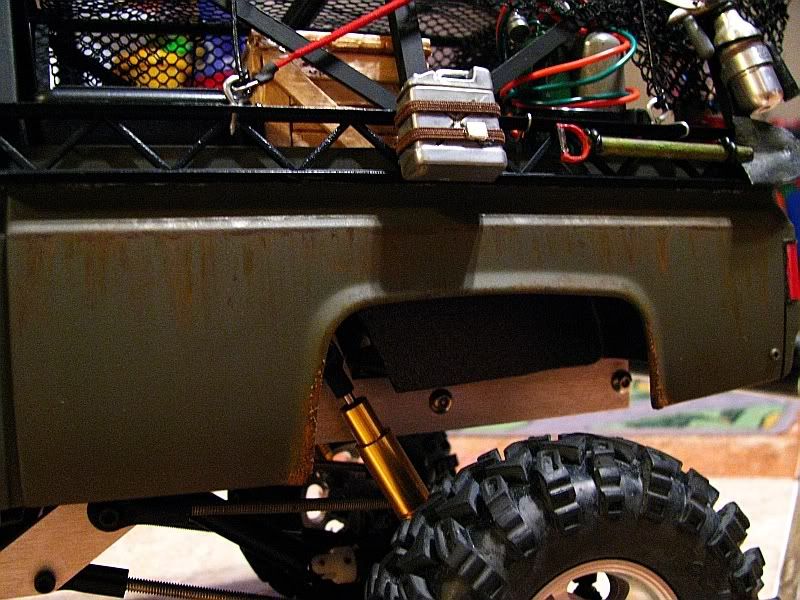
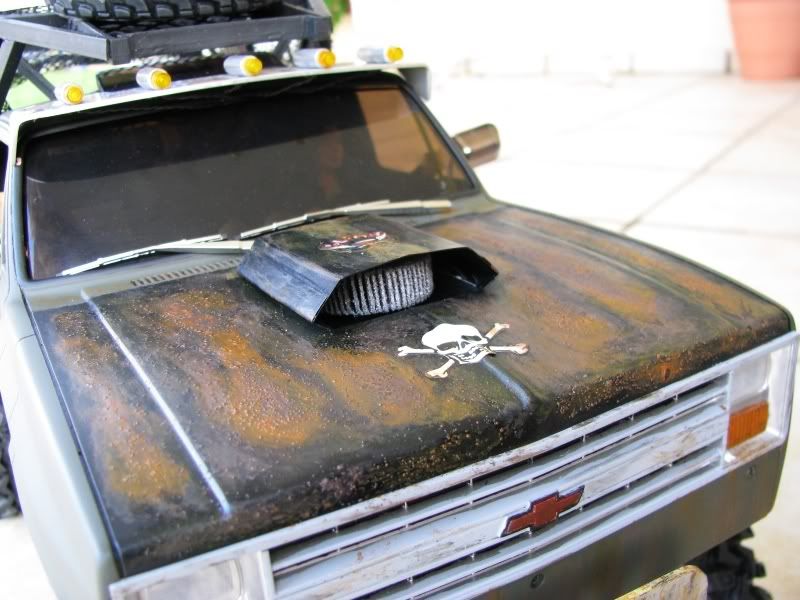
:update:
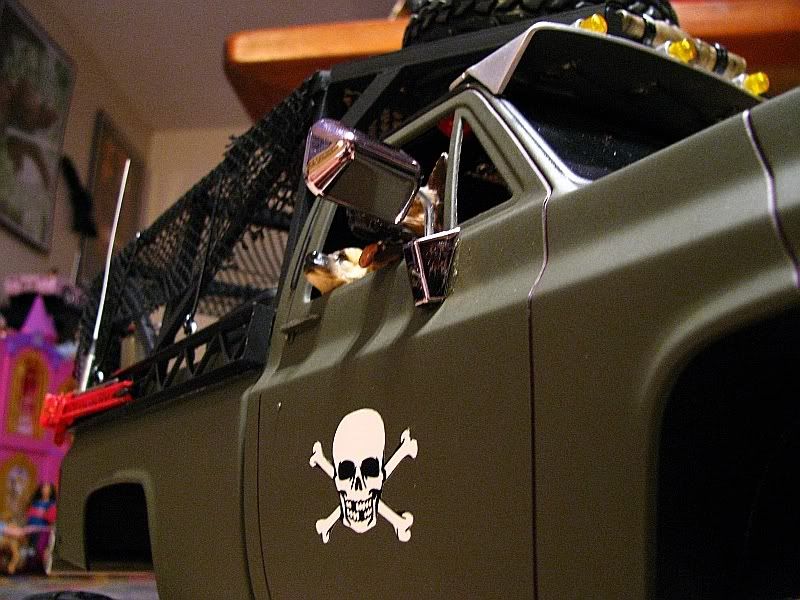
Weathering test....will let the pics do the talk. How does it look? That is basically the look Im after. Slightly rusted, but solid all around.
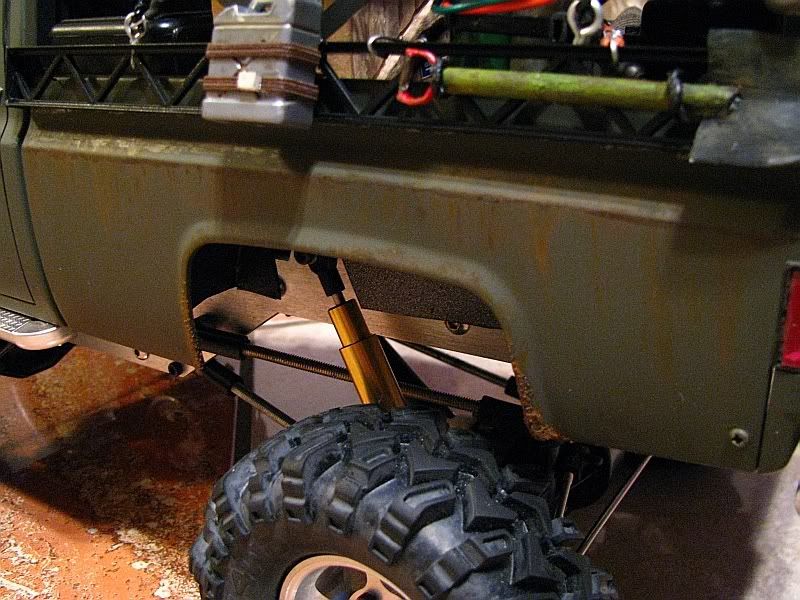
Weathering test....will let the pics do the talk. How does it look? That is basically the look Im after. Slightly rusted, but solid all around.
04-19-2008, 05:21 PM
#69
Senior Member
Thread Starter
Join Date: Sep 2007
Location: , PUERTO RICO (USA)
Posts: 381
Likes: 0
Received 0 Likes
on
0 Posts
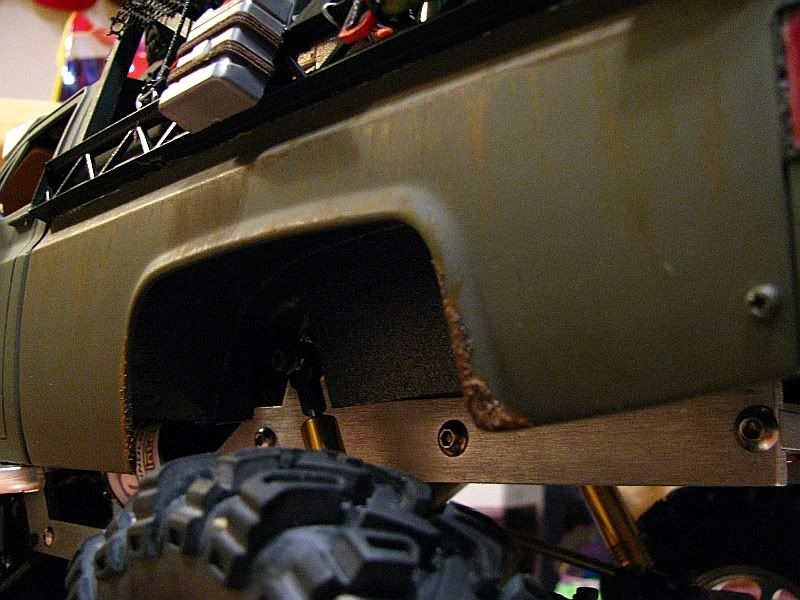
Some progress....still need to do the other side...the trailer....etc...
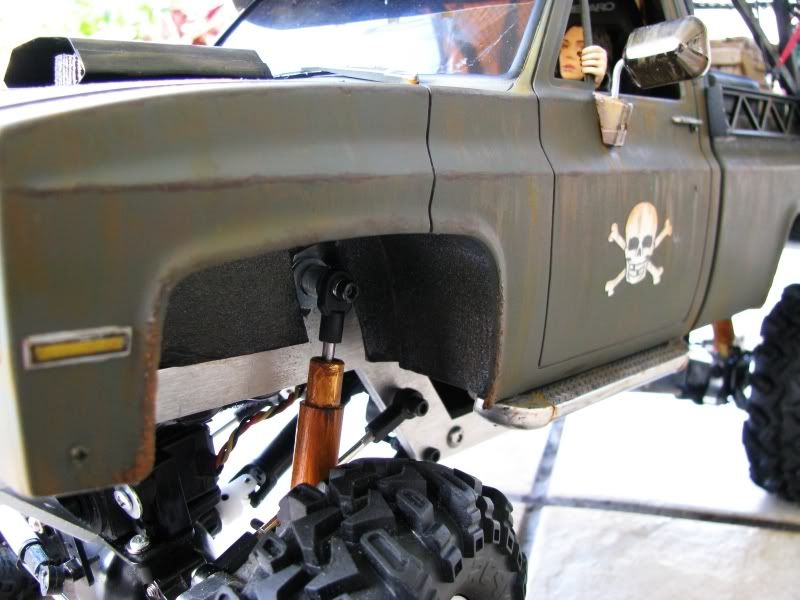
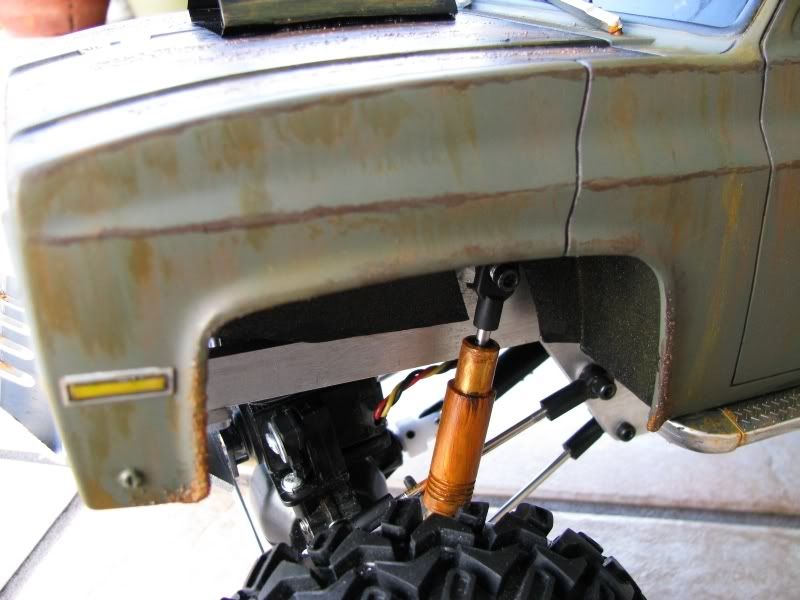

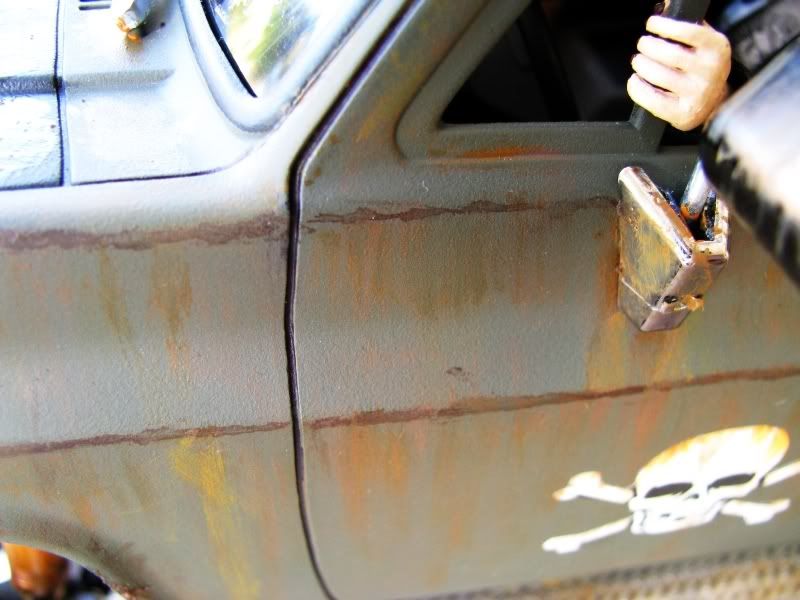
No turning back now....more rust! LOL!
No turning back now....more rust! LOL!
04-20-2008, 11:14 AM
#70
Senior Member
Join Date: Mar 2008
Location: virginiatown, ON, CANADA
Posts: 122
Likes: 0
Received 0 Likes
on
0 Posts
WOW! thats a really cool truck you got there! Makes me wanna try and build one myself although i know i wont any time soon[ ] but where did you get all the parts to make it look so real? anyways thanks for the pictures and congragulations on an amazing build!
] but where did you get all the parts to make it look so real? anyways thanks for the pictures and congragulations on an amazing build!
04-20-2008, 01:26 PM
#71
Senior Member
Thread Starter
Join Date: Sep 2007
Location: , PUERTO RICO (USA)
Posts: 381
Likes: 0
Received 0 Likes
on
0 Posts
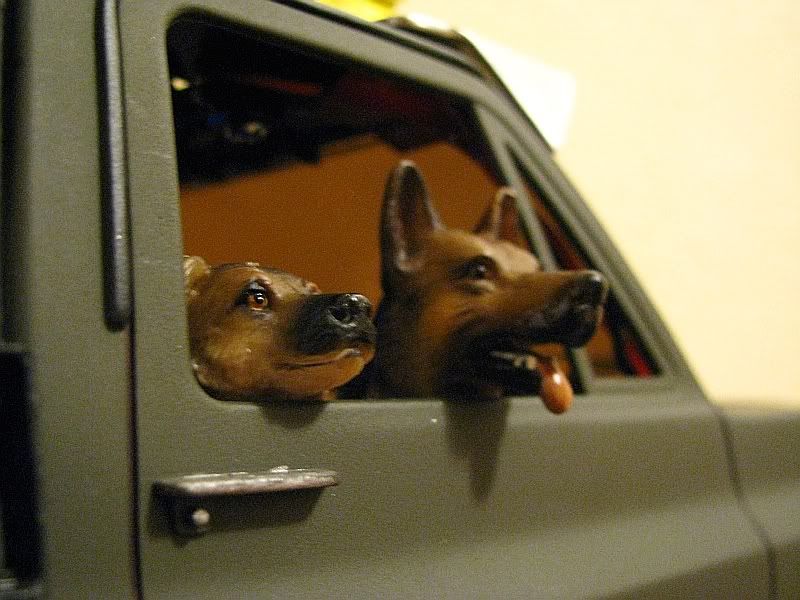
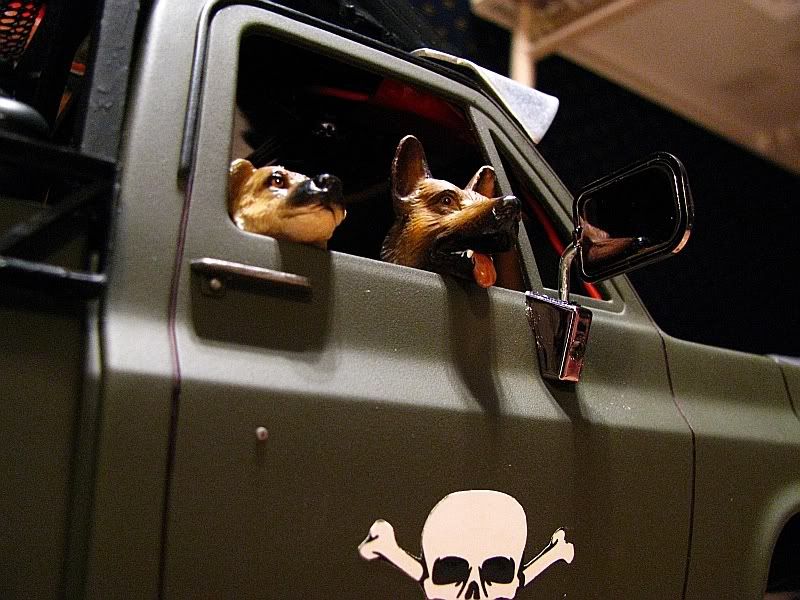
Thanks! Ebay is your friend!! Some details were scratchbuild from styrene, wood and many objects around the house. I recollected parts for about 3 to 4 months before i started building. Dogs are from Toys R Us!
