


FokkeRC 1/5 Spitfire MKIX build log
 05-16-2024, 01:01 PM
#401

Thread Starter


 05-16-2024, 02:32 PM
#404
Thread Starter
The flush rivets in the armored areas of the fuse around the cockpit were made by laying aluminum tape(Aerofoil was brand I believe I used), then mapping it out and using the end of small diameter brass pipe to indent the foil.
For the wing I mapped out my rivet lines with light pencil first, then used a soldering iron with a brass pipe the diameter of choice in the chuck. The trick is burning/indenting the rivet only partially through the primer coat. This took some trial and error and playing with temperature. Each method is a process, but the results are well worth the time in my mind.
The Darice foam only needs a bead of ca along the inside of the cowl, it secures it nicely.
Hope this helps!
05-16-2024, 02:34 PM
#405
Thread Starter
05-16-2024, 08:29 PM
#406
My Feedback: (1)
Thanks Ed, the fuselage round head rivets were vinyl stick on from Chad Veich. They come by the thousands and are transferred using scotch tape.
The flush rivets in the armored areas of the fuse around the cockpit were made by laying aluminum tape(Aerofoil was brand I believe I used), then mapping it out and using the end of small diameter brass pipe to indent the foil.
For the wing I mapped out my rivet lines with light pencil first, then used a soldering iron with a brass pipe the diameter of choice in the chuck. The trick is burning/indenting the rivet only partially through the primer coat. This took some trial and error and playing with temperature. Each method is a process, but the results are well worth the time in my mind.
The Darice foam only needs a bead of ca along the inside of the cowl, it secures it nicely.
Hope this helps!
-Ed B.
05-17-2024, 03:46 AM
#407
Thread Starter
05-17-2024, 09:12 AM
#409
Thread Starter
The following users liked this post:
Flyfast1 (05-17-2024)
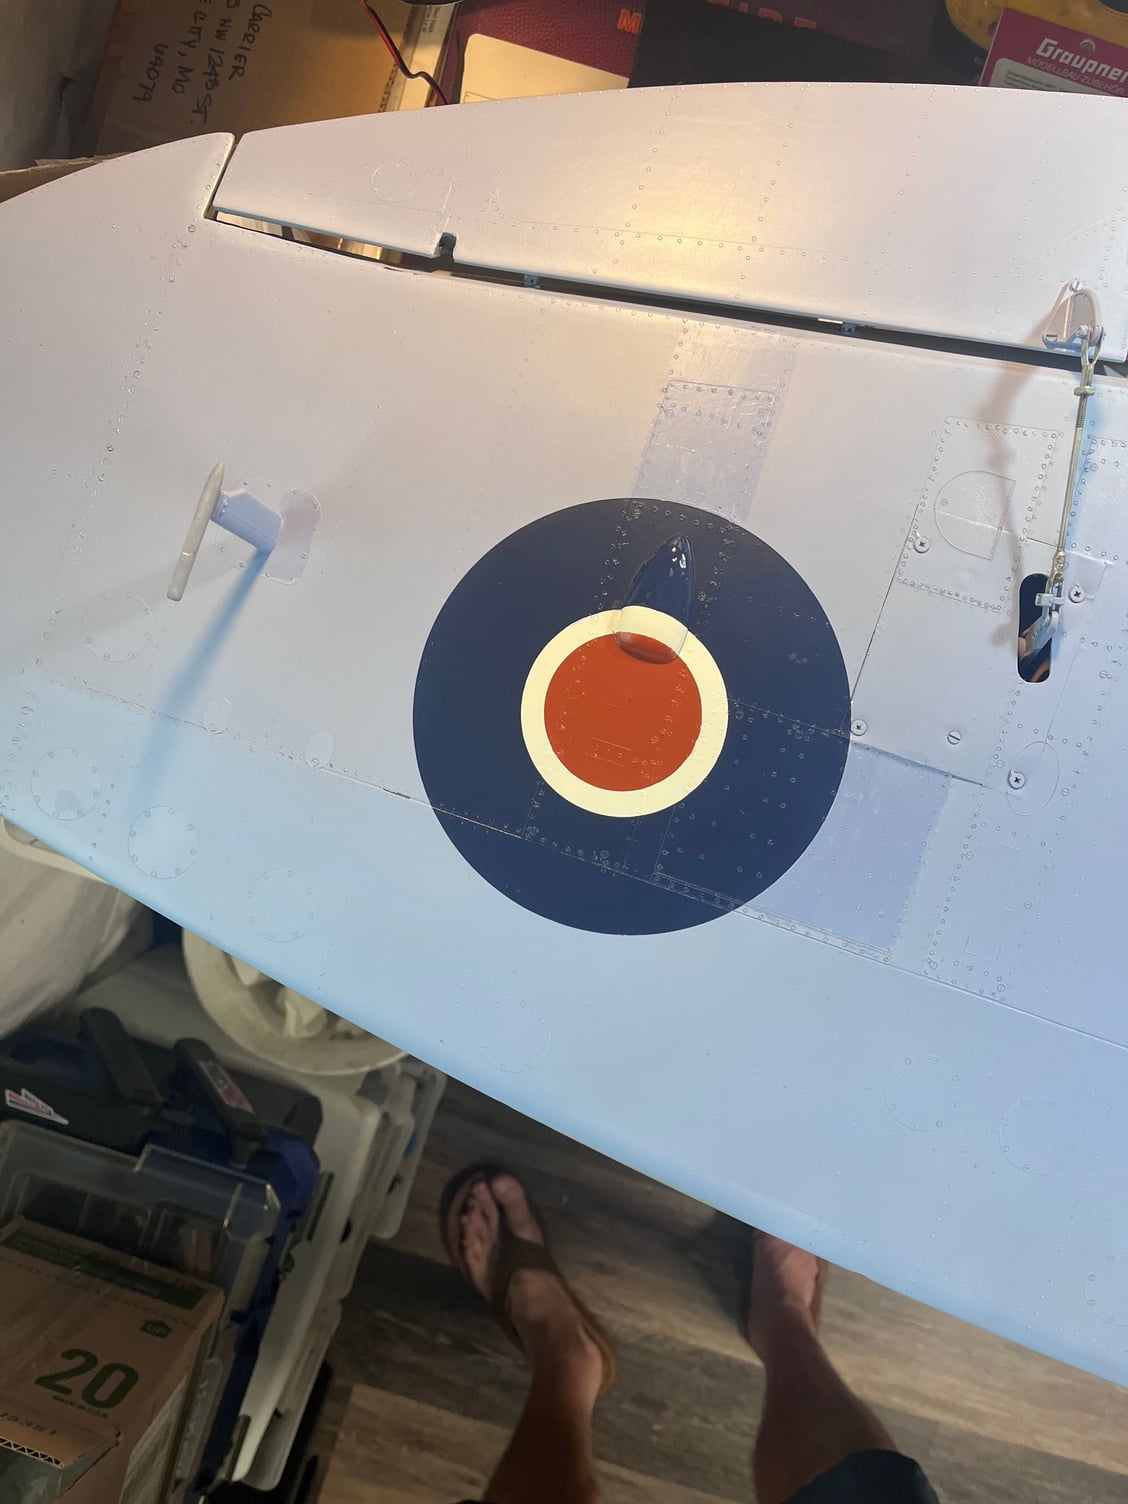

 06-01-2024, 09:22 AM
#411


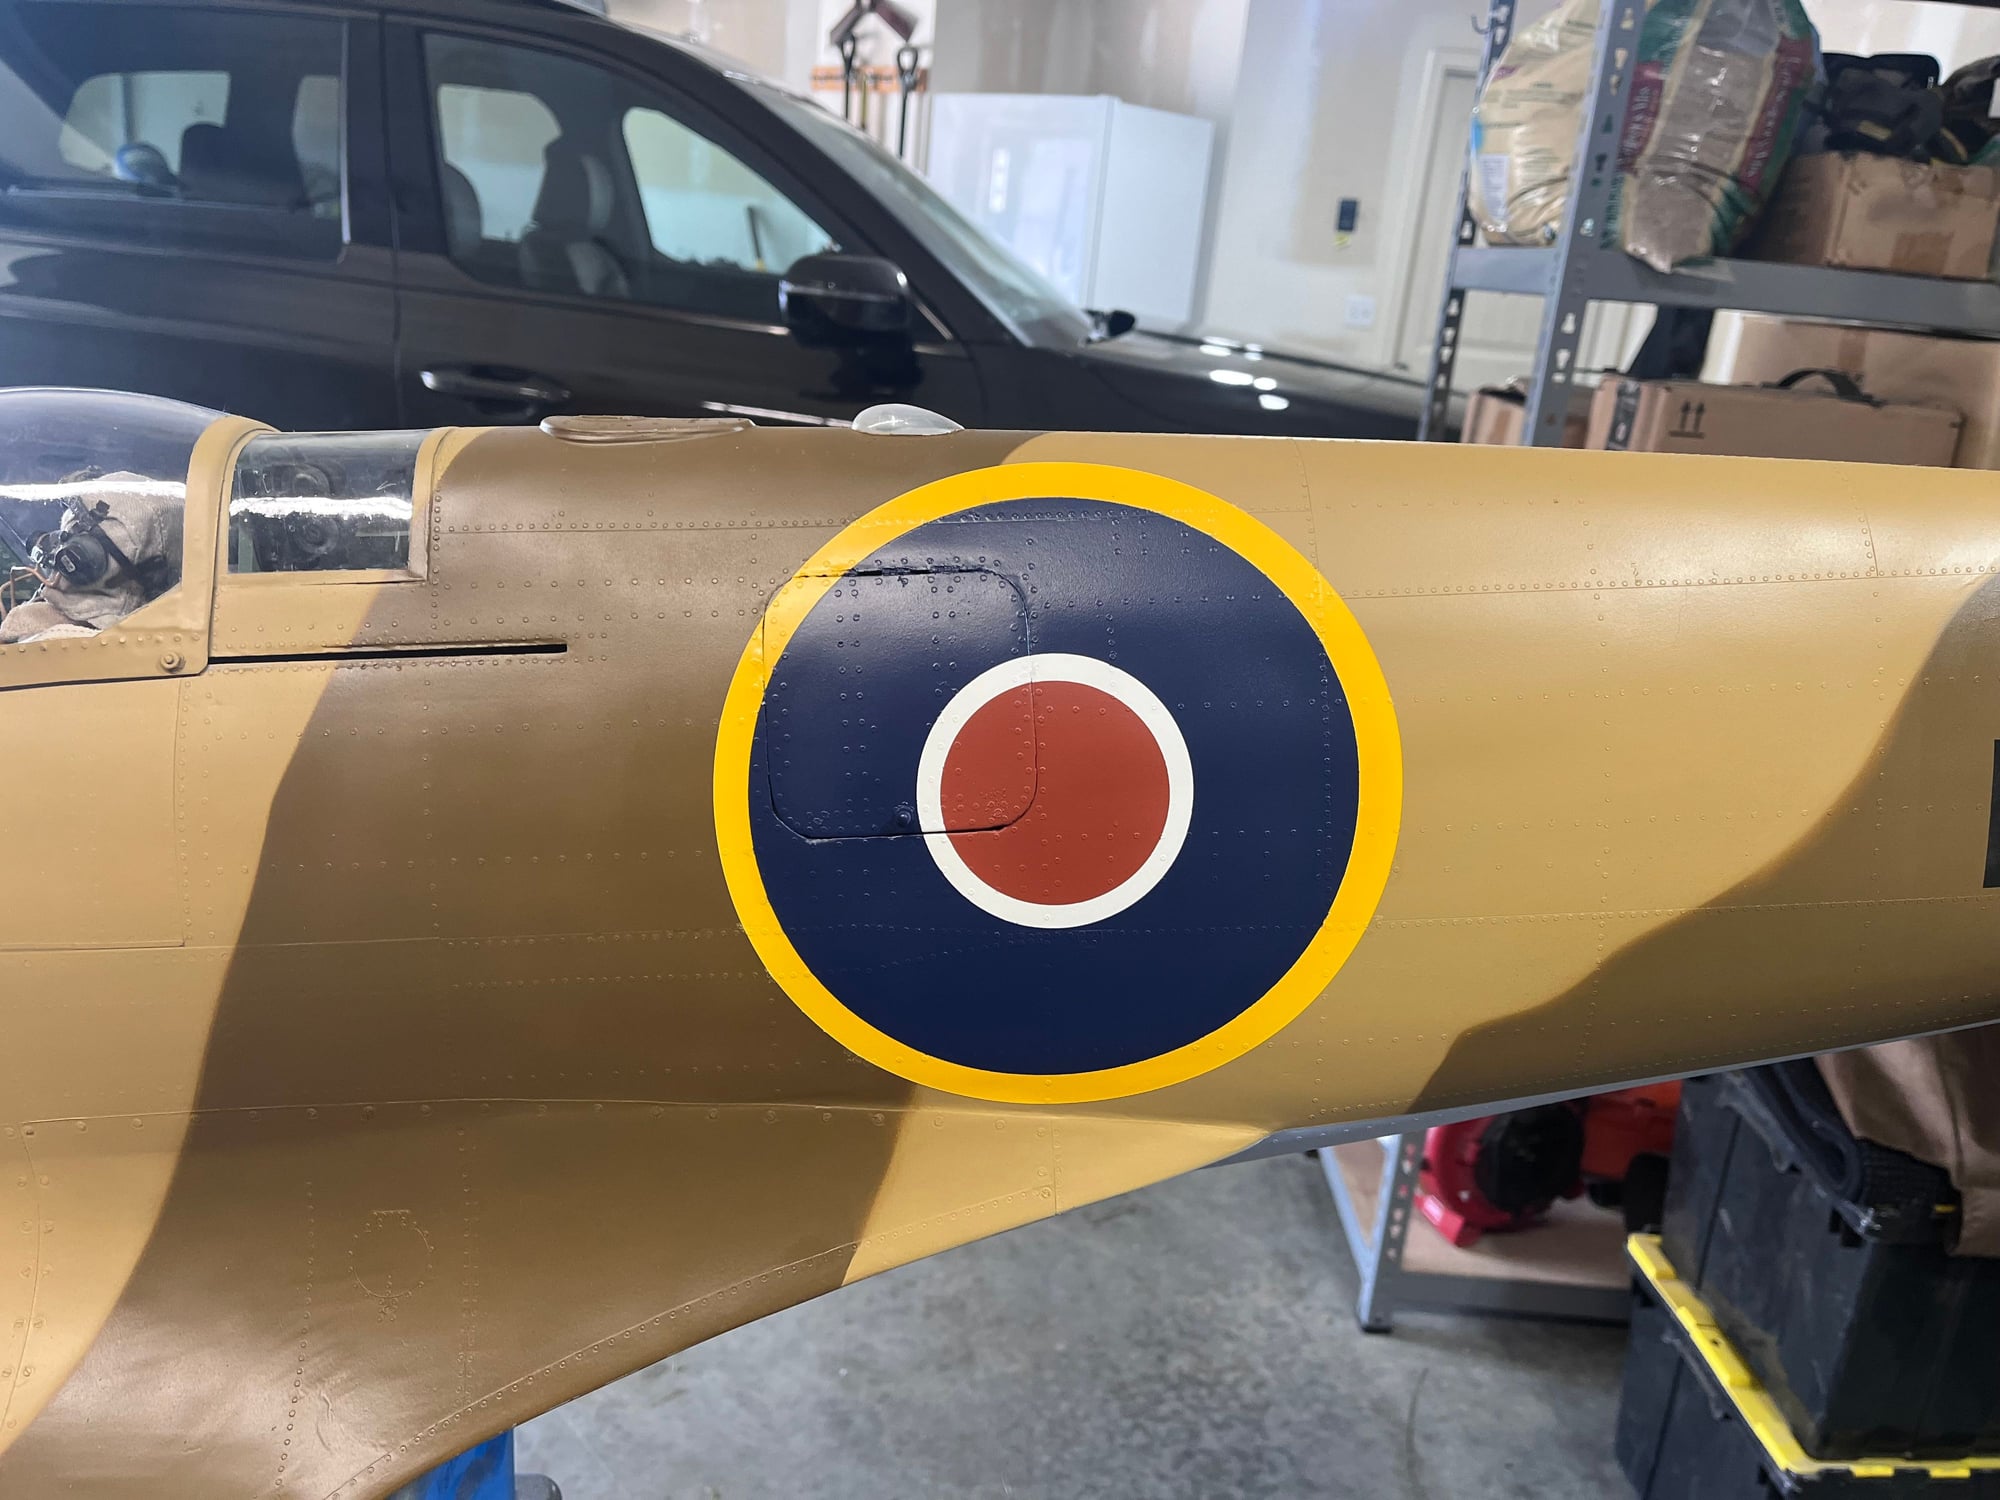
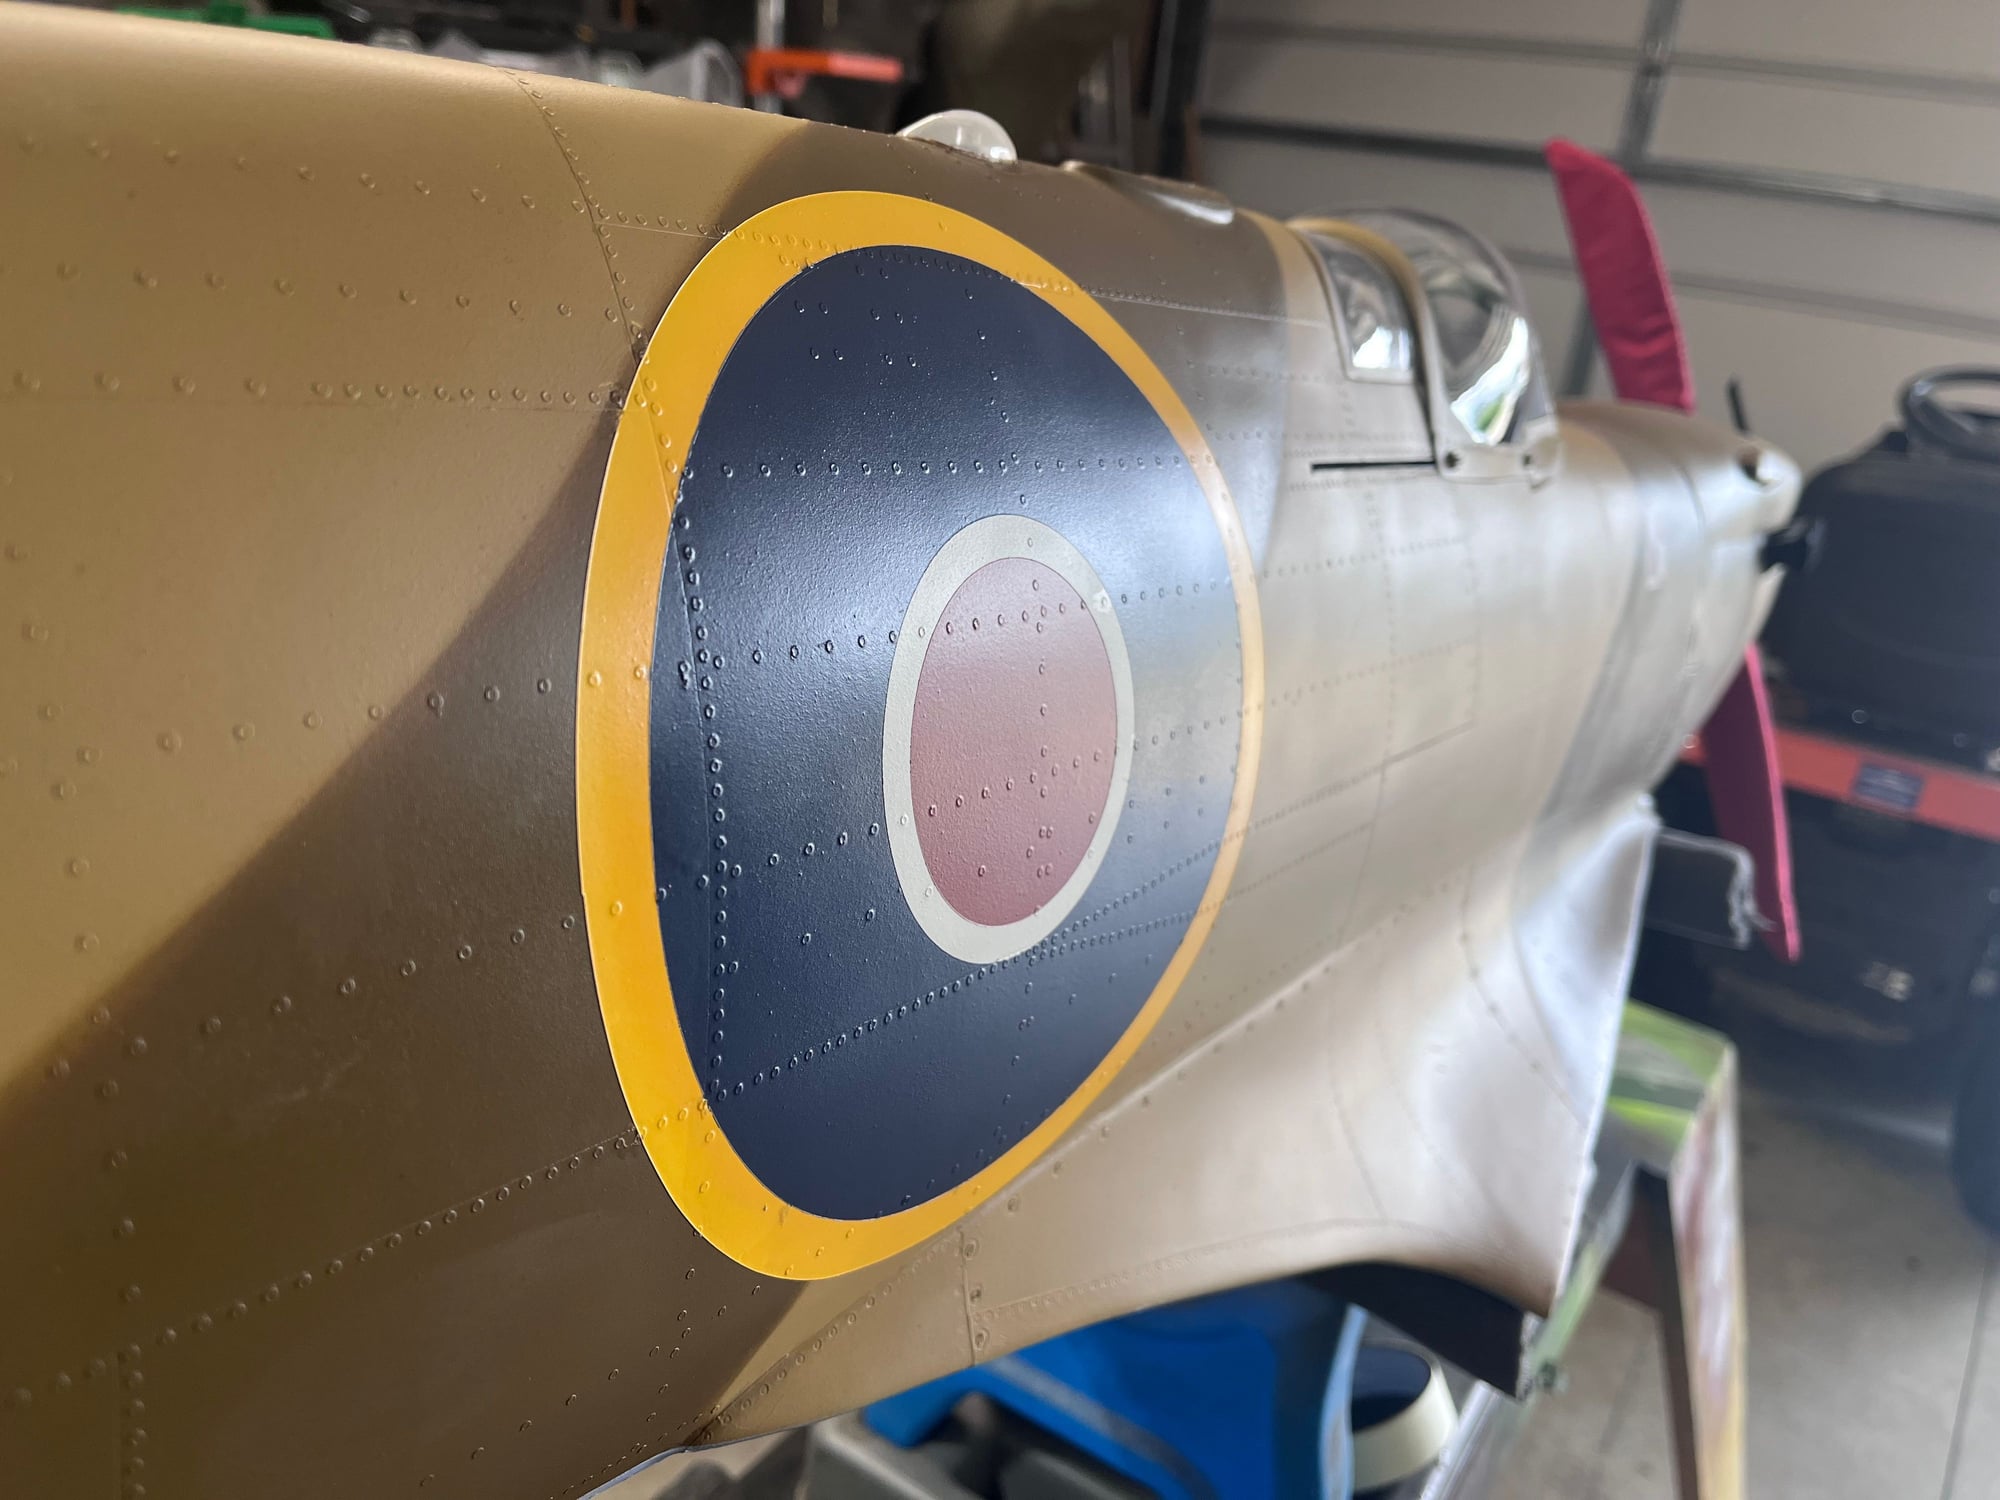
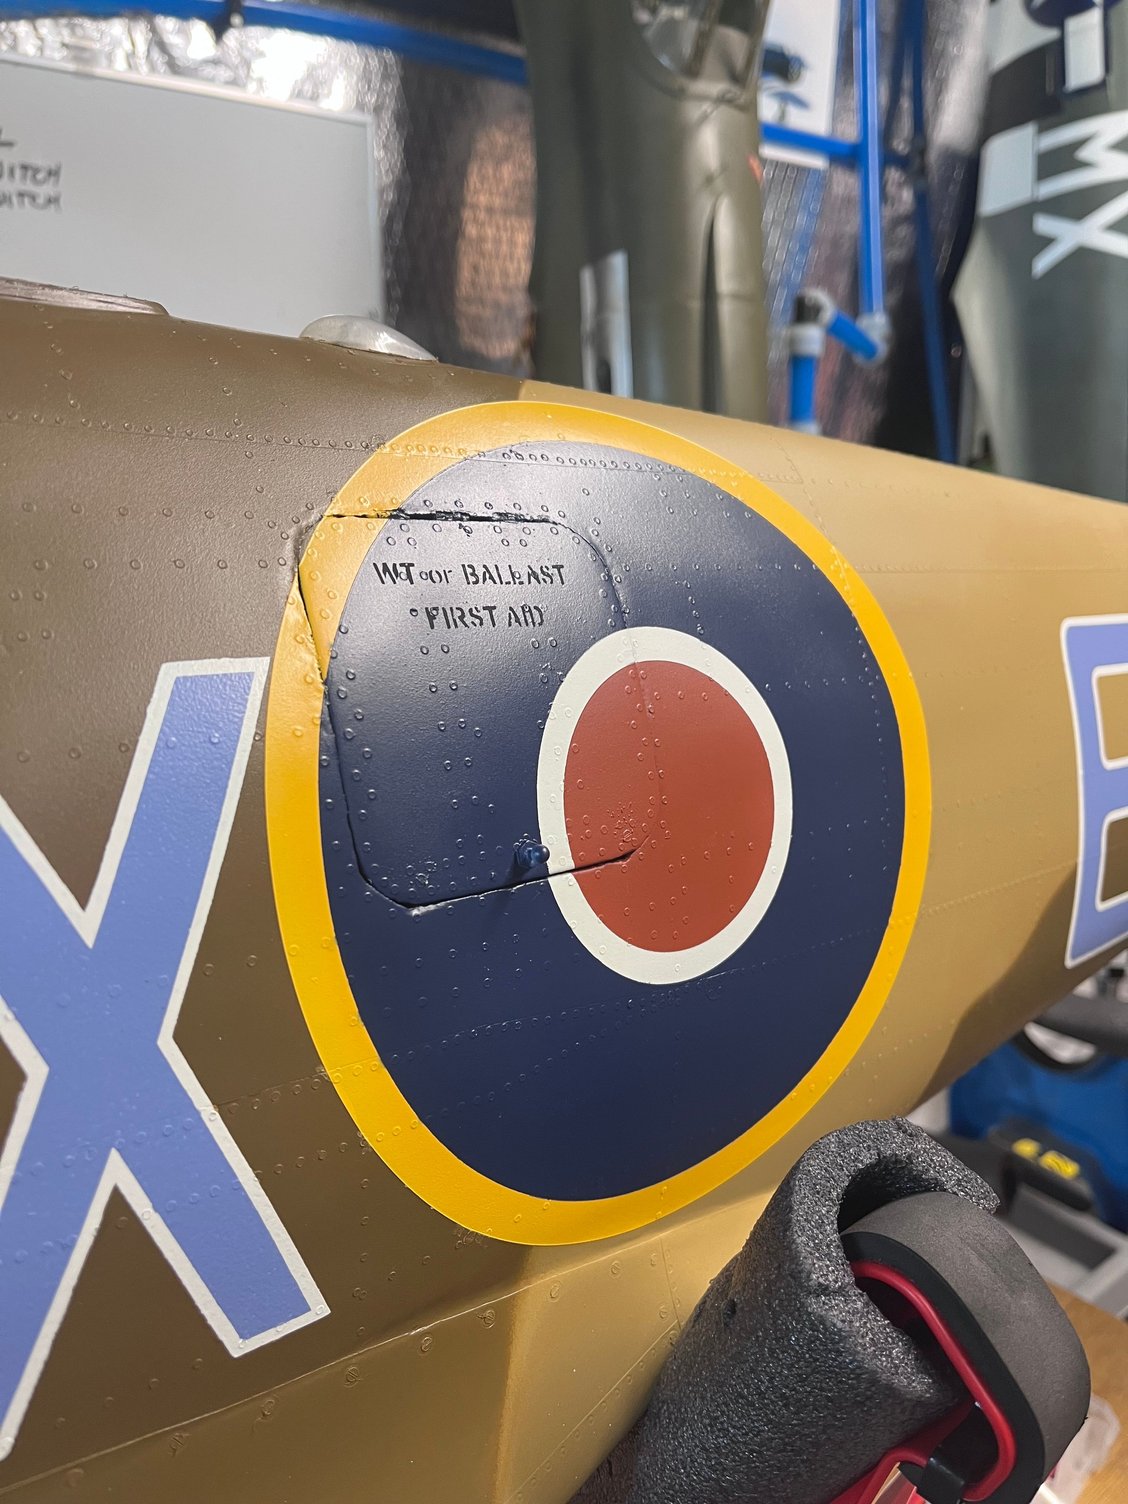
Painted roundels look great John!! I noticed, that many guys use decals, but painted look much better!! Flare nozzle is perfect detail, you are probably the first one who does not miss that details on early Mk.IX.
06-01-2024, 09:28 AM
#412
Thread Starter
Haha I’m sure I’ve missed some details along the way but I’m trying to catch as many as I can.
The following users liked this post:
fokke (06-01-2024)
07-08-2024, 03:58 AM
#413
Thread Starter
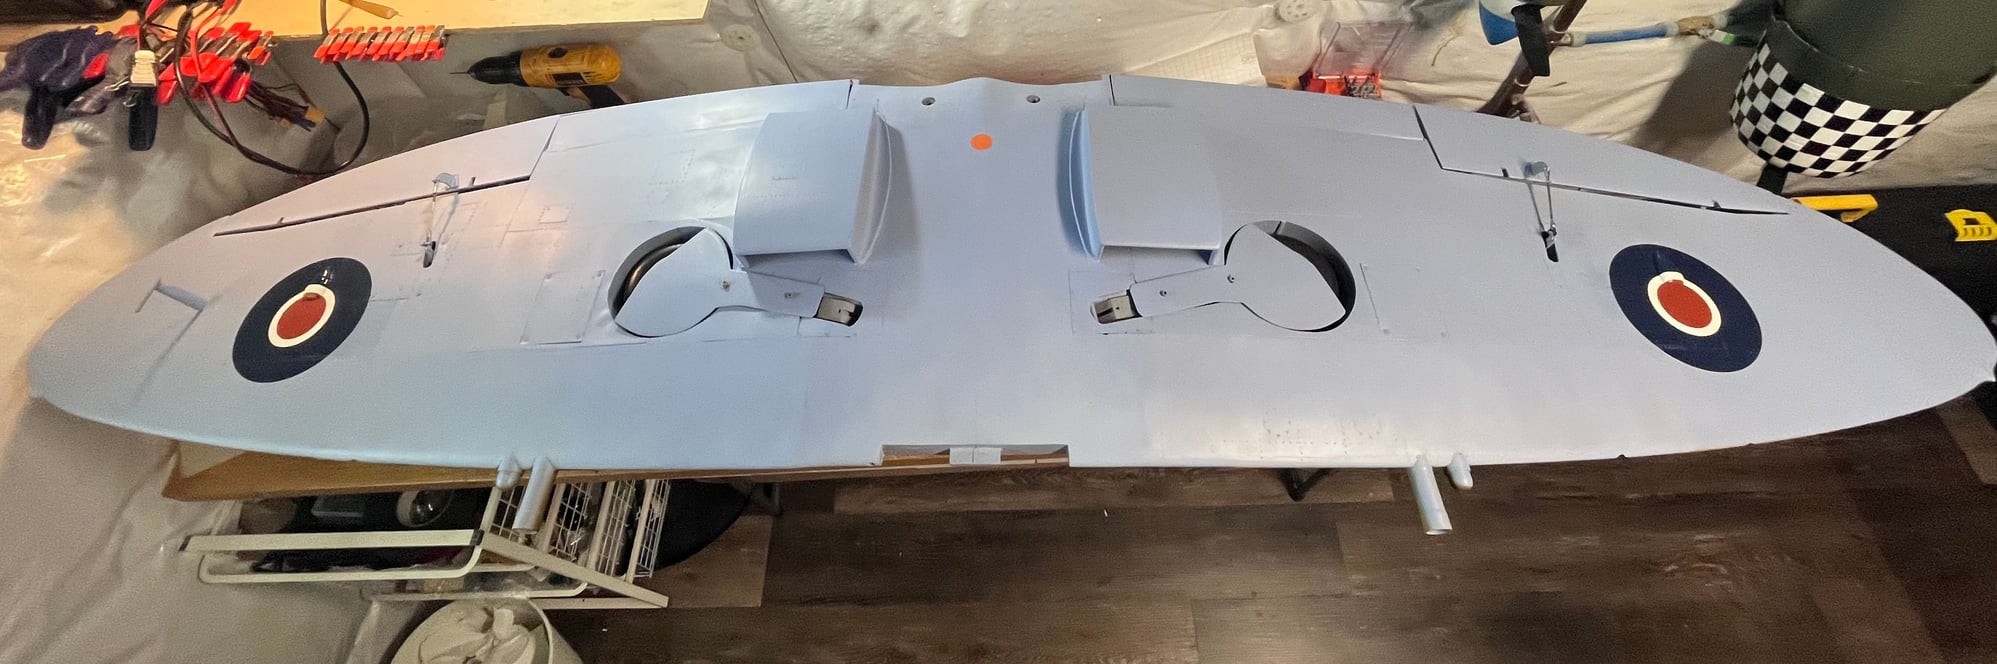
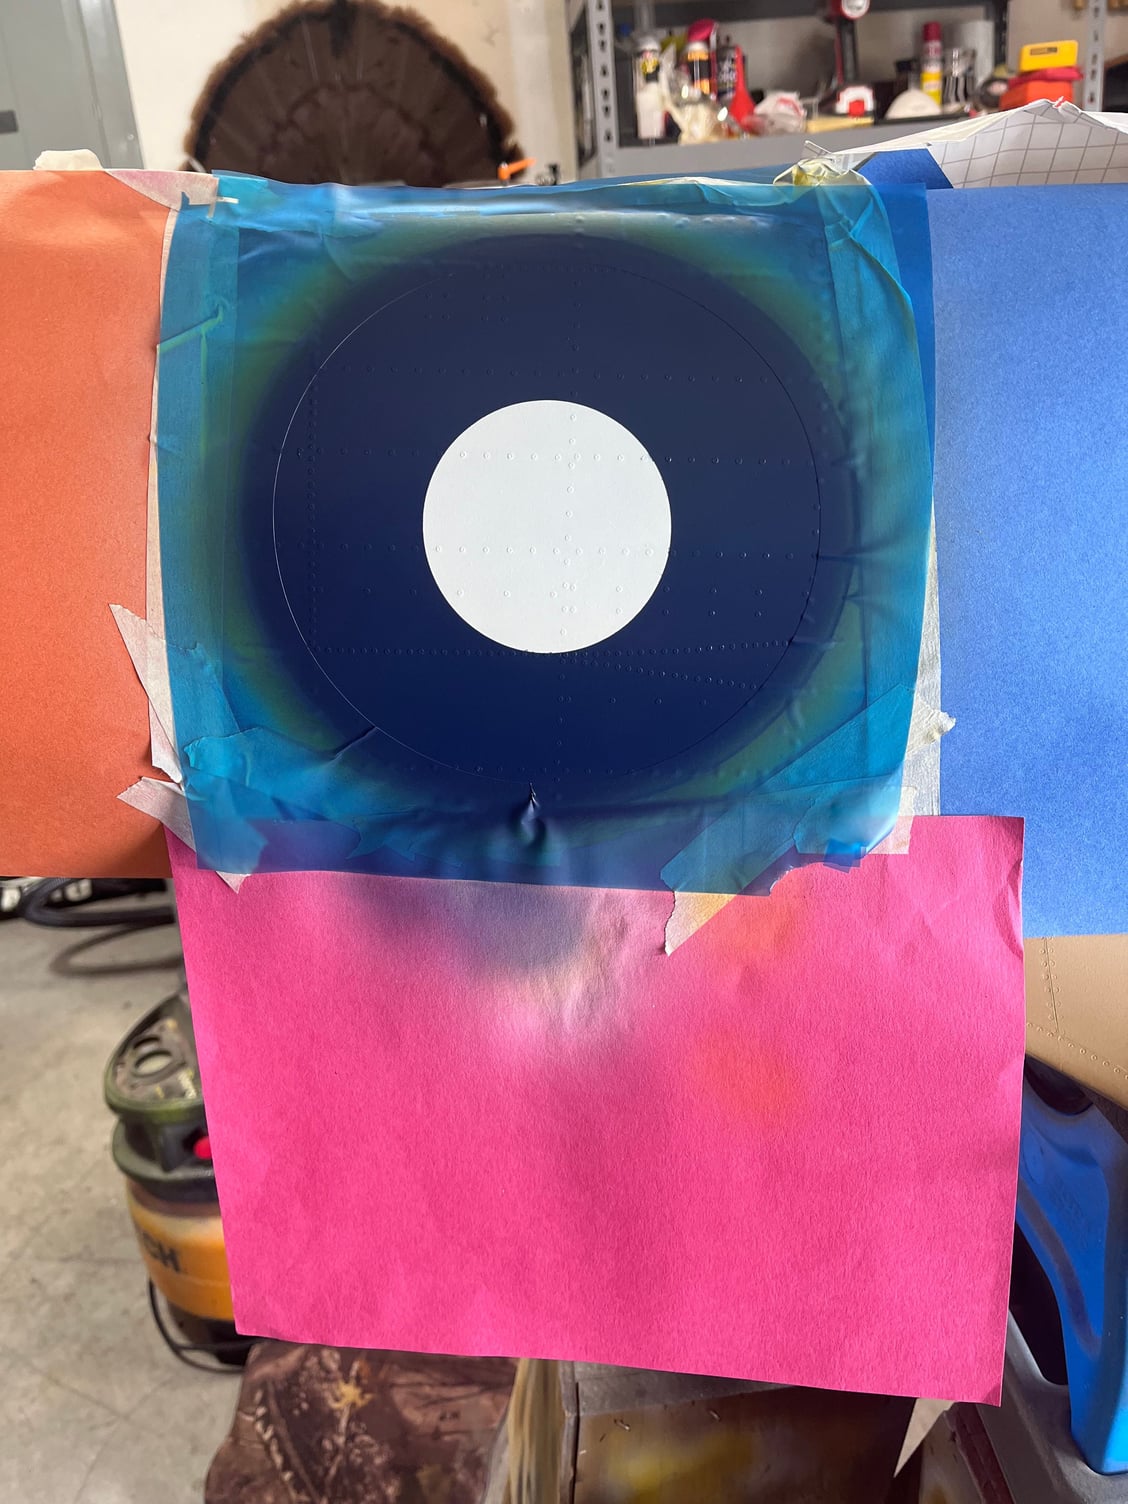
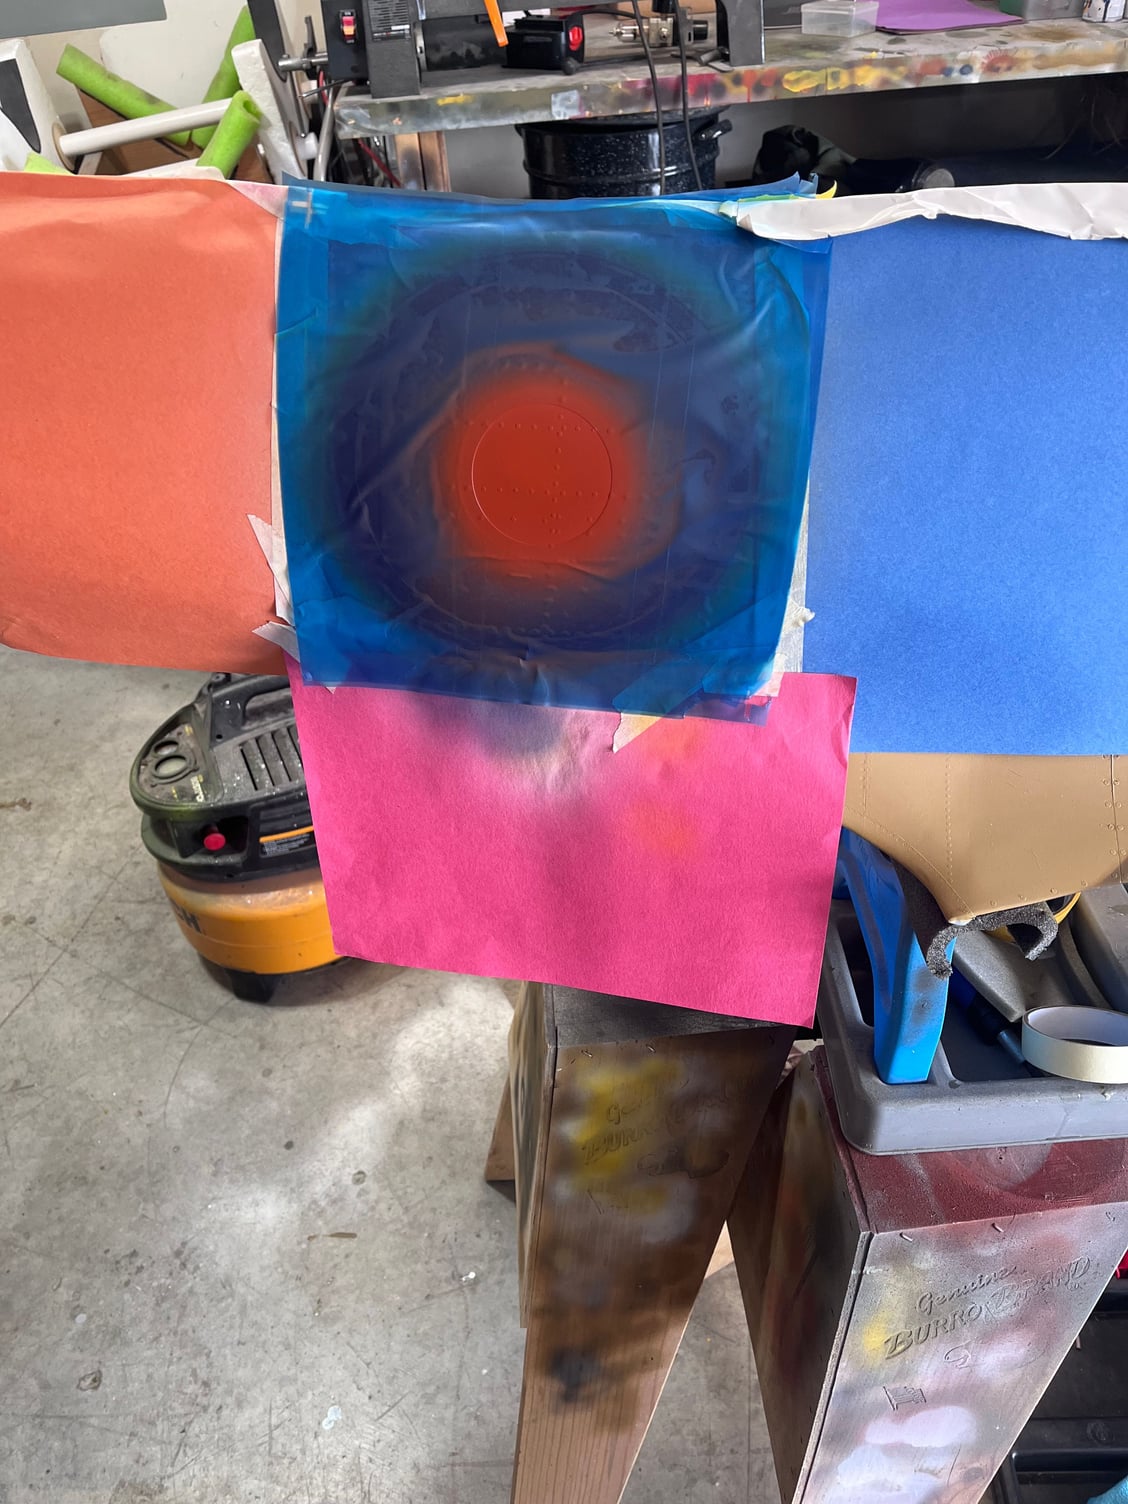
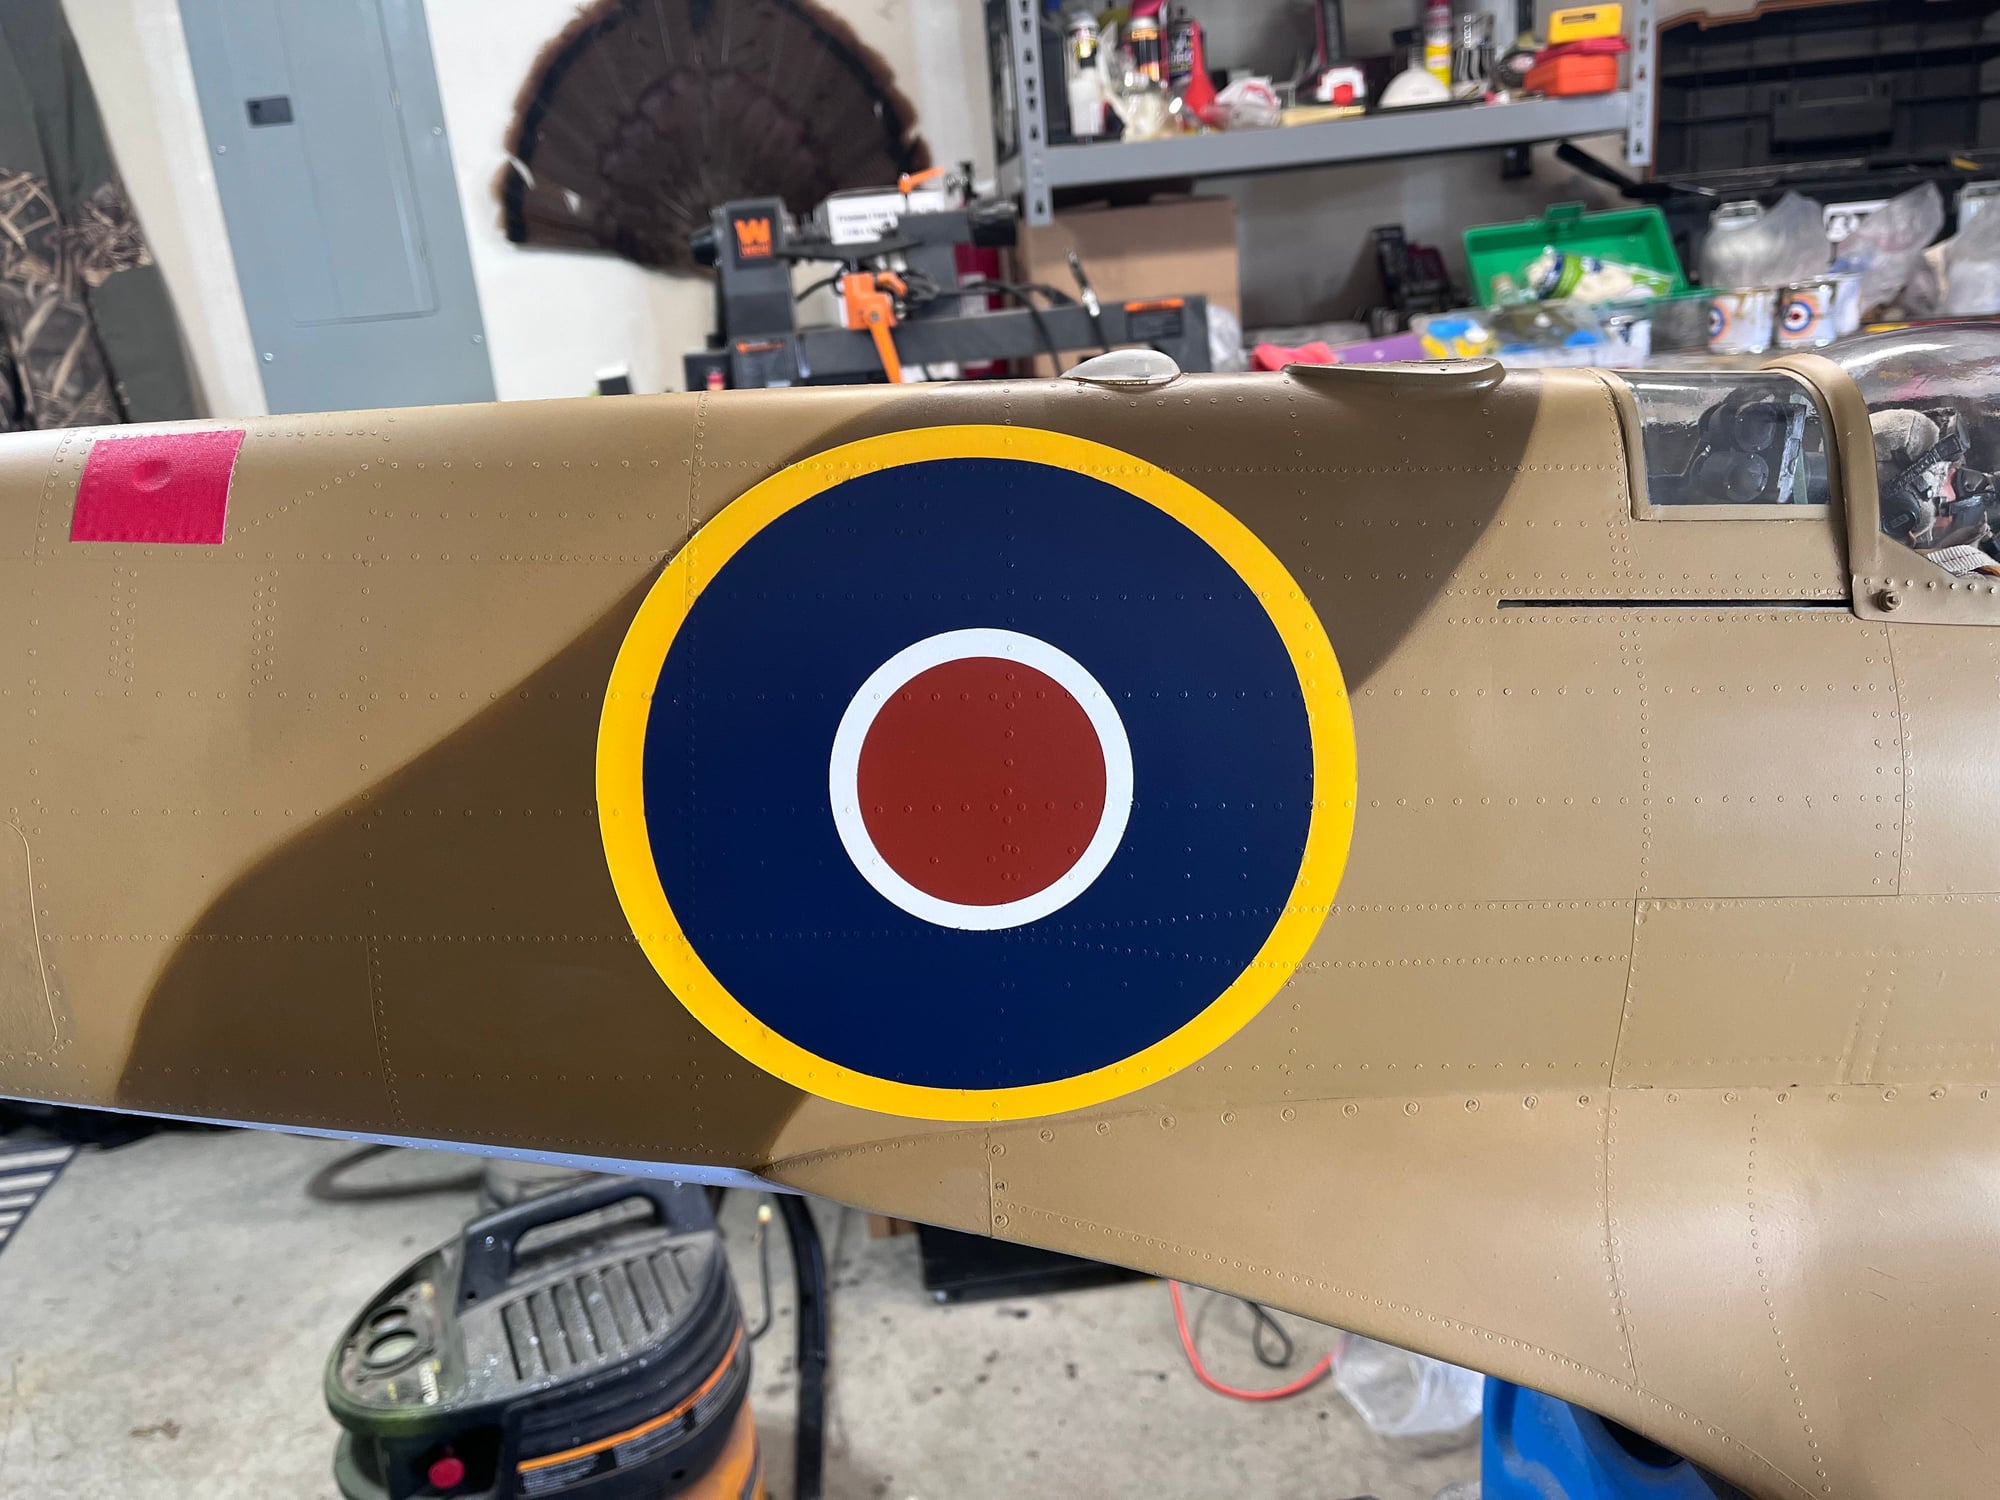
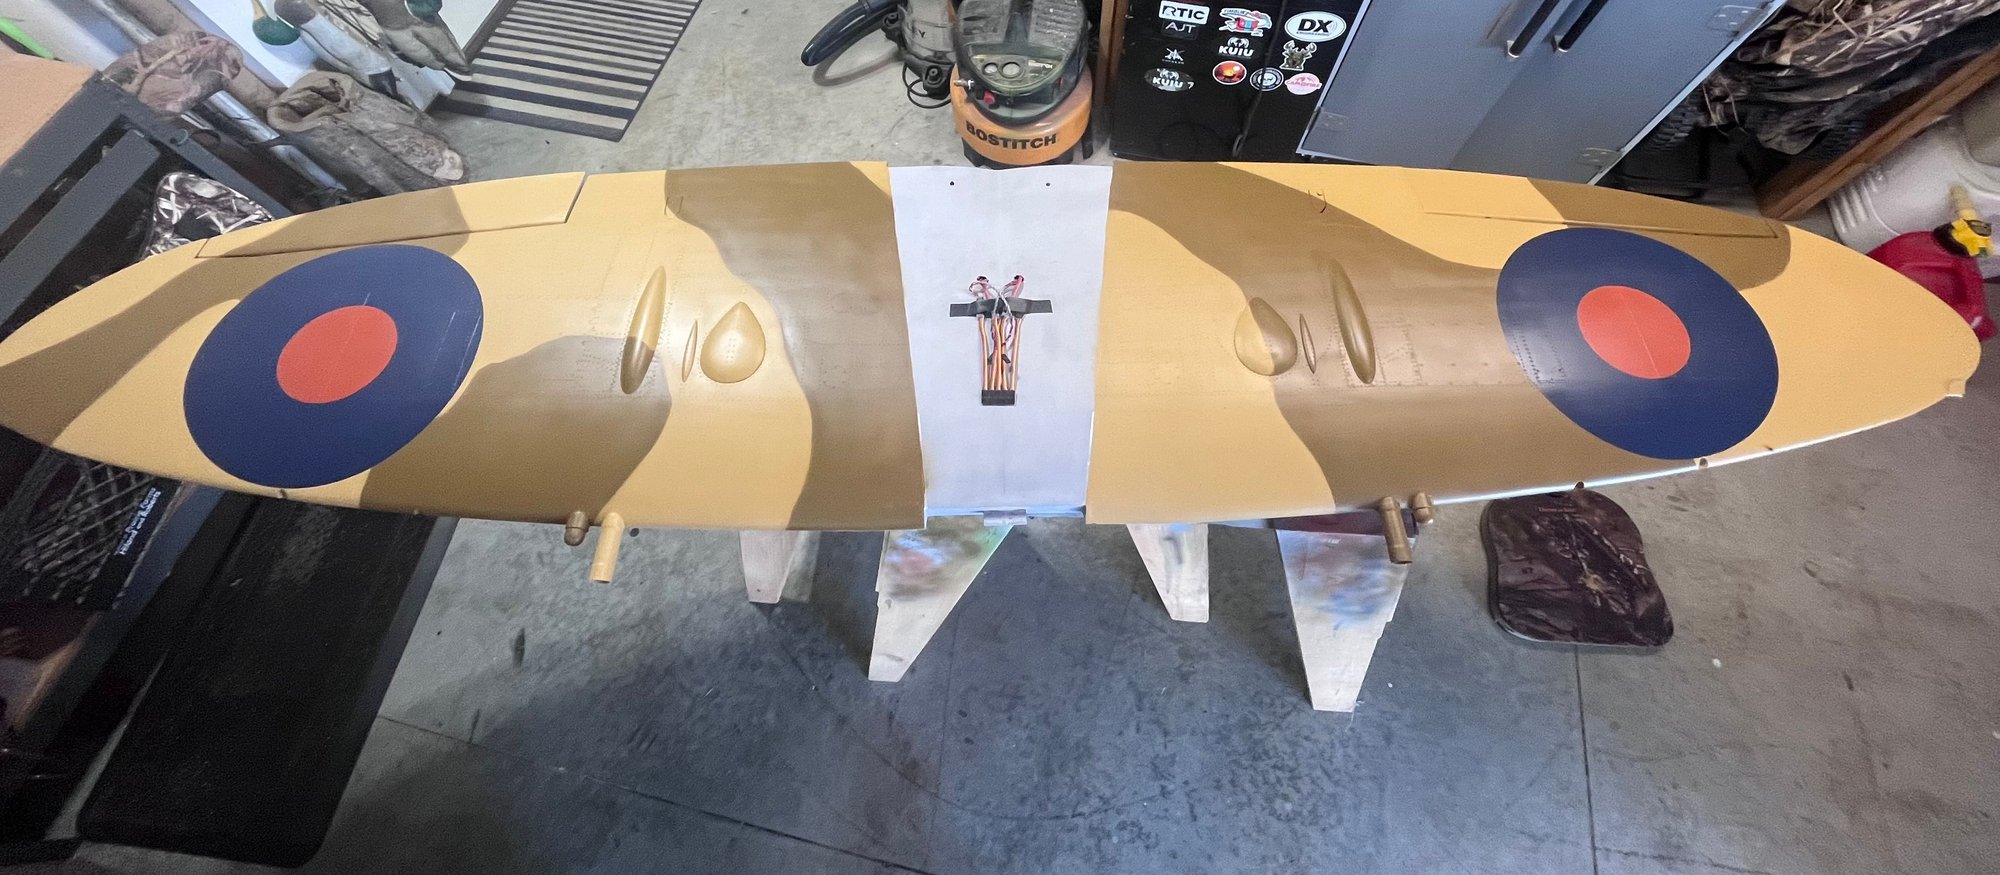
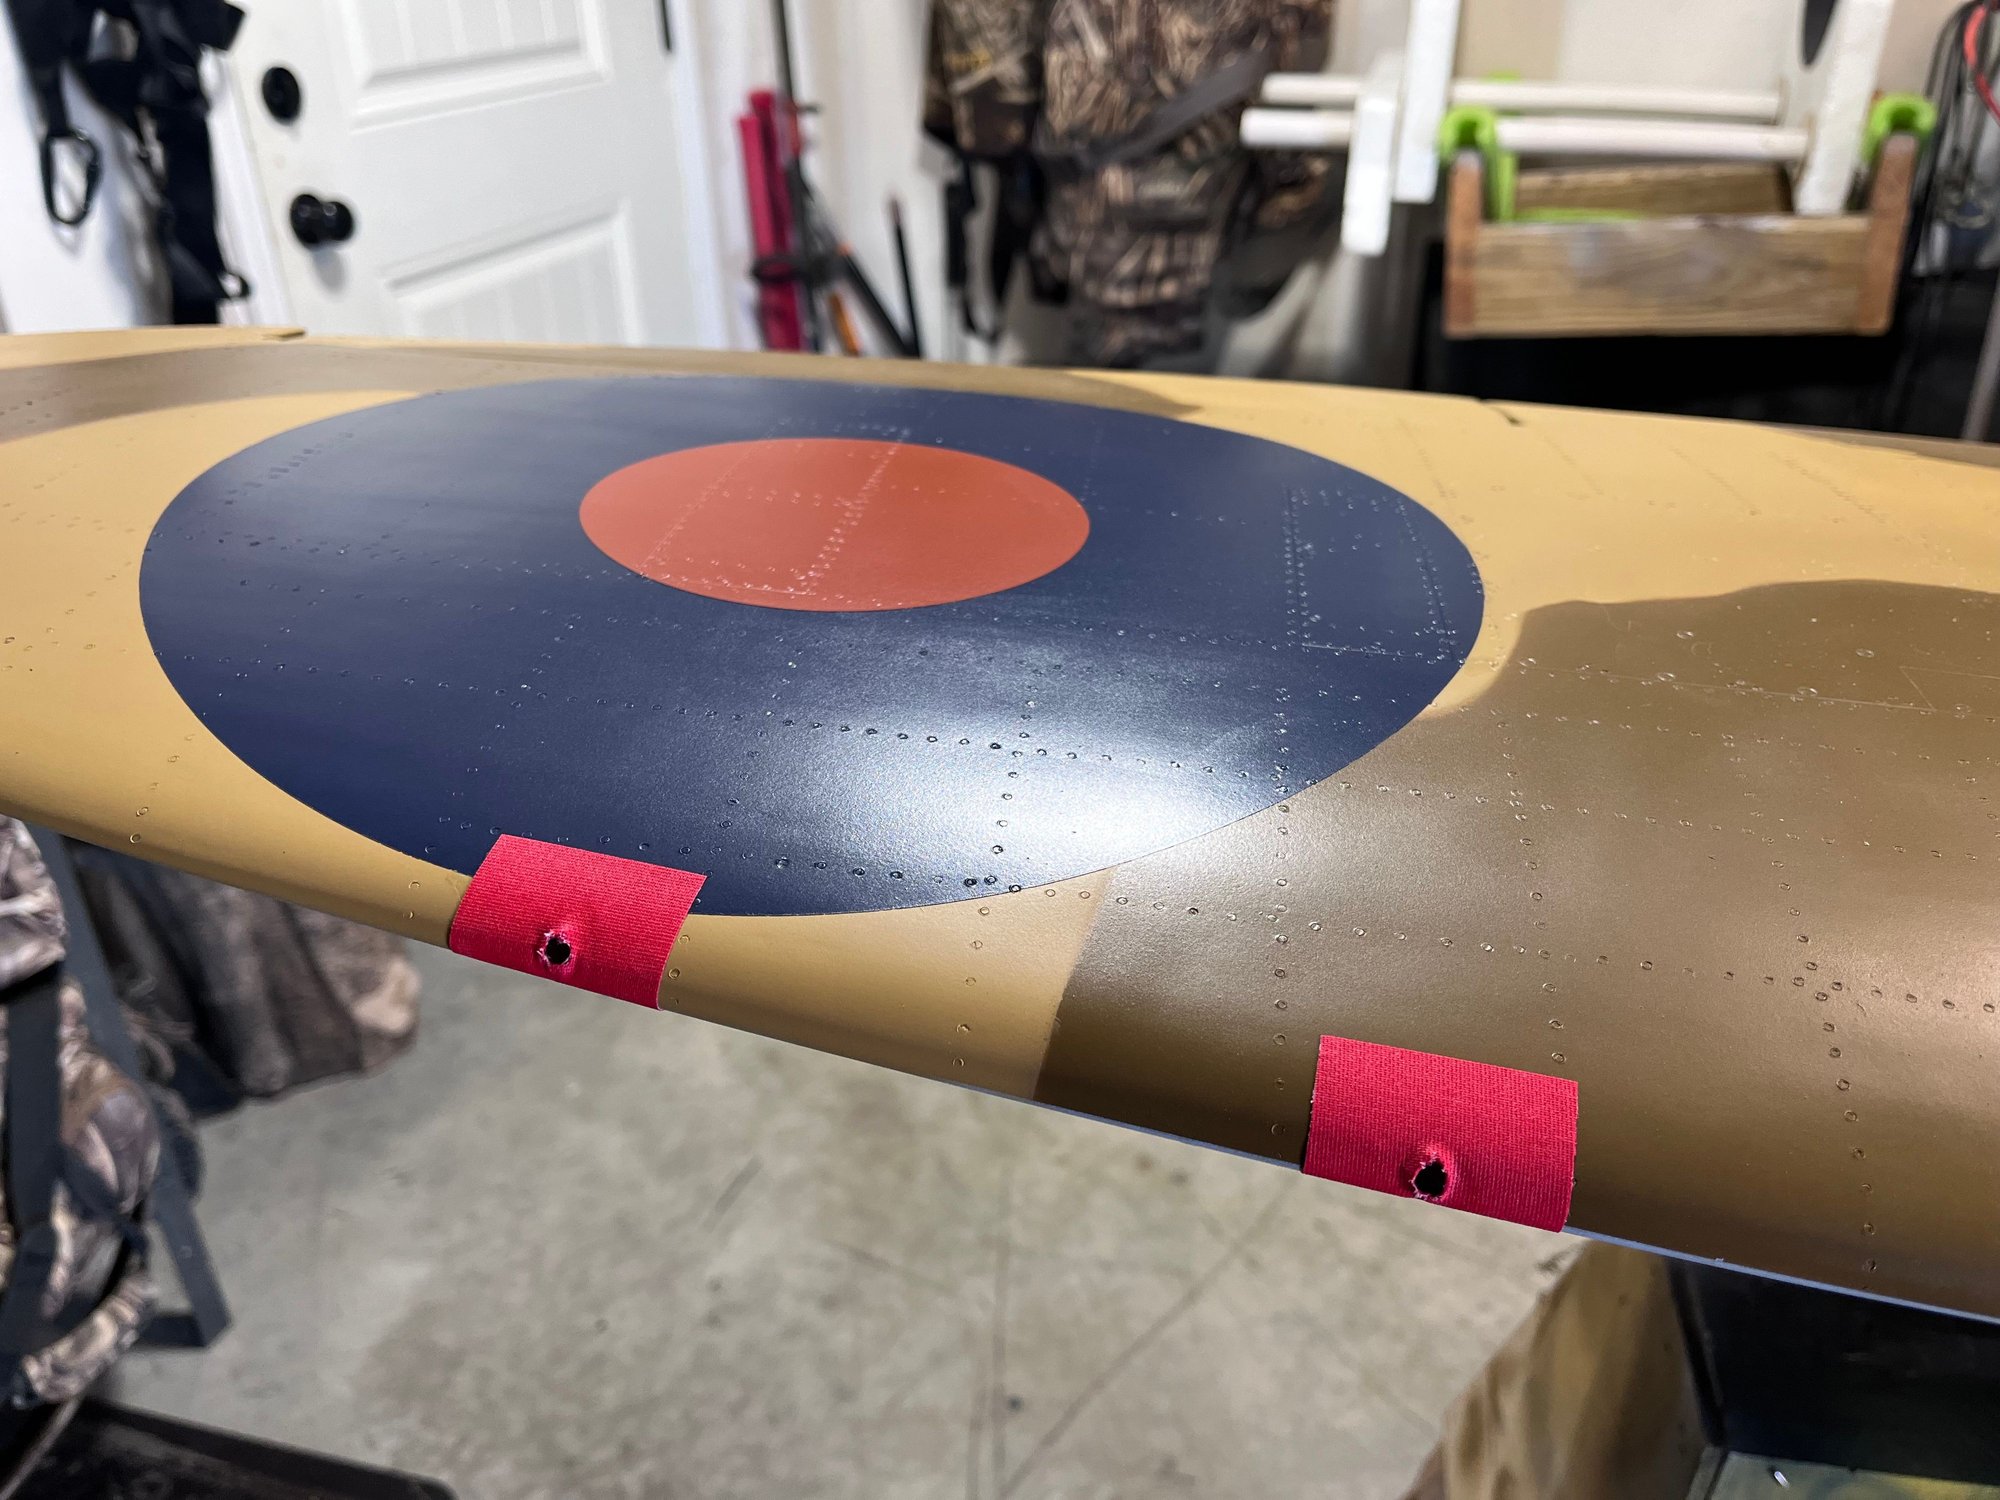
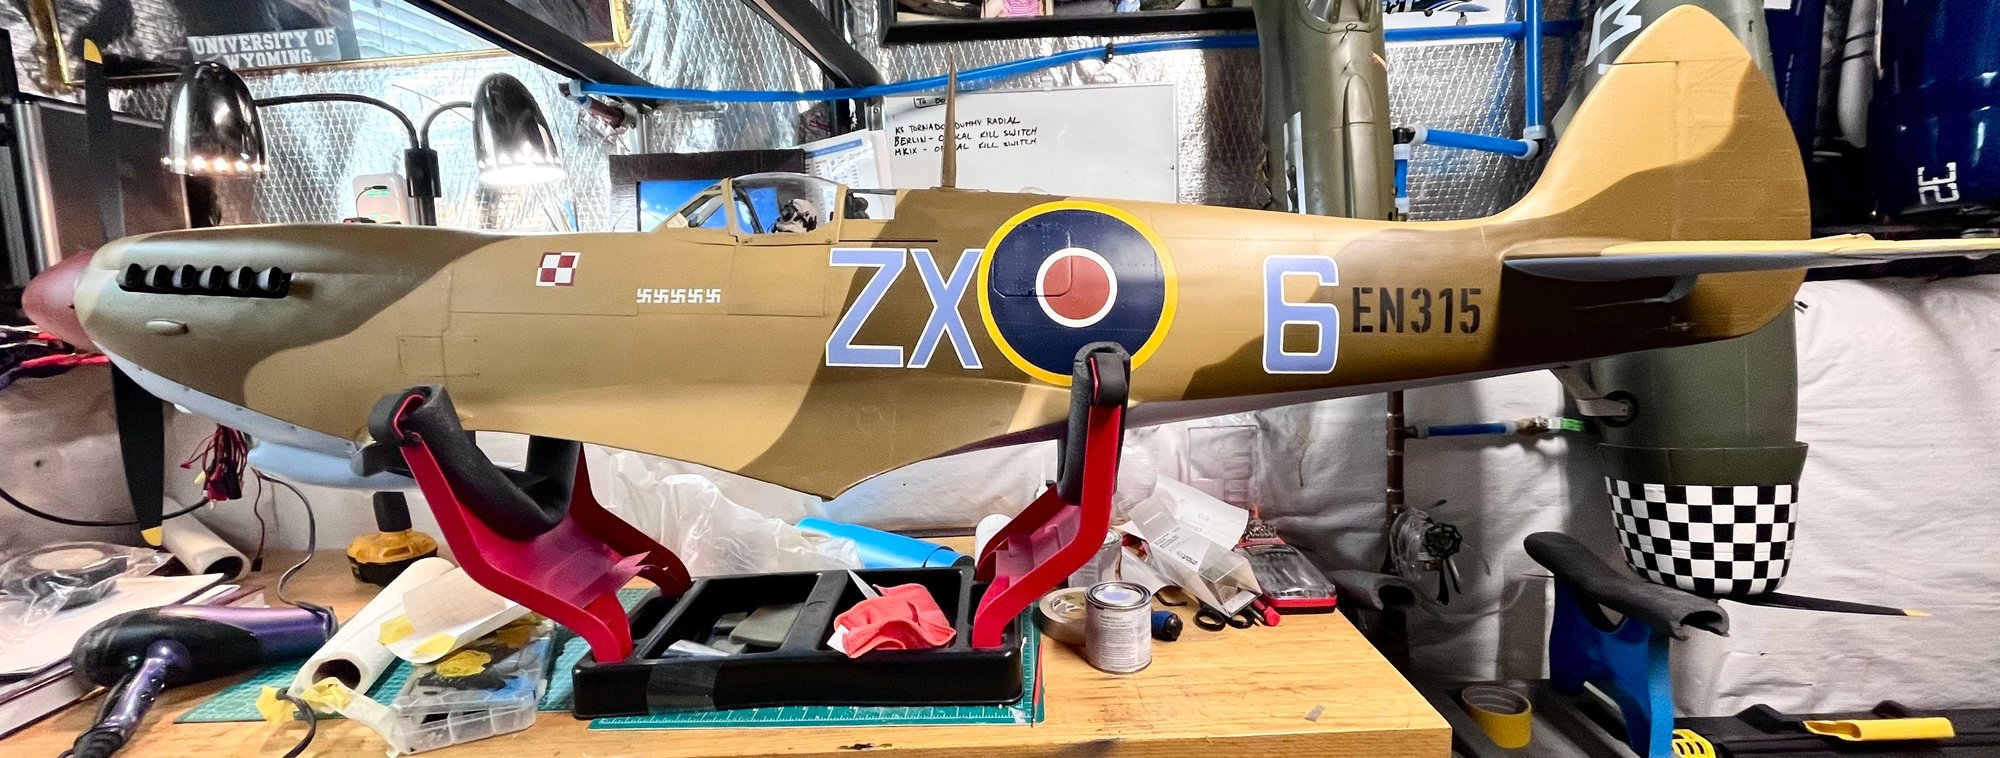
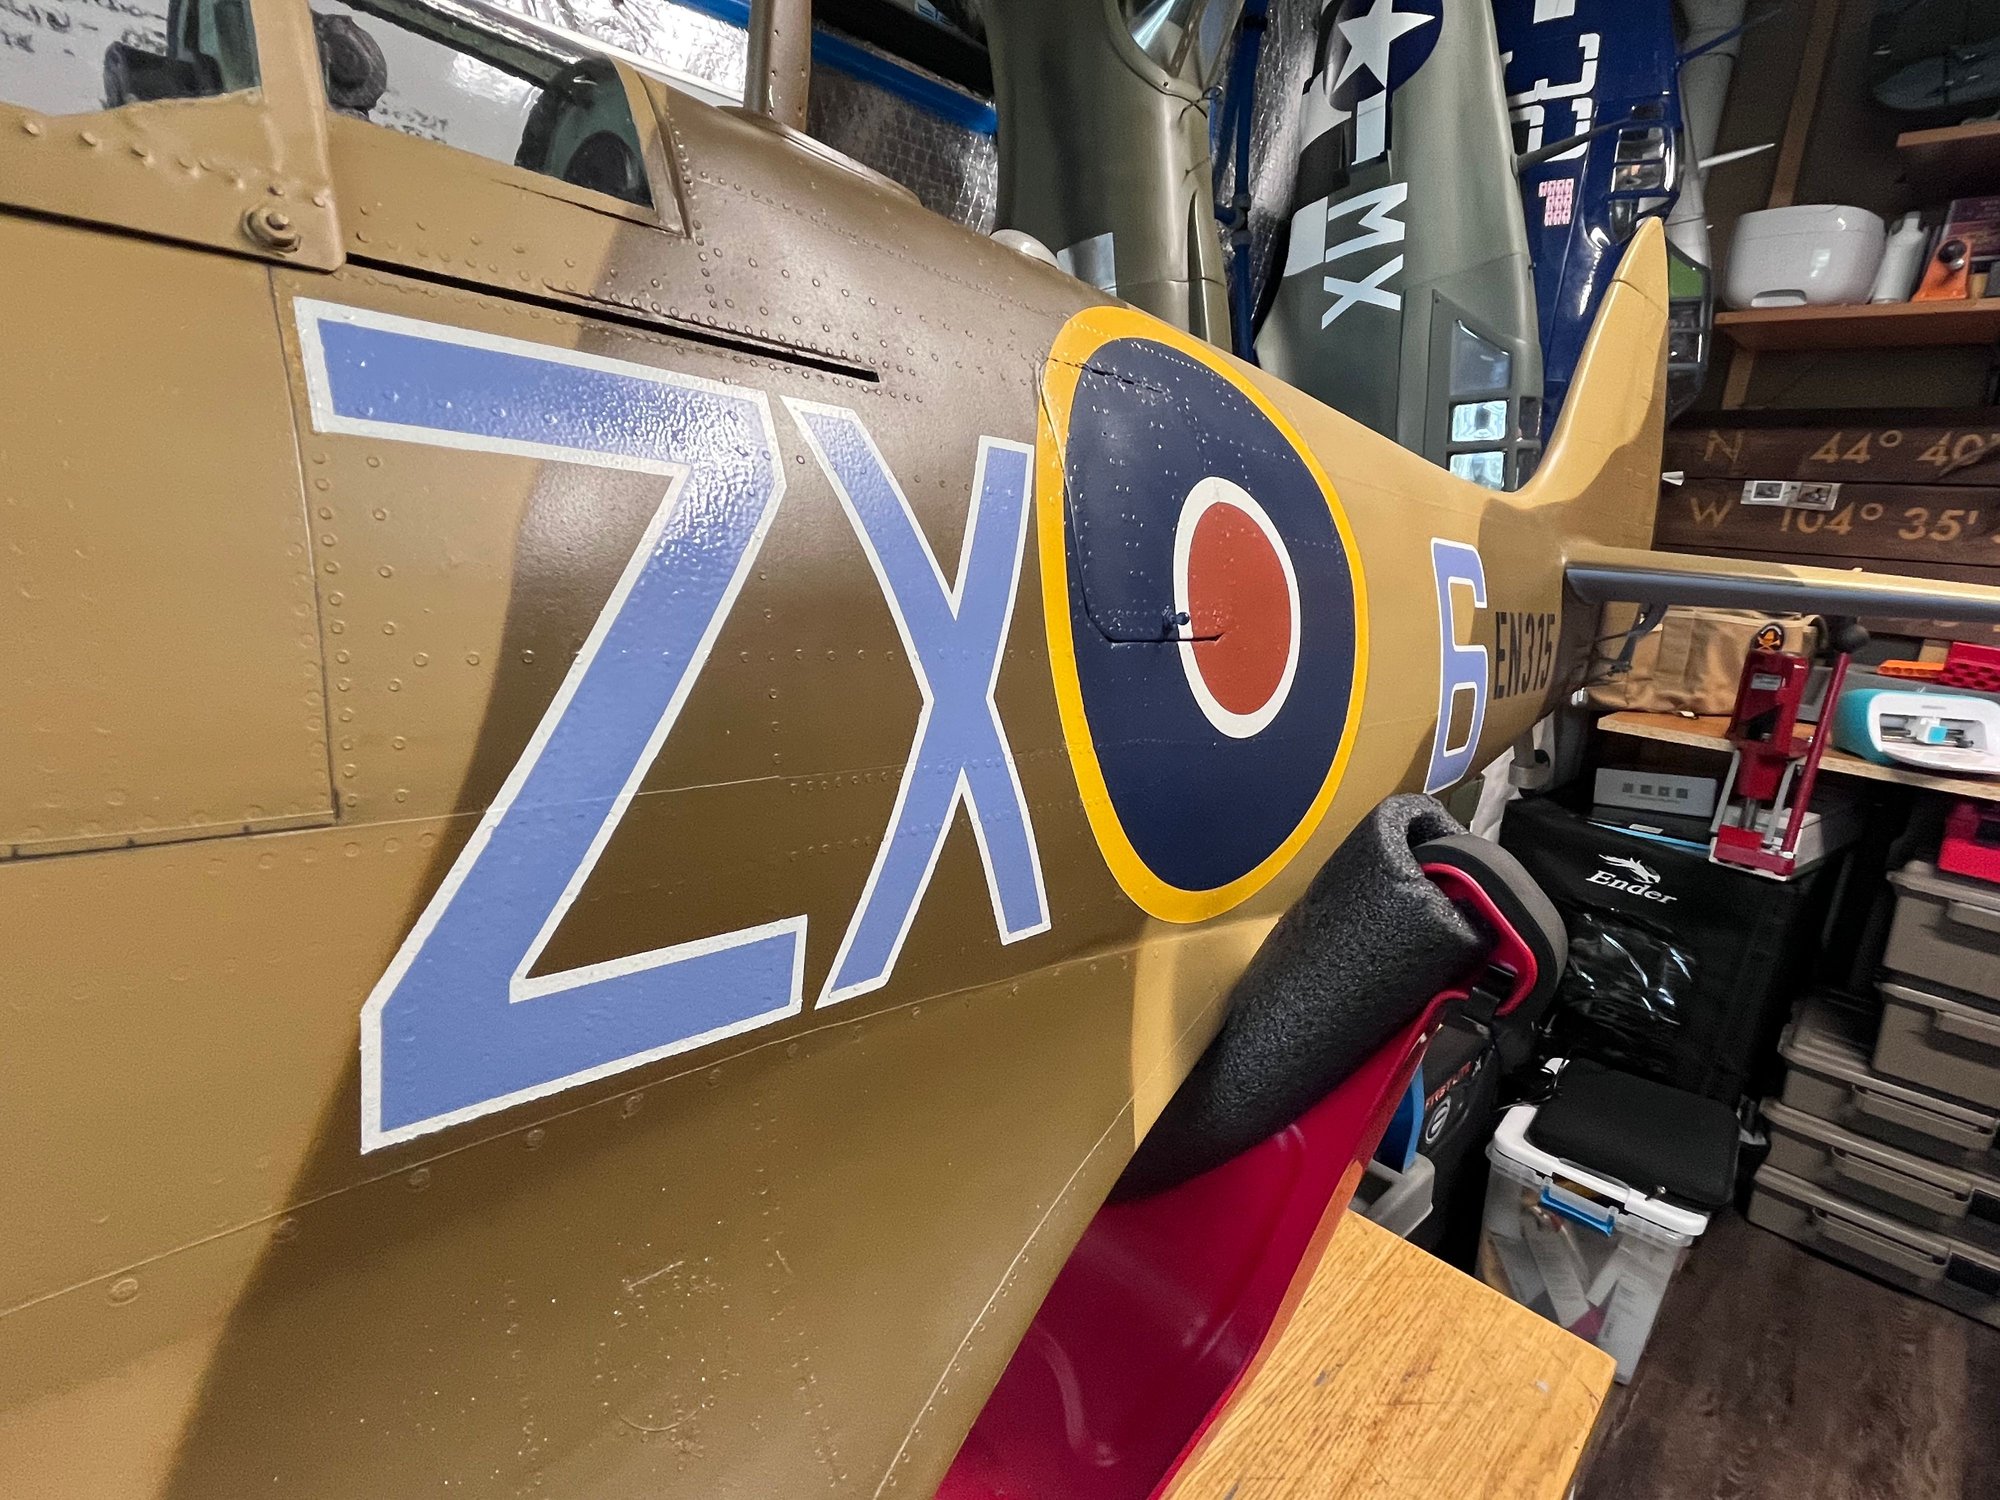
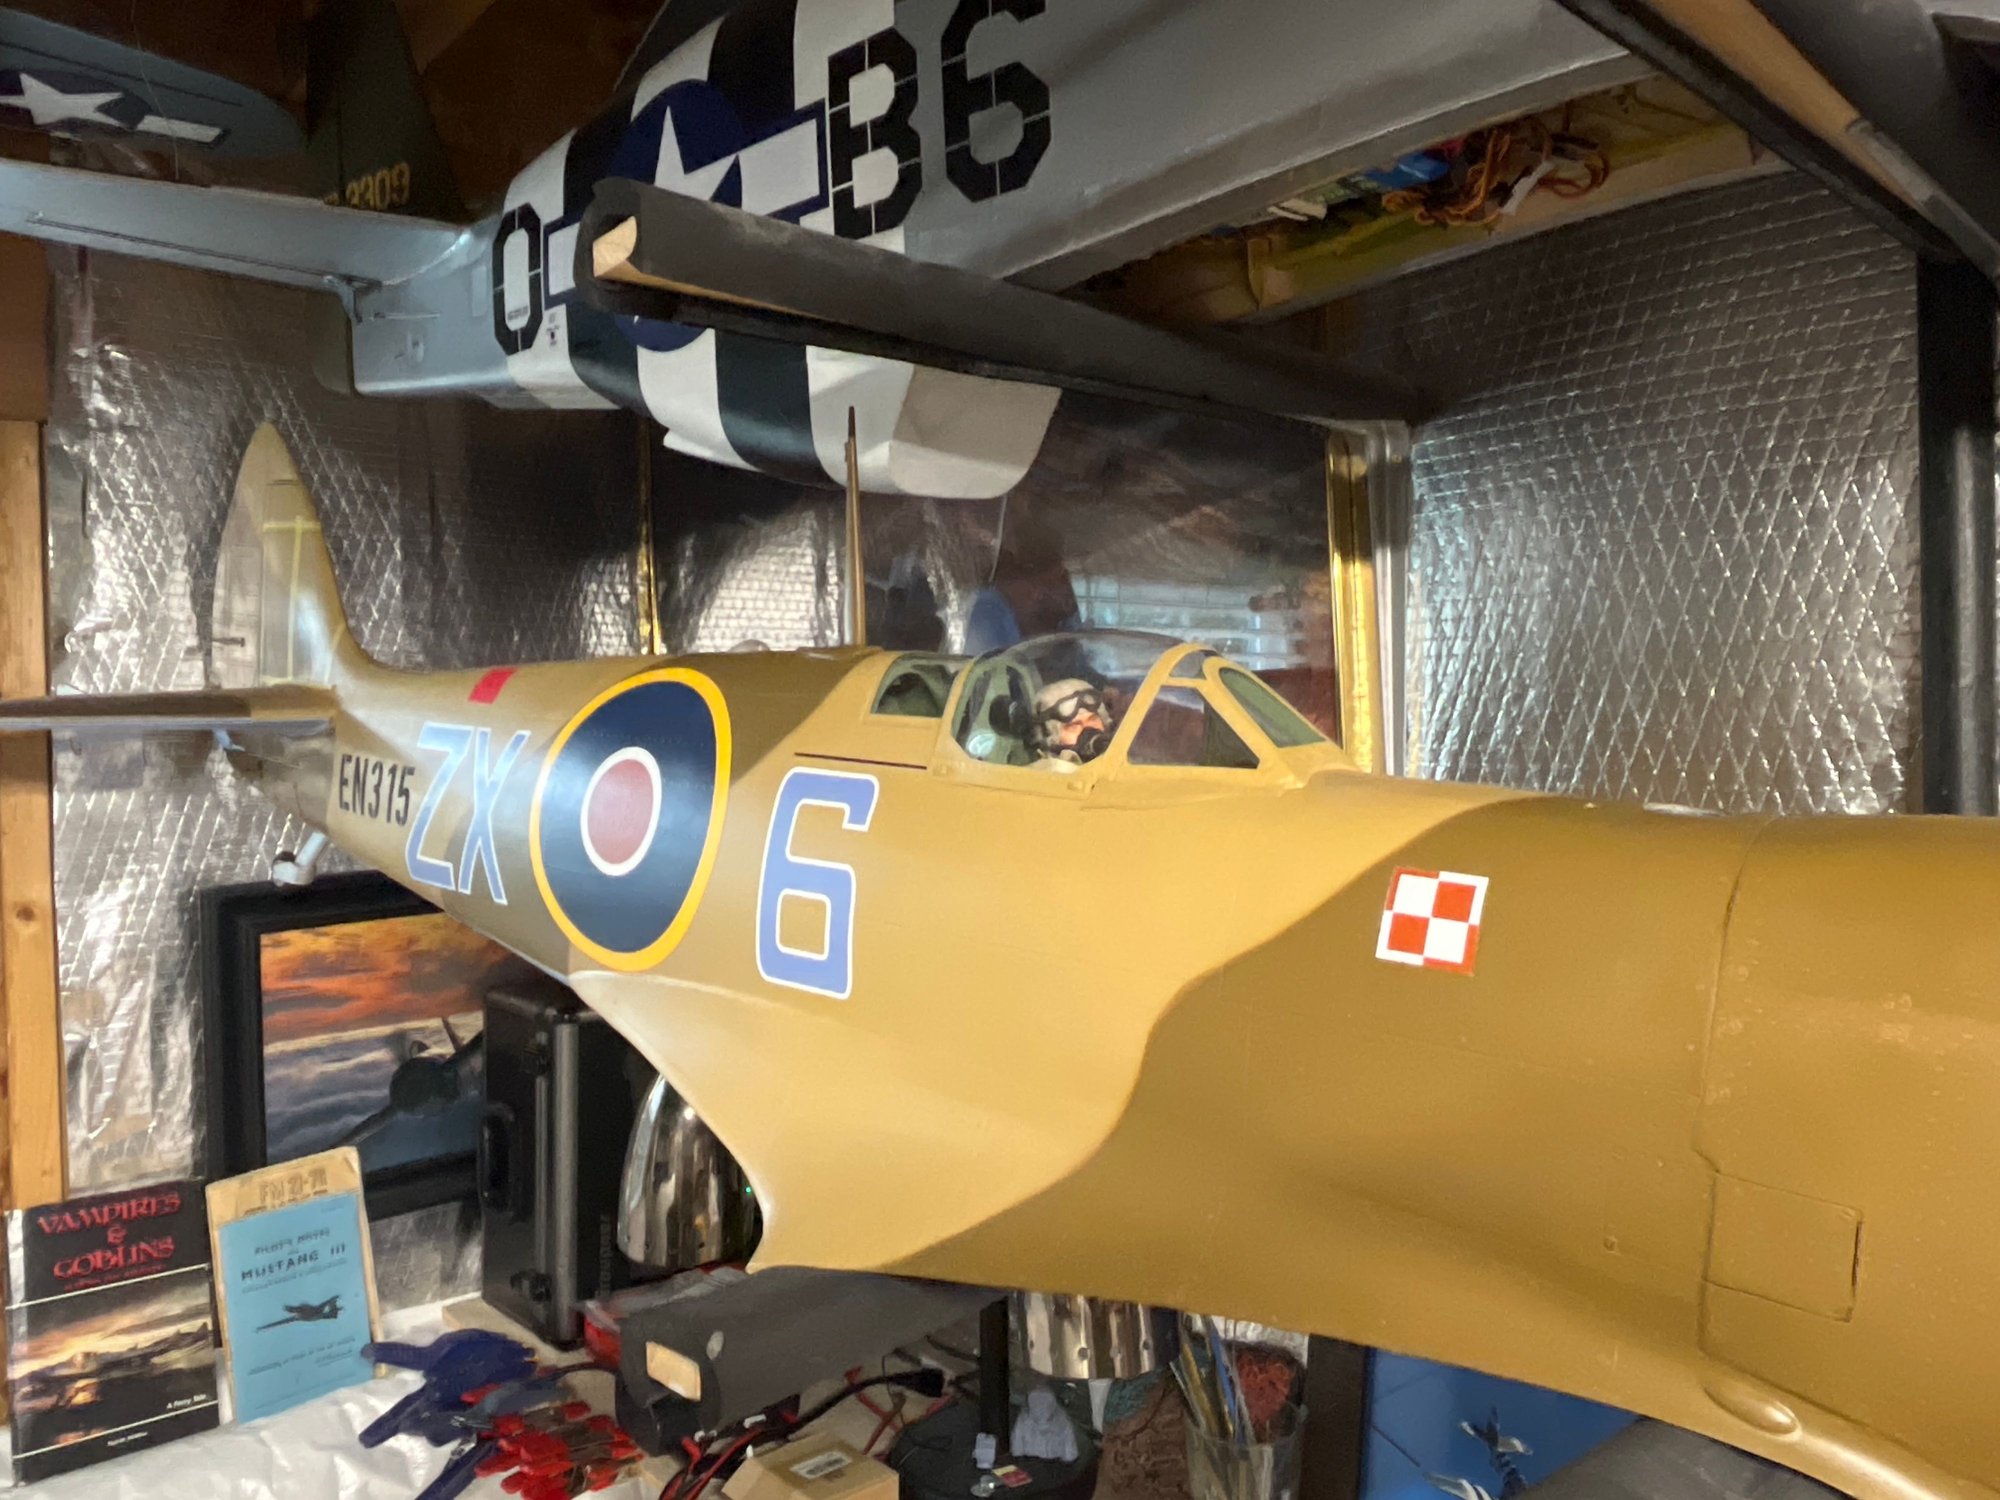
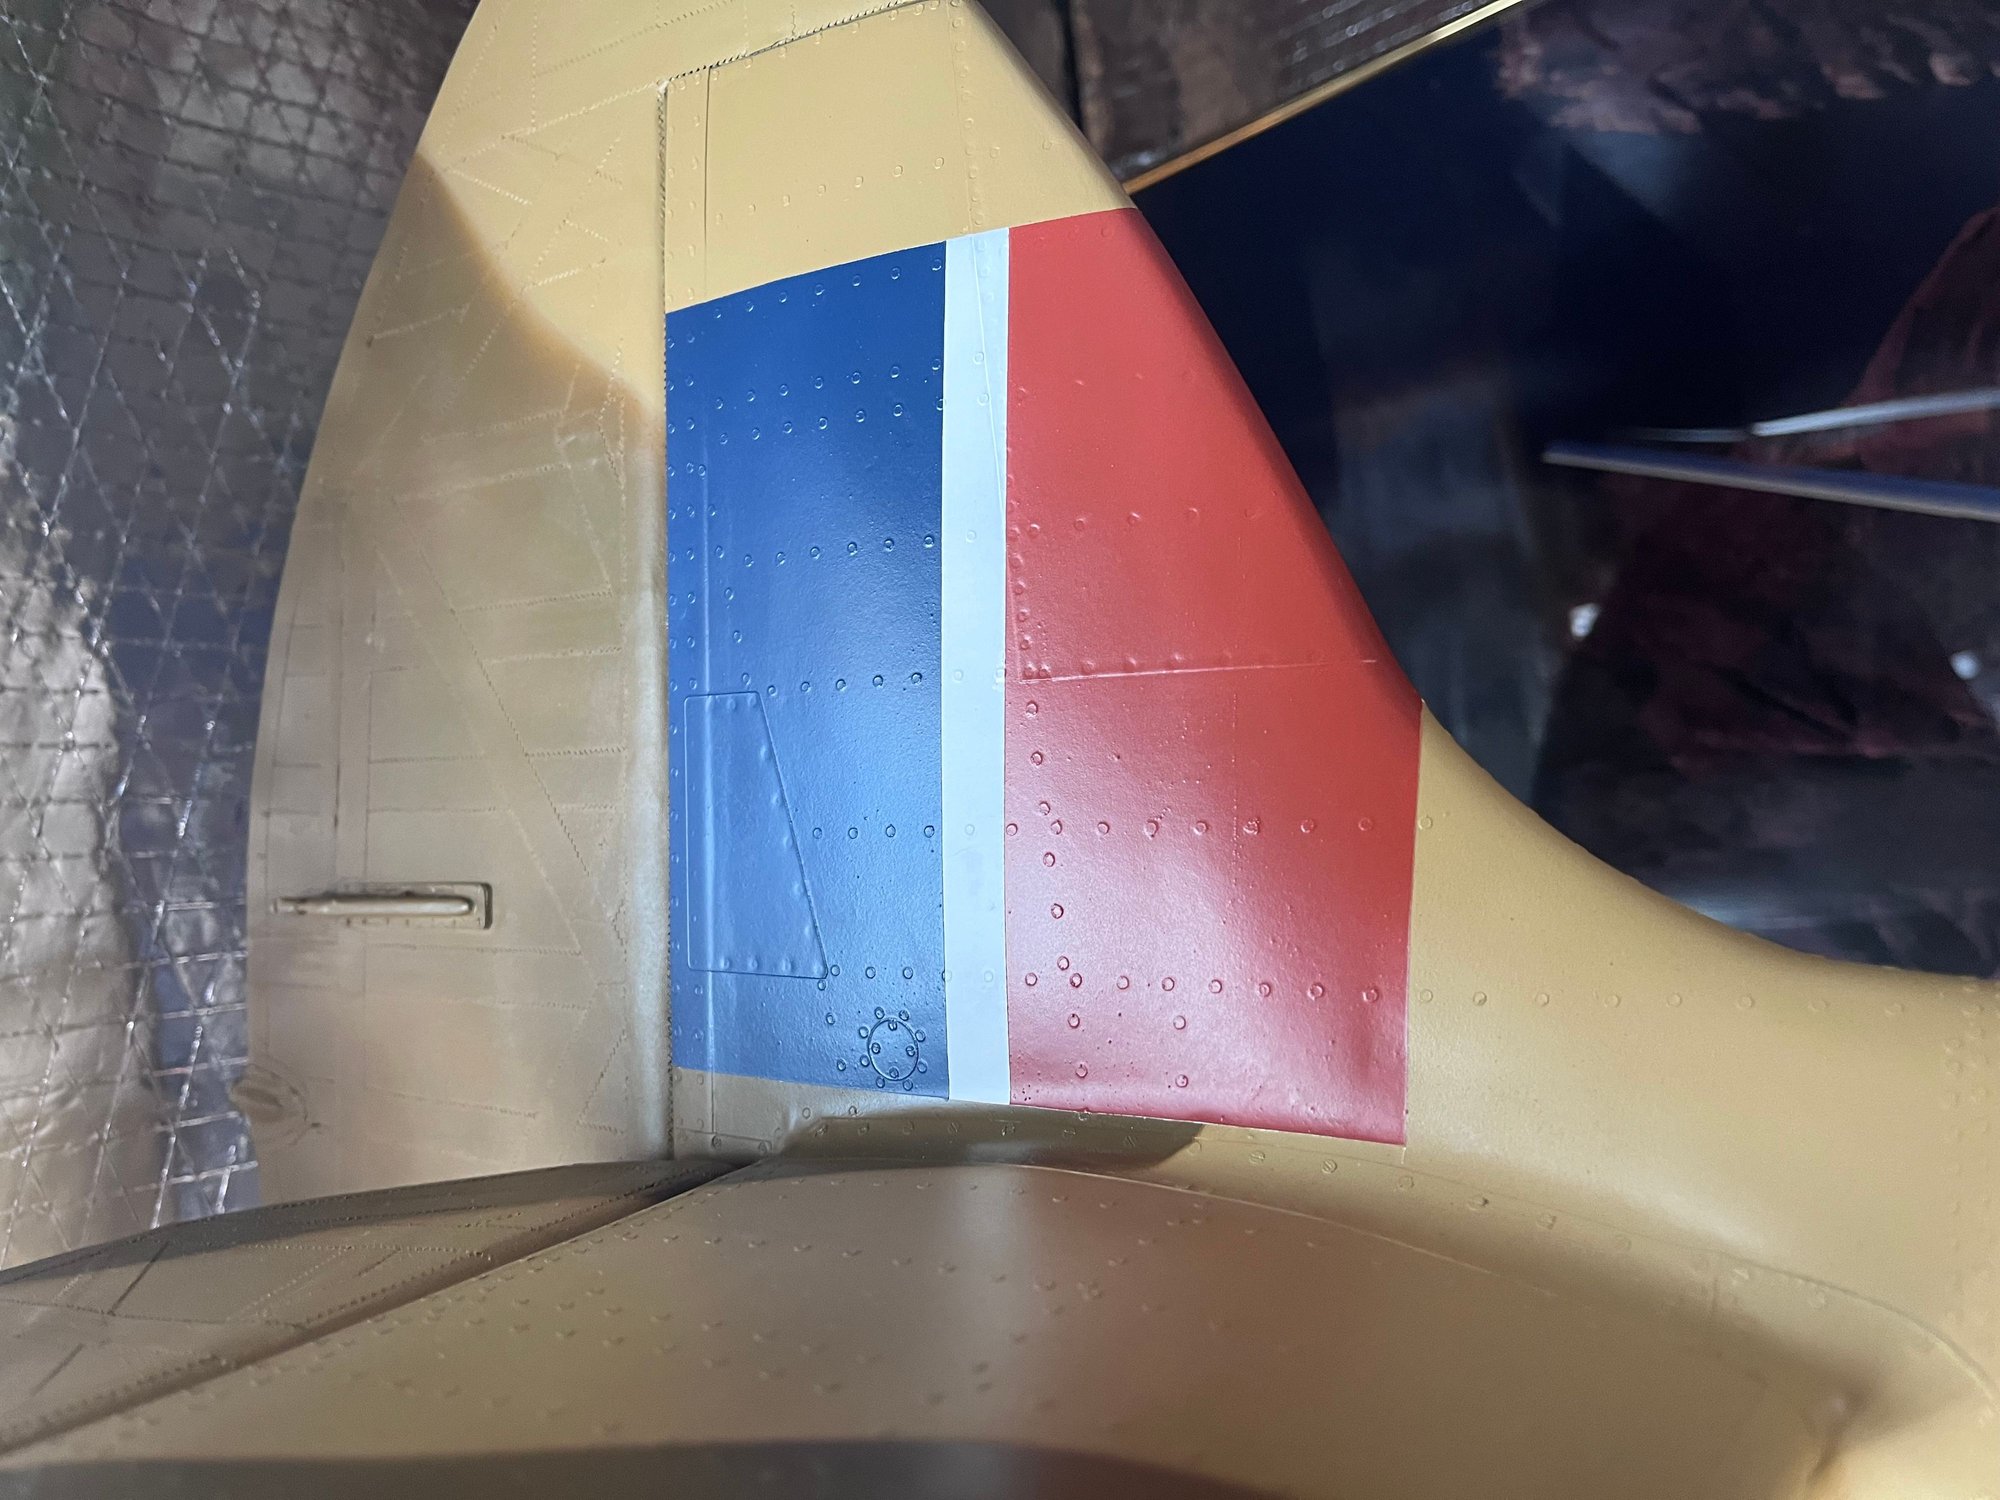
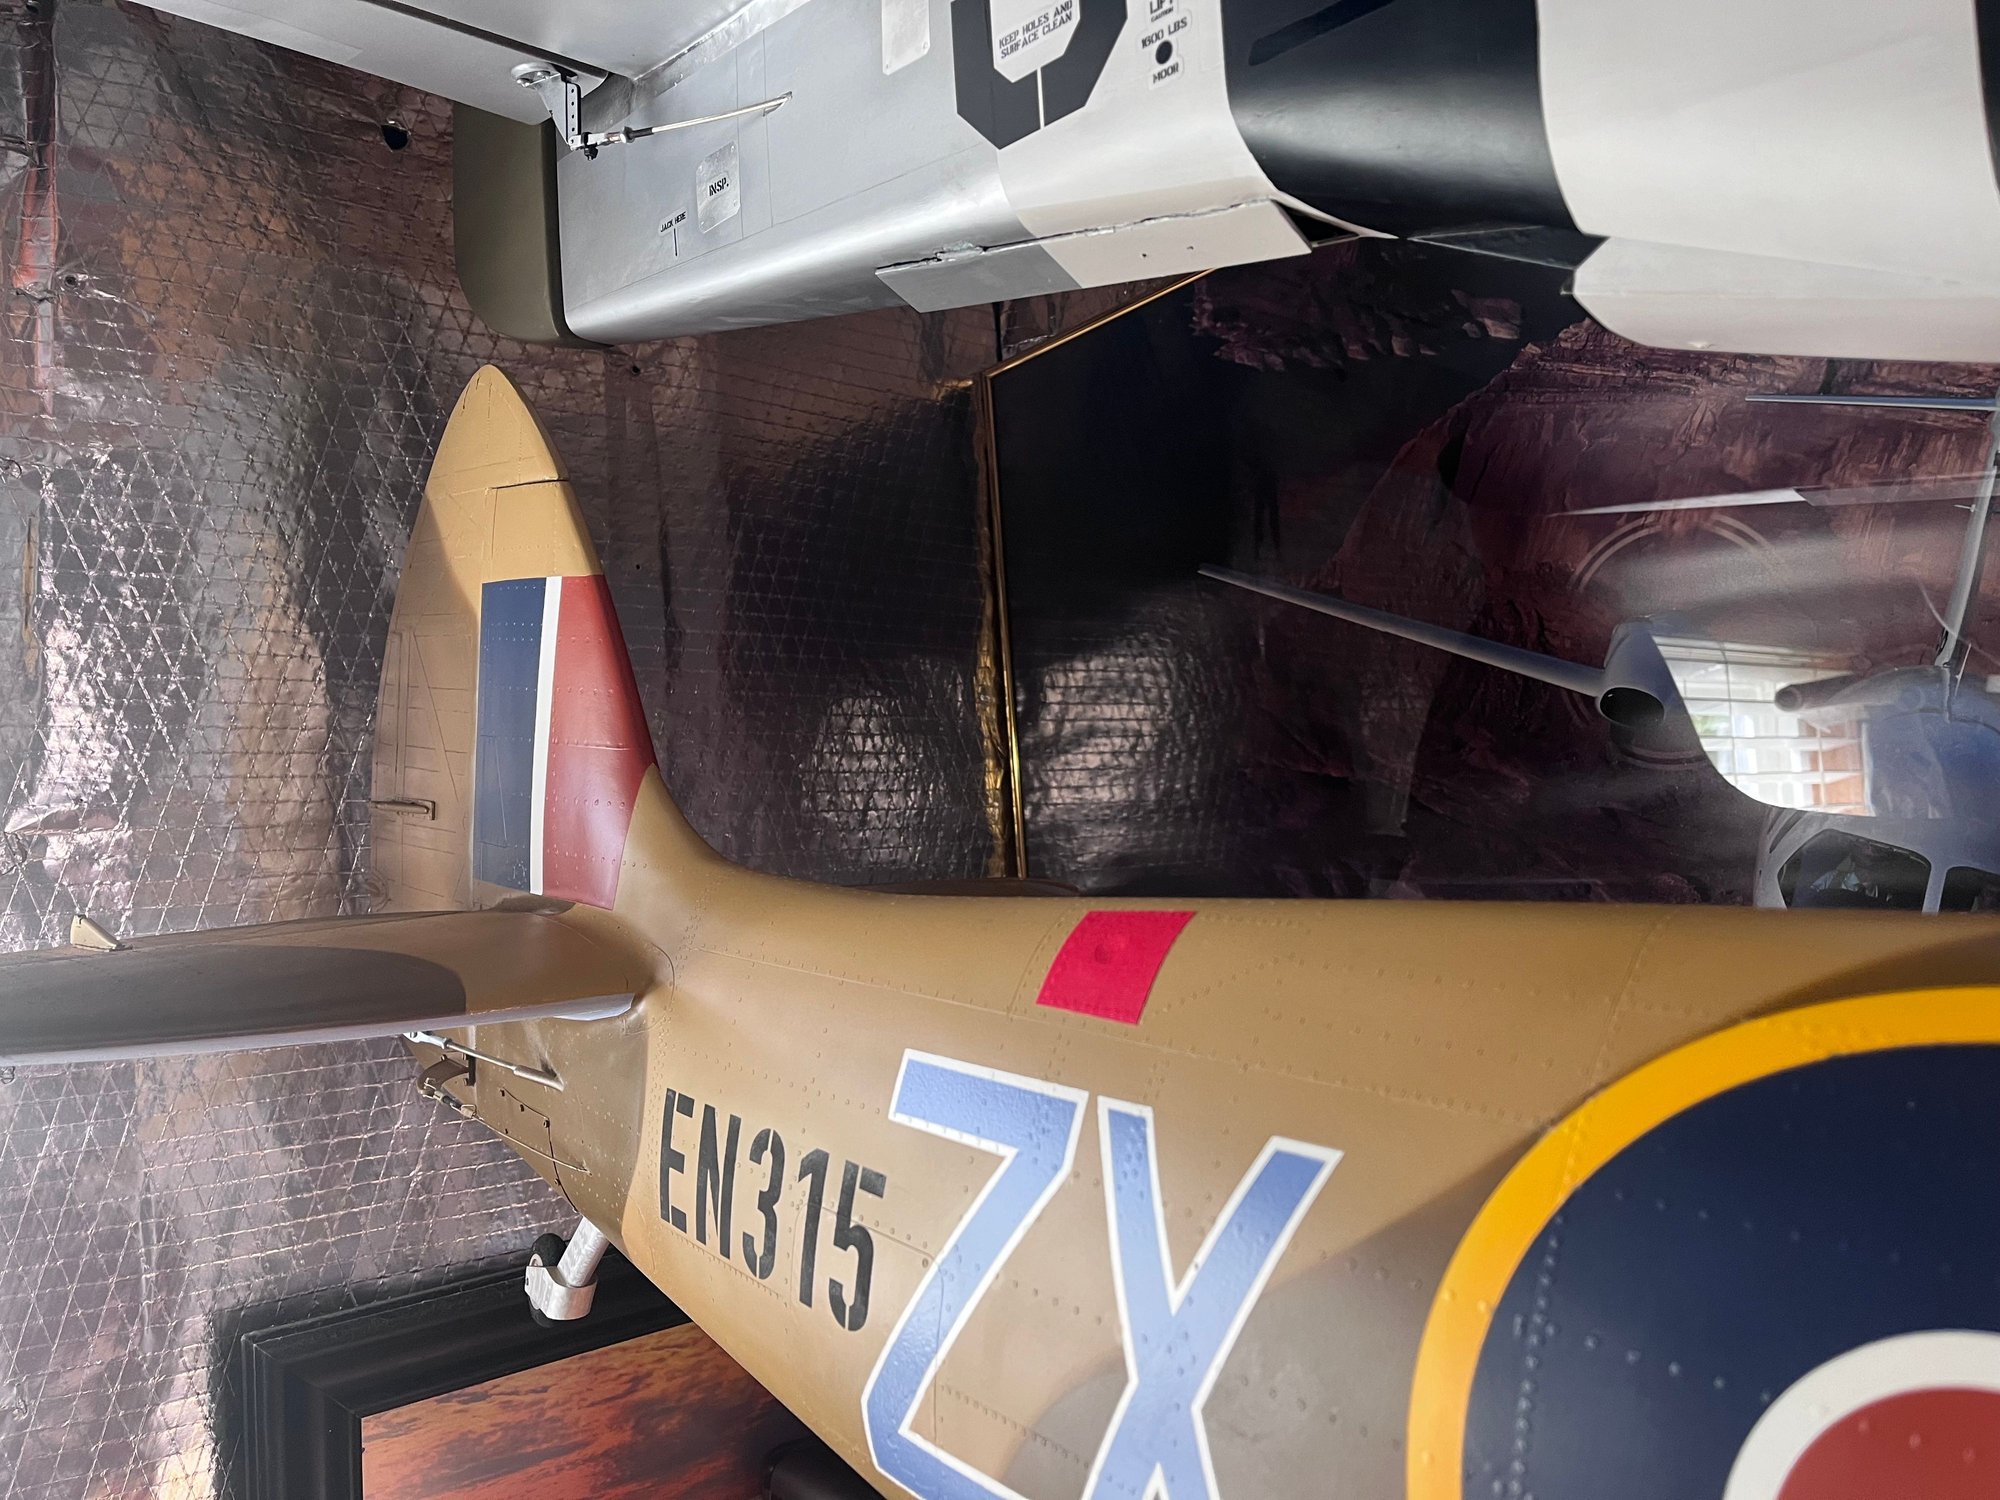
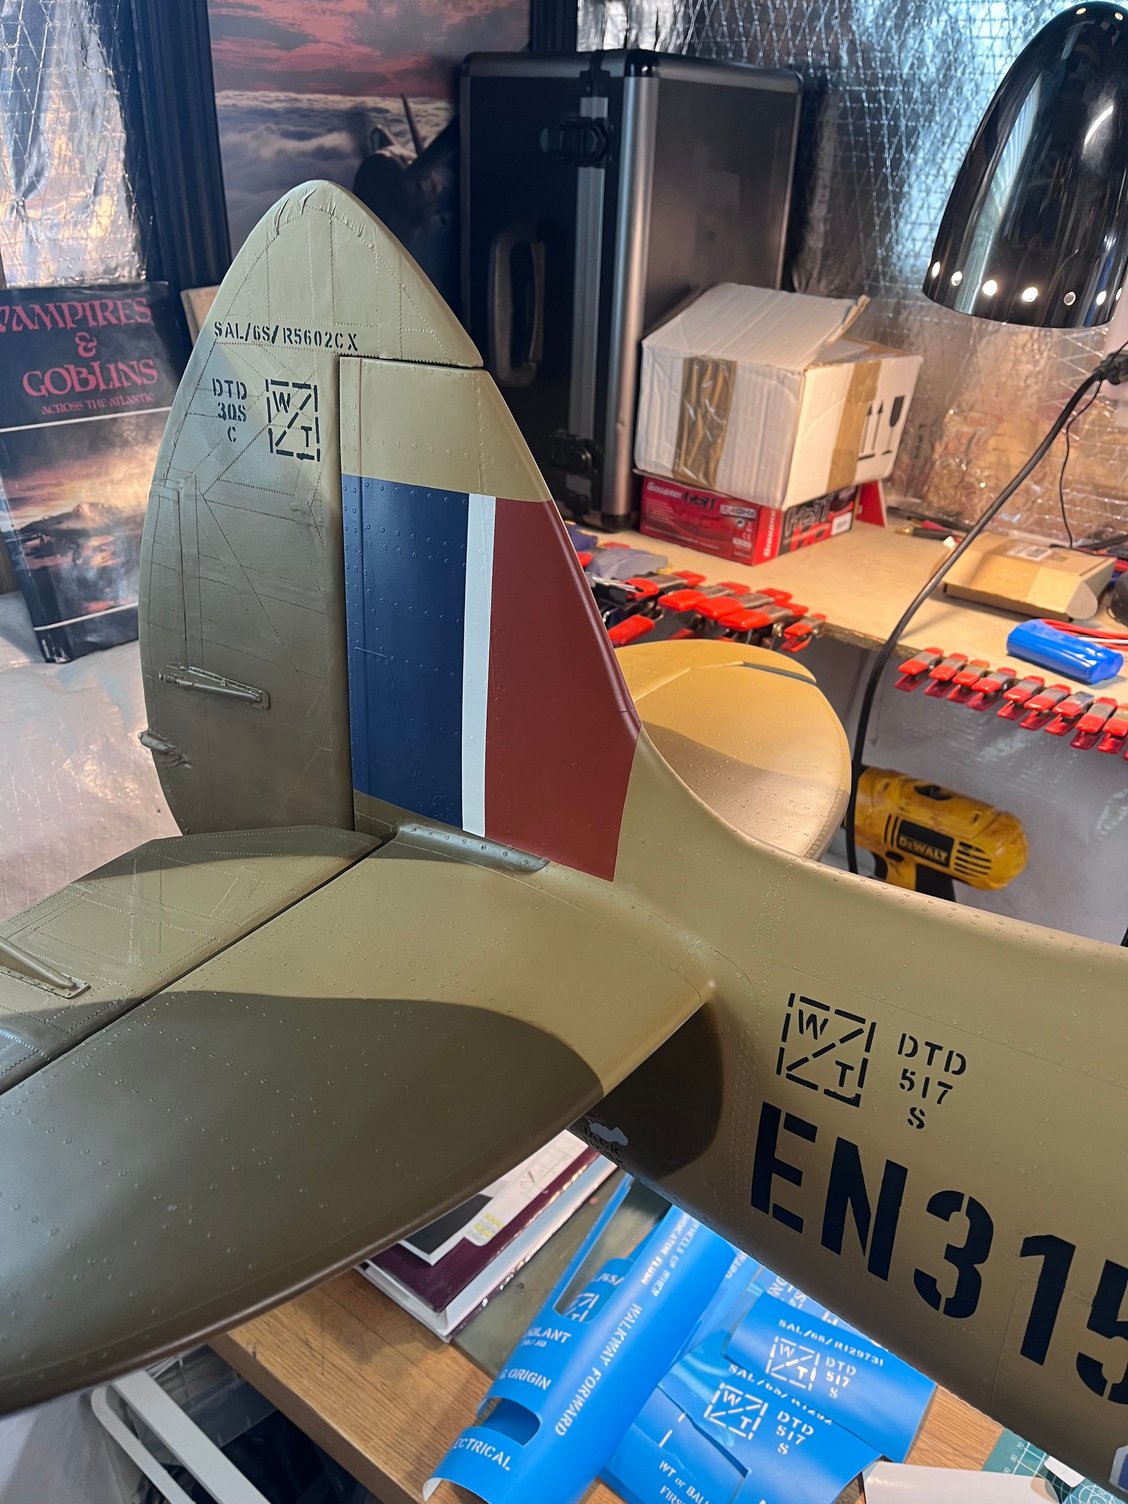
Summer has been busy but I was able to dive back into painting this weekend. Upper wing roundels are completed as well as the code lettering and serial. Going to try and get the vertical stab fin flash painted today.

 07-08-2024, 08:04 AM
#418
Thread Starter
07-10-2024, 02:06 PM
#419
Thread Starter
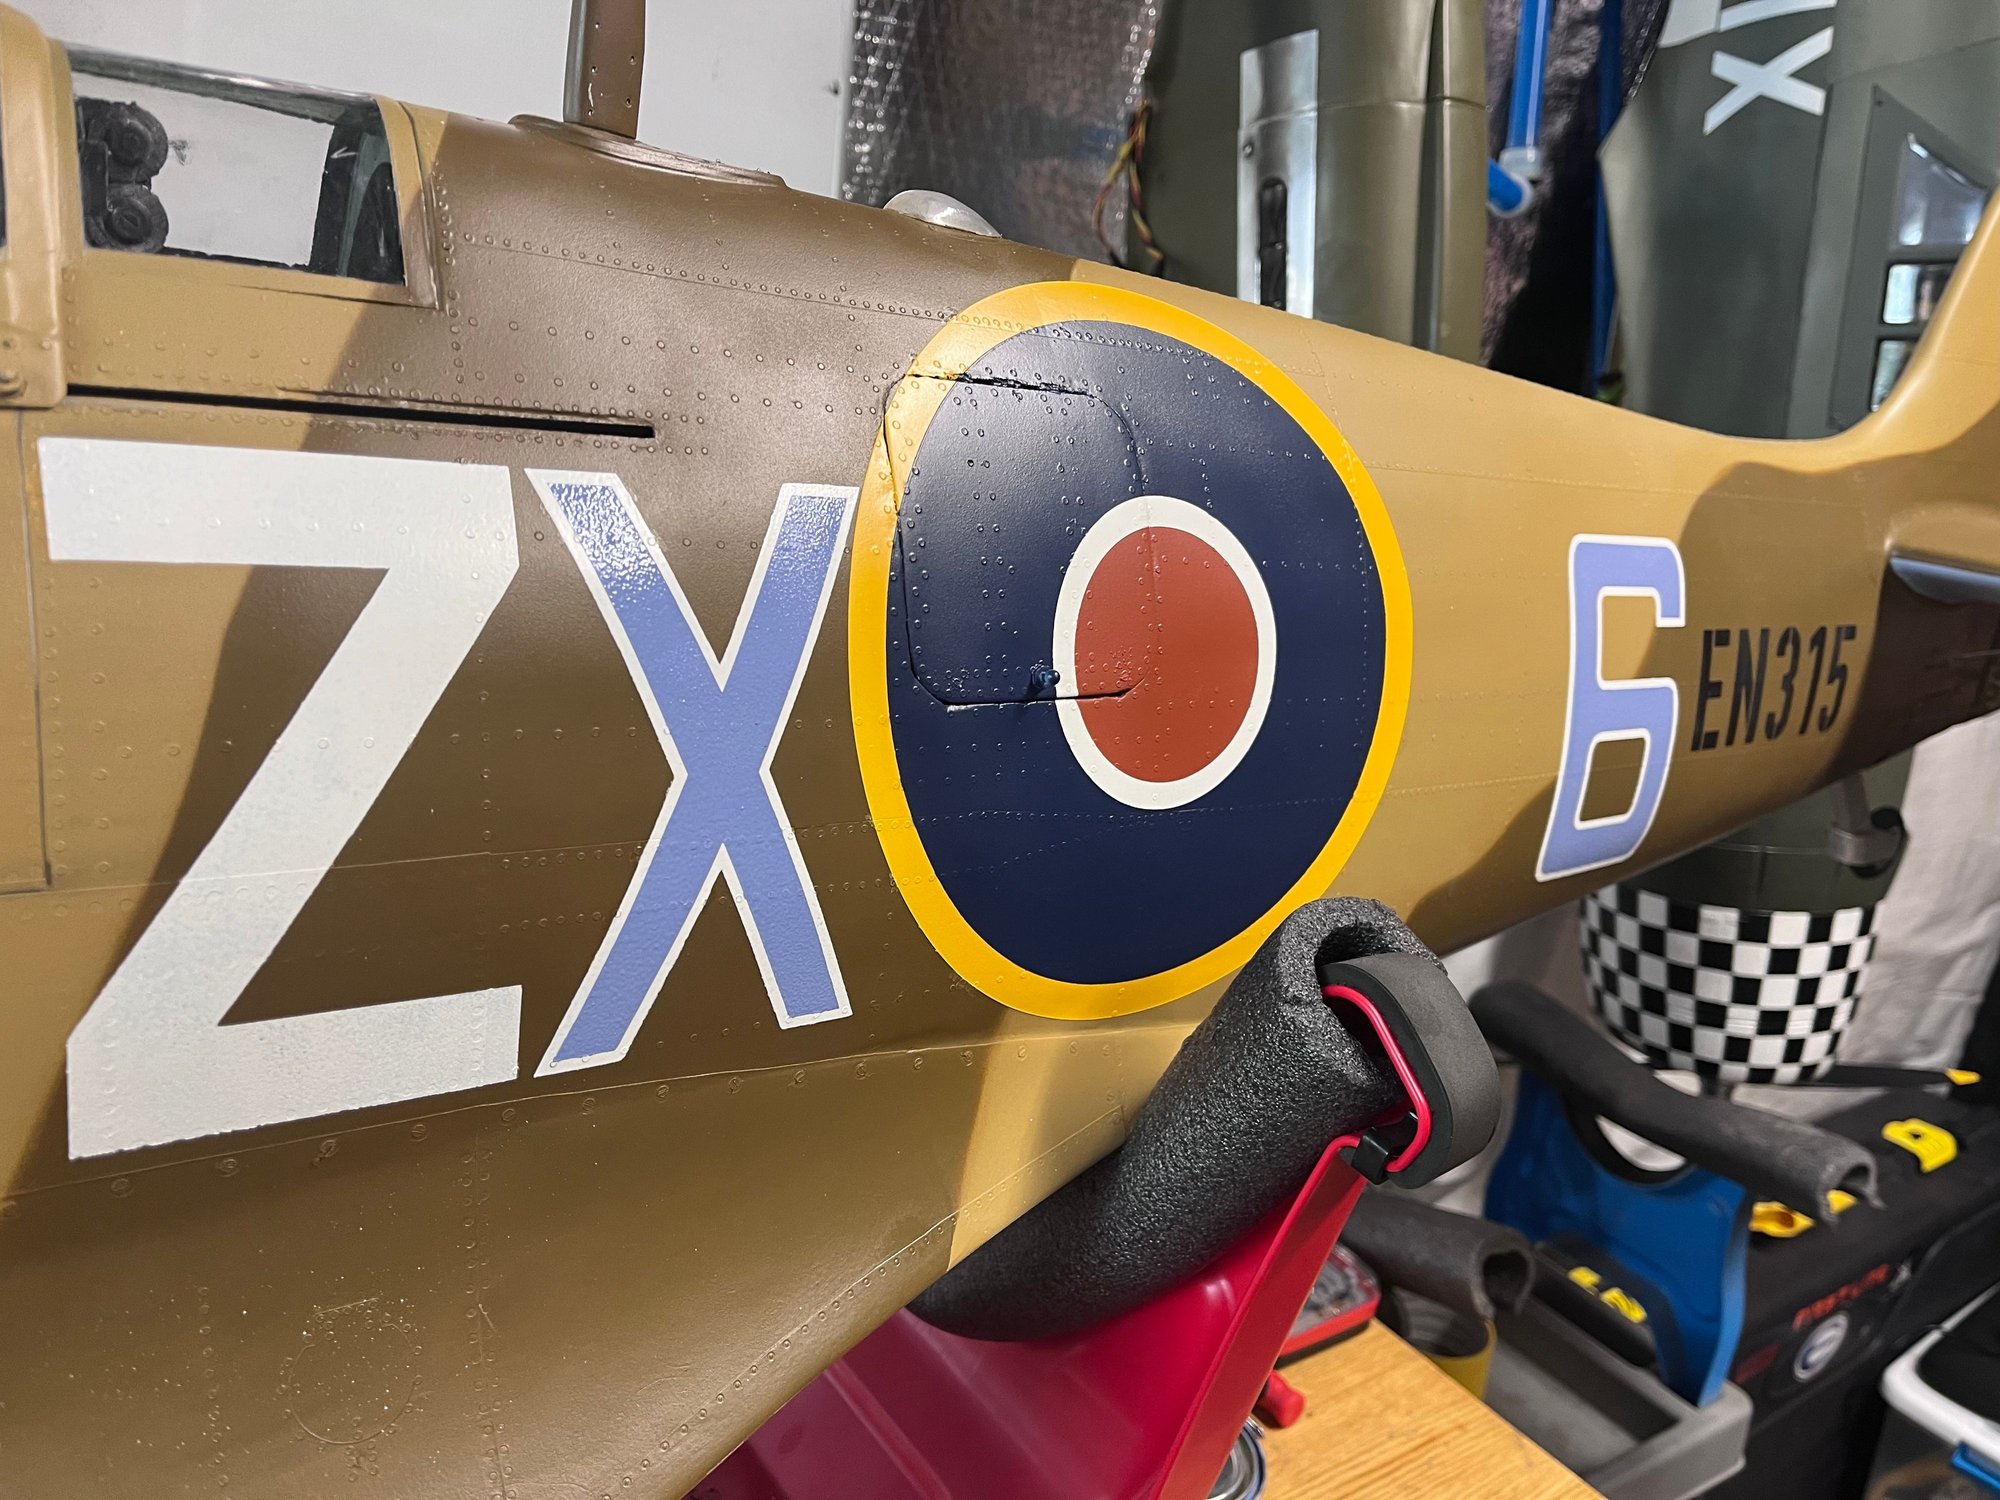
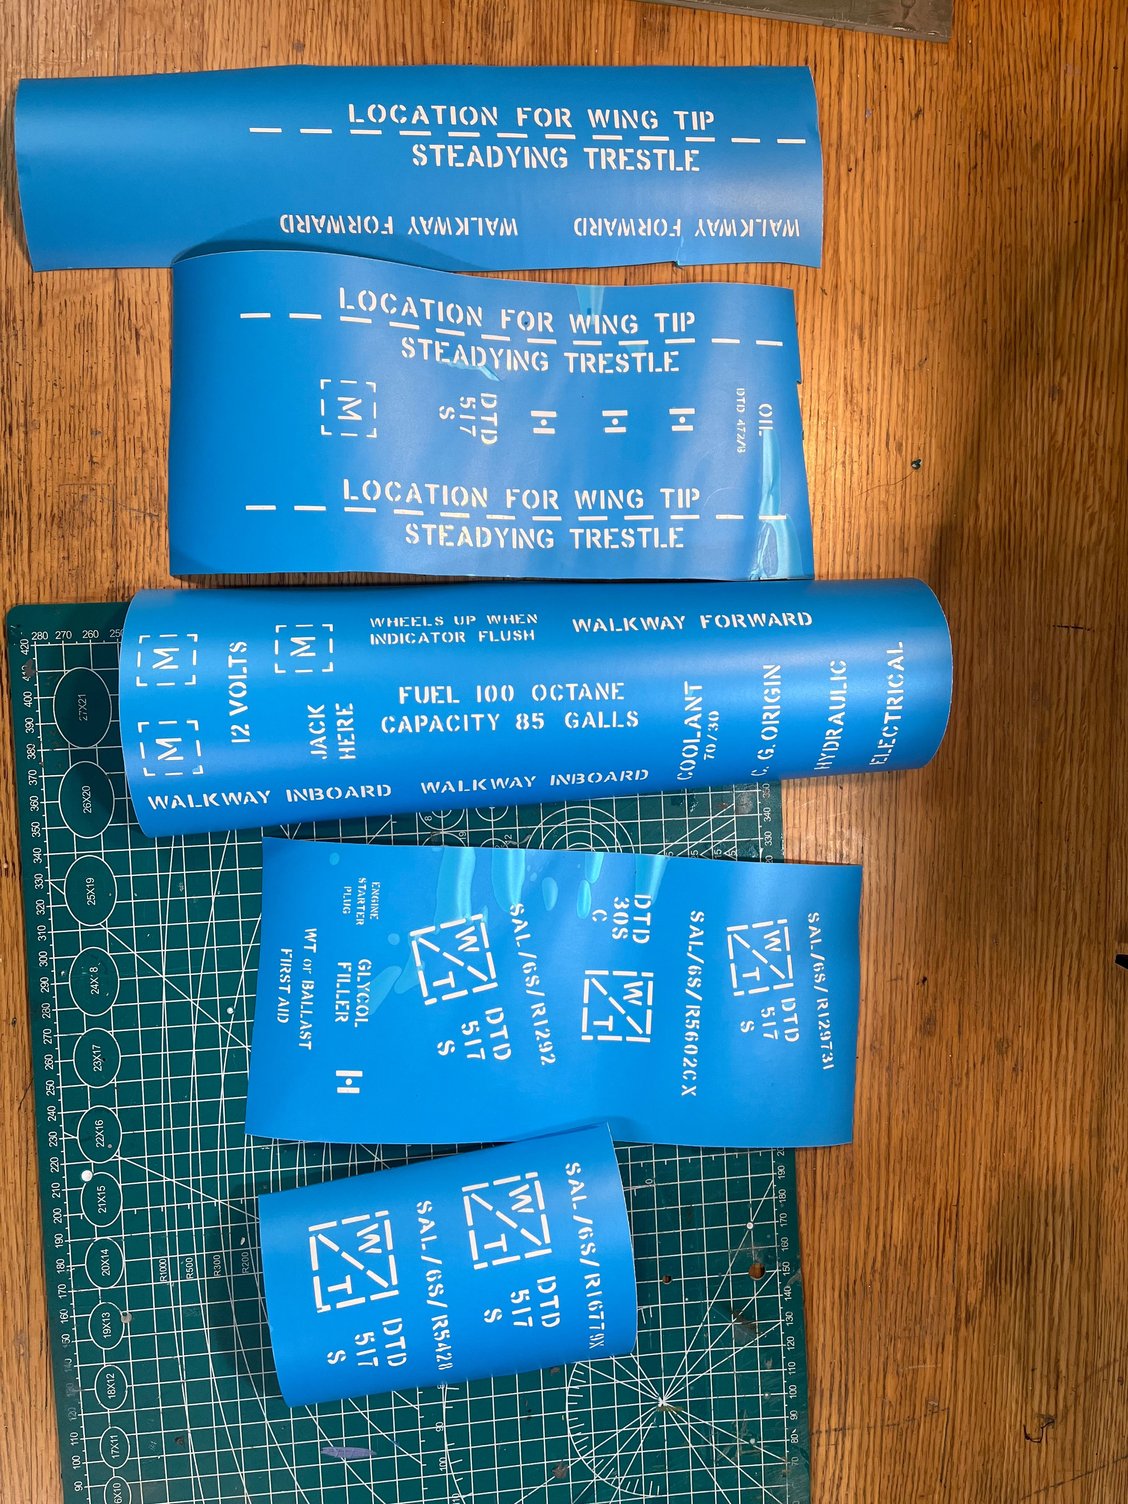
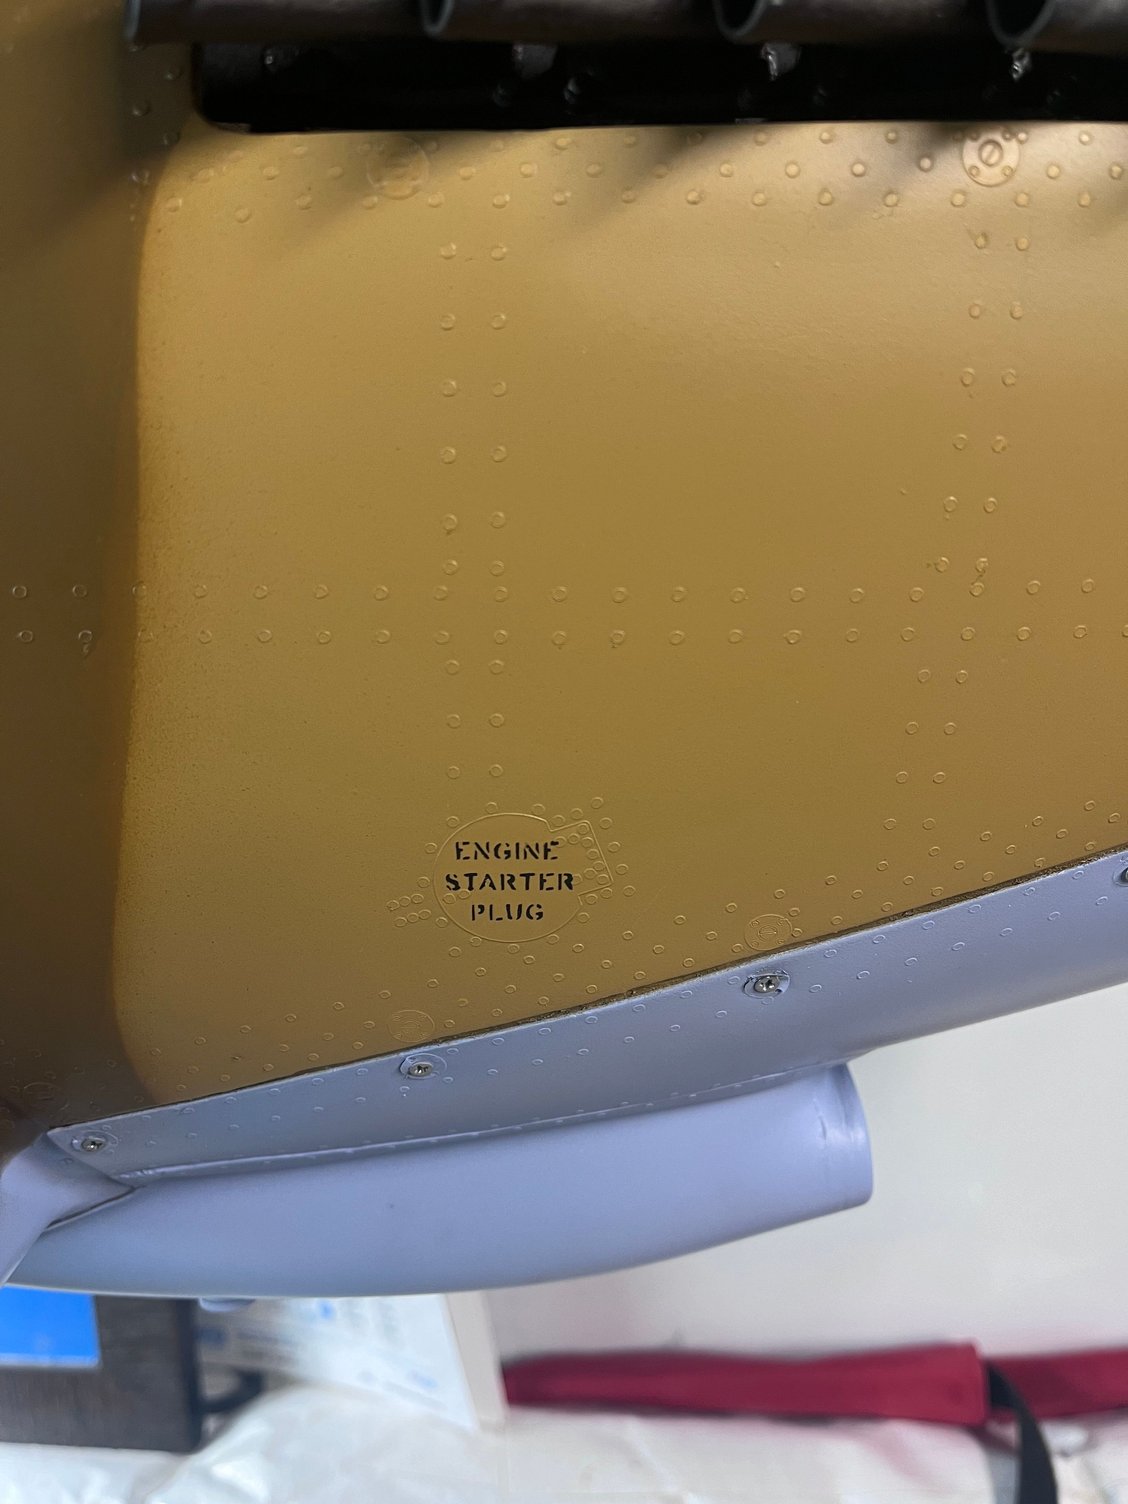
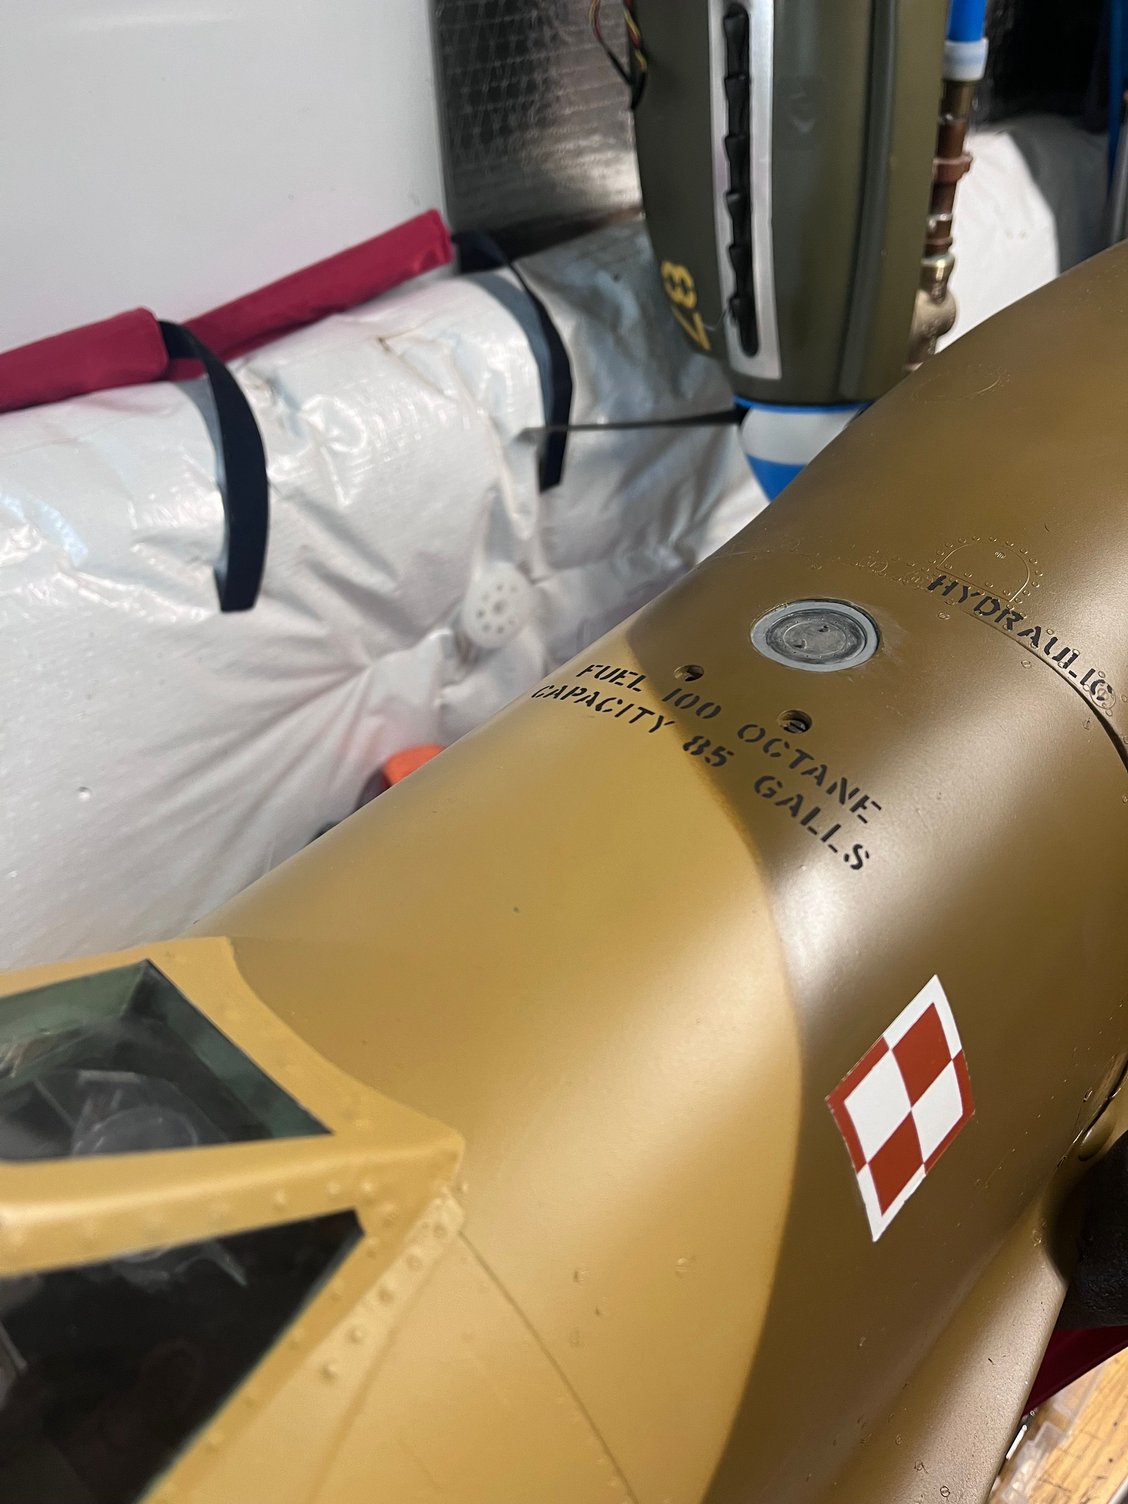
Started in with stenciling nomenclature. My Wife and I grabbed a cricut a while back and it’s been awesome for making these(as well as stickers for the kids). The template for each came from Jiri at JPWarbirds, just needed to upload each one into the cricut program and resize to what I needed. Fuselage is about complete, then I’ll move over to the wing.
07-10-2024, 04:08 PM
#420
Masterful! Paint vs decals does look the business. I like the way you airbrushed some of the camouflage paint lines vs hard edges, and some a little more than others - quite authentic according to what my dad used to say - if it moves salute it, it it doesn’t paint it! I hope you are going to dare to fly it after all your hundreds (and hundreds?) of hours of skilled effort. If not I’m sure there are air and space museums who would bite your hand off!
07-10-2024, 05:15 PM
#421
Thread Starter
Masterful! Paint vs decals does look the business. I like the way you airbrushed some of the camouflage paint lines vs hard edges, and some a little more than others - quite authentic according to what my dad used to say - if it moves salute it, it it doesn’t paint it! I hope you are going to dare to fly it after all your hundreds (and hundreds?) of hours of skilled effort. If not I’m sure there are air and space museums who would bite your hand off!
