


Redcat 1/24th scale Sumo Truggy redesign
 08-03-2024, 08:37 PM
#1

Thread Starter
Join Date: Jul 2007
Location: North West Indiana
Posts: 12,861
Likes: 0
Received 20 Likes
on
19 Posts
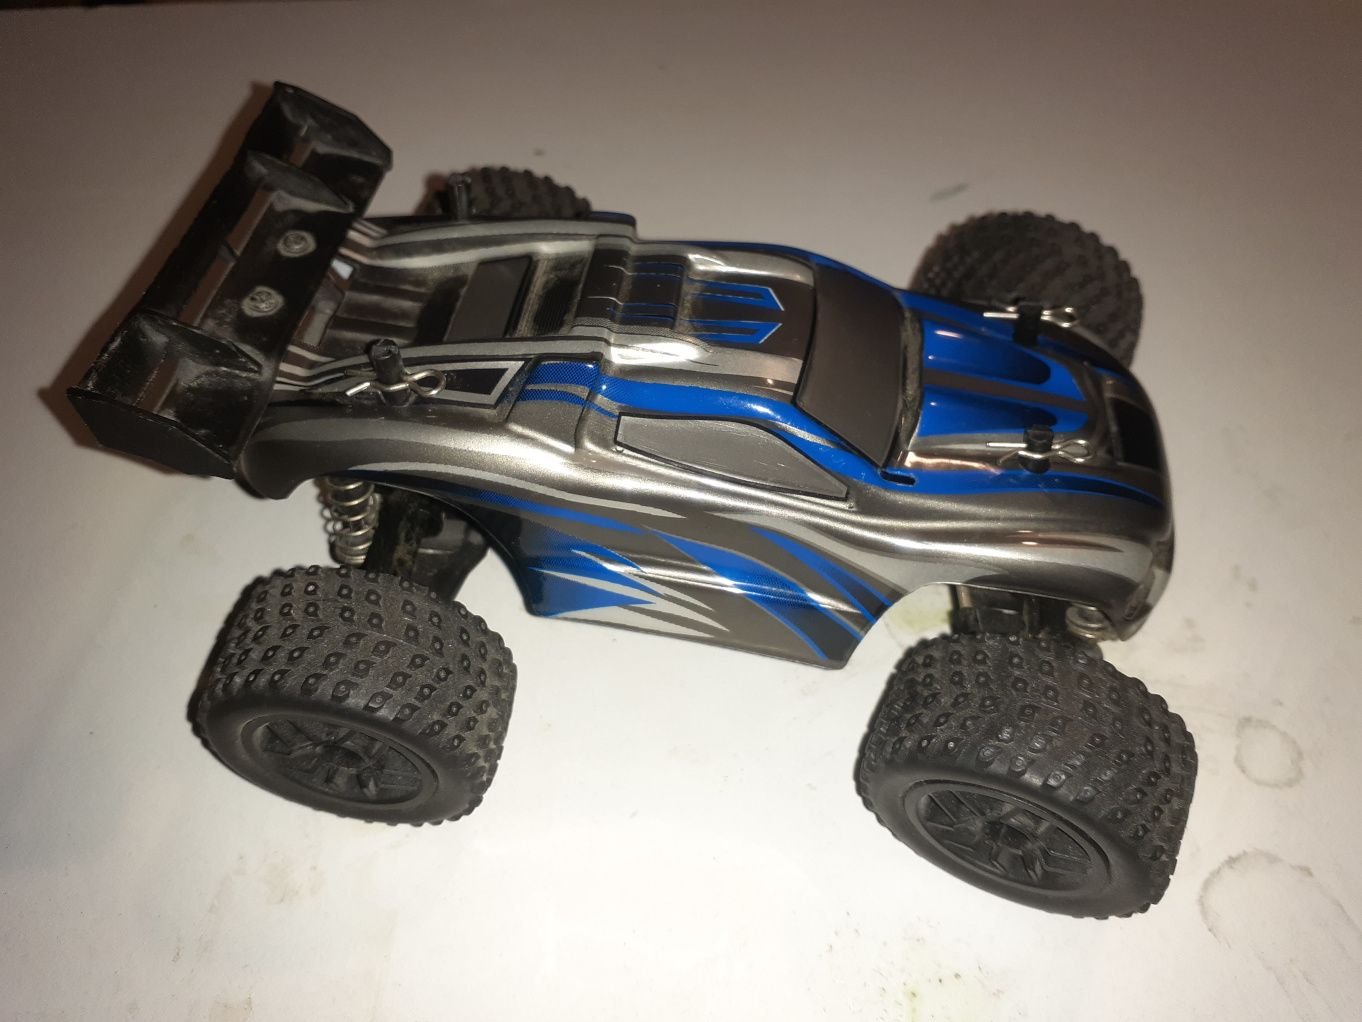
OKAY this will be a fast one this project will be making a redcat Sumo take hobby grade electronics.
I bought the Sumo years ago, and gutted it as I hated the AM radio, and how it used 4AA's. I think I might have burnt the stock electronics out even as I remember hooking a 2S lipo to it that I rubber banded onto it
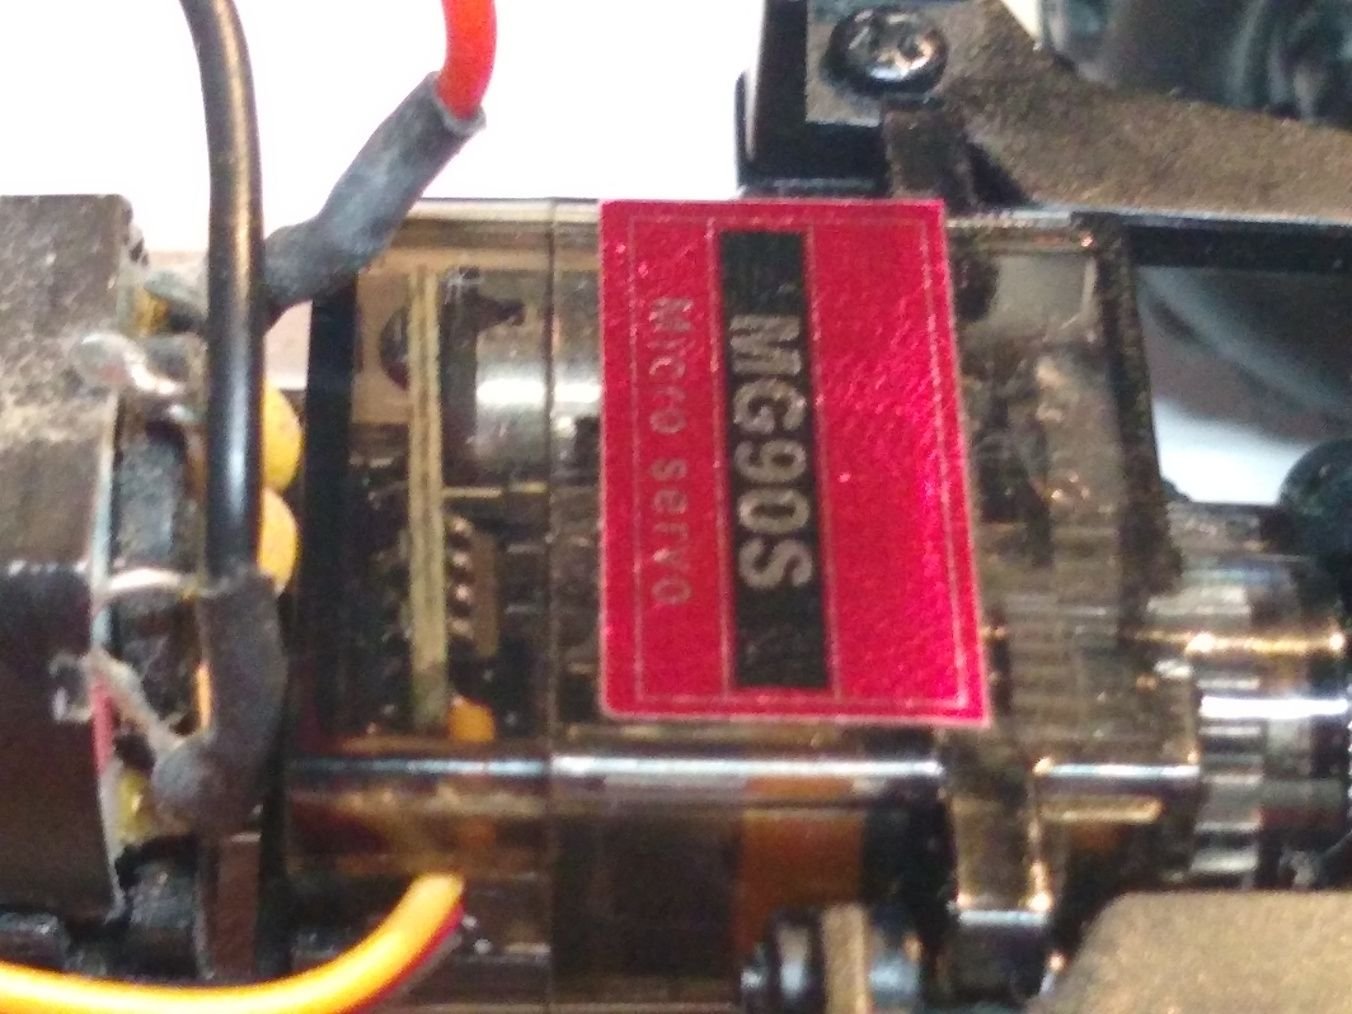
I remember it had a proprietary 4 wire servo.
I already replaced the electronics once, but it was very shoddily done. I literally just used a rubber band to hold the lipo on it, and either a rubberband, or wrapped tape around the ESC, and RX to hold it on top of the very narrow chassis.
The width of the chassis is 23mm's so you can see not a lot of room.
Here's pics of what I'm starting with.
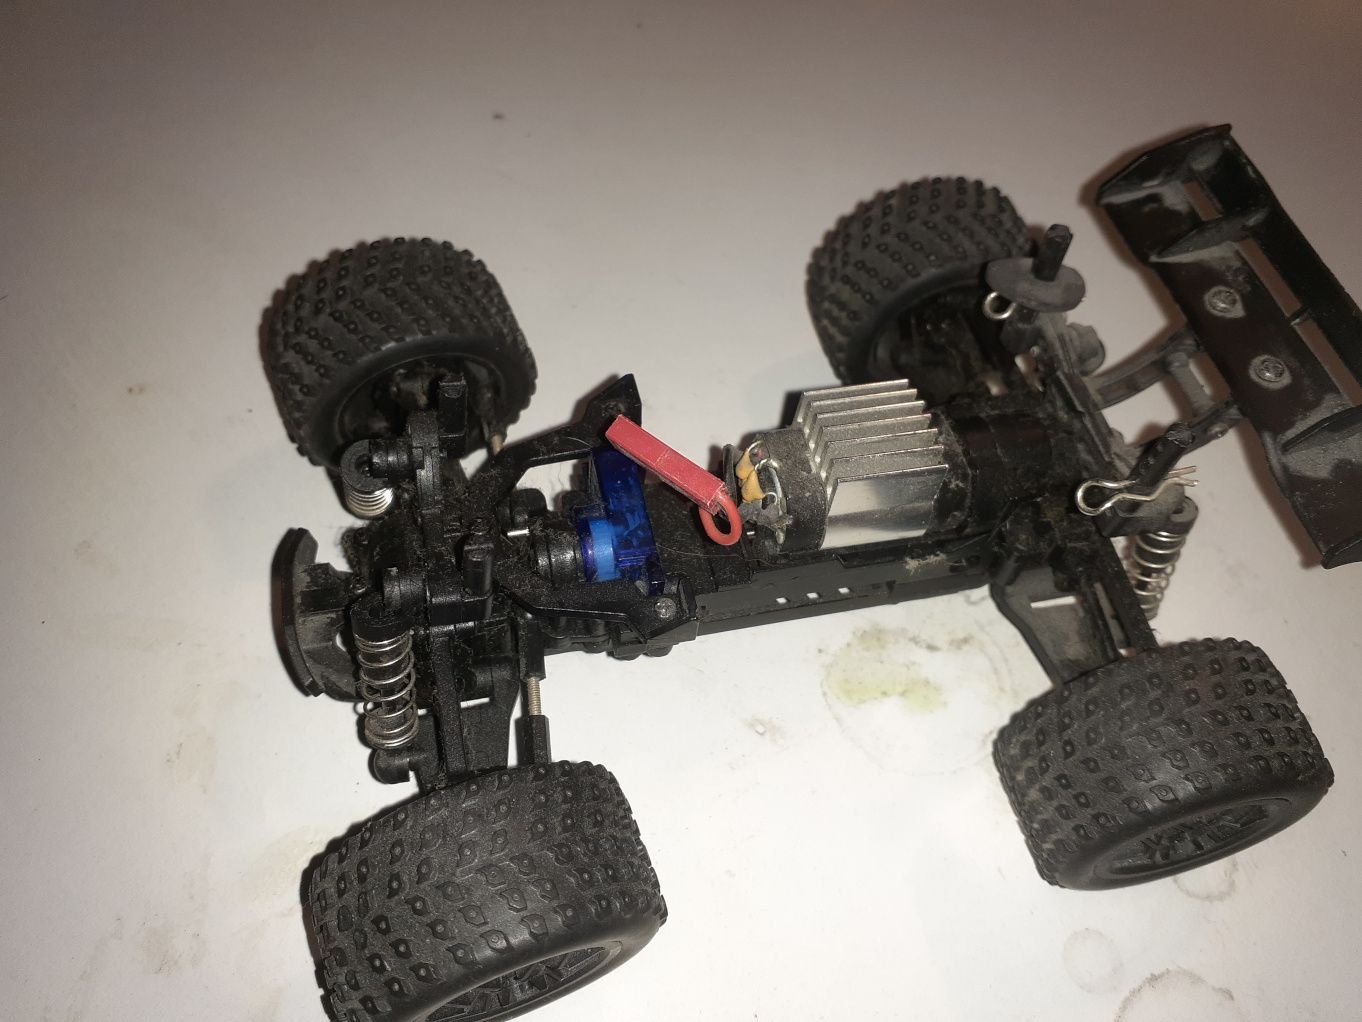
My plan is to 3d print a tray that will replace the cover that used to hold the electronics that will be close to the width of the body so it should give me plenty of room to place the small ESC I have from the 1st try, and the RX on one side, and a small 2s lipo on the other.
I also have a micro metal gear servo I'm going to throw into it. This should be a very fast project to complete, and I'll probably just throw the STL up in a zip file when I'm done with making it so if anyone who might read this has one of these things they could revive it for fun.
Originally I was going to redo the entire RC basically from scratch just using the arms, diffs, motor, and drive line, but changed my mind when I took a closer look at how it was designed.
I bought the Sumo years ago, and gutted it as I hated the AM radio, and how it used 4AA's. I think I might have burnt the stock electronics out even as I remember hooking a 2S lipo to it that I rubber banded onto it
I remember it had a proprietary 4 wire servo.
I already replaced the electronics once, but it was very shoddily done. I literally just used a rubber band to hold the lipo on it, and either a rubberband, or wrapped tape around the ESC, and RX to hold it on top of the very narrow chassis.
The width of the chassis is 23mm's so you can see not a lot of room.
Here's pics of what I'm starting with.
My plan is to 3d print a tray that will replace the cover that used to hold the electronics that will be close to the width of the body so it should give me plenty of room to place the small ESC I have from the 1st try, and the RX on one side, and a small 2s lipo on the other.
I also have a micro metal gear servo I'm going to throw into it. This should be a very fast project to complete, and I'll probably just throw the STL up in a zip file when I'm done with making it so if anyone who might read this has one of these things they could revive it for fun.
Originally I was going to redo the entire RC basically from scratch just using the arms, diffs, motor, and drive line, but changed my mind when I took a closer look at how it was designed.
 08-04-2024, 04:06 PM
#2
Thread Starter
Join Date: Jul 2007
Location: North West Indiana
Posts: 12,861
Likes: 0
Received 20 Likes
on
19 Posts
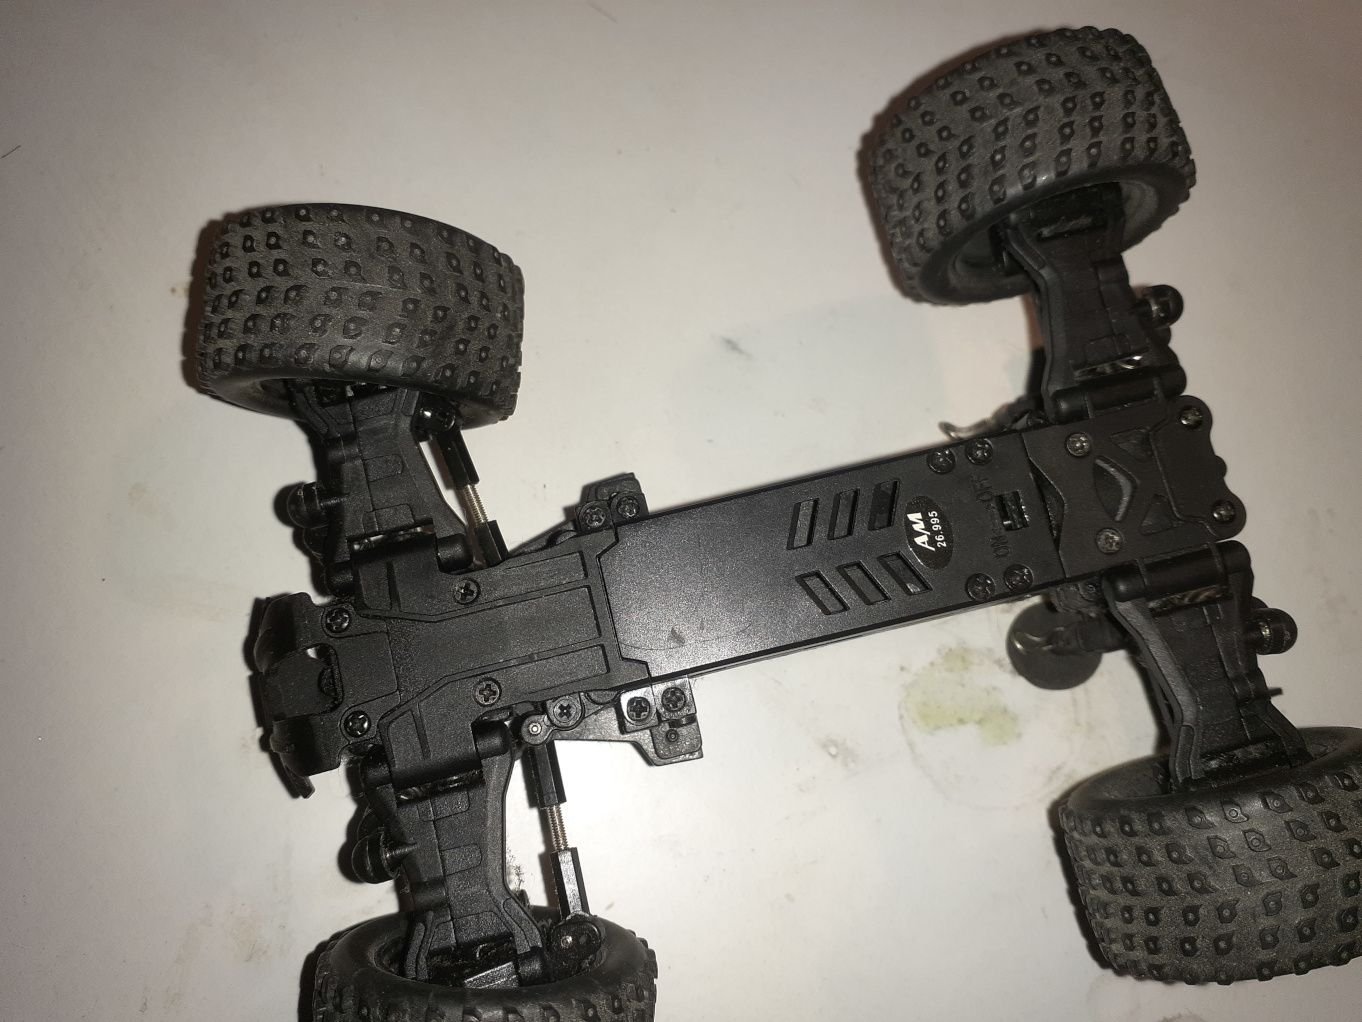
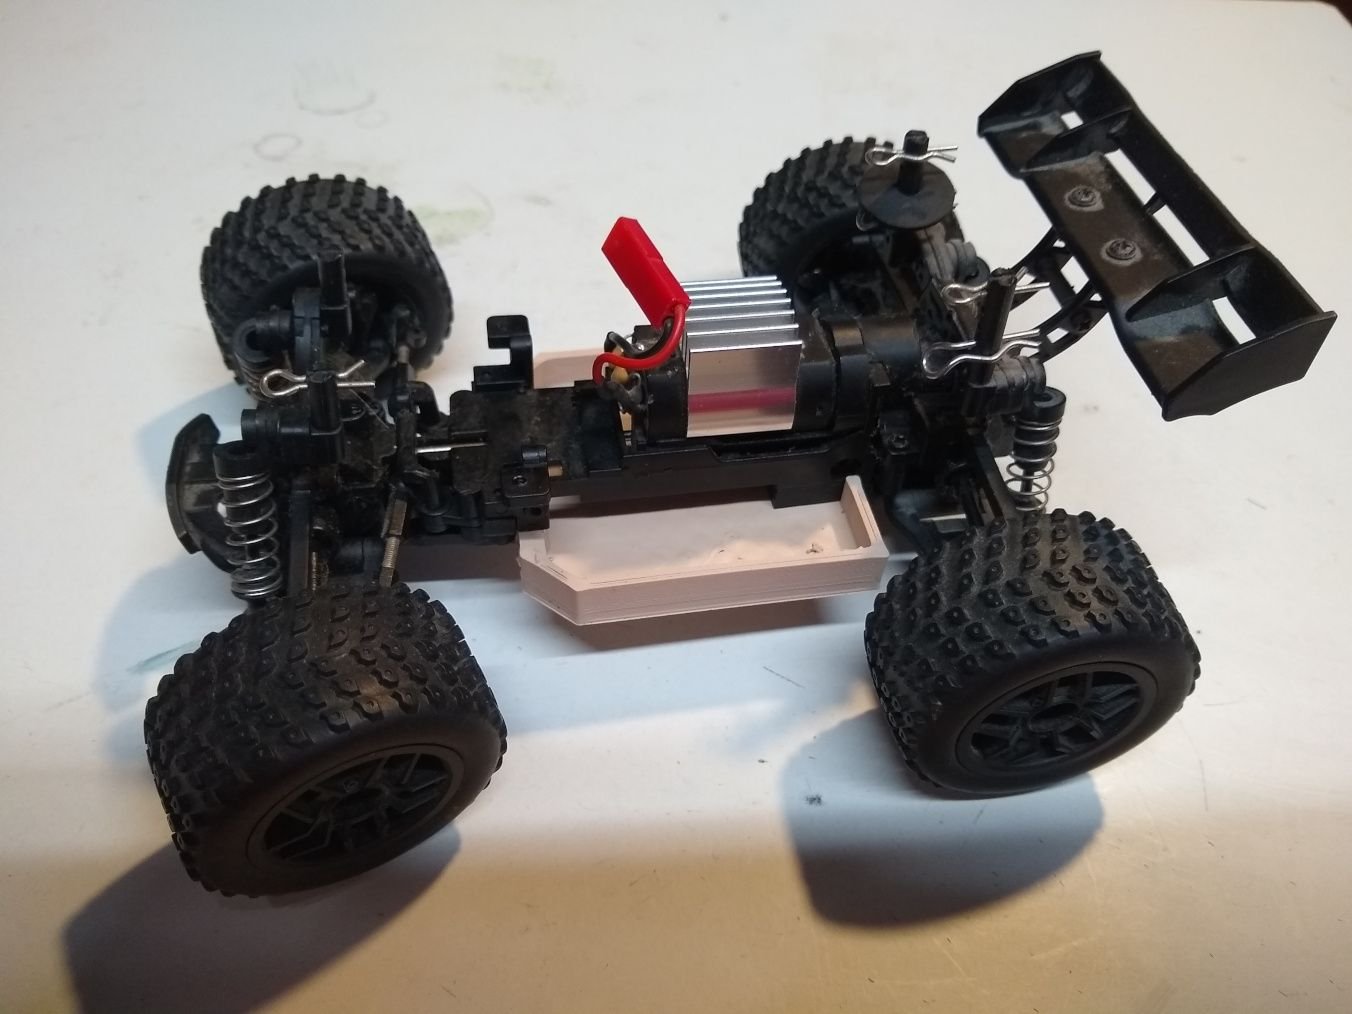
Well I made the tray to screw onto the bottom.
This was actually the 2nd version as I made a mistake in the original and the screws were 1mm off
Now the servo gave me a few problems to install
1st problem is the stock servo horn has a different splines then the servo so it doesn't fit, and also even if it did the servo is too tall to let it even fit.
So I had to forgo a servo saver, and just rigged it straight to a servo horn that was included with the servo.
I put a small screw into the 1st hole on the servo horn, and cut the rest off. I also shortened the screw, and grinded off some of it so it fit into the hole the original servo horn fit into.
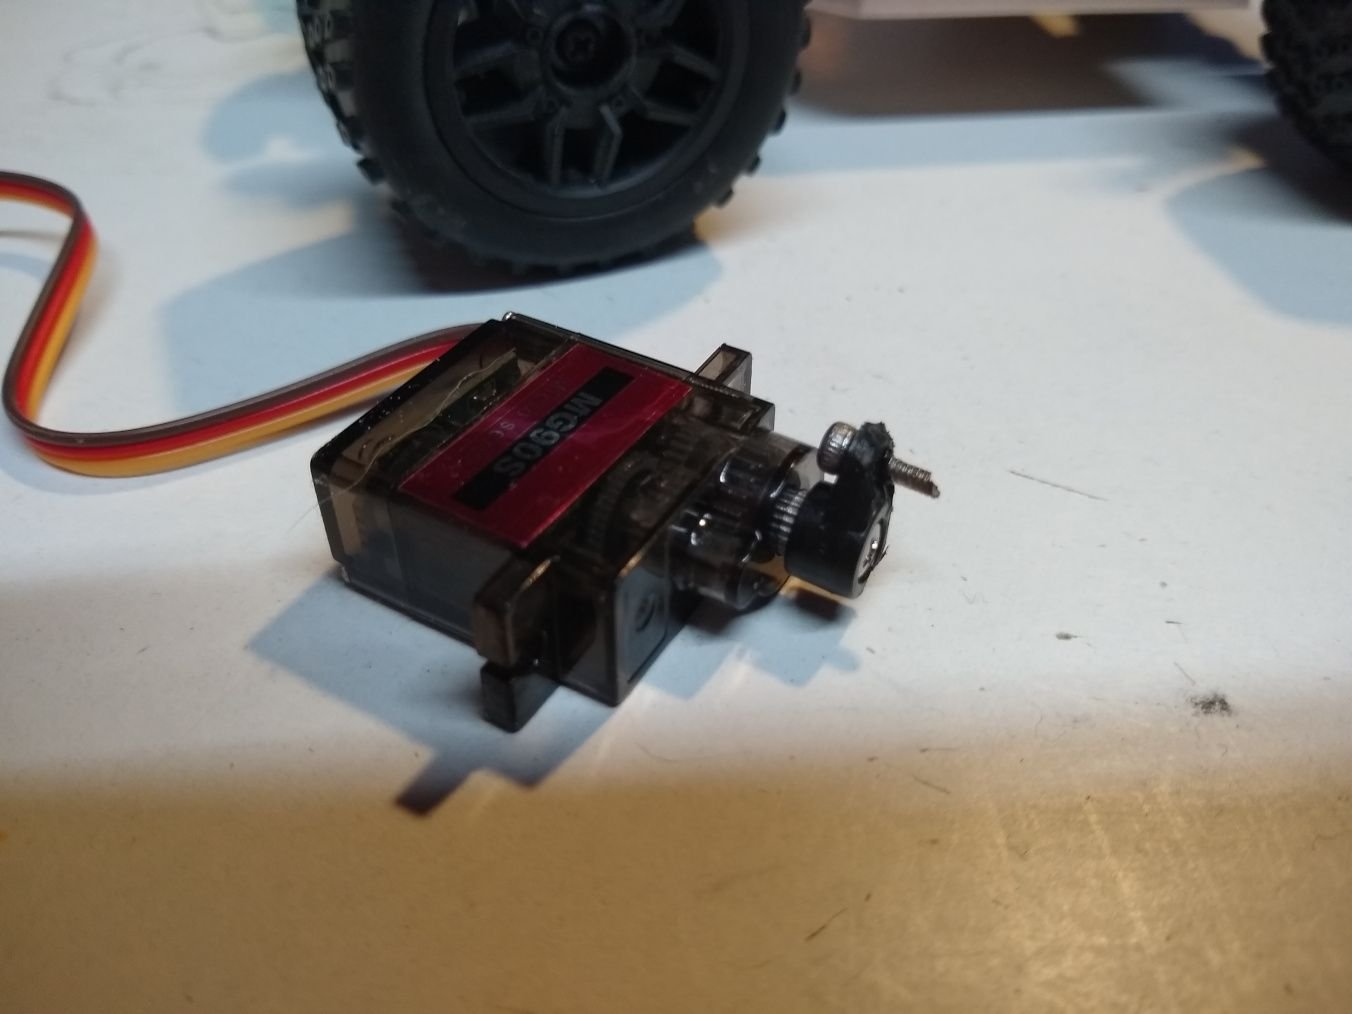
I then installed the servo, and it barely fit.
it is butting directly up against the motors wires. There isn't even a fraction of a mm of space between the servo and the motors wiring, but hey it fits
.
This was actually the 2nd version as I made a mistake in the original and the screws were 1mm off
Now the servo gave me a few problems to install
1st problem is the stock servo horn has a different splines then the servo so it doesn't fit, and also even if it did the servo is too tall to let it even fit.
So I had to forgo a servo saver, and just rigged it straight to a servo horn that was included with the servo.
I put a small screw into the 1st hole on the servo horn, and cut the rest off. I also shortened the screw, and grinded off some of it so it fit into the hole the original servo horn fit into.
I then installed the servo, and it barely fit.
it is butting directly up against the motors wires. There isn't even a fraction of a mm of space between the servo and the motors wiring, but hey it fits
.
08-04-2024, 04:17 PM
#3
Thread Starter
Join Date: Jul 2007
Location: North West Indiana
Posts: 12,861
Likes: 0
Received 20 Likes
on
19 Posts
Now onto the ESC
Here is the ESC I'm using I bought it roughly 10 years ago so I don't know if its still sold, but it probably is under some name.
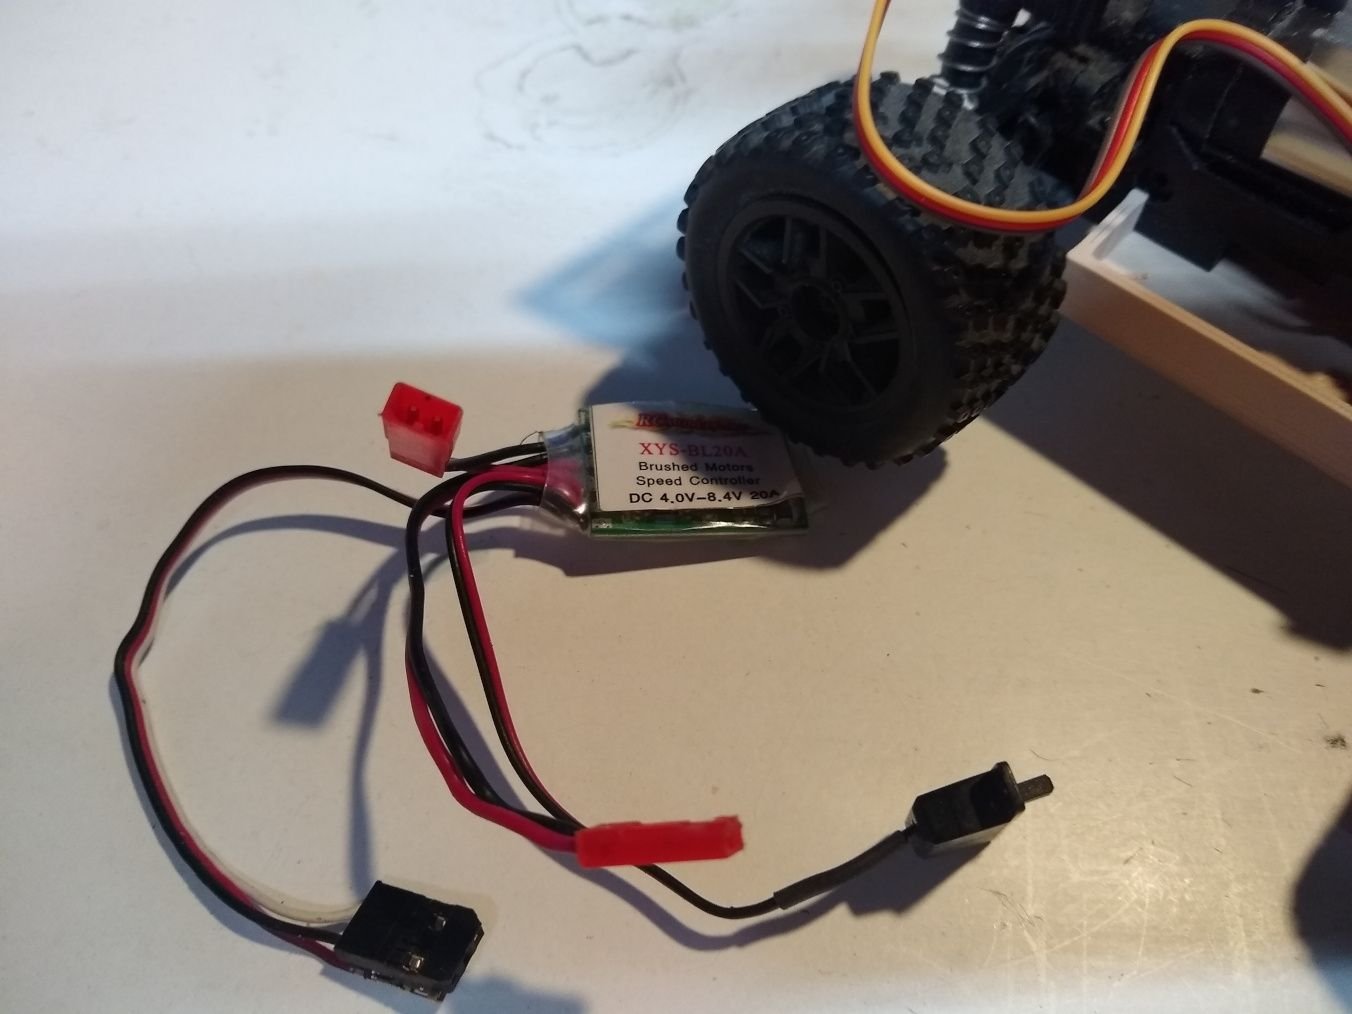
The ESC is actually small enough to now fit between the chassis, and the plate I bolted to the bottom without getting near the center driveshaft so that is where it will be.
No picture as you literally can't see it when its installed all you see is the wires.
Now that is what I did today I hit 3 bumps in the road.
The 1st one is VERY minor, and can be fixed. That is the wires are too damn long I can easily cut them, and redo them.
Next one is the RX doesn't fit on the side properly. I could probably narrow the walls down for the tray, and re print it, and it would squeeze in if I took it out of its case. This isn't a big issue.
The not so minor one is the Lipo I was intending to use is a bit too big to fit on the side, and that is if I remove the wrap, and protective stuff leaving just the plain cells. The max size the battery can be is 15mmX44mmX30mm
Edit: I could go upto 55mm's with a redesign of the tray, but the other 2 are kinda set. I found a few batteries that could potentially fit, but the shipping on them would be more then the cost of the battery, and they are all in the 500mah-900mah range
Here is the ESC I'm using I bought it roughly 10 years ago so I don't know if its still sold, but it probably is under some name.
The ESC is actually small enough to now fit between the chassis, and the plate I bolted to the bottom without getting near the center driveshaft so that is where it will be.
No picture as you literally can't see it when its installed all you see is the wires.
Now that is what I did today I hit 3 bumps in the road.
The 1st one is VERY minor, and can be fixed. That is the wires are too damn long I can easily cut them, and redo them.
Next one is the RX doesn't fit on the side properly. I could probably narrow the walls down for the tray, and re print it, and it would squeeze in if I took it out of its case. This isn't a big issue.
The not so minor one is the Lipo I was intending to use is a bit too big to fit on the side, and that is if I remove the wrap, and protective stuff leaving just the plain cells. The max size the battery can be is 15mmX44mmX30mm
Edit: I could go upto 55mm's with a redesign of the tray, but the other 2 are kinda set. I found a few batteries that could potentially fit, but the shipping on them would be more then the cost of the battery, and they are all in the 500mah-900mah range
Last edited by SyCo_VeNoM; 08-04-2024 at 04:42 PM.
