


Nick’s TopRC L-39 build thread
 01-02-2023, 12:48 PM
#51

Hello,
a big compliment for the excellent work!!!
Do you have a link to give me for the pilot?
It seems to me that it is in the right scale for the model, thanks and HAPPY NEW YEAR
a big compliment for the excellent work!!!
Do you have a link to give me for the pilot?
It seems to me that it is in the right scale for the model, thanks and HAPPY NEW YEAR
 01-02-2023, 04:24 PM
#52
04-10-2023, 05:33 PM
#53

My Feedback: (64)
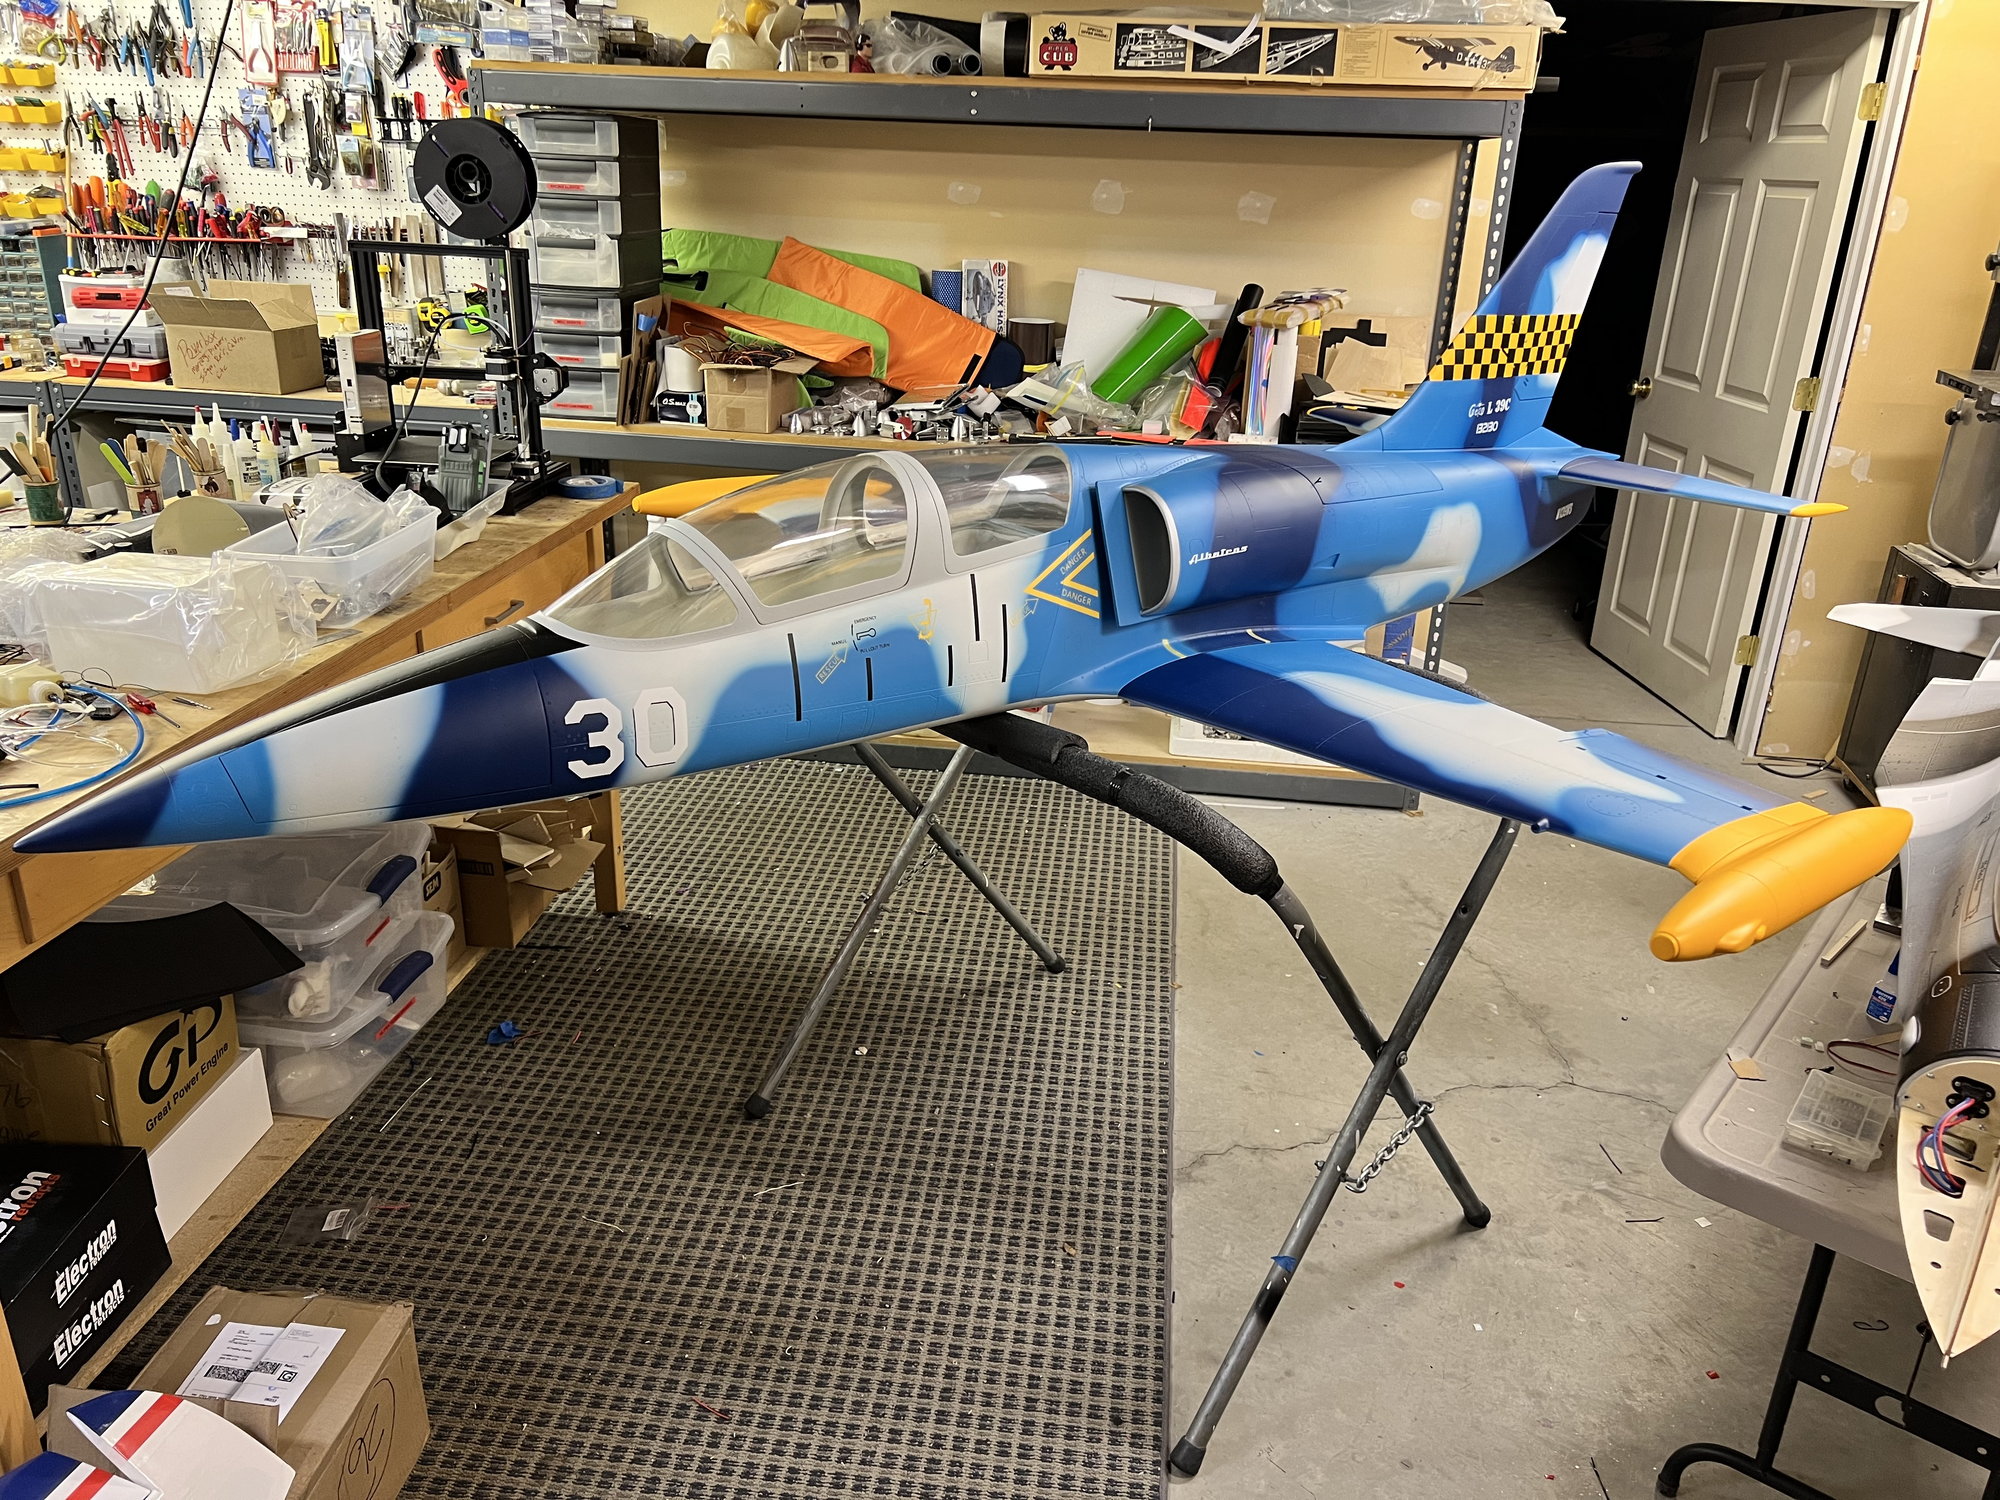
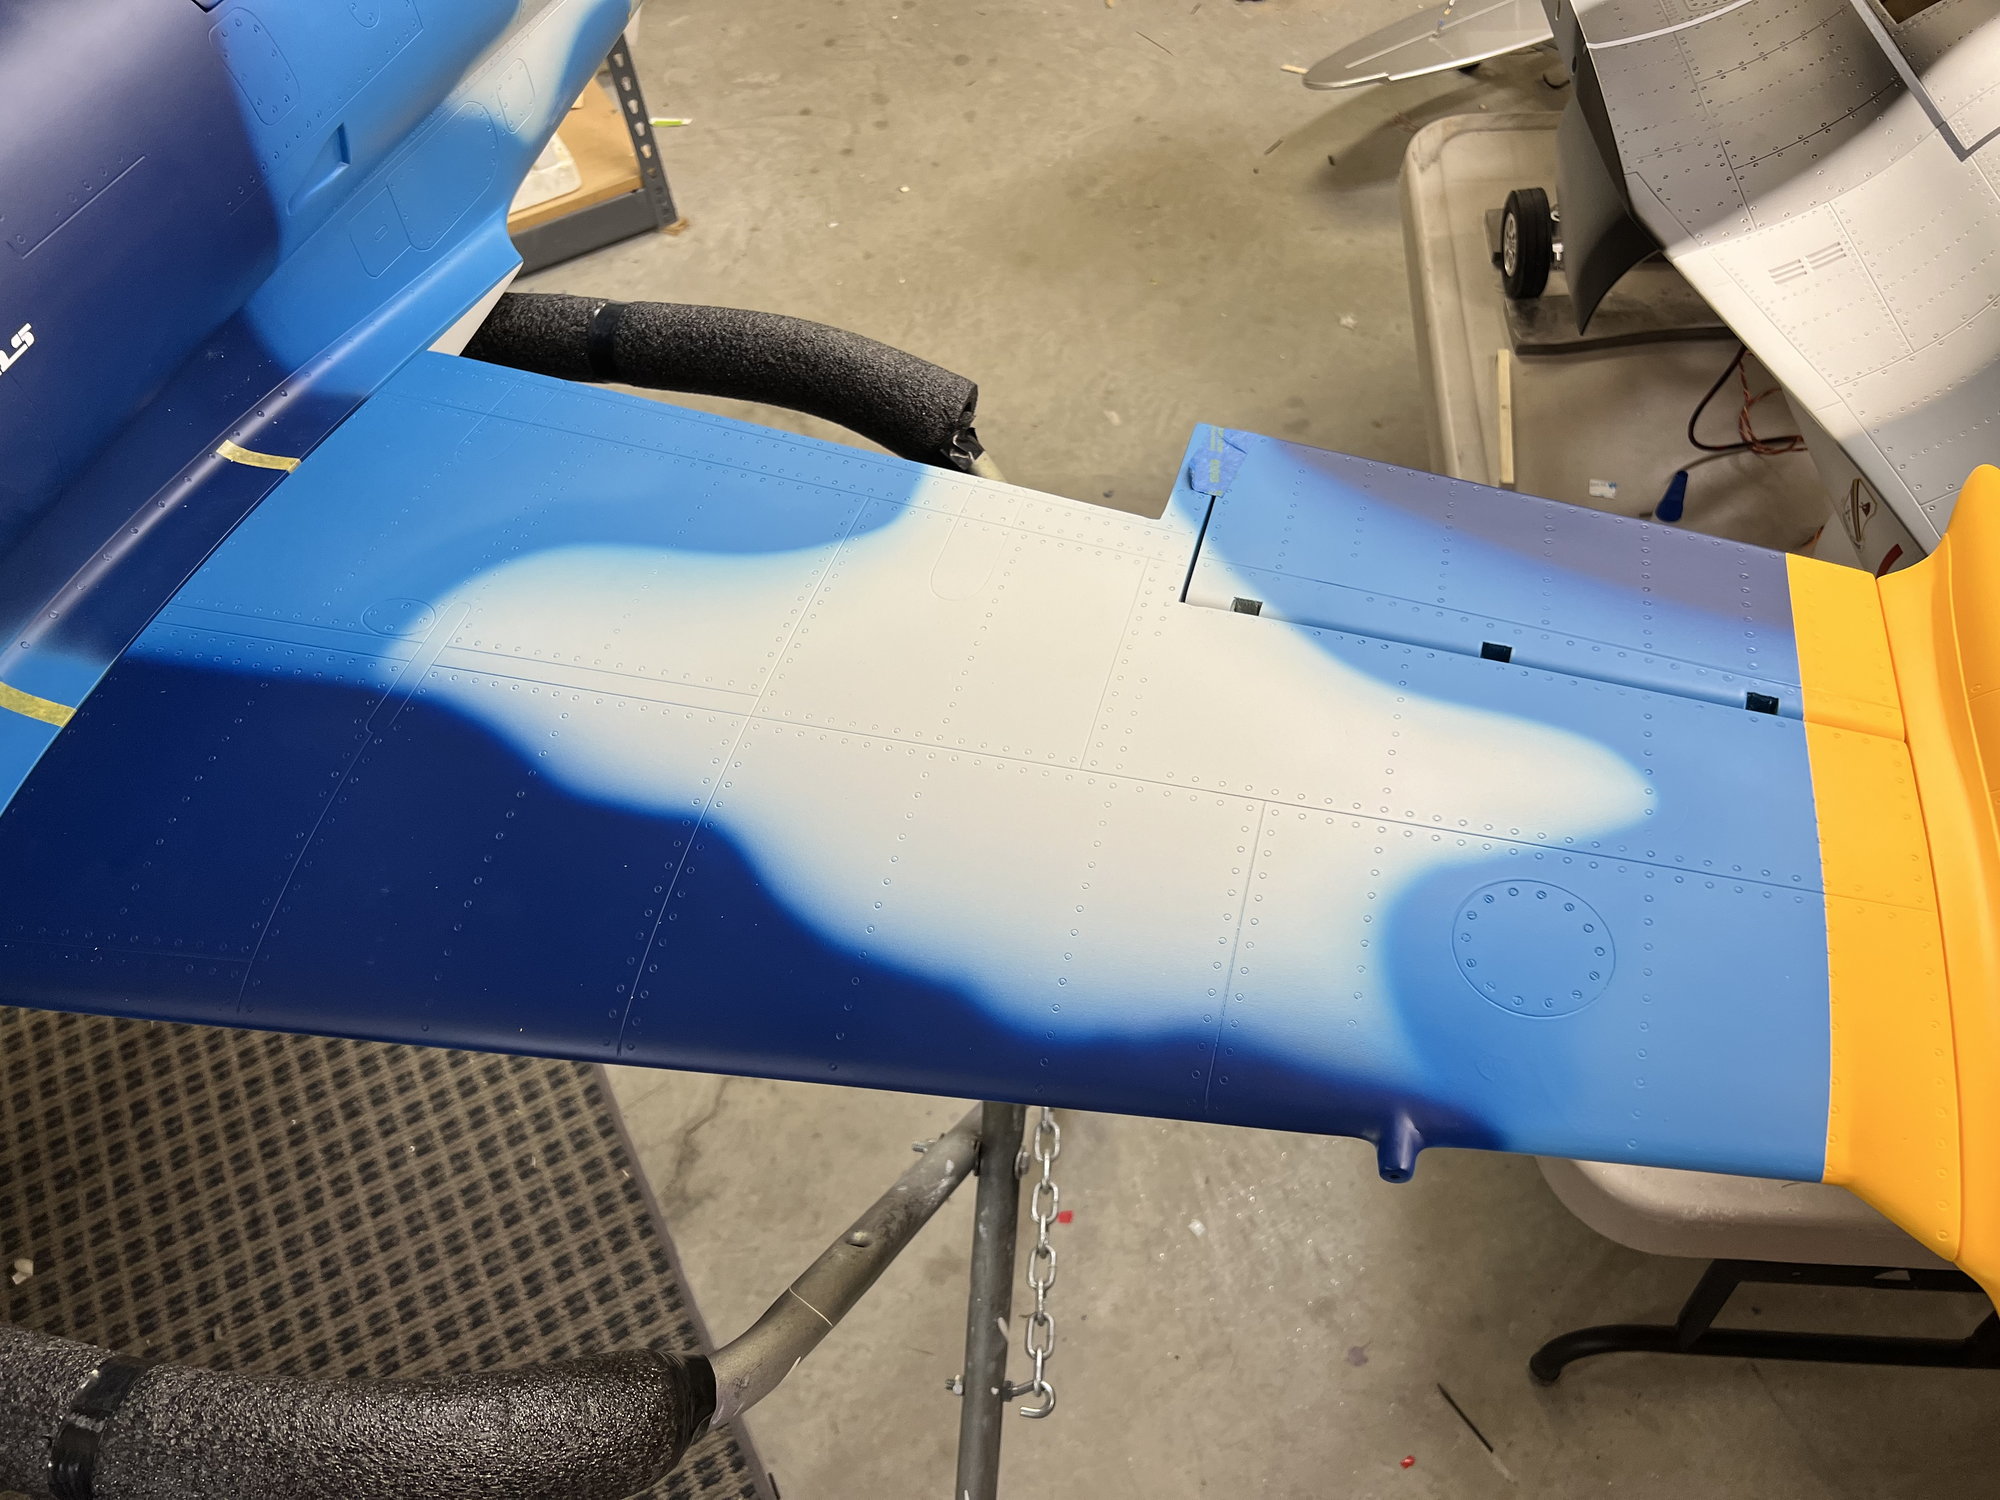
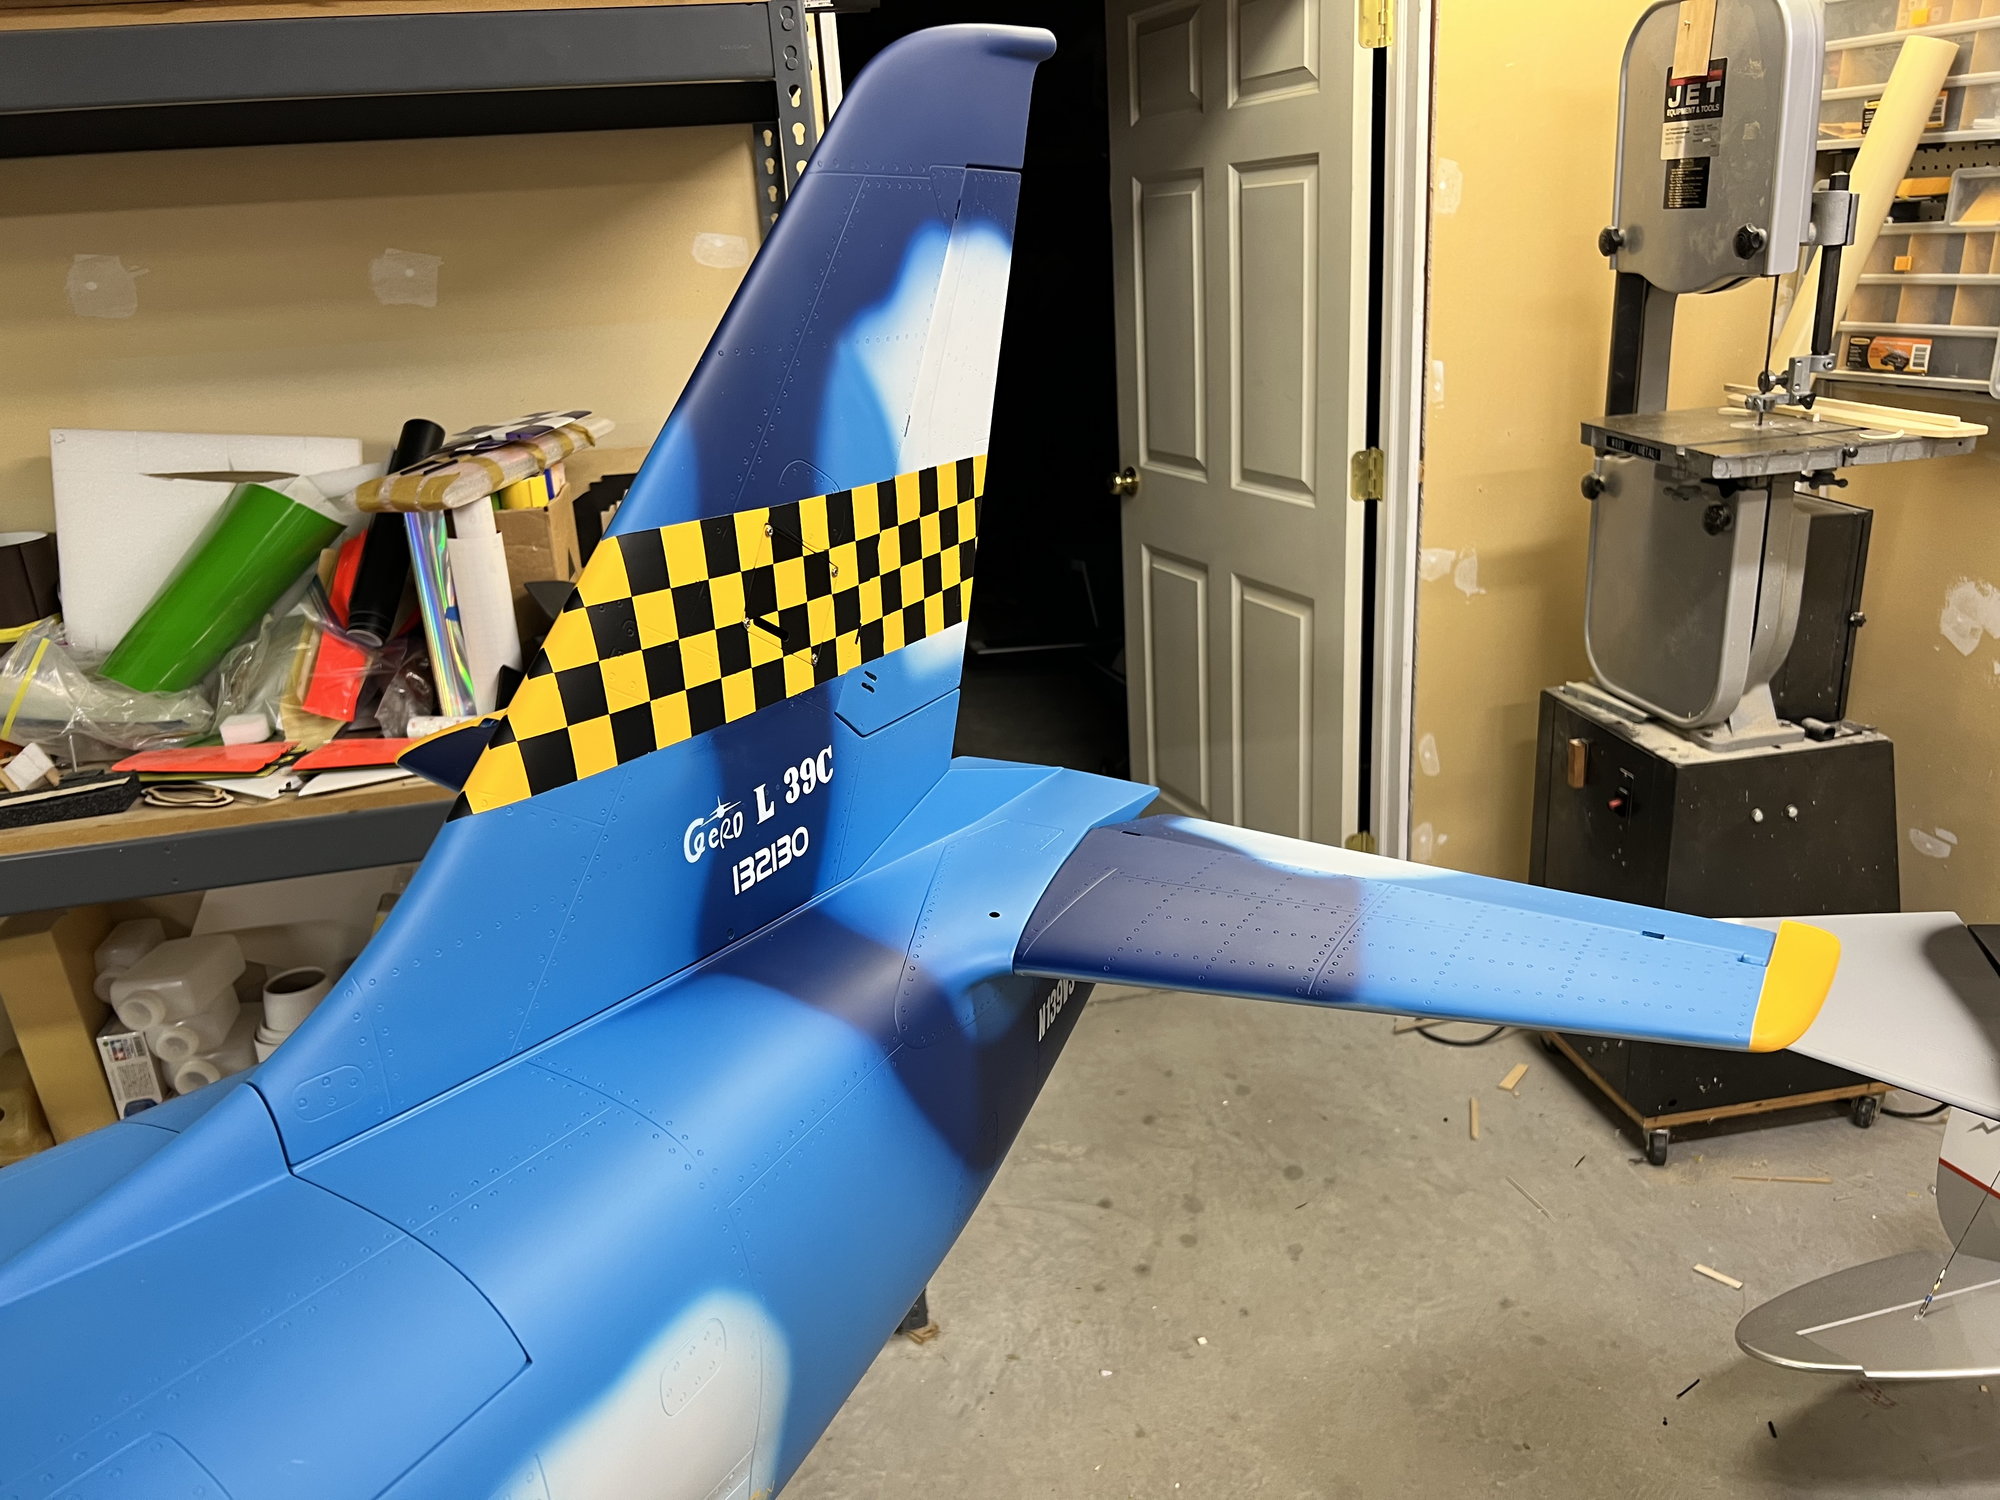
Received one of these today. Ashley and Mike's customer service was once again second to none. I am amazed at the quality of this kit, especially for the money! TopRC's glasswork and paintwork keeps improving. Hard to believe what you get for under $3400 with gear. Nice size plane with lots of detail. Should be a fun build. If it flies half as good as it looks, I'll be happy 😃
The following users liked this post:
Nick Yuhasz (04-10-2023)
05-06-2023, 12:22 PM
#54
My Feedback: (10)
Is anyone having issues with the flap and aileron servos going crazy while the gear is in transition? I acquired one of these second hand and was told that the problem existed with the controller that is supplied with the retracts. The previous owner replaced it with a Xicoy controller and it's still doing the same thing!! I've tried darn near everything to rectify the problem to no avail.
Steve
Steve
05-07-2023, 03:48 PM
#55
Is anyone having issues with the flap and aileron servos going crazy while the gear is in transition? I acquired one of these second hand and was told that the problem existed with the controller that is supplied with the retracts. The previous owner replaced it with a Xicoy controller and it's still doing the same thing!! I've tried darn near everything to rectify the problem to no avail.
Steve
Steve
Nick
05-07-2023, 05:23 PM
#56
My Feedback: (10)
Thanks! I just tried running the gear, brakes and doors on a second receiver, leaving everything else on another receiver and I'm still glitching all over the place during gear transition! I'm running 7.4v lipos with a high voltage receiver and servos.
If I don't get it rectified soon, I'm gonna convert the gear to pneumatic.
Steve
If I don't get it rectified soon, I'm gonna convert the gear to pneumatic.
Steve
05-14-2023, 02:43 AM
#57
Senior Member
My Feedback: (2)
Join Date: Aug 2002
Location: Longview TX
Posts: 157
Likes: 0
Received 0 Likes
on
0 Posts
Steve, I had the same issue as you have. The solution for me was actually to switch servos on the gear doors. I was using hitecs and they didn't like the RF noise coming from the retract motors. Mike from Gator sent me some ferrite magnets and those helped a lot. The motors for some reason put out alot of noise and the servos don't like it at all.
06-22-2023, 10:15 AM
#59
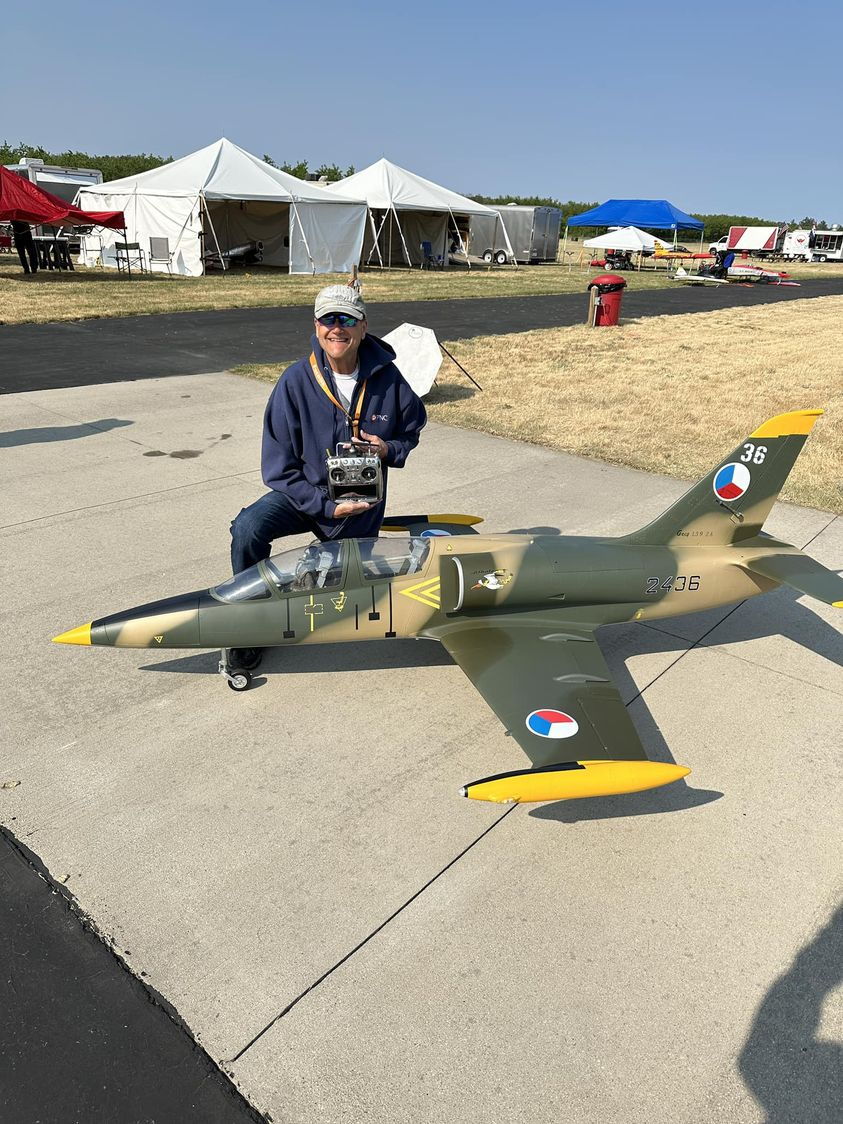
Finally a maiden flight for my new, TopRC jet turbine L-39 at Michigan’s “Midwest Jet Pilot’s Spring Fling” on June 8, 2023. I want to thank Gator RC, Cap’n Dave Murray, Eddie Bernaldez, and Steven Reeps for sharing their insights during the build of this jet leading to a successful first and subsequent flights! So far I have been unable to locate a video of any flights up in Michigan (only saw one video posted of the entire jet rally of any jet)..... No surprises on maiden flight, but I did switch on the Igyro SRS during the second half of the maiden and subsequent flights so not sure if landing with full flaps required any trim changes. Next scheduled flights at Jets over Kentucky the 2nd week in July.... Last year I won "Best Military Jet - 2" with my A-10 there, so who knows about this year!
Nick
Nick
The following users liked this post:
Nick Yuhasz (06-23-2023)
10-30-2023, 10:47 AM
#62
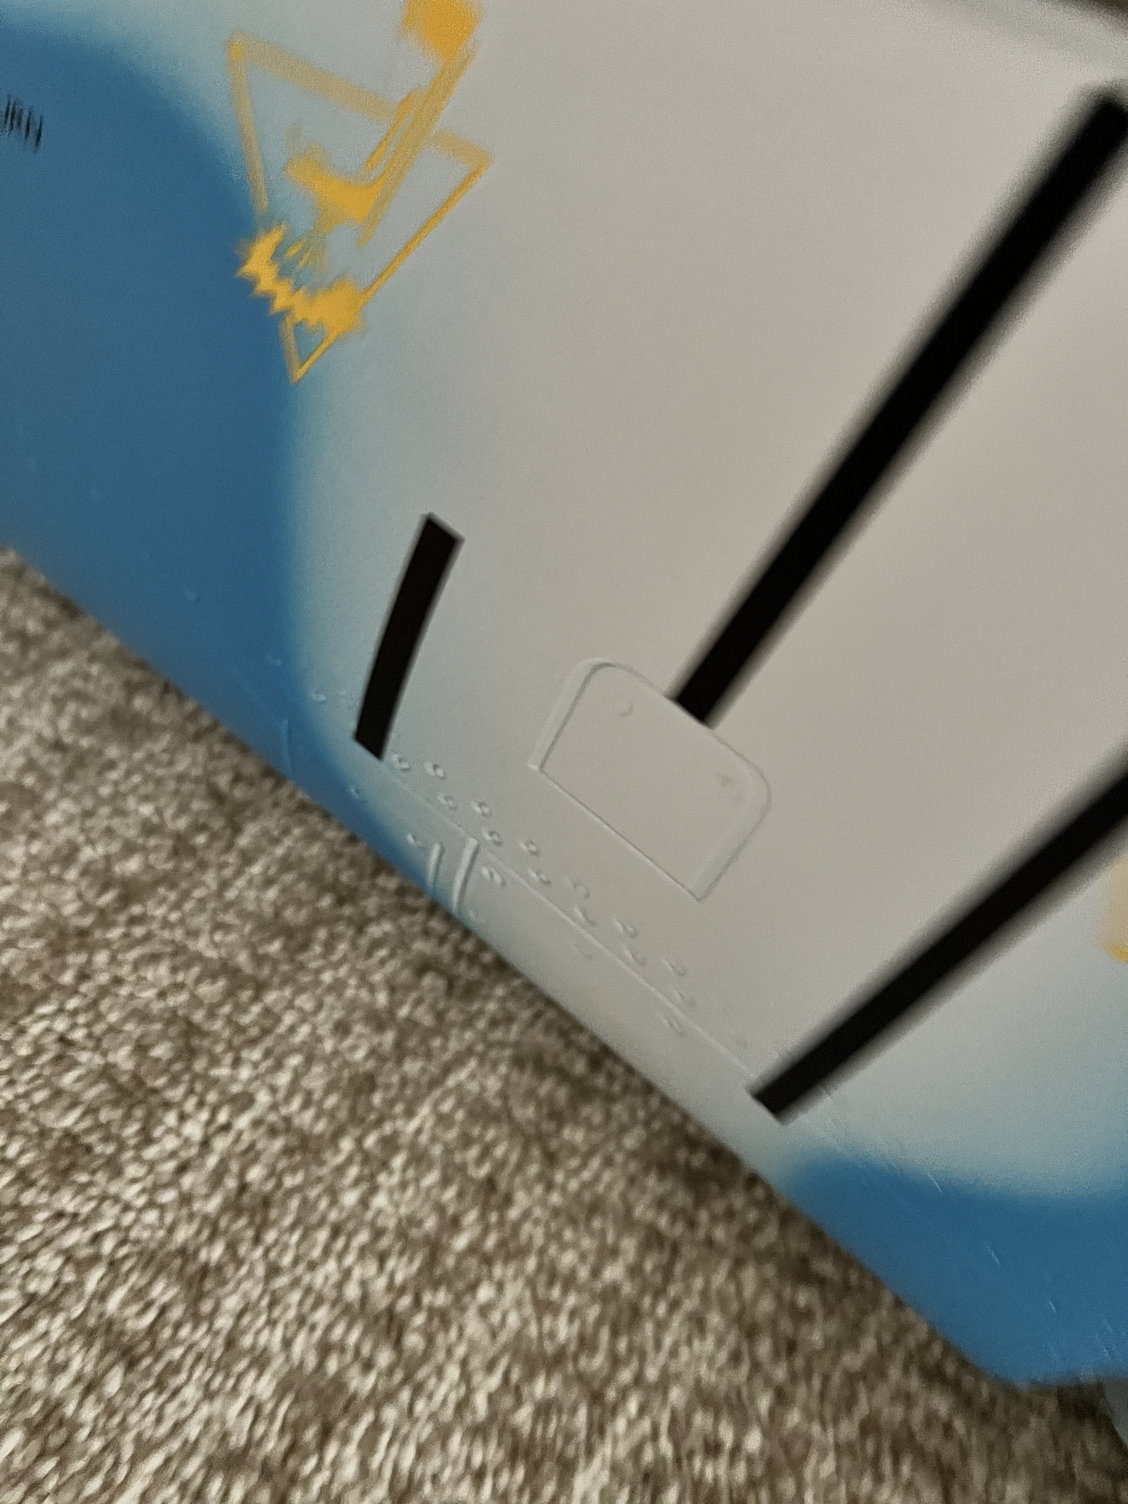
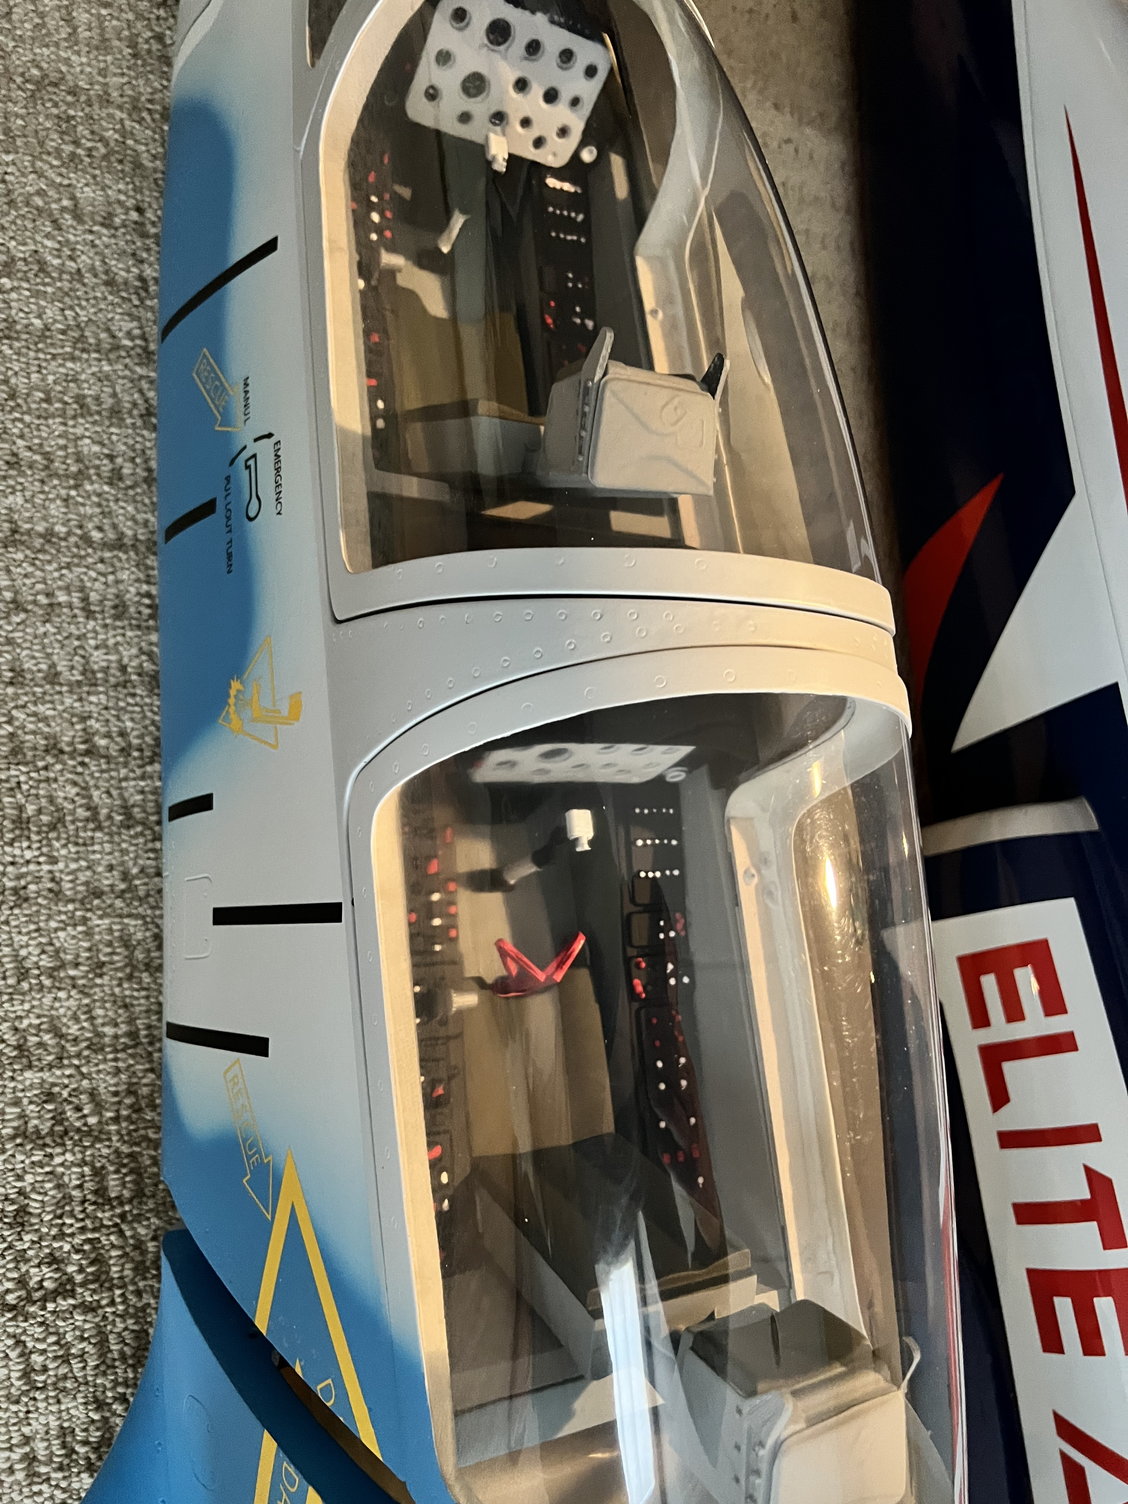
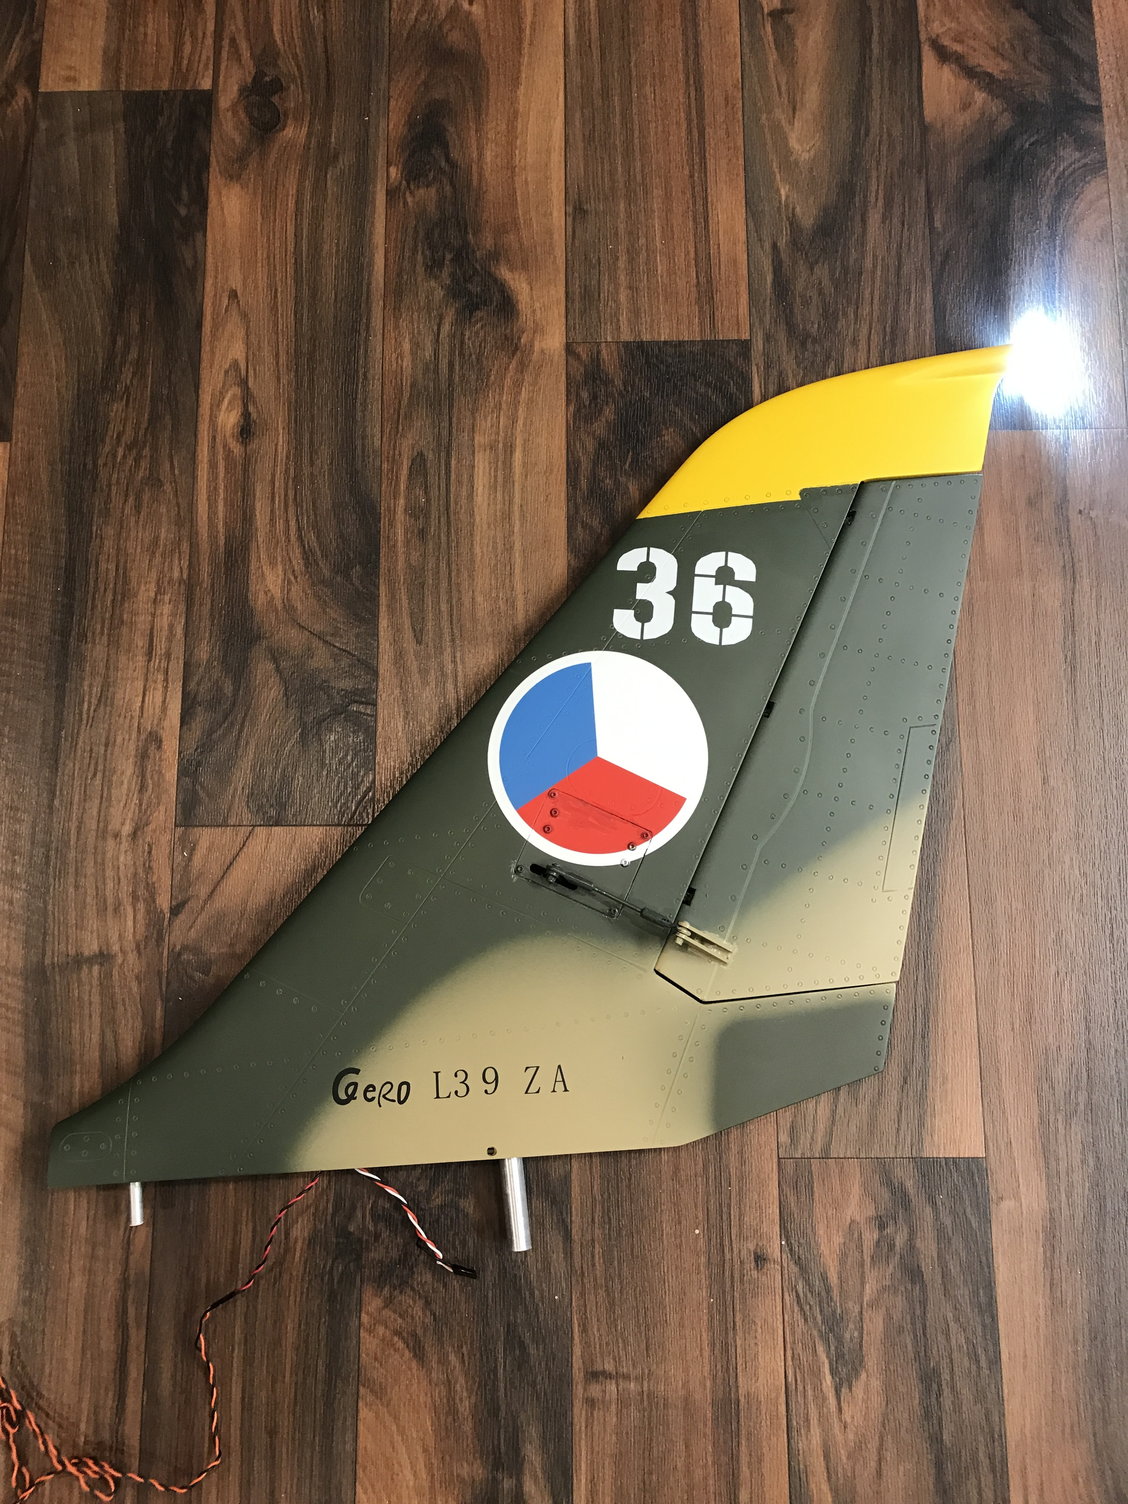
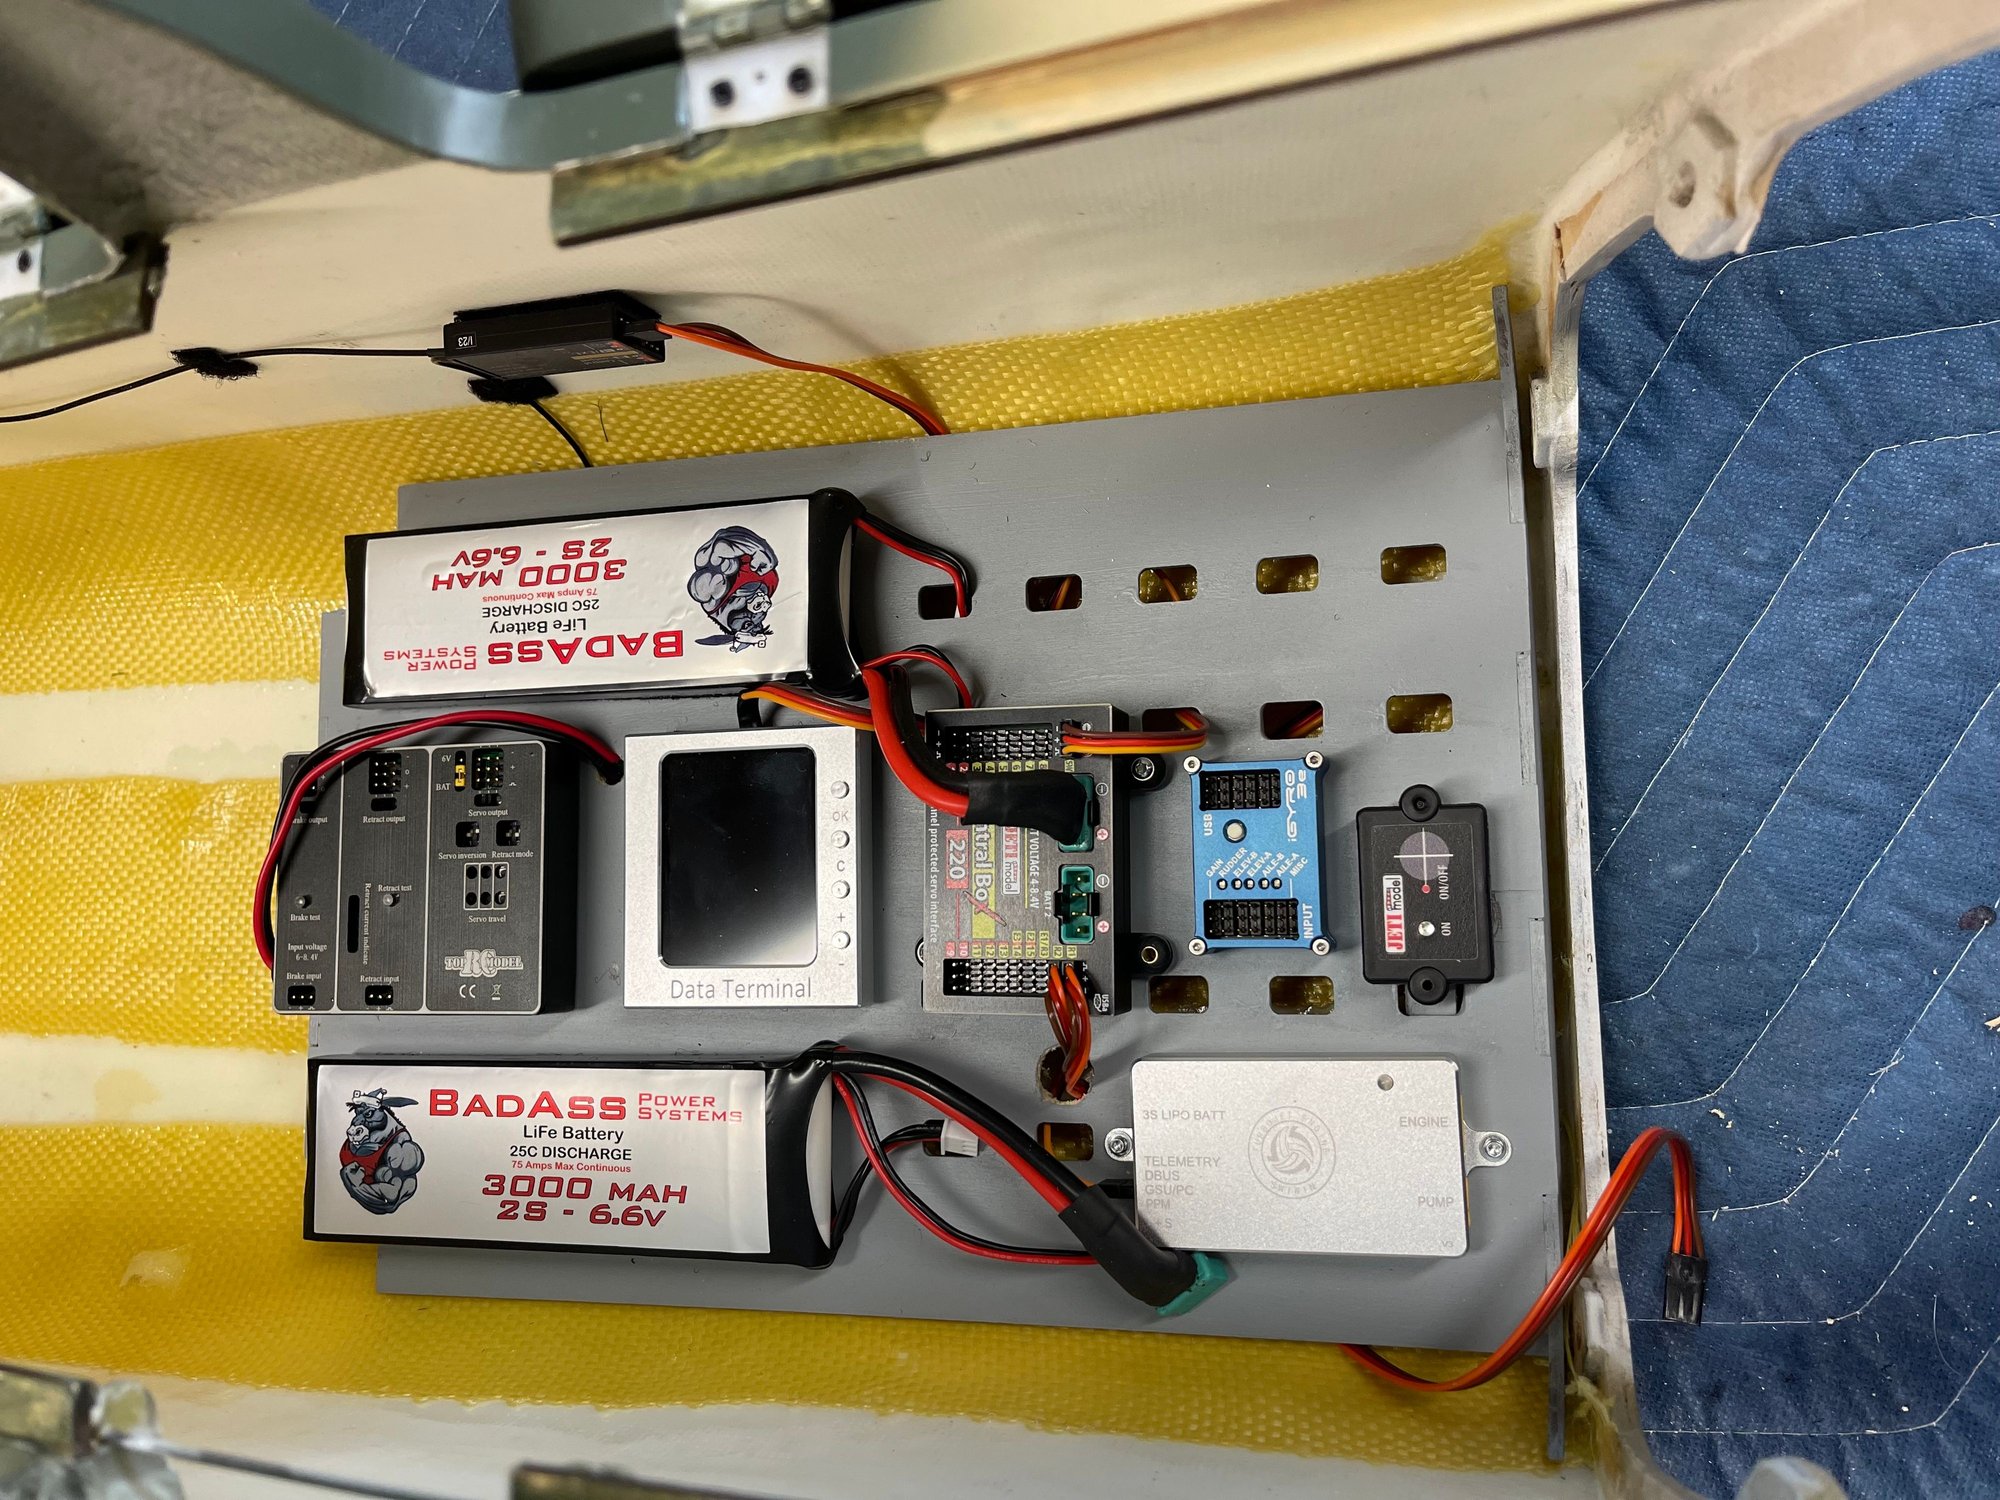
I mentioned I was going to add a rear facing, white strobe to the top of the fin. I removed a portion of the rounded, top rear fin and added a fiberglass circular vertical bulkhead to house the strobe. BTW My rudder control rod length from the center to the center of the ball links is approximately 3.25"; this can vary depending on your servo arm length. Don't forget to epoxy the aluminum fin locating tube into the bottom of the fin. You will see that I painted the servo screws and the various control arms from sample paints I had mixed at a big box store.
I also, with some help, determined the usage of the laser cut dual servo plywood mount in the misc parts bag. It is used to bring the main gear door servos out away from the bulkhead to line up with the gear door hinges (see Pic).
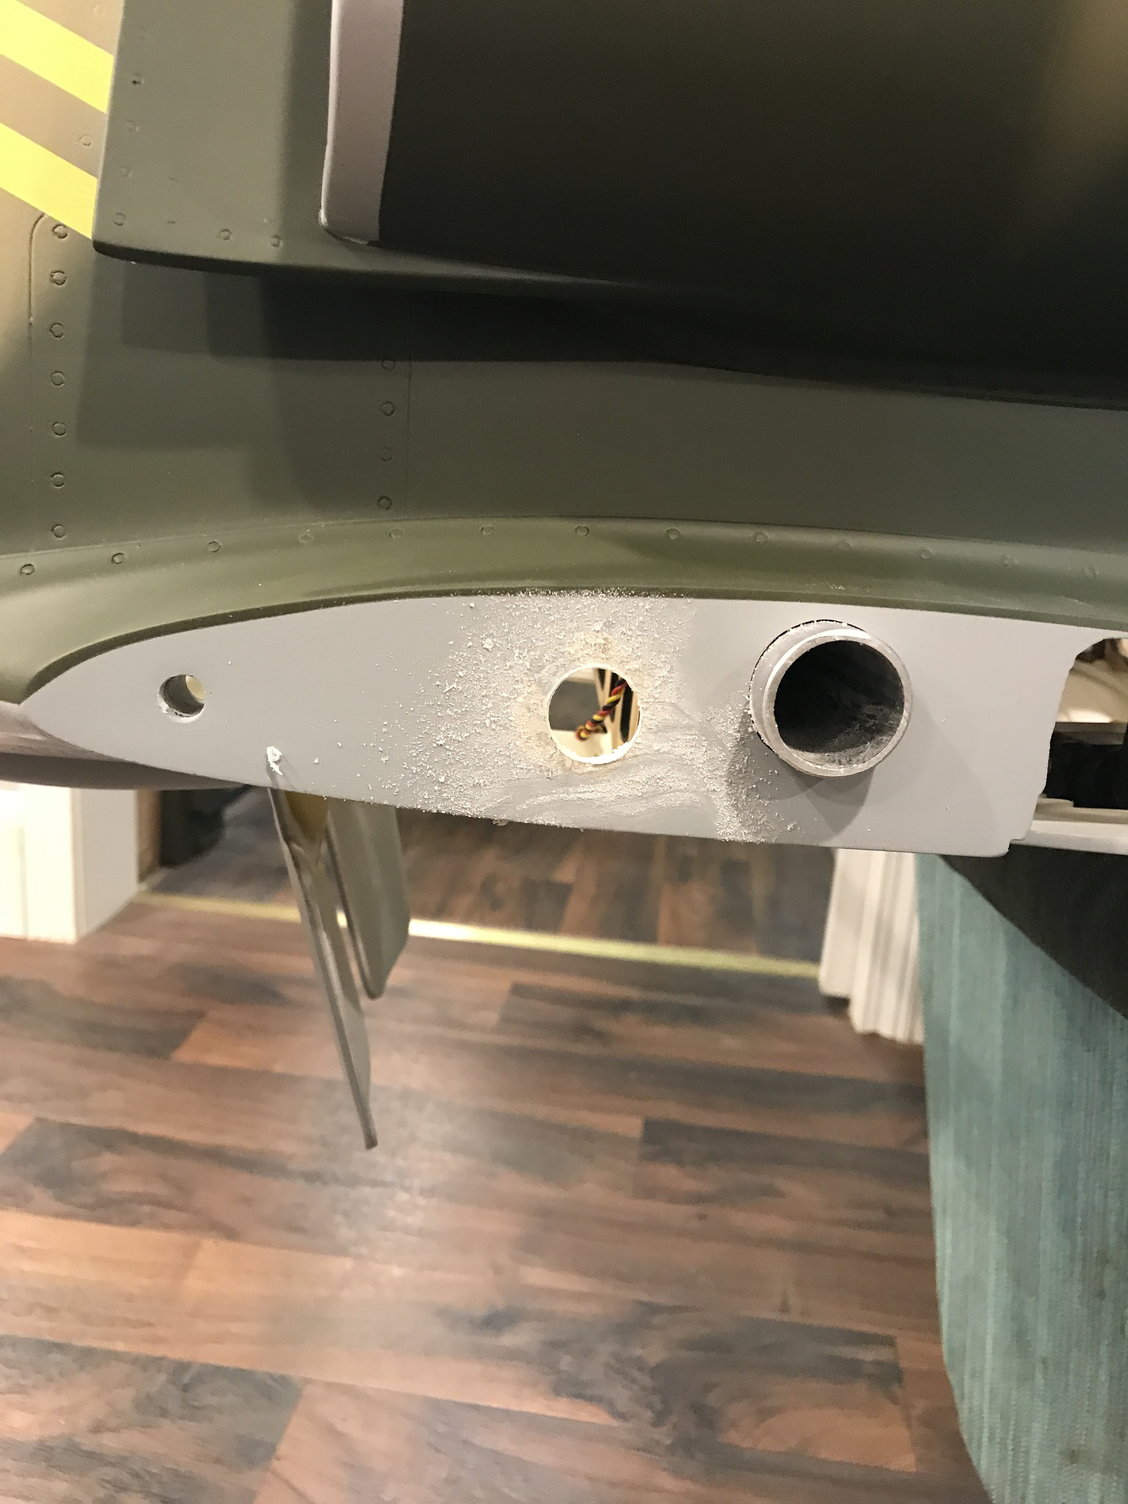
A few of us have come to the consensus that servo, gear, and brake wires from each wing should exit through the existing hole in from of the wing tube. You will then need to make a mating hole in the fuse on each side. The hole center is approximately 4.375" back from the leading edge and .875" up from the bottom of the wing (see Pic).
More later.....
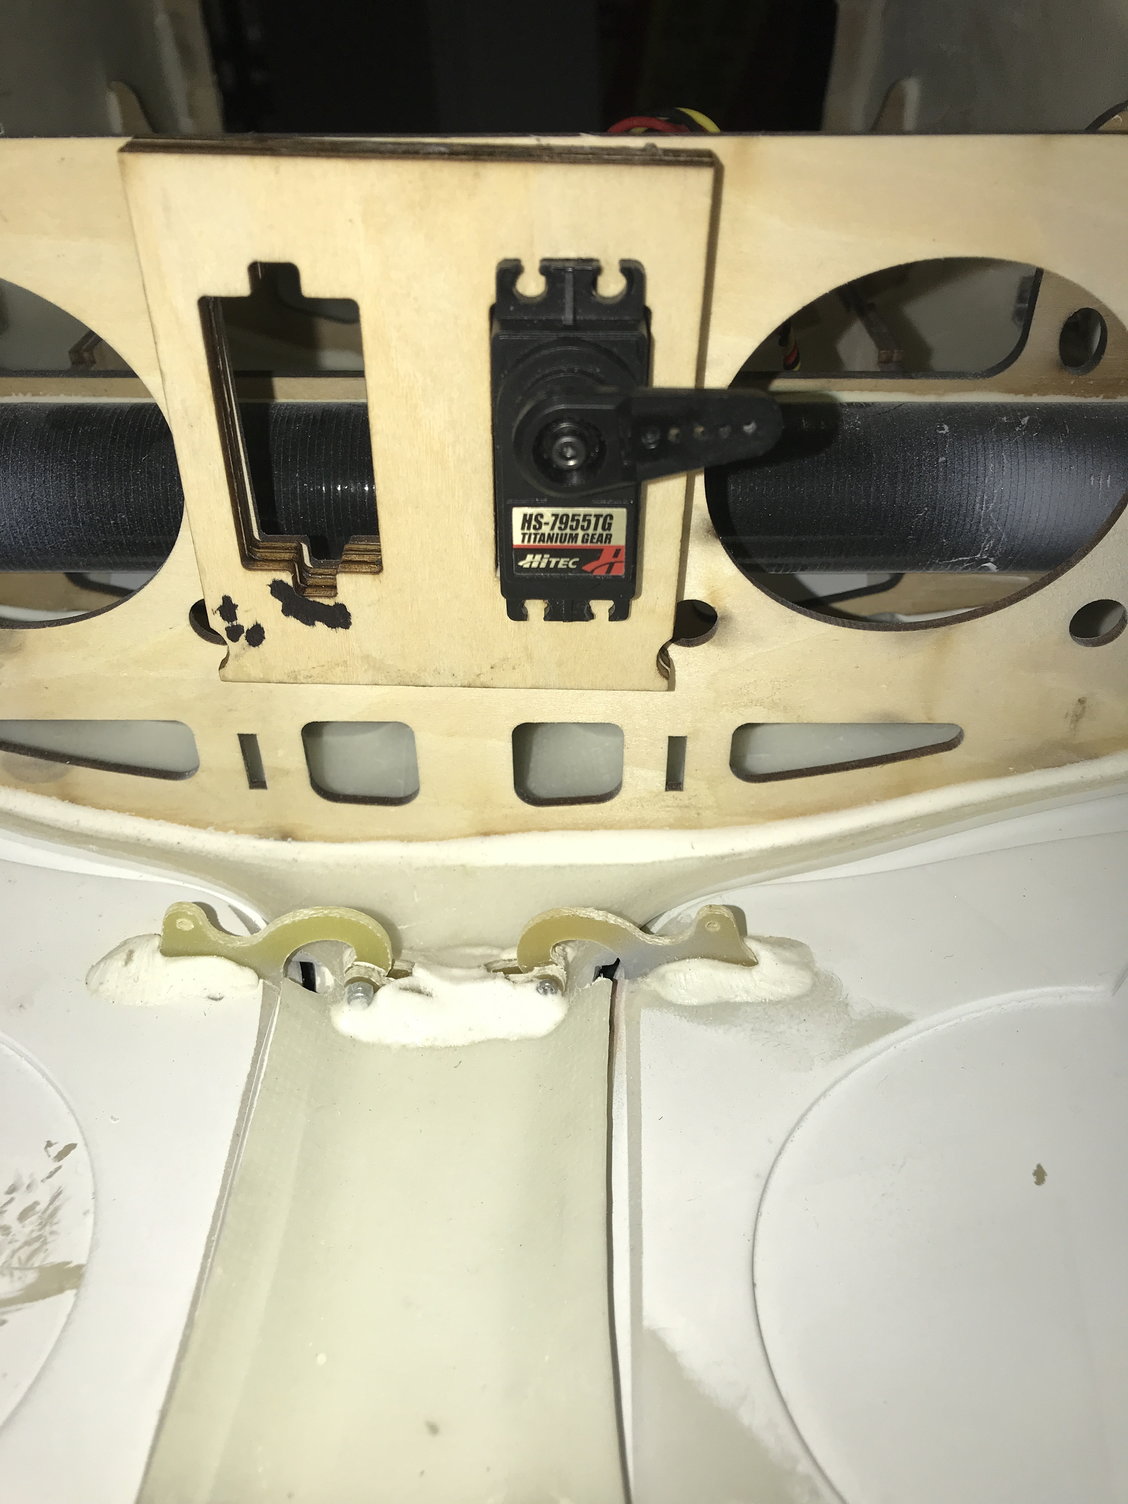
I also, with some help, determined the usage of the laser cut dual servo plywood mount in the misc parts bag. It is used to bring the main gear door servos out away from the bulkhead to line up with the gear door hinges (see Pic).
A few of us have come to the consensus that servo, gear, and brake wires from each wing should exit through the existing hole in from of the wing tube. You will then need to make a mating hole in the fuse on each side. The hole center is approximately 4.375" back from the leading edge and .875" up from the bottom of the wing (see Pic).
More later.....
Can you explain how did you rout the Aileron and Flap servo wires from the servos to this round opening? are they going around the front tube?
Thanks, Dror.
11-01-2023, 10:51 AM
#63
Nick

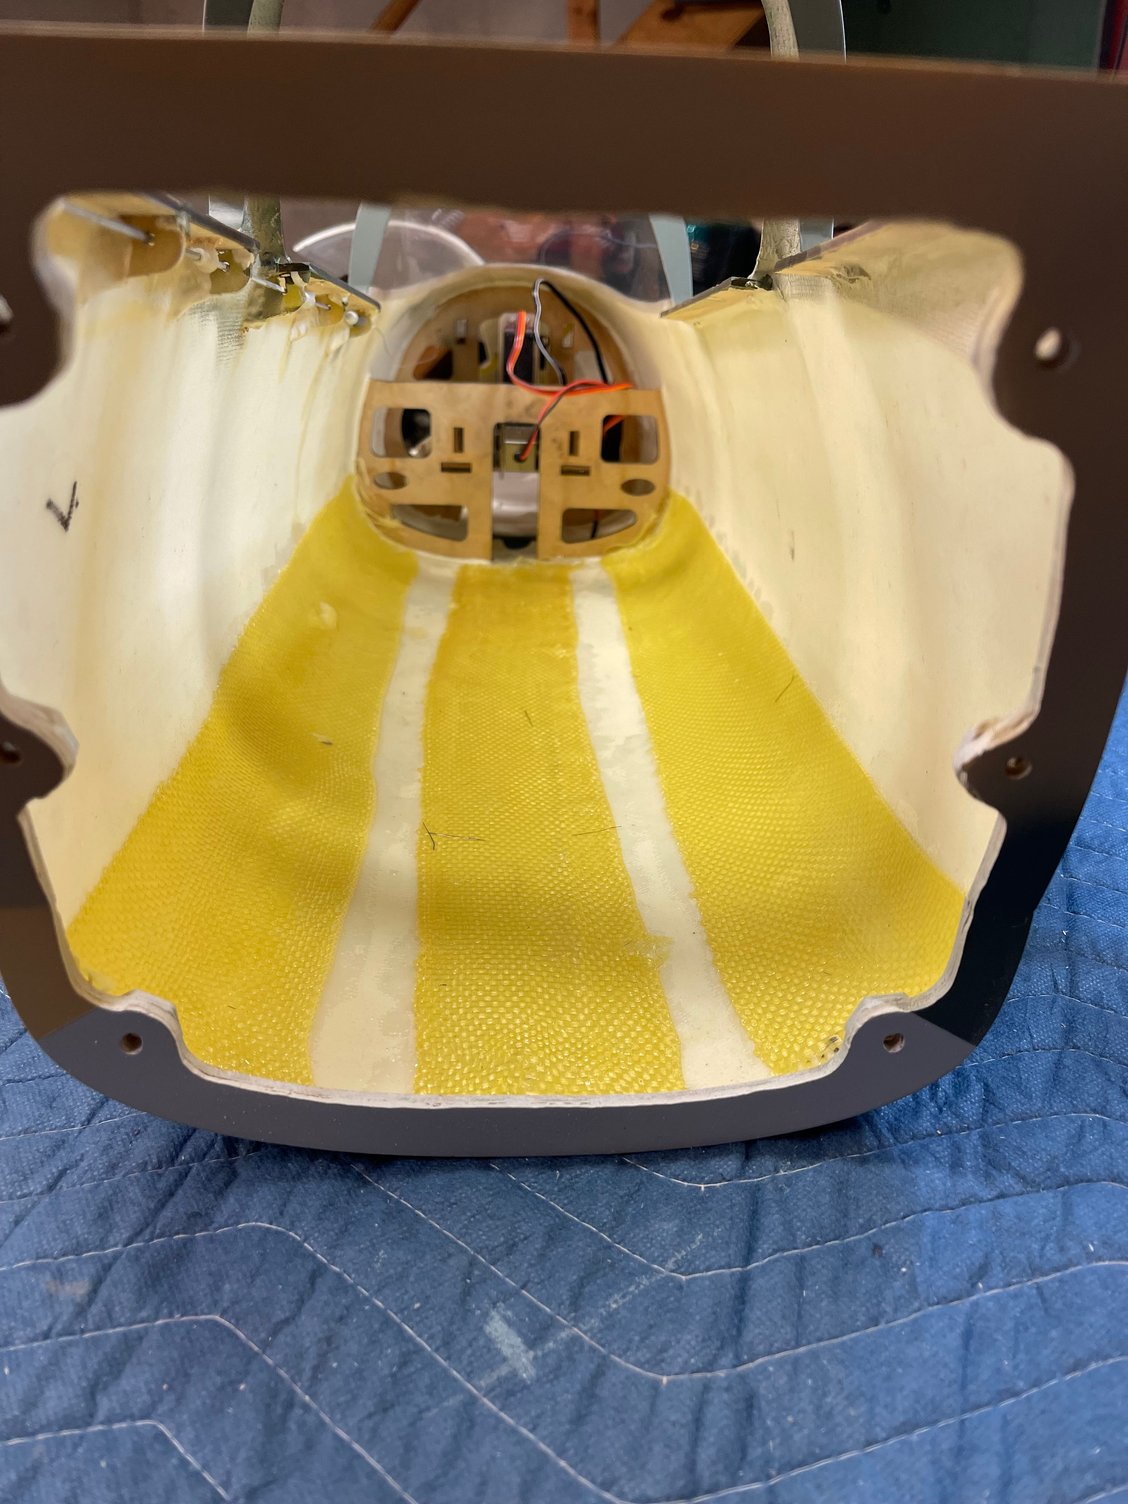
Pic of wing root showing all wires exiting to connector.
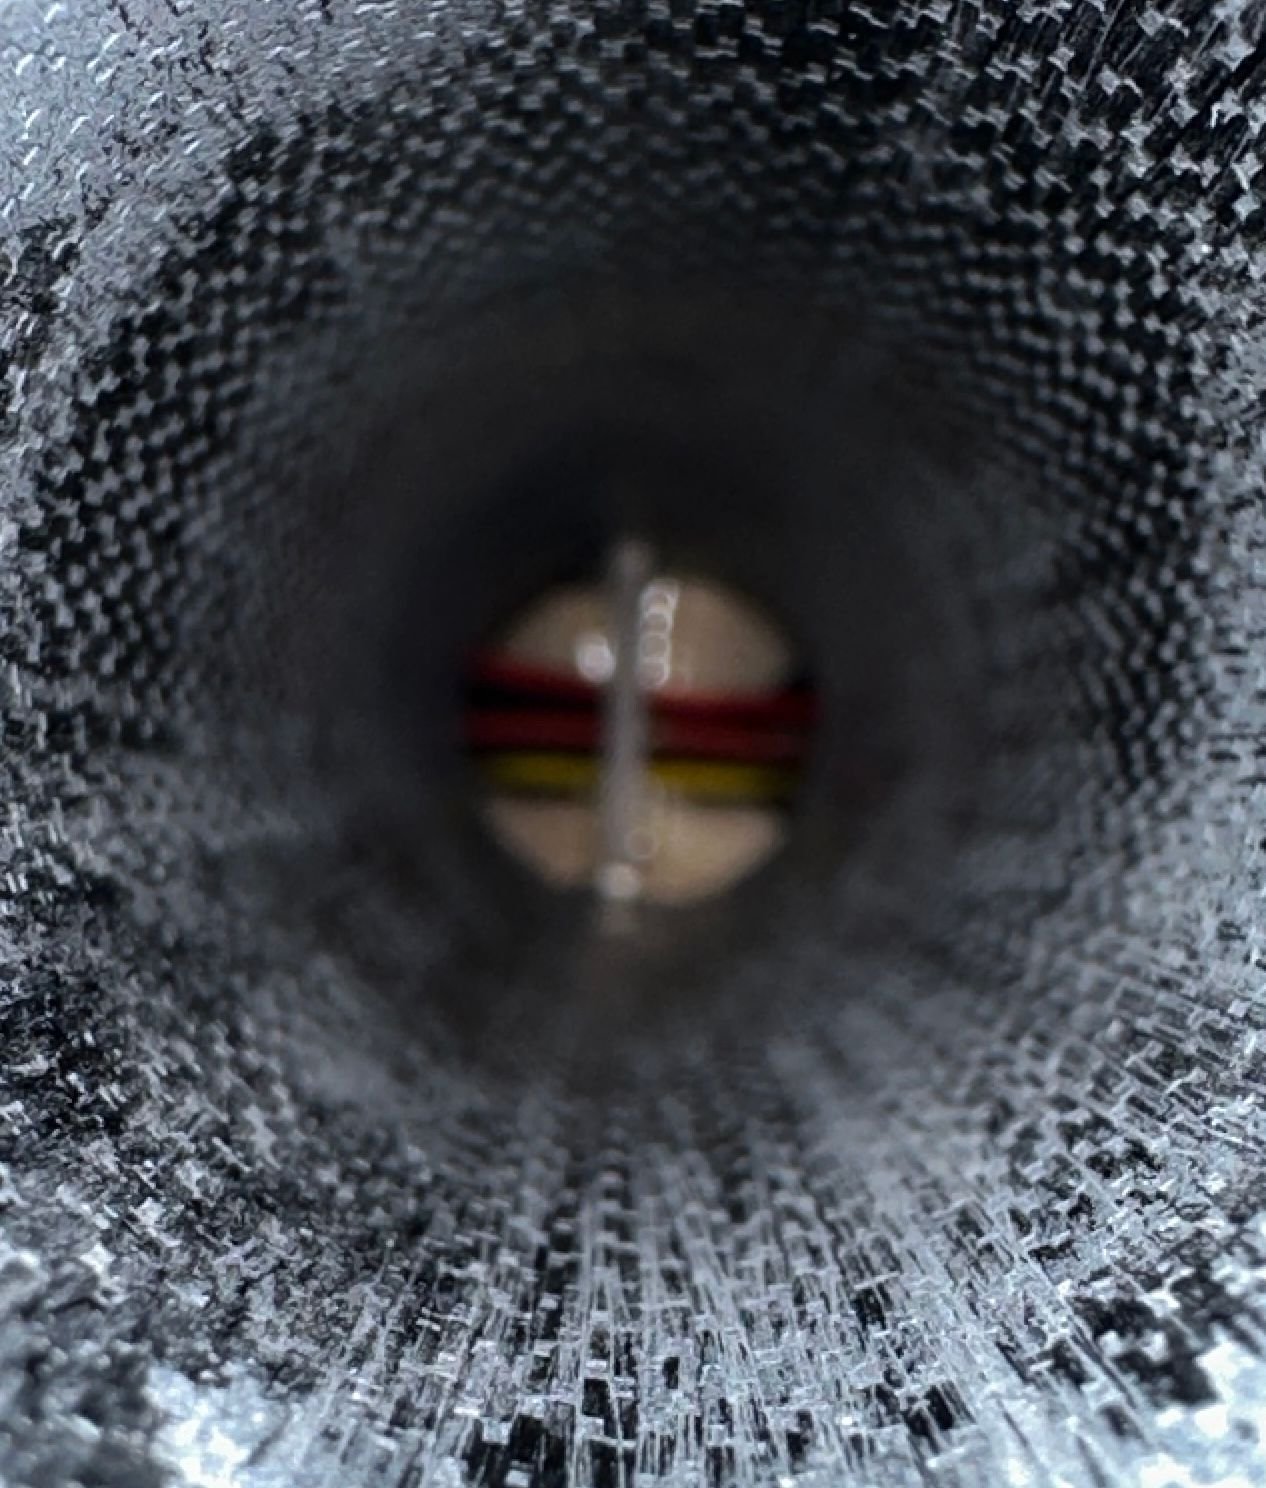
Pic inside wing tube from wing root. Notice the wires at the end of the tube......

Kentucky Jets 2023

Windy City Jets 2023

Windy City Jets 2023
Last edited by Nick Yuhasz; 11-01-2023 at 10:59 AM.
 11-21-2023, 08:57 AM
#69
My Feedback: (45)
Nick, this is my first turbine. Is it ok to mount the pump and UAT as you’ve shown? I did the same but am now being told that’s not a good spot. Again, I’m new to this turbine stuff and not saying your install is wrong. Just want to make sure I'm doing things correctly. Thank you again for this thread, it was basically my build manual.
The following users liked this post:
Nick Yuhasz (11-21-2023)
11-21-2023, 12:32 PM
#70
Nick, this is my first turbine. Is it ok to mount the pump and UAT as you’ve shown? I did the same but am now being told that’s not a good spot. Again, I’m new to this turbine stuff and not saying your install is wrong. Just want to make sure I'm doing things correctly. Thank you again for this thread, it was basically my build manual.
In my defense, I have mounted UATs and Fuel Pumps near the turbine nozzle before in jets and the only time I had an issue was in 2005 when I had one of the first JetCat P-160s in the US which had defects (Turbine wheels would expand and touch the NGV) causing the turbine to throw all the turbine blades out of the can. At the 2005 Jets over the Heartland (Winimac), mine exploded in the air causing the hot turbine blades to cut through a fuel line and hit the UAT. I landed the Eurosport with fire coming out the tail and luckily it was extinguished by a fellow pilot on the runway.
In conclusion, feel free to relocate those items - probably the safer approach.
Thanks
Nick
11-21-2023, 12:54 PM
#71
My Feedback: (45)
Nice pics of your build! As for the location of the UAT / Fuel Pump, I located mine in the same spot for a very specific purpose, that is, if I ever wanted to separate the fuse for transport, all the "wet" items would be in the rear fuse (limiting fuel leak issues). I could definitely see the other folks point of view that if you were to have a "hot start", the tubing could melt or damage the UAT / Fuel Pump or possibly heat damage from a sitting still at idle for a long time.
In my defense, I have mounted UATs and Fuel Pumps near the turbine nozzle before in jets and the only time I had an issue was in 2005 when I had one of the first JetCat P-160s in the US which had defects (Turbine wheels would expand and touch the NGV) causing the turbine to throw all the turbine blades out of the can. At the 2005 Jets over the Heartland (Winimac), mine exploded in the air causing the hot turbine blades to cut through a fuel line and hit the UAT. I landed the Eurosport with fire coming out the tail and luckily it was extinguished by a fellow pilot on the runway.
In conclusion, feel free to relocate those items - probably the safer approach.
Thanks
Nick
Last edited by Mpizpilot; 11-21-2023 at 12:58 PM.
11-27-2023, 05:21 PM
#72
My Feedback: (45)
Having major problems with the retracts causing servo jitters. I’ve even added amplified, buffered extensions from electro dynamics. I guess my only option is to replace the servos with another brand? I used Power HD digitals for the doors and speed break. Figured they would be fine for that. I guess not.