TopRCModel FW-190
#1676
Hi all!
Sorry for not getting back to you sooner. I left the hobby after 25 years of hardcore building to persue motorcycle offroading. Almost the same as RC flying - costs craploads of money and after a day of fun theres always something broken.
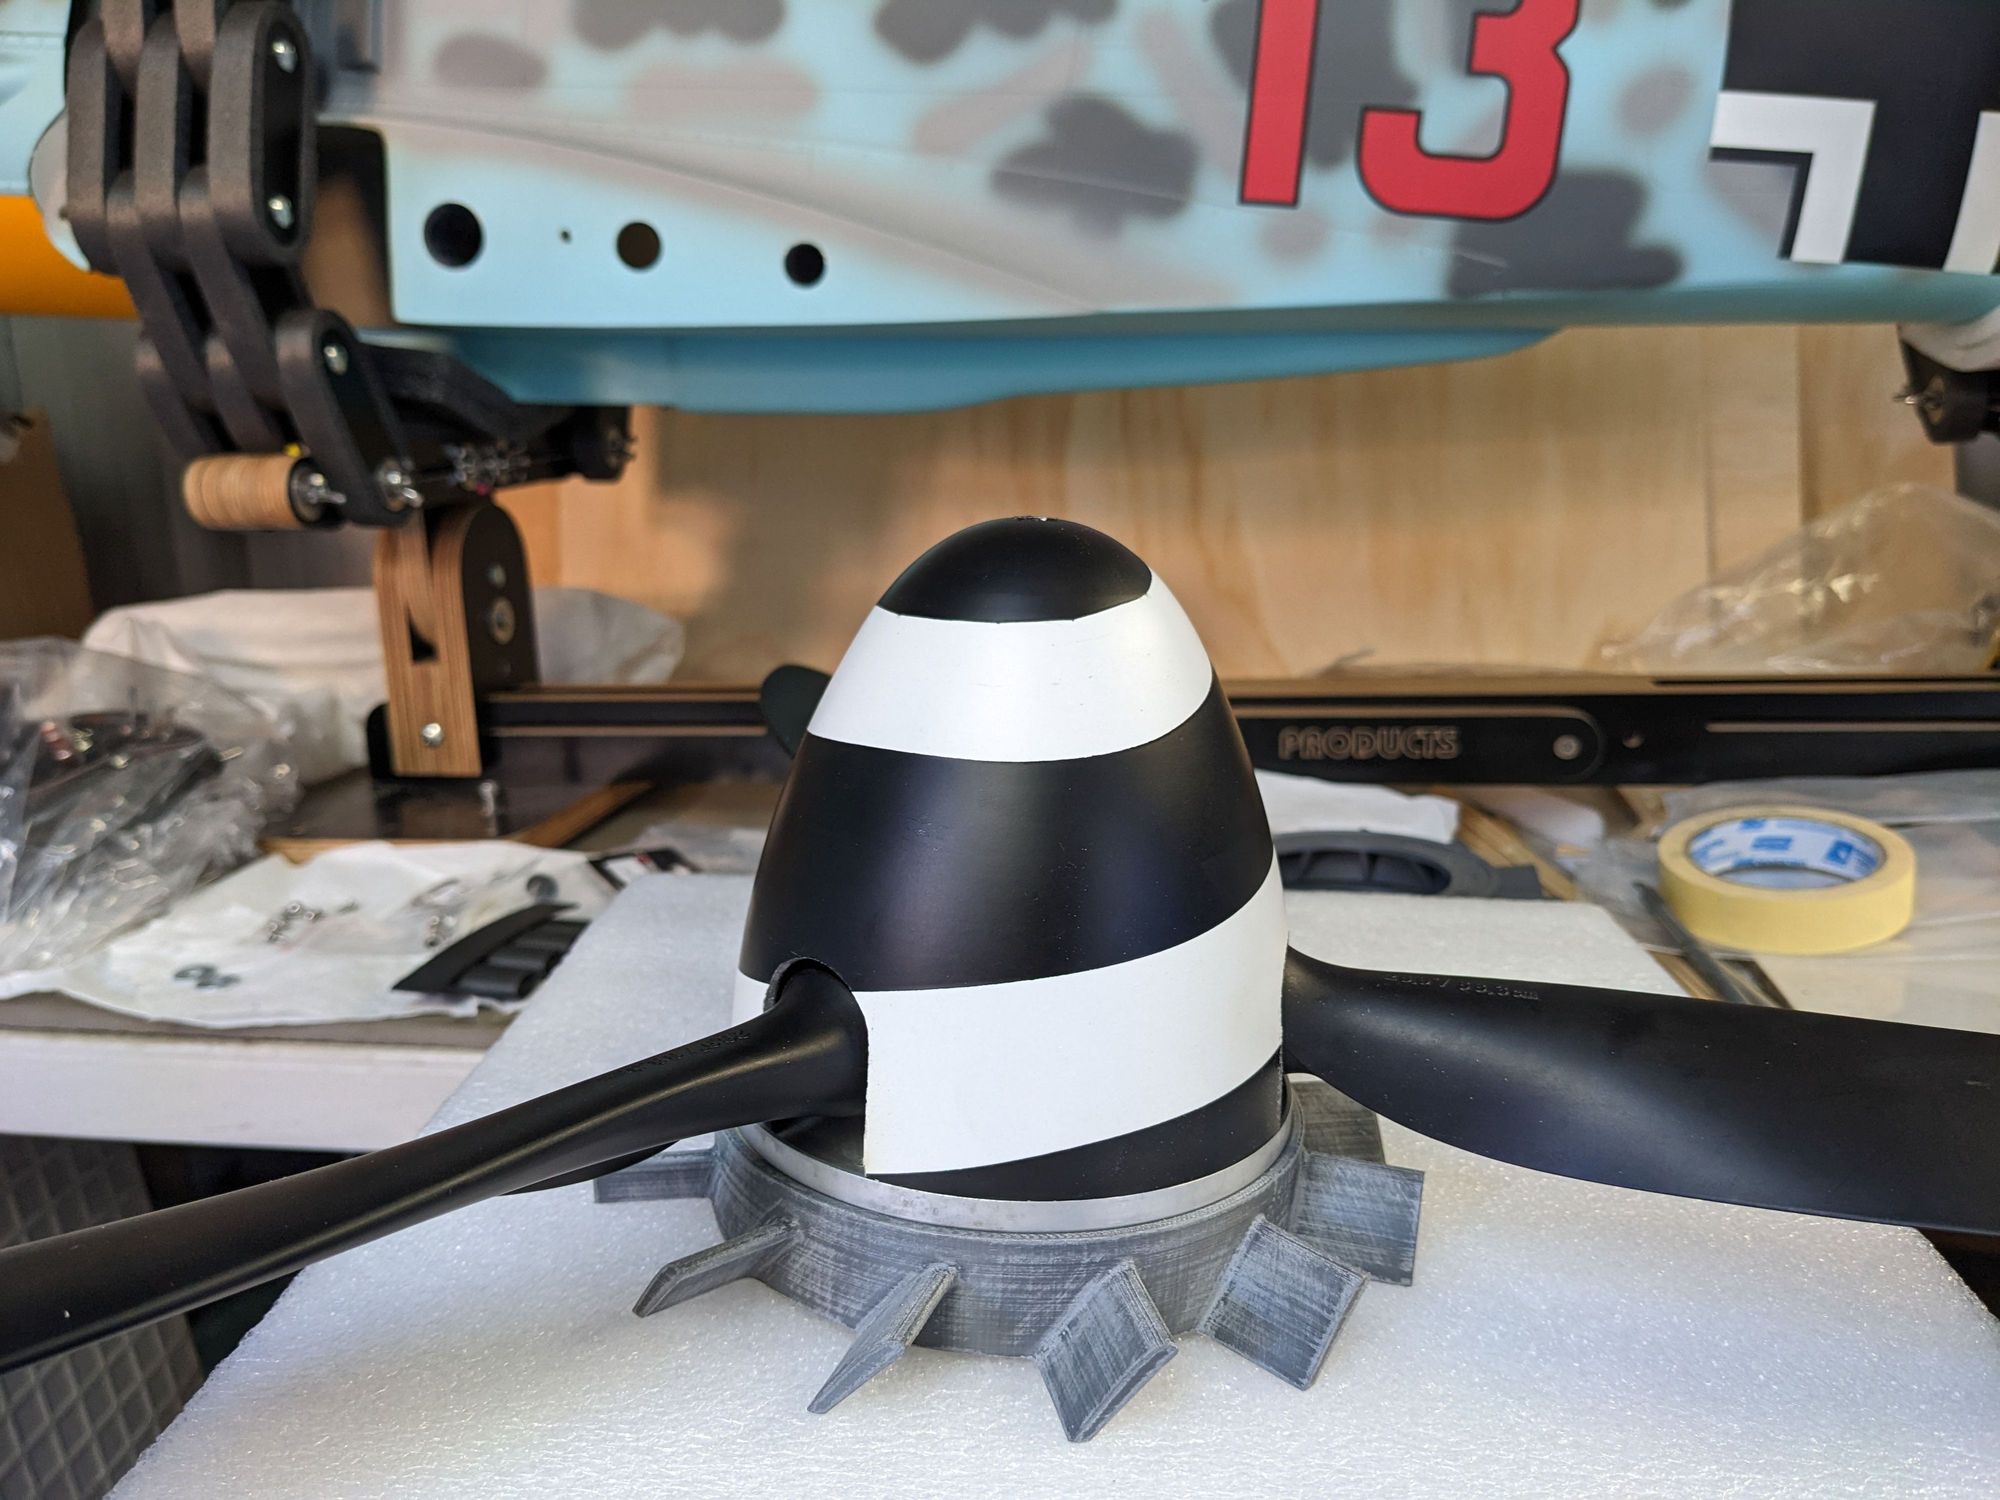
Anyways, I am still making the TOPRC Fans, Exhaust Stacks, and some other goodies. best send me a personal message and I will send you my phone number for whatsapp.
Rev

#1677
Junior Member
Join Date: May 2024
Posts: 4
Likes: 0
Received 0 Likes
on
0 Posts
Good Afternoon Reverend
Apparently the system will not allow me to send you a personal message. Can you contact me Via my email. [email protected]
Thank You
Apparently the system will not allow me to send you a personal message. Can you contact me Via my email. [email protected]
Thank You
#1678

Hi guyz, can somebody tell me how long stand offs I need? Would safe me a lot of time measuring and/or trial fitting. I have a Saito FG90R3 with a three blade Ramoser prop.
Thanks Marco
Thanks Marco
#1681
stand it on its tail with rudder off and secure to a step ladder, position the engine so it sits on the engine mount drill marks then do a trial fit of the cowl, make sure cowl is seated correctly then measure for prop hub face and centering within the cowl.
The centring is critical if you wish to fit a fan.
Adjust as necessary building it up till you have engine at correct distance from firewall. Note I used a piece of 8mm steel plate to add nose weight so might stand offs are a bit shorter than others.
Have a look back over my posts where I did this.
Measure, measure, measure then repeat!
#1683
#1685
There is always something! I have not flown in about 4 months as my landrover is in getting transmission done and there has been back log with parts and getting valve body done.
#1687

Join Date: Nov 2010
Location: FRANCE
Posts: 6
Likes: 0
Received 0 Likes
on
0 Posts
Hi everyone !
What is the current offer of fans ? Am not happy with 3D printed crap, looking for CNC milled options. Has there been such things in the past ?
If not, and enough people interested, I can draw plans and and investigate to get a batch of 50 units milled
Cheers
What is the current offer of fans ? Am not happy with 3D printed crap, looking for CNC milled options. Has there been such things in the past ?
If not, and enough people interested, I can draw plans and and investigate to get a batch of 50 units milled
Cheers
#1688
There is a long thread on the German warbird forum https://warbirdforum.de/forum/
#1689

My Feedback: (6)
I cant figure out how to post a picture but essentially if you look at the wing mounted on the fuse there is a seam just aft of the exhaust louvers on the side of the fuse and it lines up with a span wise seam on the wing. That is where I have the CG. i think it could still move aft even more. If you are unsure of the mark I descried. Post a picture with the line I just described for verification.
It will fly fine don't get so hung up on the CG.
Sparky
It will fly fine don't get so hung up on the CG.
Sparky
#1691
I have fan from rev as well, it is very sturdy and most definitely not crap!
elmshoot that i about where I have mine, maybe slightly rearward. See photo below. I changed the way I setup the model in the vanessa rig as with it upright and trying to measure on the cowl there is far too much cantilever moment which gives a false reading
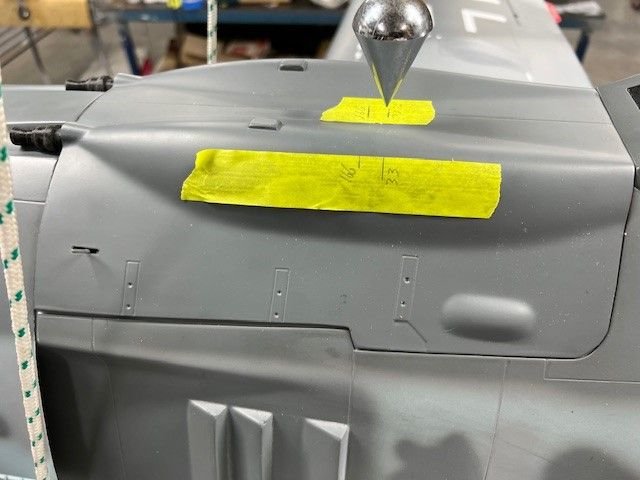
Here I am aiming for desired location and before I started to remove lead from the nose. This corresponds to the distance from earlier photo.
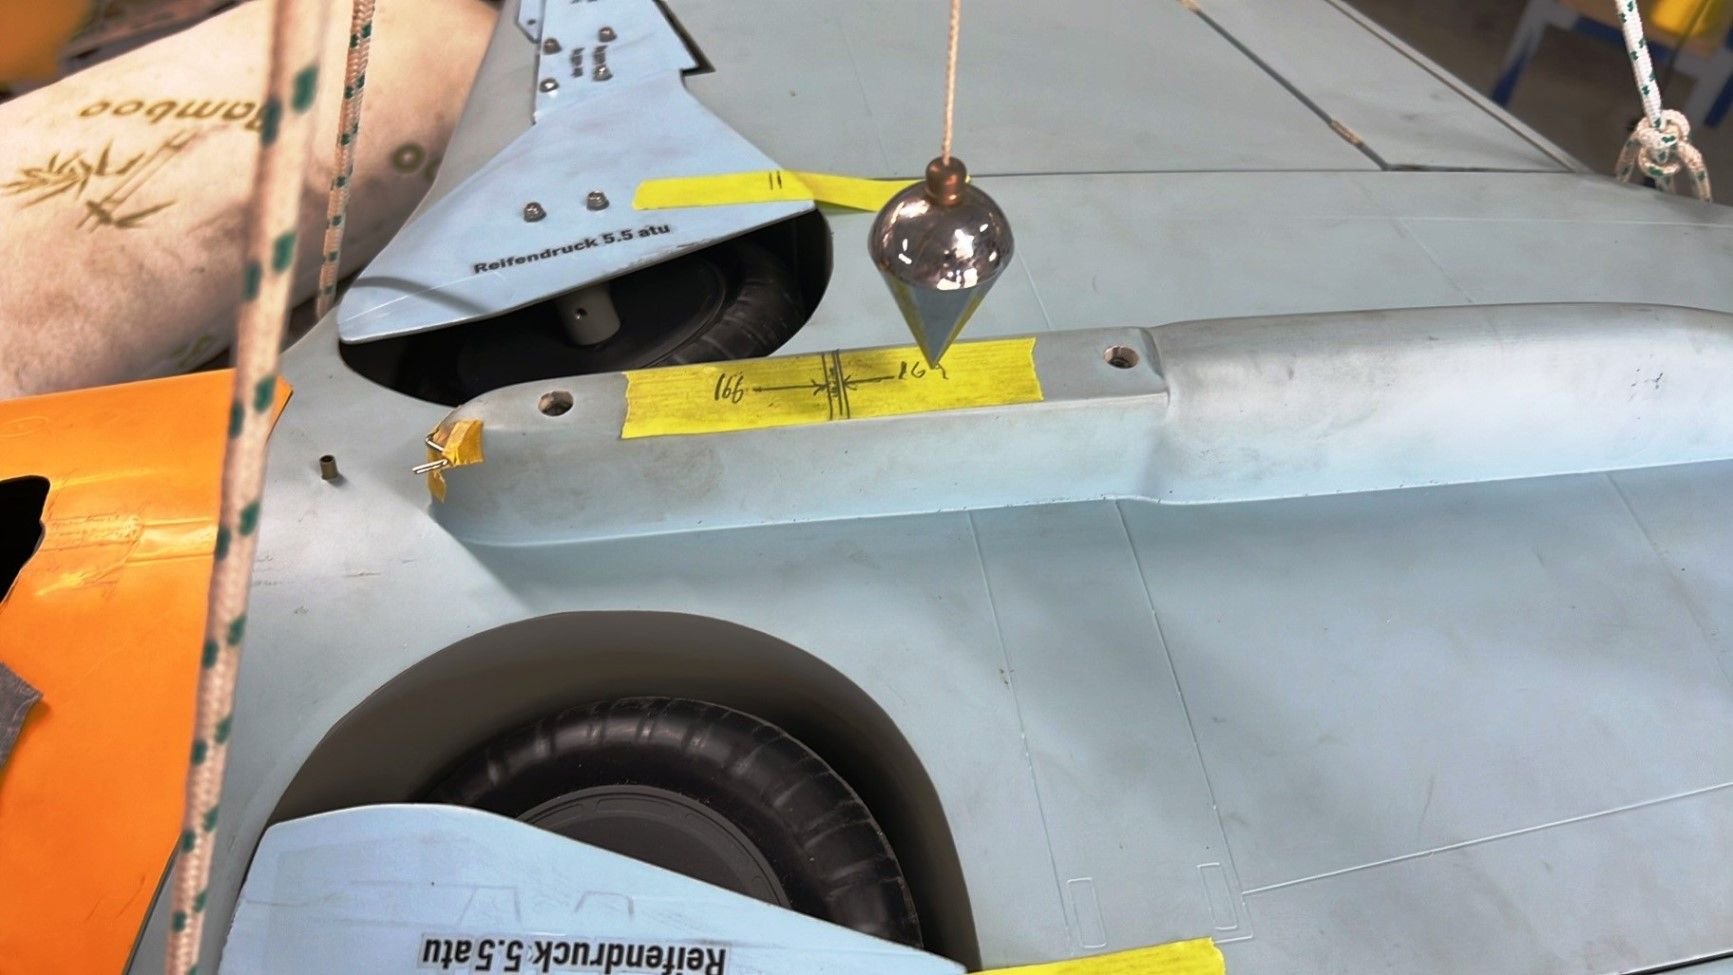
This photo shows the model on desired CG, sorry did not get a close up photo at the time. Helps to have a 100kg electric overhead winch on a gantry.
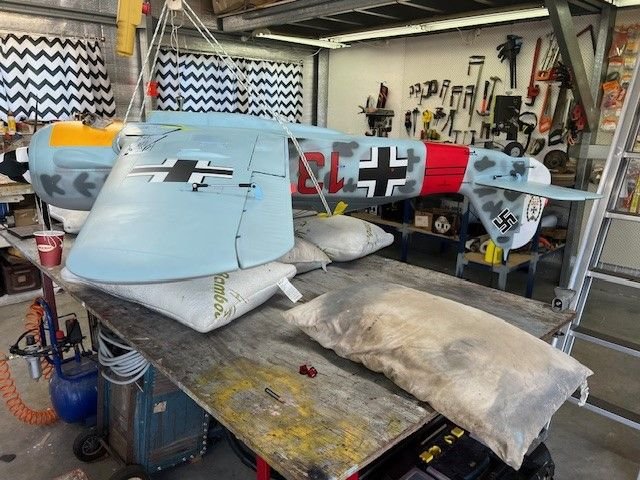
elmshoot that i about where I have mine, maybe slightly rearward. See photo below. I changed the way I setup the model in the vanessa rig as with it upright and trying to measure on the cowl there is far too much cantilever moment which gives a false reading

Here I am aiming for desired location and before I started to remove lead from the nose. This corresponds to the distance from earlier photo.

This photo shows the model on desired CG, sorry did not get a close up photo at the time. Helps to have a 100kg electric overhead winch on a gantry.

#1692
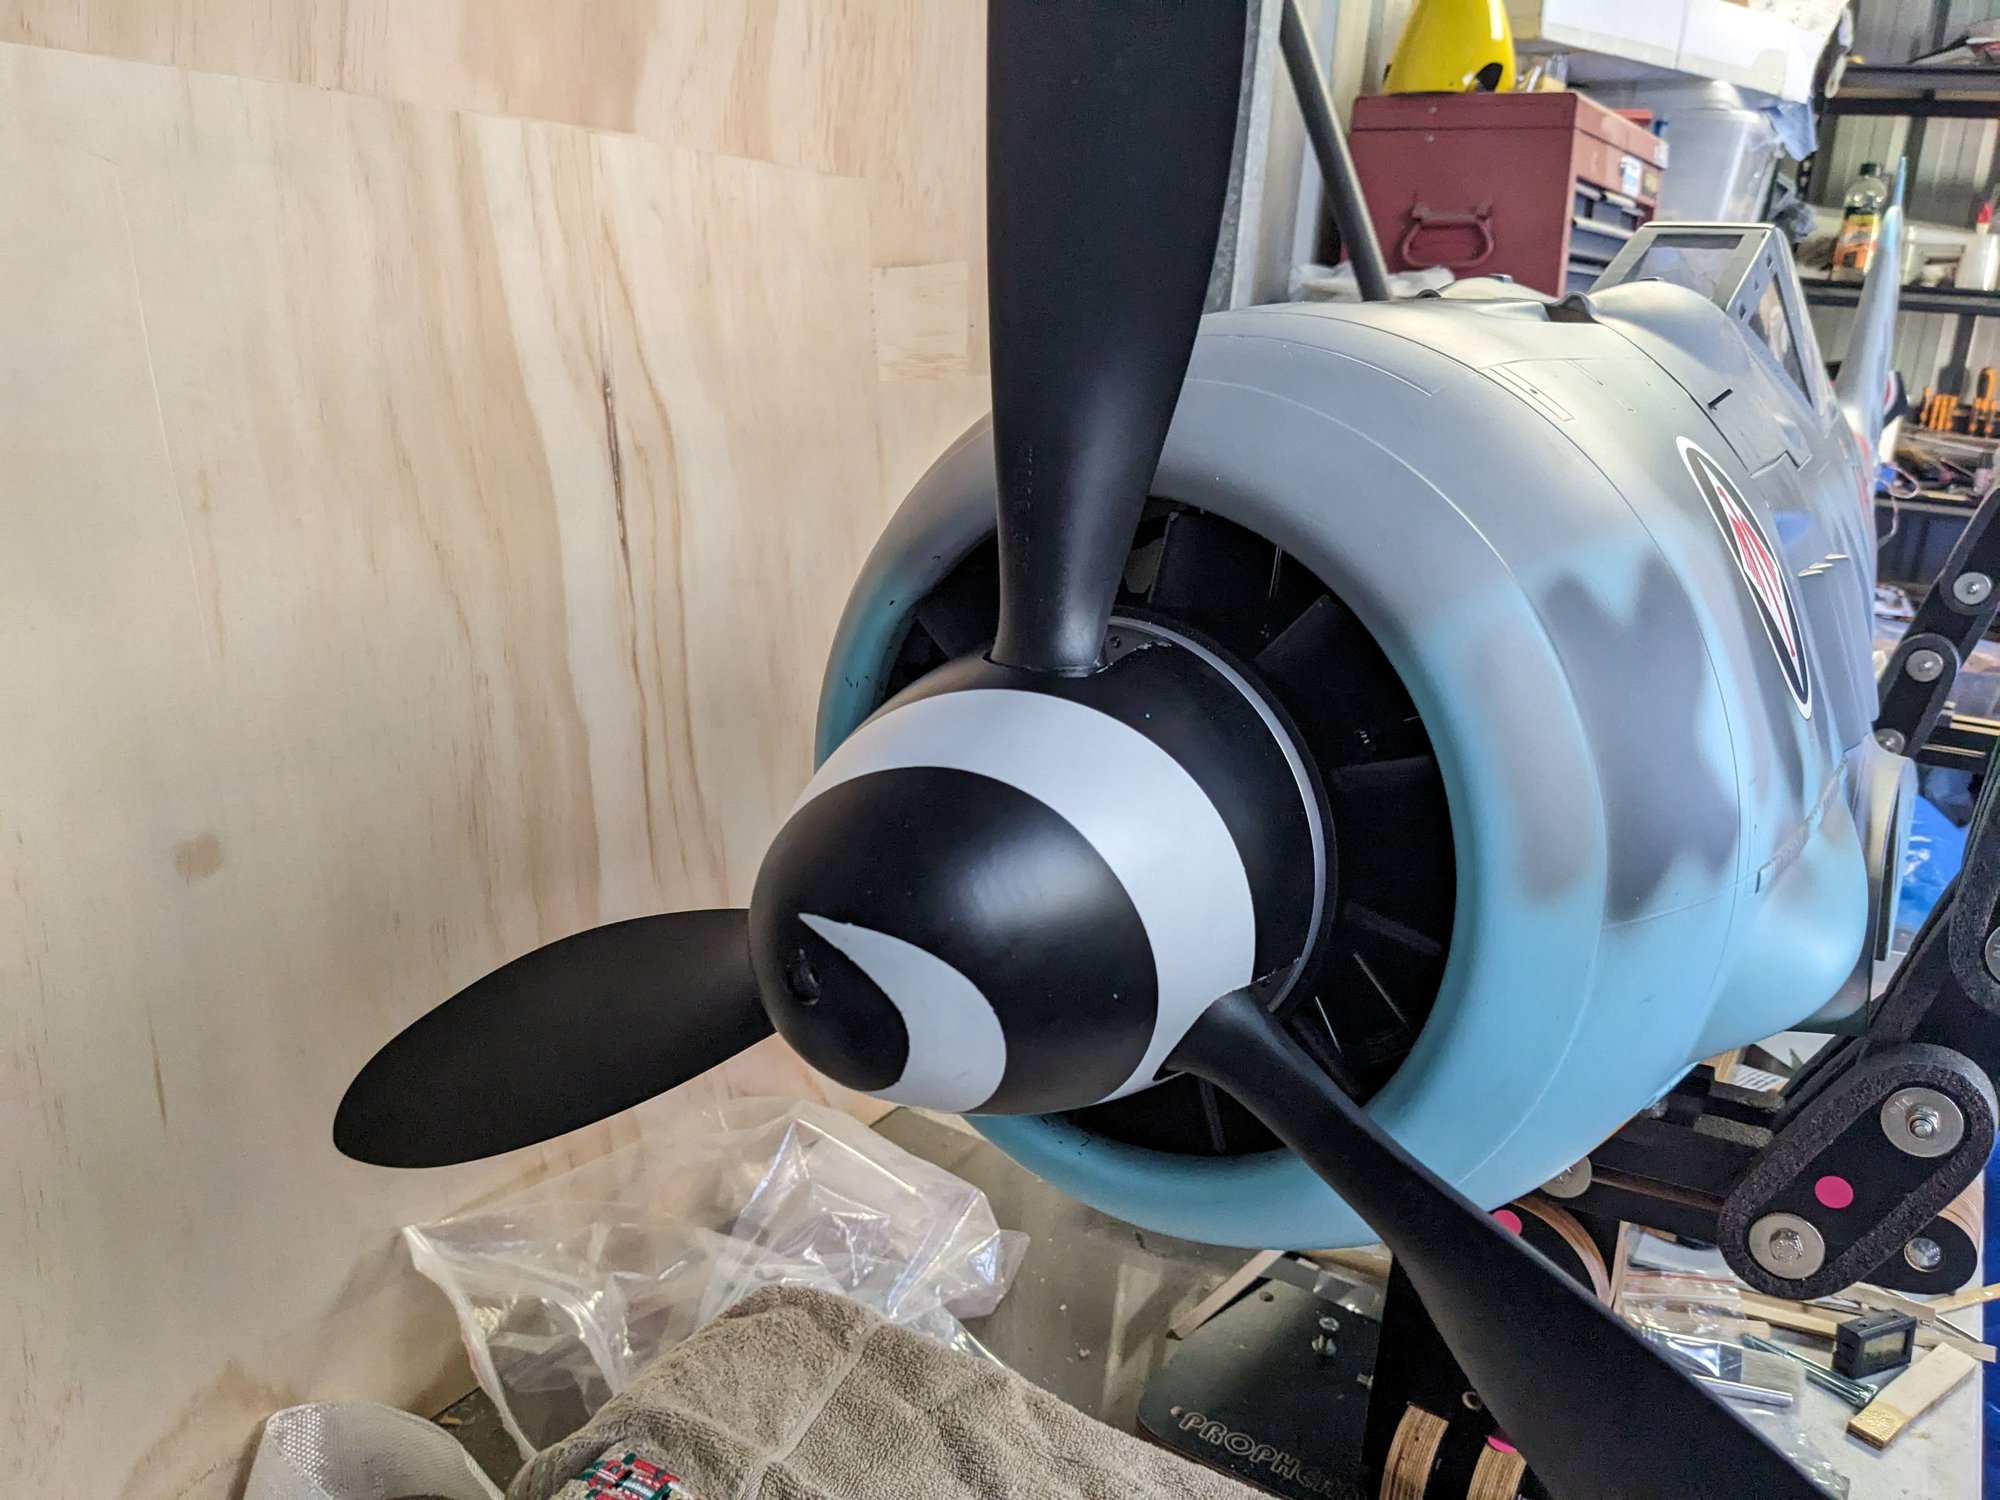
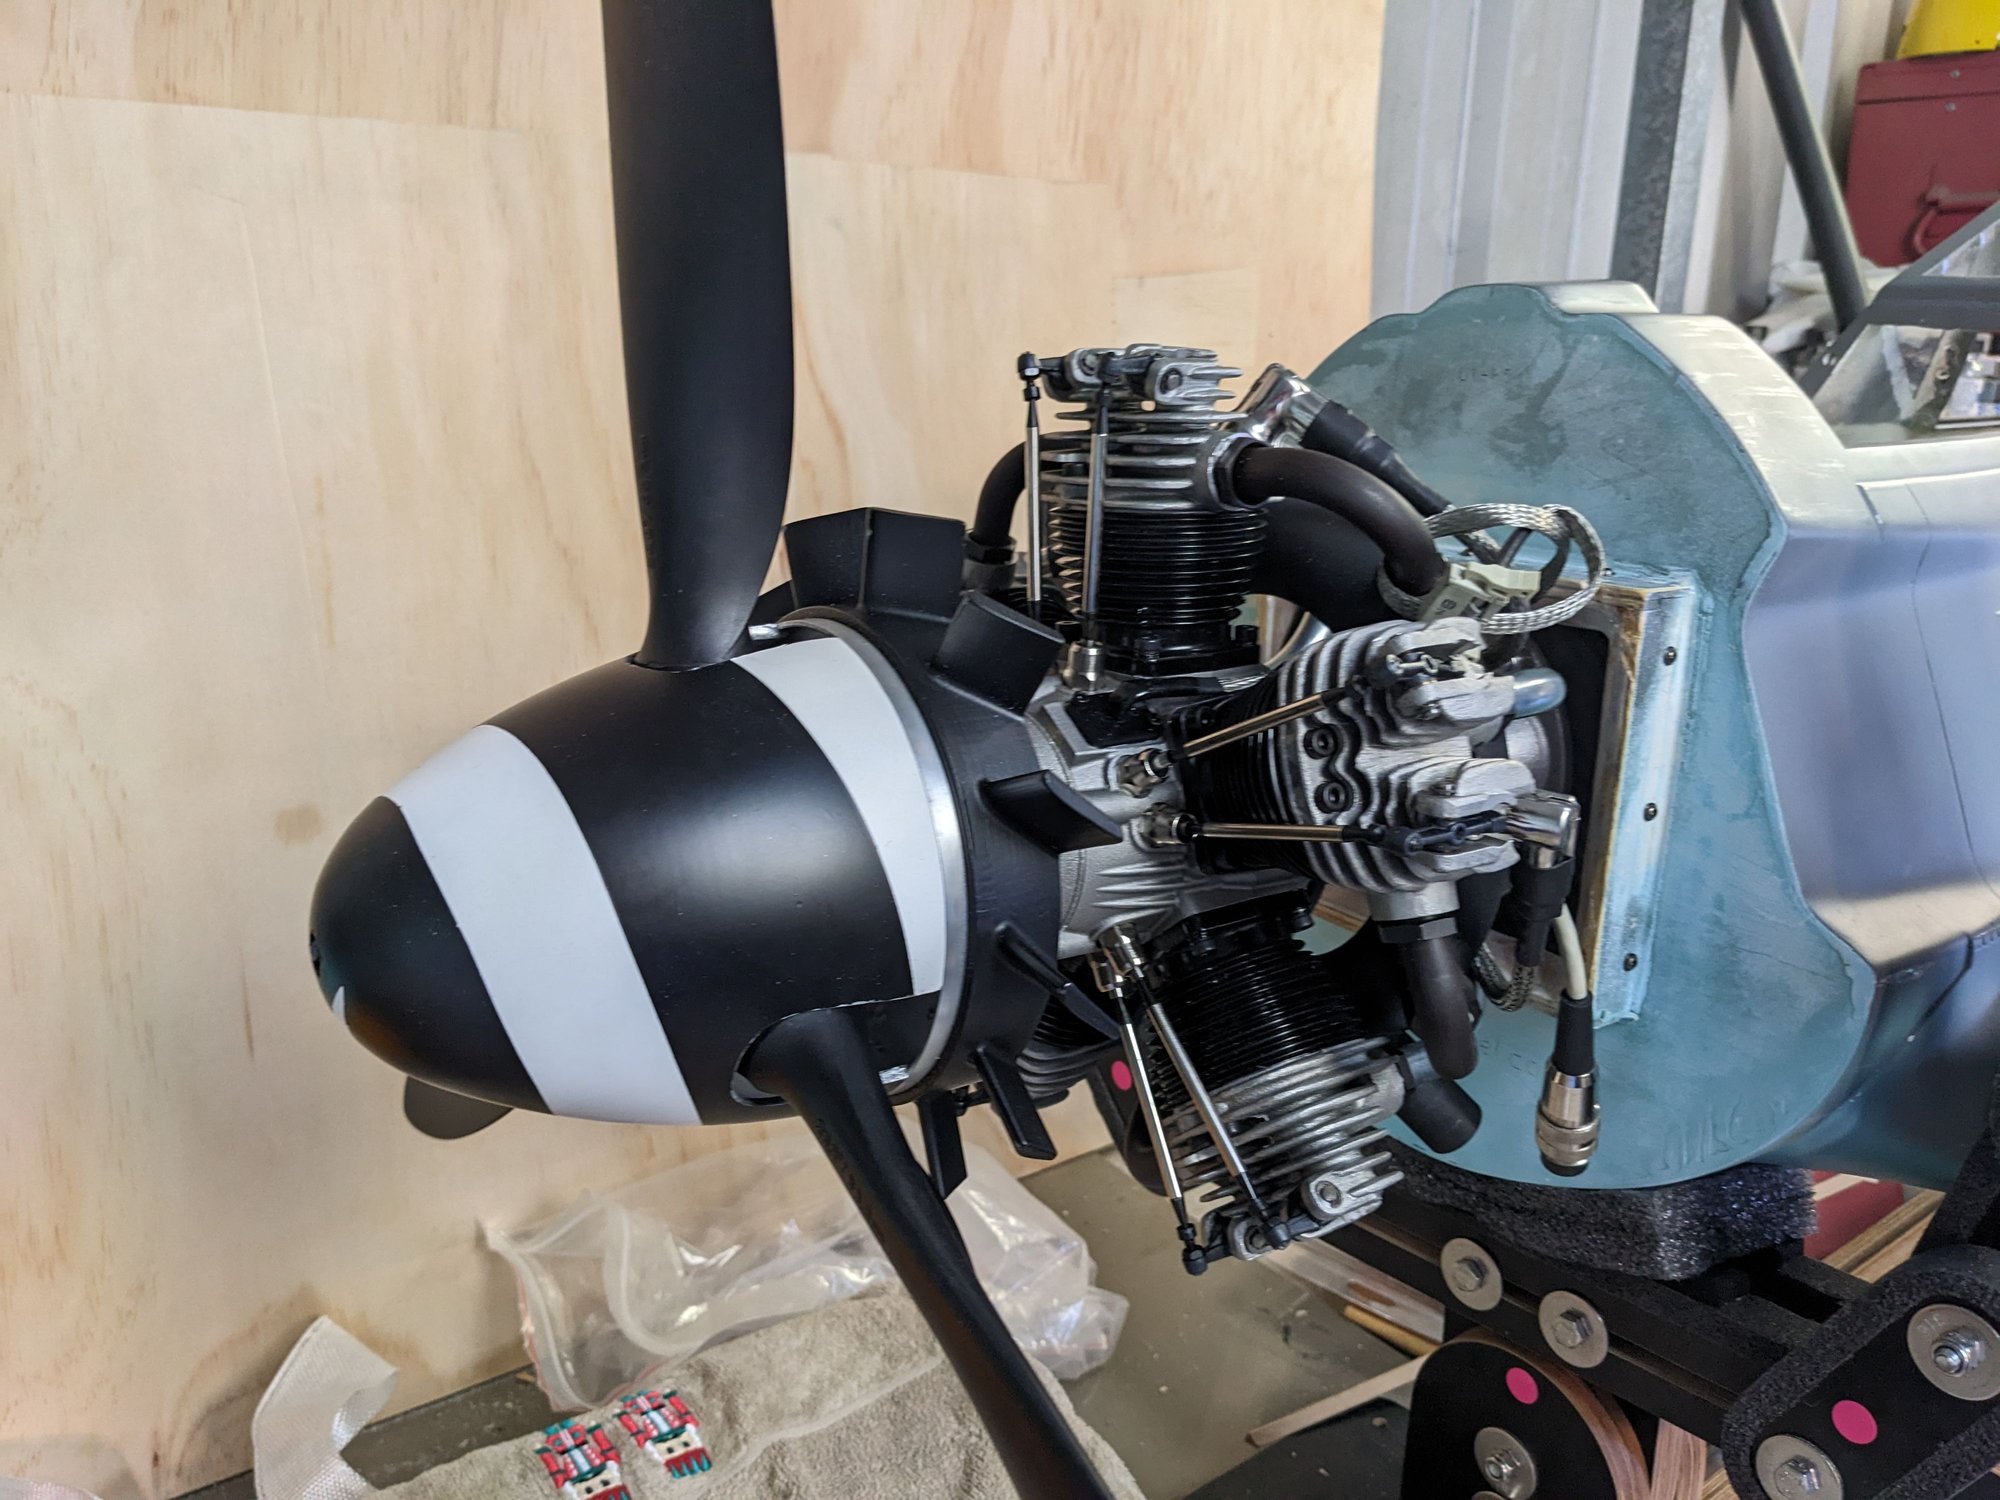
Spinner and fan, I am very happy with the fan by Rev. It was very close on balance with only minor light sand needed to get it to spin true. If you wish to fit a fan then it is critical that it is centered correctly as well as the correct distance in relation to the cowl lip.
This takes very careful placement of the engine. Measure, measure and measure again. I placed mine loose and used shims to ensure it was centered.
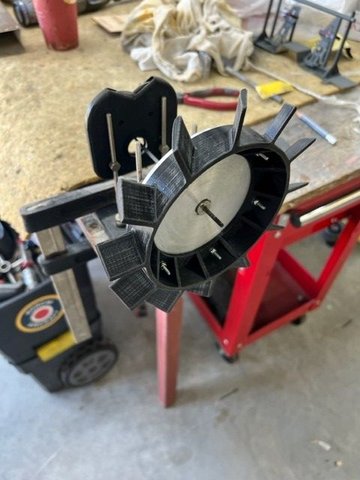
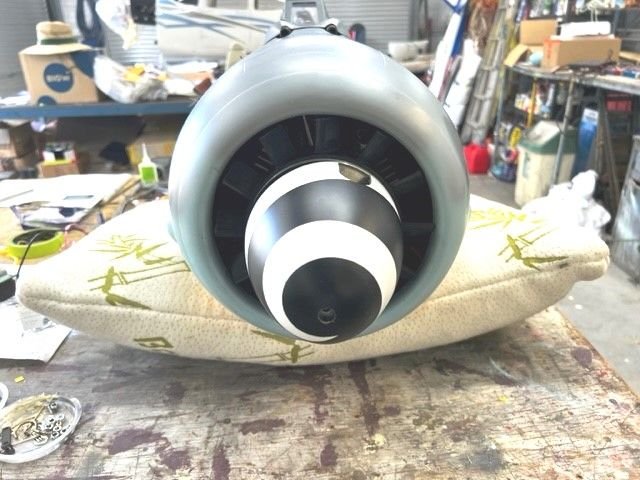
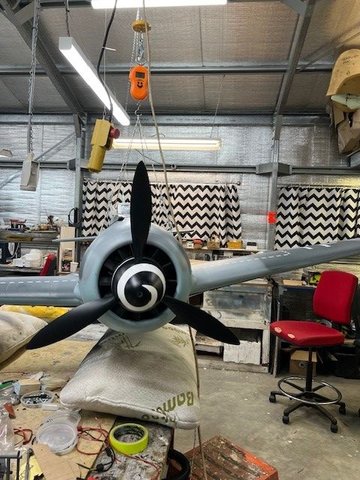
This takes very careful placement of the engine. Measure, measure and measure again. I placed mine loose and used shims to ensure it was centered.


#1694
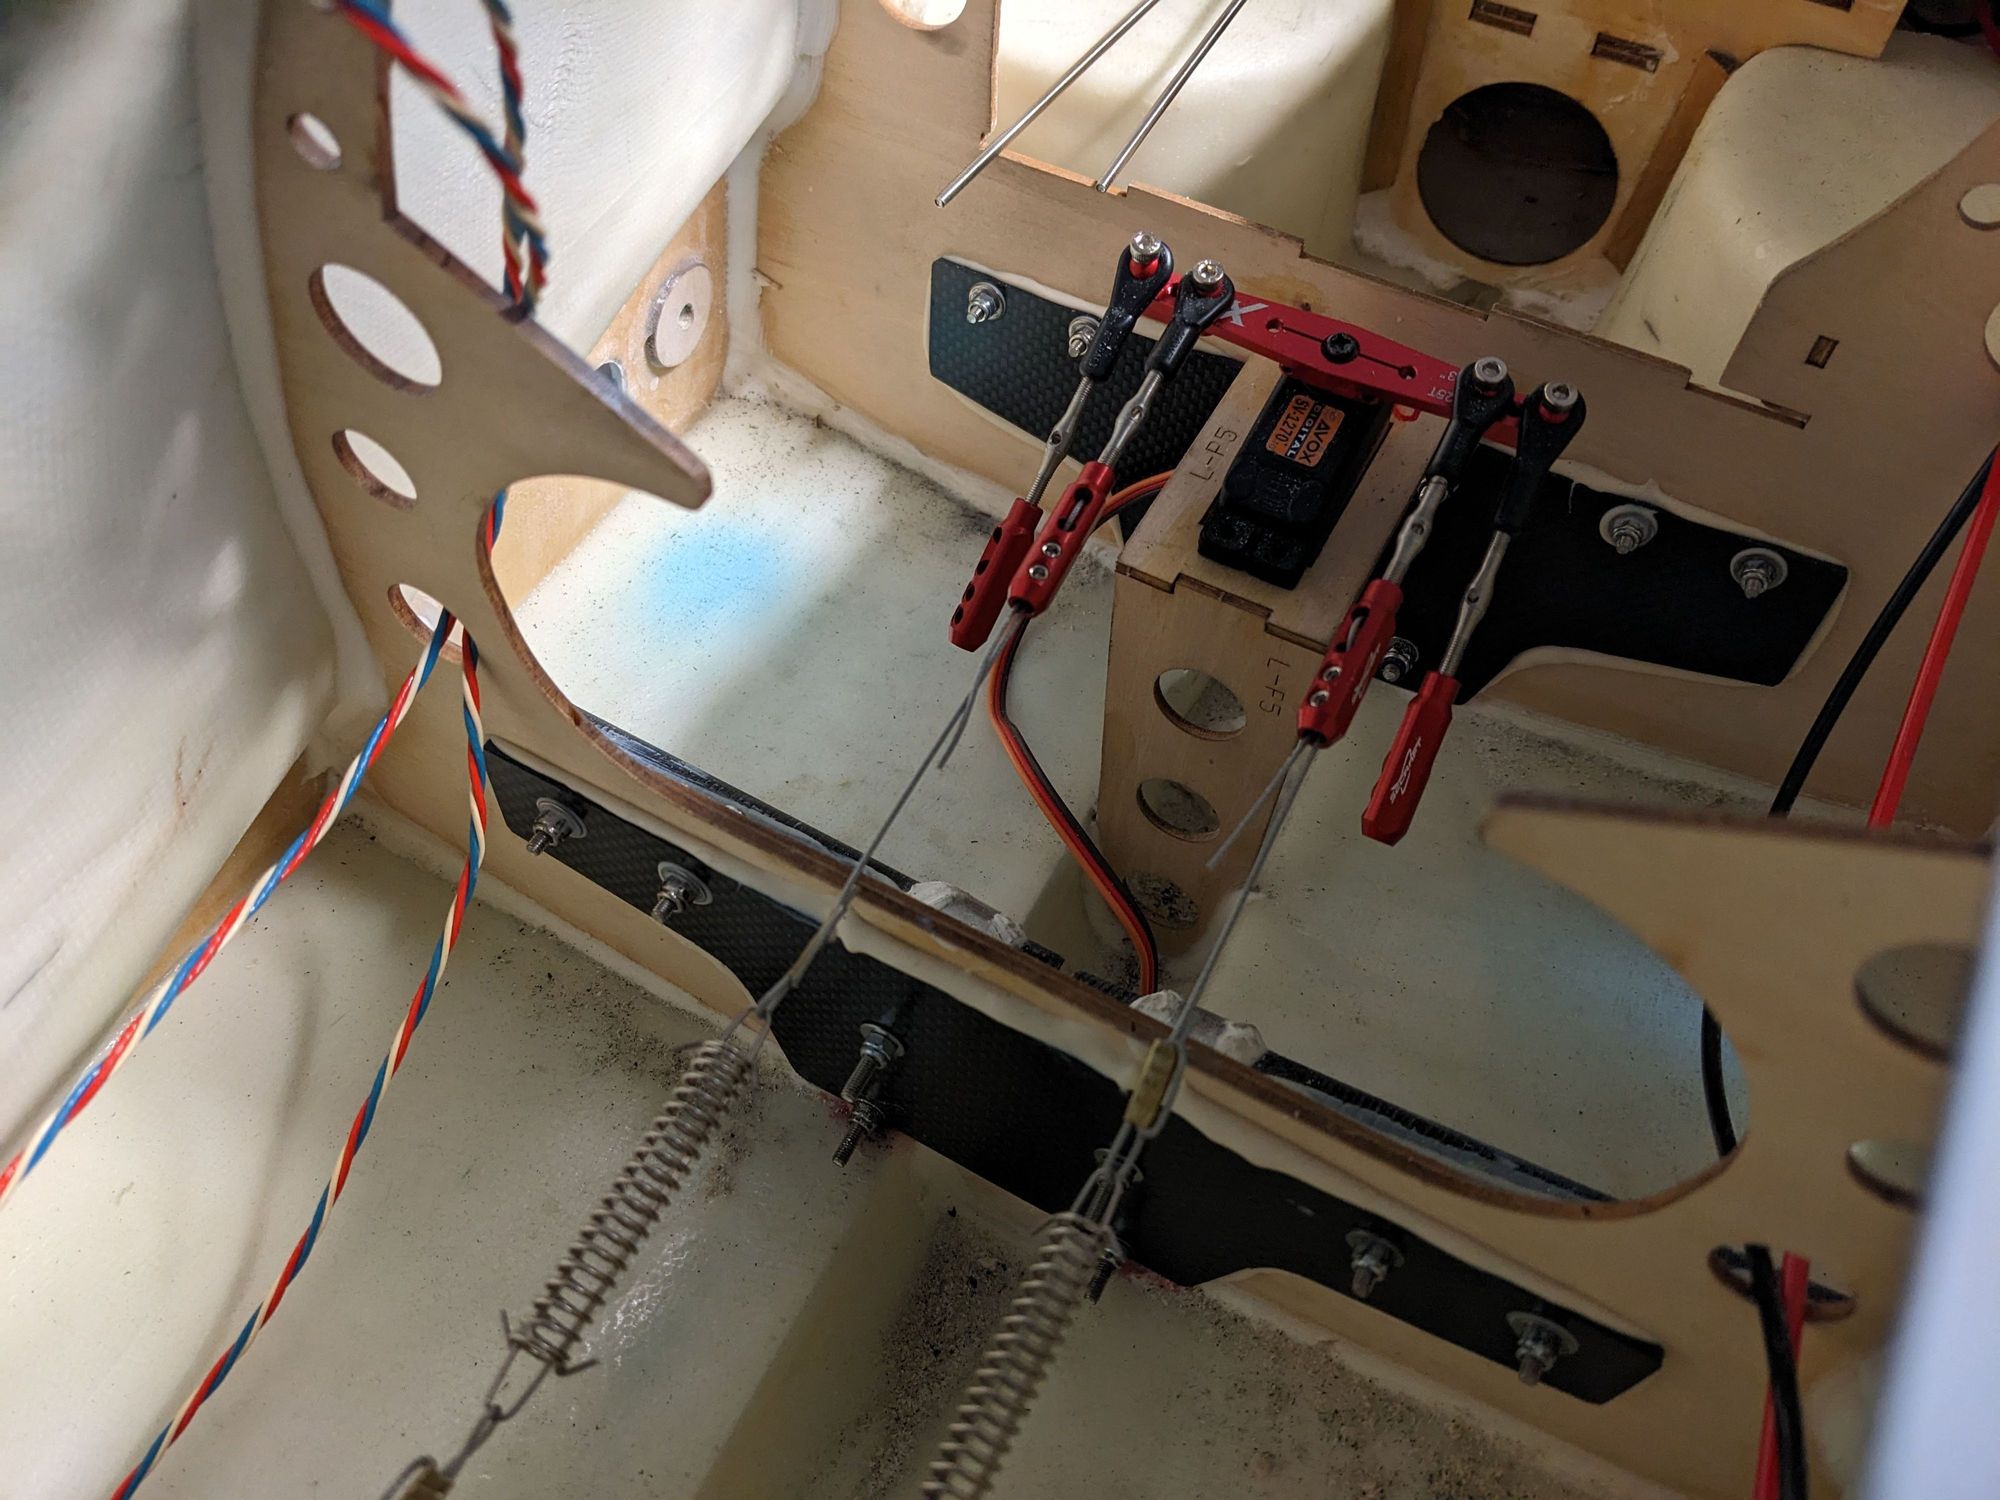
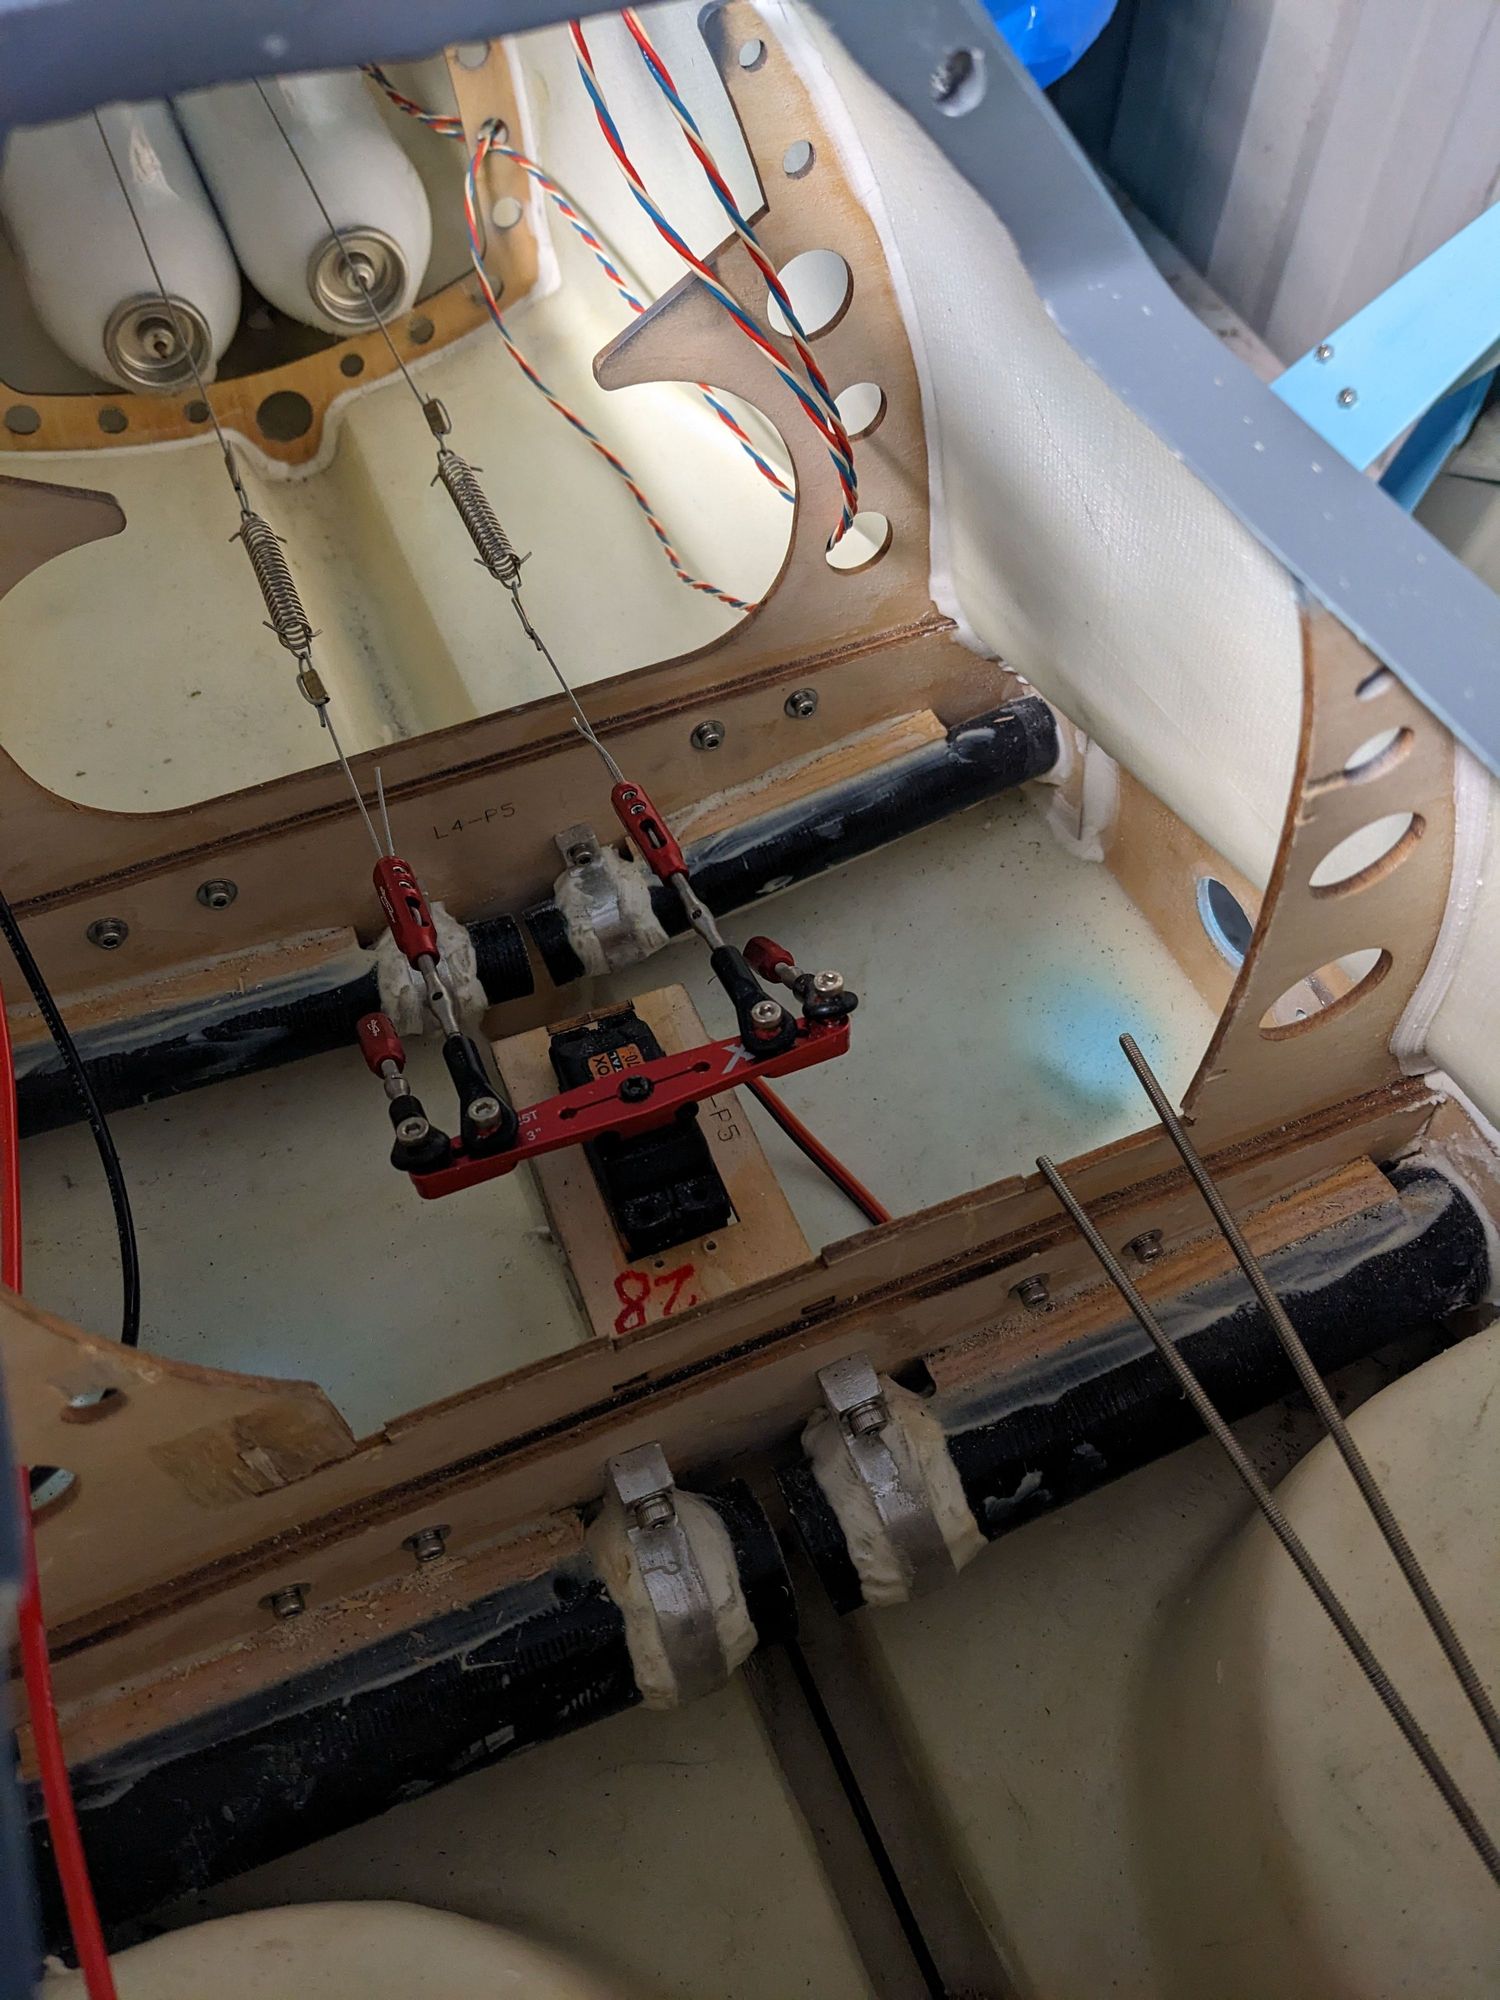
I thought about what would be the easiest way to strengthen the center spars without rebuilding like some have and decided to hysol and bolt on 3mm carbon plates. What have others done to strengthen it? I think this will hold up well.


#1695

Still haven't flown mine! CG seems to be a contentious point on this model. From what I have read the stated position of CG in the manual would appear to be far too nose heavy. I think elmshoot (sparky) had been steadily moving his rearward.
There is a long thread on the German warbird forum https://warbirdforum.de/forum/
There is a long thread on the German warbird forum https://warbirdforum.de/forum/
Hi, I just did setup CG as described in the manual, the plane flies great!
Carlo
#1696
as for the reinforcing, I used aircraft grade 5mm plywood and had it shaped to match the fuselage shape. This was epoxied to the existing plywood and hysol around the edges.
Most importantly the disc / holes cut in original plywood need to be filled with a suitable plywood disc and epoxied in.
Bolts then go through the lot.
In your case the only thing with your method would be to have the carbon doubler tapered to distribute the loads, with a sharp 90 degree cutoff on the ends that will induce a potential failure point.


