Road trips: 2024
#76
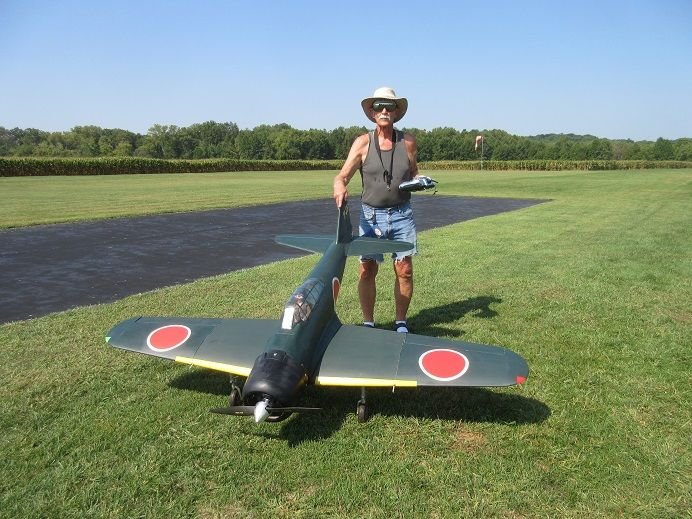
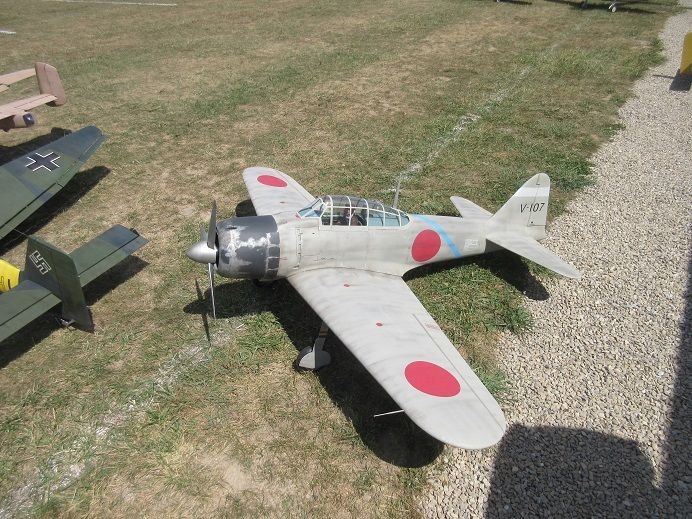
PM the A6M Zero.
One of the elevator servos is defective.
The previous owner in this estate sale used caulk to secure the horizontal stab to the fuse.
I used 'heat' and a razor saw to remove the stabs.
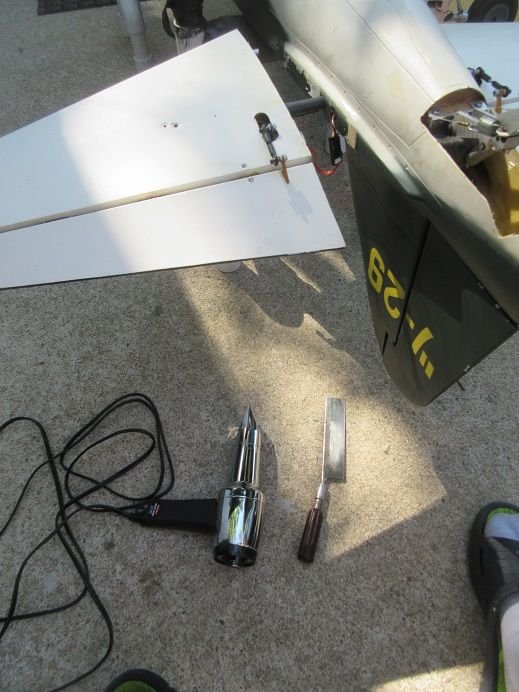
A CF tube and anti rotation rods are on the stabs.
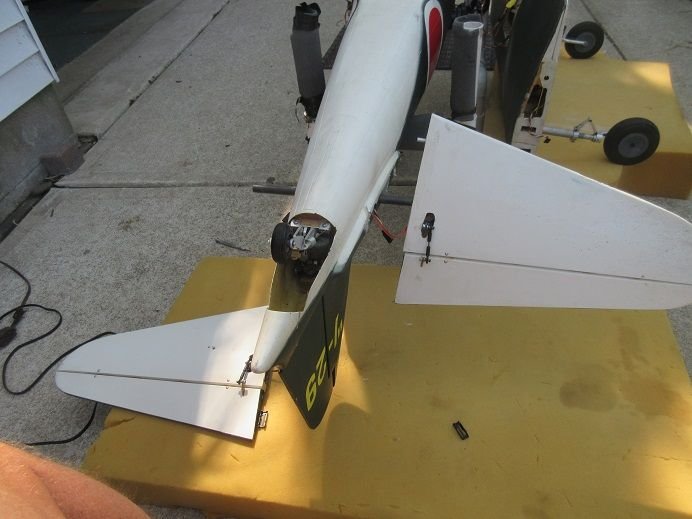
The previous owner epoxied the servo into the servo tray.
This is the result of the servo after I manage to remove it!
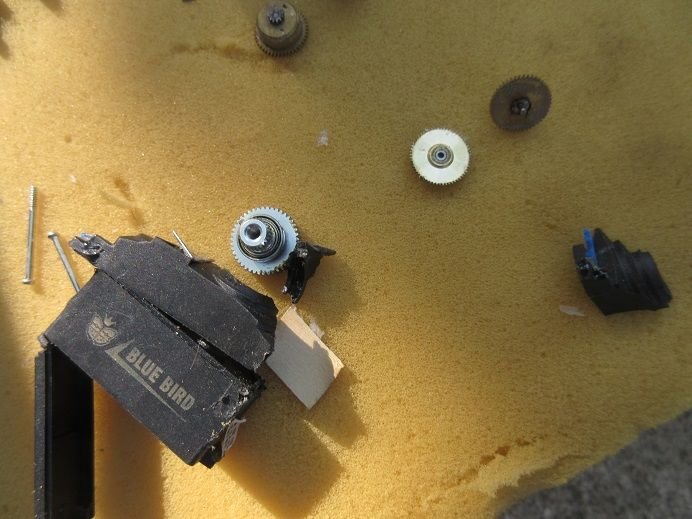
The original servos were digital so I installed a digital servo and it was very slow responding compared to the other side's servo.
I replaced it with an analog servo and all's good.
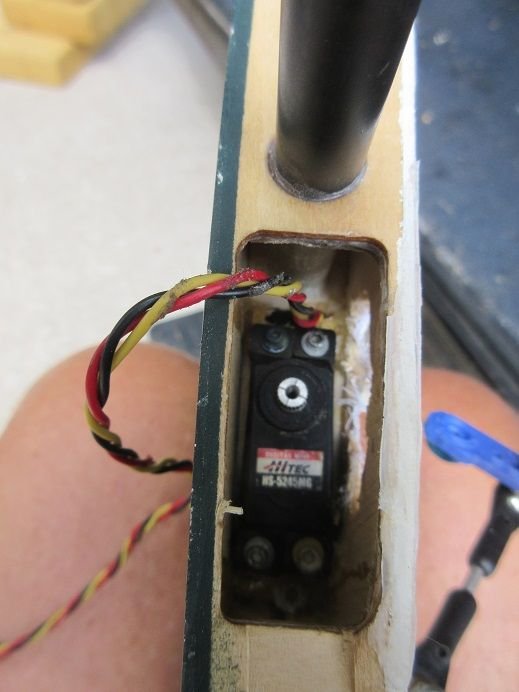
I had to use my Dremel 'narrow extension' part to drill the holes in that small opening in the stab.
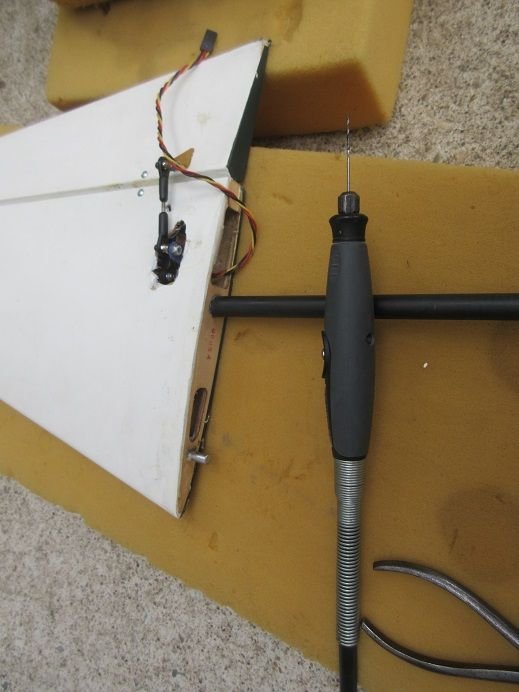
Safety clips added.
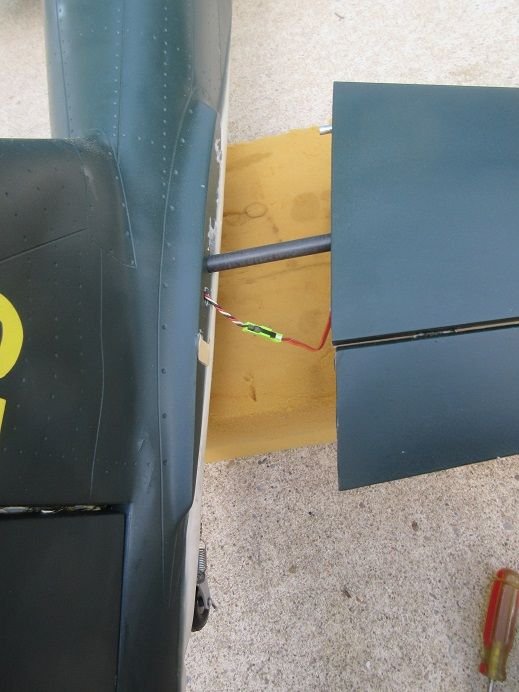
While running the engine the left flap was 'flapping'.
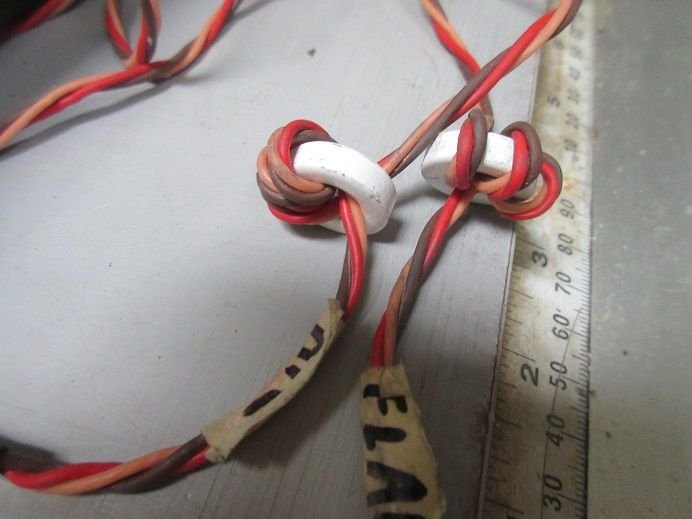
Previously, I replaced both servos so I replaced the wire extensions.
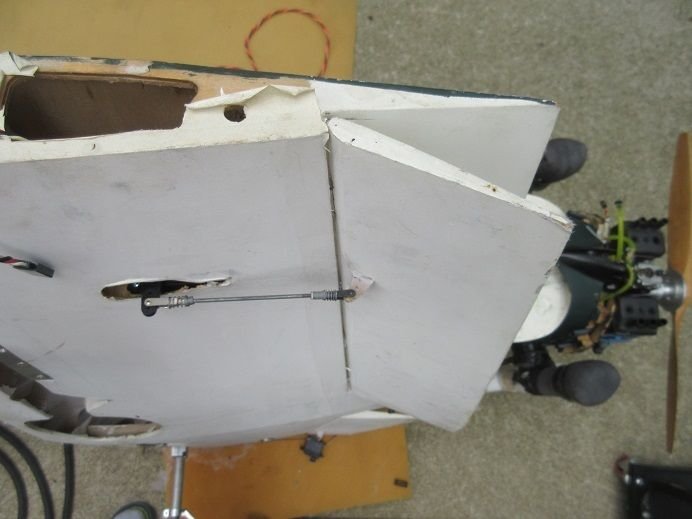
I also placed these metal donuts to reduce interferance.
I wrap the extension 3 times through the donut hole.
Just a 'tad' nose heavy.
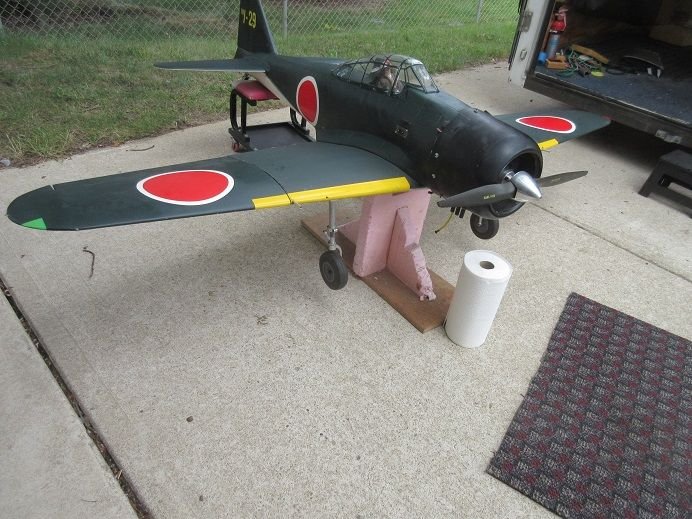
Ready for the maiden.
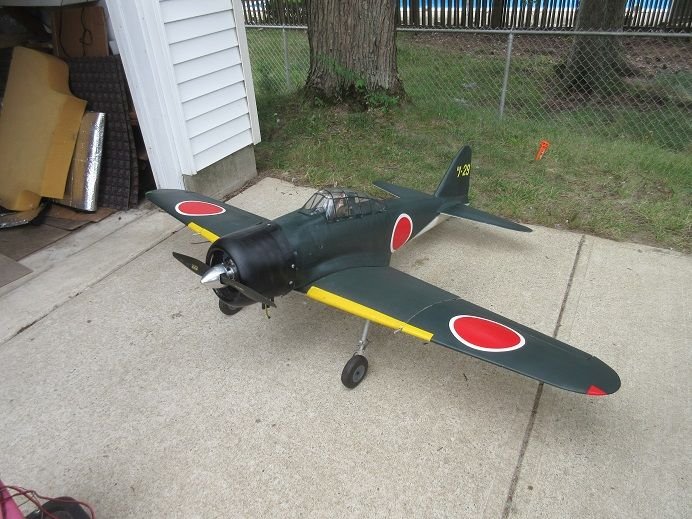
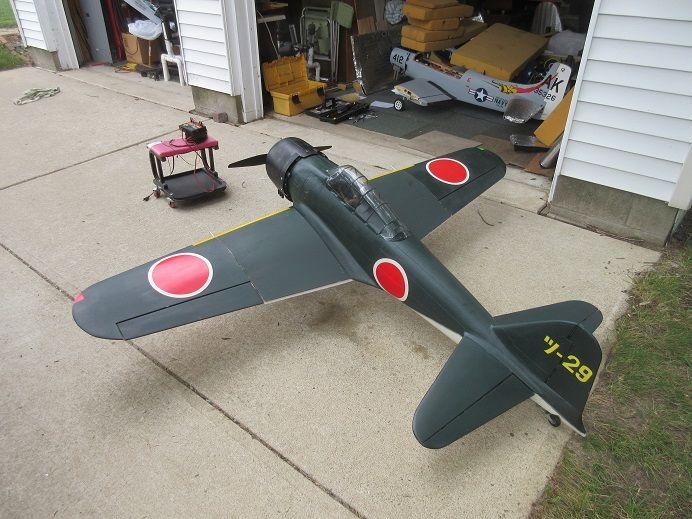
The cowl has a lot of weight on it from the previous owner but there are 7 screws that go into blind nuts so that should keep the cowl secure.
Also, I had to file some of the spinner to clear the prop hub area.
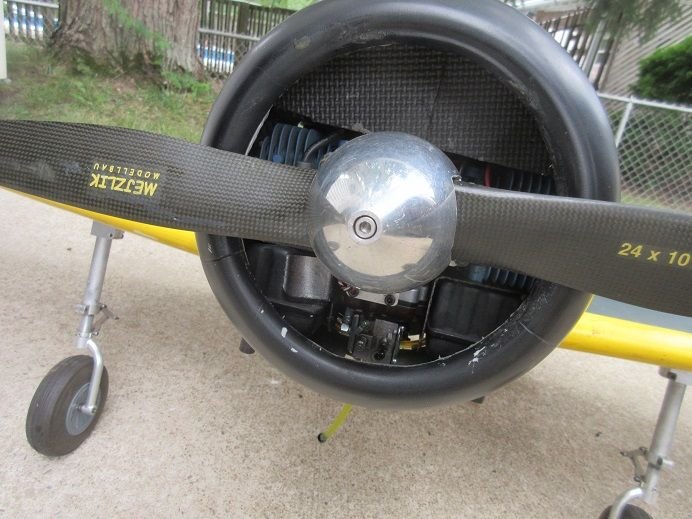
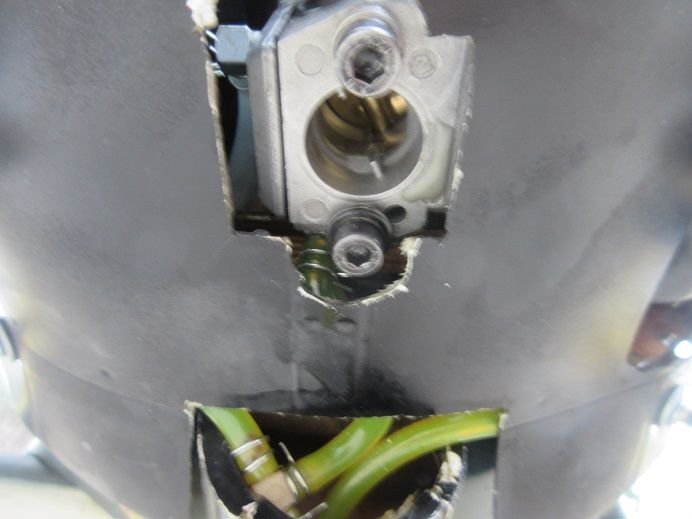
As mentioned previously, the replacement carb with a choke was not functional (probably the metering valve).
I didn't want to replace the original without a choke now that everything is 'working'.
I just have the hassle of pumping fuel into the carb on initial starts.
With the carb at the bottom of the engine and a big hole in the cowl, at least it is 'easy' access to the carb!
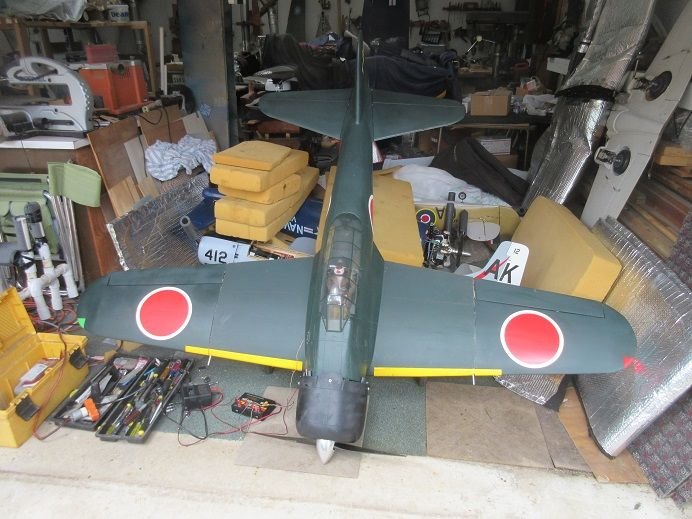
Charging the batteries.
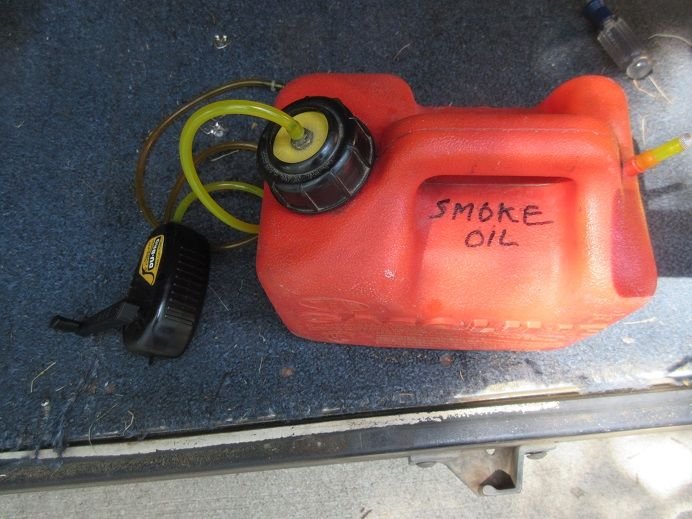
Cleaned out the old smoke oil tank as it had a some dark 'crud' in the bottom of the tank and put a new gallon of smoke oil into the tank.
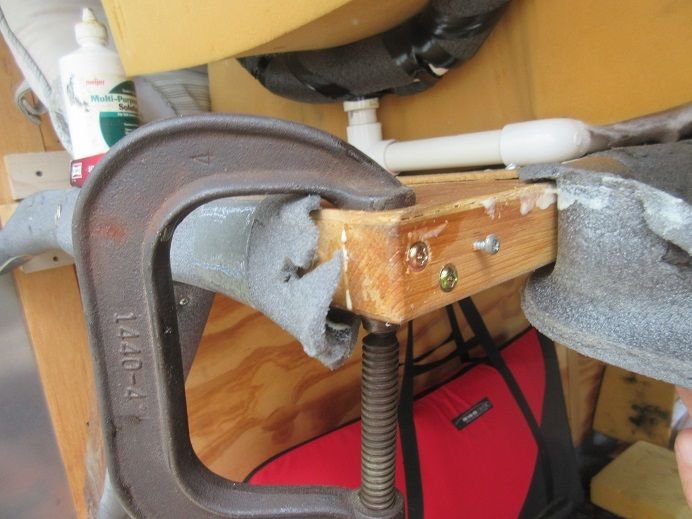
Noticed one of my shelves (hollow core door) in my trailer was 'coming apart' so I glued and screwed it.
One of the elevator servos is defective.
The previous owner in this estate sale used caulk to secure the horizontal stab to the fuse.
I used 'heat' and a razor saw to remove the stabs.

A CF tube and anti rotation rods are on the stabs.

The previous owner epoxied the servo into the servo tray.
This is the result of the servo after I manage to remove it!

The original servos were digital so I installed a digital servo and it was very slow responding compared to the other side's servo.
I replaced it with an analog servo and all's good.

I had to use my Dremel 'narrow extension' part to drill the holes in that small opening in the stab.

Safety clips added.

While running the engine the left flap was 'flapping'.
Previously, I replaced both servos so I replaced the wire extensions.

I also placed these metal donuts to reduce interferance.
I wrap the extension 3 times through the donut hole.

Just a 'tad' nose heavy.

Ready for the maiden.


The cowl has a lot of weight on it from the previous owner but there are 7 screws that go into blind nuts so that should keep the cowl secure.
Also, I had to file some of the spinner to clear the prop hub area.

As mentioned previously, the replacement carb with a choke was not functional (probably the metering valve).
I didn't want to replace the original without a choke now that everything is 'working'.
I just have the hassle of pumping fuel into the carb on initial starts.
With the carb at the bottom of the engine and a big hole in the cowl, at least it is 'easy' access to the carb!

Charging the batteries.

Cleaned out the old smoke oil tank as it had a some dark 'crud' in the bottom of the tank and put a new gallon of smoke oil into the tank.

Noticed one of my shelves (hollow core door) in my trailer was 'coming apart' so I glued and screwed it.

Last edited by samparfitt; 08-15-2024 at 01:27 PM.
#77
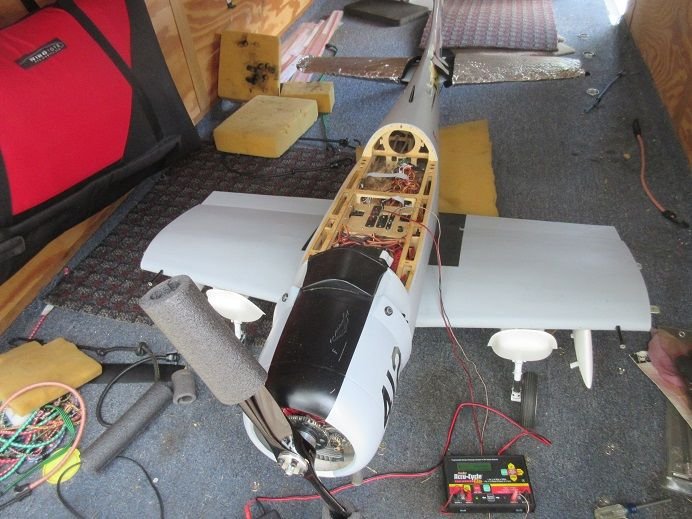
PM the Saito R450 75 CC 3-cylinder glow engine.
Previously, I think I bent the piston rods due to too much fuel in the cylinders.
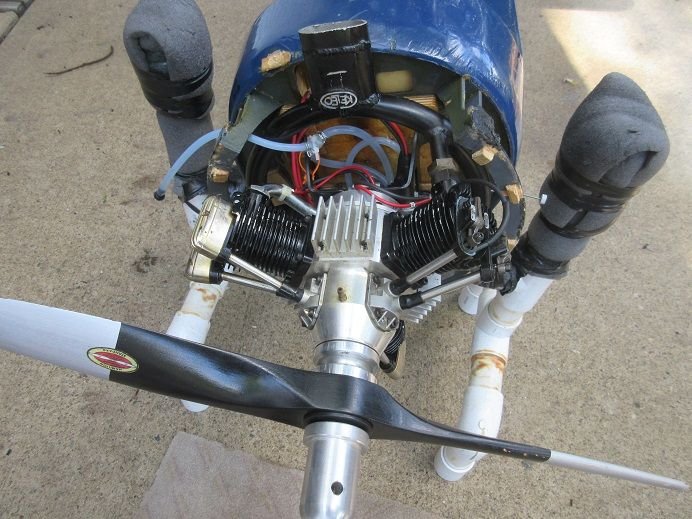
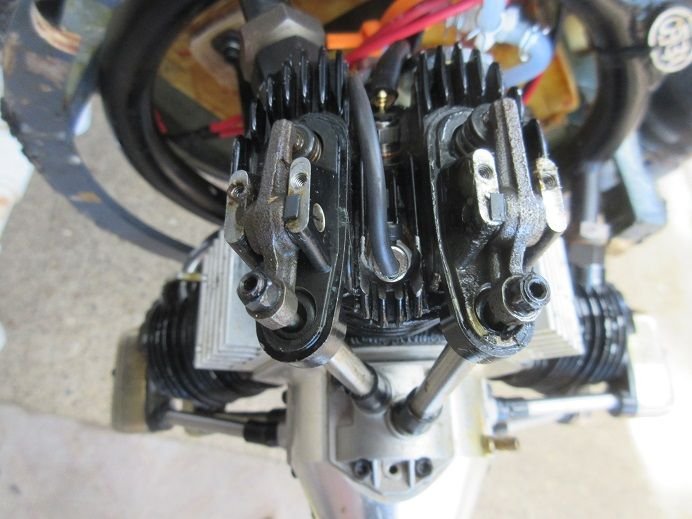
I removed the push rods covers to insure all those are working.
I tried starting the engine but it sounds 'sick' and has low RPM's.
I may just put a G-62 on her.
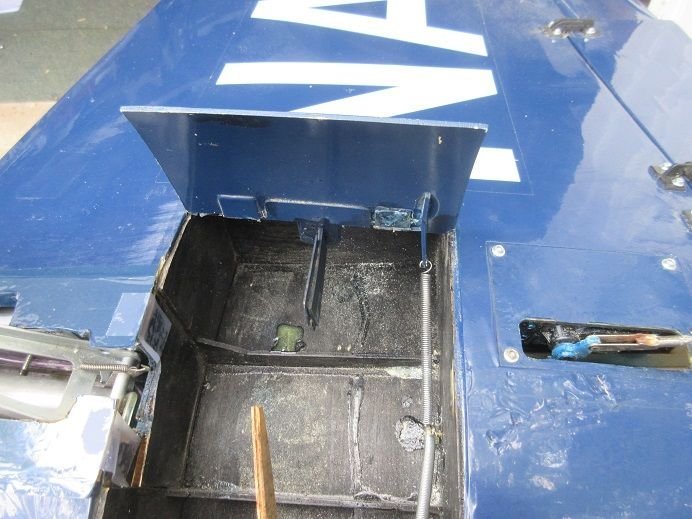
One damaged door was fixed and re-attached.
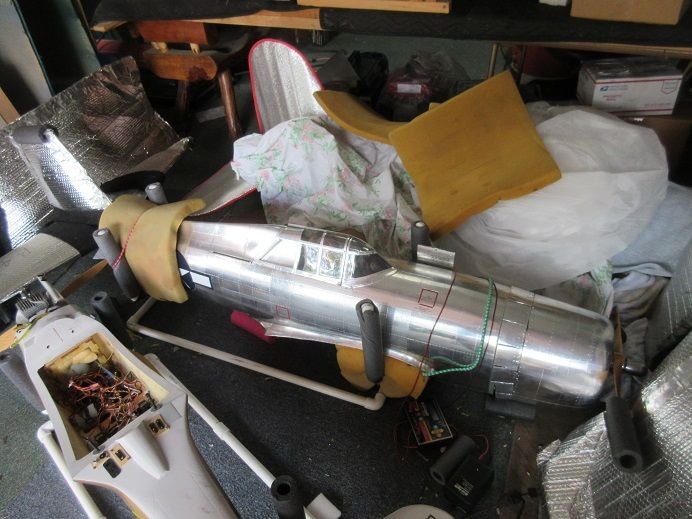
Charged the batteries on the Ziroli P-47 that I built 10 years ago. Had the plans so I cut all the parts in my shop.
130 hours to apply the aluminum tape and rivets.
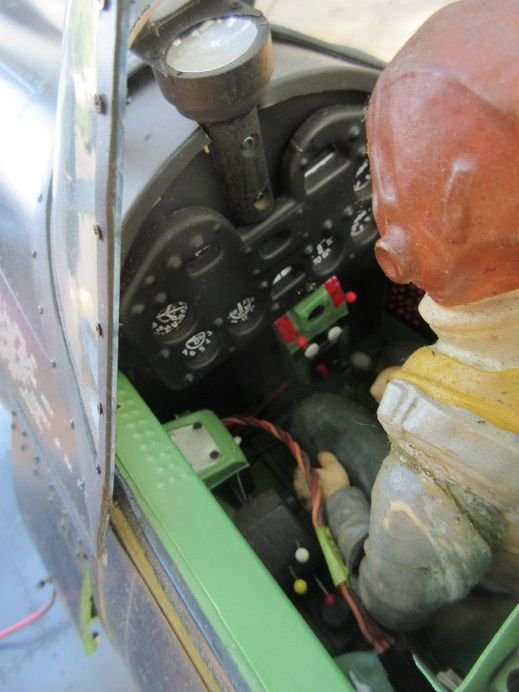
Remote sliding canopy and cowl flaps with full cockpit.
Functioning main and tail doors.
Darrell's scale compressing gear.
Nav lights and landing light.
Charged the batteries in the Skyraider and Gilmore for tomorrow's trip to Brookville, Ohio for a one day flyin.
Previously, I think I bent the piston rods due to too much fuel in the cylinders.

I removed the push rods covers to insure all those are working.
I tried starting the engine but it sounds 'sick' and has low RPM's.
I may just put a G-62 on her.

One damaged door was fixed and re-attached.

Charged the batteries on the Ziroli P-47 that I built 10 years ago. Had the plans so I cut all the parts in my shop.
130 hours to apply the aluminum tape and rivets.
Remote sliding canopy and cowl flaps with full cockpit.
Functioning main and tail doors.
Darrell's scale compressing gear.
Nav lights and landing light.

Charged the batteries in the Skyraider and Gilmore for tomorrow's trip to Brookville, Ohio for a one day flyin.

Last edited by samparfitt; 08-16-2024 at 02:39 PM.
#79
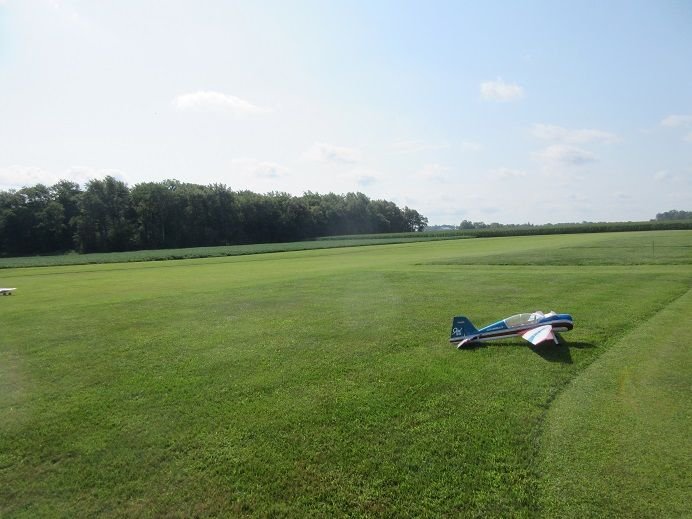
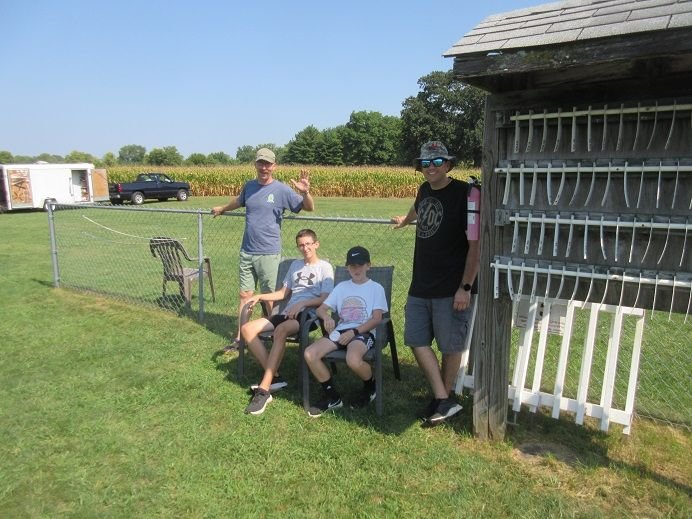
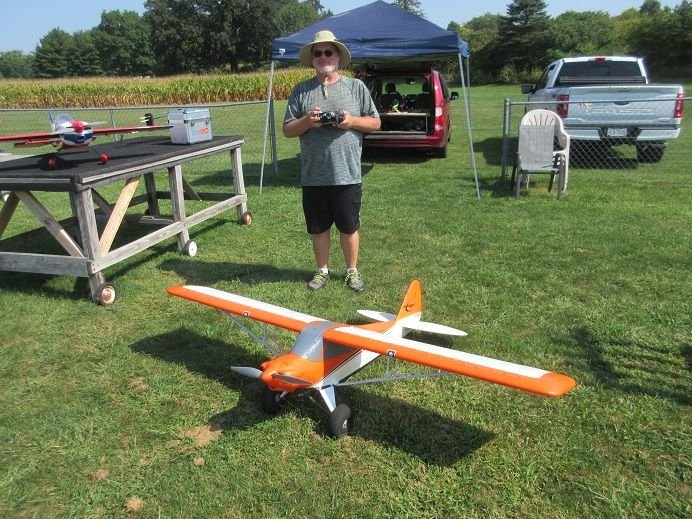
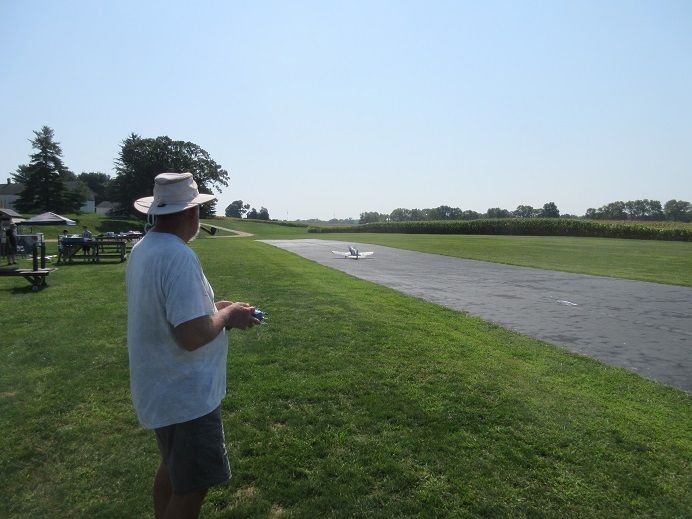
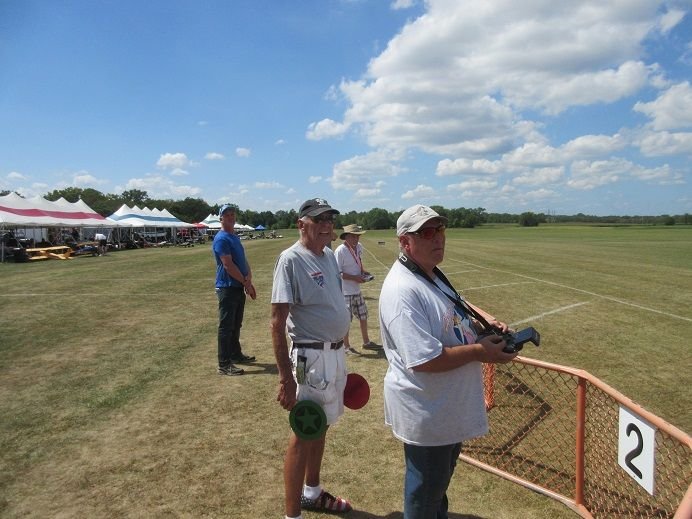
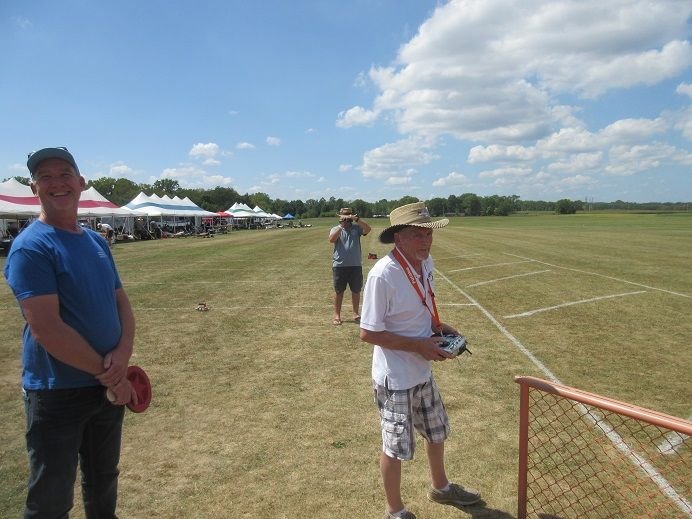
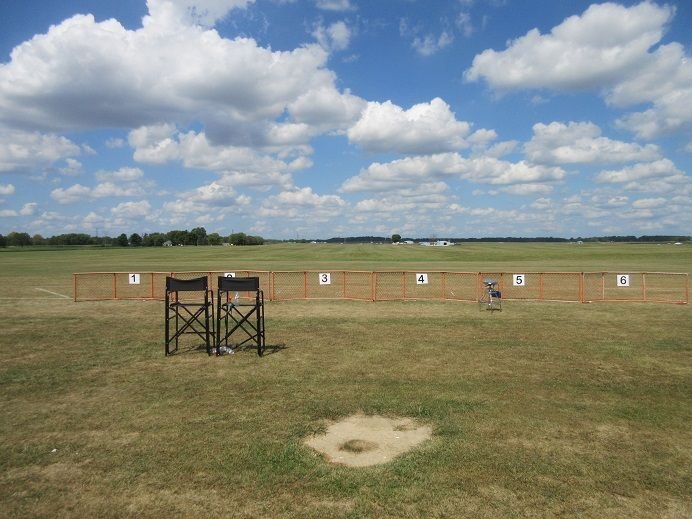
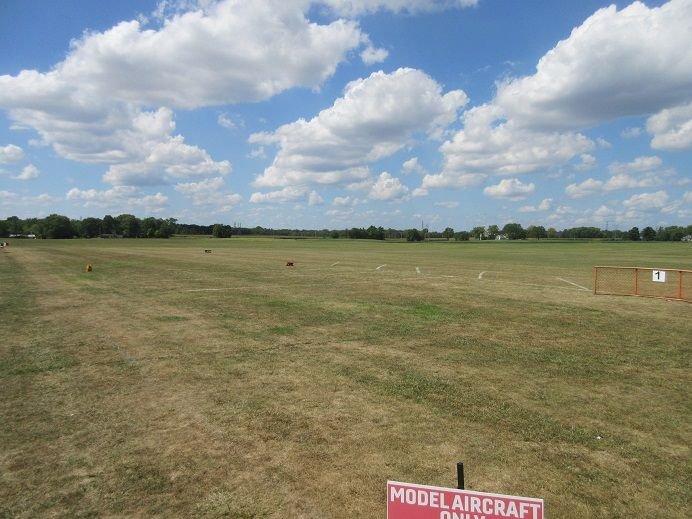
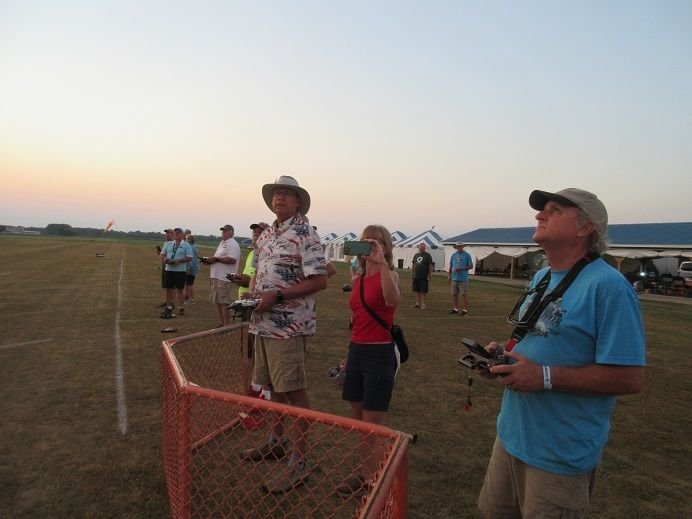
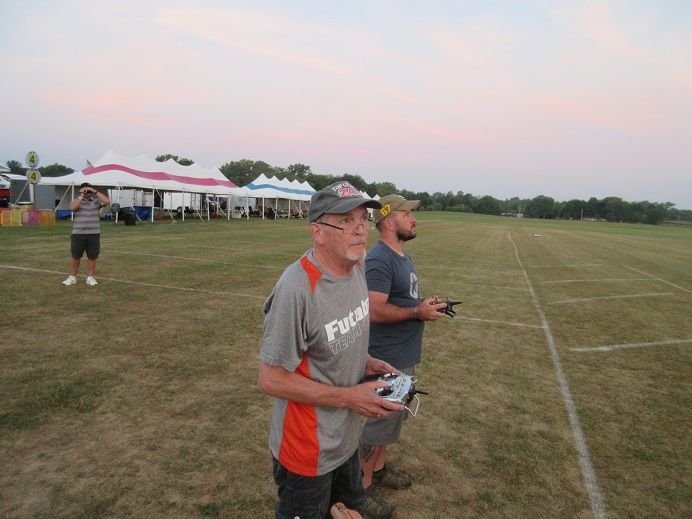
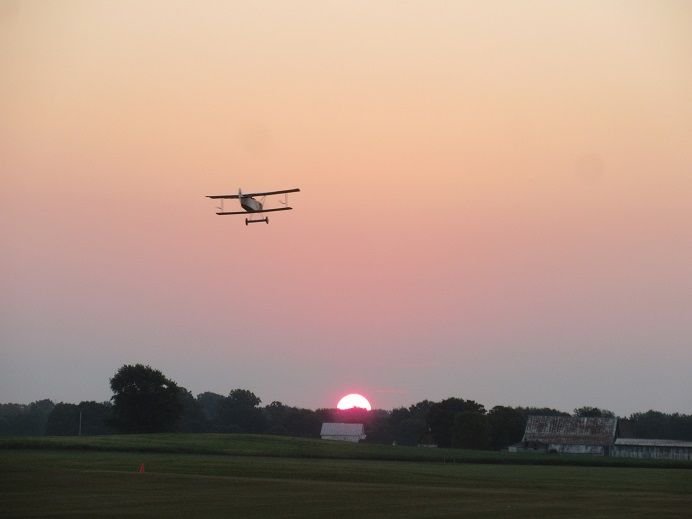
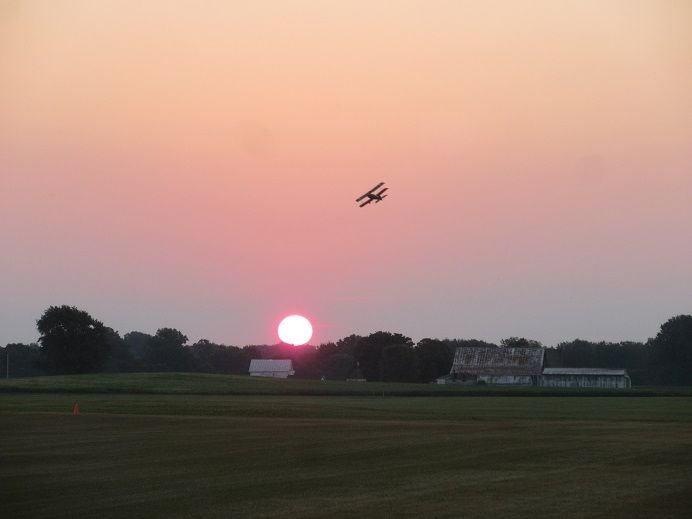
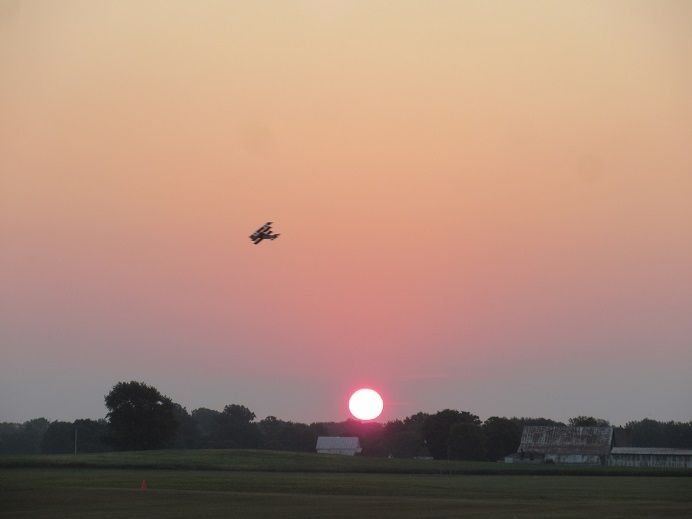
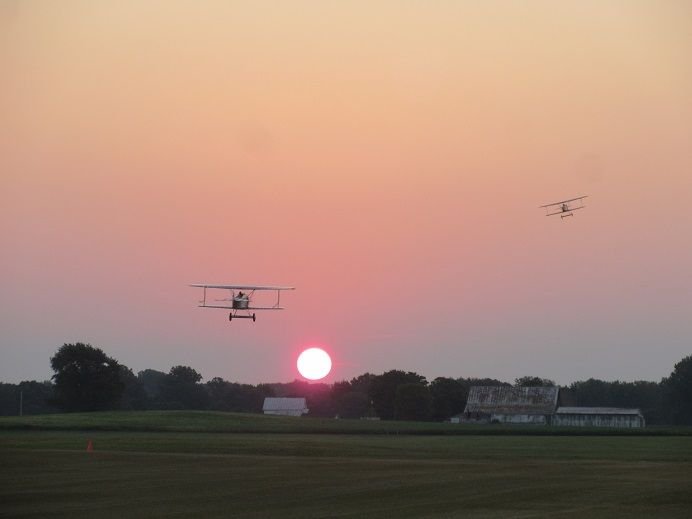
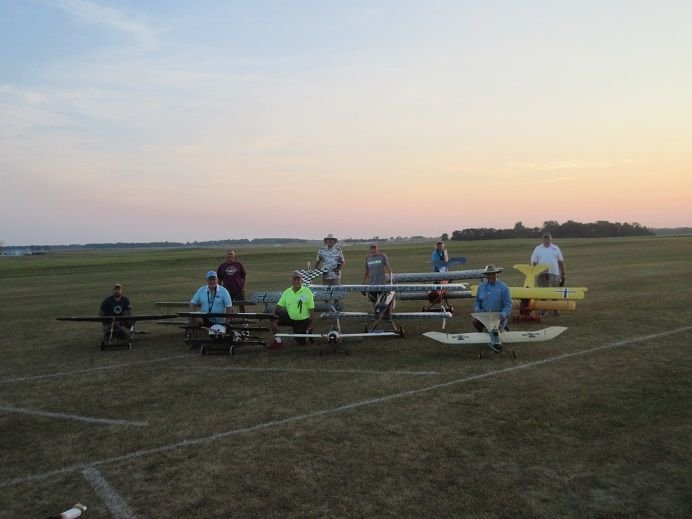
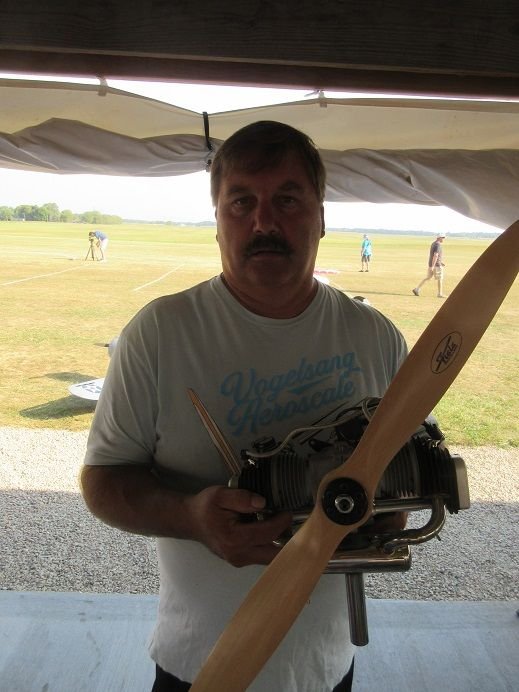
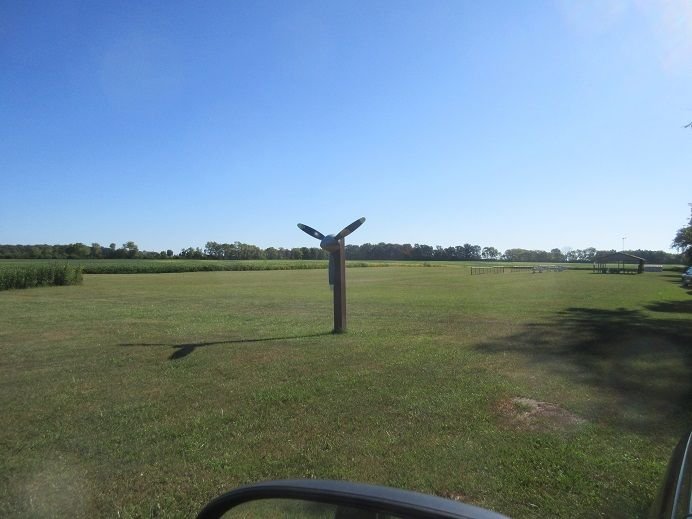
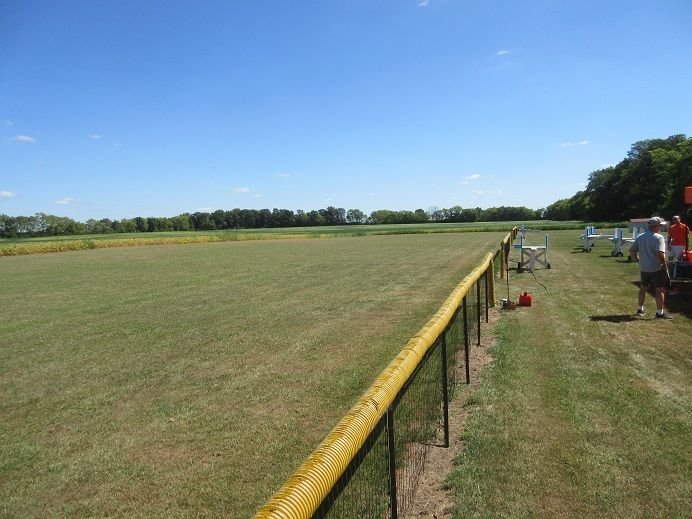
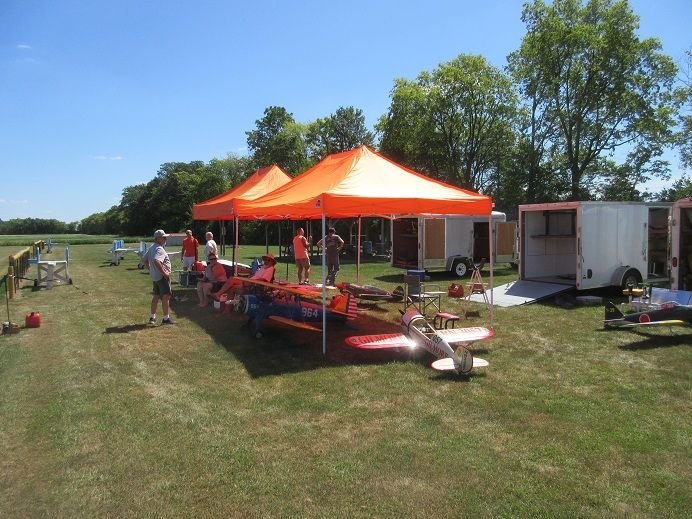
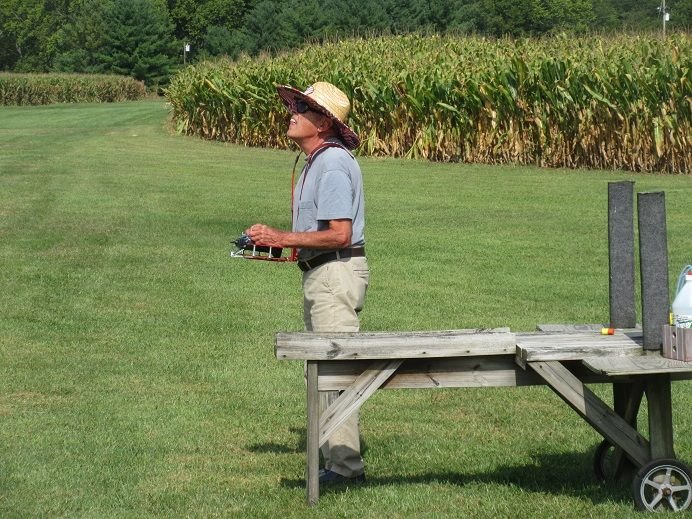
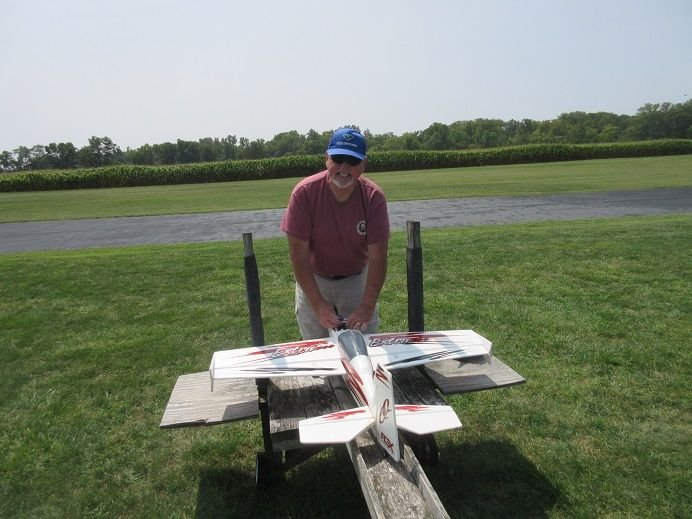
Local field pictures.
Last of the low 80's as next week into the 90's.
Wind 'gusts' to 4 MPH!
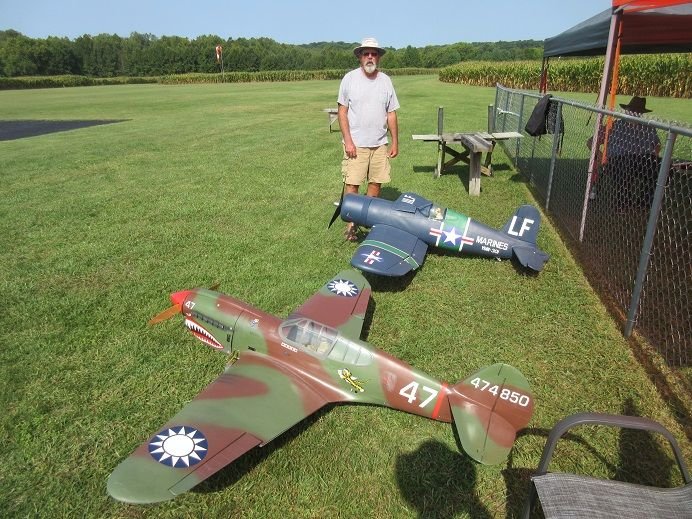
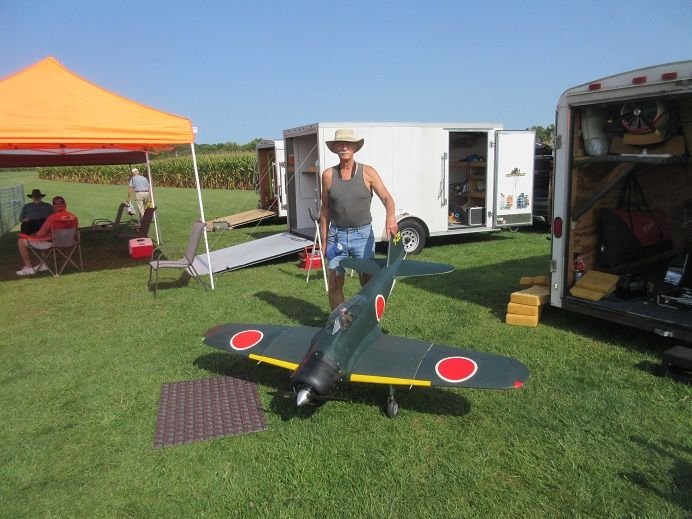
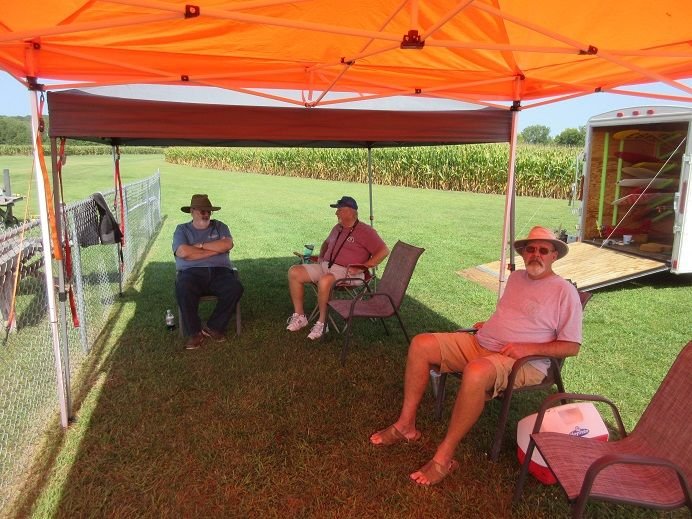
Guys that like to jump out of perfectly good airplanes!
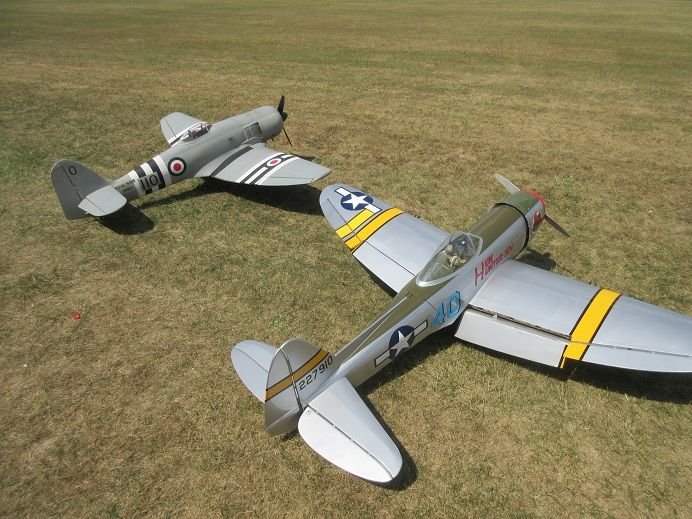
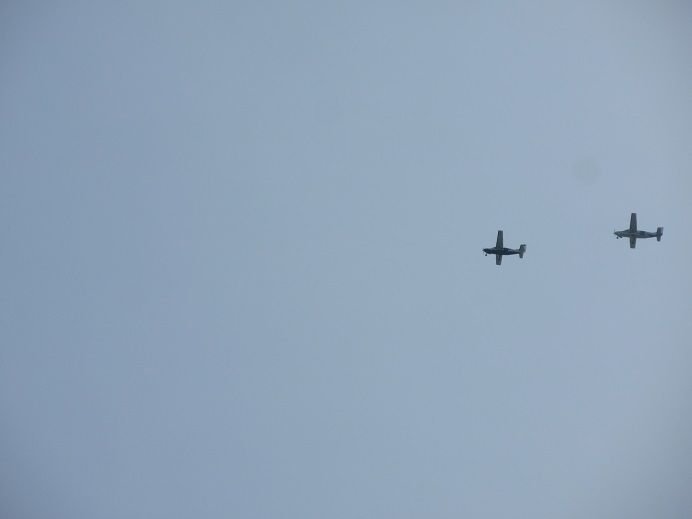
2 planes today flying in formation: maybe getting 'ready' for 'labor day'!
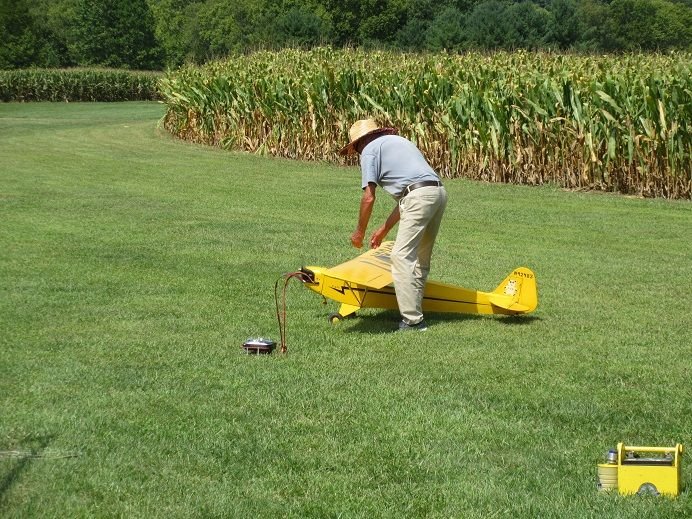
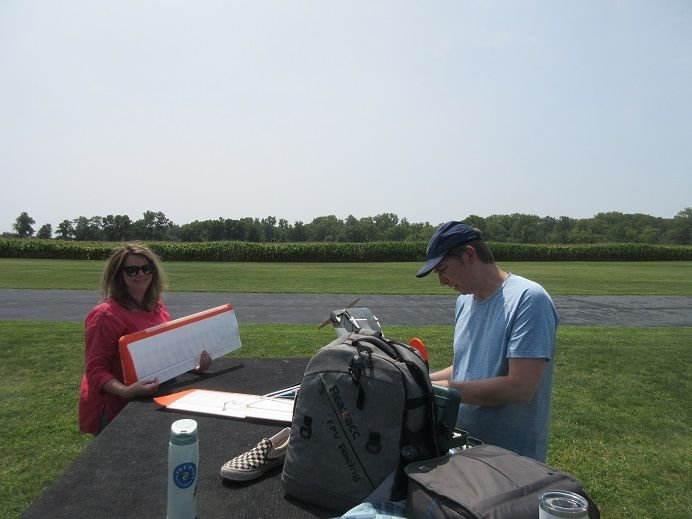
'One' gets tired from all that 'stick movement'!
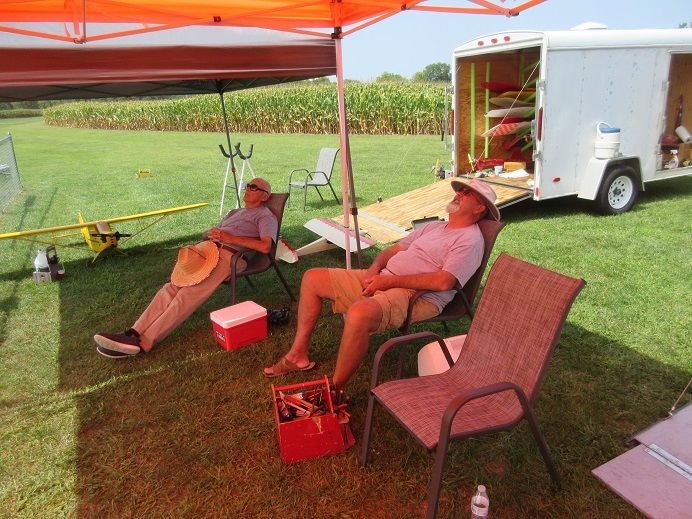
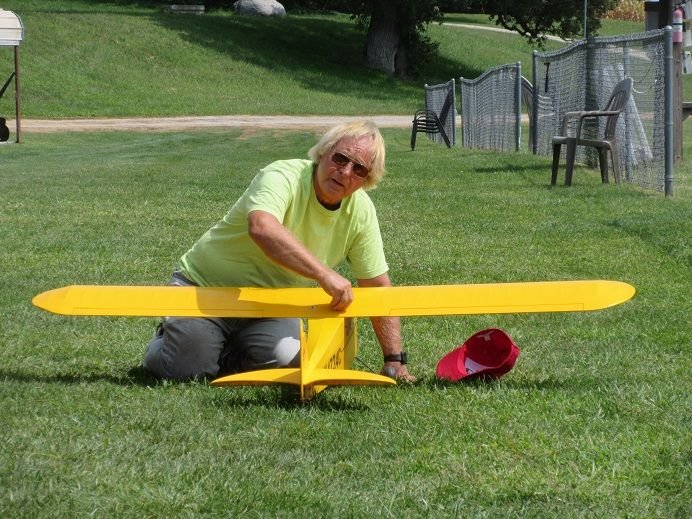
\
Last of the low 80's as next week into the 90's.
Wind 'gusts' to 4 MPH!


Guys that like to jump out of perfectly good airplanes!
2 planes today flying in formation: maybe getting 'ready' for 'labor day'!


'One' gets tired from all that 'stick movement'!


\

Last edited by samparfitt; 08-23-2024 at 03:38 PM.
#80
PM the Ziroli P-47, AM6 Zero and Gilmore.
Ziroli P-47.
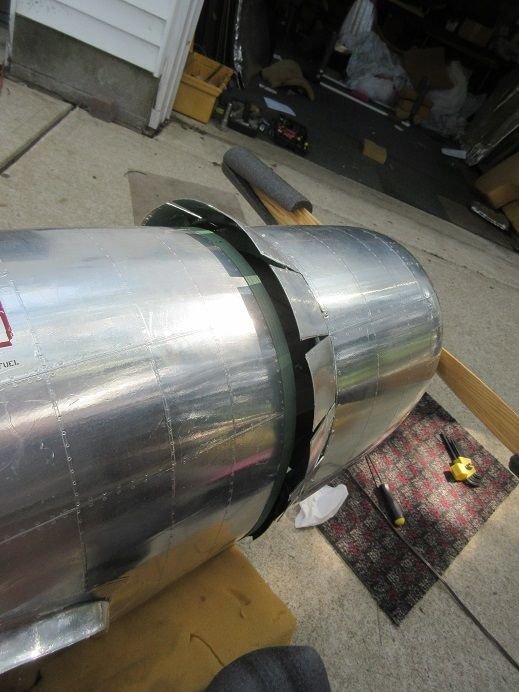
I got a 'short circuit' when charging one of the batteries so I needed to remove the cowl and fire wall to get access to the 2 receiver batteries.
There are 4 internal hex bolts inside the cowl that had to be removed for the cowl.
A long hex screw driver works well.
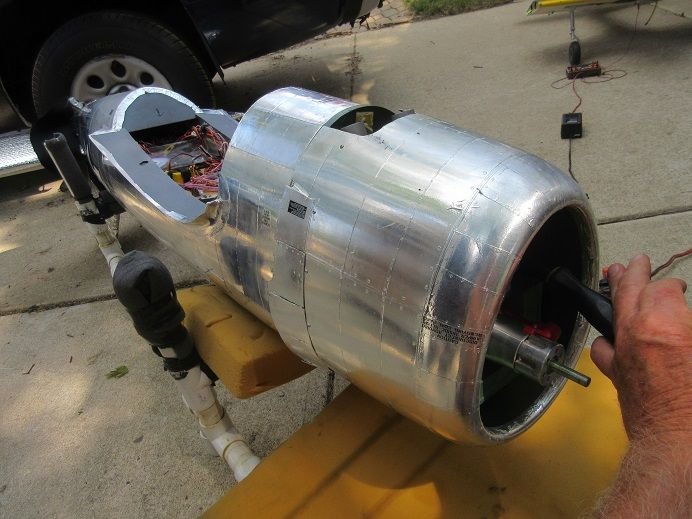
Right side shows screw driver going to the hex bolt.
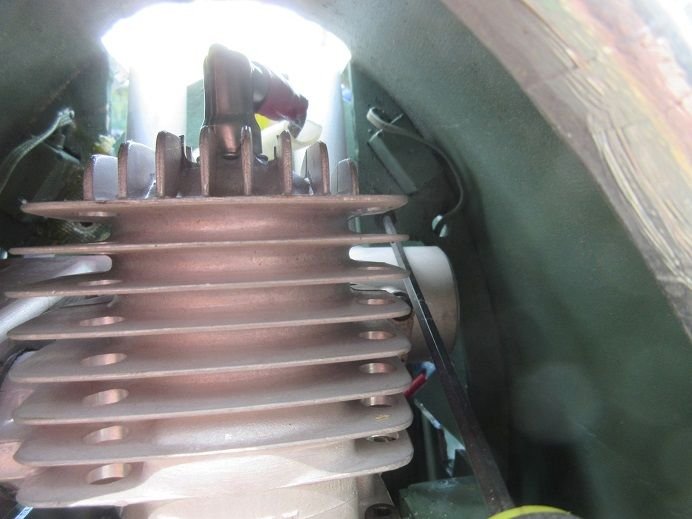
A DA-85 and a 'weight box' surrounding the engine.
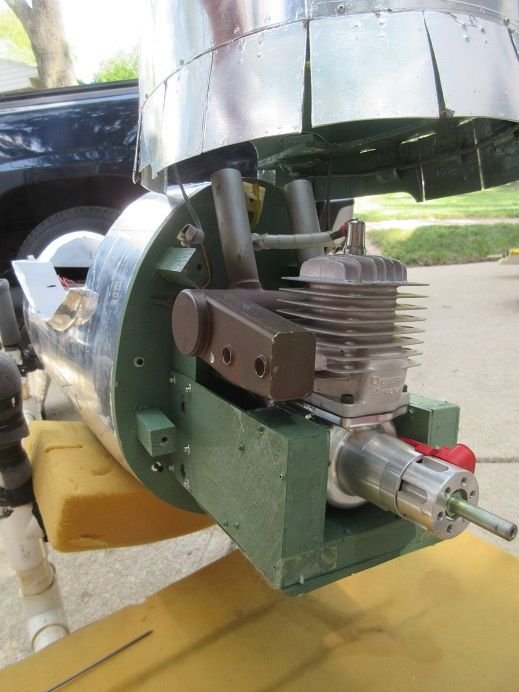
About 12 bolts need to be removed for the removable 'fire wall' from the secondary .fire wall'.
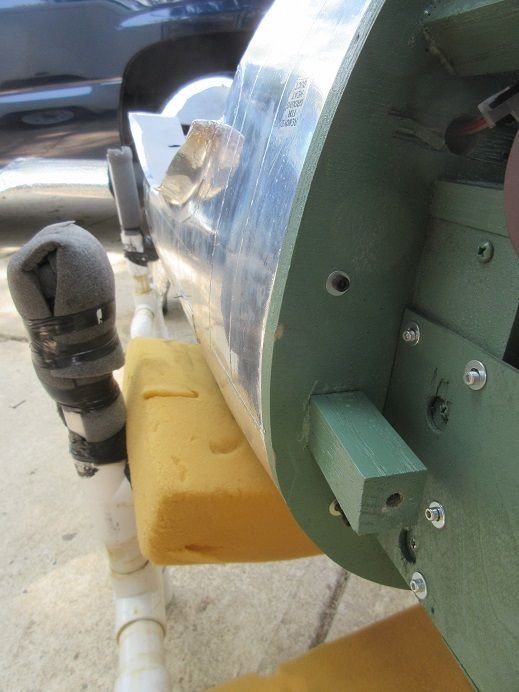
The plane is all 'modular'; ie all moving surfaces and fire wall are removable.
The 'fire wall' has the fuel tank (bottom in picture) and throttle/choke servos in addition to the ignition and battery.
This makes it much easier for me to get all 'engine related items' adjusted without having to go inside the fuse.
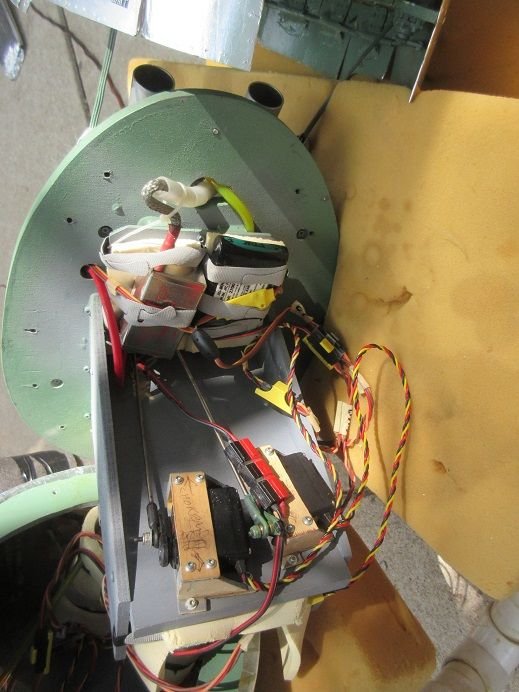
2 receiver batteries in the bottom of the front of the fuse. Two 4,200 replaced with two 3,000 batteries (didn't have another 4,200 battery).
6,000 total is sufficient.
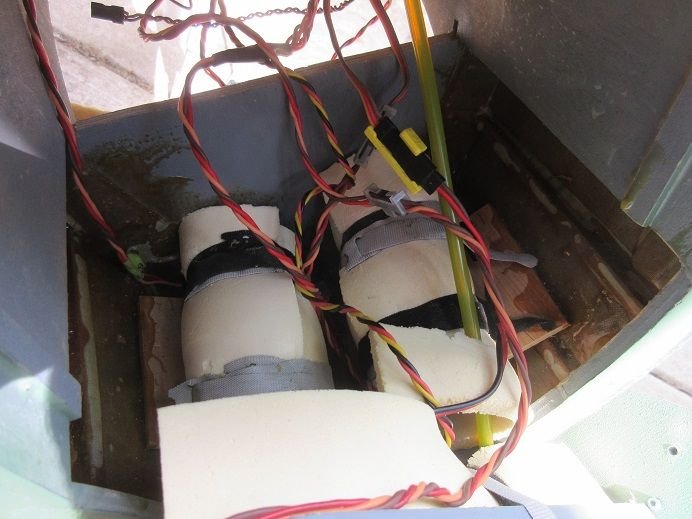
Fire wall screwed back onto the fuse.
Did a 'transmitter' check before securing the modular fire wall.
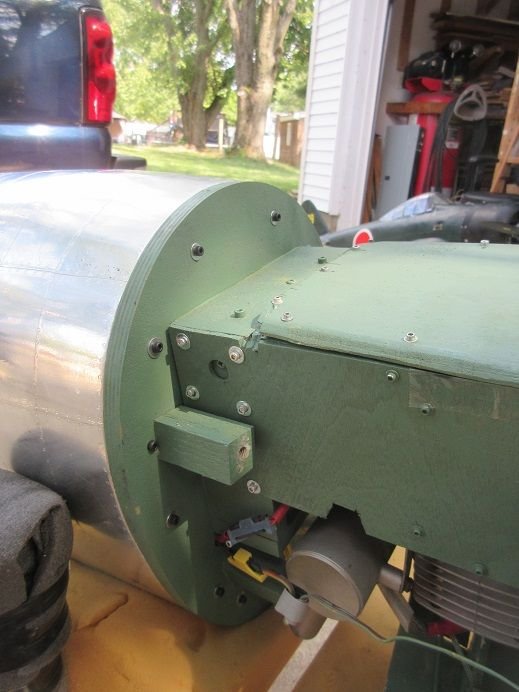
Functioning cowl flaps in 'sync' with the choke.
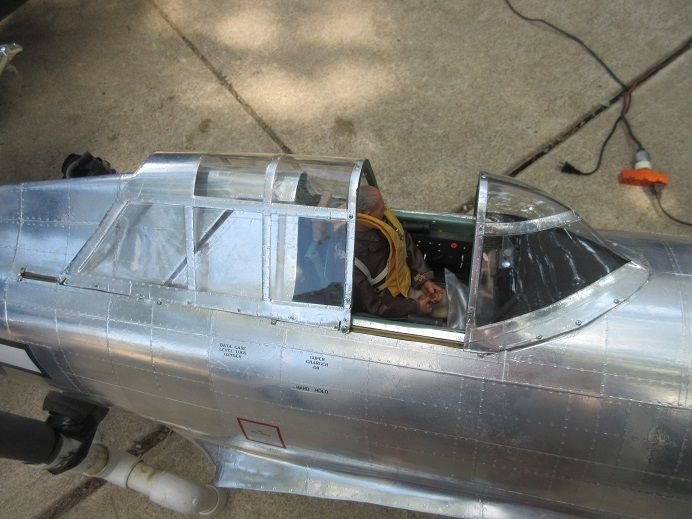
Functioning canopy.
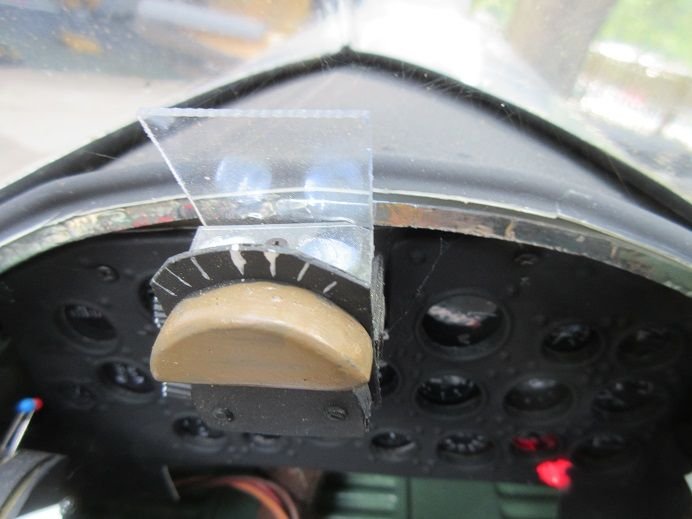
LED lighted gun sight.
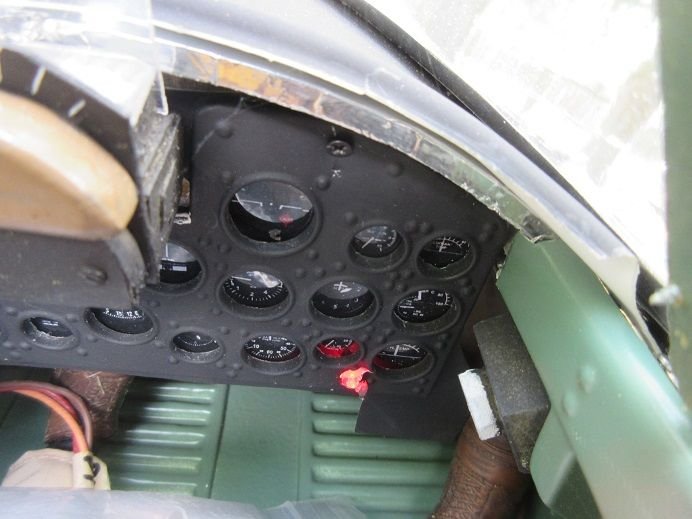
Red LED's on the left side console....
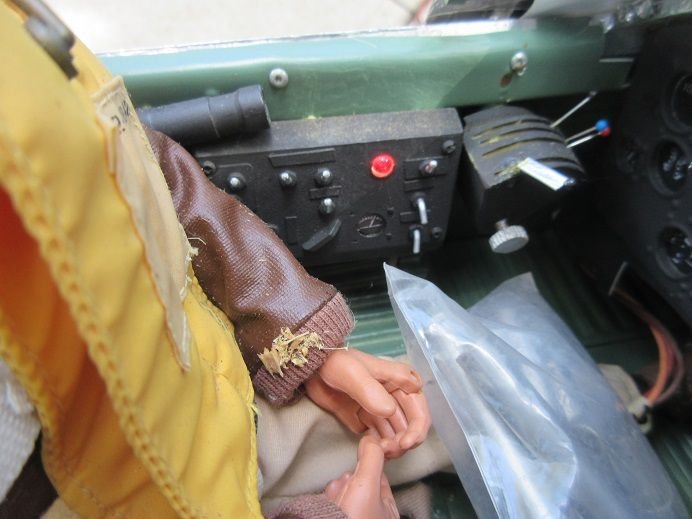
and front console.
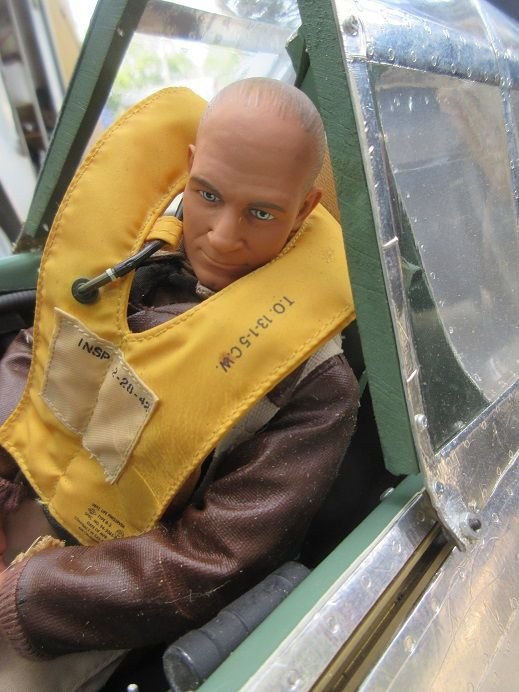
Jimmy Doolittle the pilot.
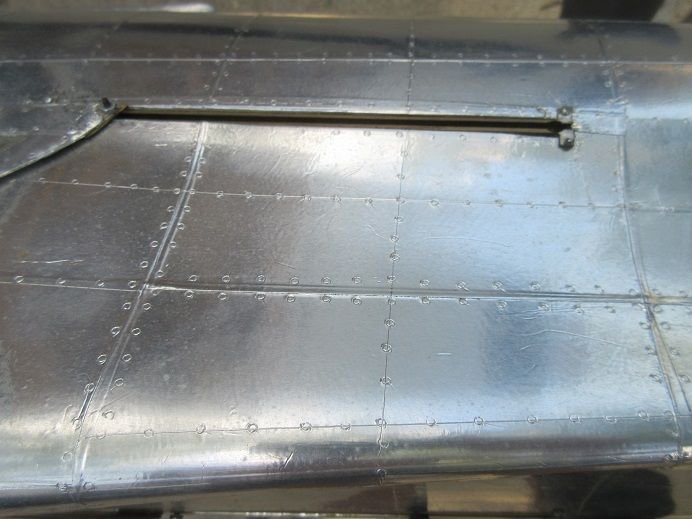
Canopy guides added when the plane was built 10 years ago.
All parts (ribs, formers, etc.) cut in my work shop.
130 hours just to add the aluminum tape, panel lines and rivets!
See below for complete build thread:
https://www.rcuniverse.com/forum/rc-...ld-thread.html
Darrell's scale gear with 'shrink bar' as on the prototype, inner doors on the main and tail gear.
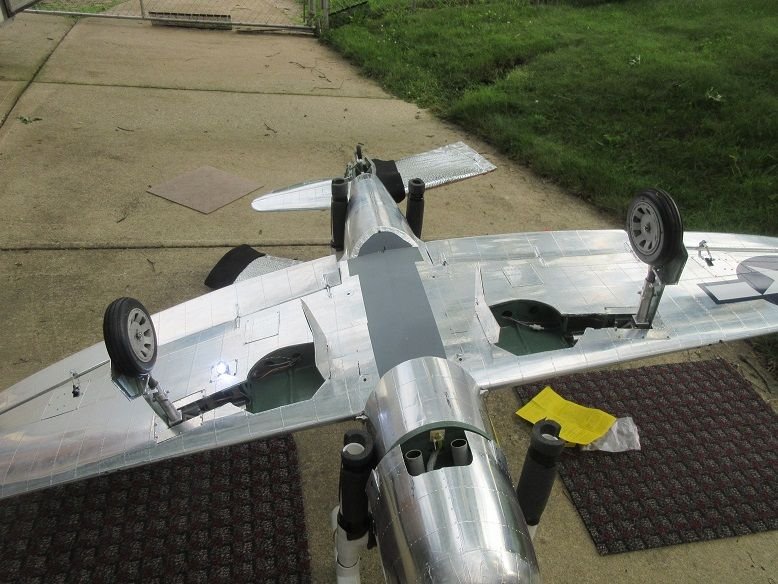
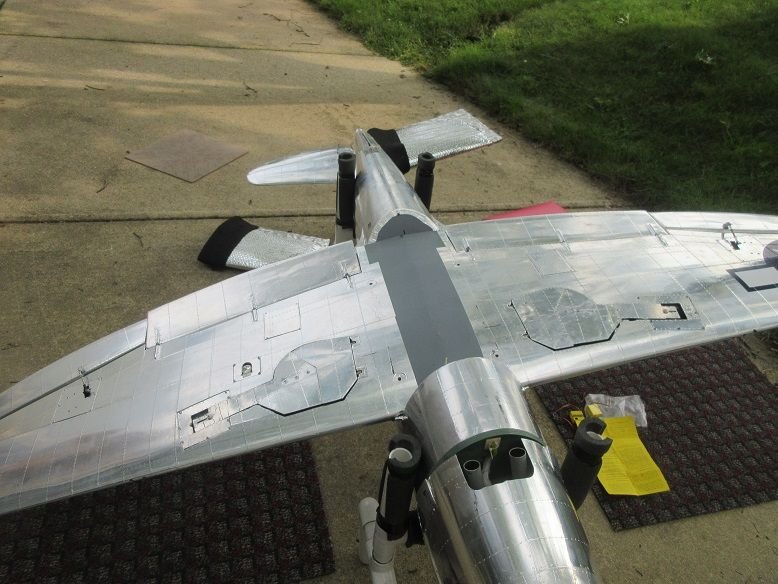
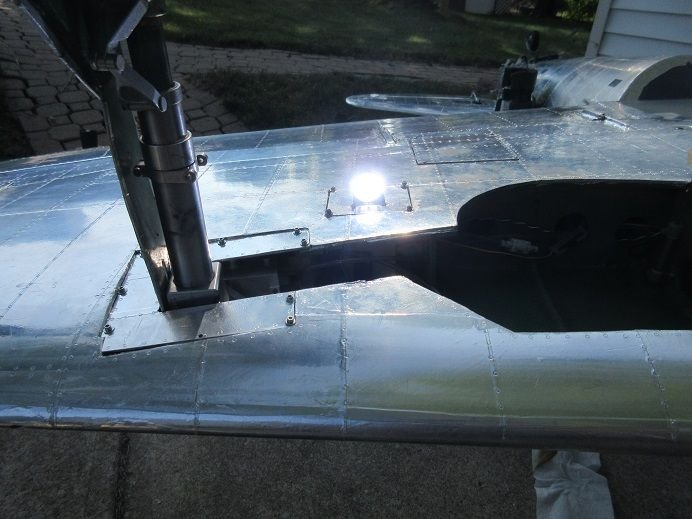
Functioning landing light that rotates flush with the wing.
All nav lights.
===============
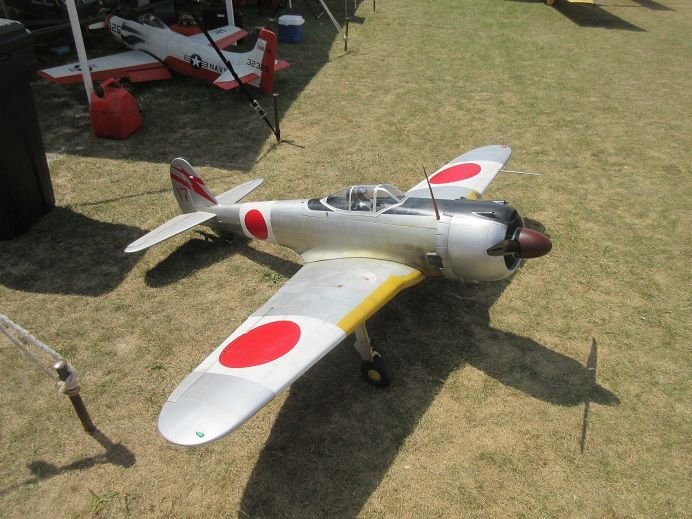
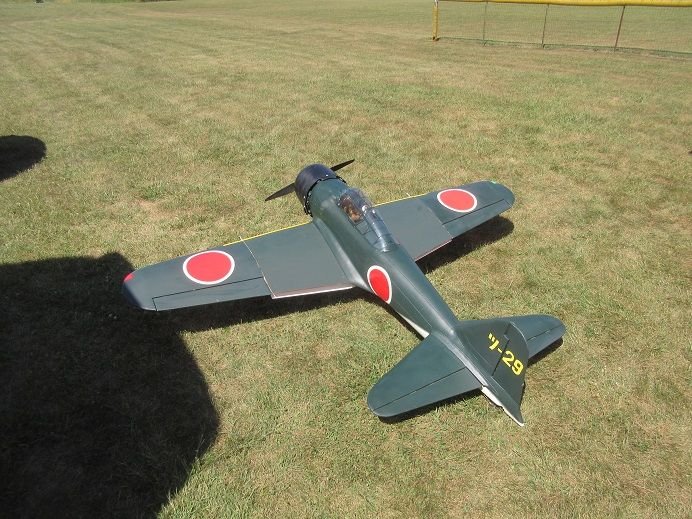
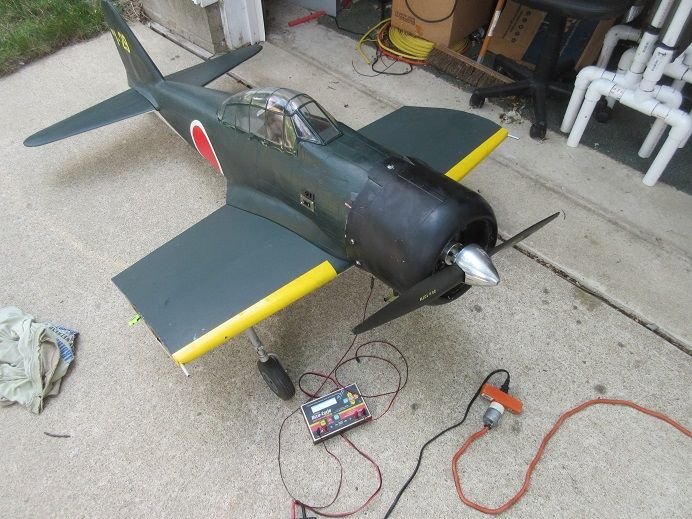
A6M Zero.
The left flap was 'flapping' when the engine was running.
Replaced all the wires including the servo.
All seems 'good' now!
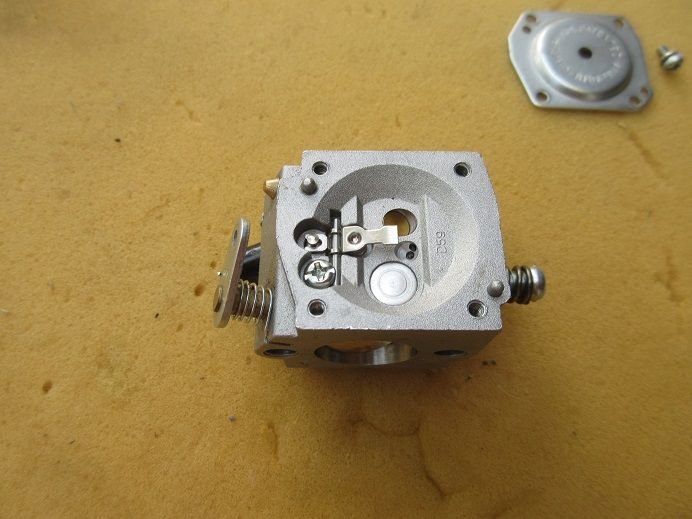
This was the carb that I was going to install on the zero since the original didn't have a choke.
The 'replacement' did not get enough high RPM's.
I rebuilt the carb but NADA so I suspected the metering valve.
I installed a new metering valve but will not use this carb as the original is not 'bad' to 'hand choke'.
Figured I'd better 'do it now' versus later as I'll forget that it was bad!
==========
Gilmore.
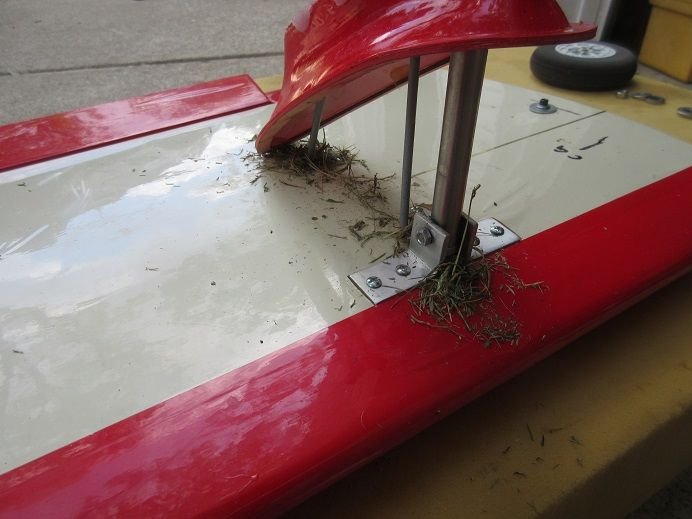
One of the struts and wheel started leaning.
Found 2 bolts were loose but disassembled everything to check all the parts.
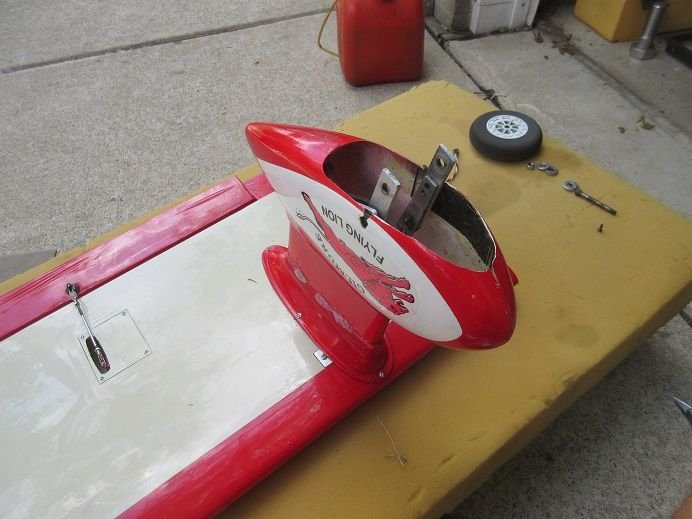
MMMM: a little grass accumulation!
One would 'think' that would 'fall out' instead of accumulated in the top of the wing!
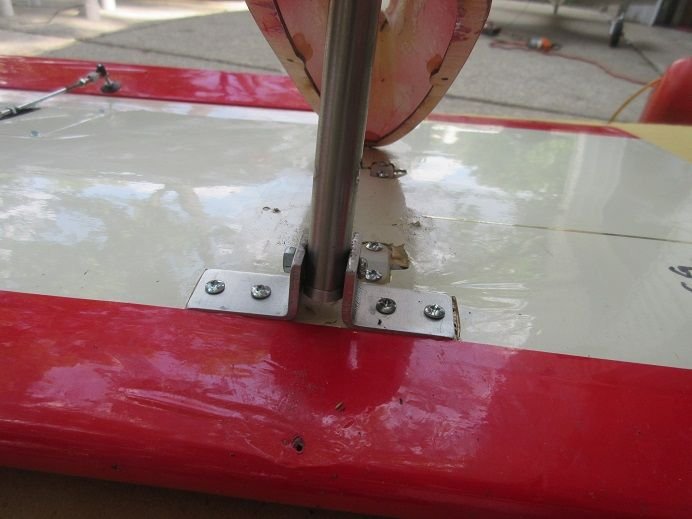
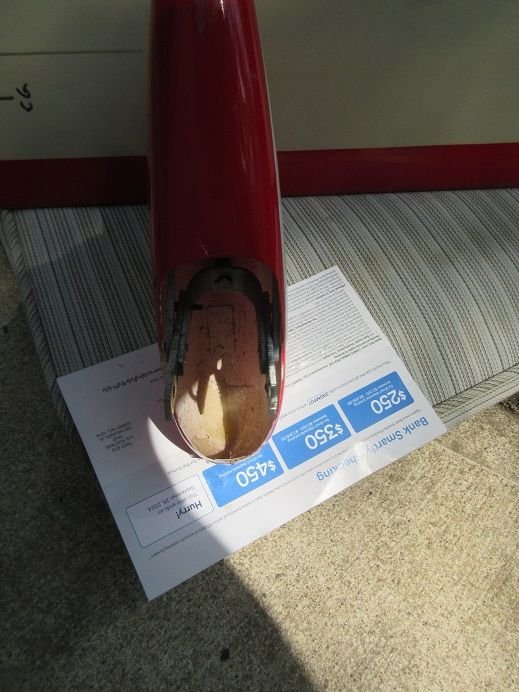
Had to epoxy some FG cloth to the front of one of the 'pants' as the original epoxy and cloth failed.
Ziroli P-47.
I got a 'short circuit' when charging one of the batteries so I needed to remove the cowl and fire wall to get access to the 2 receiver batteries.
There are 4 internal hex bolts inside the cowl that had to be removed for the cowl.
A long hex screw driver works well.

Right side shows screw driver going to the hex bolt.

A DA-85 and a 'weight box' surrounding the engine.

About 12 bolts need to be removed for the removable 'fire wall' from the secondary .fire wall'.

The plane is all 'modular'; ie all moving surfaces and fire wall are removable.
The 'fire wall' has the fuel tank (bottom in picture) and throttle/choke servos in addition to the ignition and battery.
This makes it much easier for me to get all 'engine related items' adjusted without having to go inside the fuse.

2 receiver batteries in the bottom of the front of the fuse. Two 4,200 replaced with two 3,000 batteries (didn't have another 4,200 battery).
6,000 total is sufficient.

Fire wall screwed back onto the fuse.
Did a 'transmitter' check before securing the modular fire wall.

Functioning cowl flaps in 'sync' with the choke.

Functioning canopy.

LED lighted gun sight.

Red LED's on the left side console....

and front console.

Jimmy Doolittle the pilot.

Canopy guides added when the plane was built 10 years ago.
All parts (ribs, formers, etc.) cut in my work shop.
130 hours just to add the aluminum tape, panel lines and rivets!
See below for complete build thread:
https://www.rcuniverse.com/forum/rc-...ld-thread.html

Darrell's scale gear with 'shrink bar' as on the prototype, inner doors on the main and tail gear.


Functioning landing light that rotates flush with the wing.
All nav lights.

===============
A6M Zero.
The left flap was 'flapping' when the engine was running.
Replaced all the wires including the servo.
All seems 'good' now!

This was the carb that I was going to install on the zero since the original didn't have a choke.
The 'replacement' did not get enough high RPM's.
I rebuilt the carb but NADA so I suspected the metering valve.
I installed a new metering valve but will not use this carb as the original is not 'bad' to 'hand choke'.
Figured I'd better 'do it now' versus later as I'll forget that it was bad!

==========
Gilmore.
One of the struts and wheel started leaning.
Found 2 bolts were loose but disassembled everything to check all the parts.

MMMM: a little grass accumulation!
One would 'think' that would 'fall out' instead of accumulated in the top of the wing!


Had to epoxy some FG cloth to the front of one of the 'pants' as the original epoxy and cloth failed.

Last edited by samparfitt; 08-24-2024 at 01:50 PM.
#84
PM'ing planes for the warbirds and classics at Muncie, Indiana.
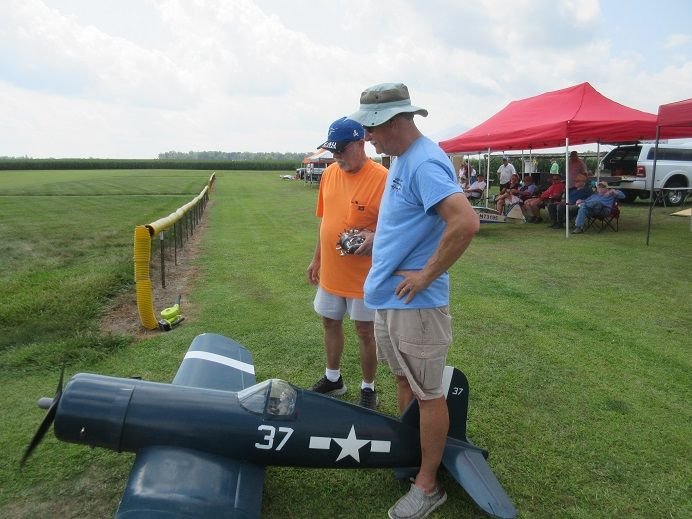
Ziroli F6F Hellcat.
Has a GT-80 with electronic ignition.
Just tested the engine since I haven't flown it this season: 6,560 RPM's.
Built 14 years ago.
Remote functioning cowl flaps and canopy.
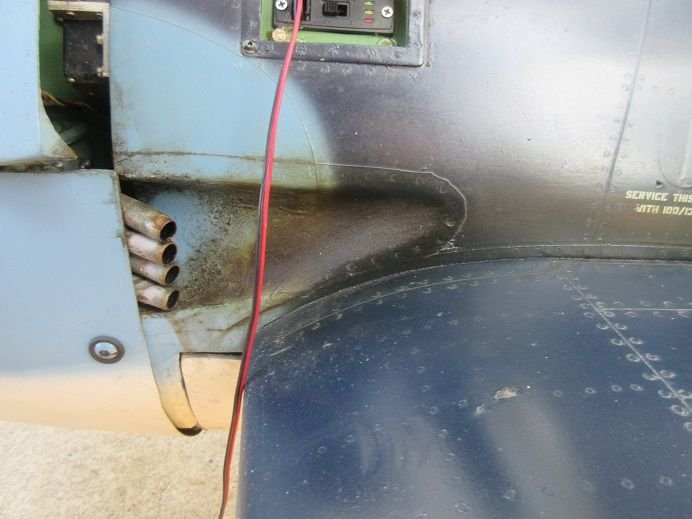
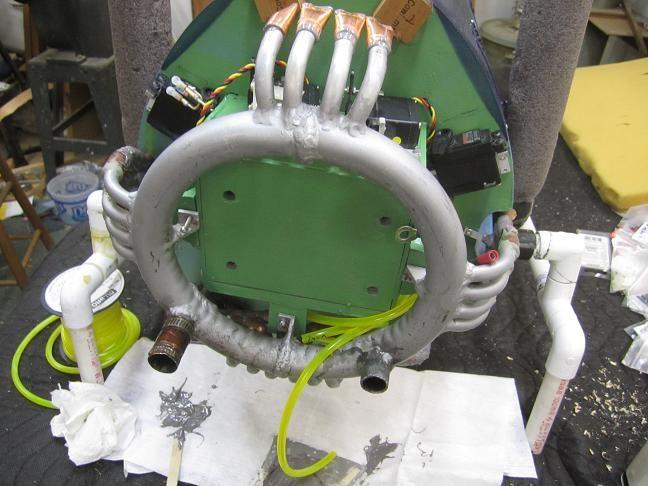
Functioning scale exhaust.
Removable firewall for access to tank and throttle/choke servos.
Lots of rivets and panel lines.
Build thread:
https://www.rcuniverse.com/forum/rc-...cat-build.html
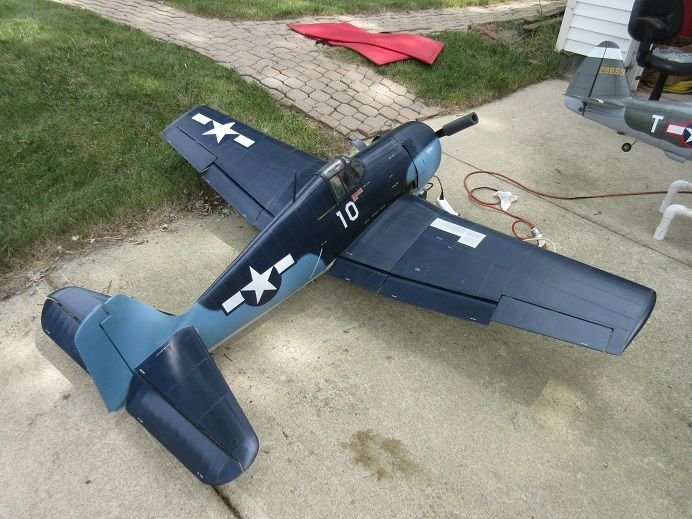
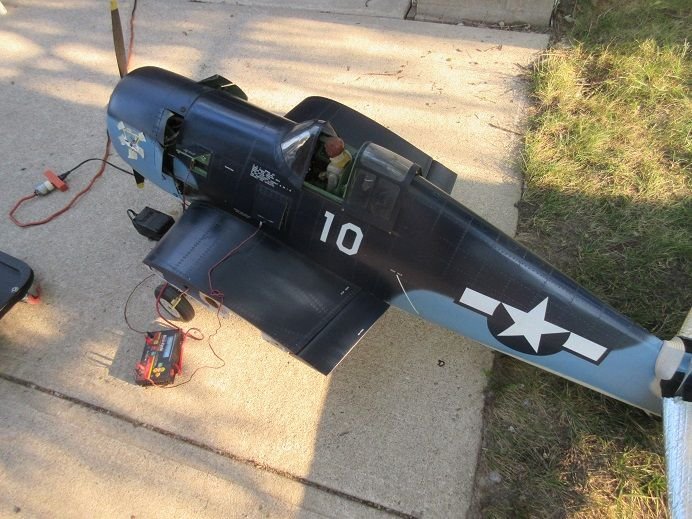
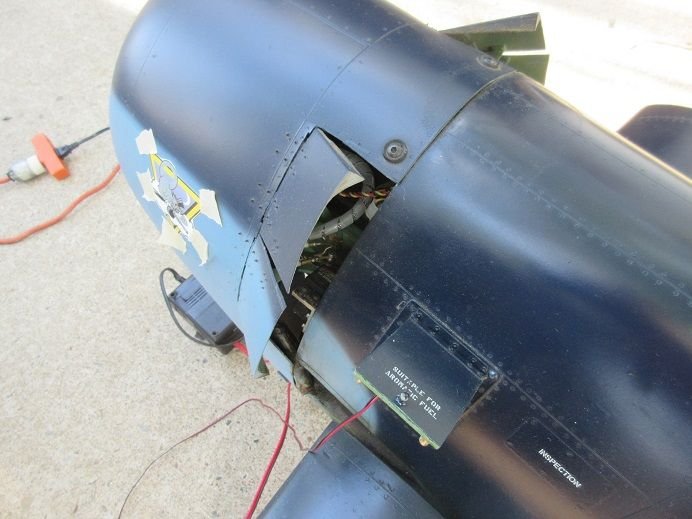
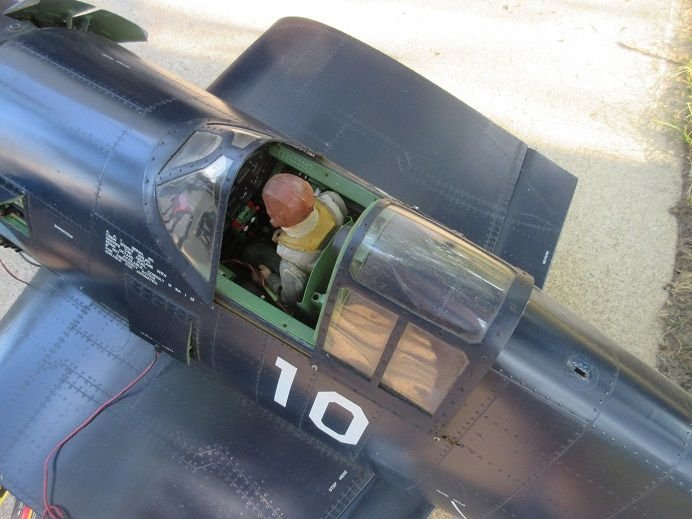
Functioning exhaust gives real weathering!
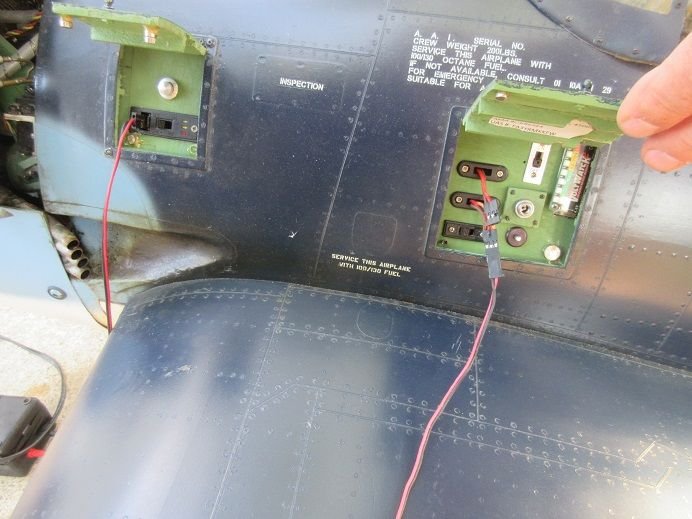
=============
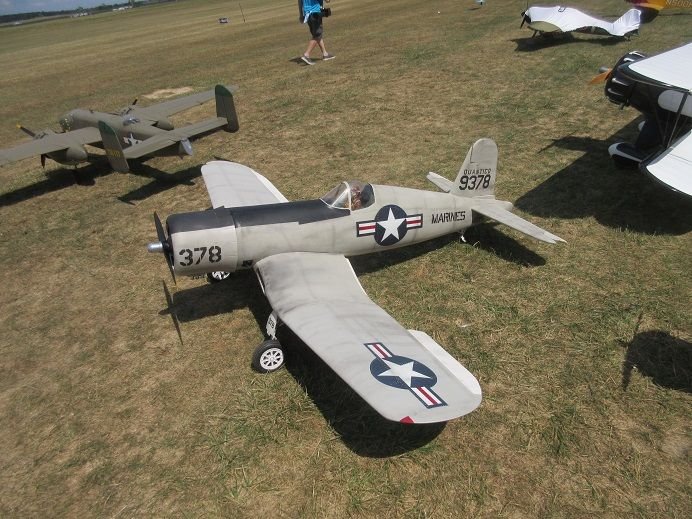
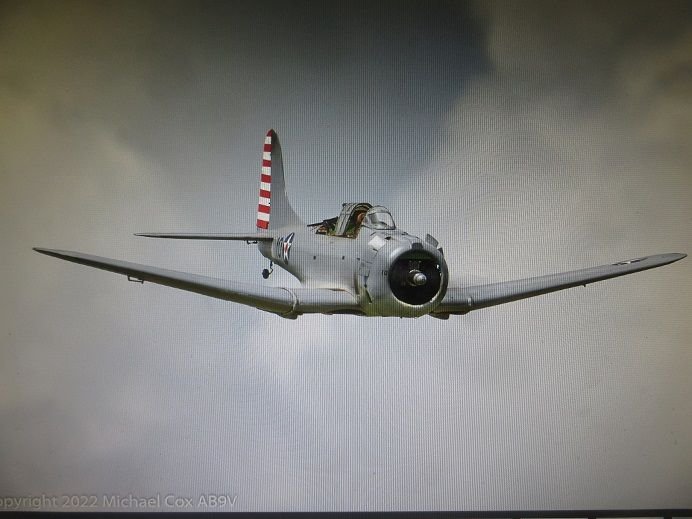
Ziroli SBD Dauntless.
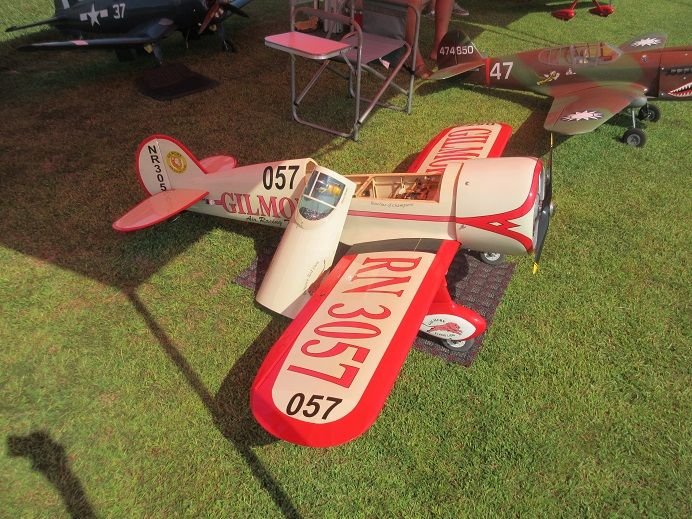
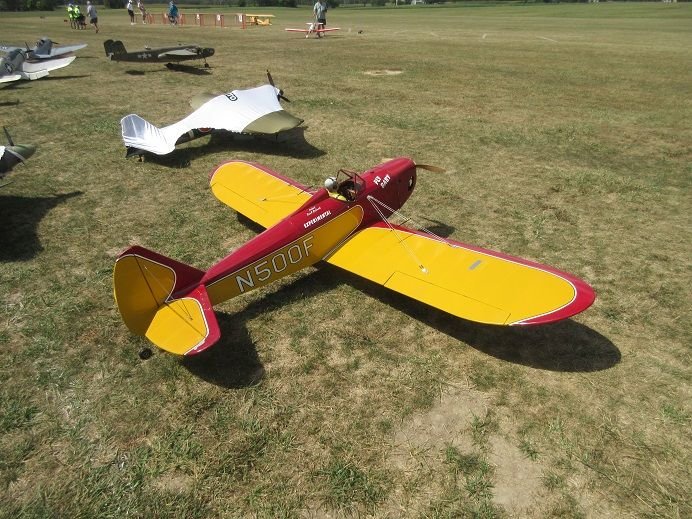
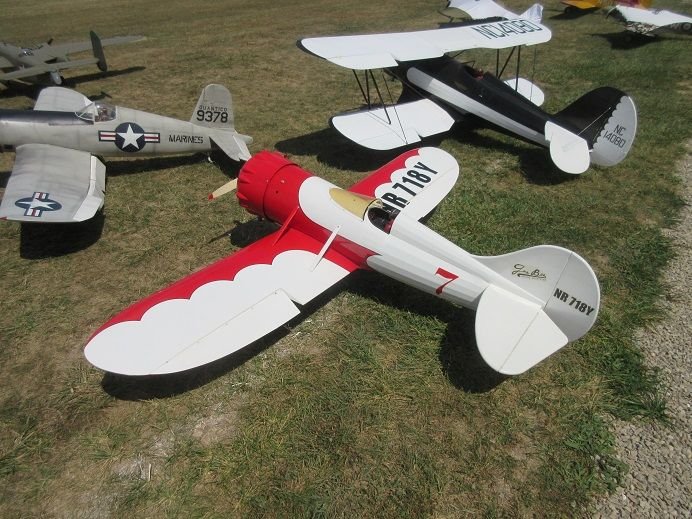
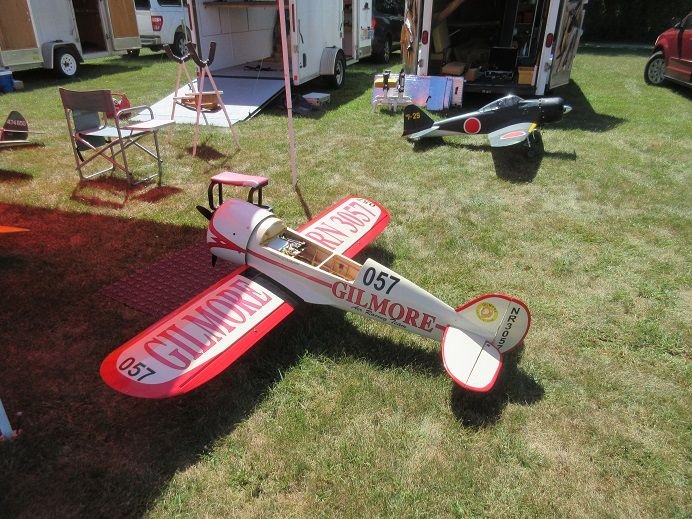
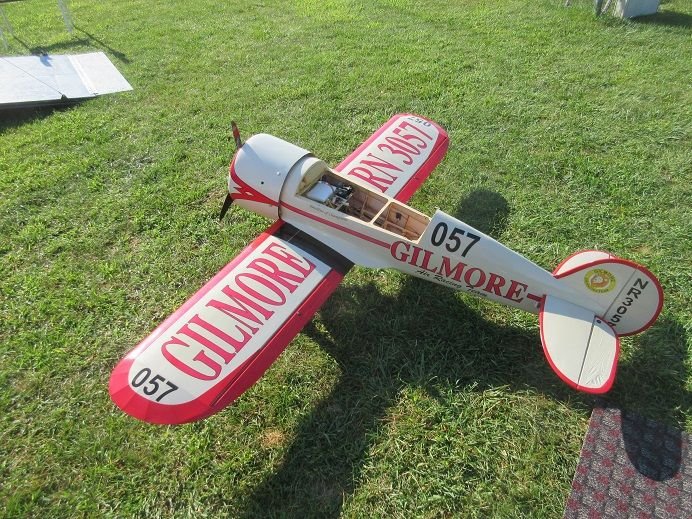
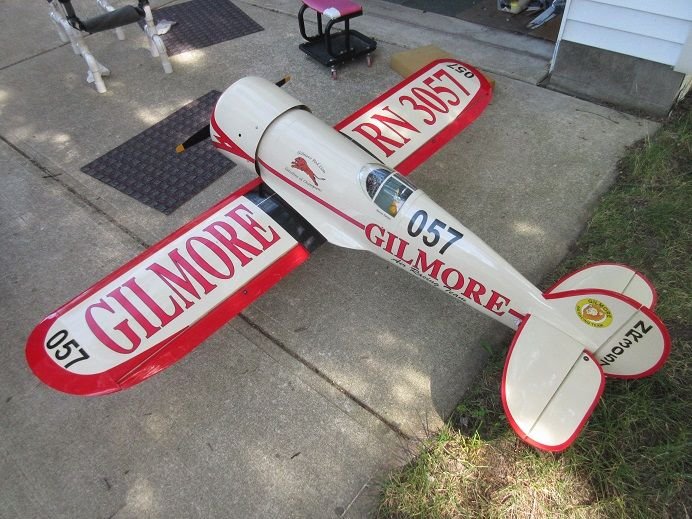
84.5" Gilmore racer.
Ziroli F6F Hellcat.
Has a GT-80 with electronic ignition.
Just tested the engine since I haven't flown it this season: 6,560 RPM's.
Built 14 years ago.
Remote functioning cowl flaps and canopy.
Functioning scale exhaust.
Removable firewall for access to tank and throttle/choke servos.
Lots of rivets and panel lines.
Build thread:
https://www.rcuniverse.com/forum/rc-...cat-build.html


Functioning exhaust gives real weathering!


=============
Ziroli SBD Dauntless.

84.5" Gilmore racer.

Last edited by samparfitt; 08-26-2024 at 04:11 PM.
#85
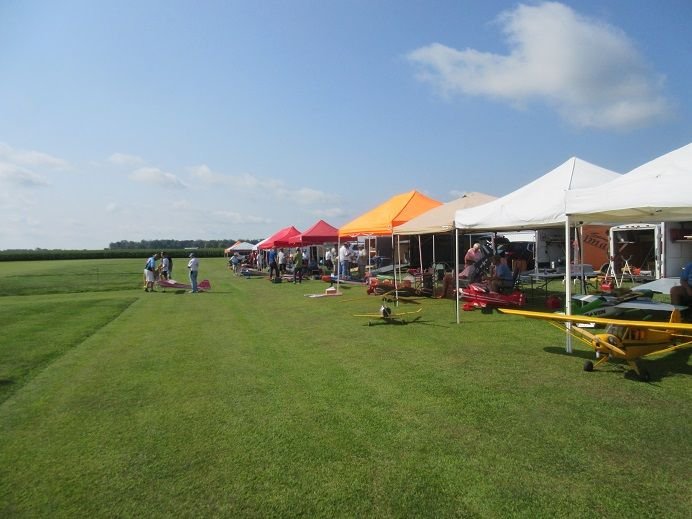
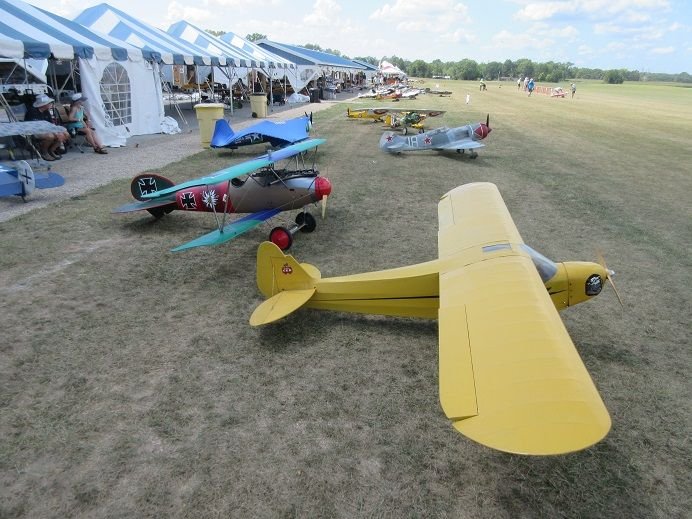
August 29-31. Warbirds and classics at AMA headquarters in Muncie, Indiana.
Miles: 100
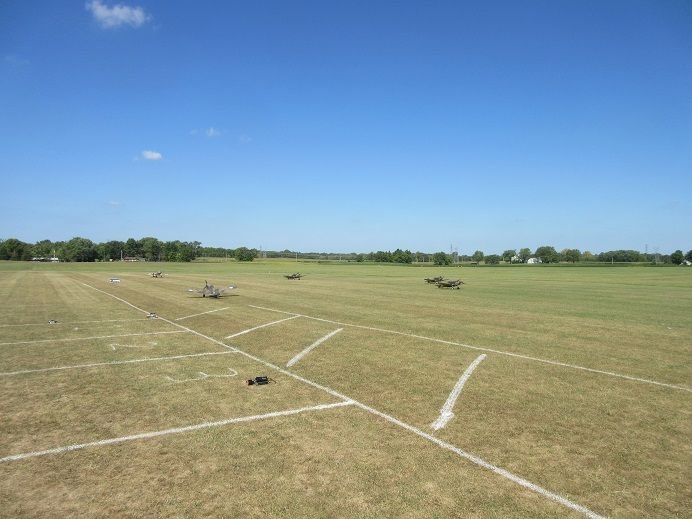
About a 1000' all grass runway.
Video:
Pit area 'walk by'
Arrived on Wednesday.
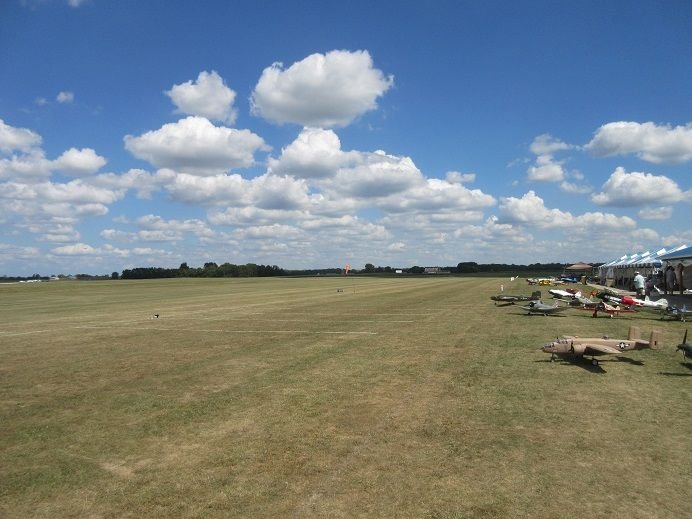
Thursday morning.
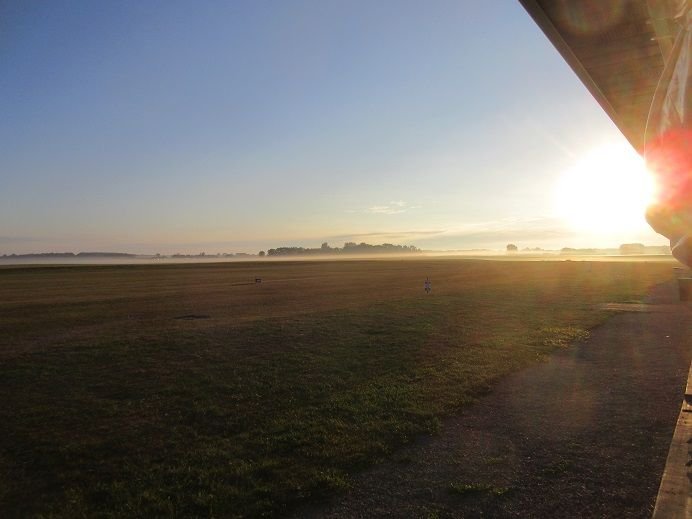
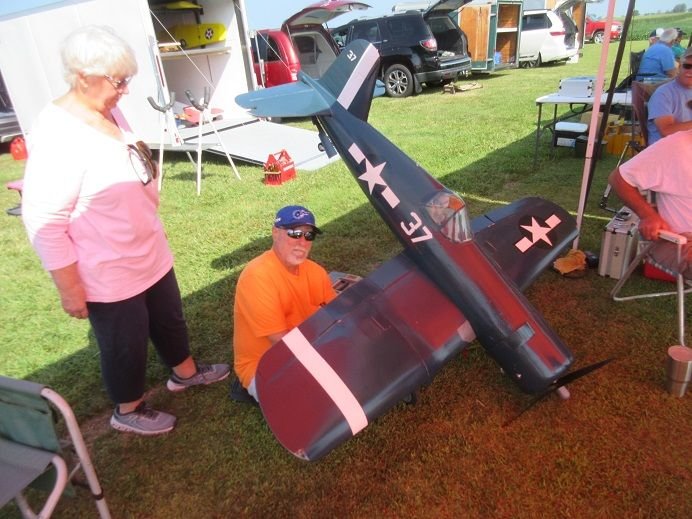
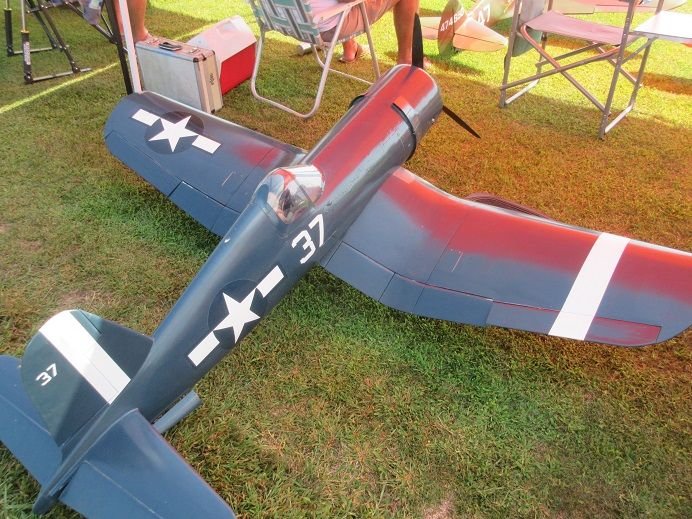
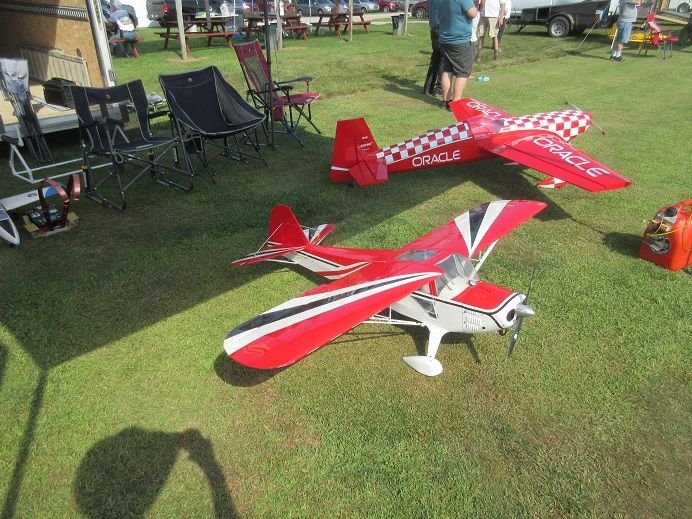
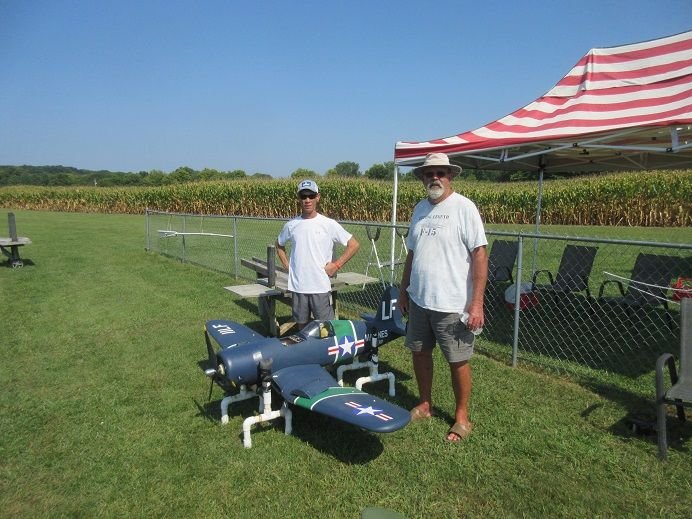
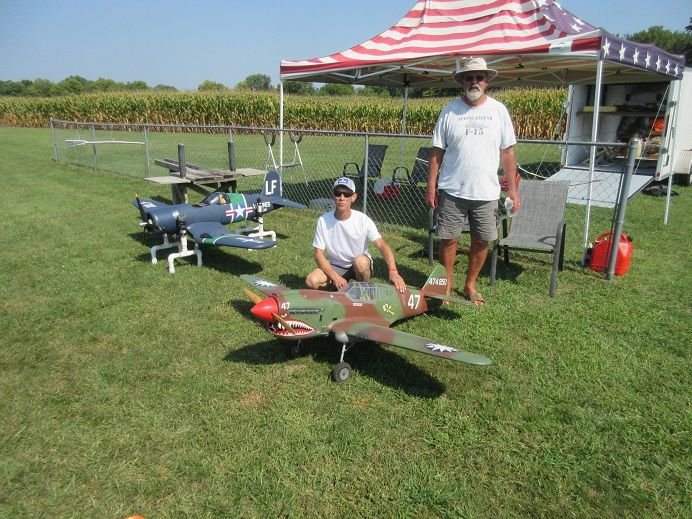
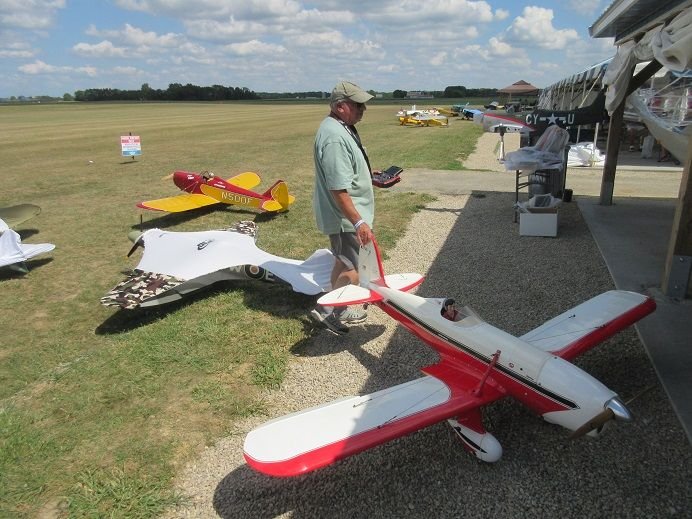
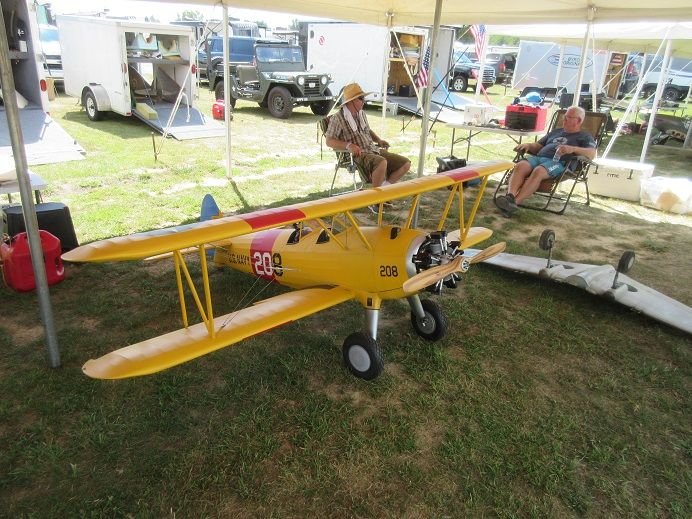
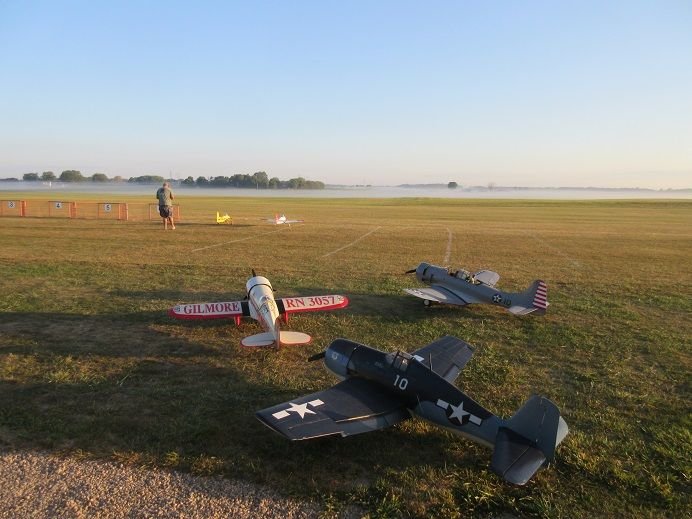
Brought my Ziroli F6F Hellcat, SBD Dauntless and Gilmore racer.
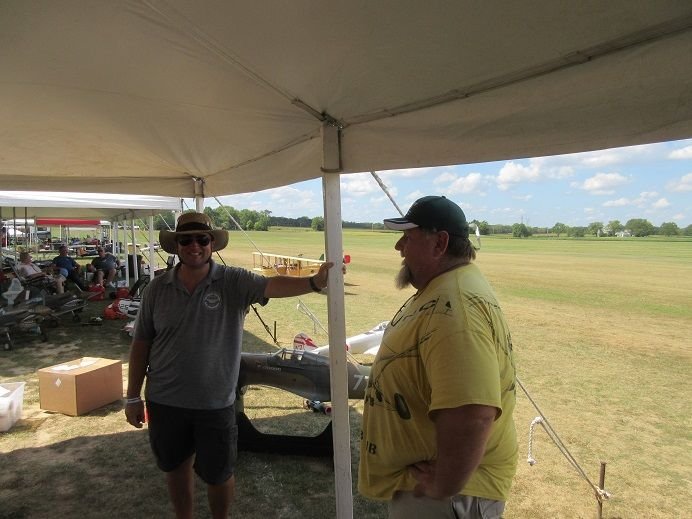
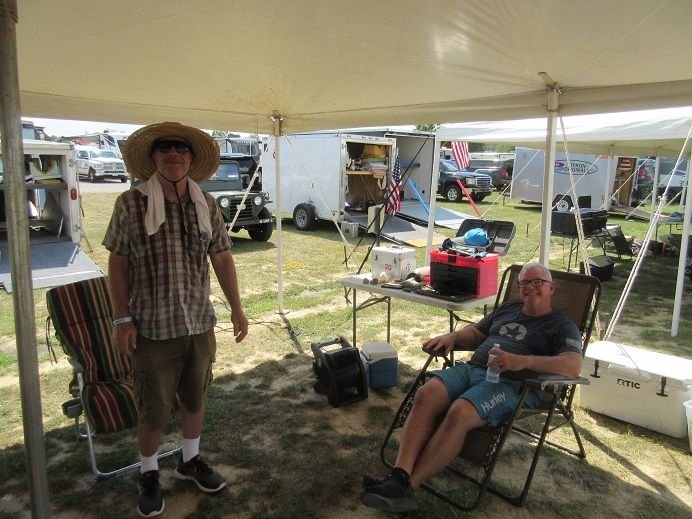
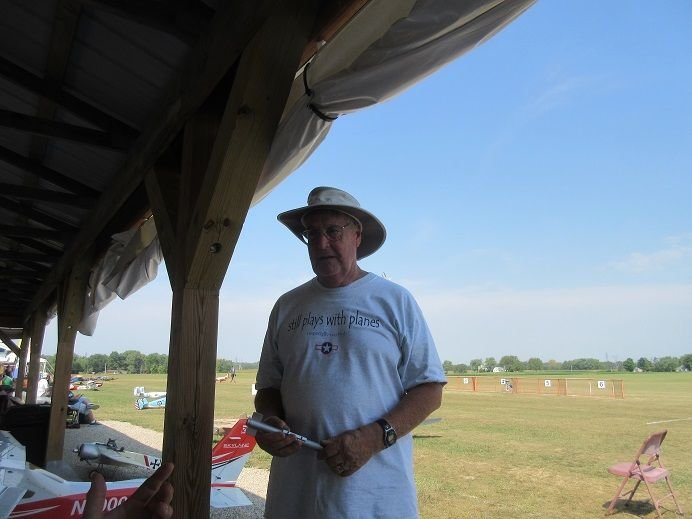
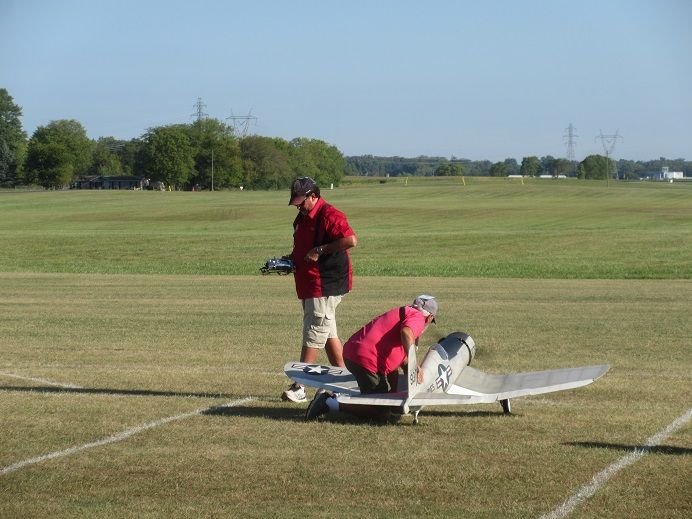
Doc and Frank.
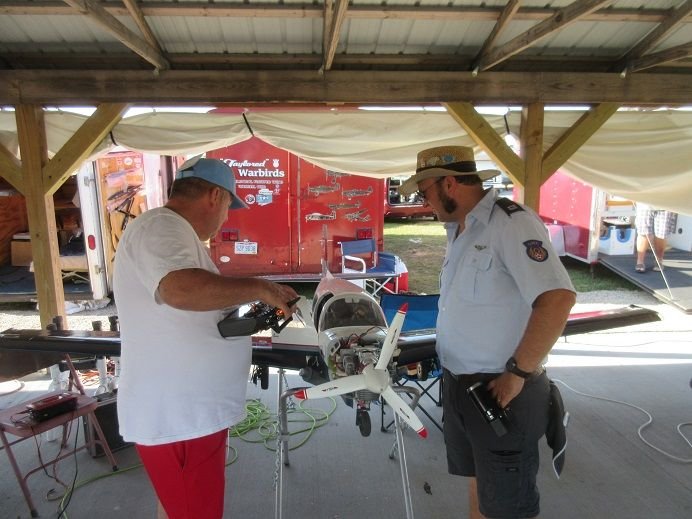
Brian and Andy.
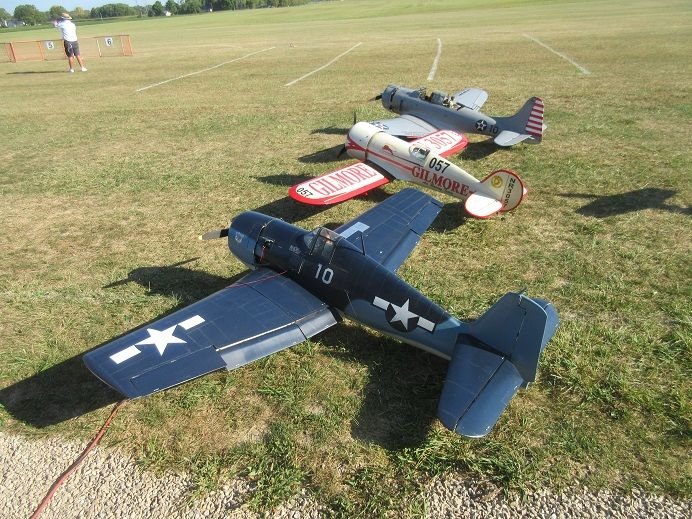
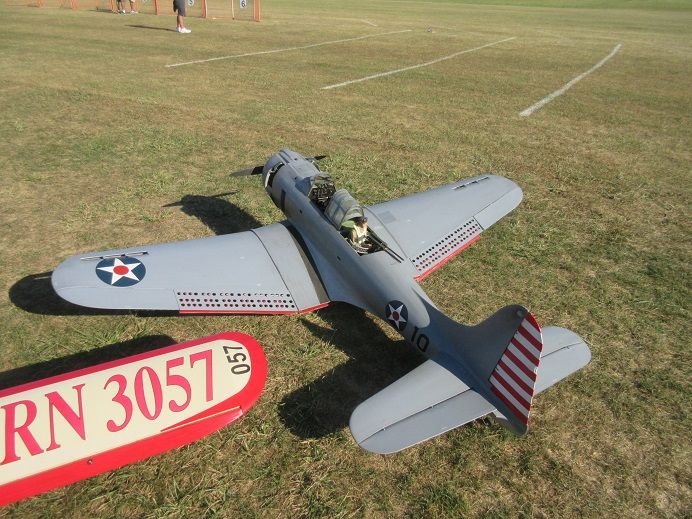
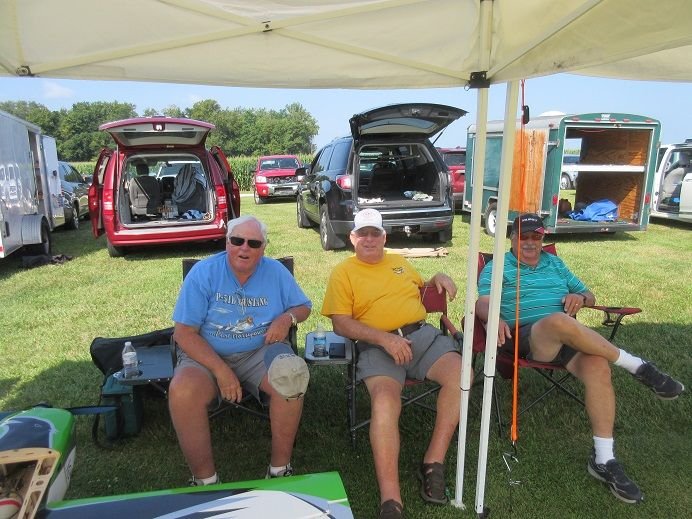
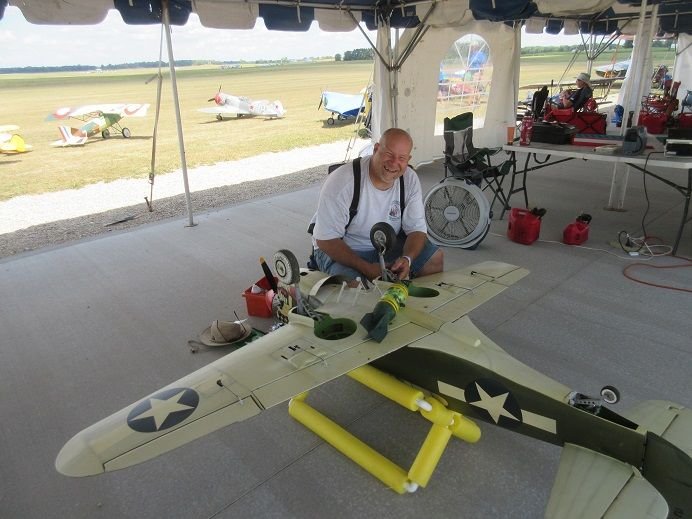
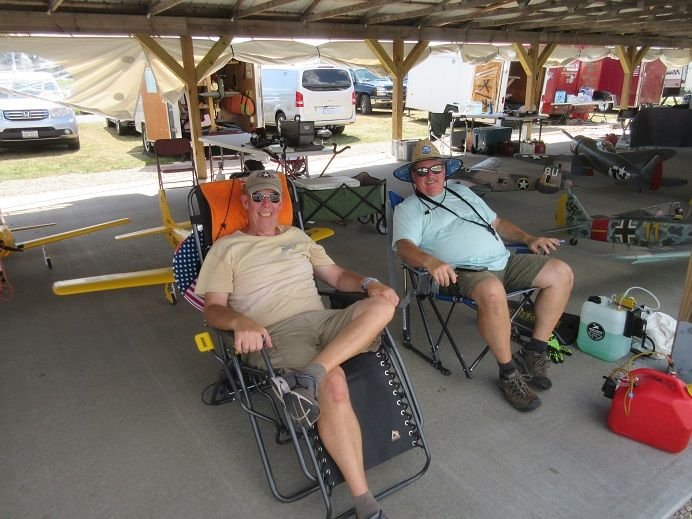
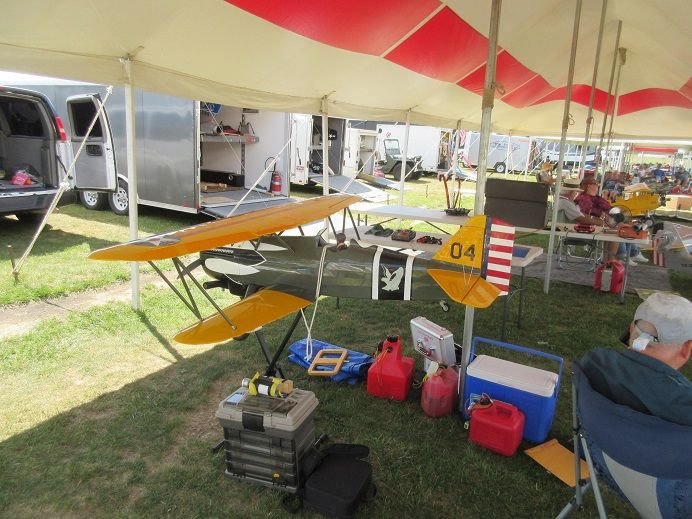
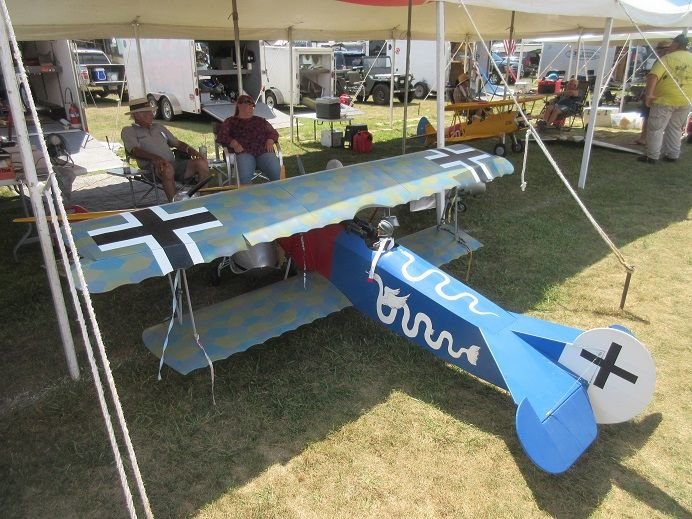
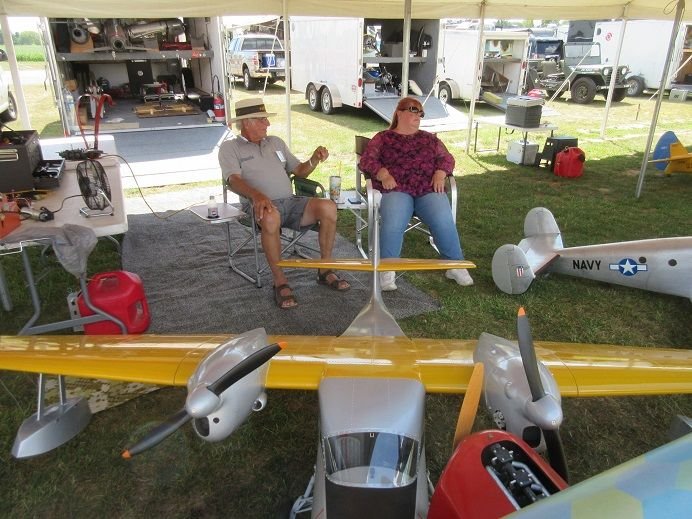
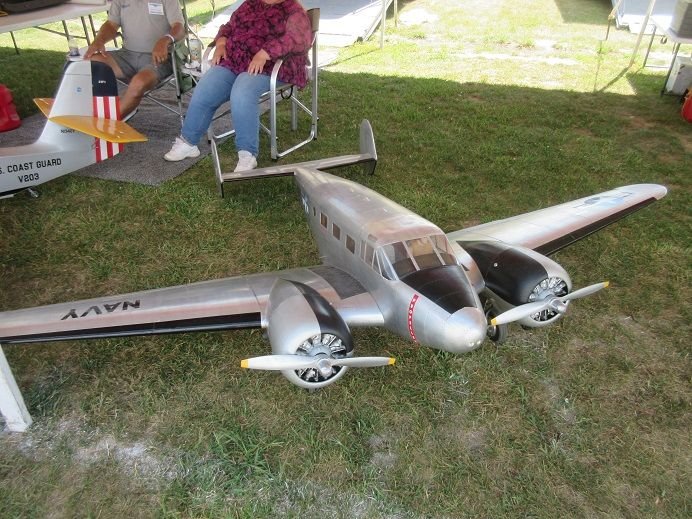
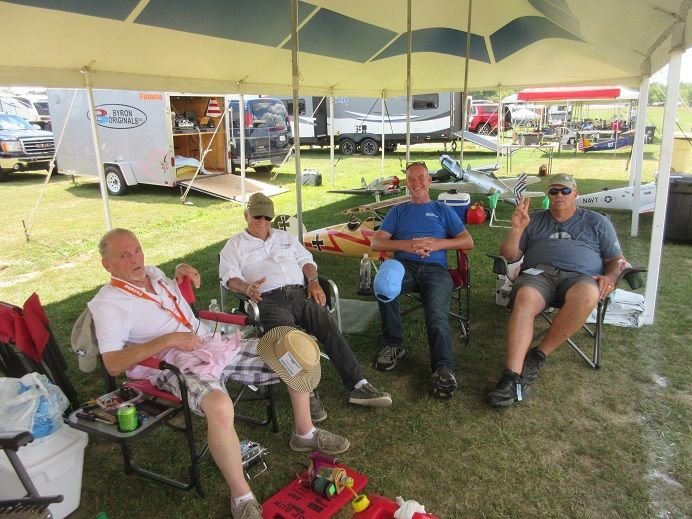
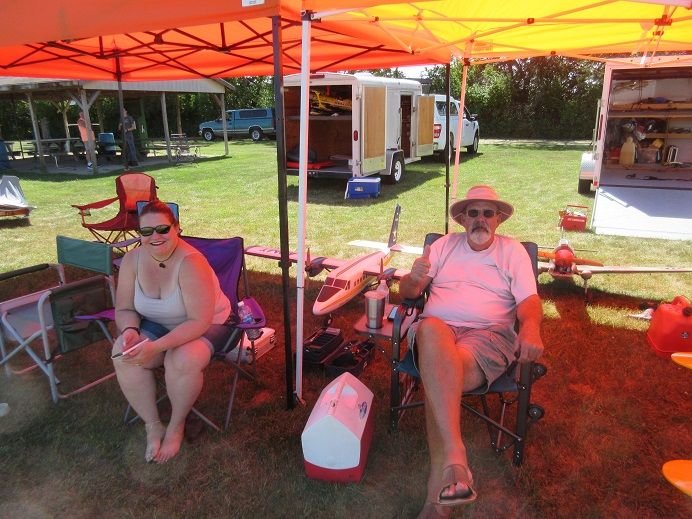
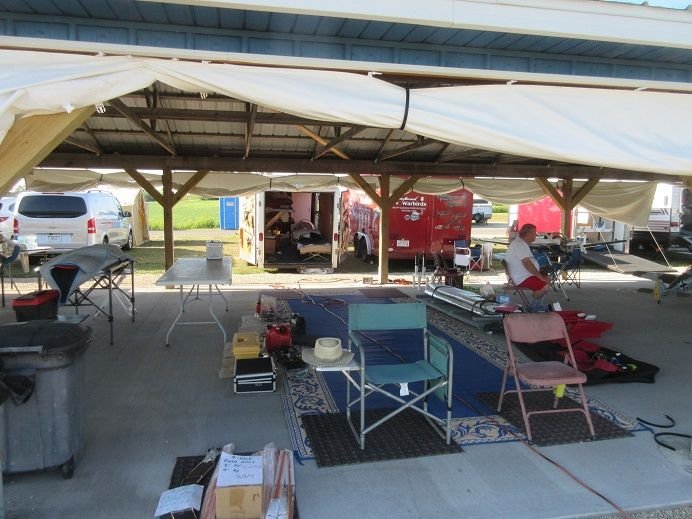
My 'suite' for the week.
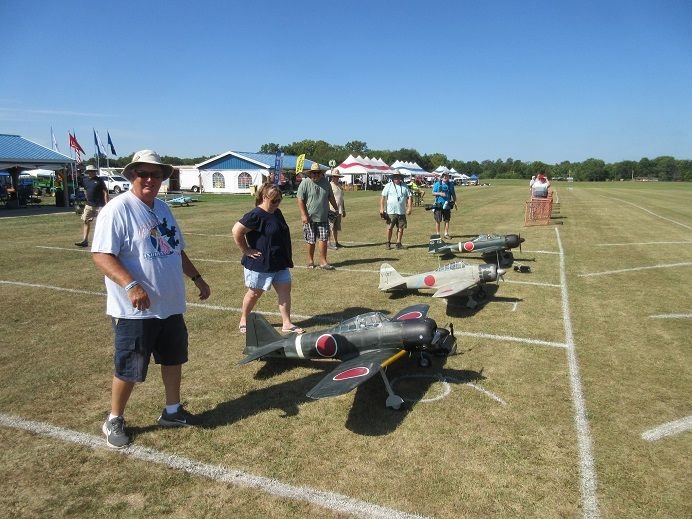
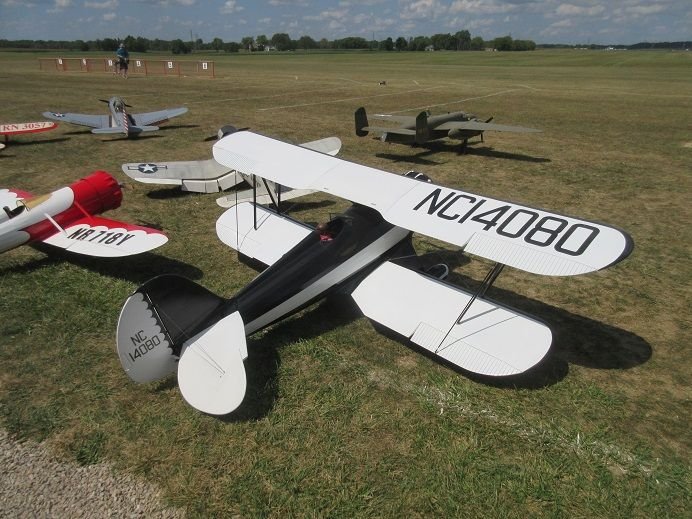
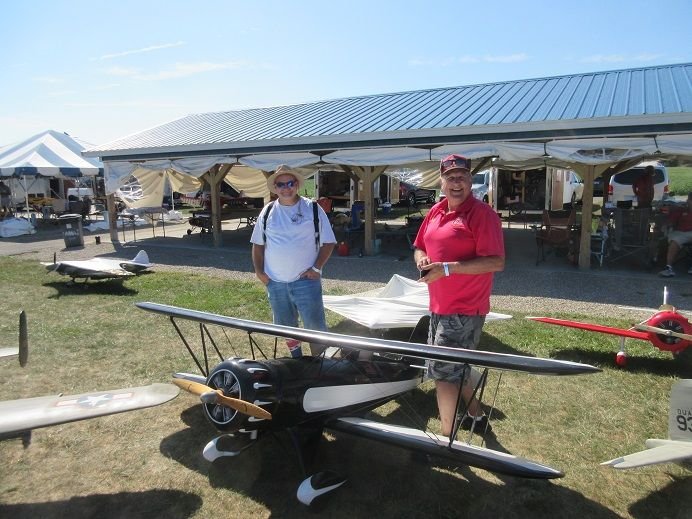
Bob with his Waco.
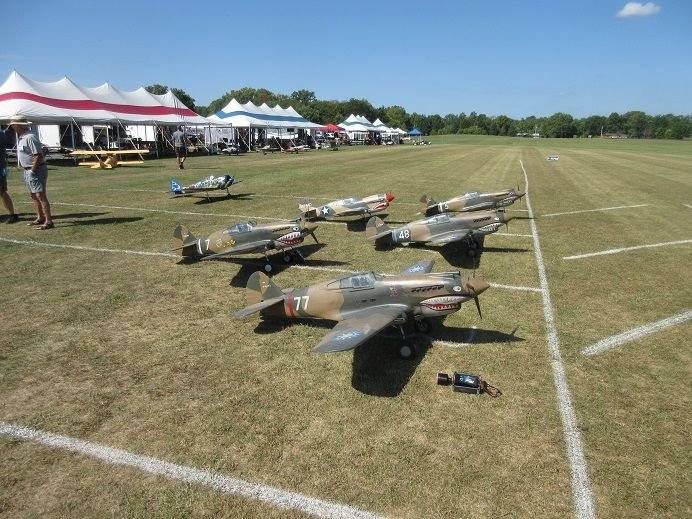
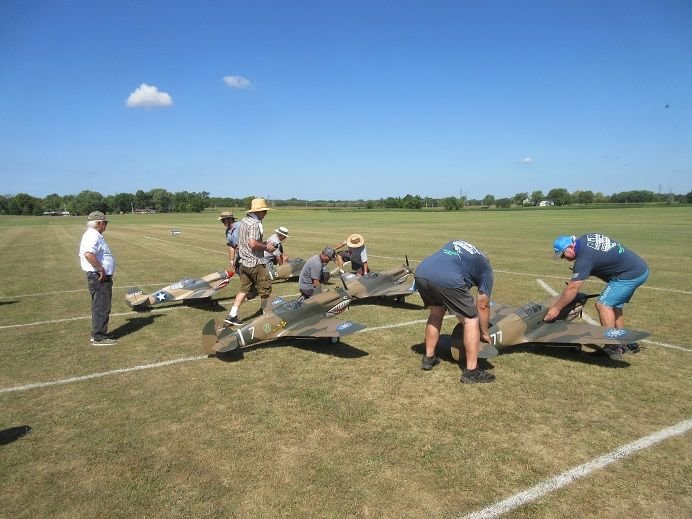
Rich and Dave to the left.
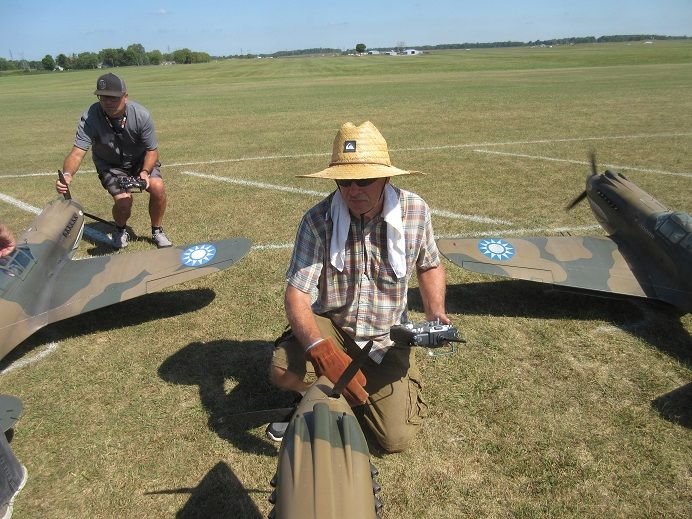
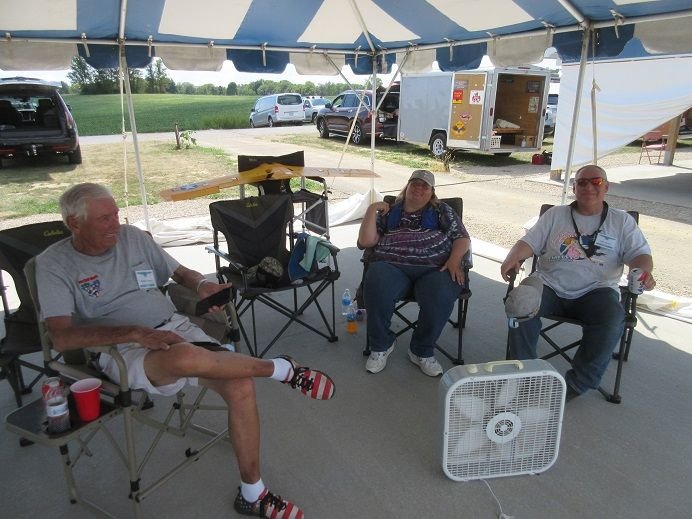
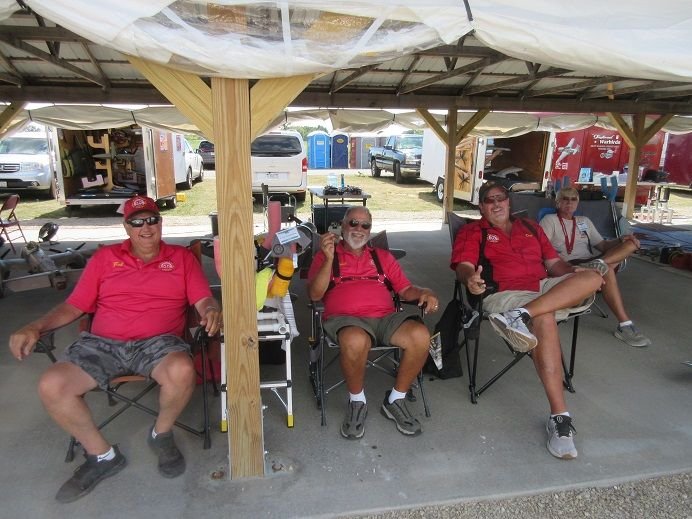
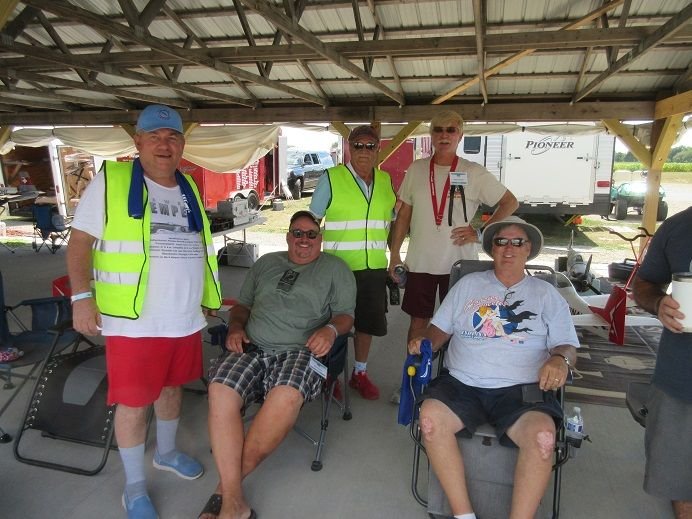
Rich, Dennis and Jeff.
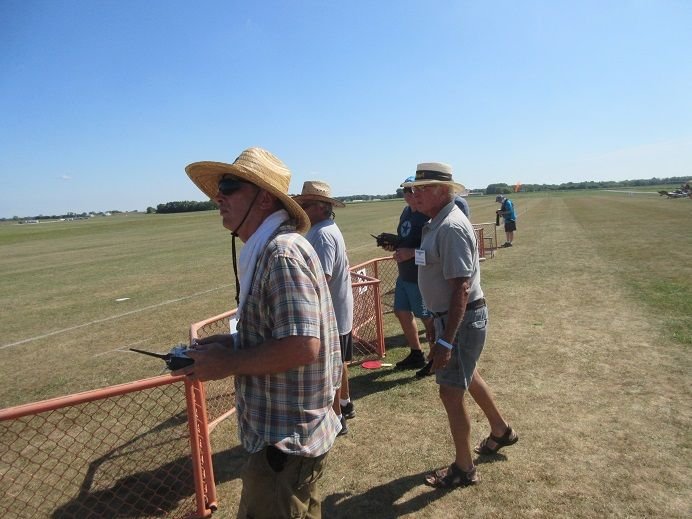
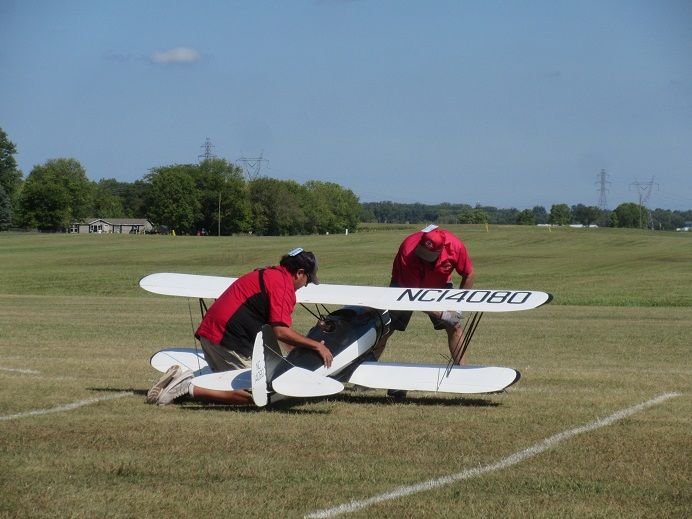
Doc and Bob.
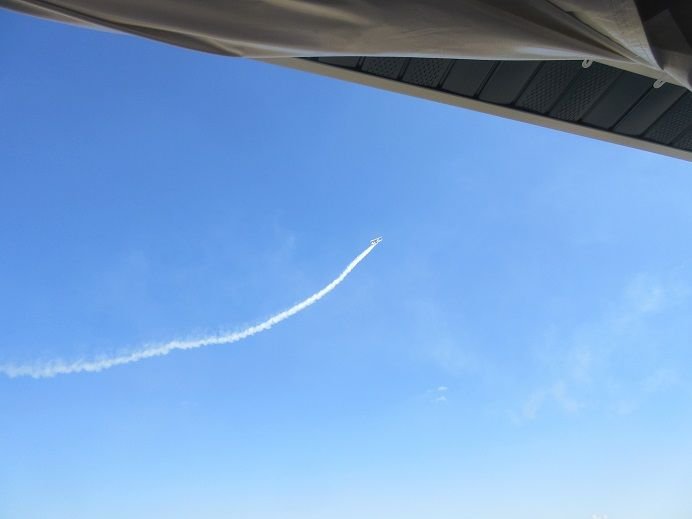
A good 'smoker'.
Frank with 120" B-25.
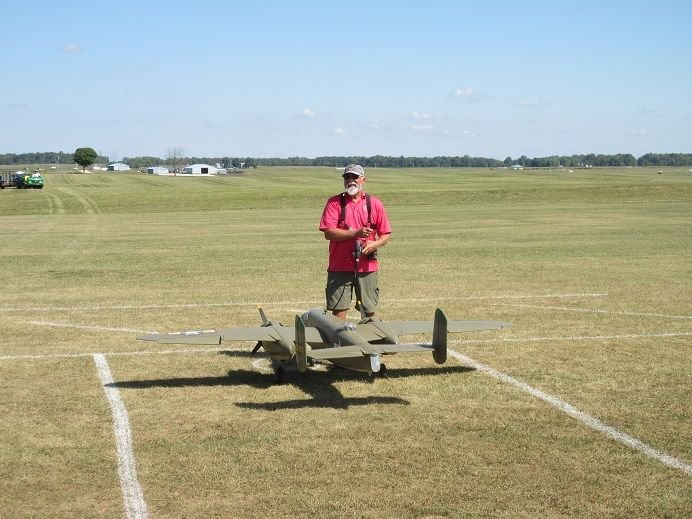
Miles: 100
About a 1000' all grass runway.
Video:
Pit area 'walk by'
Arrived on Wednesday.

Thursday morning.

Brought my Ziroli F6F Hellcat, SBD Dauntless and Gilmore racer.

Doc and Frank.

Brian and Andy.


My 'suite' for the week.


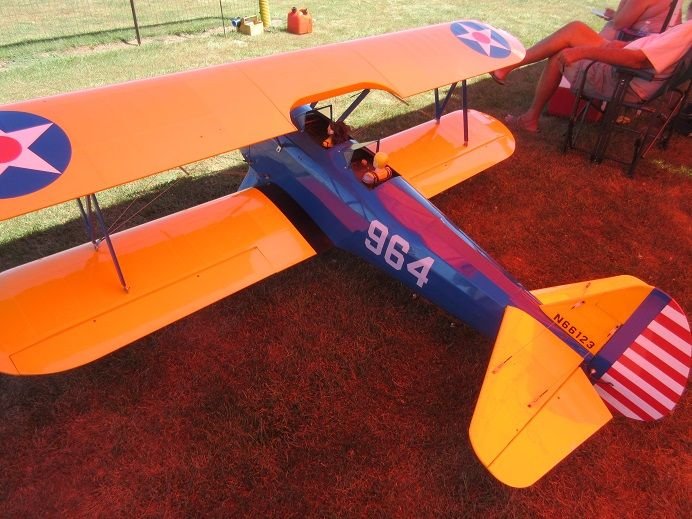
Bob with his Waco.


Rich and Dave to the left.

Rich, Dennis and Jeff.


Doc and Bob.

A good 'smoker'.

Frank with 120" B-25.

Last edited by samparfitt; 08-30-2024 at 03:49 PM.
#94
PM several planes:
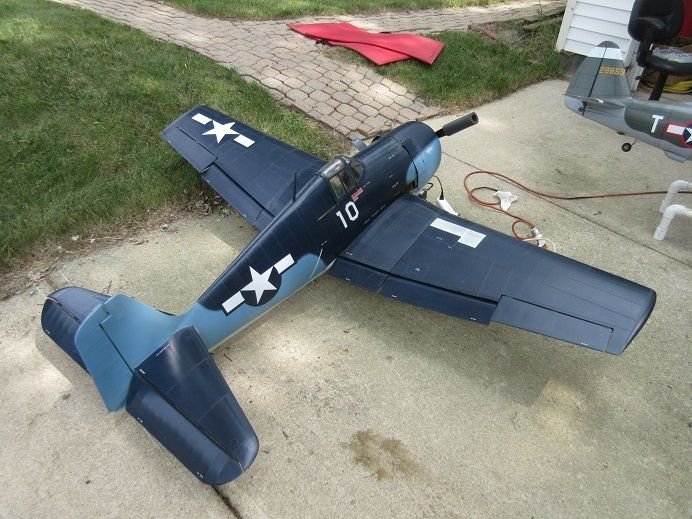
Ziroli F6F Hellcat.
Video after the PM.
6,300 RPM's on the GT-80.
The ignition battery needed replacing.
Cowl removal.
Disconnect the cowl flaps from the cowl flap servos.
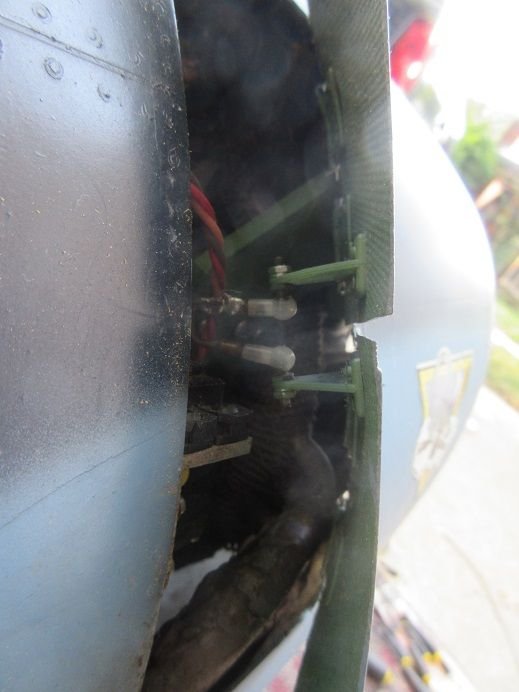
Ignition but found that the battery is in the fuse.
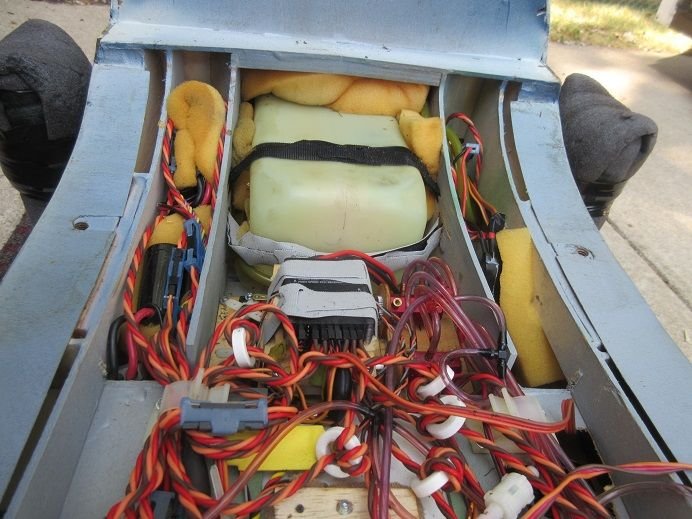
Weight box.
Functioning exhaust.
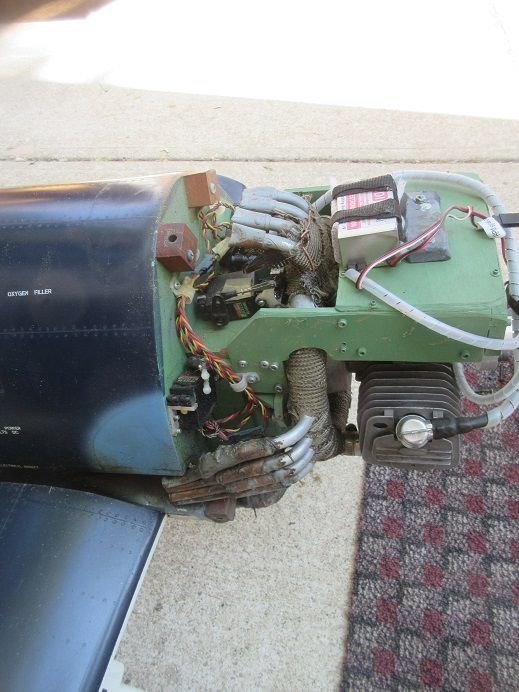
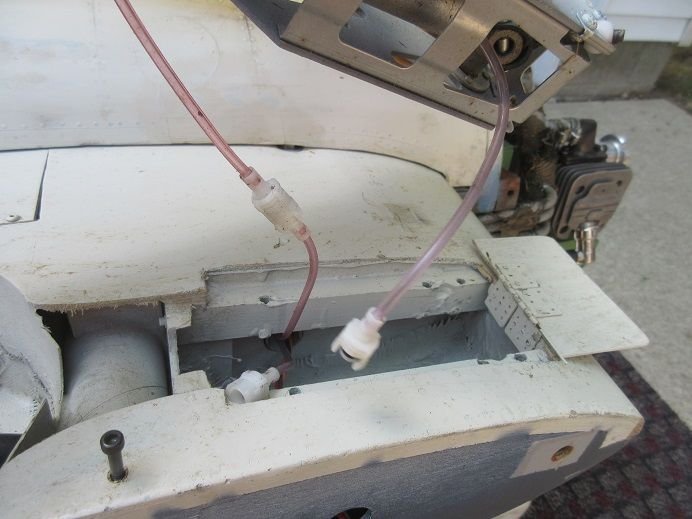
An air leak occurred so that was fixed.
First time I've had a Robart 'quick disconnect' break.
Robart gear, Darrell's wheels.
The exhaust on the fuse is 'real'.
Wheels wells always glassed.
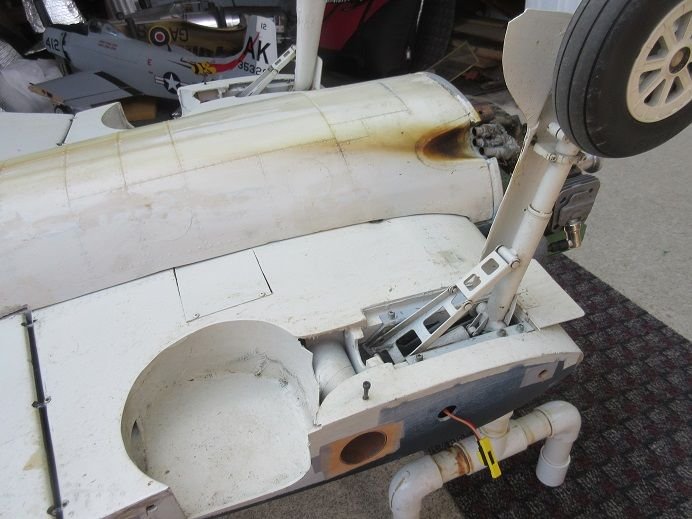
Also, the gear mount area is glassed.
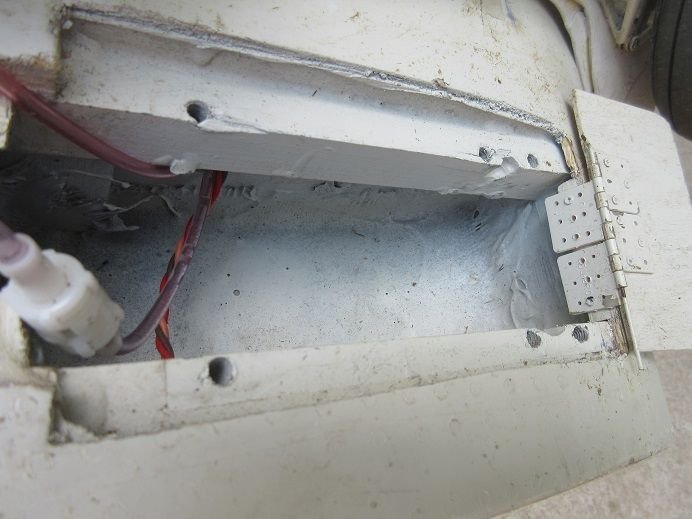
2 hex head bolts on the fire wall secures the front of the belly pan.
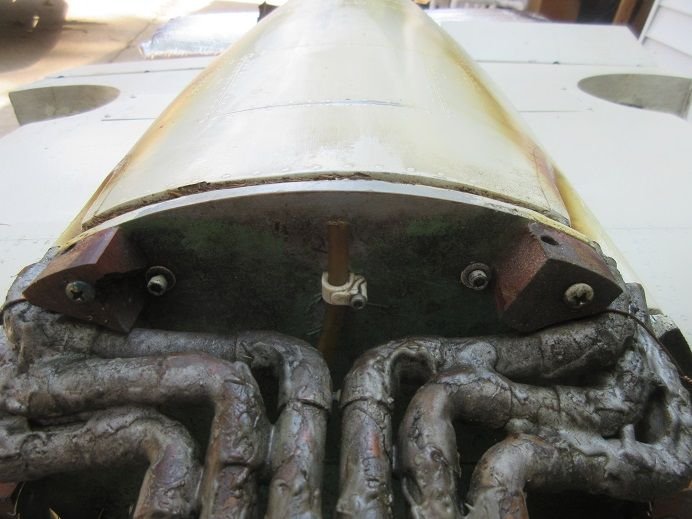
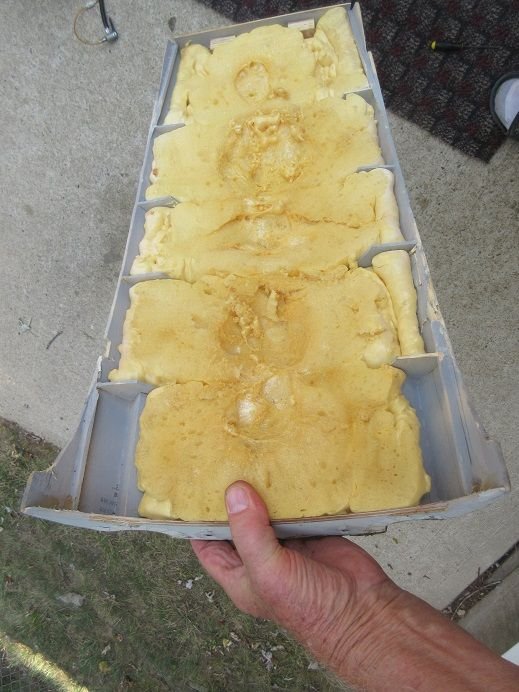
'Foamed' the belly pan in case I ever have a 'belly landing'!
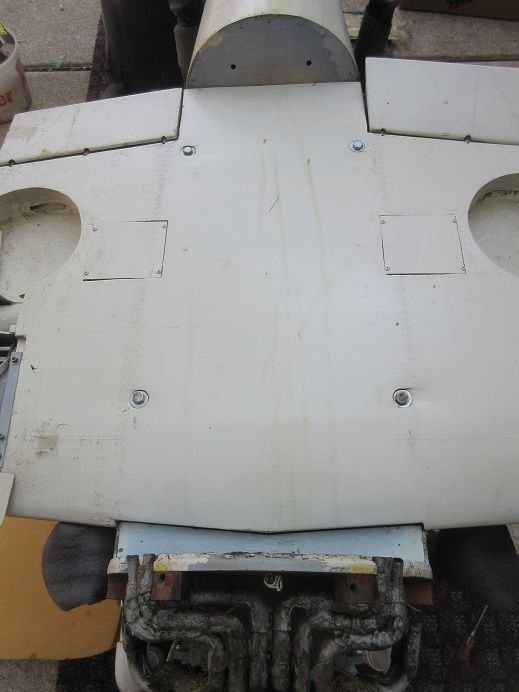
I'm 'partial' to 4 bolts securing the wing to the fuse to get a nice tight fit between the fuse and wing.
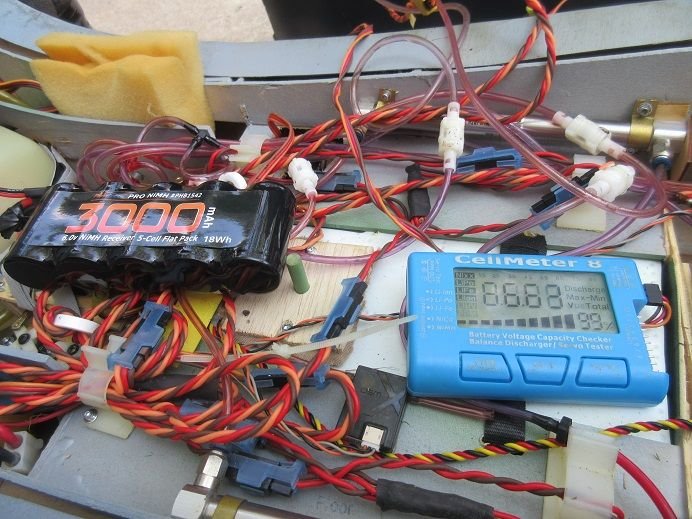
One new ignition battery.
The double wing ply is aircraft ply.
I always replace the flimsy '3 ply' that comes with the kits.
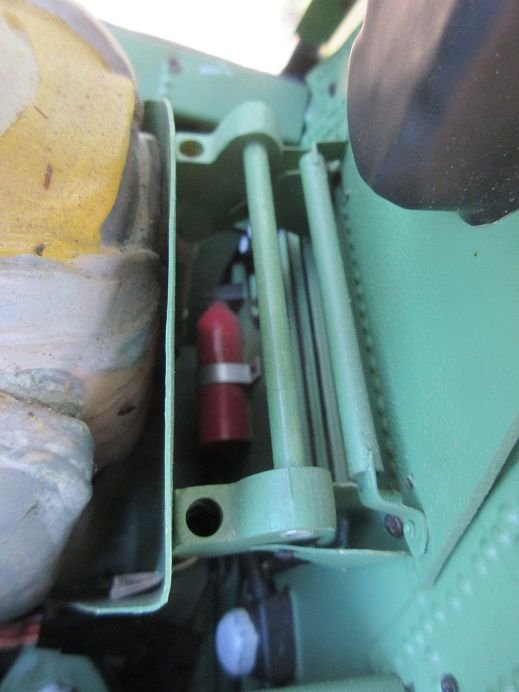
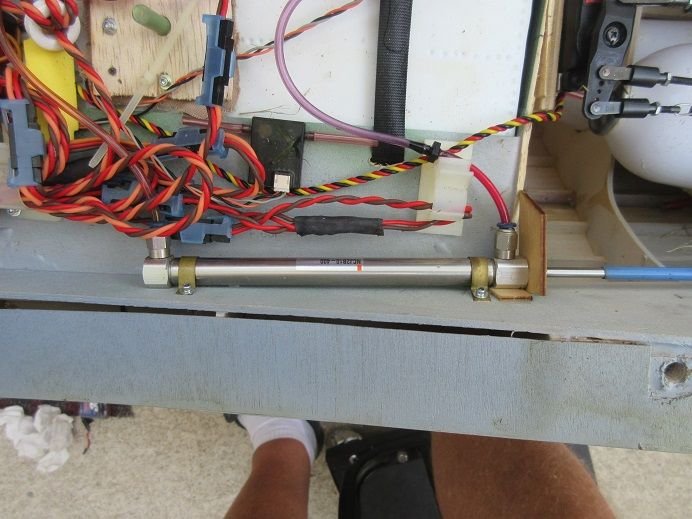
One of 2 long air cylinders that operates the functioning canopy.
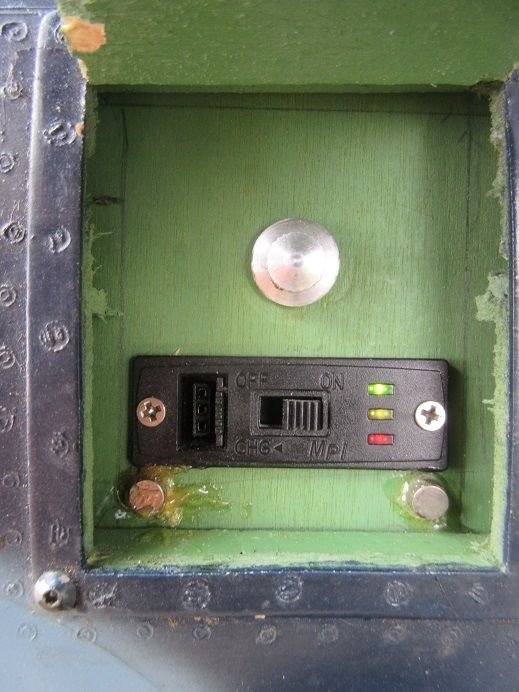
All better. Green light on versus the red light for the ignition.
===========
Charged all the batteries.
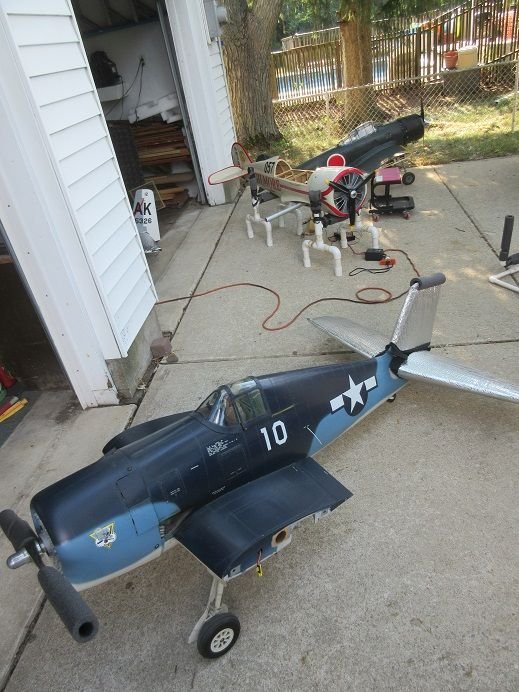
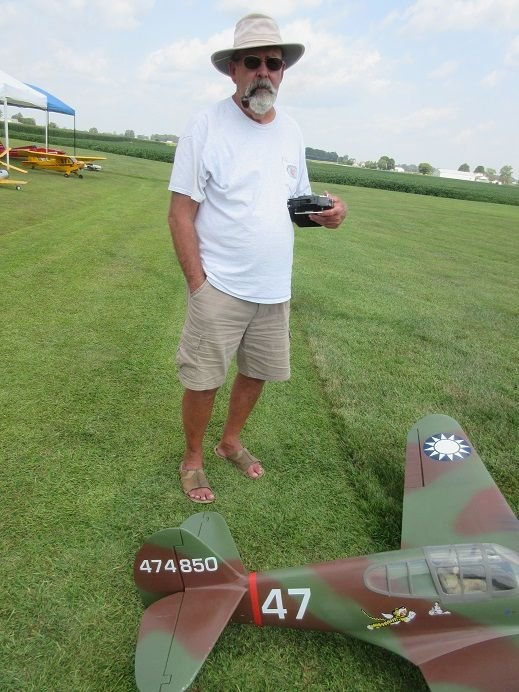
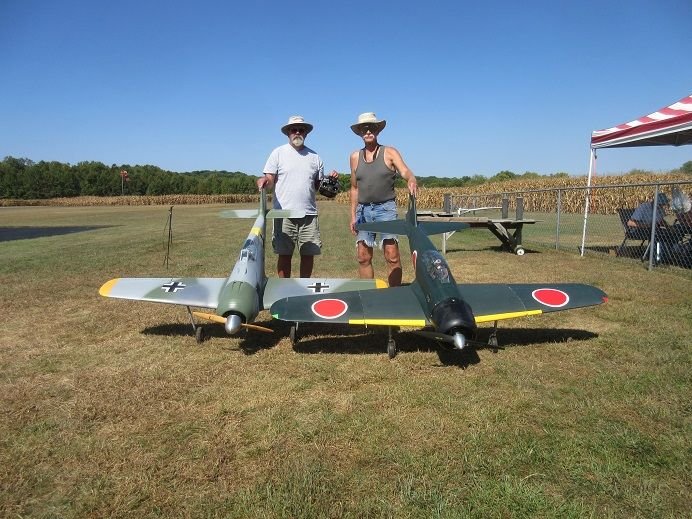
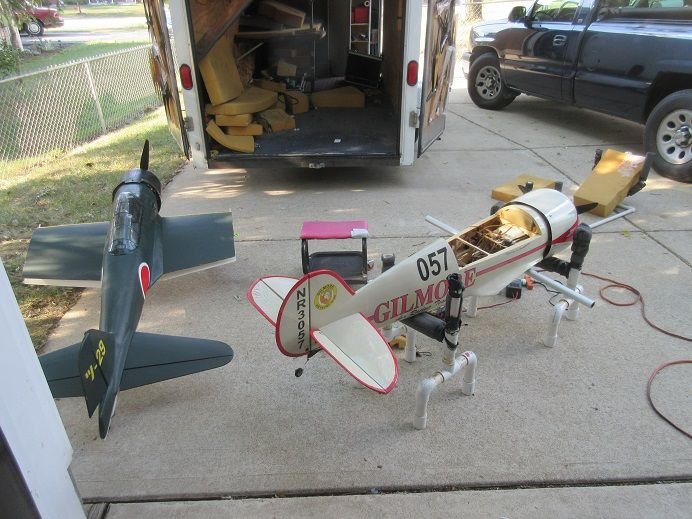
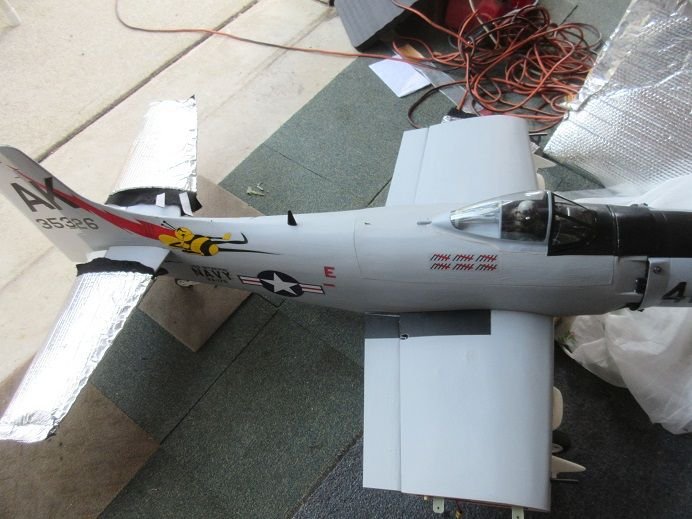
CY A6M zero and Black Horse 84.5 Gilmore racer.
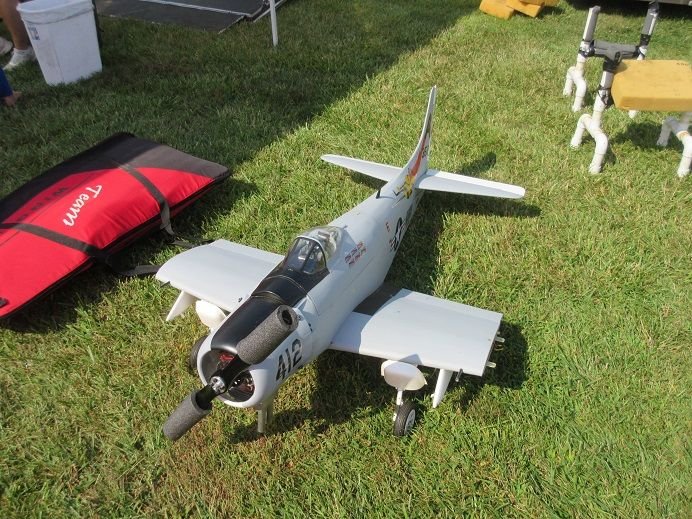
Legion Hobby Skyraider with remote engine starter.
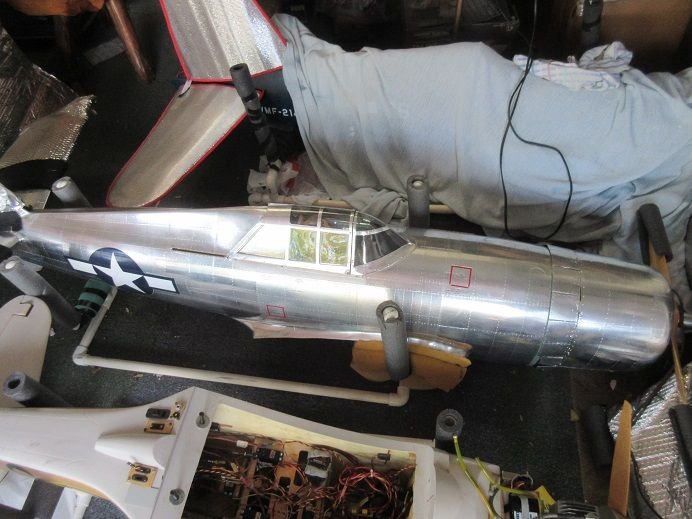
Ziroli P-47.
This plane 'bristles' with details.
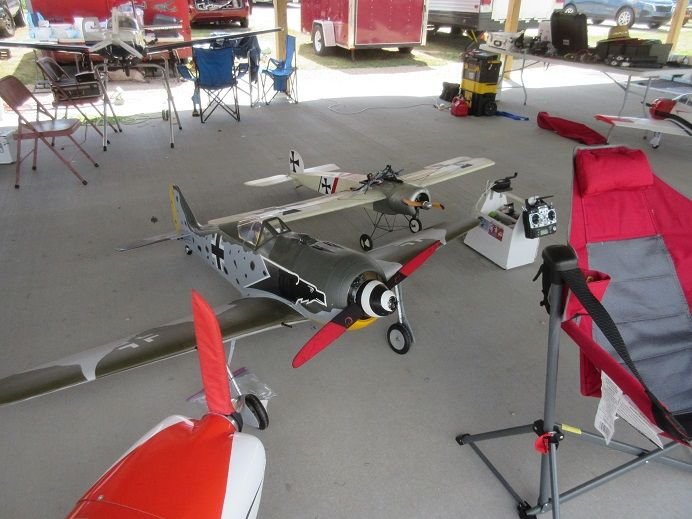
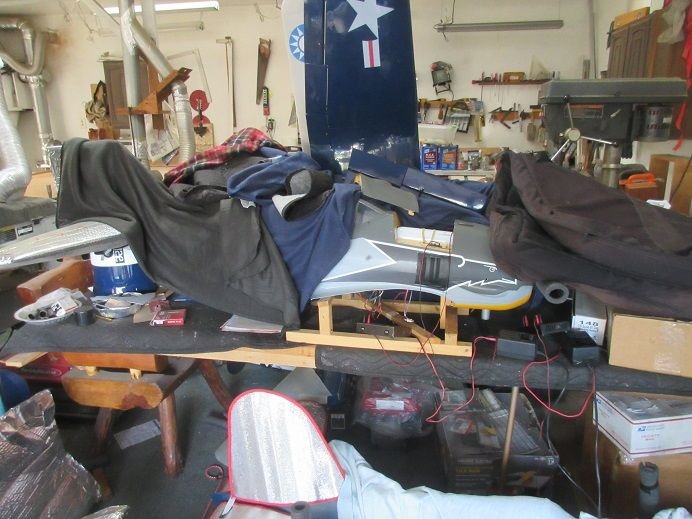
TF FW-190.
Ziroli F6F Hellcat.
Video after the PM.
6,300 RPM's on the GT-80.
The ignition battery needed replacing.
Cowl removal.
Disconnect the cowl flaps from the cowl flap servos.

Ignition but found that the battery is in the fuse.
Weight box.
Functioning exhaust.

An air leak occurred so that was fixed.
First time I've had a Robart 'quick disconnect' break.

Robart gear, Darrell's wheels.
The exhaust on the fuse is 'real'.
Wheels wells always glassed.

Also, the gear mount area is glassed.

2 hex head bolts on the fire wall secures the front of the belly pan.

'Foamed' the belly pan in case I ever have a 'belly landing'!

I'm 'partial' to 4 bolts securing the wing to the fuse to get a nice tight fit between the fuse and wing.

One new ignition battery.

The double wing ply is aircraft ply.
I always replace the flimsy '3 ply' that comes with the kits.

One of 2 long air cylinders that operates the functioning canopy.

All better. Green light on versus the red light for the ignition.


===========
Charged all the batteries.

CY A6M zero and Black Horse 84.5 Gilmore racer.

Legion Hobby Skyraider with remote engine starter.

Ziroli P-47.
This plane 'bristles' with details.

TF FW-190.

Last edited by samparfitt; 09-06-2024 at 11:21 AM.


