


3W Bearcat with Moki 300

 08-14-2024, 03:05 AM
#527

My Feedback: (7)
You know when the project gets to the hoist stage you're close to done. I used a $99 electric hoist from Harbor Freight - my second one. An amazing device for the money.
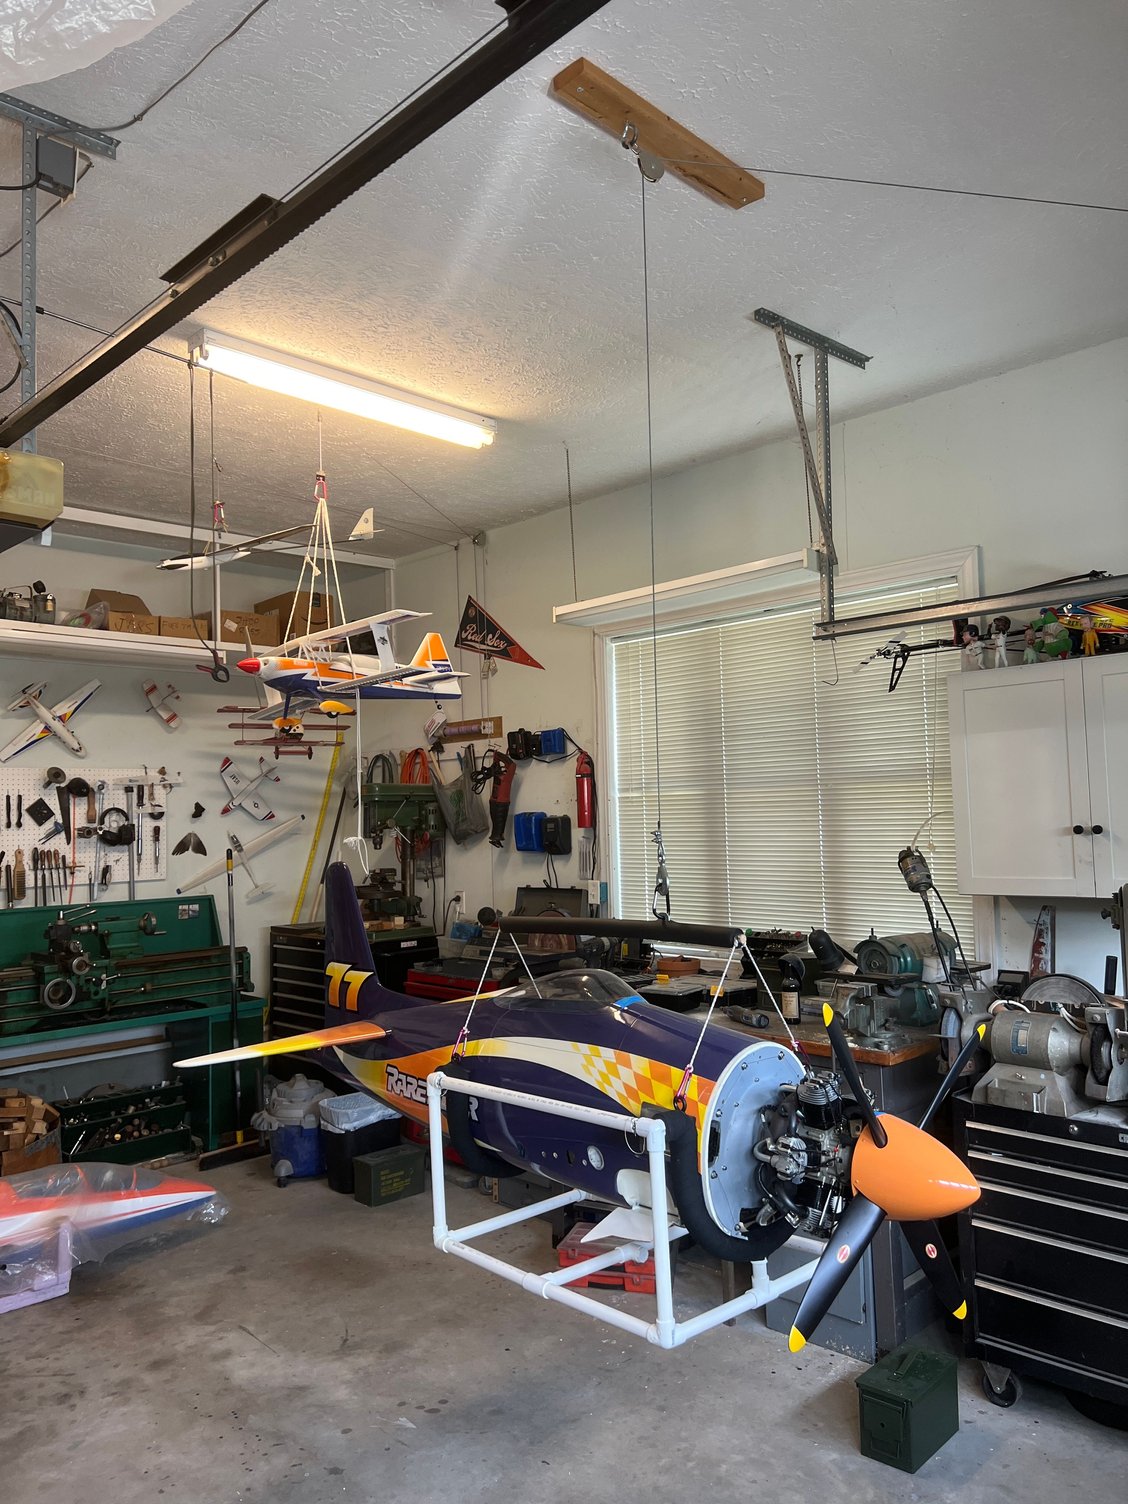
Trying out the sling hardware on my original hoist.
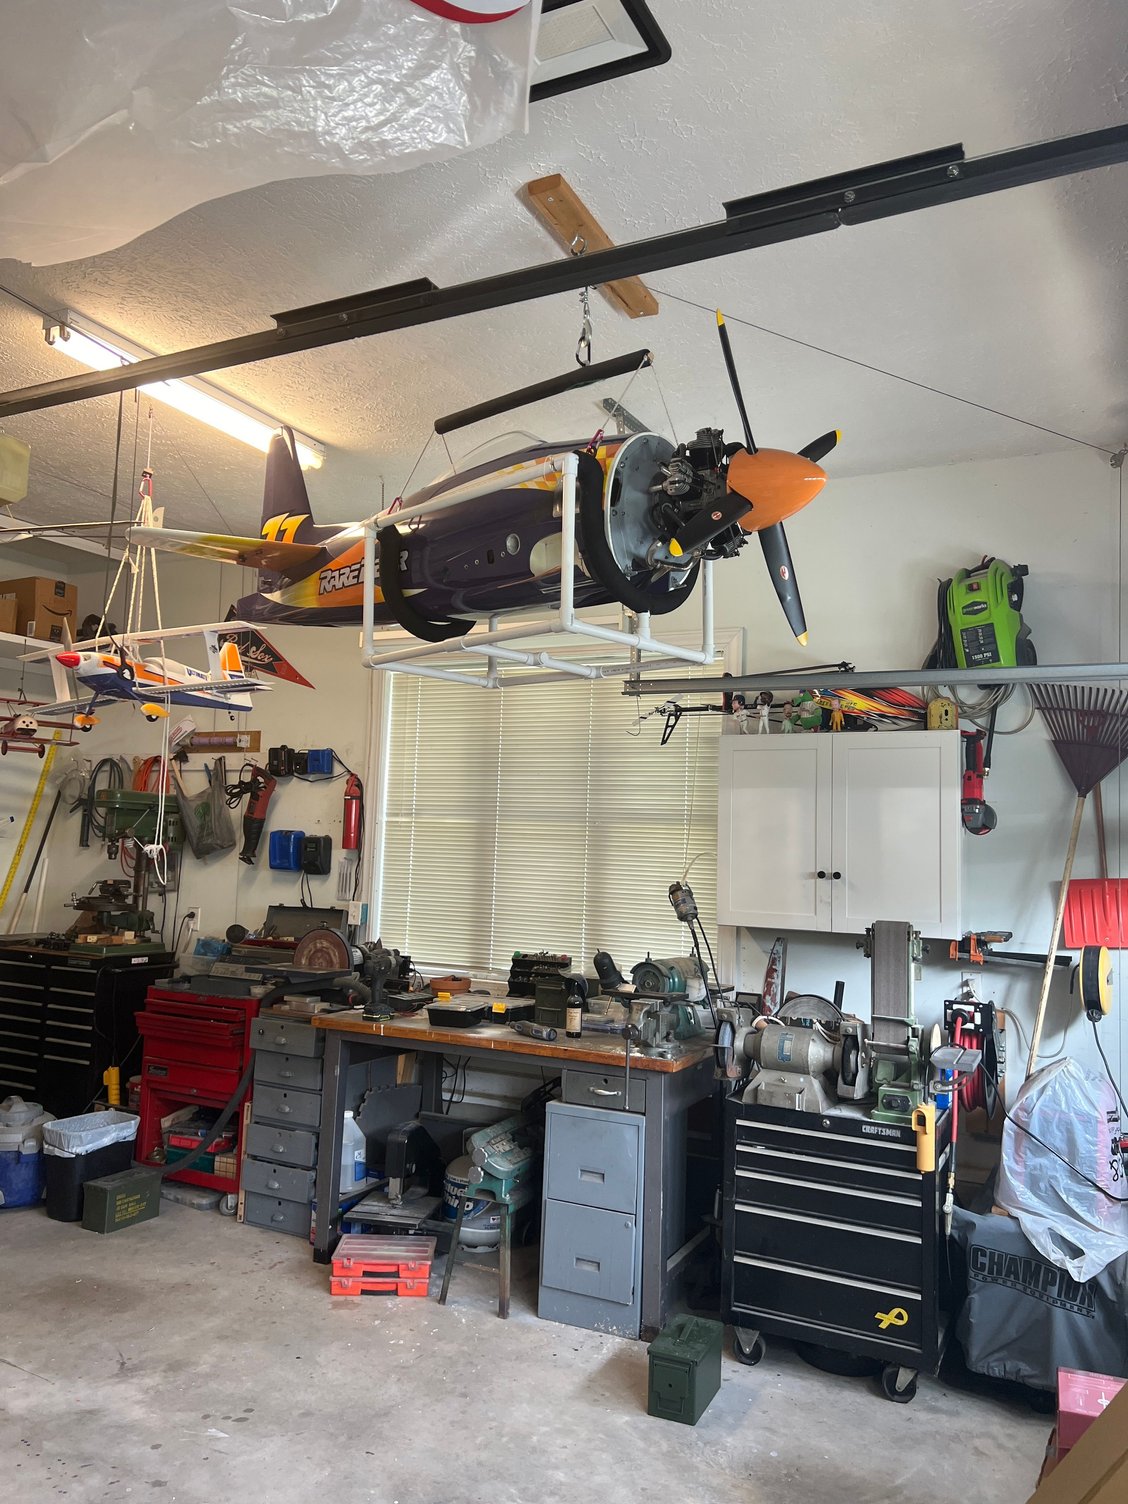
It works
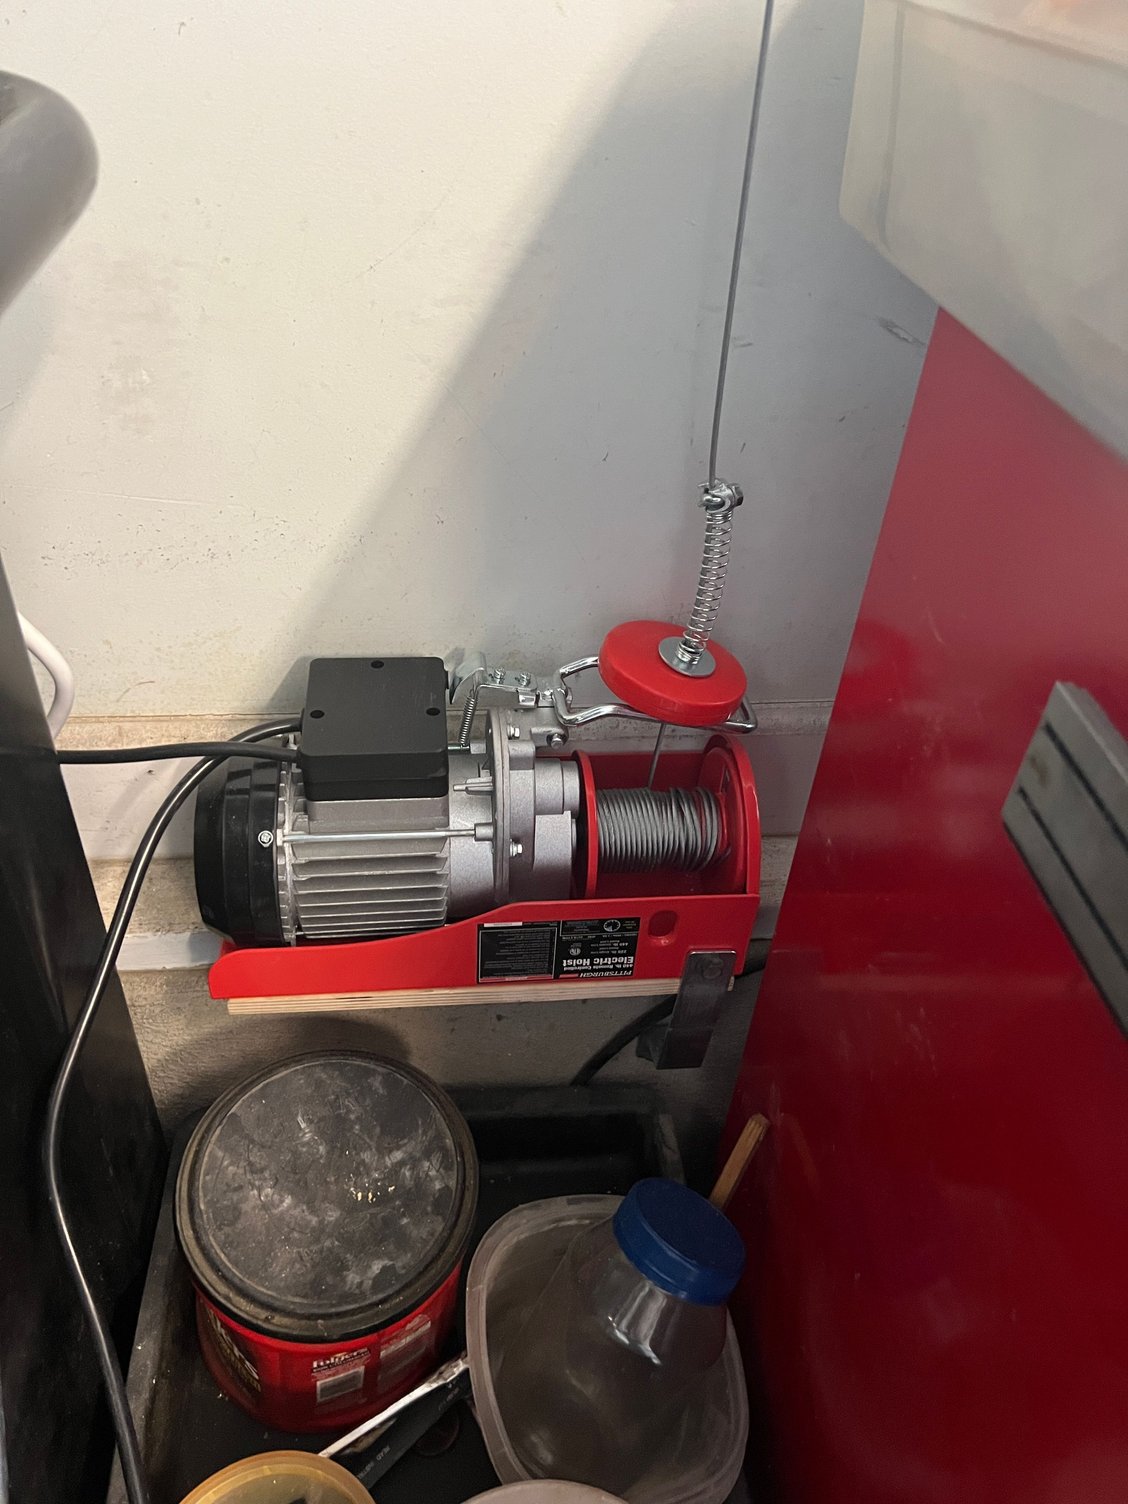
Bolted into the concrete of the foundation!
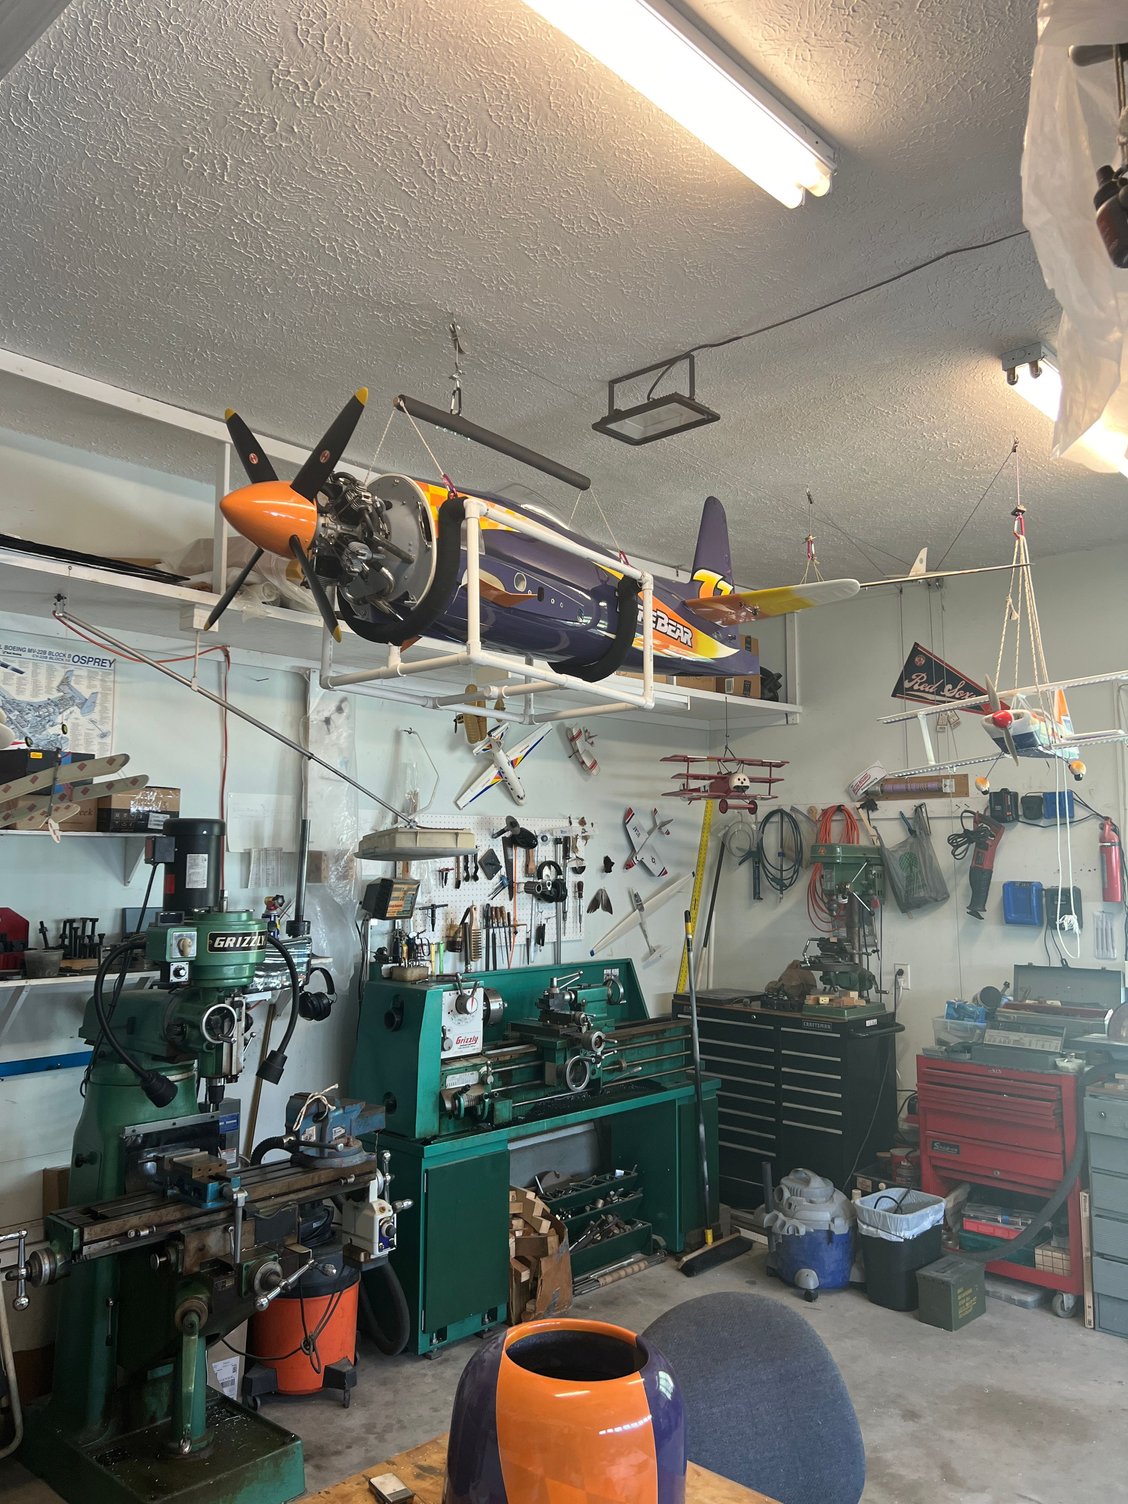
This is the new hoist location. Looks really happy!
Trying out the sling hardware on my original hoist.
It works
Bolted into the concrete of the foundation!
This is the new hoist location. Looks really happy!
08-21-2024, 02:44 AM
#528
My Feedback: (7)
It's time for the final piece of the puzzle - the cockpit. Scale detailing has never been my focus. As a matter of fact, this will be the first time (in 50 years) I've ever even detailed a cockpit. For the Bear I'm not shooting for maximum scale fidelity. More "sport scale" will be the plan. Plus I intend to have all the cockpit details built into the top hatch so when it comes off so does the pilot, the tub all and all the detailing. Phoenix models employed this process on my Hanger 9 MB339 jet and I just love it. And of course, it has to be light weight.
The rest of this aircraft is completely ready to fly.
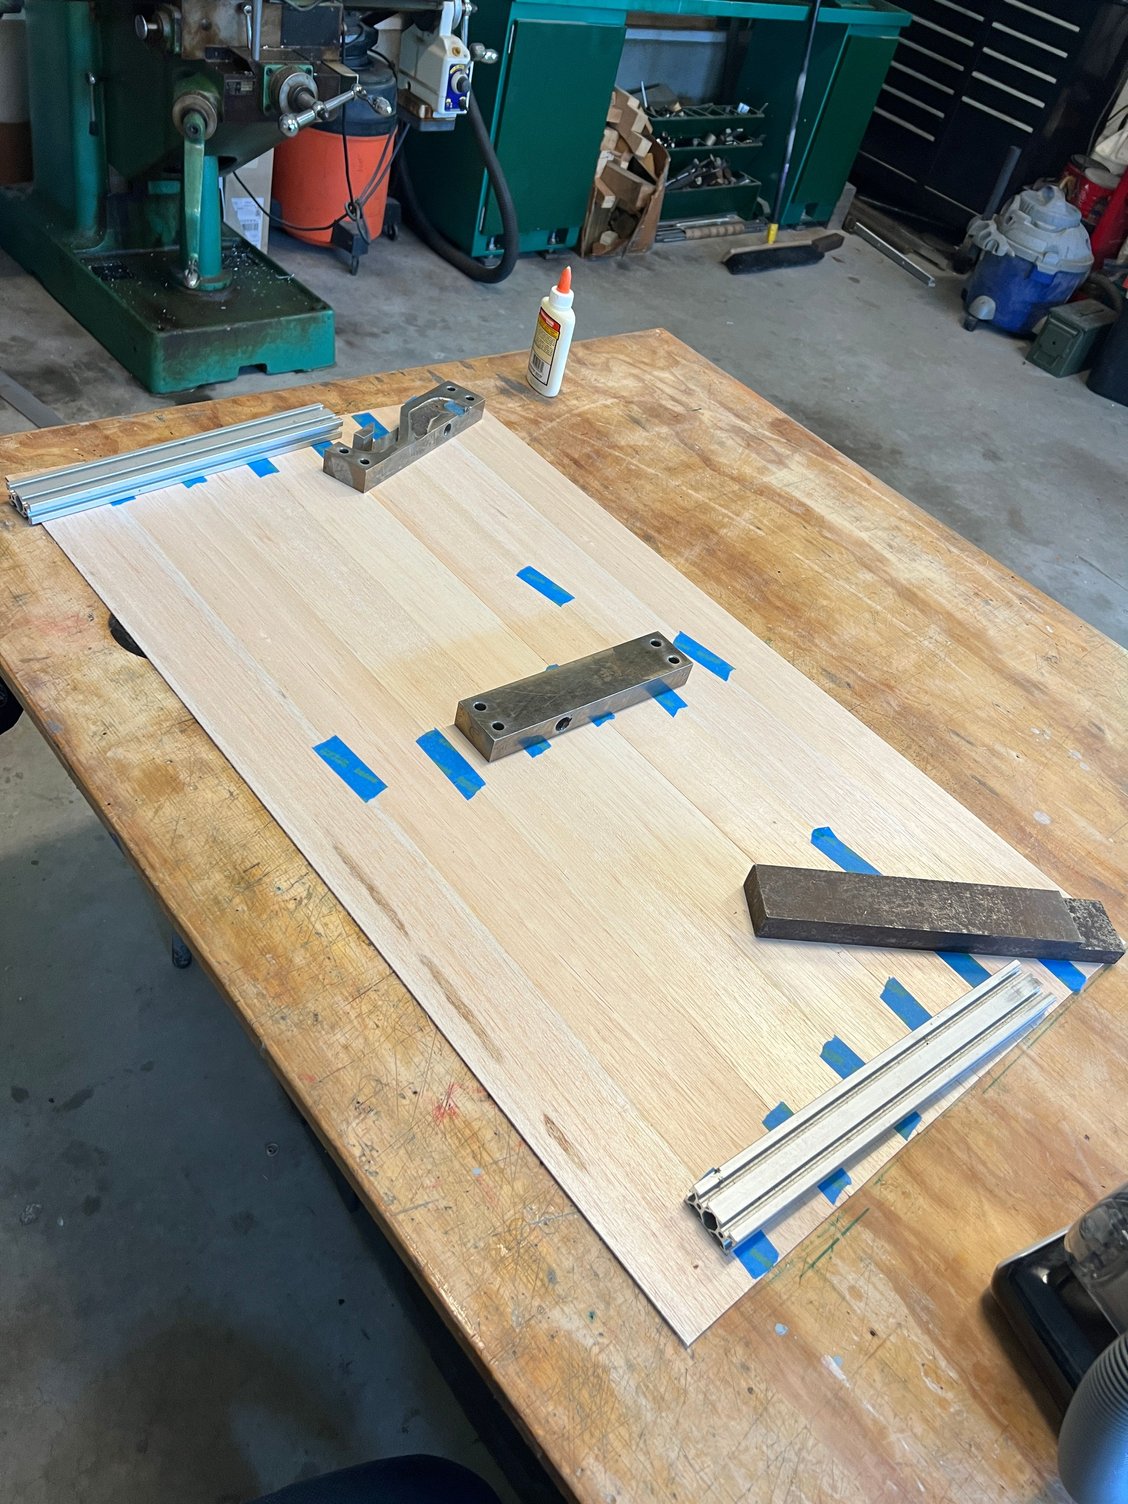
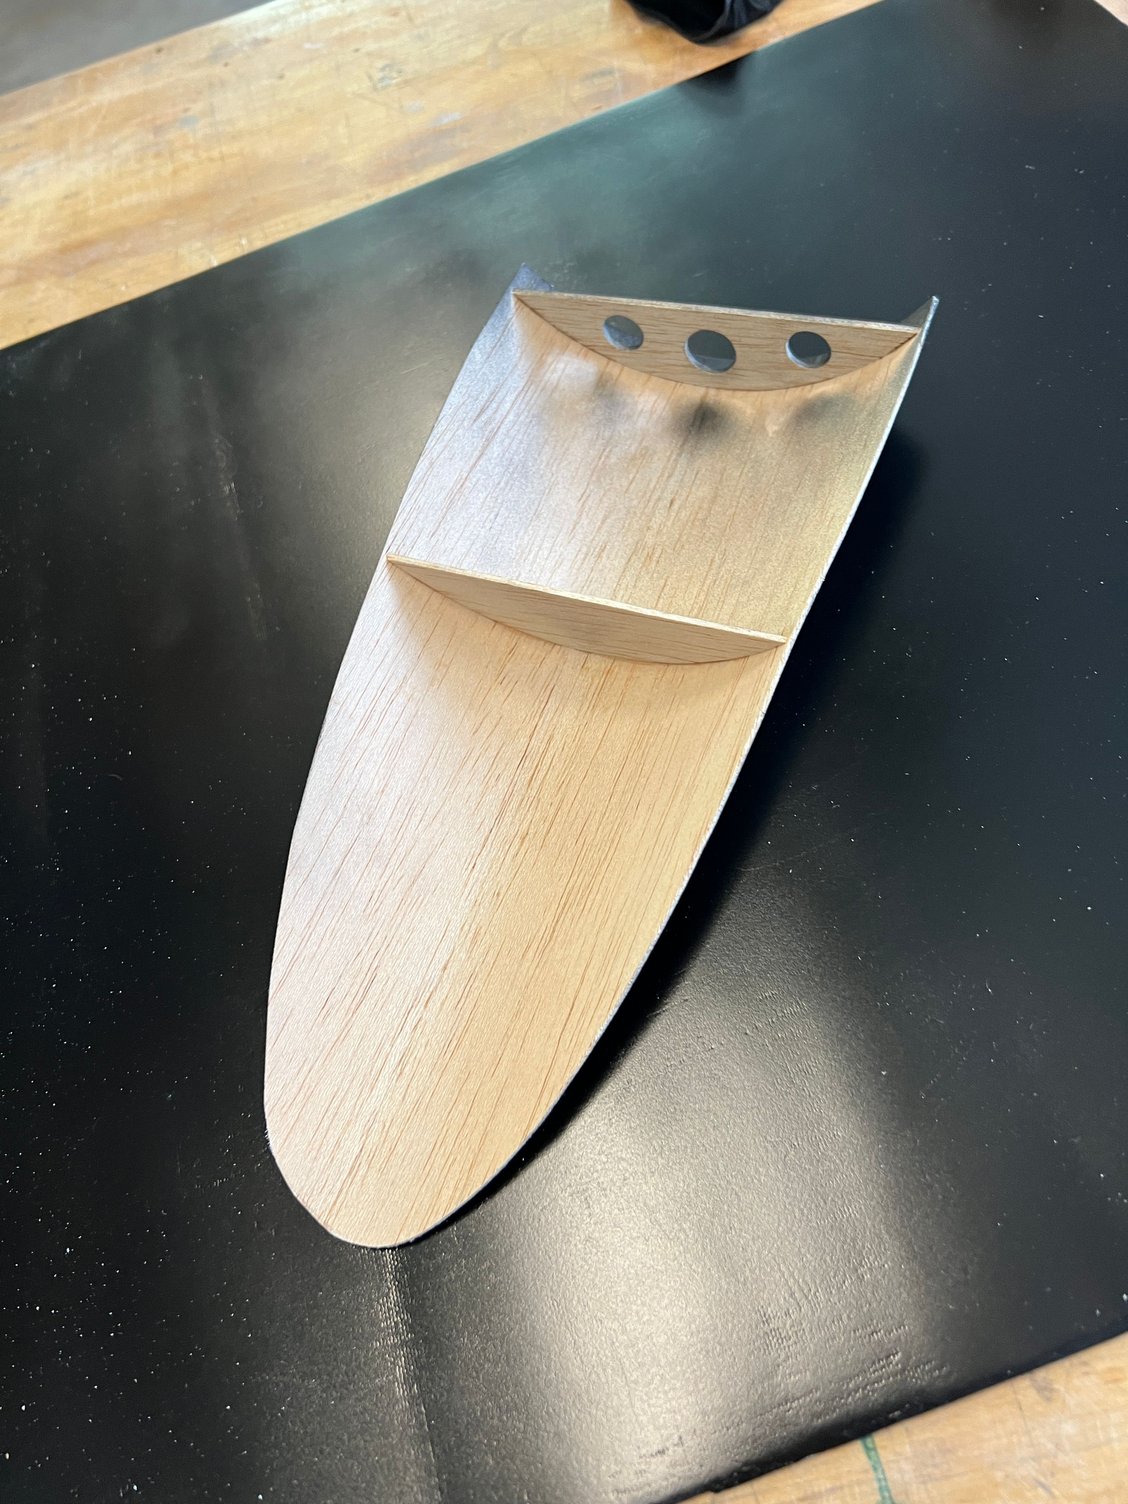
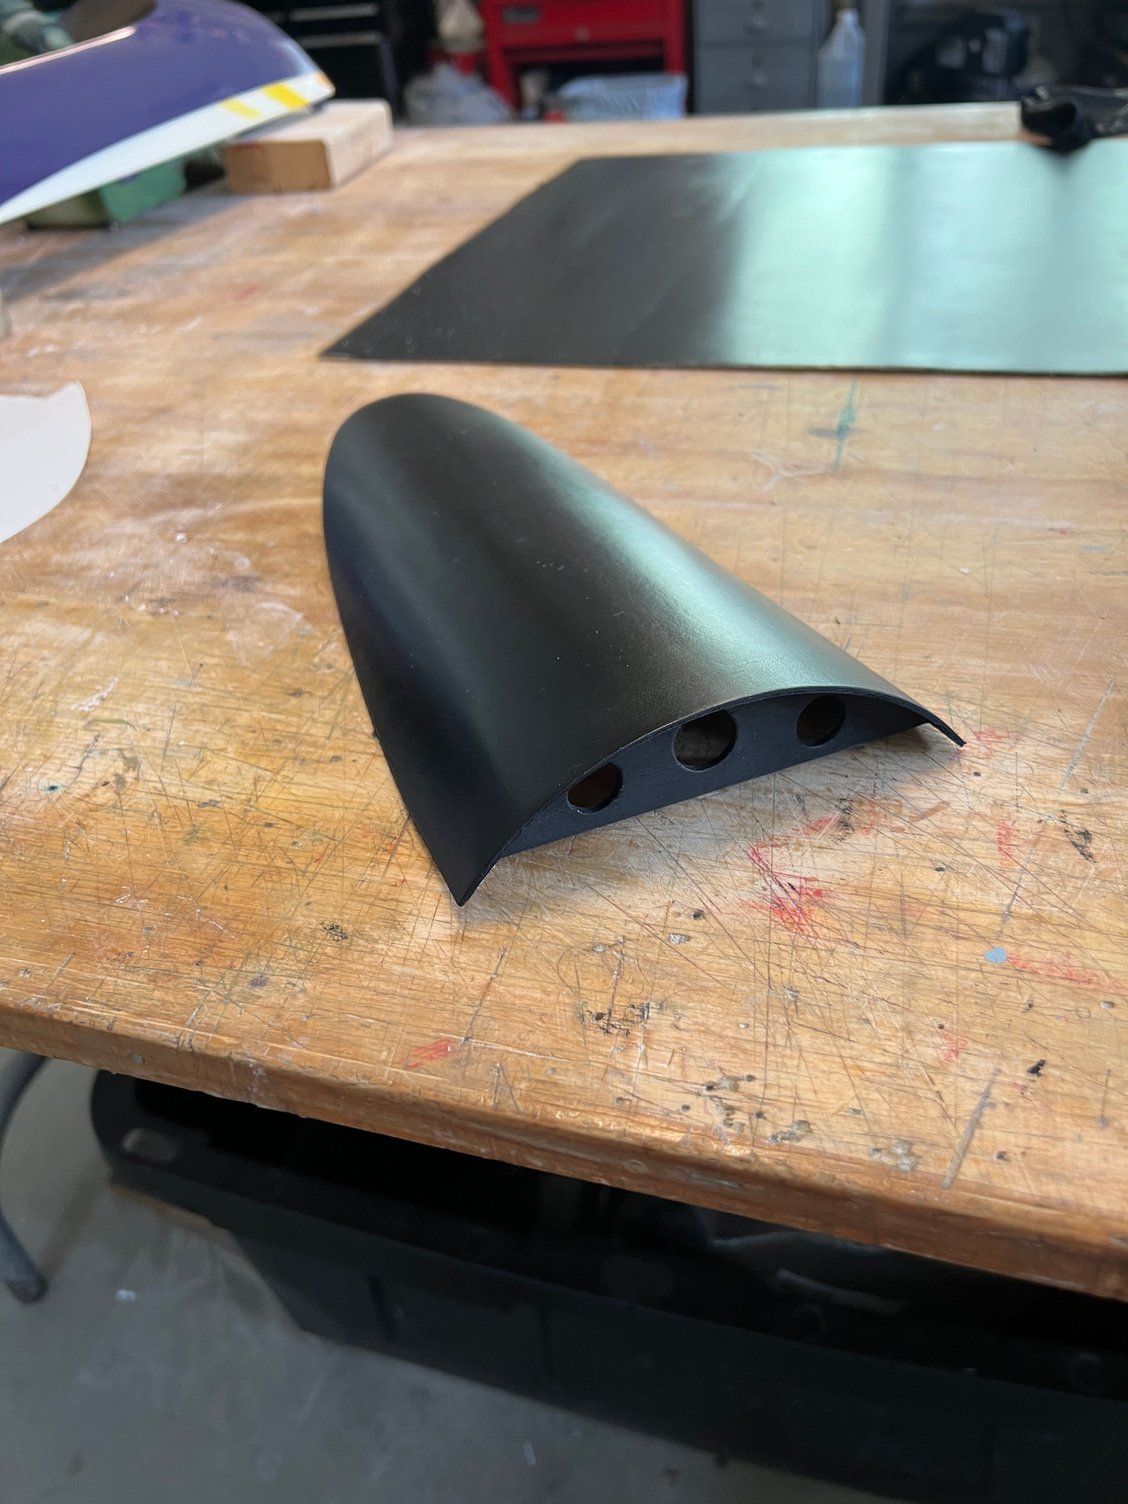
I started off by edge gluing 1/16" light sheet balsa then I fiberglassed both sides: one side with 3/4oz cloth and the other side 3.5oz cloth. Just strong enough for the job and fairly light. I'll use this to make the structure of the tub
WarBirds Pilot. Here I'm determining tub depth.
The rest of this aircraft is completely ready to fly.
I started off by edge gluing 1/16" light sheet balsa then I fiberglassed both sides: one side with 3/4oz cloth and the other side 3.5oz cloth. Just strong enough for the job and fairly light. I'll use this to make the structure of the tub
WarBirds Pilot. Here I'm determining tub depth.
09-06-2024, 03:26 AM
#529
My Feedback: (7)
Making a little progress on the cockpit. It's SLOW going because 1) it's like a jigsaw puzzle but all the pieces are black and 2) this is something I'm not very good at. However I'm kind of happy with the direction it's headed. The plan is for the whole thing to be a sort of "unitized cartridge" that pops in and out. I'm also making most of the components easily removable (mostly) in case I sell this beast (which is quite possible - even likely) in the future and the new owner wants a more traditional scale cockpit.
I had a cockpit kit (for a Gruman Hellcat) from Dynamic Balsa kicking around and I'm using some fun detail parts from that including the seat pan. Remember, the full scale Rare Bare is highly modified so it's cockpit looks pretty much nothing like the warbird's. With that said, I've had no luck finding many good pictures of it so I'm kind of on my own.
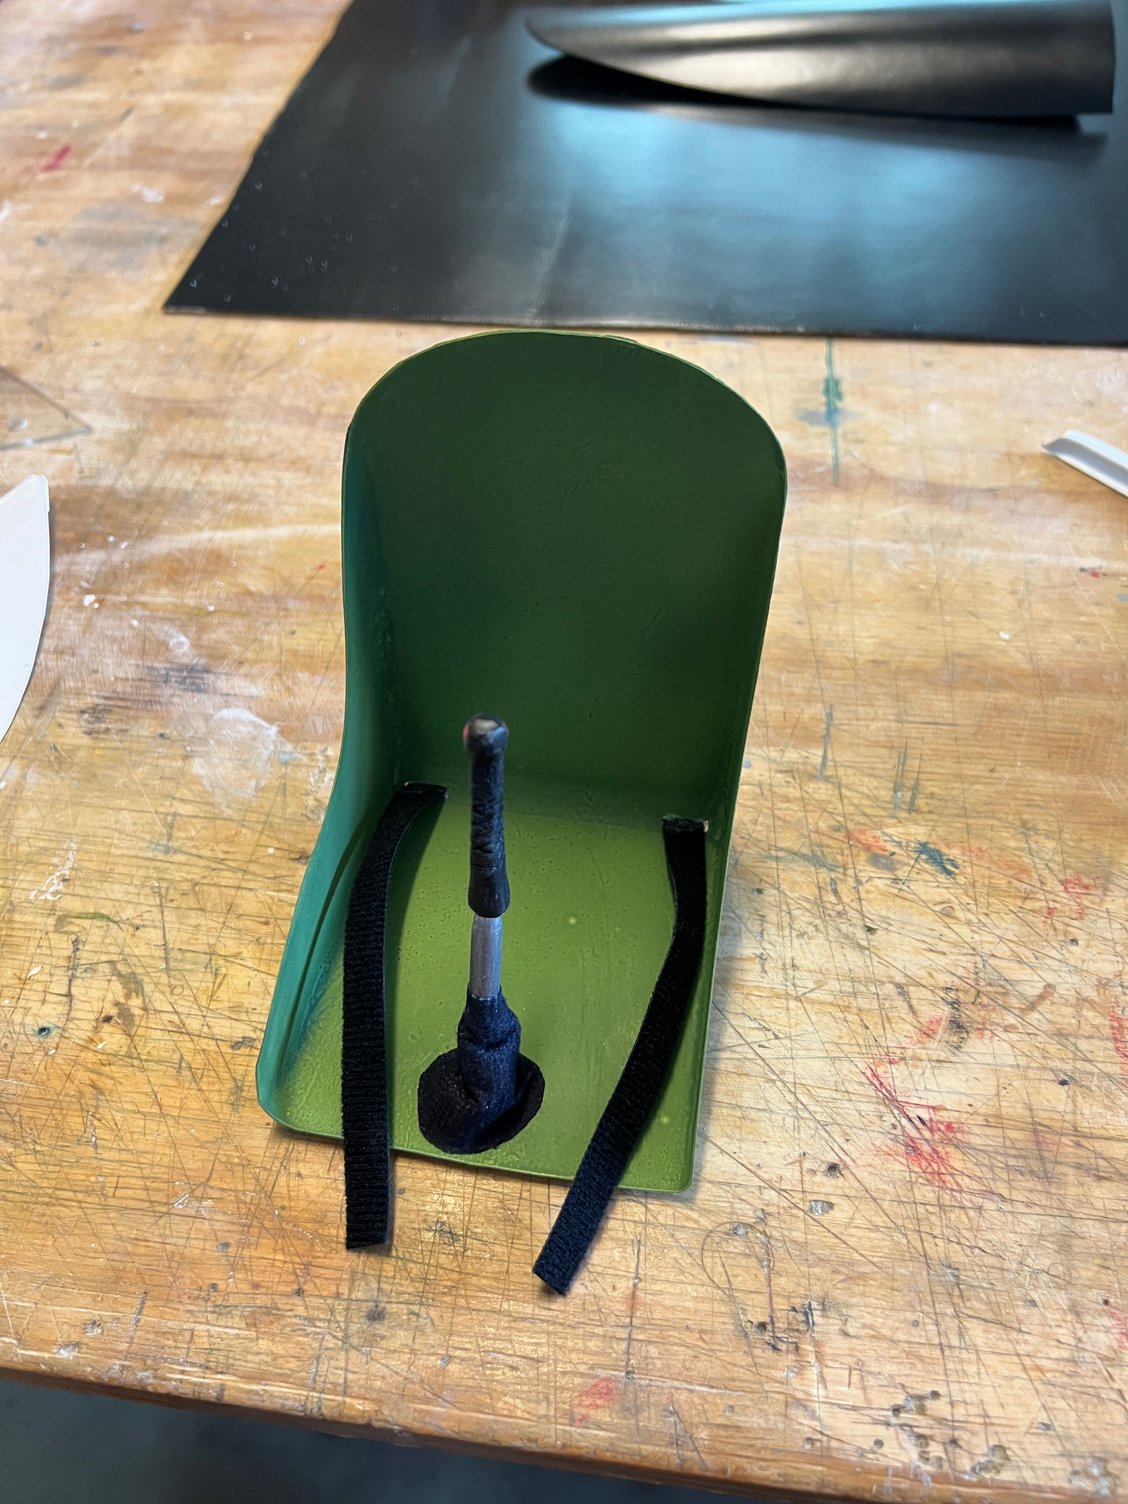
This weighs next to nothing!
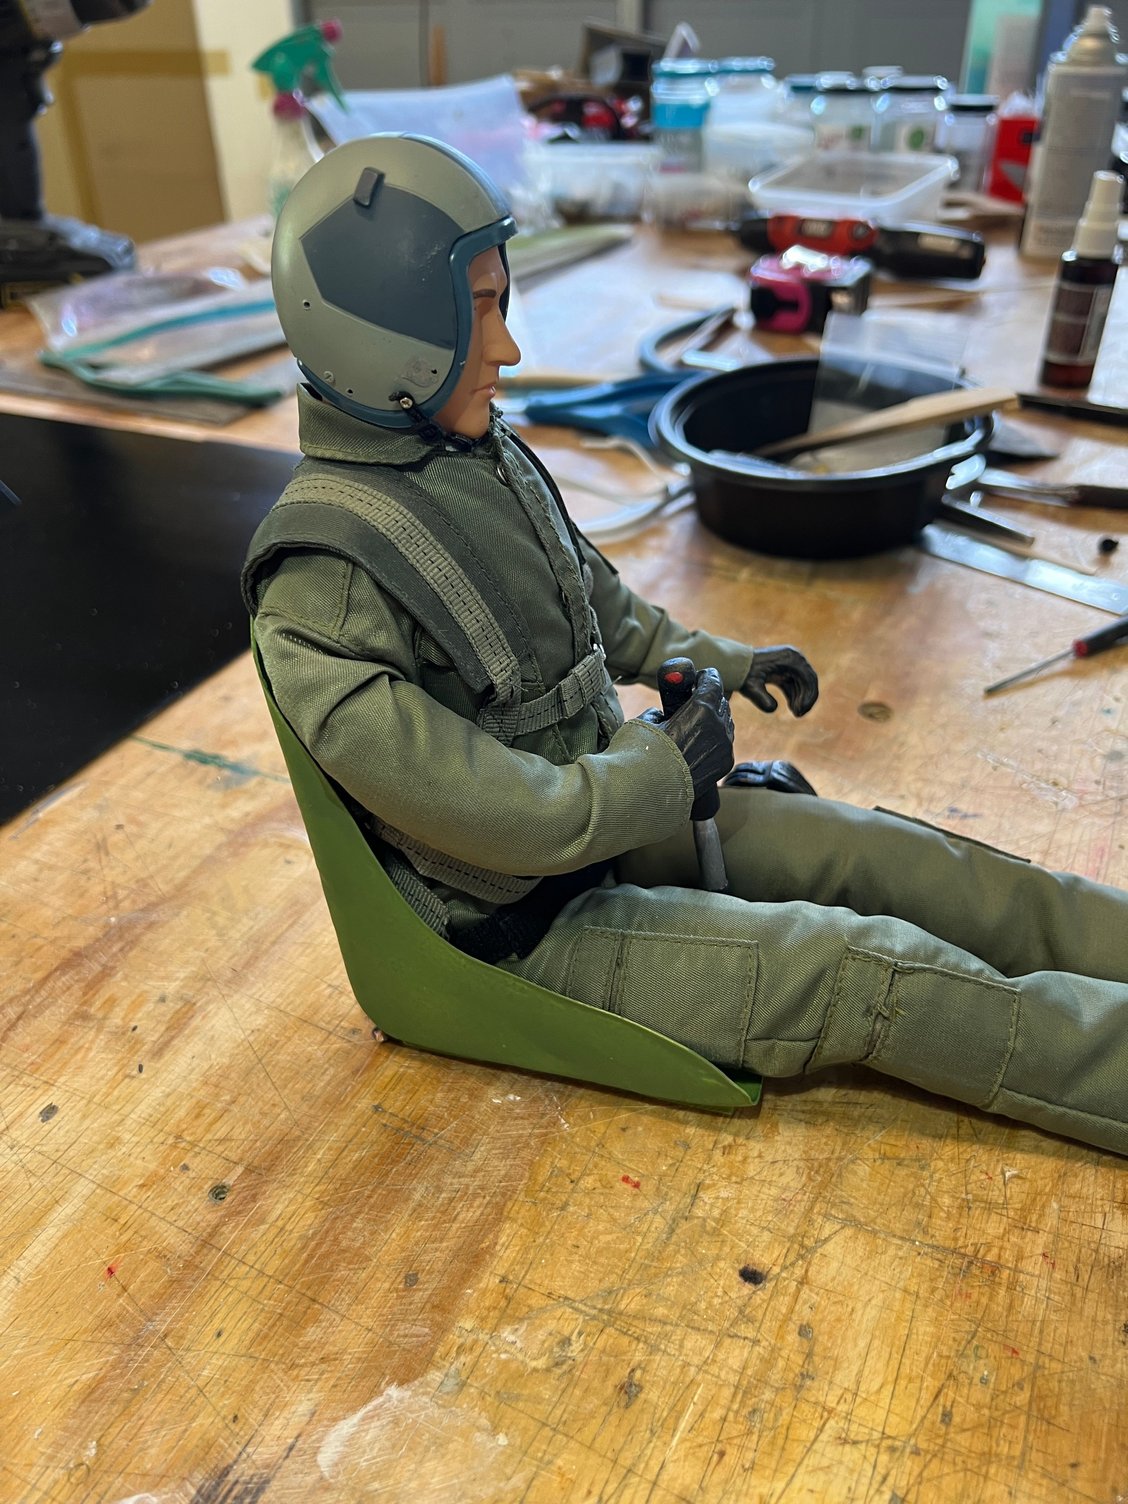
Warbirds 15" pilot. Poor guy's been through a terrible crash where I lost his oxygen mask and sunshield.
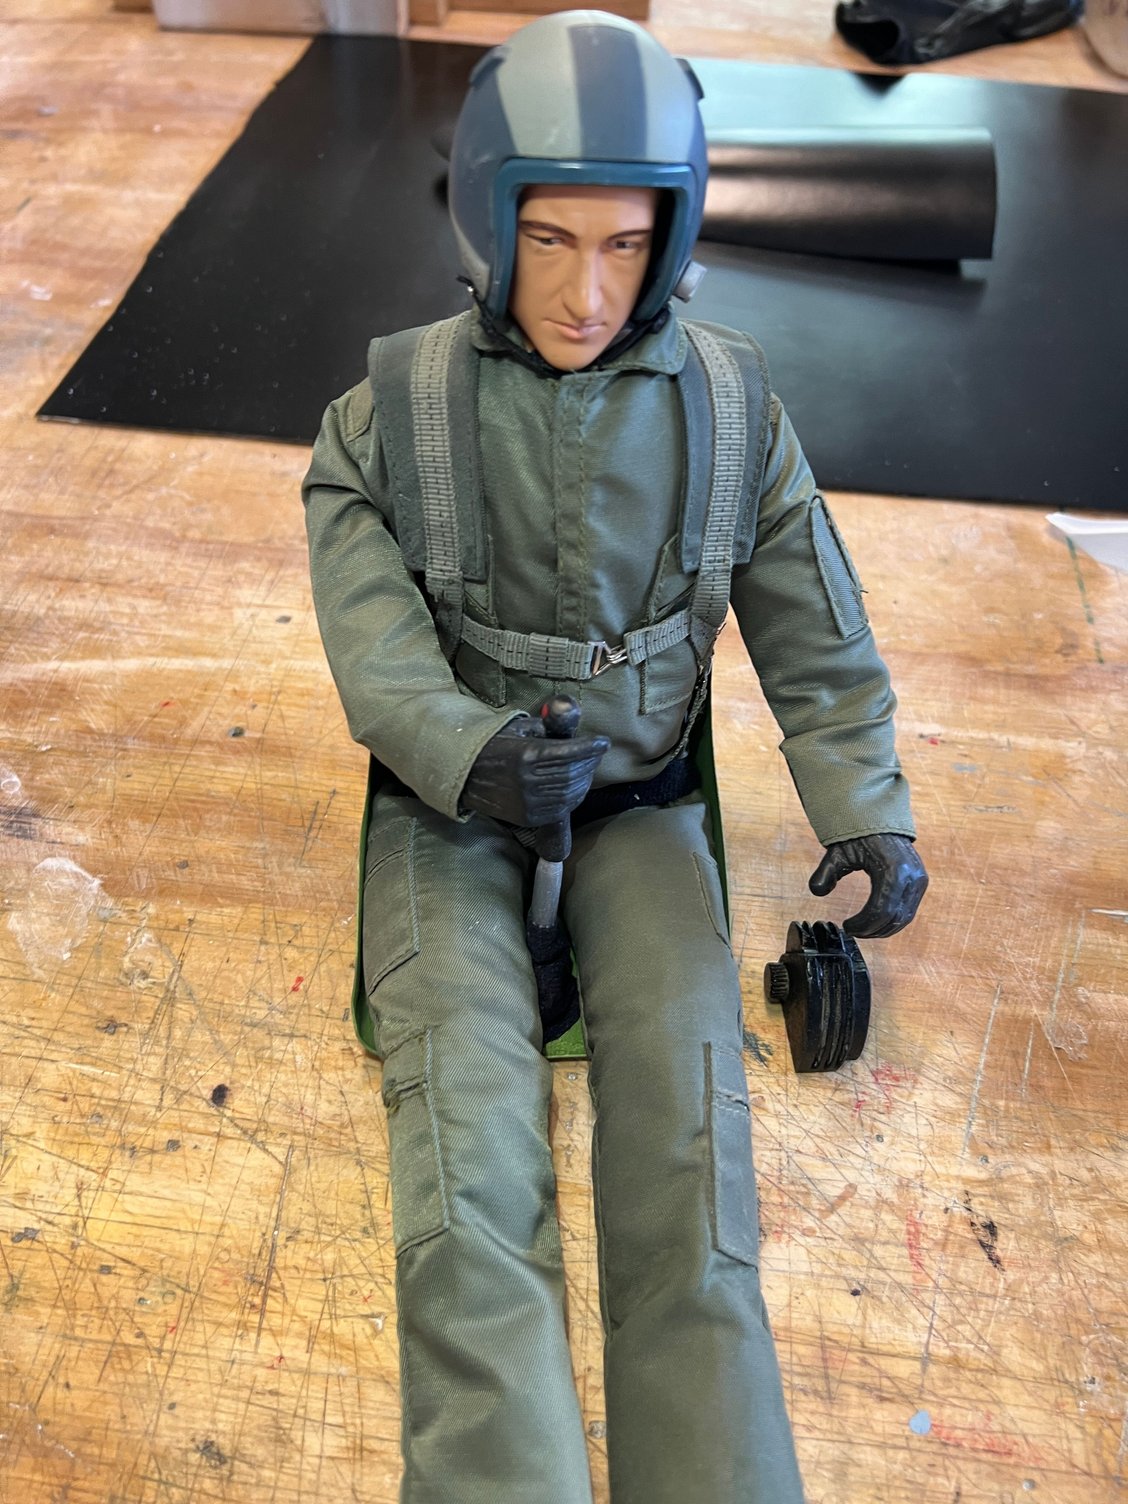
I didn't think John Penny wore a mask but he actually did - so Warbirds is sending me a new setup. Great guys.
Back deck. 1mm balsa with a top laminate of card paper. Super light.
As I said, it will be removable.
Wasn't bad enough he had to suffer through a terrible crash but I chopped his feet off for this install!!
I had a cockpit kit (for a Gruman Hellcat) from Dynamic Balsa kicking around and I'm using some fun detail parts from that including the seat pan. Remember, the full scale Rare Bare is highly modified so it's cockpit looks pretty much nothing like the warbird's. With that said, I've had no luck finding many good pictures of it so I'm kind of on my own.
This weighs next to nothing!
Warbirds 15" pilot. Poor guy's been through a terrible crash where I lost his oxygen mask and sunshield.
I didn't think John Penny wore a mask but he actually did - so Warbirds is sending me a new setup. Great guys.
Back deck. 1mm balsa with a top laminate of card paper. Super light.
As I said, it will be removable.
Wasn't bad enough he had to suffer through a terrible crash but I chopped his feet off for this install!!
09-15-2024, 02:39 AM
#530
My Feedback: (7)
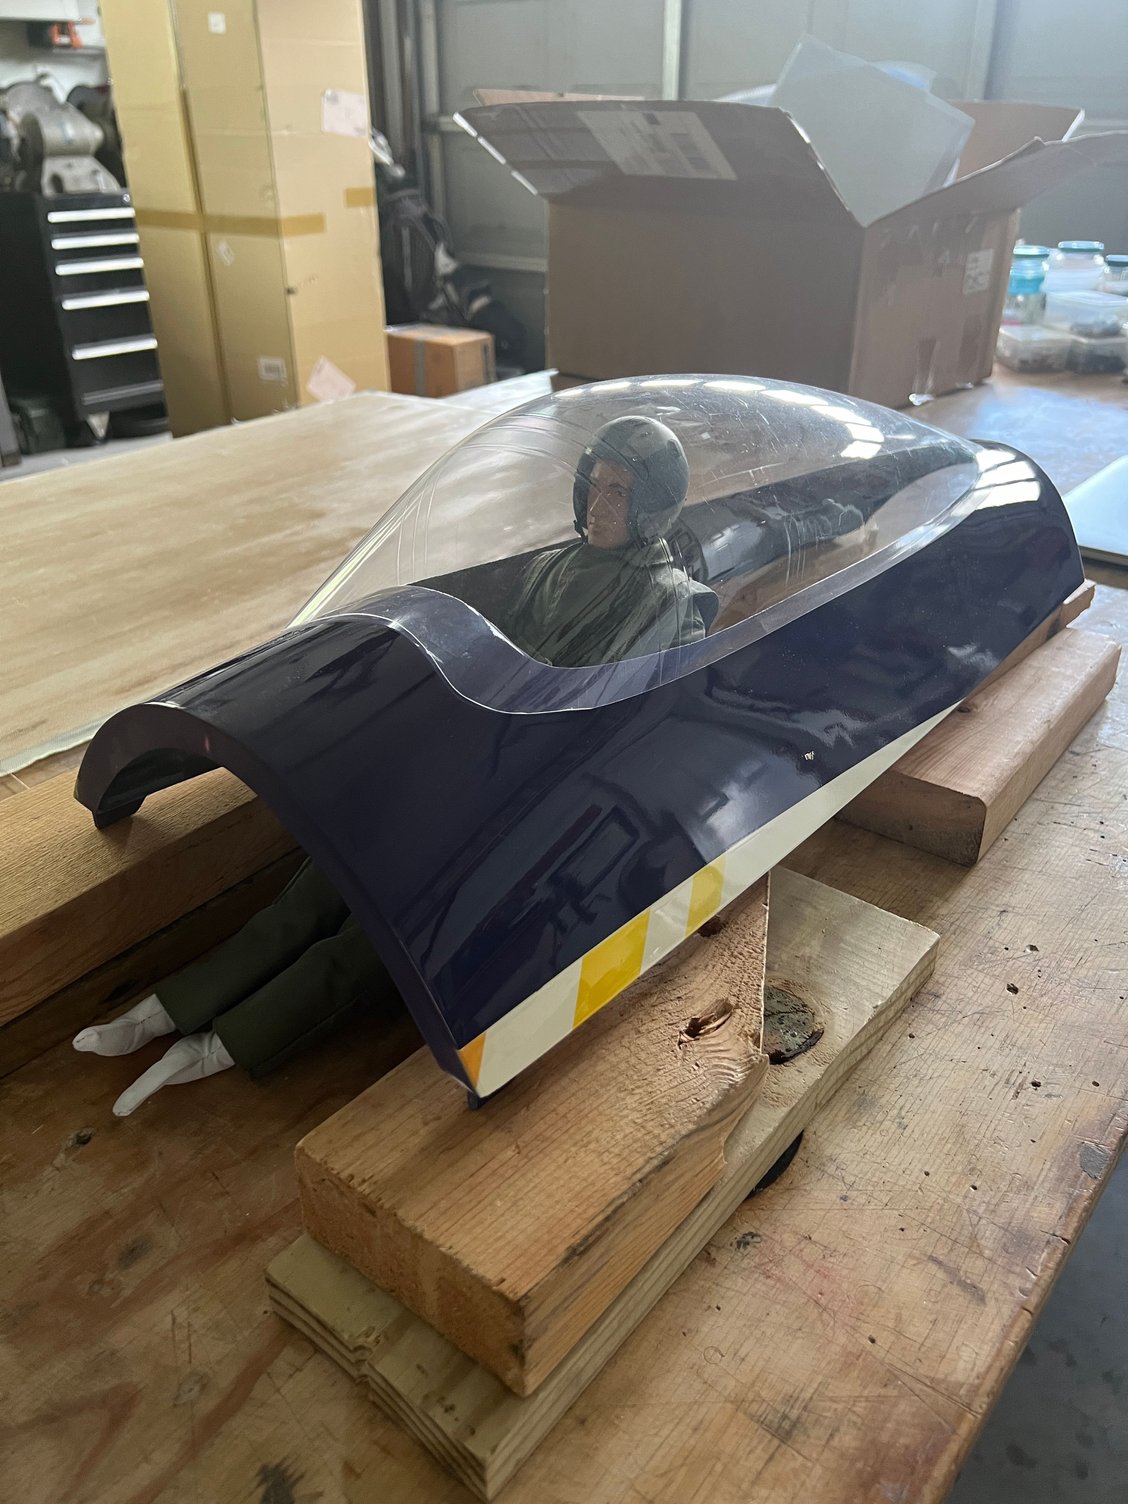
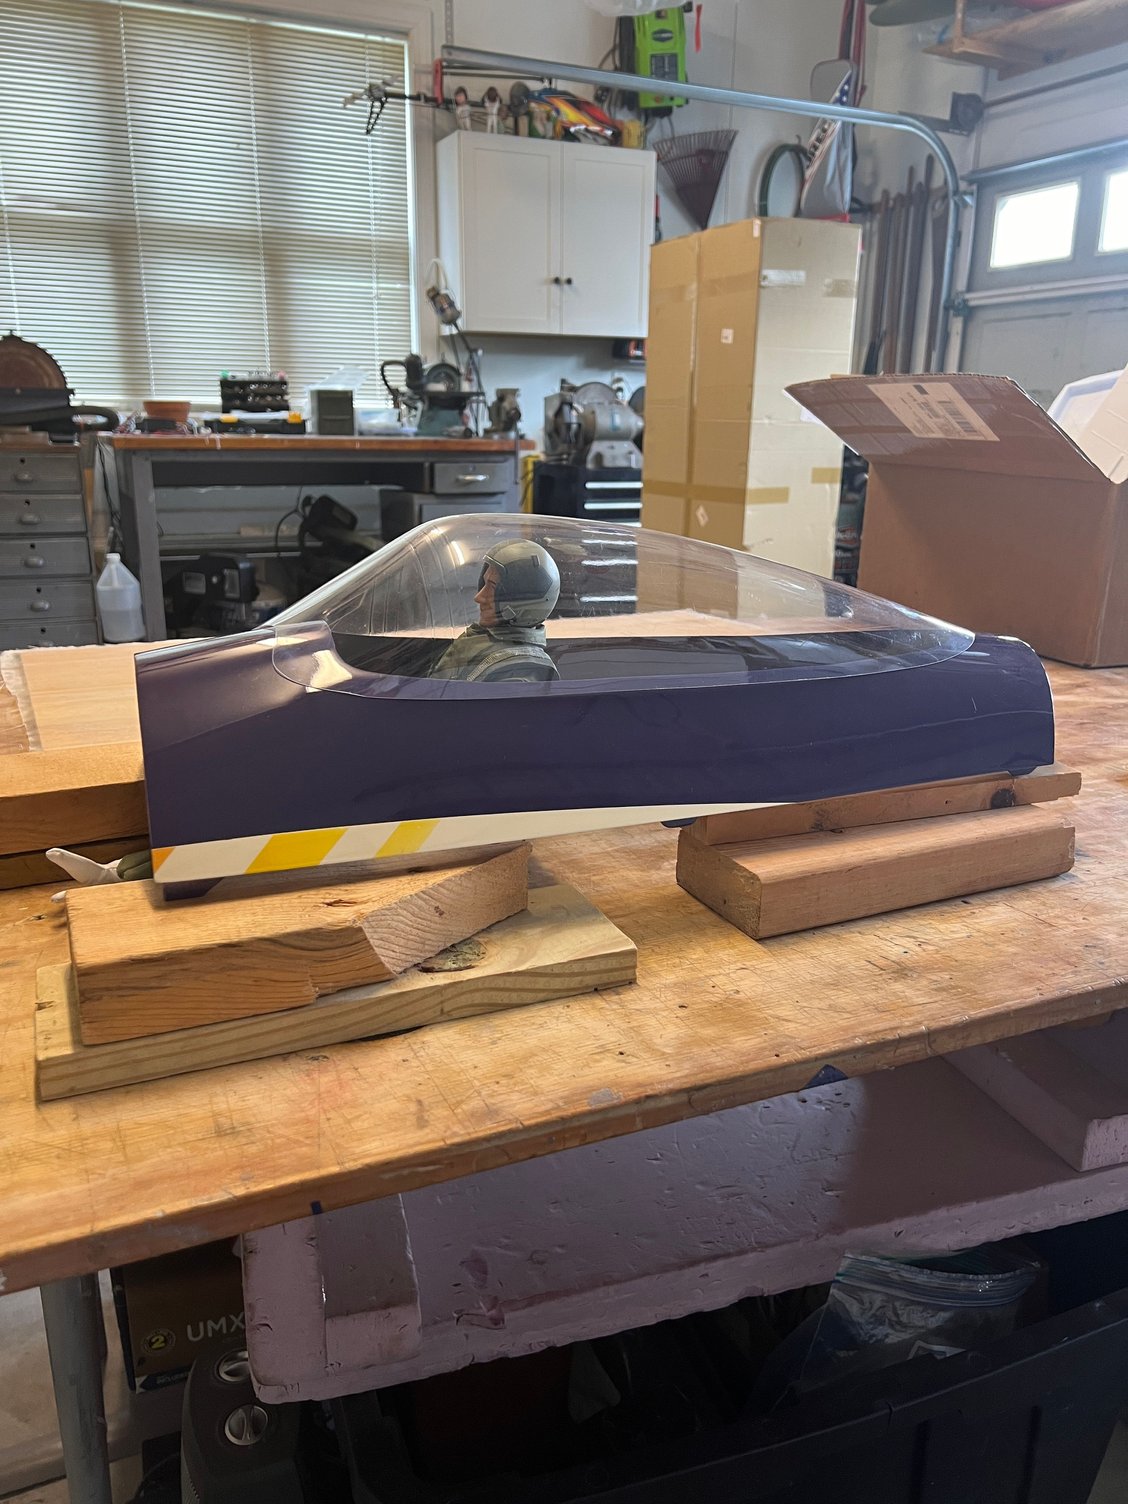
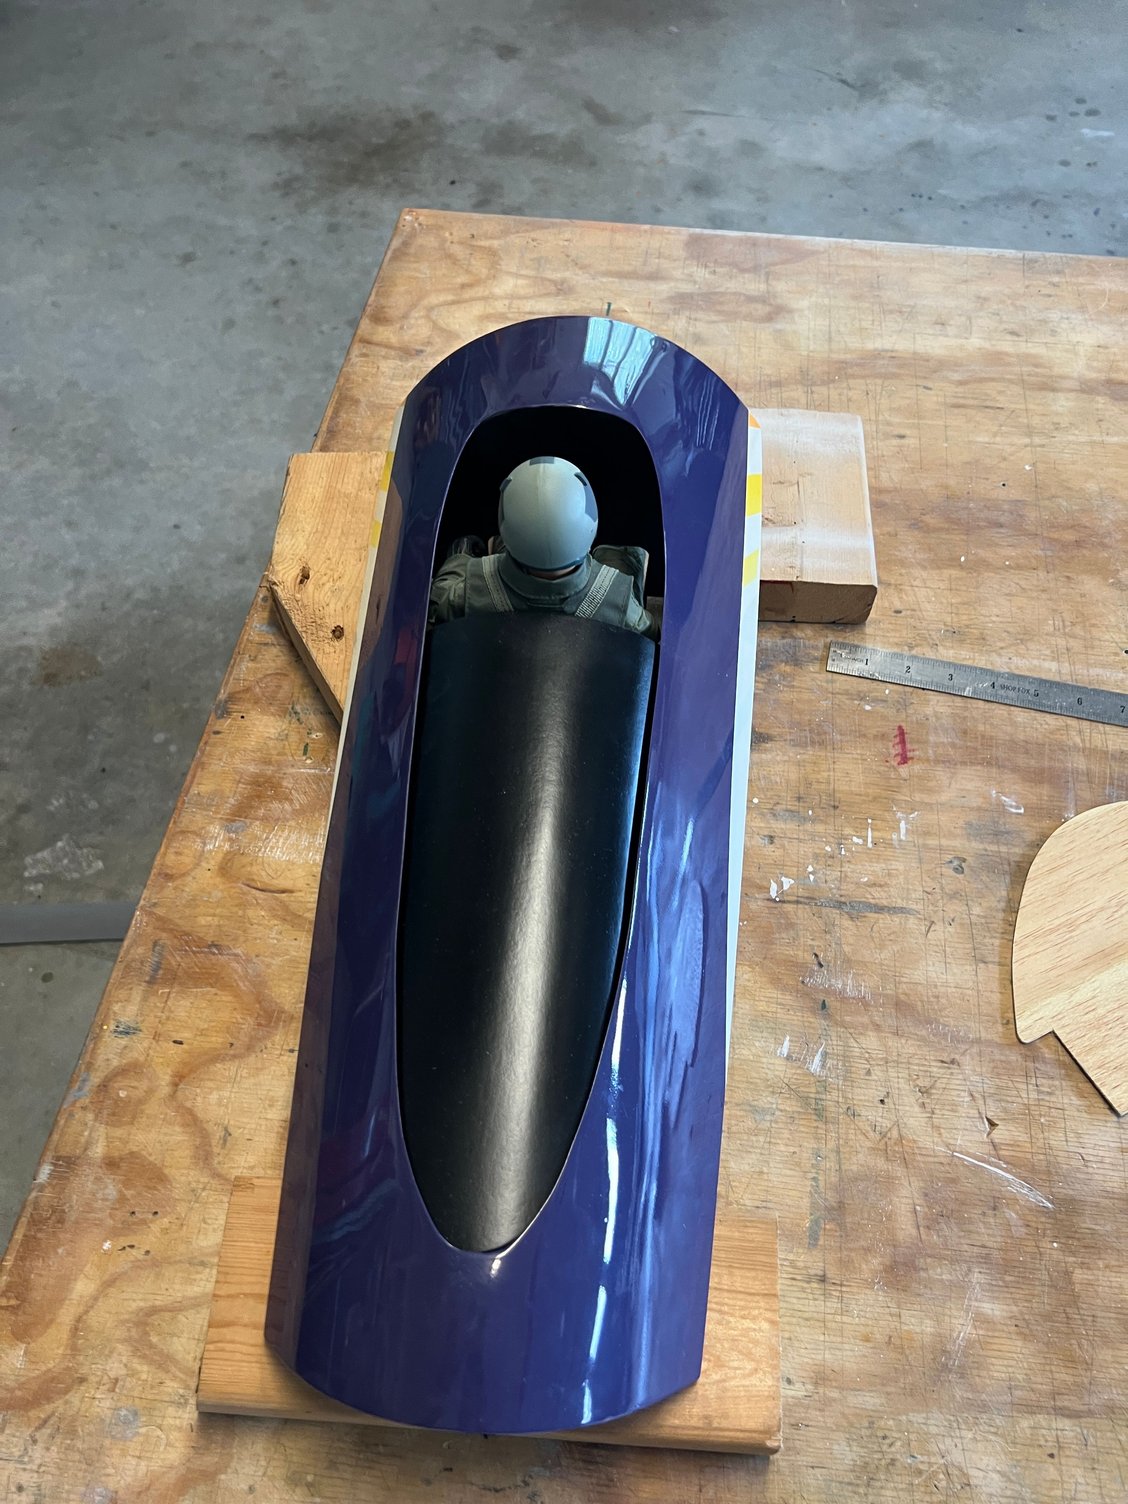
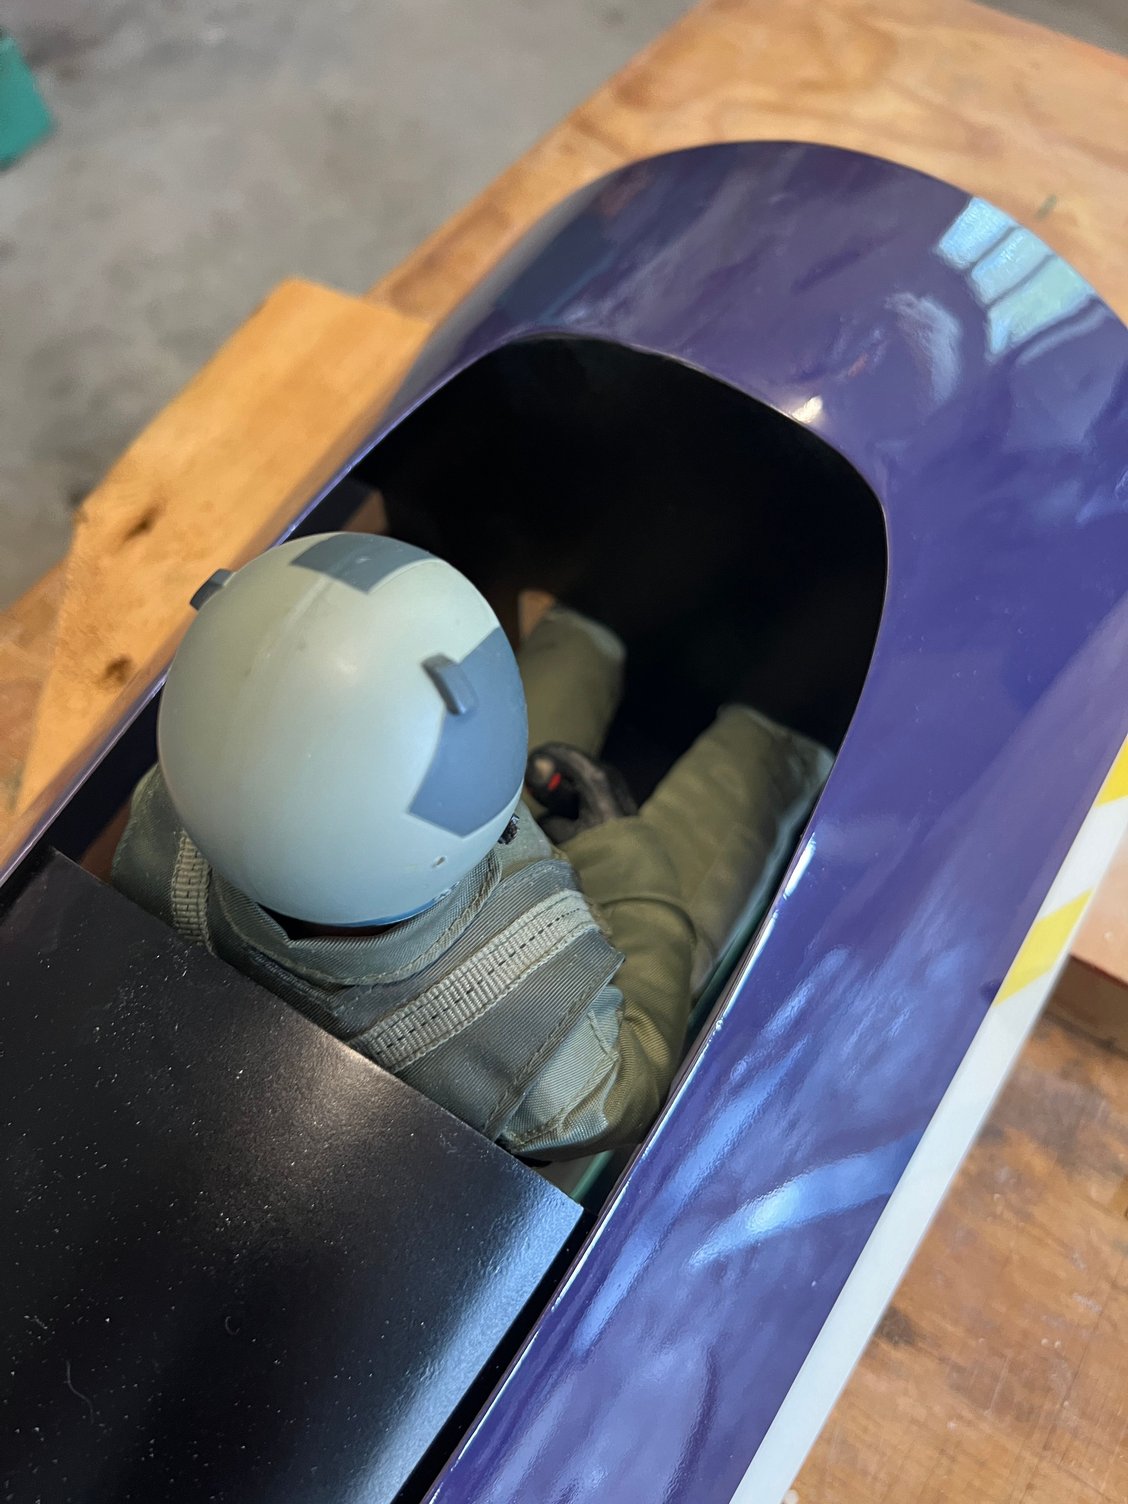
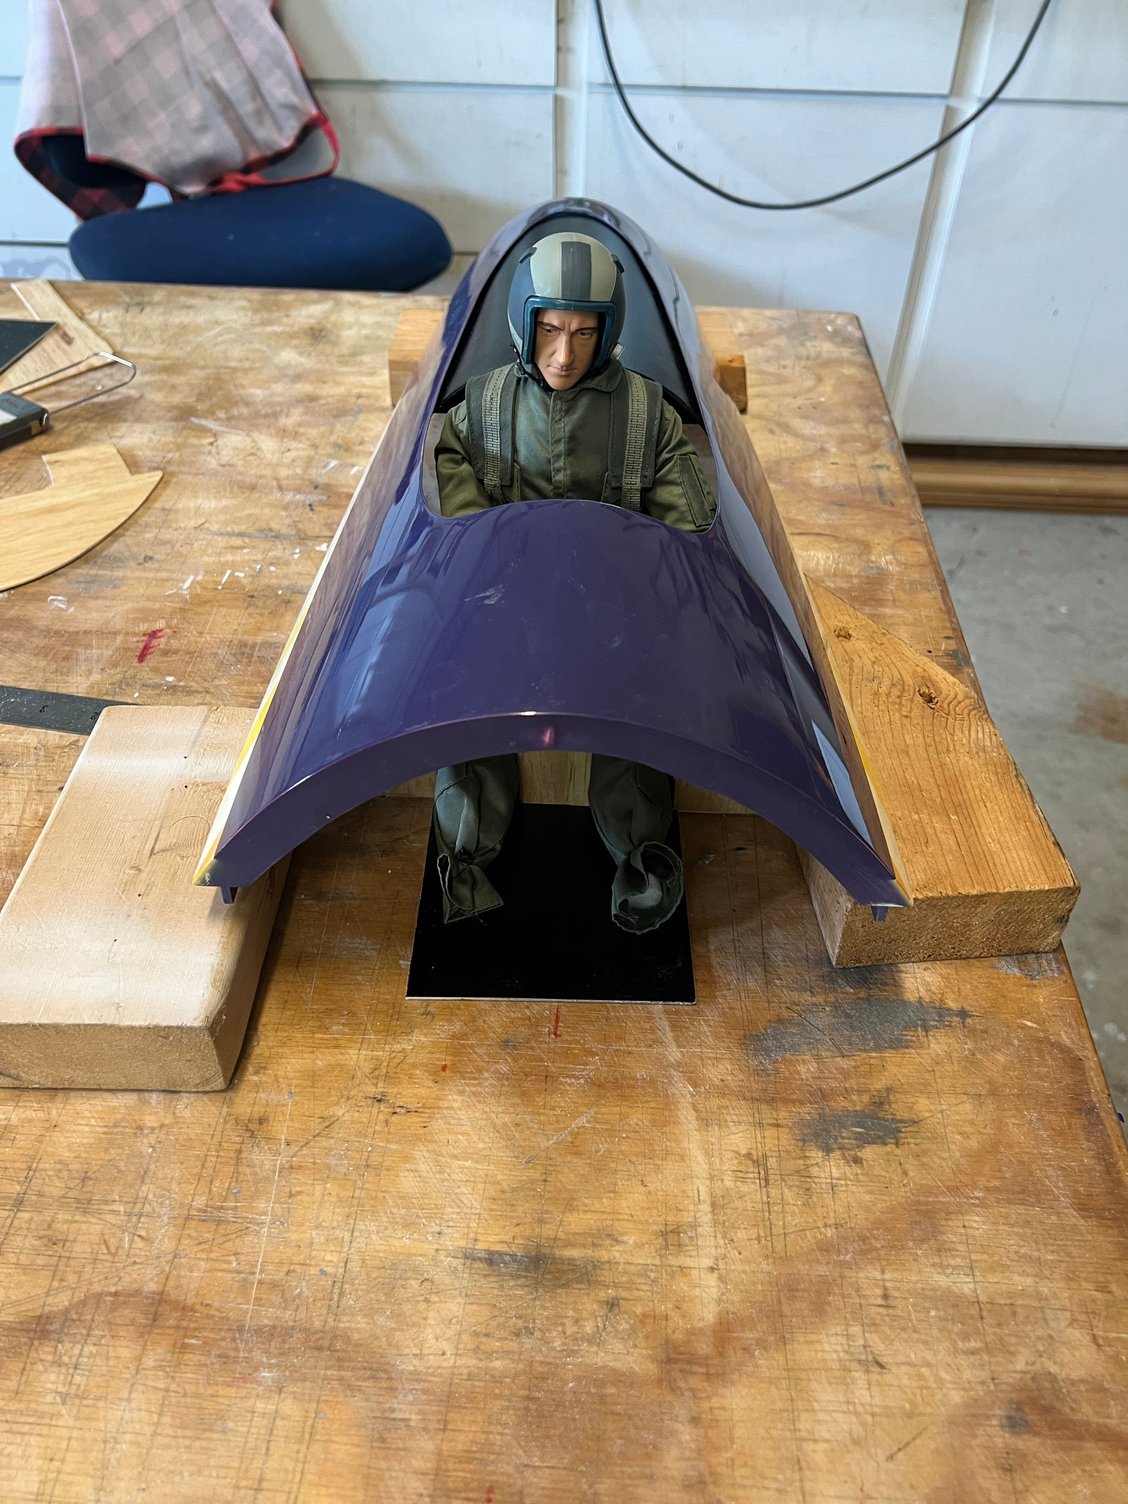
I had a couple of main criteria: light weight, cool looking of course, and very importantly: removable for servicing since the canopy bubble will be glued on. The removable requirement is what really challenged me. Pictures will explain everything.

Front and back formers are bonded into the canopy hatch. Seat floor with its attached side panels are removable with 4 screws. Floor is also held in with tiny flush screw fore and aft.
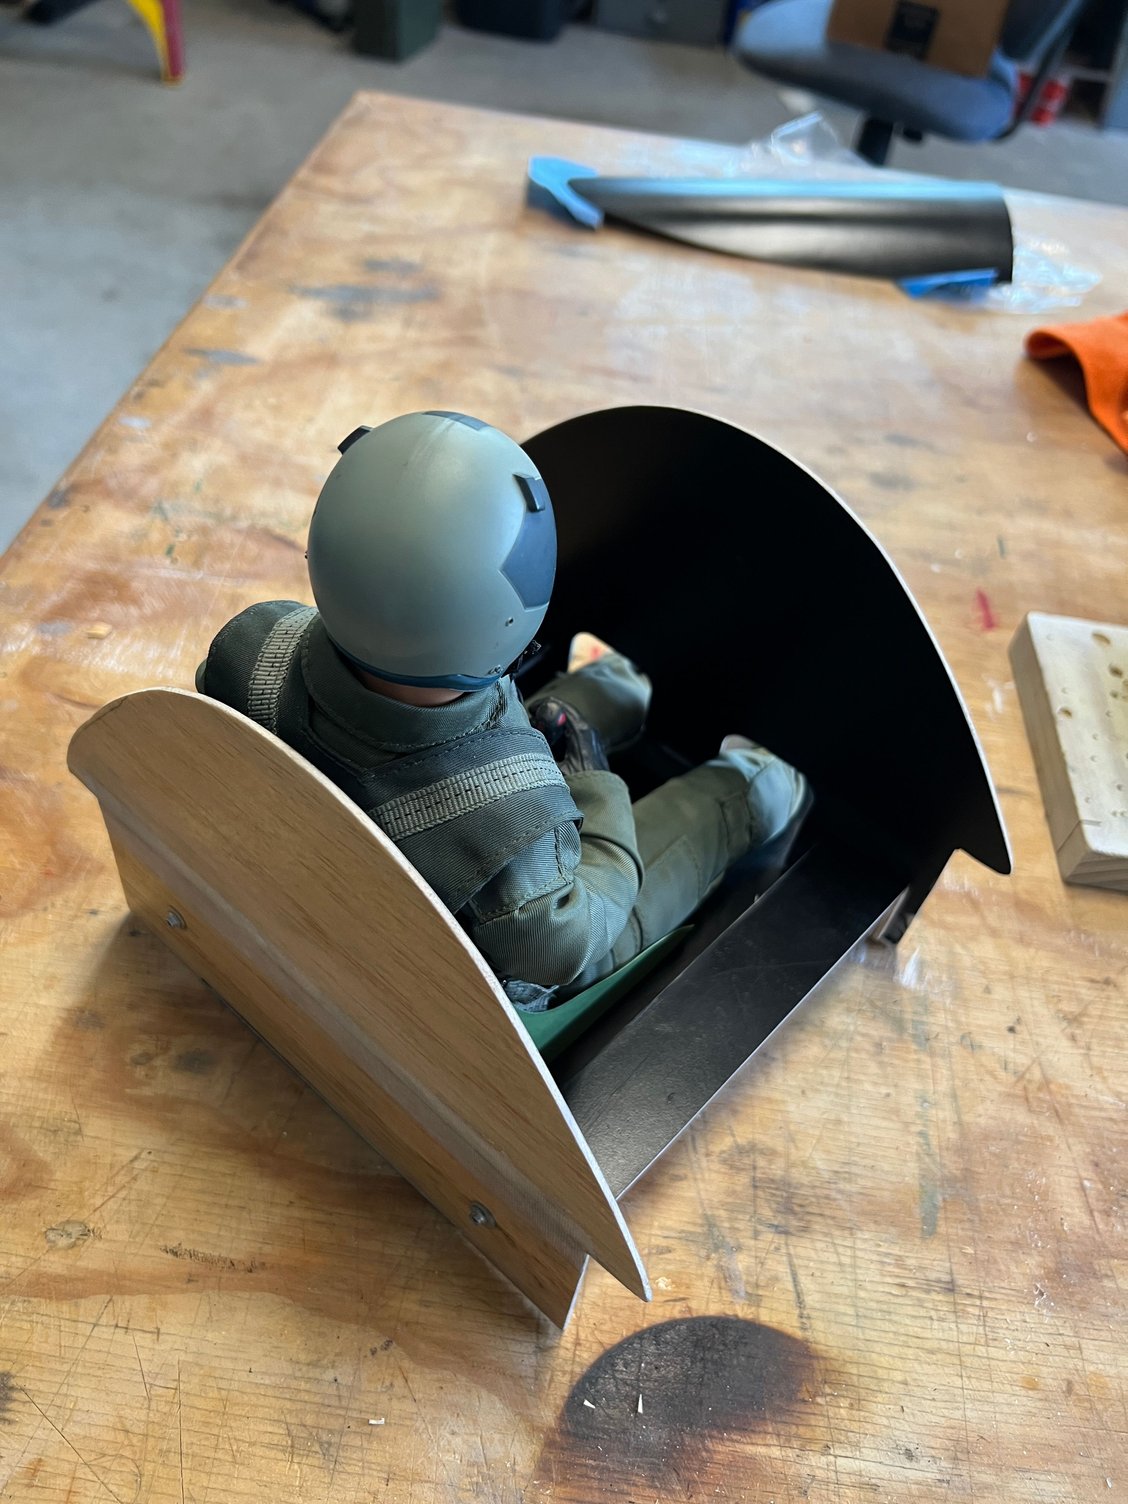
There will also be side walls attache to the outsides of the two side boxes. The will extend up to the canopy sides.
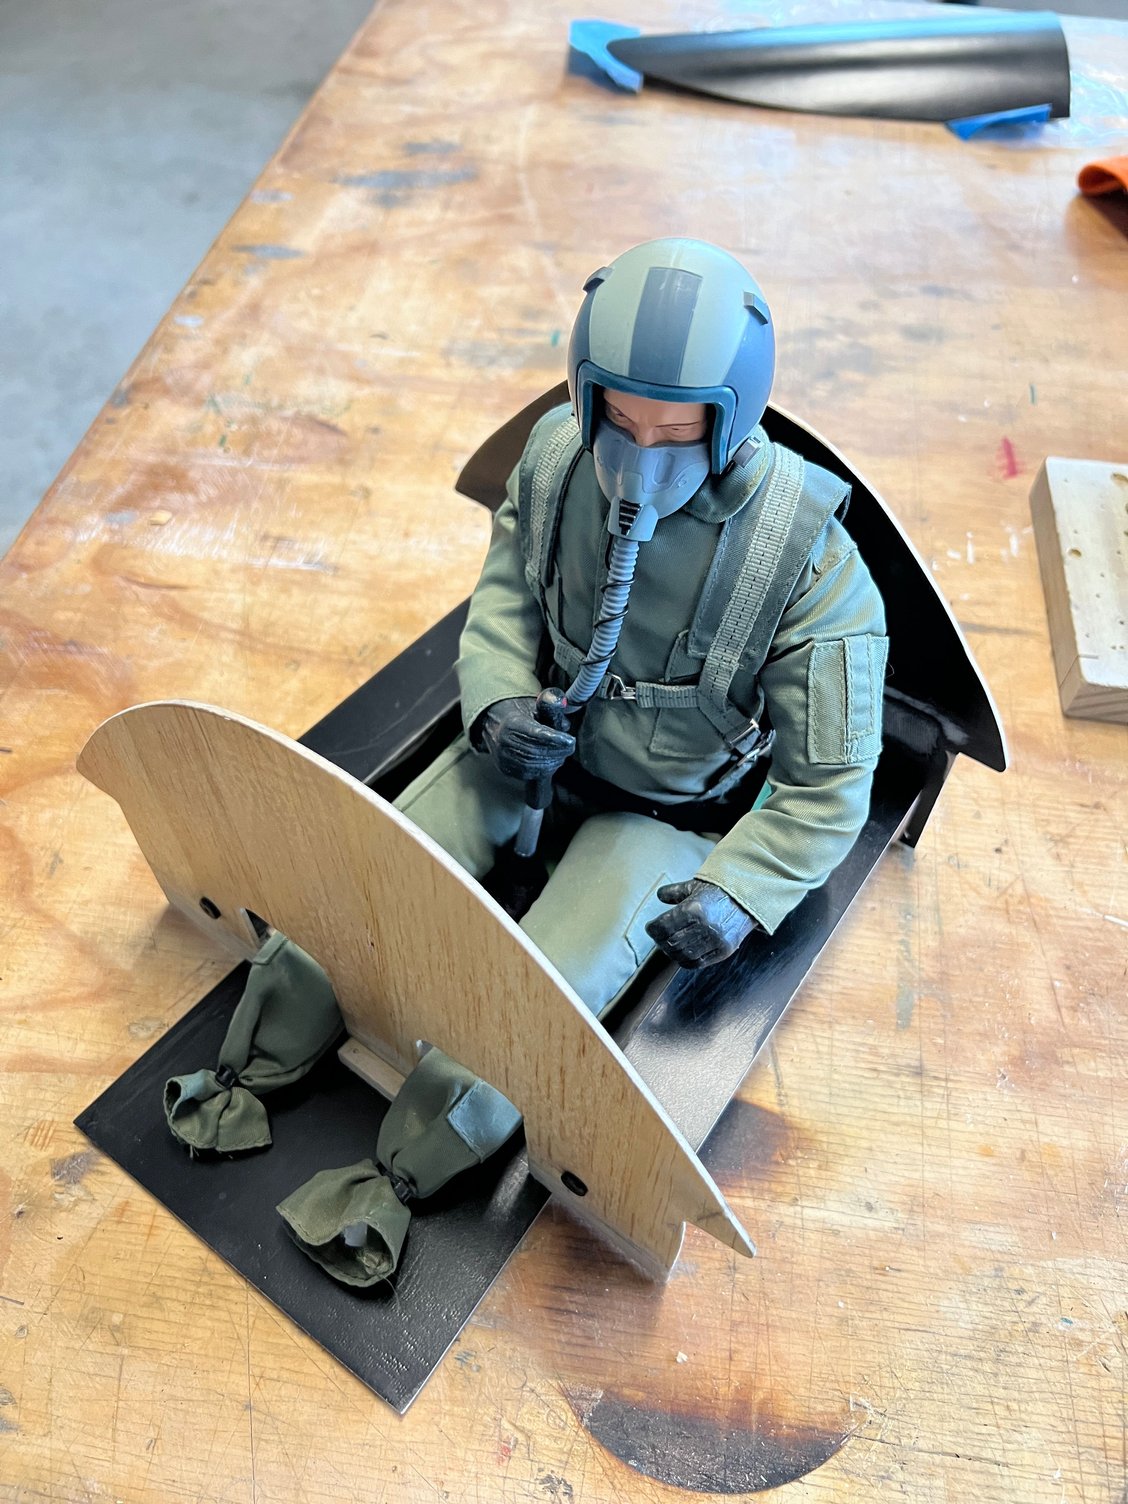
The whole thing will drop out for servicing. As it sits in this pic it all weighs 9.4 ounces. New oxygen mask looks great.
Front and back formers are bonded into the canopy hatch. Seat floor with its attached side panels are removable with 4 screws. Floor is also held in with tiny flush screw fore and aft.
There will also be side walls attache to the outsides of the two side boxes. The will extend up to the canopy sides.
The whole thing will drop out for servicing. As it sits in this pic it all weighs 9.4 ounces. New oxygen mask looks great.
Last edited by mitchilito; 09-15-2024 at 02:49 AM.
Yesterday, 09:44 AM
#531
My Feedback: (7)
Well, I took the 'bear out to run it yesterday and could NOT get it to start. I got one POP when I first choked it and then to make a long story short I spent the rest of the morning with fuel running out of my carb.
I went back and look at what Rob (this thread OG) said about his first attempts to run his and it sounded like what I'm seeing. Possible pump pressure overcoming the regulator spring? Seem very possible. I did run this engine a long while back and didn't see this happening but I can't imagine any other reason I'd have tons of fuel running all over the place without this scenario.
Not exactly sure of the best way to test this hypothesis -
The engine/firewall is coming off one way or the other!
Yesterday, 03:16 PM
#532

Here's one cockpit photo.

Contact the PR people at lewis air legends, my guess is they will send some to you:
https://lewisairlegends.com/f8f2-bearcat-rare-bear
Contact the PR people at lewis air legends, my guess is they will send some to you:
https://lewisairlegends.com/f8f2-bearcat-rare-bear
Yesterday, 10:33 PM
#533
Mitch,
it's pretty hard to guess from 4000 miles away without seeing anything live.
Did it stop firing at all? Tried without pump?
Anything could be the reason. MY 180 had- after fine adjusting it on the test bench- a year later when it was put in my T-28 suddenly 2 faulty coils.
Absolutely no idea why this could happen when stored away dry and safe. So never tink "this is impossible"- believe me it is.
But carb flooding clearly says :
remove, check, and under ANY circumstances carefully fit a new set of diaphragms, then check needle hold pressure.
There is a simple tool like this (see picture)
Your carb should hold a fuel intake port pressure of 1.3 - 1.5 bar. If it is leaking a little, you know you need to turn the pump off after the choking until the engine fires, then you have about 2 to 3 seconds to
start the pump. So you never flood it, it's easy if you know it.. Carburetors that are really tight don't need this.
That's why I always recommend running the pump with an extra switch, not together with the ignition.
Let me ( us) know what comes out of this
Don't worry, it's absolutely harmless (and cheaper than a faulty ignition)
BTW do also check the pump pressure ( same tool) --> should be about 0.3 bar.
I heard of just one pump where the regulator was NOK
Today, 03:36 AM
#536
My Feedback: (7)
Mitch,
it's pretty hard to guess from 4000 miles away without seeing anything live.
Did it stop firing at all? Tried without pump?
Anything could be the reason. MY 180 had- after fine adjusting it on the test bench- a year later when it was put in my T-28 suddenly 2 faulty coils.
Absolutely no idea why this could happen when stored away dry and safe. So never tink "this is impossible"- believe me it is.
But carb flooding clearly says :
remove, check, and under ANY circumstances carefully fit a new set of diaphragms, then check needle hold pressure.
There is a simple tool like this (see picture)
Your carb should hold a fuel intake port pressure of 1.3 - 1.5 bar. If it is leaking a little, you know you need to turn the pump off after the choking until the engine fires, then you have about 2 to 3 seconds to
start the pump. So you never flood it, it's easy if you know it.. Carburetors that are really tight don't need this.
That's why I always recommend running the pump with an extra switch, not together with the ignition.
Let me ( us) know what comes out of this
Don't worry, it's absolutely harmless (and cheaper than a faulty ignition)
BTW do also check the pump pressure ( same tool) --> should be about 0.3 bar.
I heard of just one pump where the regulator was NOK
it's pretty hard to guess from 4000 miles away without seeing anything live.
Did it stop firing at all? Tried without pump?
Anything could be the reason. MY 180 had- after fine adjusting it on the test bench- a year later when it was put in my T-28 suddenly 2 faulty coils.
Absolutely no idea why this could happen when stored away dry and safe. So never tink "this is impossible"- believe me it is.
But carb flooding clearly says :
remove, check, and under ANY circumstances carefully fit a new set of diaphragms, then check needle hold pressure.
There is a simple tool like this (see picture)
Your carb should hold a fuel intake port pressure of 1.3 - 1.5 bar. If it is leaking a little, you know you need to turn the pump off after the choking until the engine fires, then you have about 2 to 3 seconds to
start the pump. So you never flood it, it's easy if you know it.. Carburetors that are really tight don't need this.
That's why I always recommend running the pump with an extra switch, not together with the ignition.
Let me ( us) know what comes out of this
Don't worry, it's absolutely harmless (and cheaper than a faulty ignition)
BTW do also check the pump pressure ( same tool) --> should be about 0.3 bar.
I heard of just one pump where the regulator was NOK
You (all) will definitely hear all about the outcome.
Today, 03:41 AM
#537
My Feedback: (7)
Thanks for the pic. I did have this and it is the one I'm working to. As I said in an earlier post, I'm not really going for full scale fidelity right now. It's gonna be more "sport scale." Since I'm making it removable I may redo it later on down the road - after some successful flights :-)
I did try to contact Lewis Air Legends several times to no avail.
I did try to contact Lewis Air Legends several times to no avail.
