


Ziroli 1/6 Hellcat Build


 08-13-2024, 10:30 AM
#427

Thread Starter
As of lunchtime, today, I have the center wing section and one outboard flap painted, two coats each. I should have the other outboard flap painted today. My LHS no longer carries the type of hatch cover screws I've used for most of the hatches, so I'll need to search online. Then, I can paint the outer wing panels. Fuse, ailerons, elevators and rudder are ready for paint.
09-23-2024, 09:15 AM
#428
Thread Starter
Wing, belly pan, cowling, flaps and ailerons are painted.
I'm happy with the paint color and quality. I was recommended by someone to use satin or semi-gloss, then finish with a clear semi- or full gloss topcoat. I haven't tried a topcoat, yet, but I'm thinking I should have chosen semi-gloss for the primary color. We shall see. I though a satin finish would be more forgiving, but despite the amount of priming and wet sanding, the primary color was still able to identify areas that weren't perfect. Ugh.
Also, the convenience of buying custom mixed/matched paint in spray cans is wonderful, except I believe I get more overspray from them and thus will need to buy a couple more cans to finish the job. Perhaps I would have been better off buying a quart and a better airbrush?
Not blaming the paint supplier and in fact I recommend them. I saw an interview with Adam Savage from Myth Busters recently. He said that to get a really good model built, build 3 of them. What you learn from each build will drastically improve the next build.
I believe him, but I don't think I'll be building 3 of these. Certainly not at this pace. I have learned a lot!
It's been awhile since my previous post - completing the remaining covers and getting the trim tabs ready for paint took way too much time. I still have some fitting to perform on the elevator trim tabs - I cut them to size prior to covering the elevators and now they are an interference fit. I also need to order some insignia masks. Otherwise, I'm pretty much on track to finishing this up over Winter.
09-23-2024, 10:14 AM
#429
My Feedback: (23)
Dale, I use a base coat and it�s normally satin. The clear coat is typically urethane based. I use PPG Flex and Flat. You can add some gloss clear and control the finish. I�ve never used can spray stuff since my spray fan is wide and sprays a lot of product. You get a nice uniform finish. My Hellcats finish is like satin almost no gloss. Smooth to the touch not grainy. You get a grainy finish if you are spraying with lots of pressure. The paint will dry before it hits the surface.
09-25-2024, 07:37 AM
#430
Thread Starter
Dale, I use a base coat and it�s normally satin. The clear coat is typically urethane based. I use PPG Flex and Flat. You can add some gloss clear and control the finish. I�ve never used can spray stuff since my spray fan is wide and sprays a lot of product. You get a nice uniform finish. My Hellcats finish is like satin almost no gloss. Smooth to the touch not grainy. You get a grainy finish if you are spraying with lots of pressure. The paint will dry before it hits the surface.
Yesterday, 09:04 AM
#431
Thread Starter
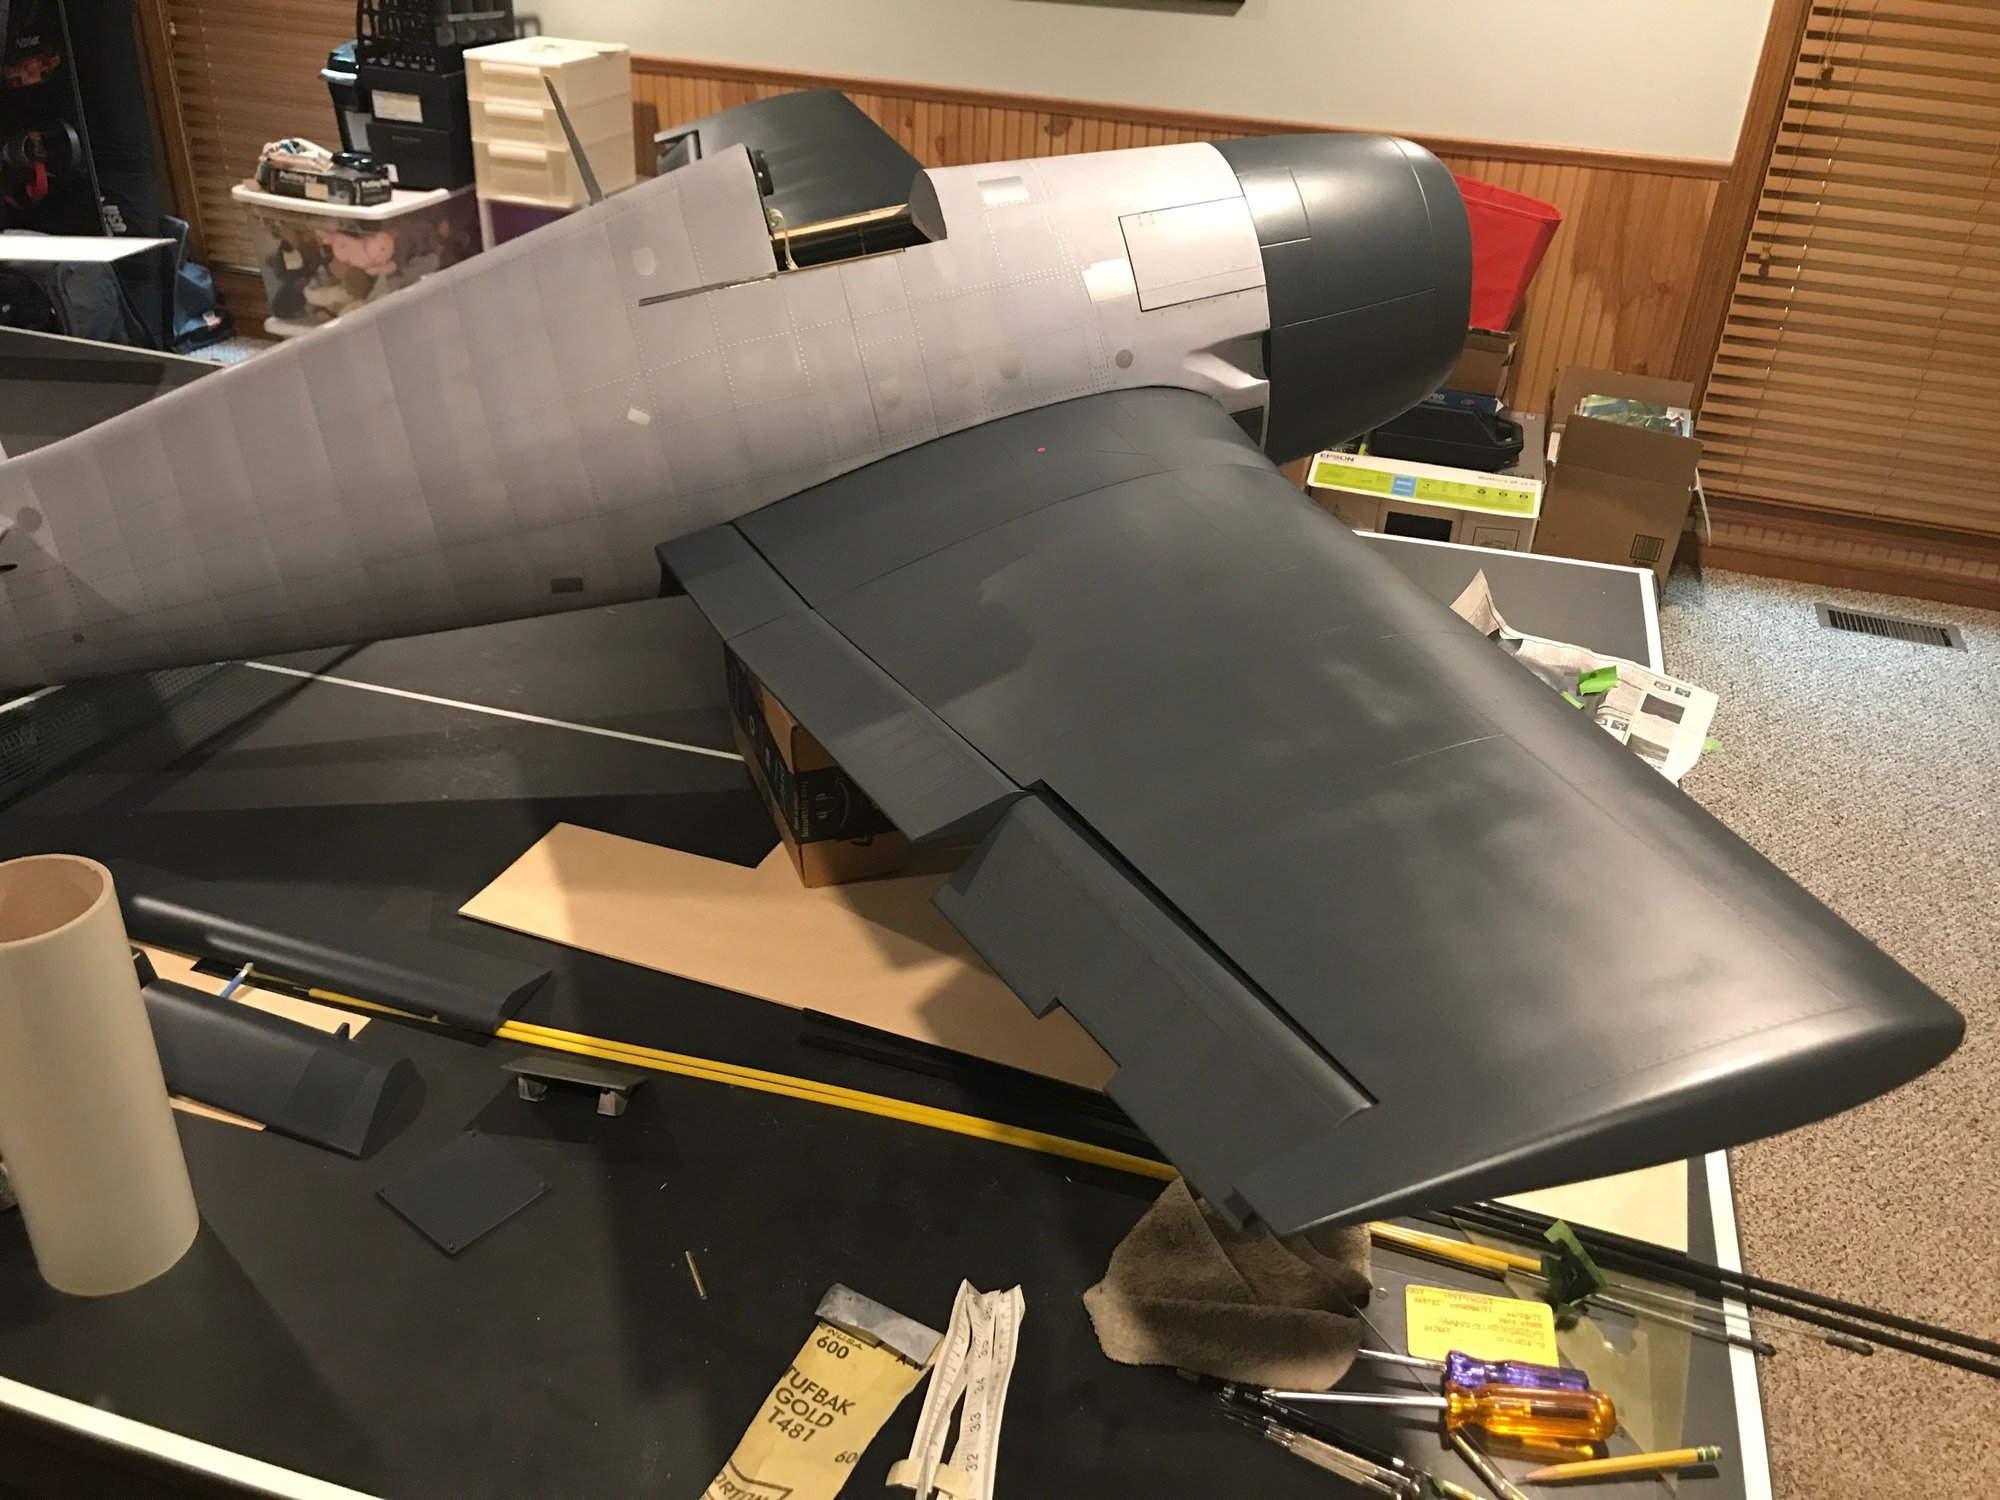
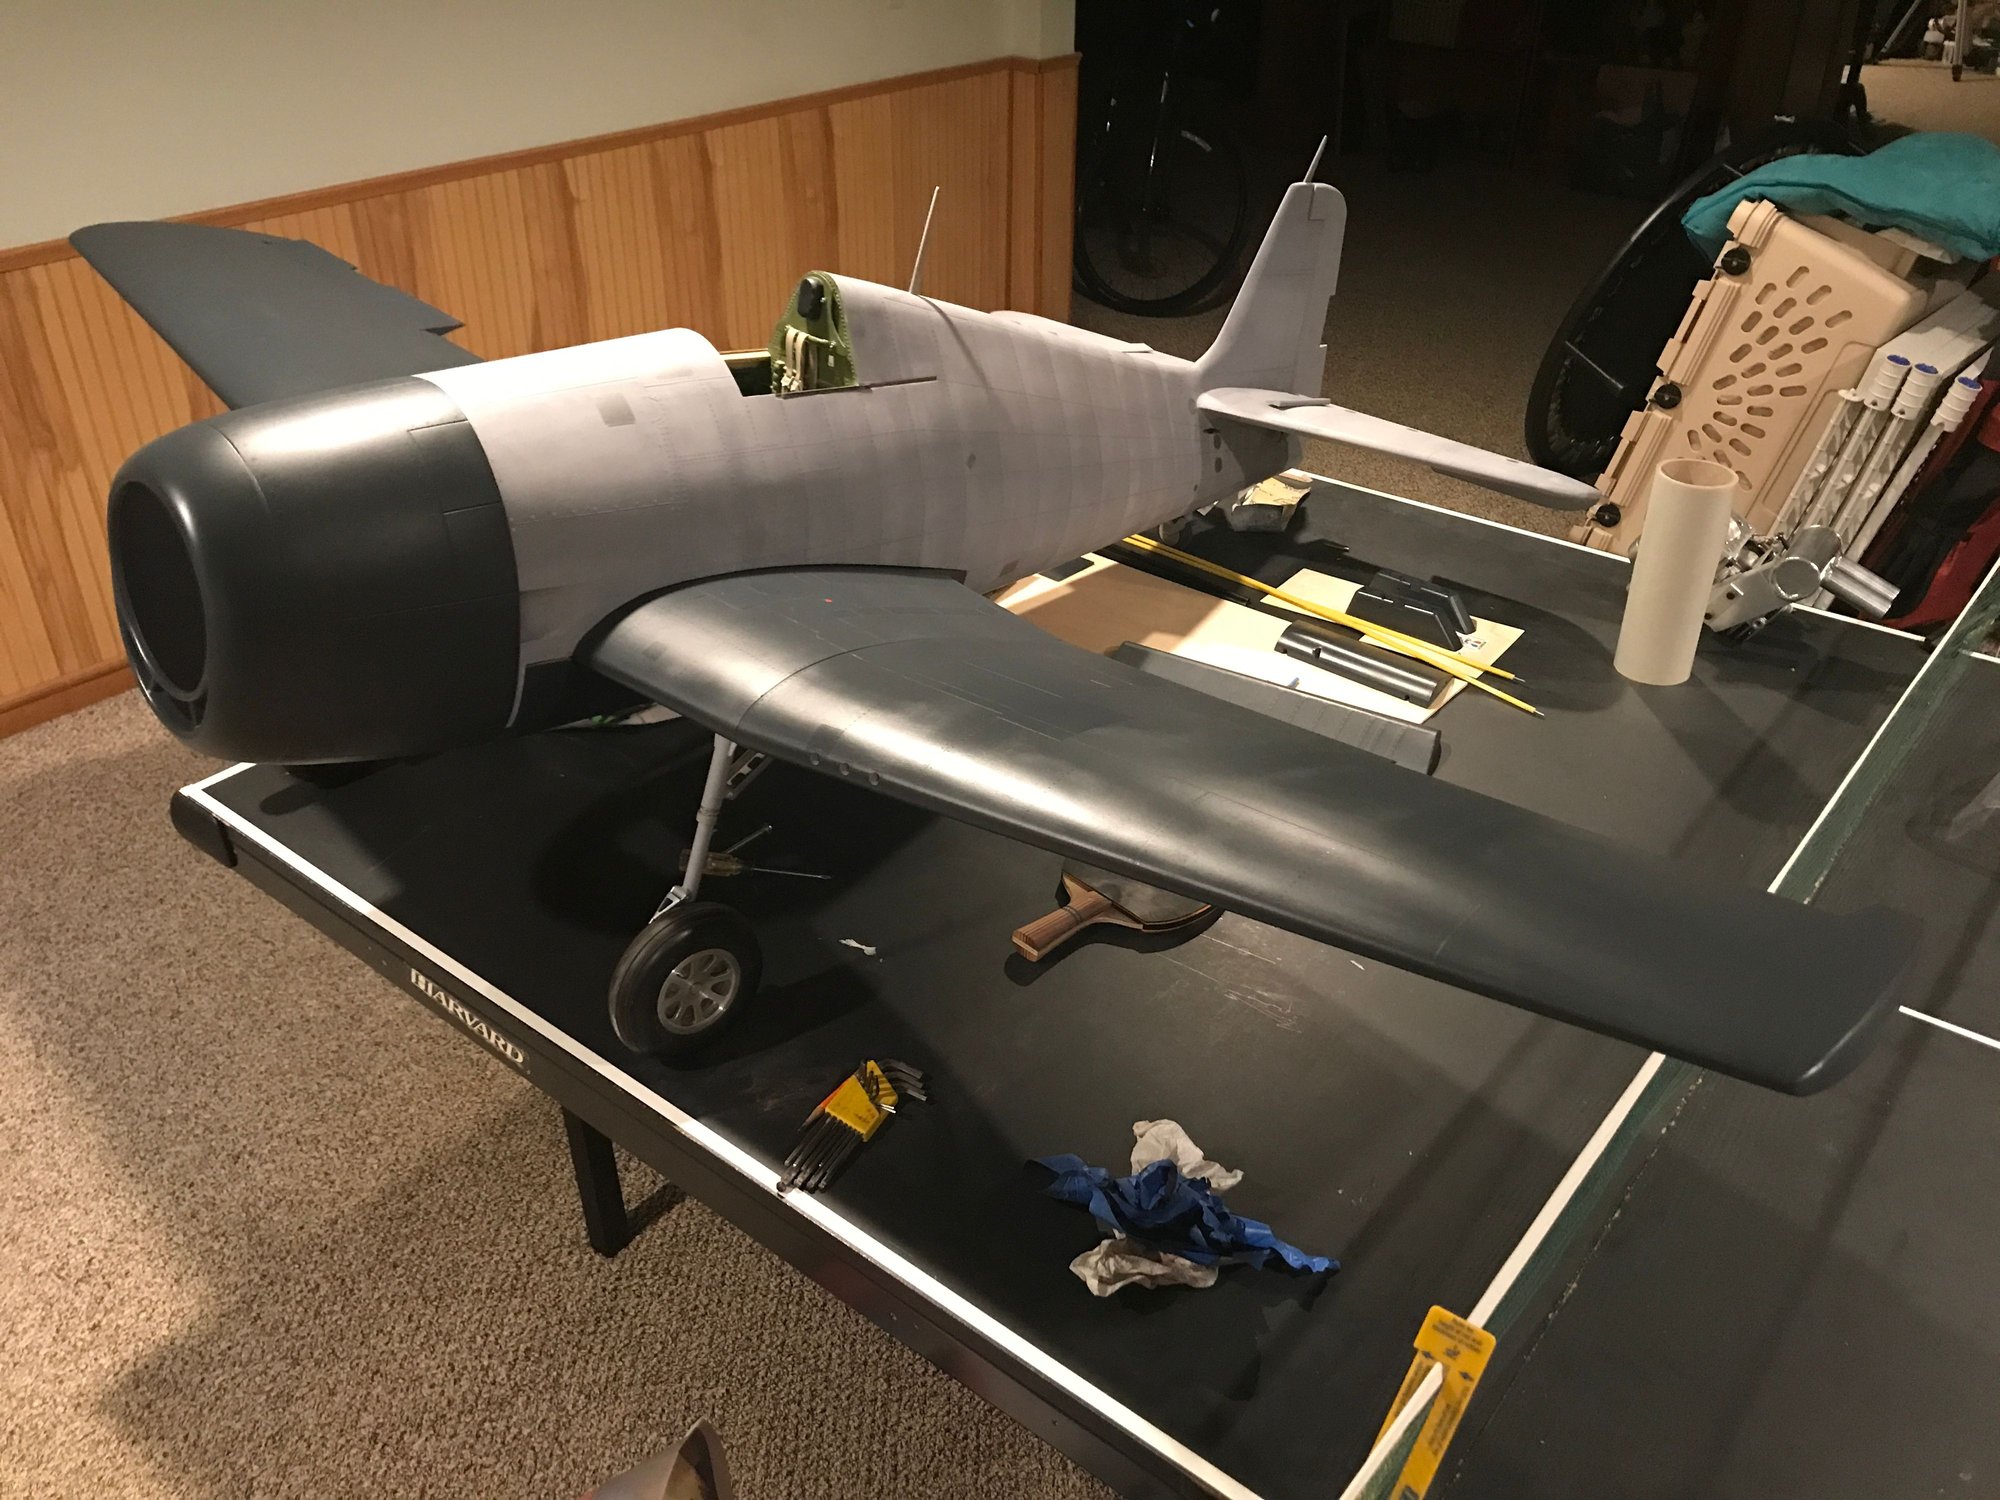
No updates in awhile. Waiting on two additional spray cans of Sea Blue. I don't think I'll need the second can, but would rather not run short, especially with batch production cost and shipping. I have one full coat on the fuselage/stabs. Left to go: 2nd coat on fuse/stabs, rudder, elevators, gear bay covers, drop tank. Ah, canopy and trim tabs need to be "riveted" and painted, too.
Currently, not planning to paint the gear Sea Blue. I have seen examples, I believe, where the gear is gray or Sea Blue, and I can't tell from pictures what the gear color is for the plane I'm depicting.
I've been quite sure of never flying with the drop tank, as I expect it would be damaged and I've found no other sources since Top-Flite stopped making their Hellcat. Still, I've given it a though now and then about how to rig a parachute, where to store it and how to release it. I've flown model rockets, so the idea has never stopped bugging me.
Until today, I was always thinking about how to store the chute within the drop tank itself, but never coming up with a satisfactory means of deployment. Simple is desirable, just like with the rockets - engine backfires and poof, the chute is deployed. No electronics to fail, just simple.
Today, I had the idea of packing the chute into the belly pan, with a simple spring loaded trap door. Drop the tank and the tank simply pulls the chute from the belly of the plane. Or, perhaps the addition of a servo to open the trap door upon release of the tank. Perhaps both - doors still open as chute is tugged on even if servo fails. I really need to ensure the tank and chute drop free of the aircraft to avoid having to land with it dangling below.
What do you think?
This may be a modification I do after the aircraft is completed. As imagined, I can complete the aircraft and drop tank, postponing the chute modifications to post-build. No need to add more delays to the list!
Yesterday, 03:44 PM
#432

My Feedback: (60)
Join Date: Dec 2001
Location: Litchfield Park,
AZ
Posts: 7,680
Likes: 0
Received 27 Likes
on
25 Posts
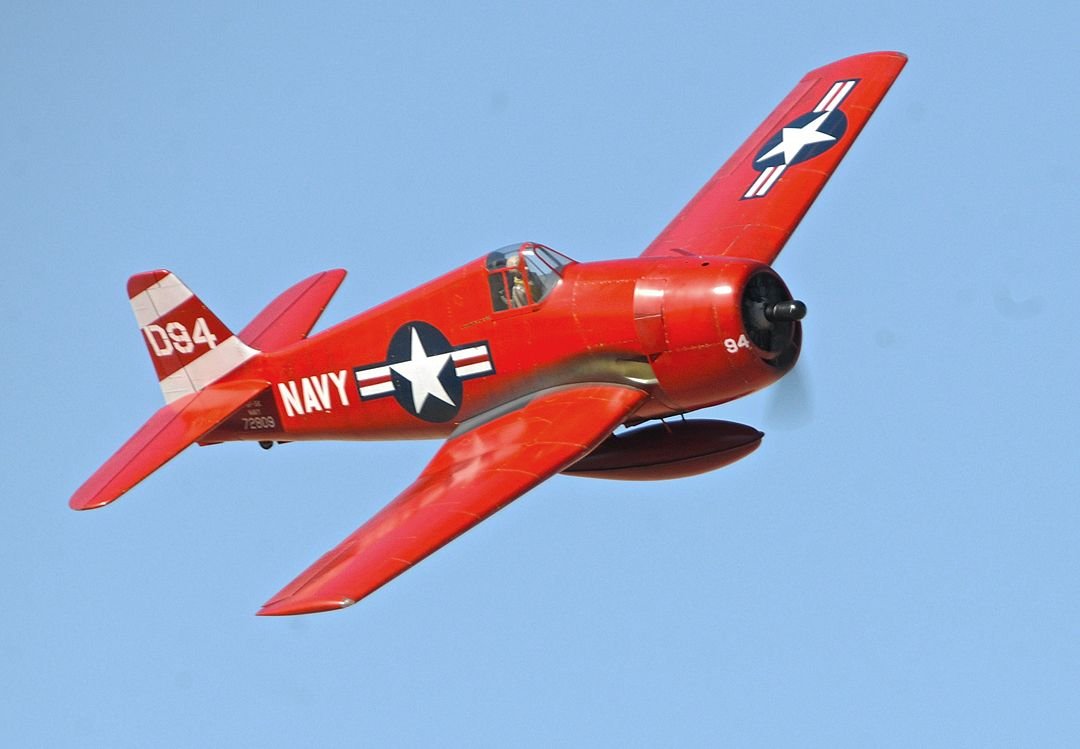
In service -5 Hellcats had the interior surfaces of the wheel wells, landing gear, wheel hubs, etc. all painted in the same Glossy Sea Blue as the rest of the airframe. There were the odd exceptions of course but this was the standard operating procedure. If you are duplicating a restored machine then all bets are off. Regarding the drop tank I would just offer that a parachute equipped tank is hardly scale, so why bother? On the full size airplane the tank pylon, sway braces, and attaching straps all drop away with the tank. All stuff that is easily broken if the tank is dropped in the usual manner. It is for that reason that I chose not to make the tank droppable on my own Hellcat. Rather I just made it removable so that I could fly with or without it. I originally intended that it would only be flown on rare occasions as a belly landing with the tank attached would have been disastrous. However, it looked so good flying with the tank that I ended up flying with it more often than not! Fortunately I never had to belly land the airplane so it was not an issue. Just my .02 cents of course but there it is.
Today, 10:35 AM
#433
Thread Starter
In service -5 Hellcats had the interior surfaces of the wheel wells, landing gear, wheel hubs, etc. all painted in the same Glossy Sea Blue as the rest of the airframe. There were the odd exceptions of course but this was the standard operating procedure. If you are duplicating a restored machine then all bets are off. Regarding the drop tank I would just offer that a parachute equipped tank is hardly scale, so why bother? On the full size airplane the tank pylon, sway braces, and attaching straps all drop away with the tank. All stuff that is easily broken if the tank is dropped in the usual manner. It is for that reason that I chose not to make the tank droppable on my own Hellcat. Rather I just made it removable so that I could fly with or without it. I originally intended that it would only be flown on rare occasions as a belly landing with the tank attached would have been disastrous. However, it looked so good flying with the tank that I ended up flying with it more often than not! Fortunately I never had to belly land the airplane so it was not an issue. Just my .02 cents of course but there it is.
Glad a bought 2 cans of Sea Blue, then, as it looks like I've got more to paint...
Beautiful finish on your Hellcat. I expect the color scheme makes it very visible for flying.
Did you ever take up the idea again to complete the cockpit details? There's a company, in the Czech Republic if I recall correctly, that can do it, but only if I can supply them with cockpit blueprints. I sent my K-Zoo photos to them. They said these were helpful but still needed the prints. I may have to join "Greg's Airplanes and Automobiles" Patreon channel - apparently, he has a set that is downloadable, but I don't know if the cockpit is included, yet.
Good to hear from you!
