Fokker D VII Resheme
 10-12-2024, 06:27 PM
#1


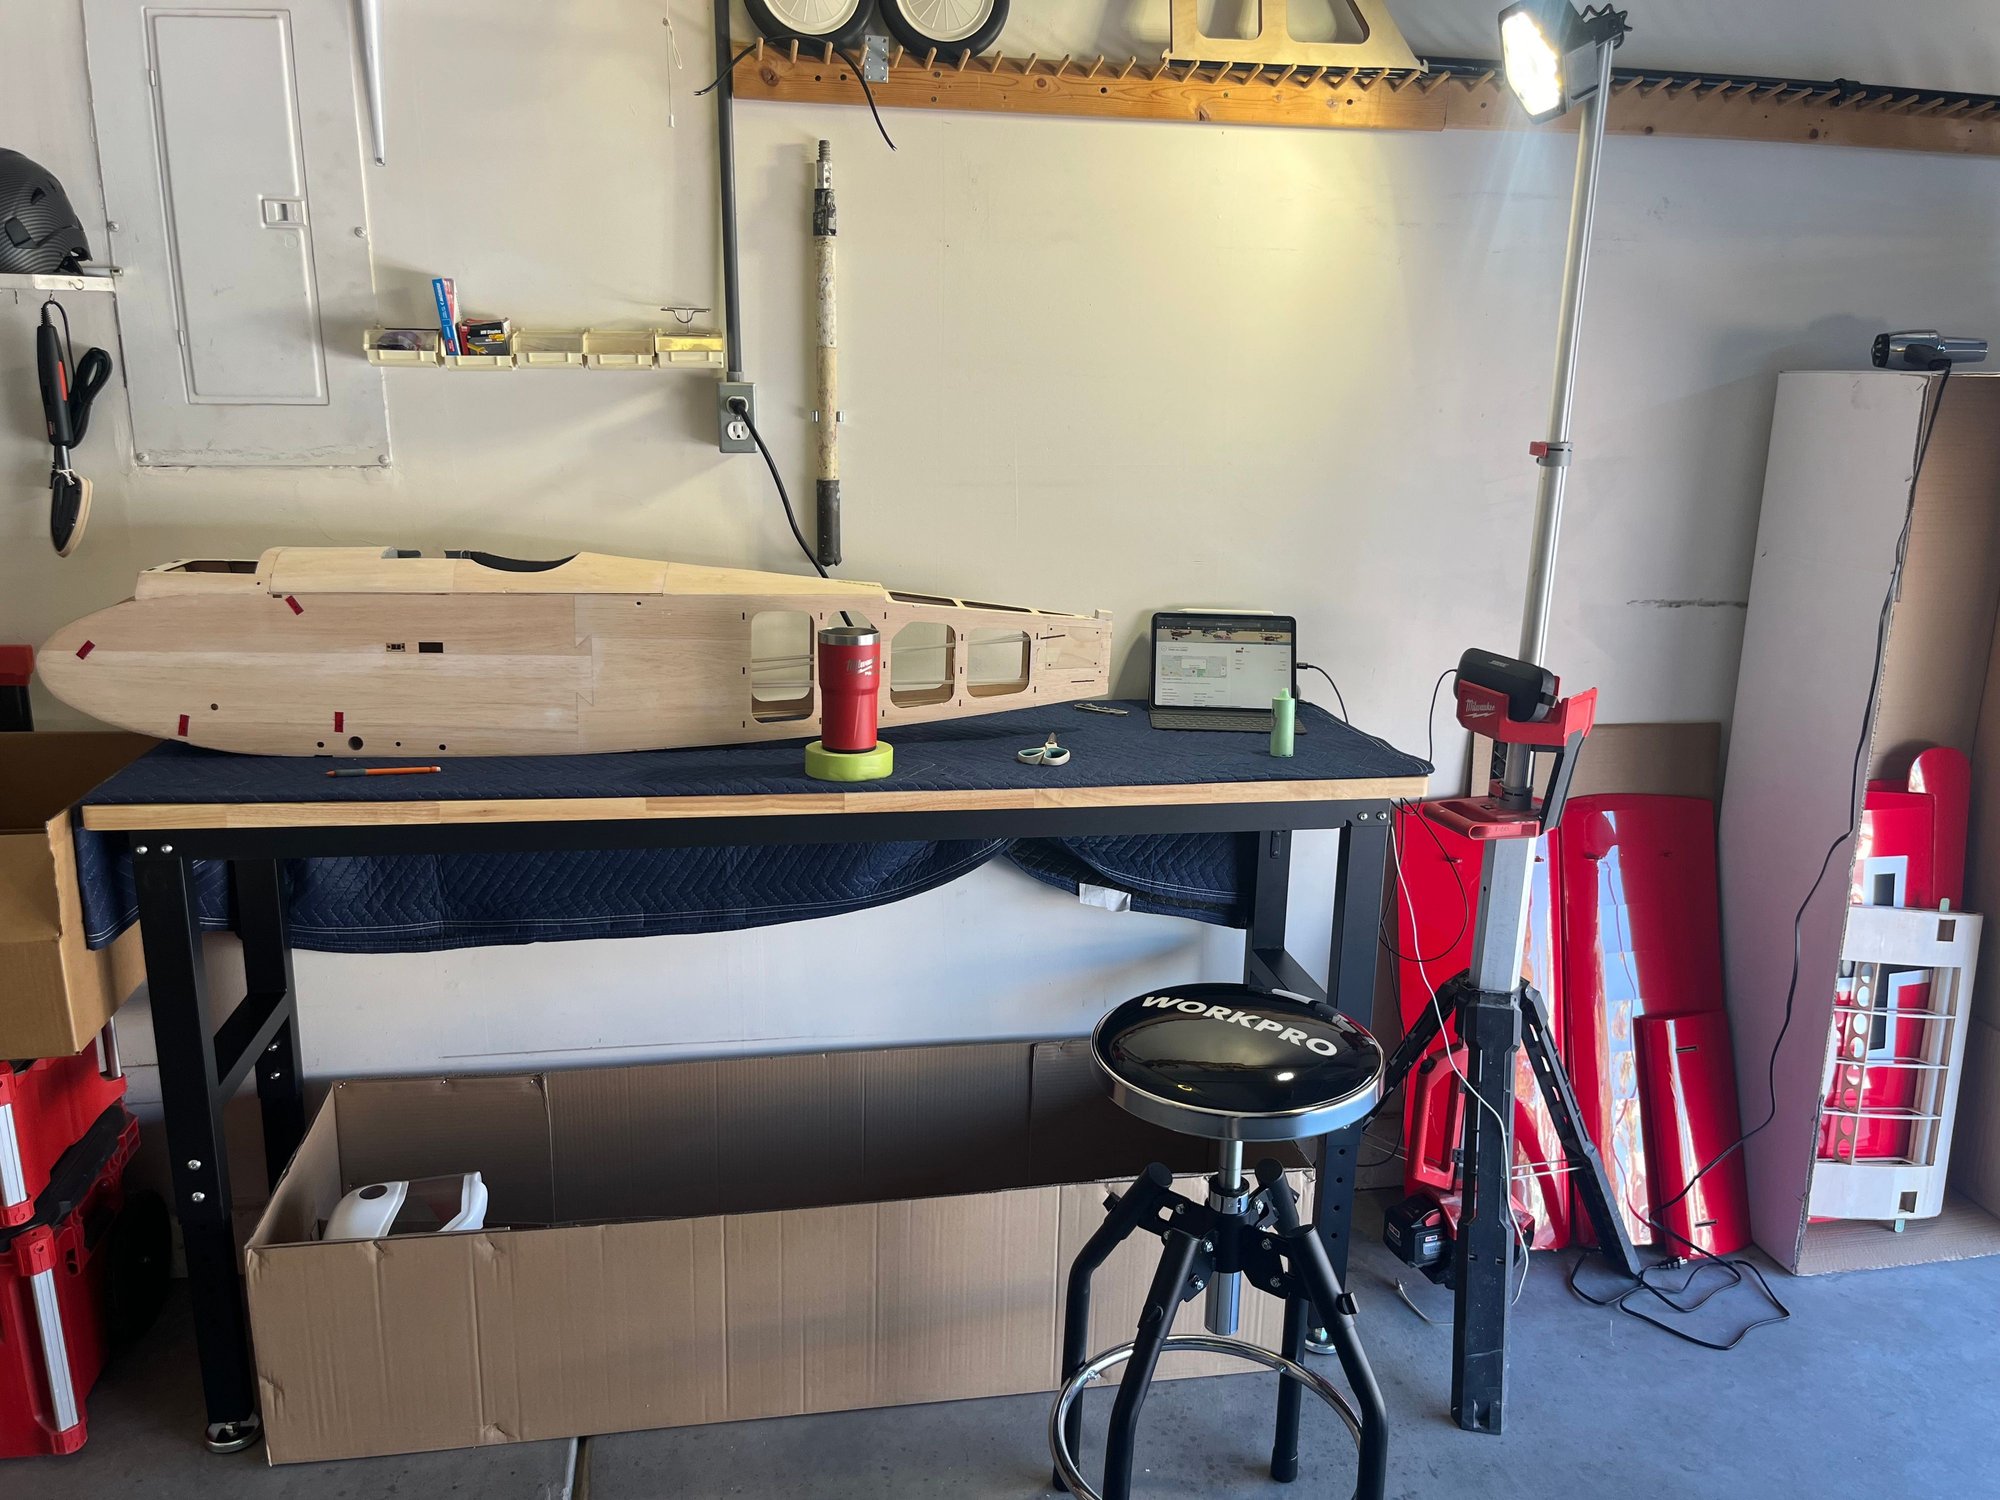
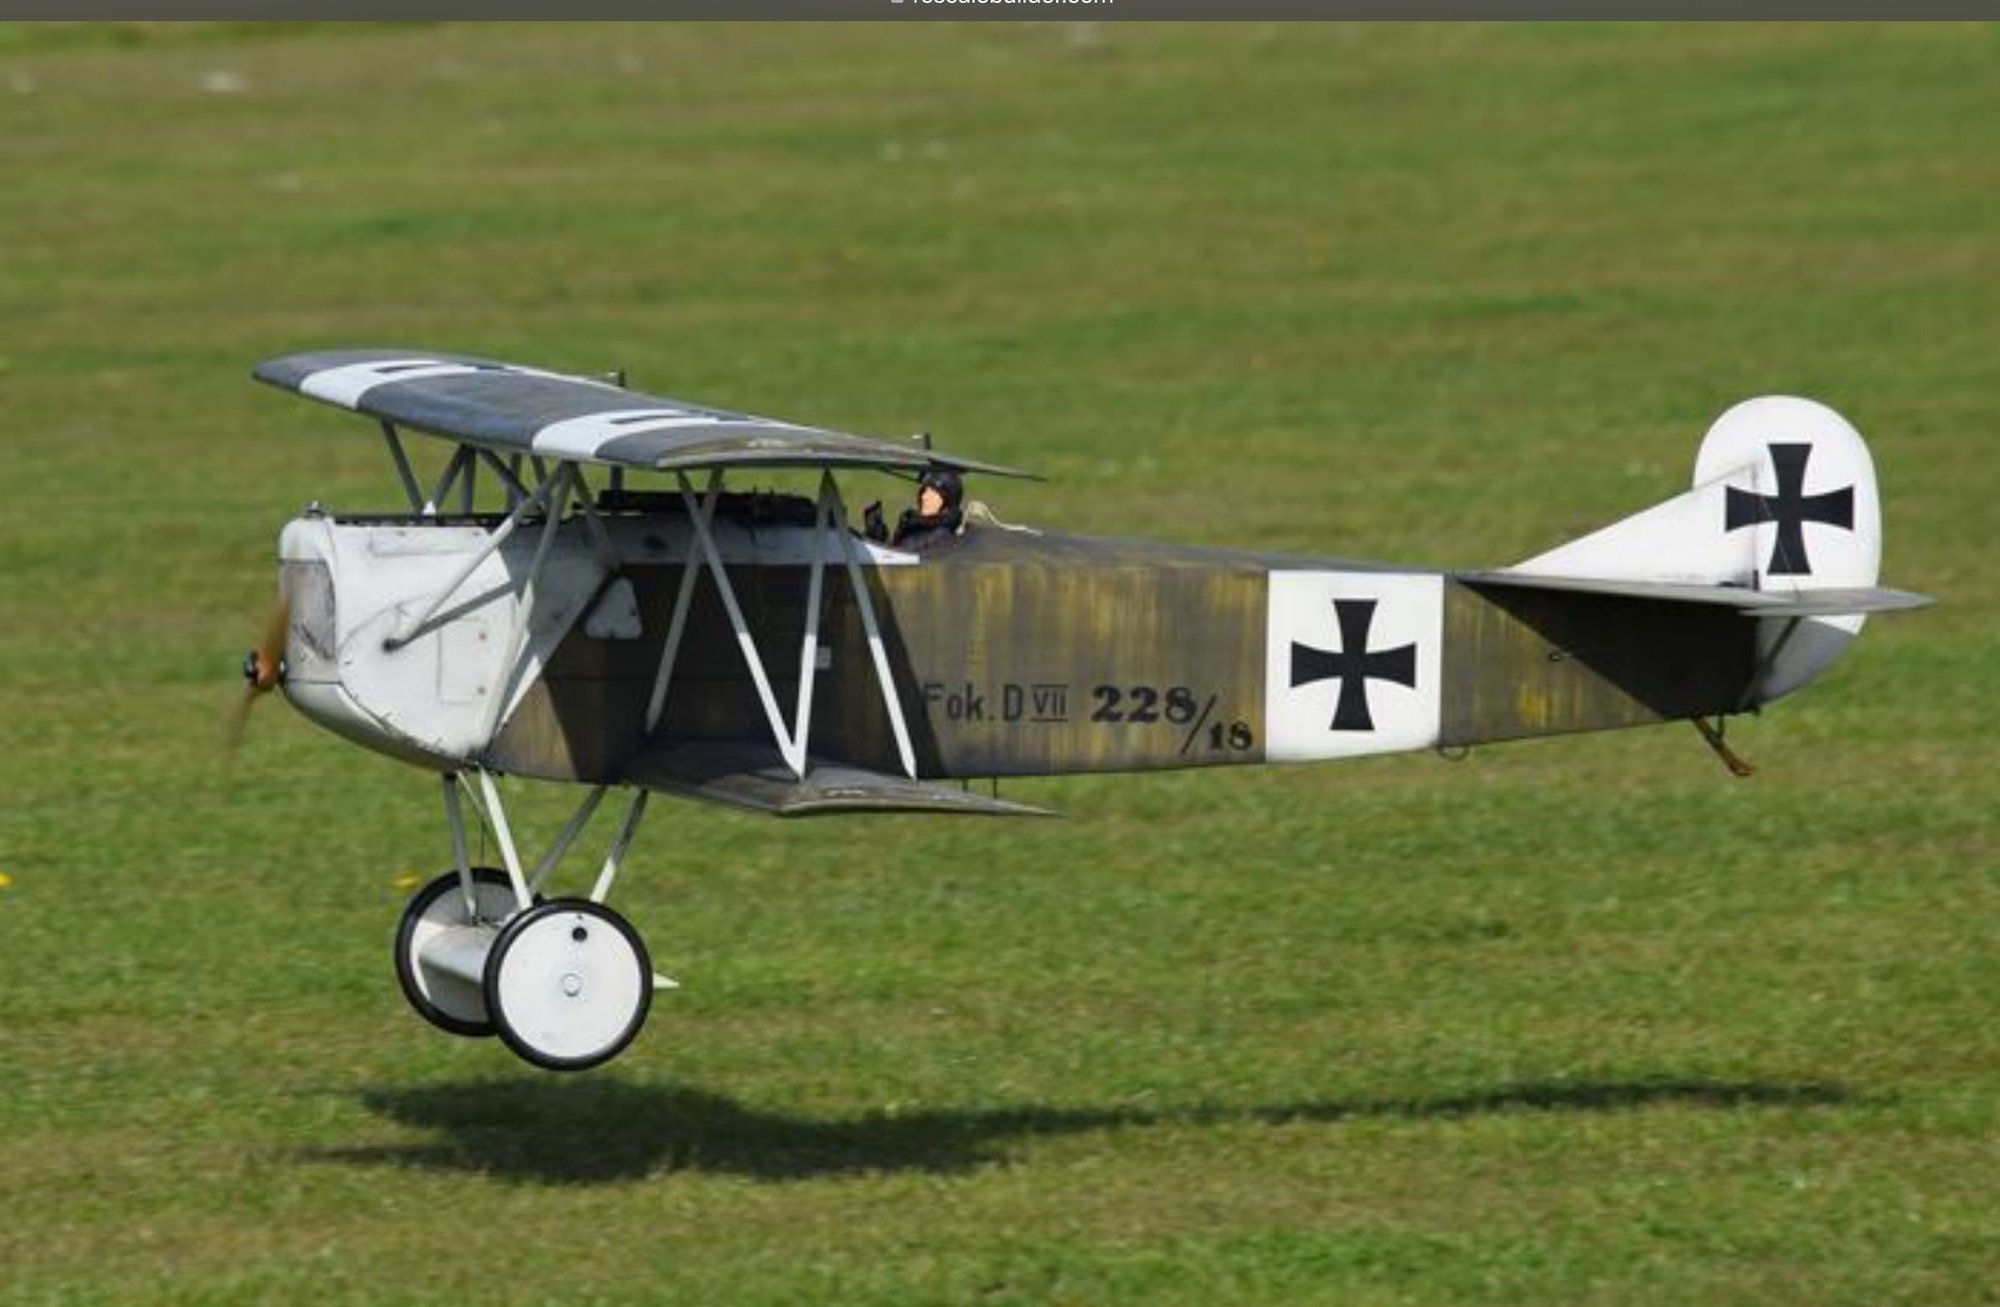
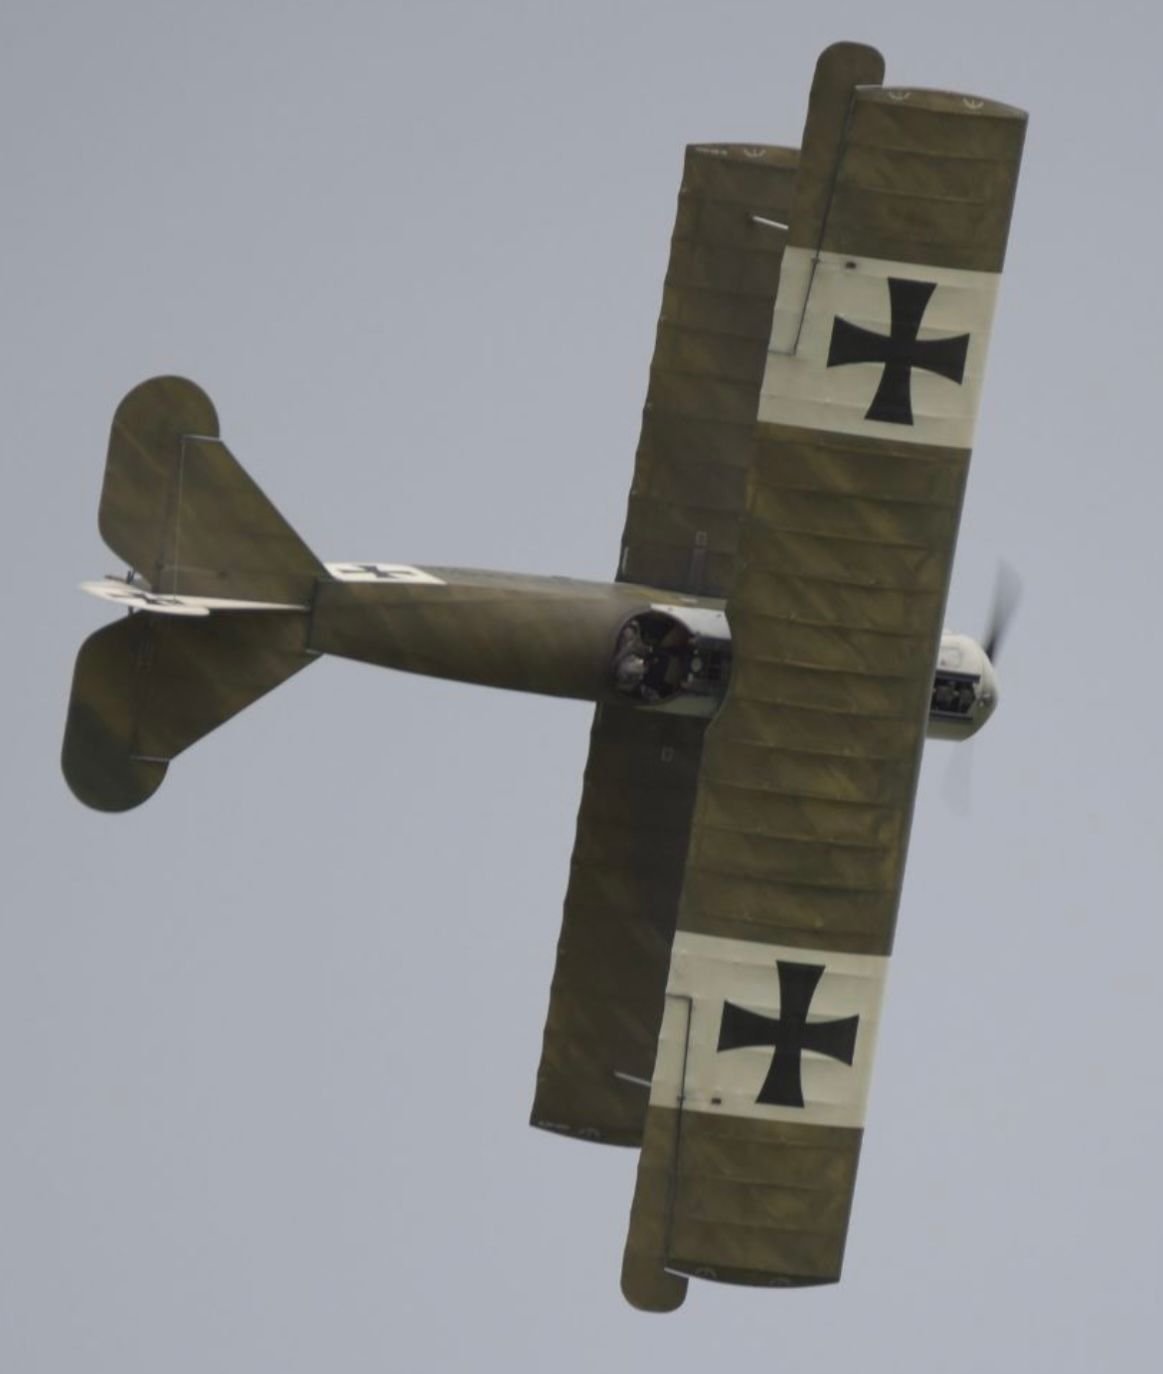
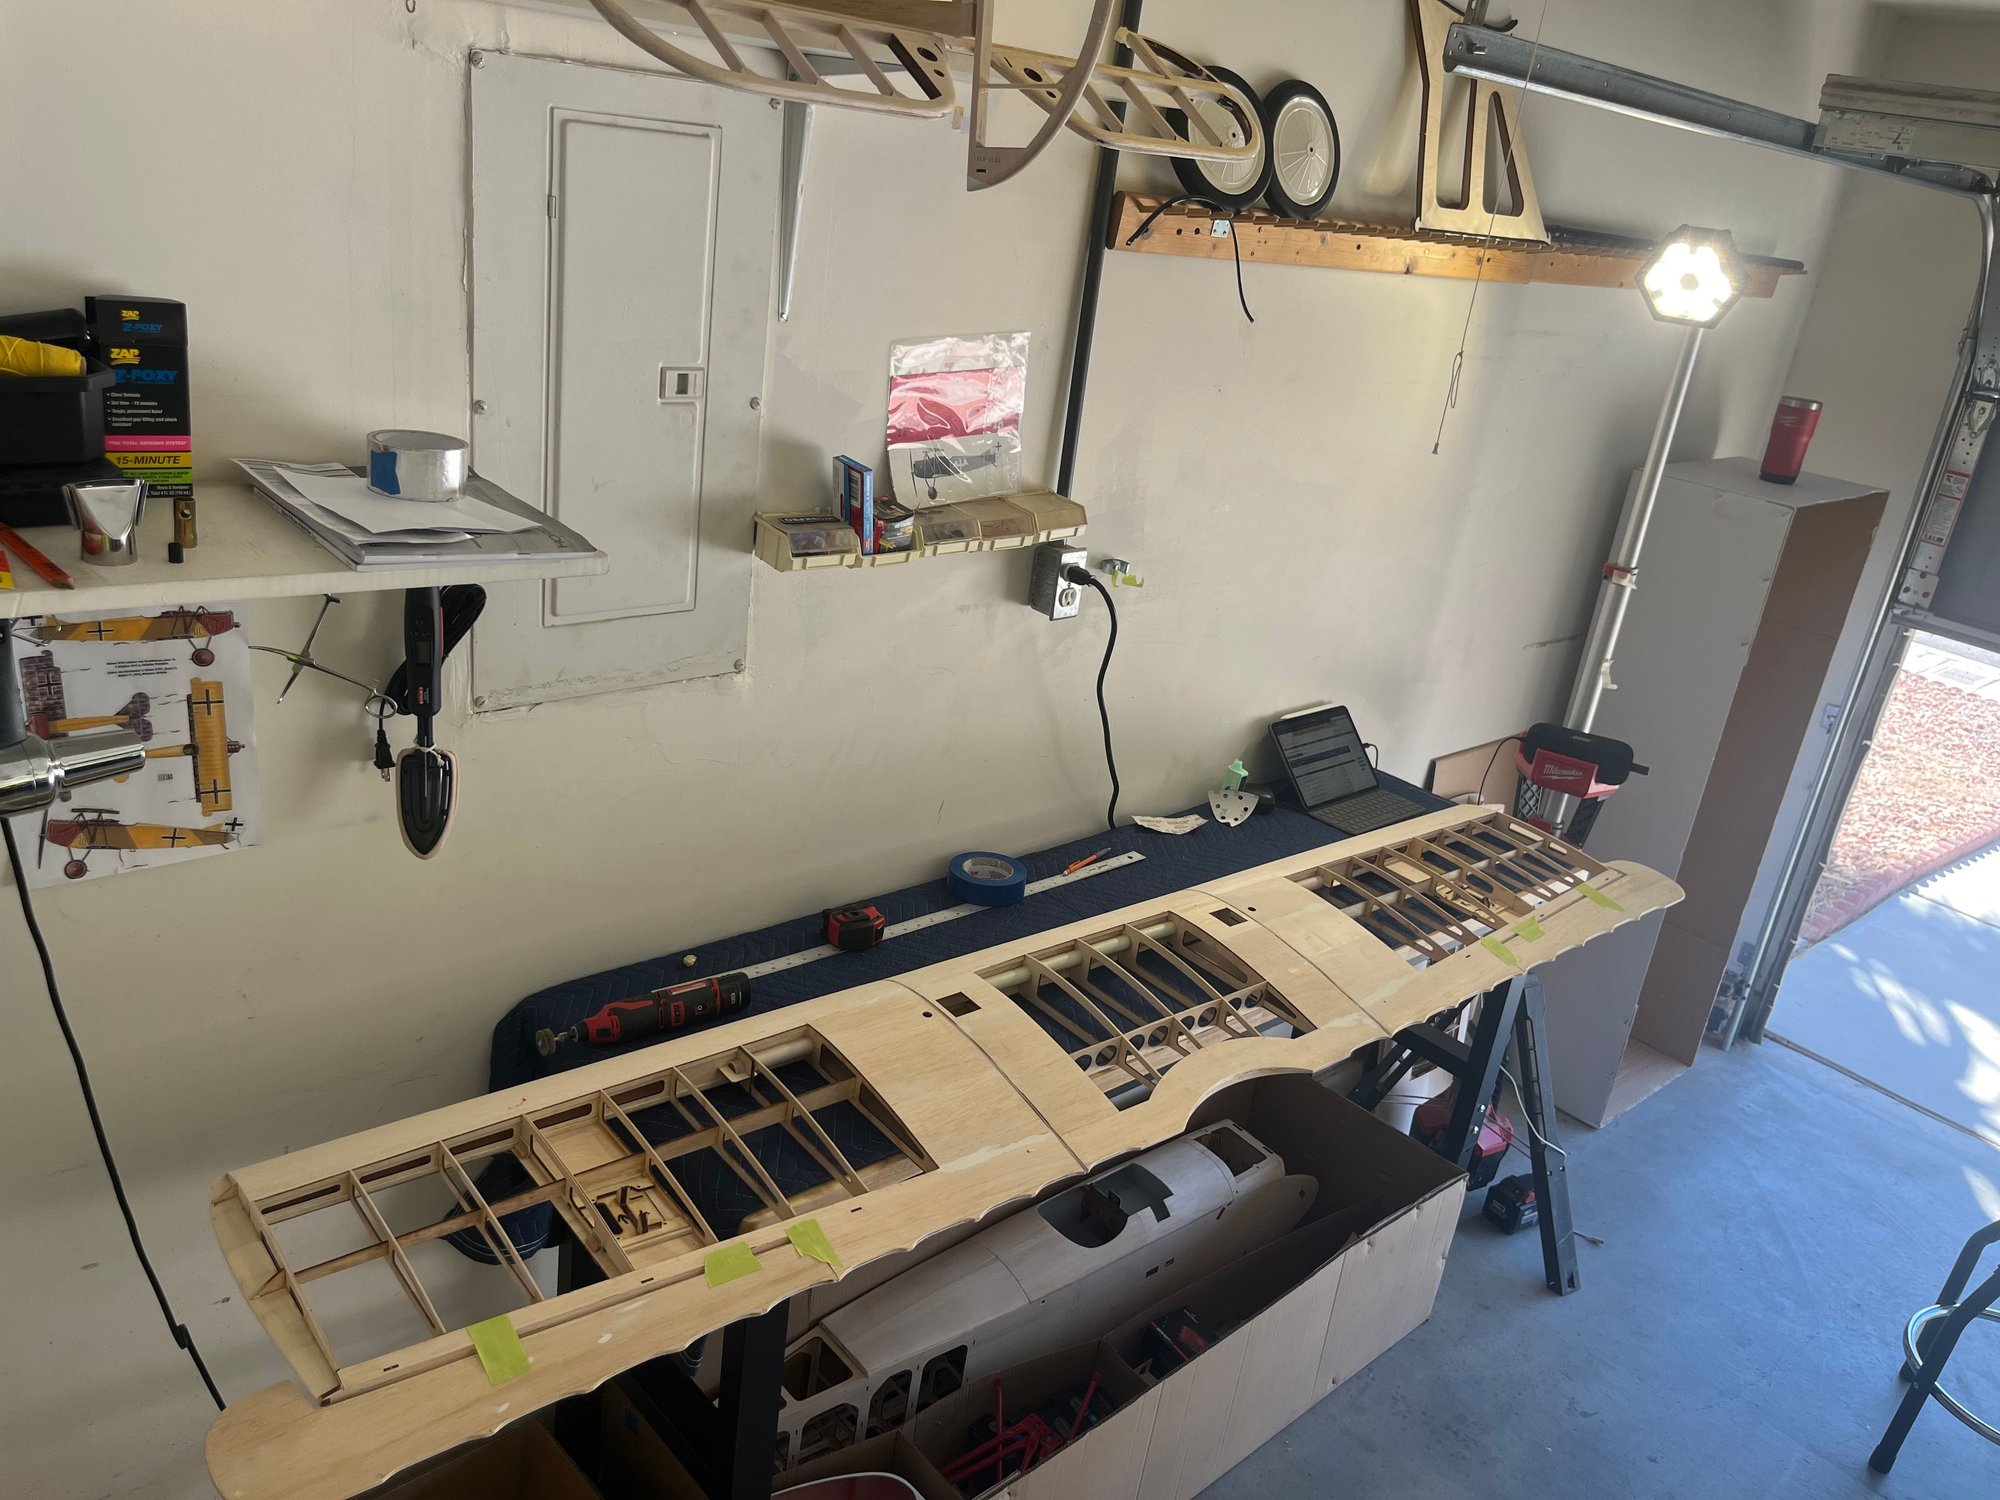
Wow, well it’s been a while! I thought i try to get back into it with a Hanger 9 60cc 1/4 scale Fokker D VII rescheme…
I’ve removed most of the covering and am awaiting my order of Oratex in antique color. Will repaint but haven’t decided on a scheme. I’m leaning toward an early “brushed” style but not sure…
Upgraded parts from Scale RC Engines include: new cockpit kit, new guns and dummy motor
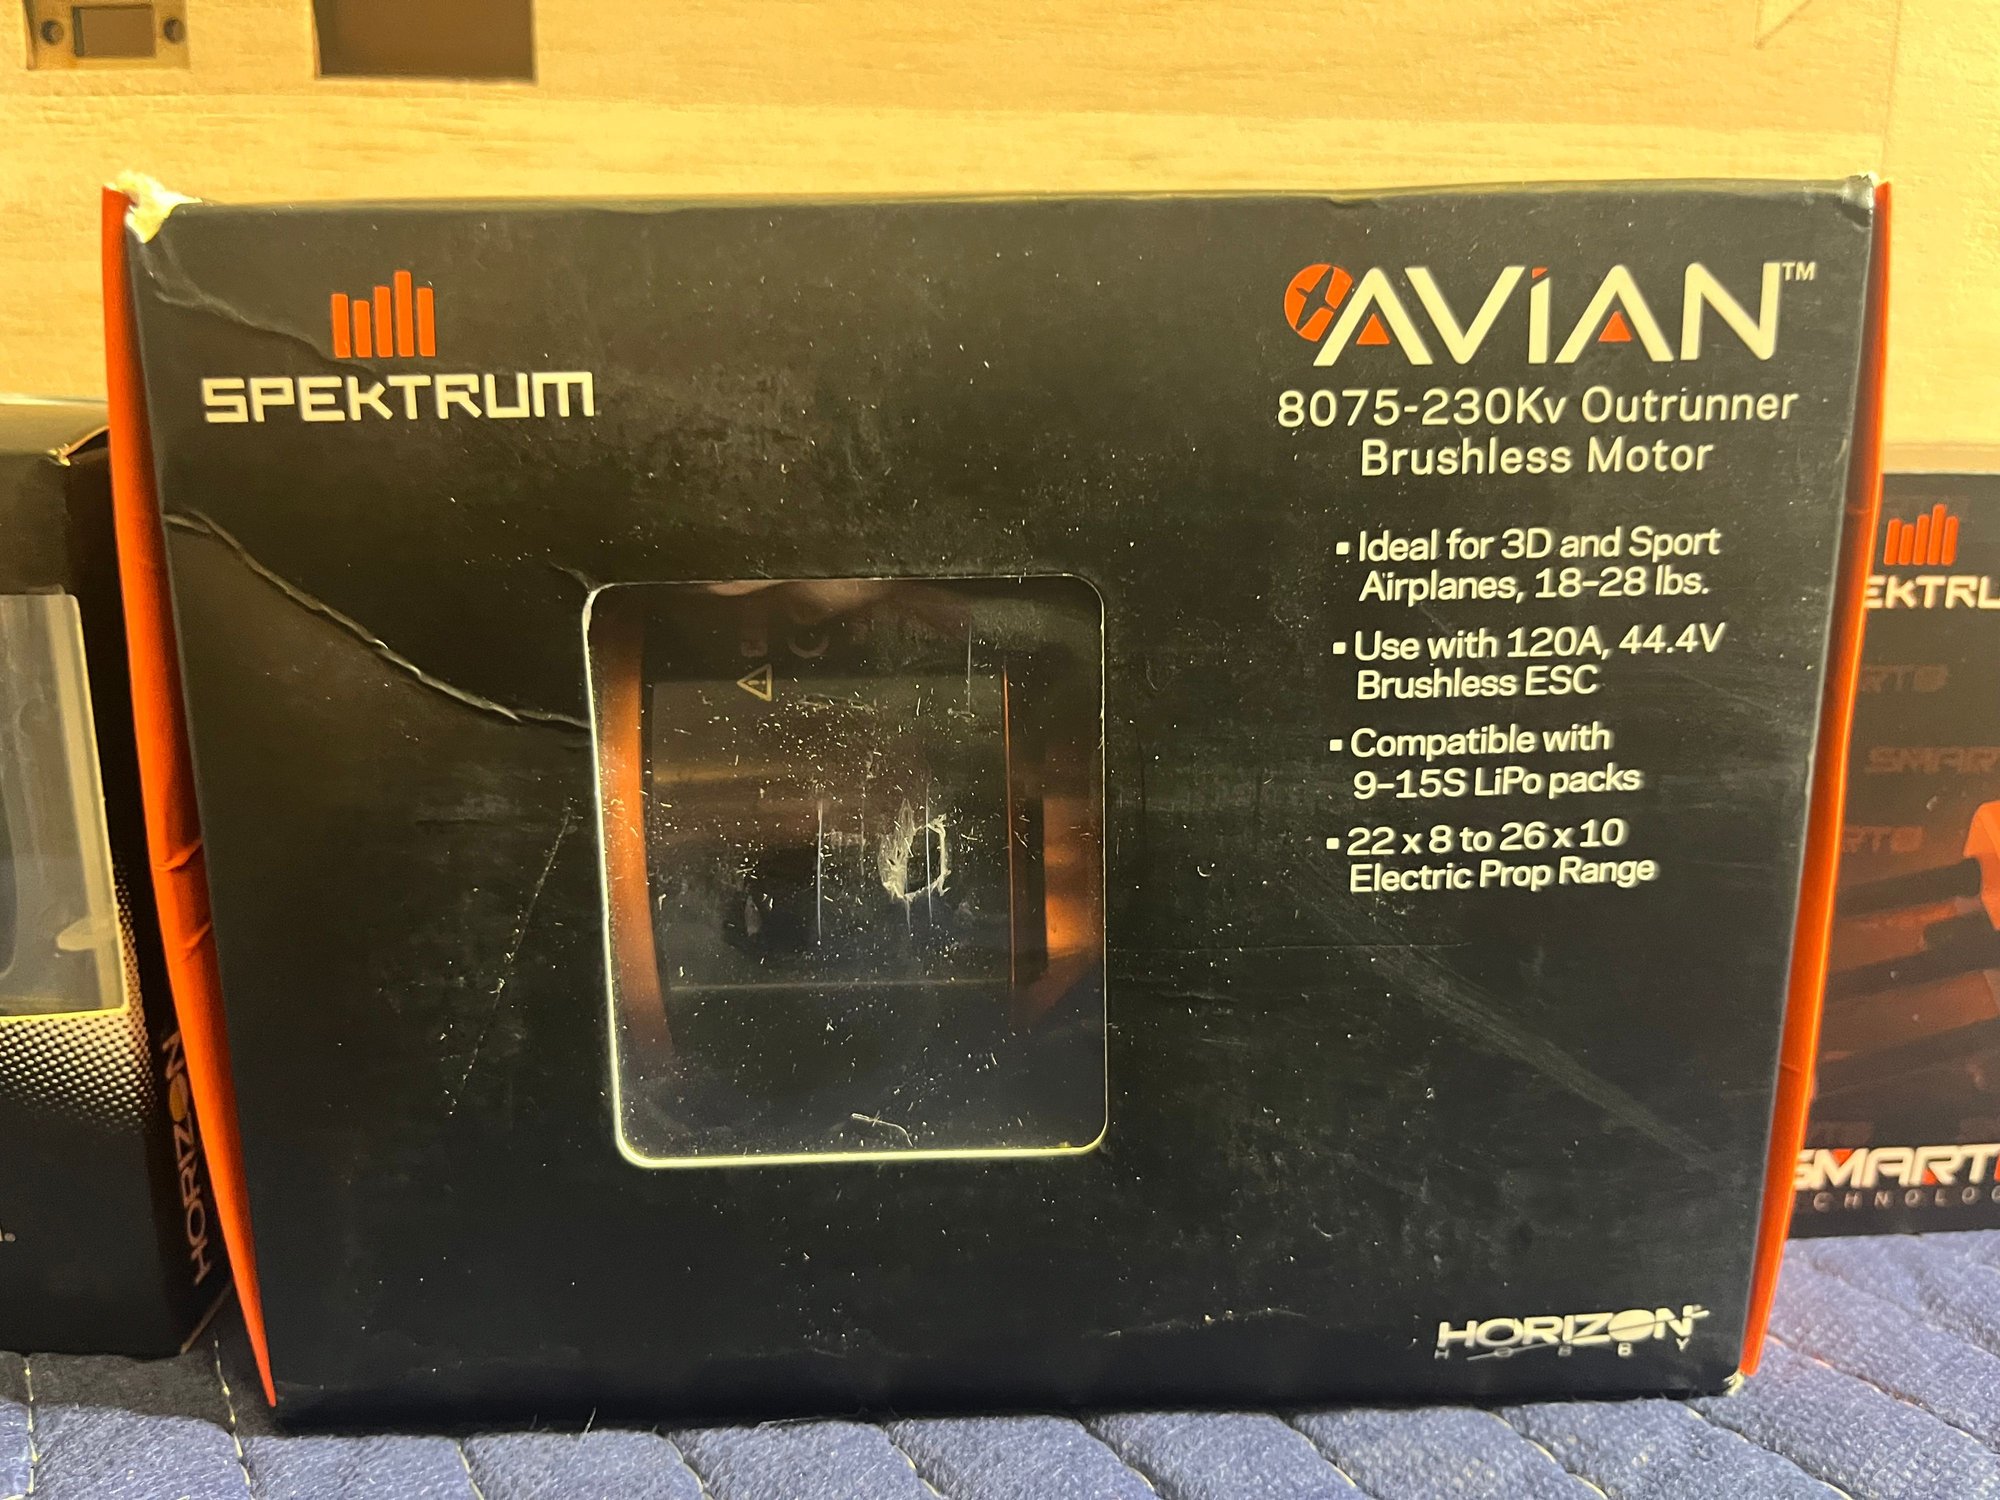
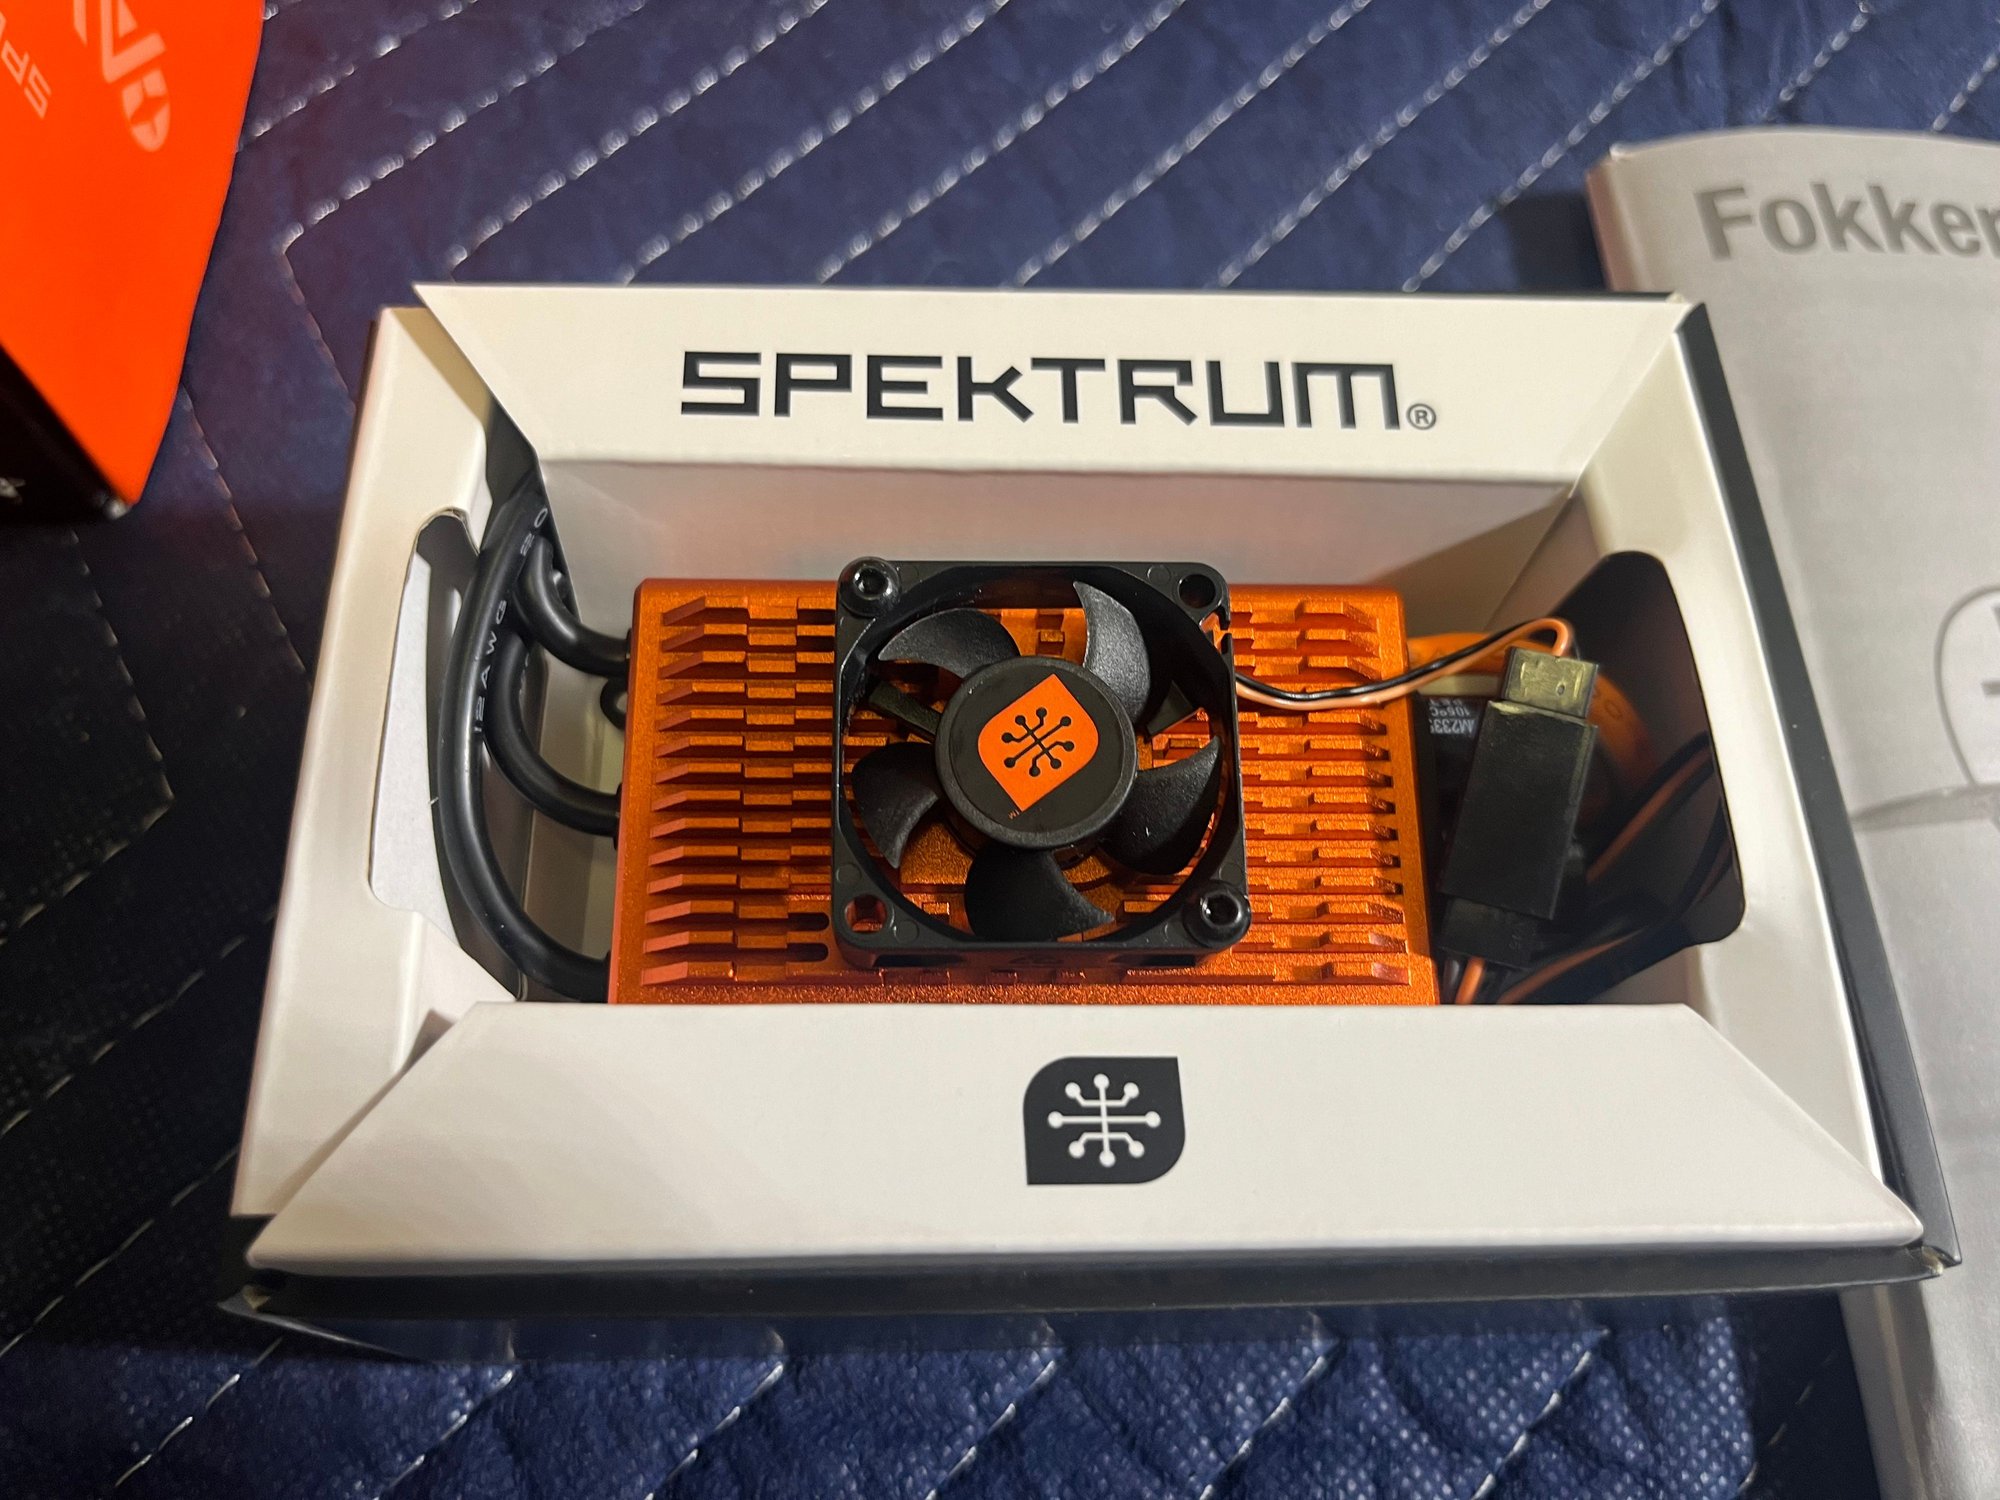
Avian 8075-230kv brushless outrunner
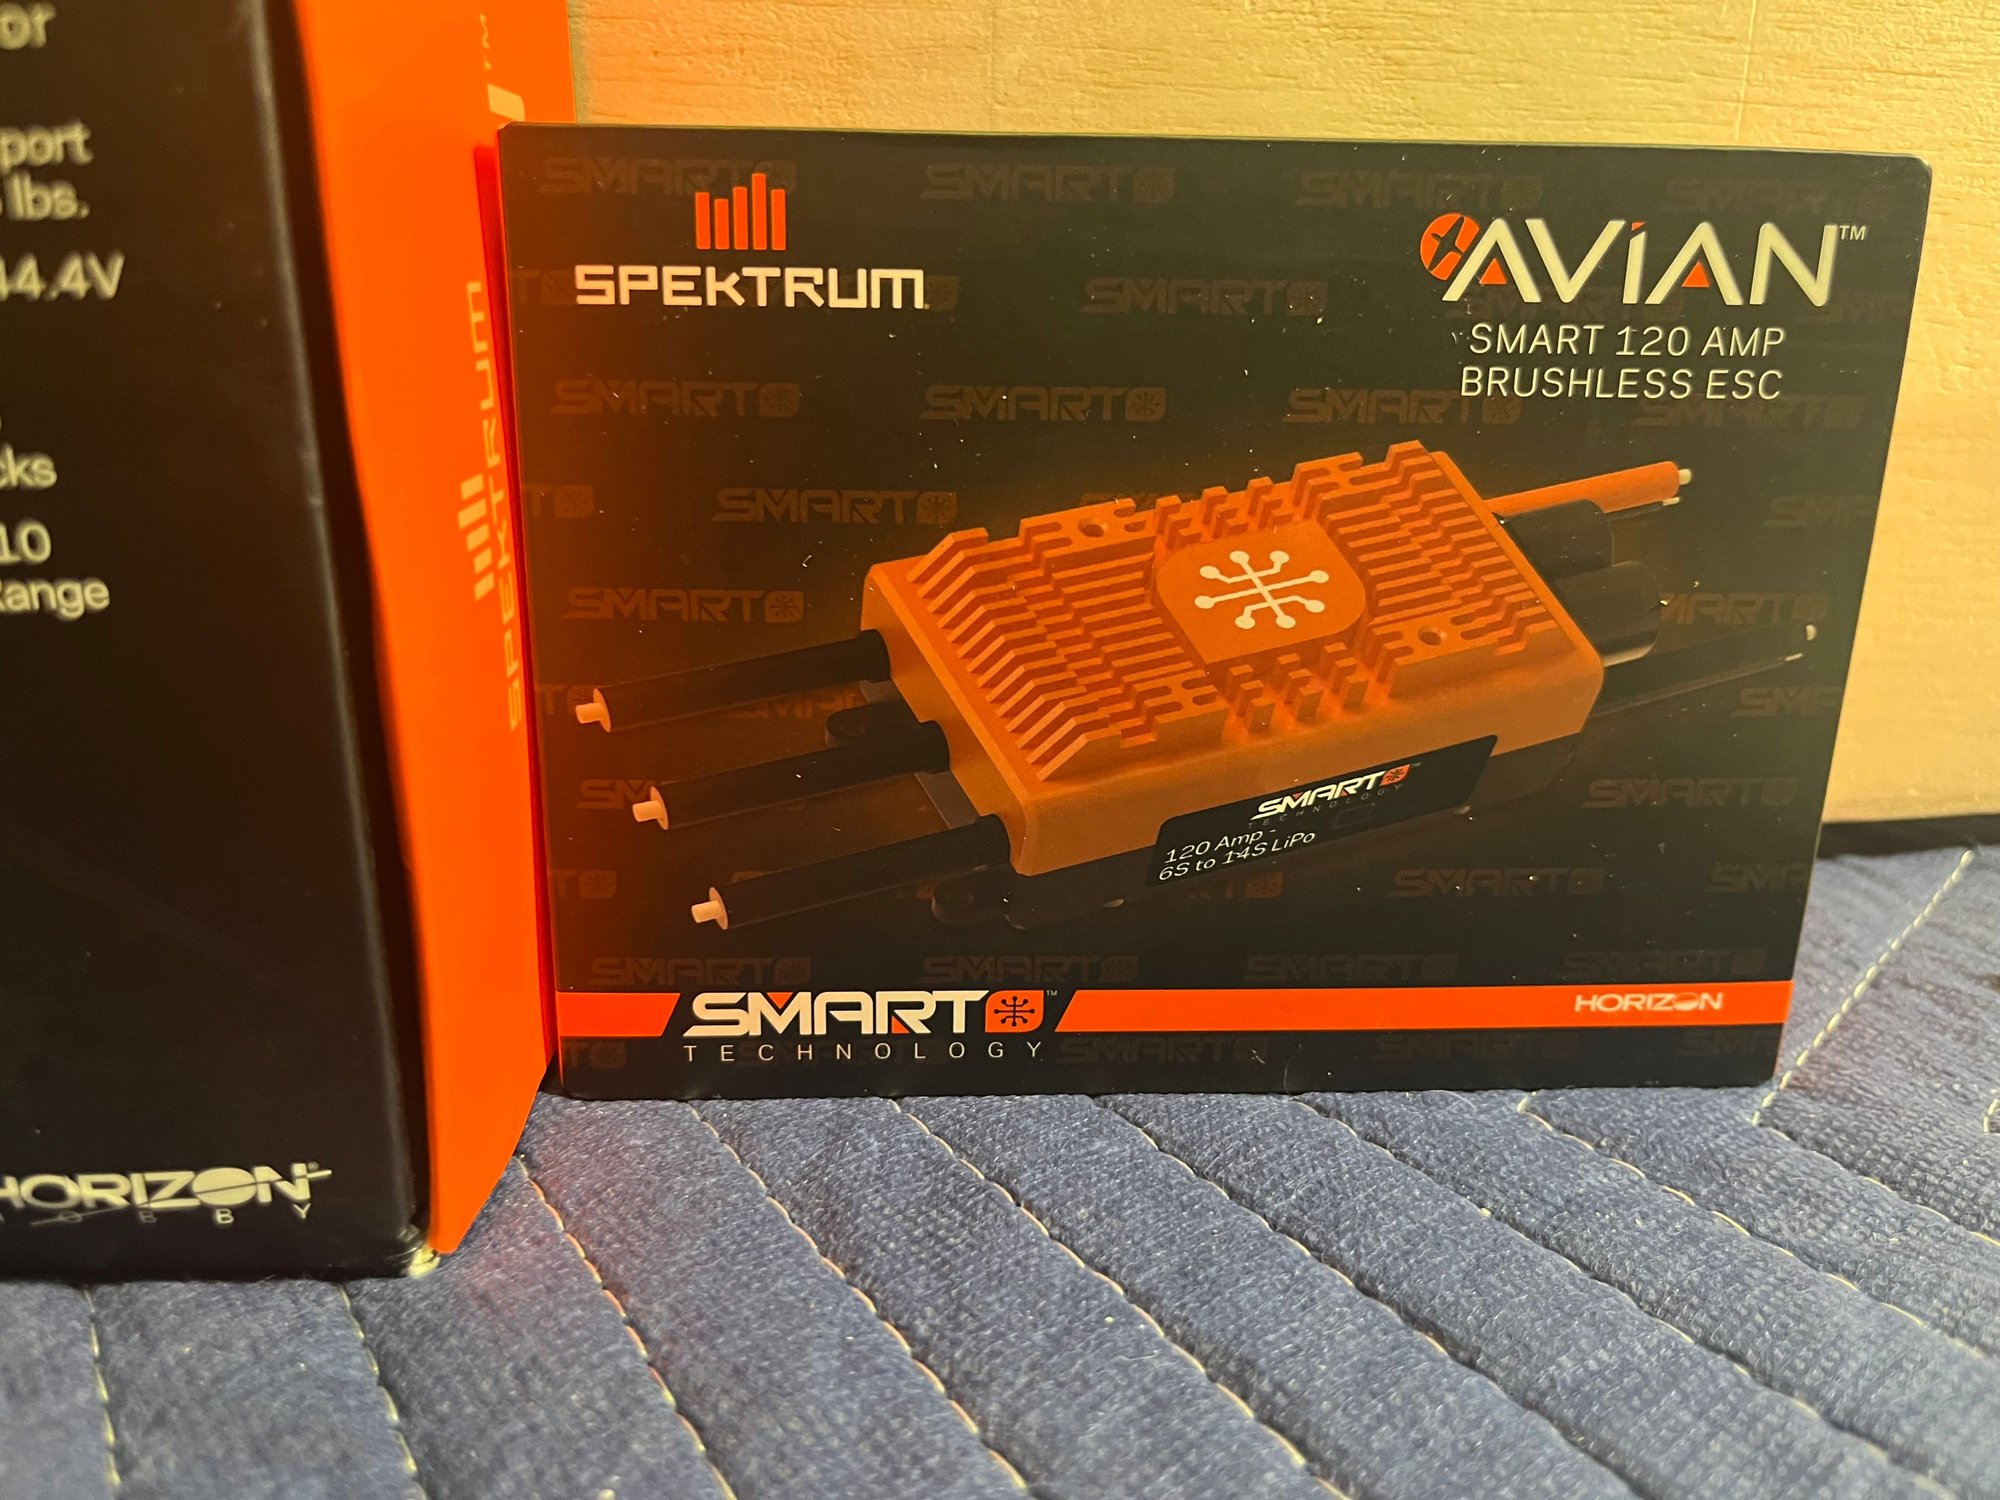
Avian 120 amp smart esc(with fan)
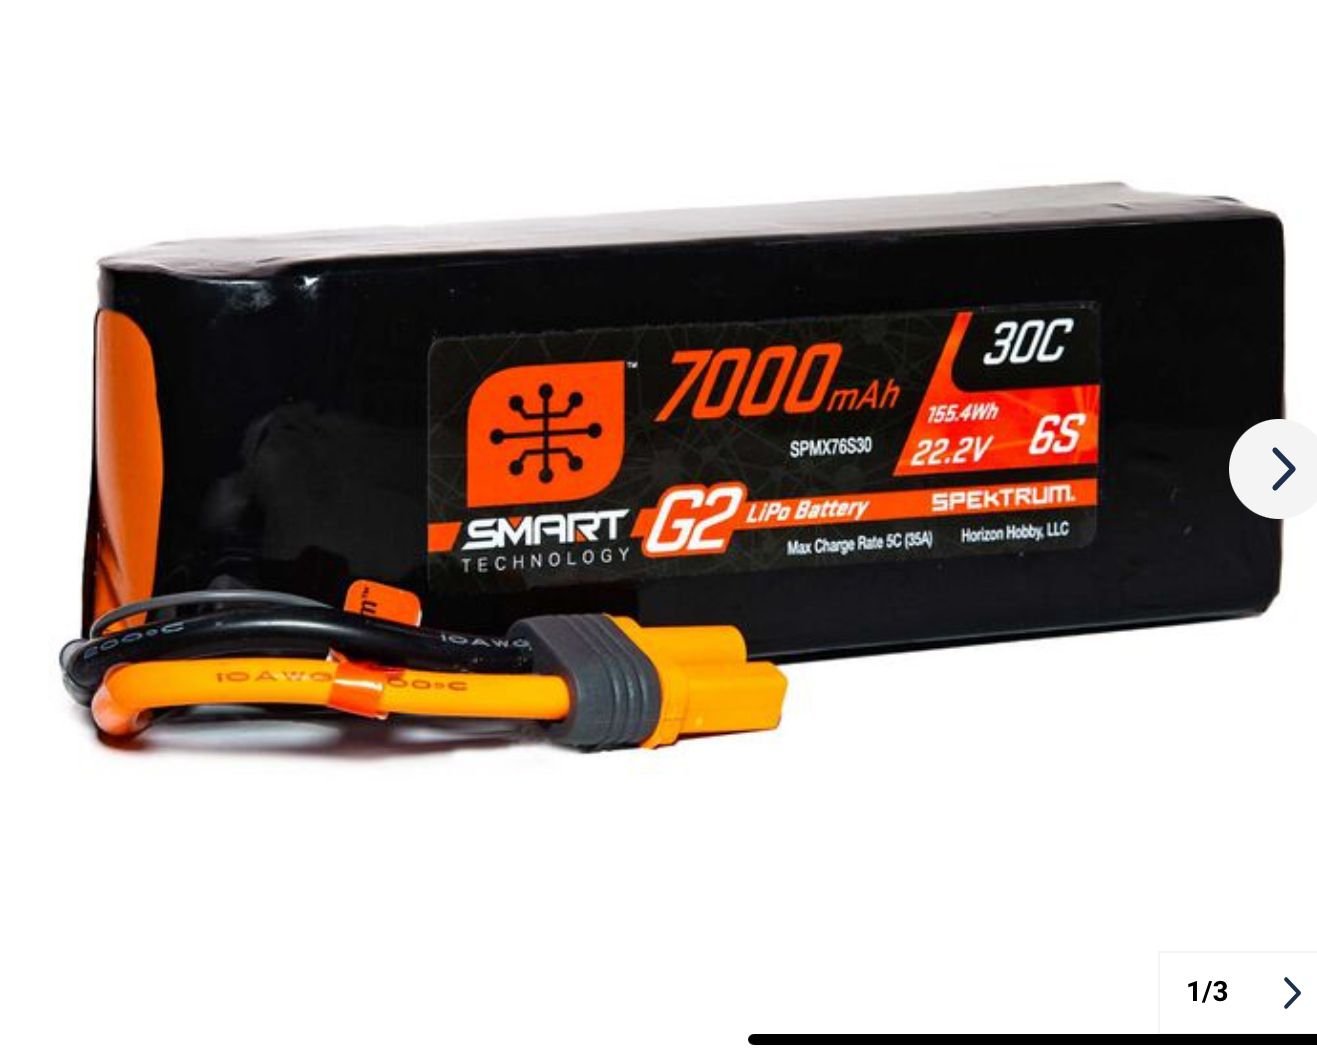
2 Spektrum 6s 30c 7000mah LiPo batteries(12 cell)
Spektrum A6380’s for Servos
NX8+20 channel DSMX
AR8360T receiver with safe and telemetry
Best Pilots Lothar
MRRC sound
24x10 Xoar Scimitar WWI series prop
wish me luck!
I’ve removed most of the covering and am awaiting my order of Oratex in antique color. Will repaint but haven’t decided on a scheme. I’m leaning toward an early “brushed” style but not sure…
Upgraded parts from Scale RC Engines include: new cockpit kit, new guns and dummy motor
Avian 8075-230kv brushless outrunner
Avian 120 amp smart esc(with fan)
2 Spektrum 6s 30c 7000mah LiPo batteries(12 cell)
Spektrum A6380’s for Servos
NX8+20 channel DSMX
AR8360T receiver with safe and telemetry
Best Pilots Lothar
MRRC sound
24x10 Xoar Scimitar WWI series prop
wish me luck!
Last edited by glazier808; 10-13-2024 at 10:20 AM.
 10-13-2024, 07:43 AM
#2
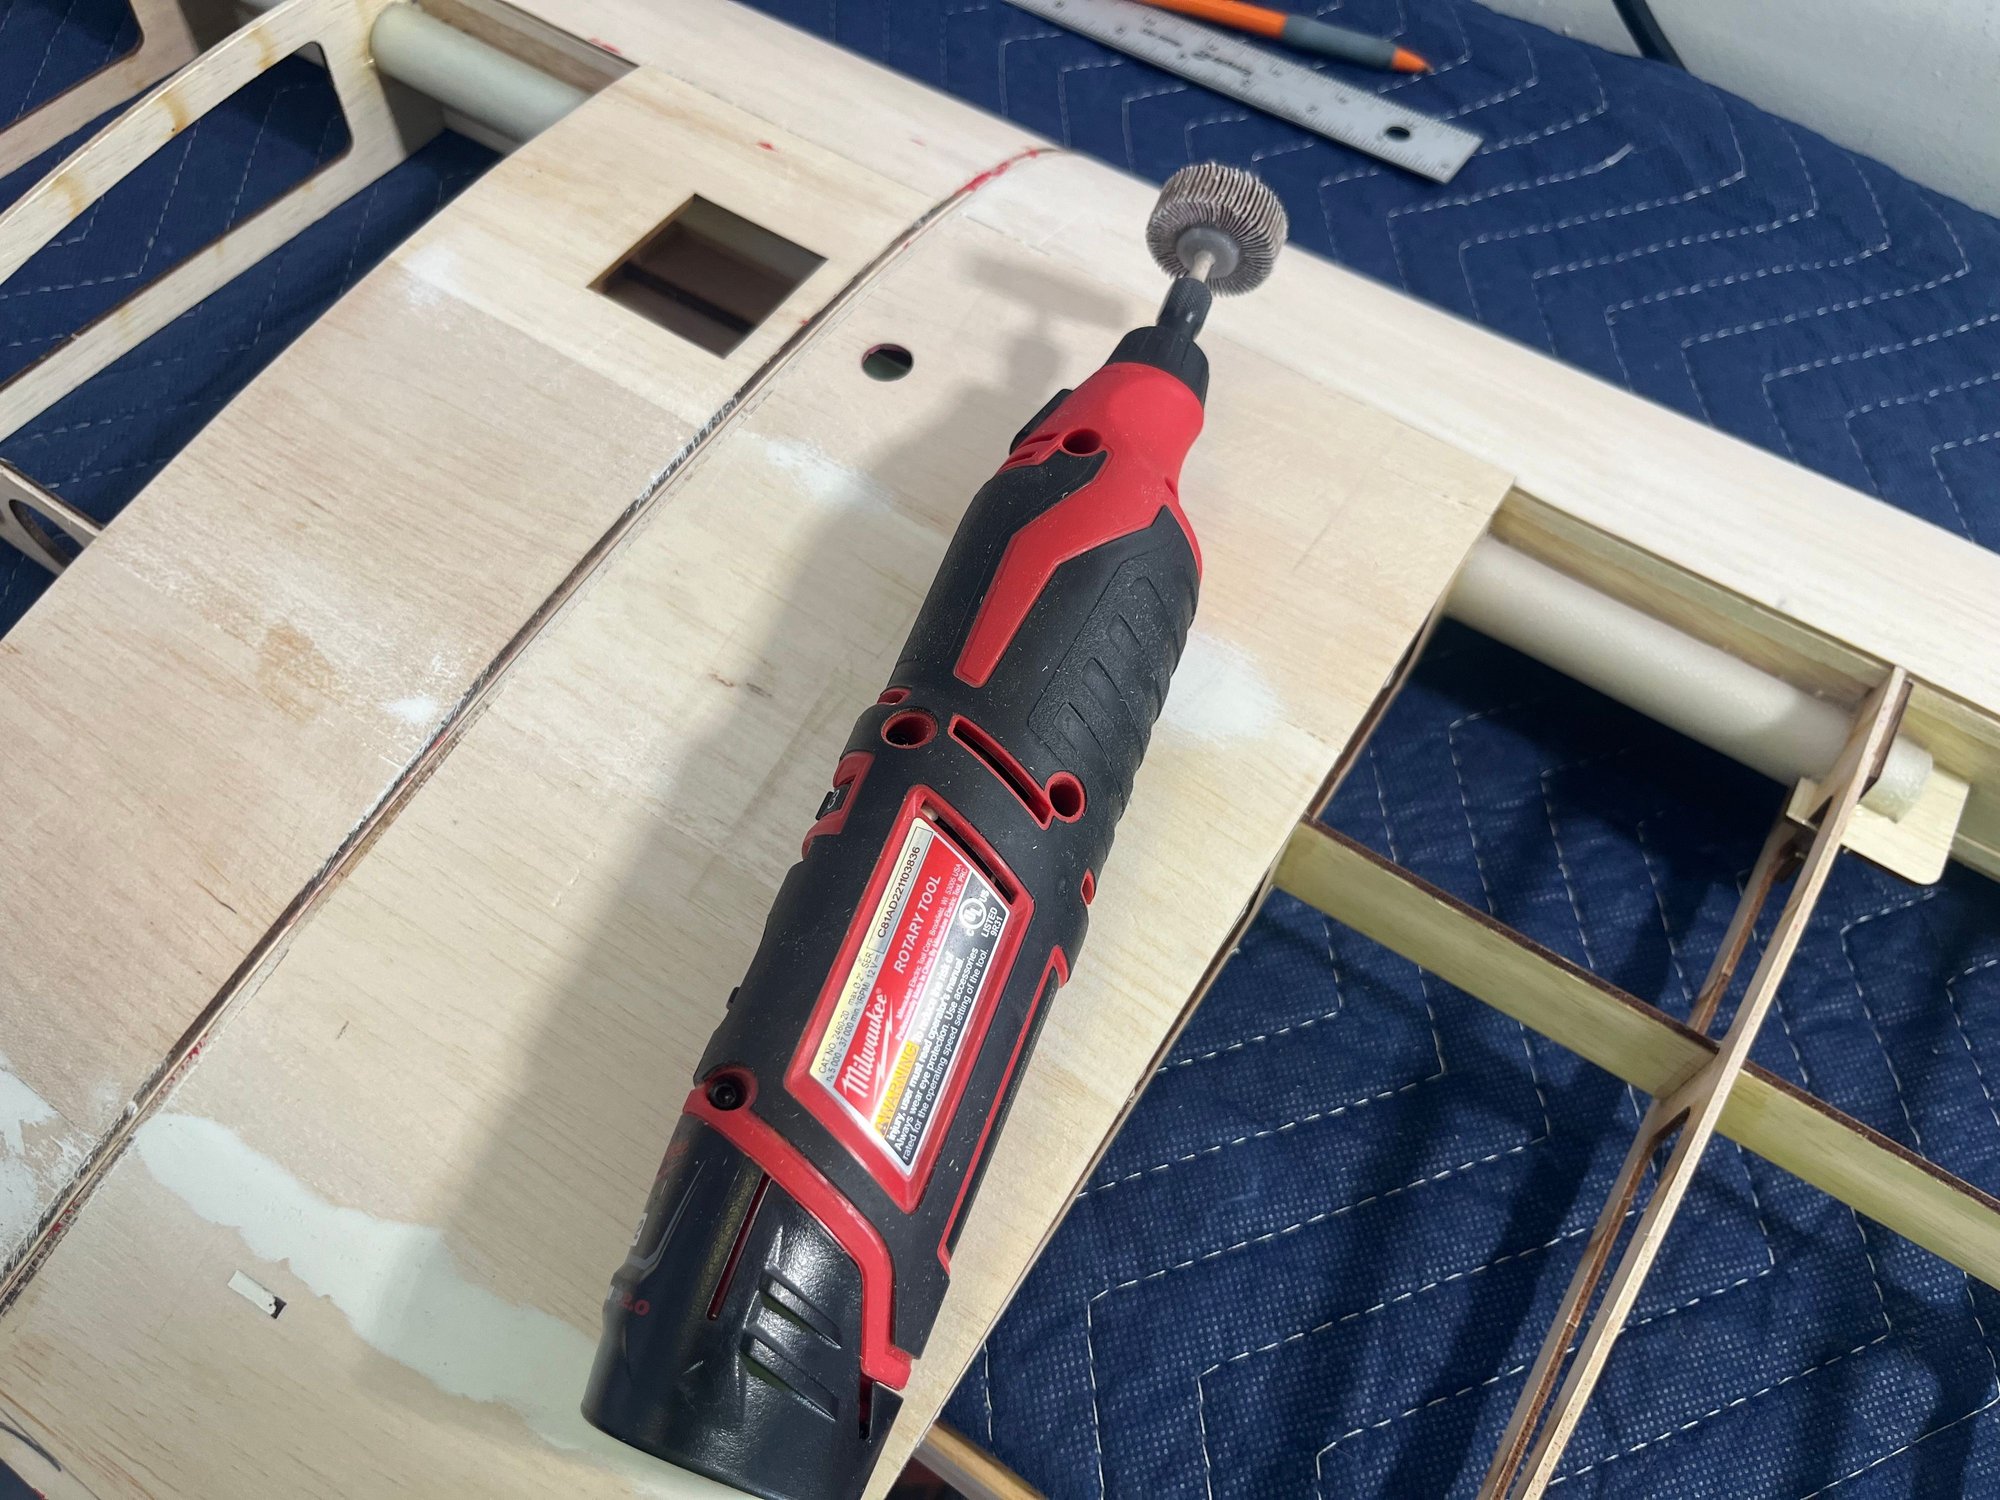
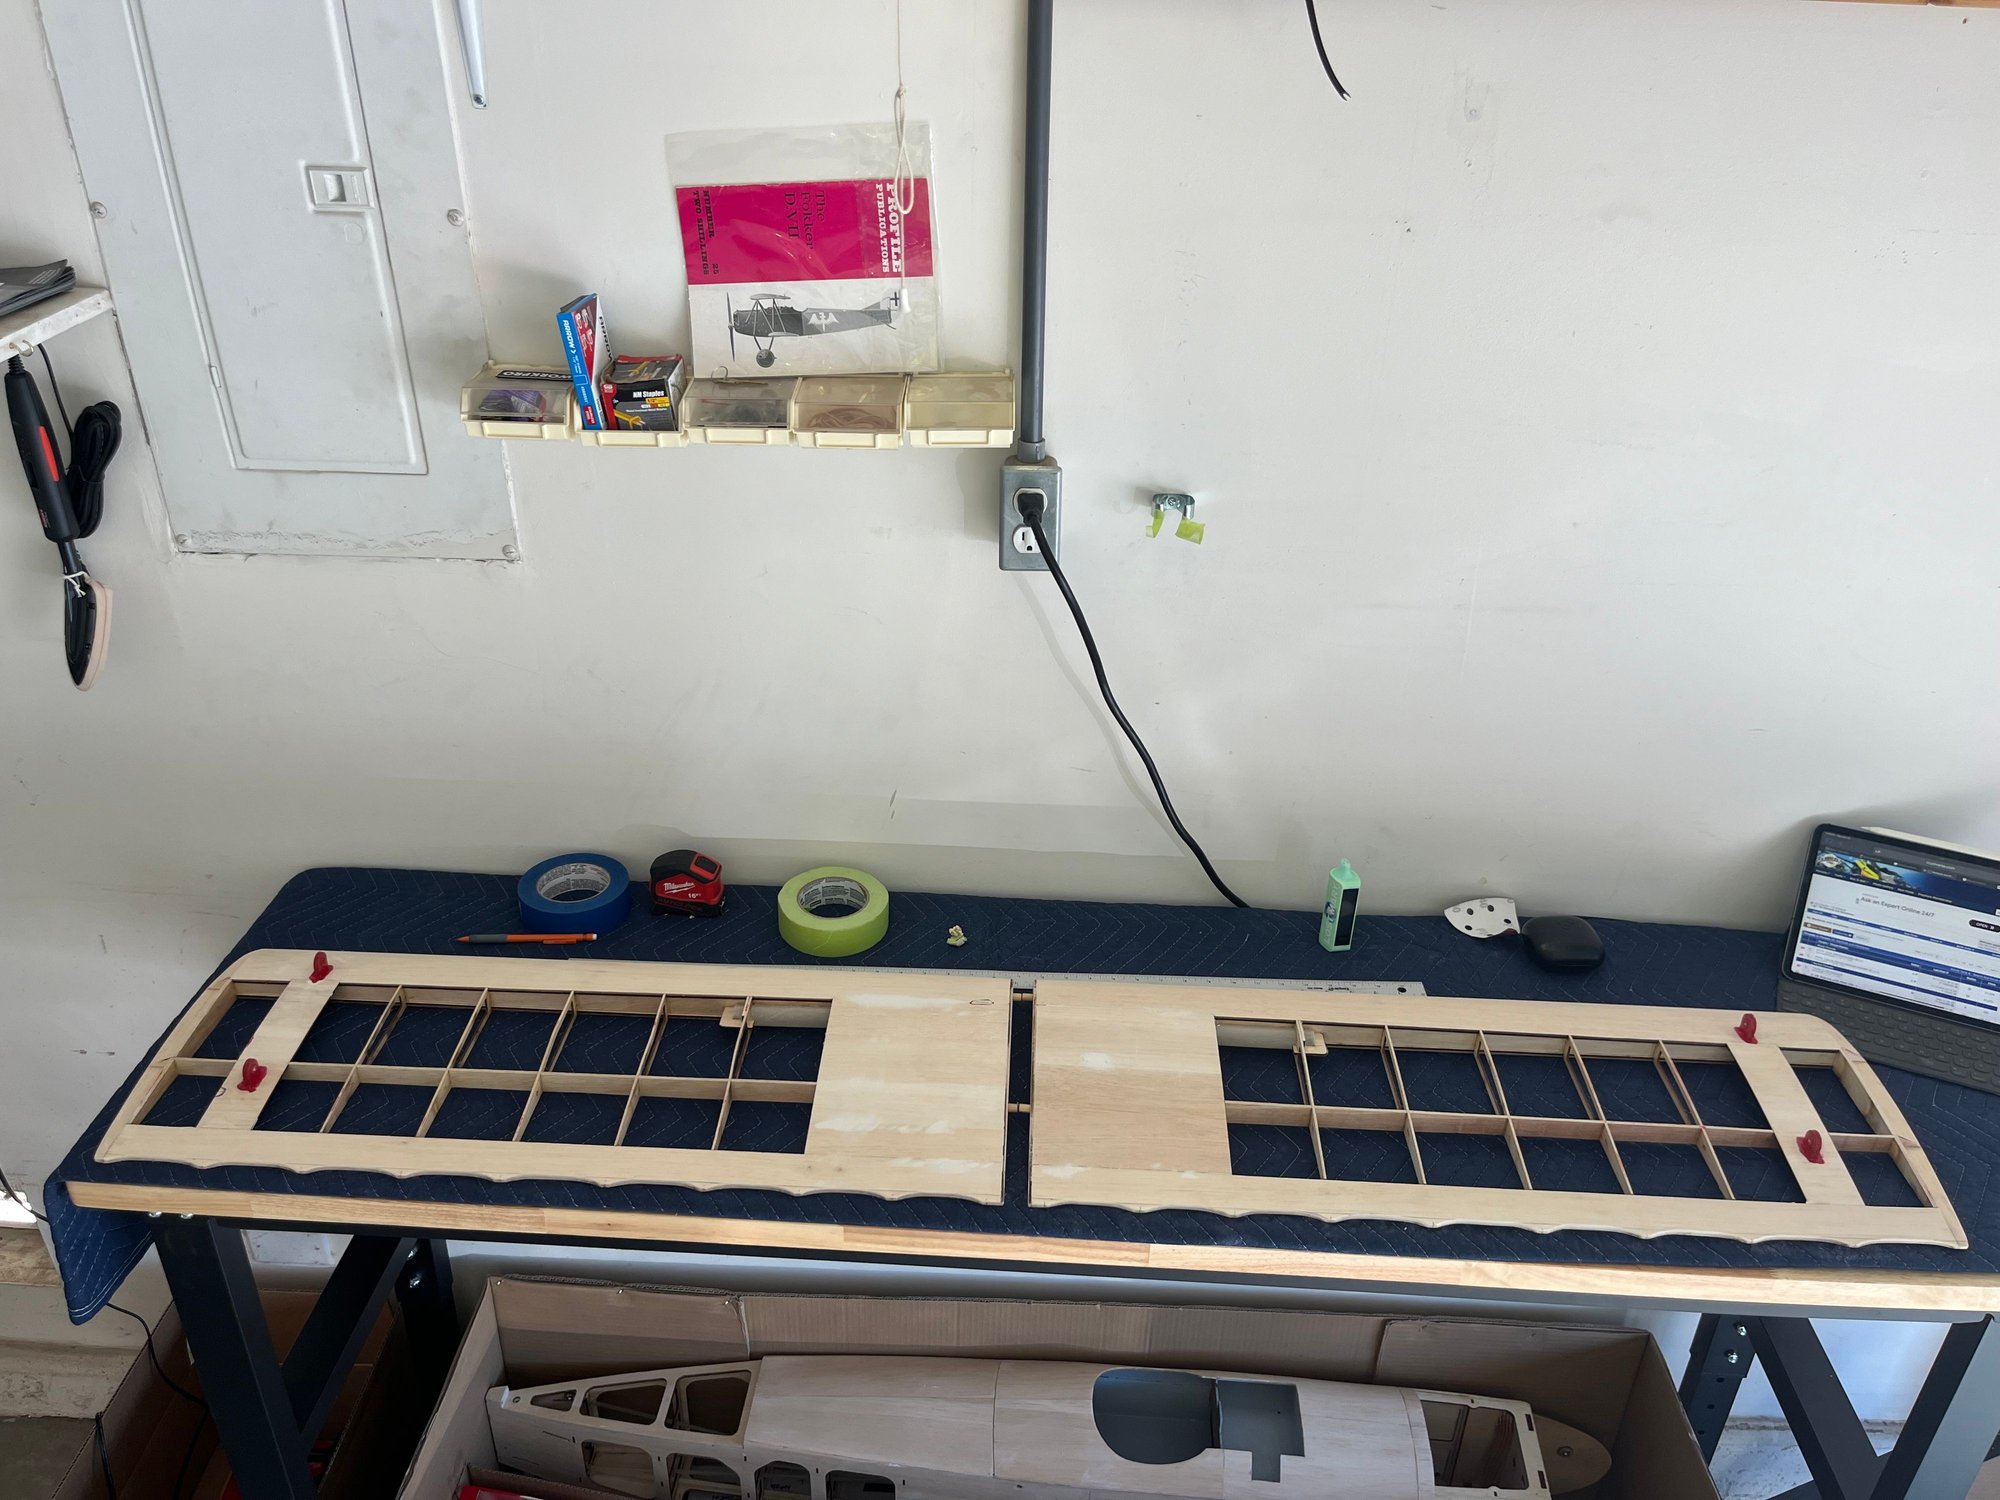
Throwing around some ideas for simulated rib stitching, this is a mock up using painters tape and some cotton string(slightly to large atm)…I’ll use aluminum tape for final run cut into 1/8th in strips as long as needed. This will be applied before the Oratex.
I am also working a fix for the lack of the scalloped trailing edges for both the upper and lower wing surfaces, as well as fabricating the forward upper deck between the cockpit and cowl with .010 fliteskin. Fliteskin will also be used to fabricate a few other access panels for some added detail.
stay tuned!
Casey
Last edited by glazier808; 10-13-2024 at 12:10 PM.
 10-14-2024, 08:13 AM
#5
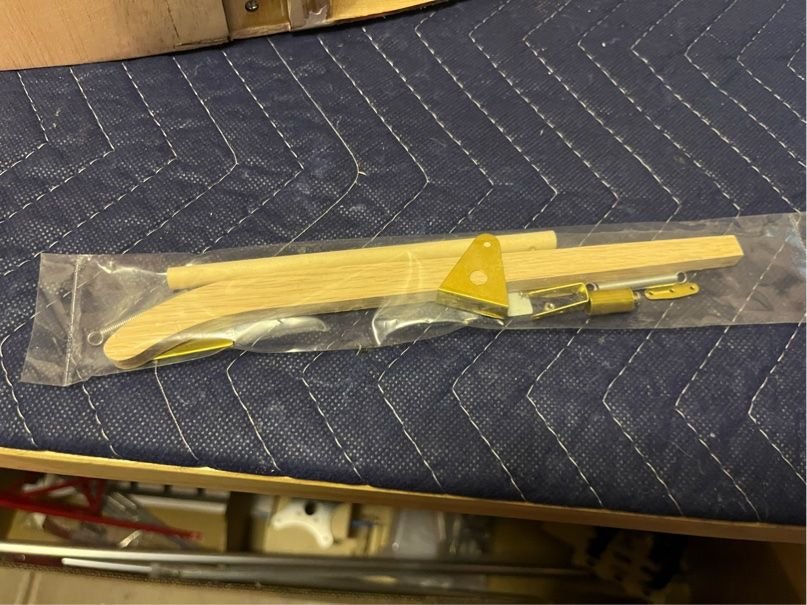
Ordered a replacement tail skid assembly, side cheeks and a radiator cap, from Proctor Enterprises. Great company to do business with! The stamped aluminum cheek pieces are a perfect fit for the hanger 9 with minimal work…
pictures to come when I get the order
pictures to come when I get the order
Last edited by glazier808; 10-14-2024 at 09:07 AM.
10-14-2024, 10:44 AM
#6
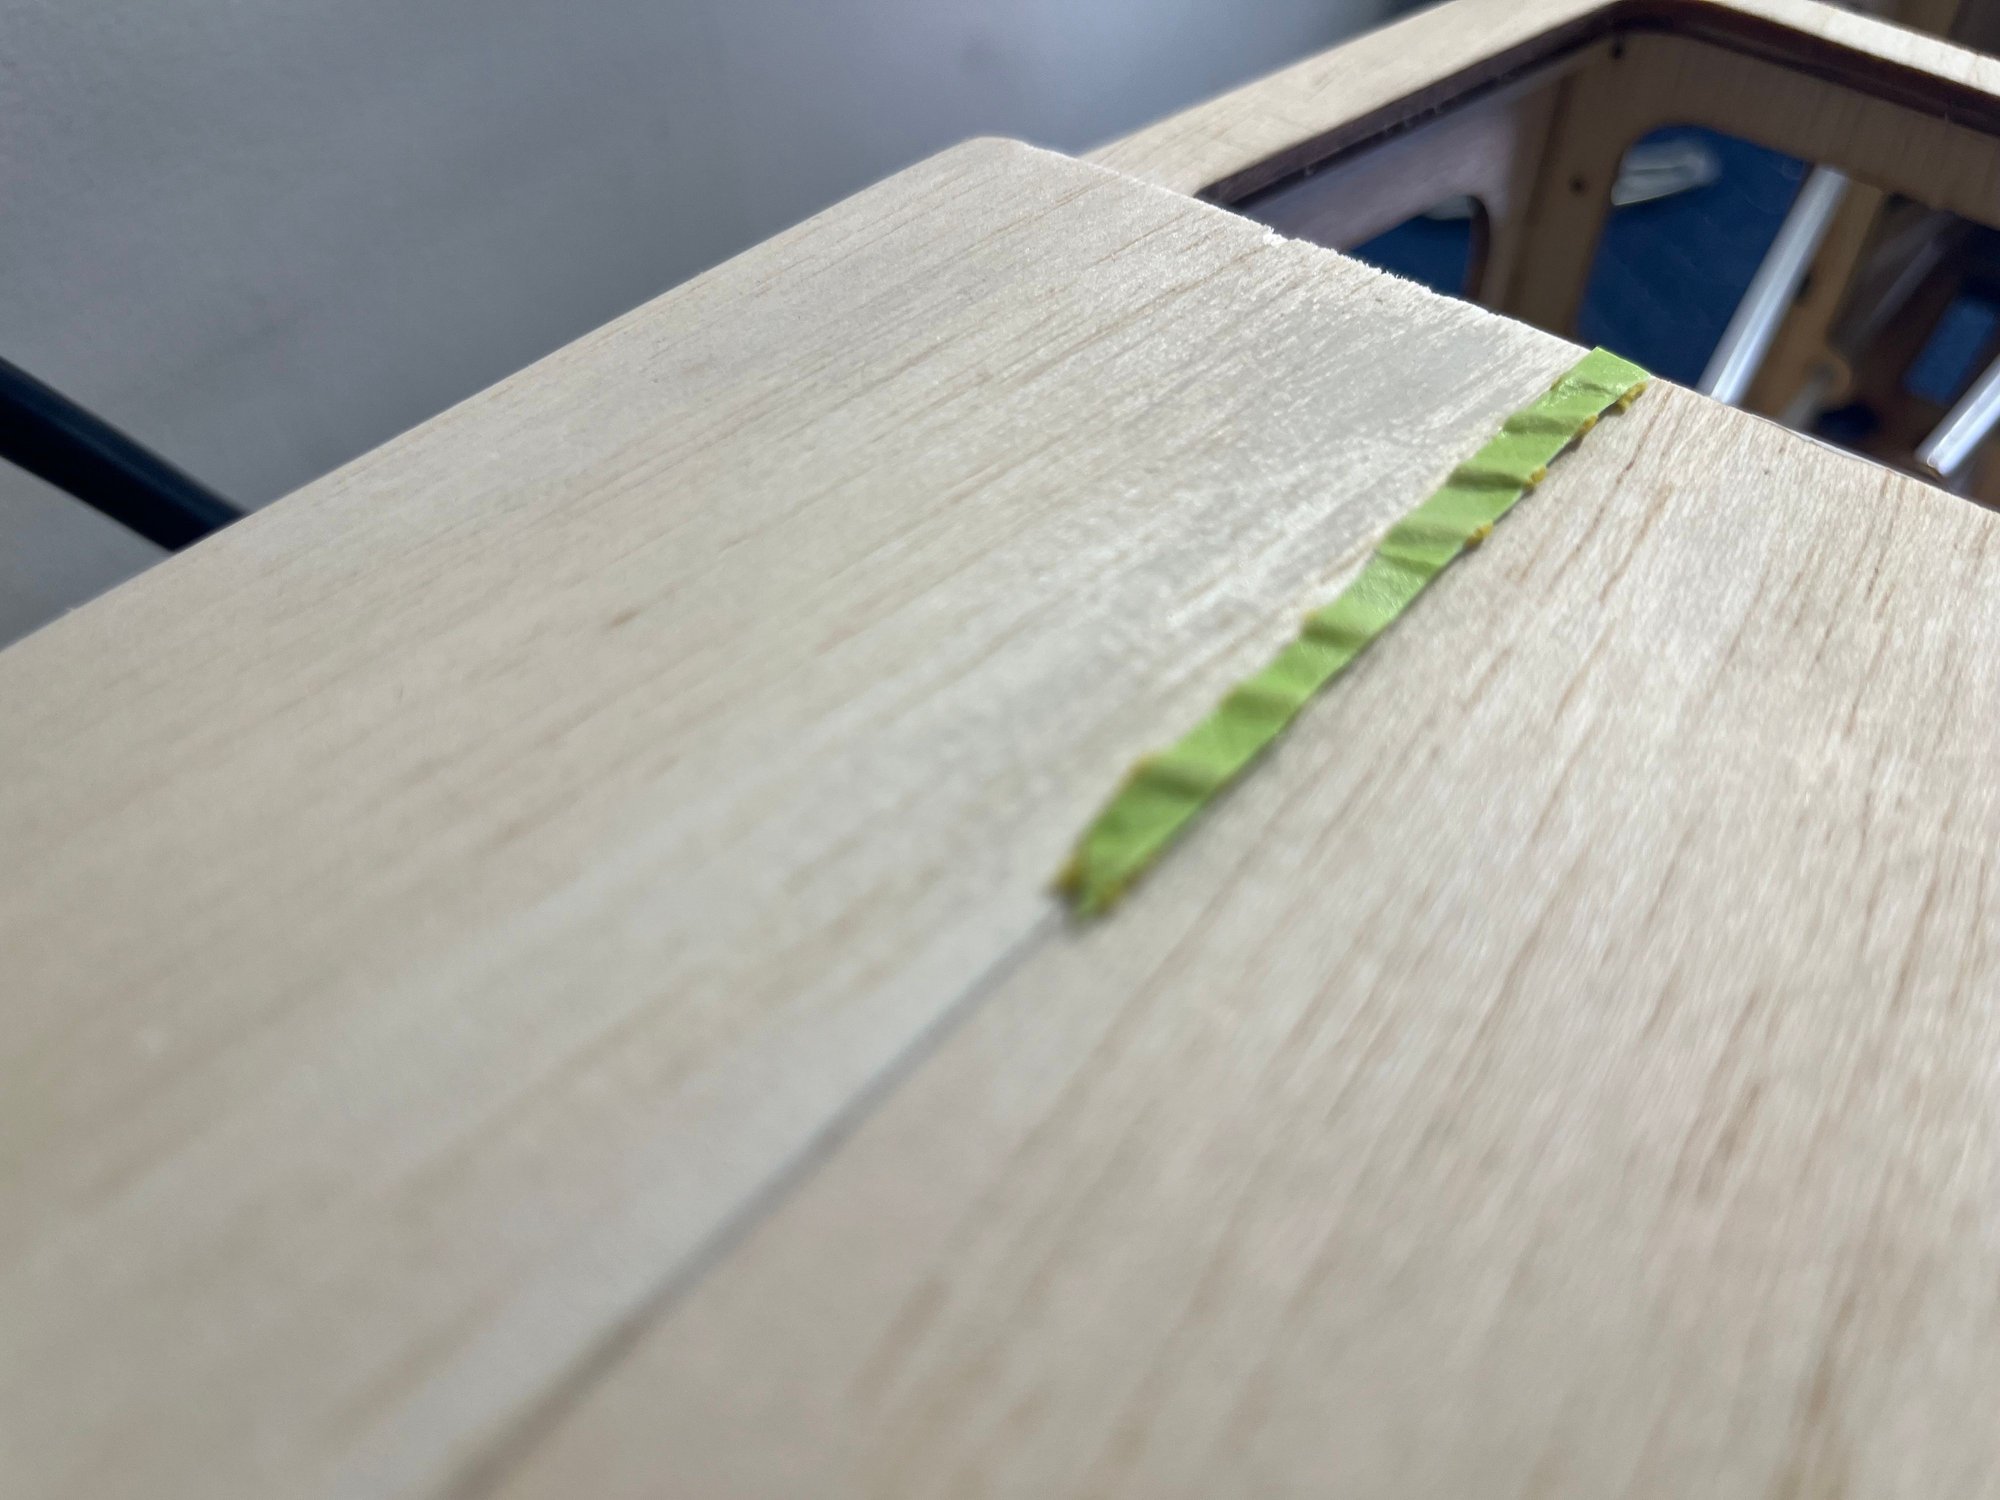
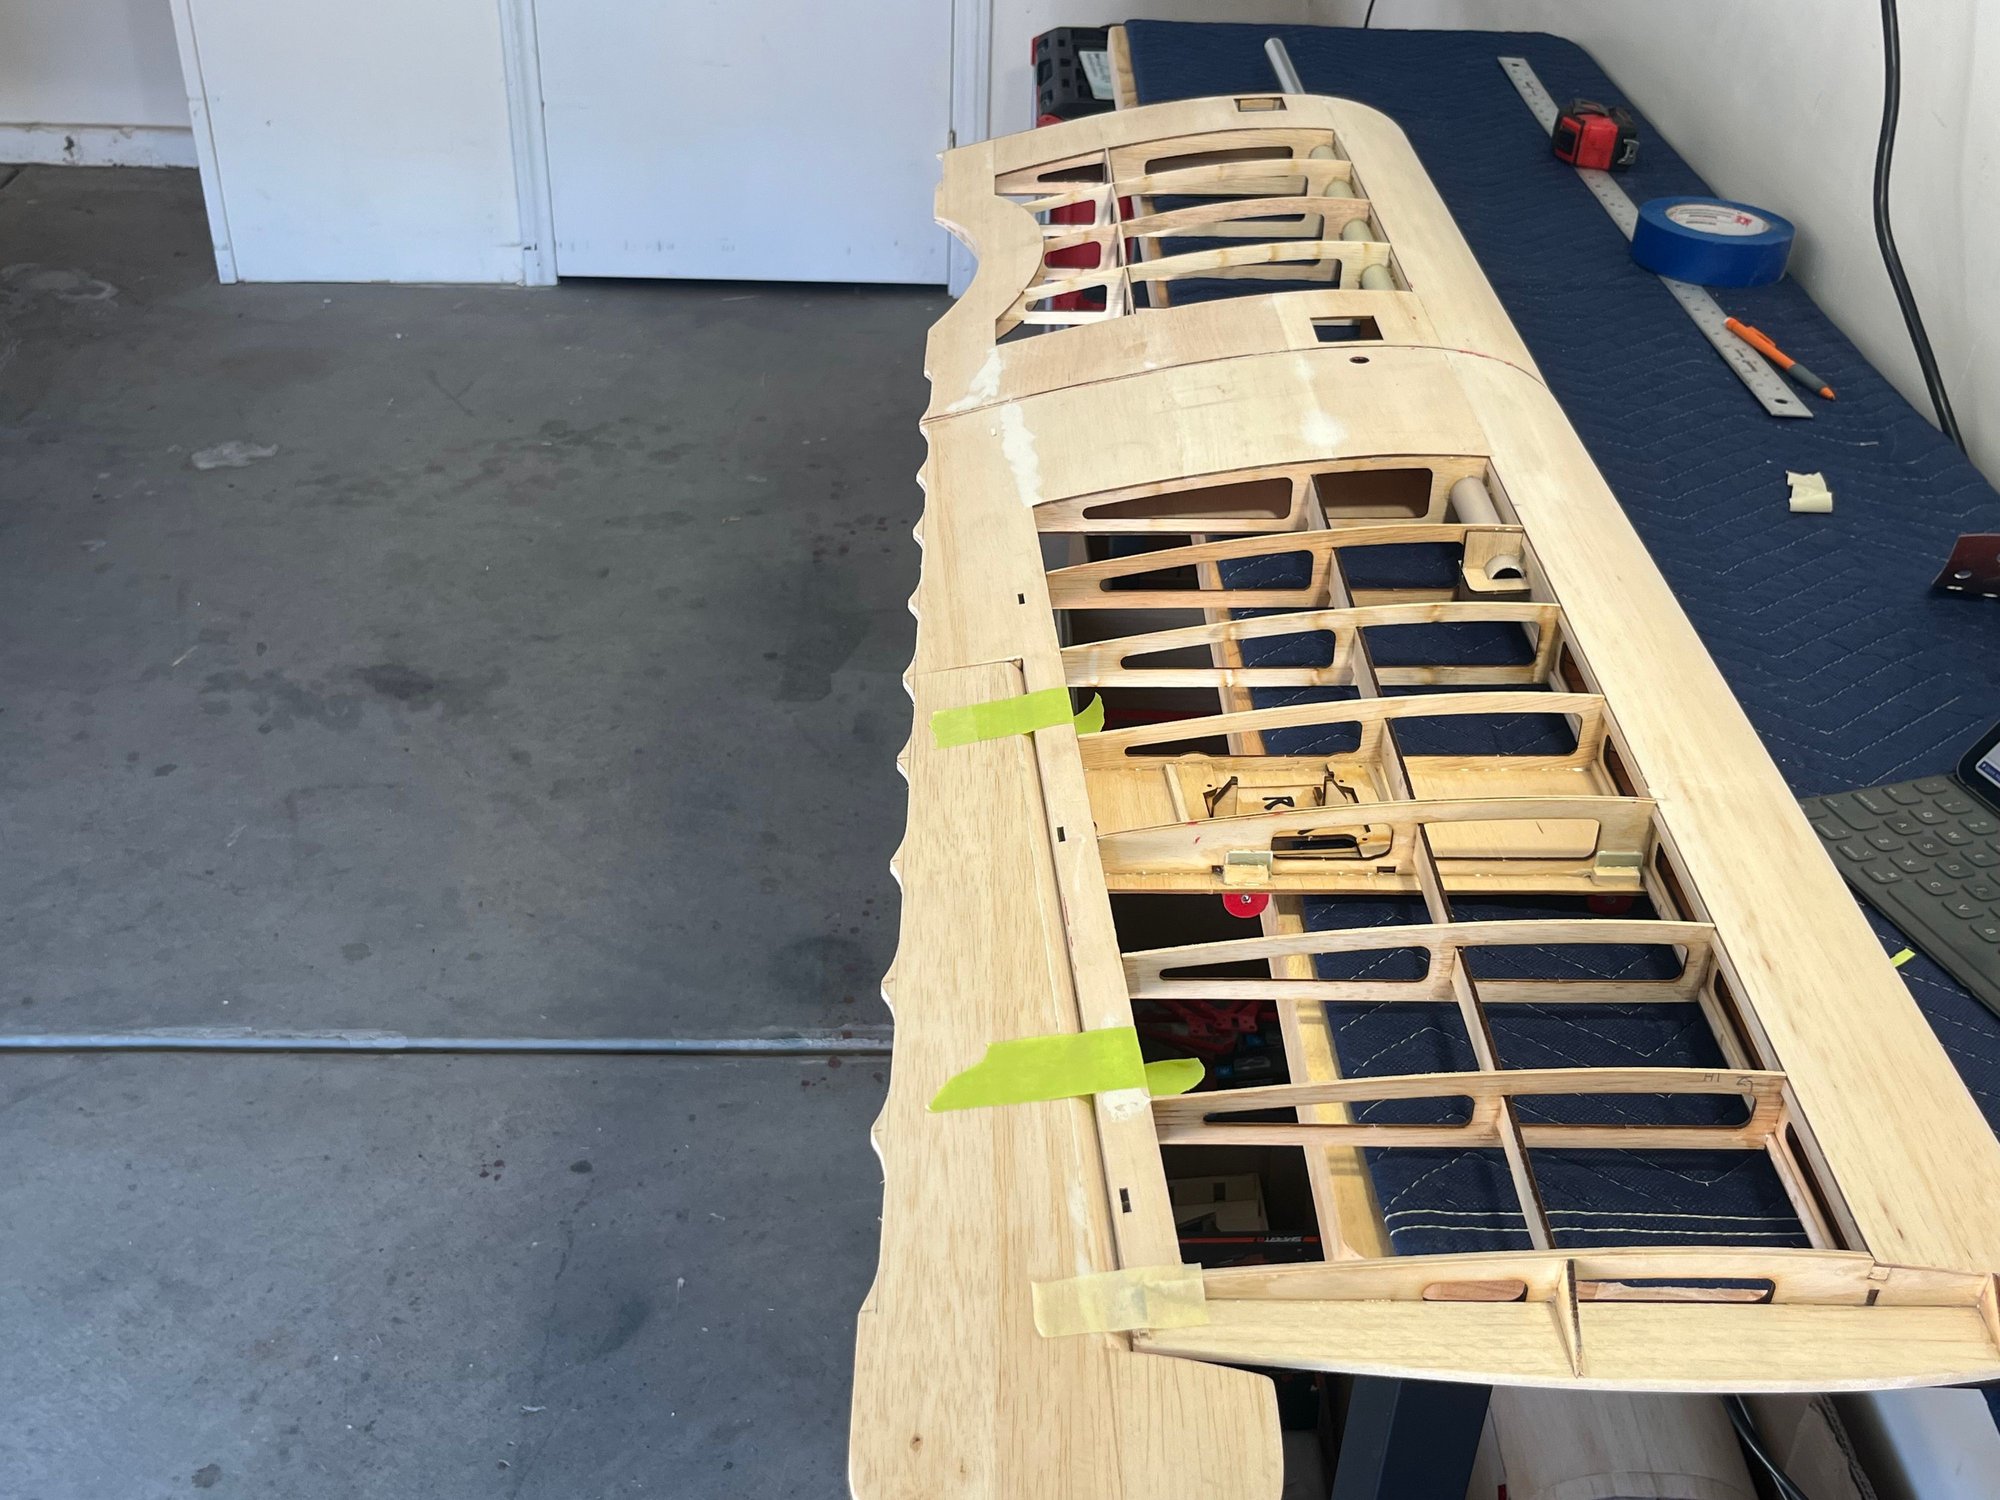
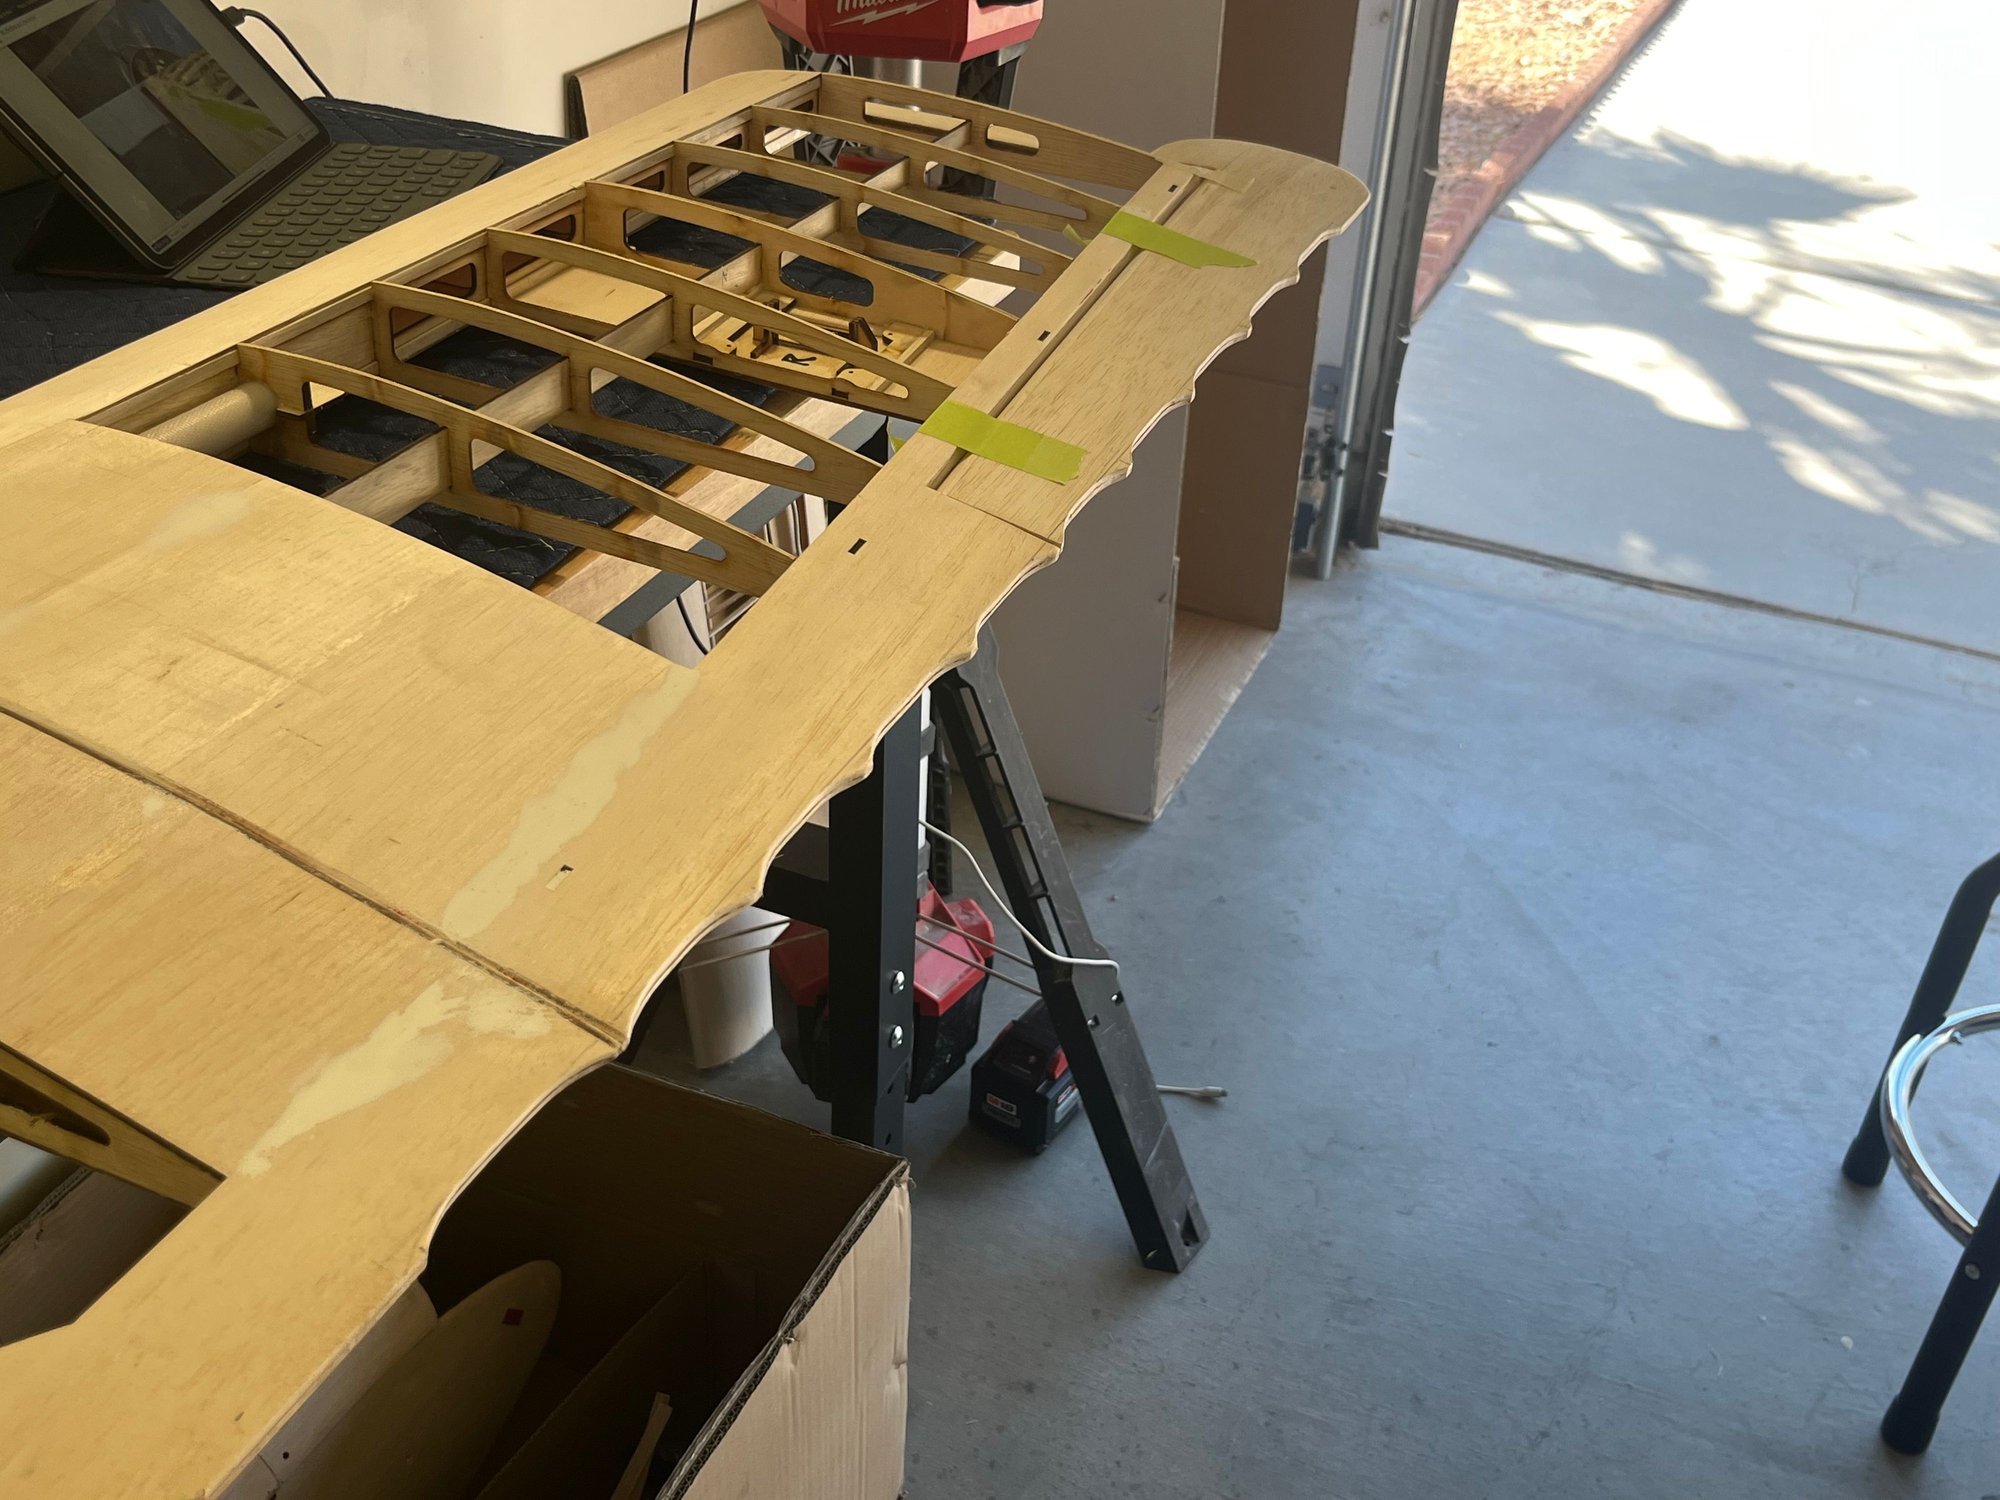
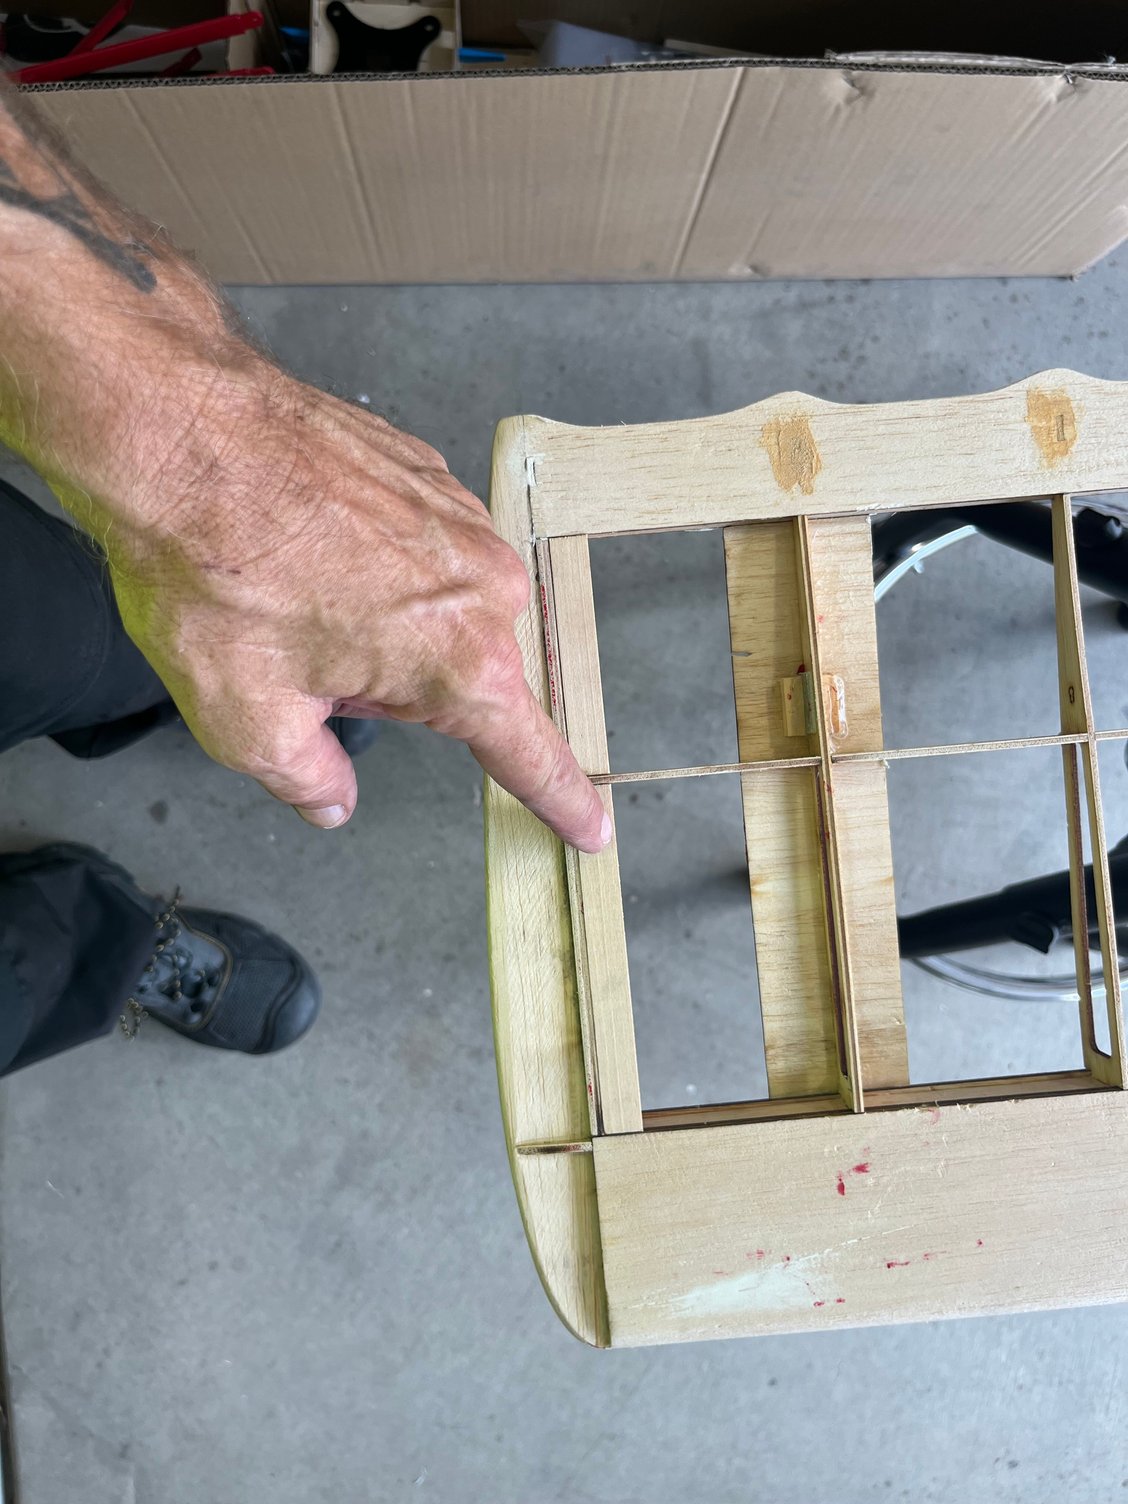
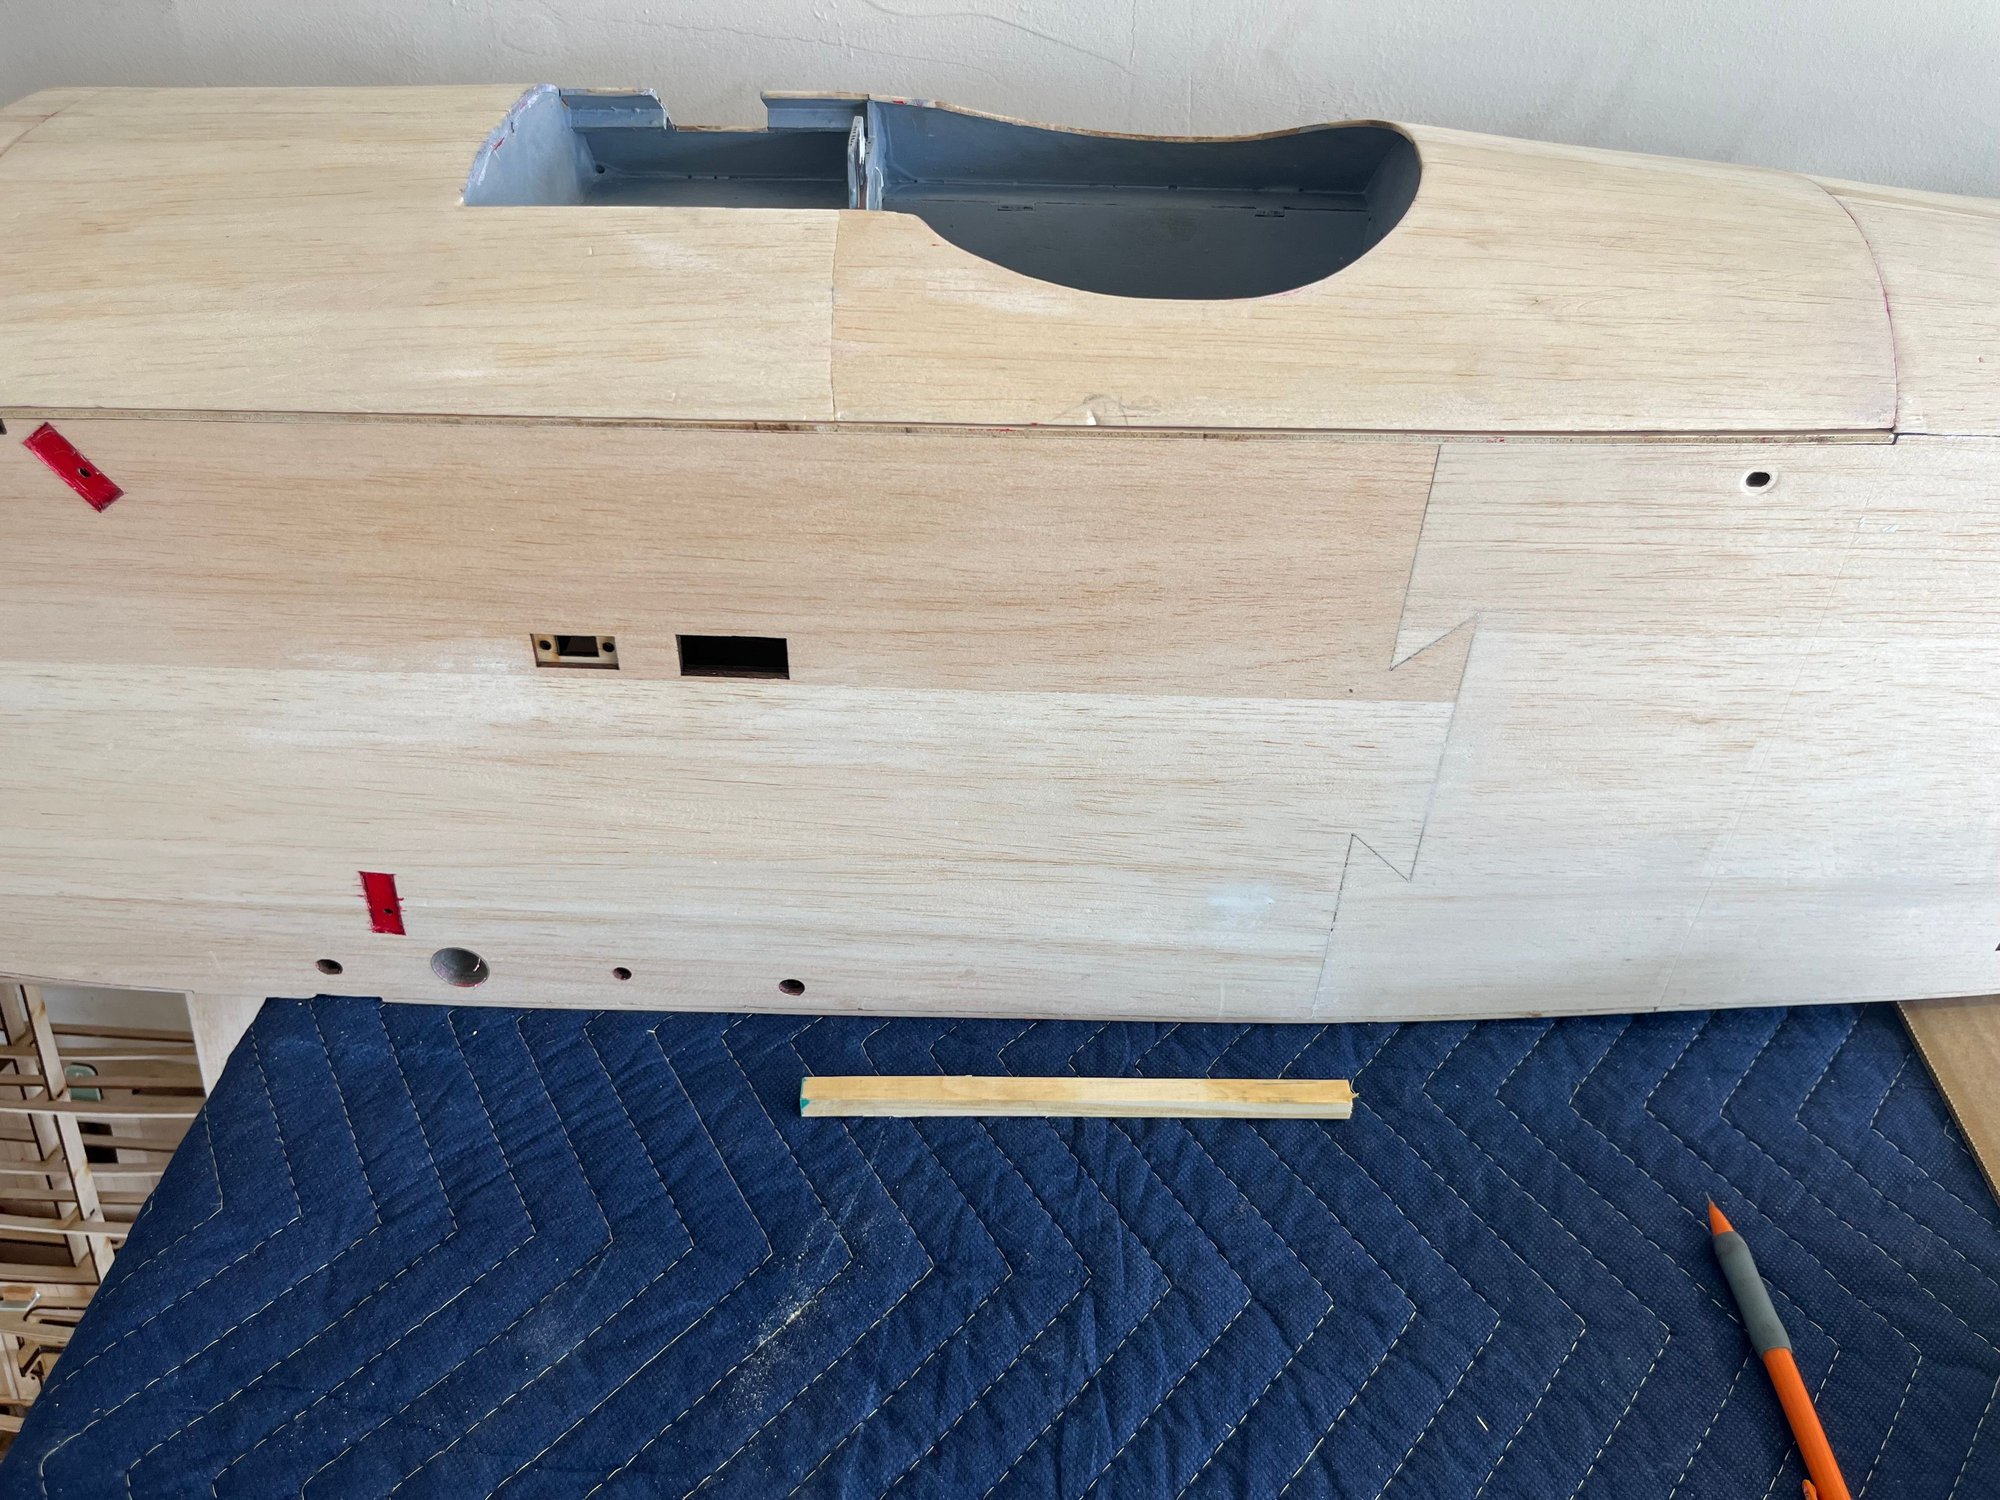
While awaiting orders for Oratex to arrive, I started laying out the scallops for the wings
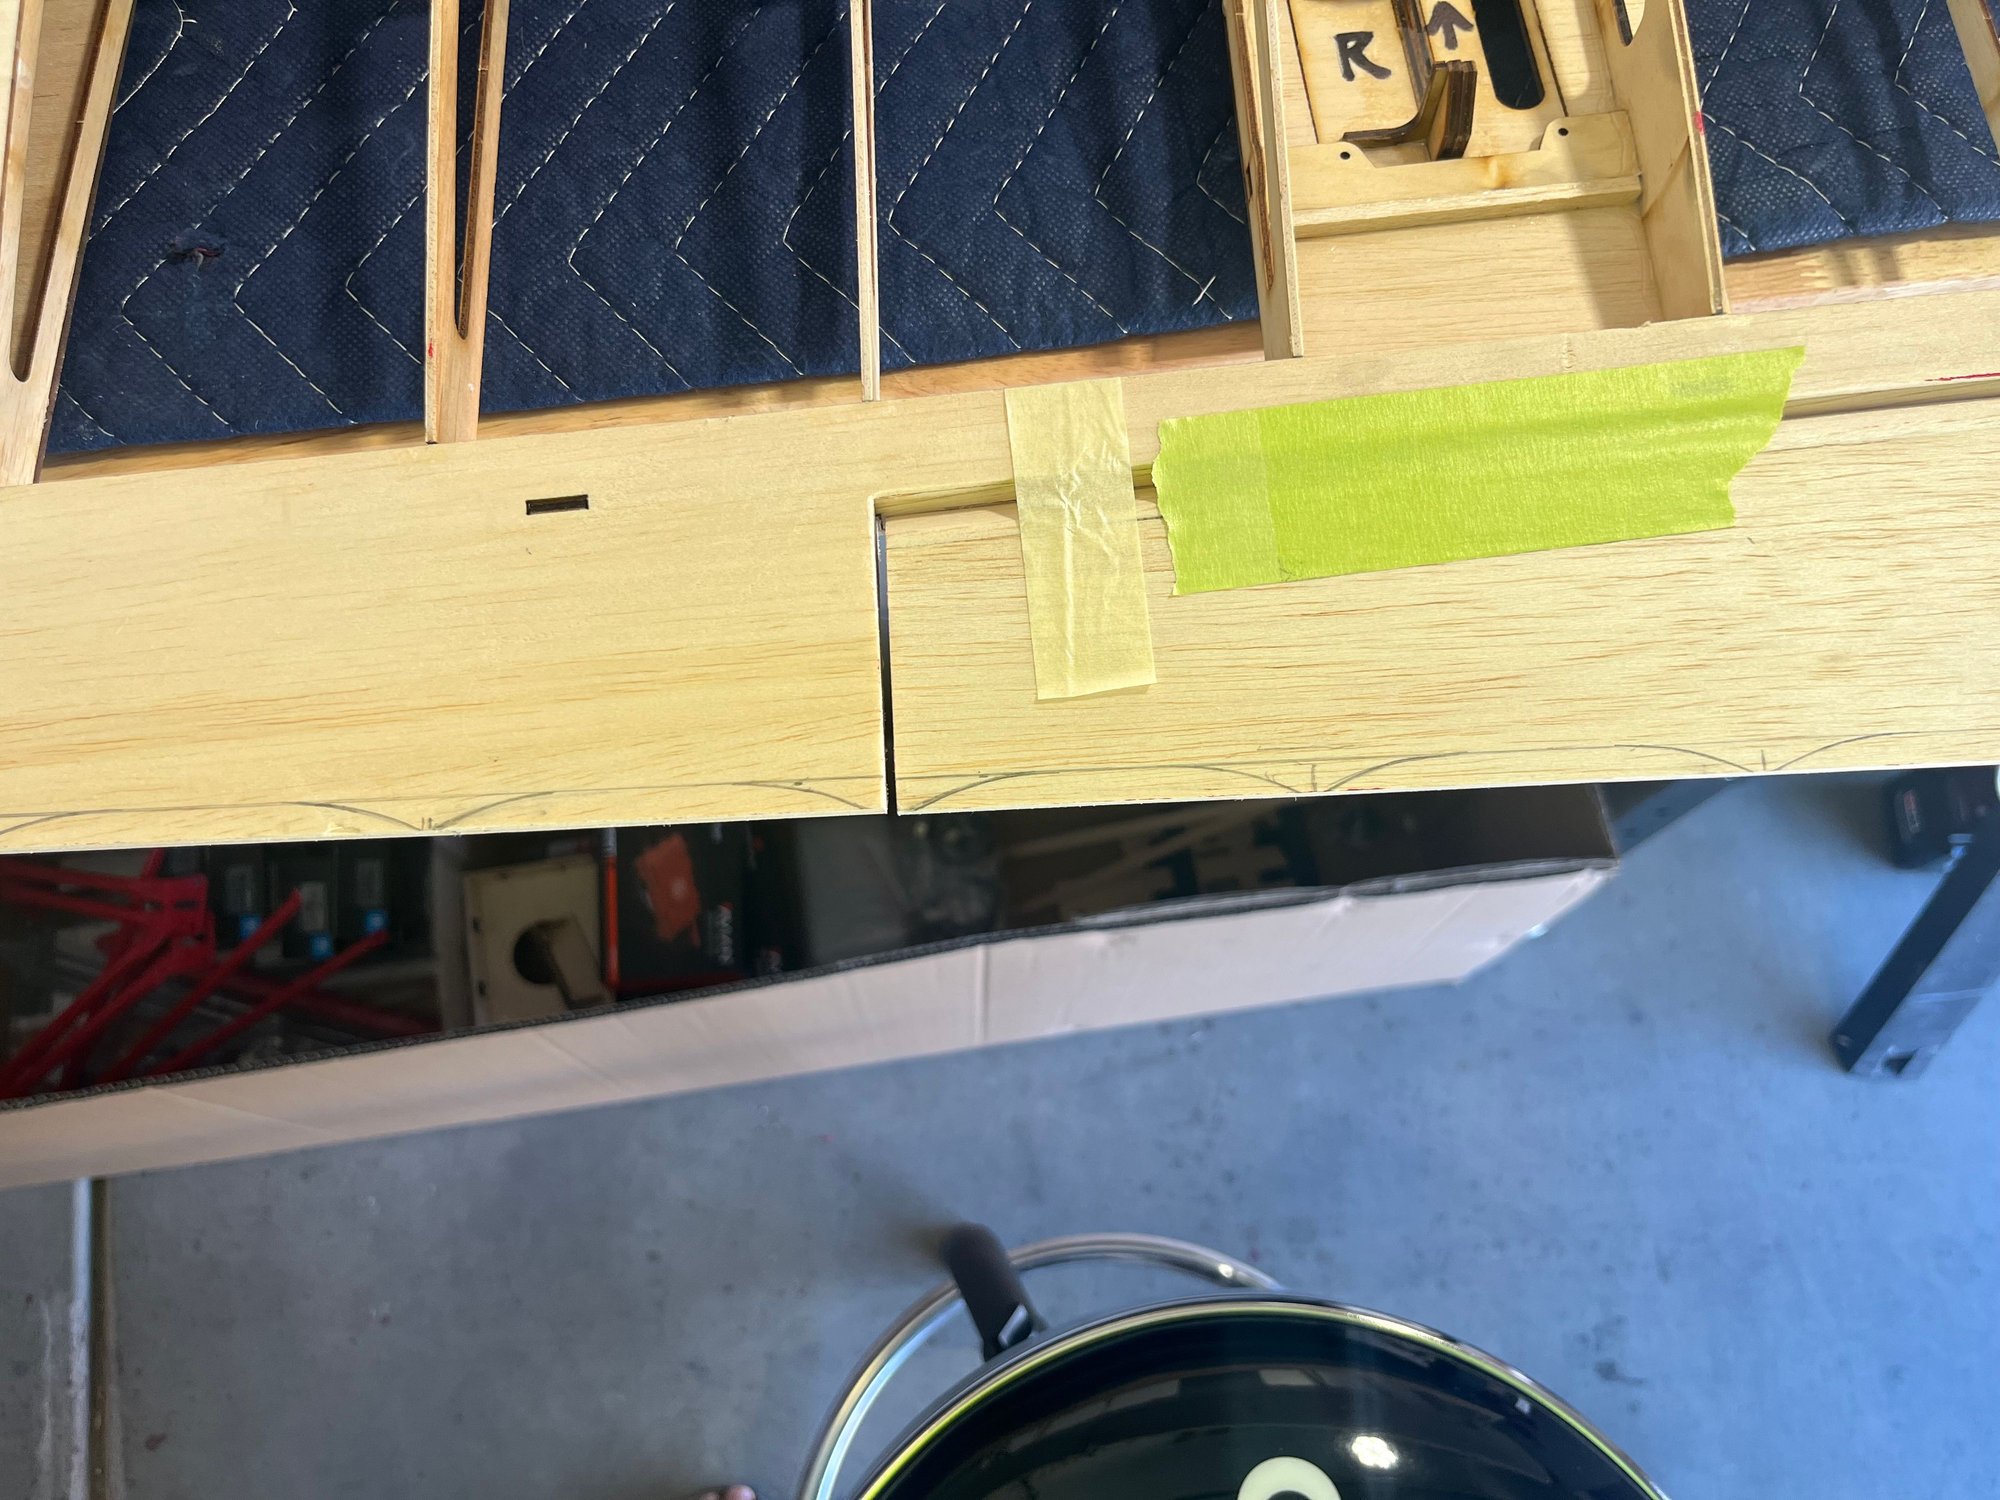
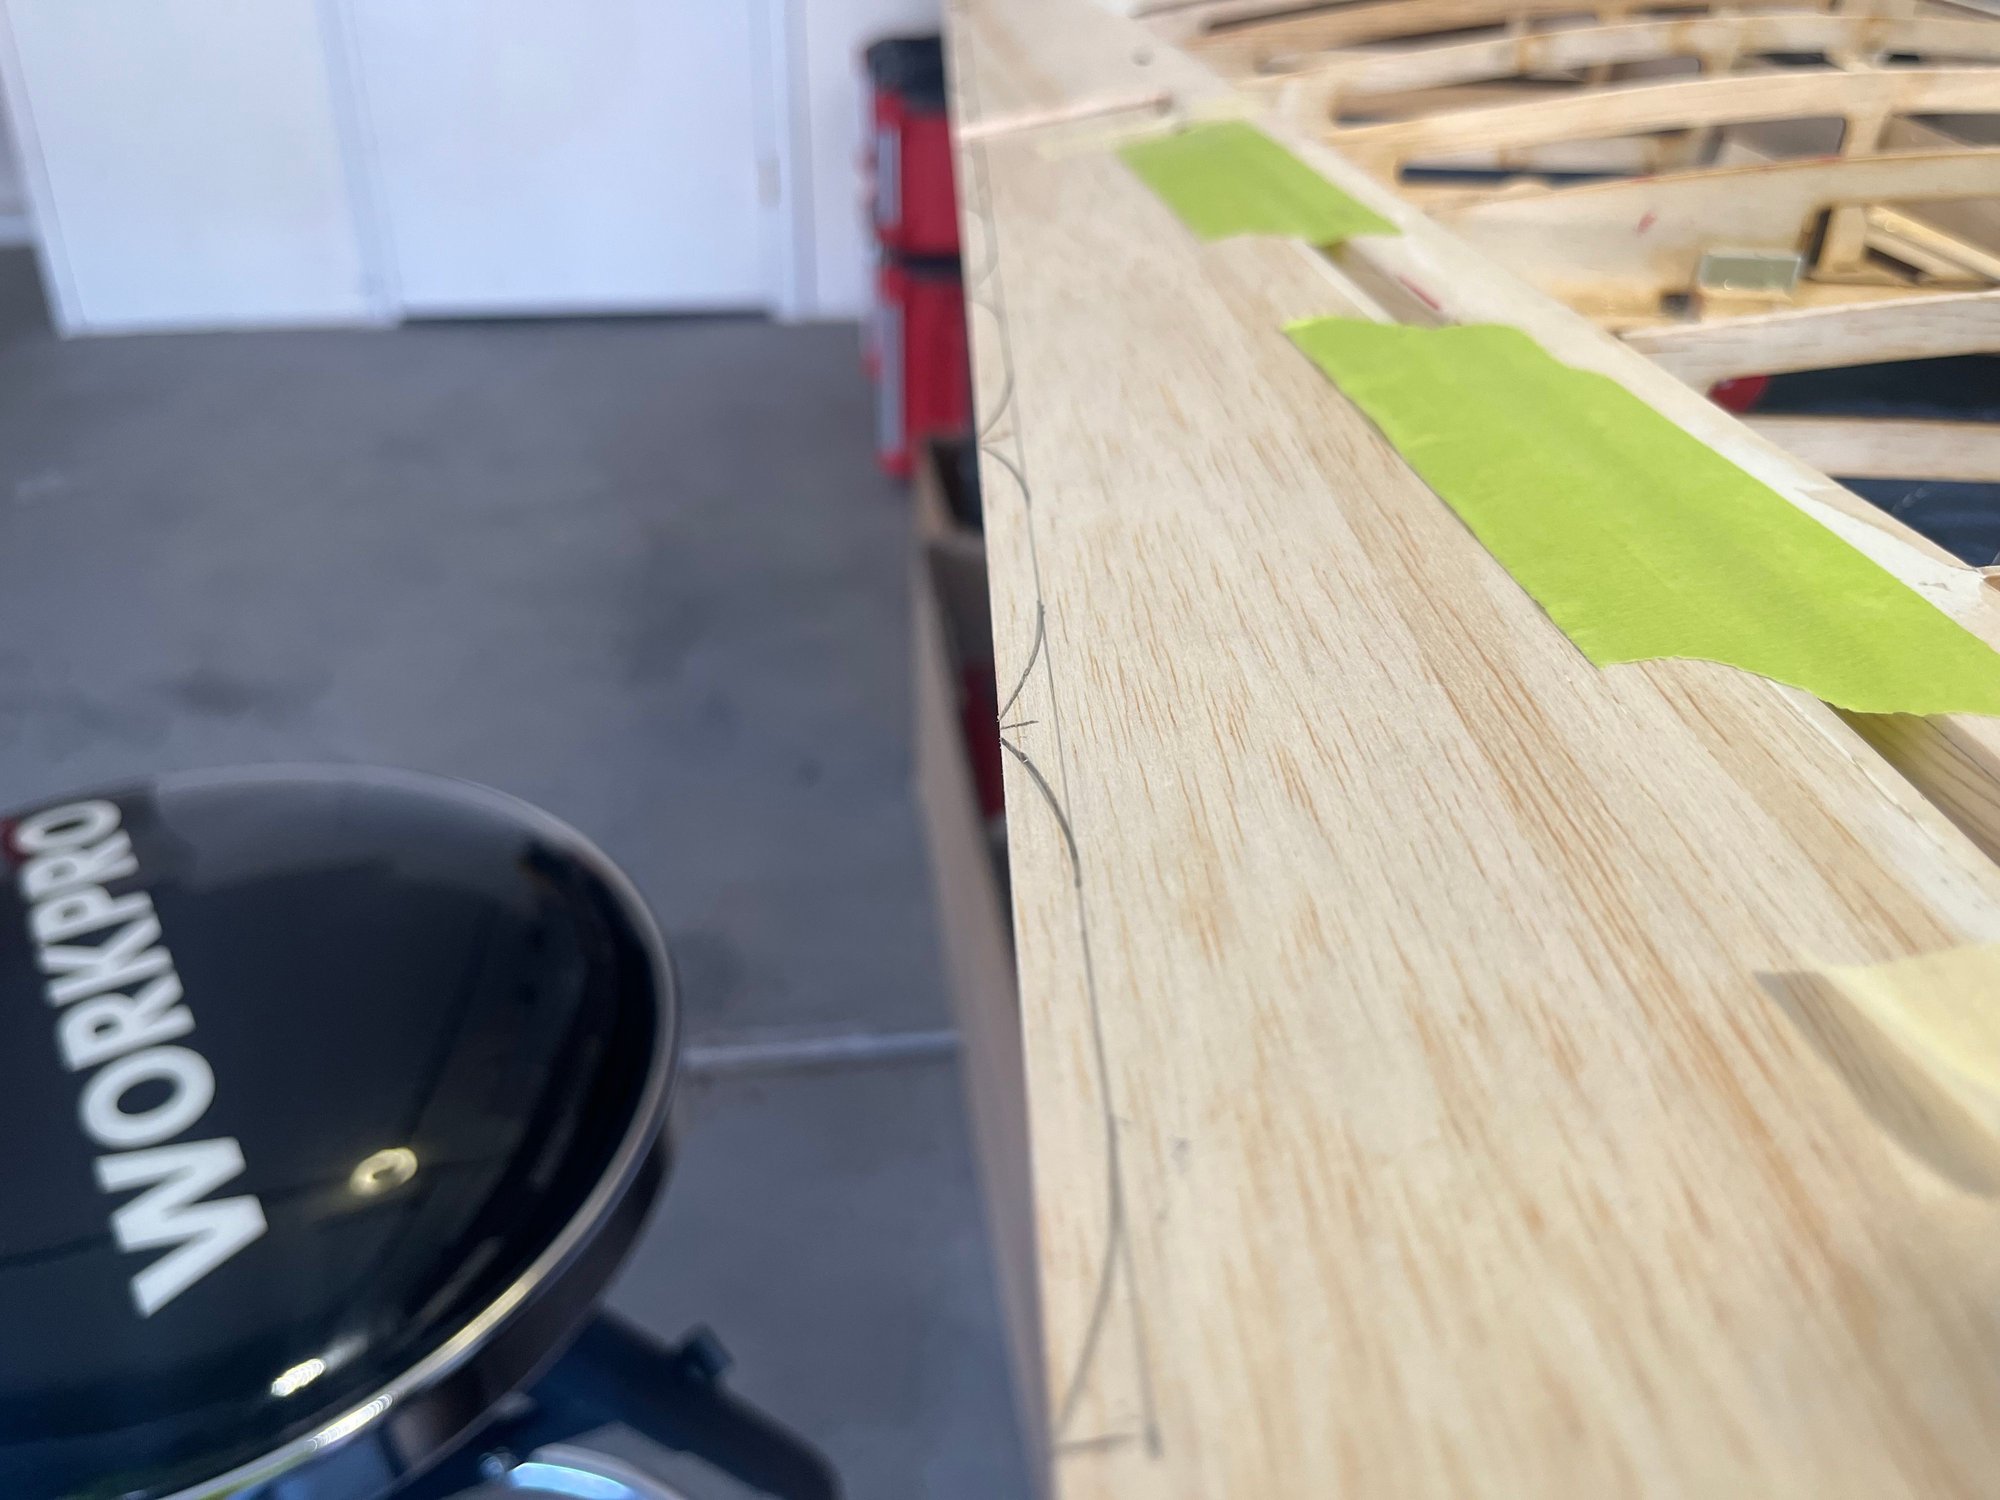
Started with a line 1/4” off trailing edge for the depth then used a new roll of tape as a guide…not perfect, but will pass for good on this ARF(didn’t want to cut more than a 1/4” deep)
I will stiffen up the trailing edge and “points” with thin CA before covering, if needed small strips of 1/64 ply can be used as cap strips for the trailing edge
Last edited by glazier808; 10-14-2024 at 10:47 AM.
 10-16-2024, 12:57 PM
#13
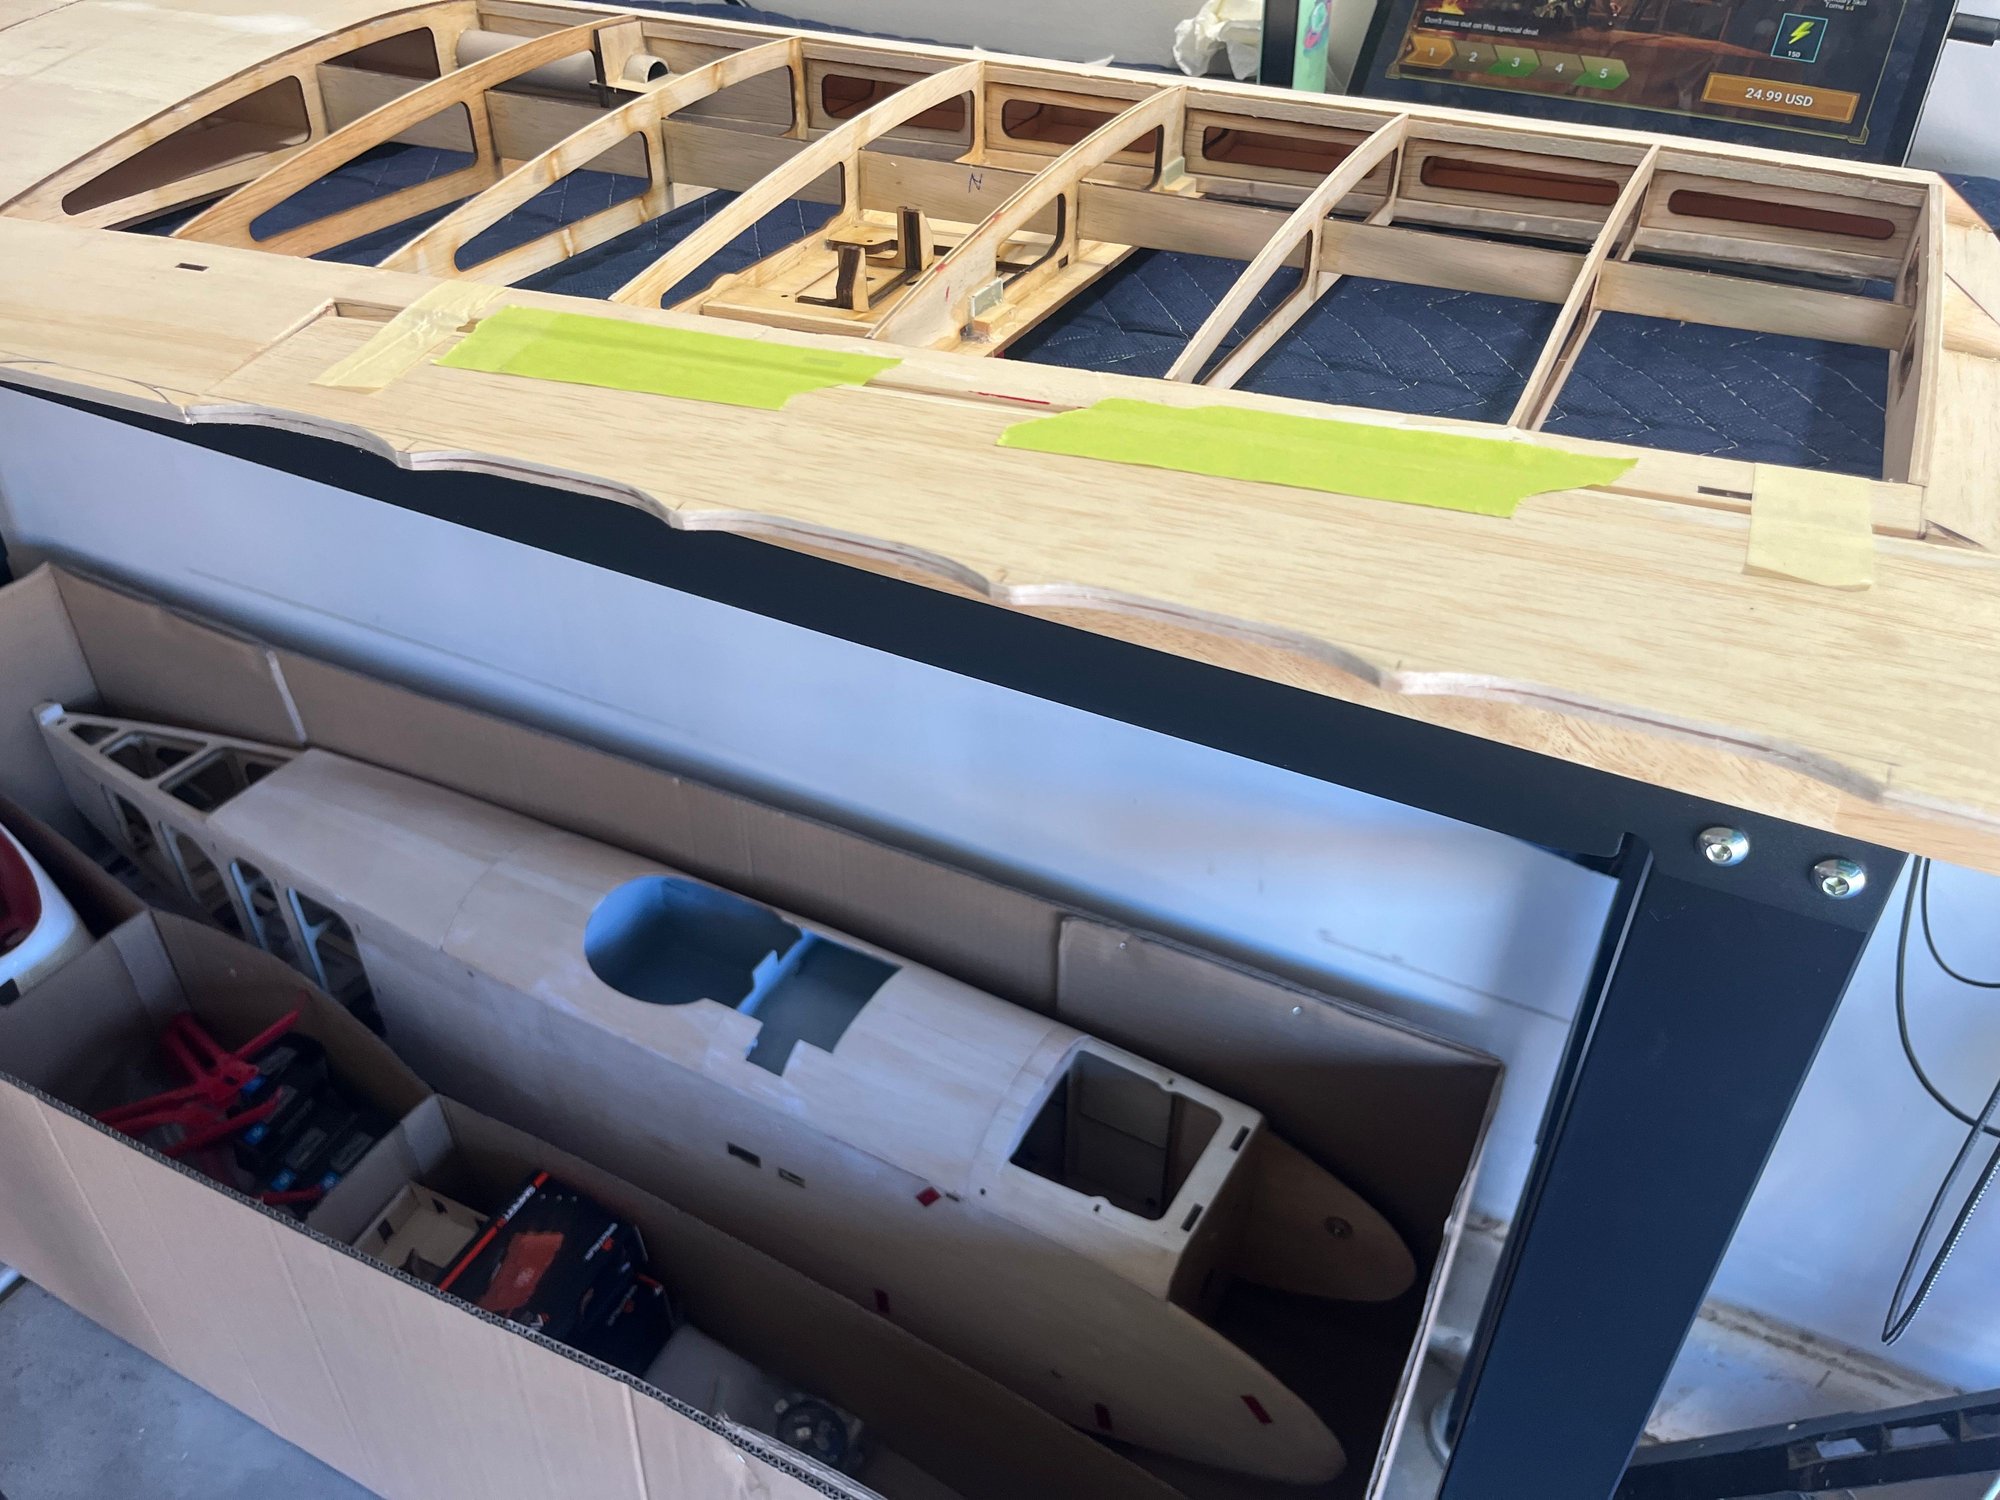
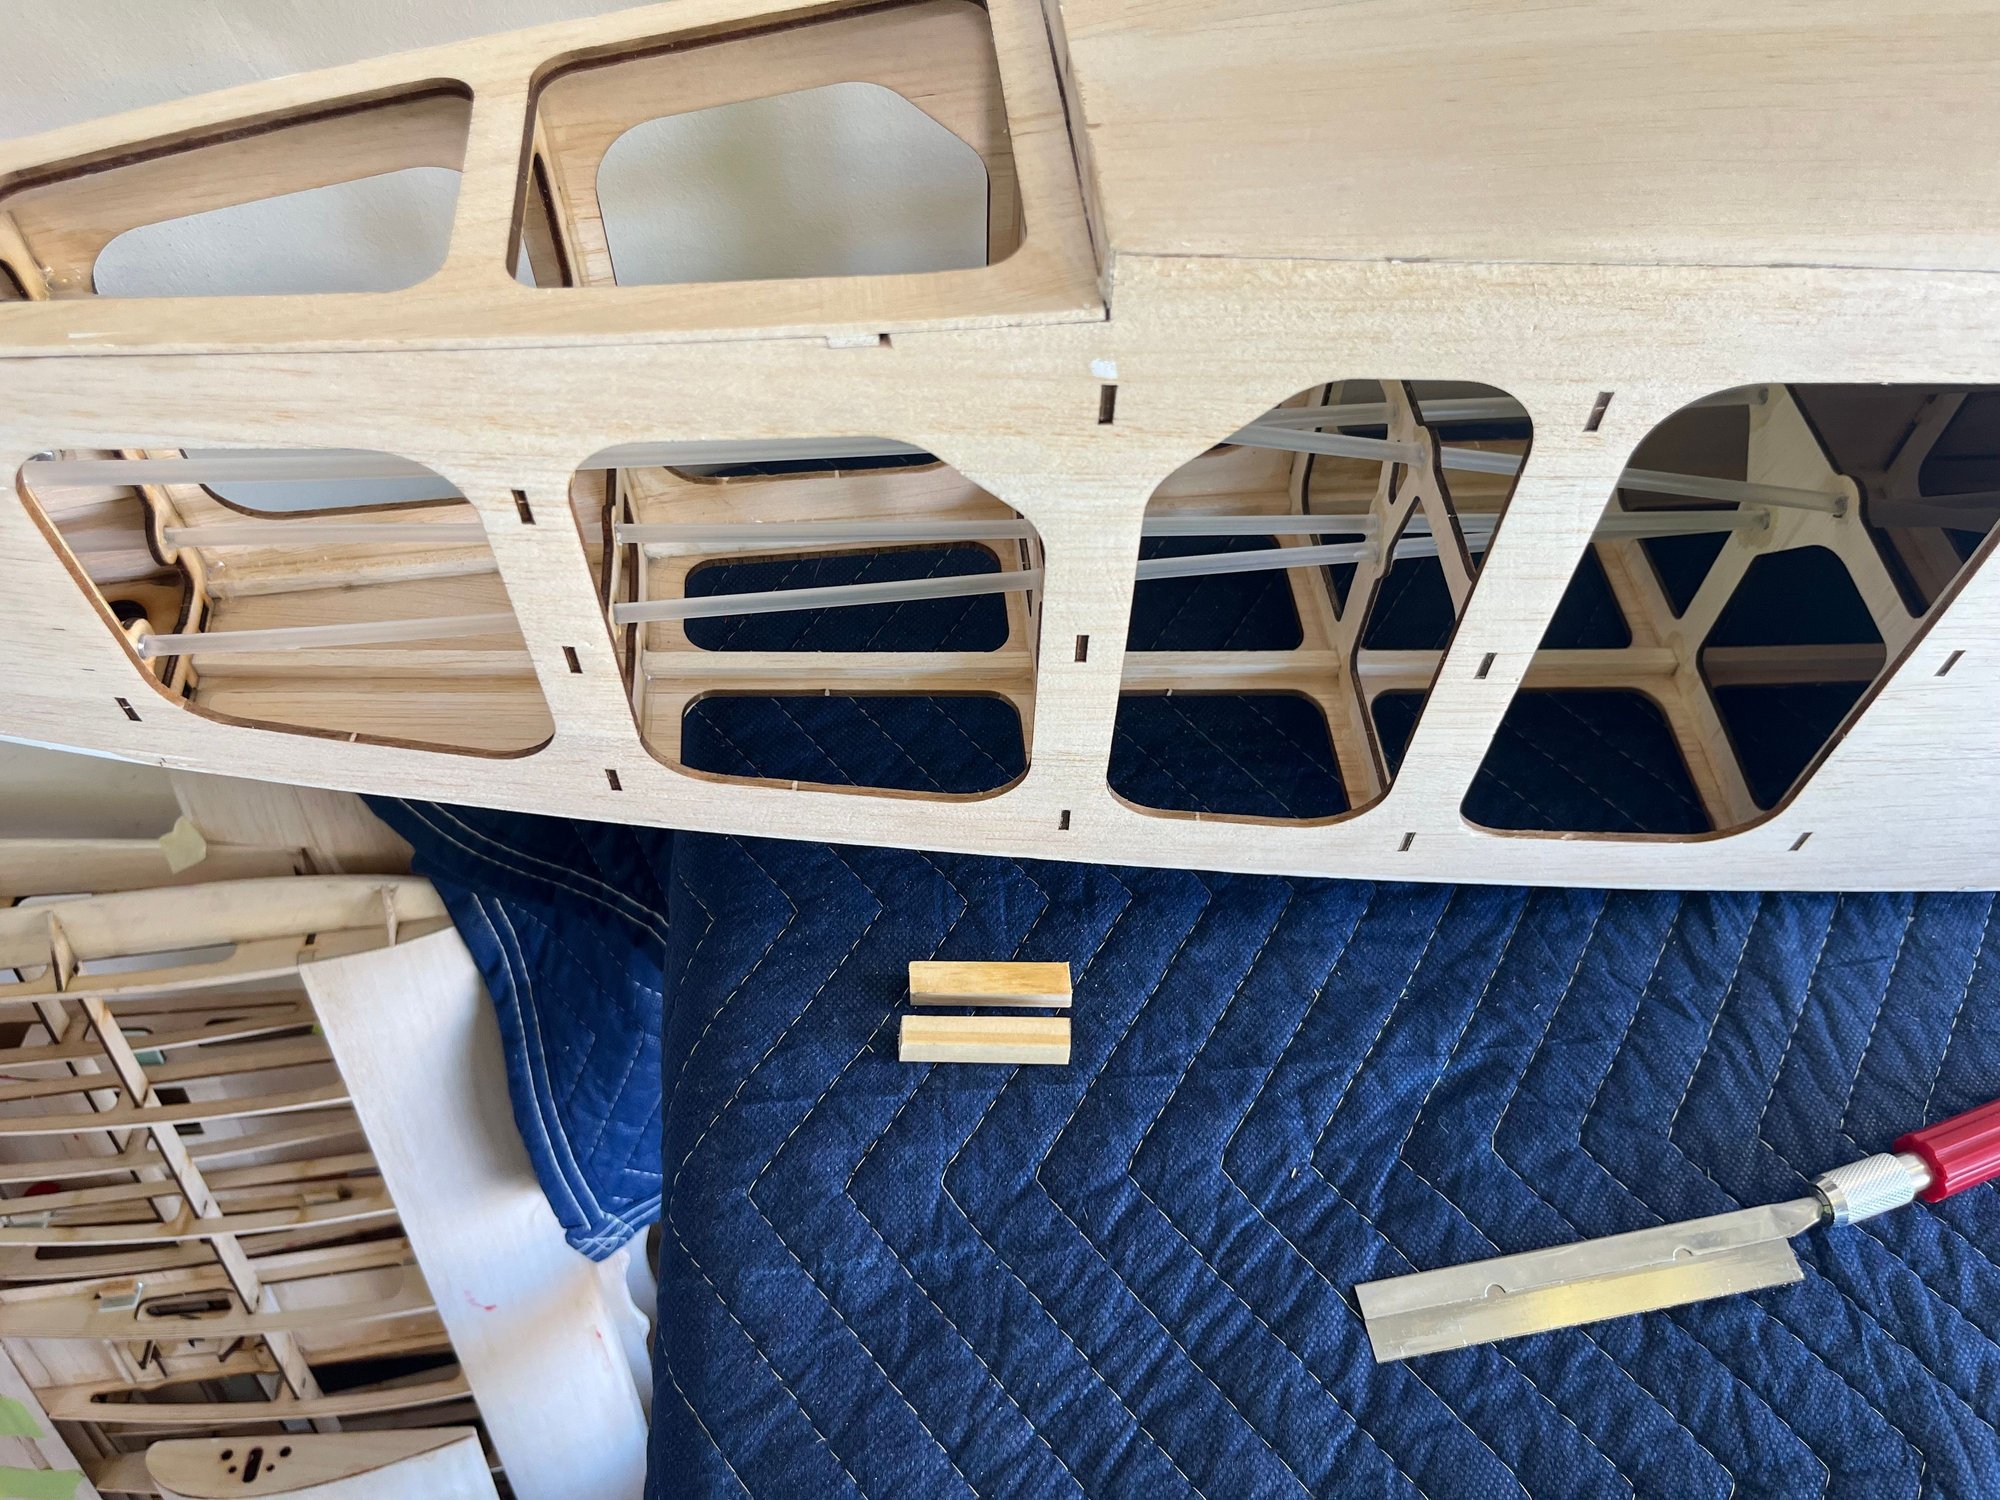
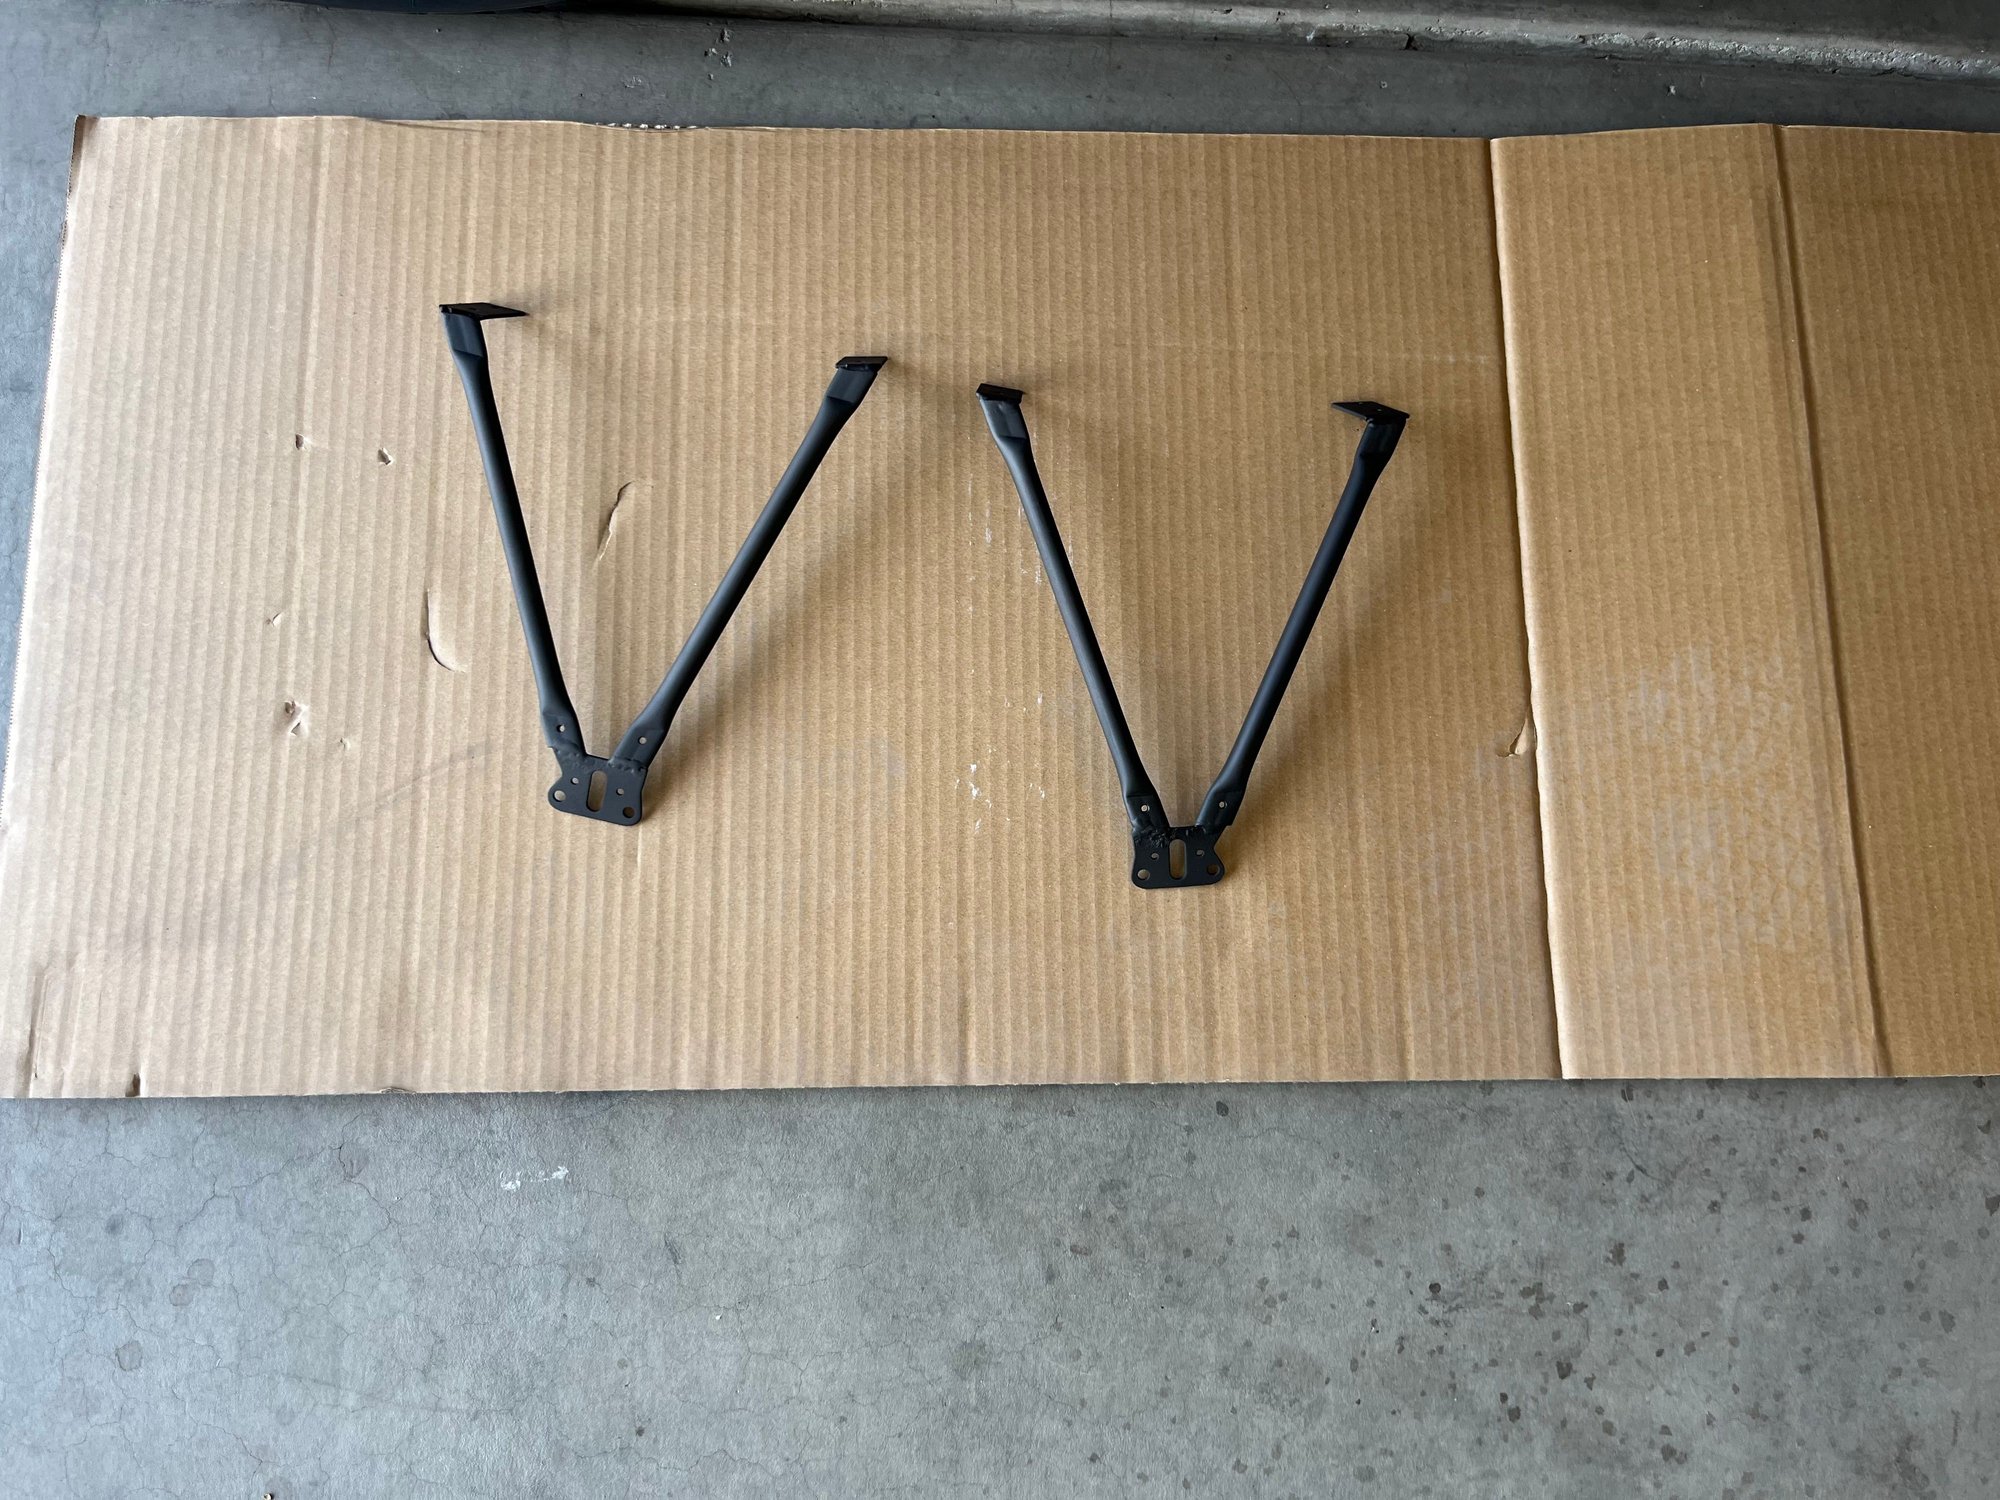
So I’m adding some hardwood on the back of the inside of the fuse where the hand holds were….these were used by ground crew when moving the plane. One man on either side could pick up the plane and pull/push.
I hope to be able to use as a tie down if needed…
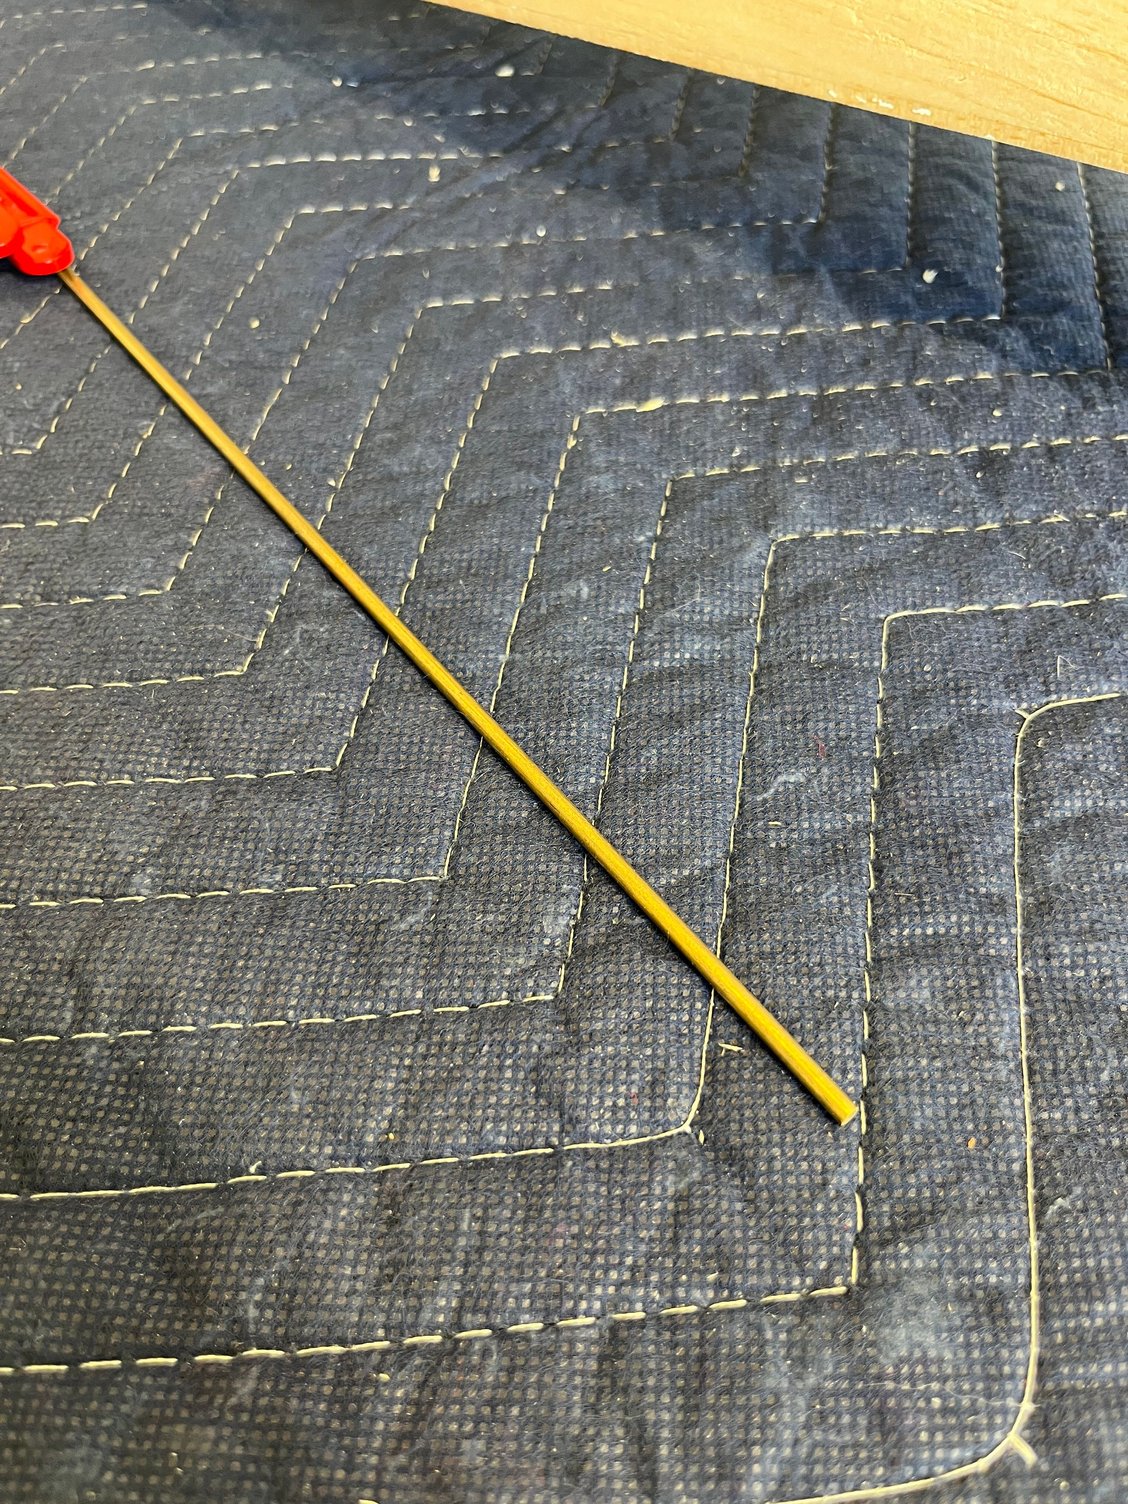
Sourced some “brass” rod from ACE hardware as well as some aluminum sheets(more on that later)the rods will be bent and epoxied into the hardwood for both of the handholds and step for cockpit.
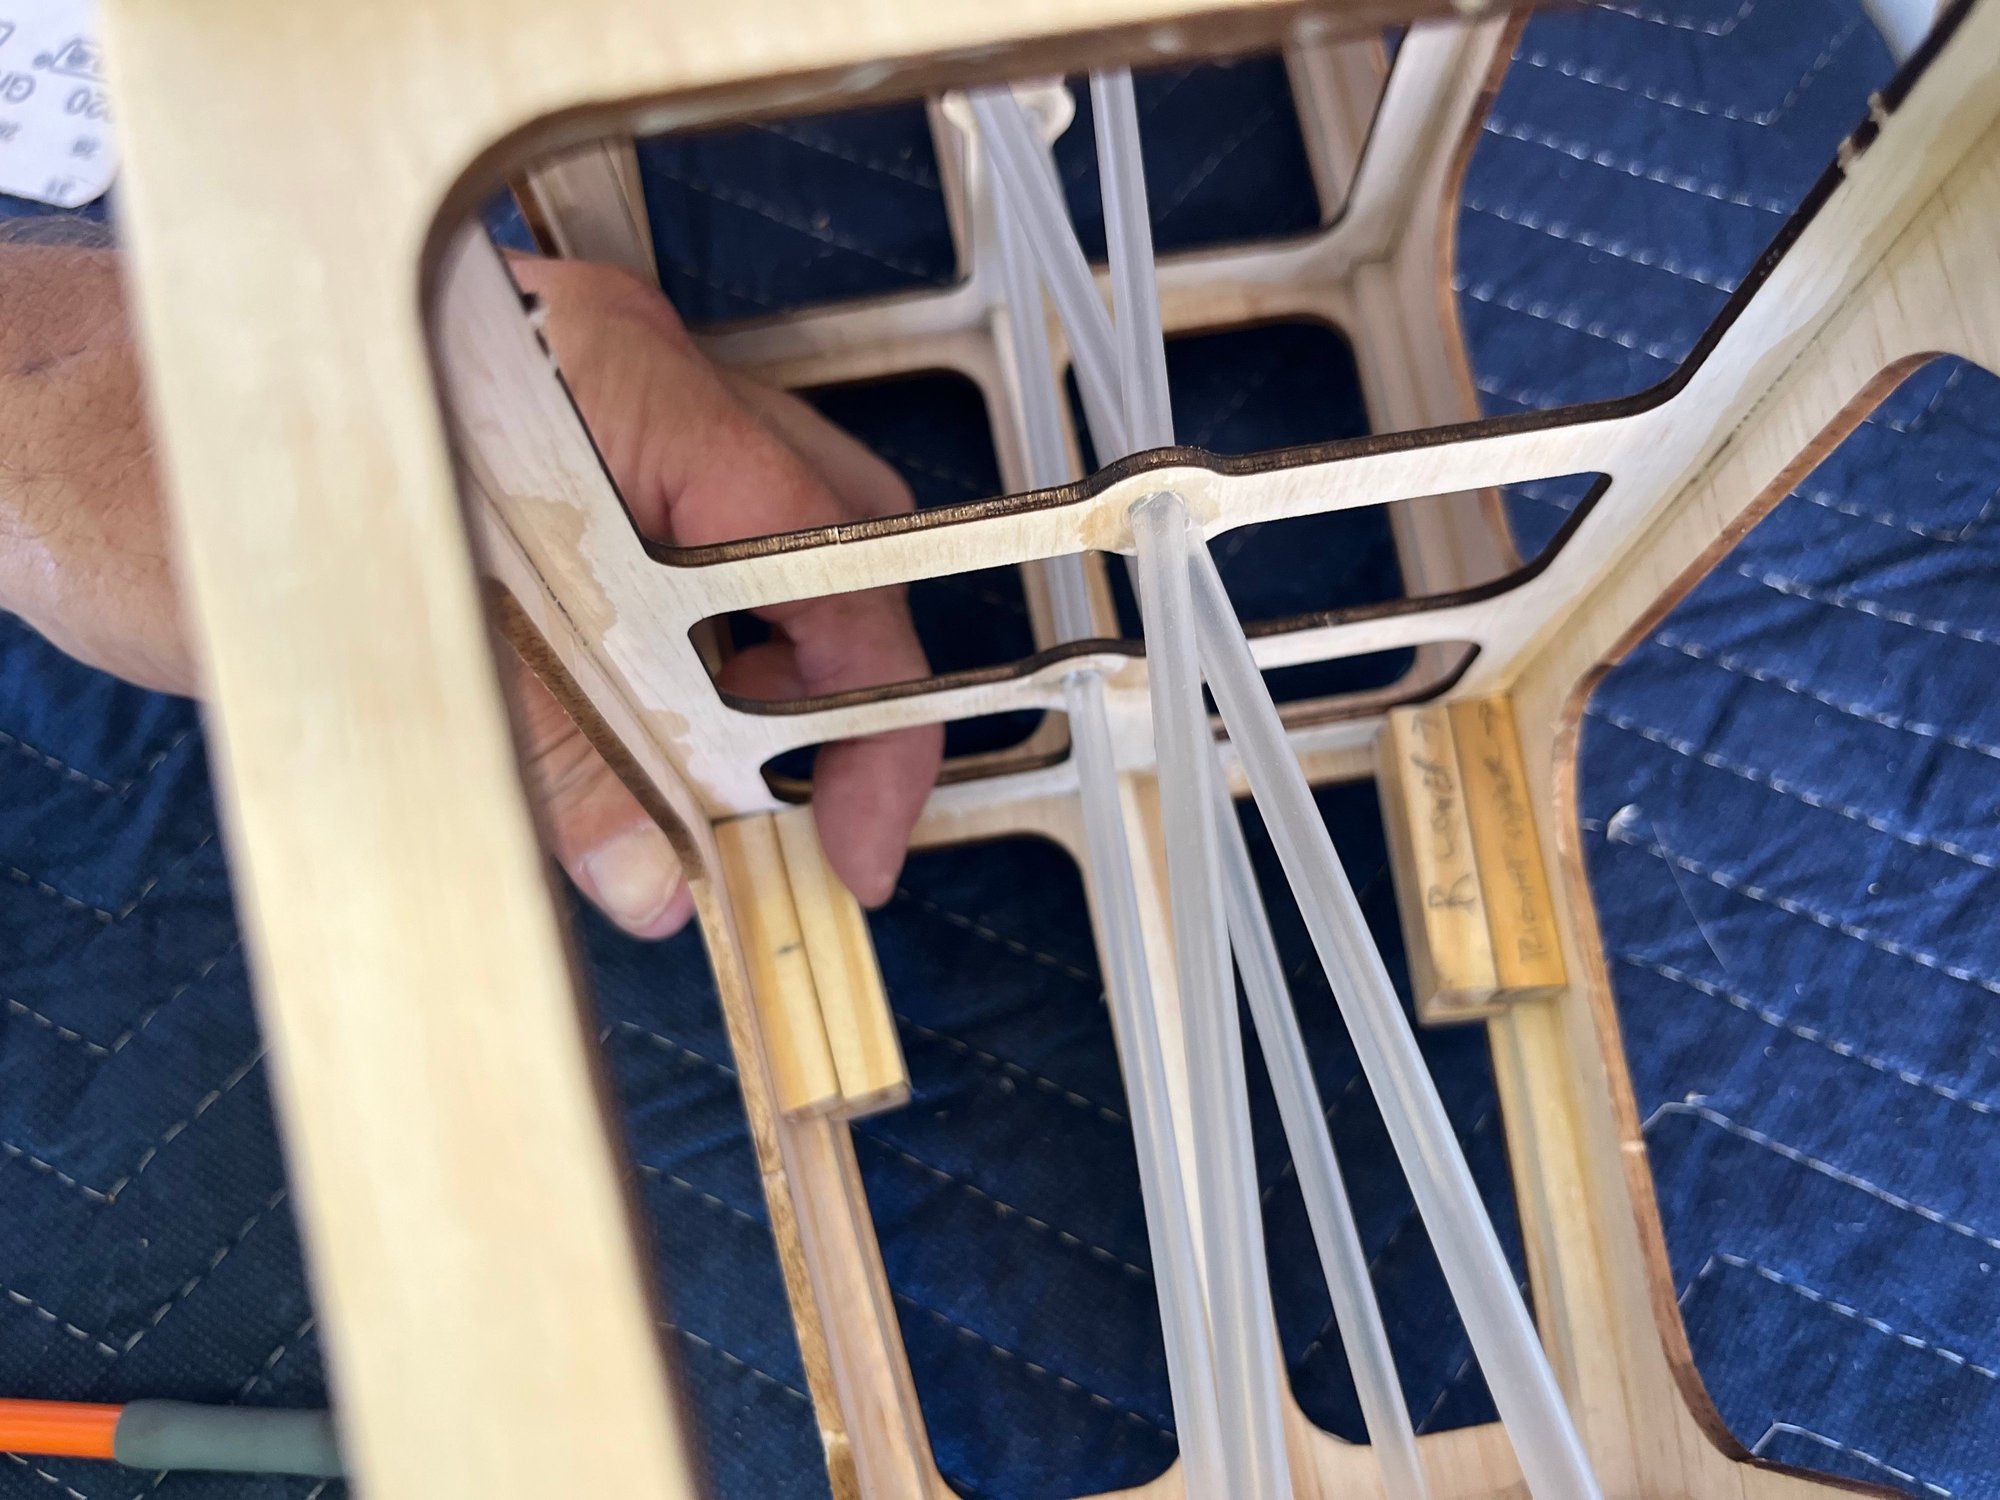
first picture, you can see basically where they’re going to be in the fuselage
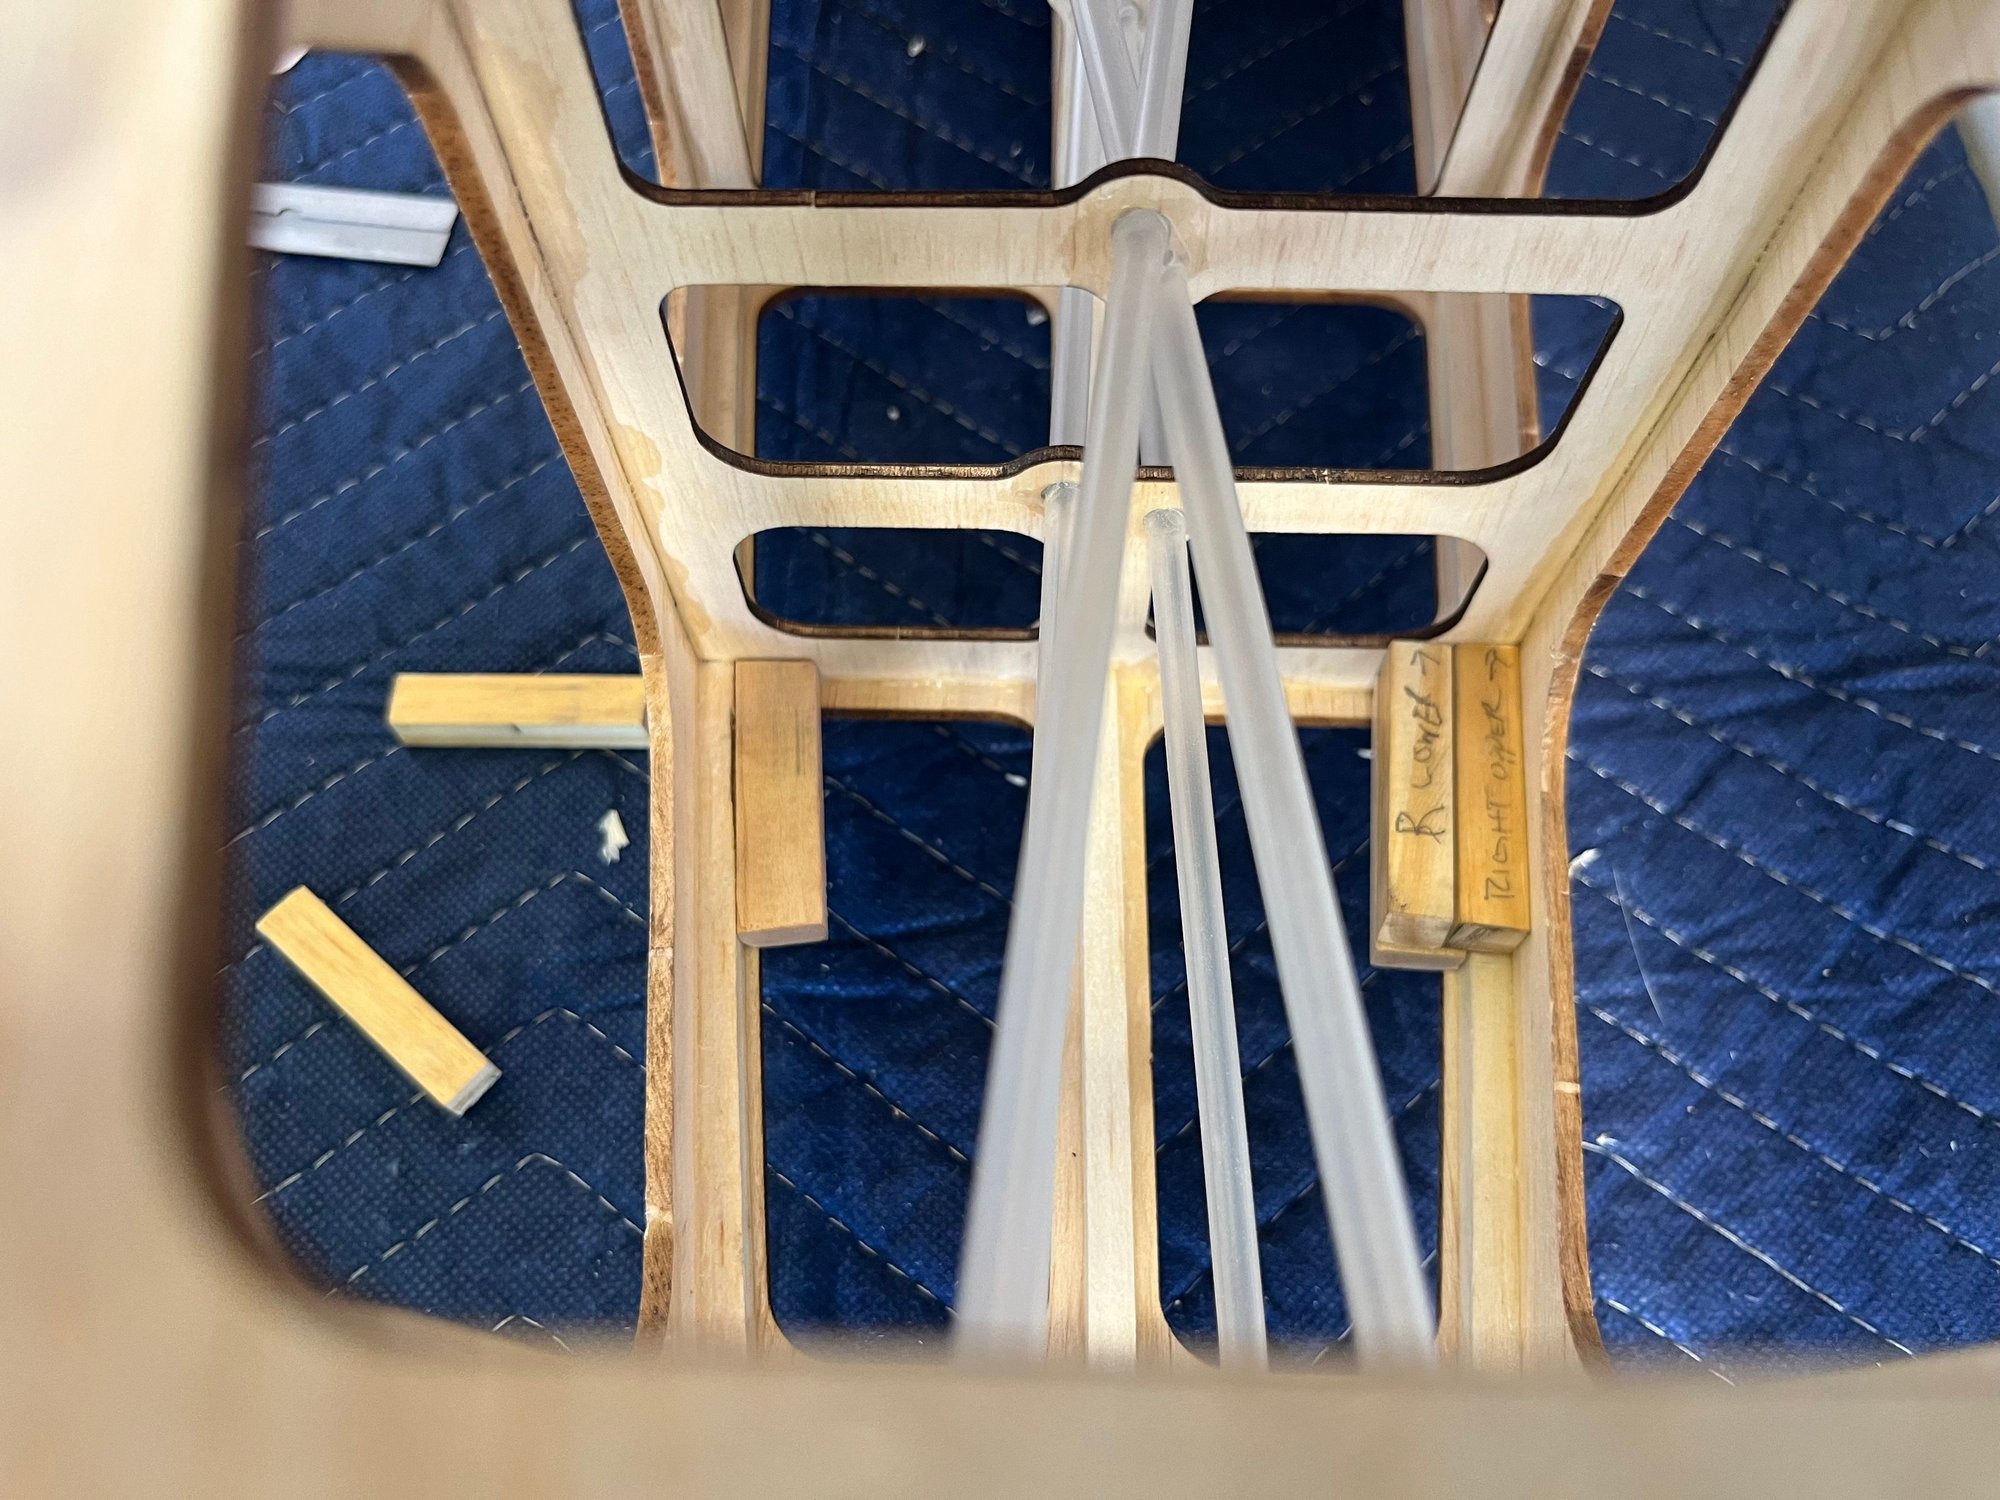
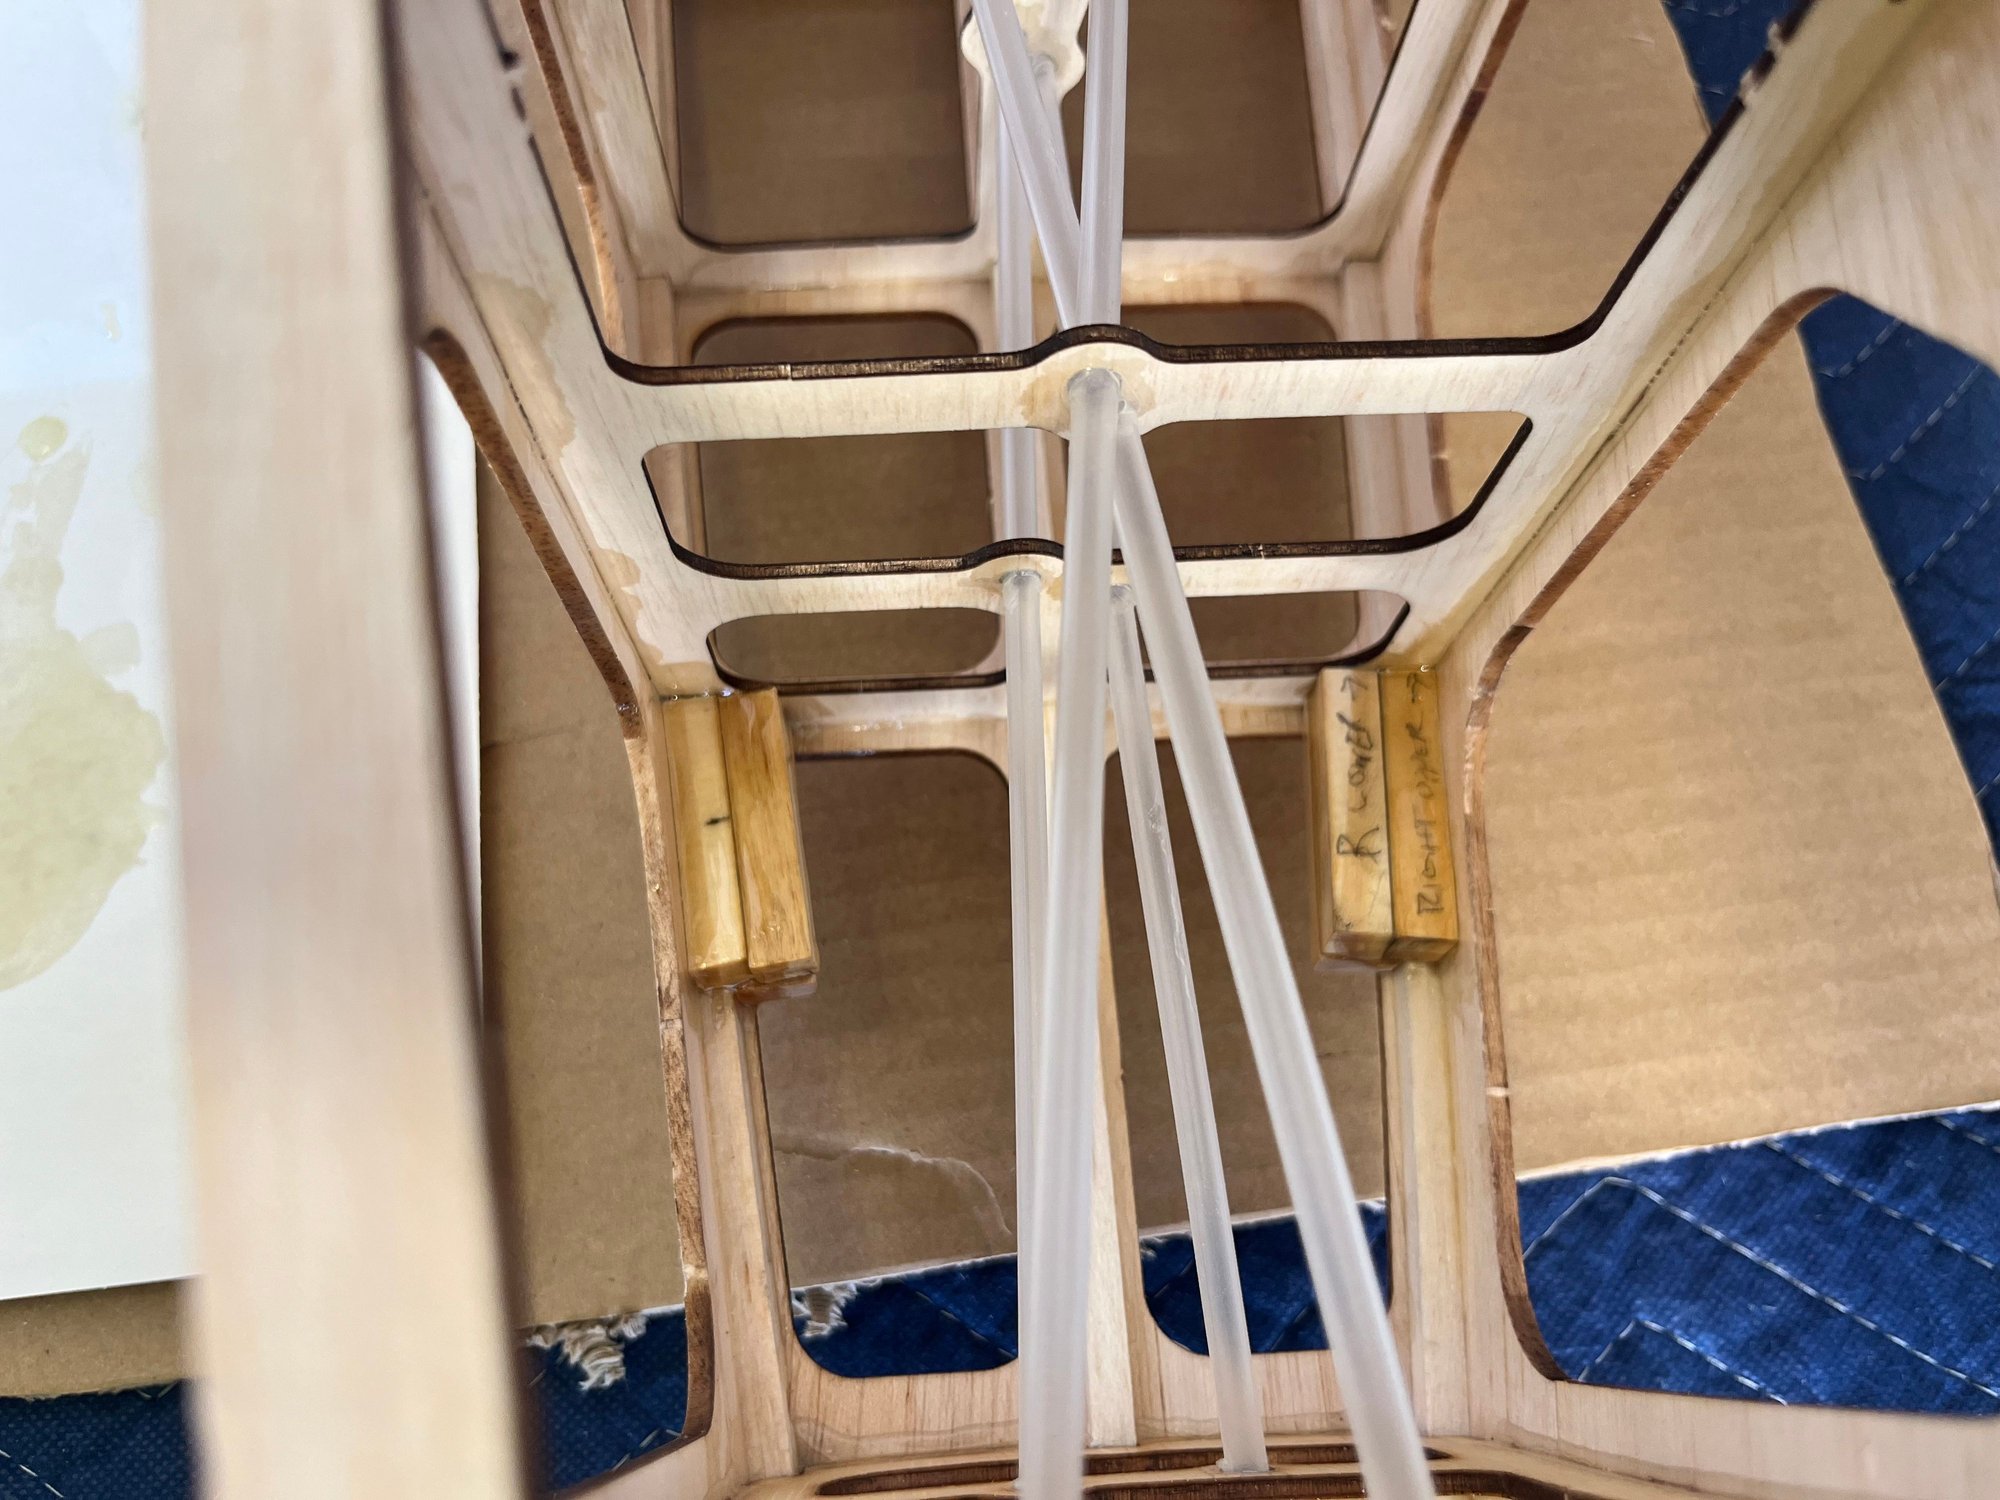
One picture shows the first block on the bottom, (on the left) and the finished product with two more on top in the other pic. This will give me enough meat to hit while drilling at a 45 deg angle to the fuse for the hand holds.
Now to epoxy it all into place and do the same for step.
scuffing up all the parts for painting, shooting black initially to kill off the red from bleeding through.
I hope to be able to use as a tie down if needed…
Sourced some “brass” rod from ACE hardware as well as some aluminum sheets(more on that later)the rods will be bent and epoxied into the hardwood for both of the handholds and step for cockpit.
first picture, you can see basically where they’re going to be in the fuselage
One picture shows the first block on the bottom, (on the left) and the finished product with two more on top in the other pic. This will give me enough meat to hit while drilling at a 45 deg angle to the fuse for the hand holds.
Now to epoxy it all into place and do the same for step.
scuffing up all the parts for painting, shooting black initially to kill off the red from bleeding through.
Last edited by glazier808; 10-16-2024 at 03:52 PM.
 10-16-2024, 04:46 PM
#15
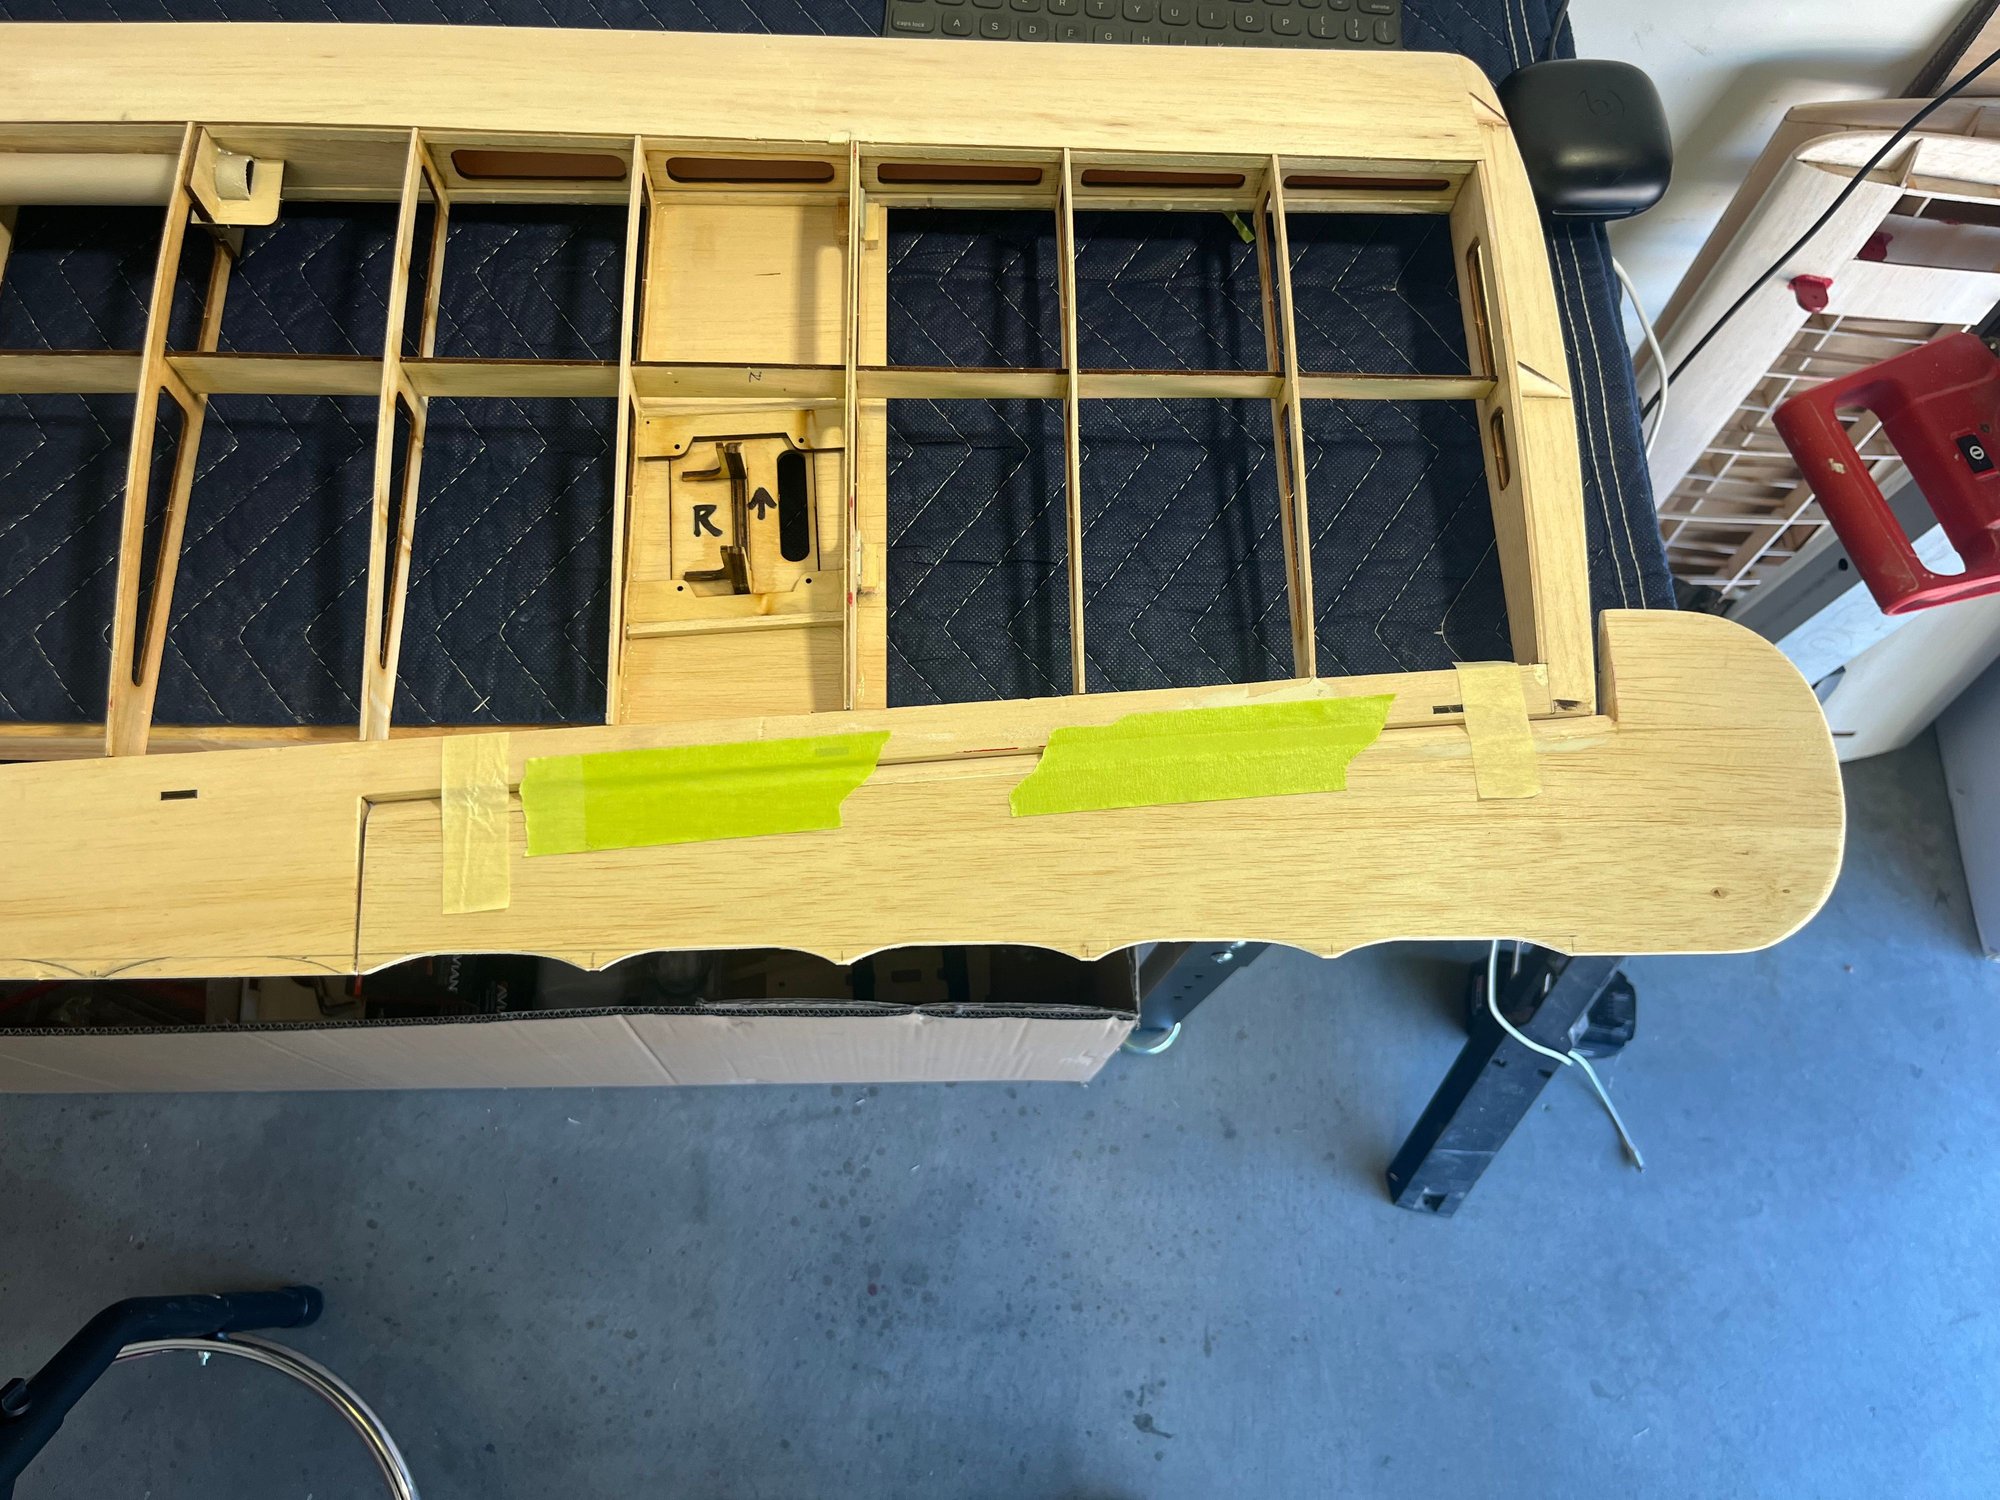
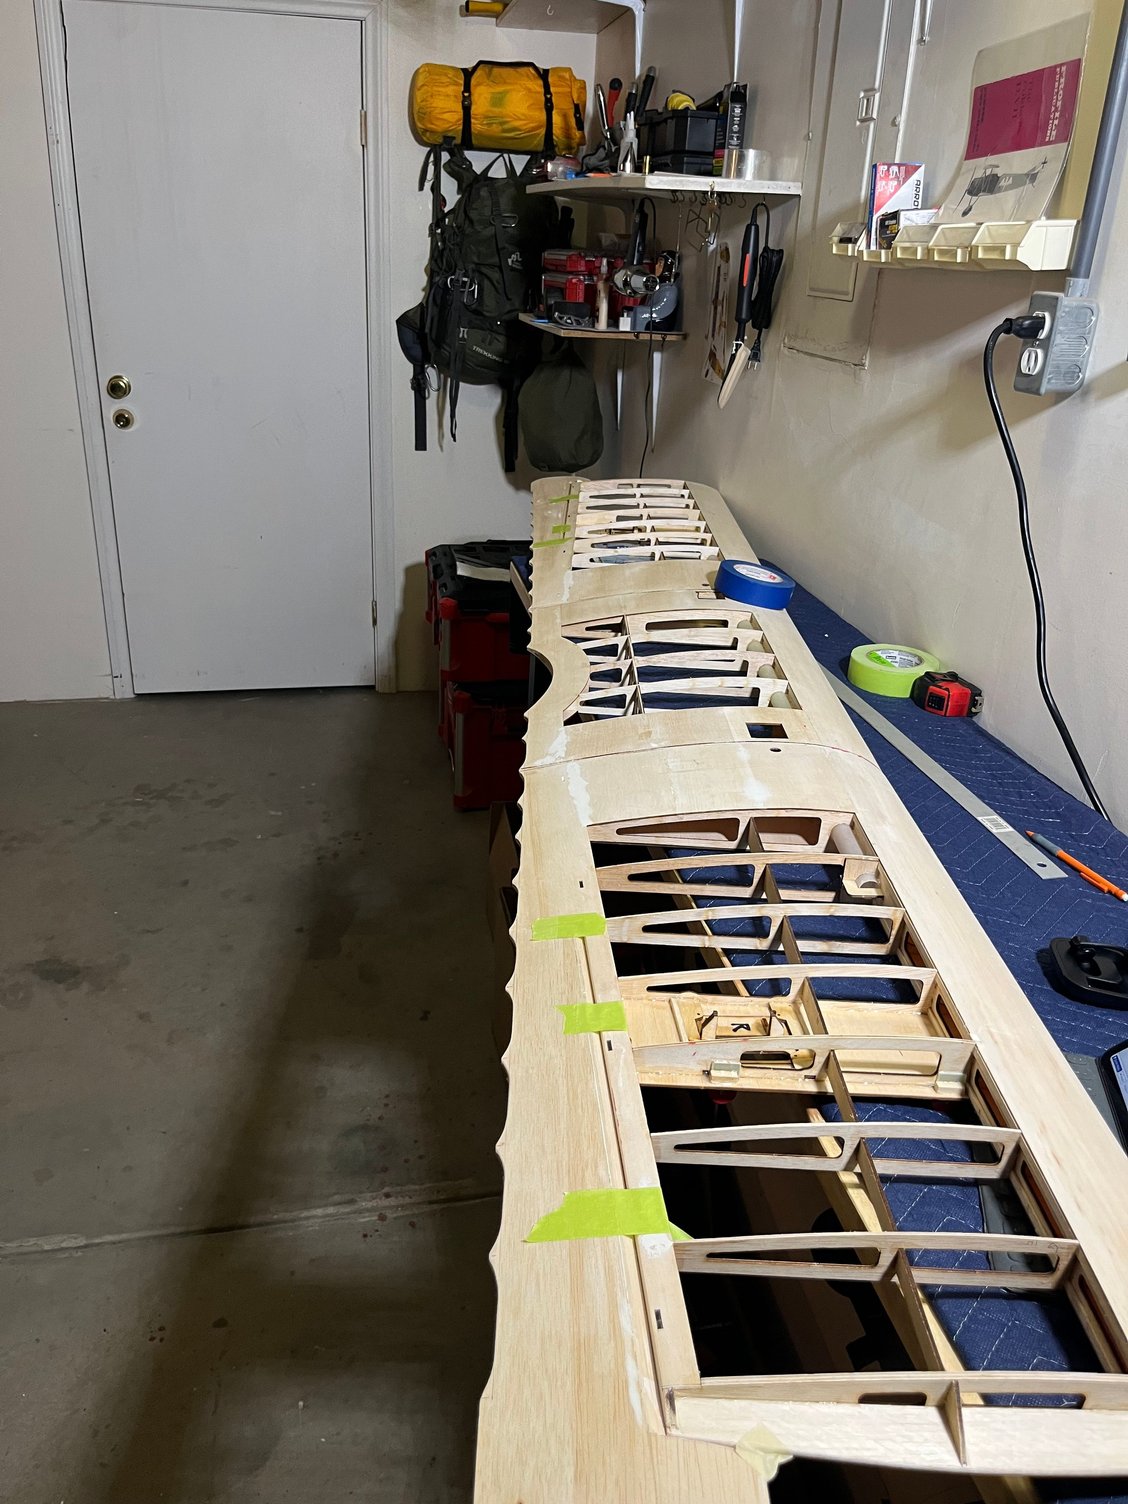
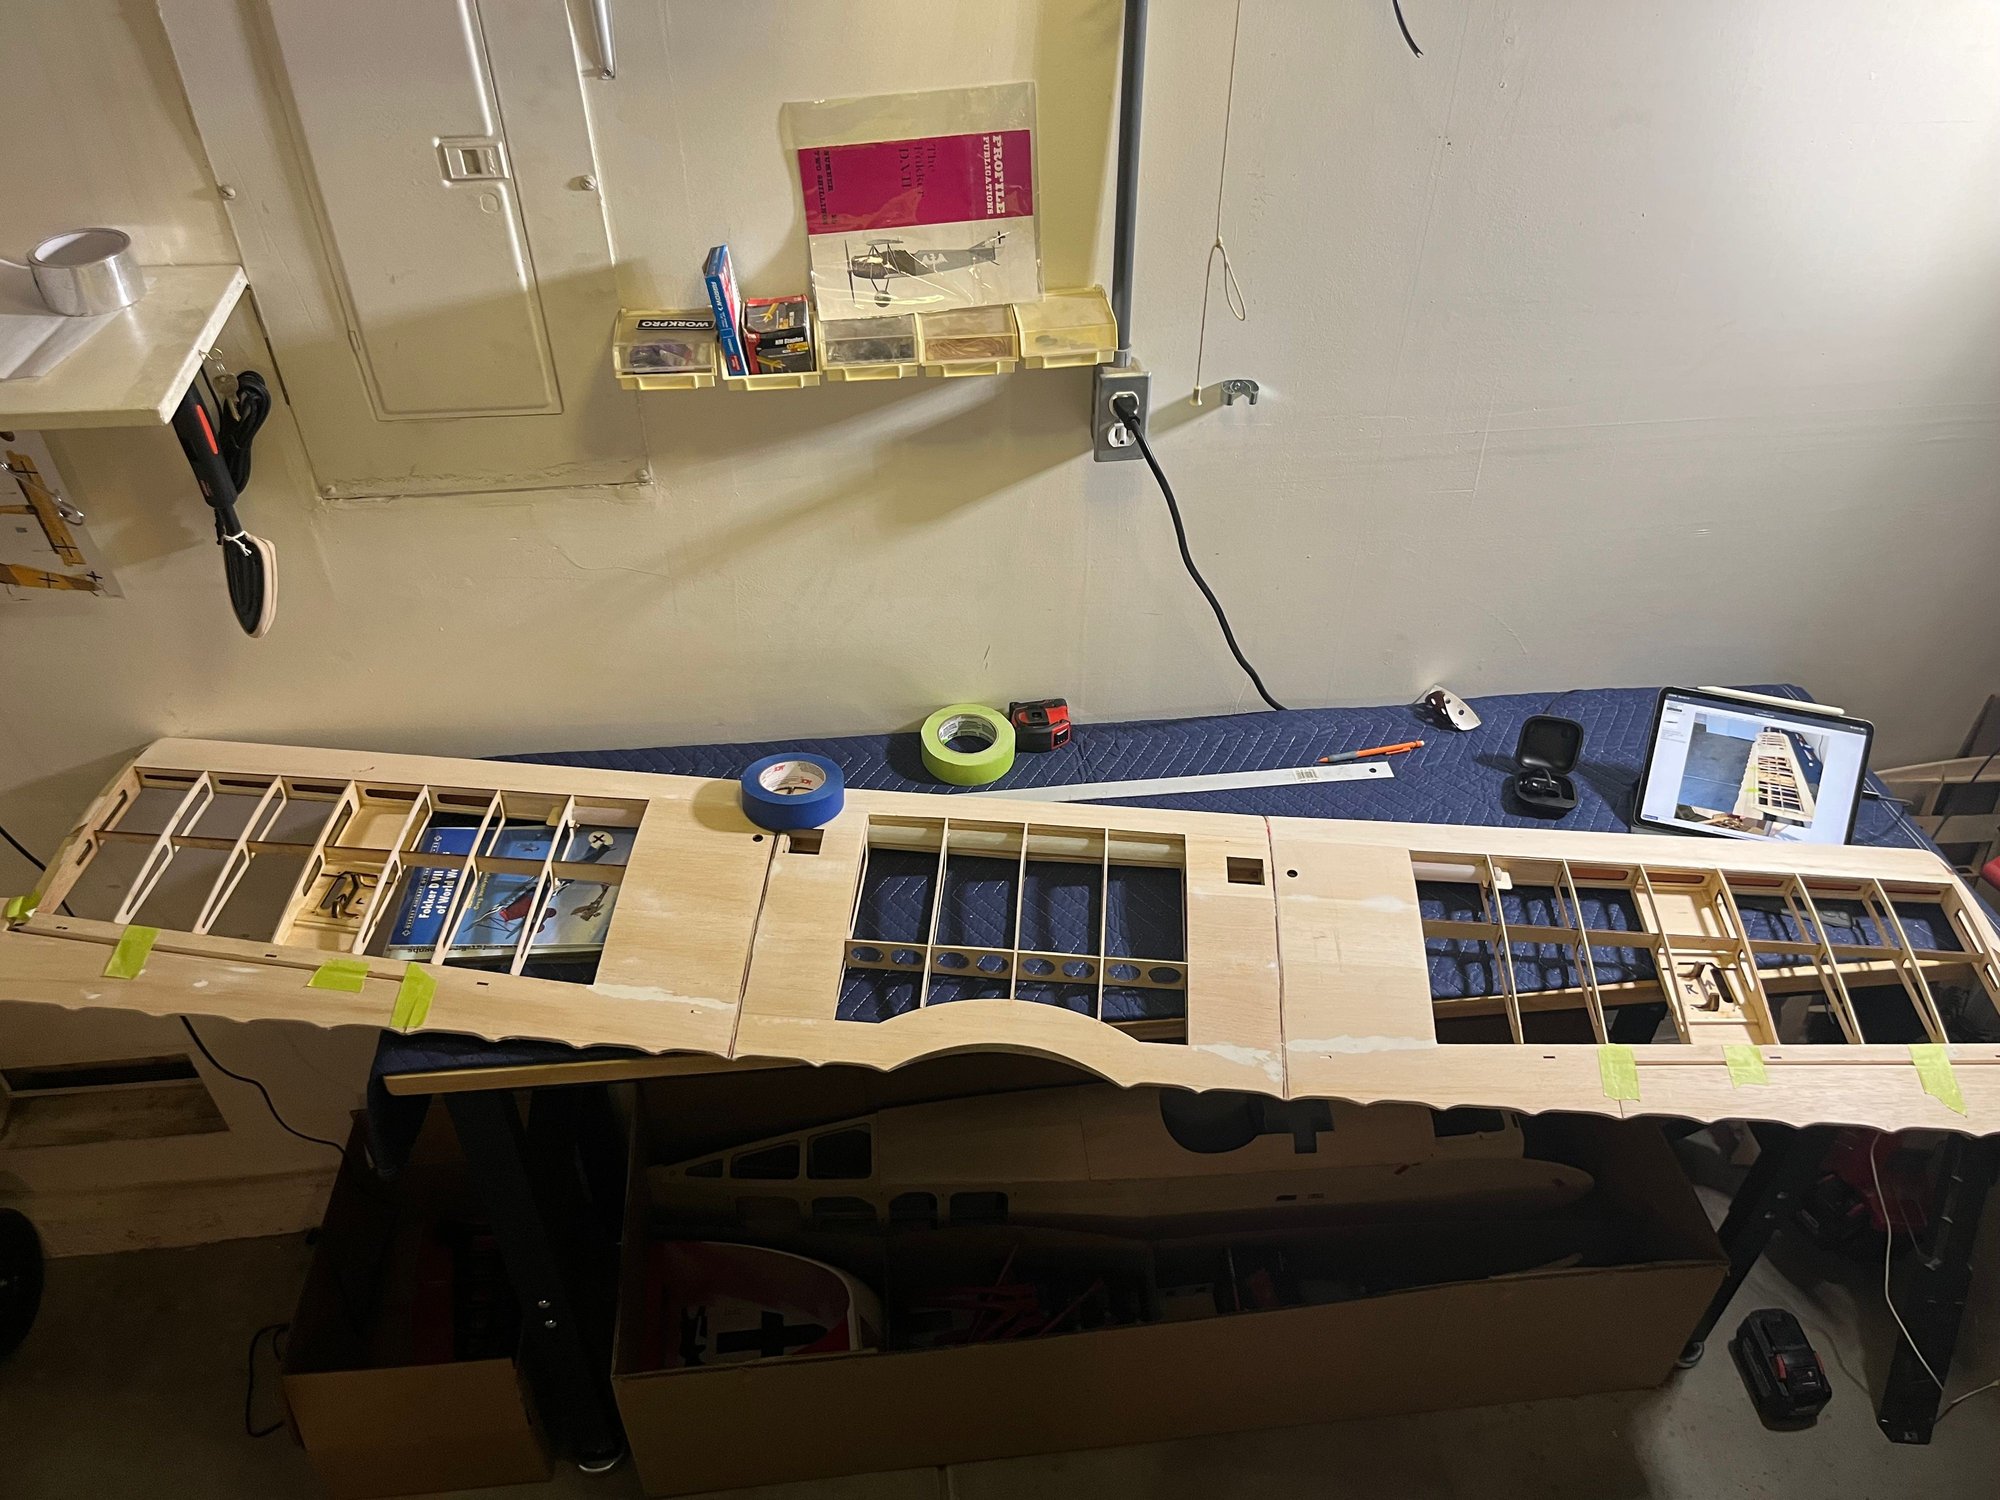
All trailing edges where scallops were made have been glues with Med CA
Wings Skid backplates installed and epoxied as well as the area for step
Installed 3 A6380 Spektrum servos in the fuse for the rudder and elevator surfaces.
Showing where it is in the fuse
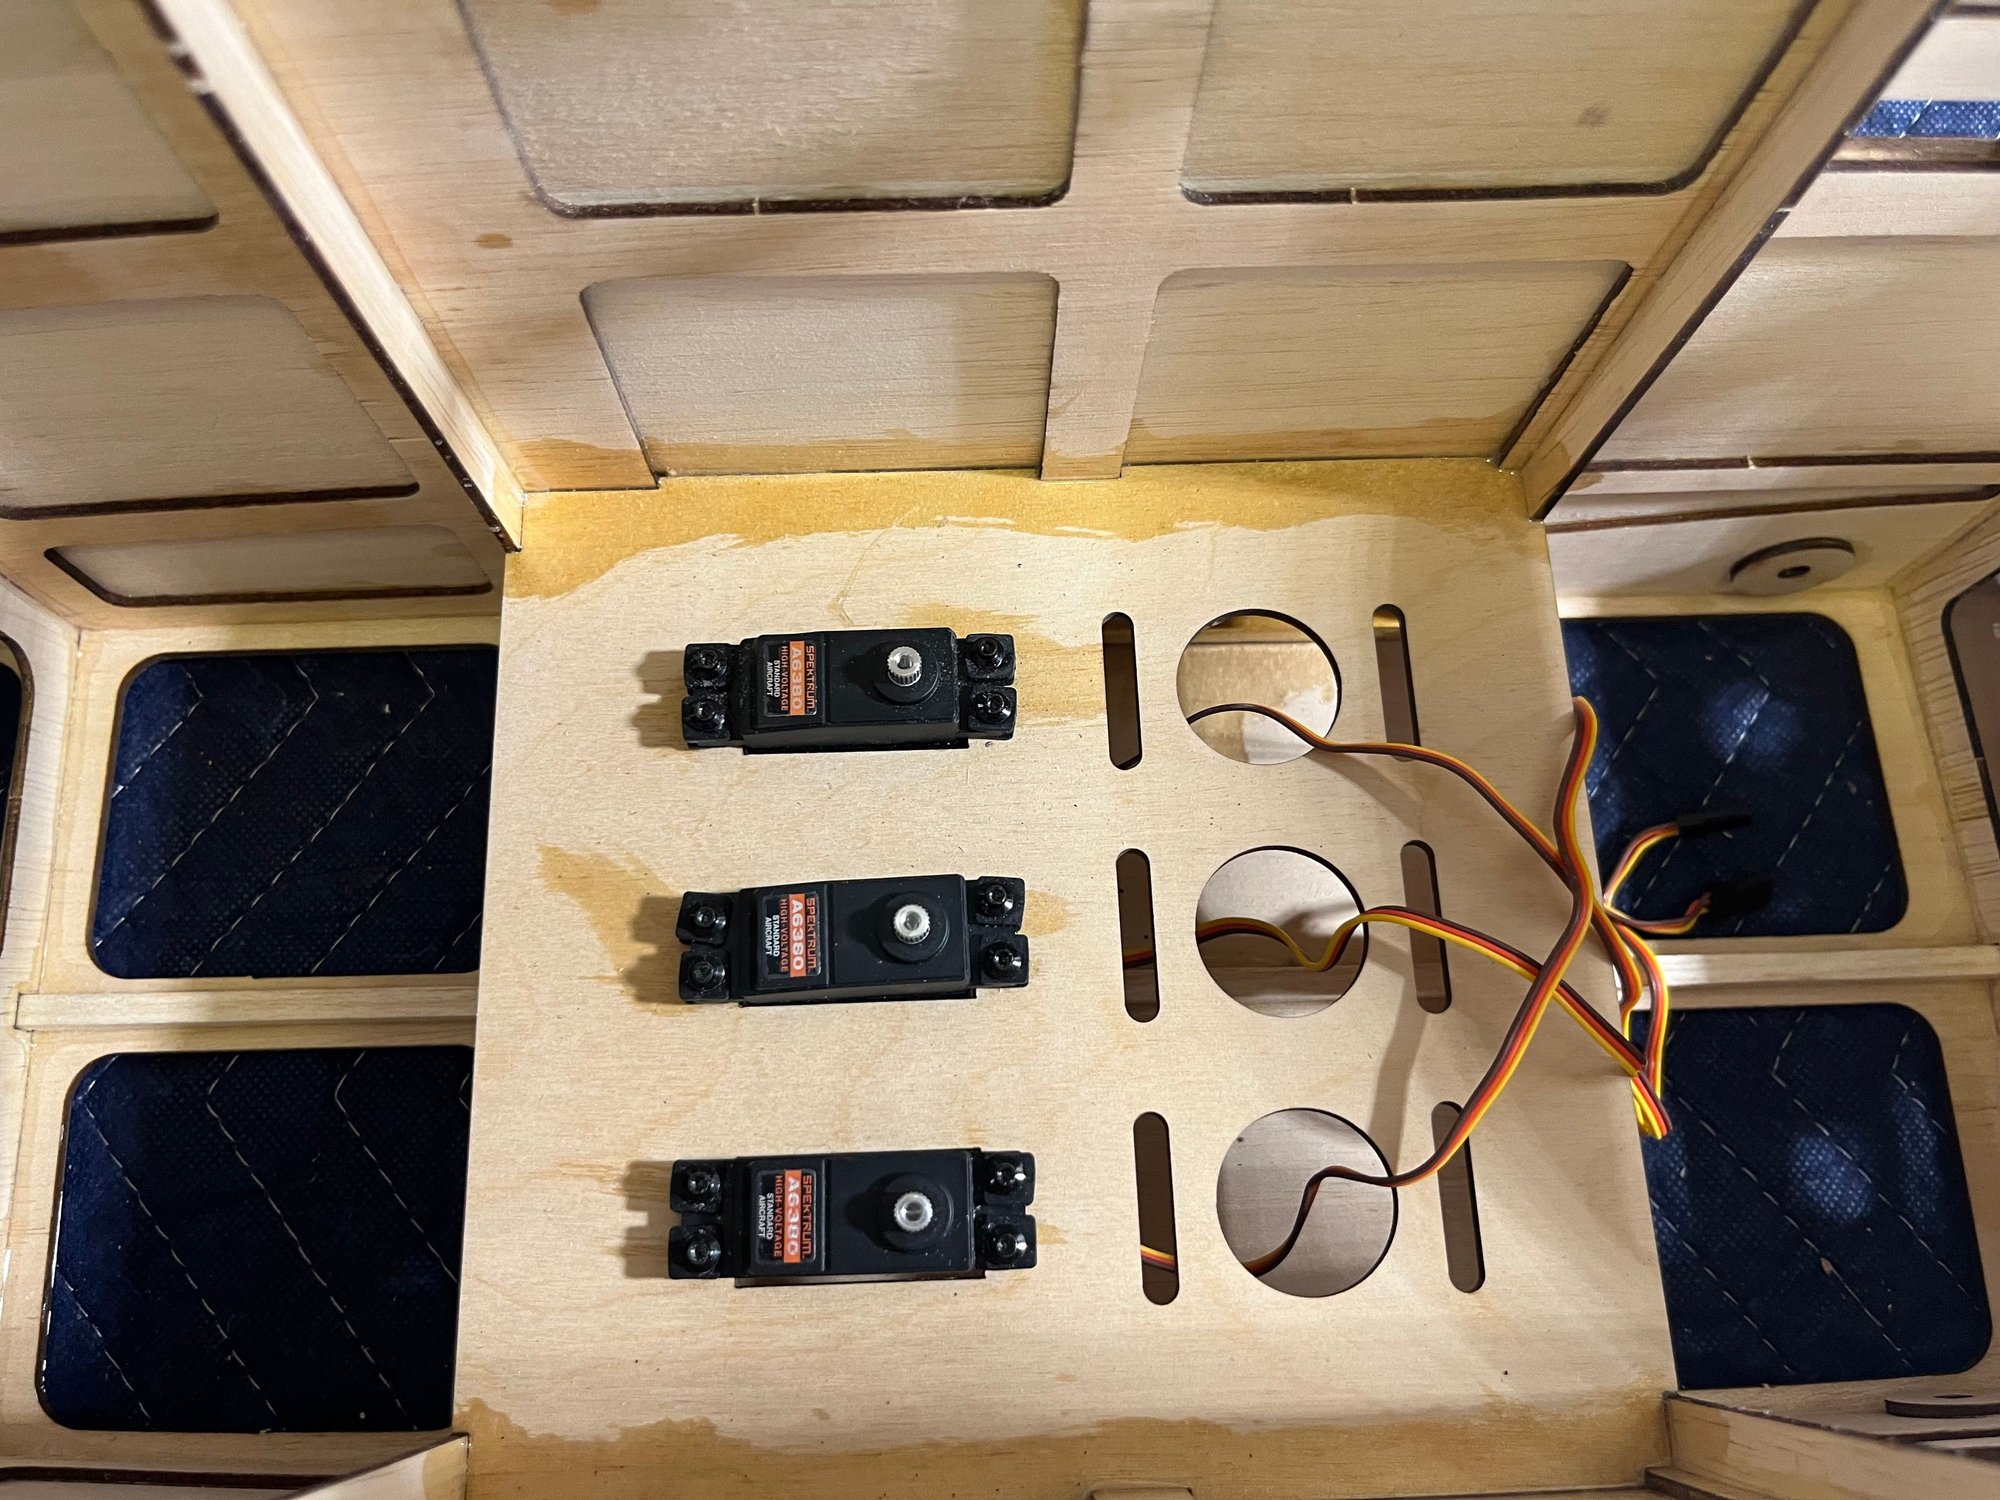
Pretty nice having this much room…
Flush with bottom of wing
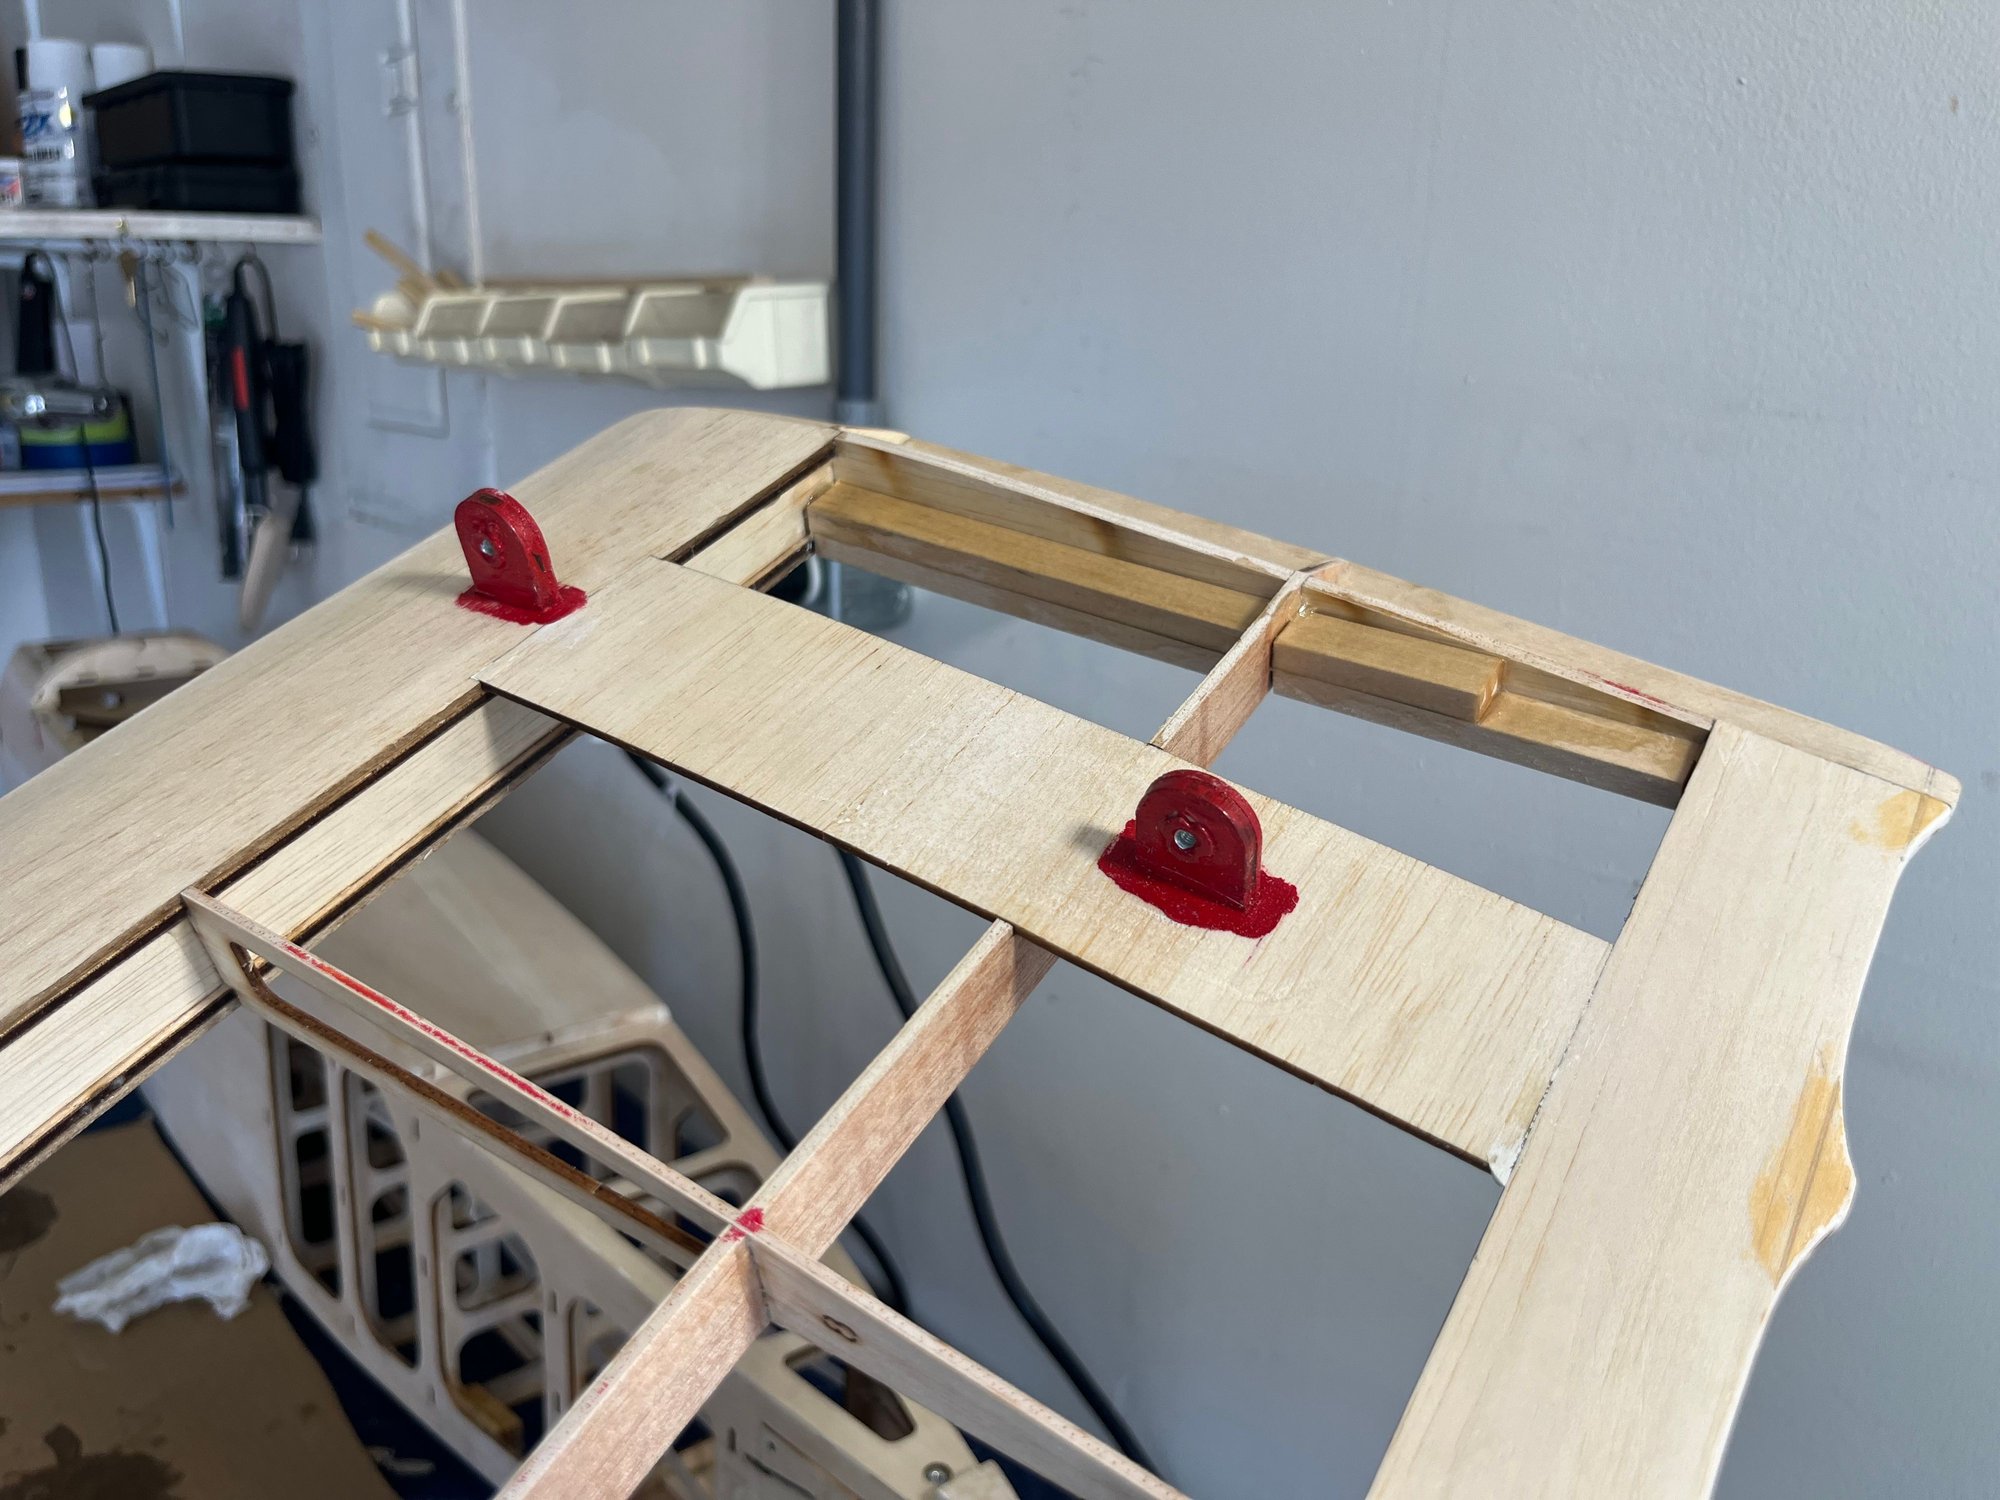
Used two pieces of 3/8 hardwood set flush to bottom of wing
Wings Skid backplates installed and epoxied as well as the area for step
Installed 3 A6380 Spektrum servos in the fuse for the rudder and elevator surfaces.
Showing where it is in the fuse
Pretty nice having this much room…
Flush with bottom of wing
Used two pieces of 3/8 hardwood set flush to bottom of wing
Last edited by glazier808; 10-16-2024 at 07:18 PM.
10-16-2024, 04:51 PM
#16
Originally this build was to get me back into it all after a short break due to some personal issues…wasn’t gonna go nuts or anything…..
lol….about that….
anyways, I have ordered some specialty pieces from a few vendors, so let’s just see where this goes lol
cant wait to show you the goodies!!!
Casey
lol….about that….
anyways, I have ordered some specialty pieces from a few vendors, so let’s just see where this goes lol
cant wait to show you the goodies!!!
Casey


 Today, 05:45 PM
#19
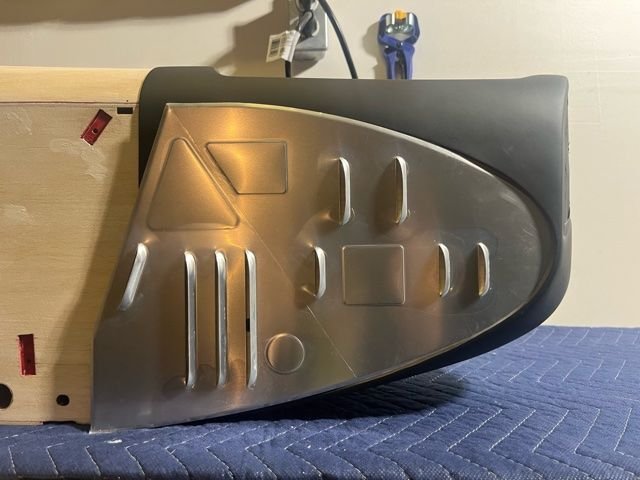
Received my order Balsa USA…we have Oratex! Also received the order from Proctor. Great company to do business with, and I couldn’t be happier with the products received!
Tail skid from Proctor Enterprises
Stamped aluminum cheeks these are a very close match, better than the photo shows as im at a bit of an angle
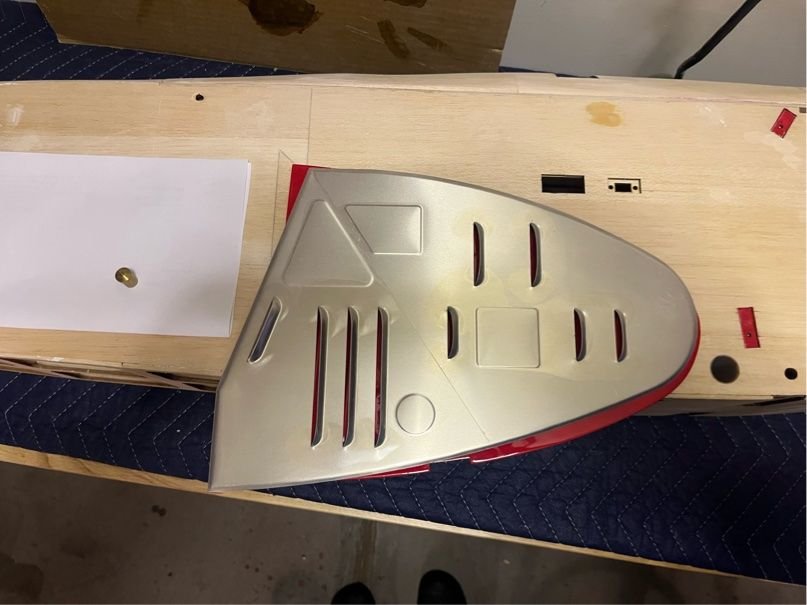
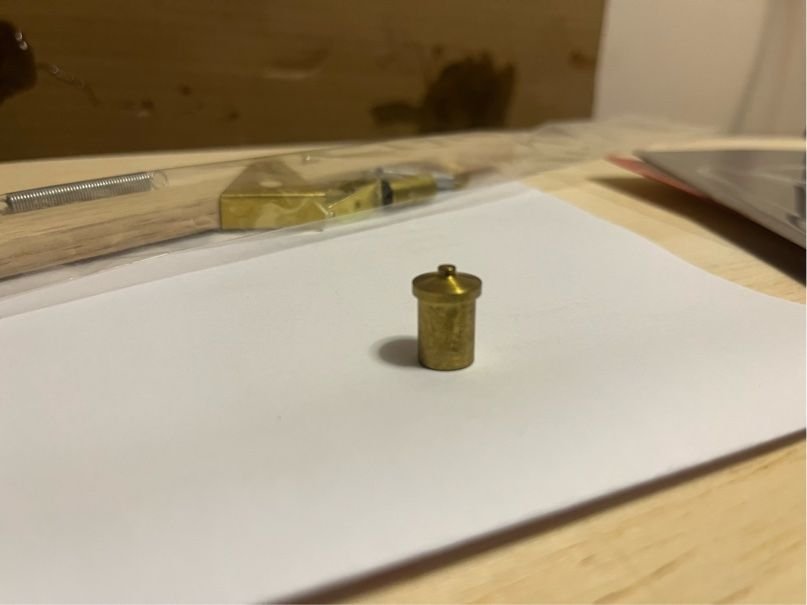
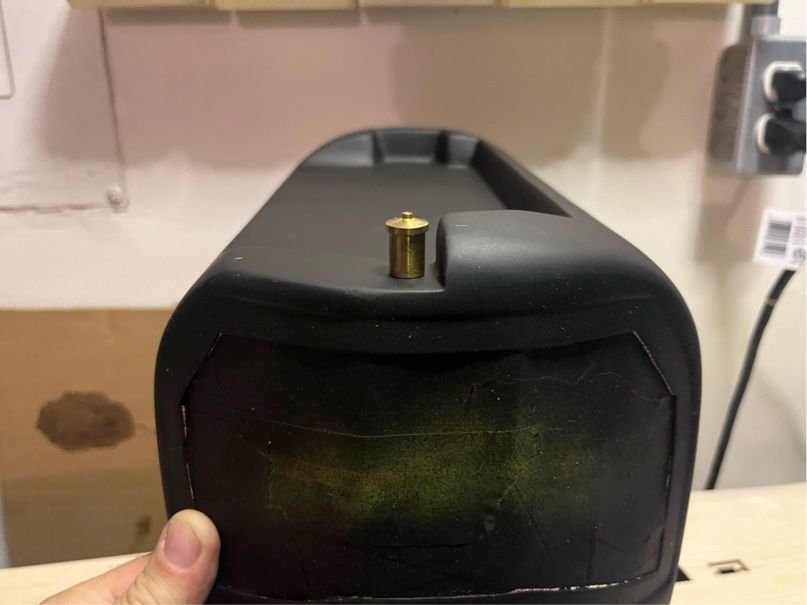
And finally the radiator filler
As you can see i sanded and primed the cowl black as well
Casey
Tail skid from Proctor Enterprises
Stamped aluminum cheeks these are a very close match, better than the photo shows as im at a bit of an angle
And finally the radiator filler
As you can see i sanded and primed the cowl black as well
Casey