Go Back  RCU Forums > RC Airplanes > Giant Scale Aircraft - General
Reload this Page >

Bud Nosen 1/4 scale J-3 Cub

Community
Search
Notices
Giant Scale Aircraft - General Discuss all other giant scale aircraft here.

Bud Nosen 1/4 scale J-3 Cub

Thread Tools
 
Search this Thread
 
Old 08-26-2020, 05:46 PM
  #51  
jstanton
Thread Starter
My Feedback: (14)
 
jstanton's Avatar
 
Join Date: Aug 2002
Location: Millington, TN
Posts: 3,257
Received 26 Likes on 26 Posts
Default

Thank You for the help Ron. I will do as you suggested to make sure the cowl is right.
Old 08-27-2020, 04:04 PM
  #52  
jstanton
Thread Starter
My Feedback: (14)
 
jstanton's Avatar
 
Join Date: Aug 2002
Location: Millington, TN
Posts: 3,257
Received 26 Likes on 26 Posts
Default

Still making a little headway. I got the wing tube and sleeve installed today. If you look closely you can see the black fiberglass wing sleeve in the wing. Here are a couple of pics. Still waiting for the landing gear to show up.

Old 08-27-2020, 05:04 PM
  #53  
sebo
 
Join Date: Aug 2004
Location: Jacksonville, FL FL
Posts: 2,263
Likes: 0
Received 4 Likes on 4 Posts
Default

It looks GREAT!
Old 08-27-2020, 06:23 PM
  #54  
jstanton
Thread Starter
My Feedback: (14)
 
jstanton's Avatar
 
Join Date: Aug 2002
Location: Millington, TN
Posts: 3,257
Received 26 Likes on 26 Posts
Default

Ron thank you for the nice compliment. The gear should be here tomorrow and I am picking up some arrows for the push rods. I do have one question. The plans are not clear on where to mount the servos in the fuselage. I have the cockpit kit to install and I was wondering do I install the servos at the rear of the cockpit or underneath the cockpit kit?
Old 08-27-2020, 06:36 PM
  #55  
sebo
 
Join Date: Aug 2004
Location: Jacksonville, FL FL
Posts: 2,263
Likes: 0
Received 4 Likes on 4 Posts
Default

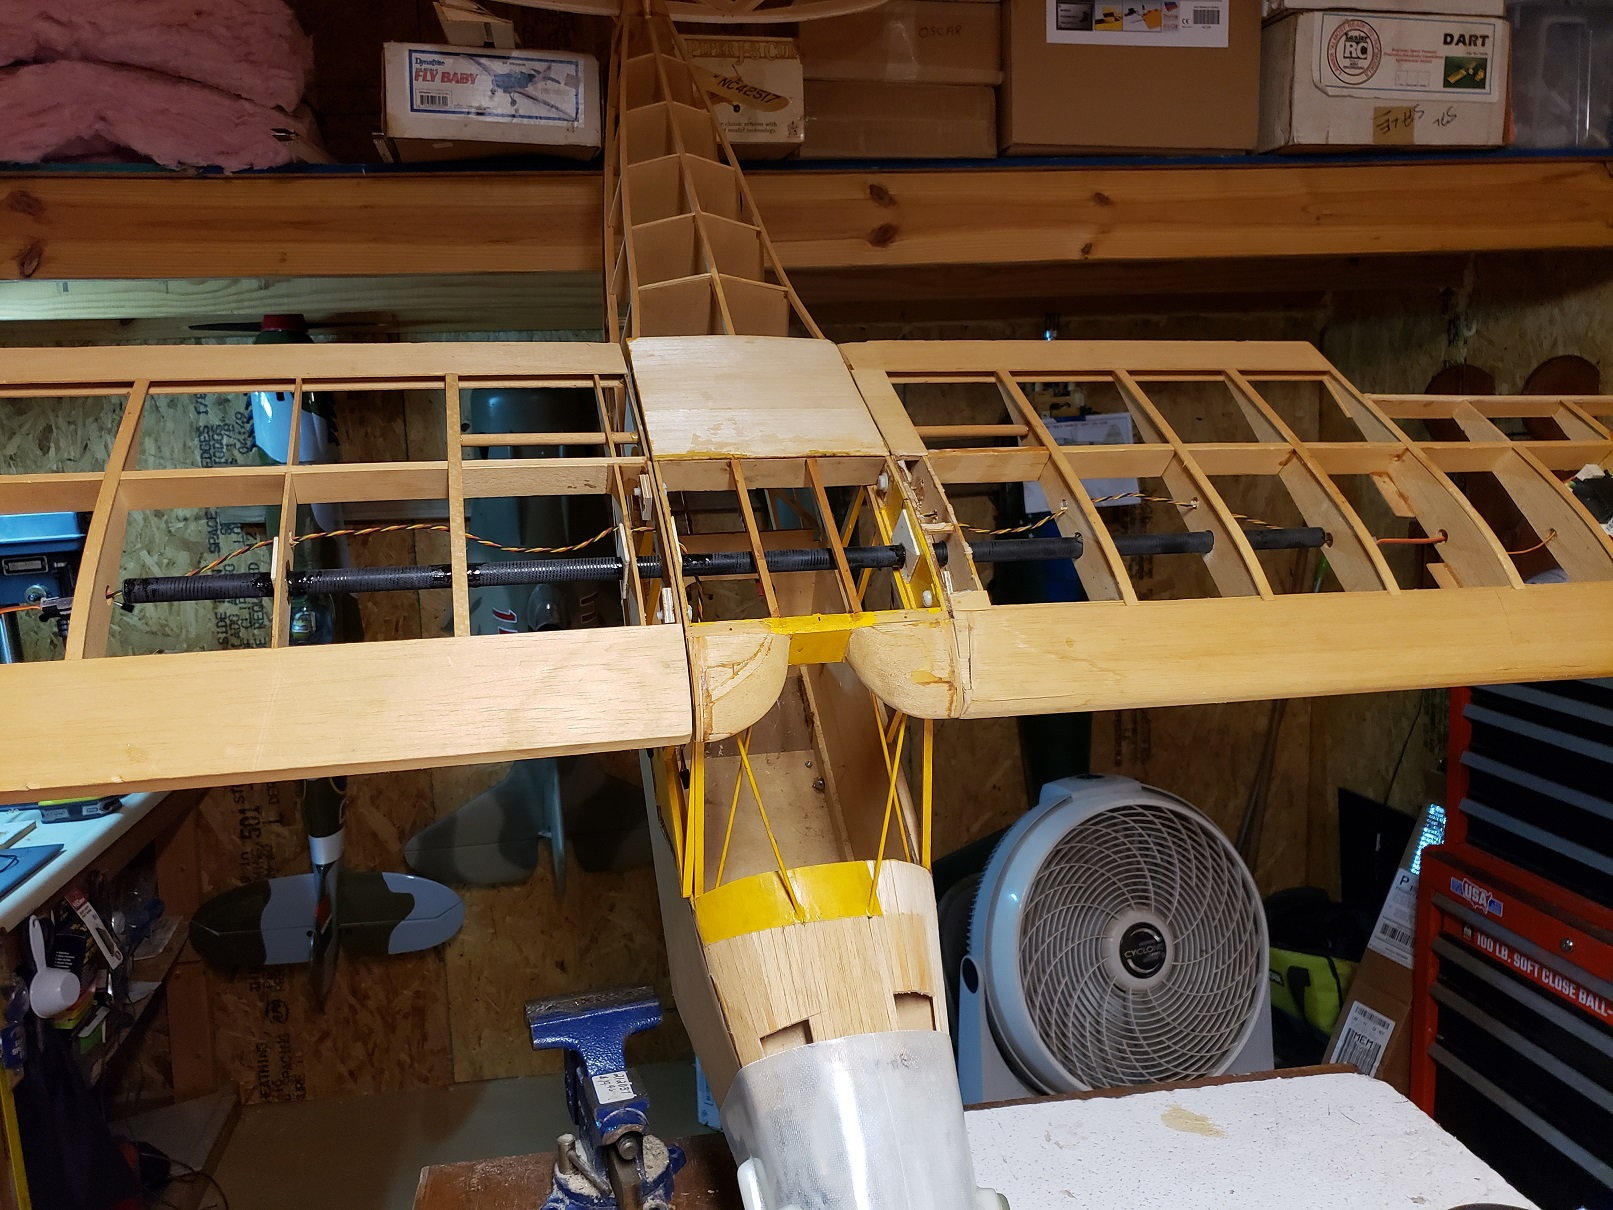
I put everything together and get the correct center of gravity or as close to it as possible.Use the servos and battery placement (as well as your cockpit kit and pilot to achieve that goal. I don't think you are ready to place them yet but if you do, place them as near the center of gravity as possible. The arrow shafts are going to make the tail heaver than it is now. The covering on the tail will also make it heavier. It's a judgement you will have to make. You may have to access them for adjustment so if you place them under the cockpit kit, be sure that it is easily removable. Velcro is a good means of attaching it. It is a solid means of mounting stuff like the cockpit kit (don't use it to mount servos) and can be removed if necessary to make servo adjustments. I usually wrap my battery in foam and rubber bands and place it where it will do the most good as for CG placement. .
Old 08-27-2020, 06:46 PM
  #56  
sebo
 
Join Date: Aug 2004
Location: Jacksonville, FL FL
Posts: 2,263
Likes: 0
Received 4 Likes on 4 Posts
Default

What are you going to cover it with? Please don't use a shiny film. Use a cloth type covering. Coverite makes an excellent covering for cubs. I have one that I covered about 10 years ago and it looks as good as the day I covered it. As for trim. Take your pick but I prefer to Iron on my trim rather than use the sticky back trim sheets. It's a bit more work but, for me it is more gratifying. If the ironed on edges aren't as sharp as you would like or become wavy as you put them on, use the sticky back trim tape to make it look perfect after the ironing is done.or cut the covering into strips and iron them on. That is the preferable method, IMHO.
Old 08-28-2020, 06:50 AM
  #57  
jstanton
Thread Starter
My Feedback: (14)
 
jstanton's Avatar
 
Join Date: Aug 2002
Location: Millington, TN
Posts: 3,257
Received 26 Likes on 26 Posts
Default

I will be using Sig Koverall with nitrate dope to cover the plane. I will then be using latex paint from Lowes to spray paint it with Cub Yellow. I am not sure on what to do for the trim yet but I will think about your method of doing the trim.
Old 08-28-2020, 08:27 AM
  #58  
sebo
 
Join Date: Aug 2004
Location: Jacksonville, FL FL
Posts: 2,263
Likes: 0
Received 4 Likes on 4 Posts
Default

If you are going to spray paint it, spray paint the trim too. Be consistent.
Old 08-28-2020, 02:08 PM
  #59  
jstanton
Thread Starter
My Feedback: (14)
 
jstanton's Avatar
 
Join Date: Aug 2002
Location: Millington, TN
Posts: 3,257
Received 26 Likes on 26 Posts
Default

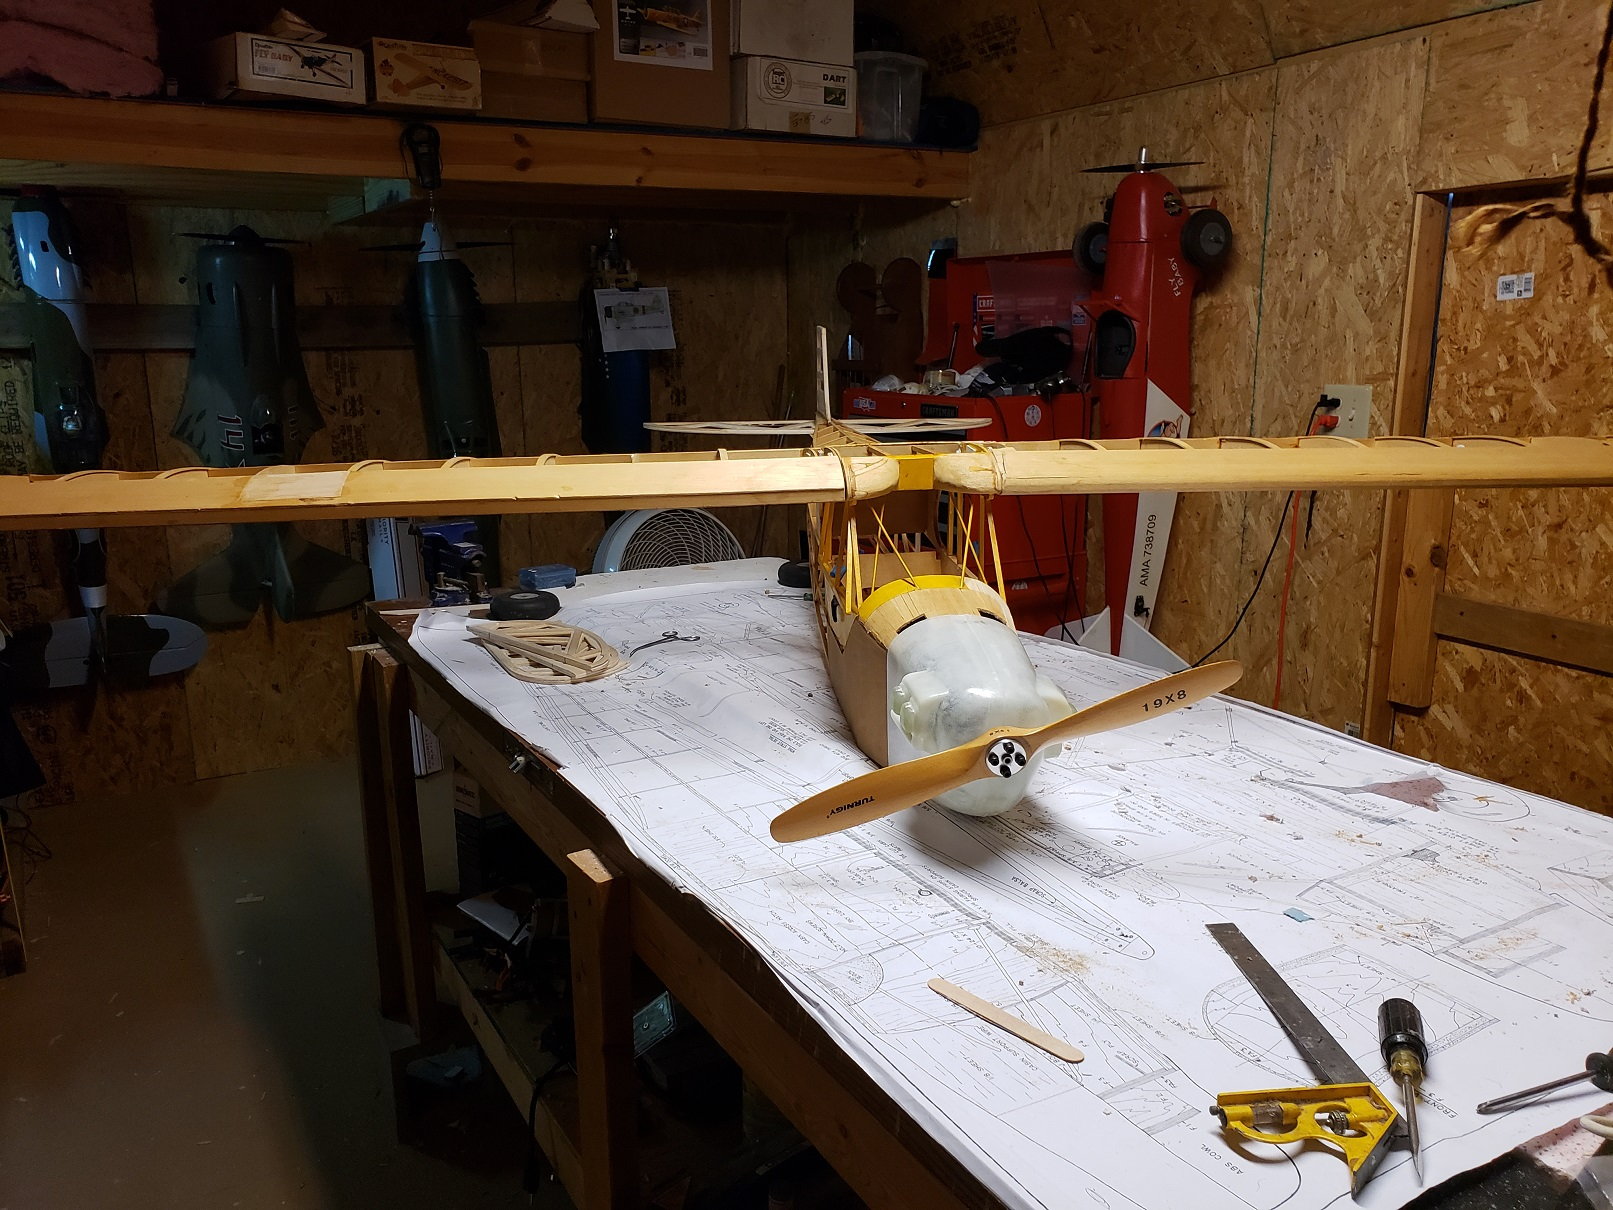
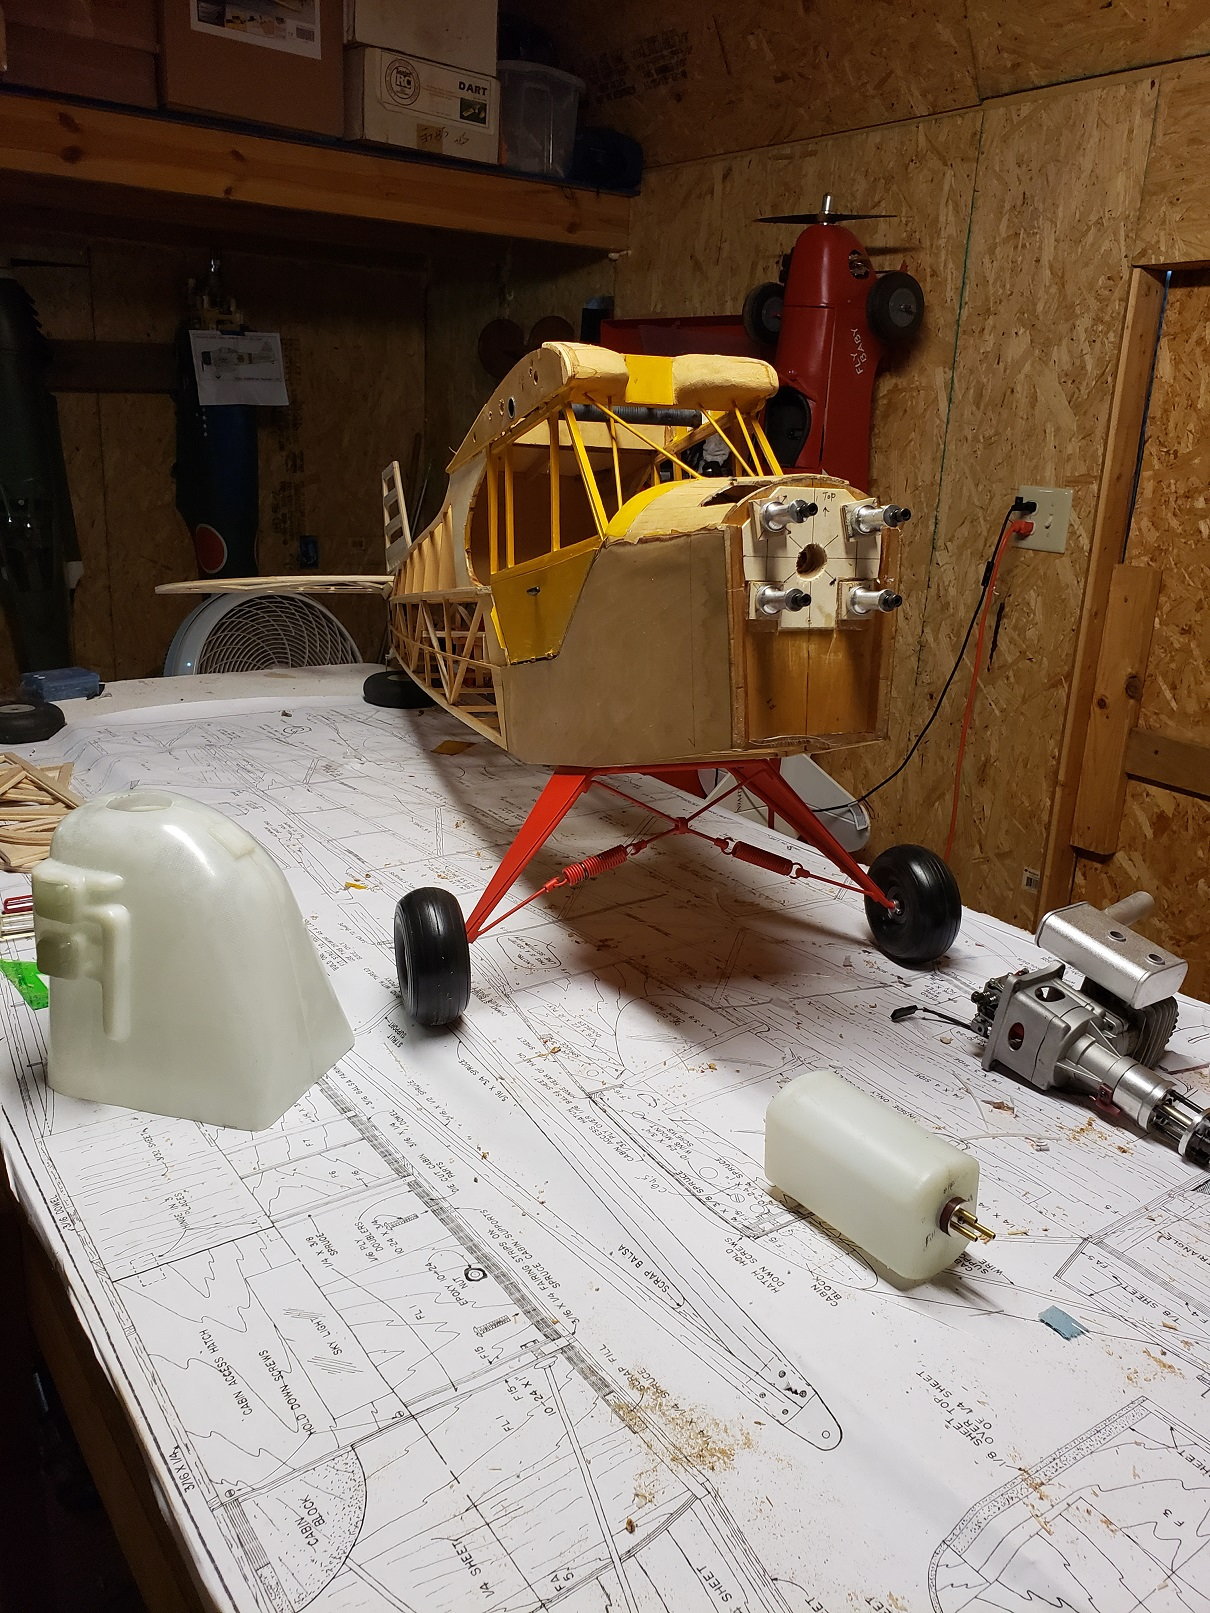
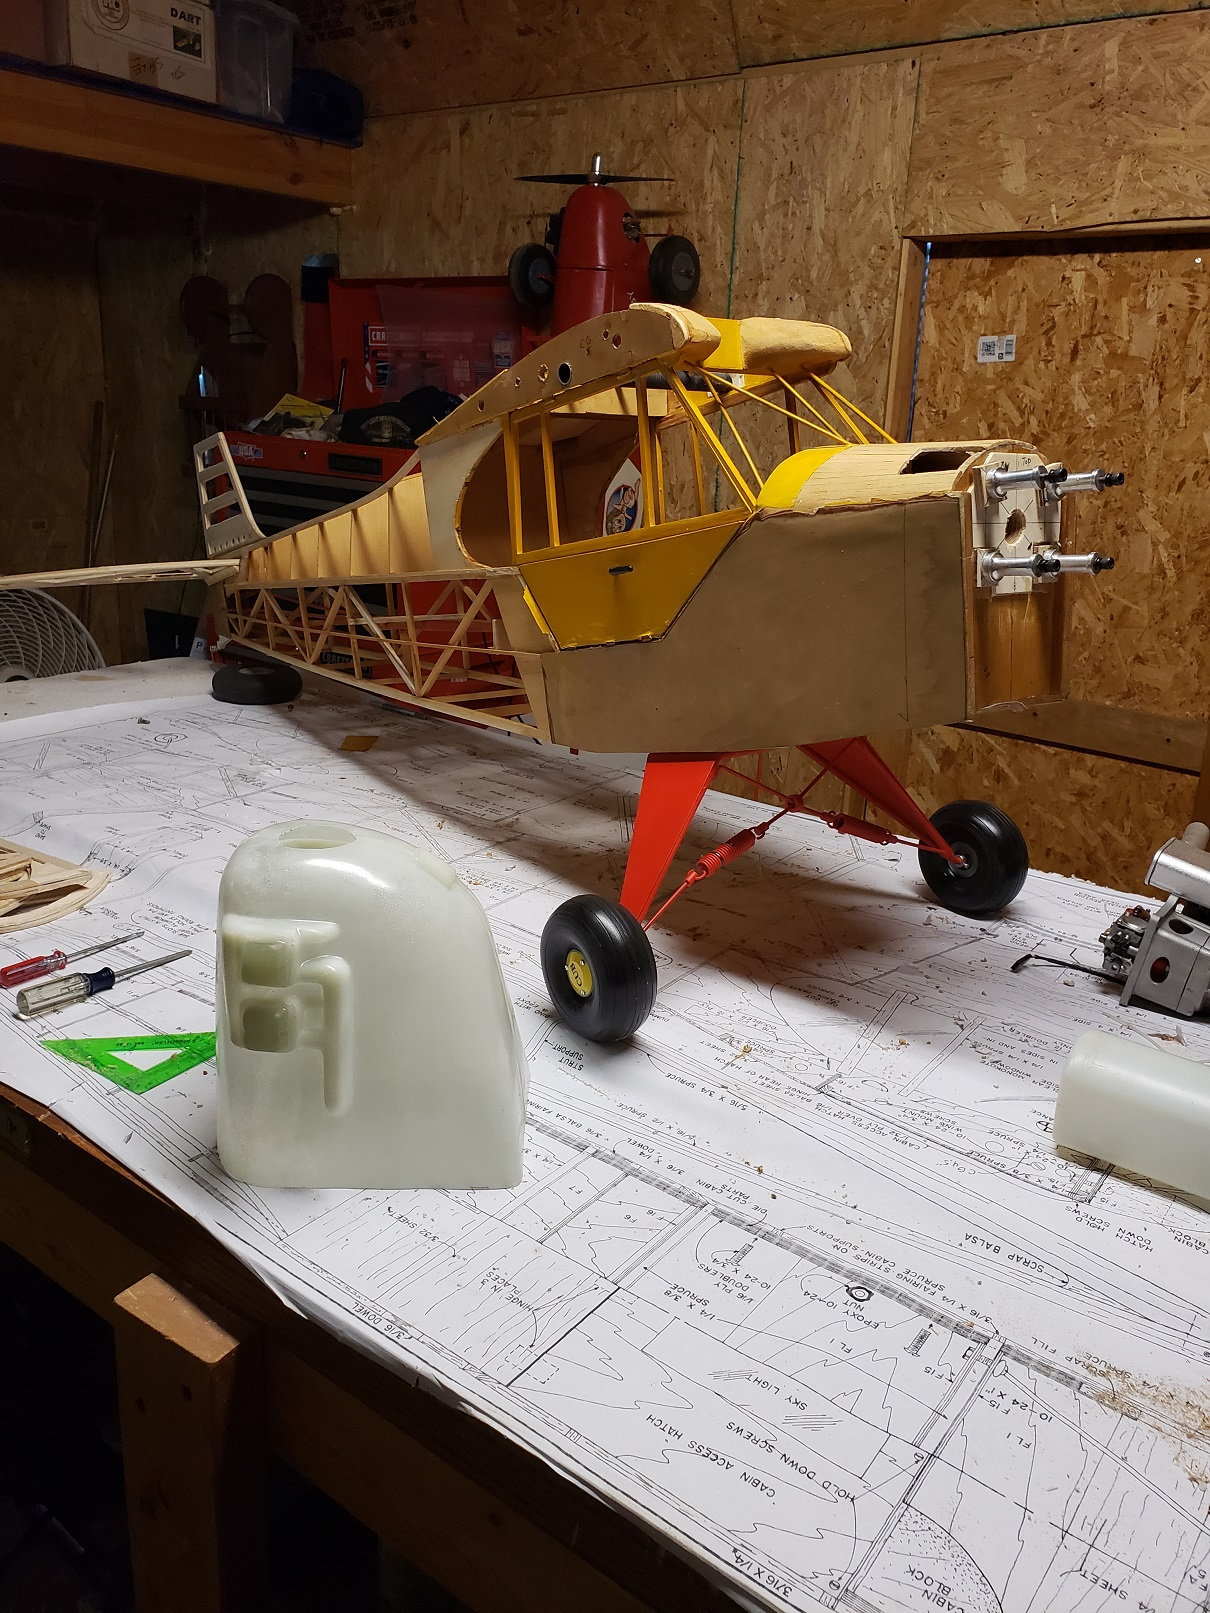
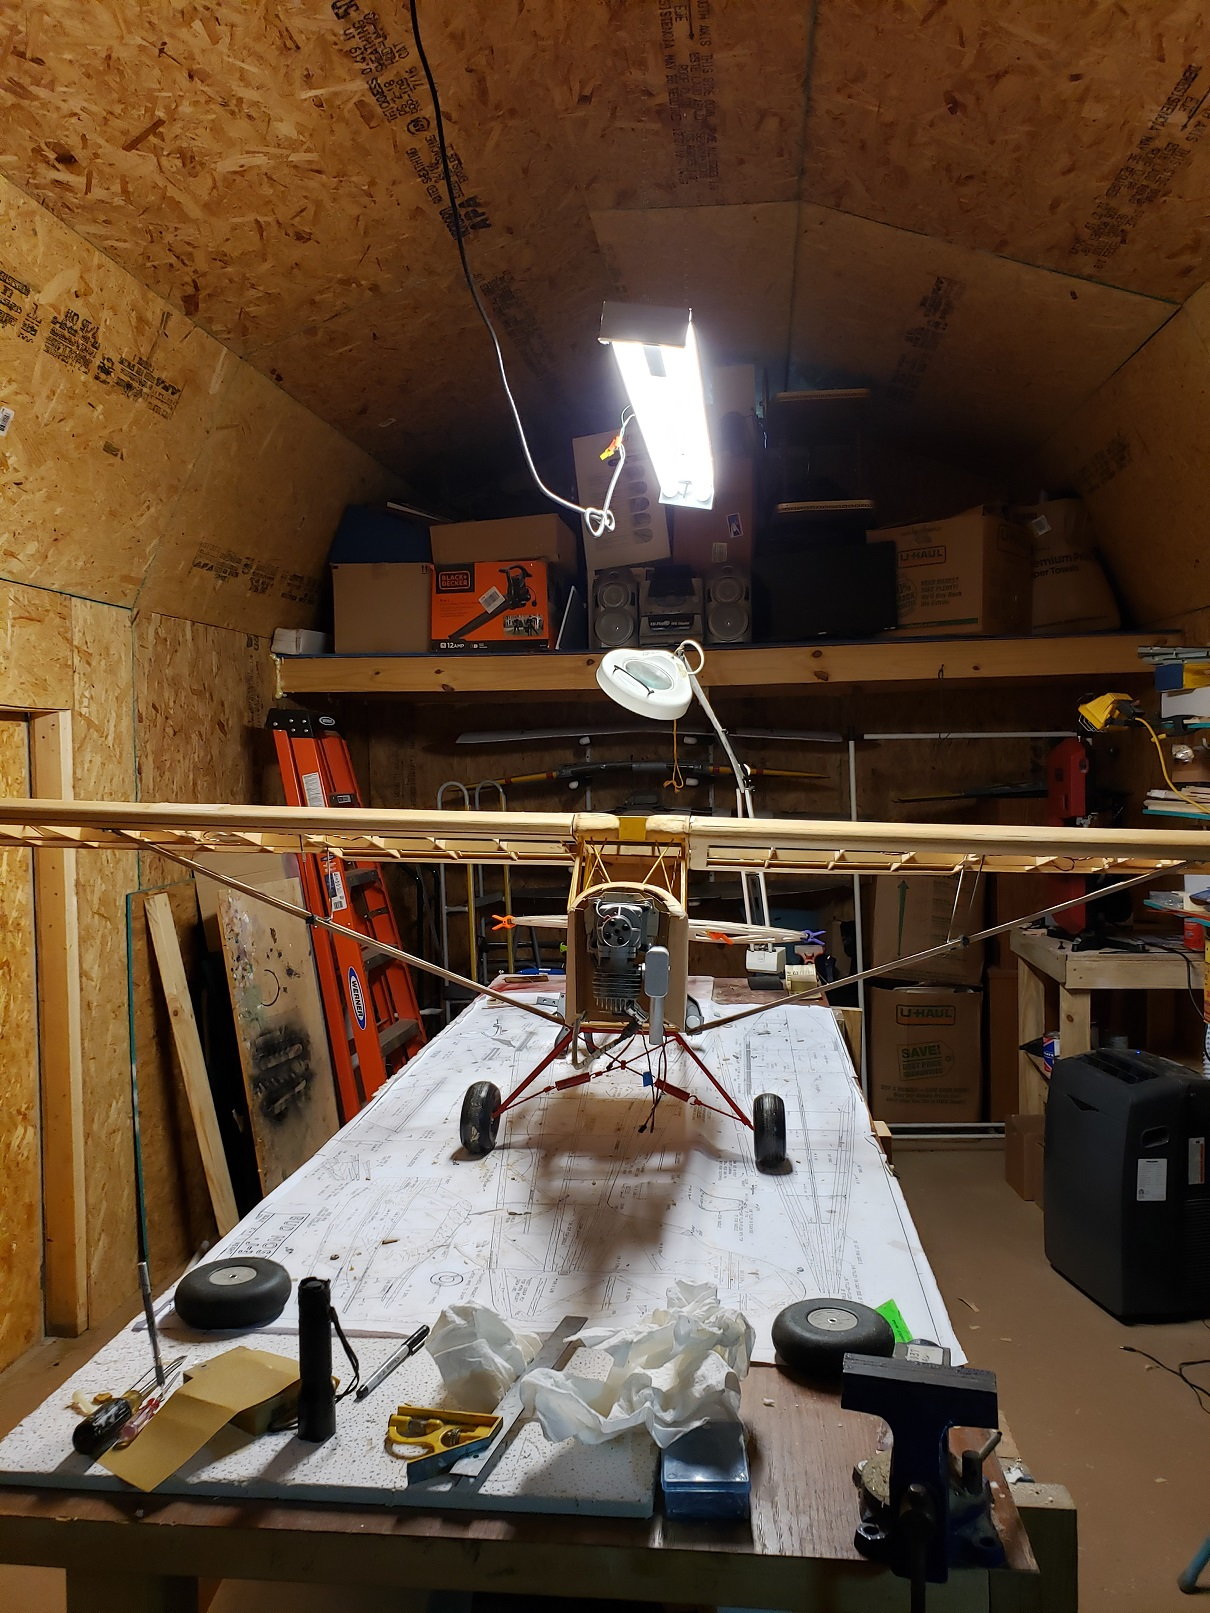
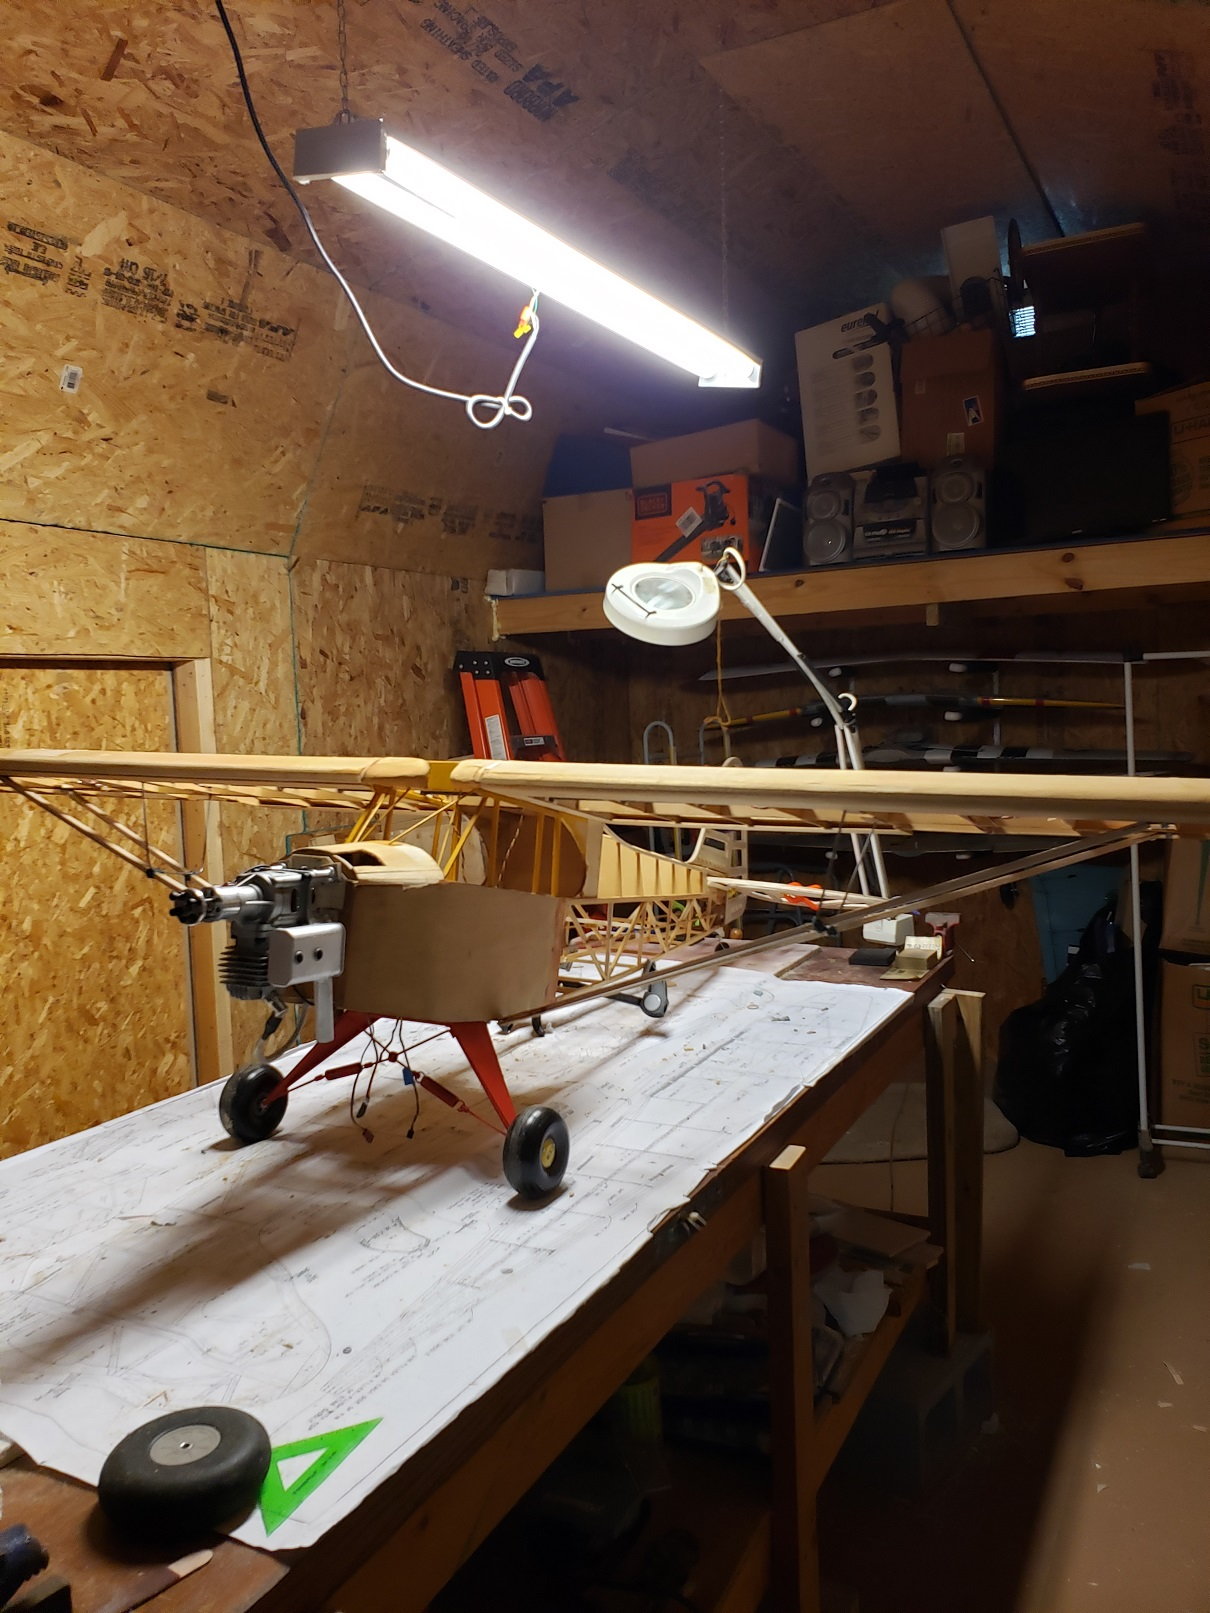
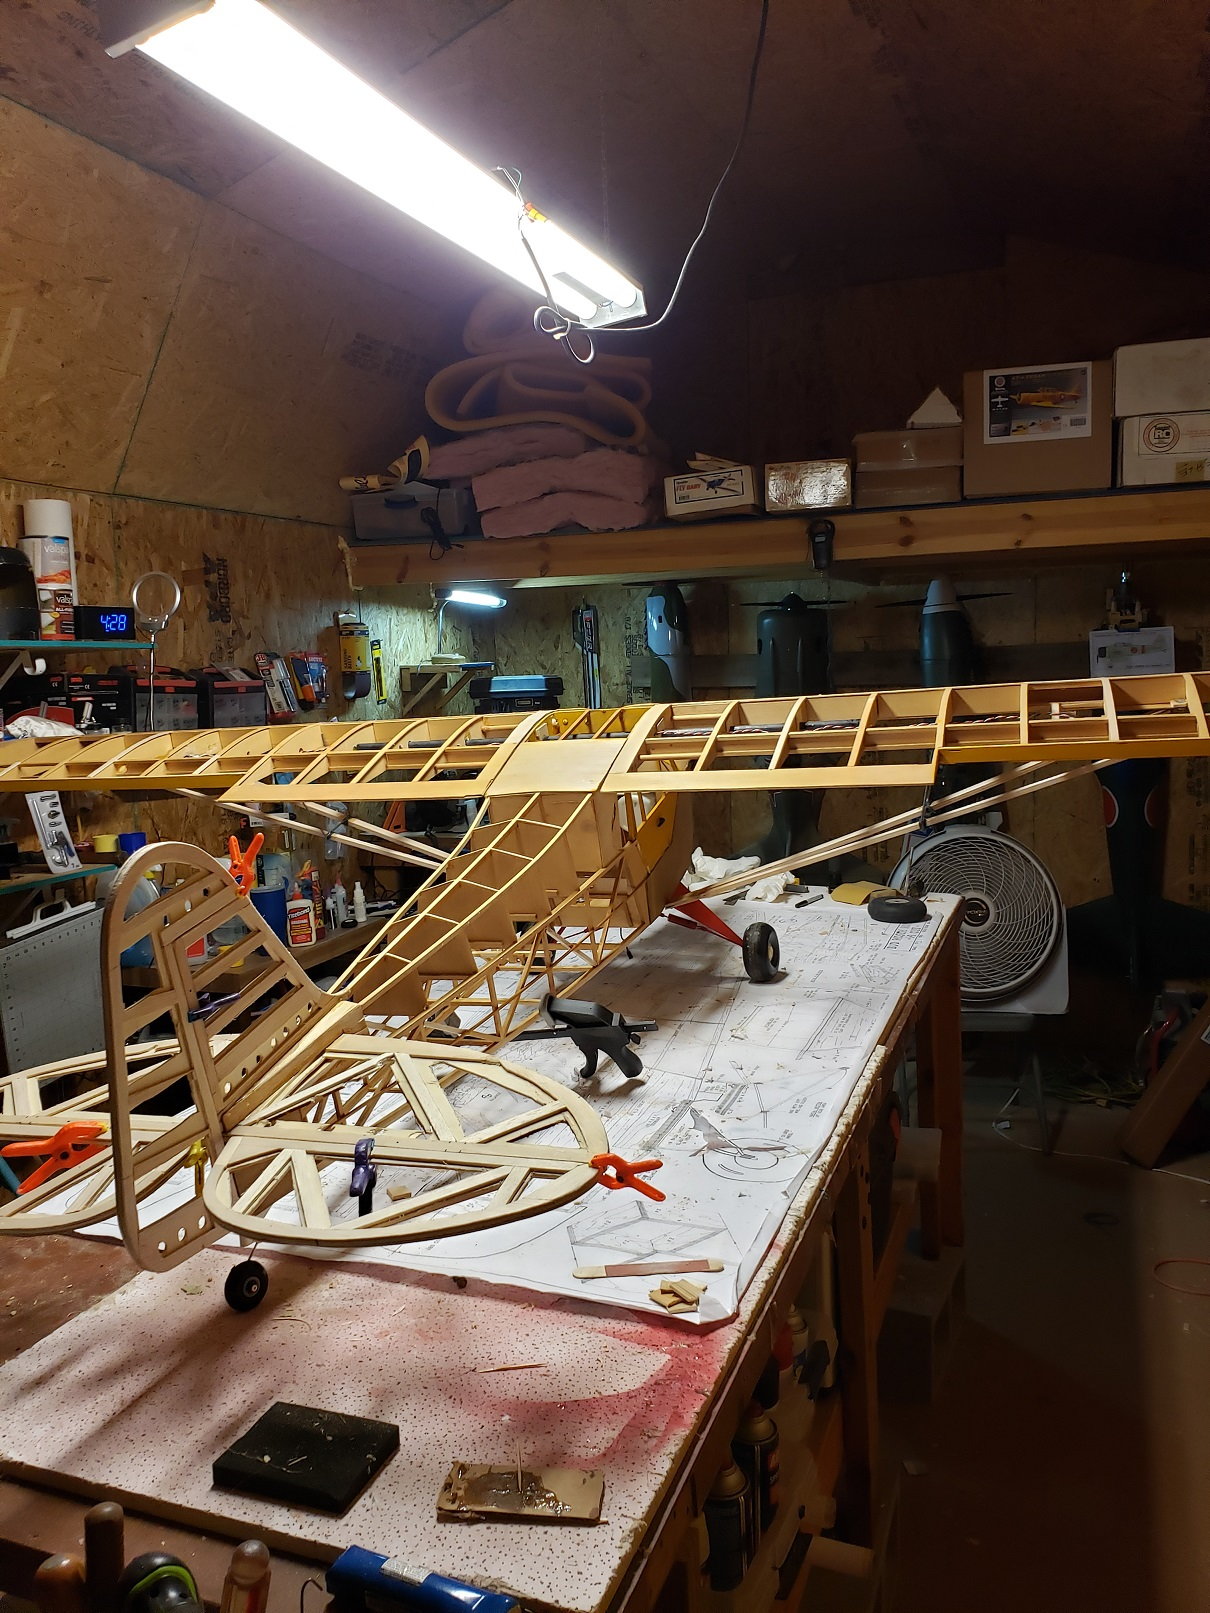
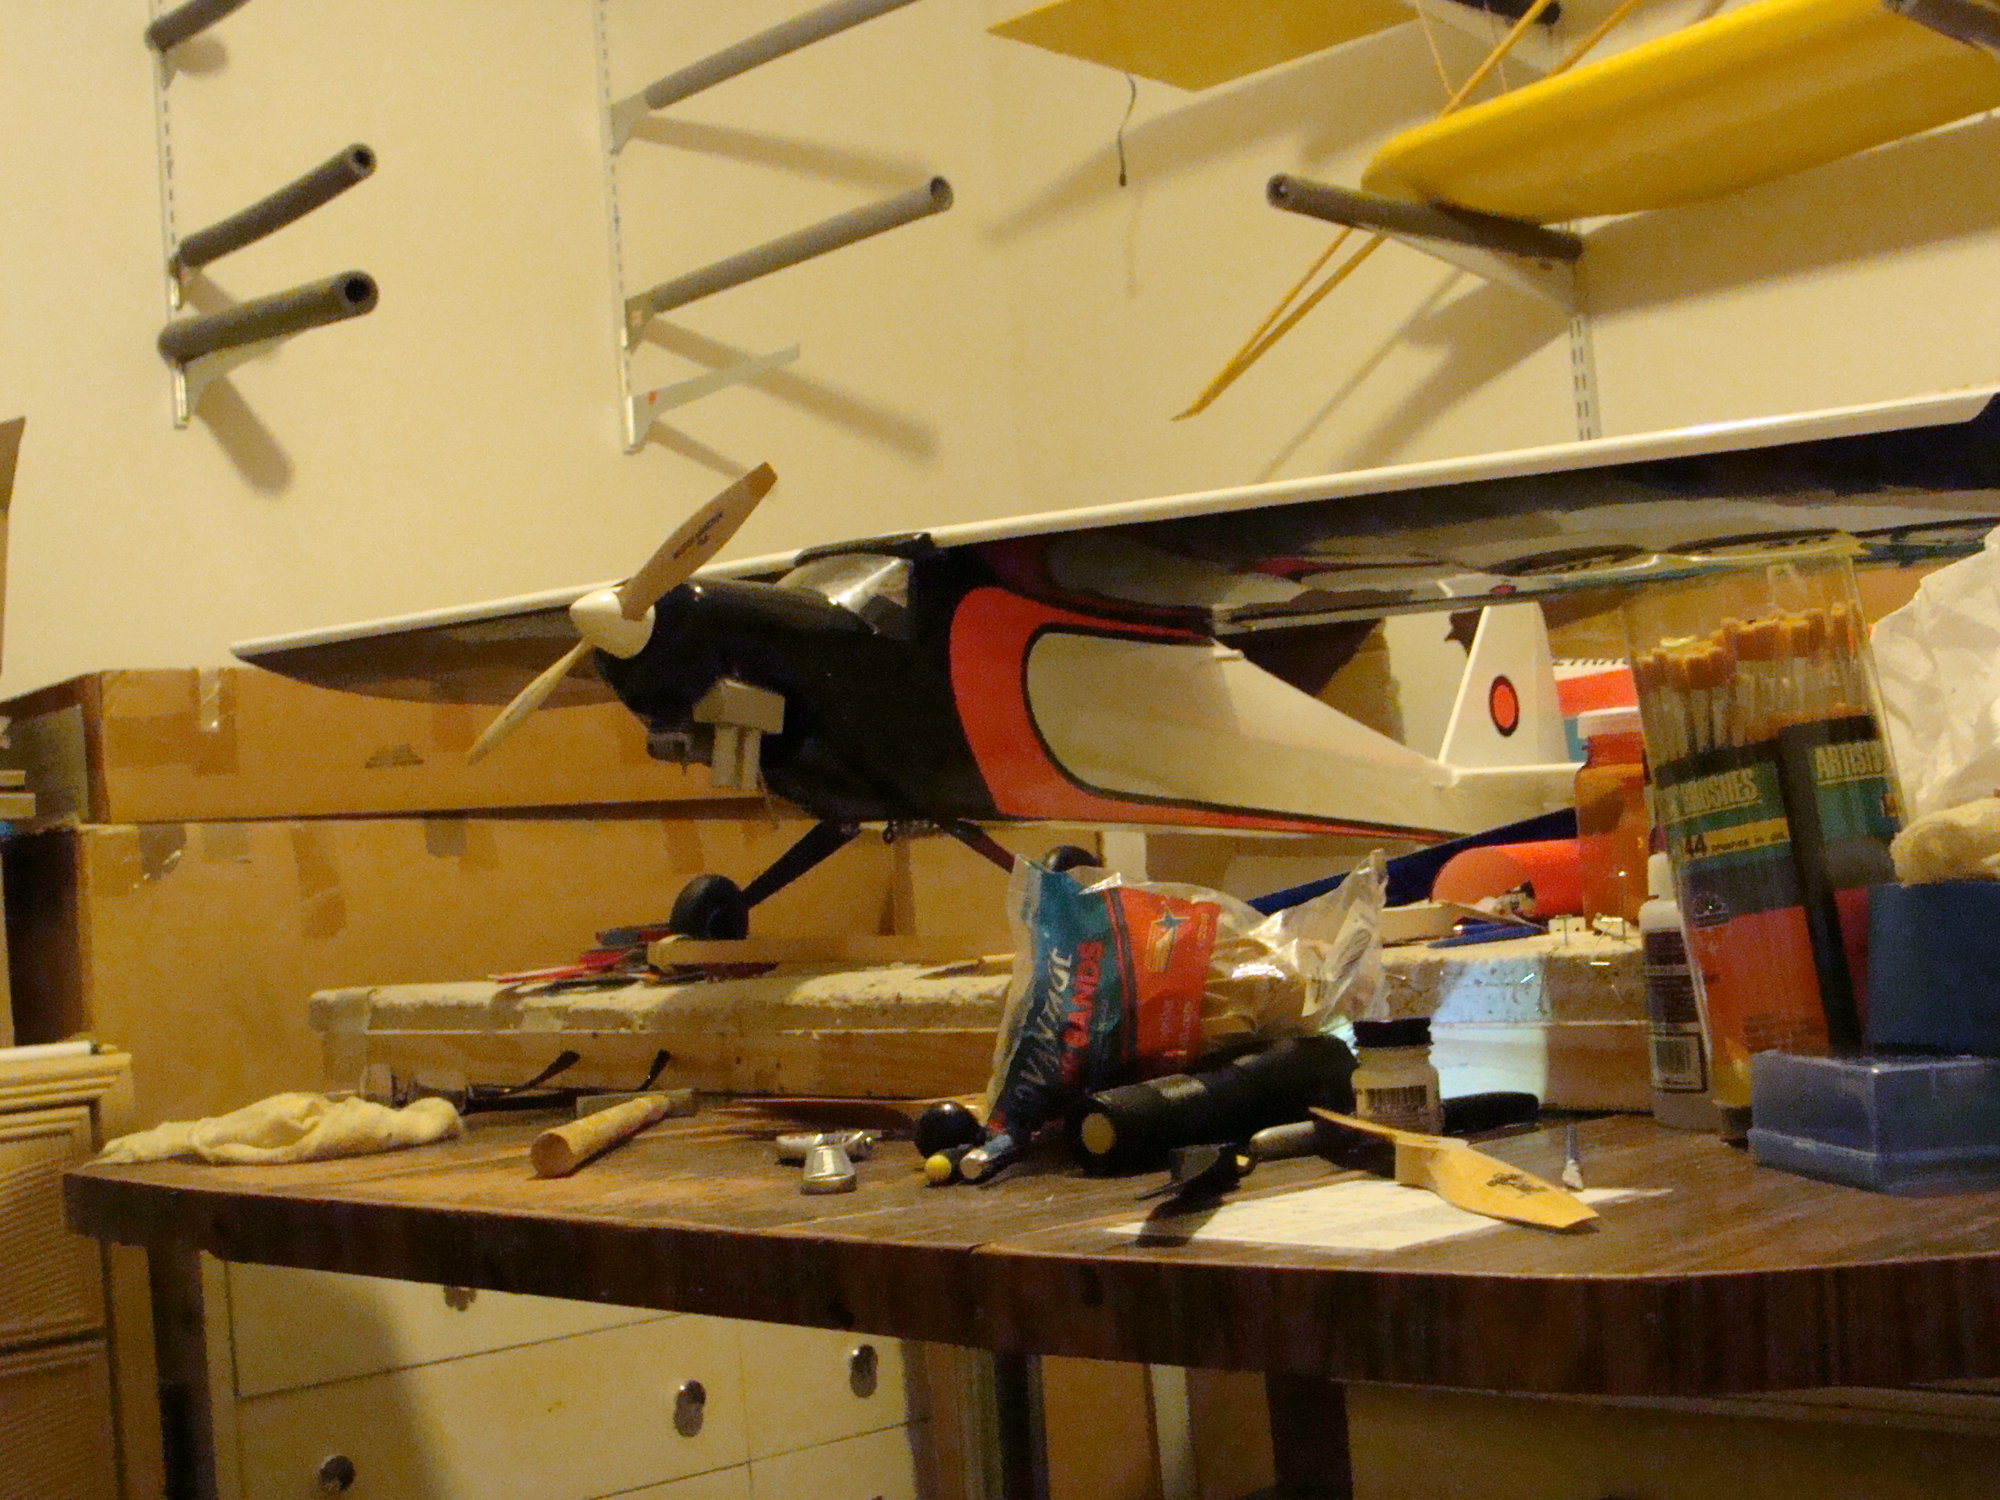
I will mask off the trim and paint it as well. I get a little more done. I finally got the landing gear today and installed it. I will have to paint it when I paint the plane because it is red. Here are a couple of pics of the gear and wheels. I have a 16oz fuel tank I will be installing.


Old 08-28-2020, 03:08 PM
  #60  
sebo
 
Join Date: Aug 2004
Location: Jacksonville, FL FL
Posts: 2,263
Likes: 0
Received 4 Likes on 4 Posts
Default

You have a plane that you will be proud of. Really nice work.
Old 08-29-2020, 04:12 AM
  #61  
jstanton
Thread Starter
My Feedback: (14)
 
jstanton's Avatar
 
Join Date: Aug 2002
Location: Millington, TN
Posts: 3,257
Received 26 Likes on 26 Posts
Default

I went out and bought some arrows for the push rods but the longest I could fine where only 31" long. I hope they are long enough. I know need to go buy the hobby shop and get some 4-40 rods.
Old 09-03-2020, 05:16 PM
  #62  
jstanton
Thread Starter
My Feedback: (14)
 
jstanton's Avatar
 
Join Date: Aug 2002
Location: Millington, TN
Posts: 3,257
Received 26 Likes on 26 Posts
Default

Got a little more done today. I got the wing struts completed. They came out pretty nice. Here are a few pics of the progress.


Old 09-03-2020, 06:17 PM
  #63  
sebo
 
Join Date: Aug 2004
Location: Jacksonville, FL FL
Posts: 2,263
Likes: 0
Received 4 Likes on 4 Posts
Default

Really looks nice!
Old 09-03-2020, 06:21 PM
  #64  
sebo
 
Join Date: Aug 2004
Location: Jacksonville, FL FL
Posts: 2,263
Likes: 0
Received 4 Likes on 4 Posts
Default


Just finished this 'T' CRAFT YESTERDAY.
Old 09-03-2020, 06:27 PM
  #65  
sebo
 
Join Date: Aug 2004
Location: Jacksonville, FL FL
Posts: 2,263
Likes: 0
Received 4 Likes on 4 Posts
Default


jUST ANOTHER ANGLE WITH THE SPINNER AND PROP....NOT GIANT SCALE THOUGH....i'M RUNNING OUT OF ROOM TO STORE THE BIG ONES
Old 09-04-2020, 03:49 AM
  #66  
jstanton
Thread Starter
My Feedback: (14)
 
jstanton's Avatar
 
Join Date: Aug 2002
Location: Millington, TN
Posts: 3,257
Received 26 Likes on 26 Posts
Default

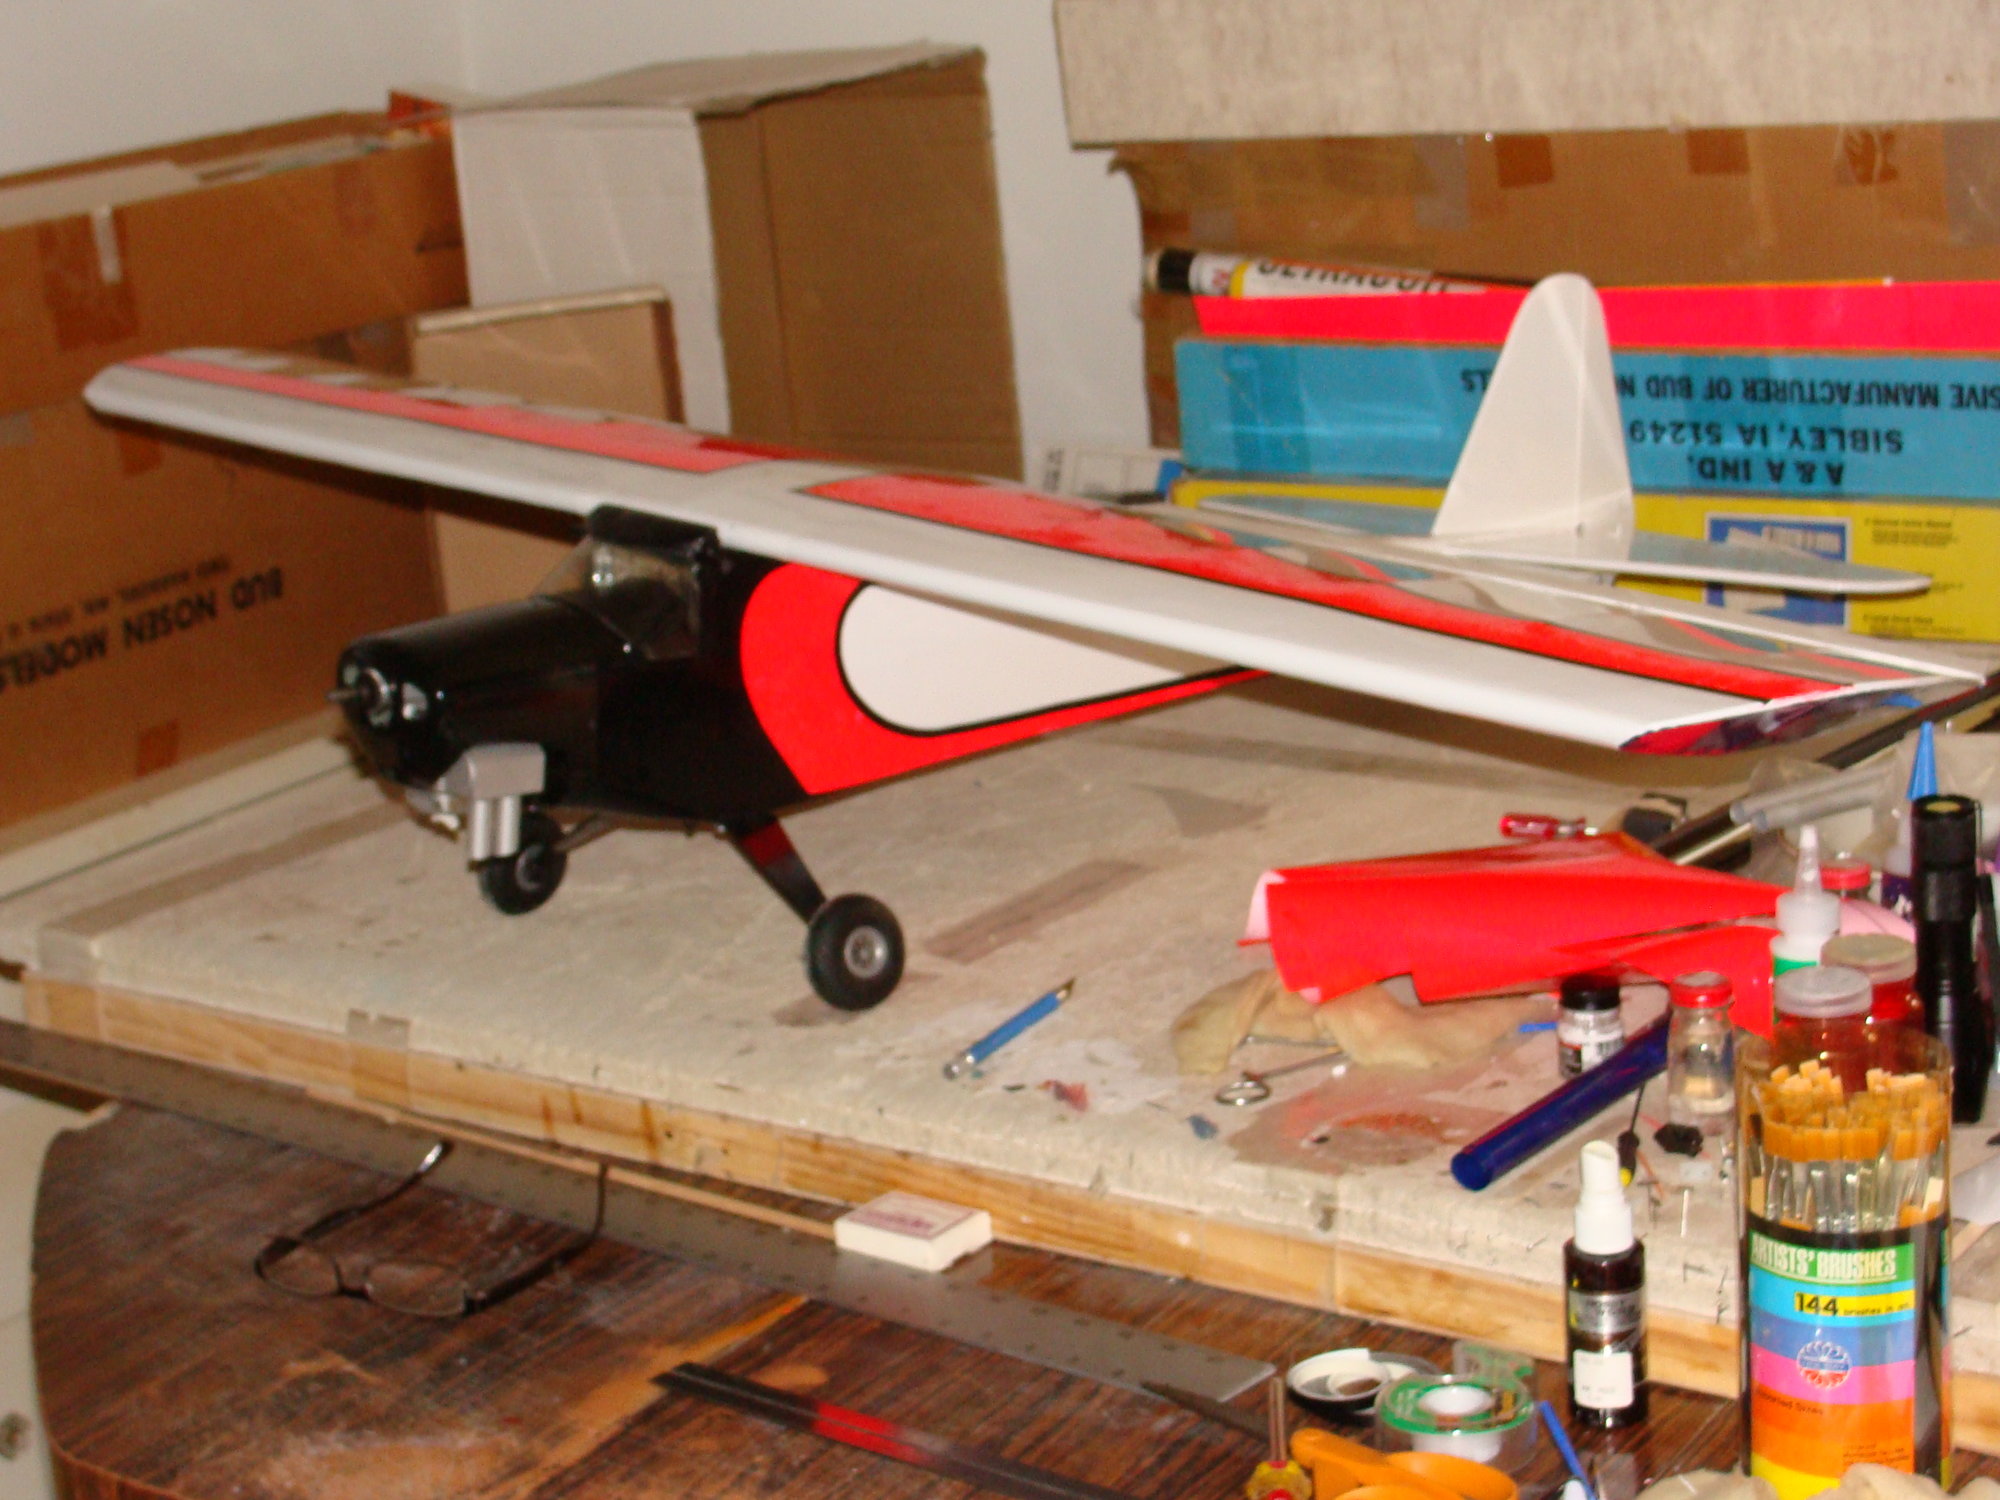
That look really nice. Is it a TaylorCraft from Sig? You do a wonderful job on the covering. I hope to start covering this week. Still have a few things to do on the plane before I start that. I too am running out of space to store my planes. I am thinking about selling a few to make room.
Old 09-04-2020, 07:54 AM
  #67  
sebo
 
Join Date: Aug 2004
Location: Jacksonville, FL FL
Posts: 2,263
Likes: 0
Received 4 Likes on 4 Posts
Default

It is an old kit called the Live Wire "T" craft by Pappy Debolt. MidWest kit about 30 years old.
Old 09-04-2020, 09:27 AM
  #68  
jstanton
Thread Starter
My Feedback: (14)
 
jstanton's Avatar
 
Join Date: Aug 2002
Location: Millington, TN
Posts: 3,257
Received 26 Likes on 26 Posts
Default

It looks great. I know it will be a good flyer. It looks alot like the Sig Taylor after and I know it id a good flyer.
Old 09-04-2020, 10:22 AM
  #69  
jstanton
Thread Starter
My Feedback: (14)
 
jstanton's Avatar
 
Join Date: Aug 2002
Location: Millington, TN
Posts: 3,257
Received 26 Likes on 26 Posts
Default

It looks great. I know it will be a good flyer. It looks alot like the Sig Taylor after and I know it id a good flyer.
Old 09-22-2020, 06:35 AM
  #70  
Steve
My Feedback: (54)
 
Steve's Avatar
 
Join Date: Dec 2001
Location: Ashton, ID
Posts: 2,354
Received 6 Likes on 6 Posts
Default

Nice work there! I've got a kit I'm going to start on soon. I like the wing tube idea. I'm also thinking of making it a super cub, and adding flaps. I'll also make some more scale looking wing struts and mount the servos in each wing panel with direct linkages. The window material in the kit is brittle so I'll have to order some new stuff. I'm also looking at functional landing gear. Keep up the good work!
Old 09-22-2020, 06:50 AM
  #71  
jstanton
Thread Starter
My Feedback: (14)
 
jstanton's Avatar
 
Join Date: Aug 2002
Location: Millington, TN
Posts: 3,257
Received 26 Likes on 26 Posts
Default

Steve,

Looking forward to seeing your progress. I have slowed down some on building but I will be getting back into in.
Old 09-22-2020, 11:26 AM
  #72  
Steve
My Feedback: (54)
 
Steve's Avatar
 
Join Date: Dec 2001
Location: Ashton, ID
Posts: 2,354
Received 6 Likes on 6 Posts
Default

Originally Posted by jstanton
Steve,

Looking forward to seeing your progress. I have slowed down some on building but I will be getting back into in.
Thanks. I've got a few things figured out already.
Old 10-19-2020, 02:46 PM
  #73  
Steve
My Feedback: (54)
 
Steve's Avatar
 
Join Date: Dec 2001
Location: Ashton, ID
Posts: 2,354
Received 6 Likes on 6 Posts
Default

Got started on the tailfeathers and I can see why people complain about the die cutting. Got the horizontal stab done and it turned out ok. Still have to put the hard points in for the brace wire.


Old 10-19-2020, 03:28 PM
  #74  
sebo
 
Join Date: Aug 2004
Location: Jacksonville, FL FL
Posts: 2,263
Likes: 0
Received 4 Likes on 4 Posts
Default

The pictures are great. .Makes the thread enjoyable
The following users liked this post:
Steve (10-19-2020)
Old 10-19-2020, 05:01 PM
  #75  
Steve
My Feedback: (54)
 
Steve's Avatar
 
Join Date: Dec 2001
Location: Ashton, ID
Posts: 2,354
Received 6 Likes on 6 Posts
Default

Thanks sebo!


Contact Us - Manage Preferences Archive - Advertising - Cookie Policy - Privacy Statement - Terms of Service

Copyright © 2024 MH Sub I, LLC dba Internet Brands. All rights reserved. Use of this site indicates your consent to the Terms of Use.