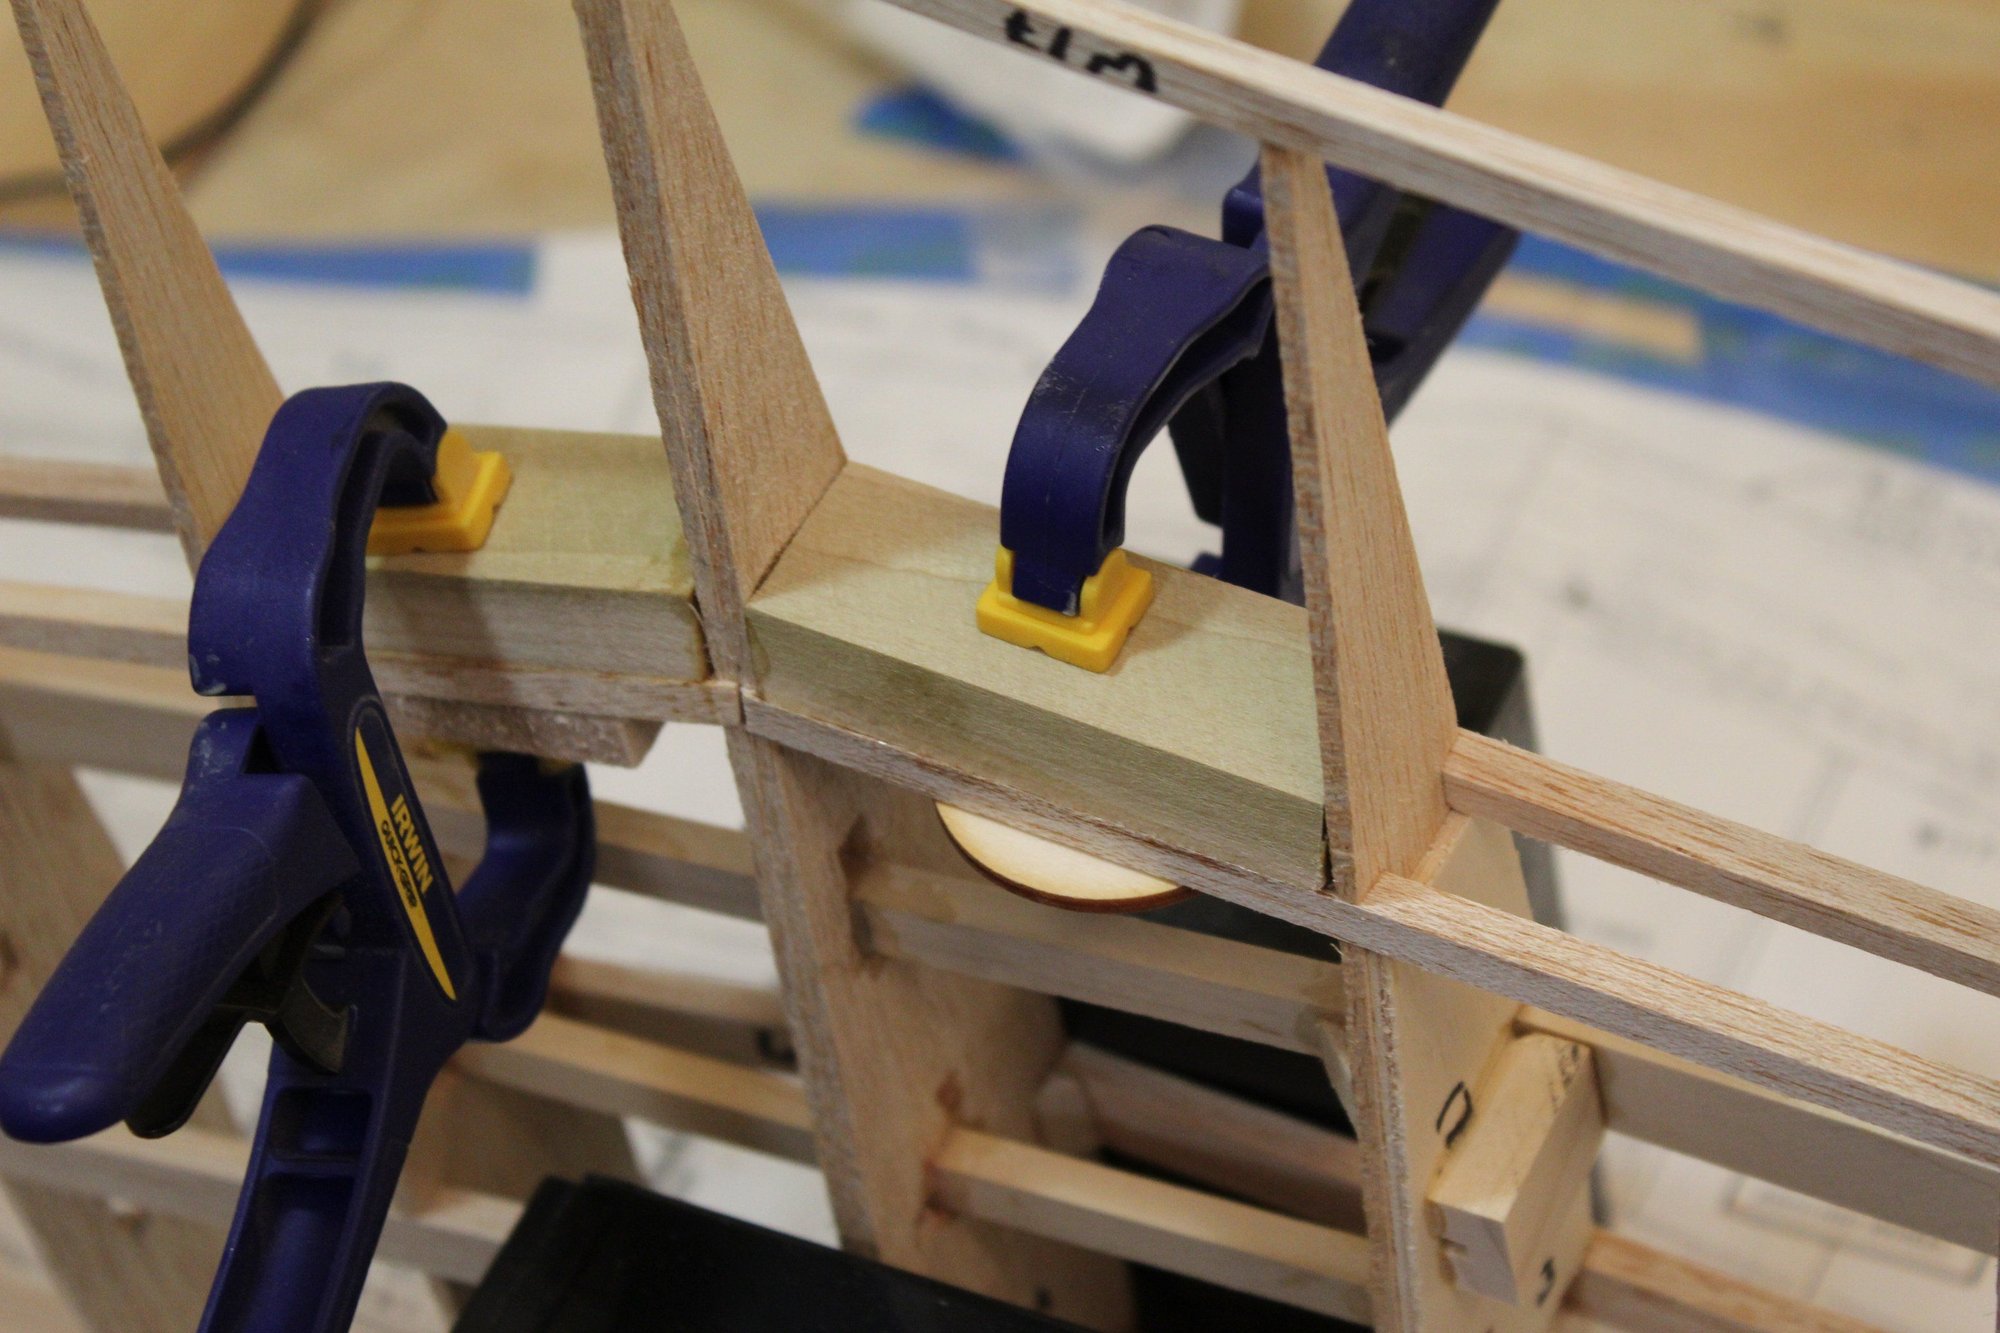
Pica Duellist 2/40
#1

Thread Starter
Join Date: Jun 2008
Location: Perth WA, AUSTRALIA
Posts: 1,237
Likes: 0
Received 12 Likes
on
12 Posts
I was trying to get the Pica Duellist 2/40 kit for over 3 years. Sellers on ebay from the USA refusing to consider international shipping meant that the (very) few that get offered for sale were not available to me in Australia. When winning a bid on ebay with a seller offering international shipping, that US seller cancelled the deal and refunded the money... Finally, a kit became available on ebay in the UK and I managed to purchase it in April 2023.
Other kit building deferred the start (such as the Lanier RC Giant Stinger), but finally last month I started the build.
I will post photos and some comments when time permits, the actual progress is always slightly beyond what you see here.
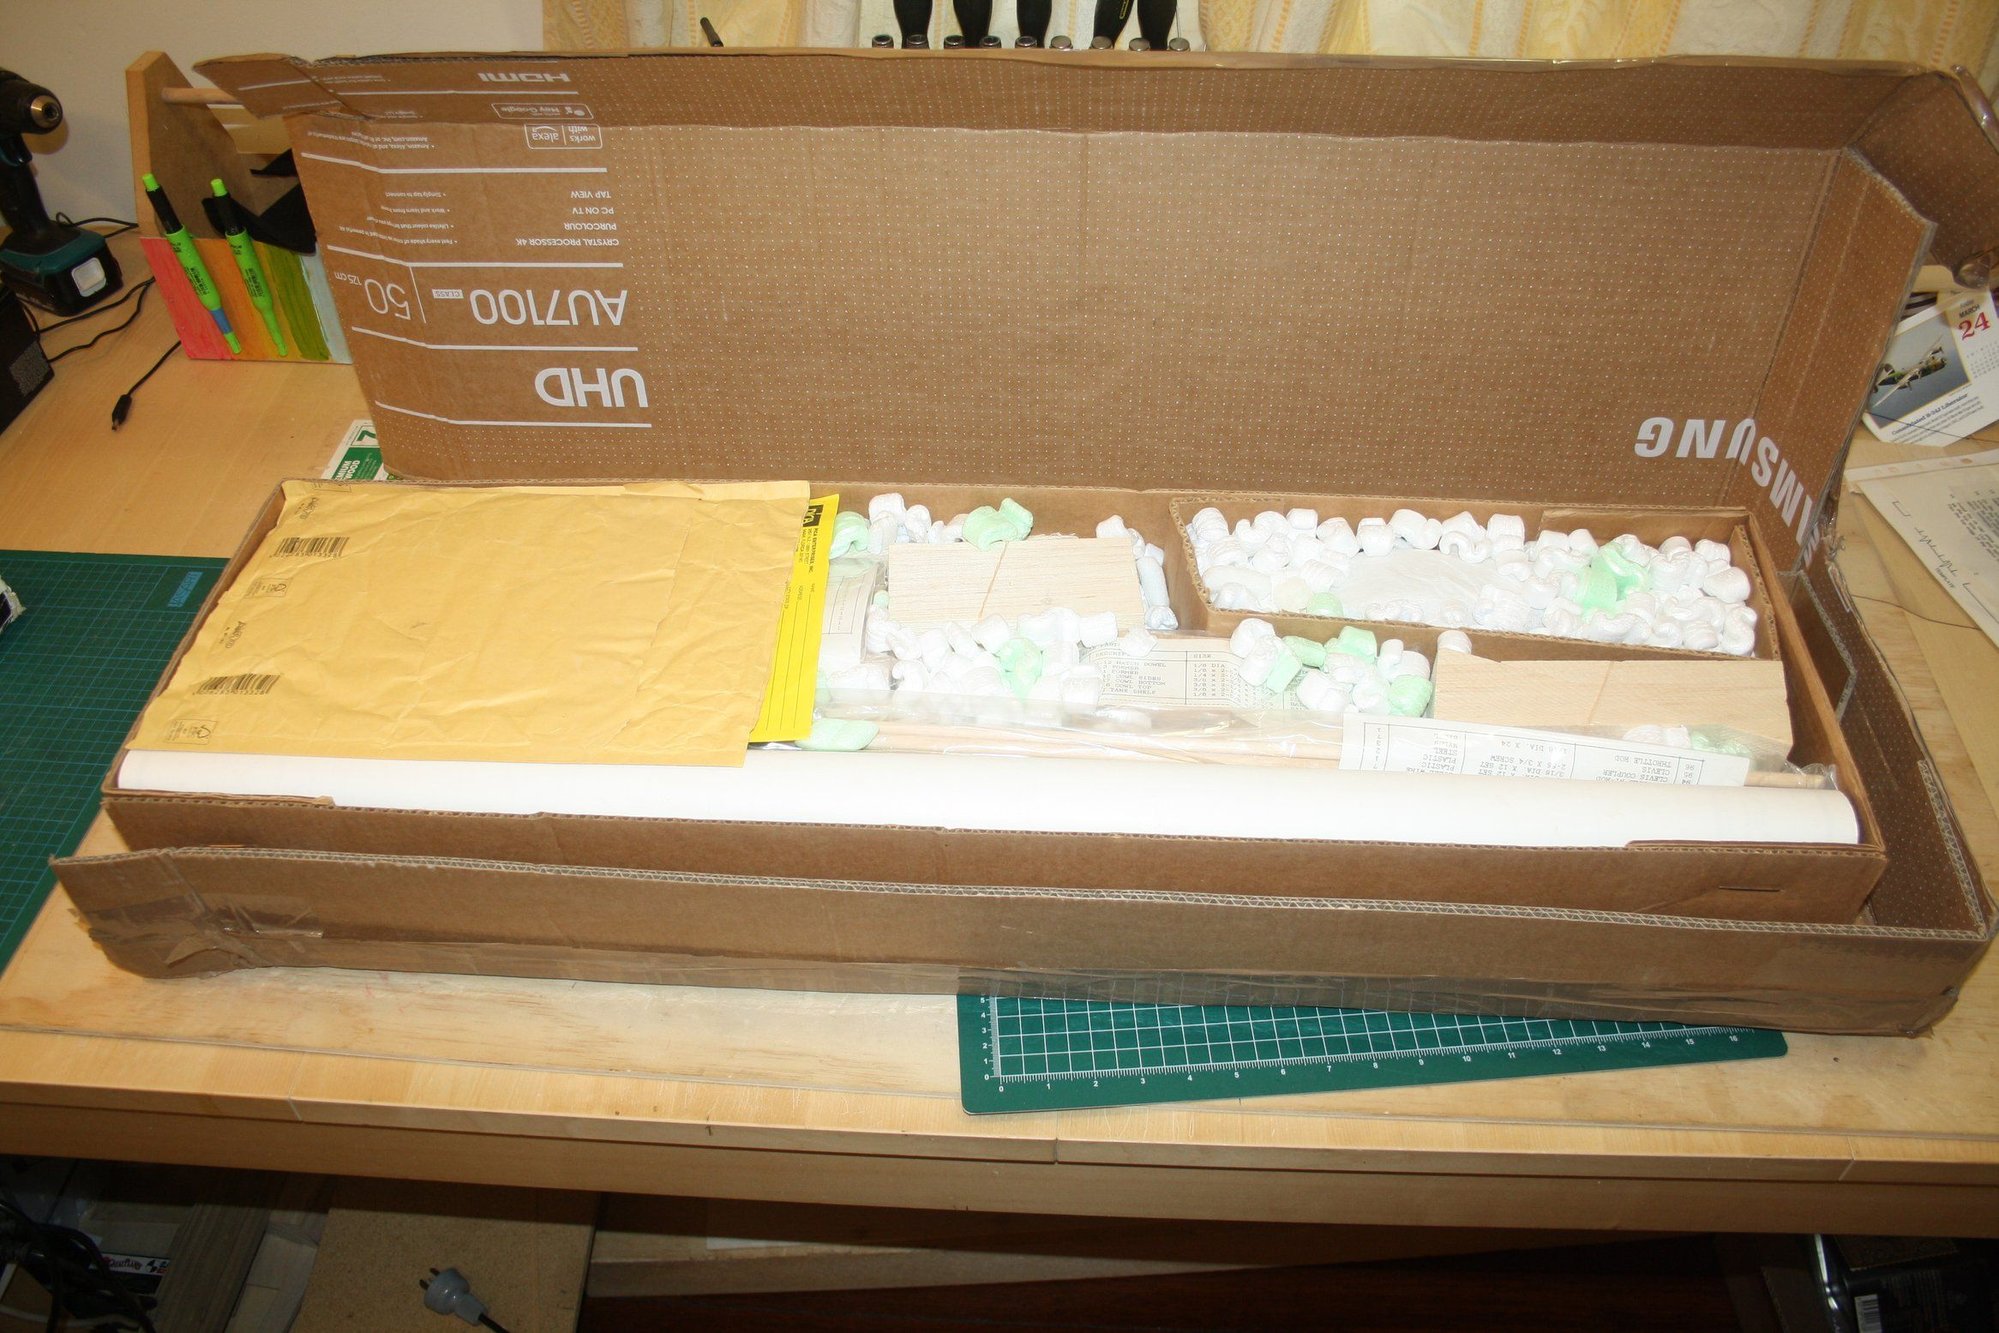
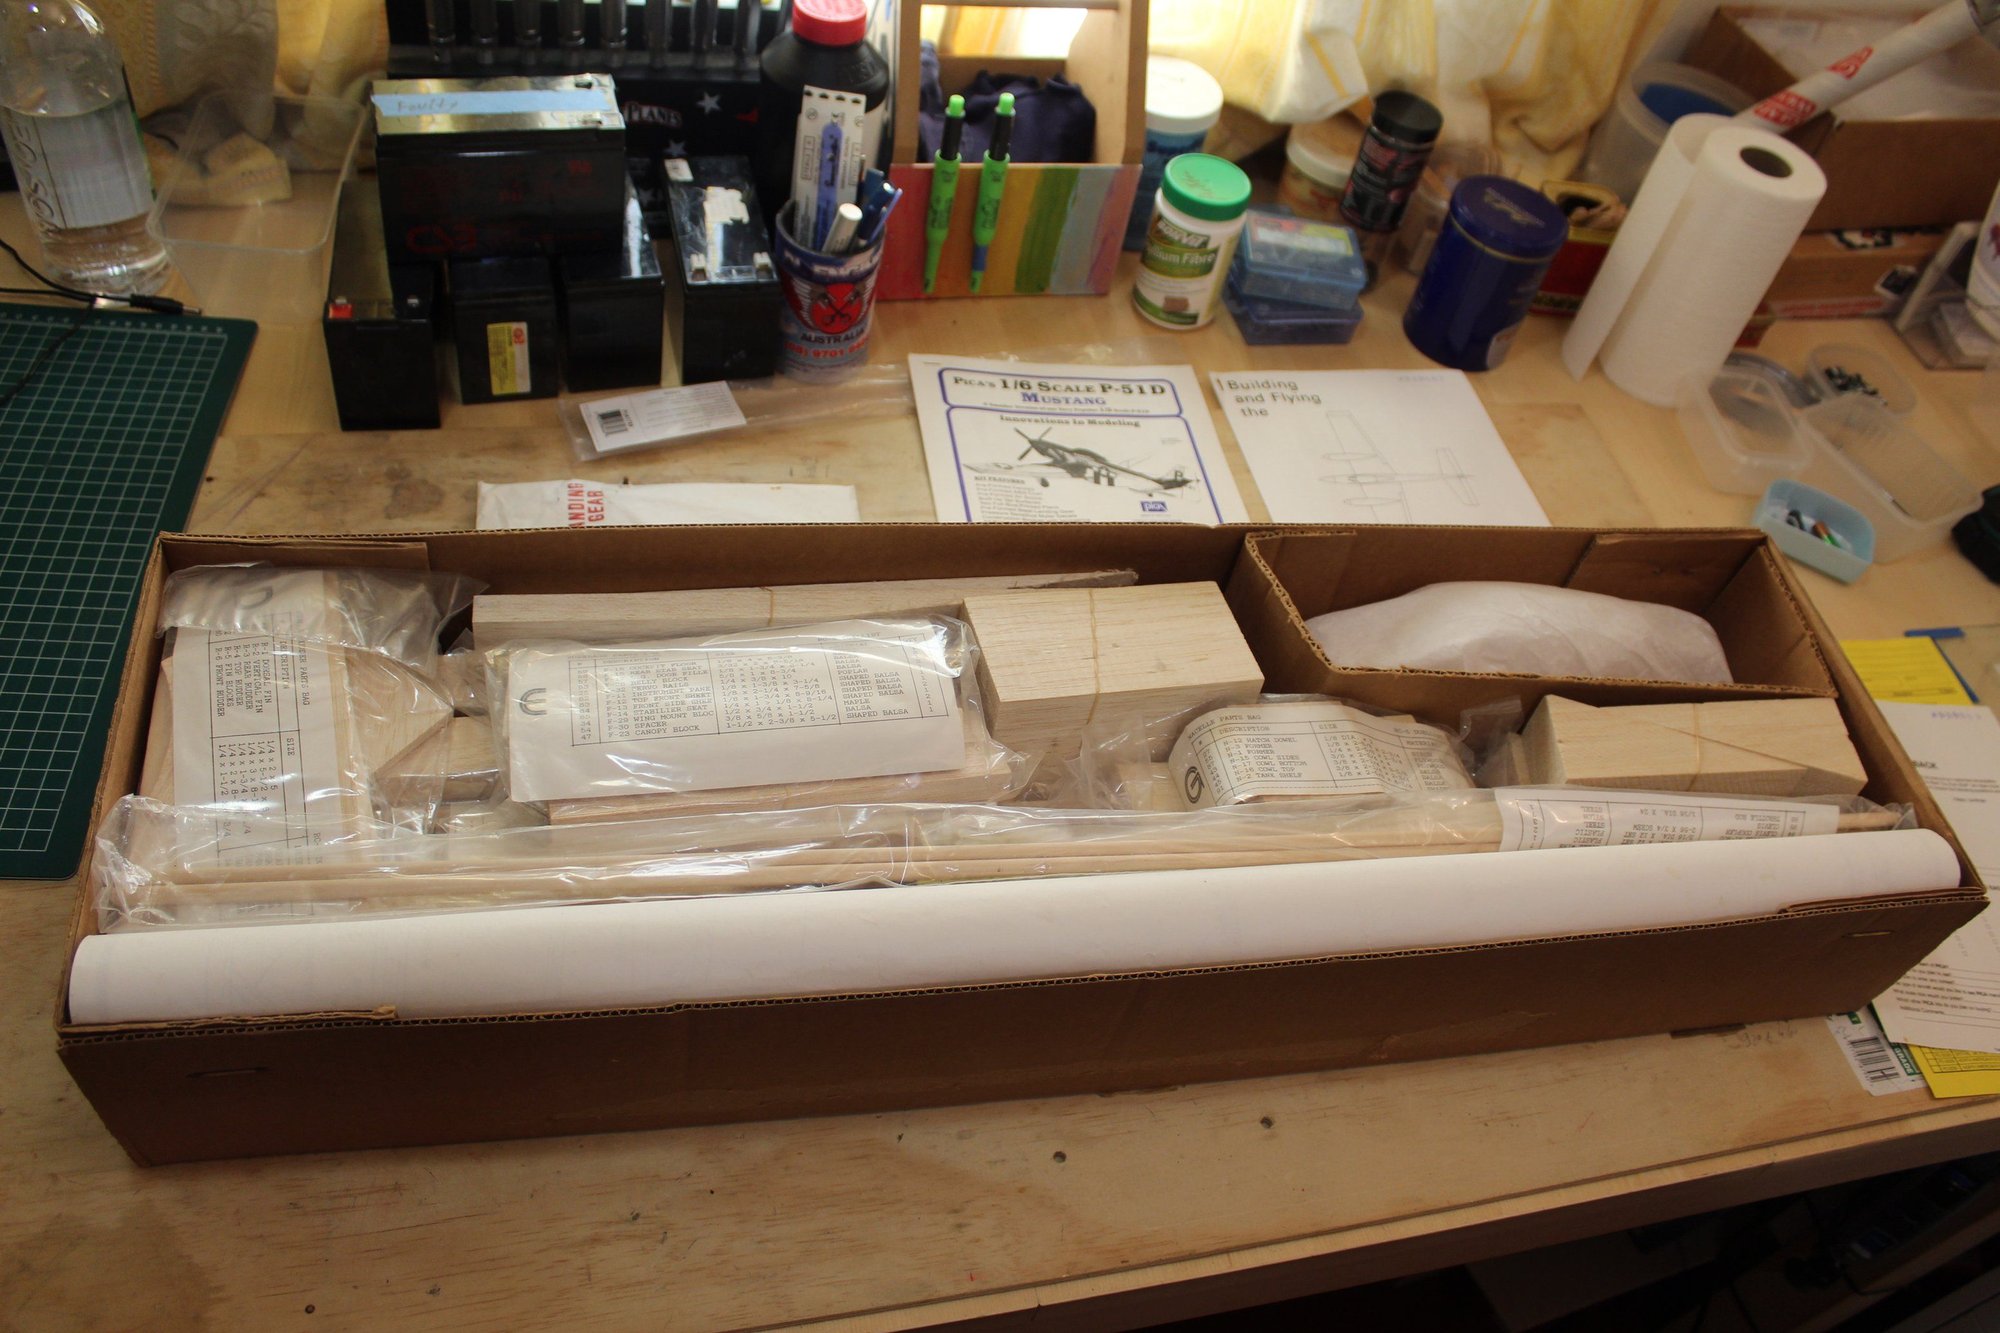
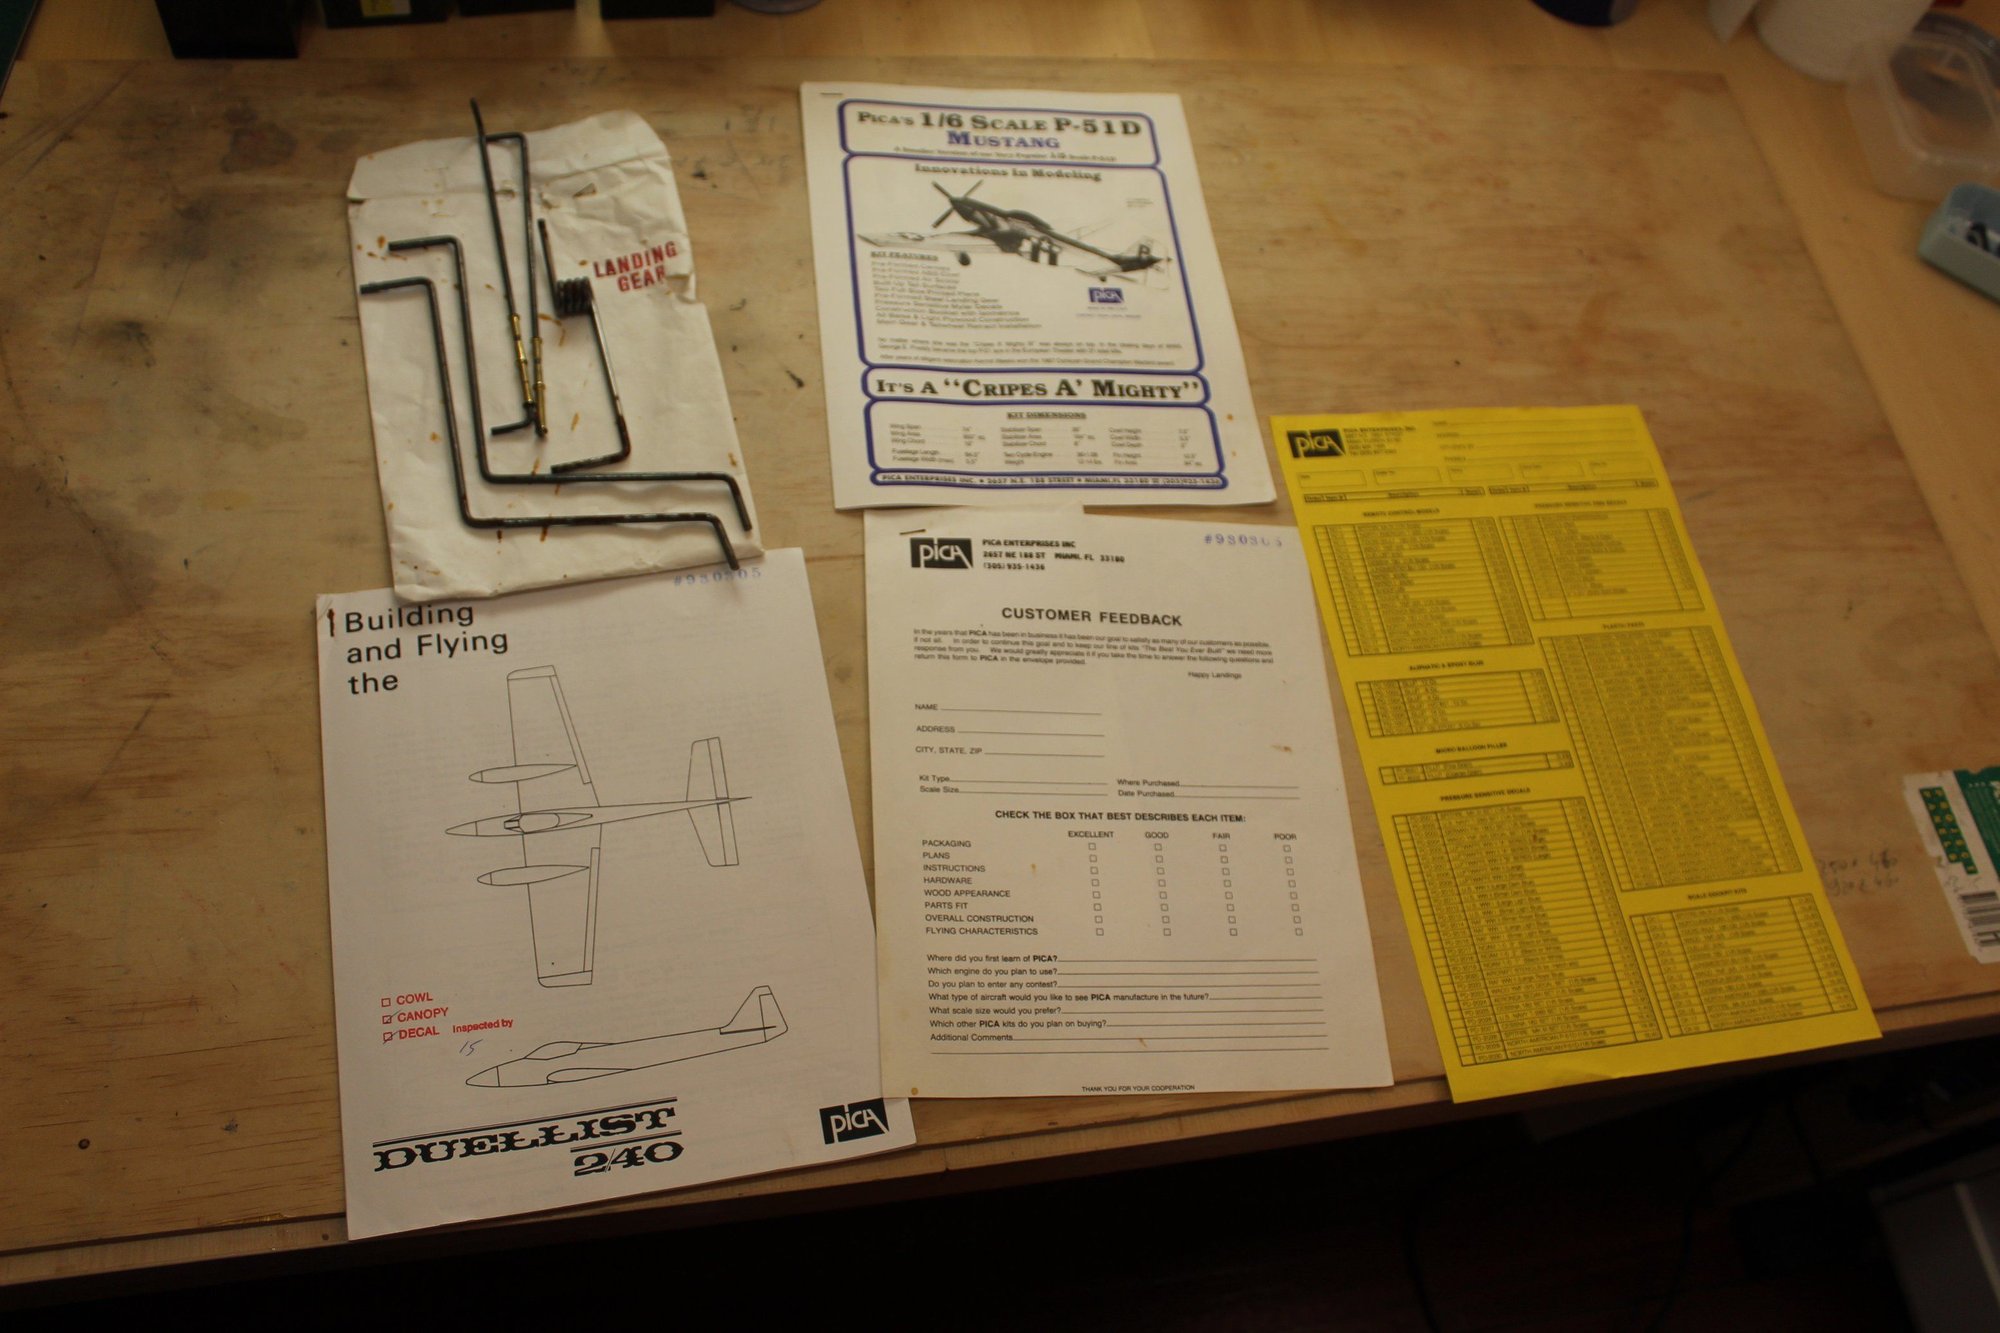
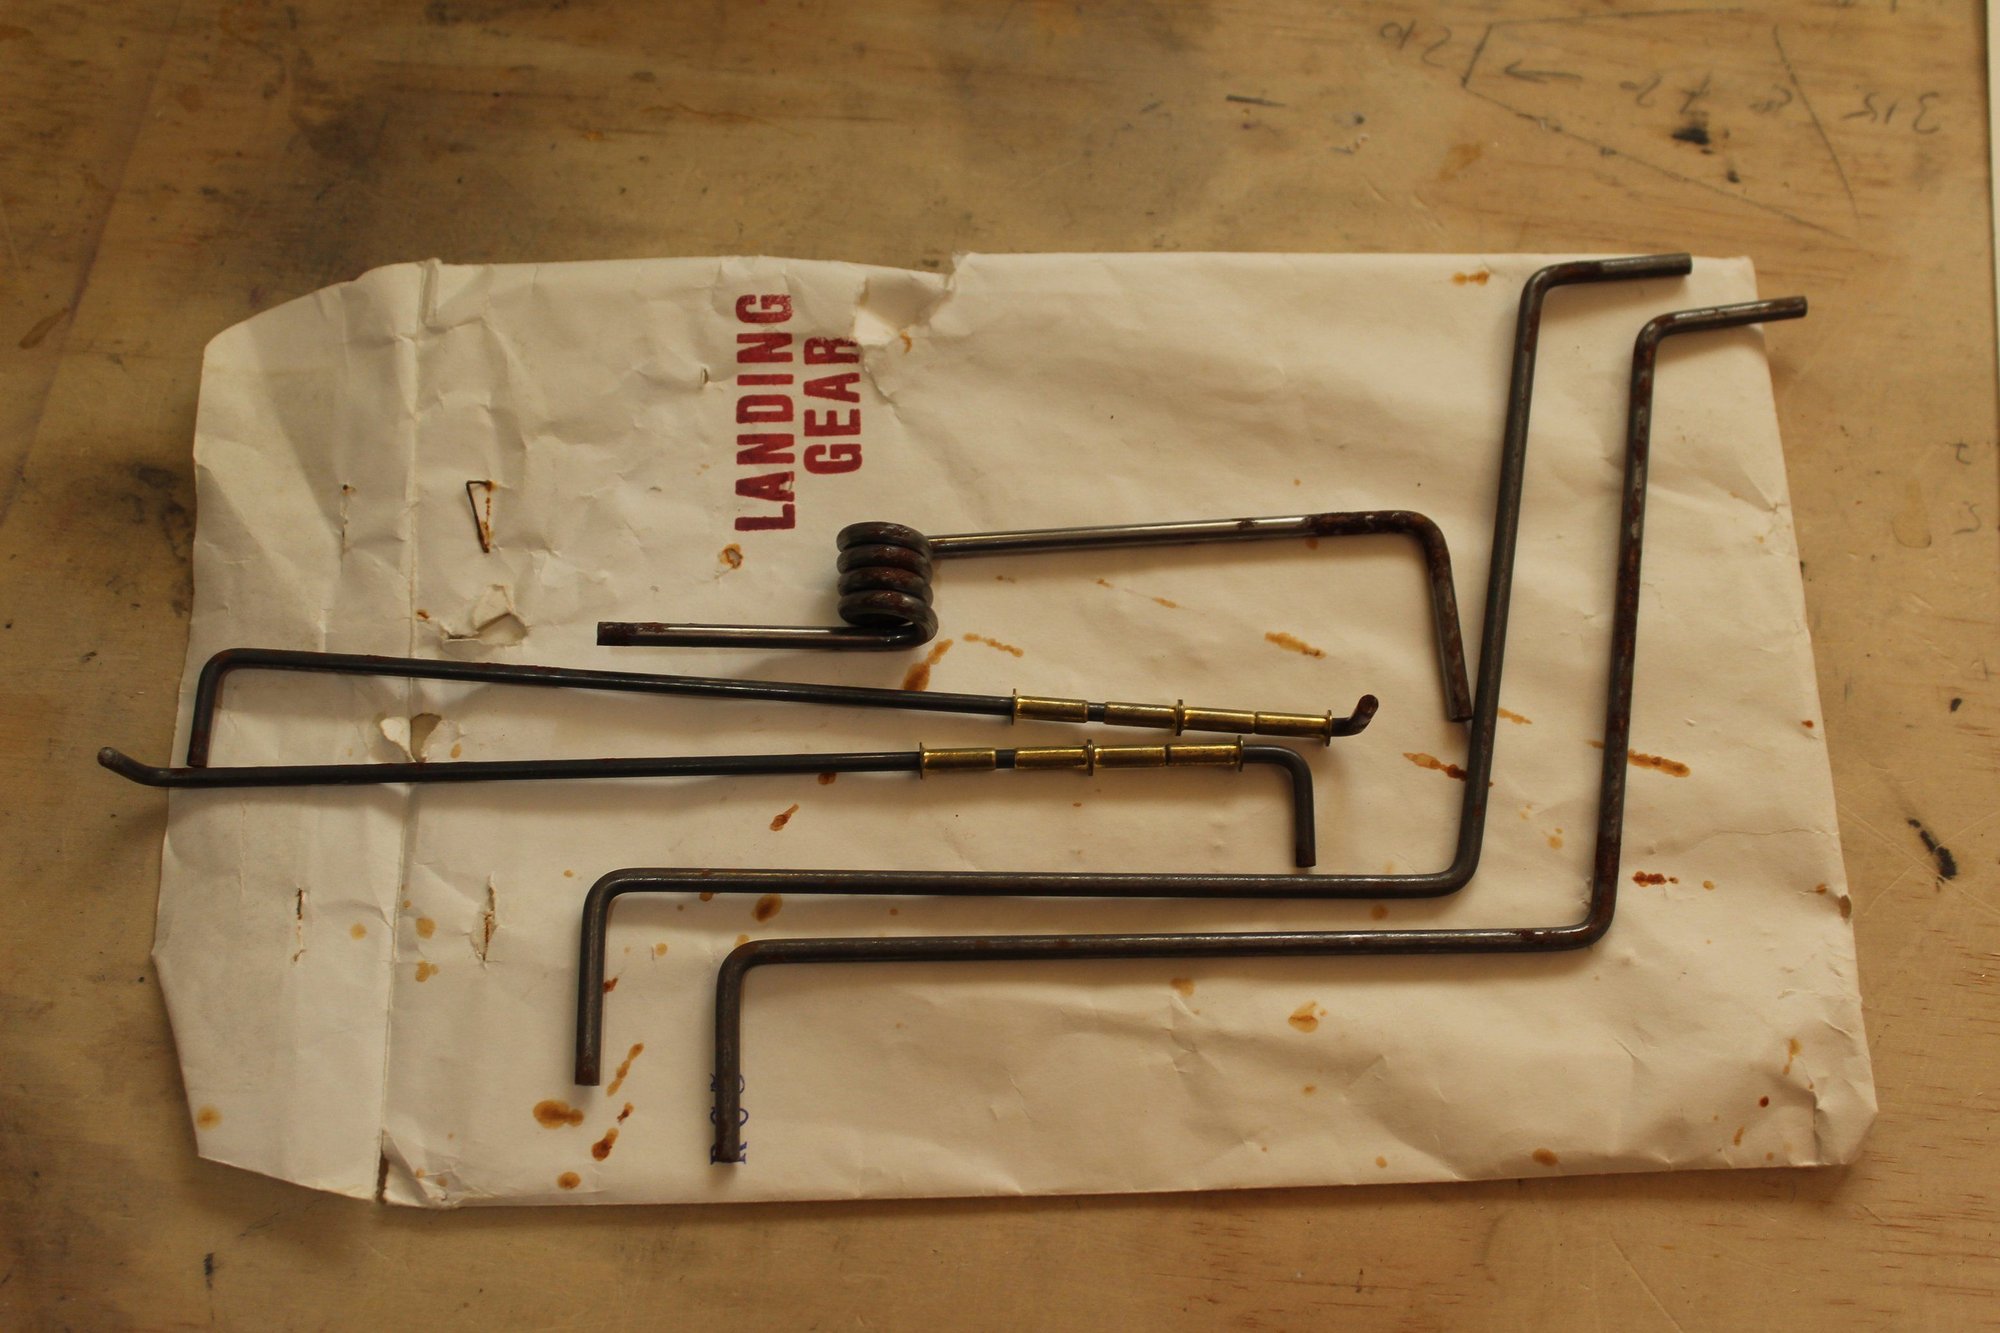
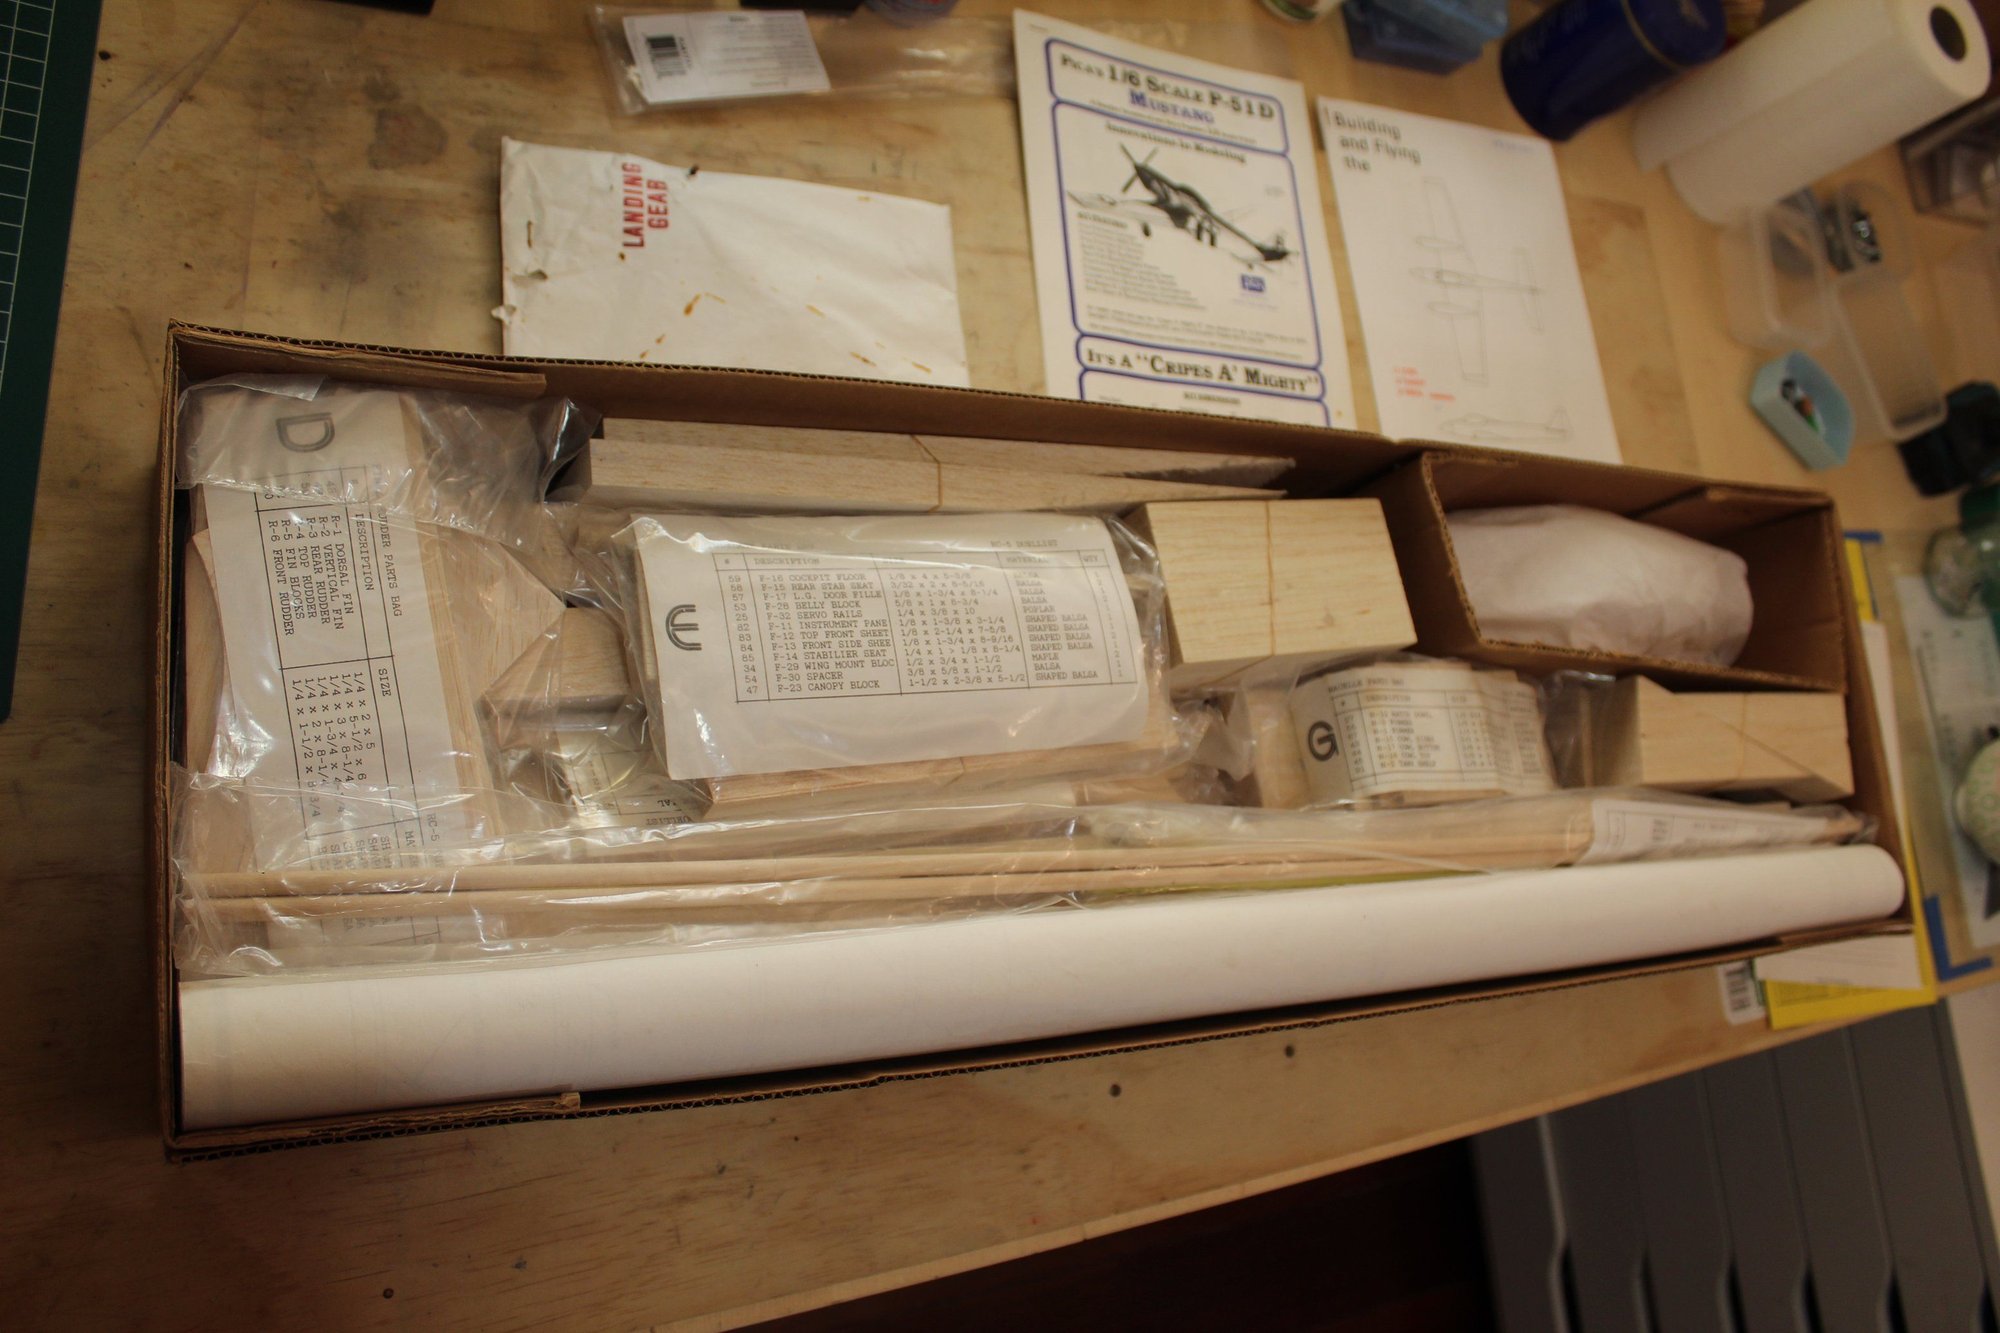
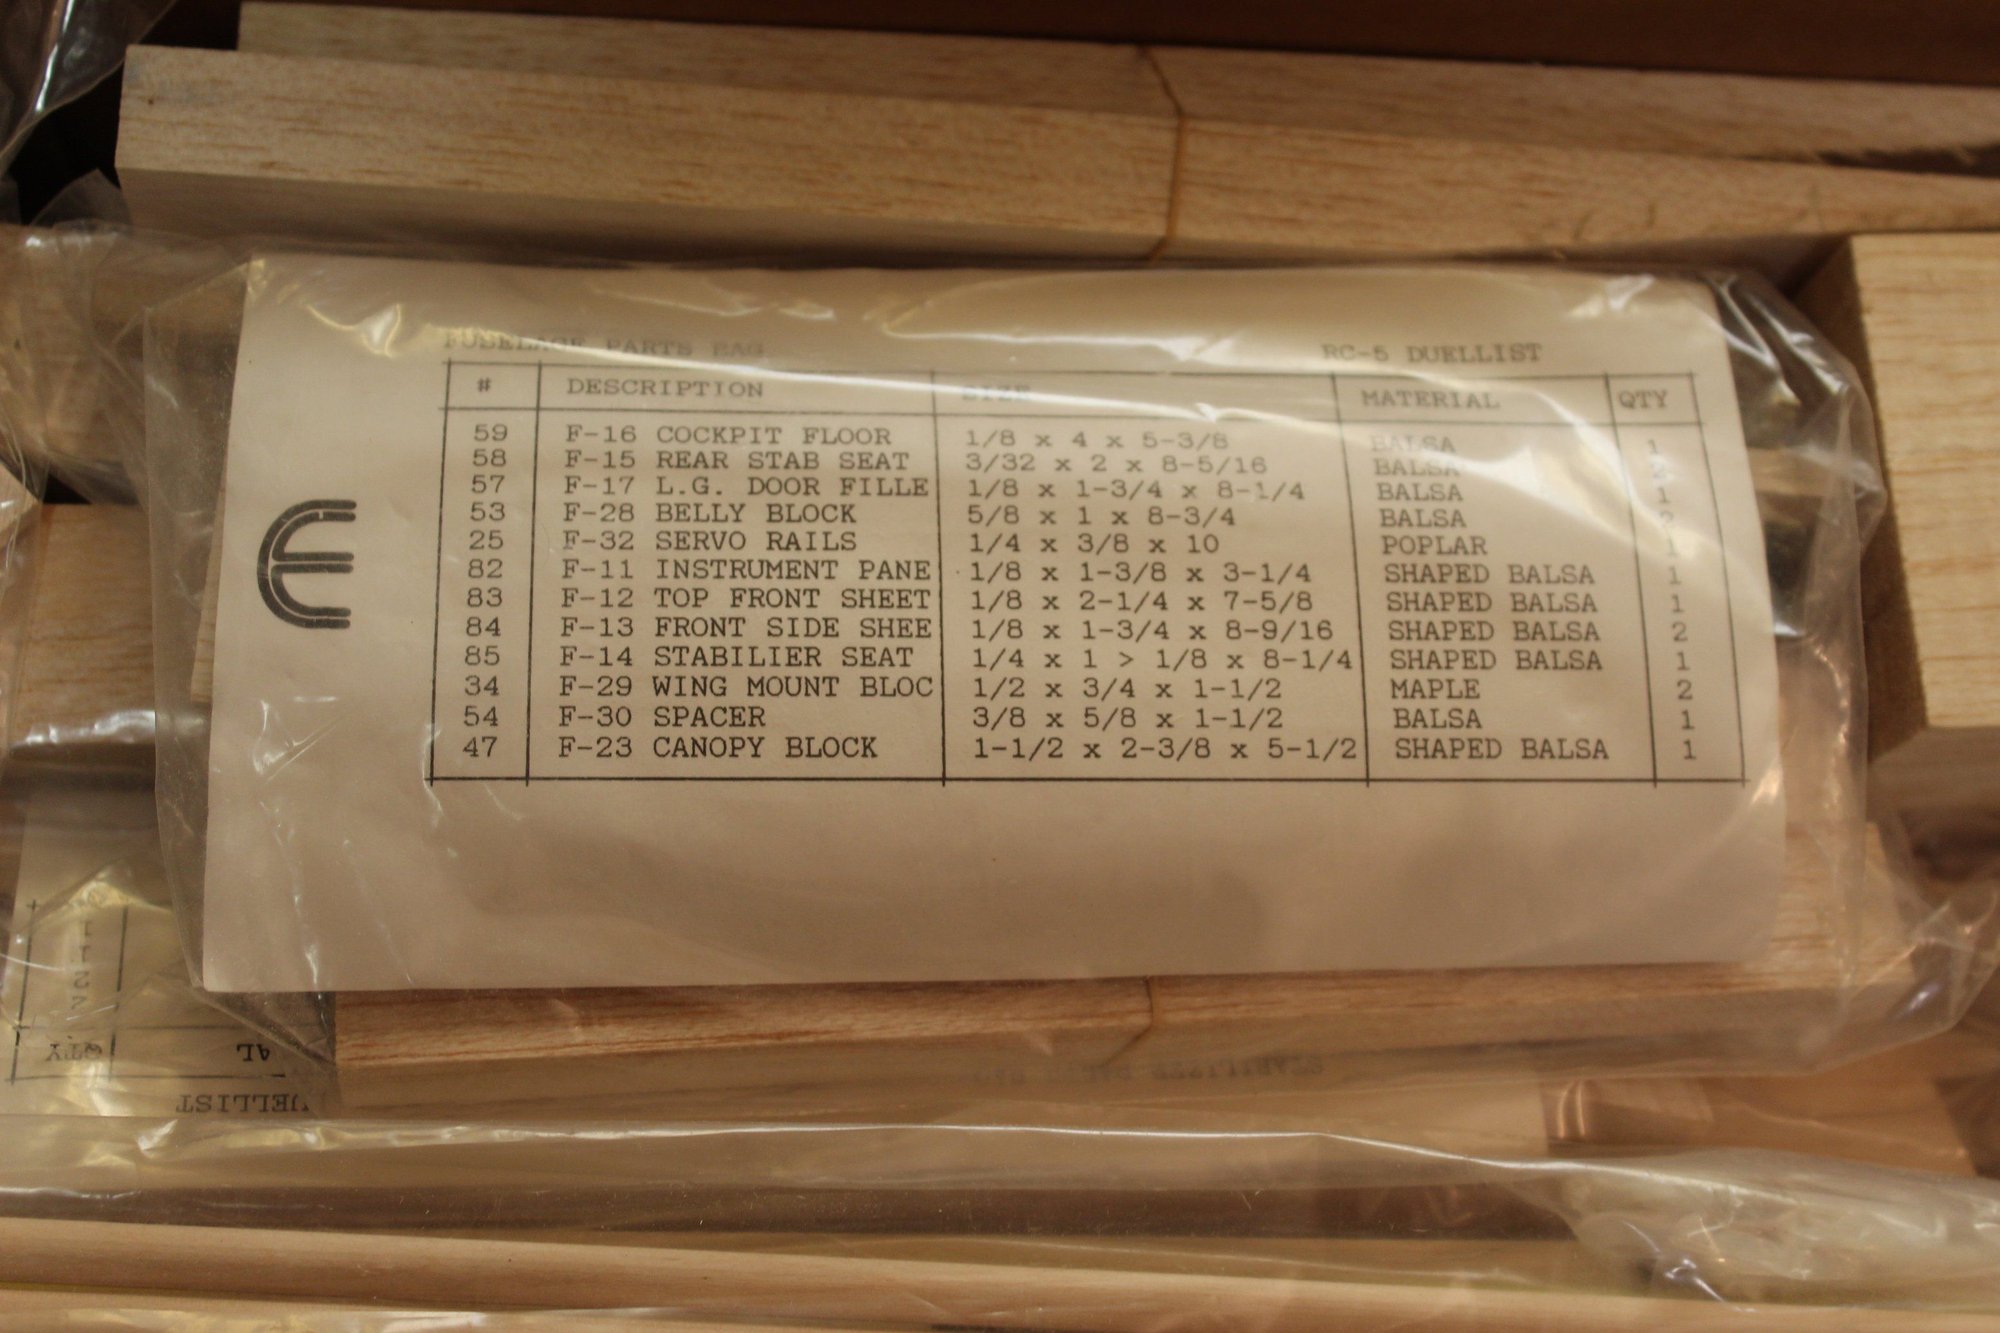
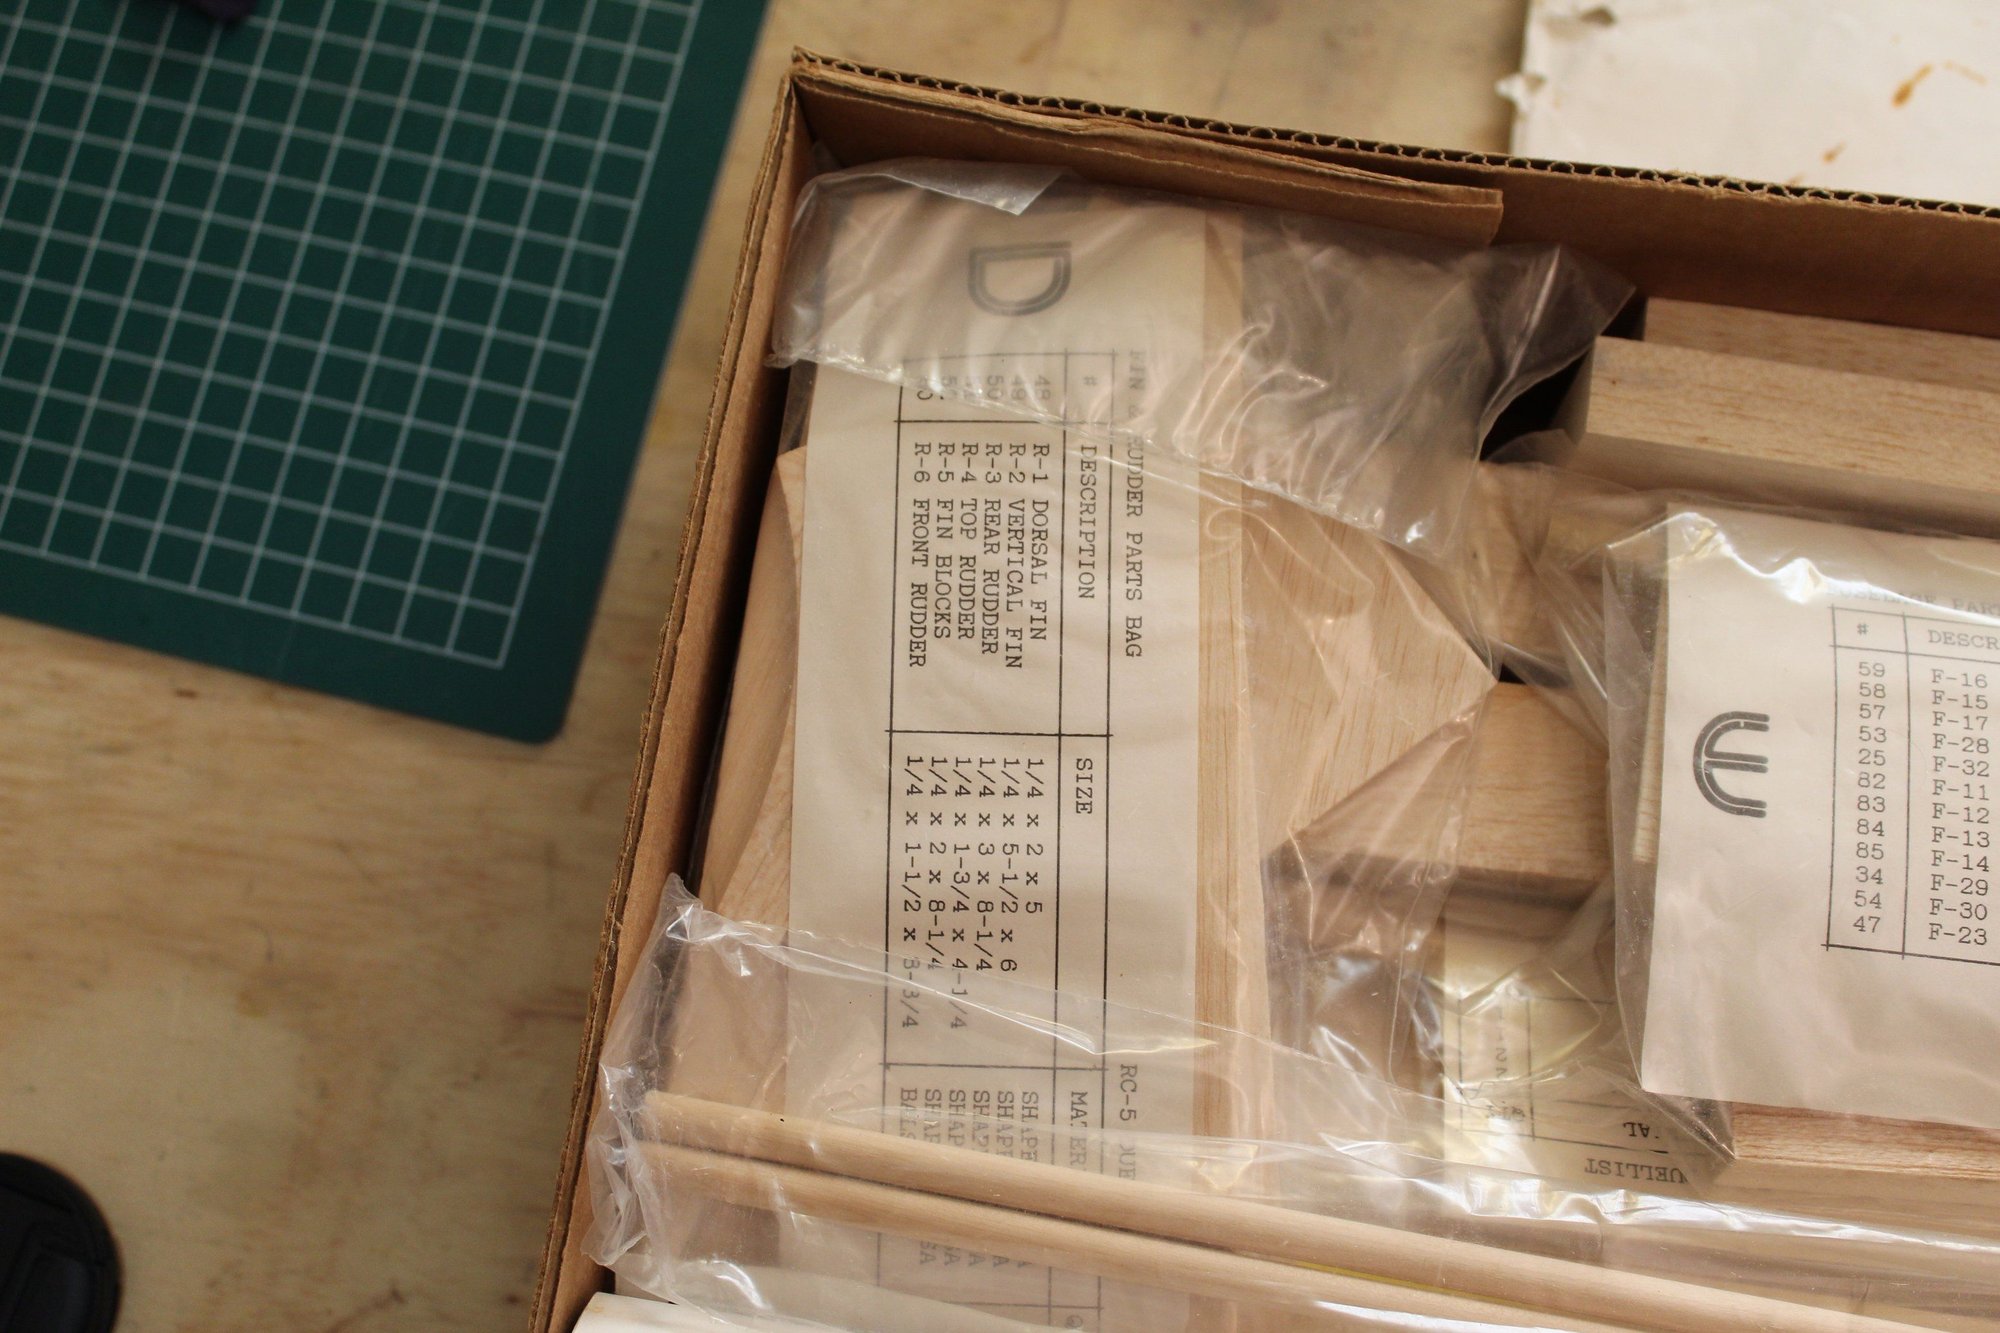
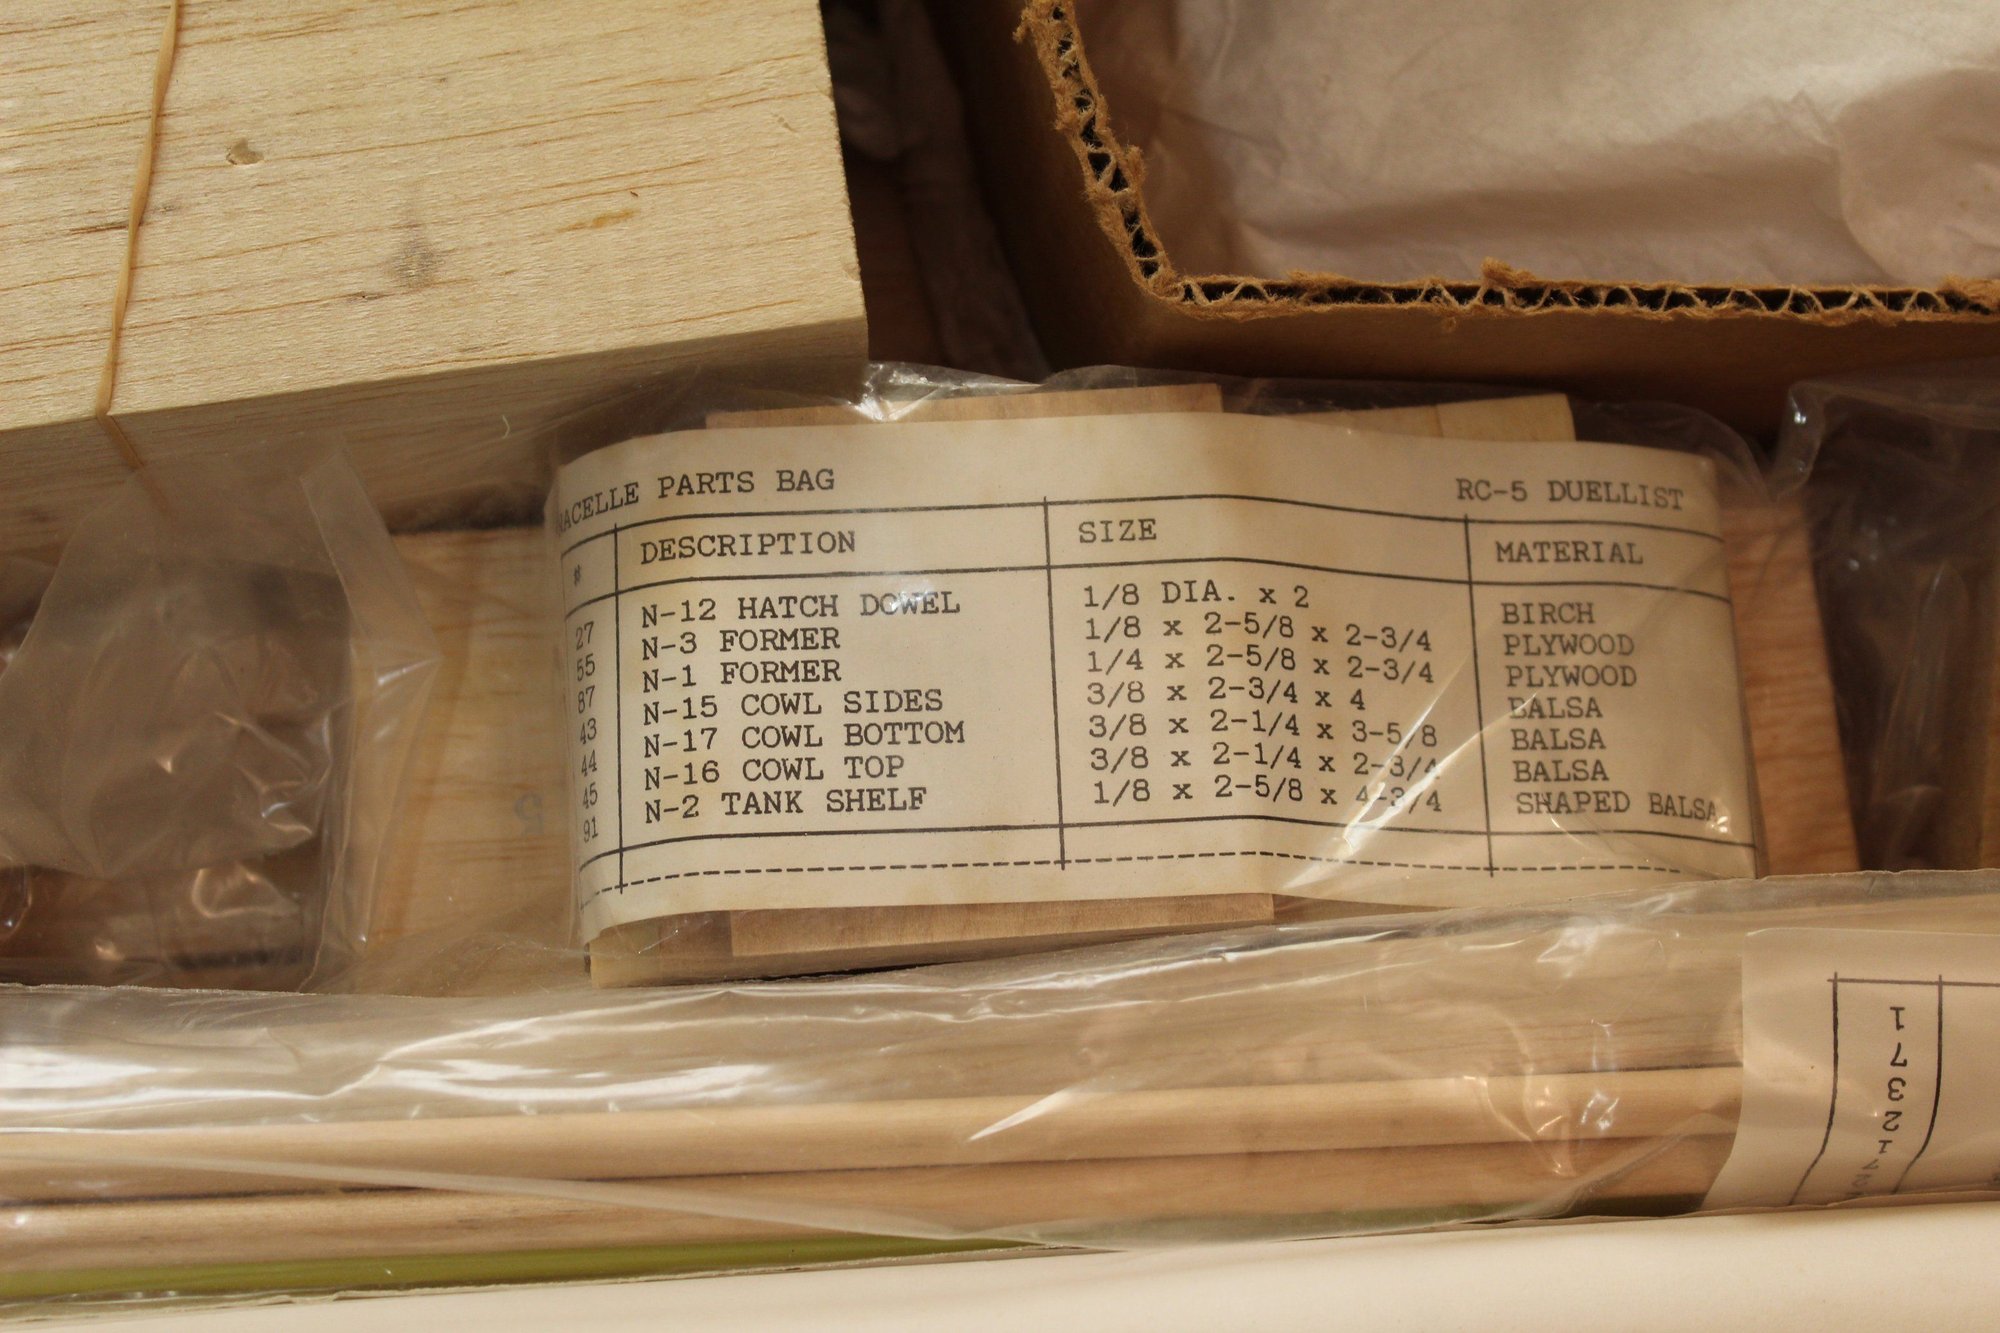
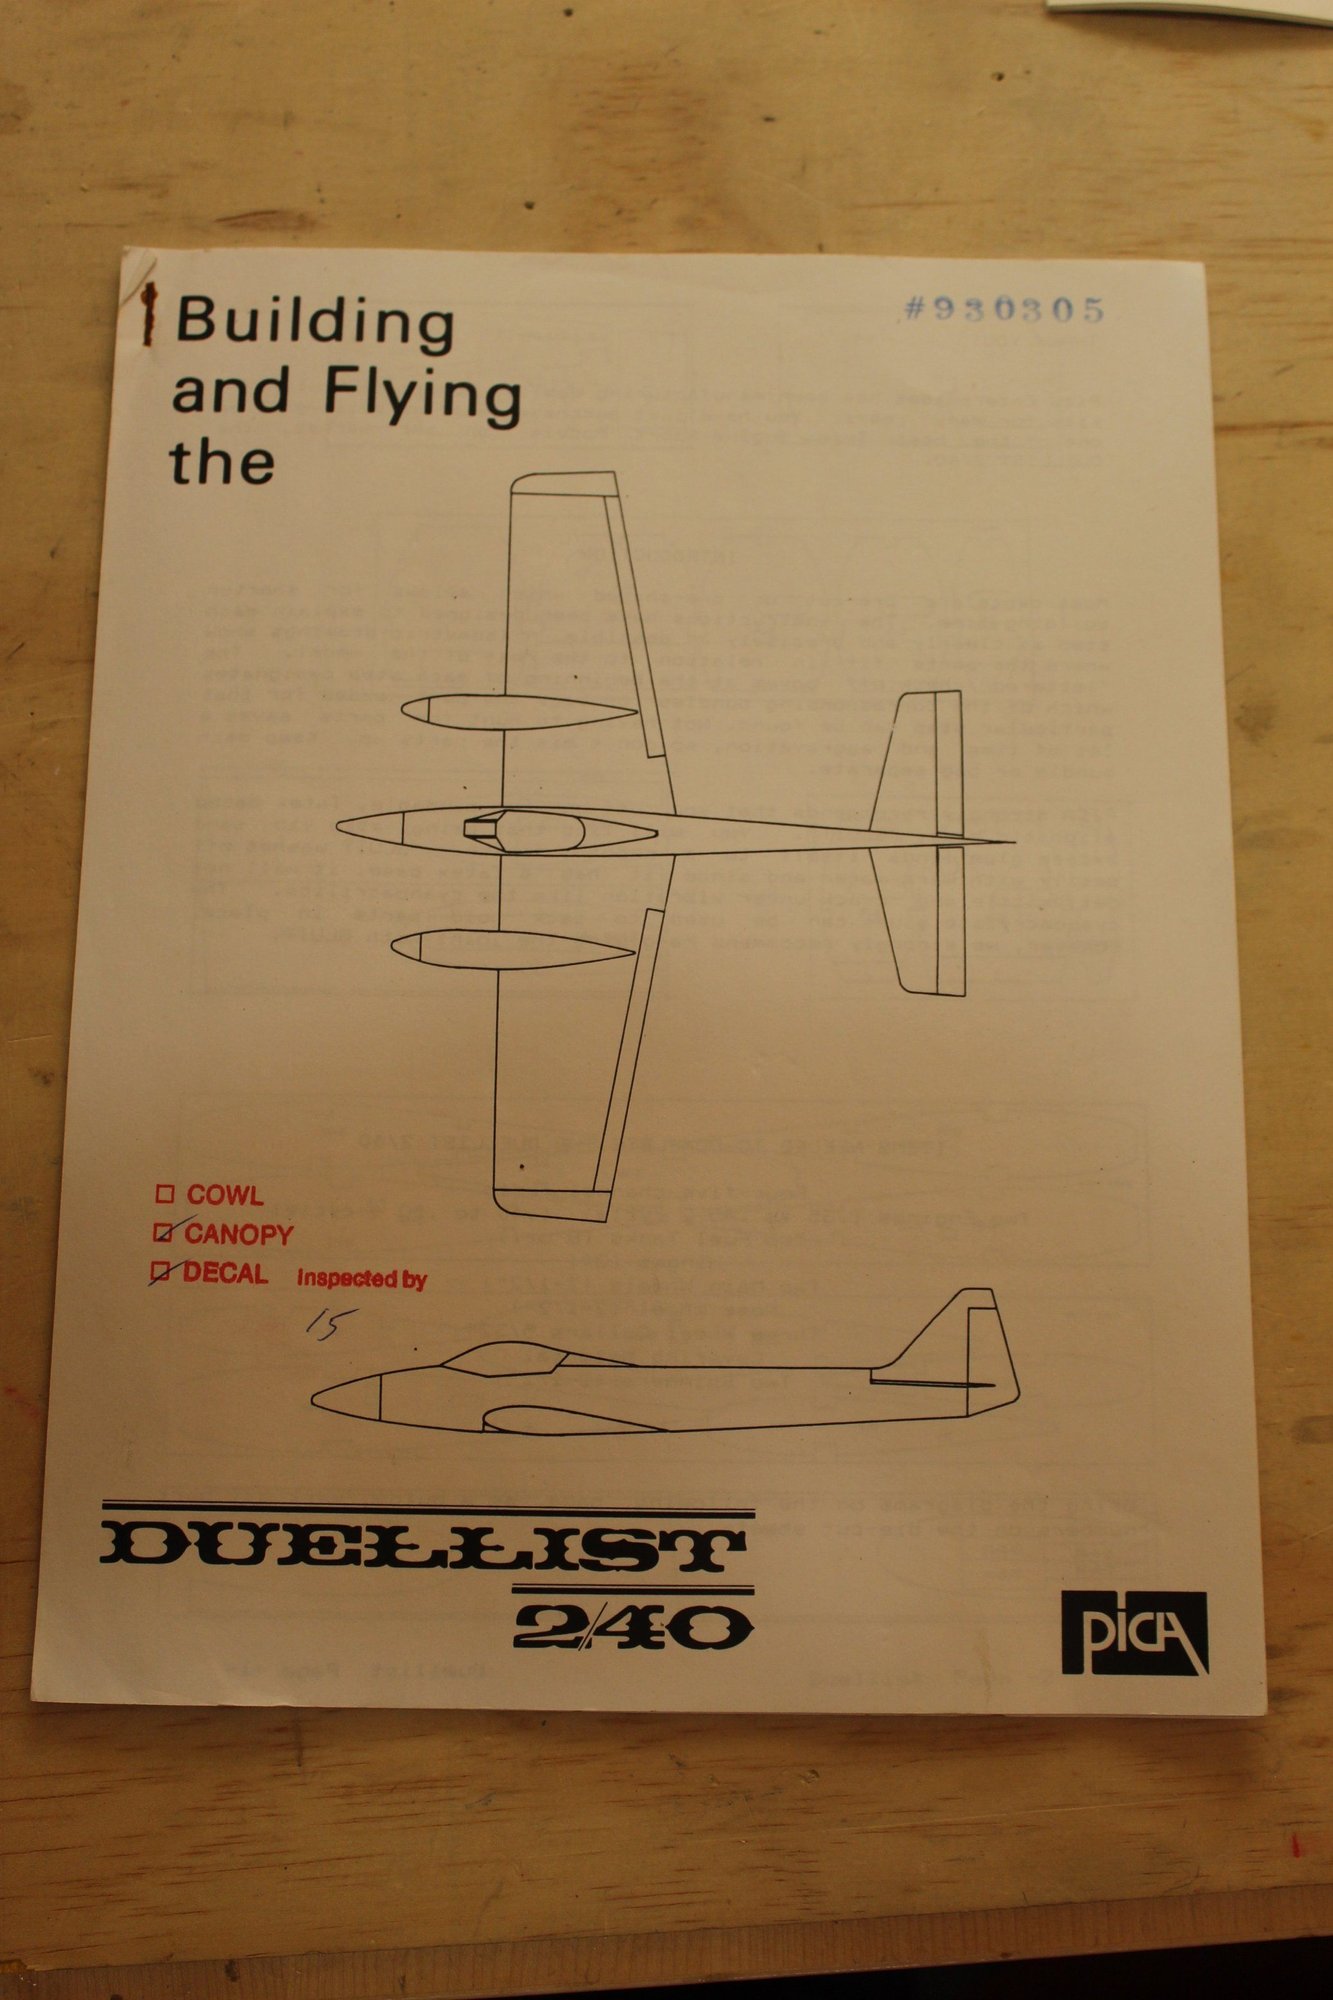
Below are photos of the kit as arrived and its content:
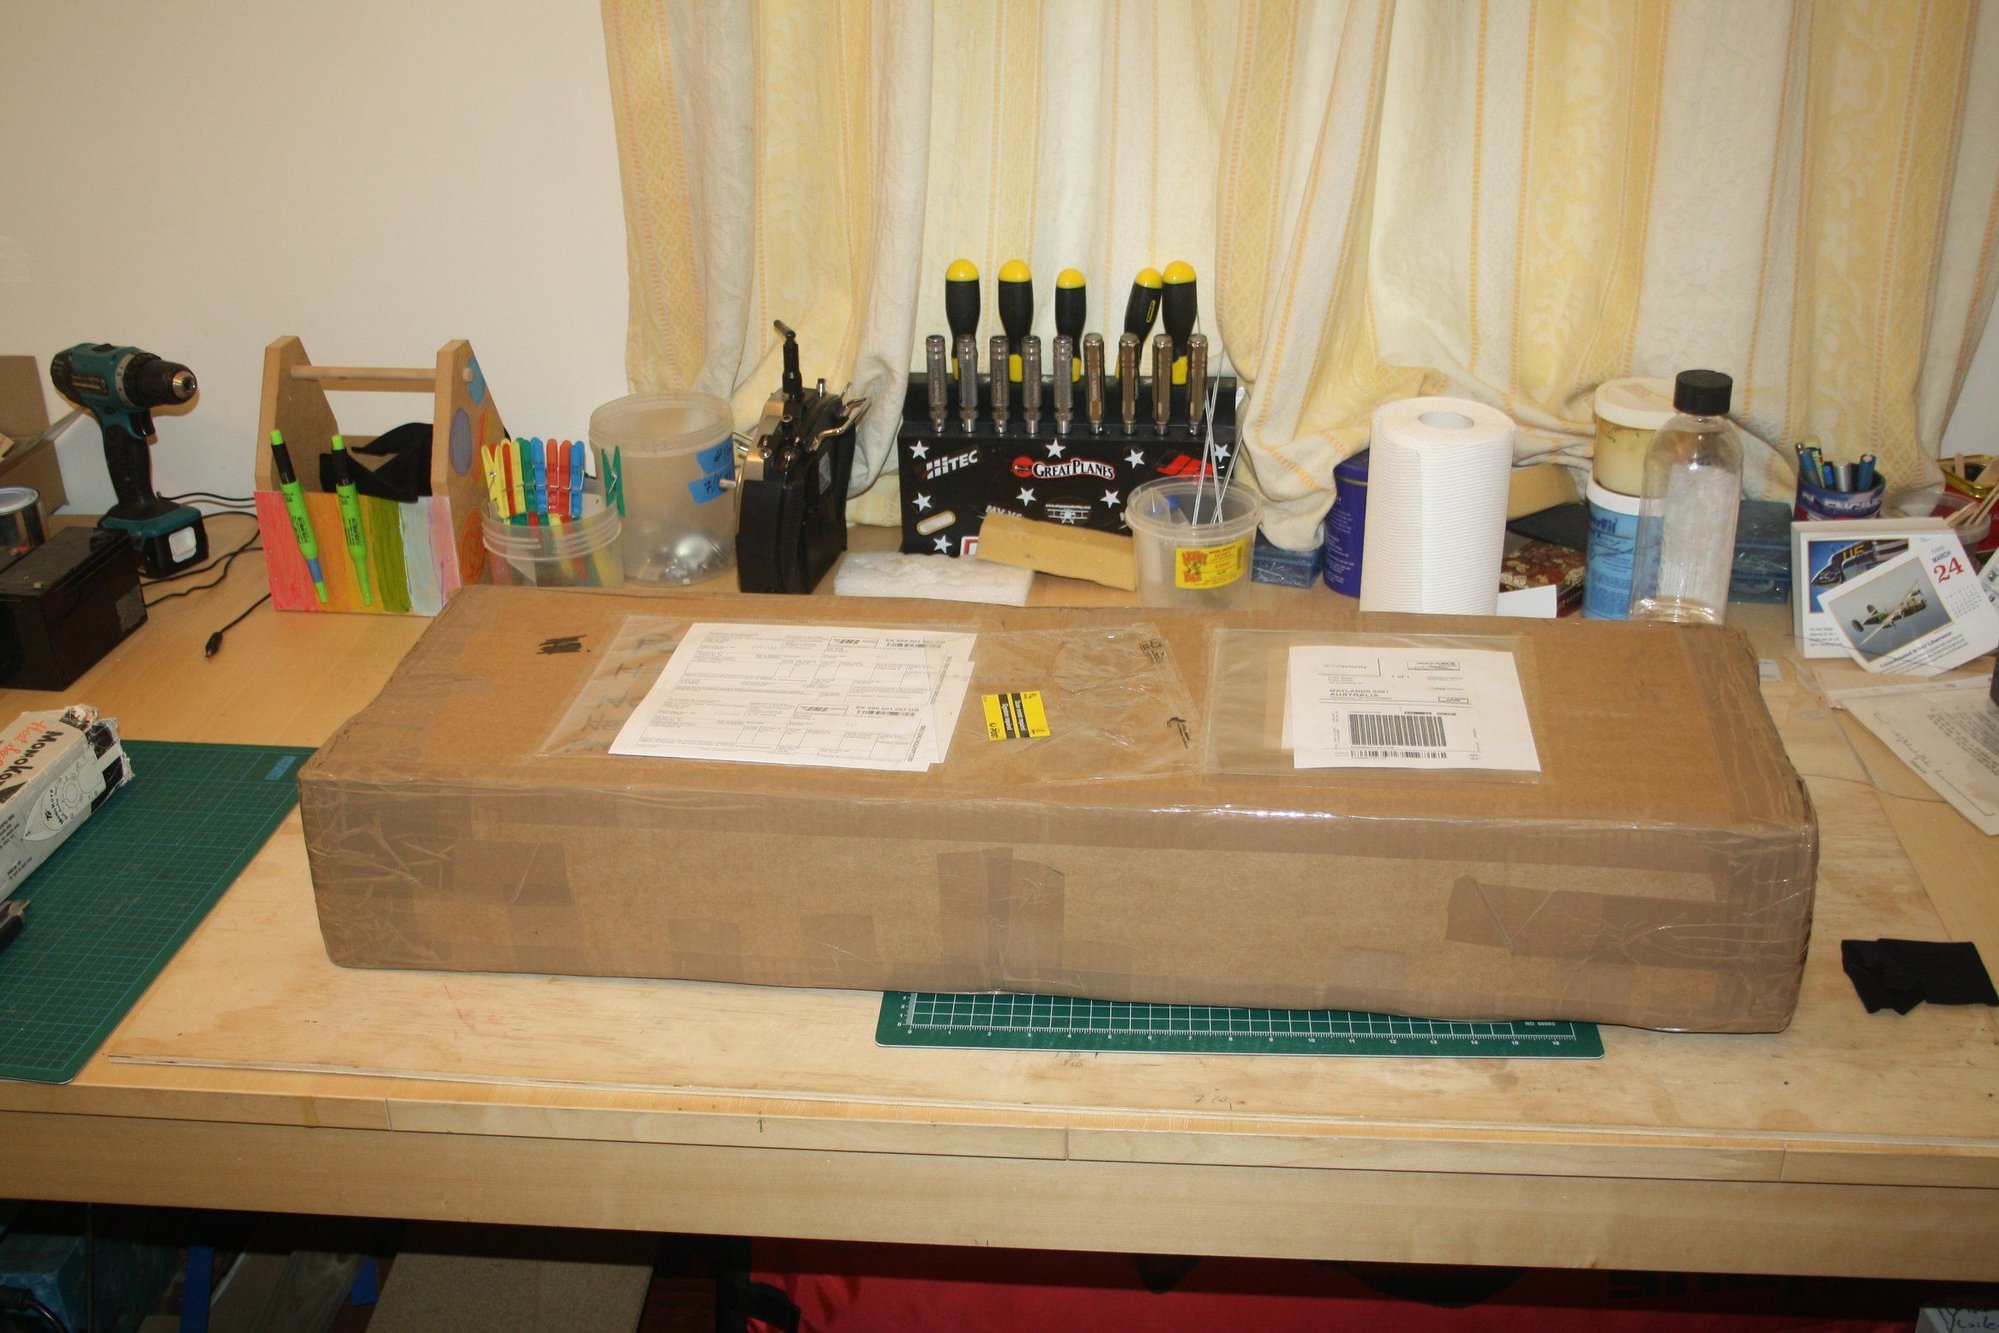
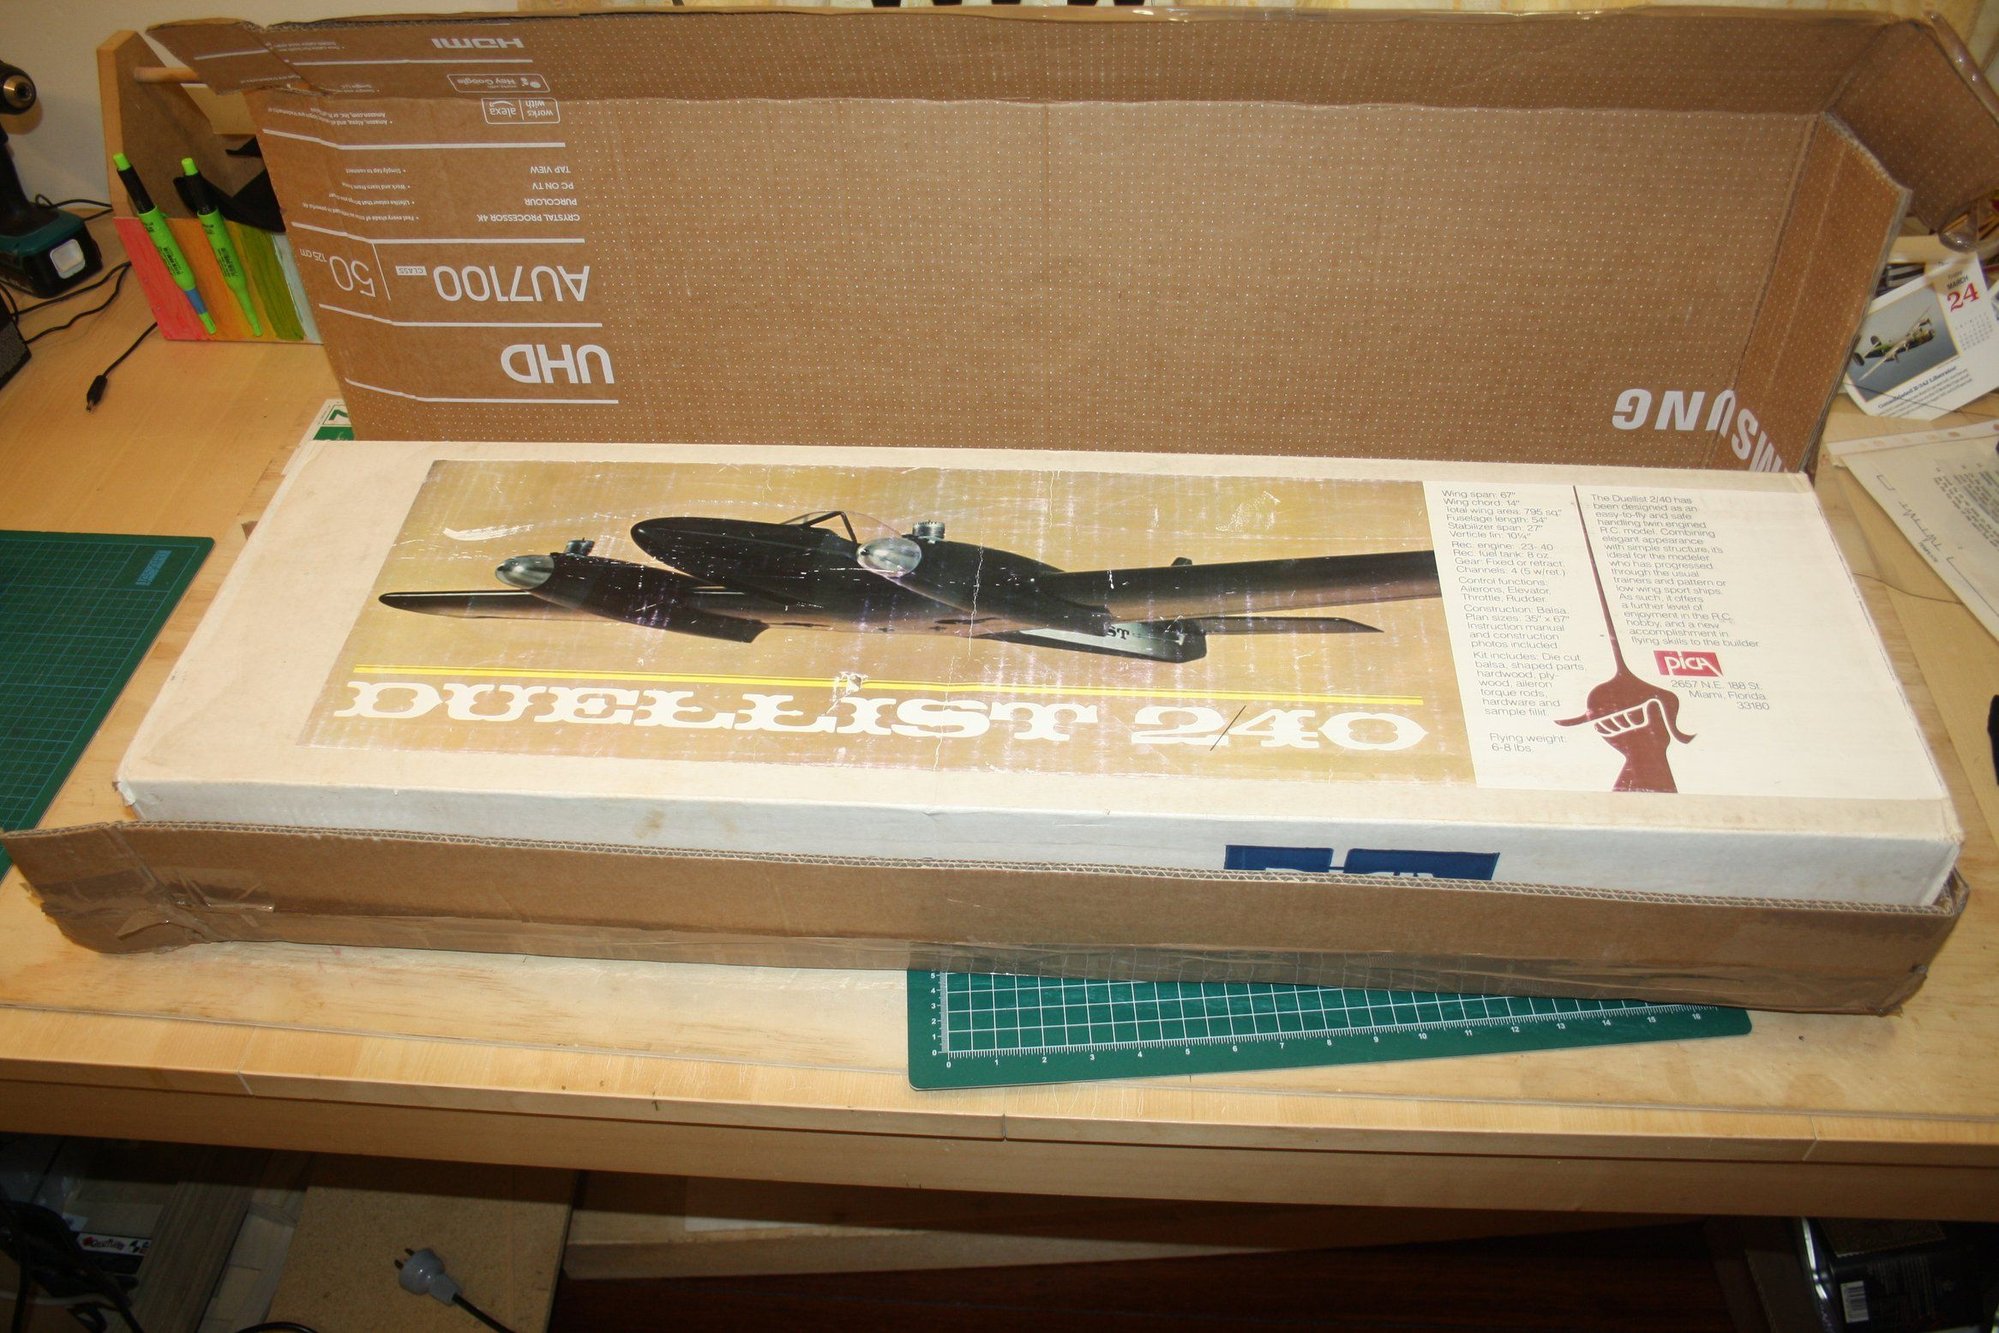
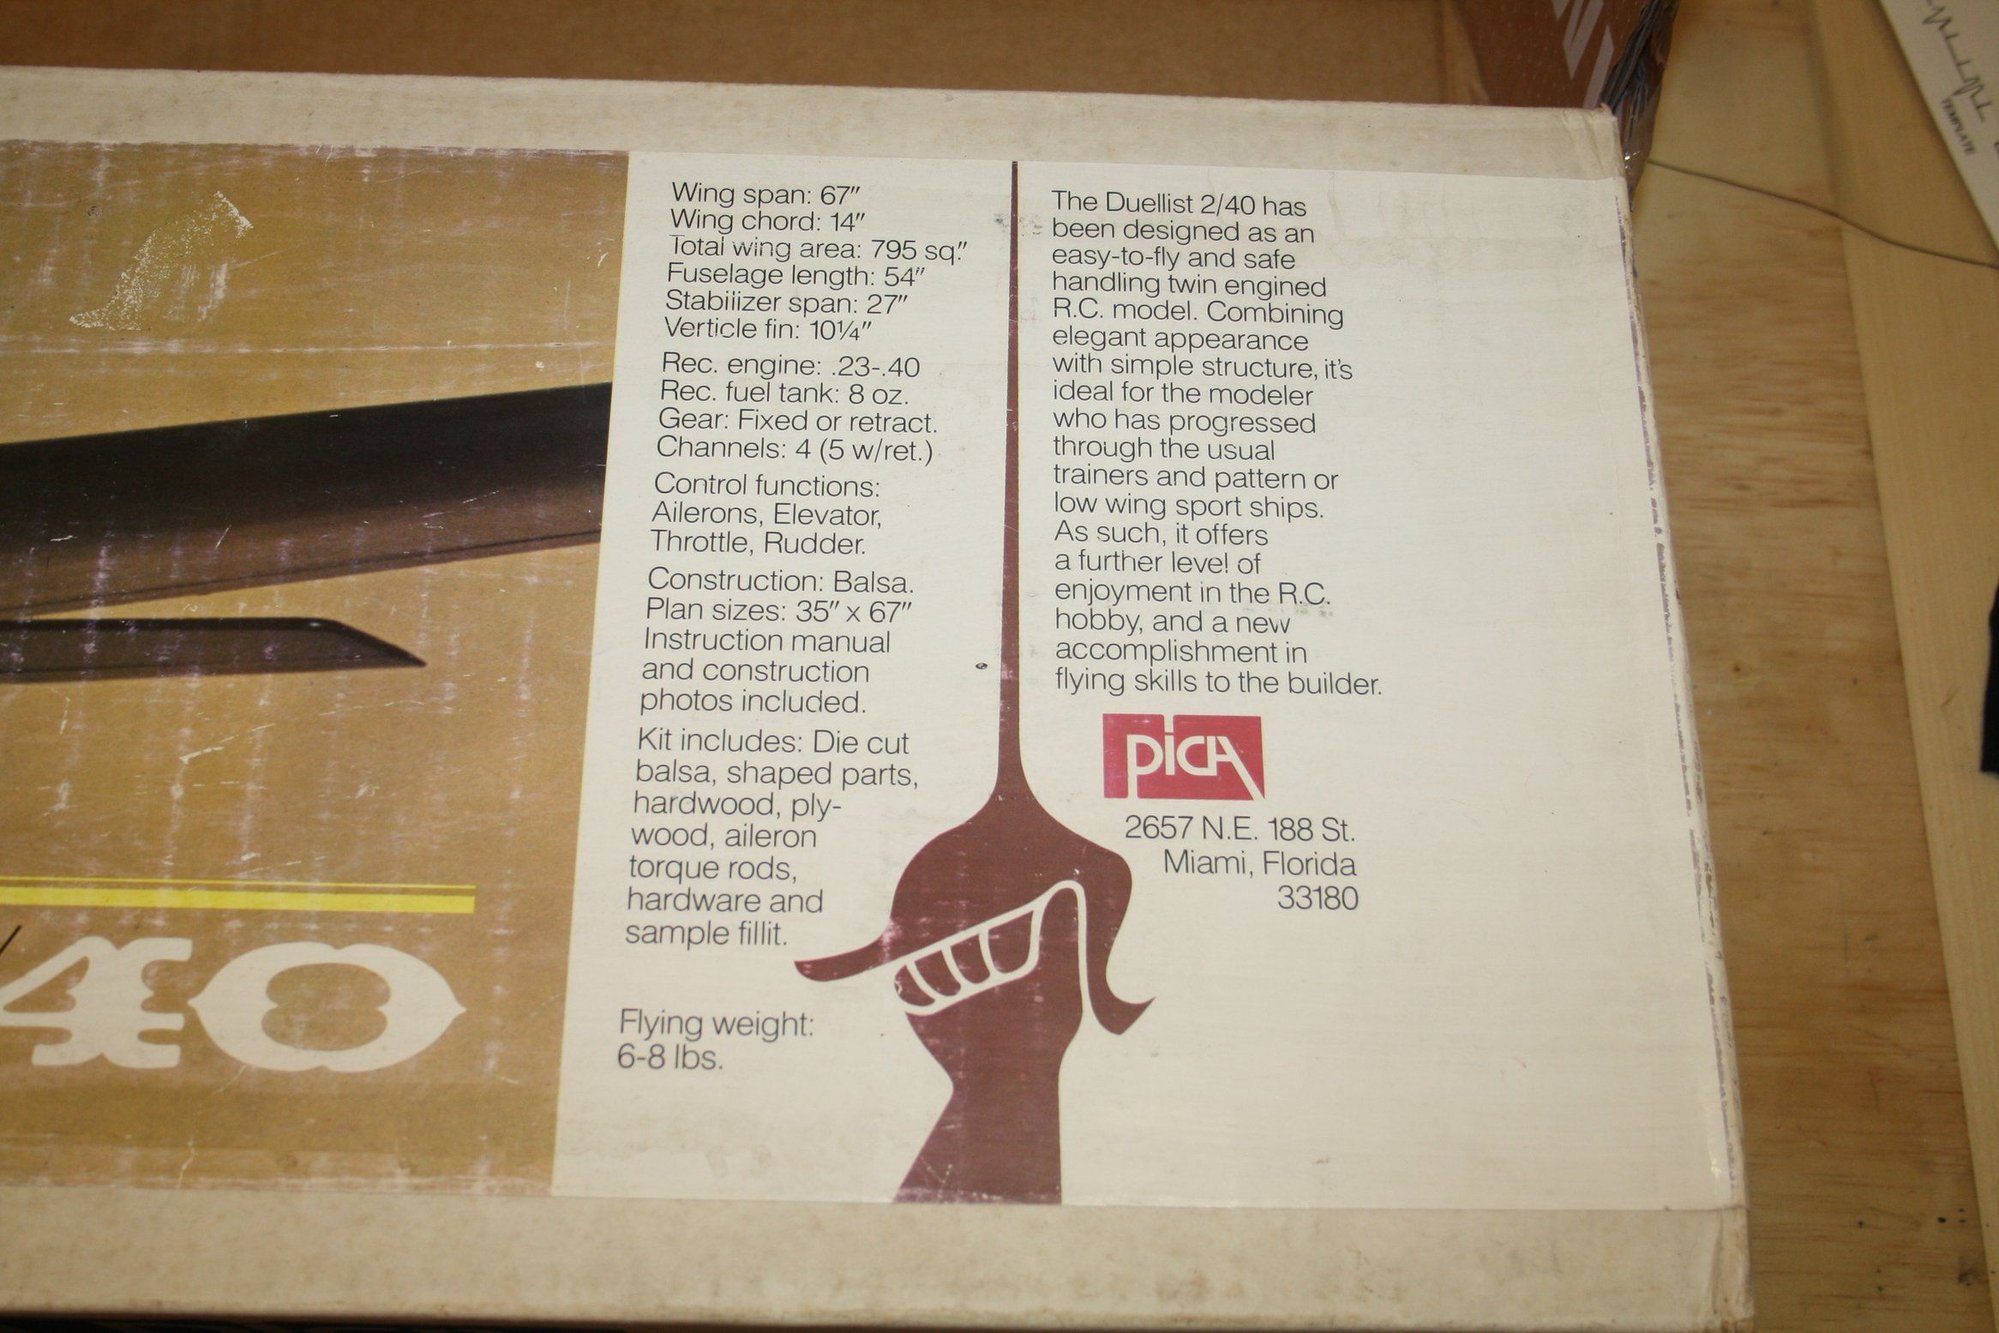
Cheers,
Eran
Other kit building deferred the start (such as the Lanier RC Giant Stinger), but finally last month I started the build.
I will post photos and some comments when time permits, the actual progress is always slightly beyond what you see here.
Below are photos of the kit as arrived and its content:


Cheers,
Eran
Last edited by erans; 09-01-2024 at 11:38 PM.
#2

Thread Starter
Join Date: Jun 2008
Location: Perth WA, AUSTRALIA
Posts: 1,237
Likes: 0
Received 12 Likes
on
12 Posts
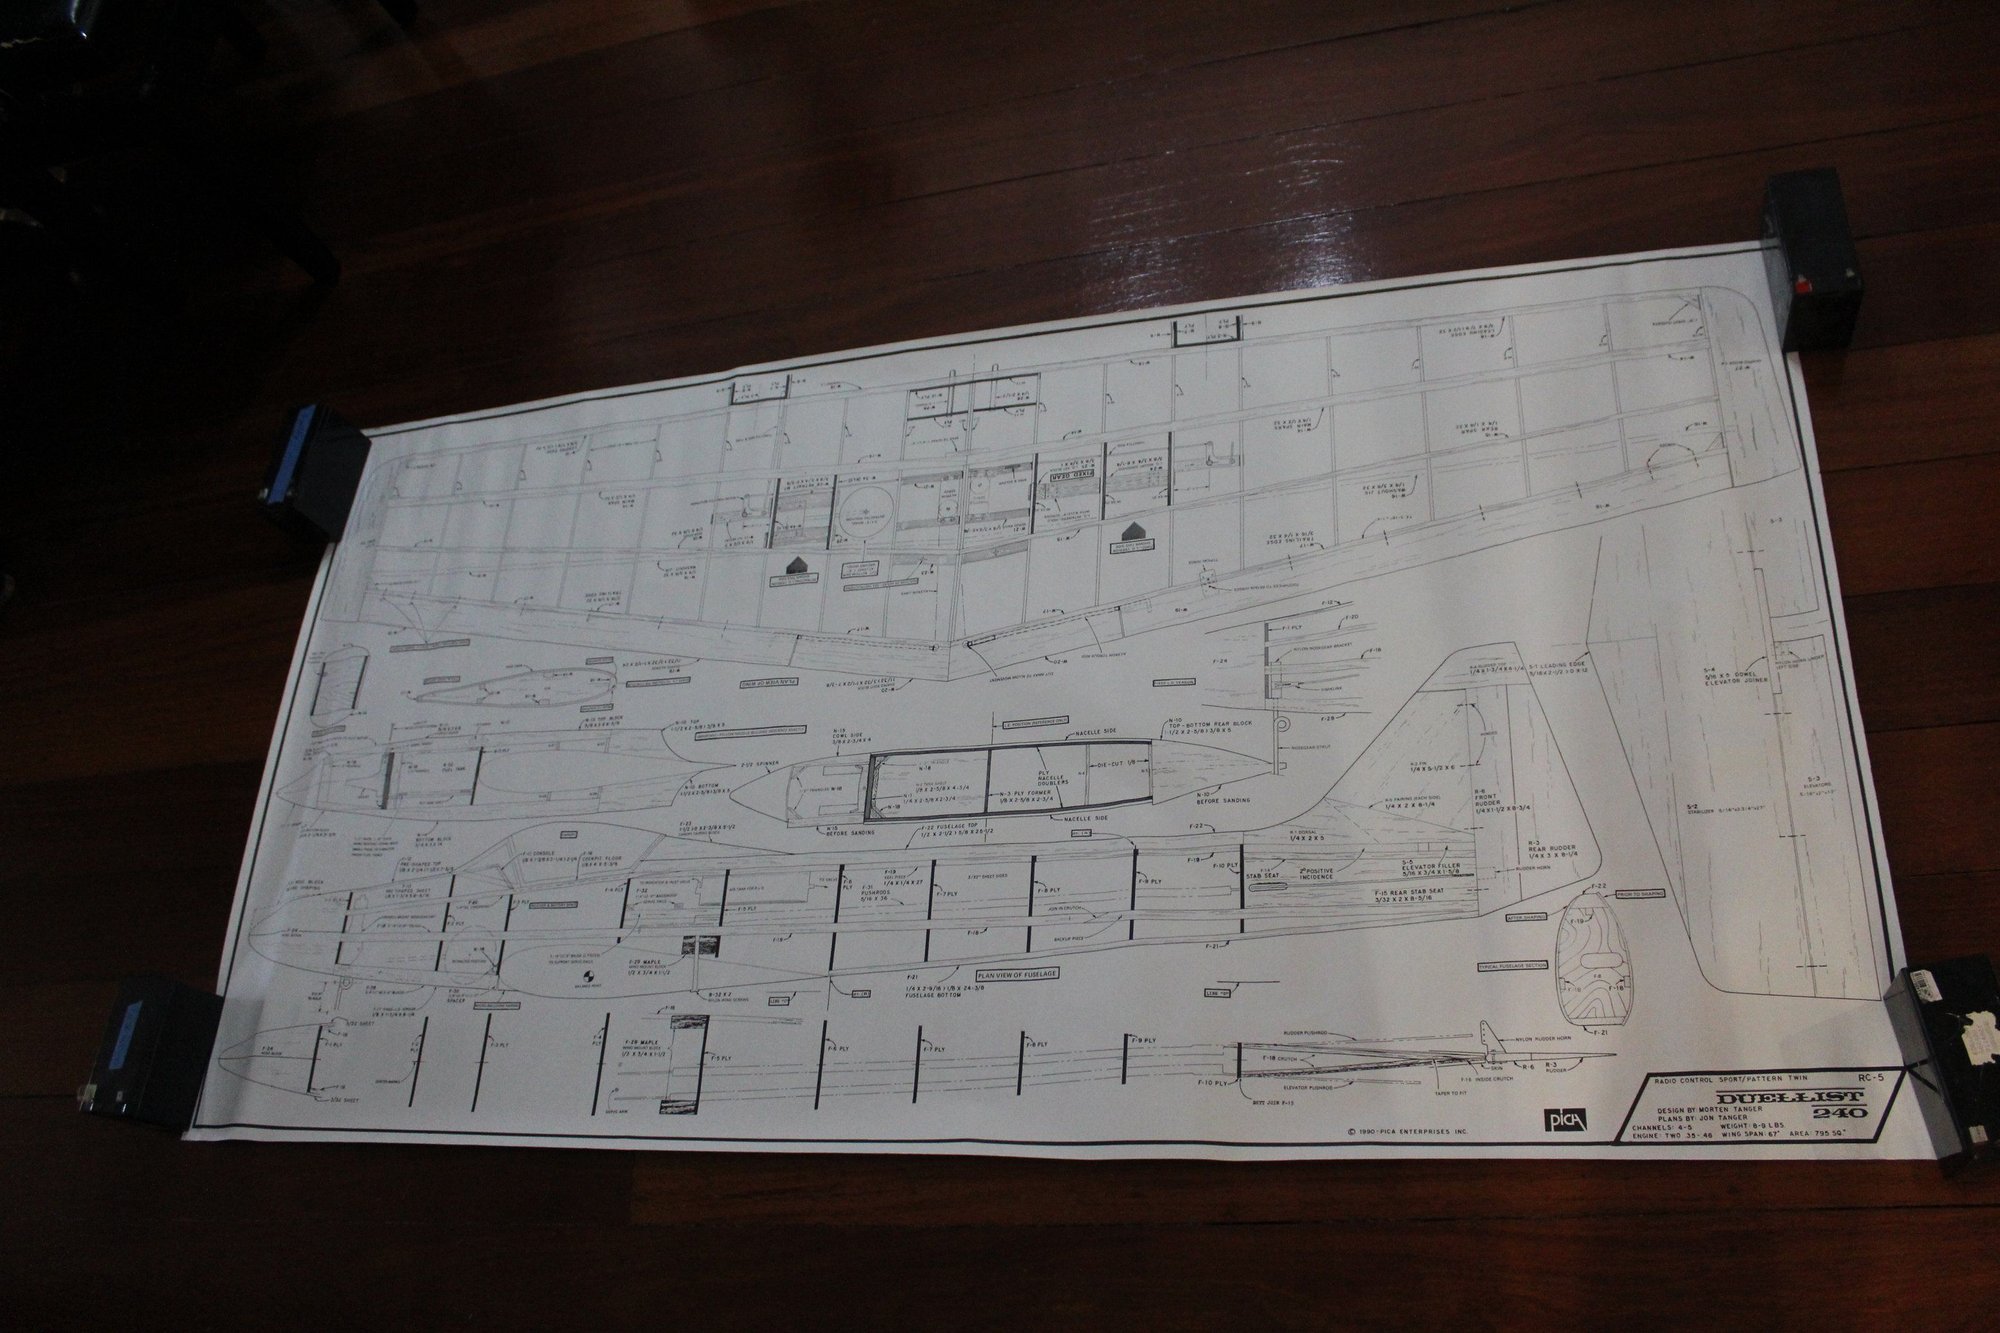
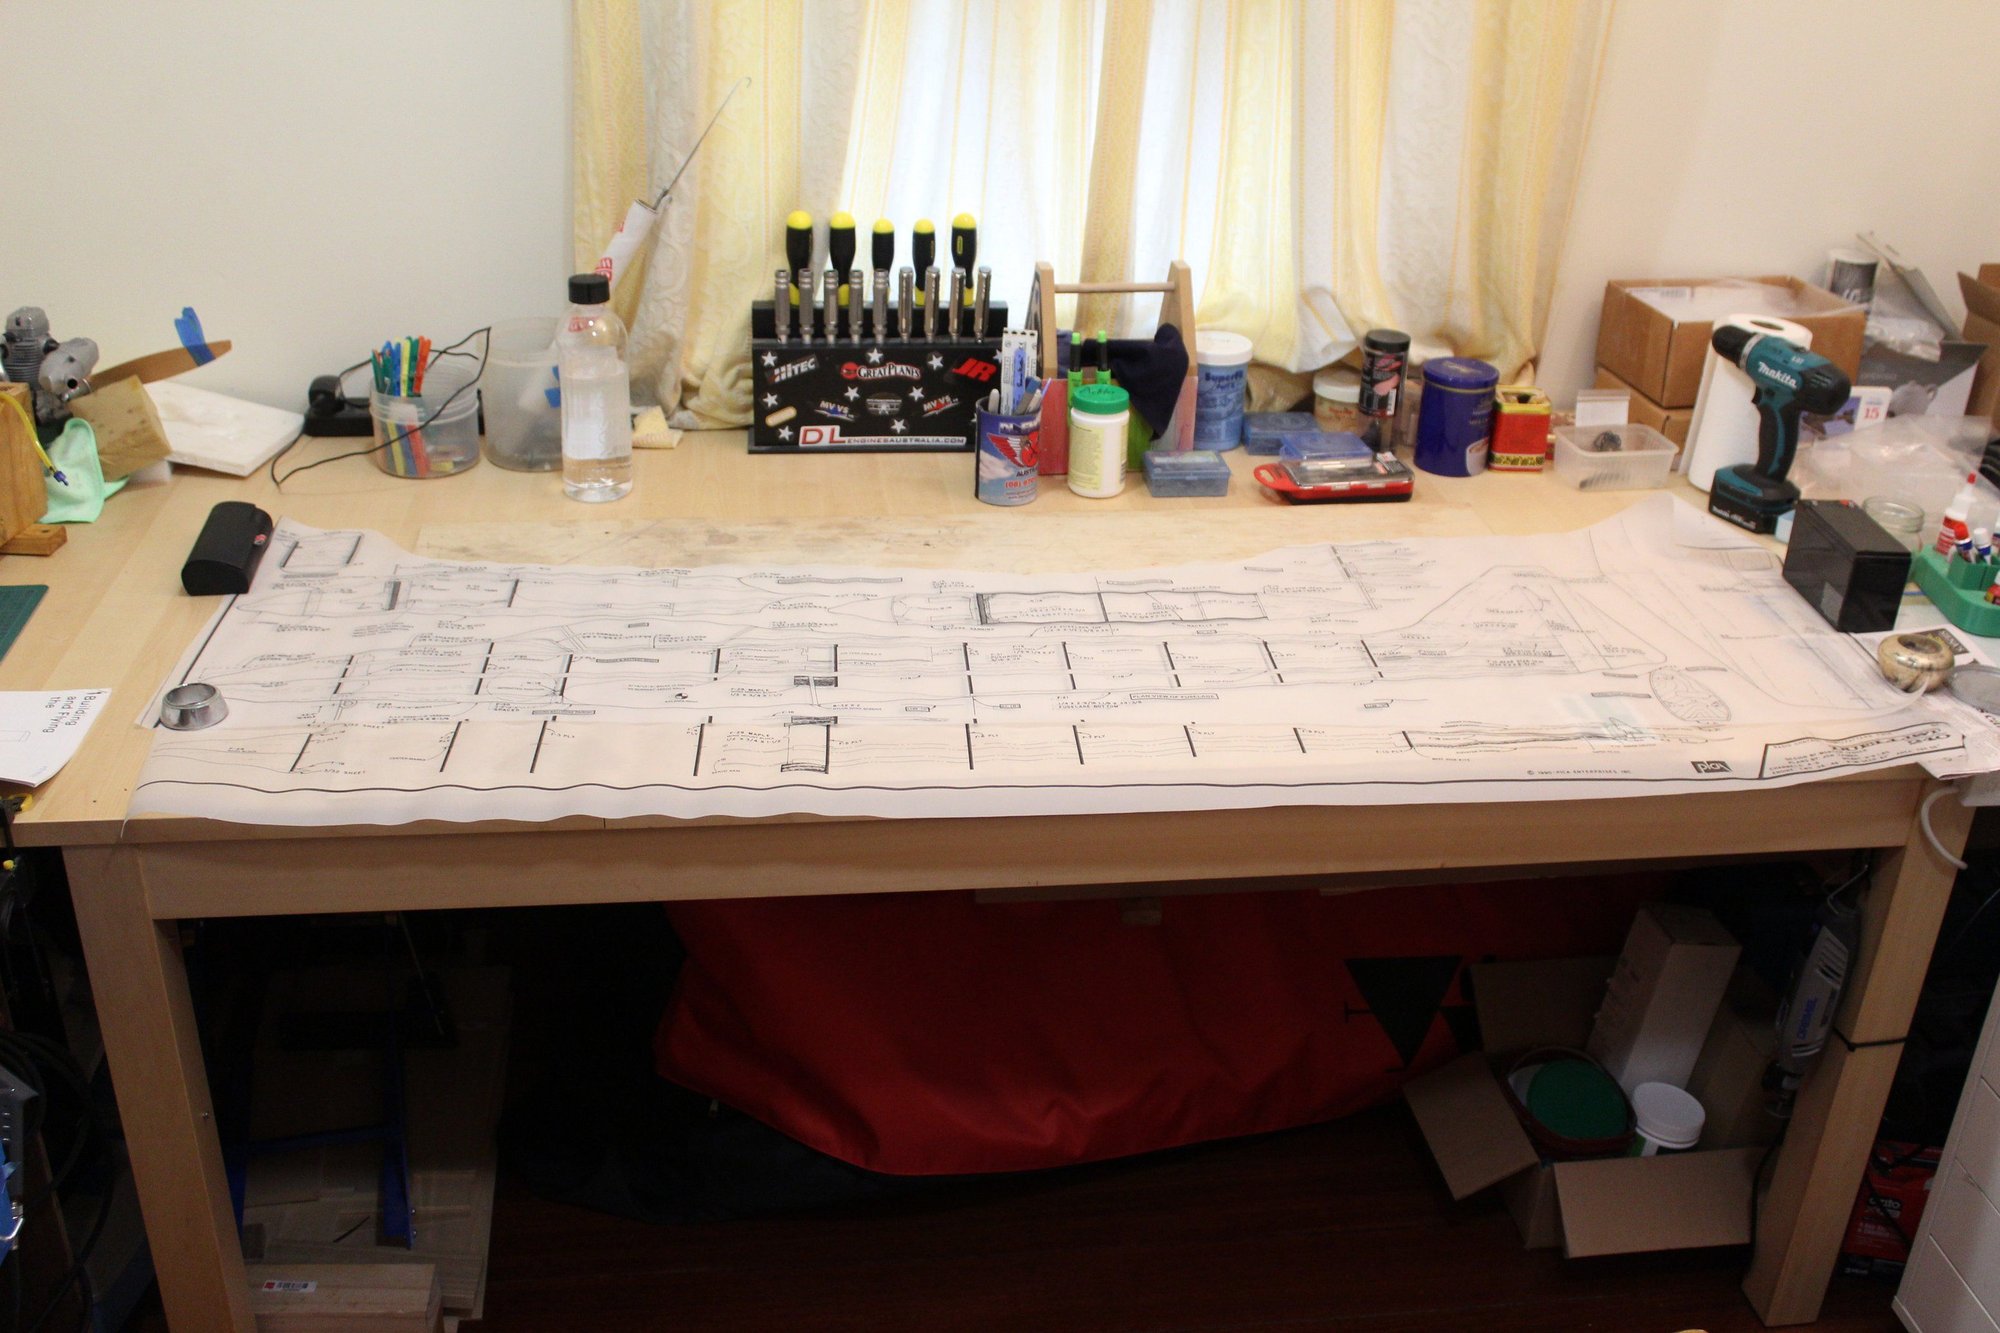
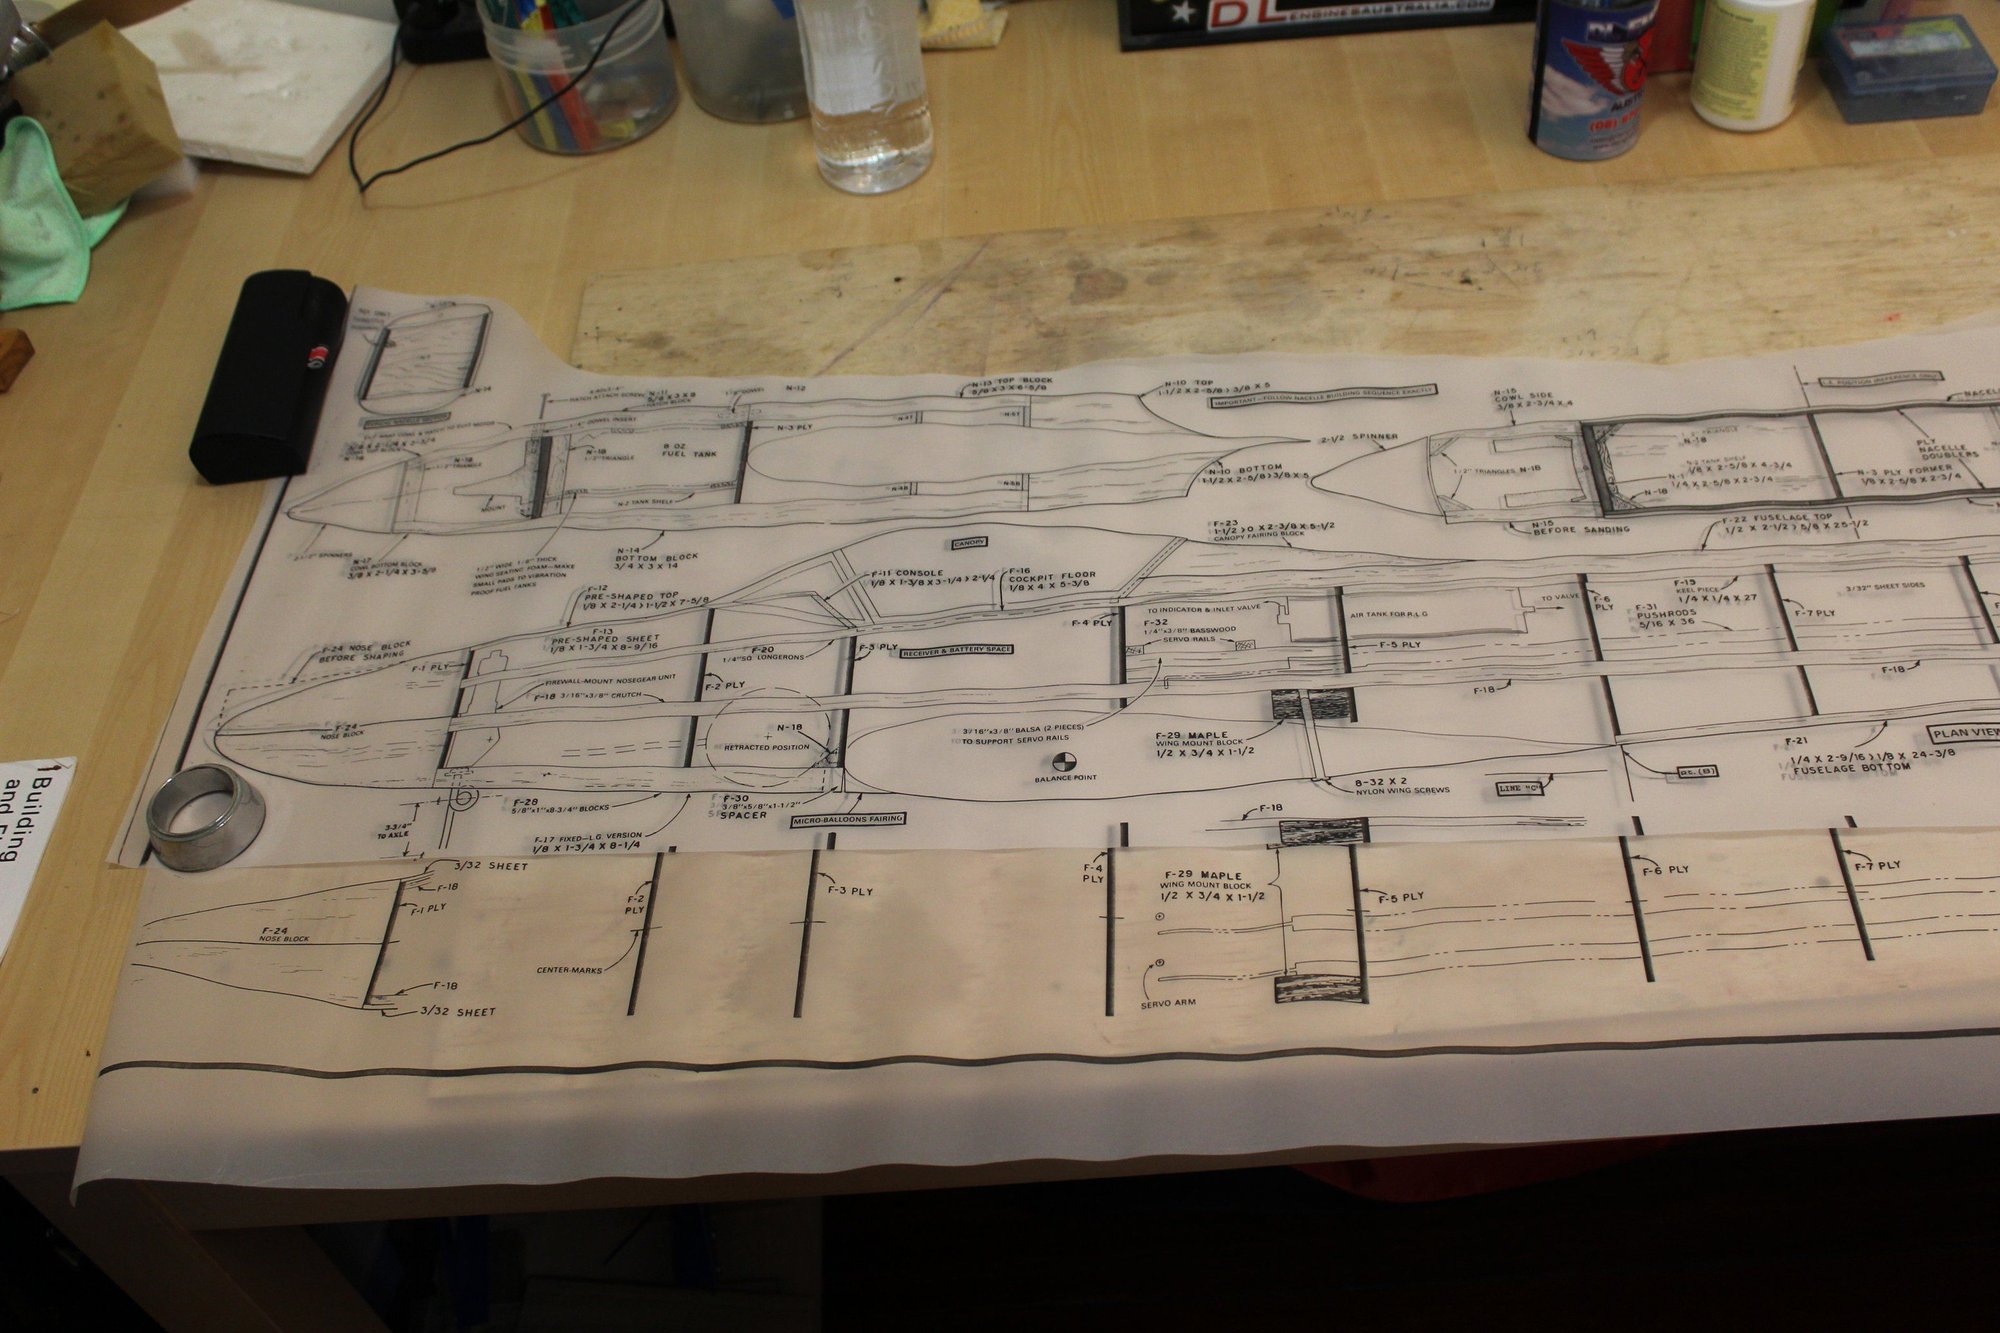
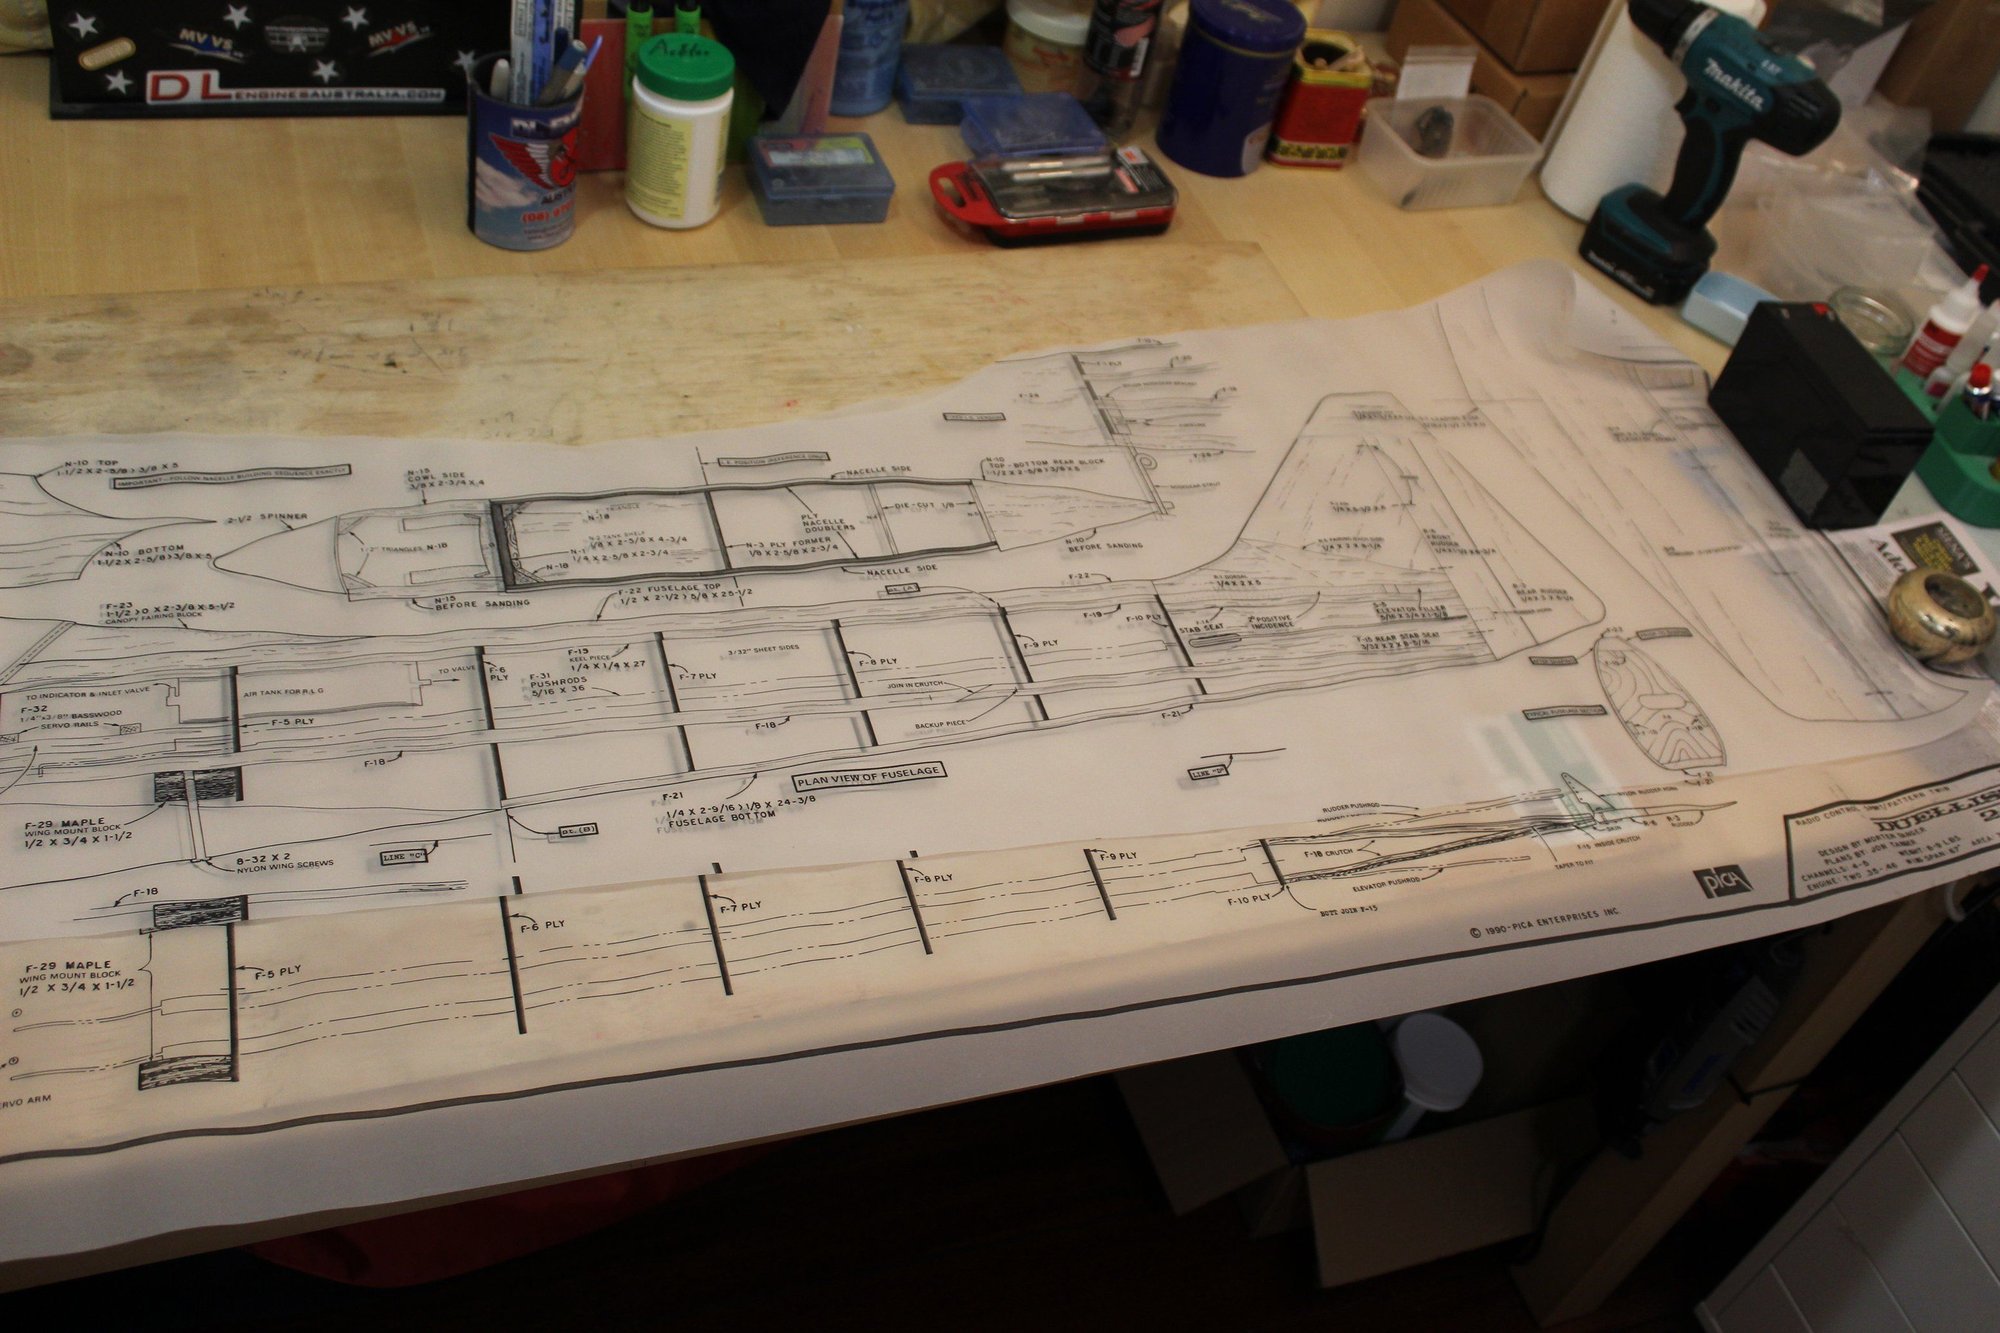
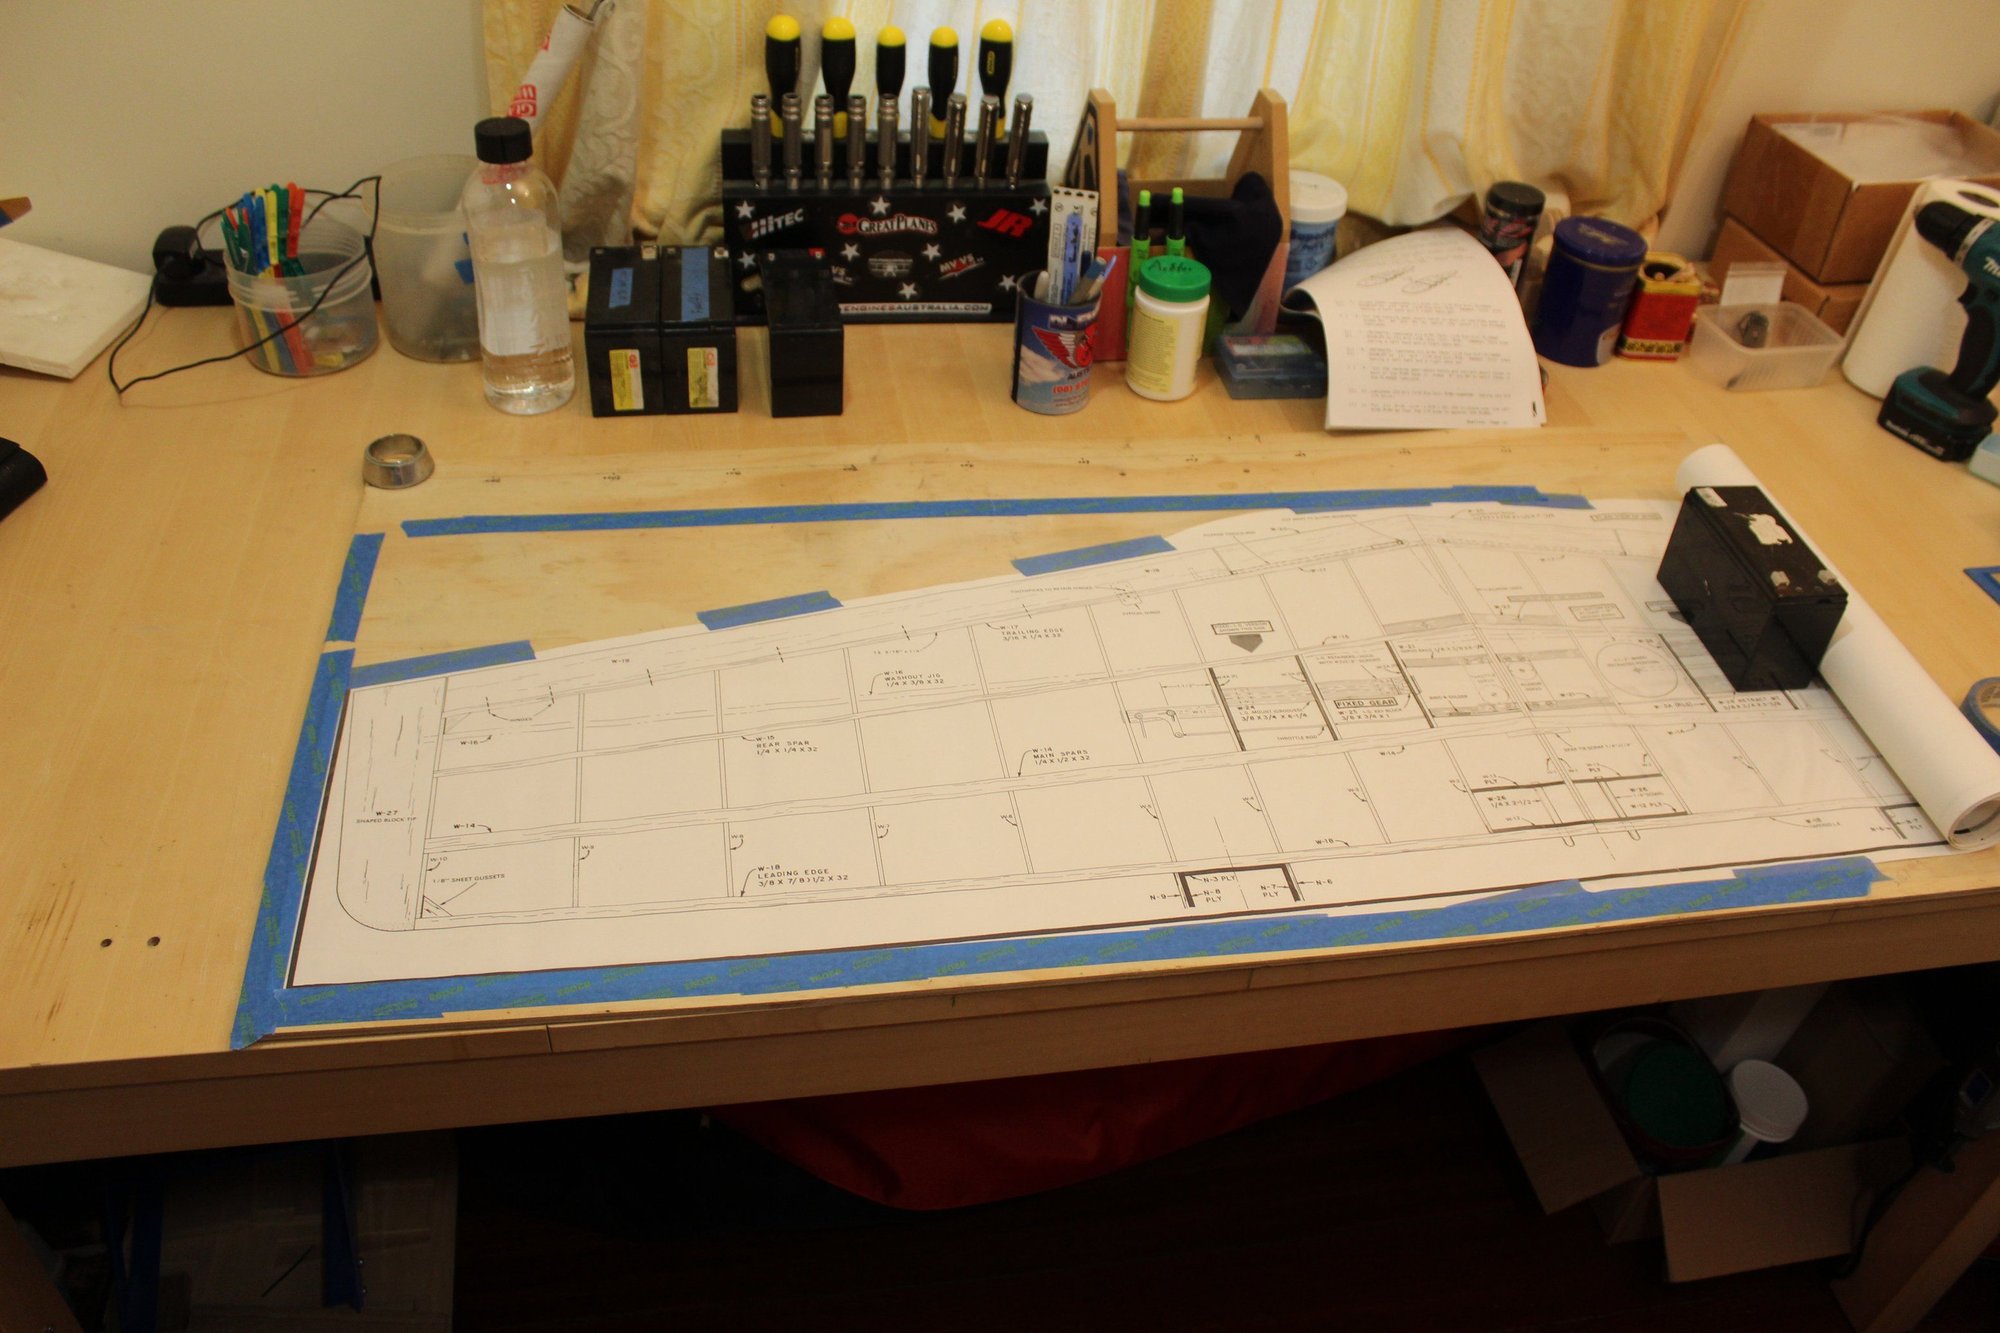
With the usual set of plans, there were also couple of transparencies for the fuselage set of plans.
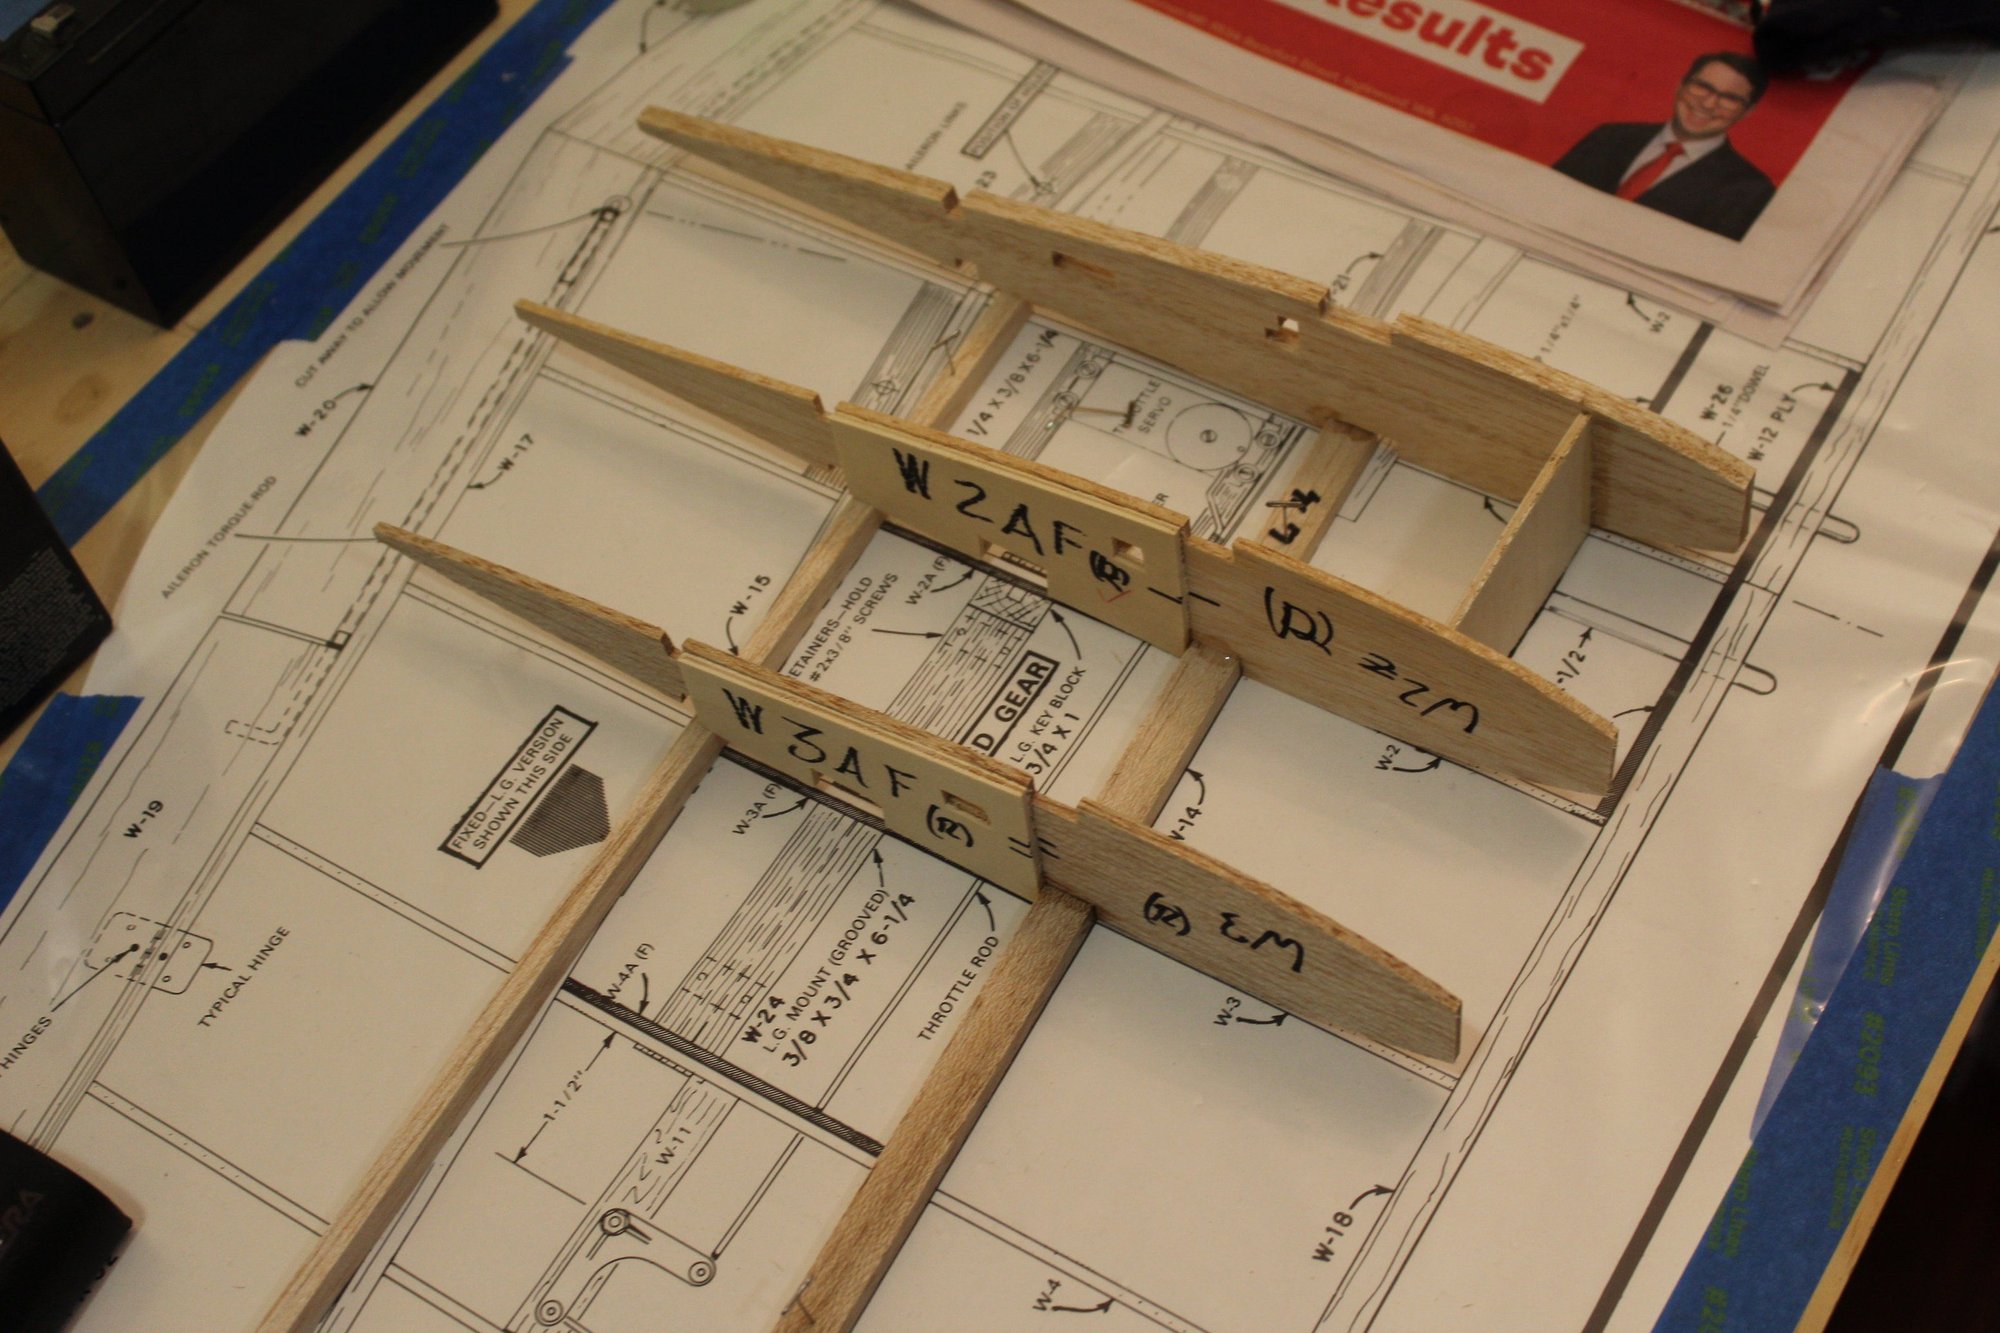
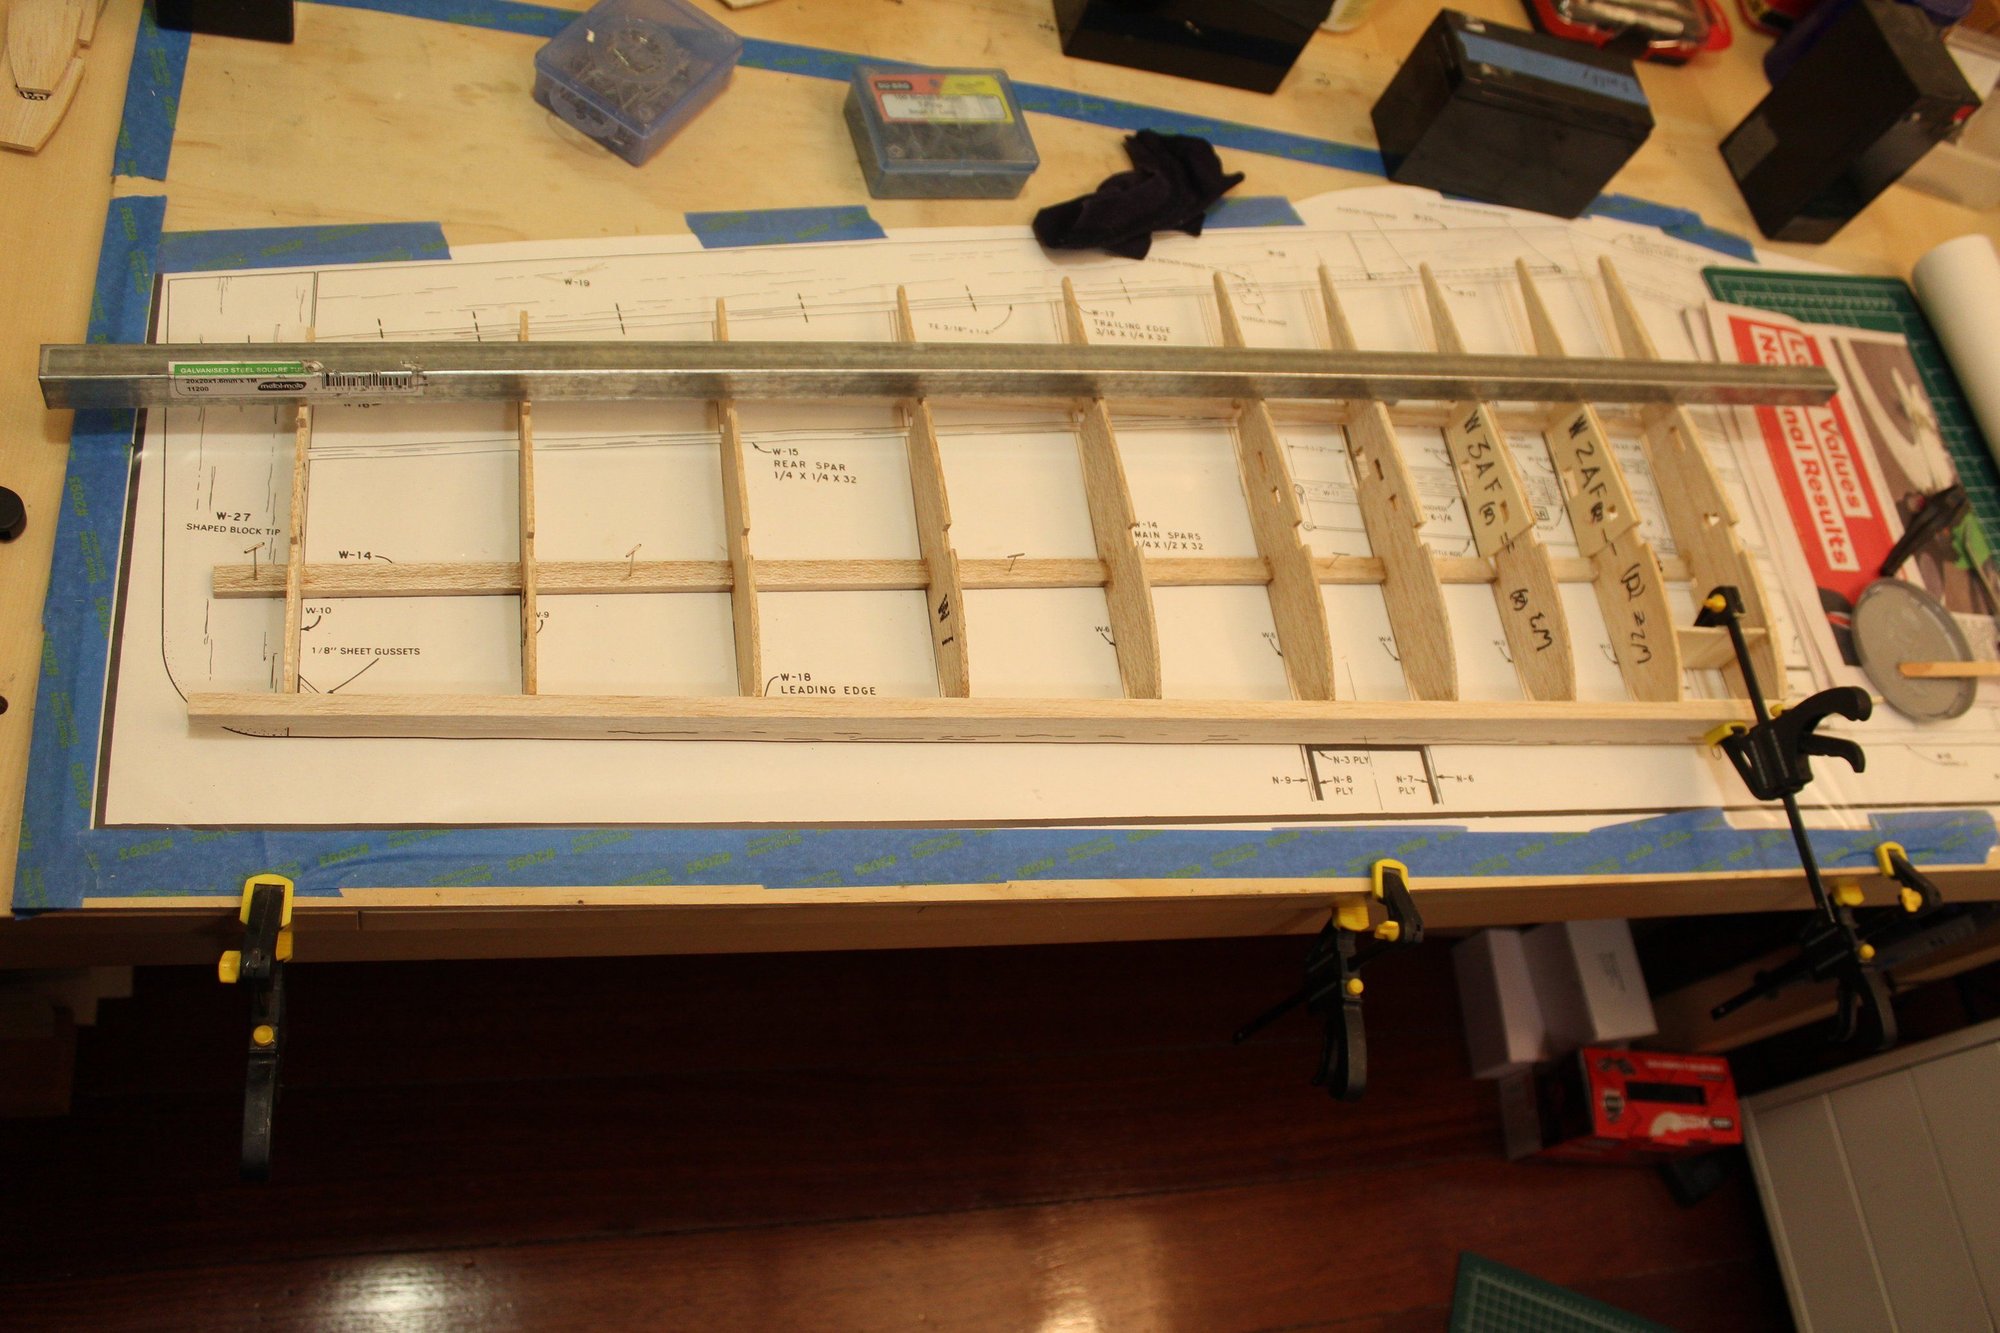
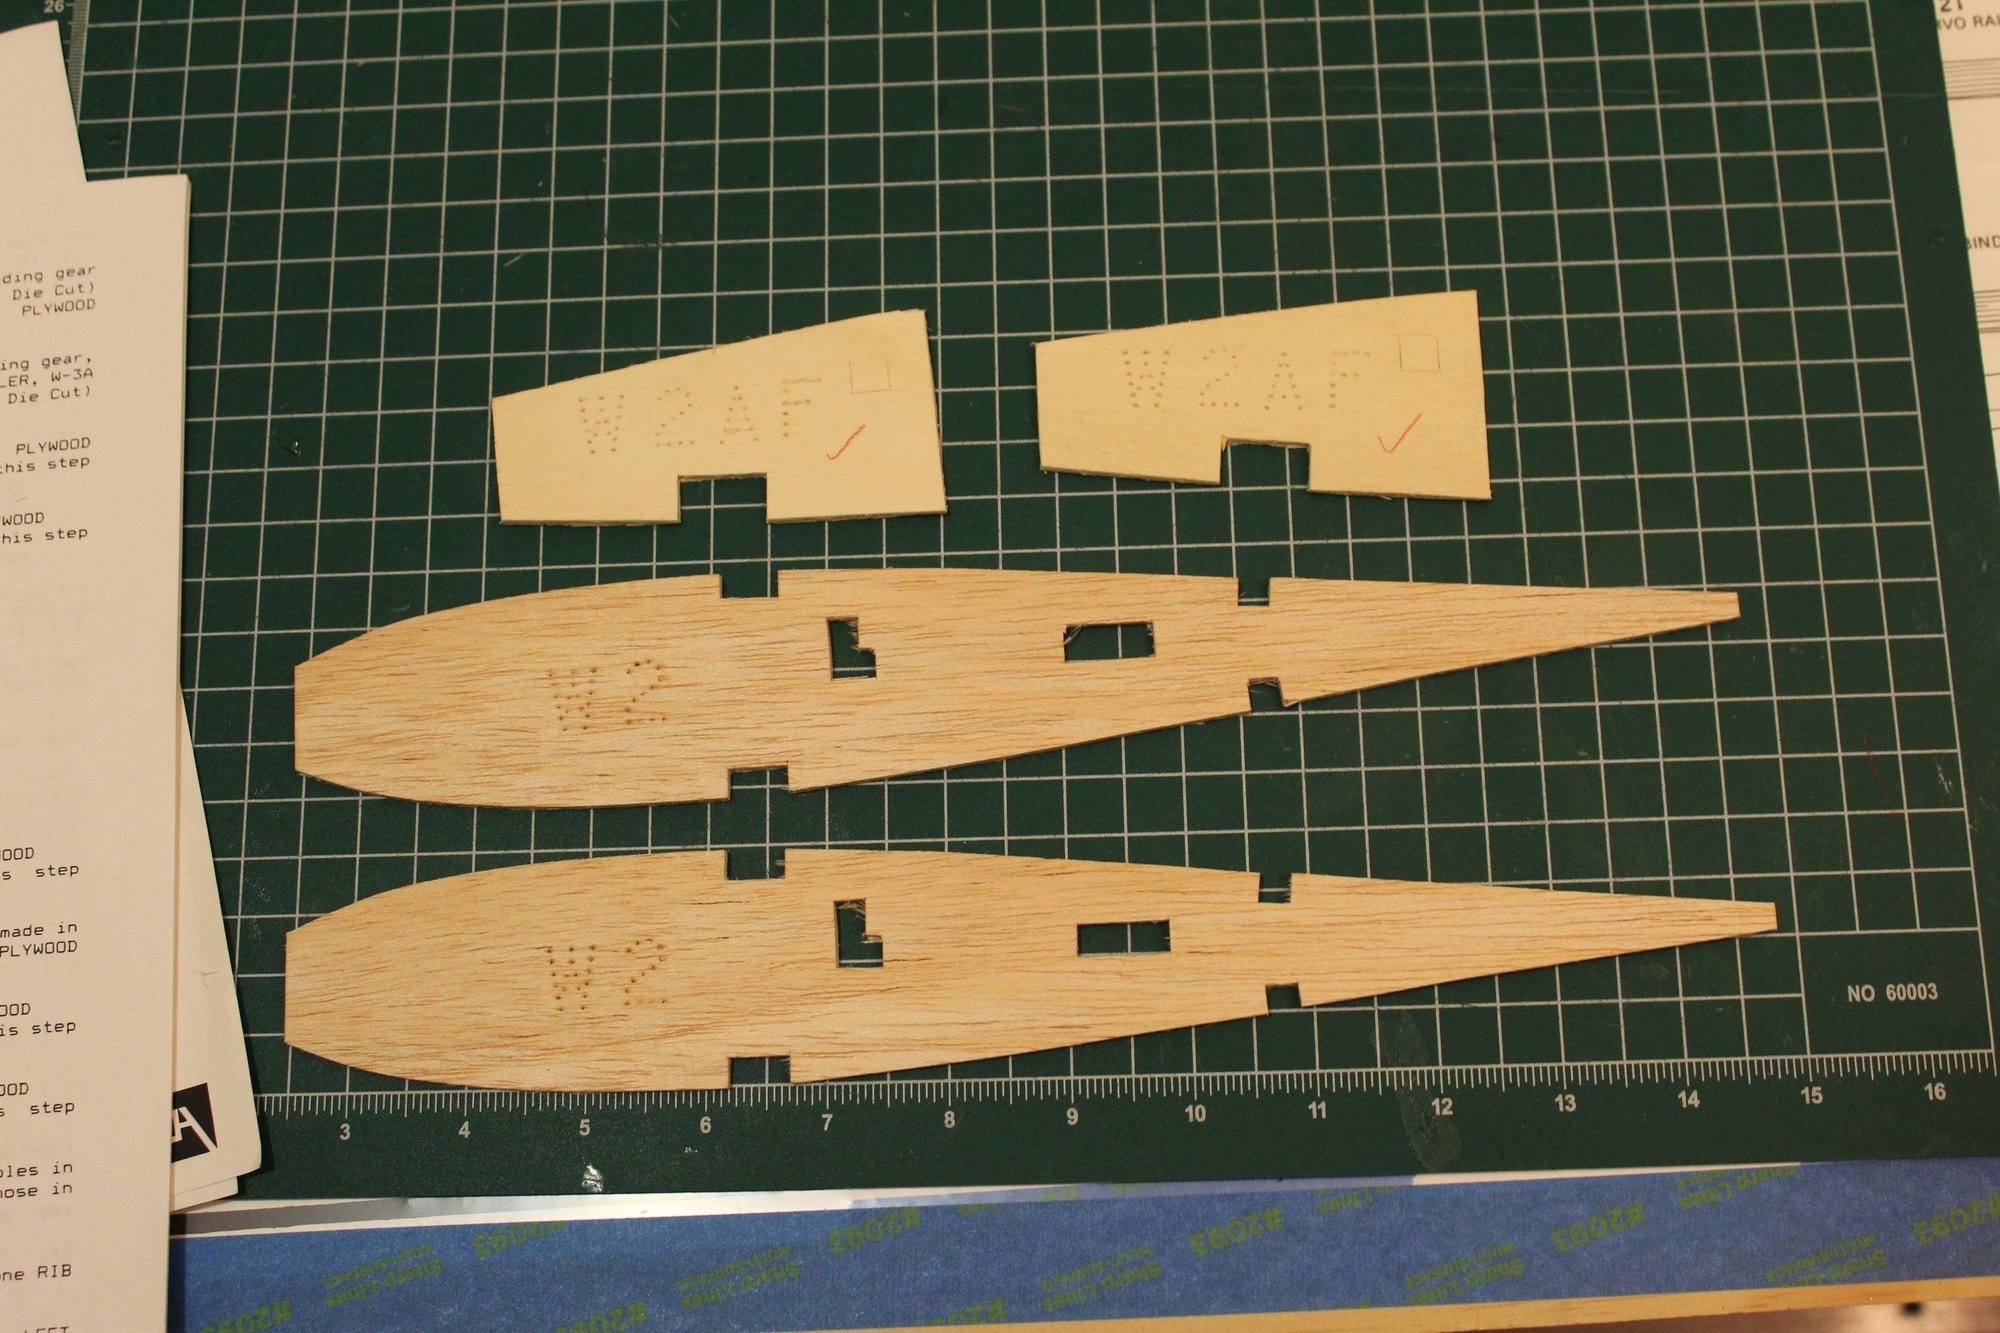
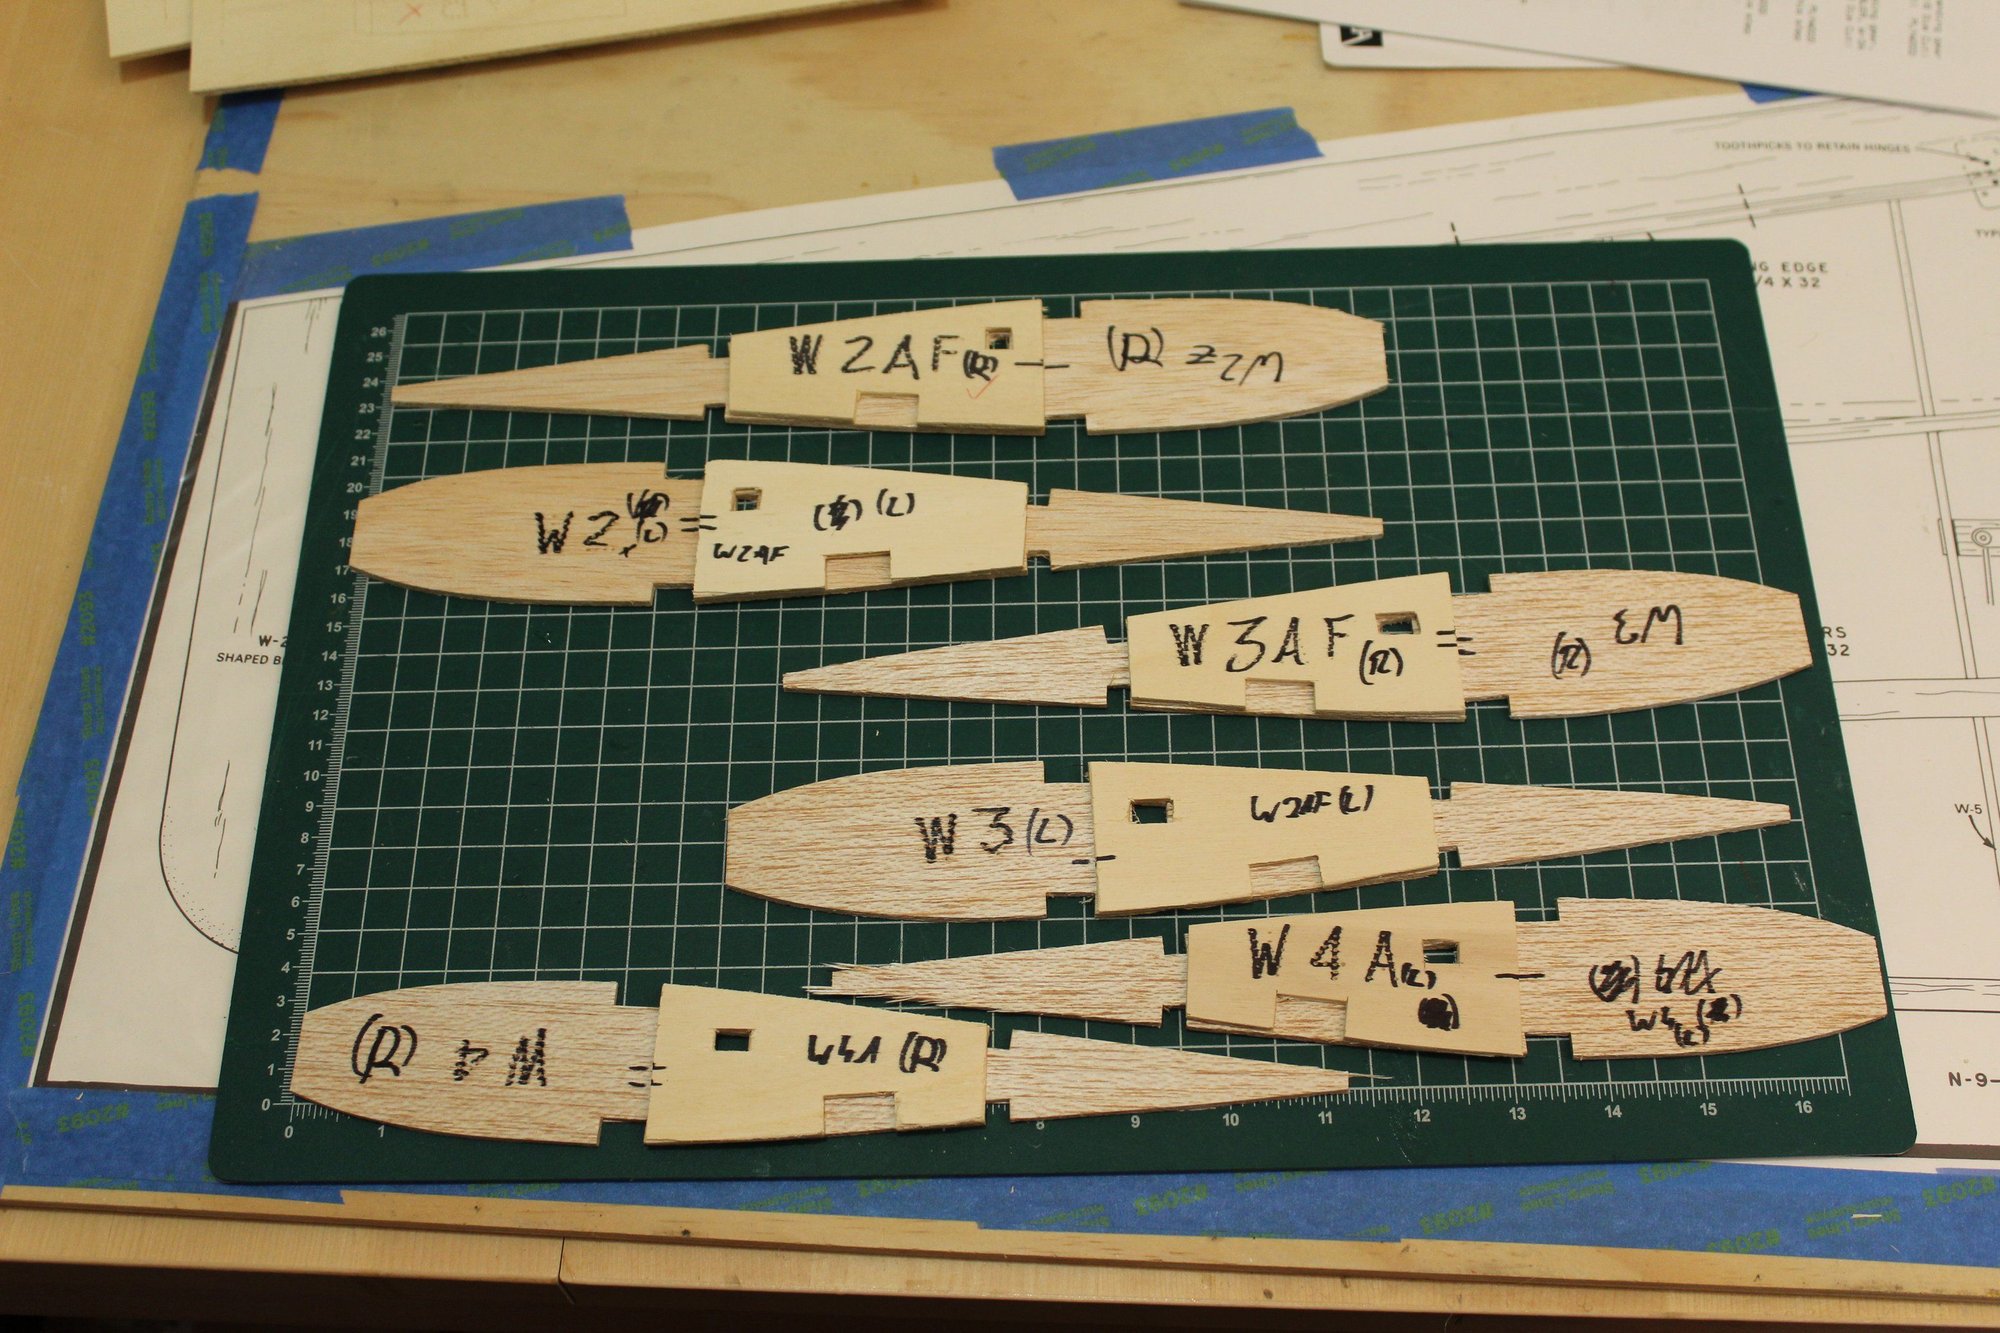
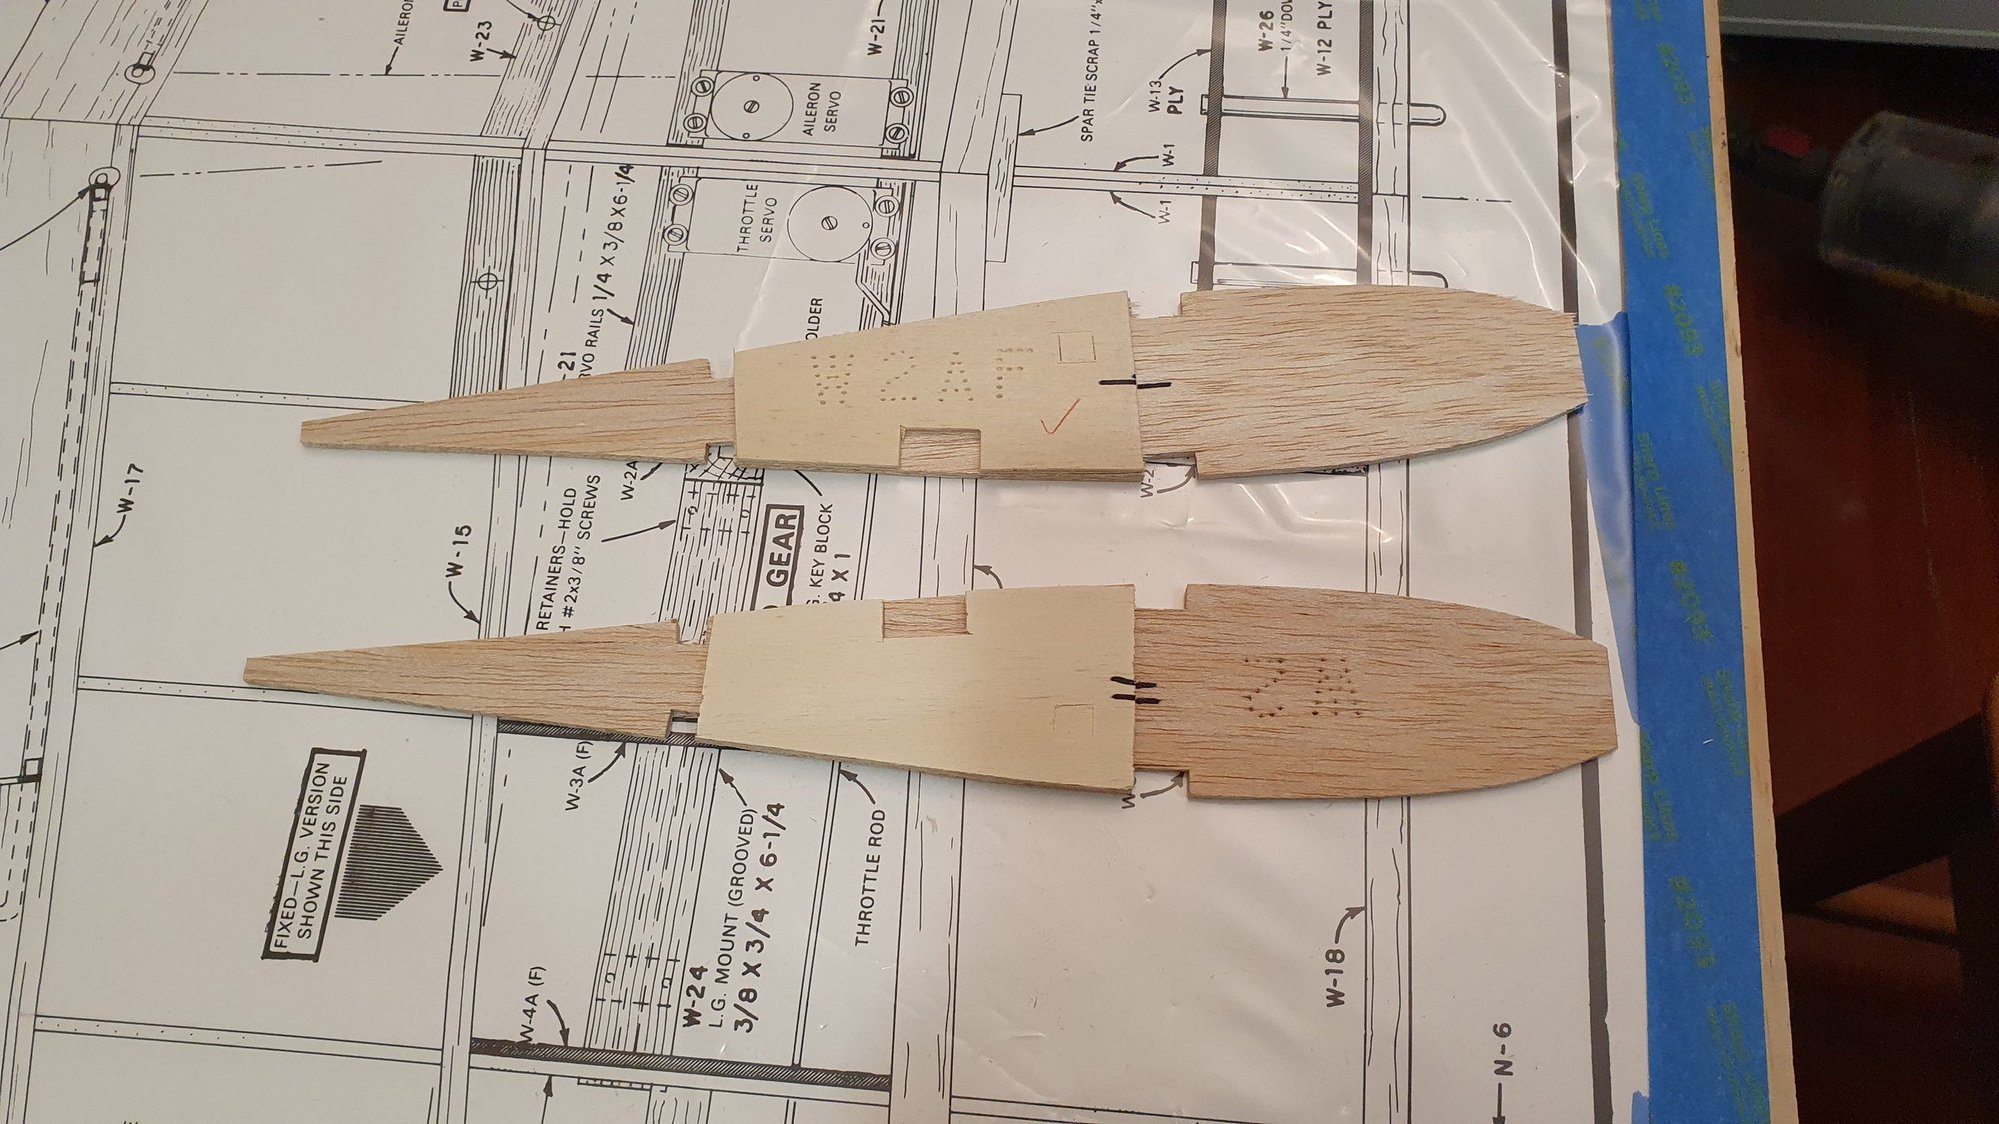
Construction starts with the wing, specifically with ribs W2, W3 and W4 which will support the landing gear and therefore have a plywood doubller. I will be building the fixed gear option.
Cheers,
Eran
Construction starts with the wing, specifically with ribs W2, W3 and W4 which will support the landing gear and therefore have a plywood doubller. I will be building the fixed gear option.


Cheers,
Eran
#4

Thread Starter
Join Date: Jun 2008
Location: Perth WA, AUSTRALIA
Posts: 1,237
Likes: 0
Received 12 Likes
on
12 Posts
Carl - I don't have engines lined up yet. I wanted to fit two O.S. 40 FSR engines for nostalgic reasons, but they are getting hard to find (N.I.B) and expensive. It is likely to be two O.S. 46AX's. I had to quickly secure the two fuel tanks, as the design was around the Sullivan 8 oz (#439) with the sloped front (with Sullivan being out of business and its future uncertain).
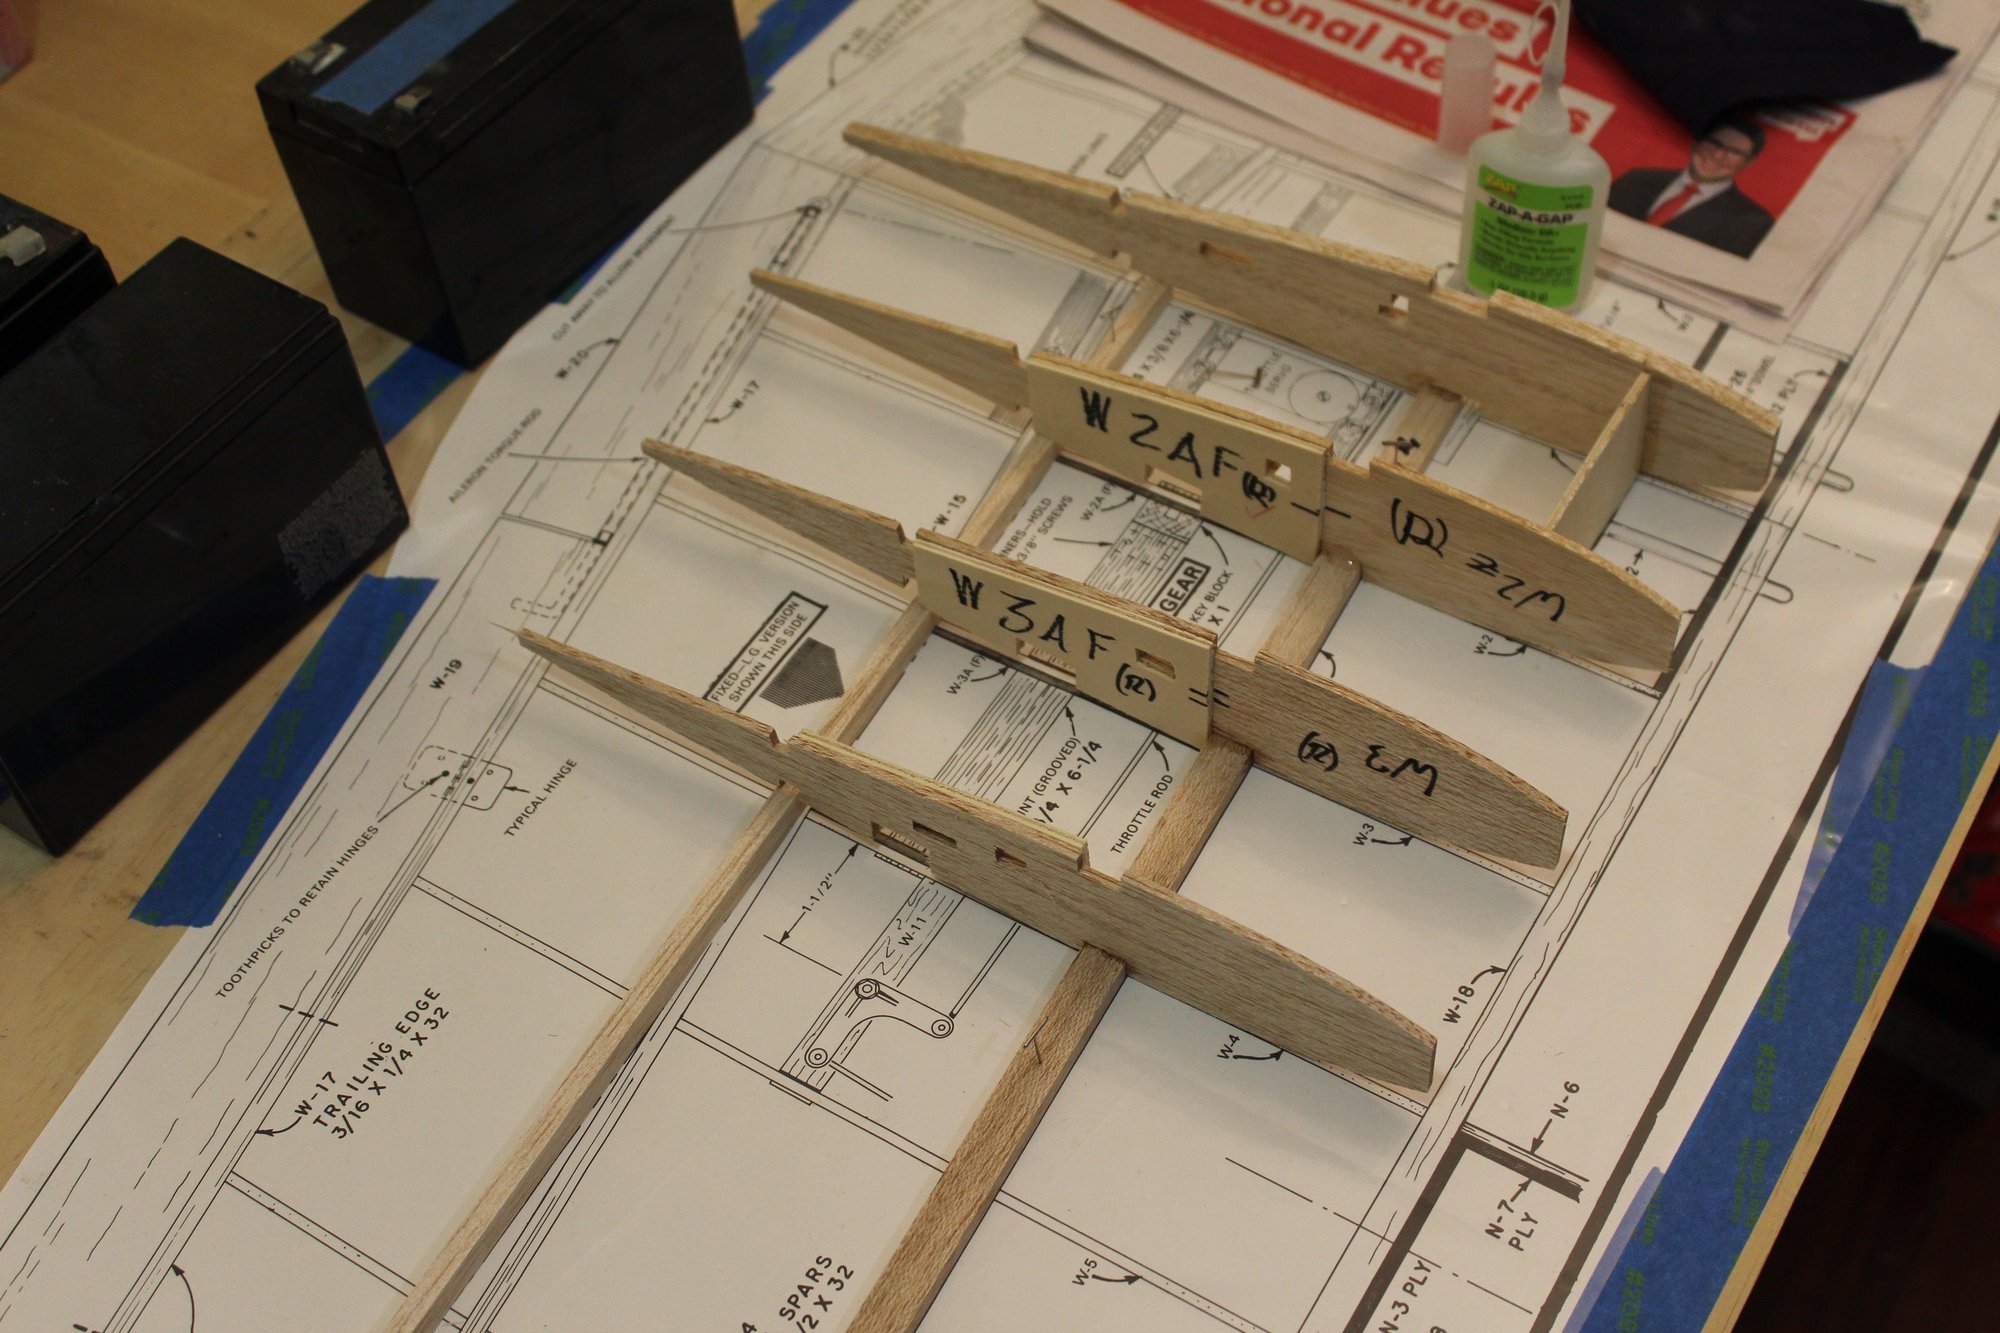
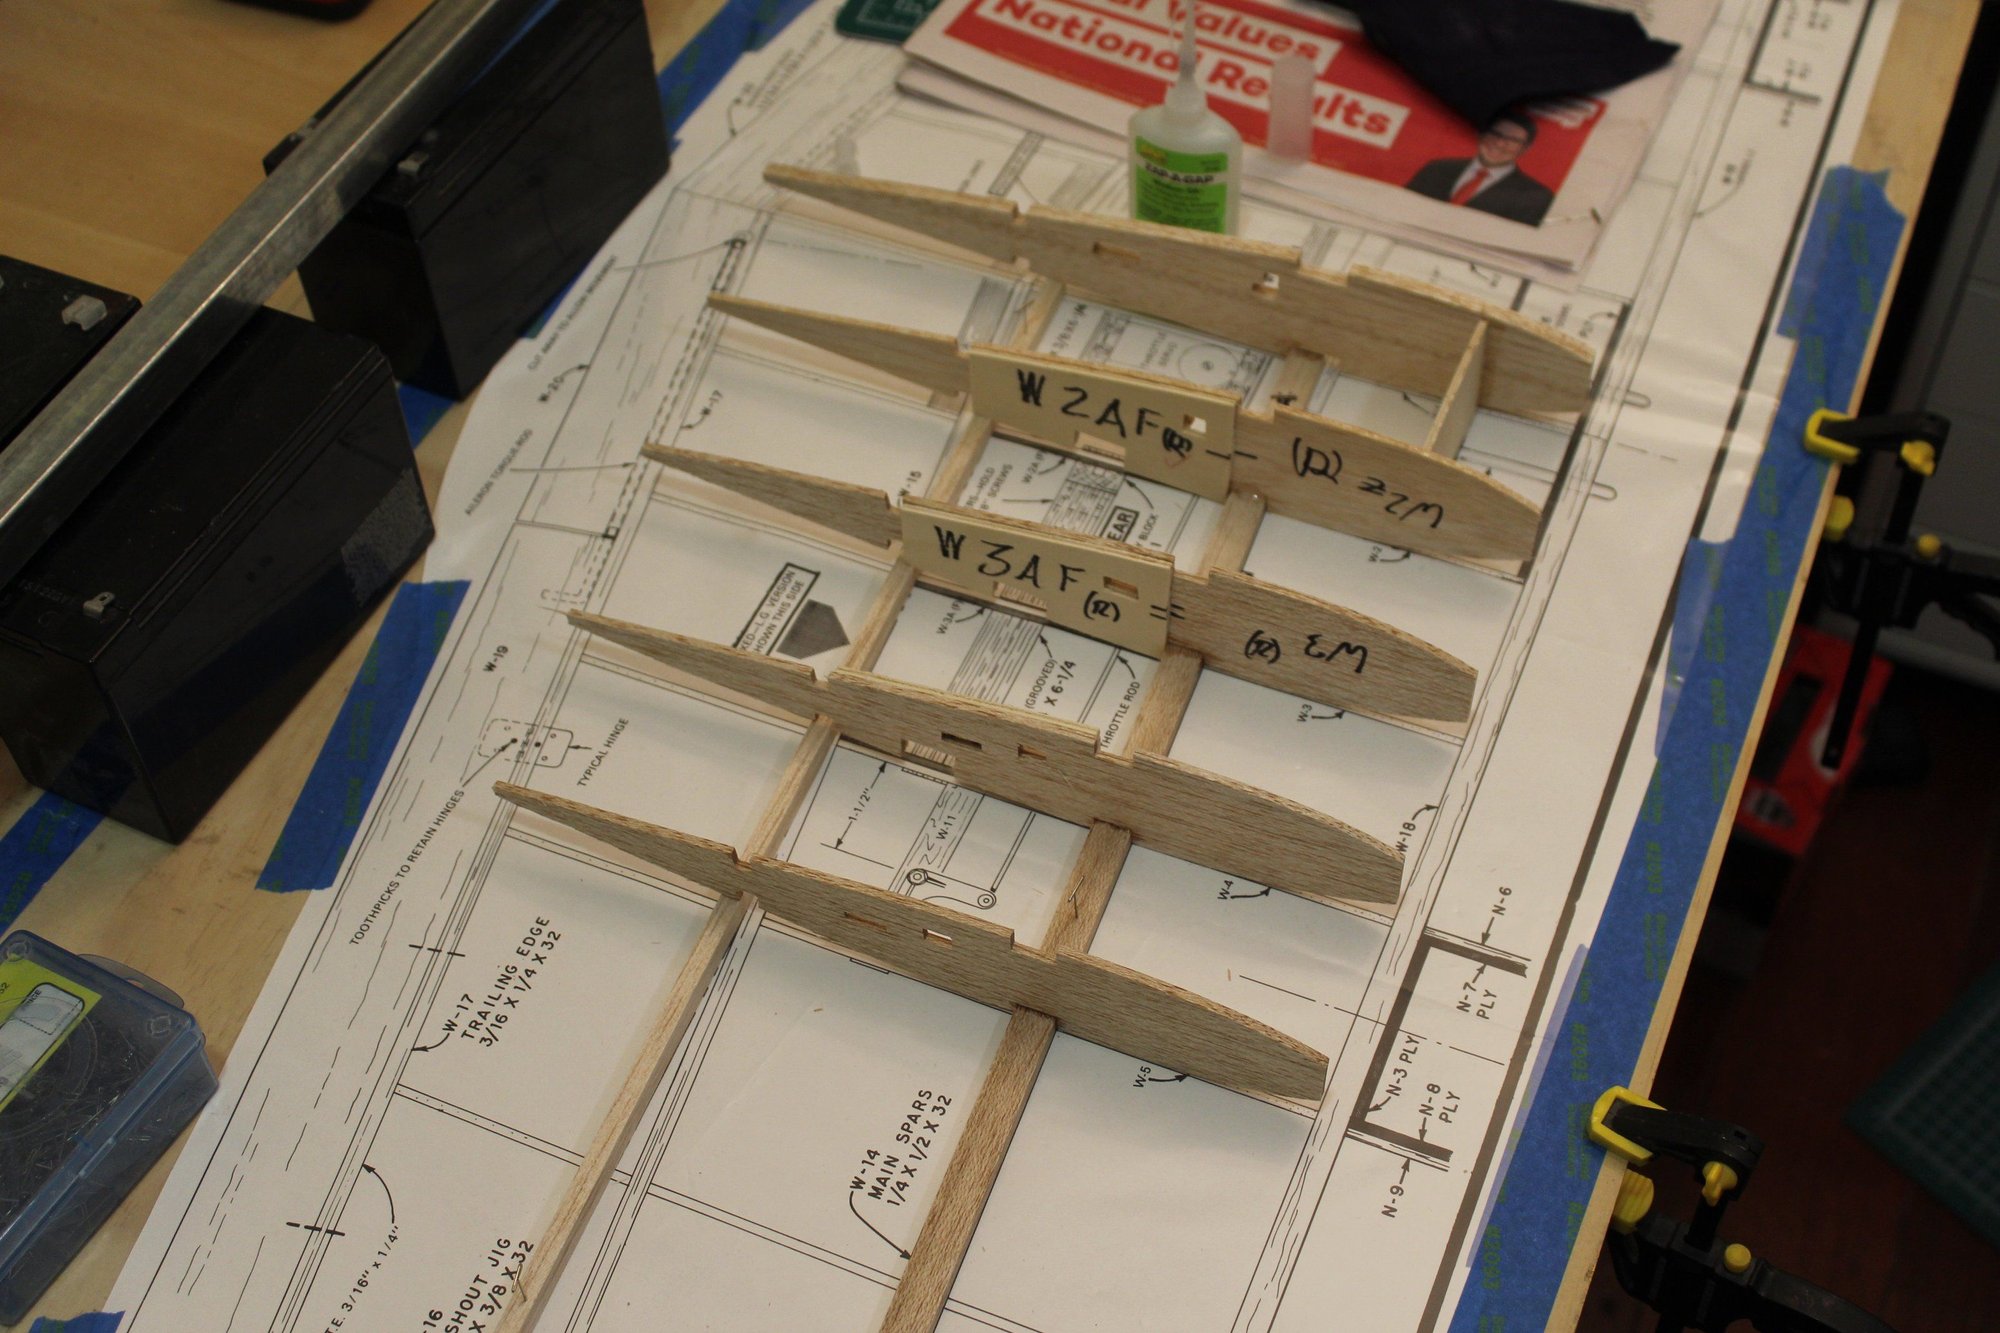
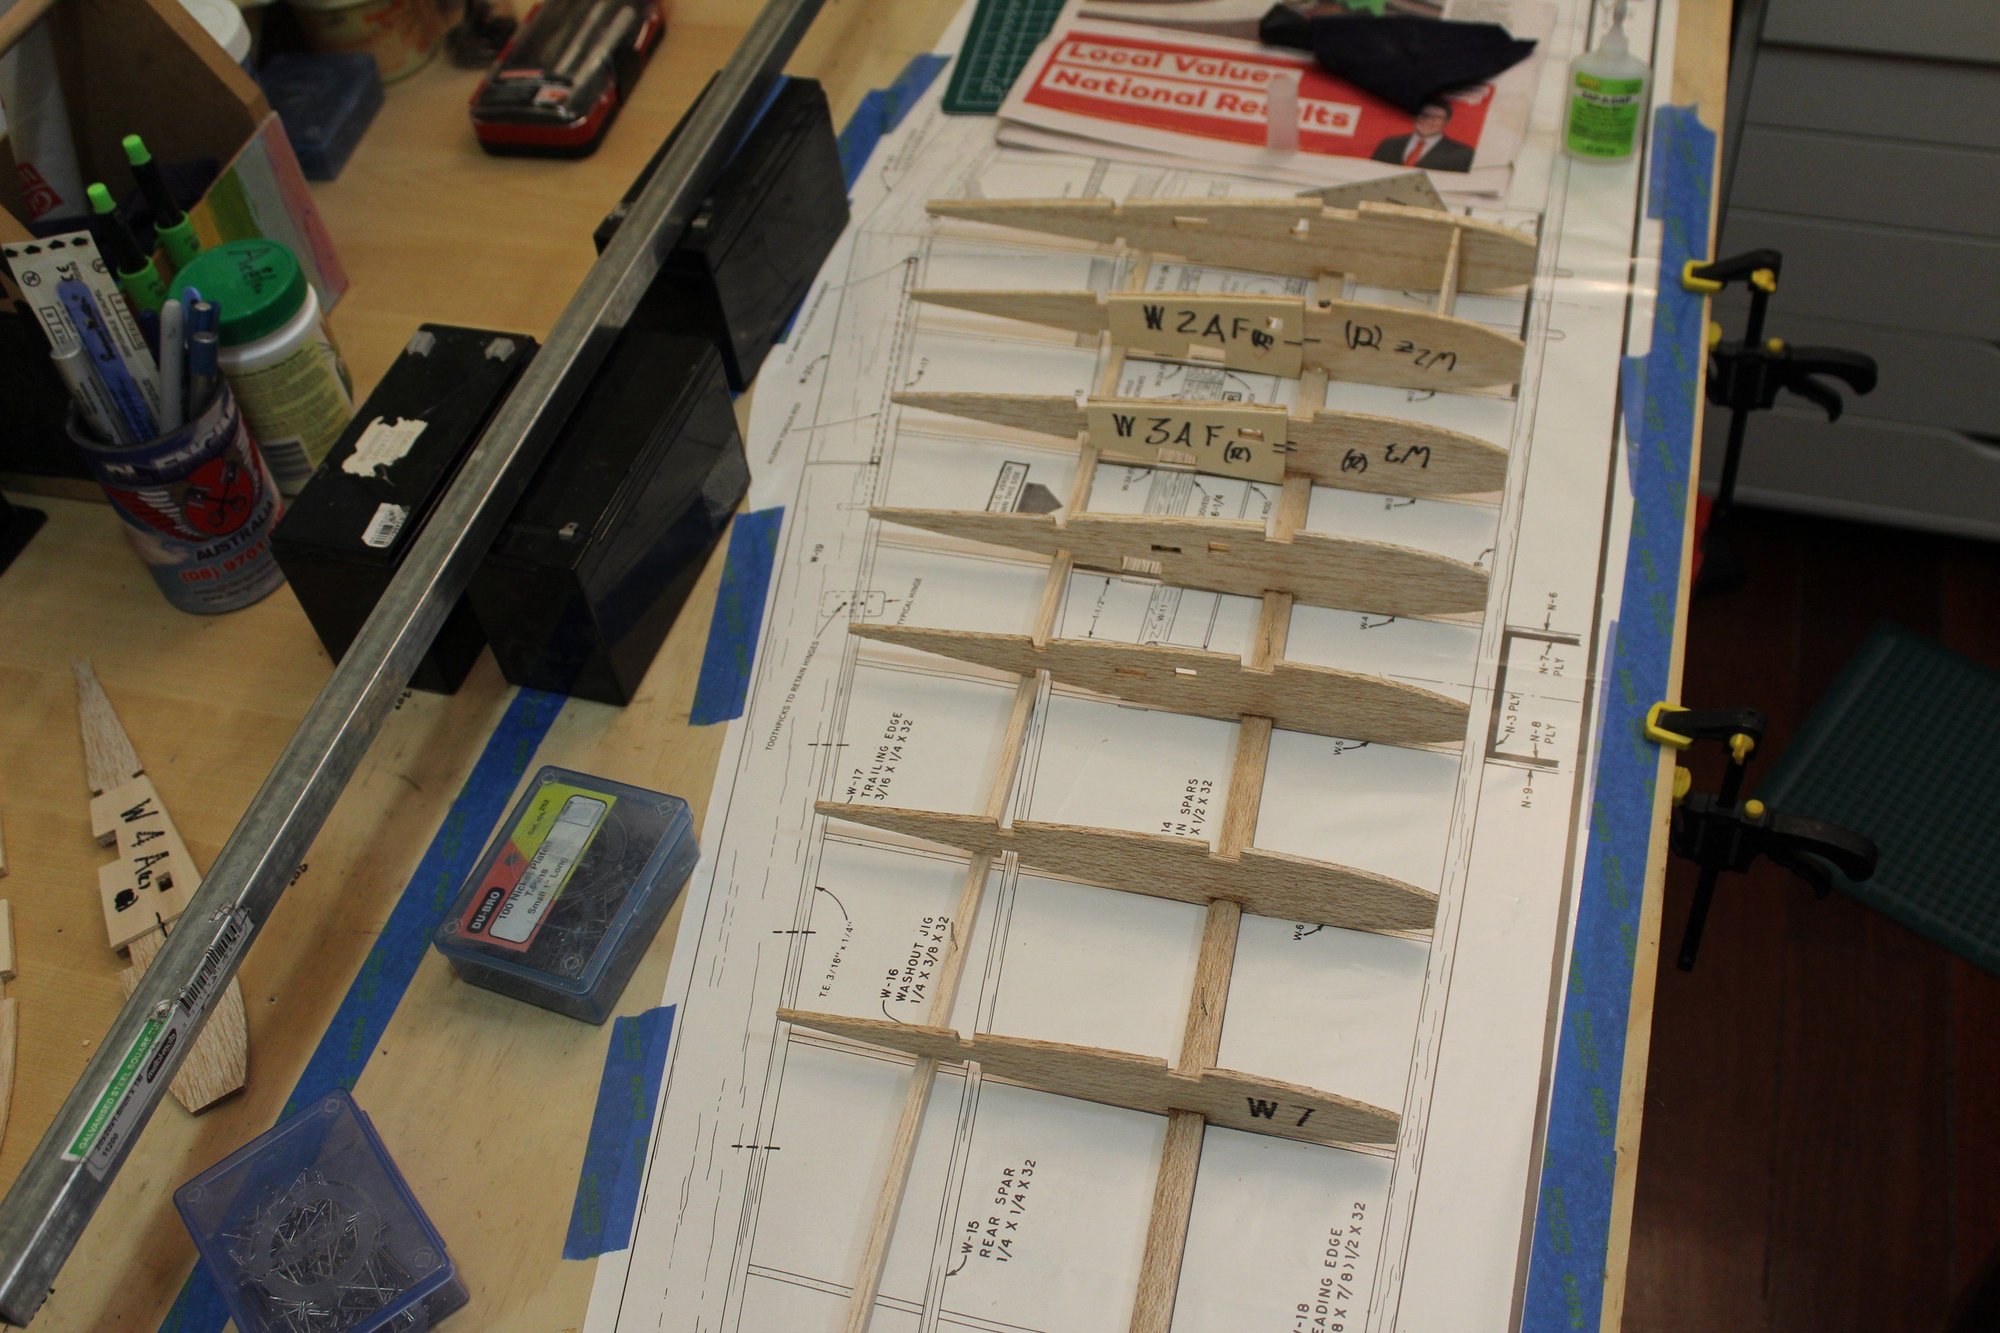
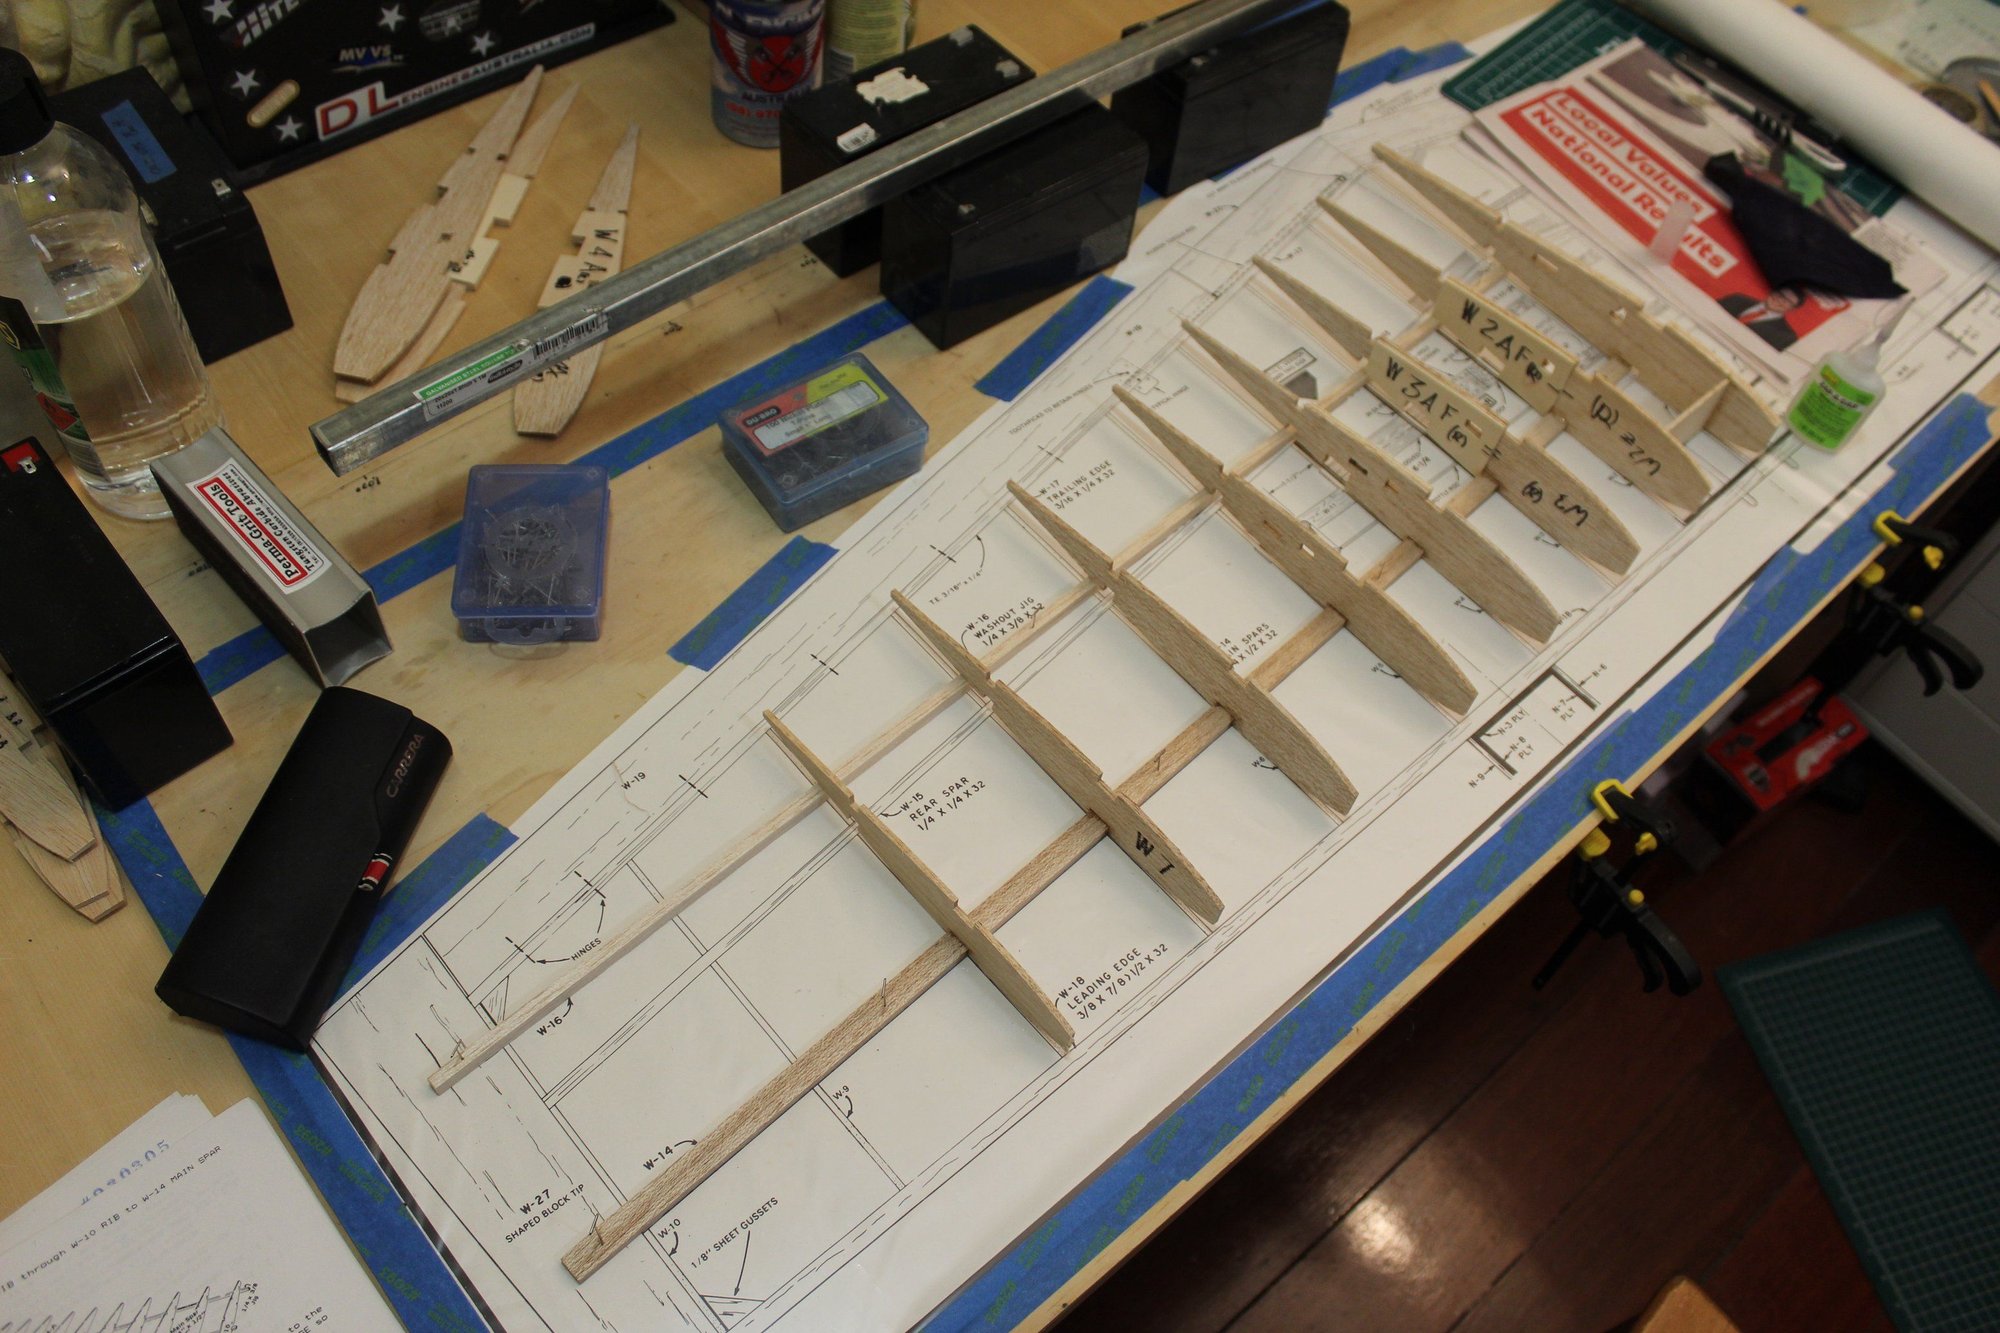
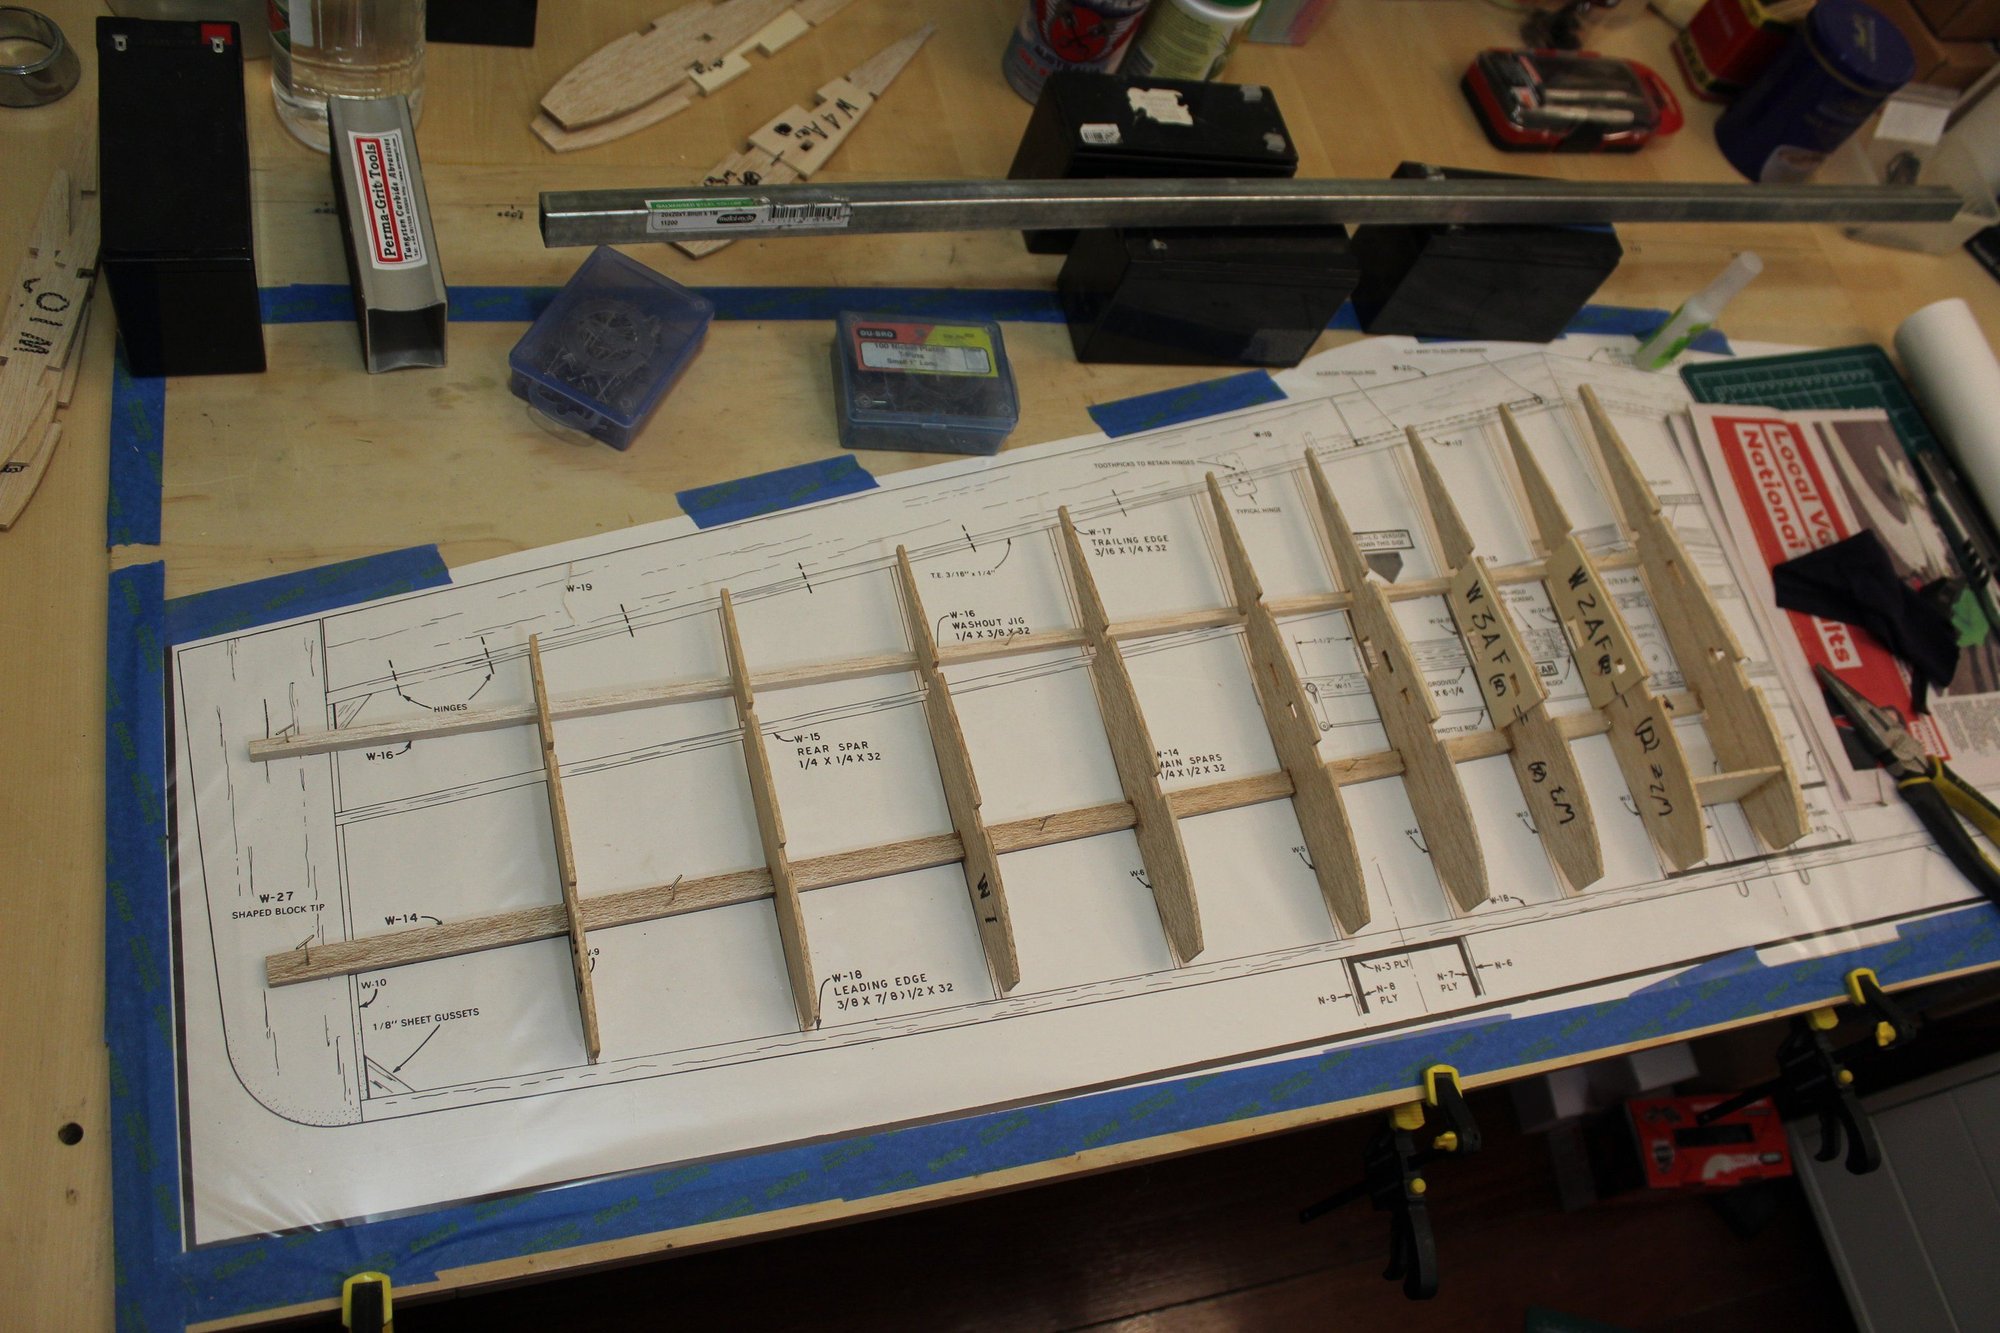
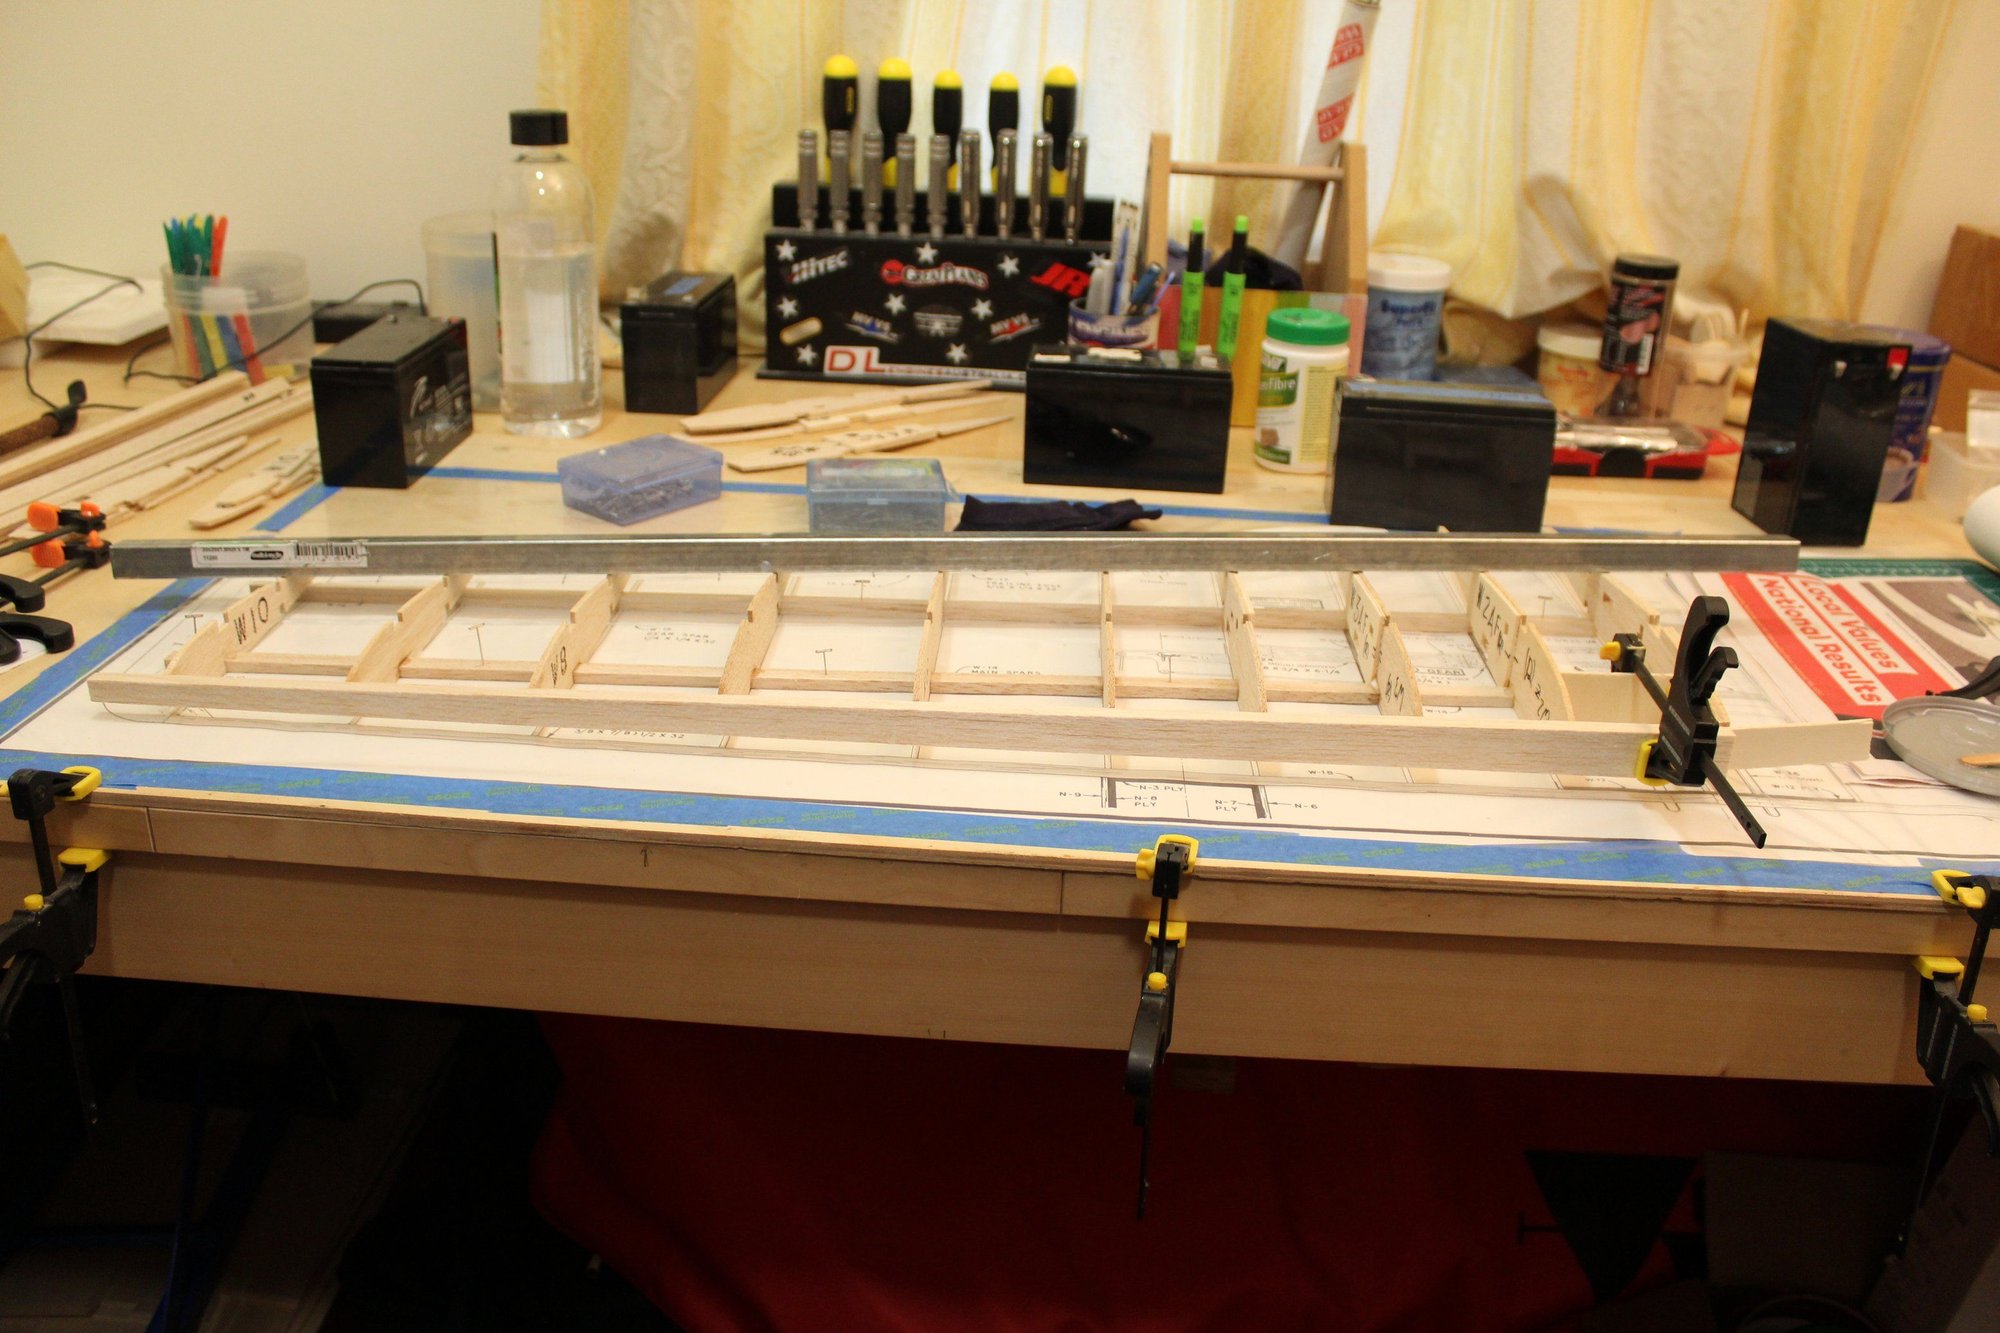
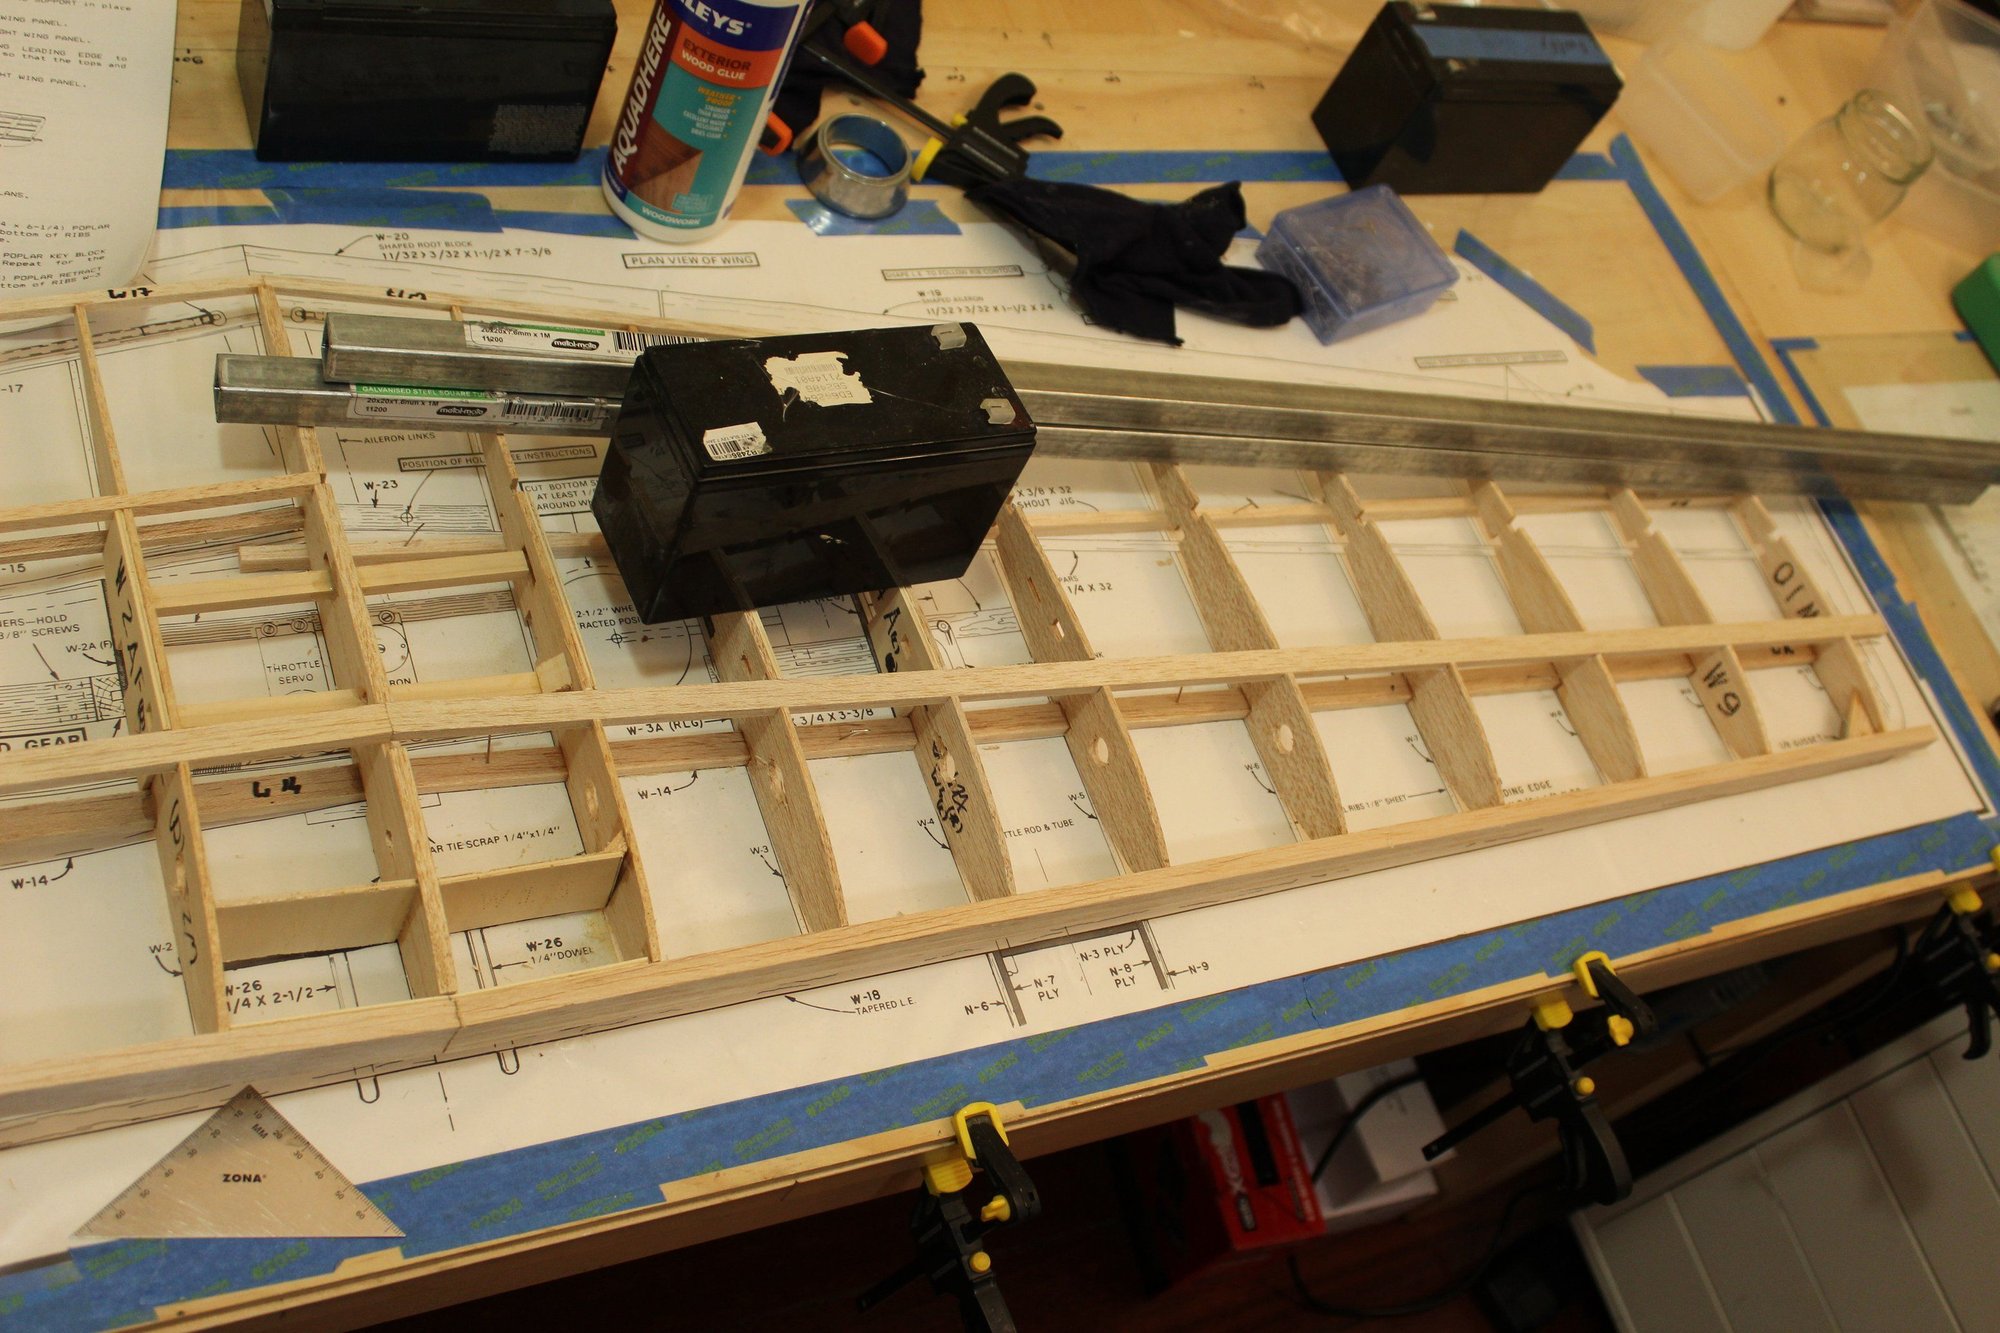
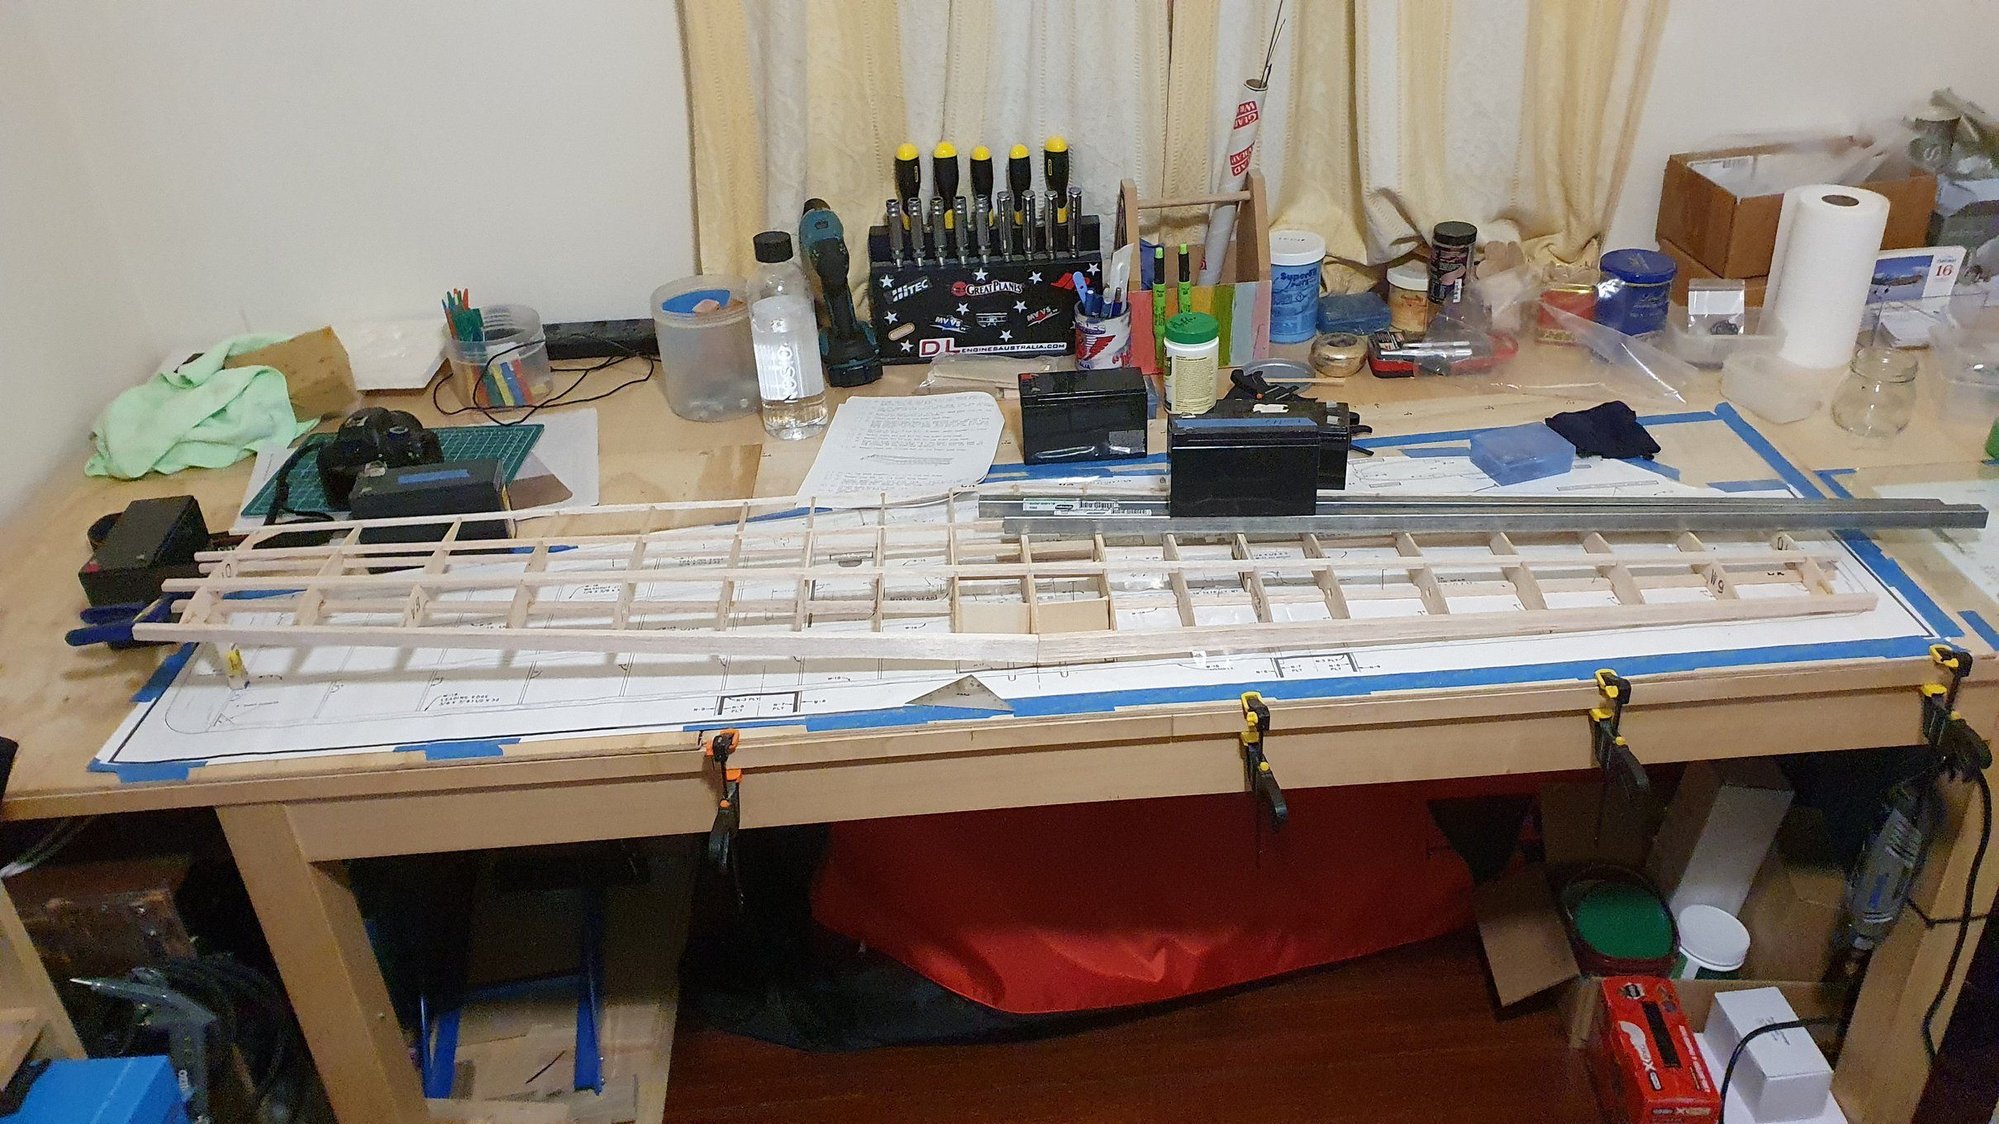
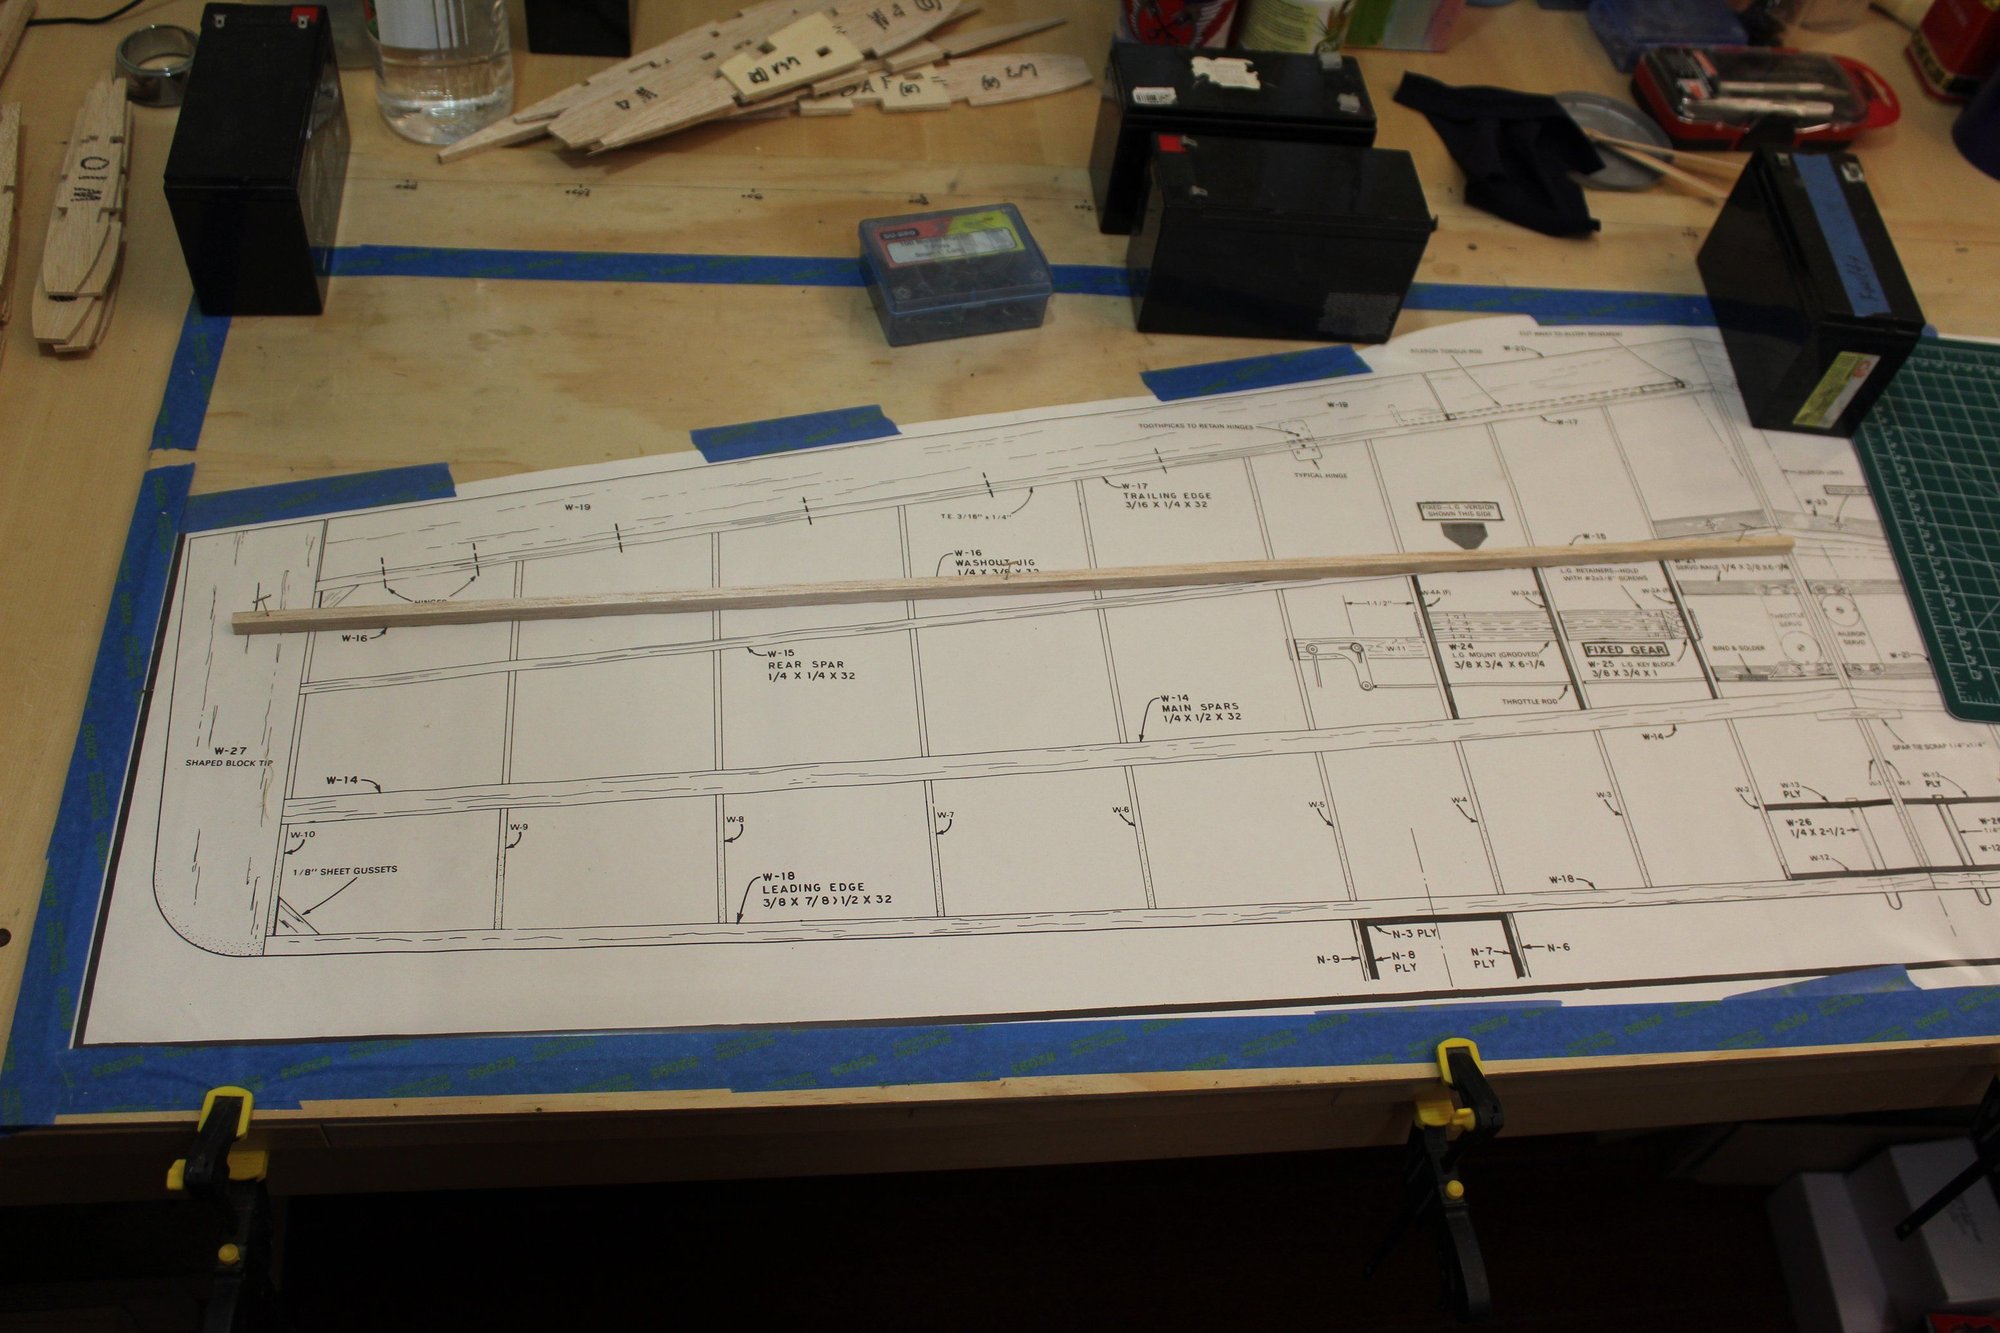
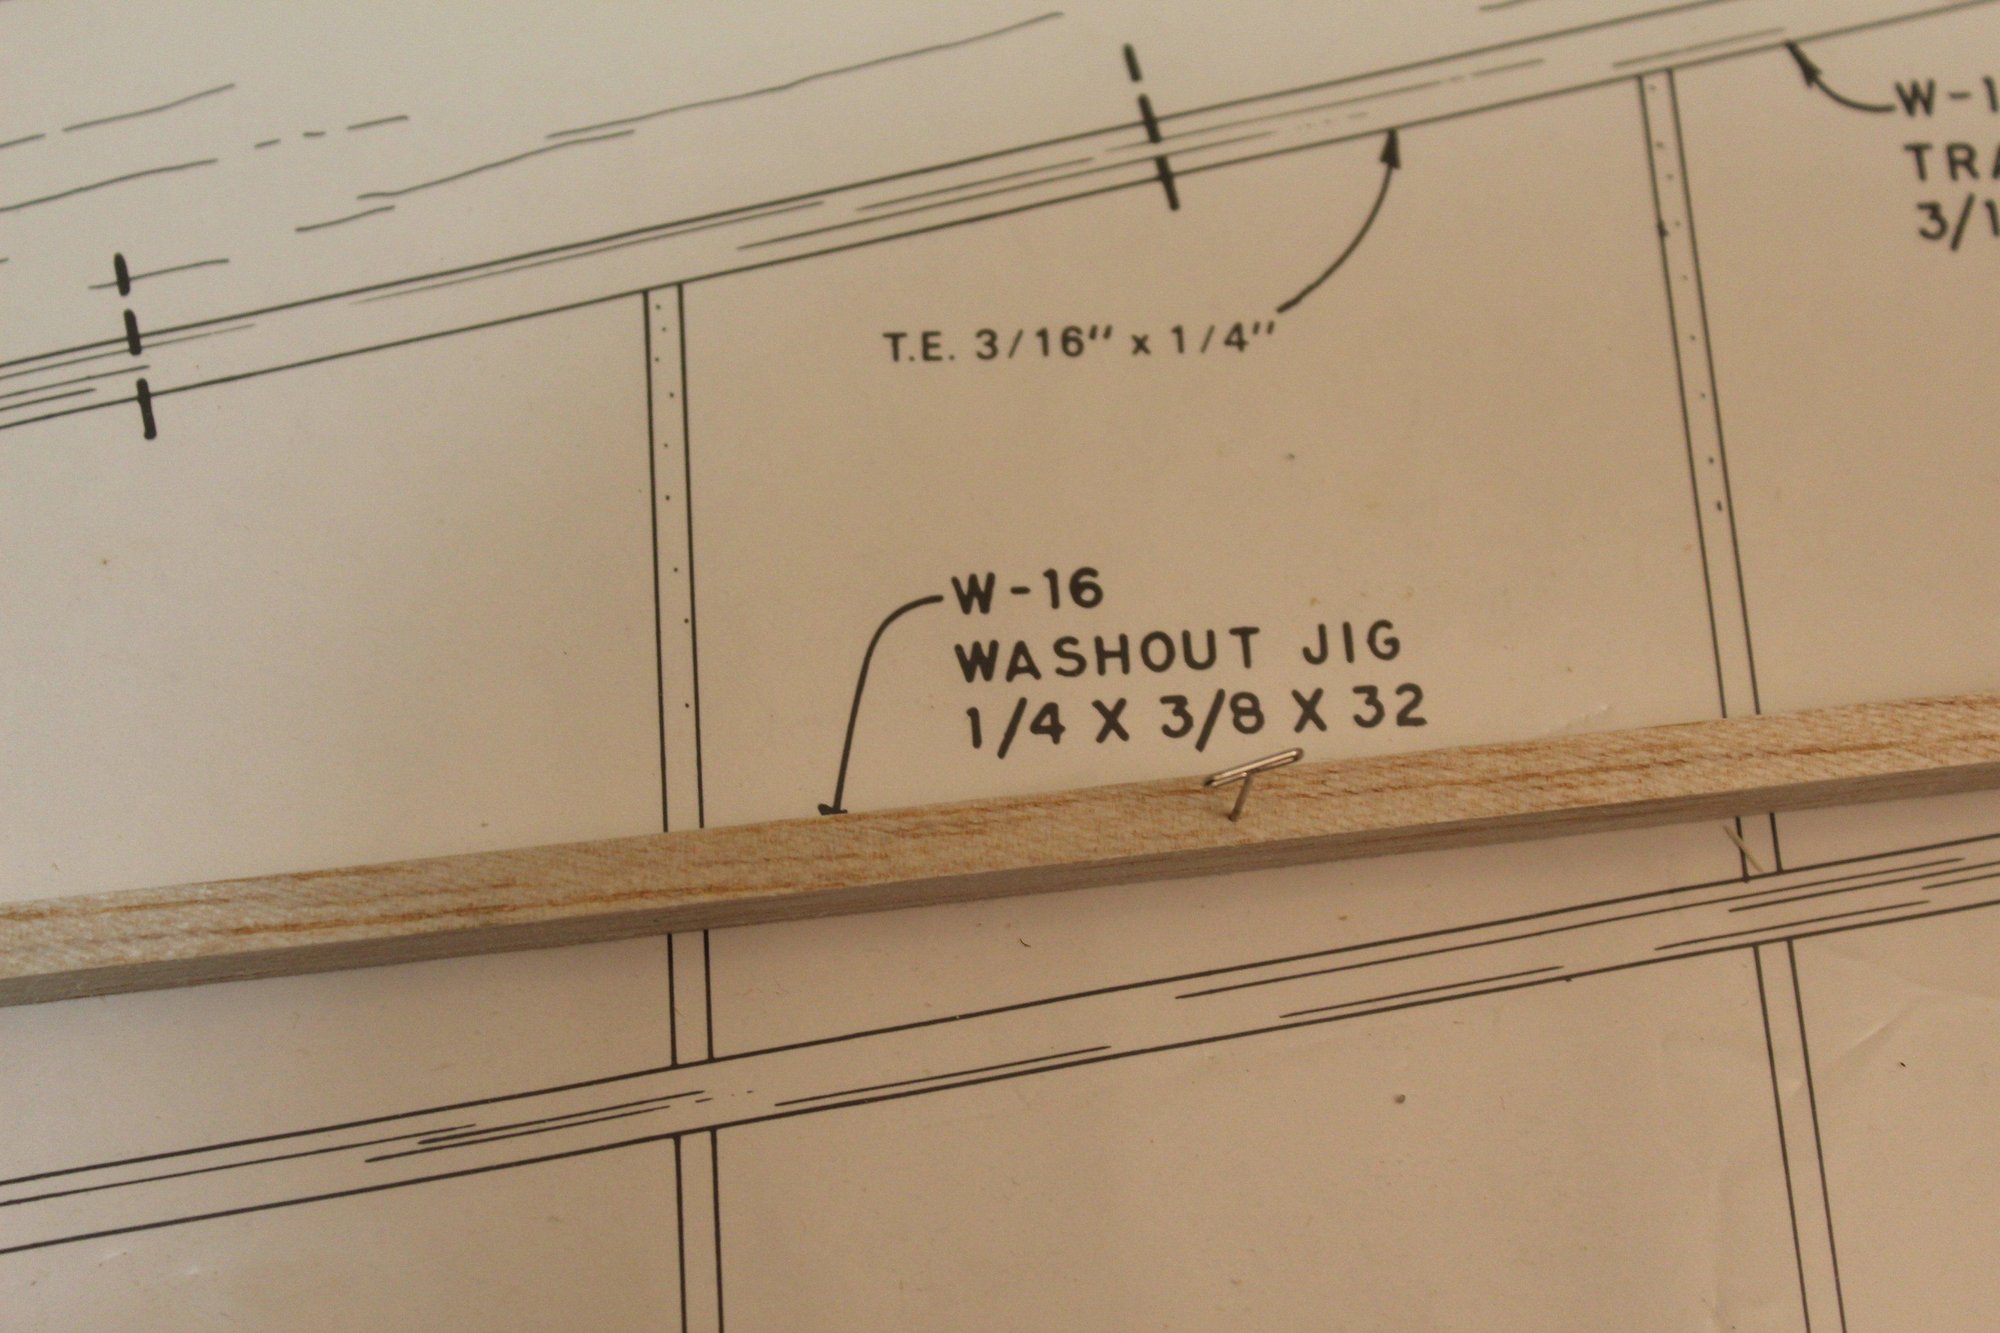
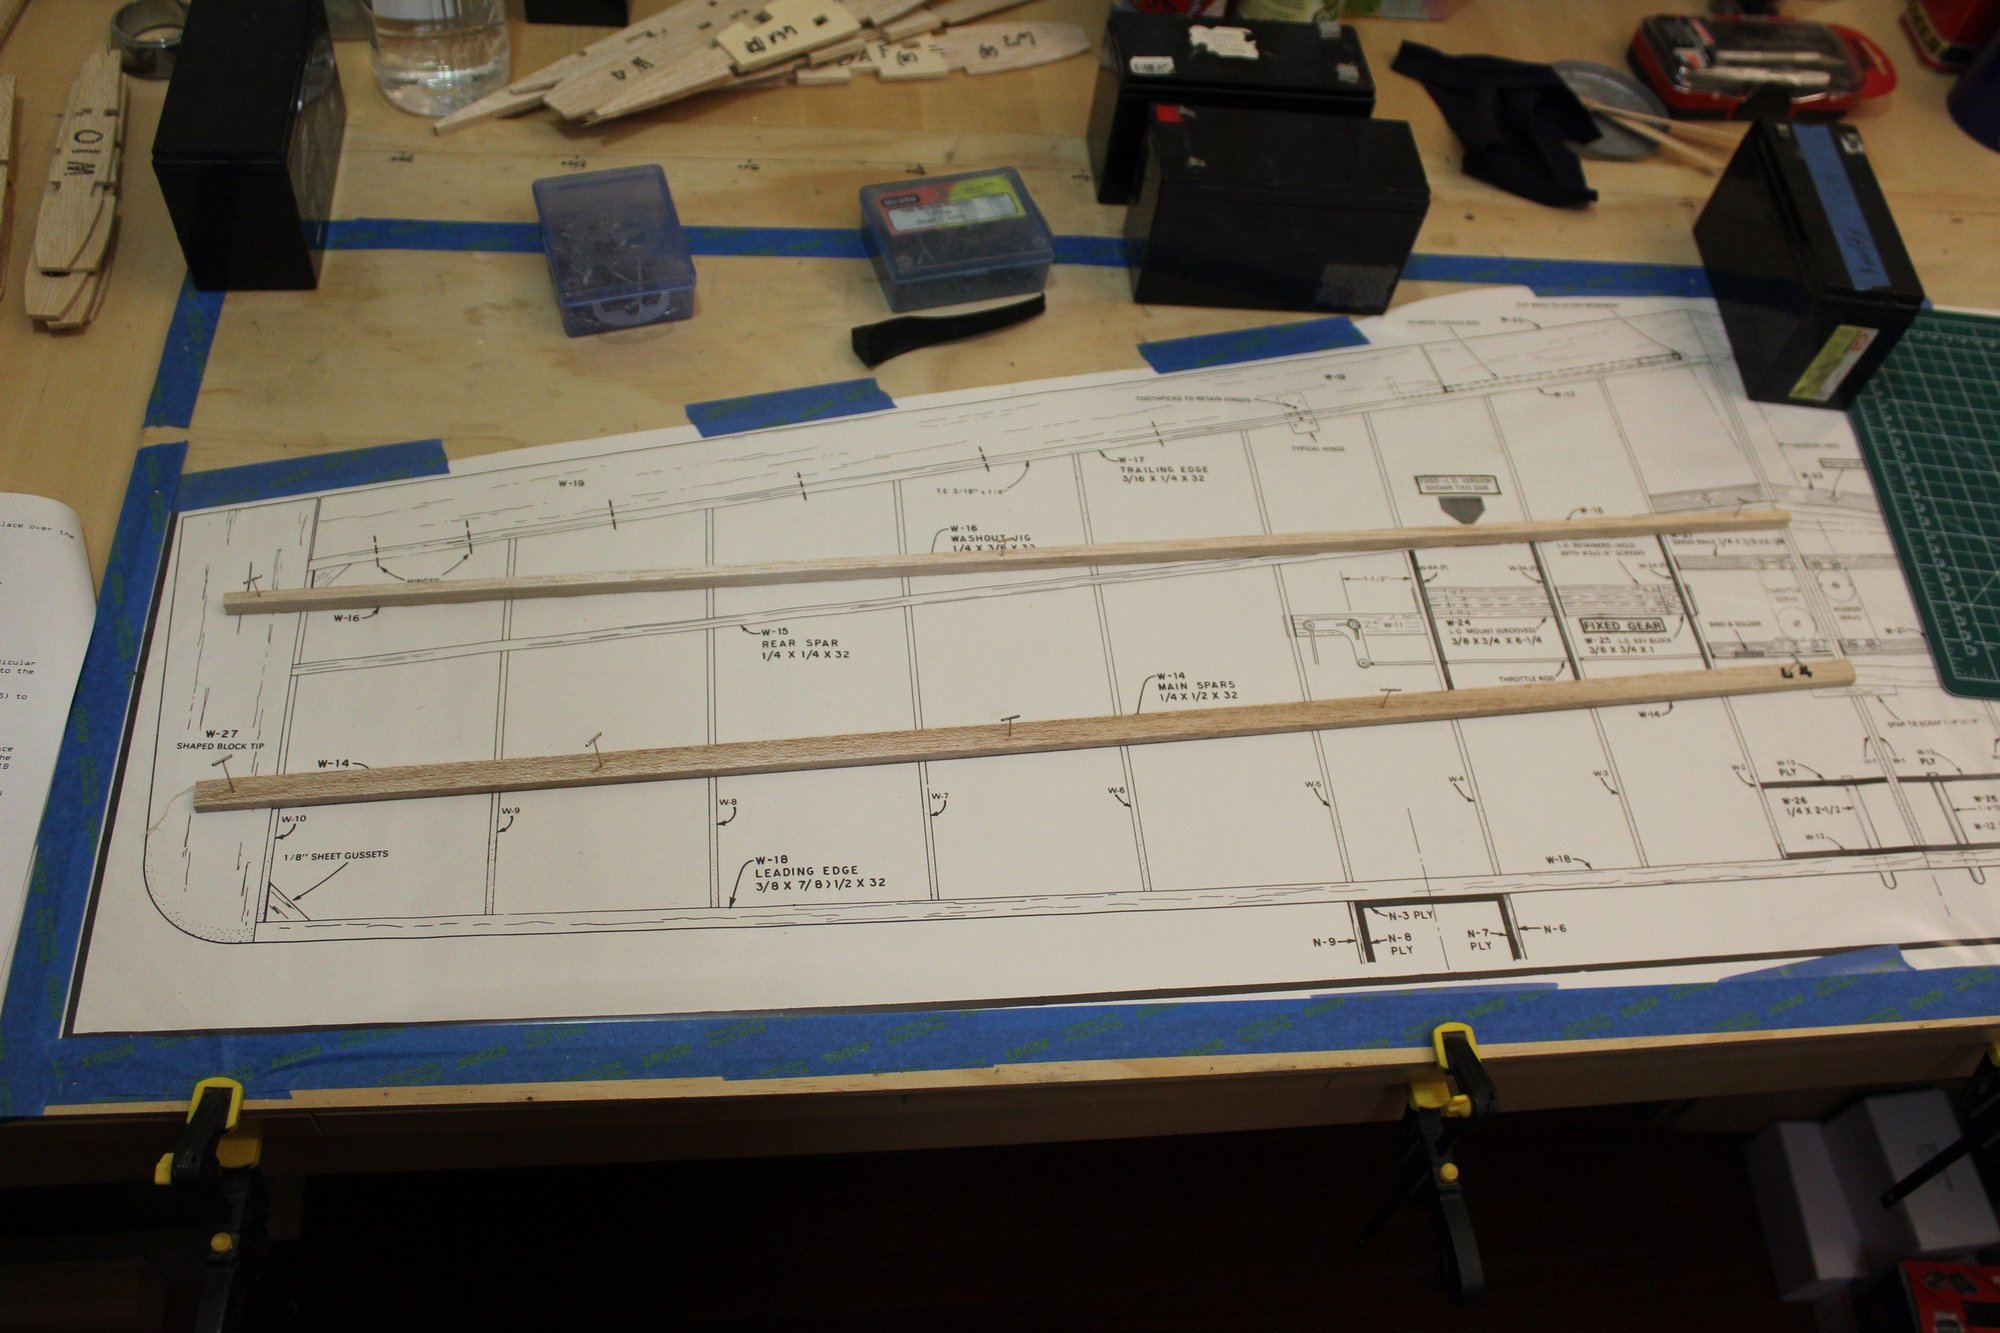
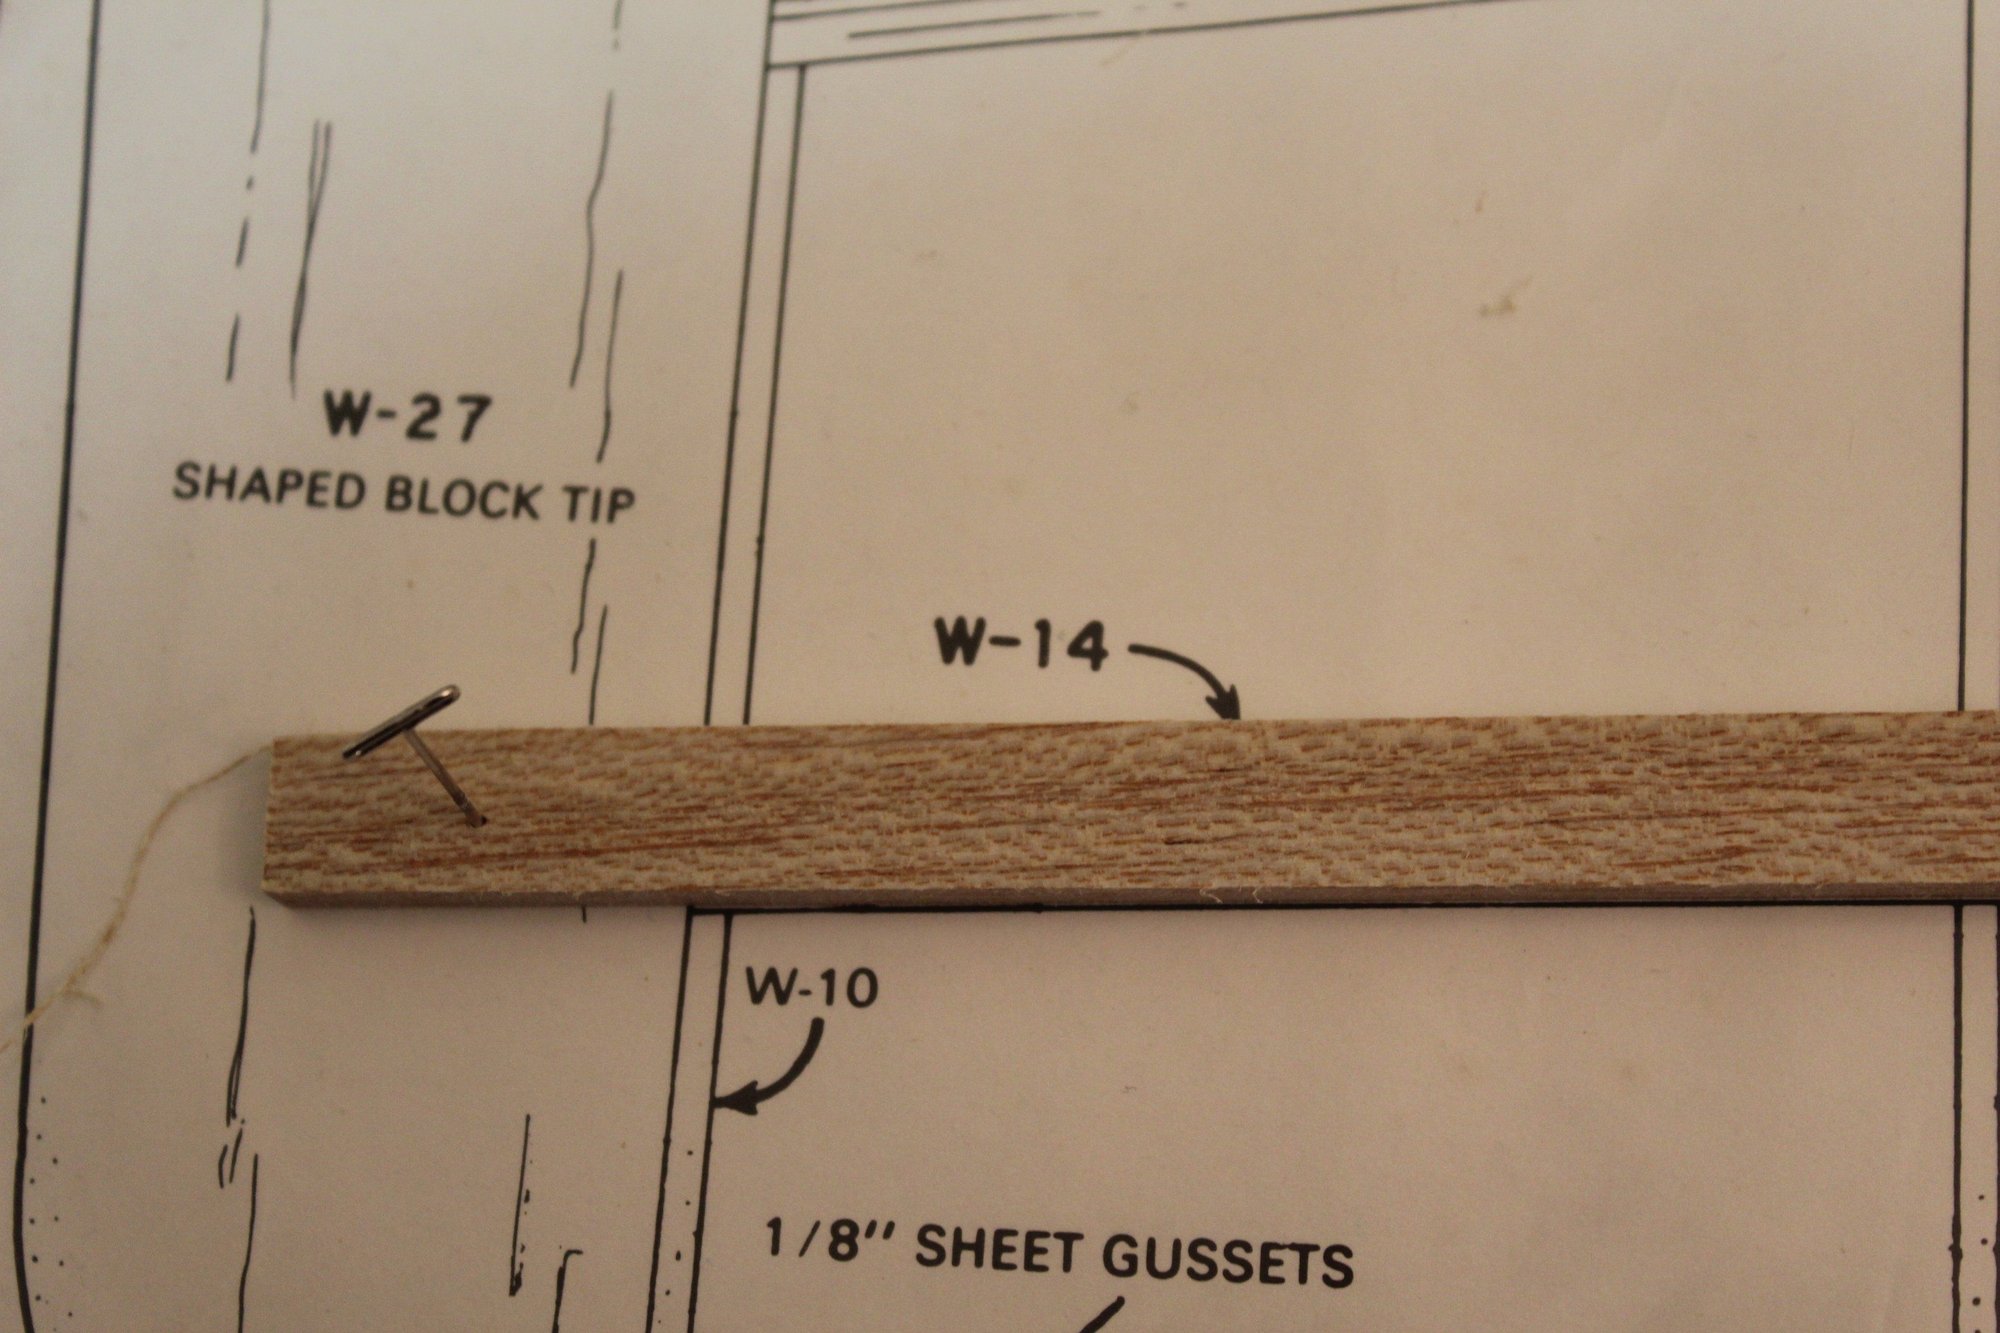
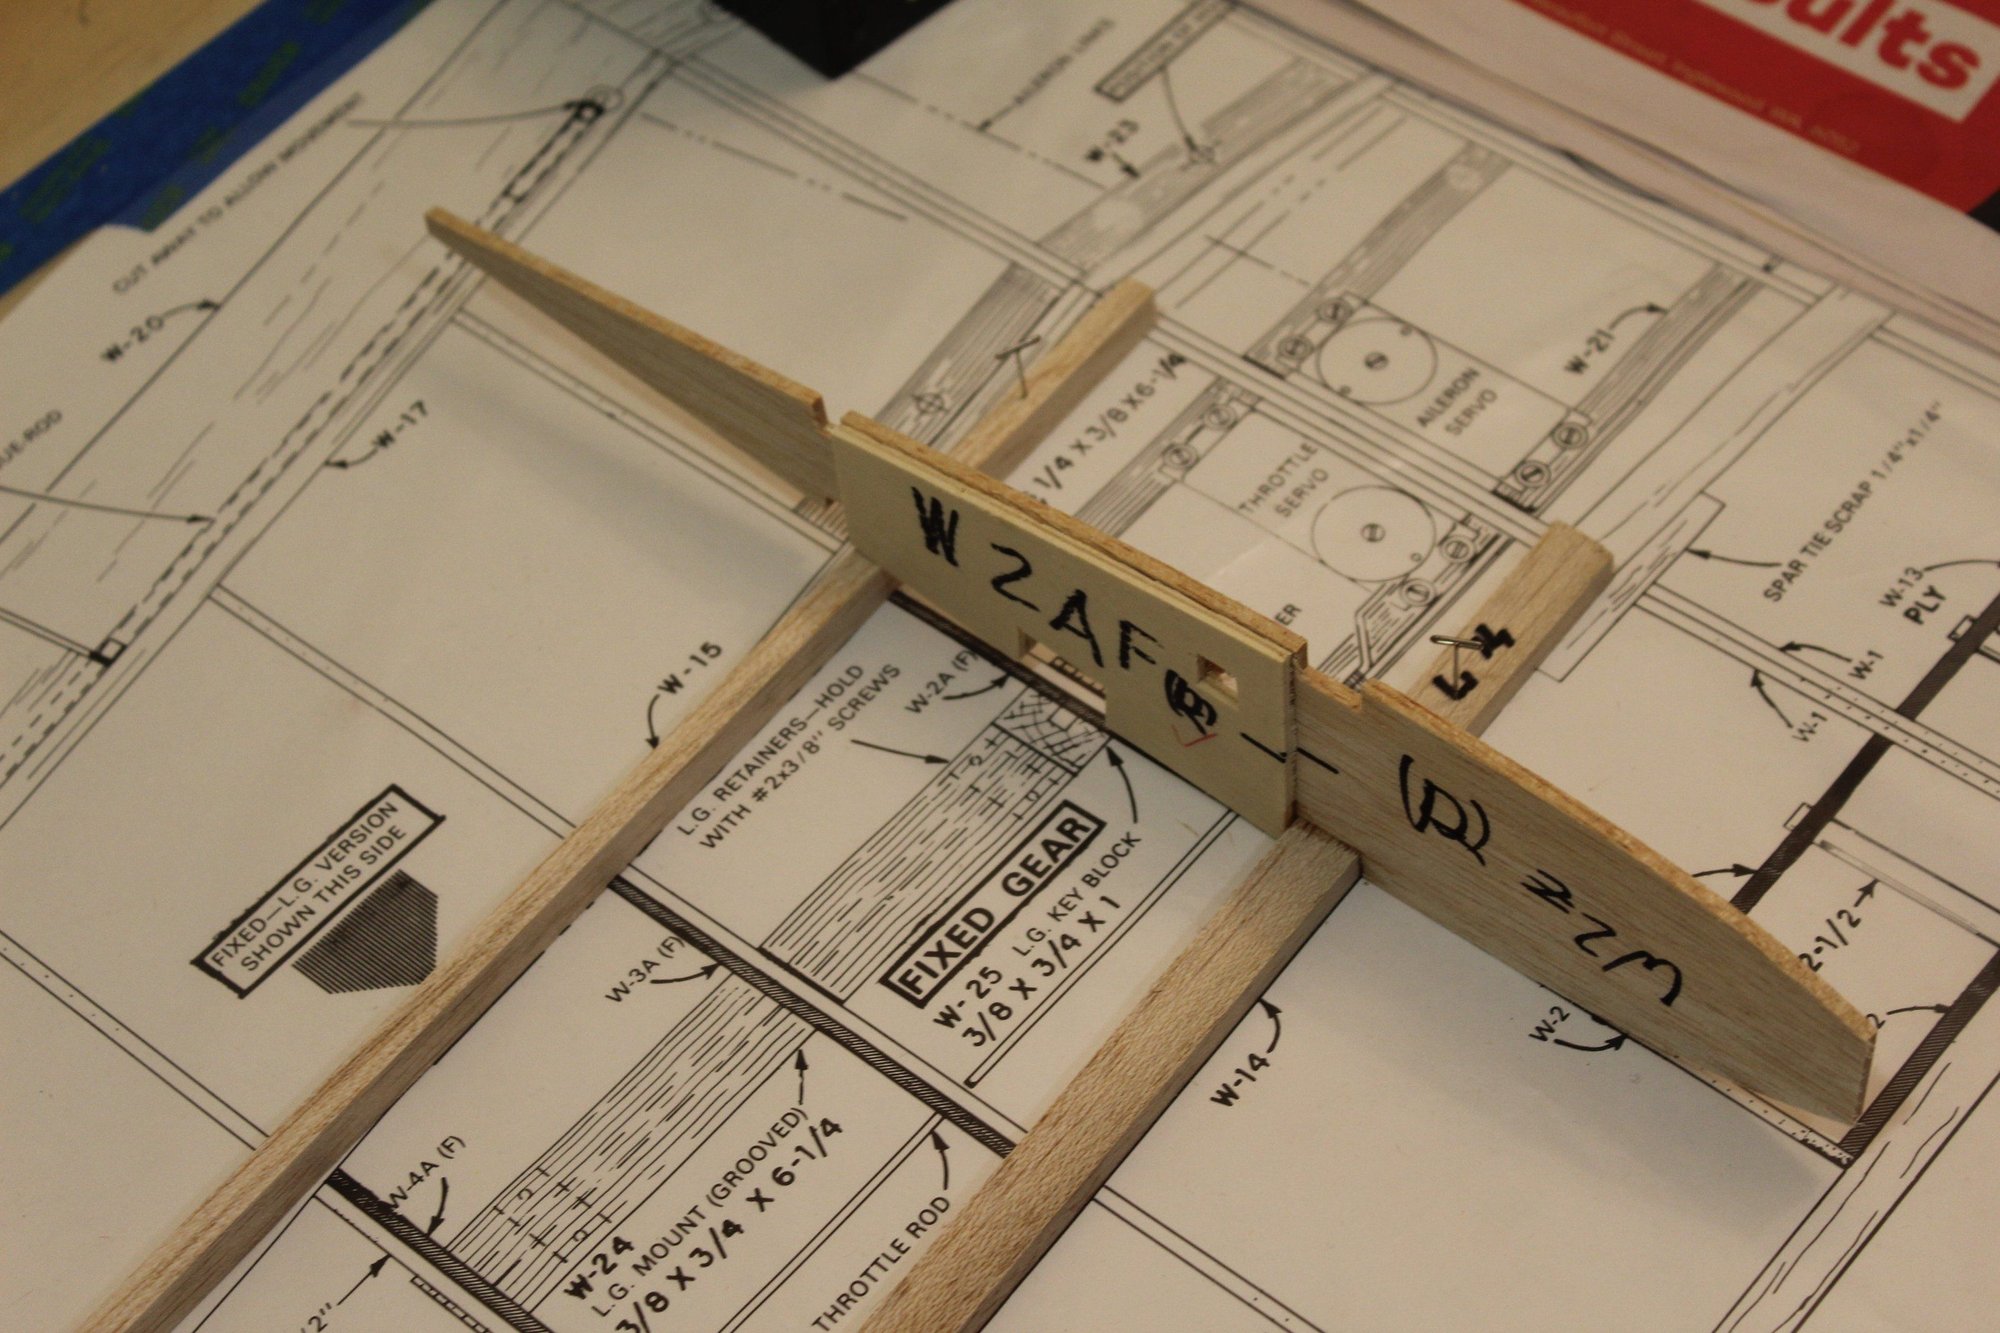
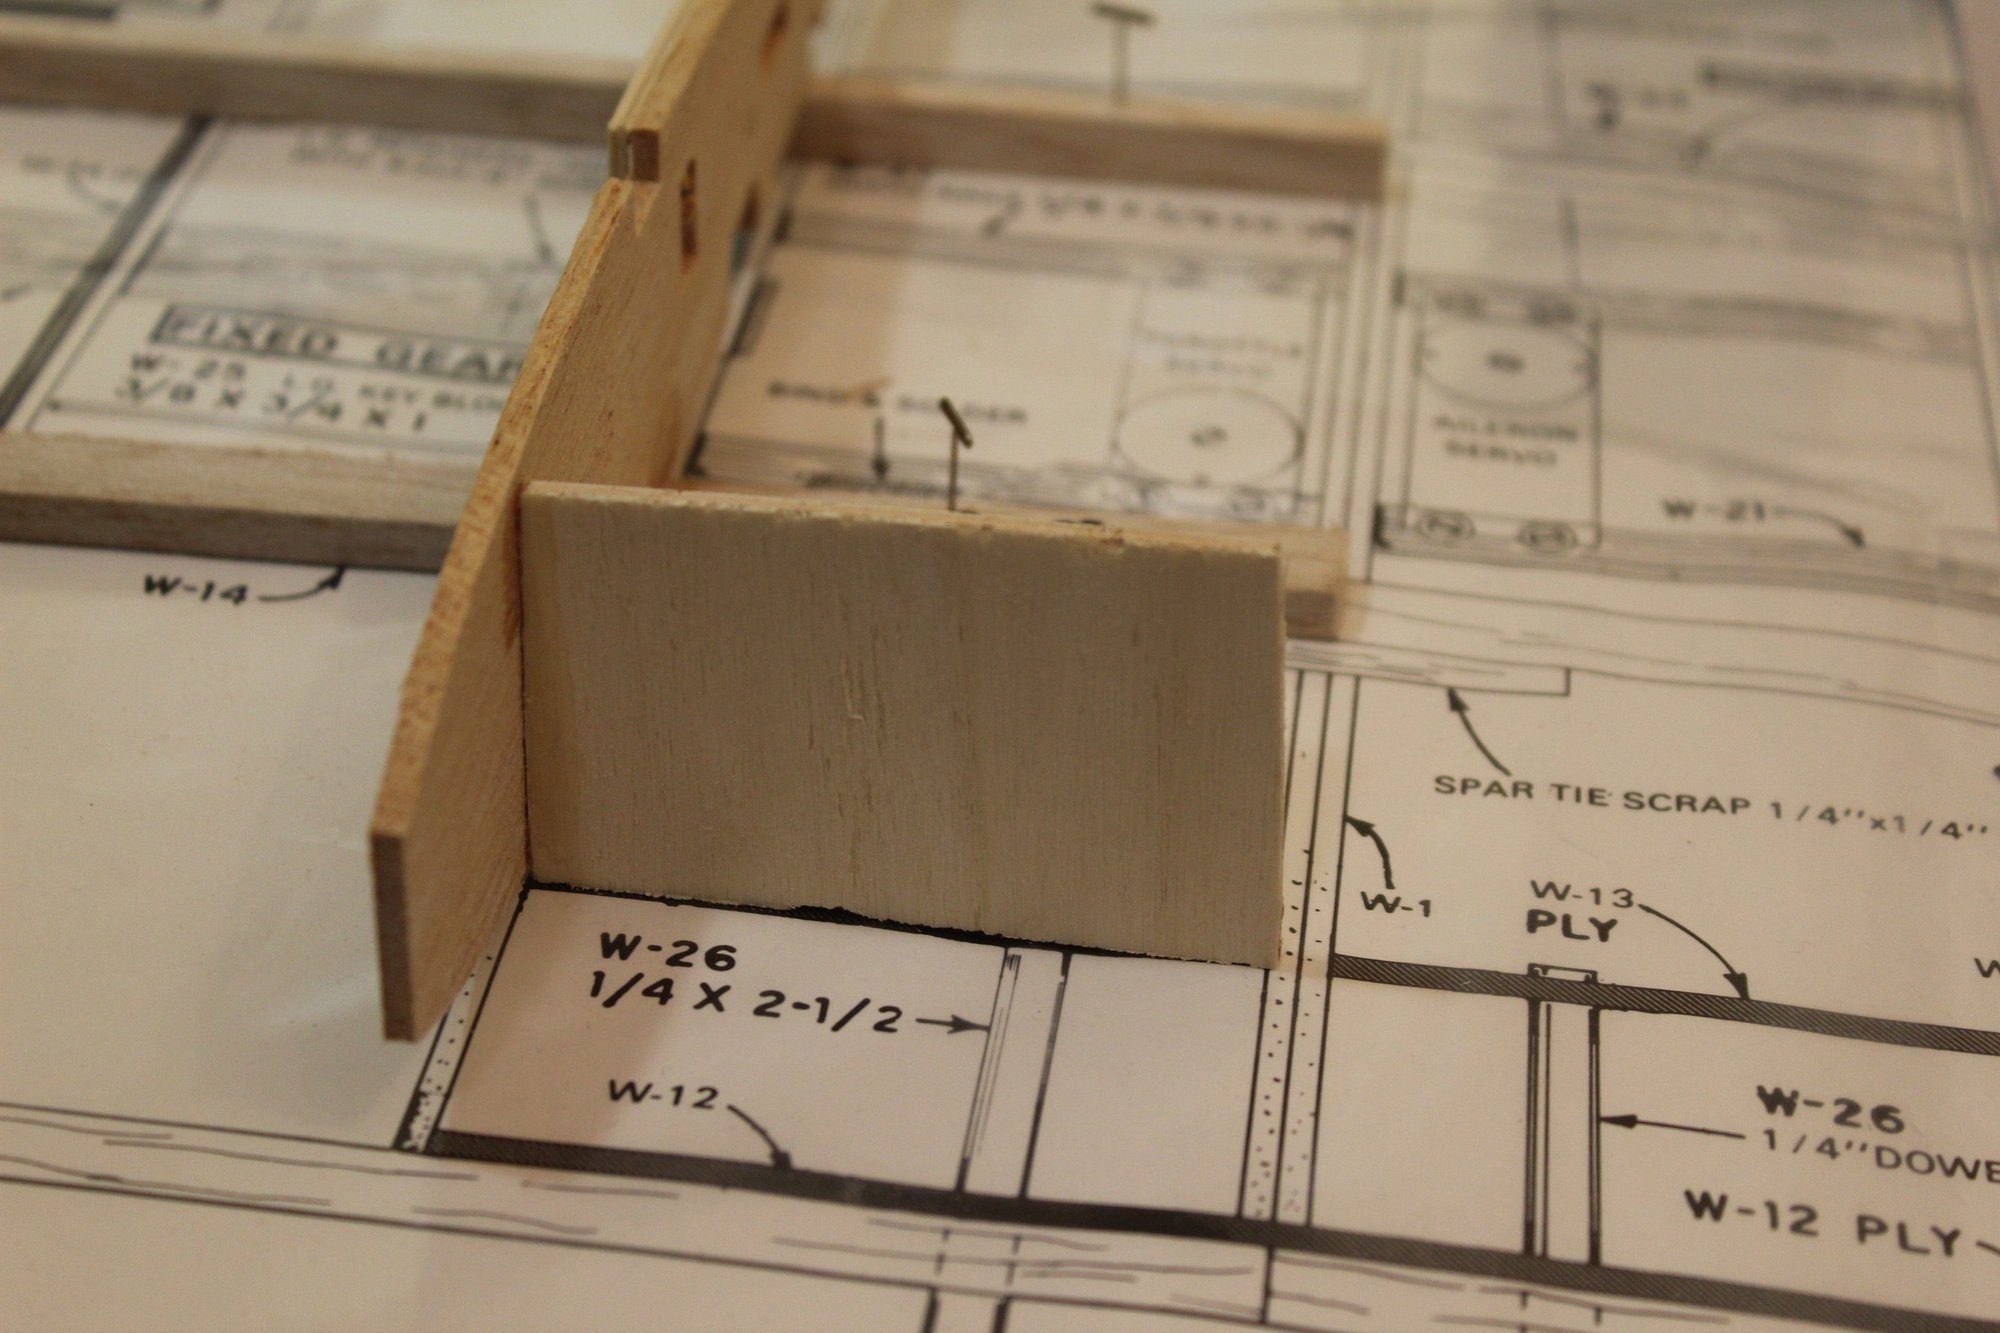
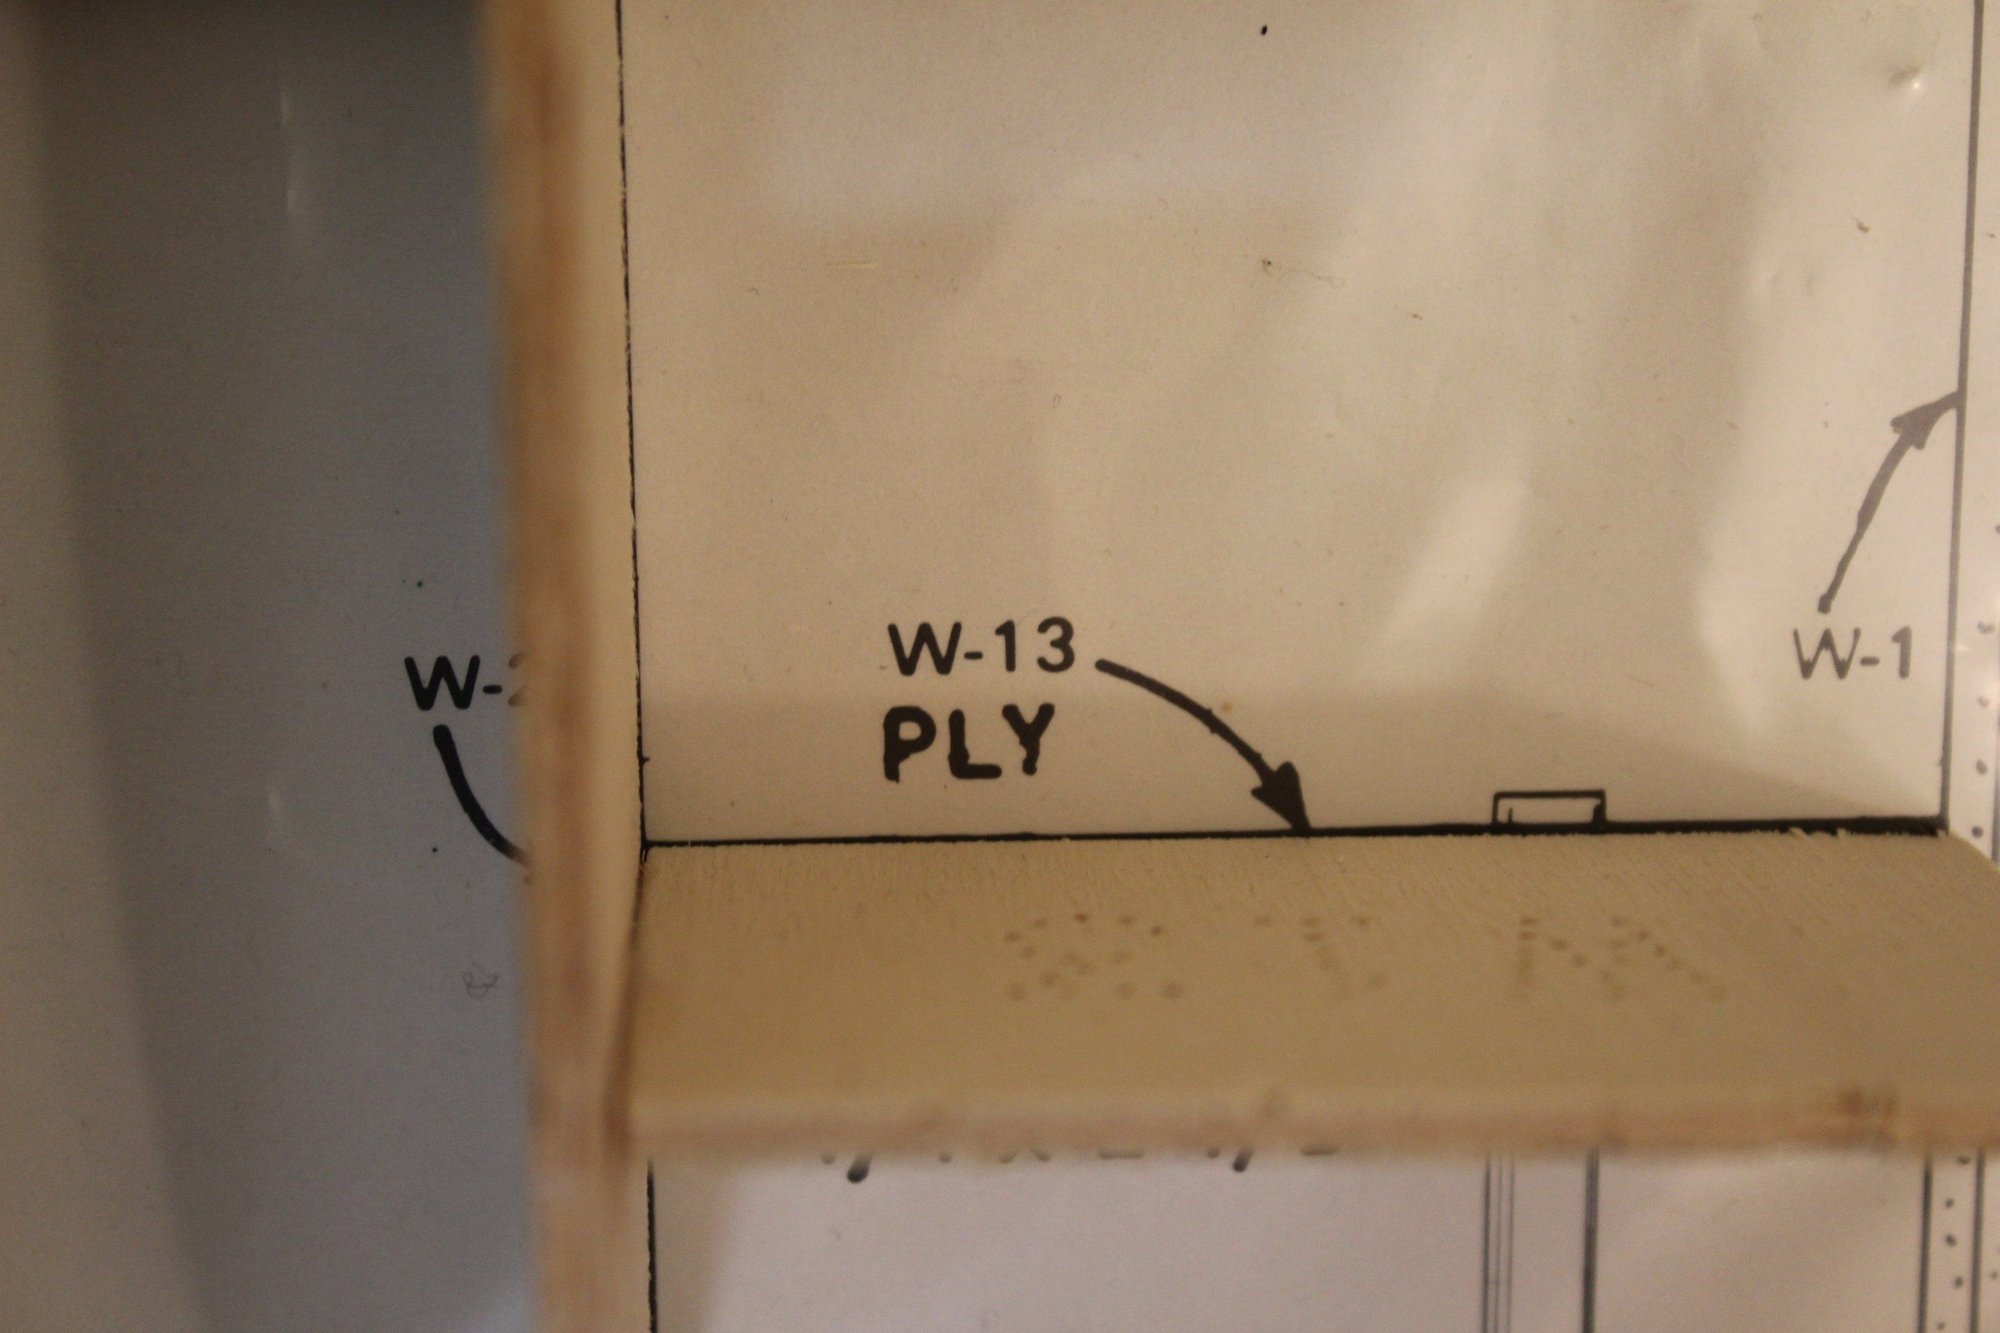
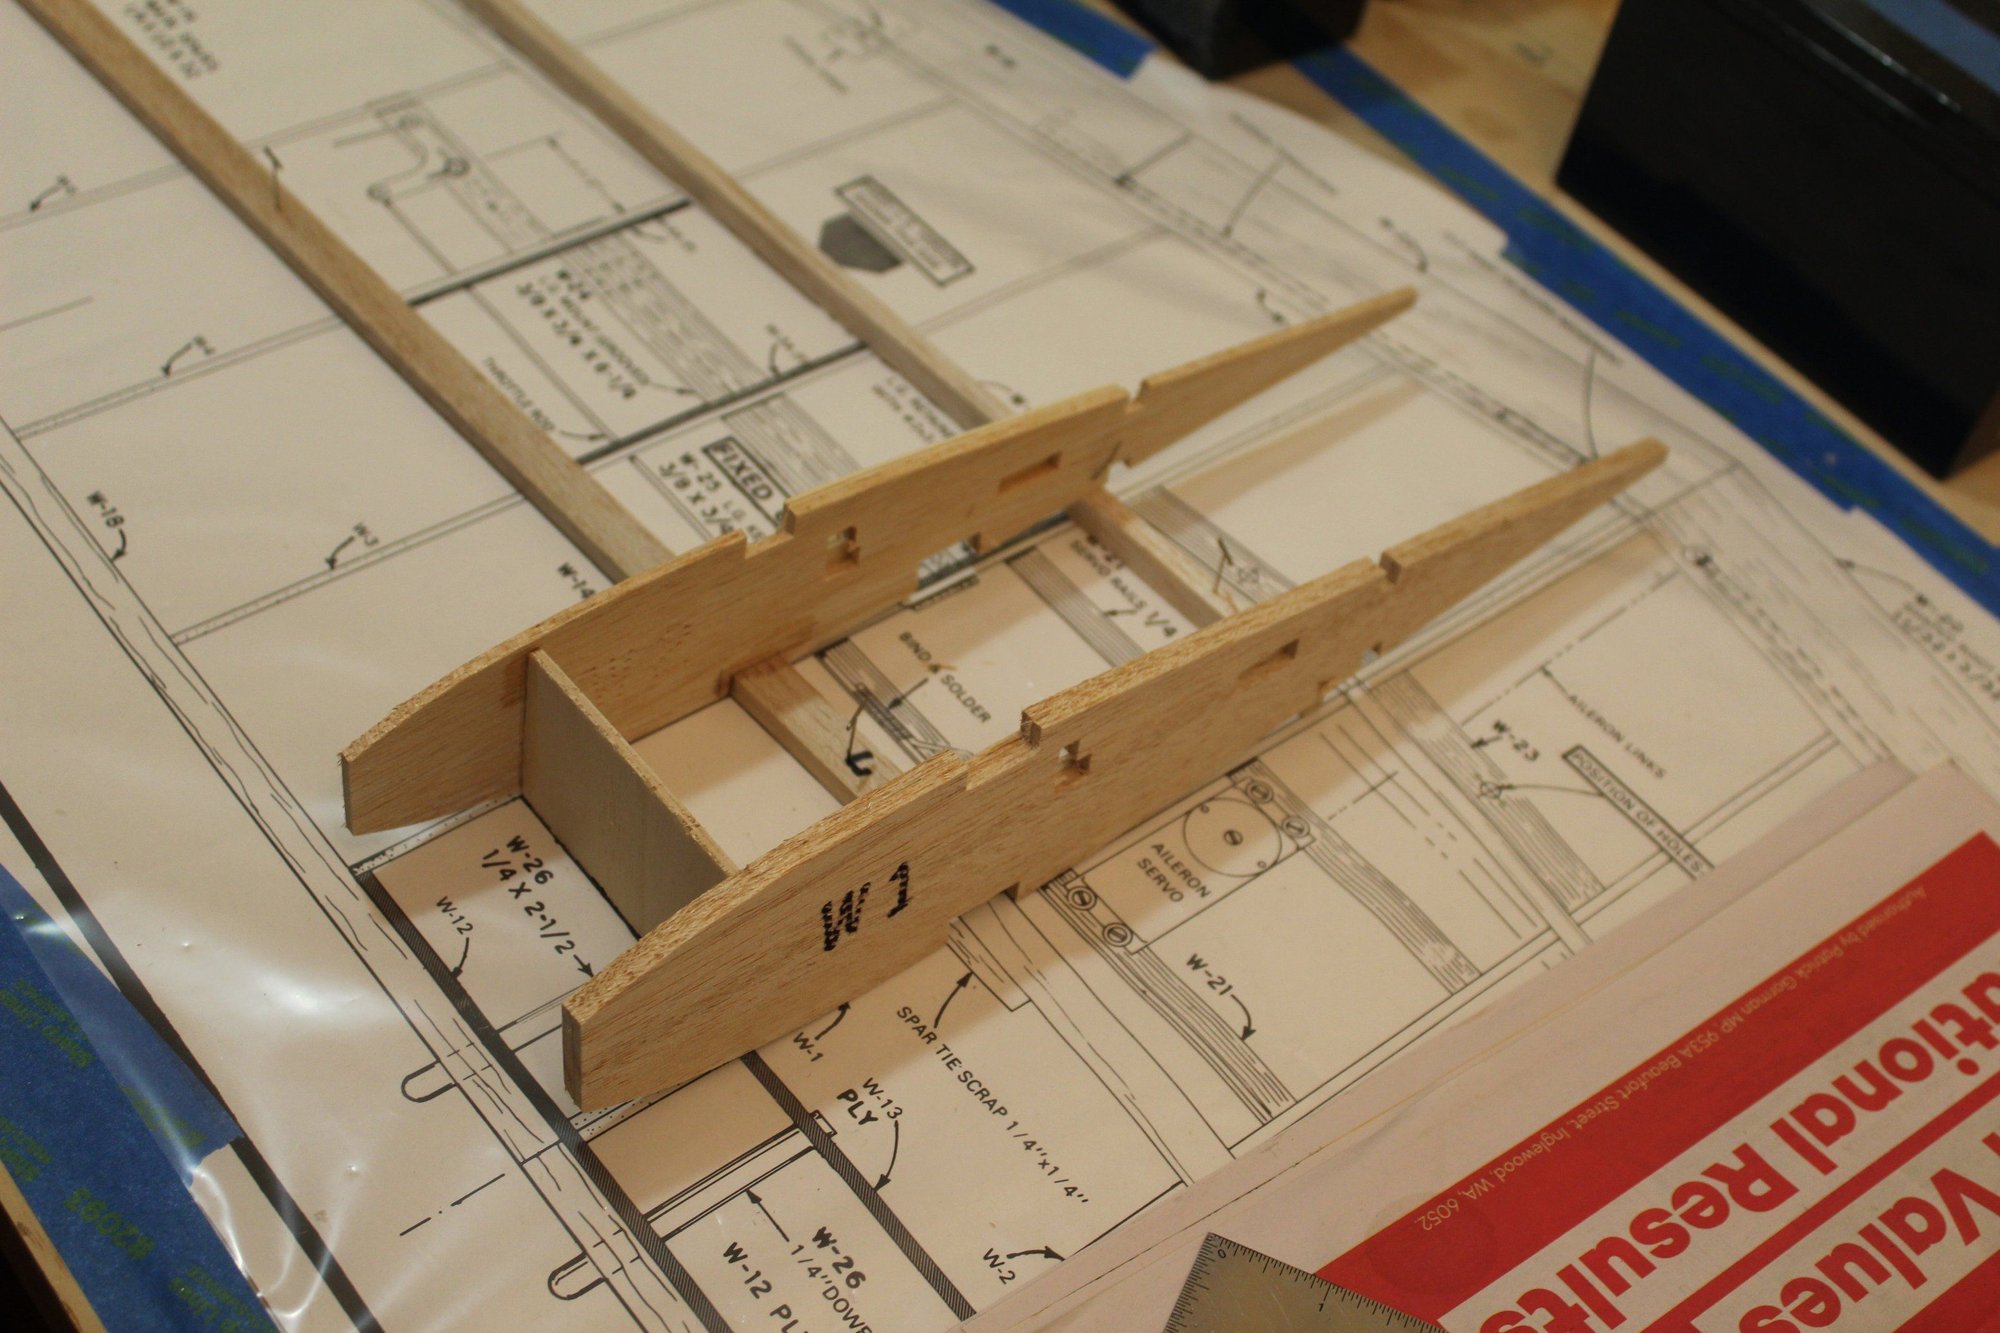
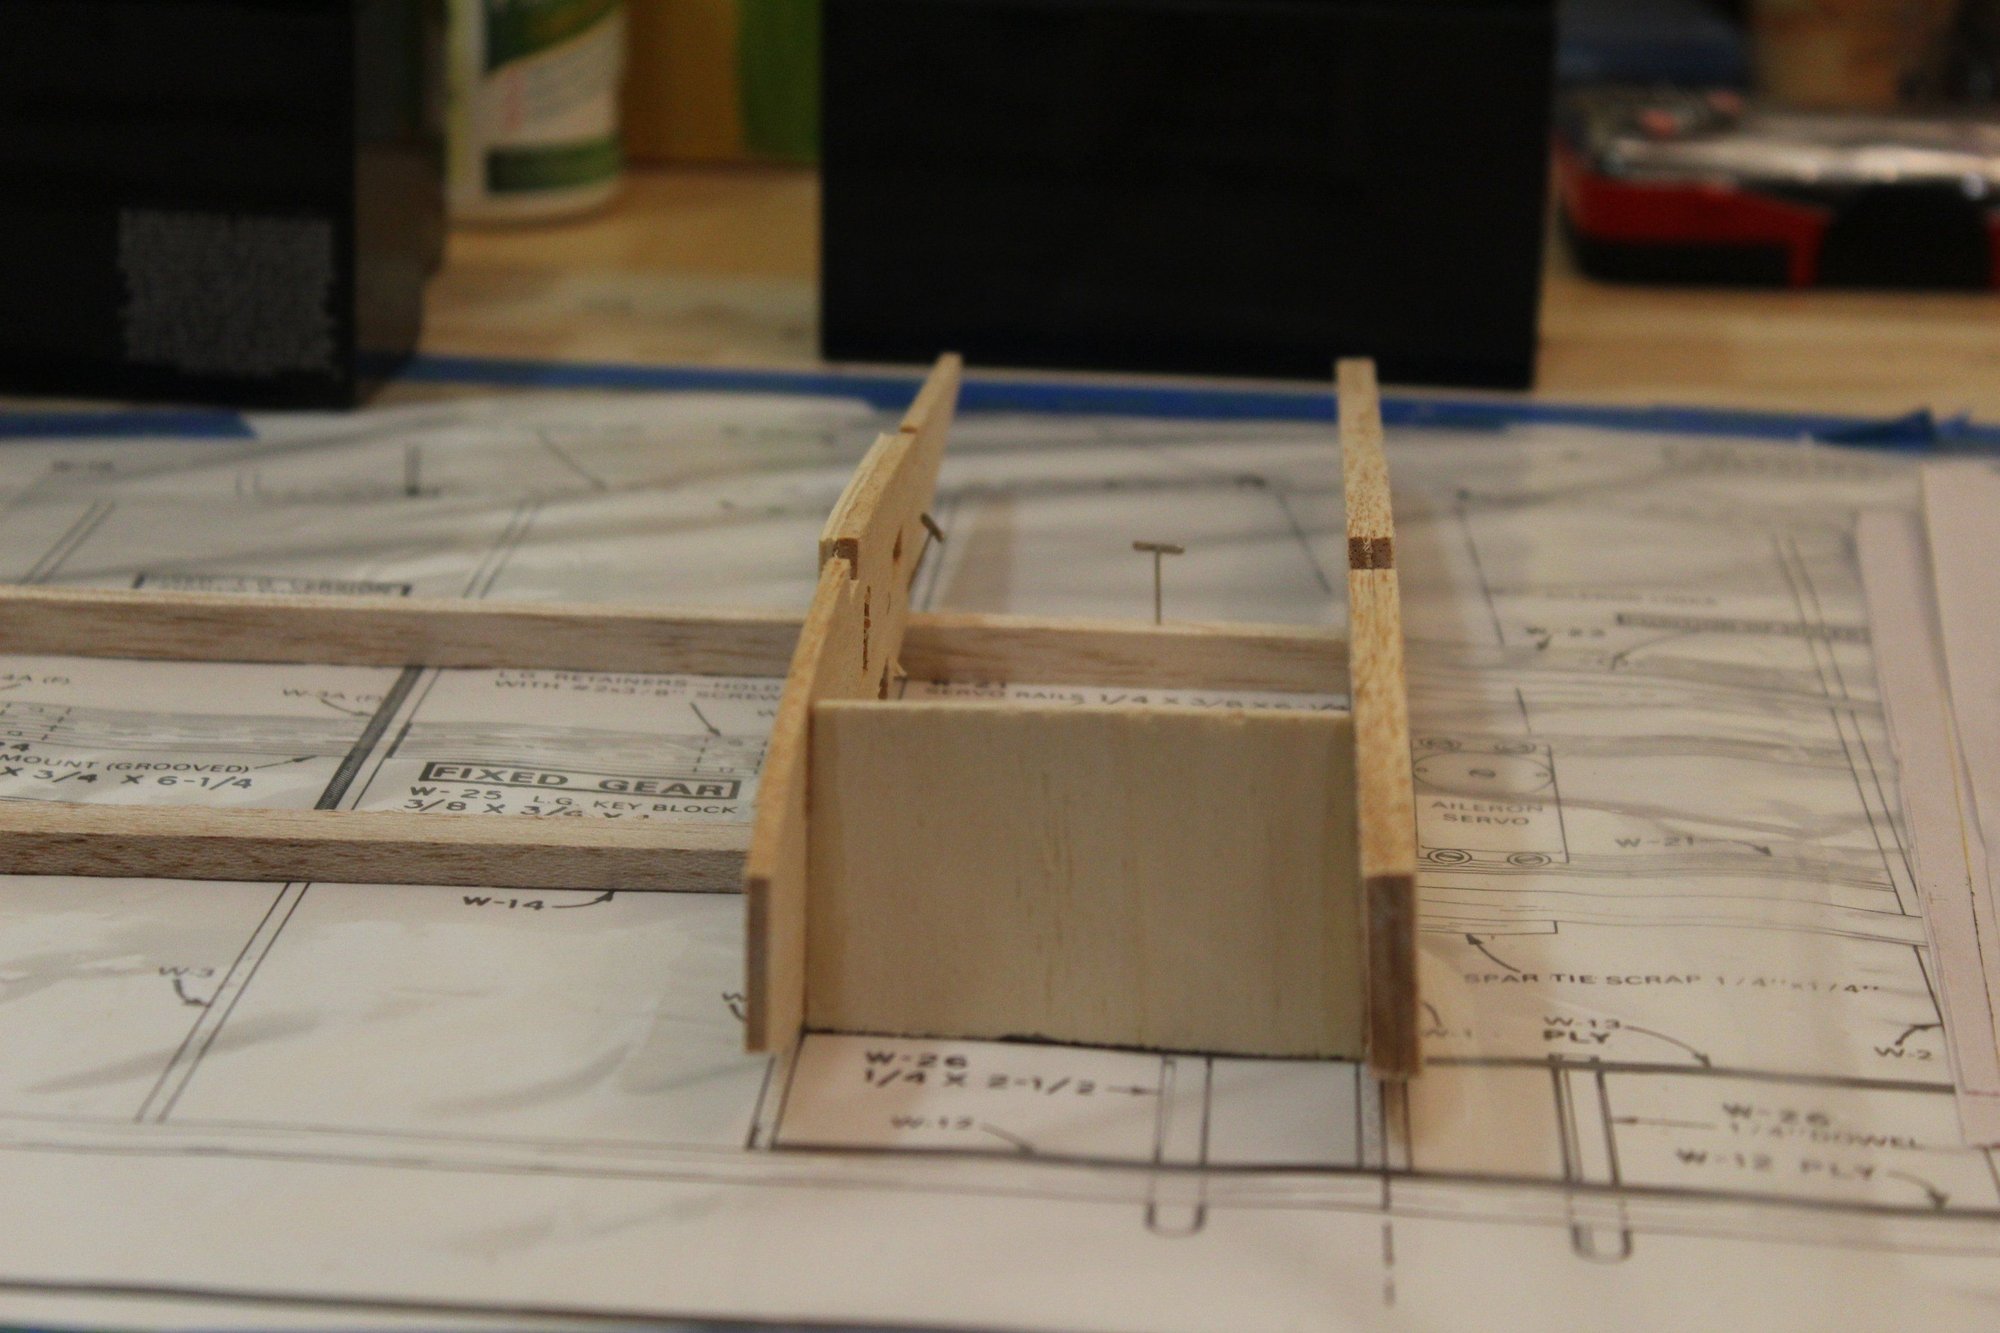
Some progress on the wing construction
Cheers,
Eran
Some progress on the wing construction


Cheers,
Eran
#5
Talked with a Sullivan rep two weeks ago at a scale contest, he indicated the R/C line will be back up and running soon. I hope he is right. The wheels will not be part of the reopened business.
#6

Thread Starter
Join Date: Jun 2008
Location: Perth WA, AUSTRALIA
Posts: 1,237
Likes: 0
Received 12 Likes
on
12 Posts
Tony - I truly hope that this information is correct, however, I will believe it when I see it. I use their products often (and for over 35 years) and find them to be of good quality.
Cheers,
Eran
Cheers,
Eran
#8

Thread Starter
Join Date: Jun 2008
Location: Perth WA, AUSTRALIA
Posts: 1,237
Likes: 0
Received 12 Likes
on
12 Posts
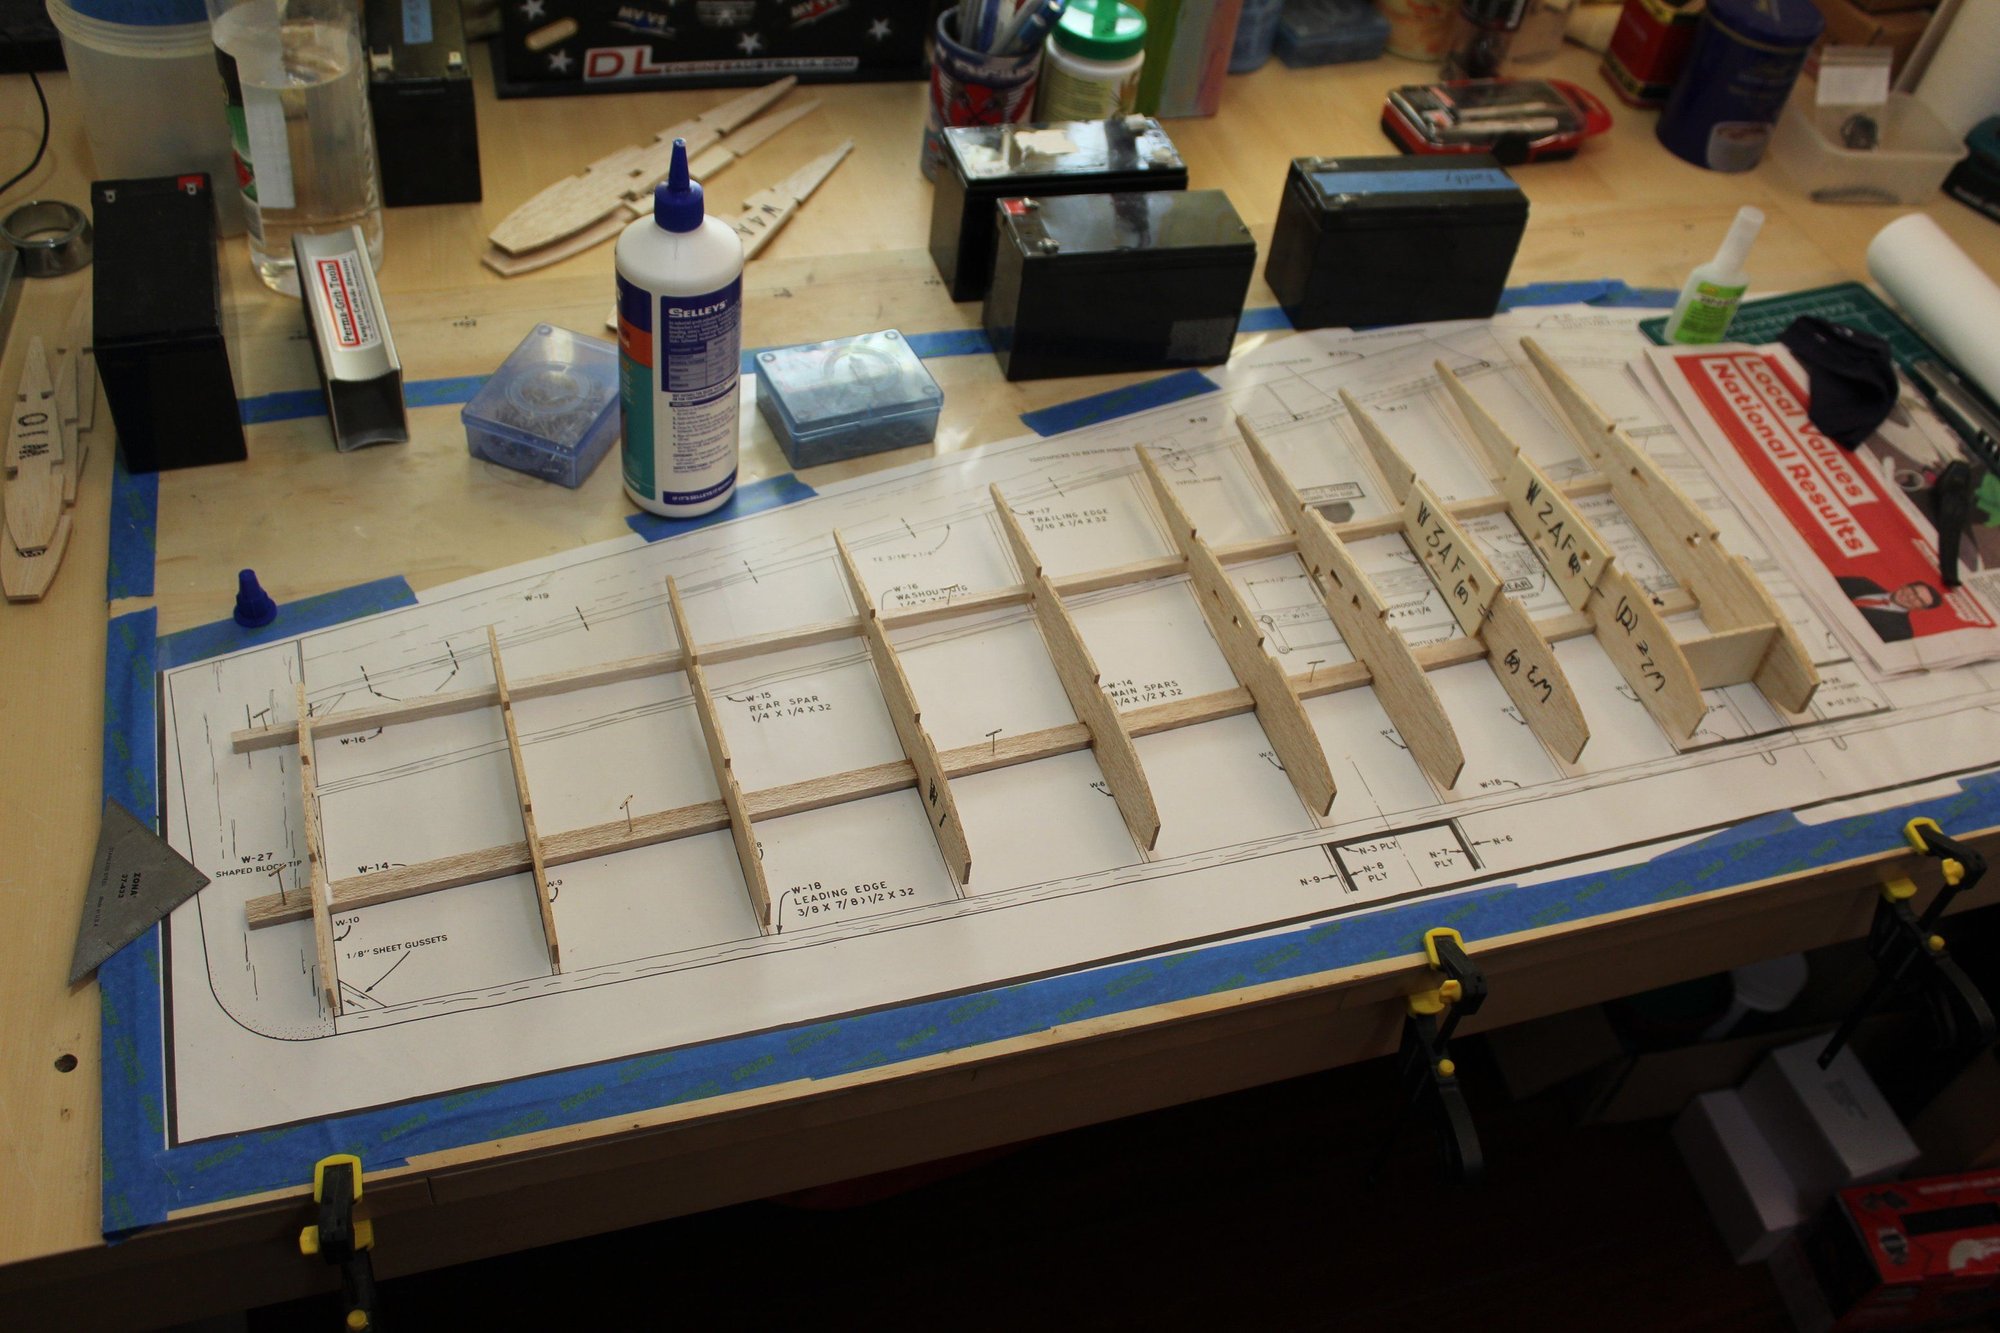
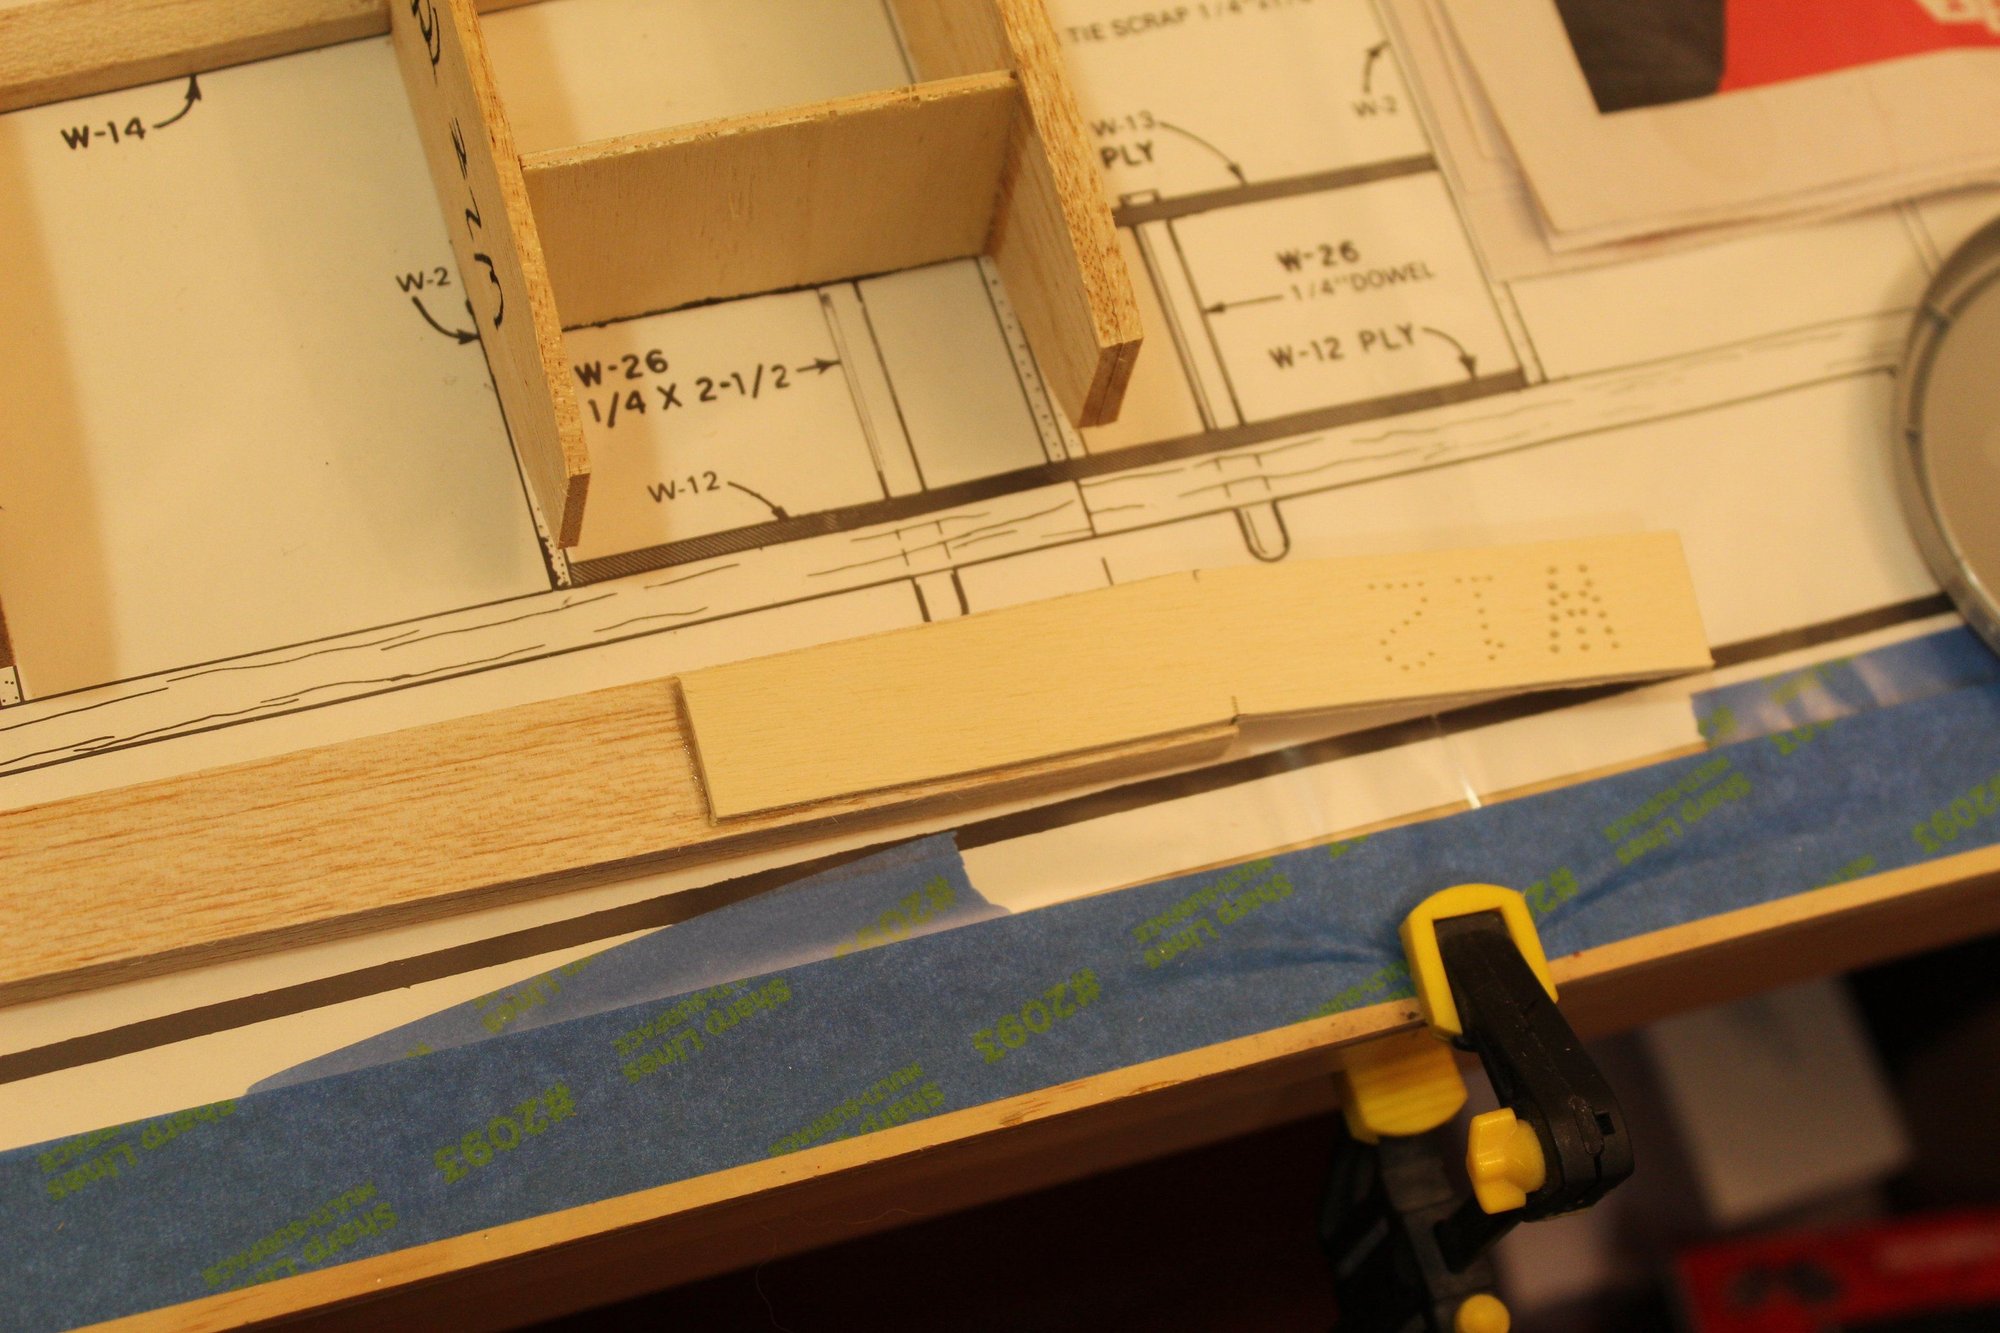
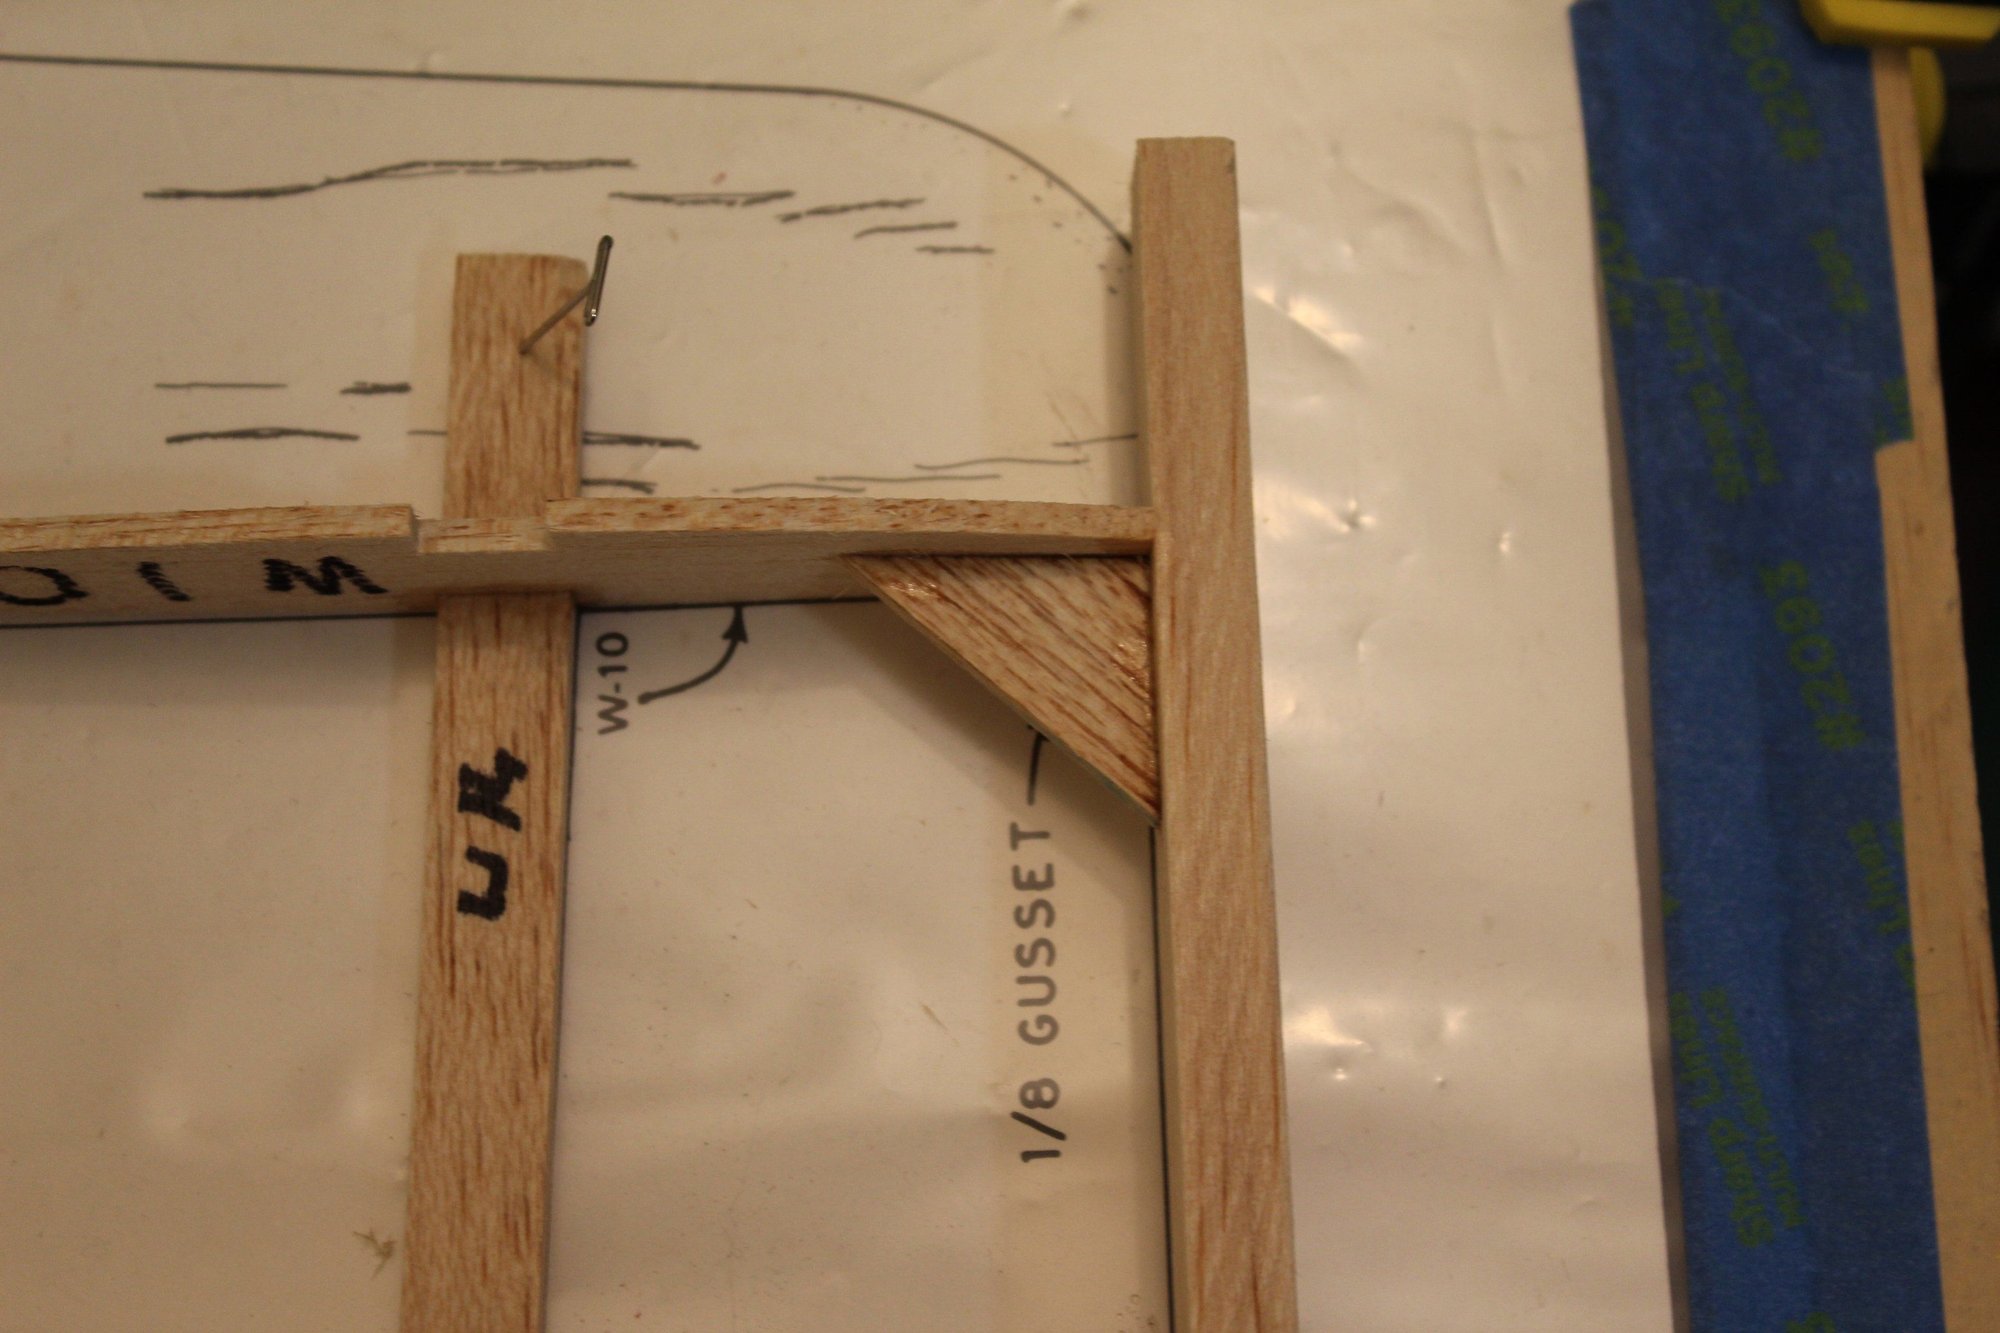
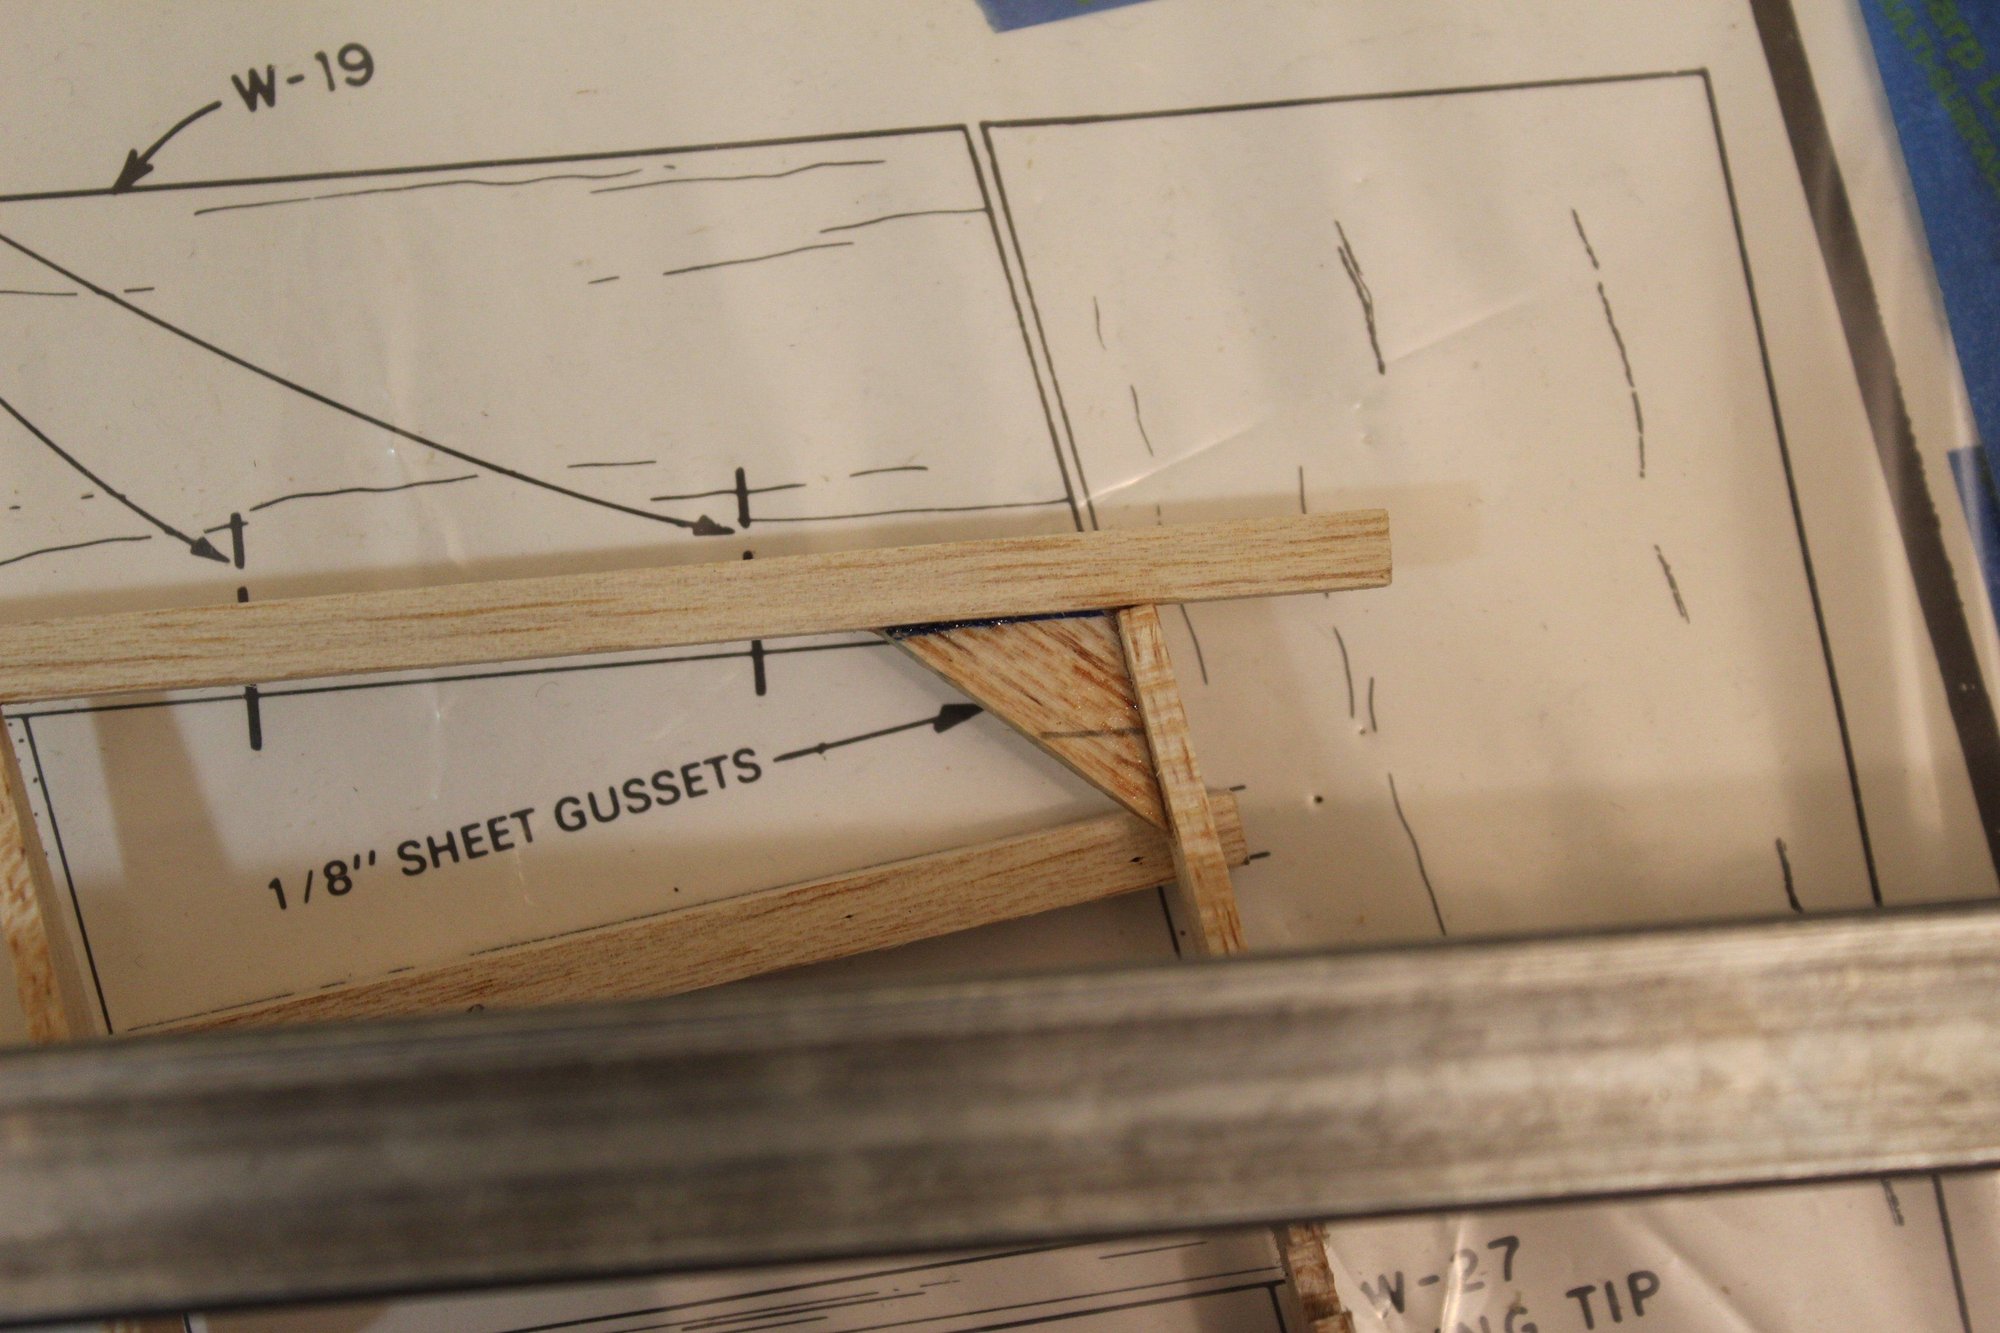
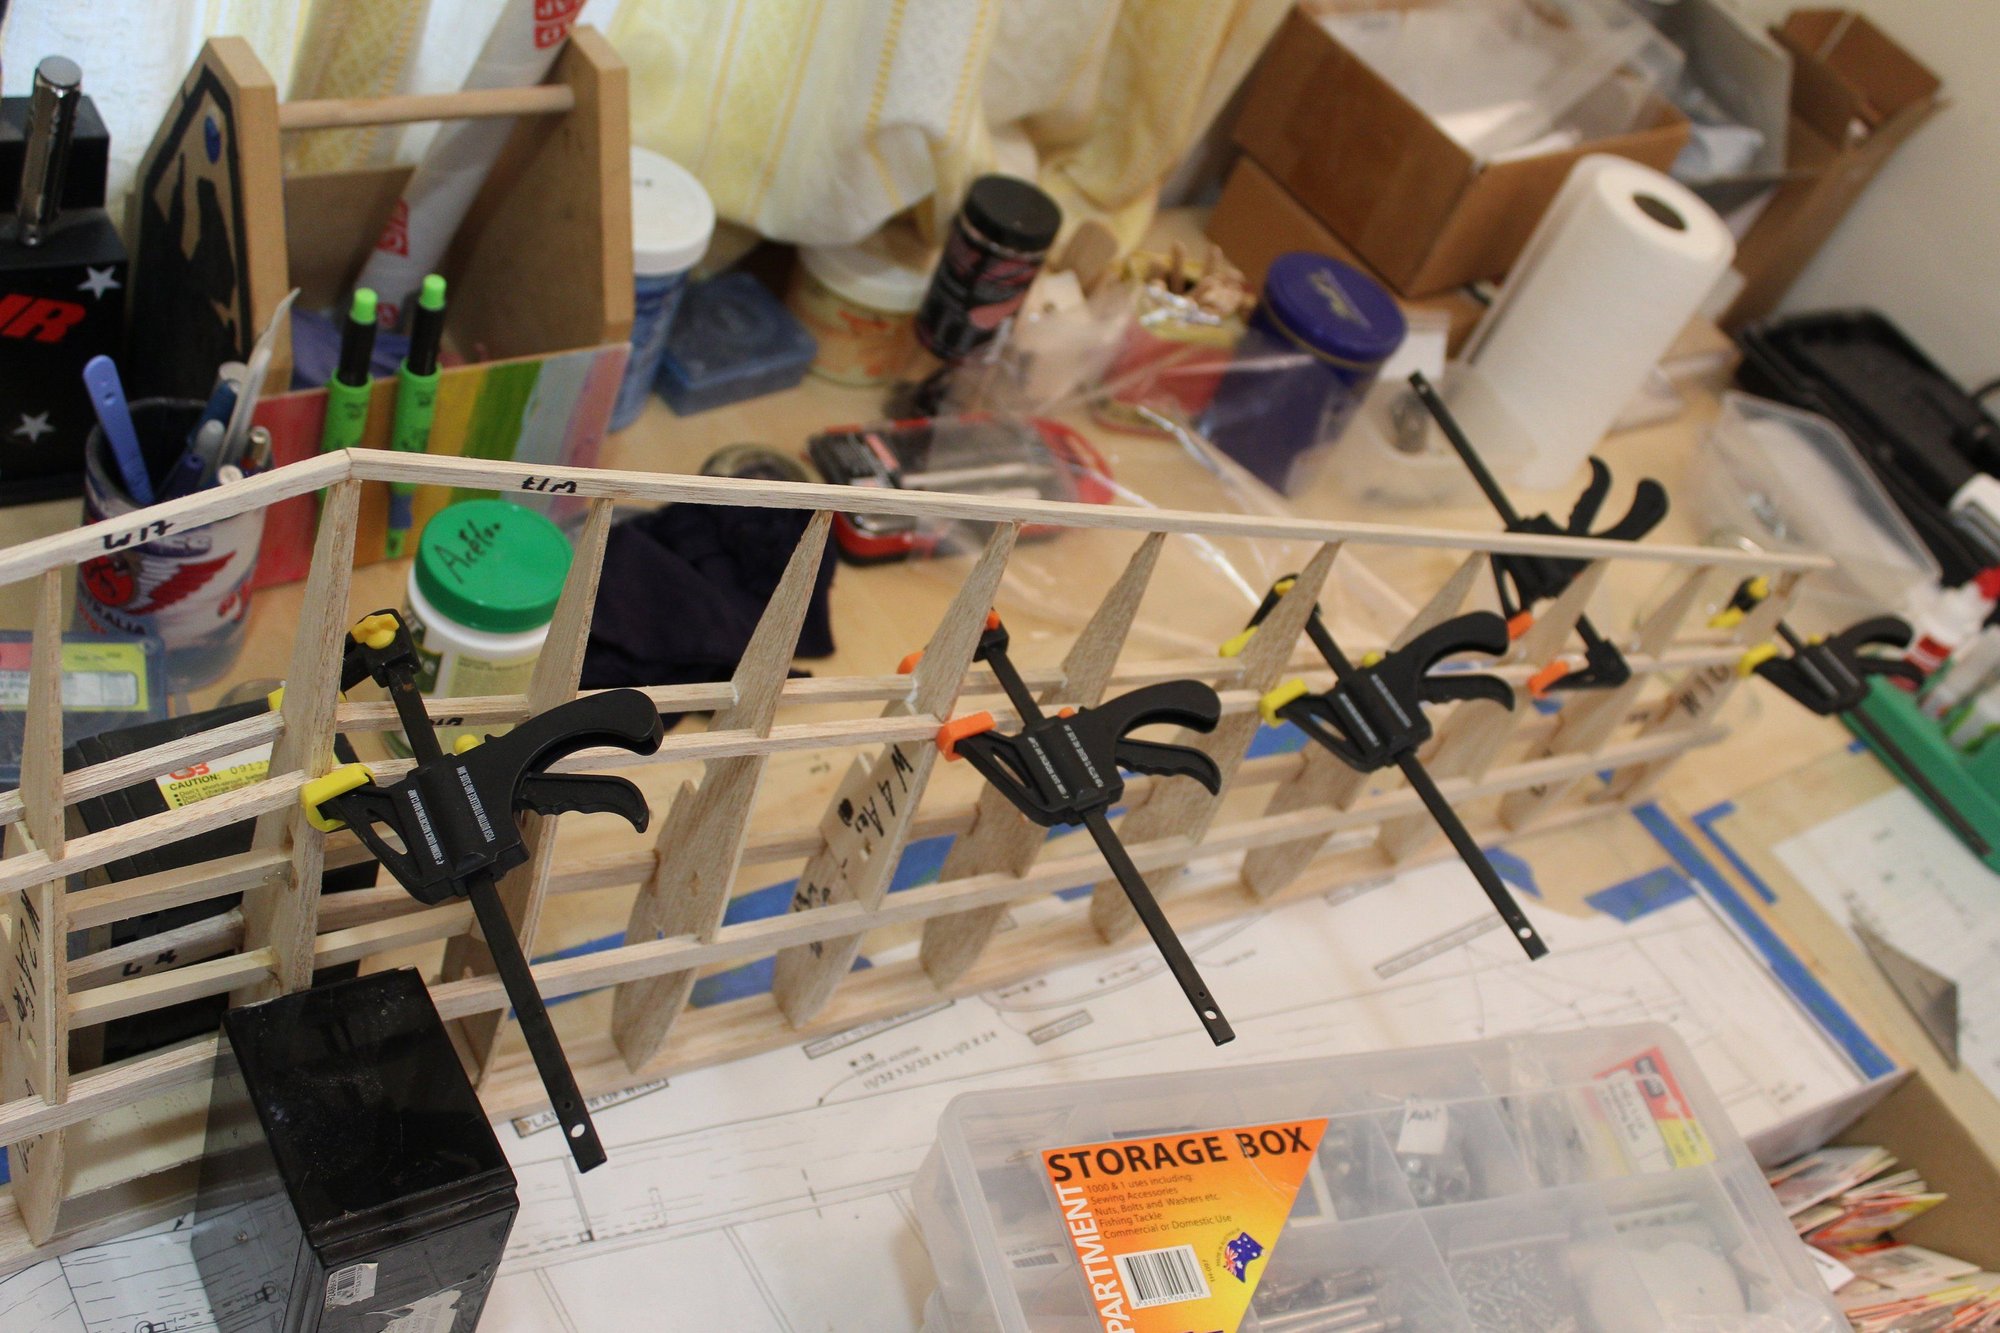
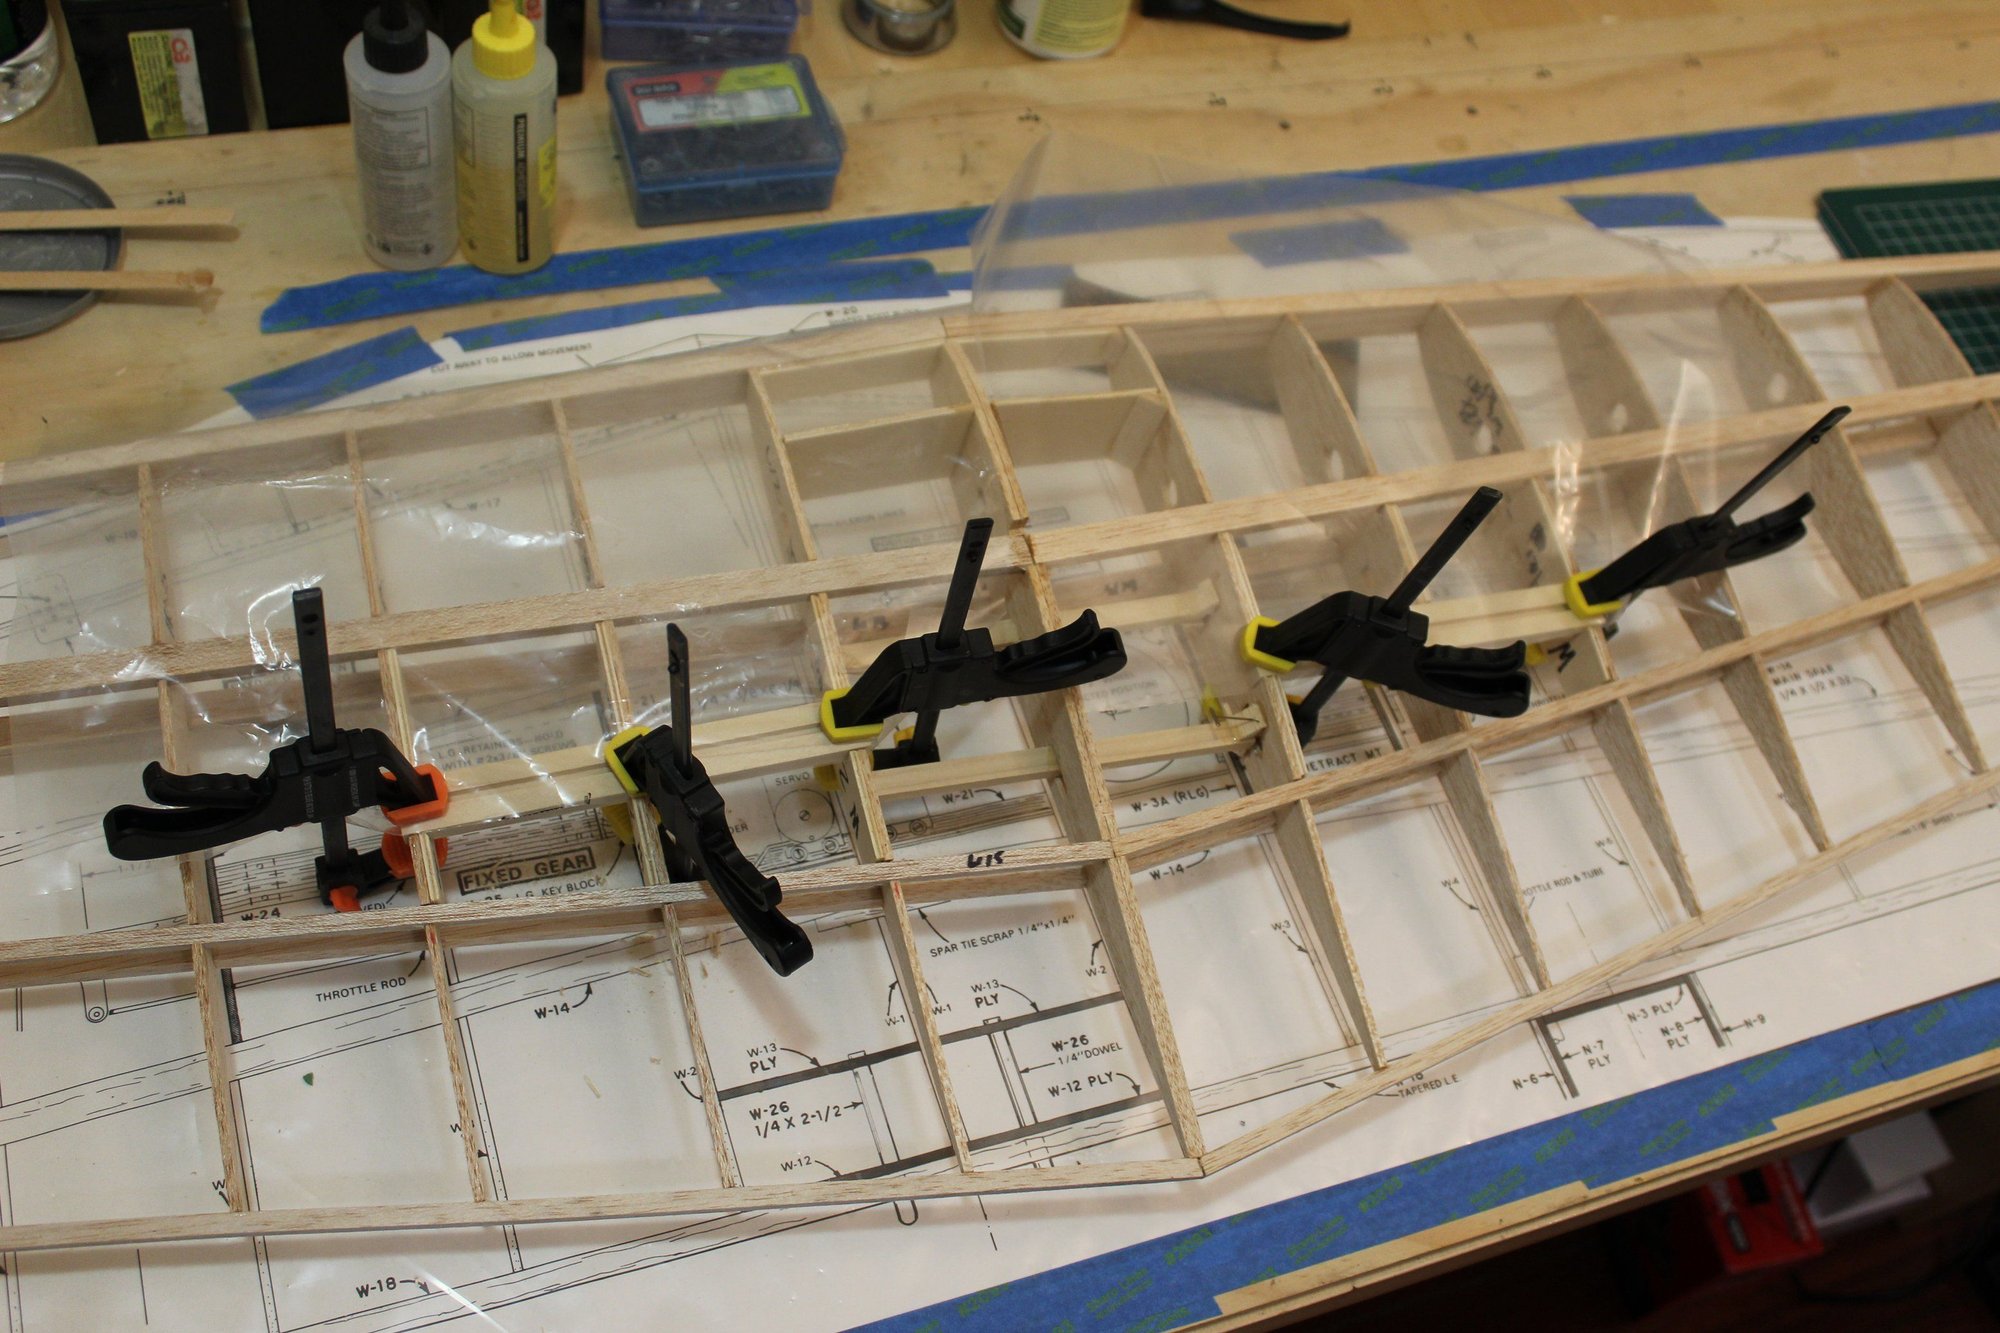
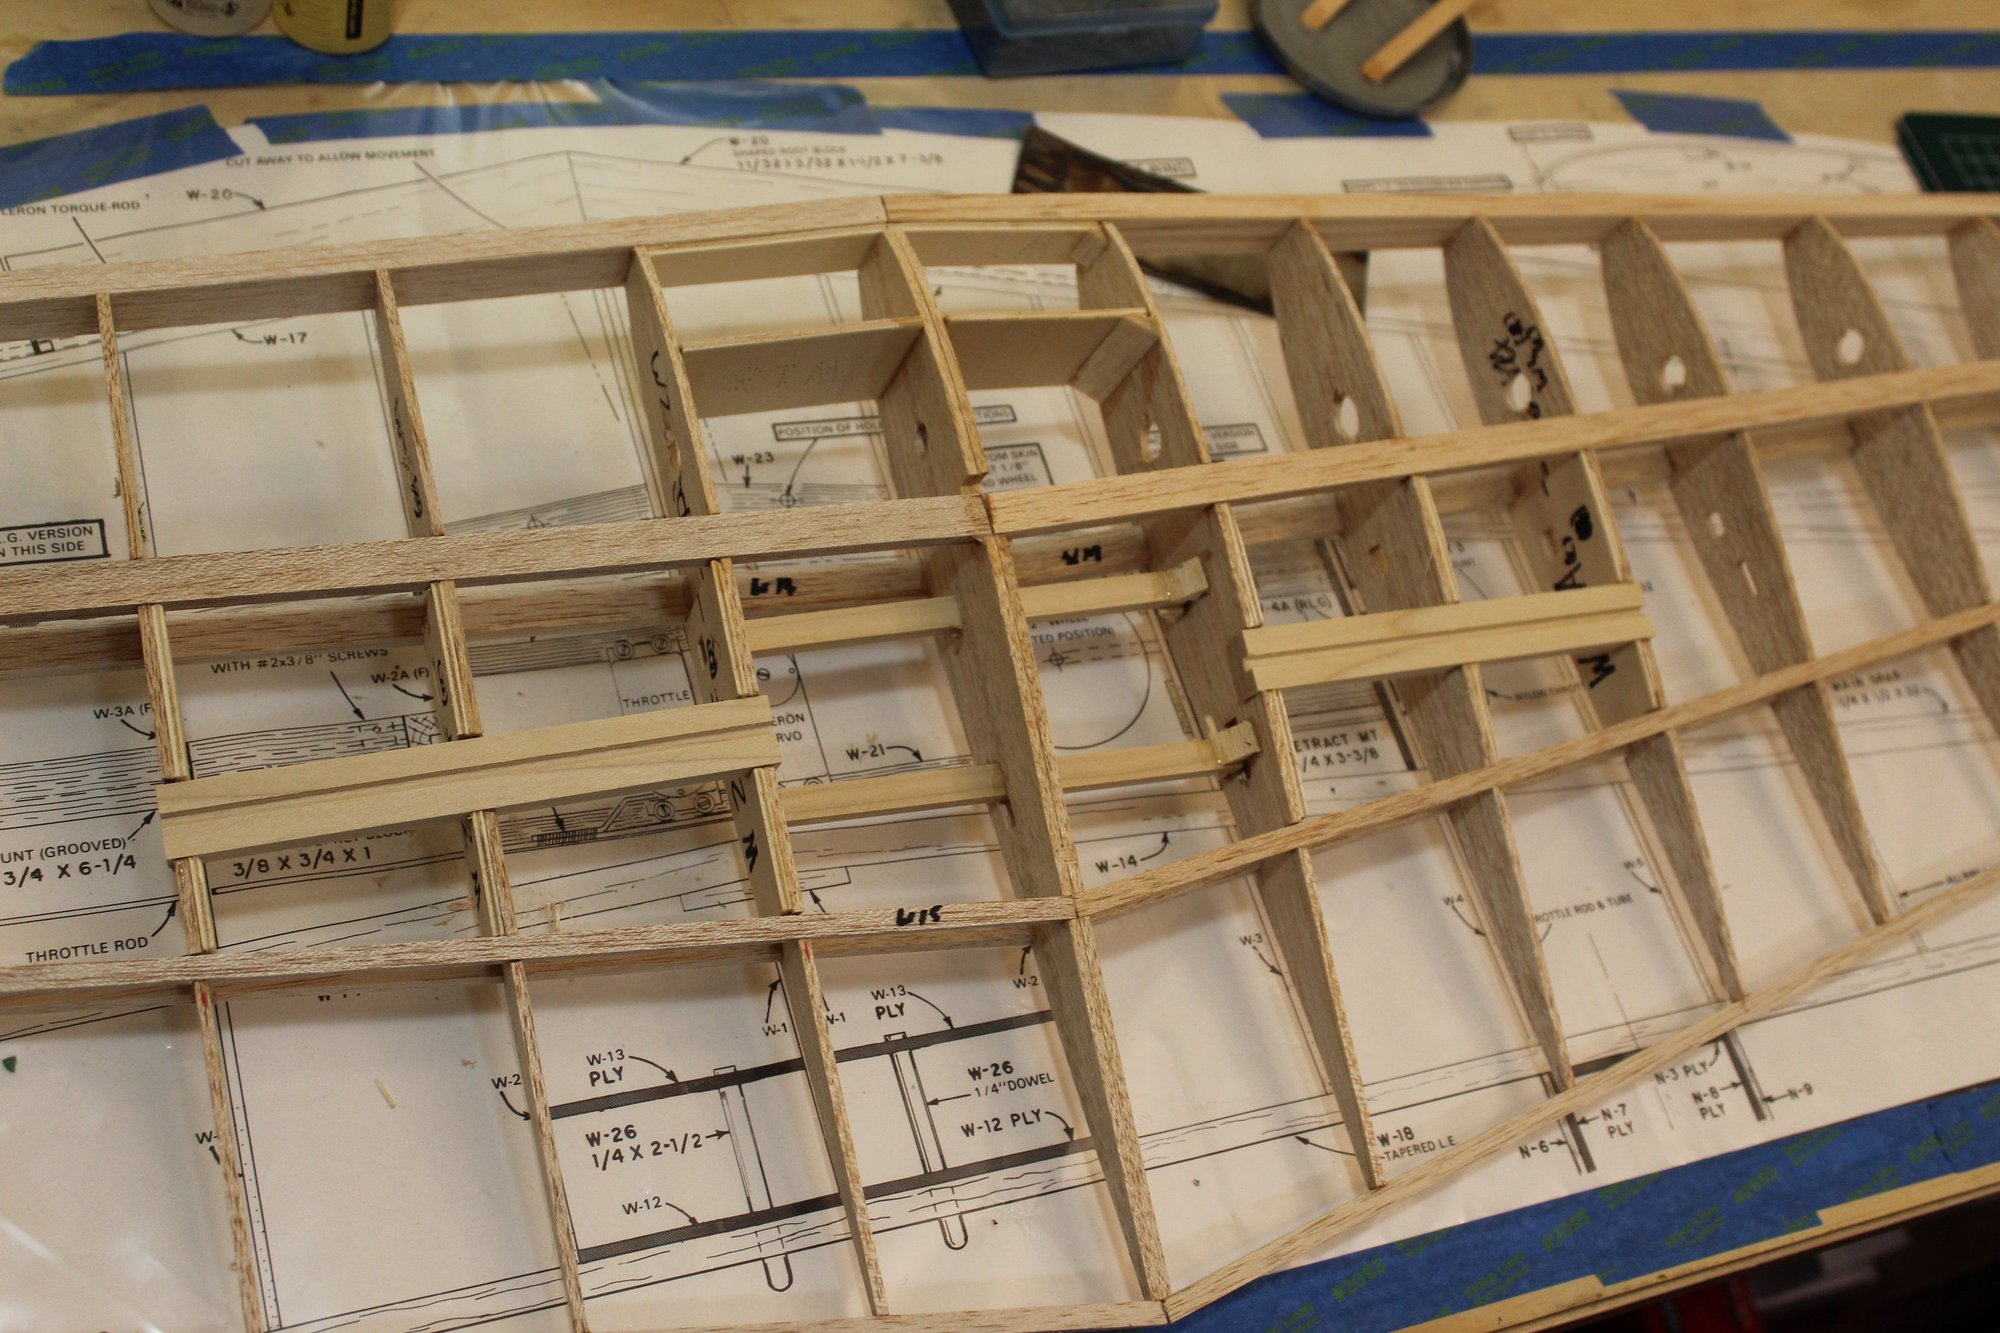
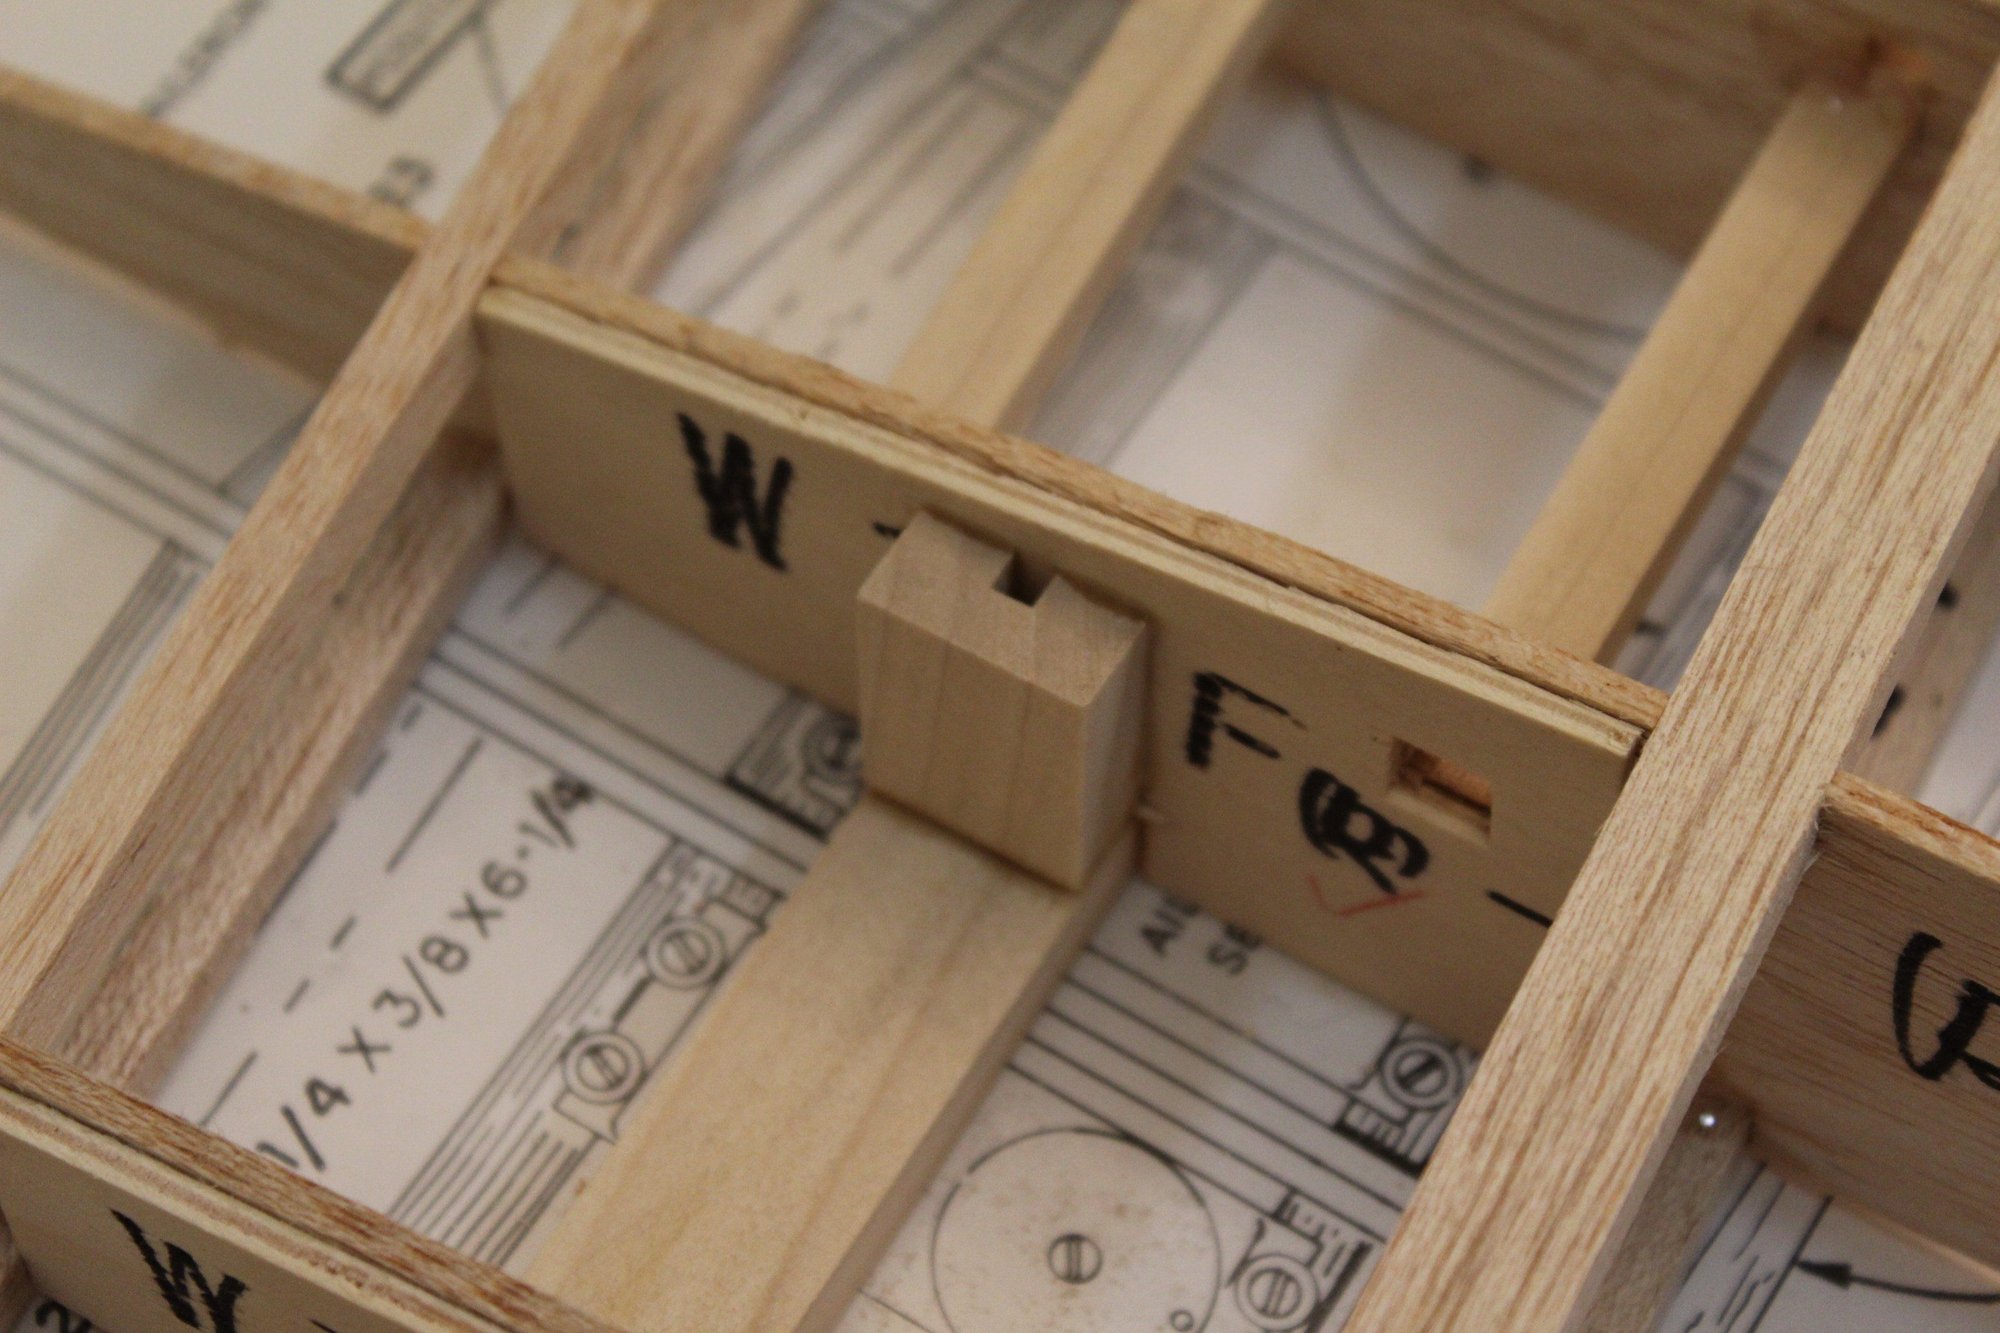
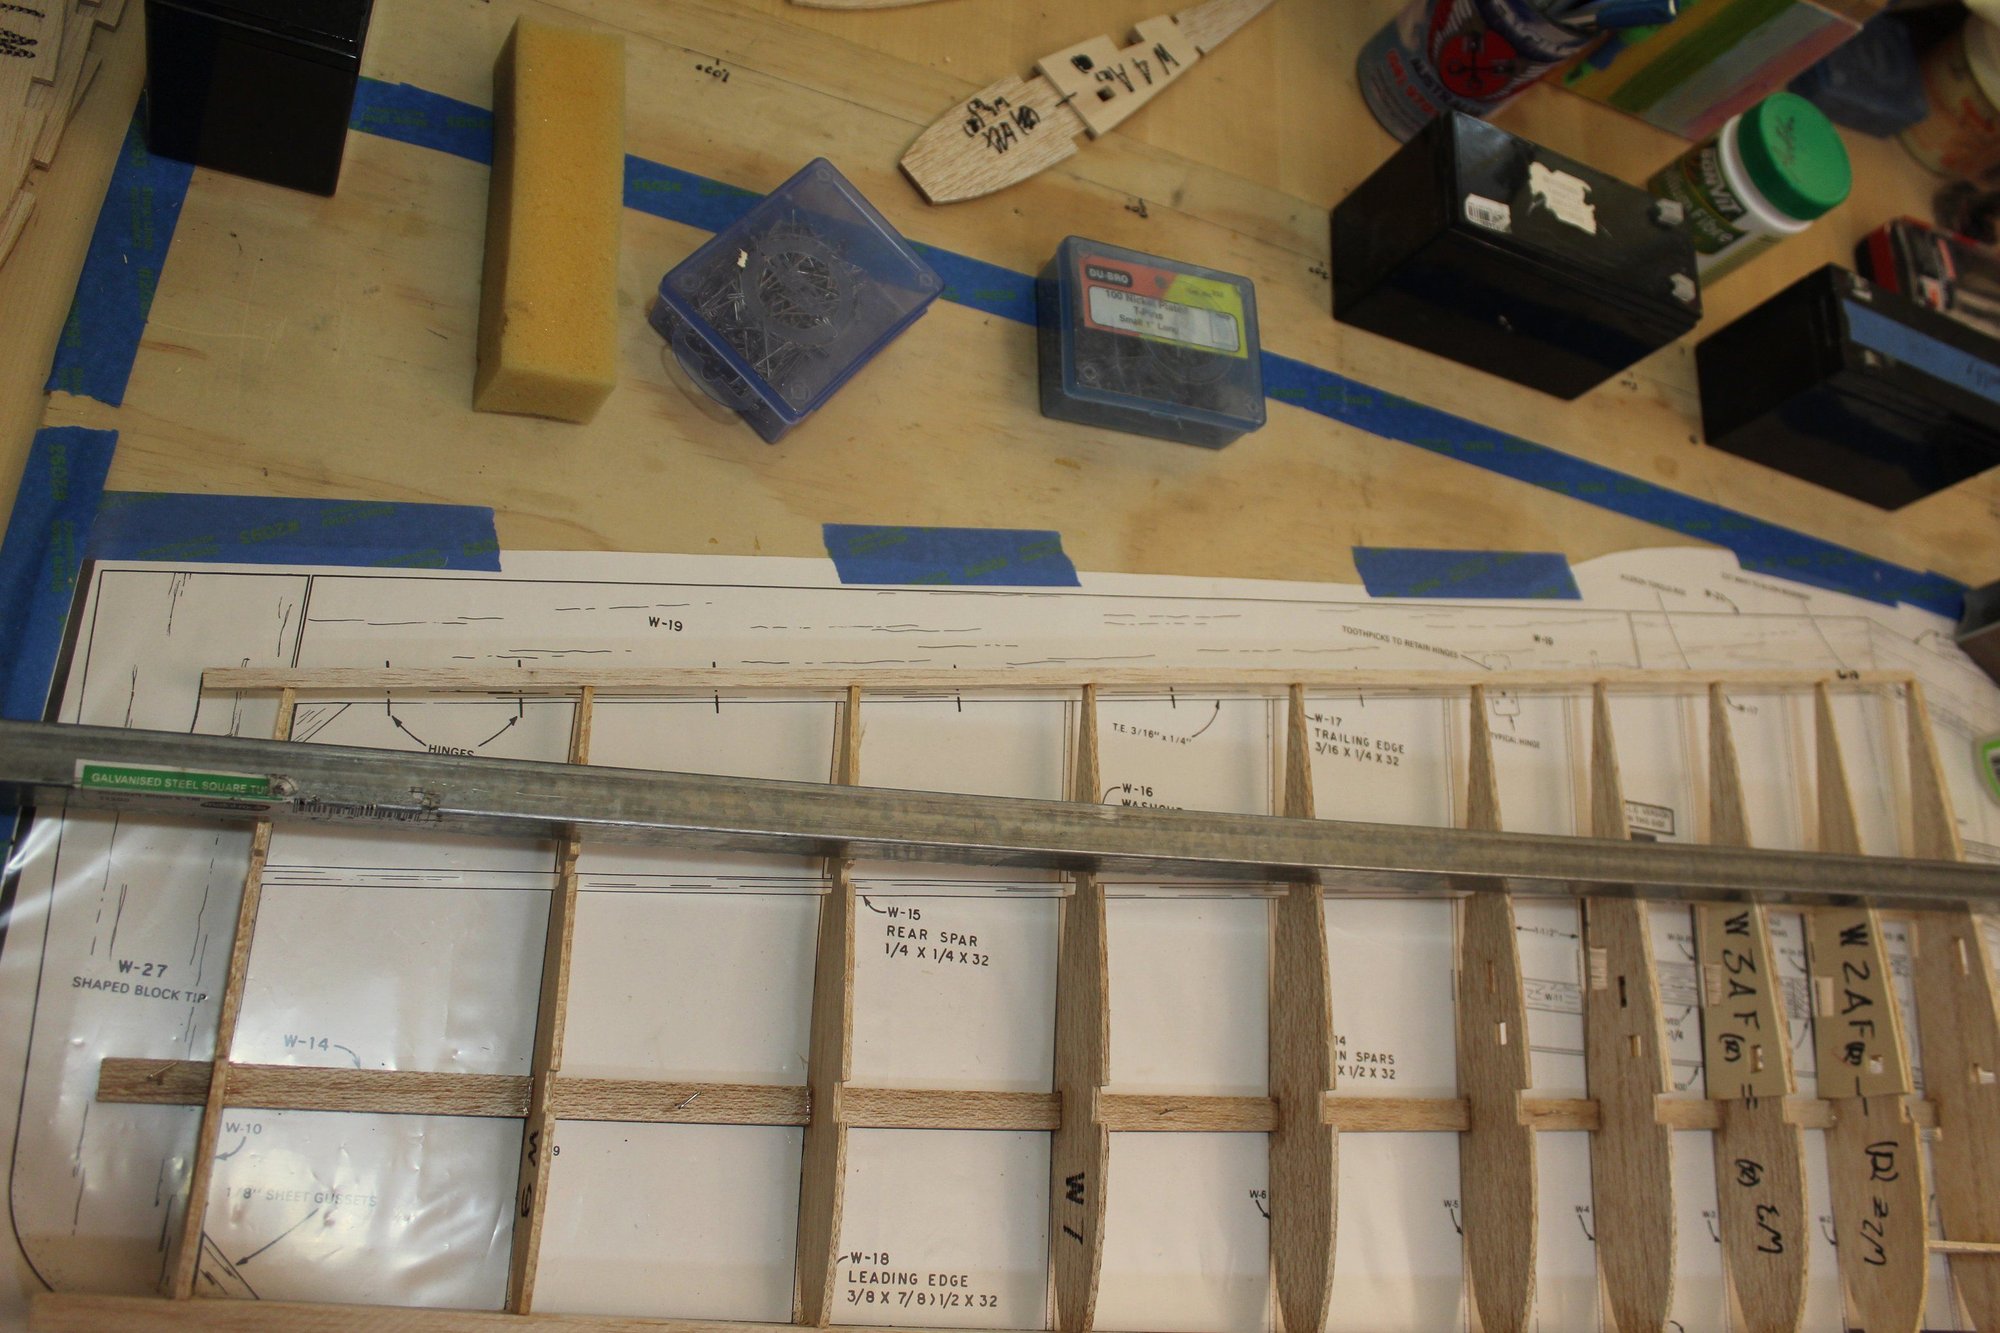
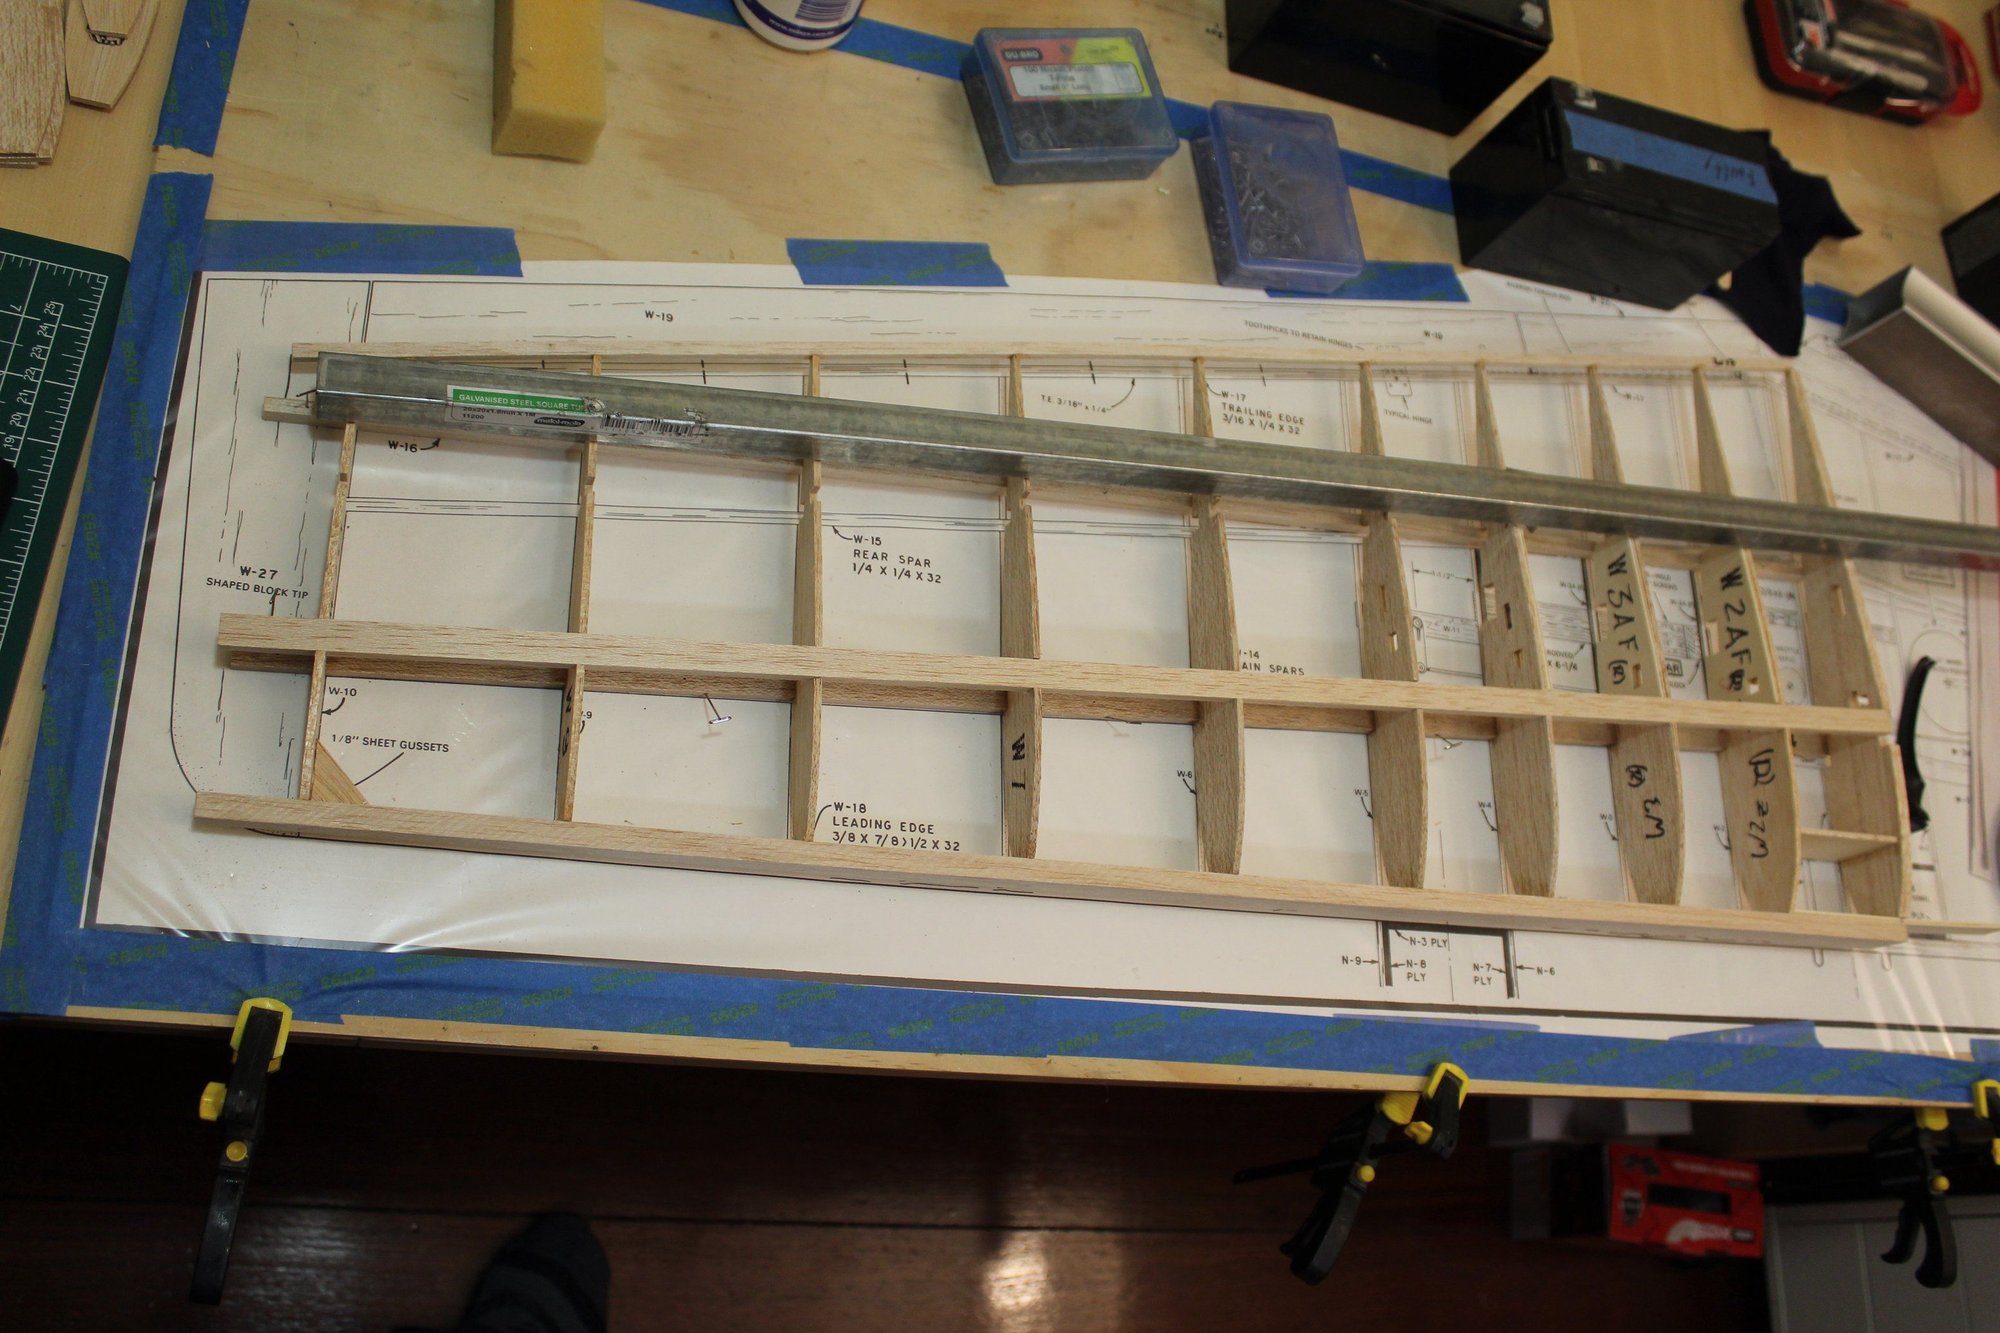
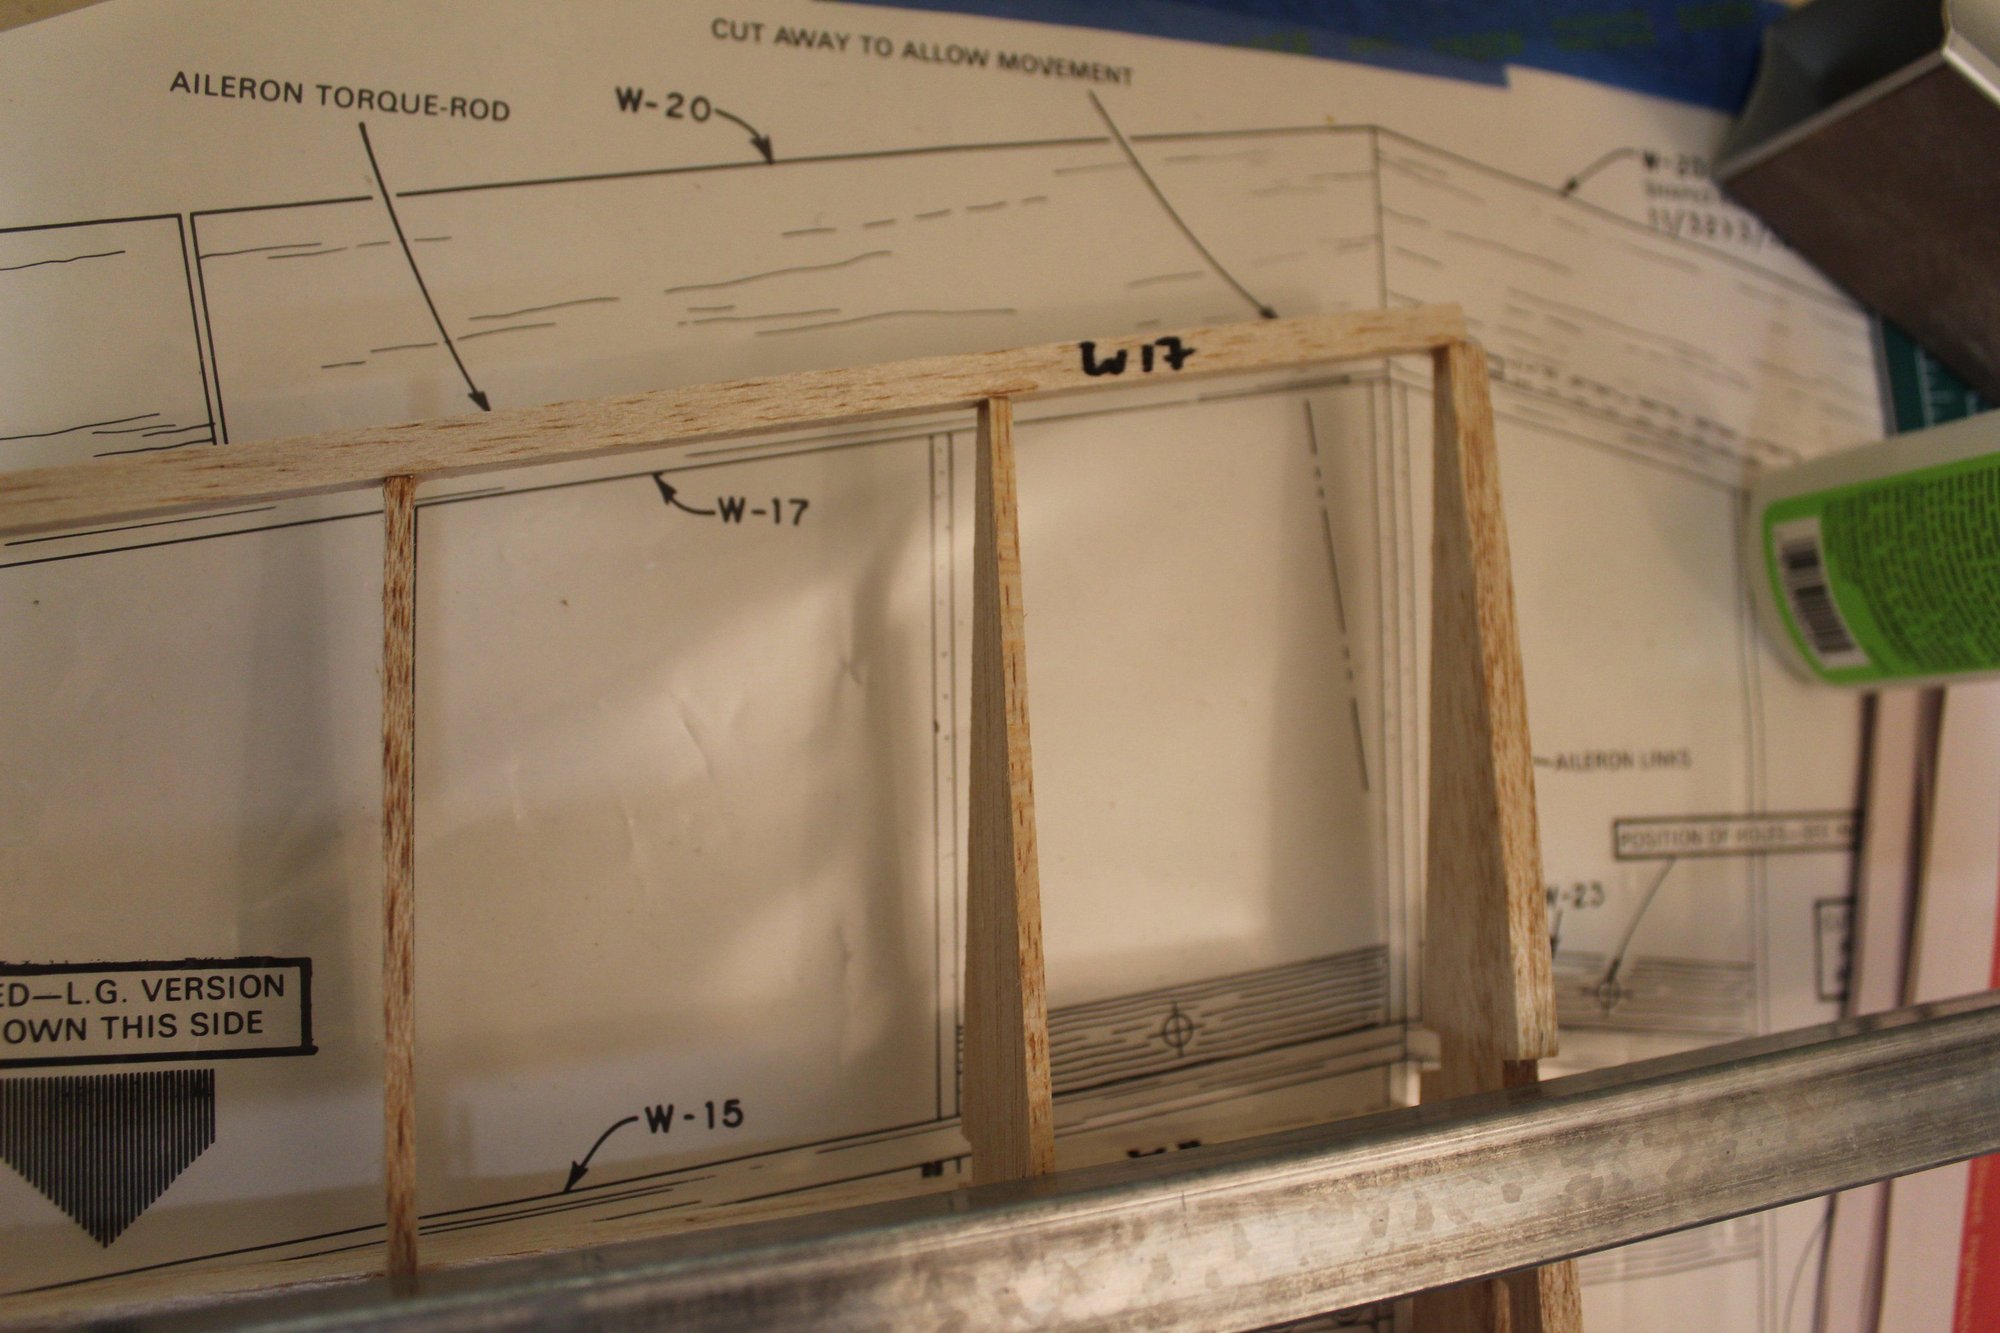
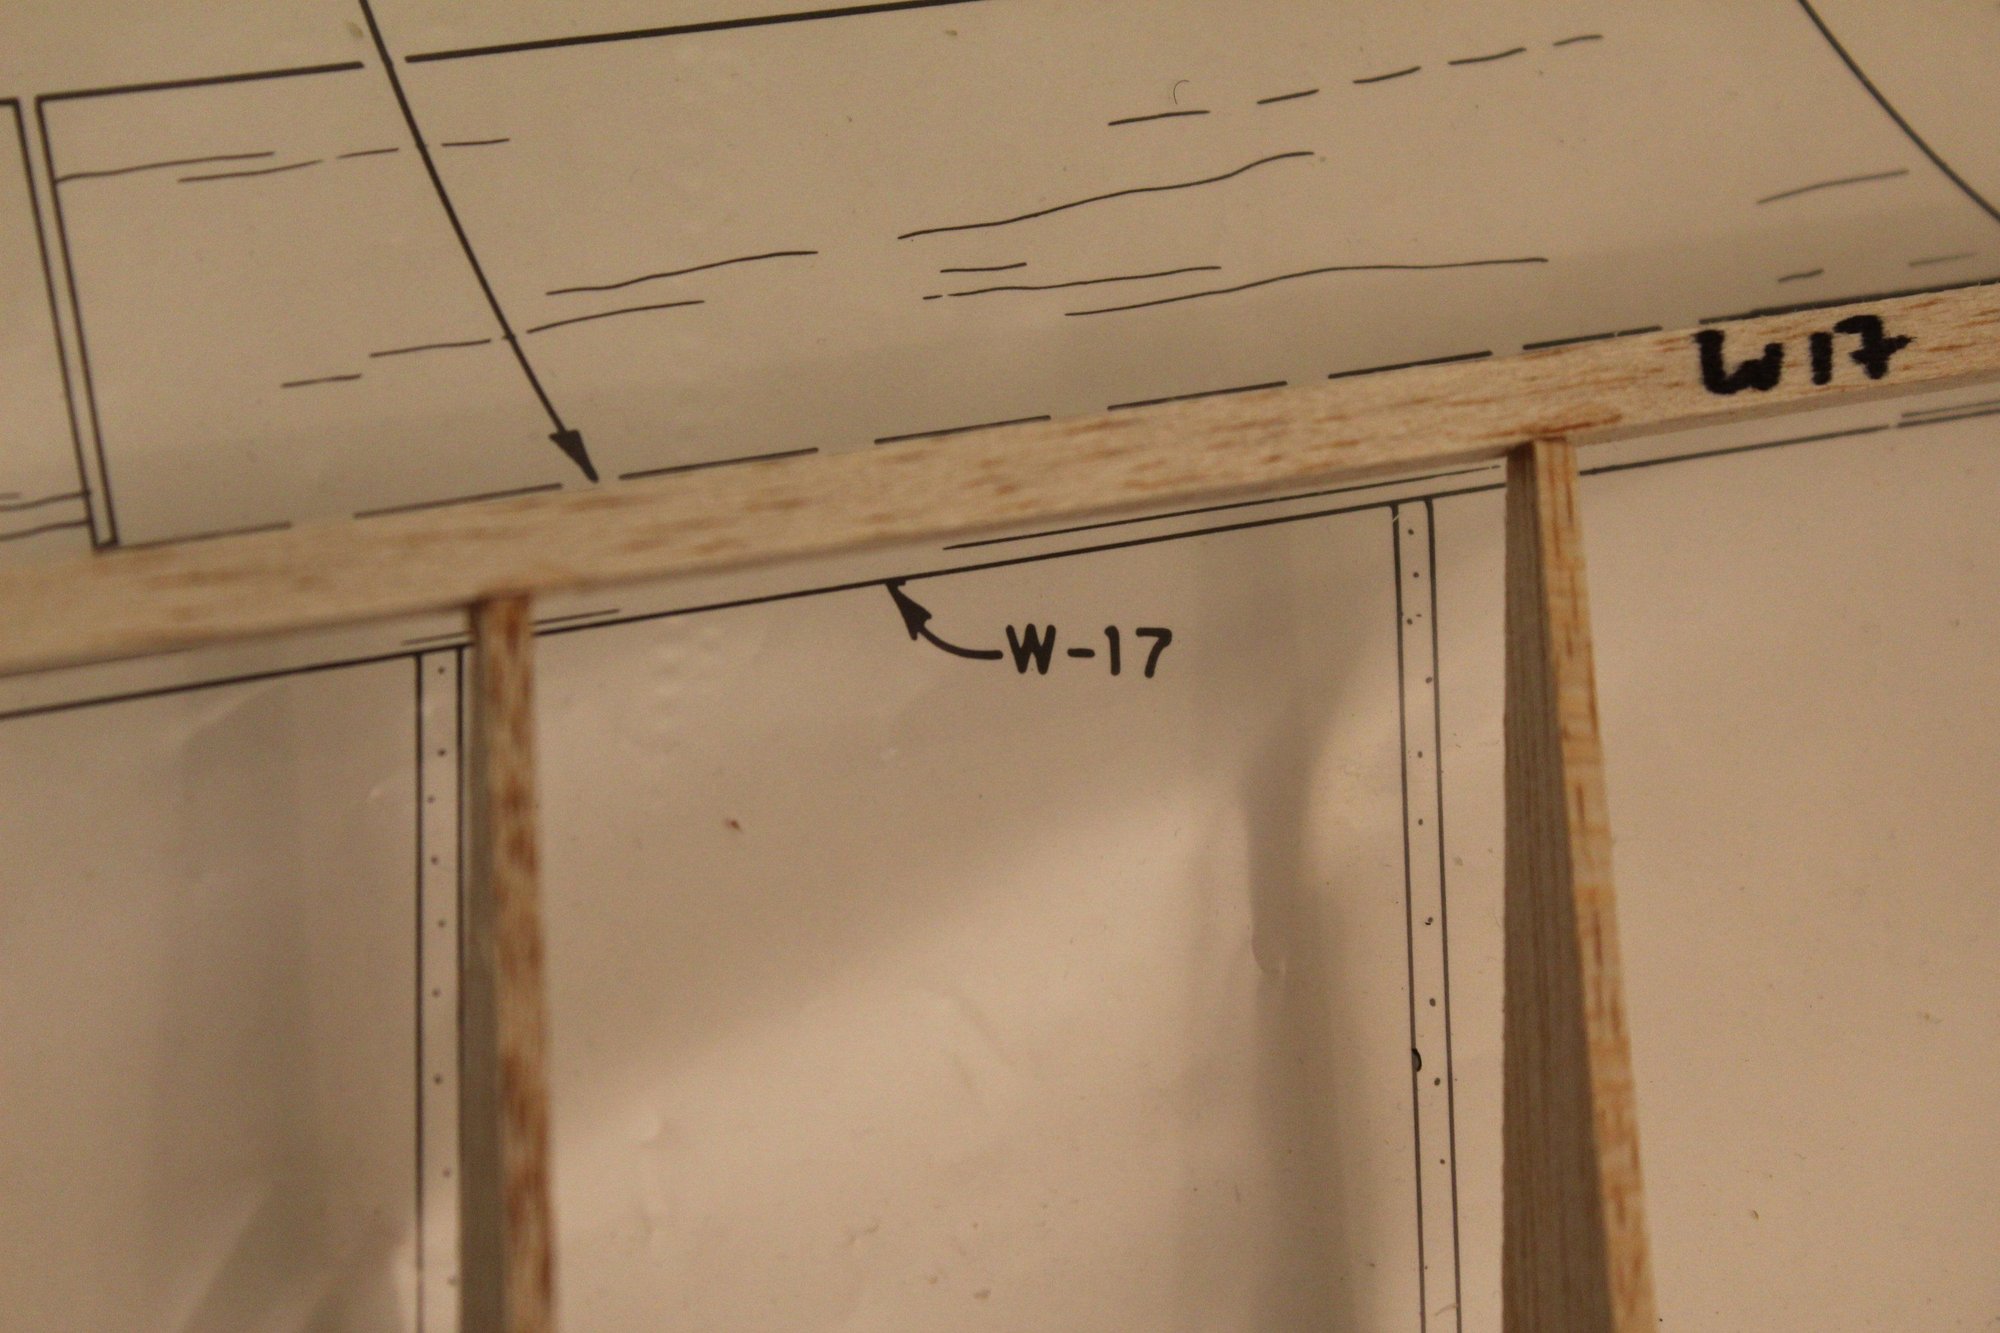
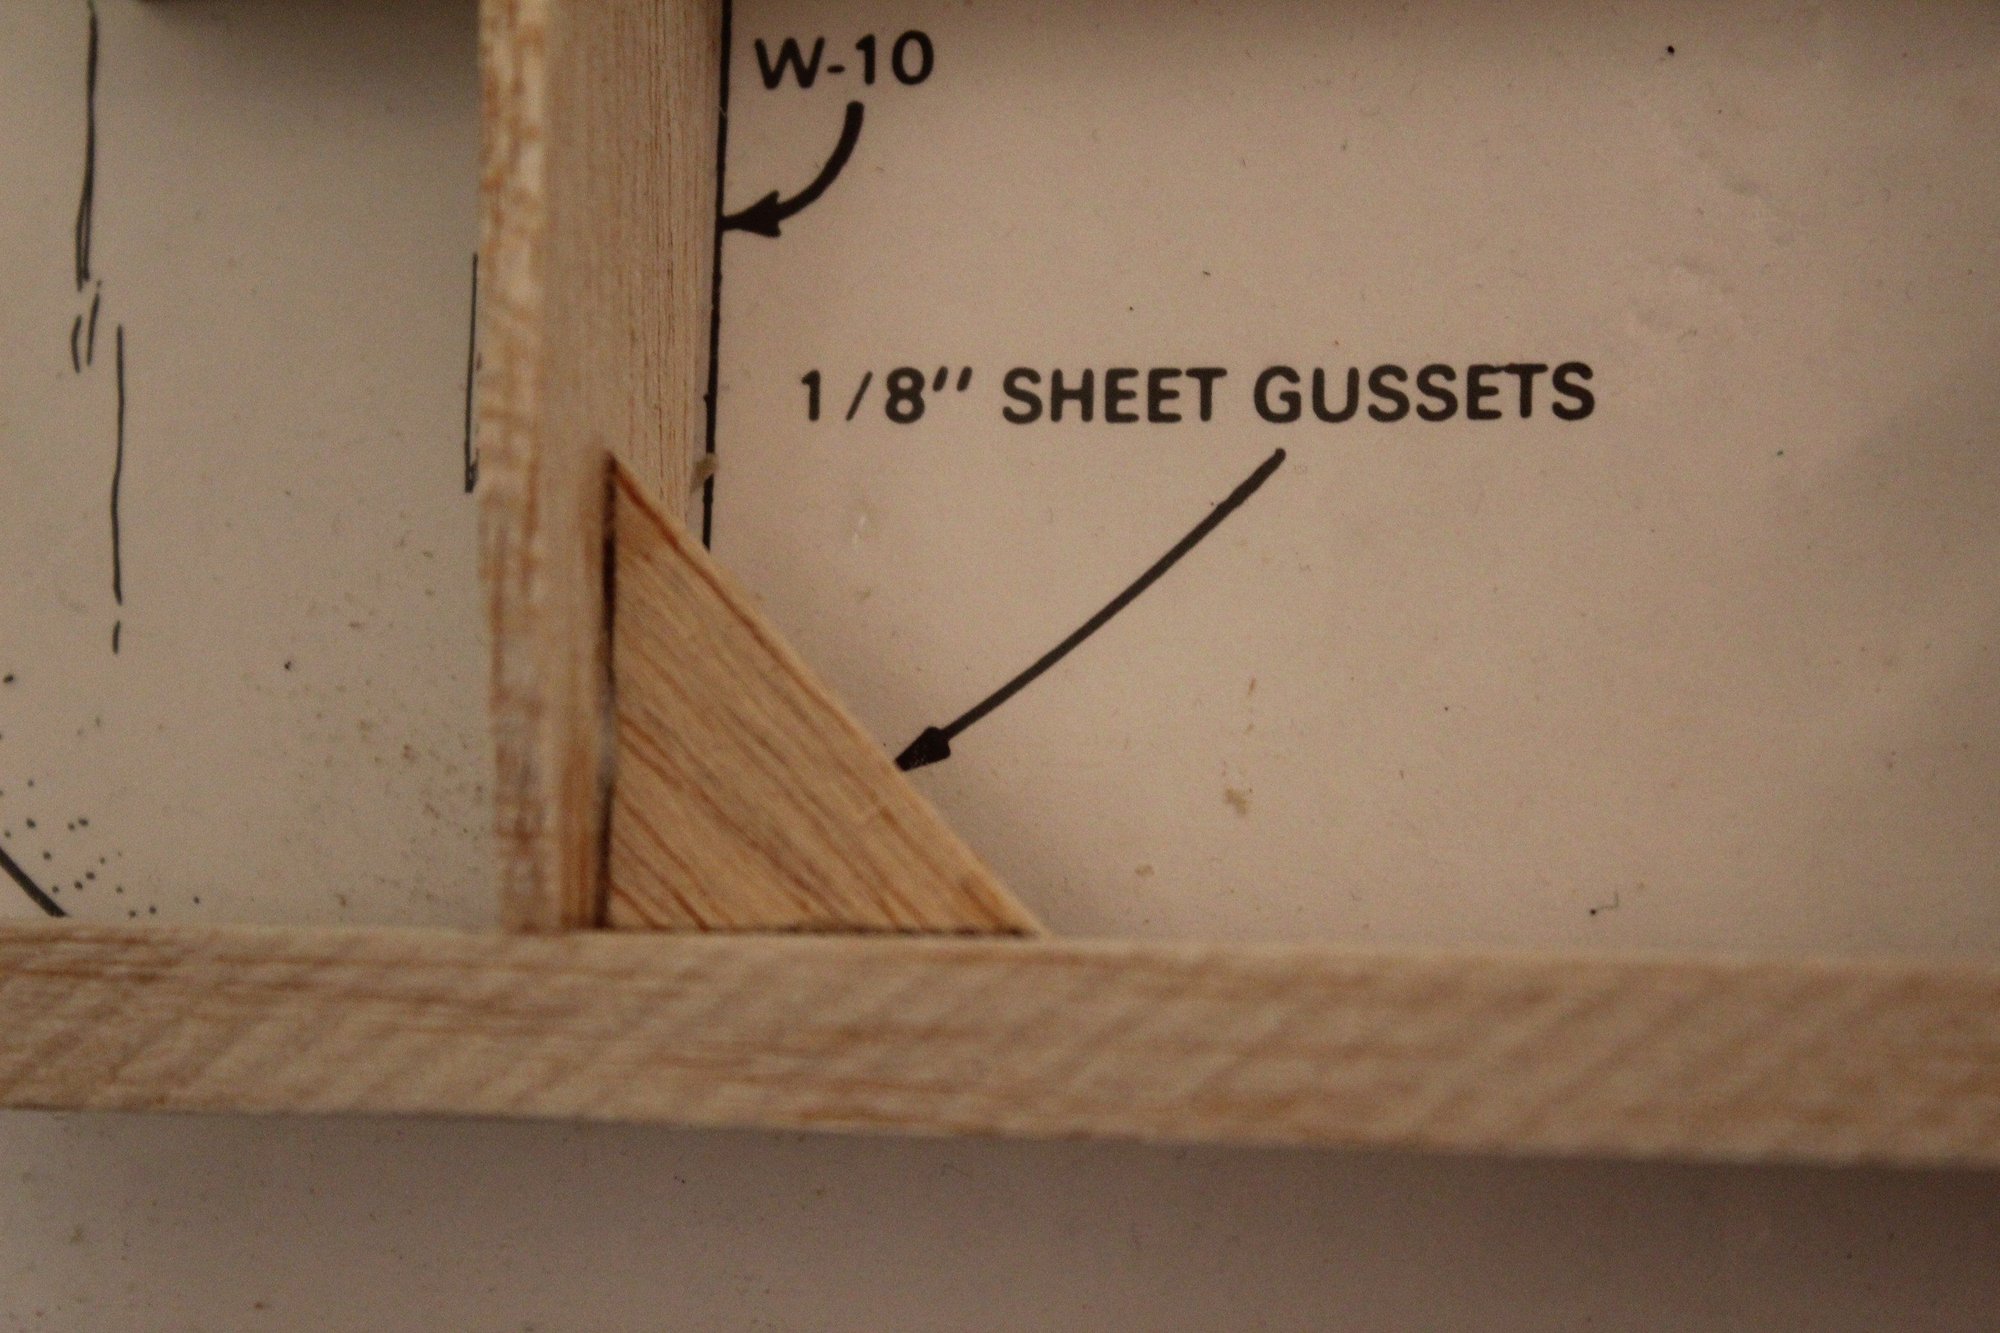
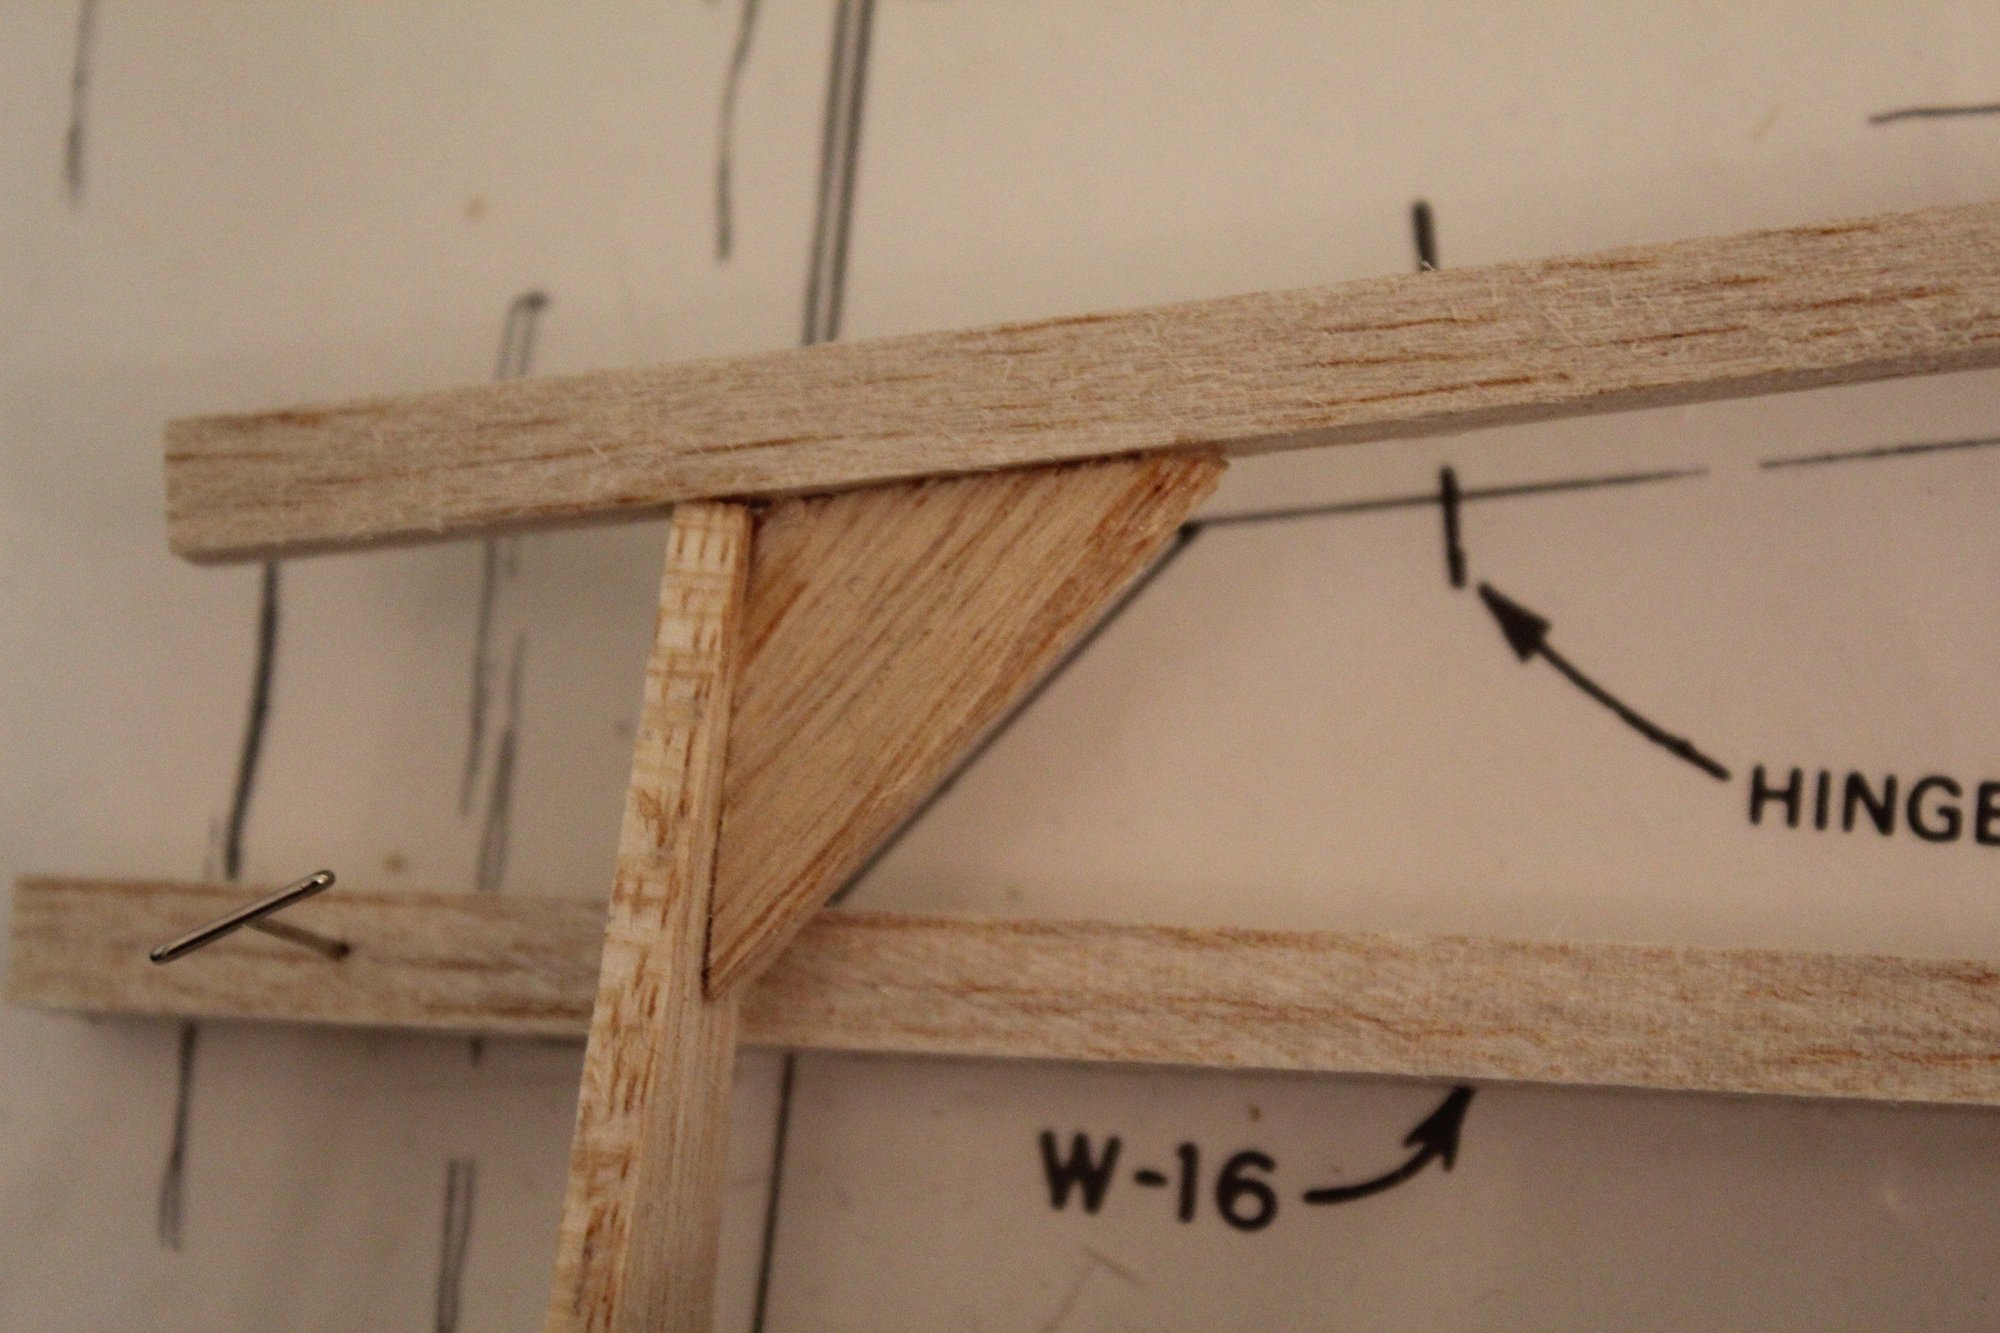
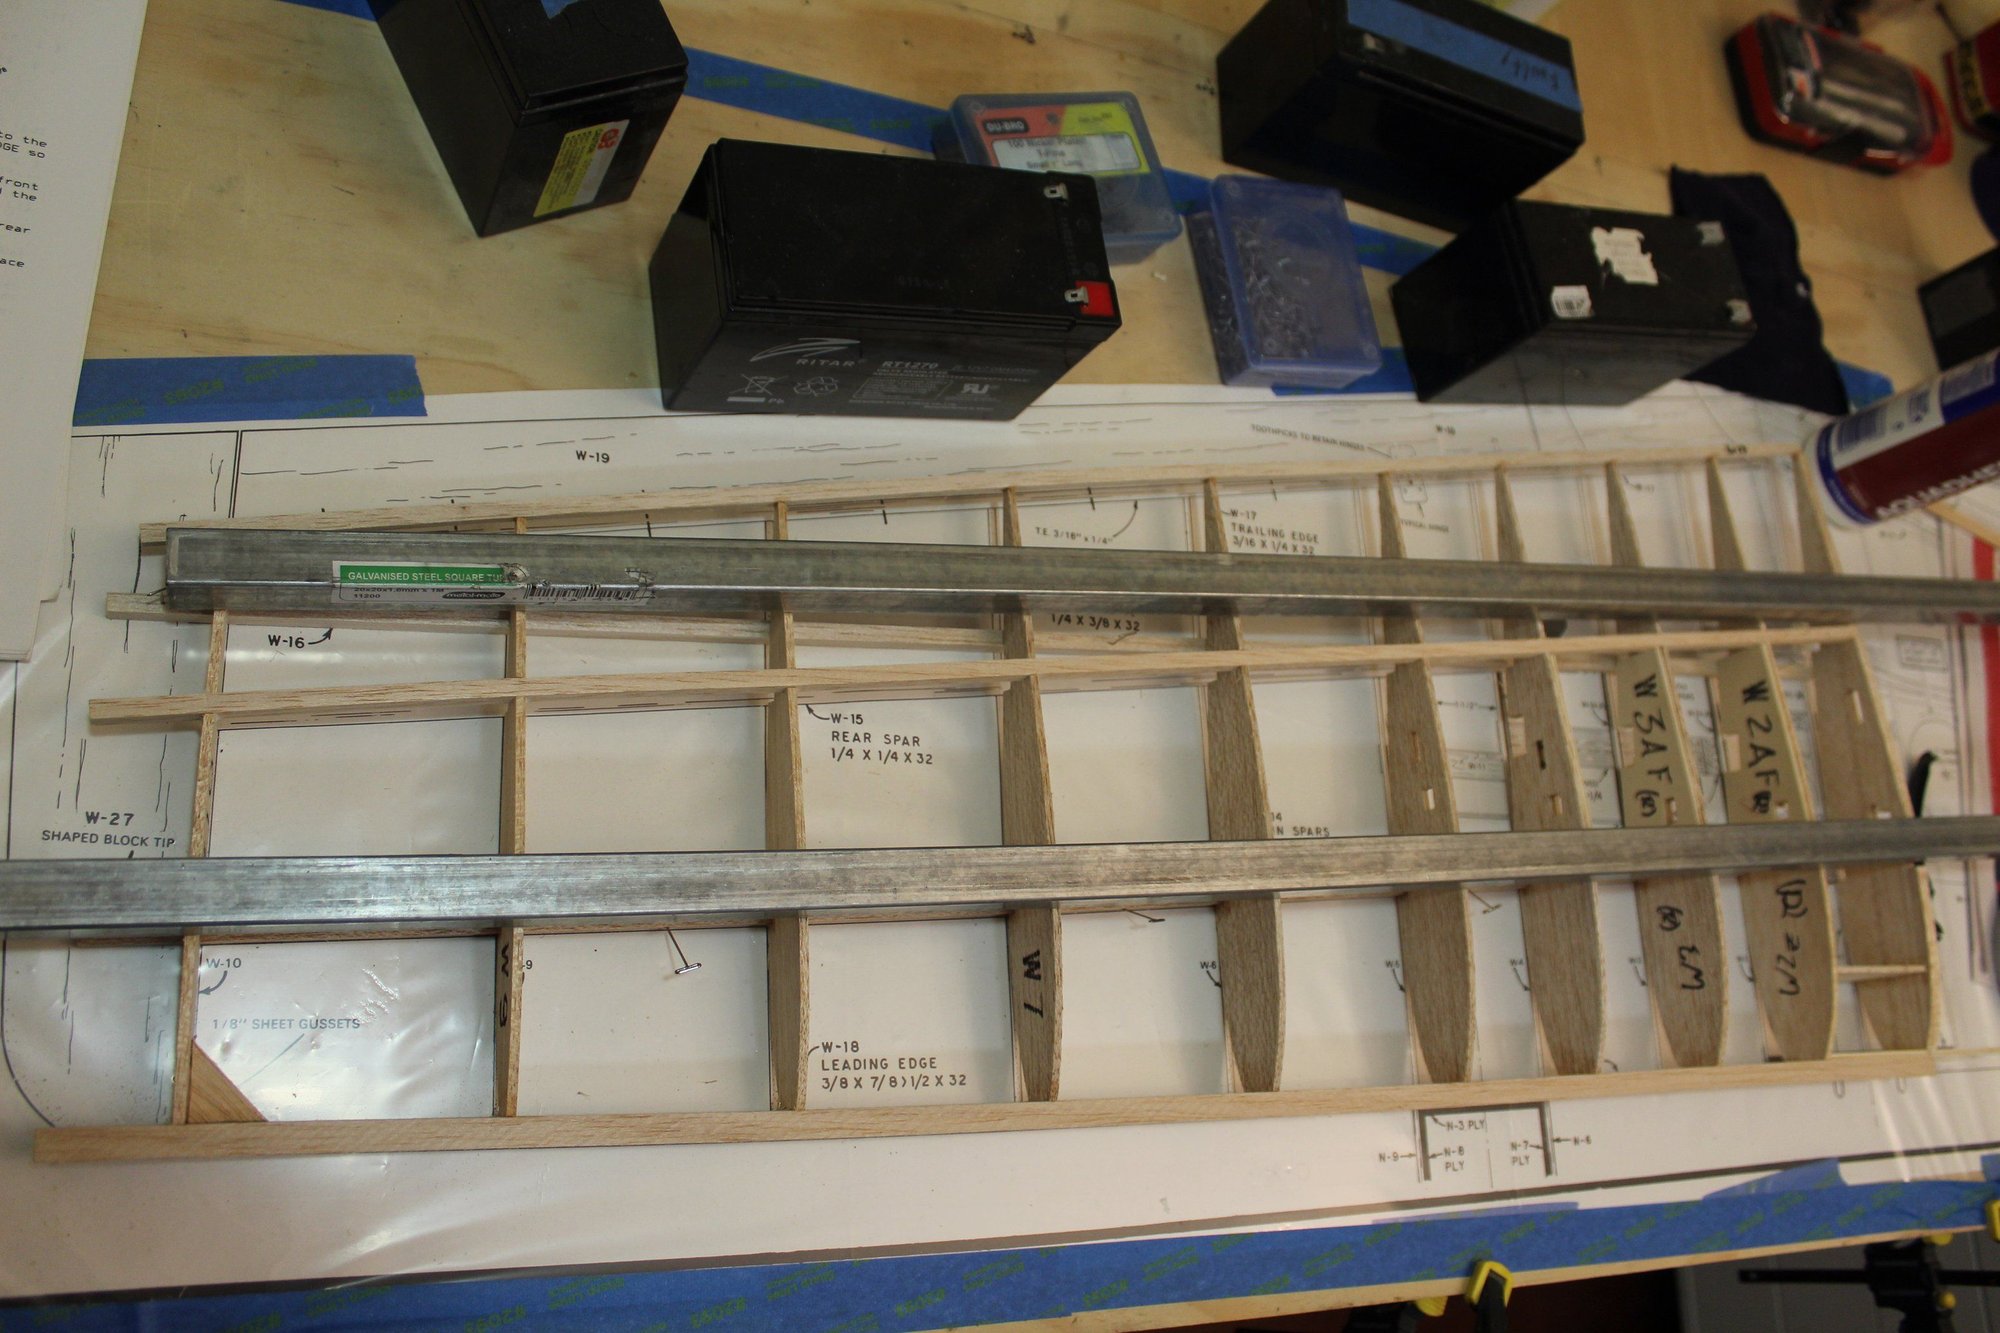
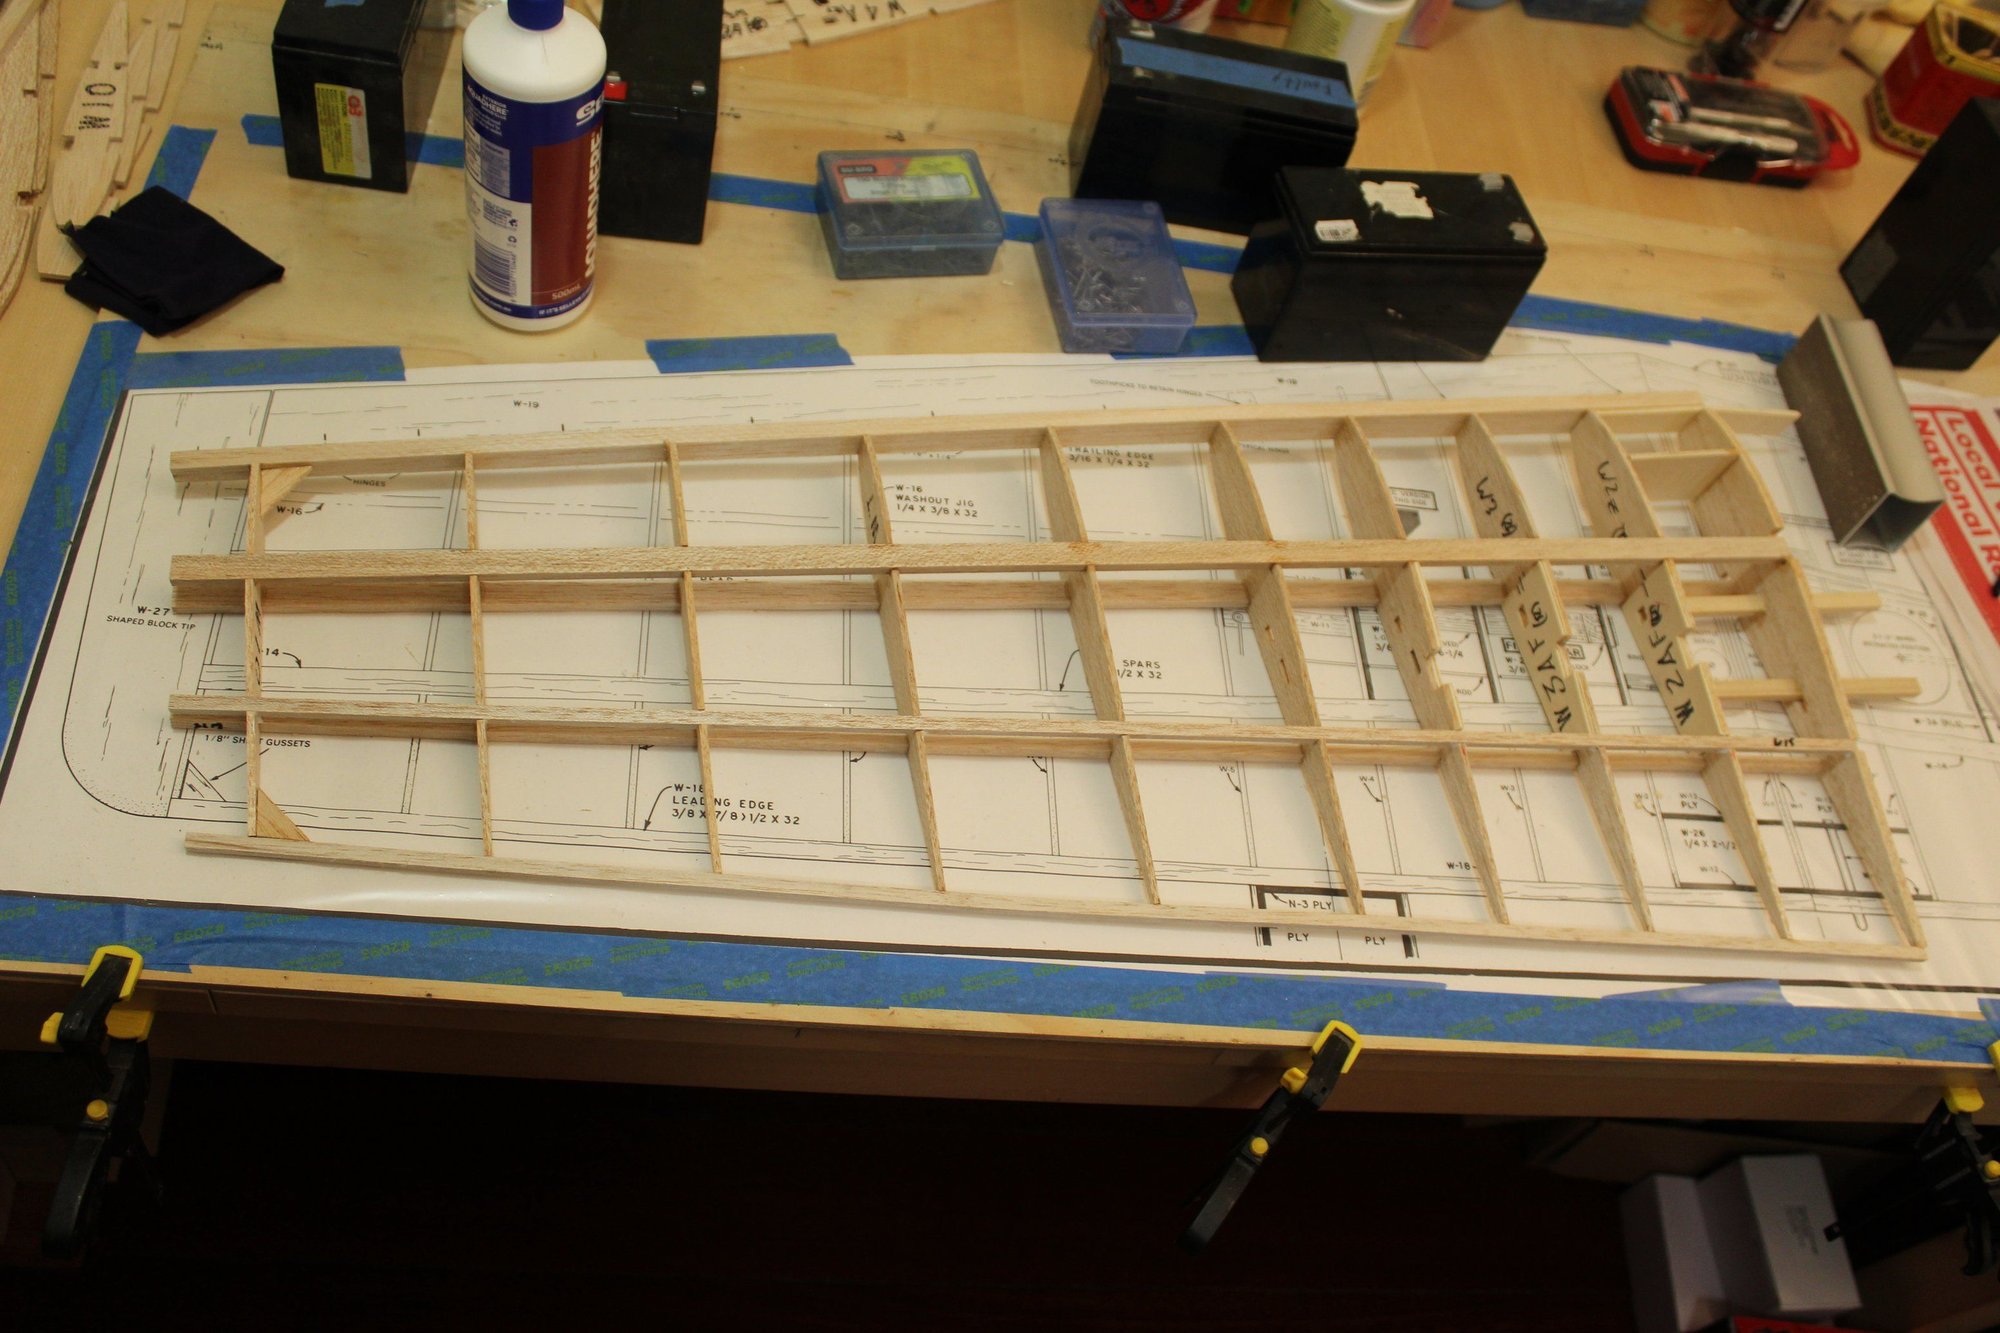
Continuing with the right wing panel, TE, main and secondary spars installed as well as gussets. I forgot to mention in the previous post that the plywood mount for the throttle bellcrank was not installed when I glued the ribs in place (W-11).
Cheers,
Eran


Cheers,
Eran
#9

Thread Starter
Join Date: Jun 2008
Location: Perth WA, AUSTRALIA
Posts: 1,237
Likes: 0
Received 12 Likes
on
12 Posts
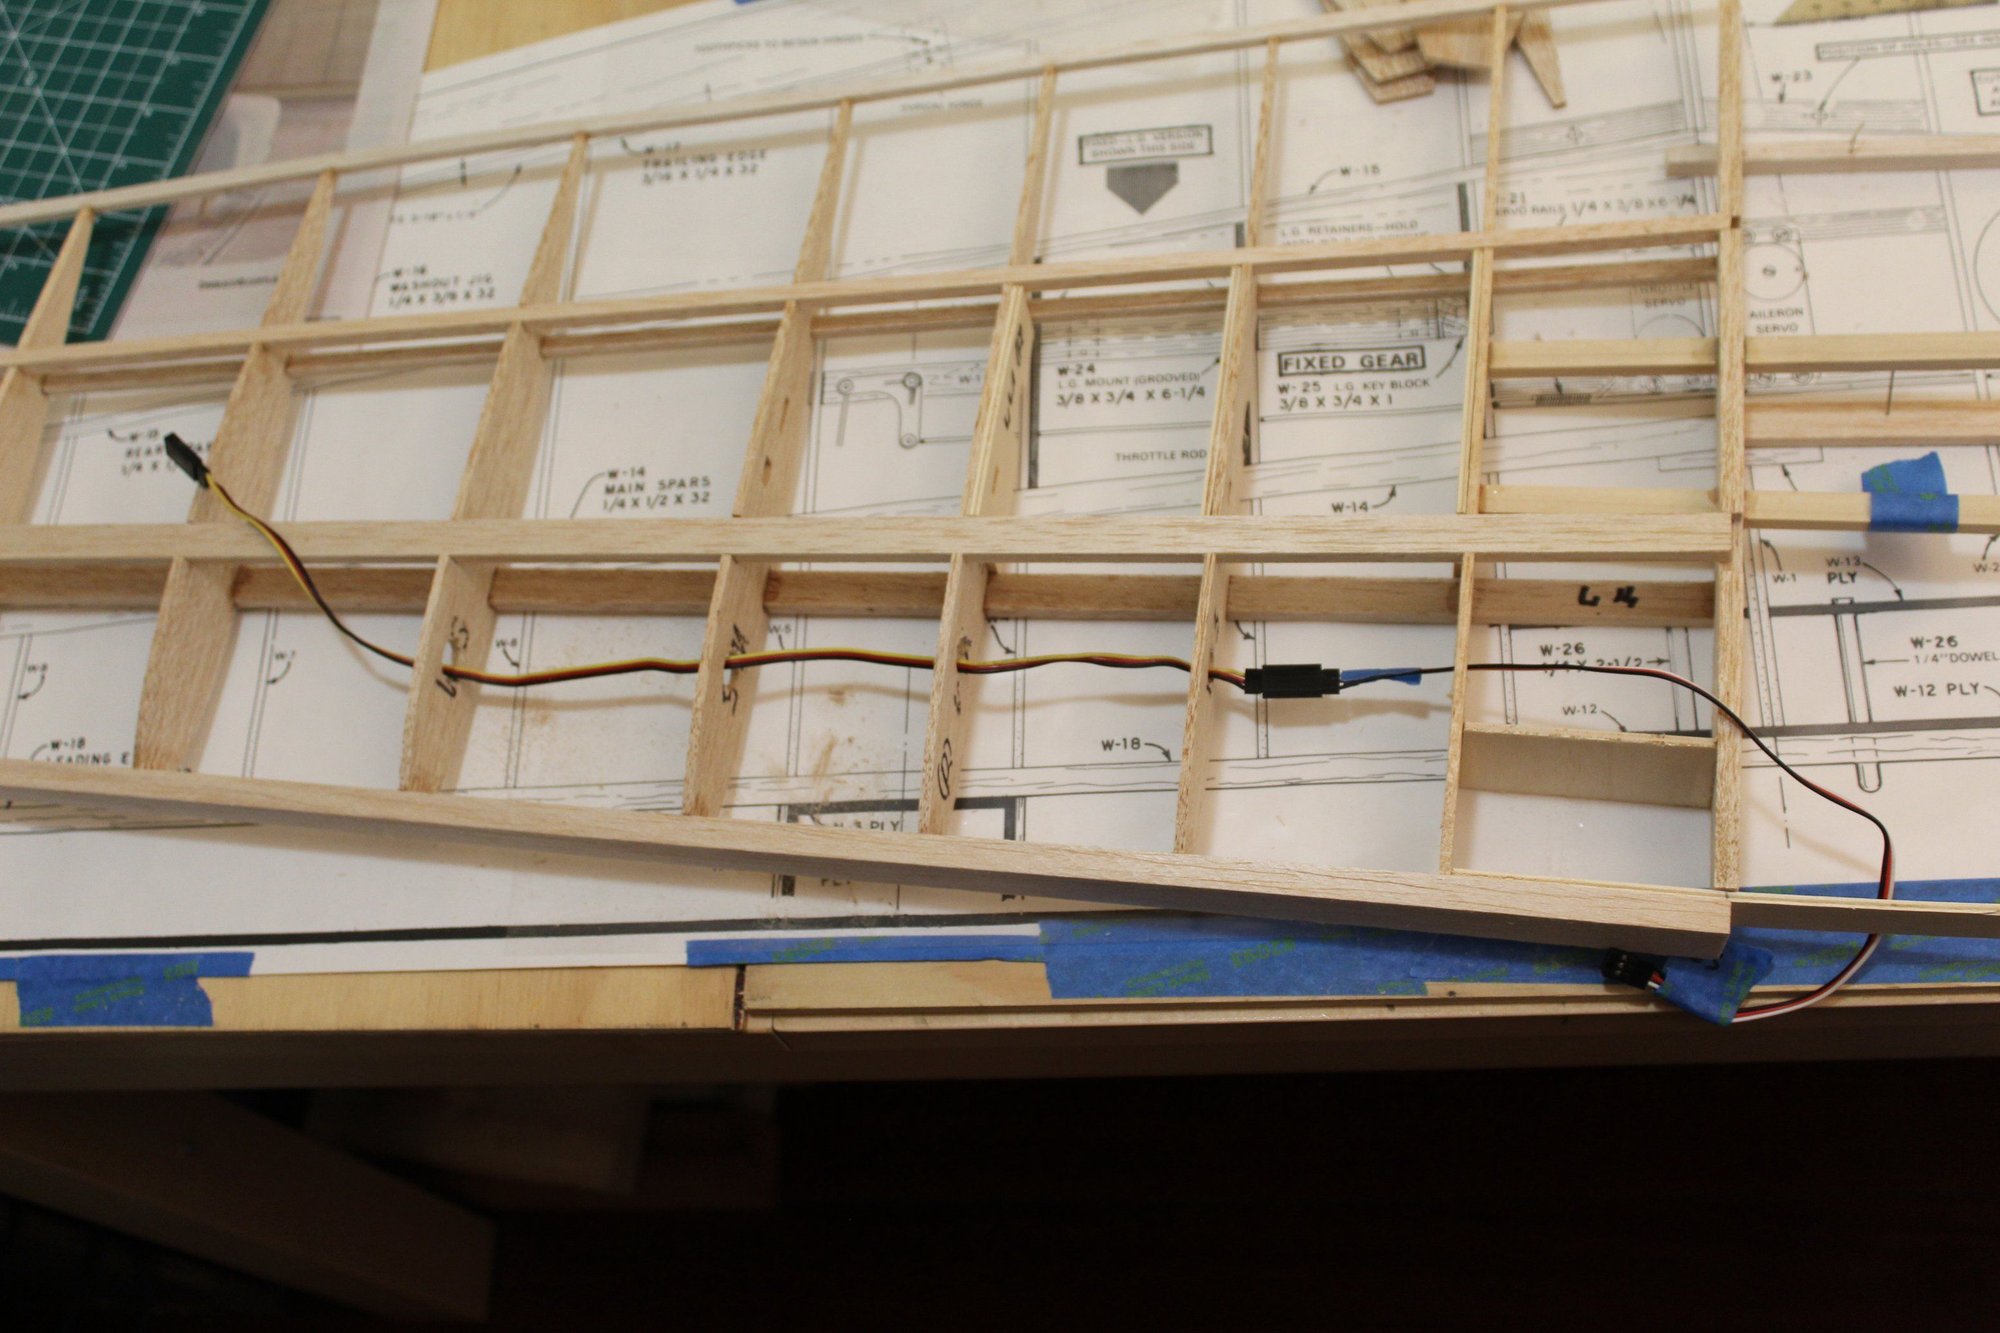
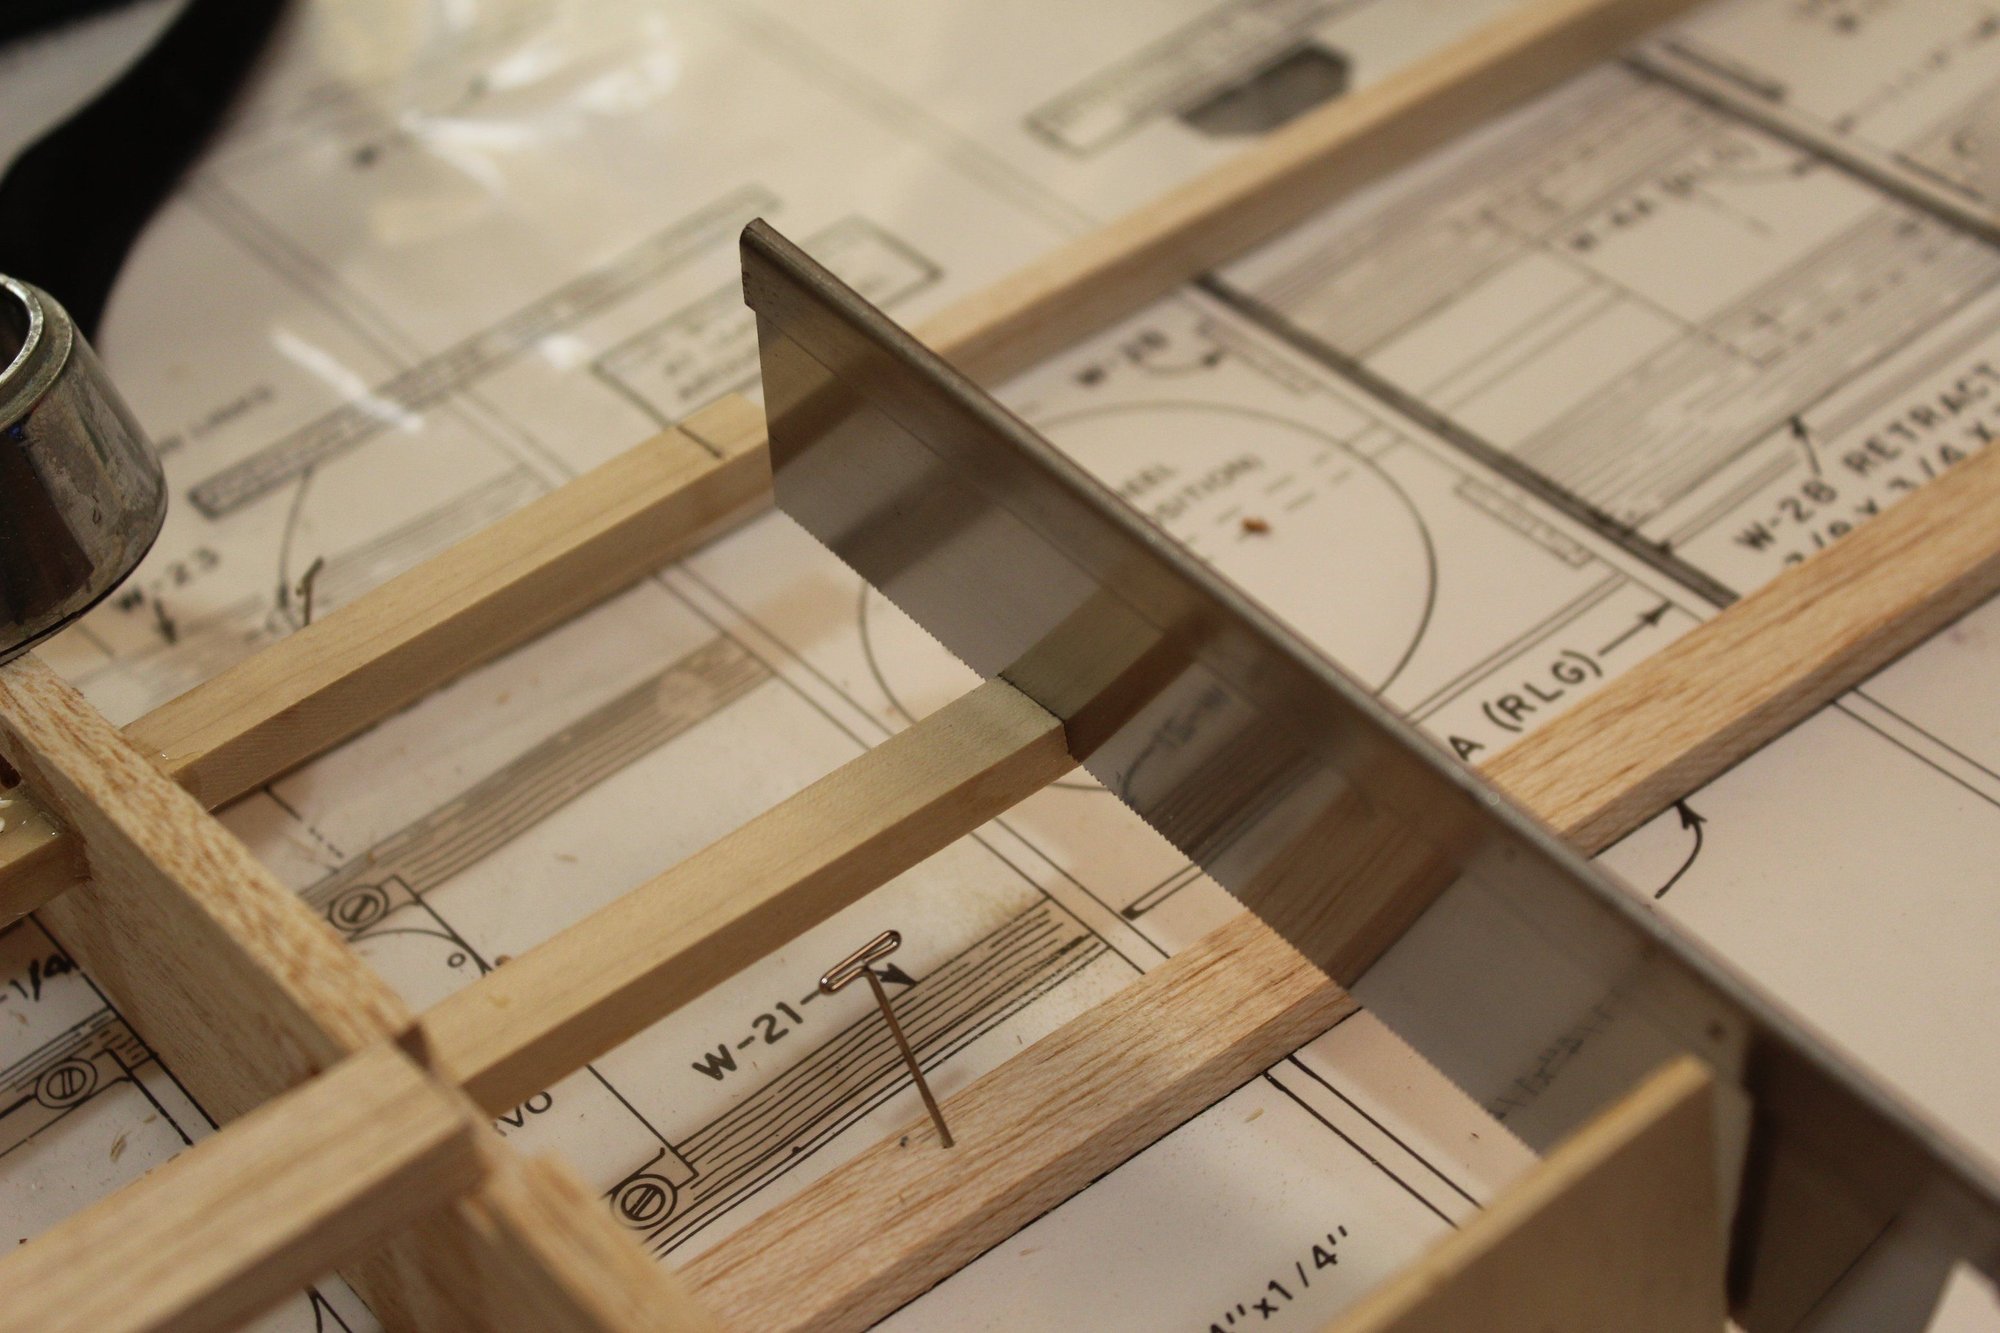
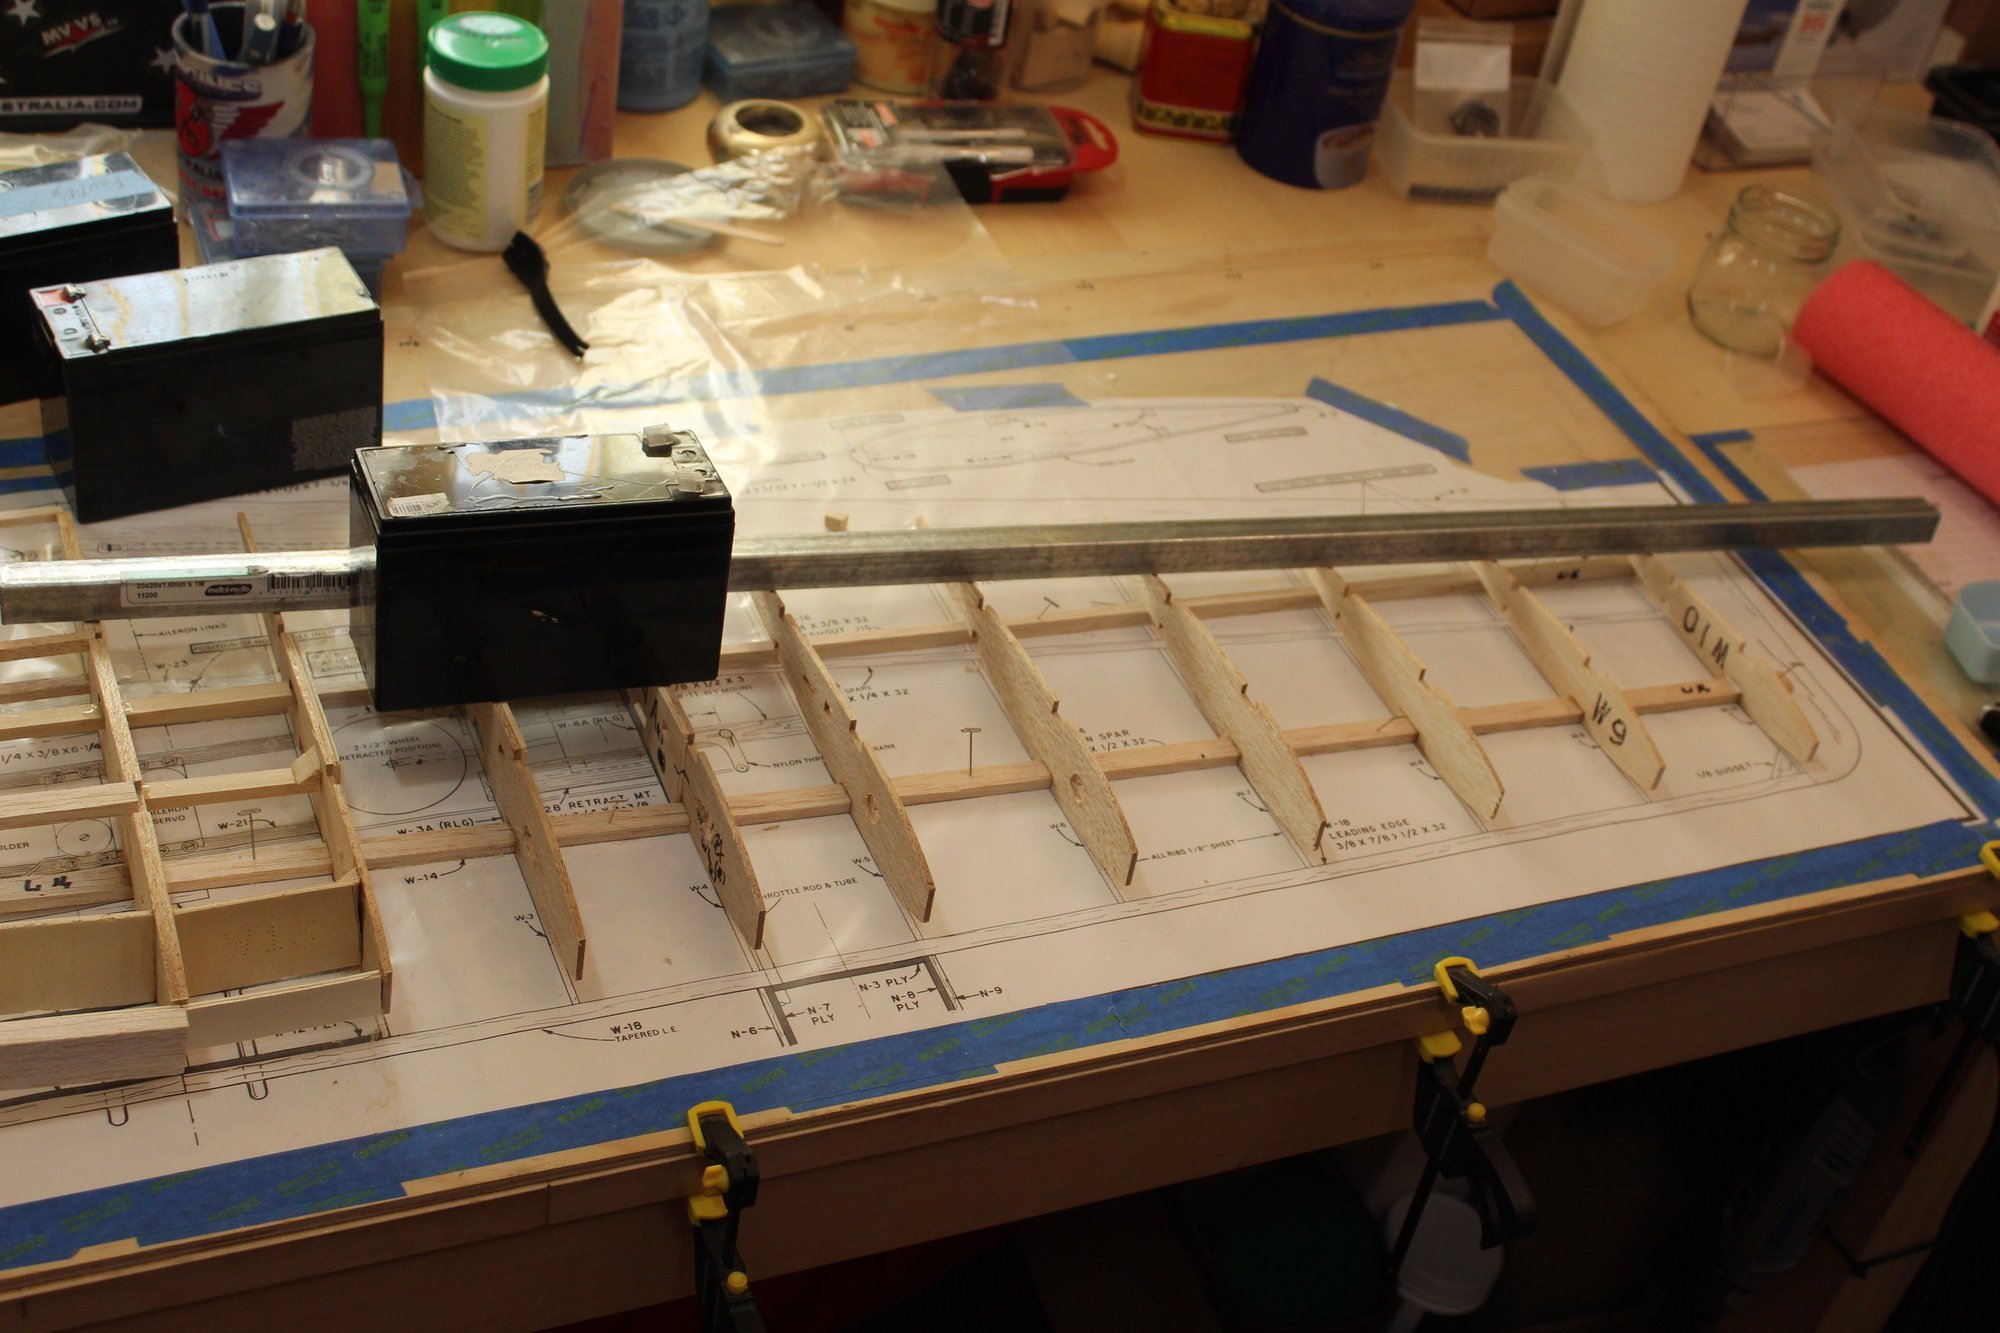
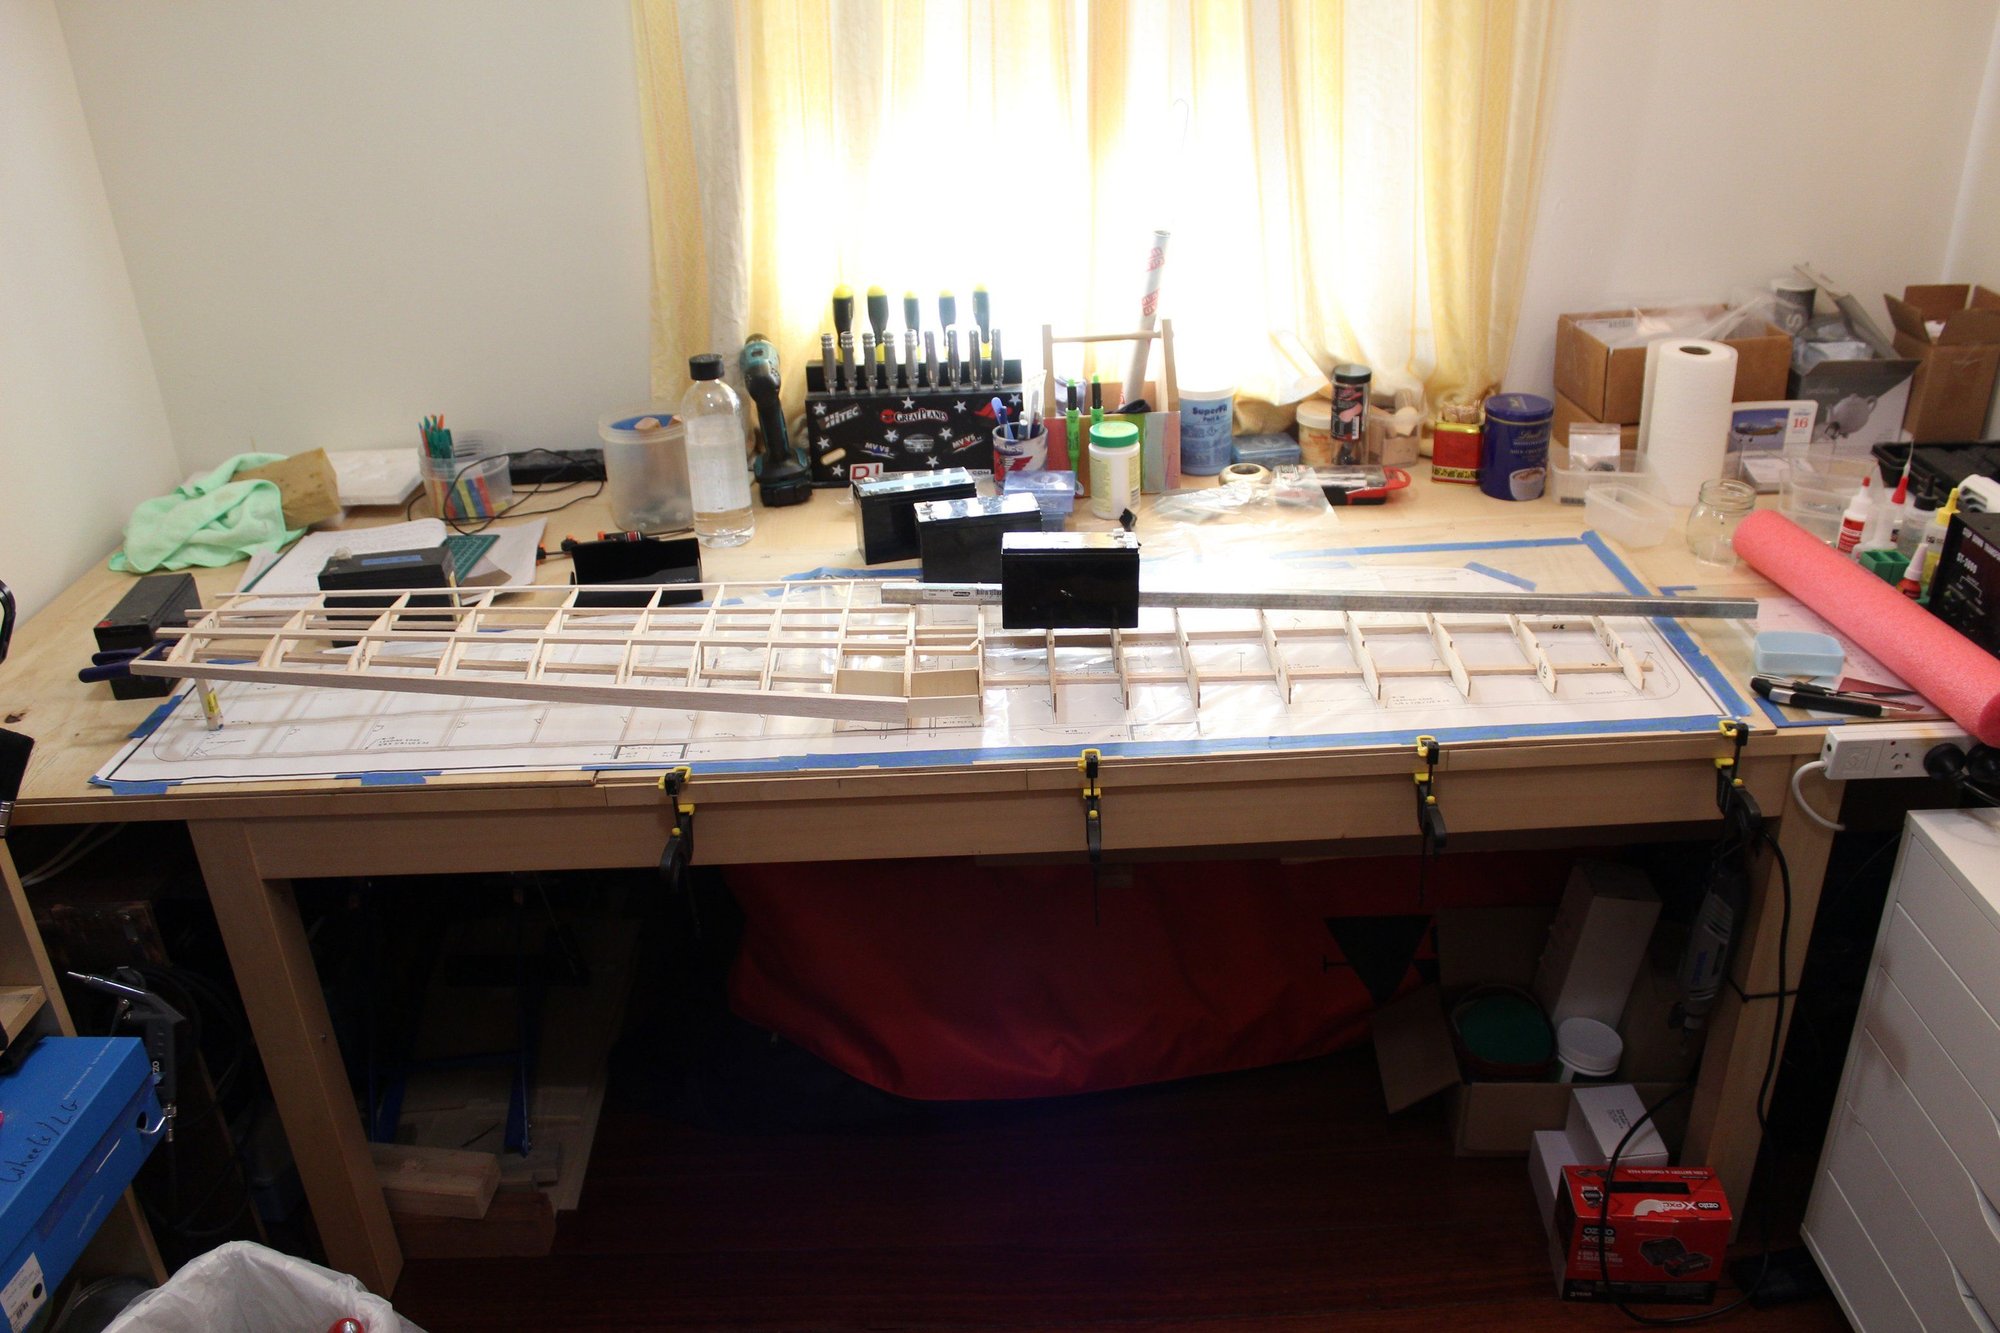
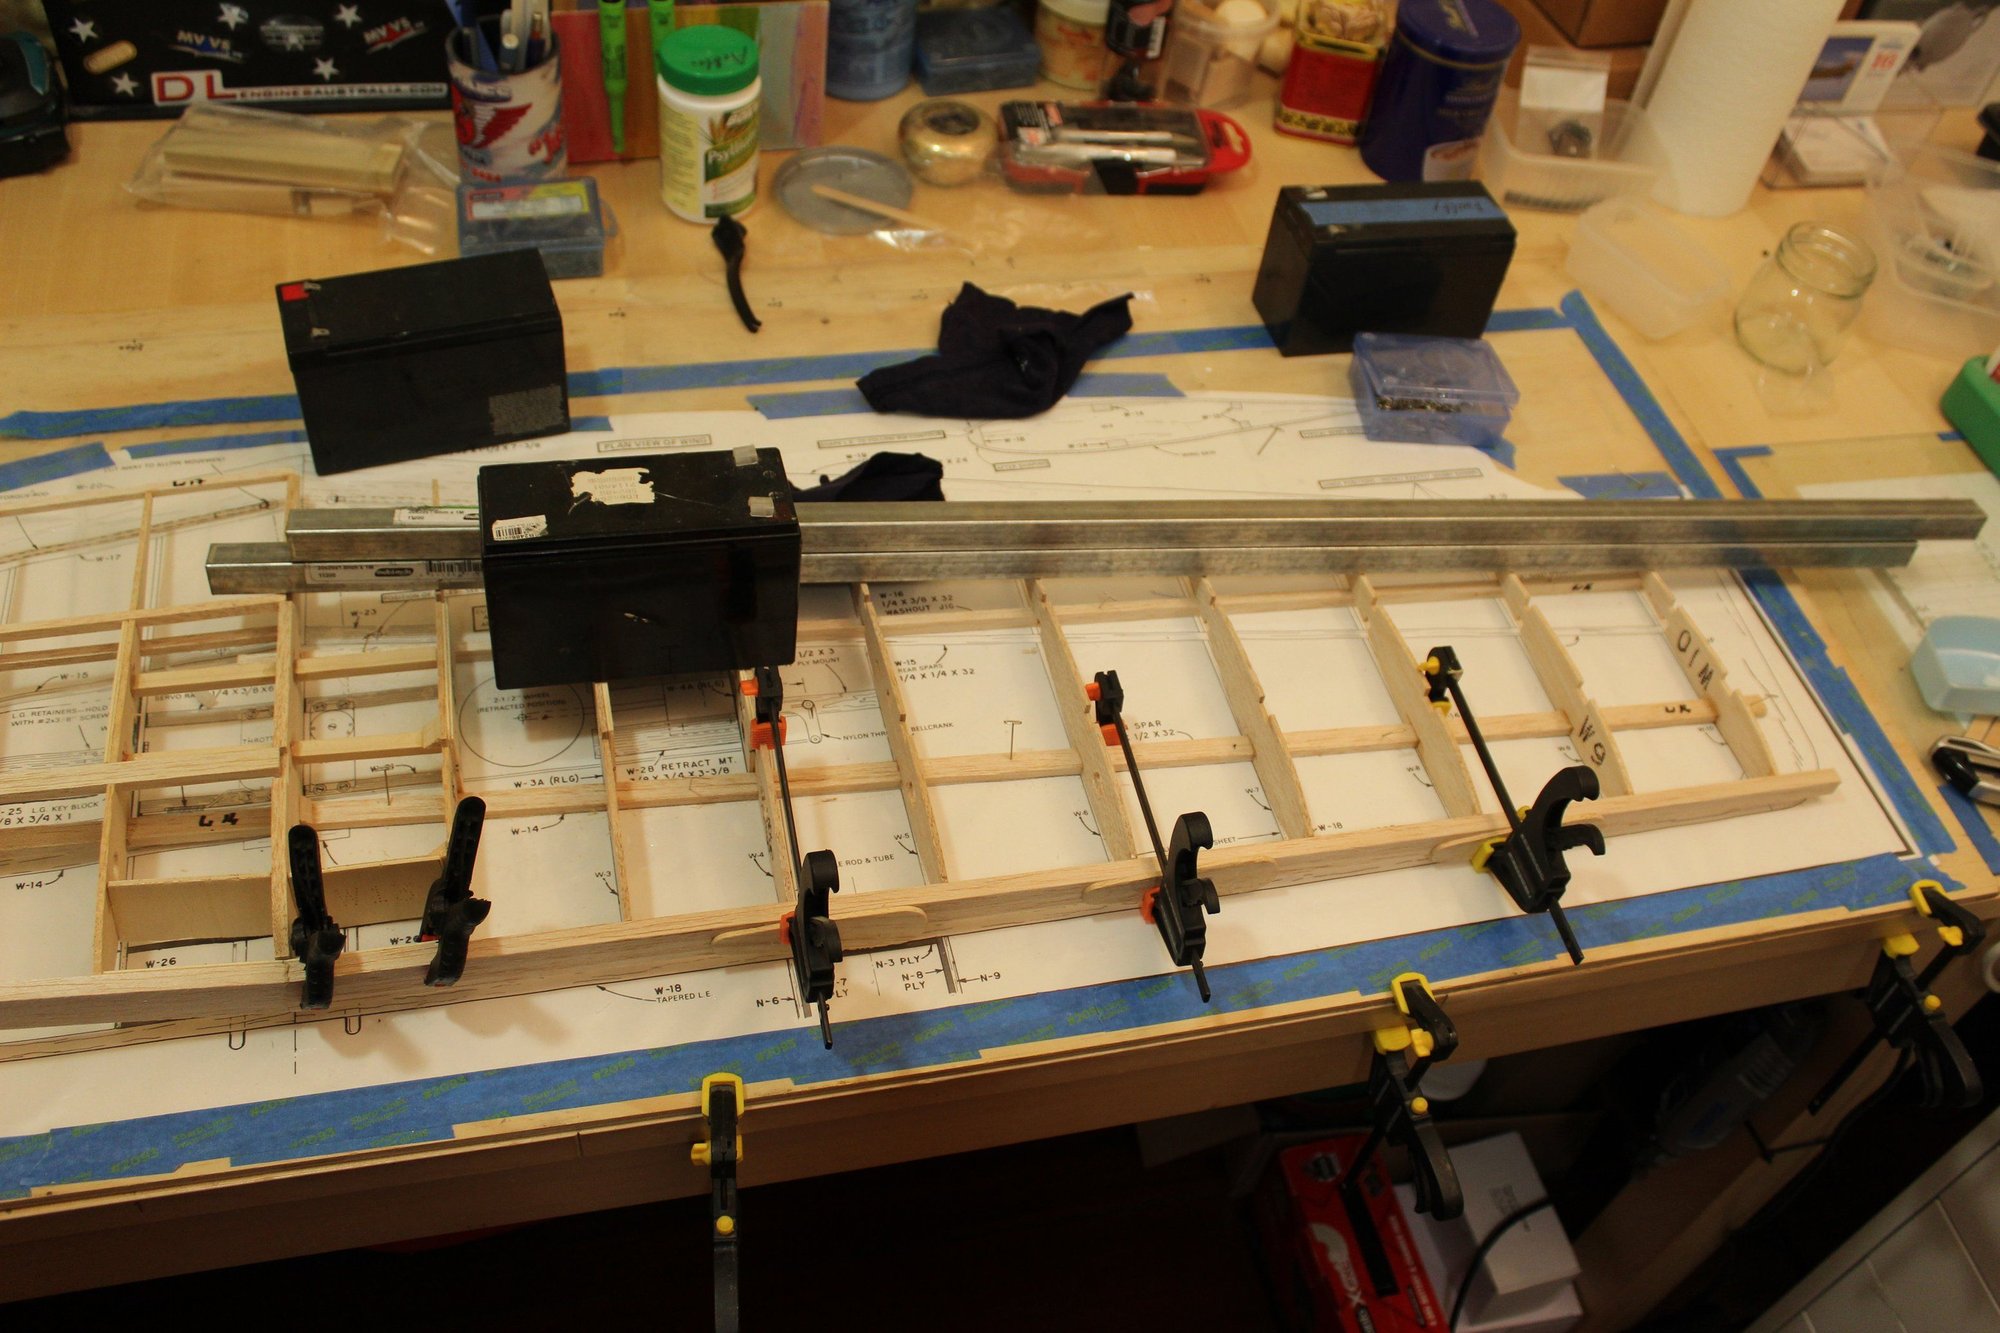
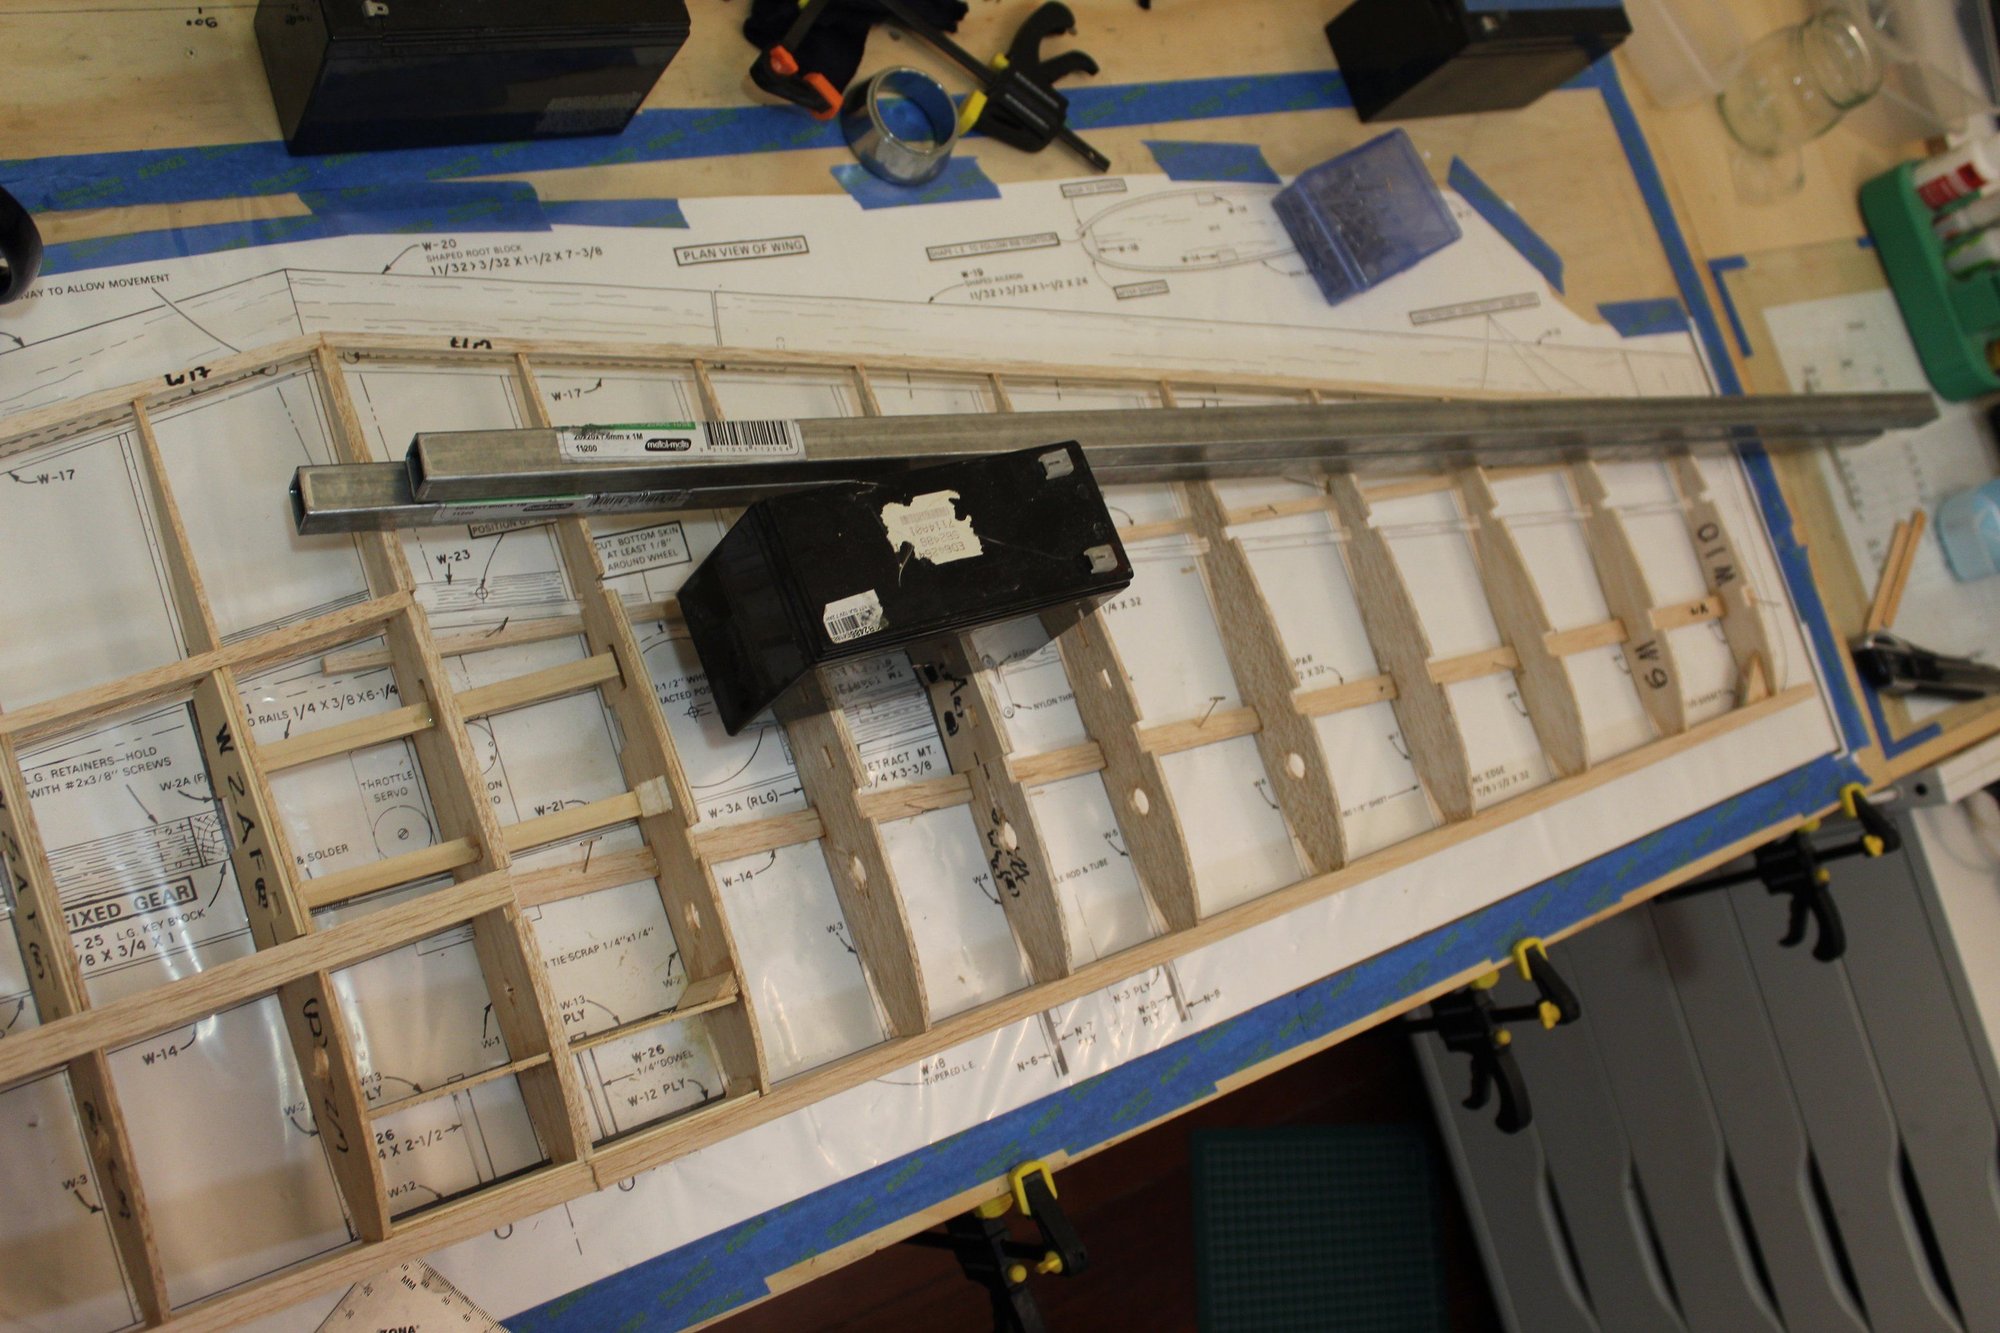
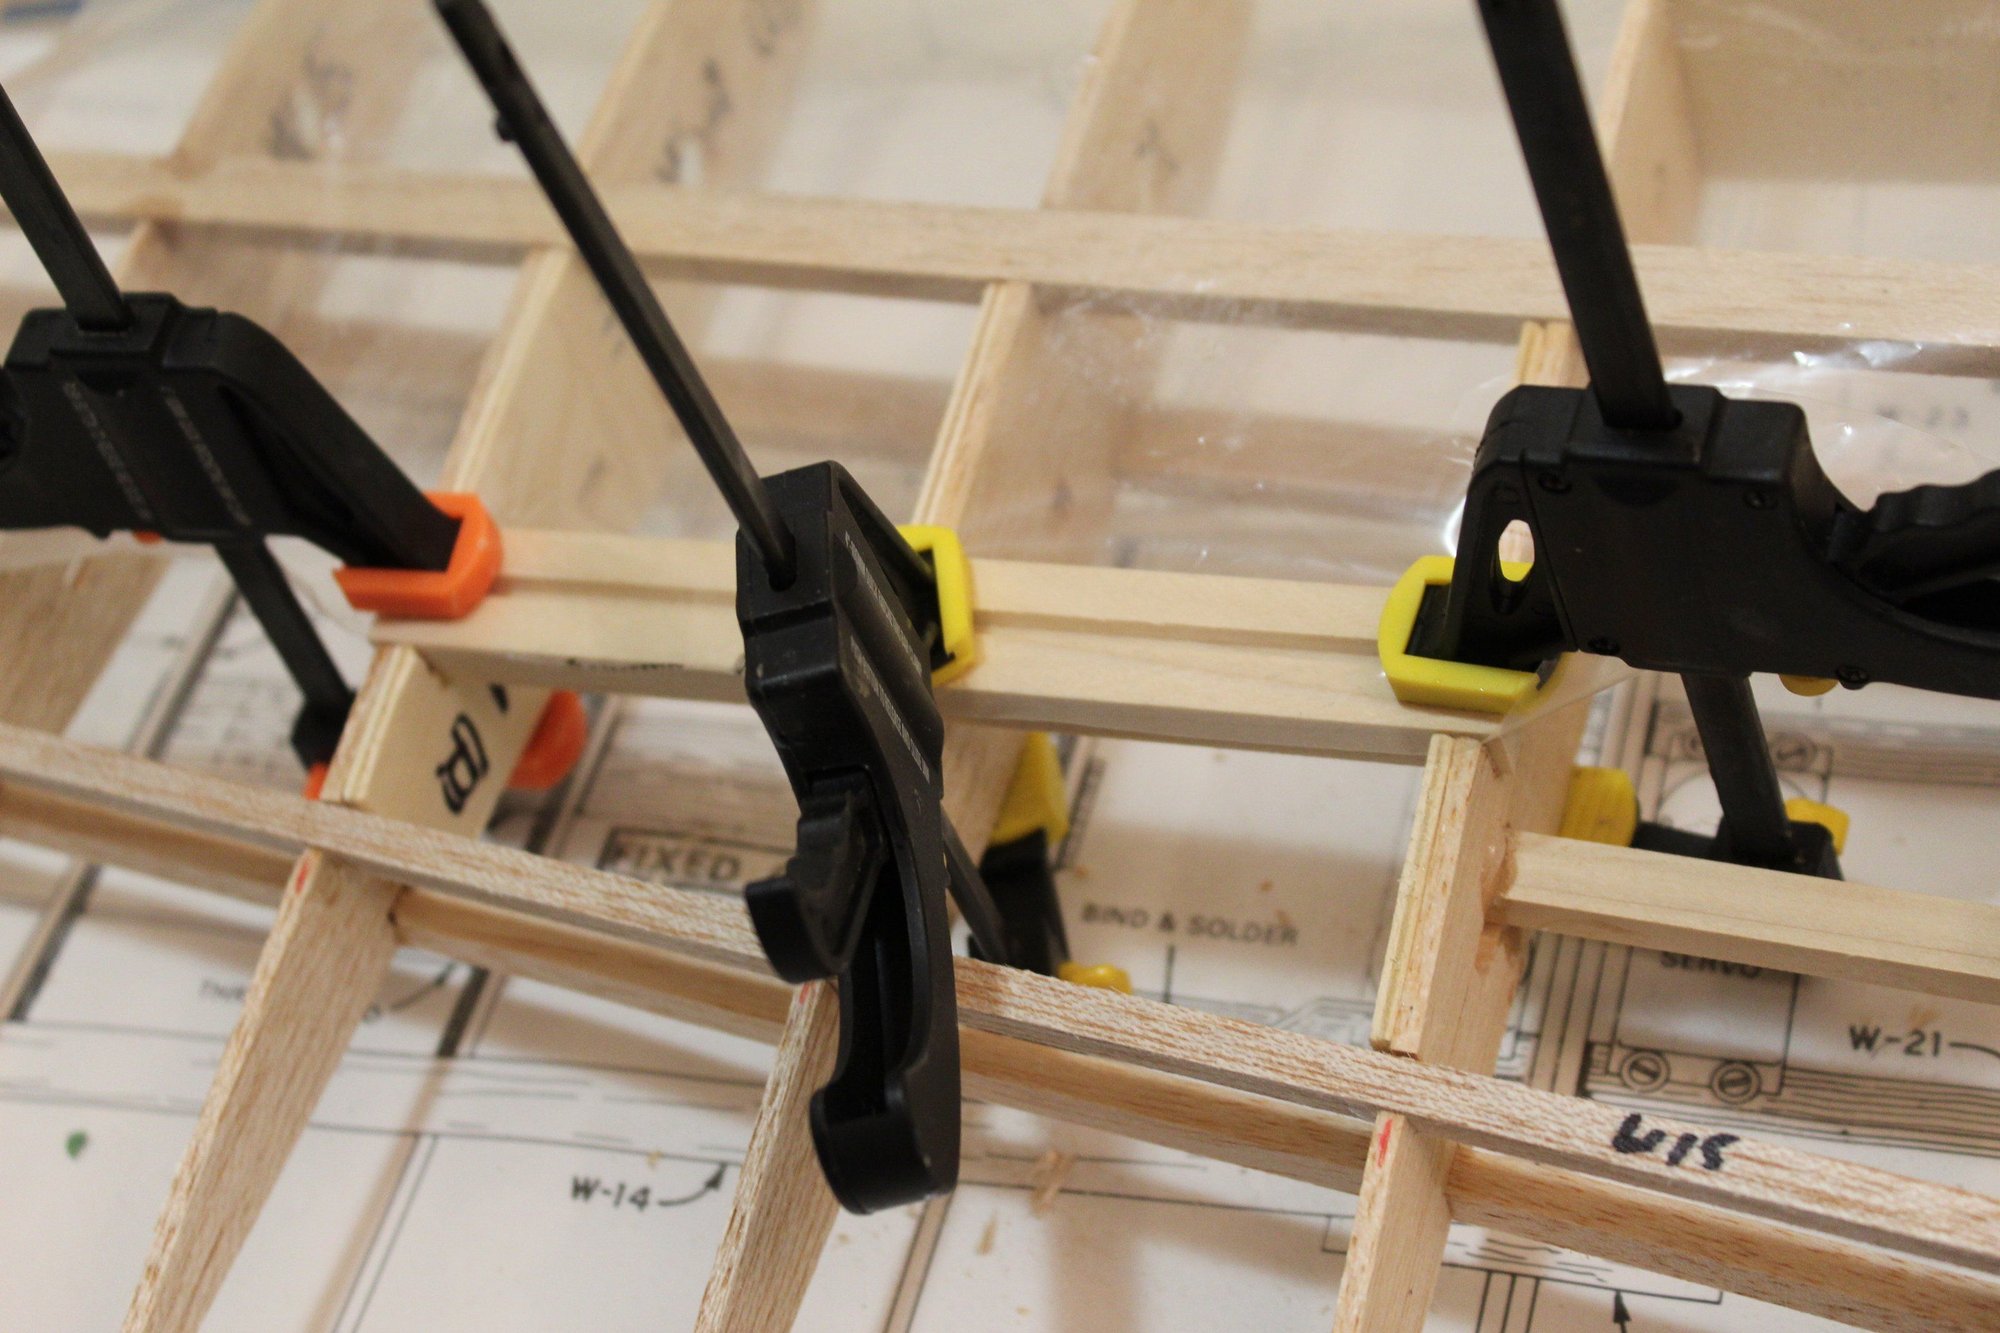
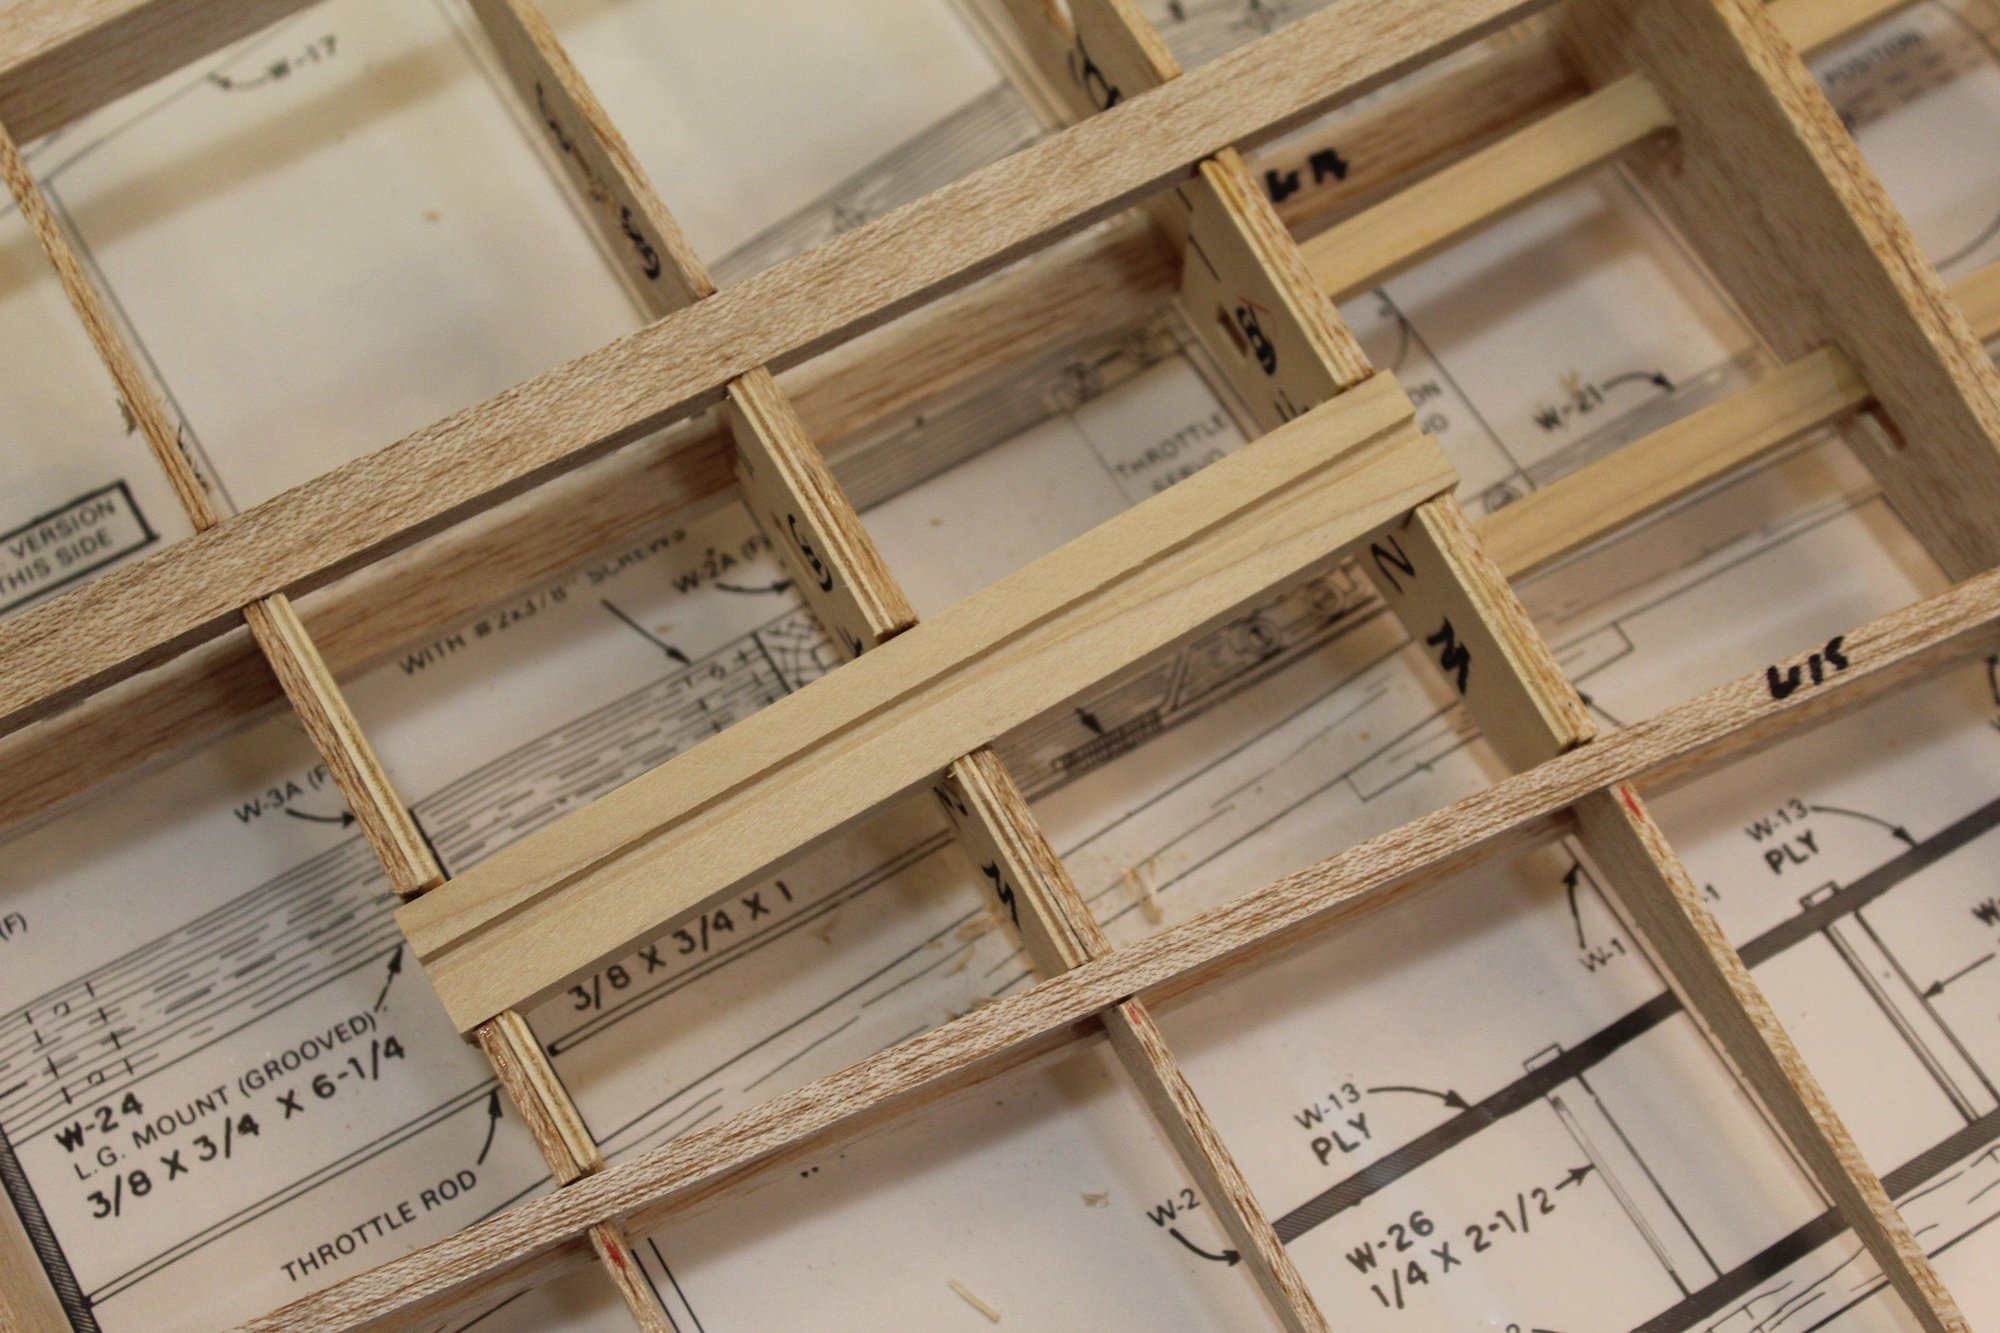
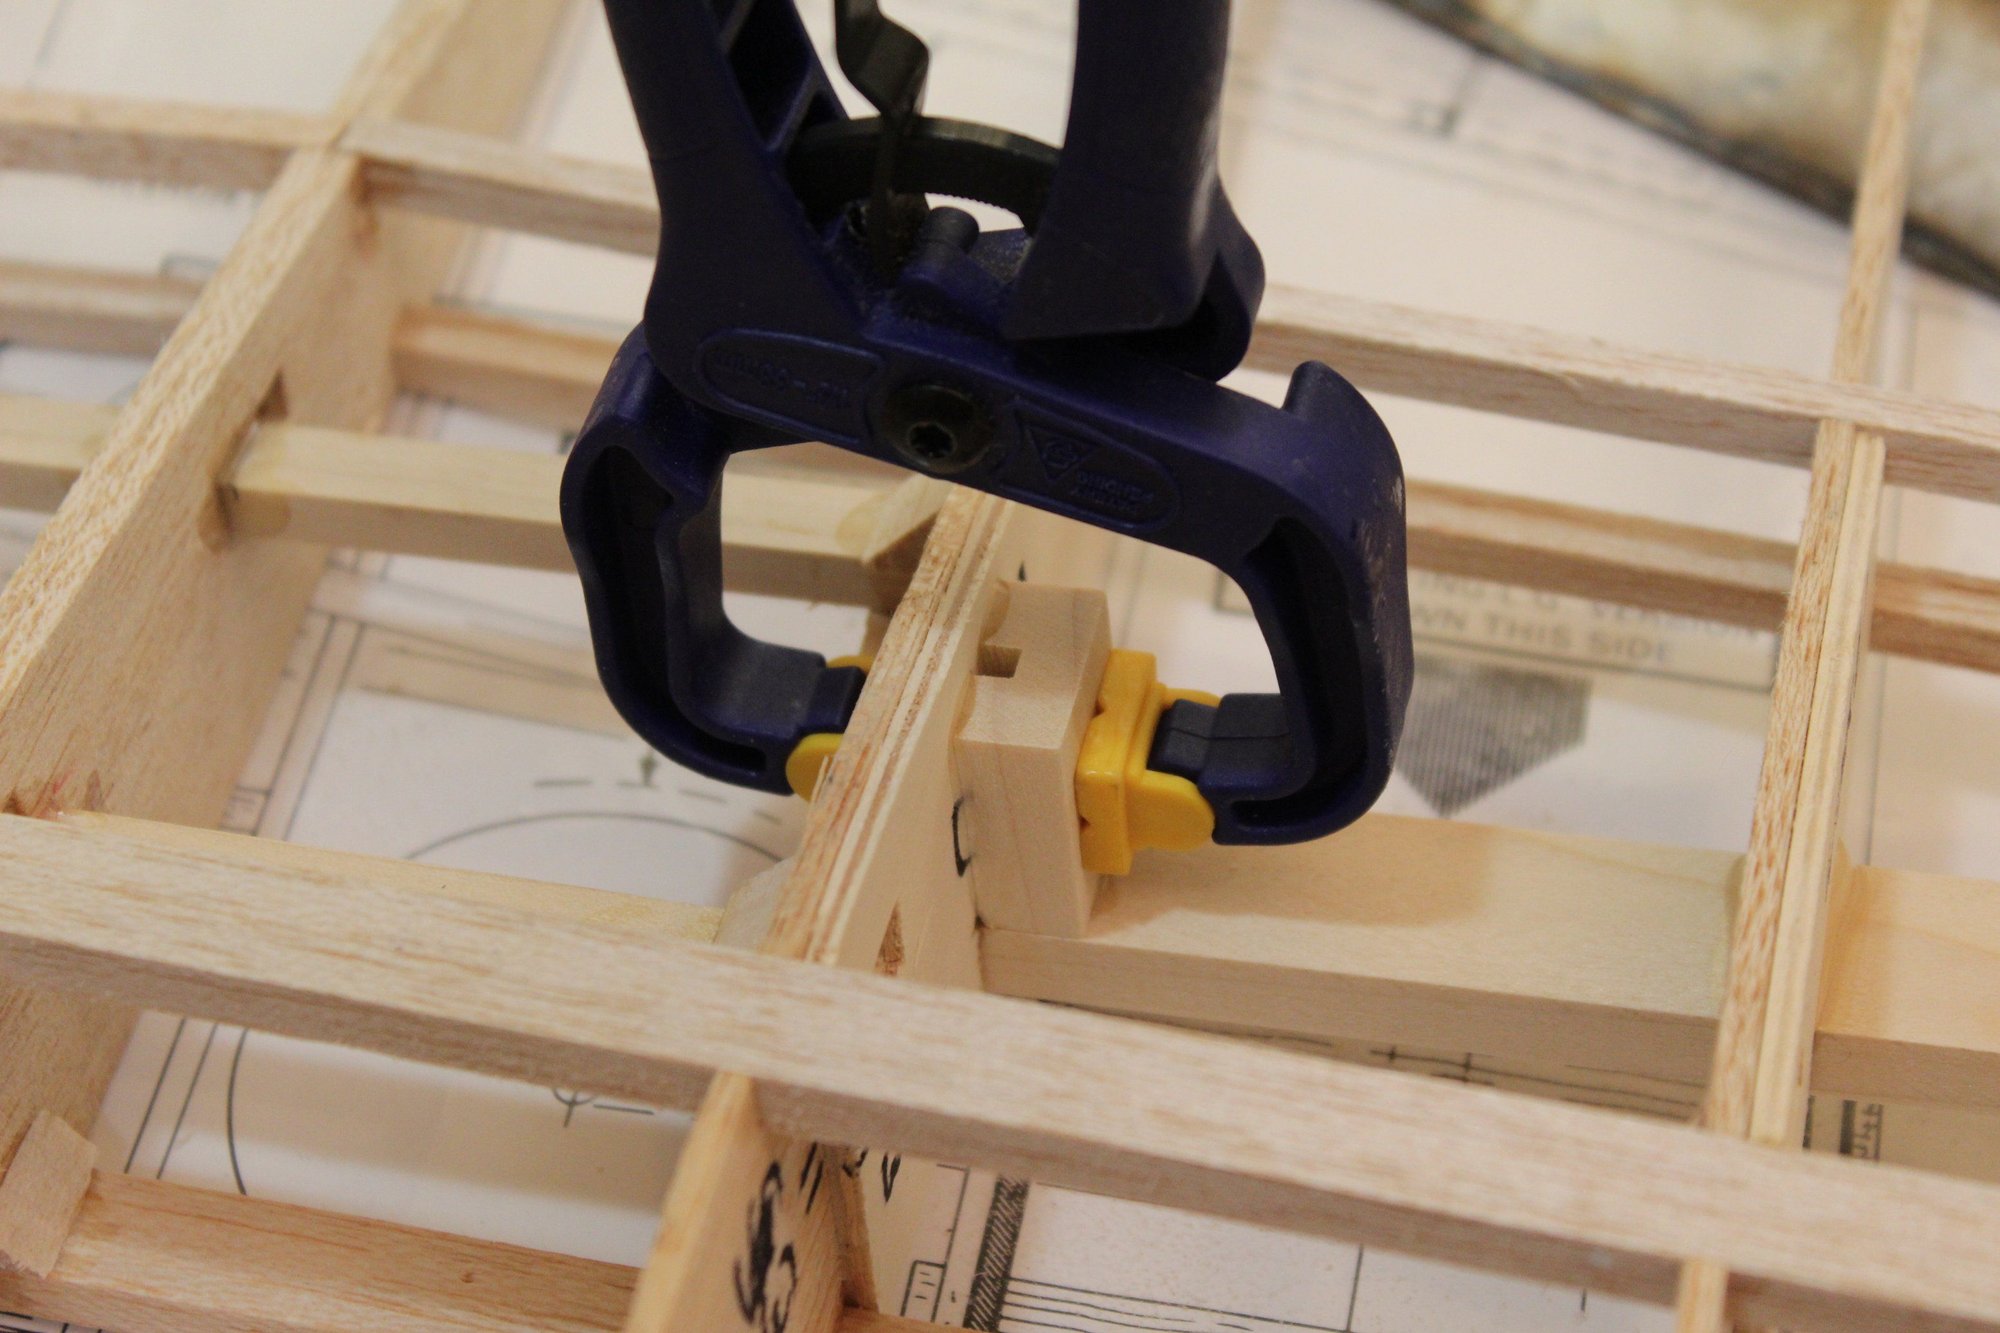
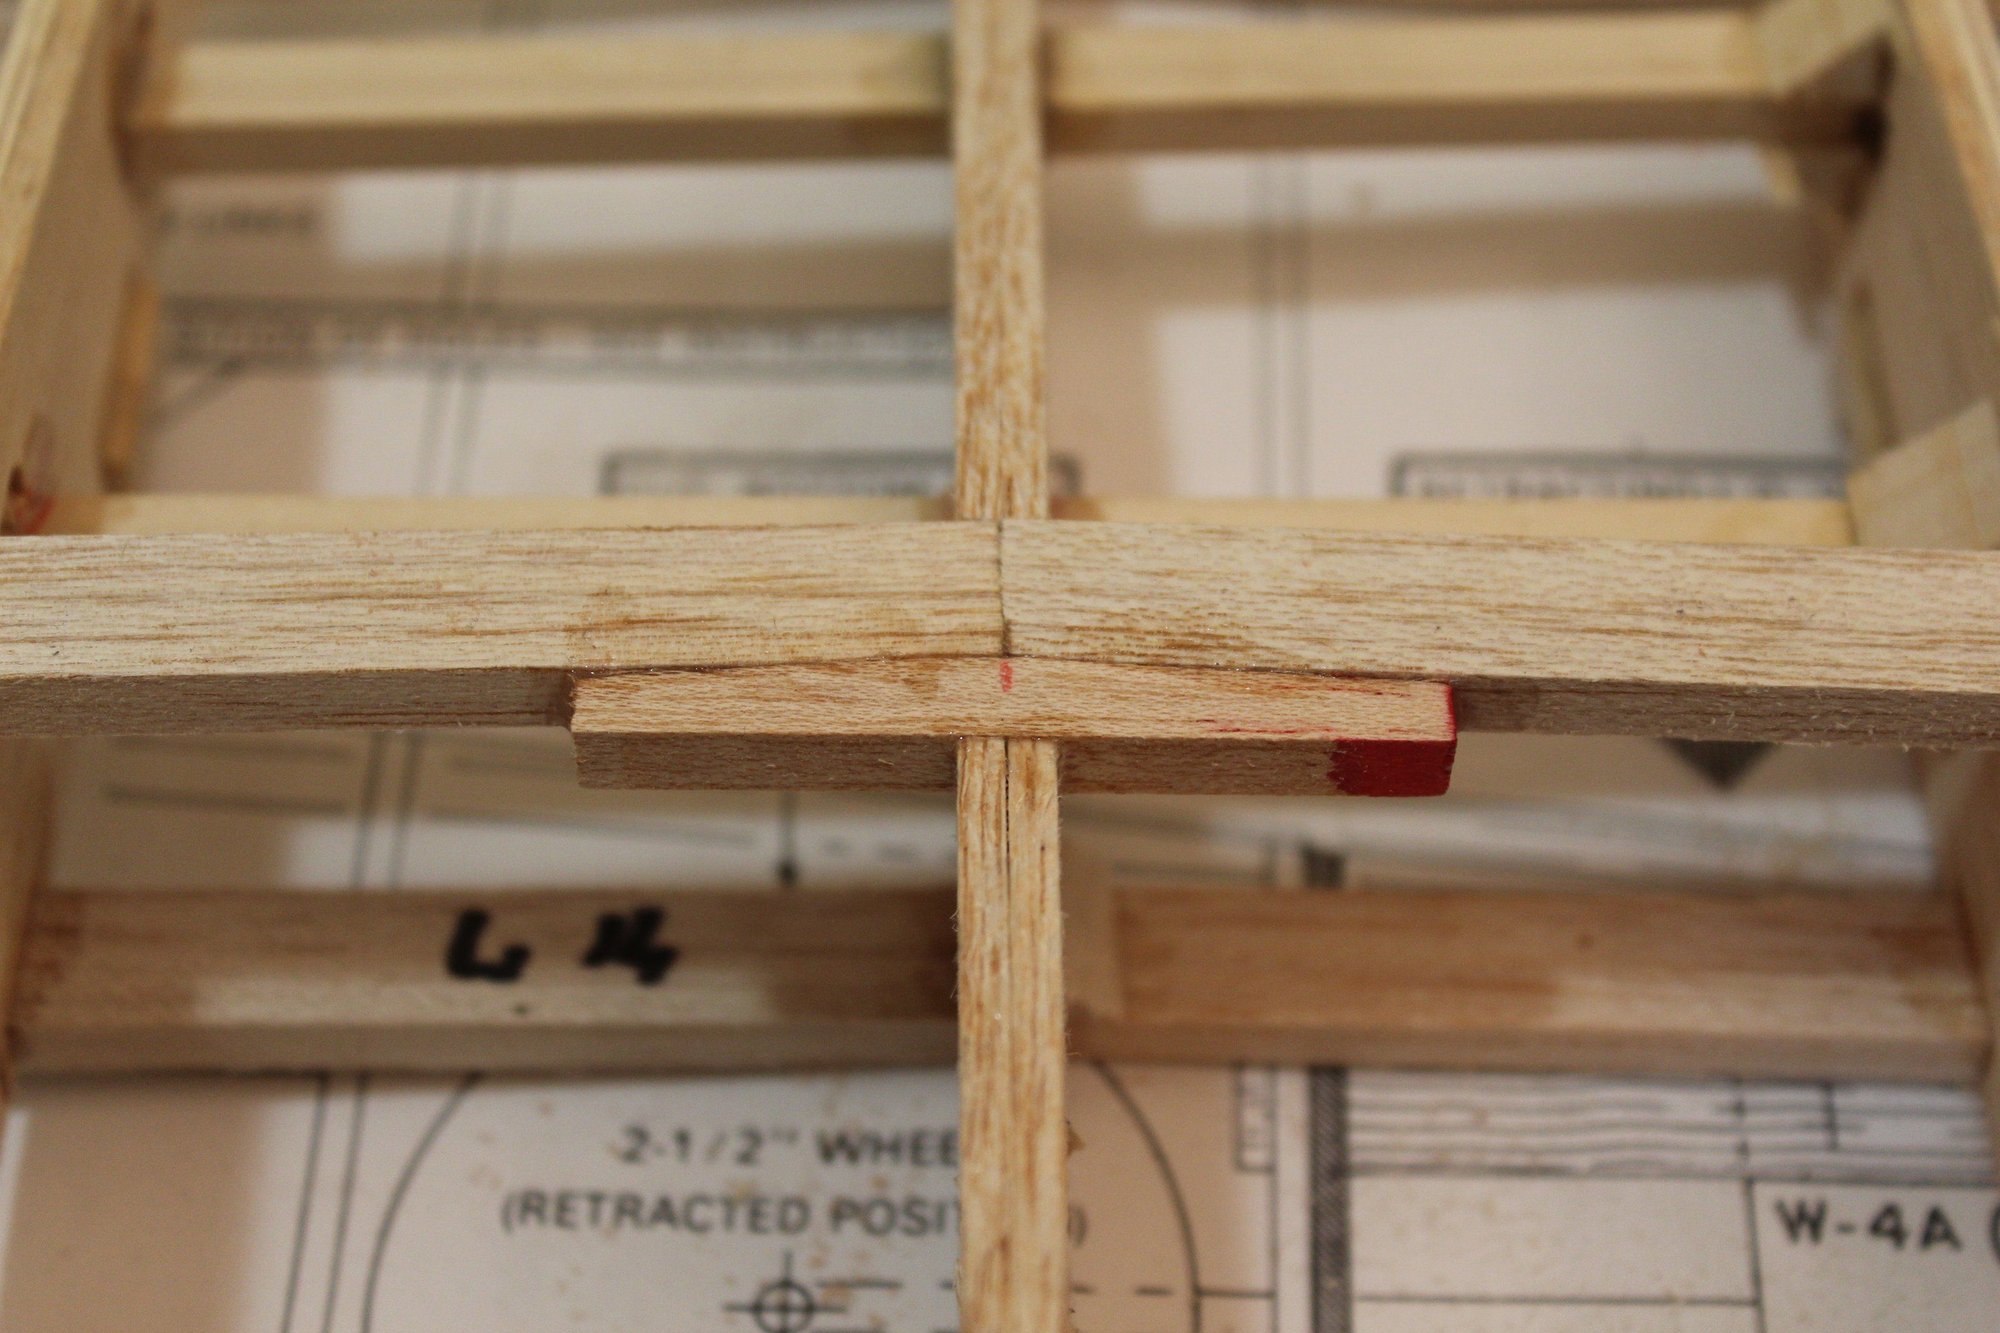
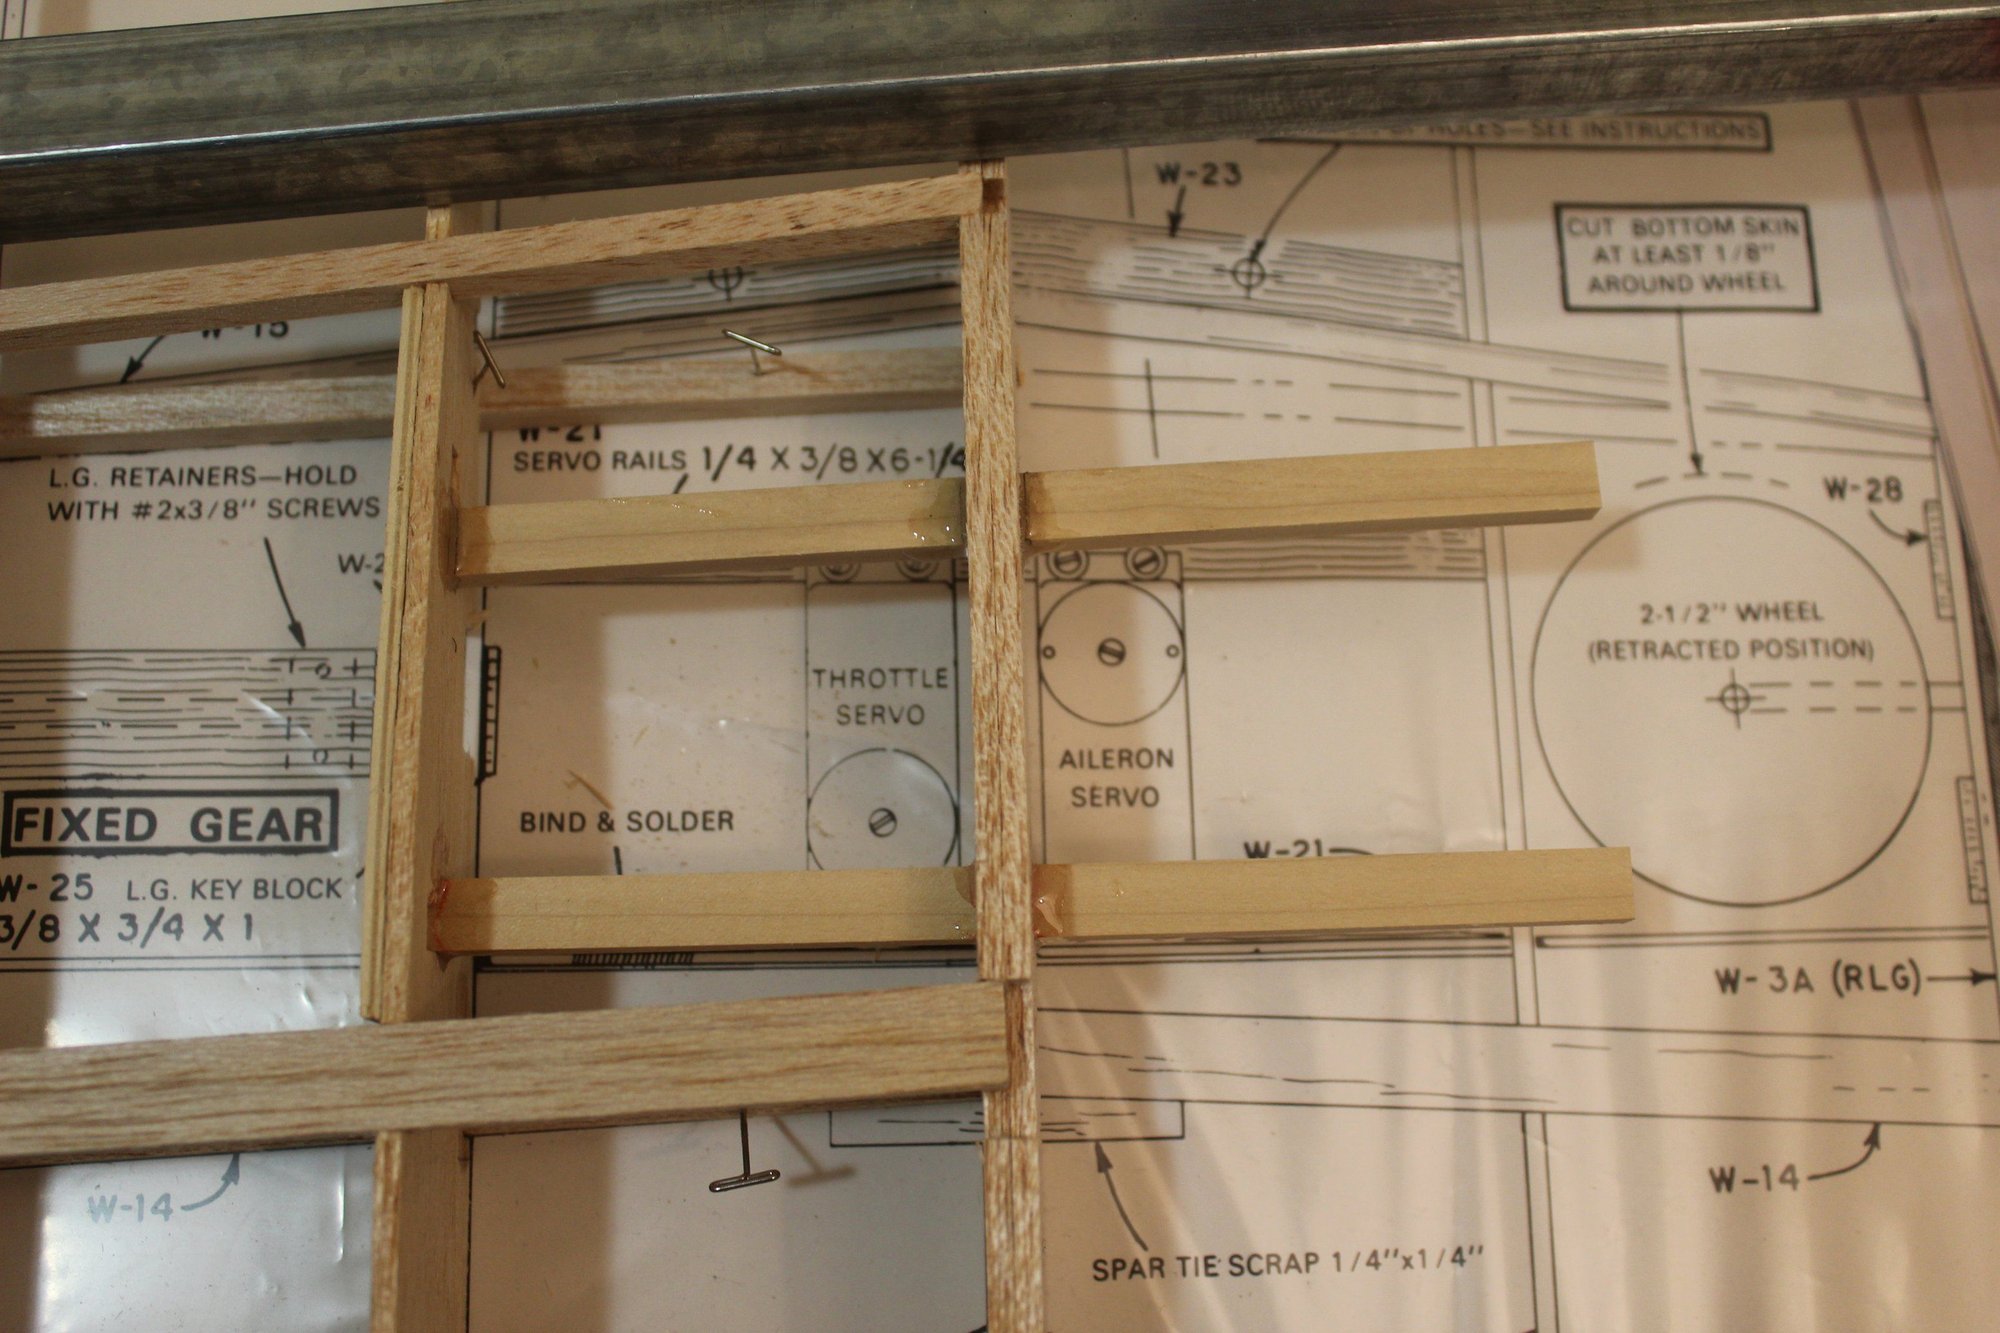
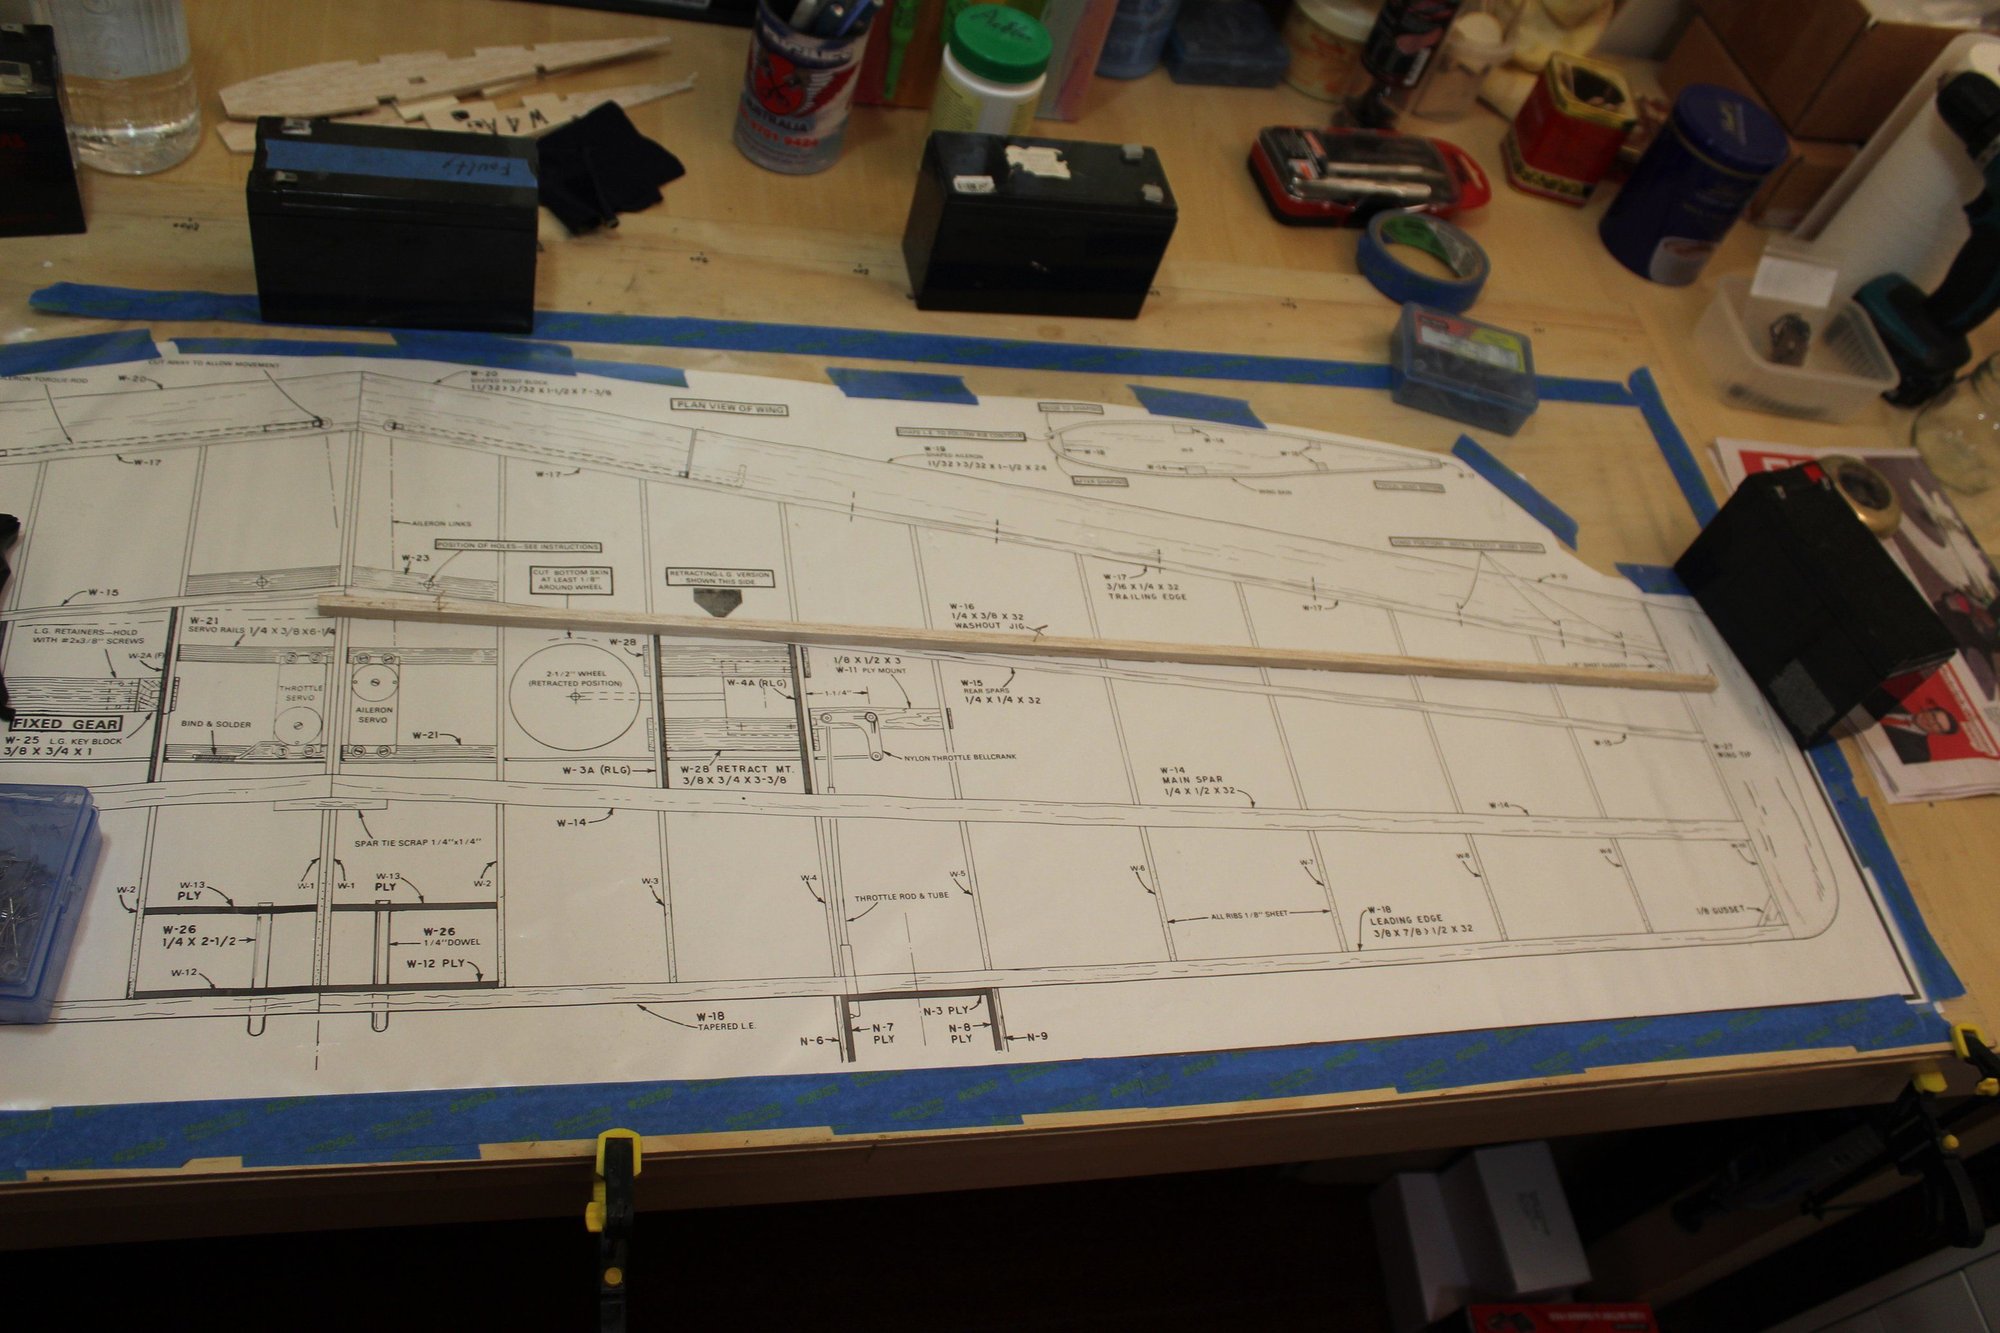
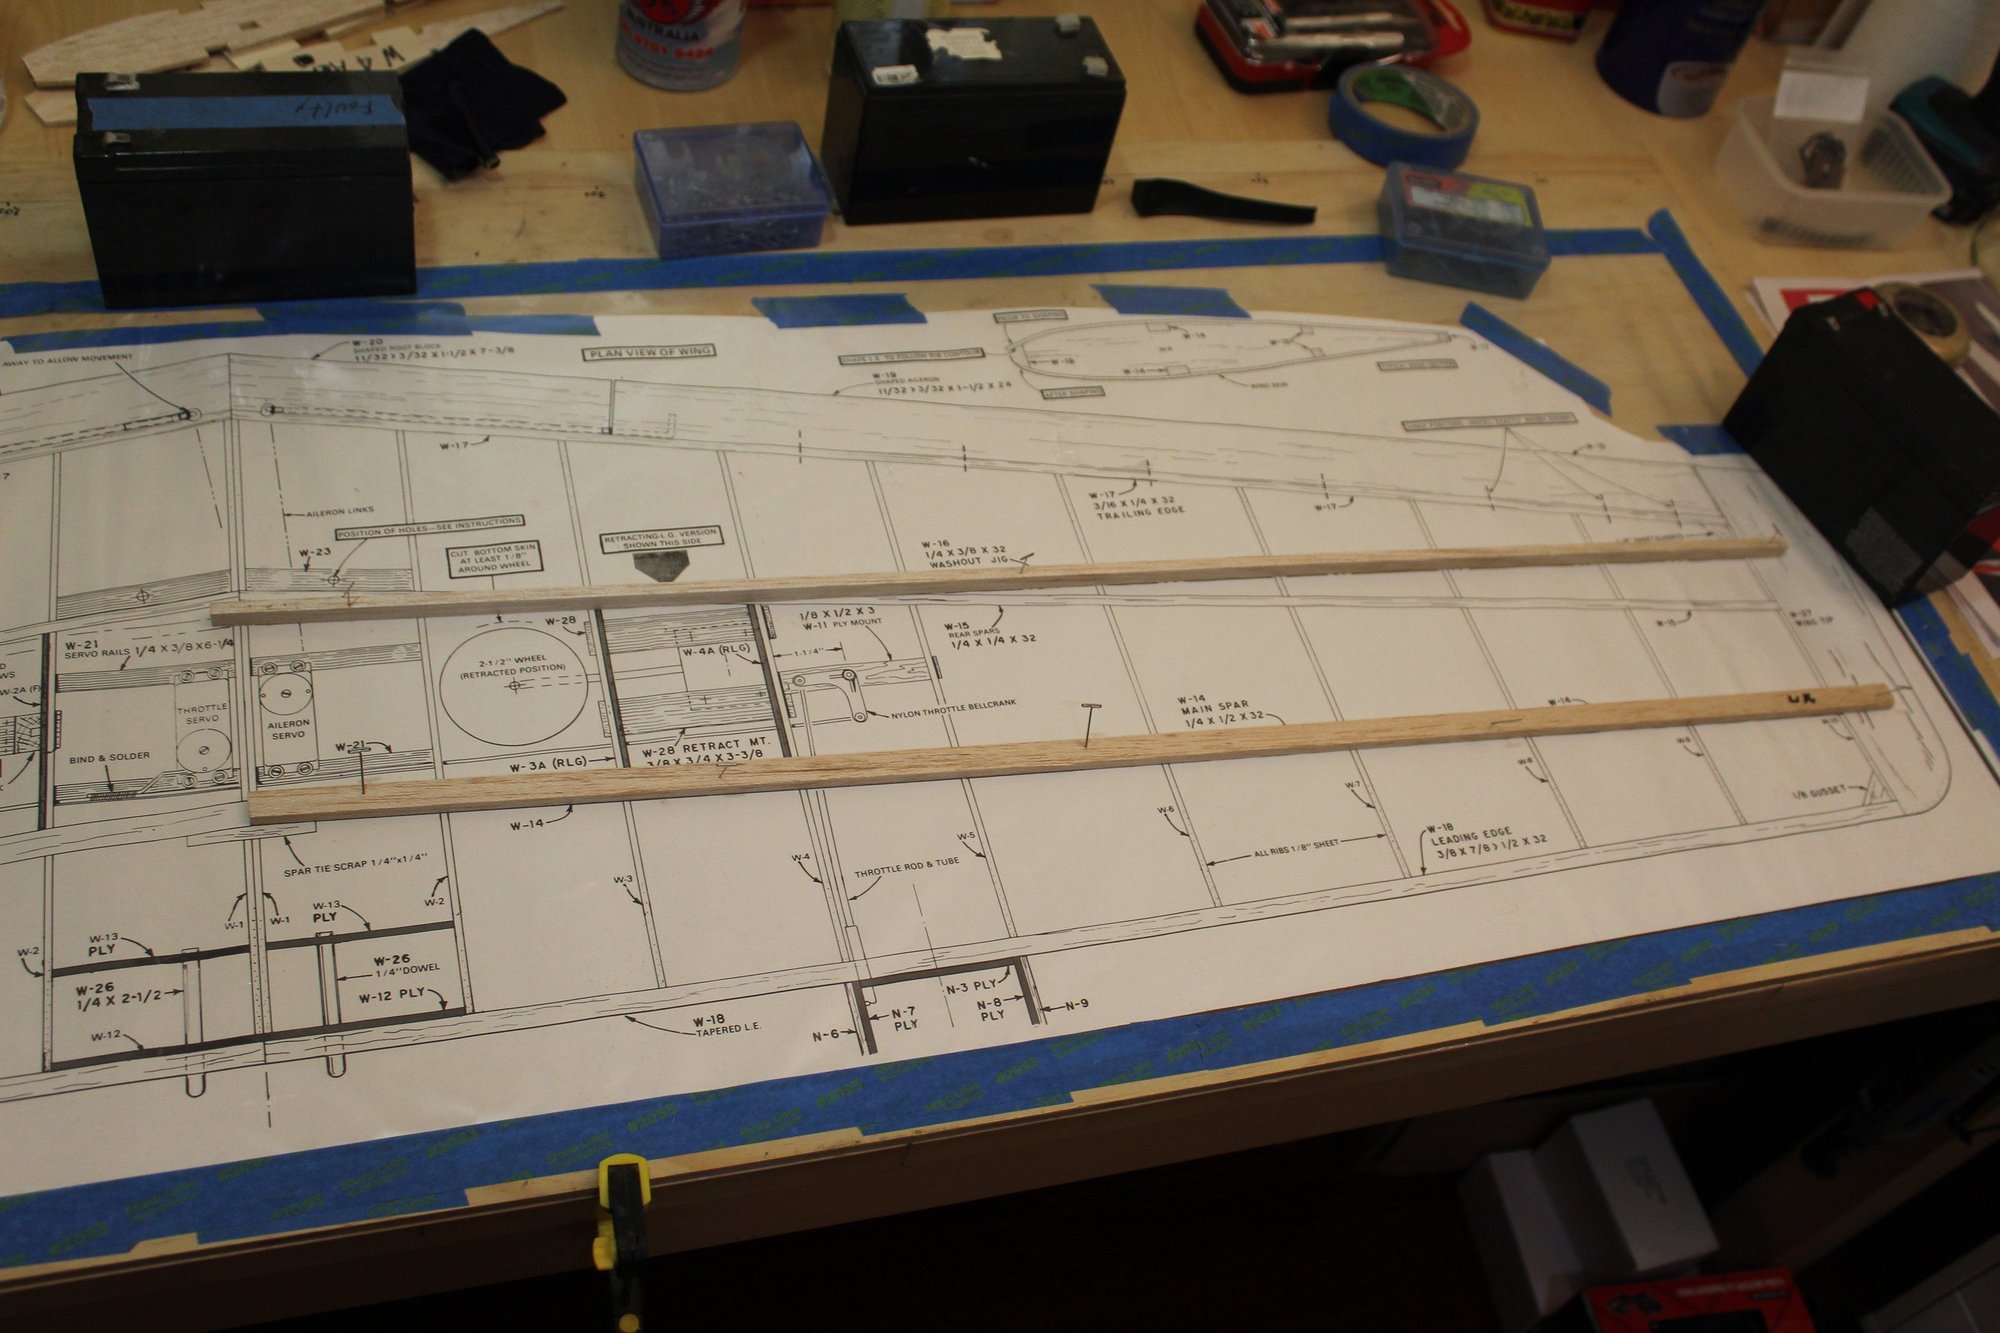
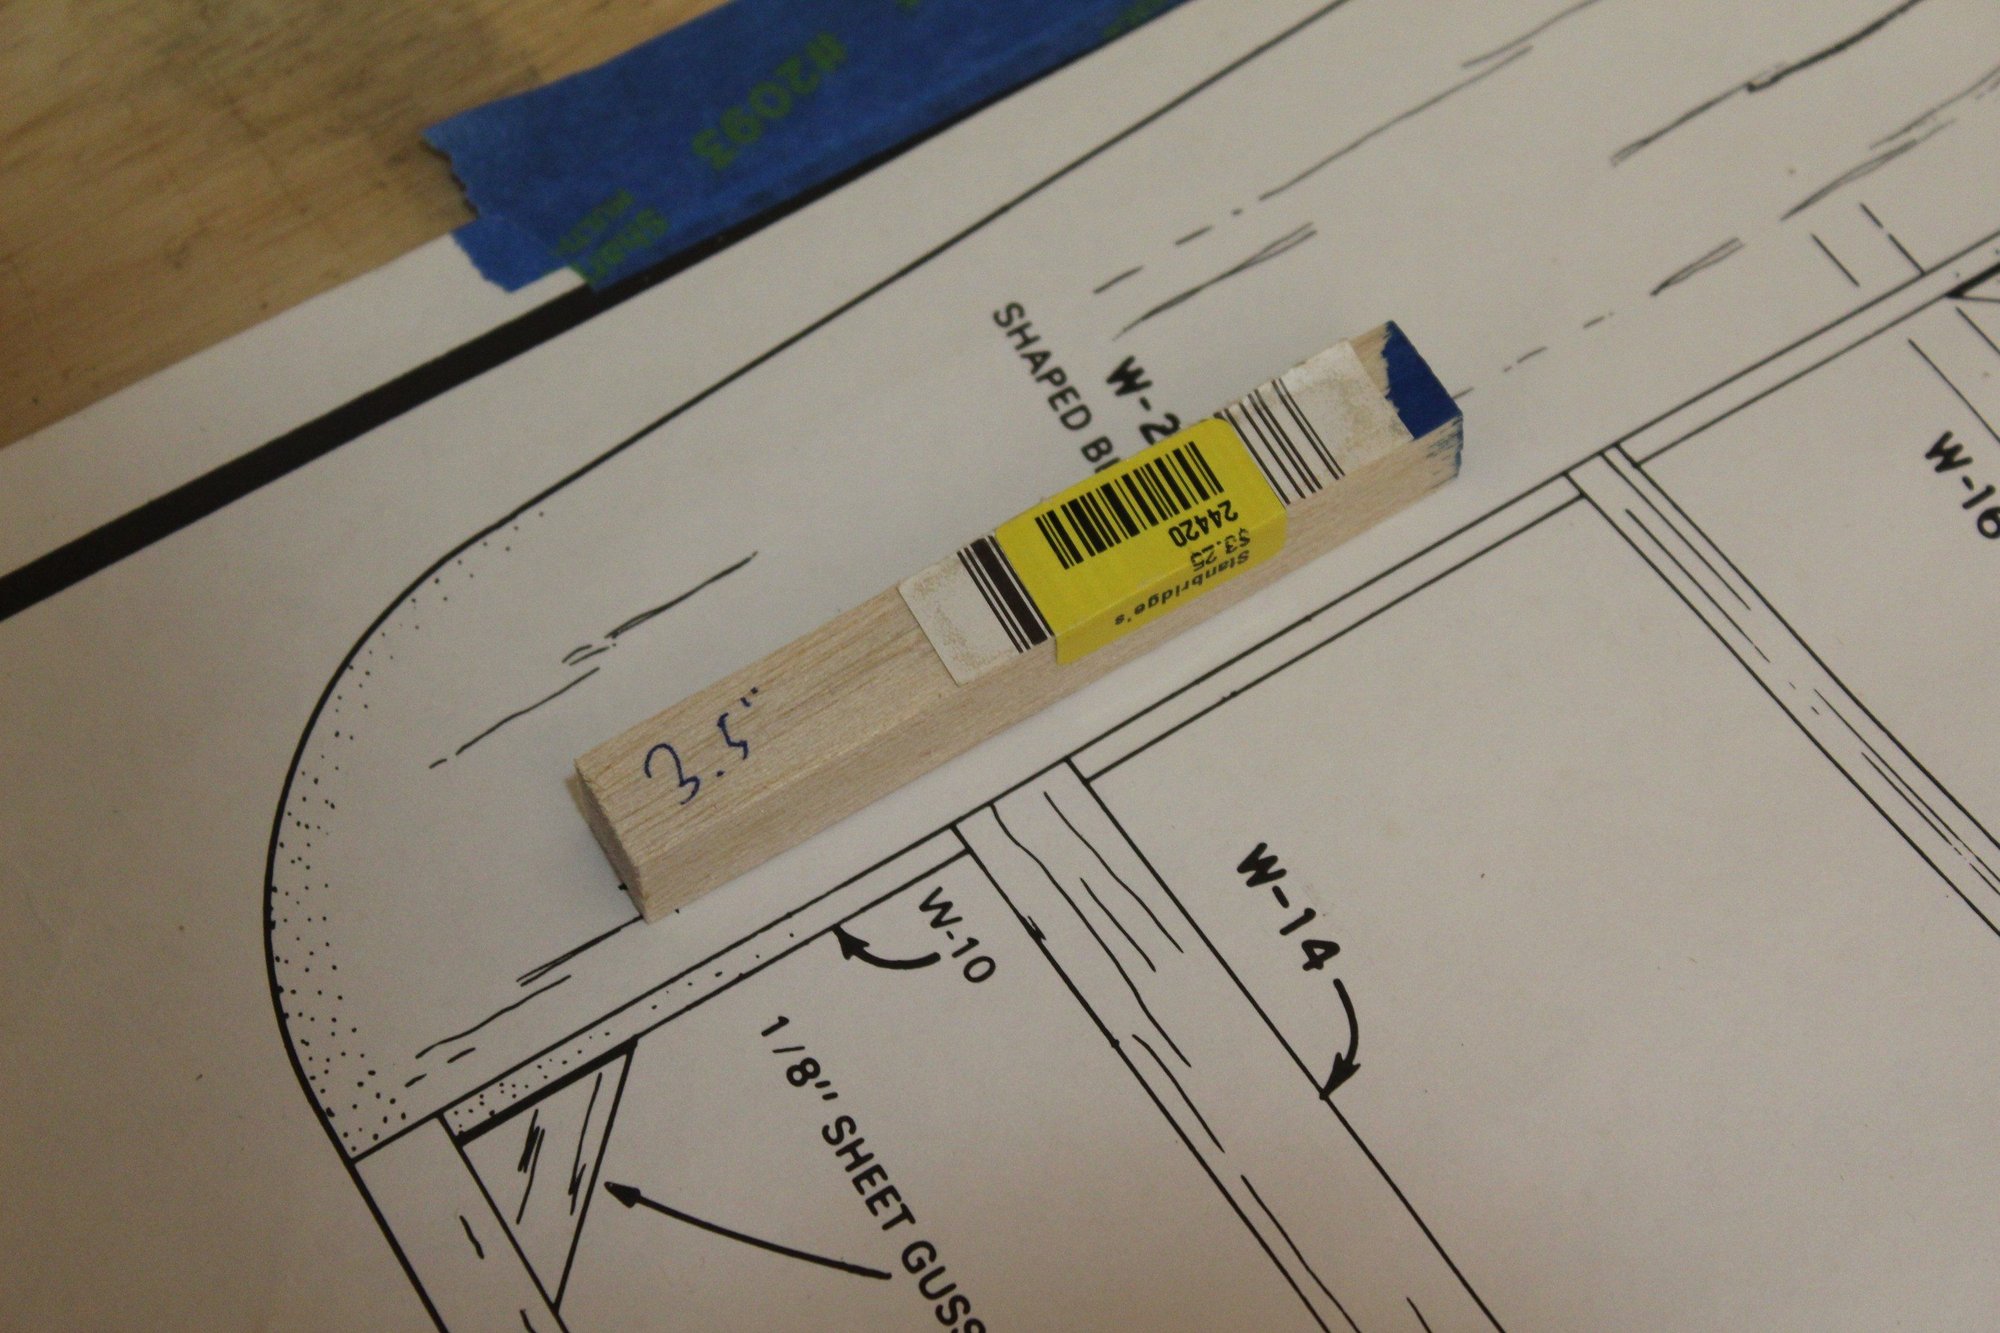
Gluing the center section servo rails that I am not planning on using as I think they add some strength to the center of the wing. With the right wing done, I started preparation for the left wing including the 3.5" dihedral support.
I also drilled a hole in the ribs W2 to W6 for servo wiring (and did the same in situ for the right wing).
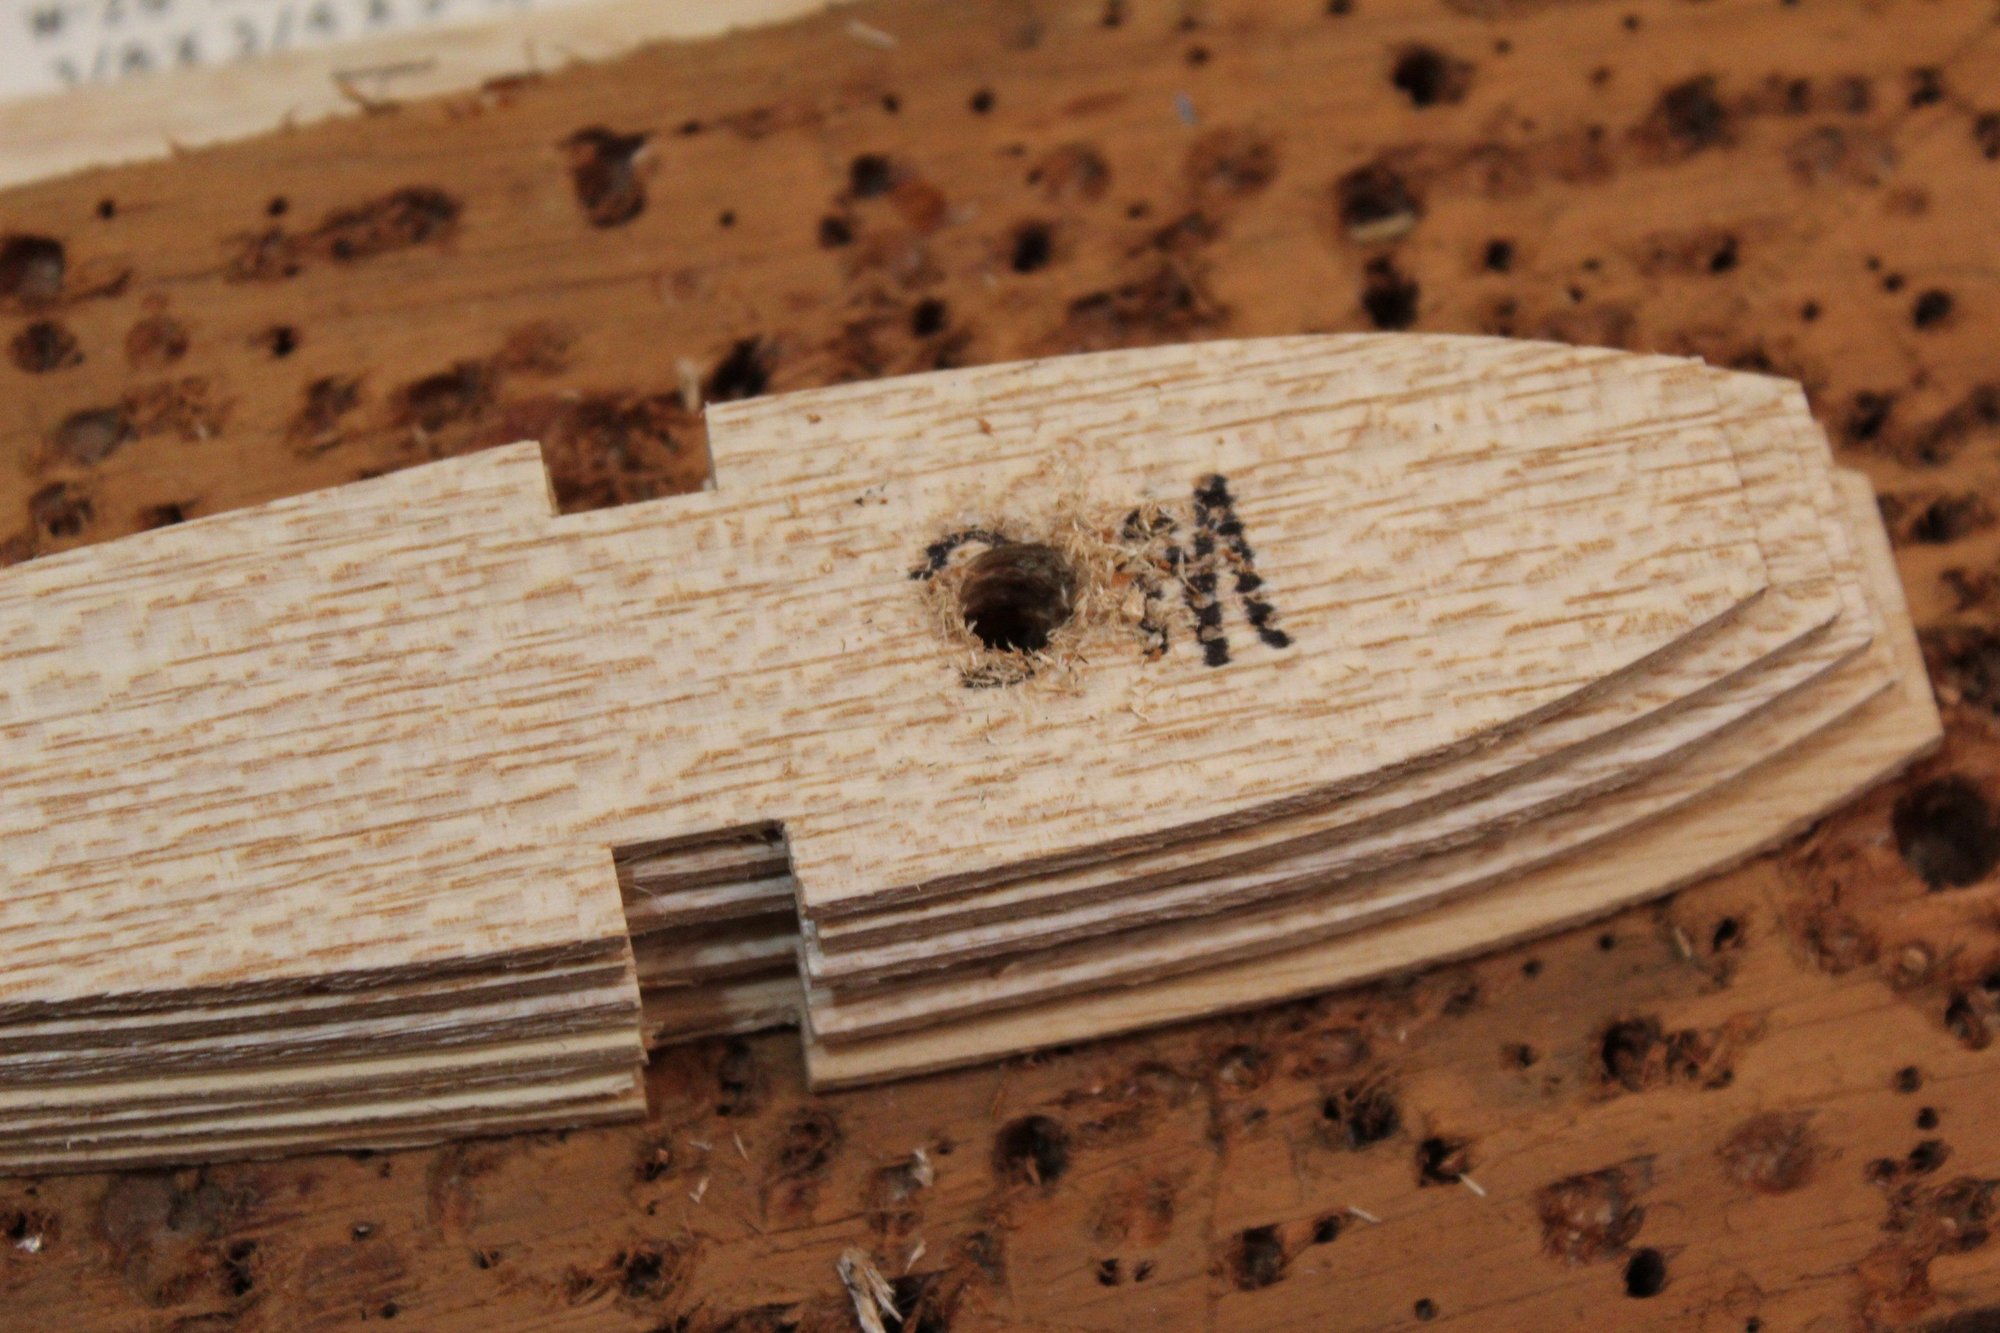
Cheers,
Eran
I also drilled a hole in the ribs W2 to W6 for servo wiring (and did the same in situ for the right wing).


Cheers,
Eran
#14

Thread Starter
Join Date: Jun 2008
Location: Perth WA, AUSTRALIA
Posts: 1,237
Likes: 0
Received 12 Likes
on
12 Posts
LuvBipes - Retirement, this is something to look forward to. I hope that this build may be helpful in some way (even if by motivating to start the Duellist build : ) ).
Cheers,
Eran
Cheers,
Eran
#17

Thread Starter
Join Date: Jun 2008
Location: Perth WA, AUSTRALIA
Posts: 1,237
Likes: 0
Received 12 Likes
on
12 Posts
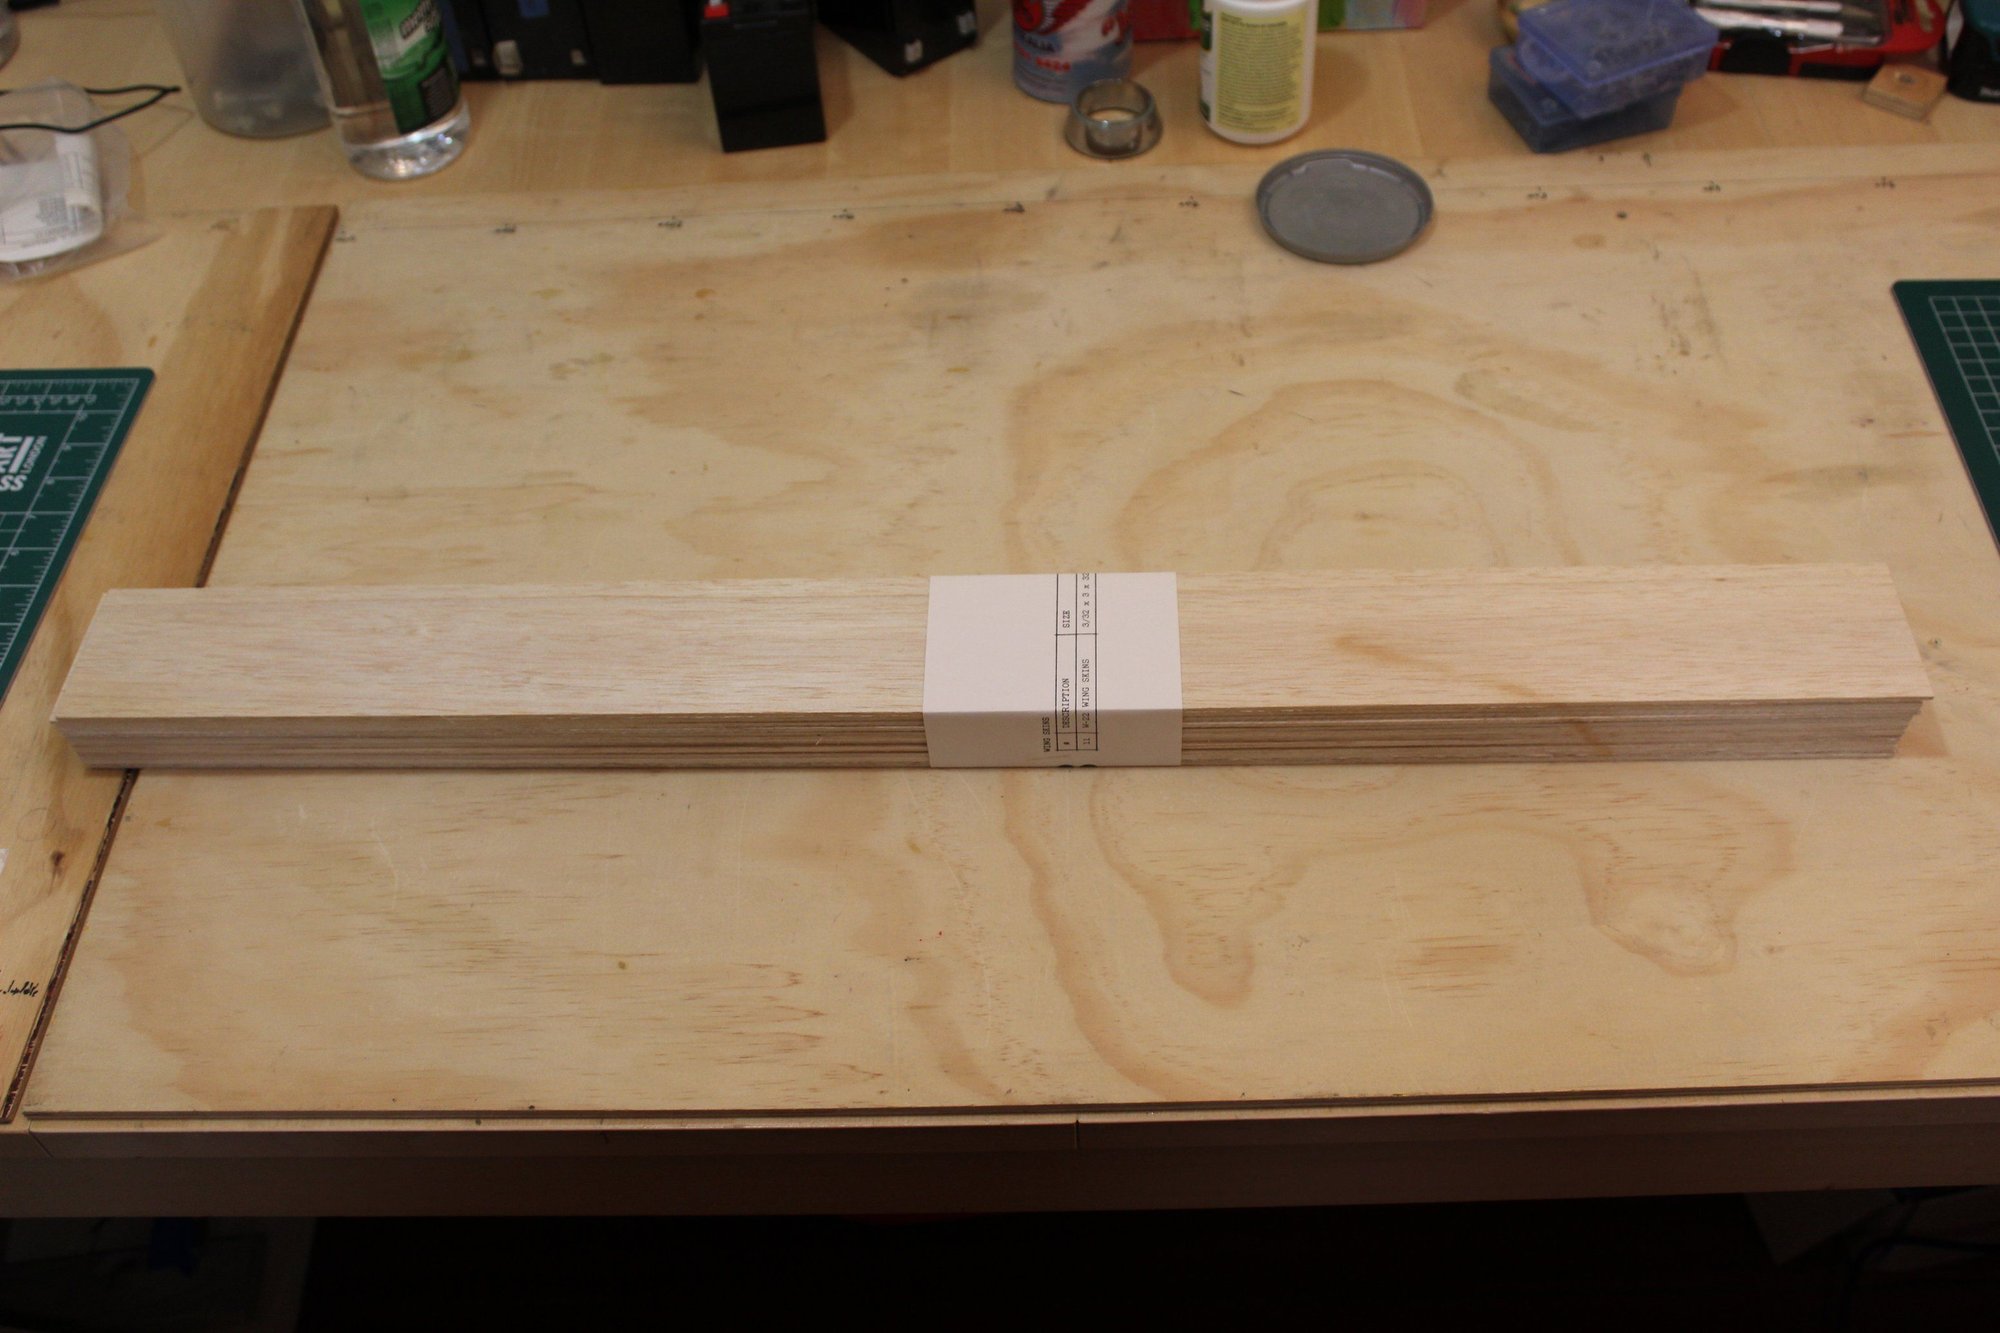
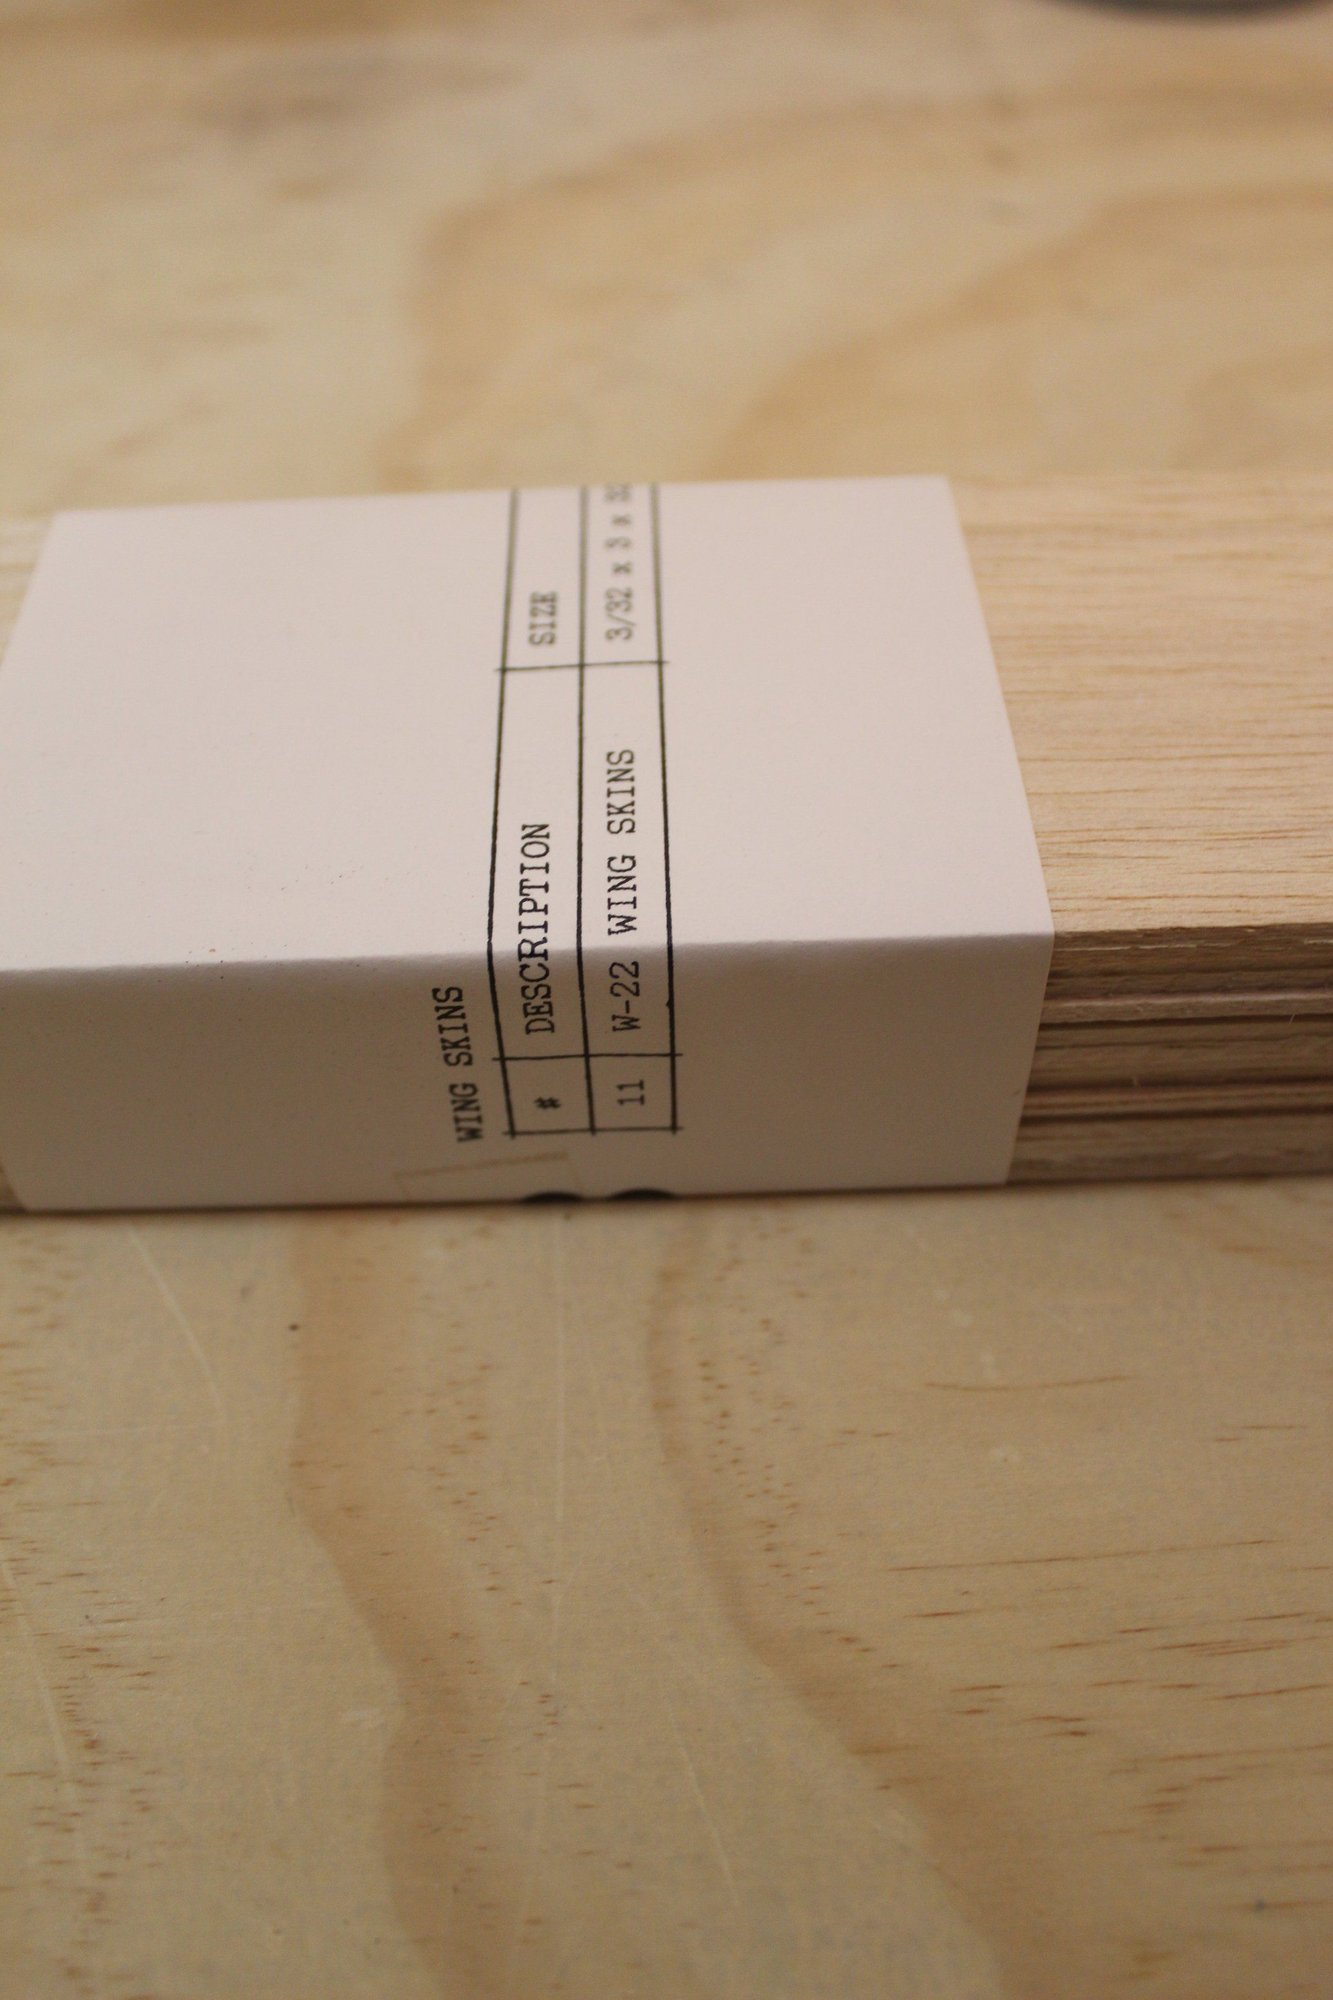
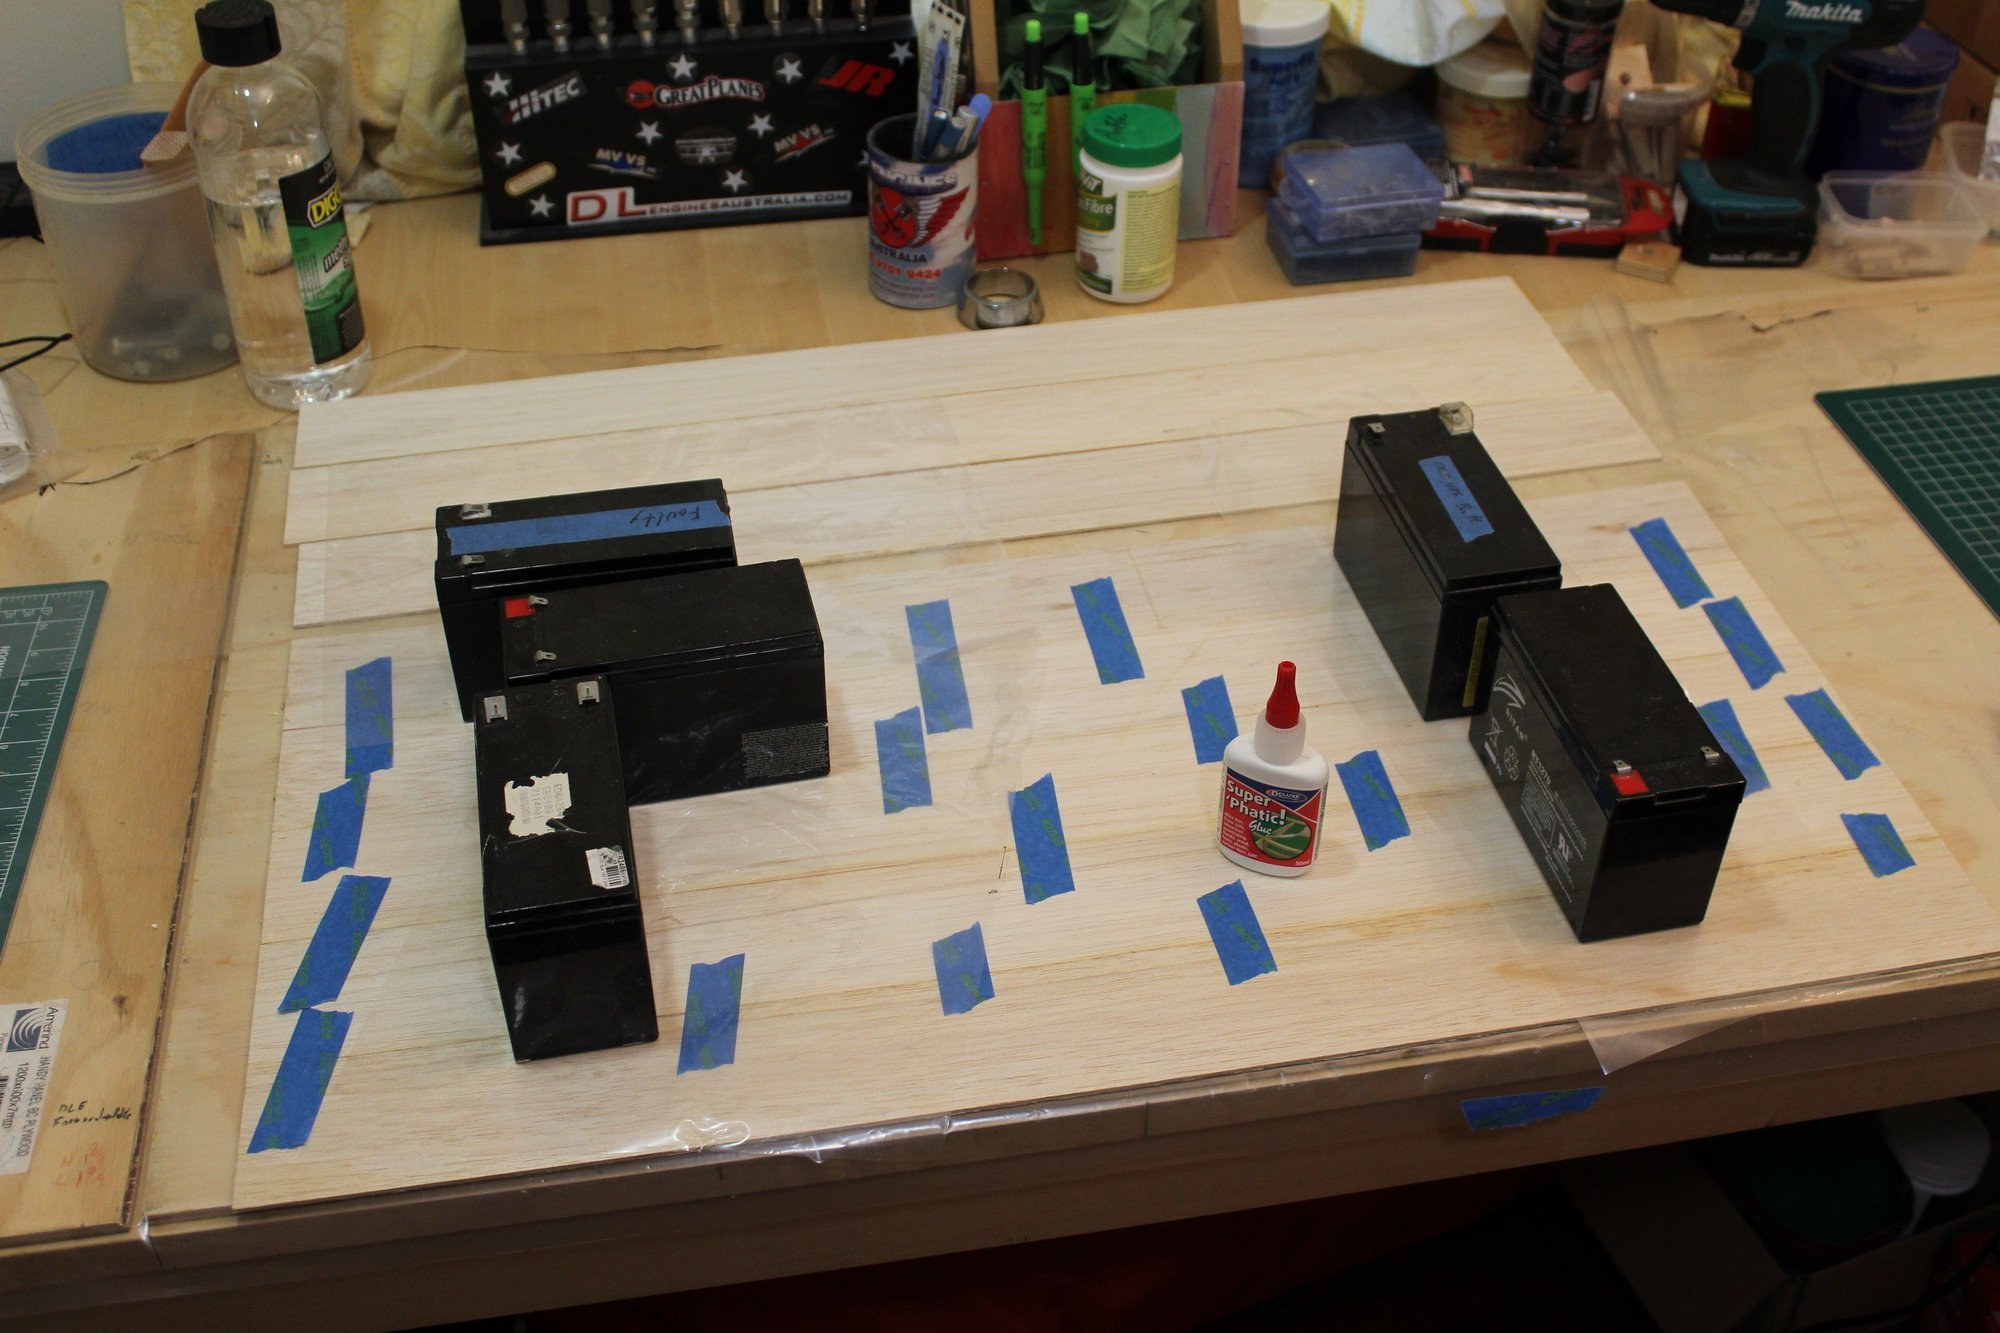
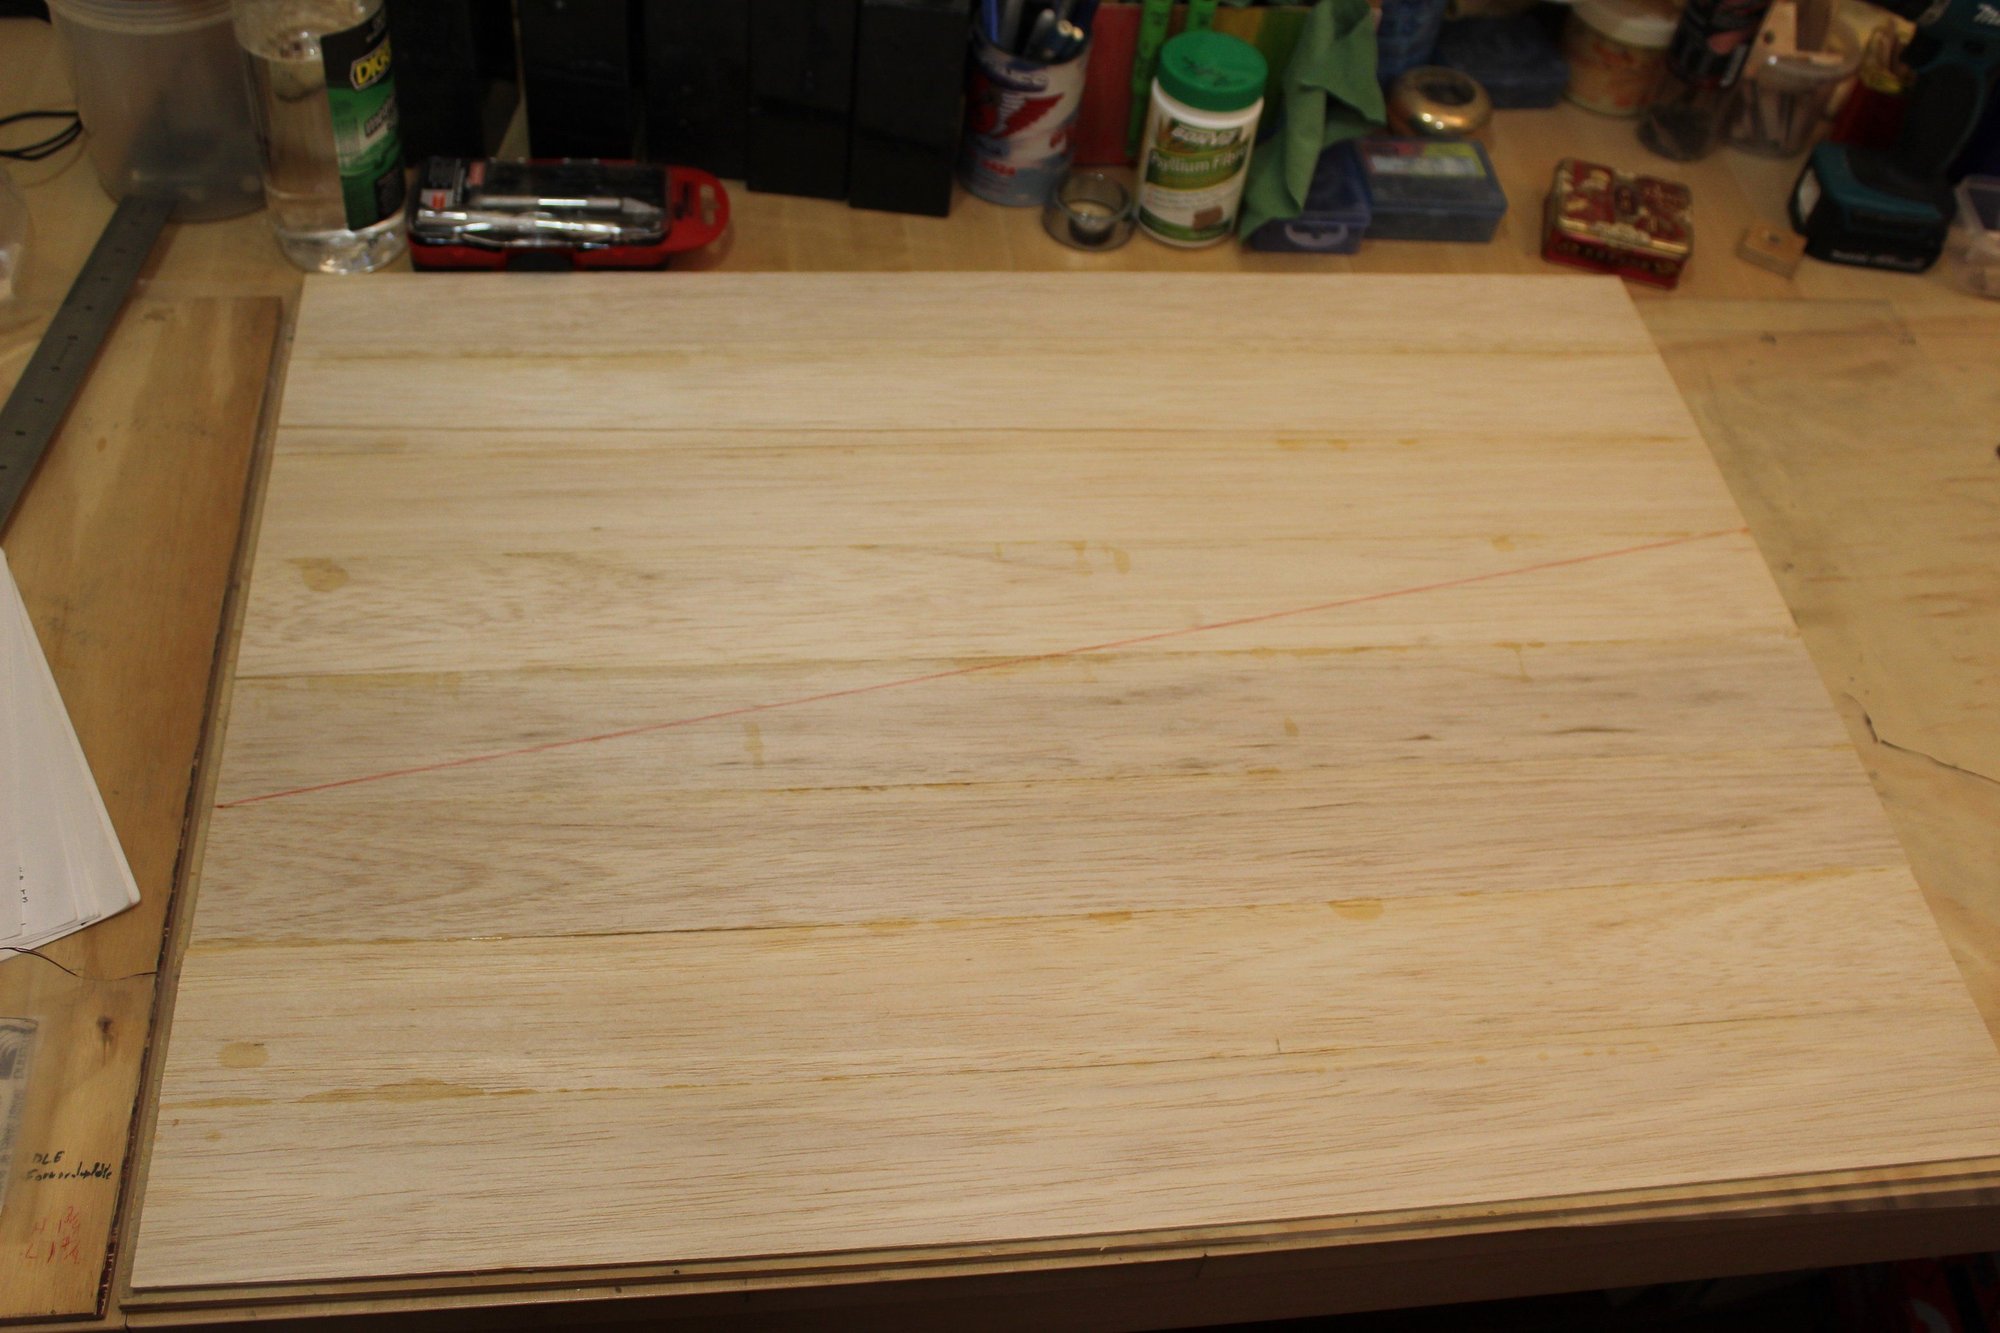
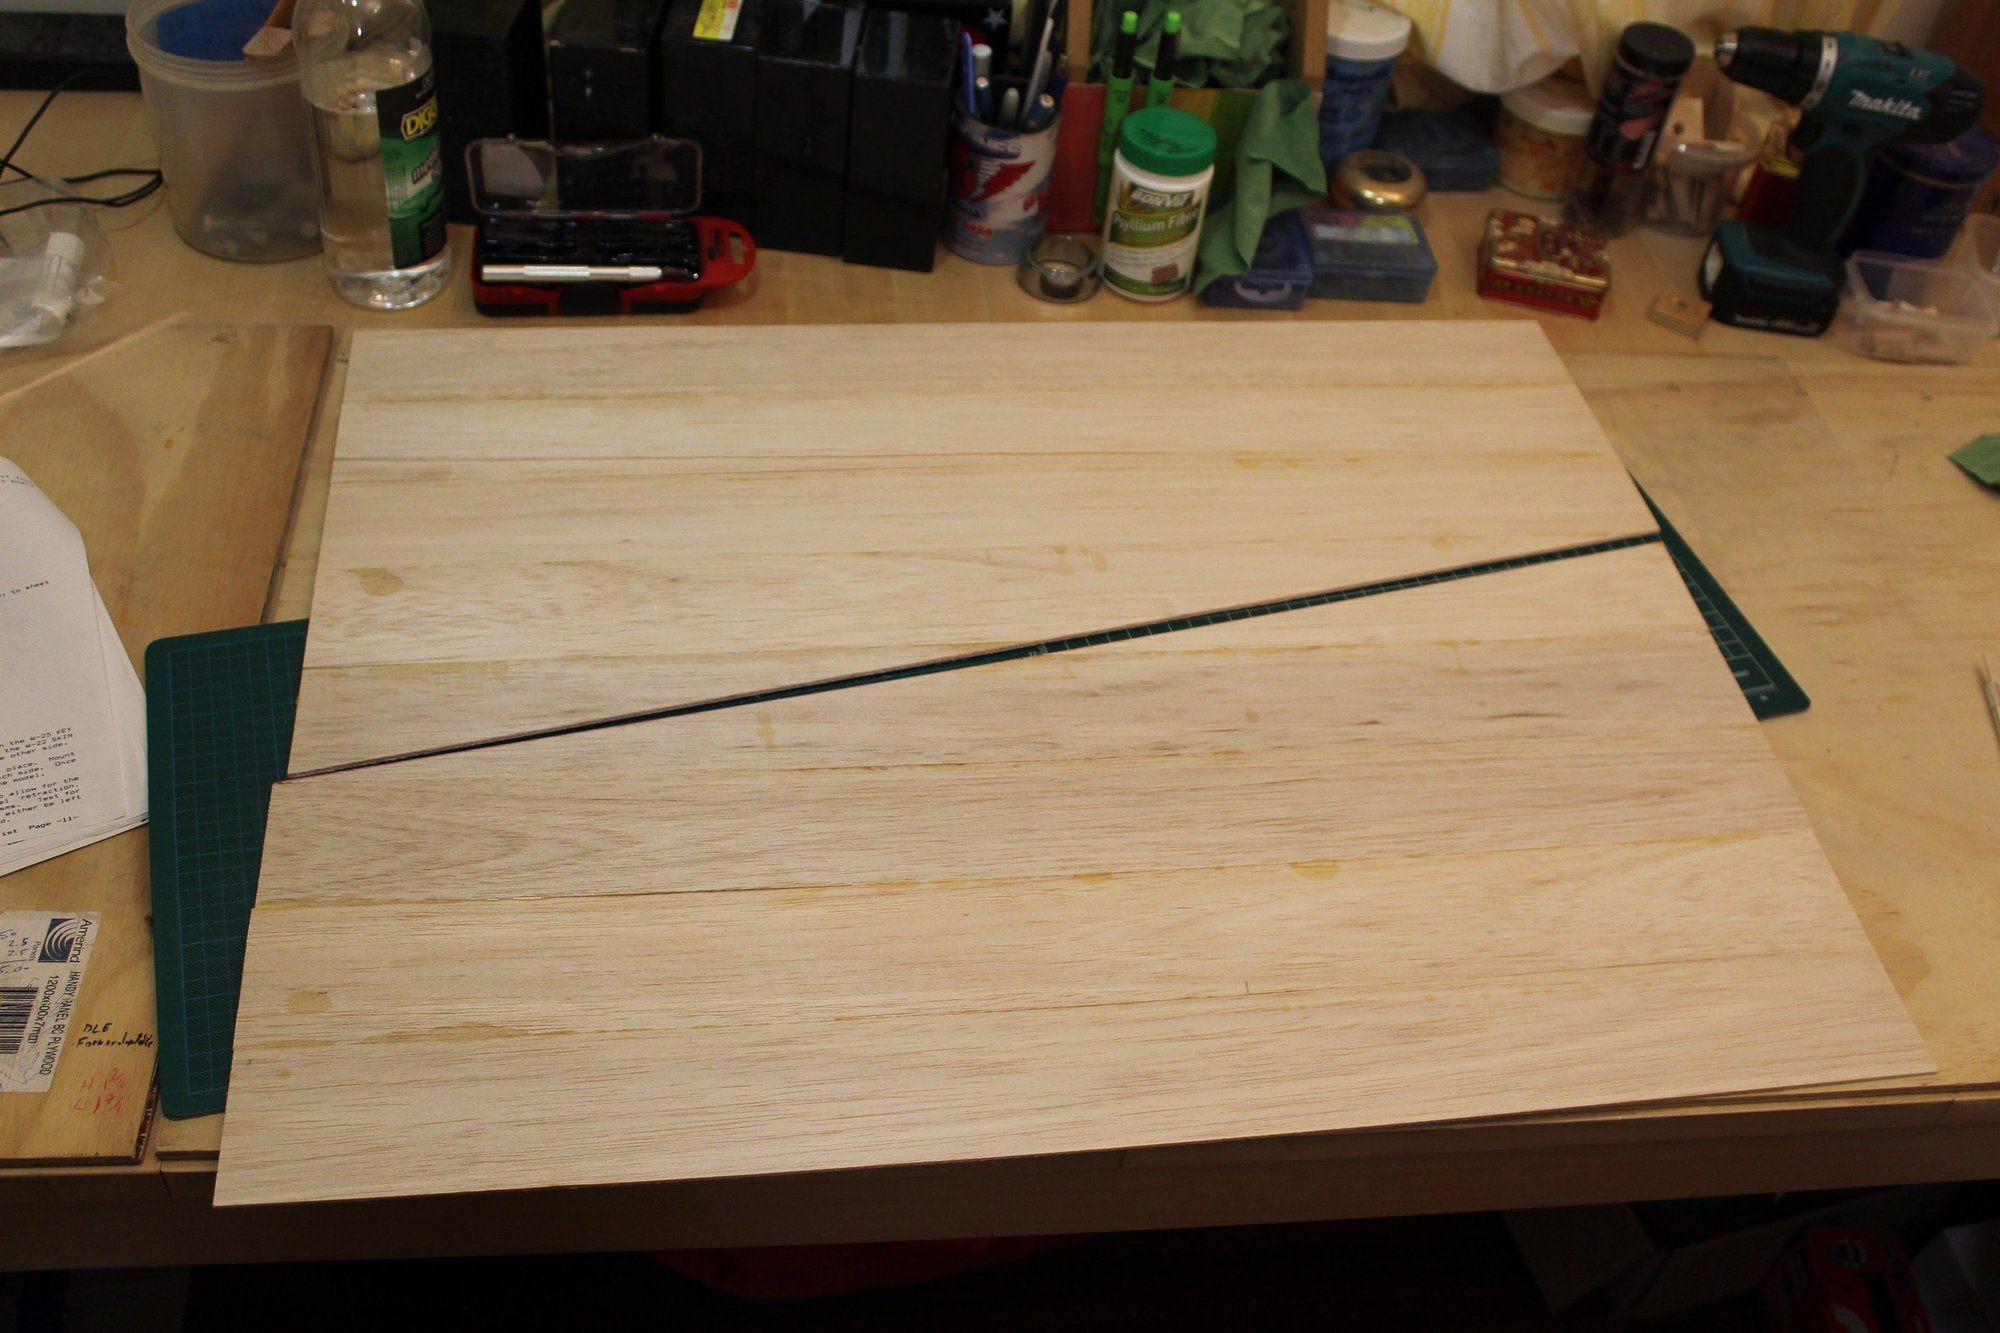
Preparing the wing sheeting. I decided to try using the Deluxe Materials Super Phatic to join the balsa sheets. It worth mentioning that the sheets supplied are some of the stiffest / hardest sheets of balsa I have ever seen. Bending these will be interesting... However, there was no suitable softer grade balsa sheets at the hobby shops, so I will use the sheets that were supplied with this kit.

Cheers,
Eran


Cheers,
Eran
#18
I recall seeing one of these fly with Rossi racing motors it was INSANE ,very fast. Same guy had a plane with the Rossi 60 red head with tuned pipe.. Just crazy fast and loud..
#19

Thread Starter
Join Date: Jun 2008
Location: Perth WA, AUSTRALIA
Posts: 1,237
Likes: 0
Received 12 Likes
on
12 Posts
foodstick - I can just imagine the speed it will have with Rossi 60's on it. I am not in search for such exhilaration.
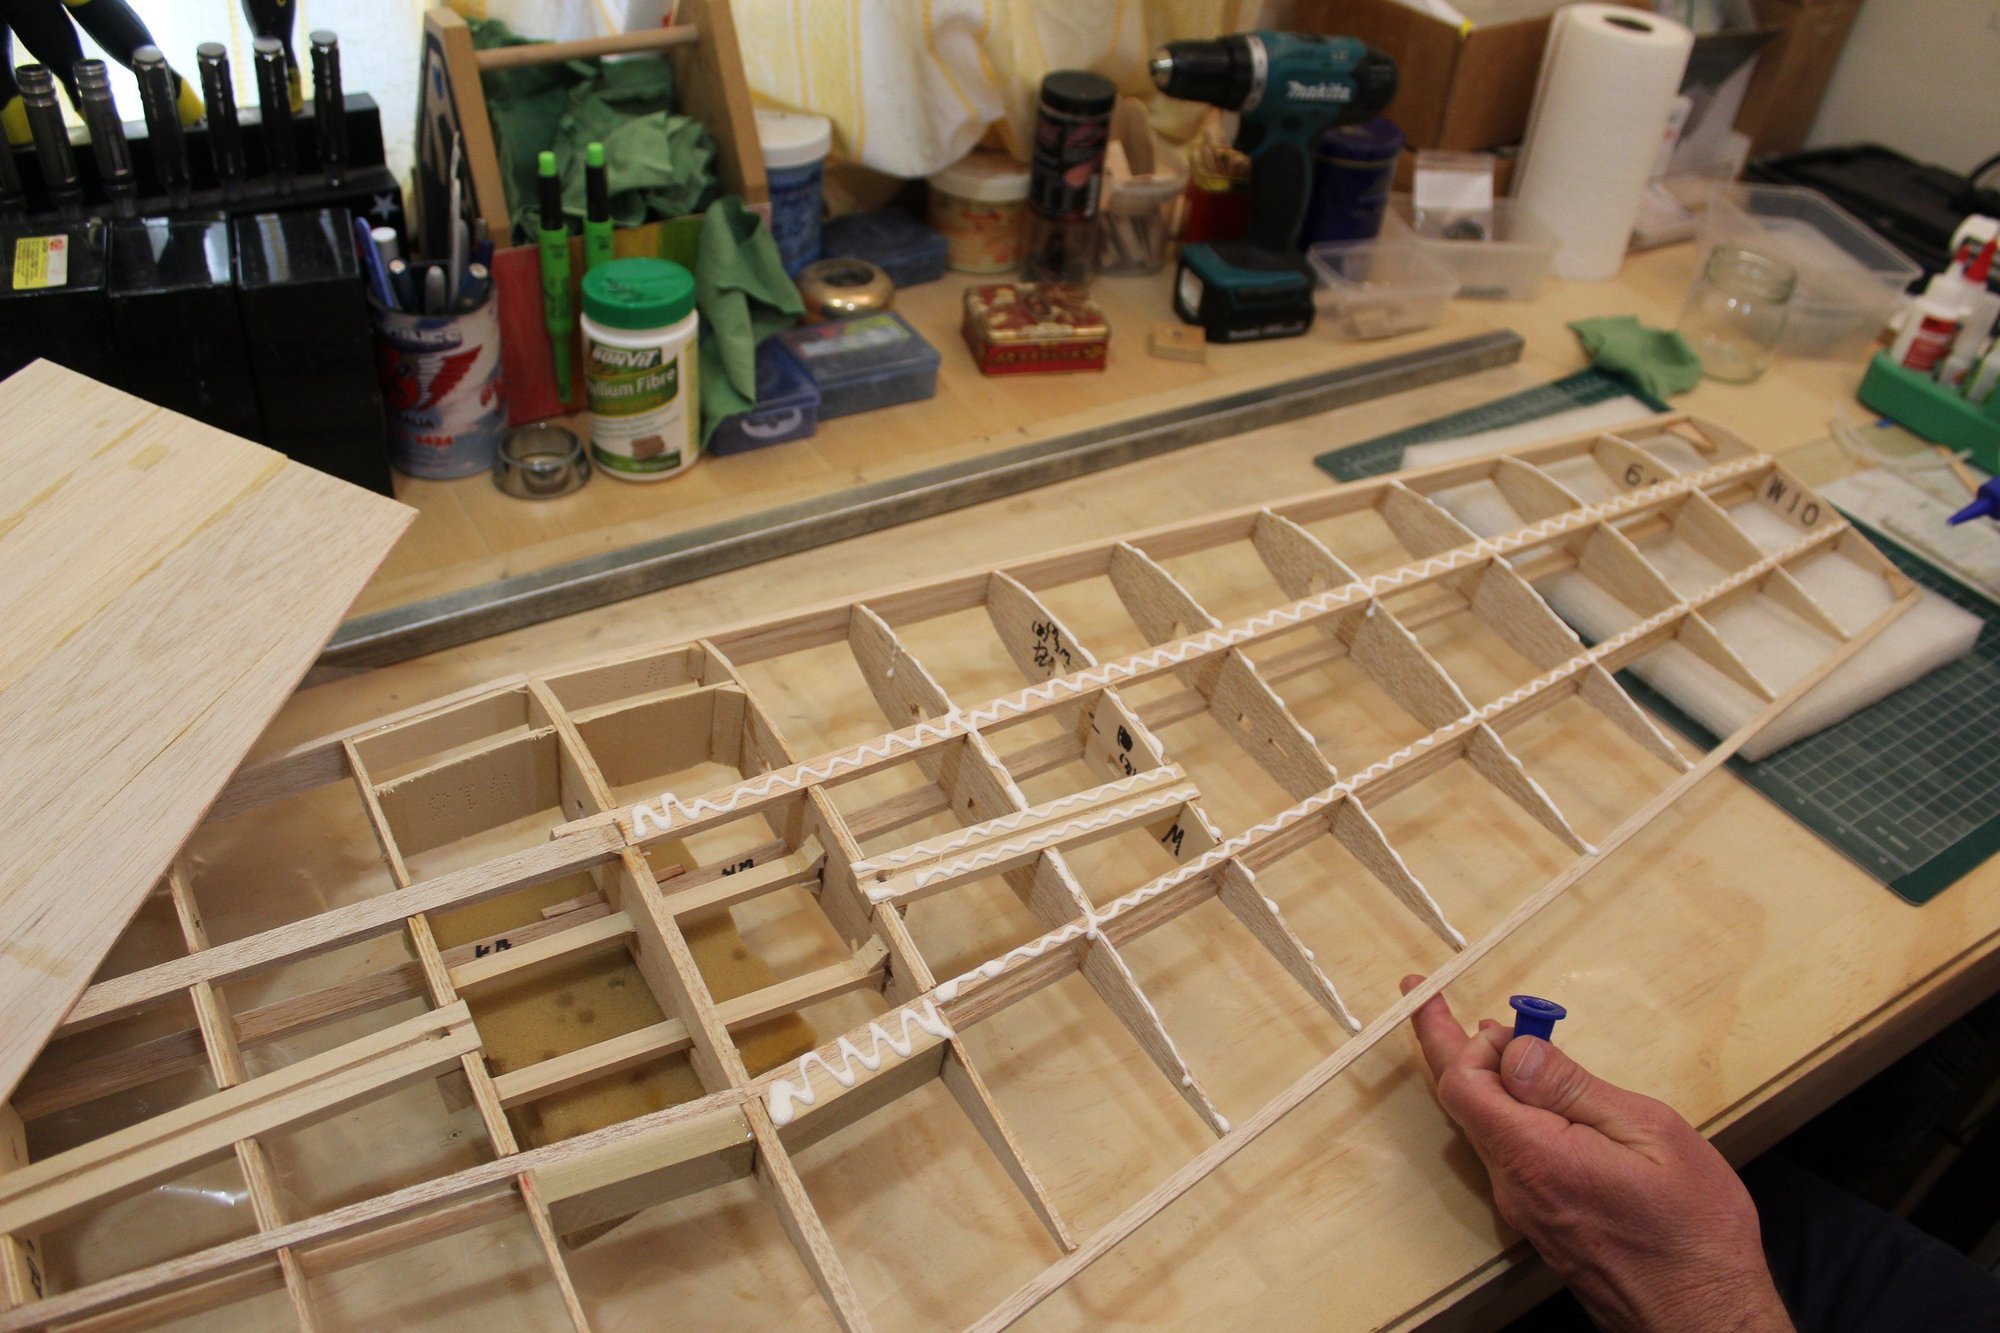
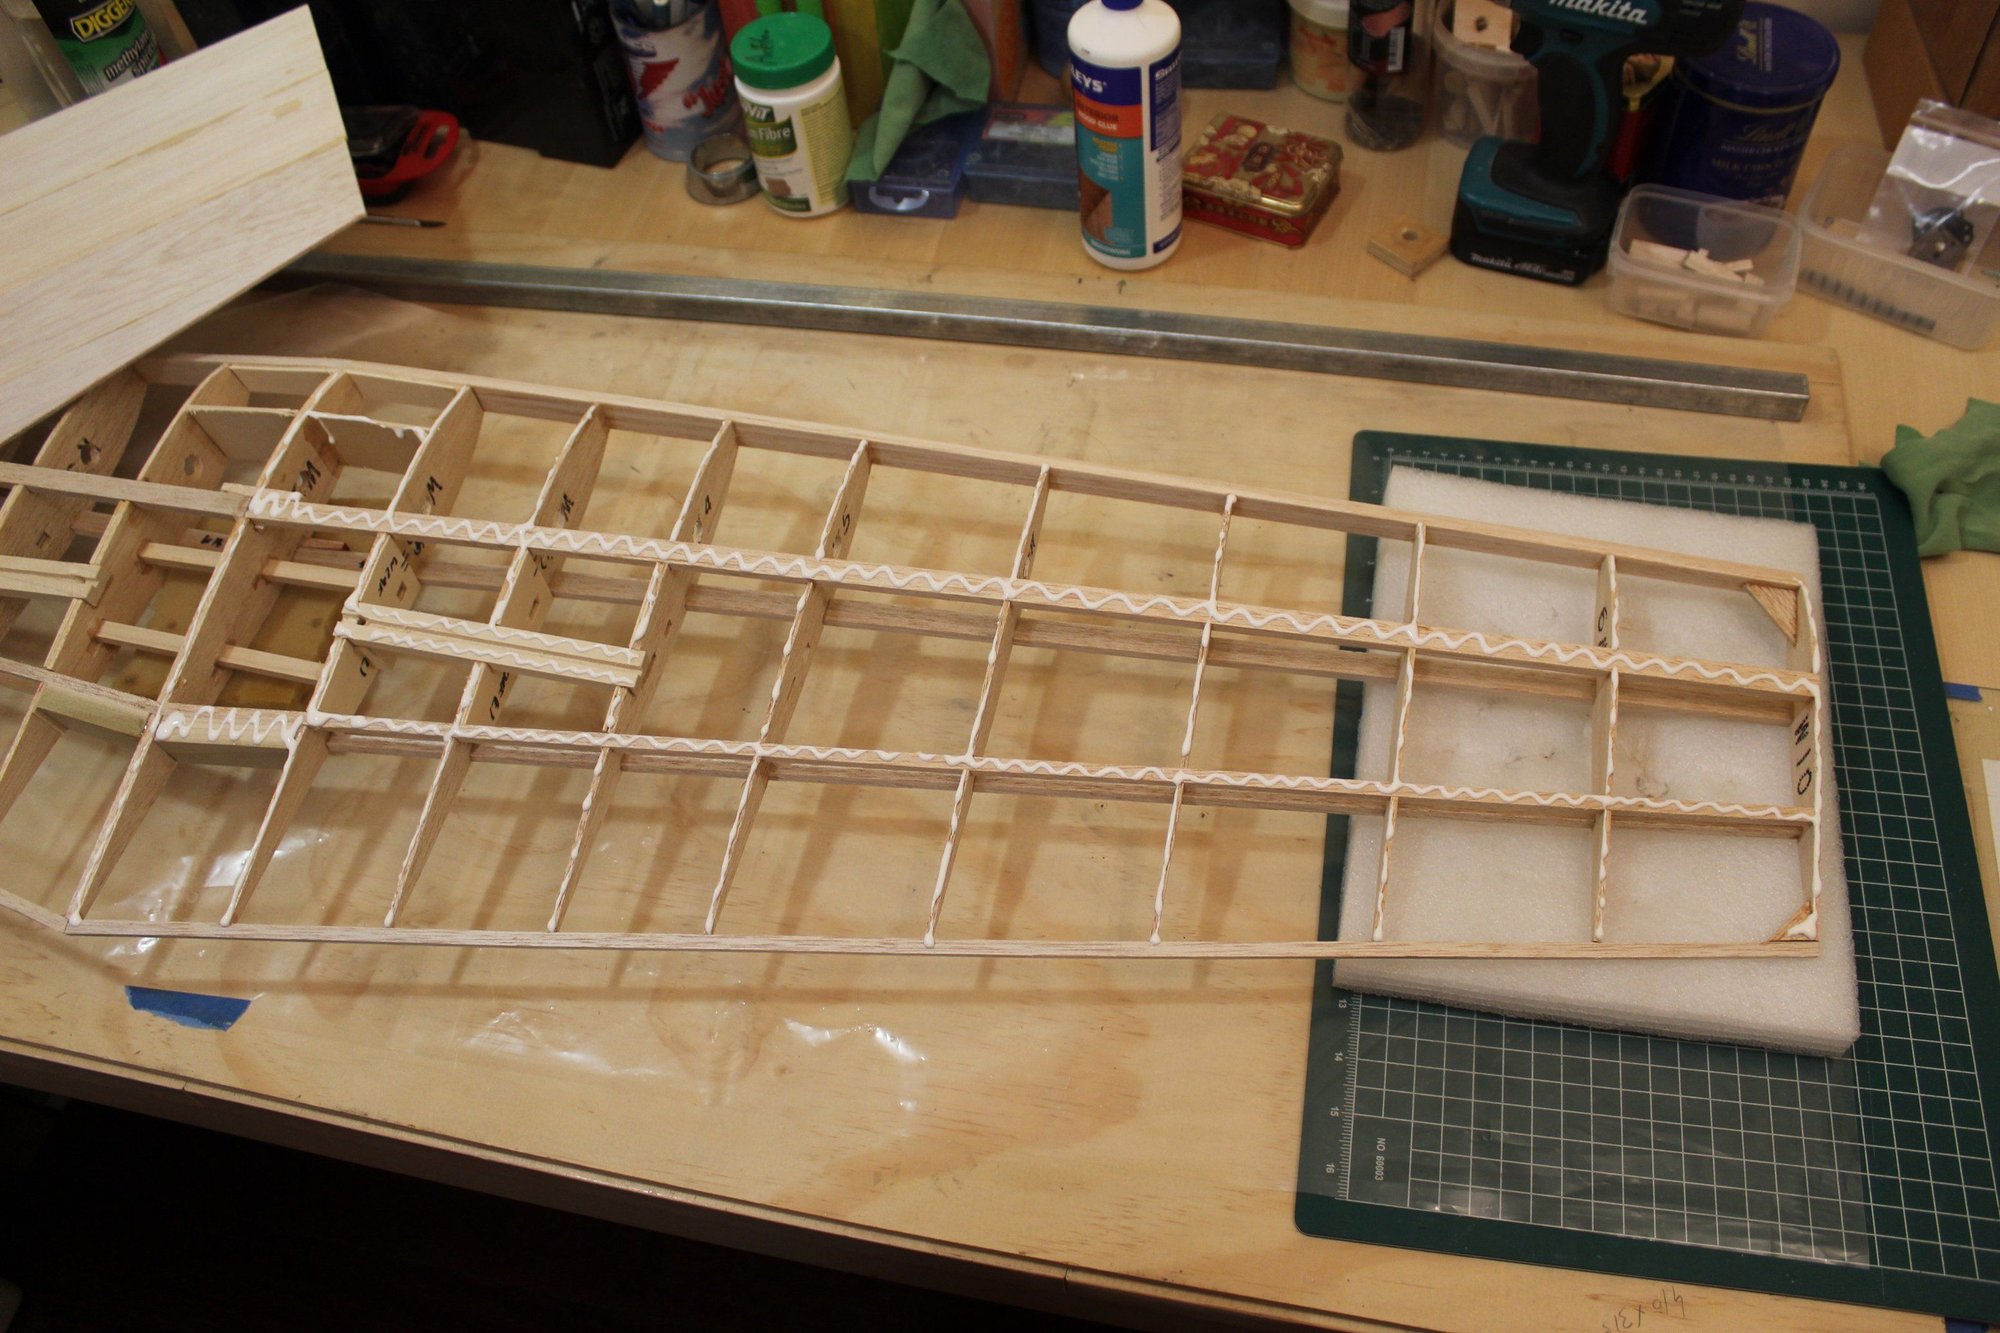
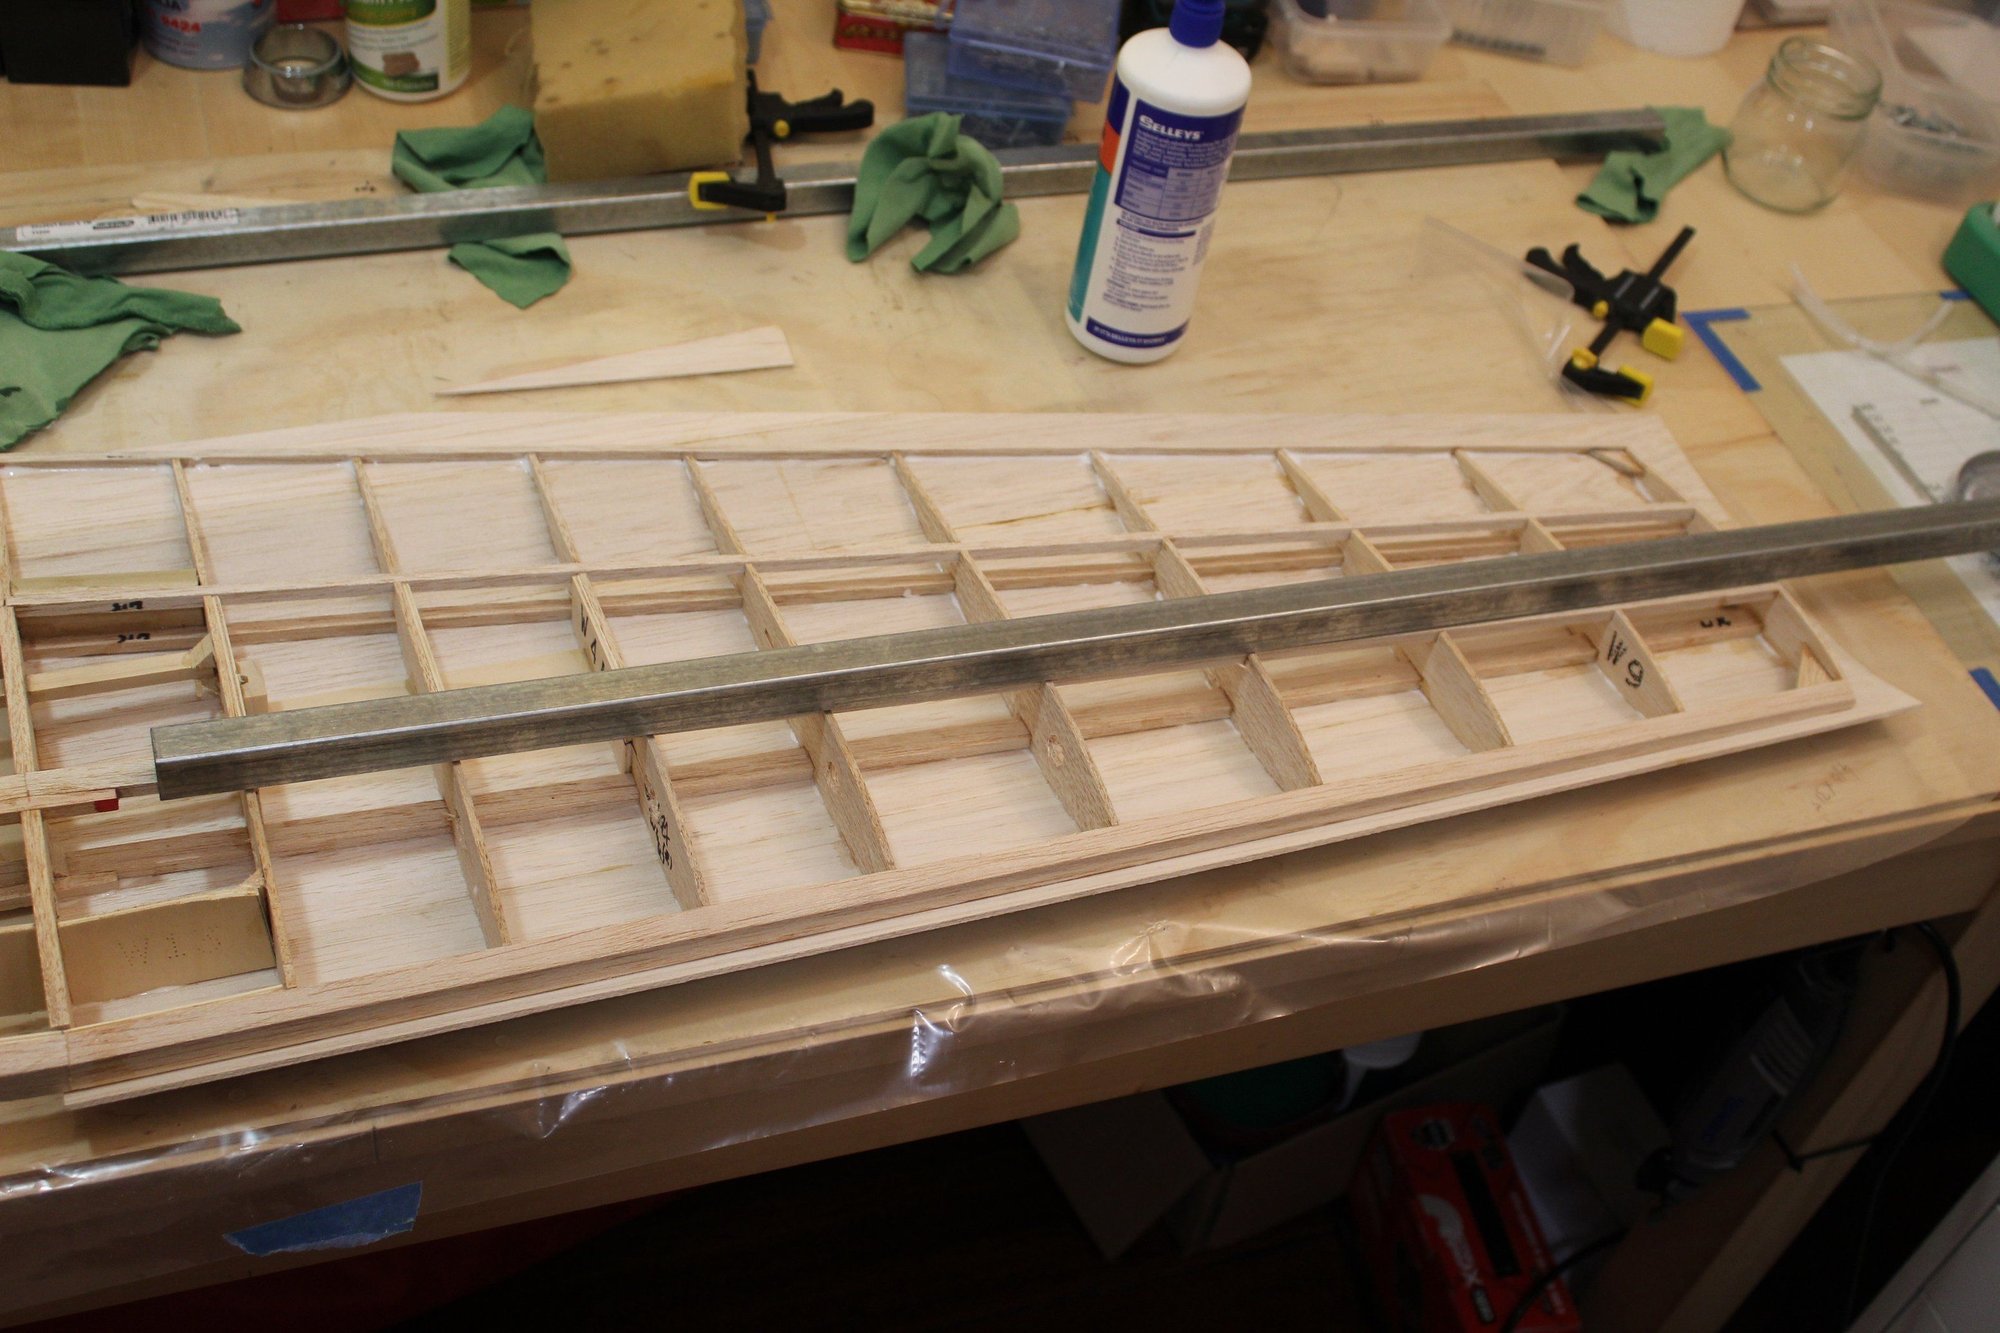
After cutting the glued square sheet of balsa as per the instructions, I started the process of sheeting the wing. I use PVA glue for spars and ribs and CA for the TE and LE. I then used PVA on the internal joint between the sheeting and the LE and TE. Due to the extreme stiffness of the sheet balsa the process was very difficult when compared to other wings I did previously.
Cheers,
Eran
After cutting the glued square sheet of balsa as per the instructions, I started the process of sheeting the wing. I use PVA glue for spars and ribs and CA for the TE and LE. I then used PVA on the internal joint between the sheeting and the LE and TE. Due to the extreme stiffness of the sheet balsa the process was very difficult when compared to other wings I did previously.


Cheers,
Eran
#20
Since you are a white glue builder like me, do yourself a favor and buy some of these pins. I admit they are not cheap. neither is the shipping. BUT THEY ARE AMAZING, very sharp, go thru balsa easy without making big holes. They are used for very small sticks when building small light models.. You will love them..Mine have lasted quite awhile.. Just bought more for me and two friends ,so we could split the shipping..
https://www.faimodelsupply.com/produ...k-pin-in-head/
https://www.faimodelsupply.com/produ...k-pin-in-head/
#21

Thread Starter
Join Date: Jun 2008
Location: Perth WA, AUSTRALIA
Posts: 1,237
Likes: 0
Received 12 Likes
on
12 Posts
Thank you foodstick, I will get some and try them out. I predominantly using the Dubro T pins in the different sizes.
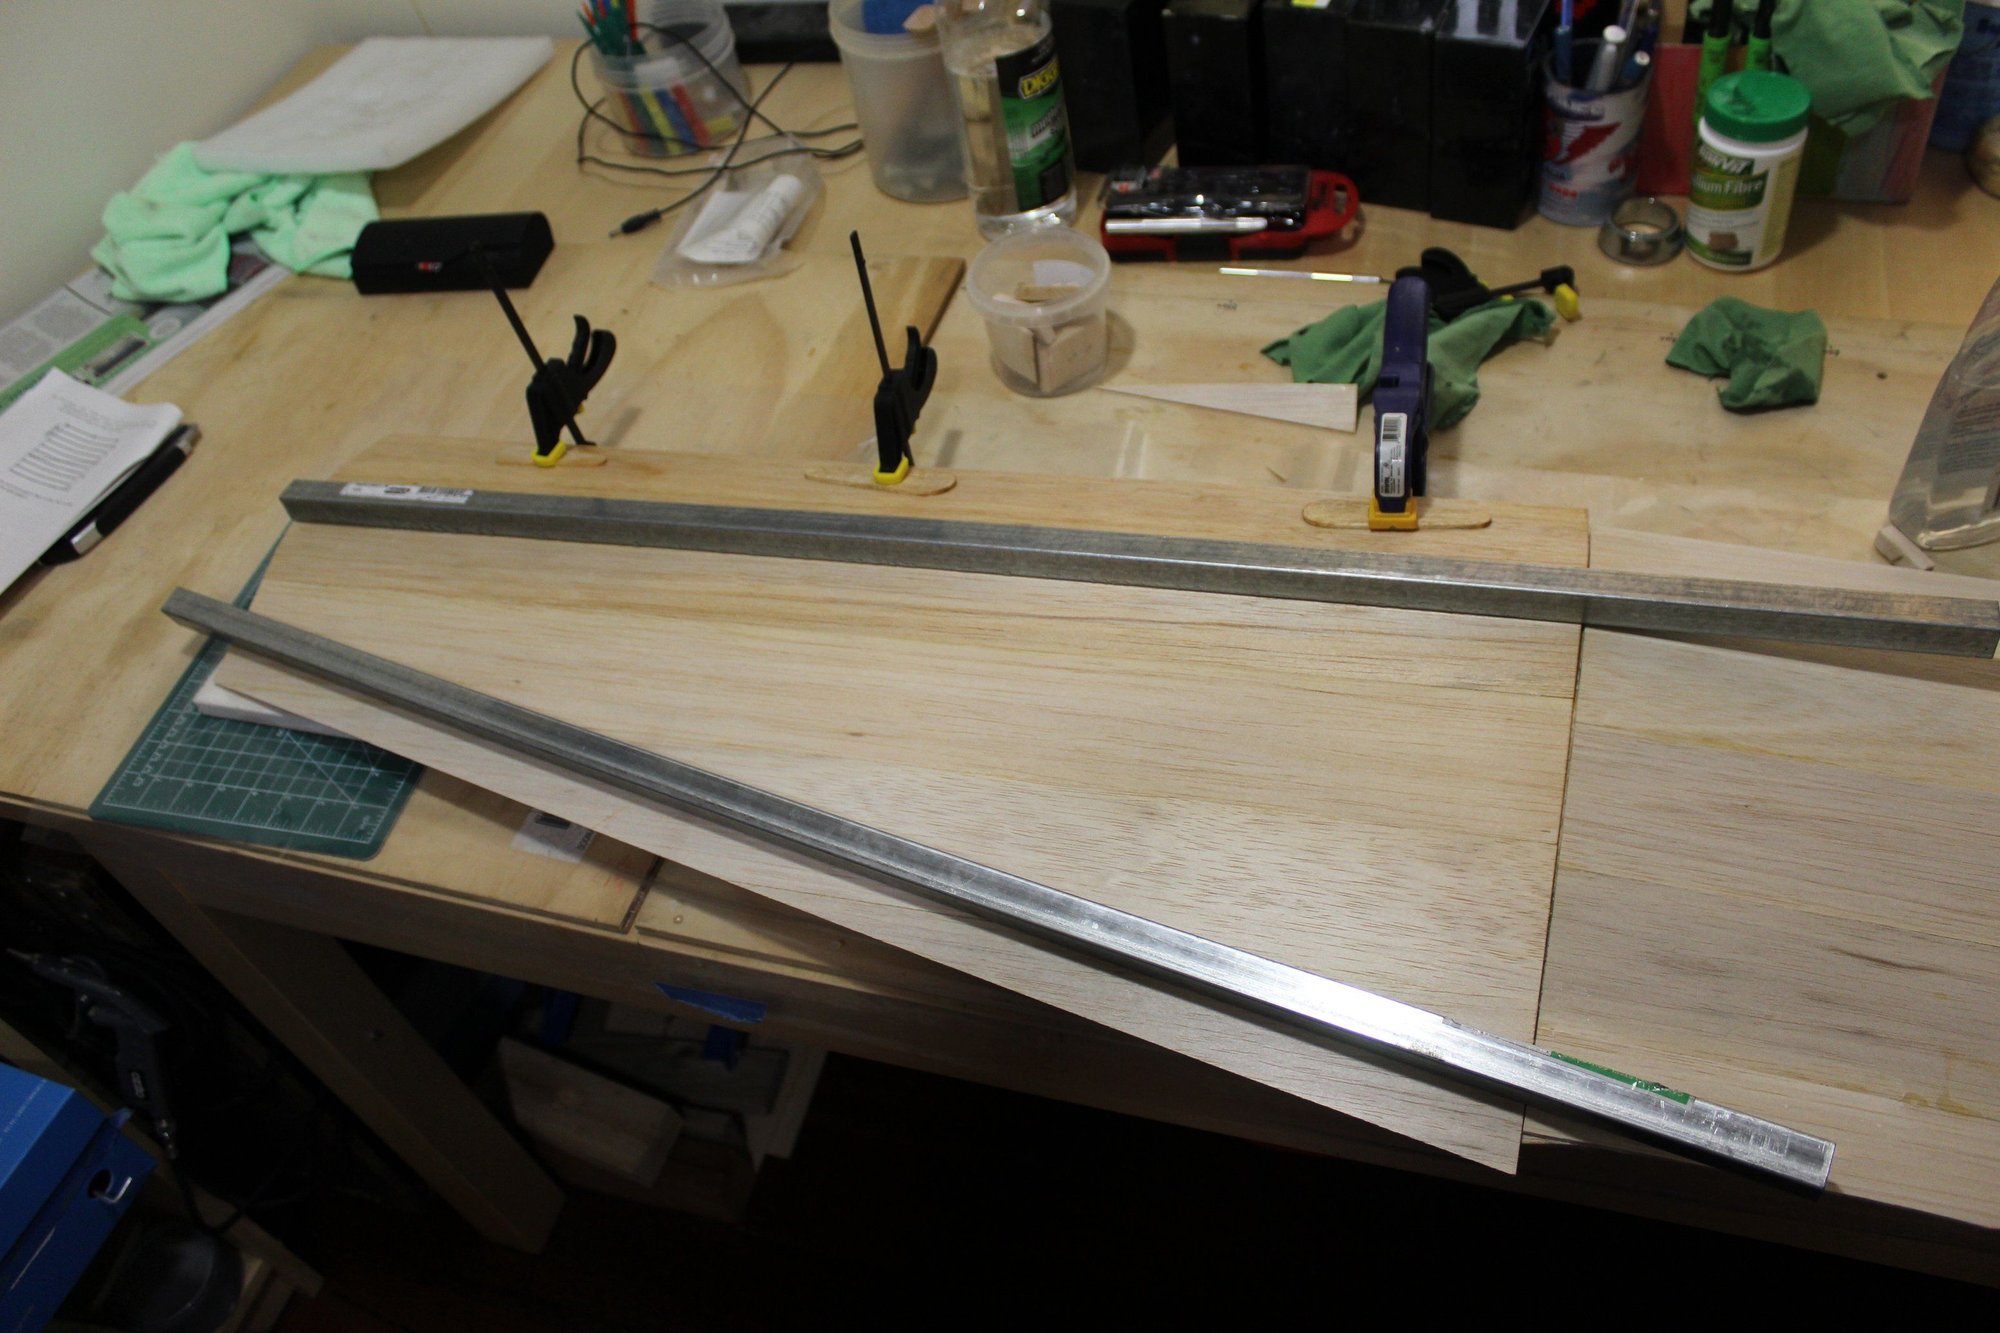
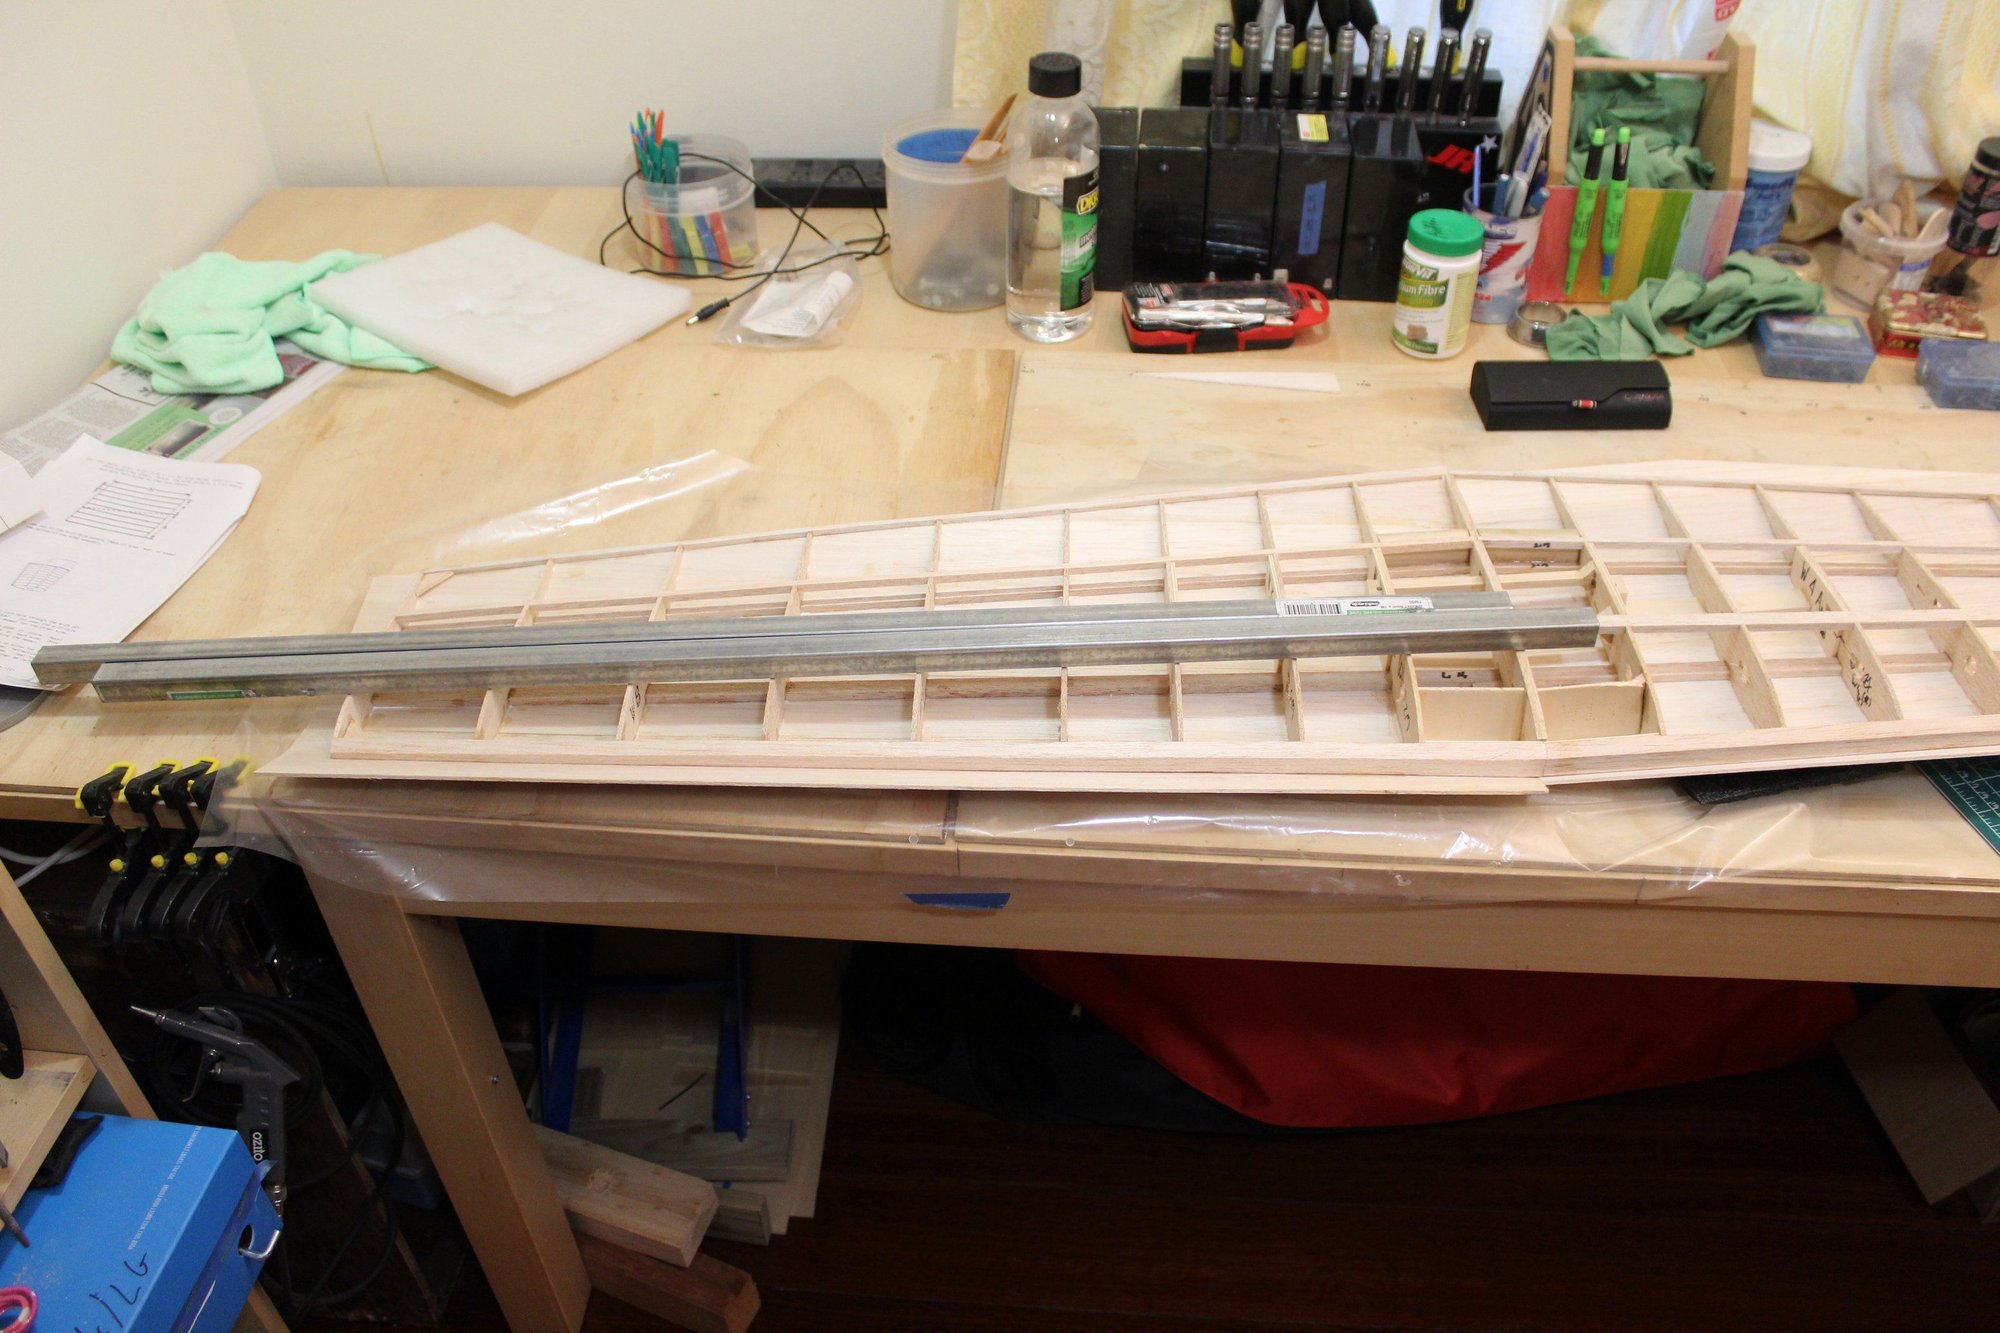
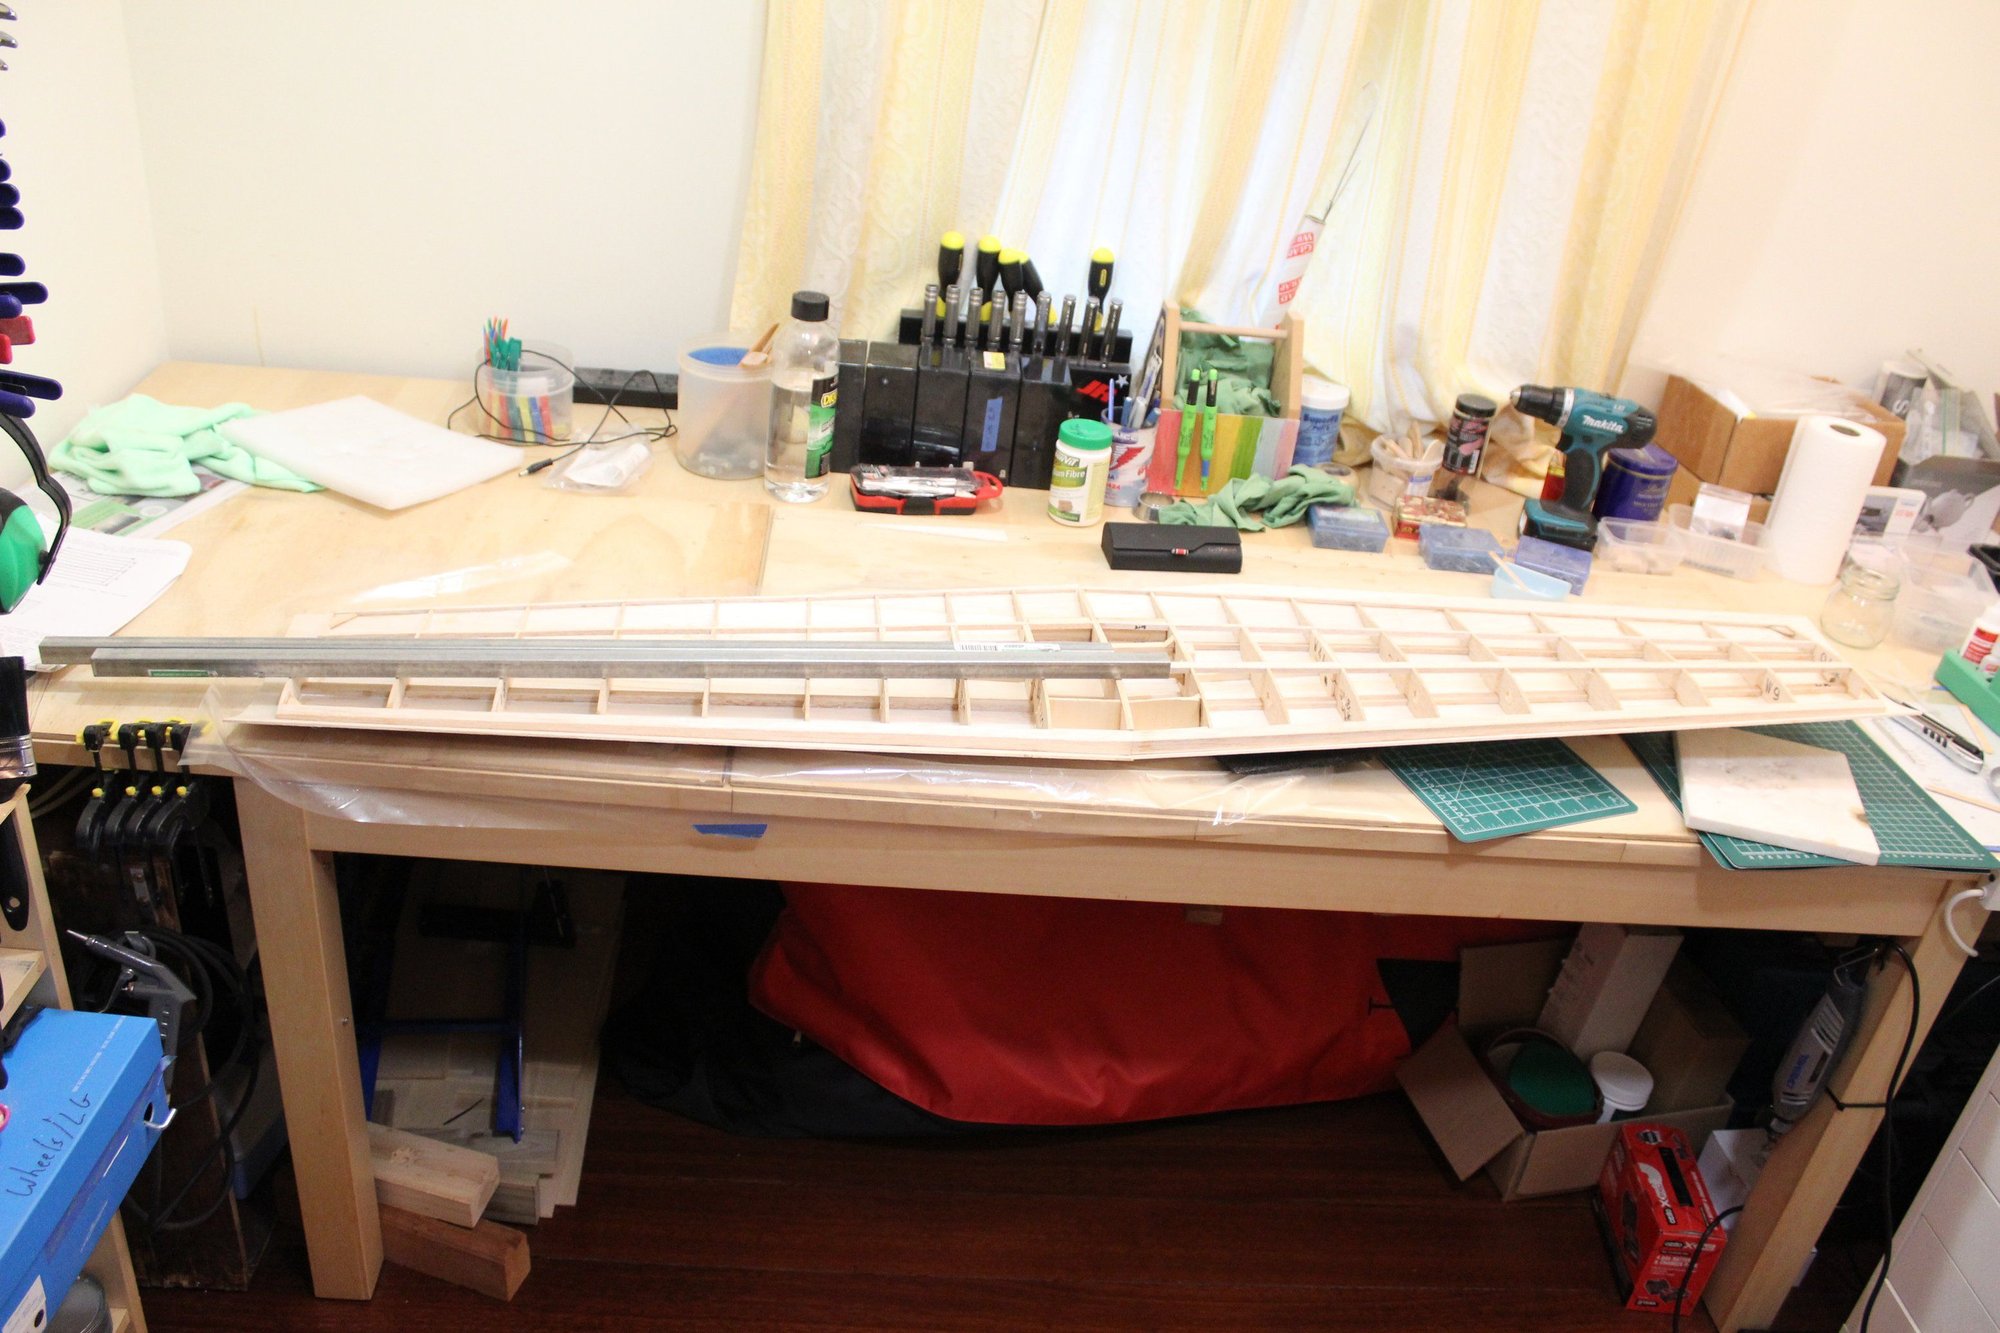
I have now completed the sheeting of the bottom of the wing. I forgot to mention earlier that prior to fitting the sheets I soaked them in water to make them softer and allow the bending to shape.
It seems that the Deluxe Materials Super Phatic was not a great solution for attaching the sheets together, I will get back to CA for the upper wing sheeting.
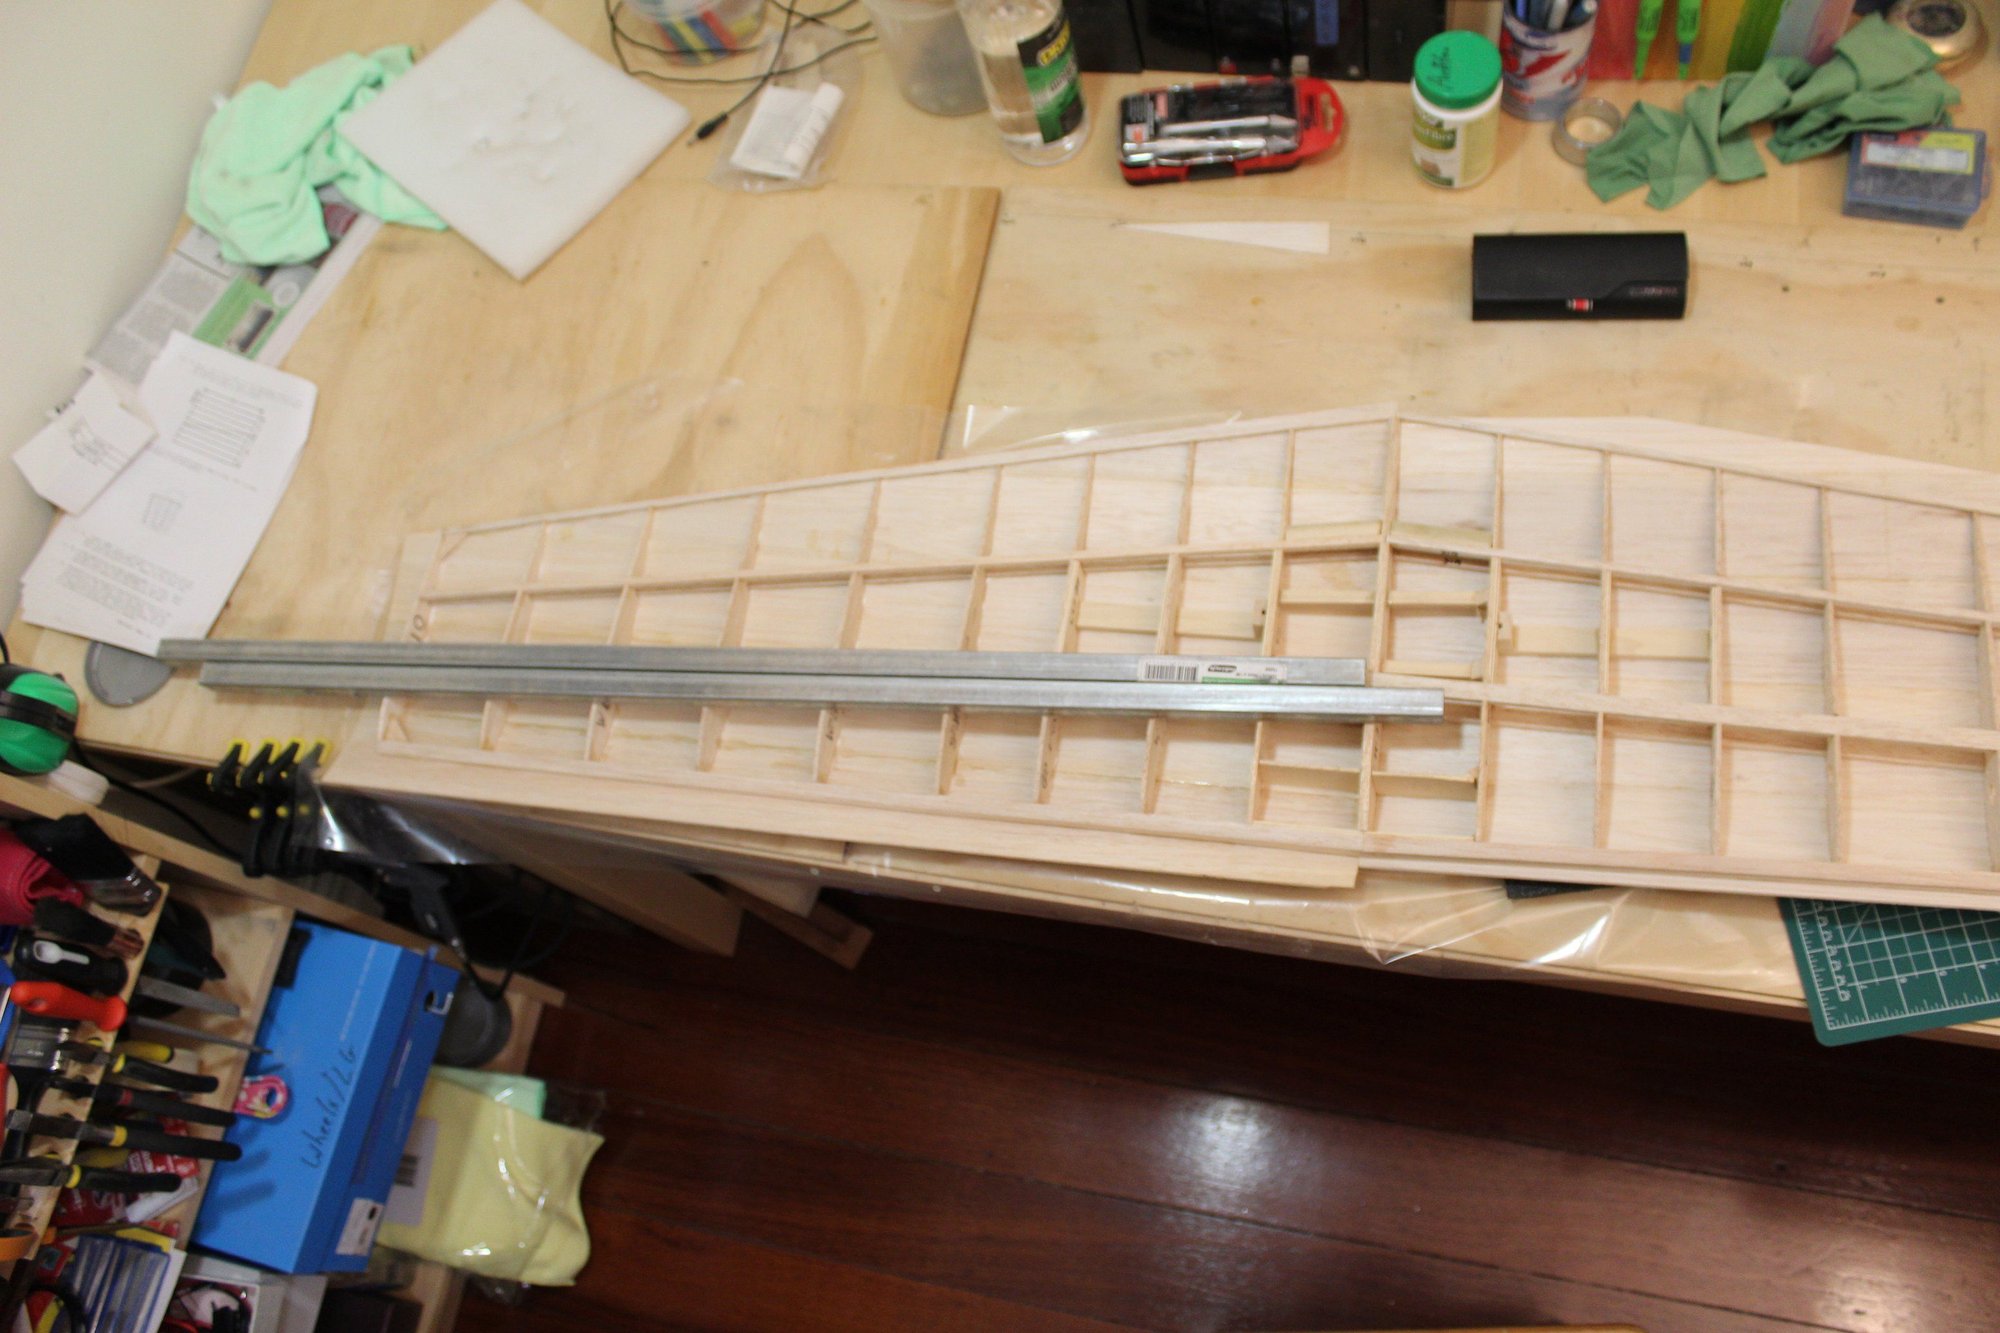
Cheers,
Eran
I have now completed the sheeting of the bottom of the wing. I forgot to mention earlier that prior to fitting the sheets I soaked them in water to make them softer and allow the bending to shape.
It seems that the Deluxe Materials Super Phatic was not a great solution for attaching the sheets together, I will get back to CA for the upper wing sheeting.


Cheers,
Eran
#22

Thread Starter
Join Date: Jun 2008
Location: Perth WA, AUSTRALIA
Posts: 1,237
Likes: 0
Received 12 Likes
on
12 Posts
After failing to find any tutorial on how to set up the Spektrum DX18 to operate two separate servos with both responding to a single throttle trim and a single throttle cut, one of the club members at my club took on the challenge and figured it out for me.
I created a thread explaining the programing here - https://www.rcuniverse.com/forum/rc-...l#post12808819
Cheers,
Eran
I created a thread explaining the programing here - https://www.rcuniverse.com/forum/rc-...l#post12808819
Cheers,
Eran


