Sterling Tripacer 58 inch
 04-01-2022, 08:02 AM
#1

Thread Starter

Has anyone here actually flown a Sterling Tripacer in its stock form. That is, as a three channel airplane with no ailerons? There are a couple of videos out there of planes with ailerons and even flaps but I'm wondering about the stock planes. I've seen a few mentions of build threads and a couple of entries where people say they have built one but I haven't found any actual build threads for a Sterling Tripacer or detailed descriptions of flying one.
 04-05-2022, 05:42 AM
#2
I haven�t built one but have recently printed the plan with the intention to scratch build one.
I intend to build it �stock� 3 channels with the large dihedral.
Will probably only change the elevators and rudder to the full correct shape since with today�s radios it should not be a problem to keep the throws small and gentle if necessary.
Are you concerned about its flying characteristics with only 3 channels?
04-05-2022, 07:46 AM
#3
Thread Starter
I'm not too concerned about flying three channels. I've currently got a two channel plane and have had a couple of three channel planes. There was one Stinson that was happiest if you just left the ailerons alone. That said, some models are vastly improved with modern equipment.
Right now I'm thinking through my goals for the build. Things like resizing the tail or adding ailerons are best sorted out early on. One change leads to two others and so on.
A lot of the old magazine reviews were about selling kits and I'd like to hear about a recent experience with the plane.
Right now I'm thinking through my goals for the build. Things like resizing the tail or adding ailerons are best sorted out early on. One change leads to two others and so on.
A lot of the old magazine reviews were about selling kits and I'd like to hear about a recent experience with the plane.
12-06-2023, 08:22 PM
#4
Thread Starter
Well, we are about to roll into 2024 and the plans are on the build table. I tile printed the plans as found on Outerzone. The originals are getting a little crispy and they are printed on both sides of a single sheet. This gets in the way of slicing up the plans into convenient bits, especially since the kit instructions are printed in and around the drawings. I have also flipped and traced the wing and horizontal tail since the plans only show the starboard half of each. Unboxing the kit was interesting. One often hears about the quality of Sterling's die cutting or lack thereof. This kit hits both ends of the spectrum. The ribs are mostly well done. The dies must have been pretty fresh. Then there are the plywood bits. Granted, plywood is harder to die cut than balsa but most of it is going to need a trip through the scrollsaw as will some of the thicker pieces of balsa. Whoever did the wood selection was having a good day. The wing spars and shaped leading edge are still straight and true 55 or 60 years after the kit was packed. Since I first posted I have come into the engine I am planning to use, a Saito FA 45. This kit is old enough that it uses hardwood bearers for the engine mounts. Going with the 45 means that I will have to relocate the bearers outboard about 3/32 inch on either side. The plans say that you could use as small an engine as a .19 but even as a lightly loaded free flight that seems pretty optimistic, I am going to have to ditch the beautifully made nose gear. It's meant to be fixed to the firewall and having a steerable nosewheel is just too convenient. I'm not going to do a build thread but I will throw up some photos along the way, especially if I change things.
12-06-2023, 09:07 PM
#5
Good luck, and you might find my experience a useful reference, documented in these two threads:
https://www.rcscalebuilder.com/forum...TID=35078&PN=2
https://www.rcscalebuilder.com/forum...TID=35063&PN=1
BTW the OS .25 LA I used not only fit perfectly, it is also all the power you may ever need for this model.
https://www.rcscalebuilder.com/forum...TID=35078&PN=2
https://www.rcscalebuilder.com/forum...TID=35063&PN=1
BTW the OS .25 LA I used not only fit perfectly, it is also all the power you may ever need for this model.
12-07-2023, 08:44 AM
#6
Thread Starter
EF, thanks for the links. RCSB is on my list of sites that I check on a daily basis while I have my morning coffee. Although I had forgotten doing so I actually commented on the first thread. It addresses several things I was thinking about. In particular you went the same way I am thinking about with the control surfaces. I'm a fan of .25 engines and have a couple on the shelf but I may stick with the .45. I'm not looking for a rocketship, I just like the sound of a small four stroke burbling by at part throttle. A four ounce tank should still manage my usual five minute flights.
12-07-2023, 07:16 PM
#7
Thread Starter
Poop. That pretty much describes the condition of all of the plywood. And there is quite a bit of it, especially in the front half of the fuselage. On the upside, I have a K-40 laser and I'm not afraid to use it. The plywood has reached a point where it delaminates when the parts are removed from the sheet. Definitely not airworthy. Luckily the files on Outerzone contain a scan of all of the parts so I can import it into cad and trace them. The original parts will still be useful for checking the size of the new parts since things can sometimes get wonky in the scanning and tracing process. This is why I don't feel bad about building old kits. One day you will open the box and find nothing but sawdust and splinters.
12-07-2023, 09:16 PM
#8
I guess I was lucky, was able to use everything from the box.
Be careful with the Outerzone parts drawings, they are not scans of the actual parts but of a pencil drawing someone made around the parts so not too accurate.
Better to first Laser cut a paper part before cutting wood.
Be careful with the Outerzone parts drawings, they are not scans of the actual parts but of a pencil drawing someone made around the parts so not too accurate.
Better to first Laser cut a paper part before cutting wood.
12-08-2023, 09:35 AM
#9
Thread Starter
I guess I was lucky, was able to use everything from the box.
Be careful with the Outerzone parts drawings, they are not scans of the actual parts but of a pencil drawing someone made around the parts so not too accurate.
Better to first Laser cut a paper part before cutting wood.
Be careful with the Outerzone parts drawings, they are not scans of the actual parts but of a pencil drawing someone made around the parts so not too accurate.
Better to first Laser cut a paper part before cutting wood.
I also had that concern about the parts tracing. It's a place to start. Up until a couple of years ago I probably could have gotten all of the ply parts from Lazerworks. He was local to me and before he retired he had cutfiles for a lot of out of production kits. One thing I observed was that even when working with original parts he often made tweaks and corrections to get a better fit. I'm pretty much a CAD beginner and it's not unusual for me to have to make adjustments for the laser kerf and errors in my own drawing so yes, I do generally print out test copies to keep from burning through a lot of wood. If it comes to it I can scan the original parts and then do a vector trace in Inkscape. Usually the scale stays pretty consistent with PDF files but it never hurts to check that as well.
12-26-2023, 07:07 PM
#10
Thread Starter
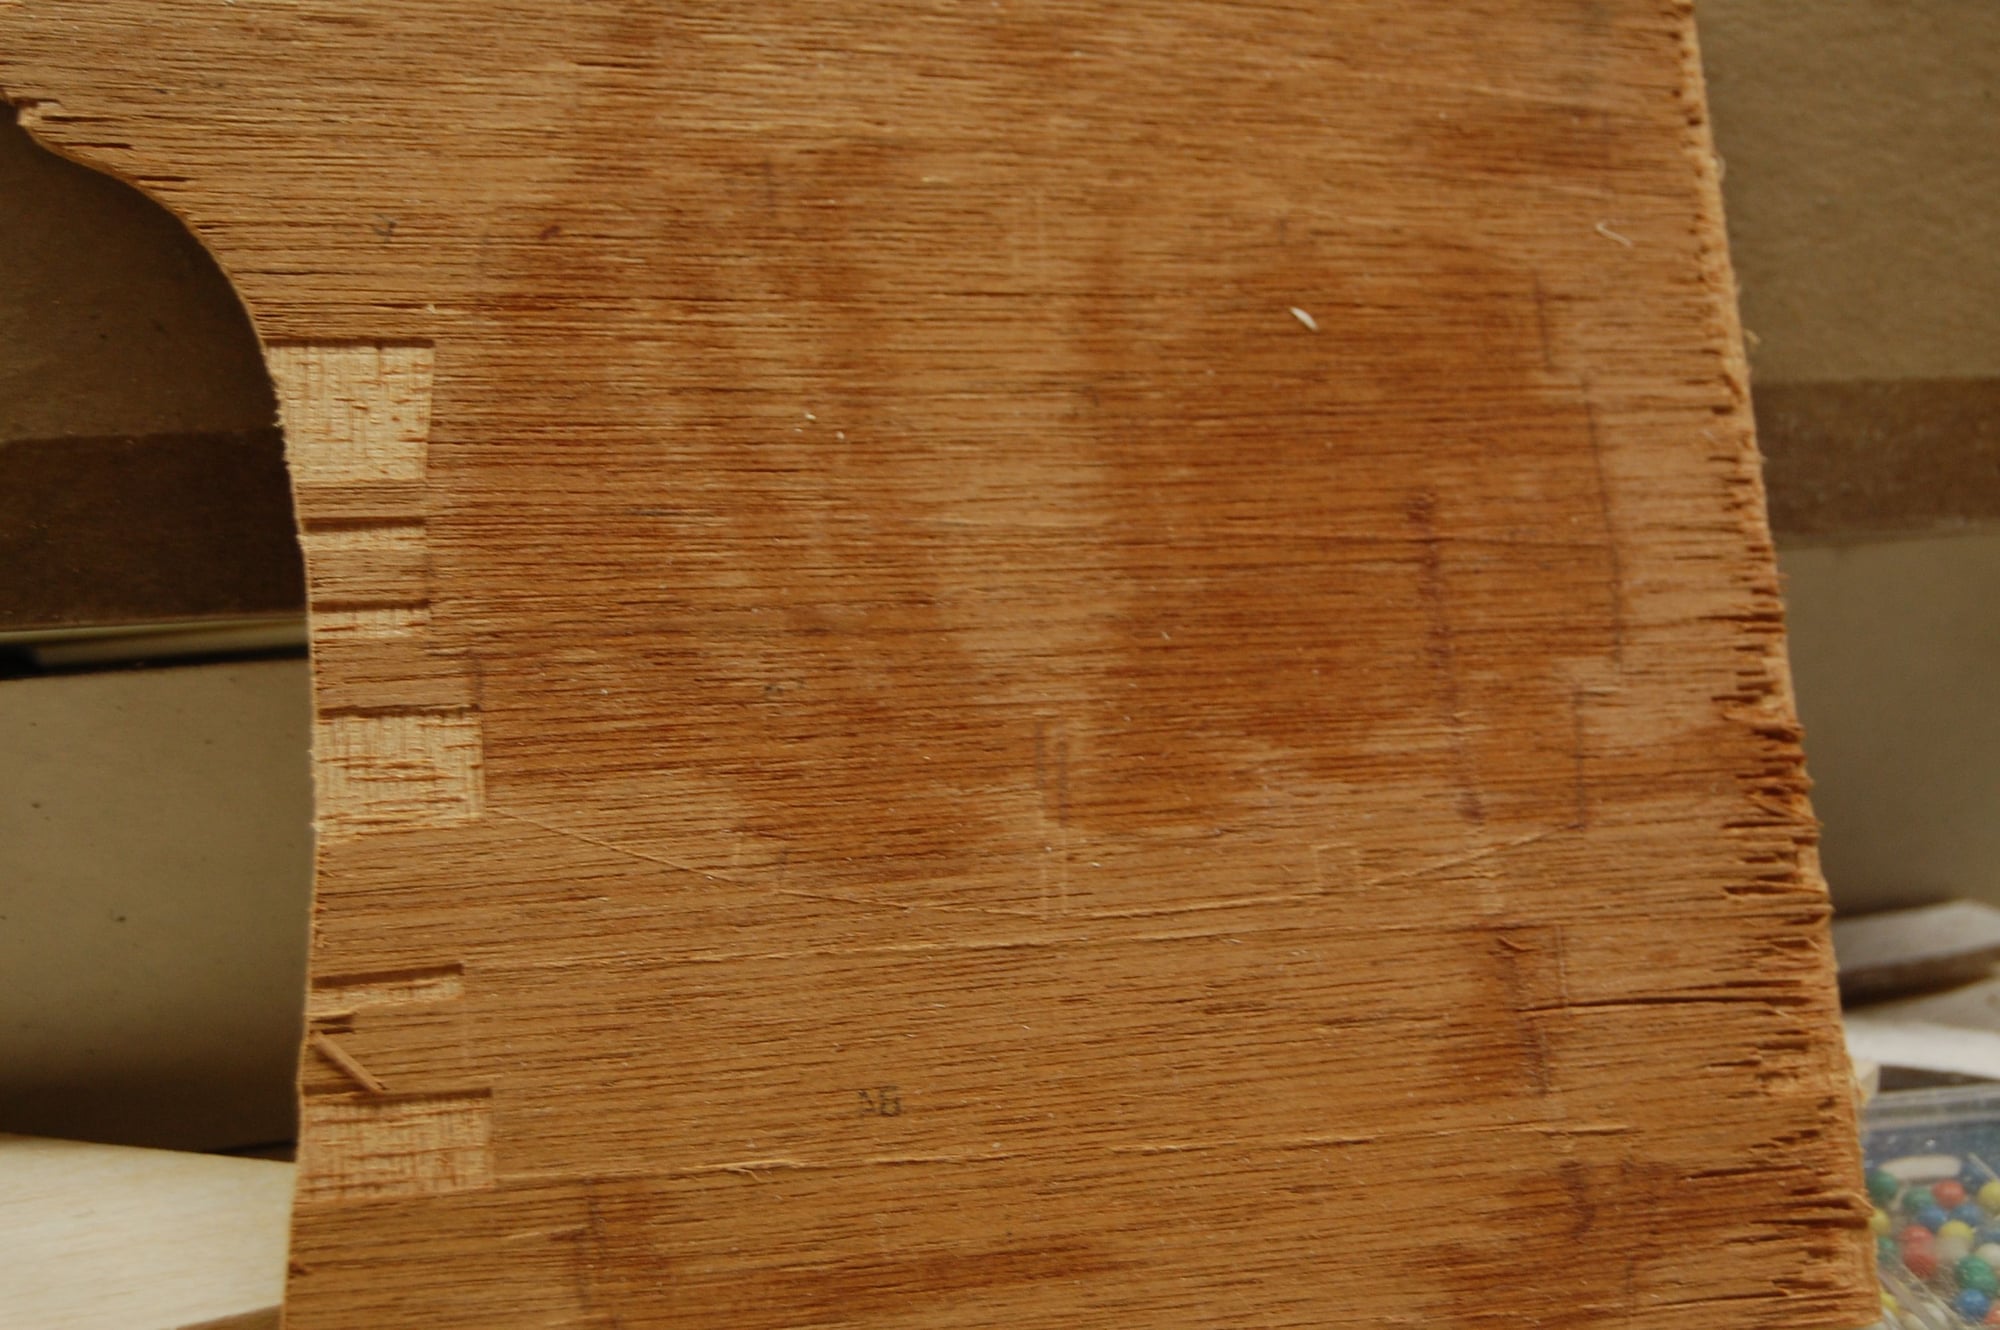
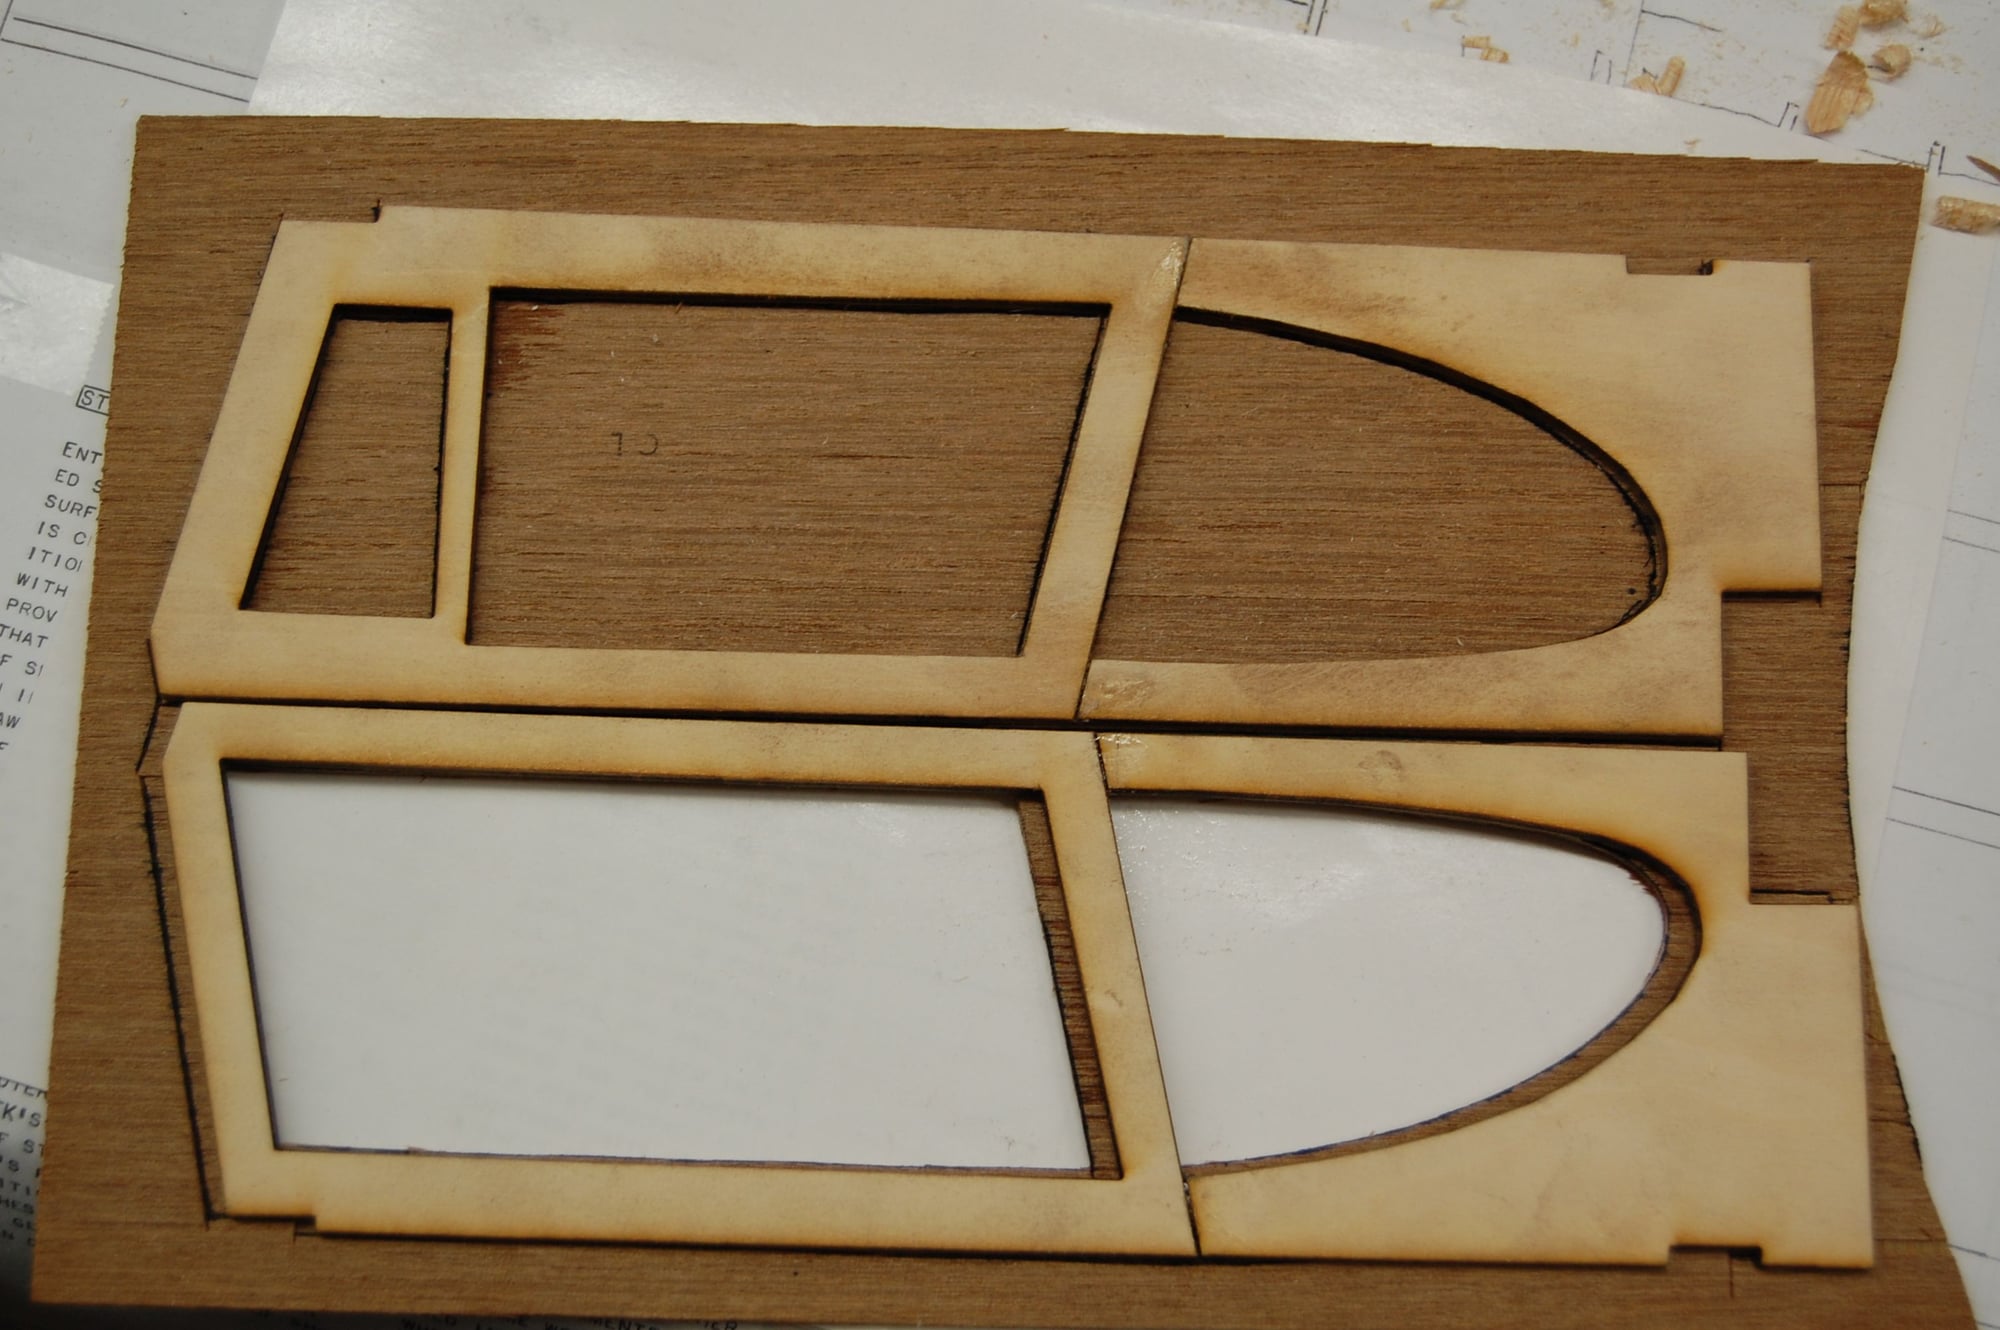
Kind of a lot of photos but at least I've been busy. This first photo show some of the delamination of the plywood. You can also see that a lot of the die cutting didn't make it all the way through.
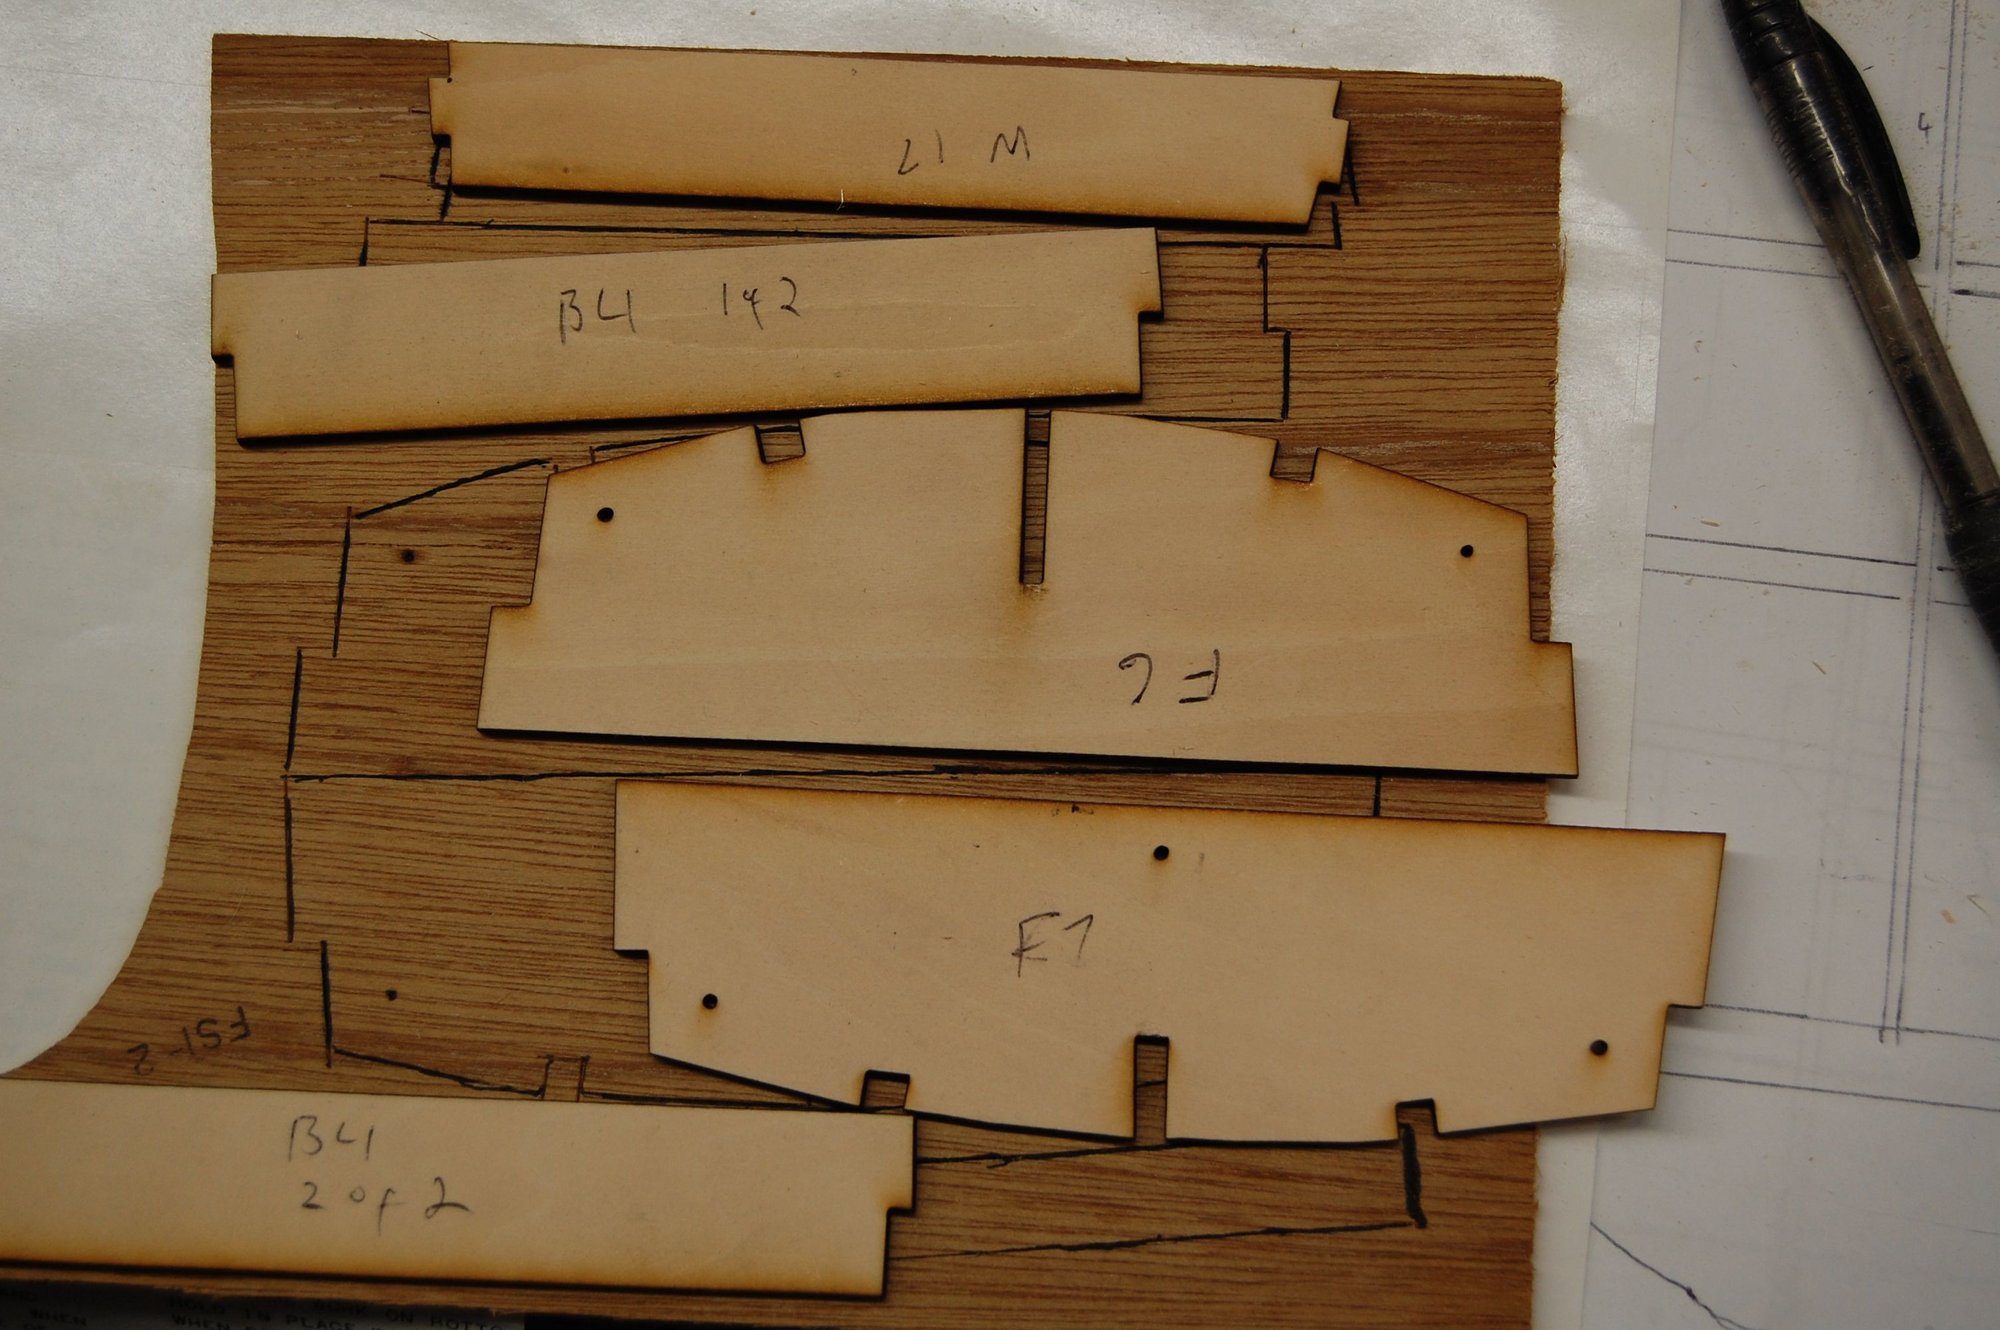
The F3 is effectively the fire wall in that it is the plywood piece that supports the engine bearers. I'm going to relocate the bearers out about 1/8 inch to accommodate the little four stroke I'm going to use. I possibly could have used this piece but I didn't want to risk it.

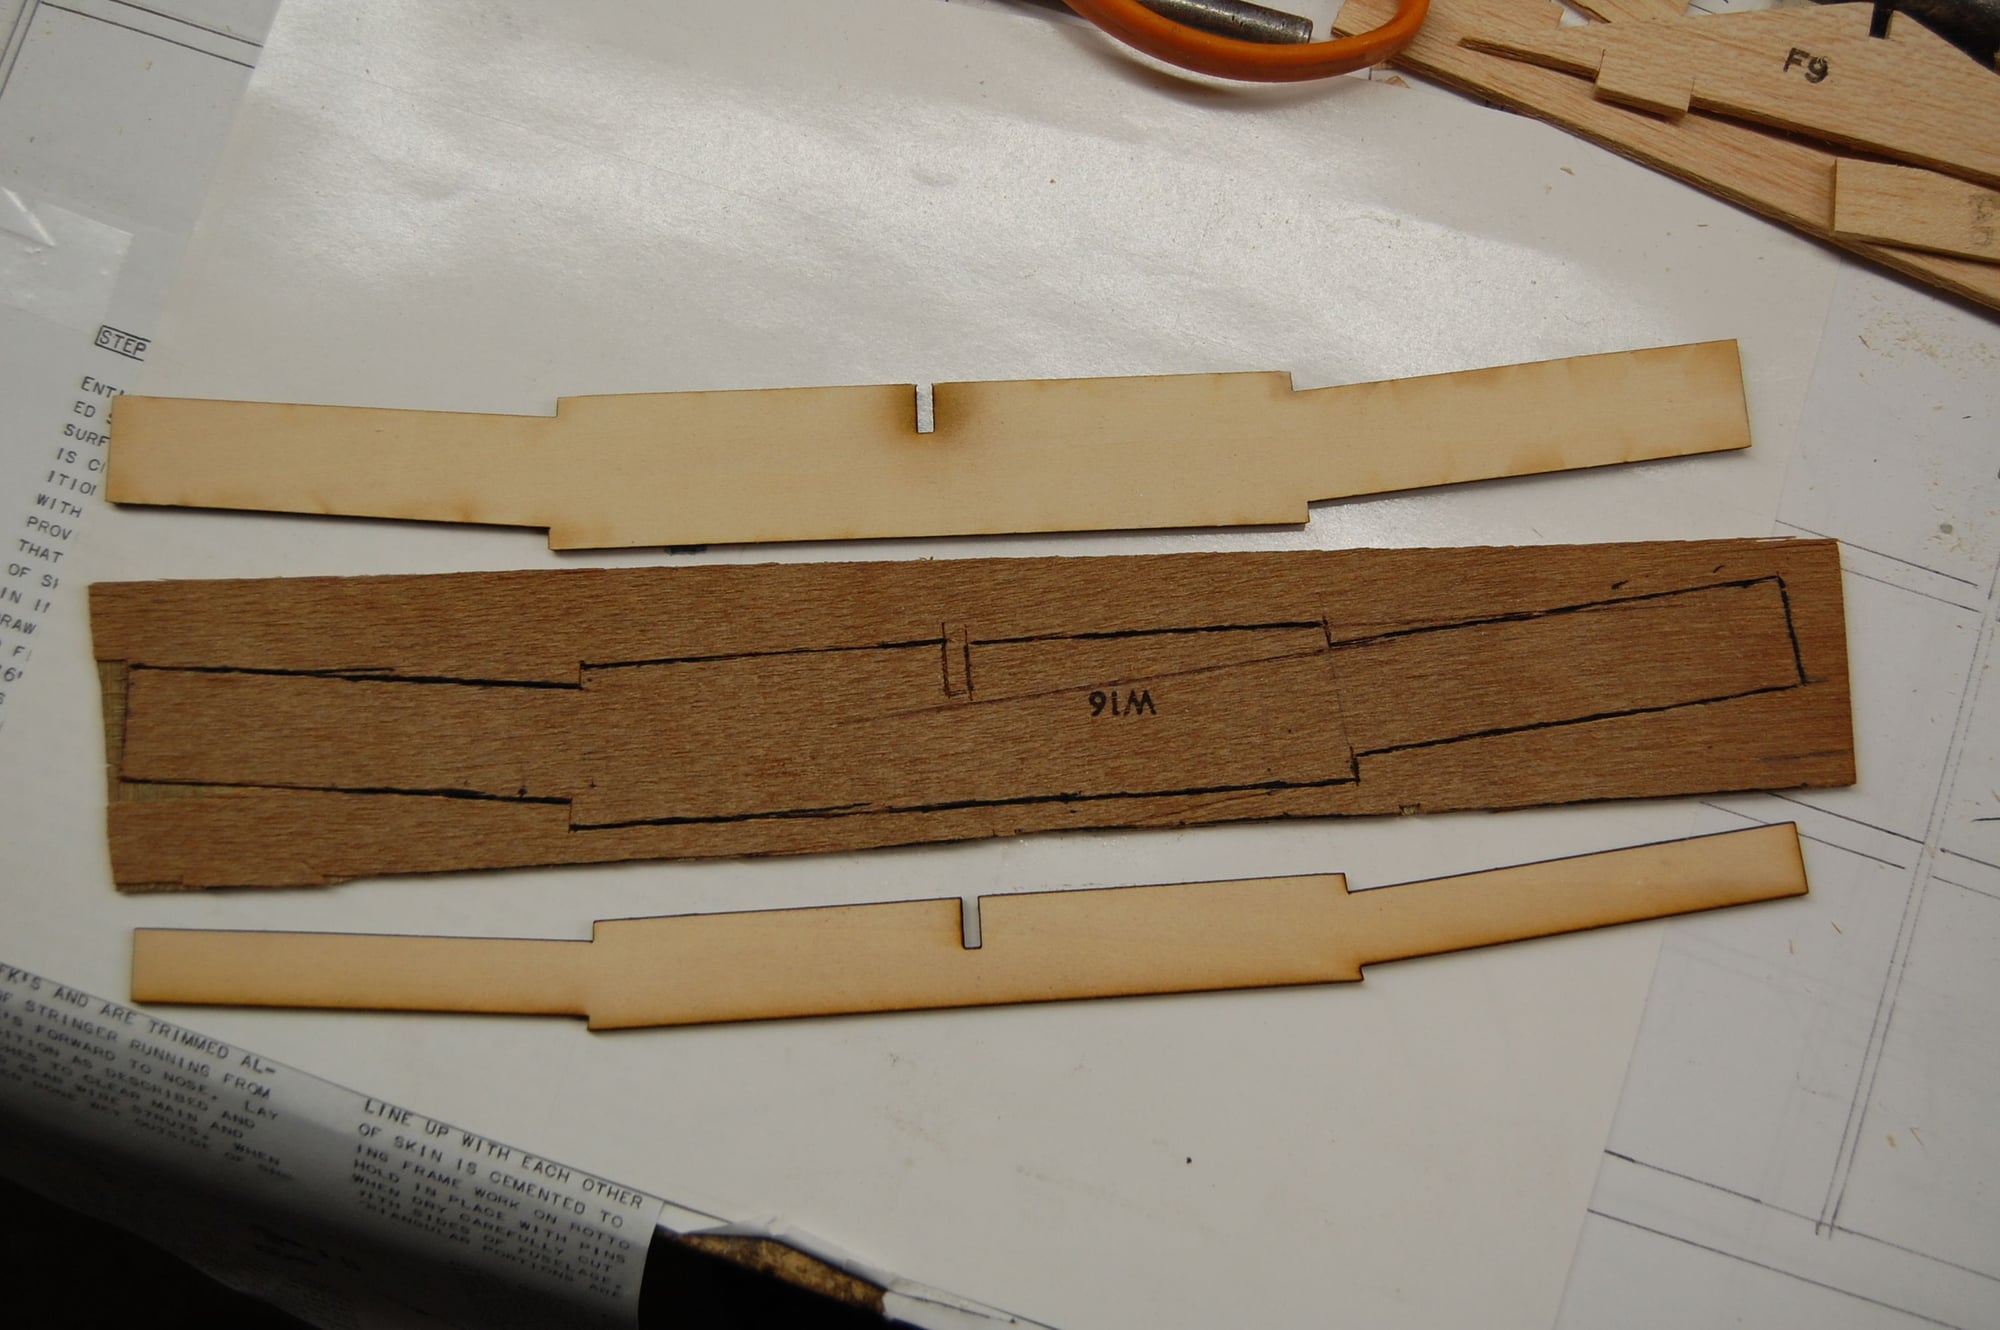
These are the parts that would have come from the worst of the delaminated ply. The parts are from traces. F5 and F6 are pretty symmetrical but W17 is going to need some trimming.
I went ahead and drew the wing joiners in cad. I started with the tracing of the parts on Outerzone but they would have had a lot less dihedral that the wing joiners in the kit. This would have been okay if I were adding ailerons but I'm going three channel. and want the dihedral as designed. Drawing them in cad also let me be certain that they were symmetrical.
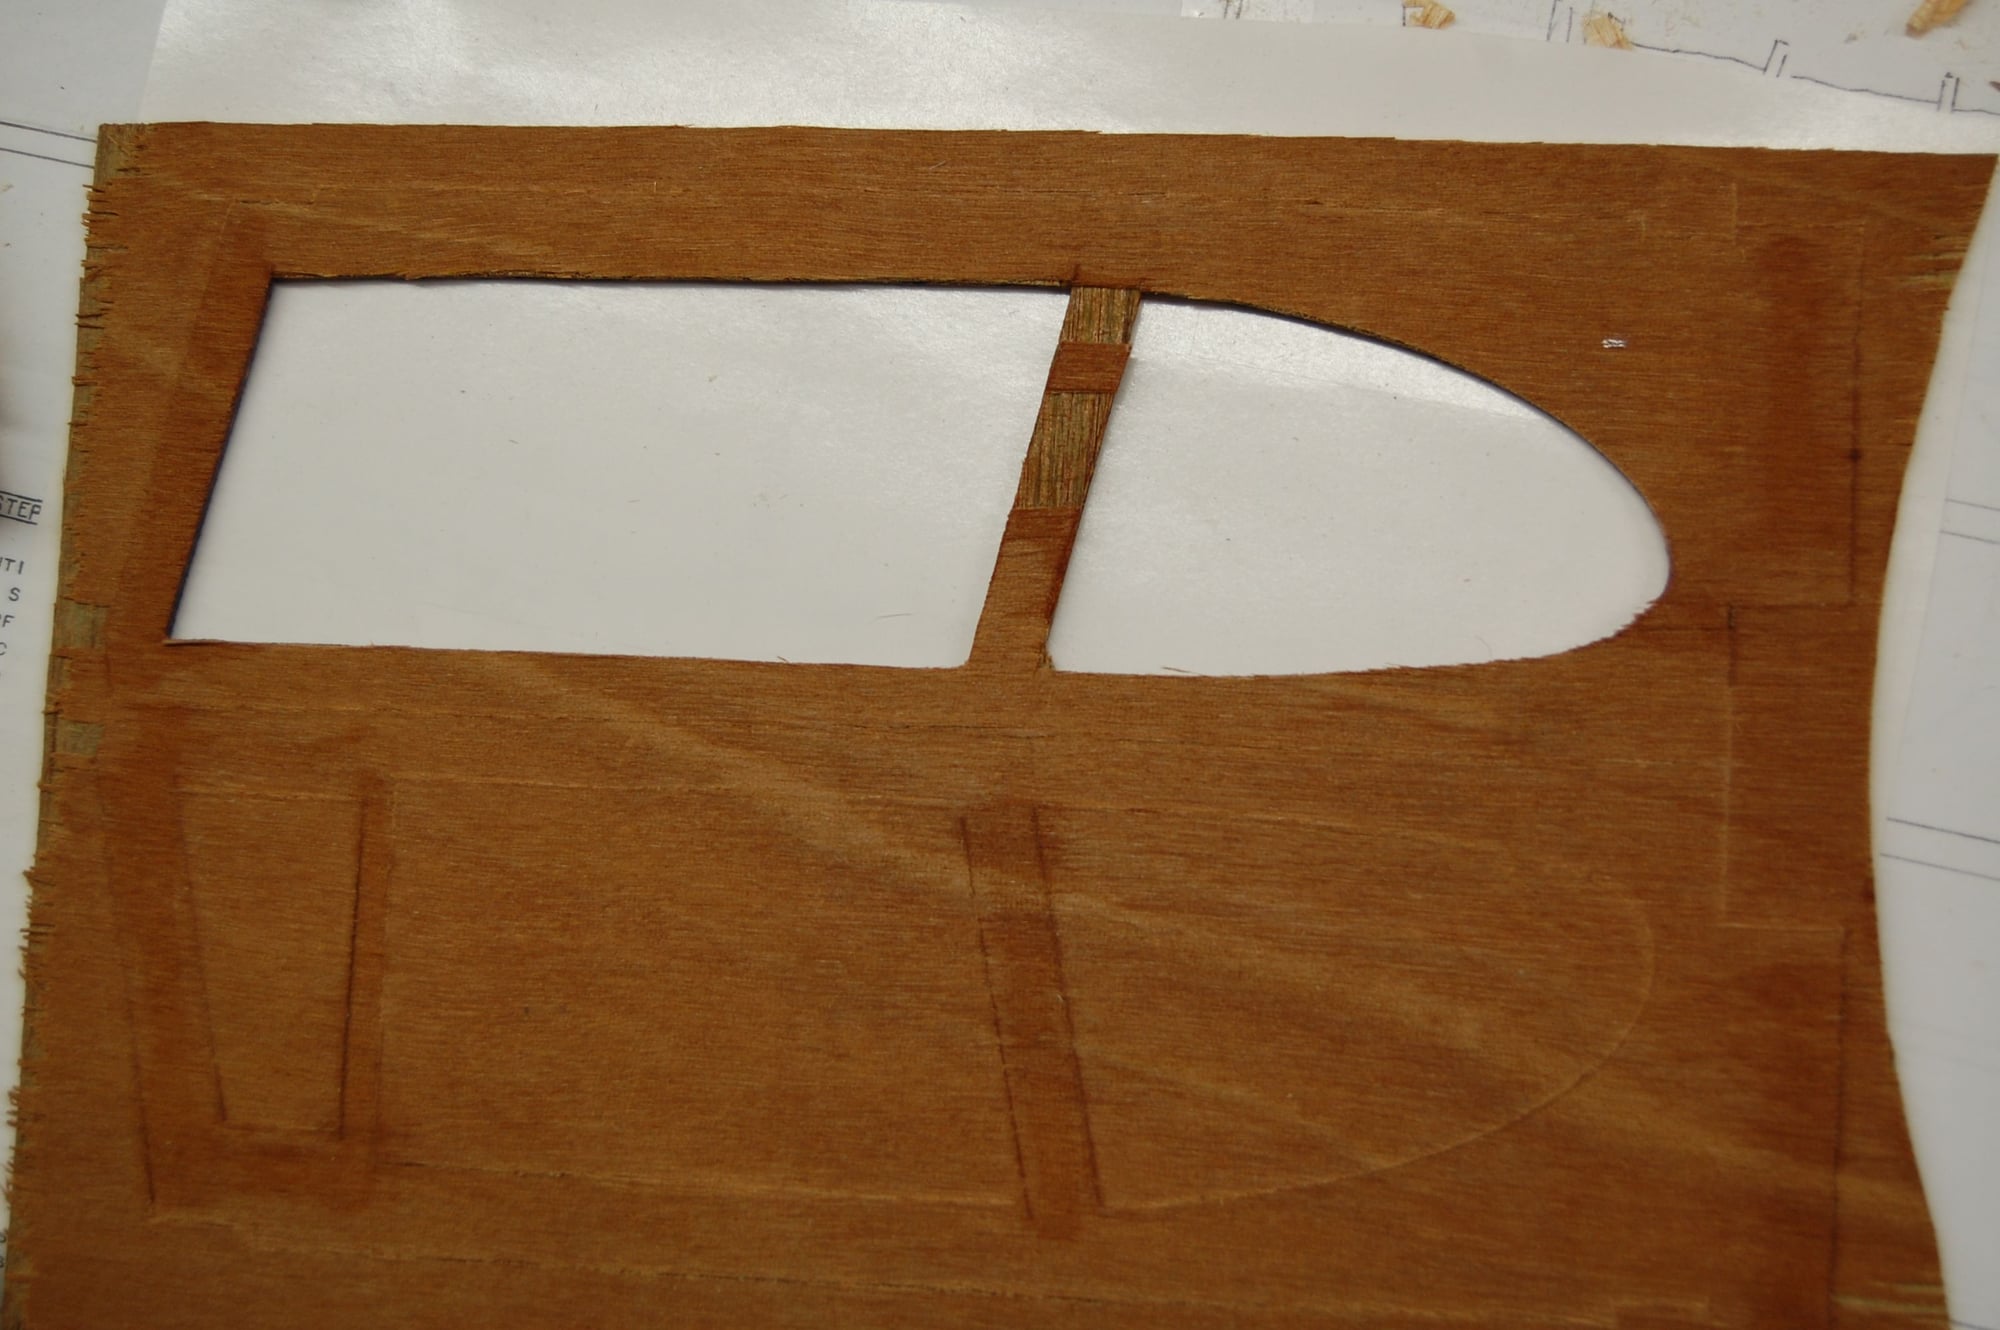
The original cockpit sides were just going to pieces.
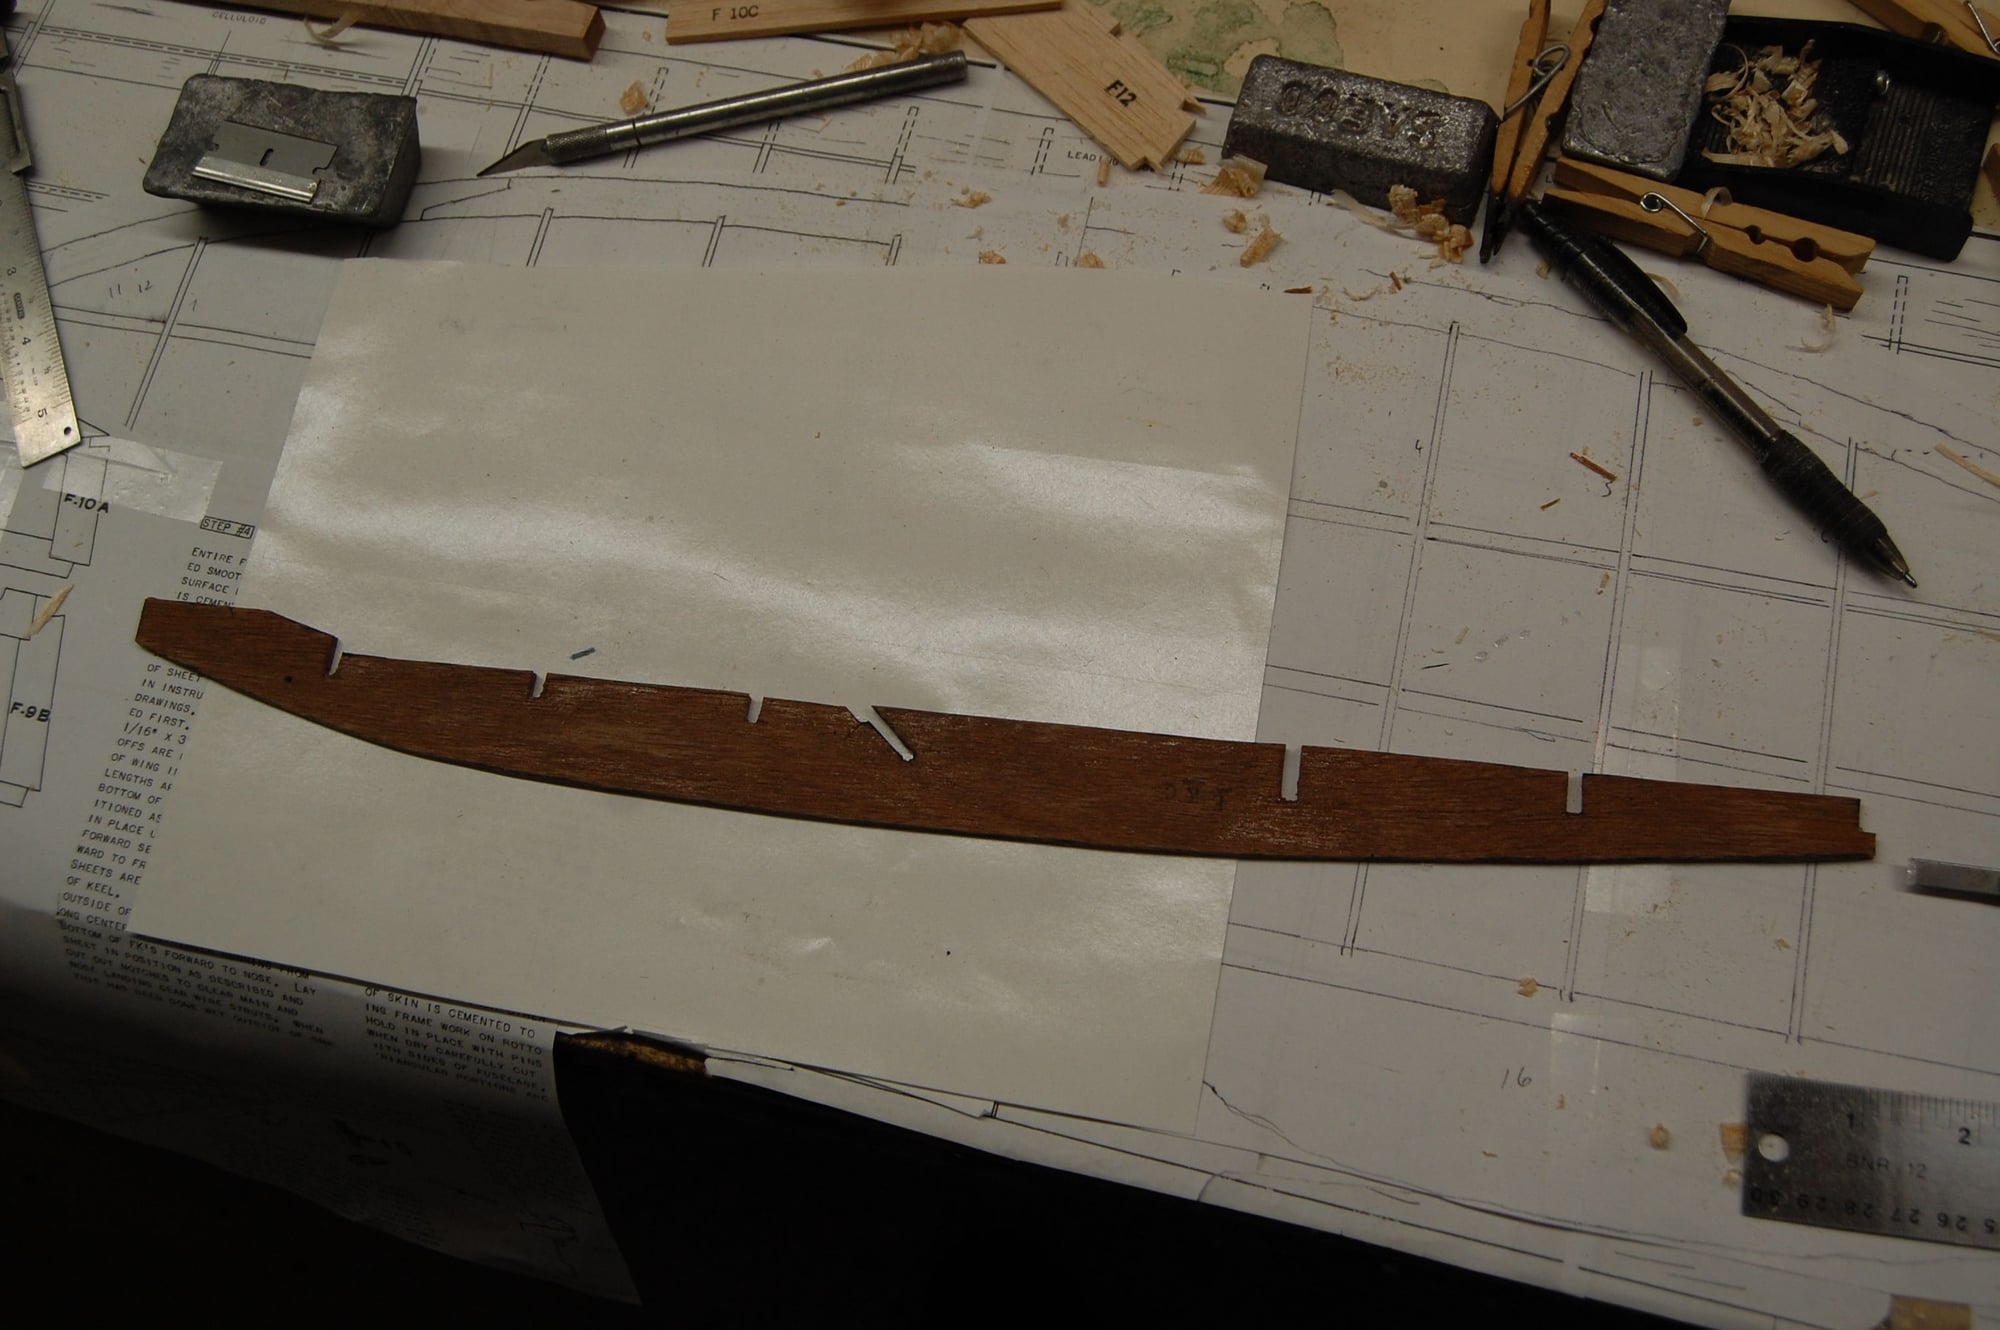
I did save the keel. It has pretty much been soaked in thin CA glue so yeah, it has gained some weight.
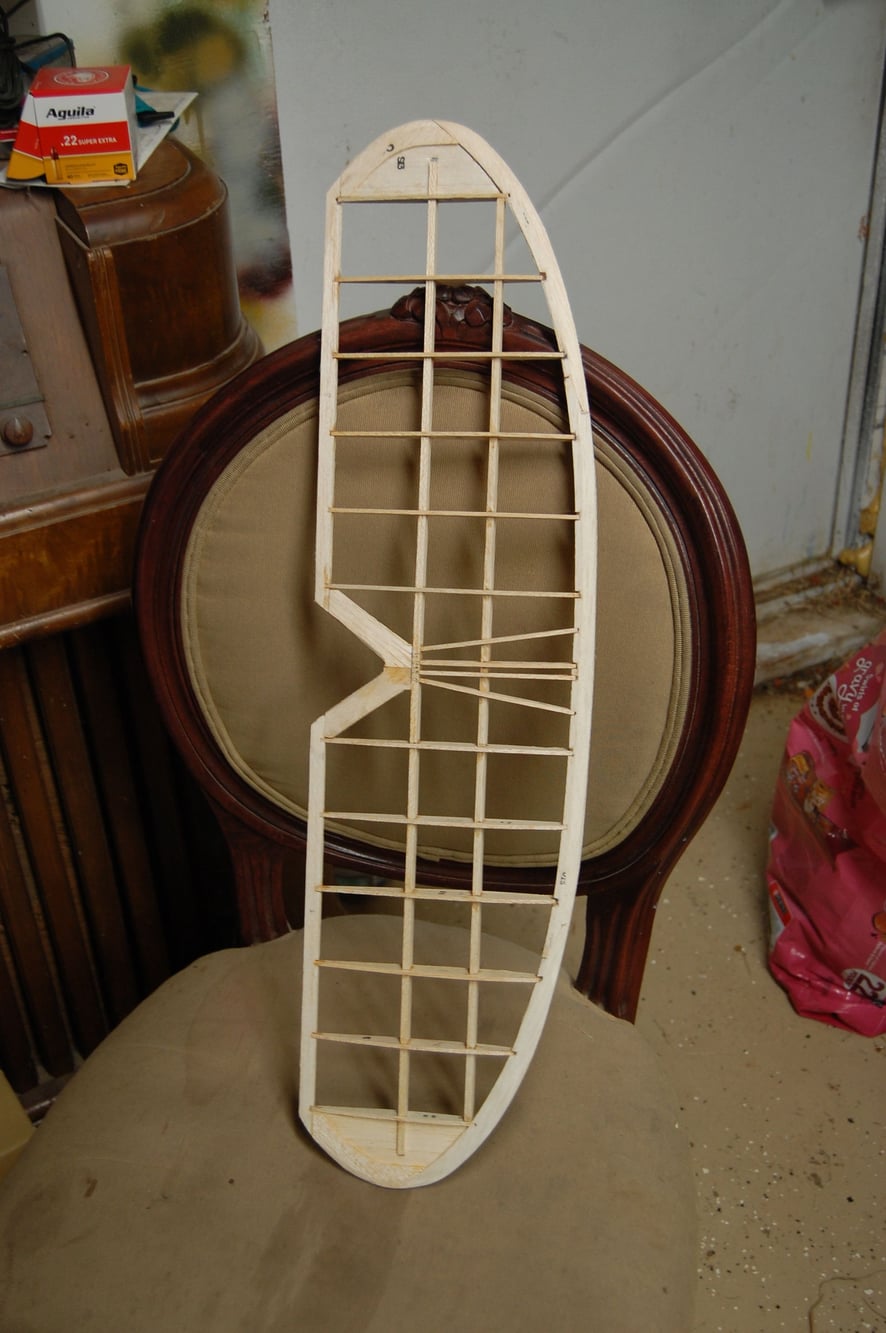
The wings and horizontal tail went together without too much trouble. A couple of the notches in the shaped leading and trailing edges were off by a bit but easily remedied. Quite a bit of sanding to do yet.
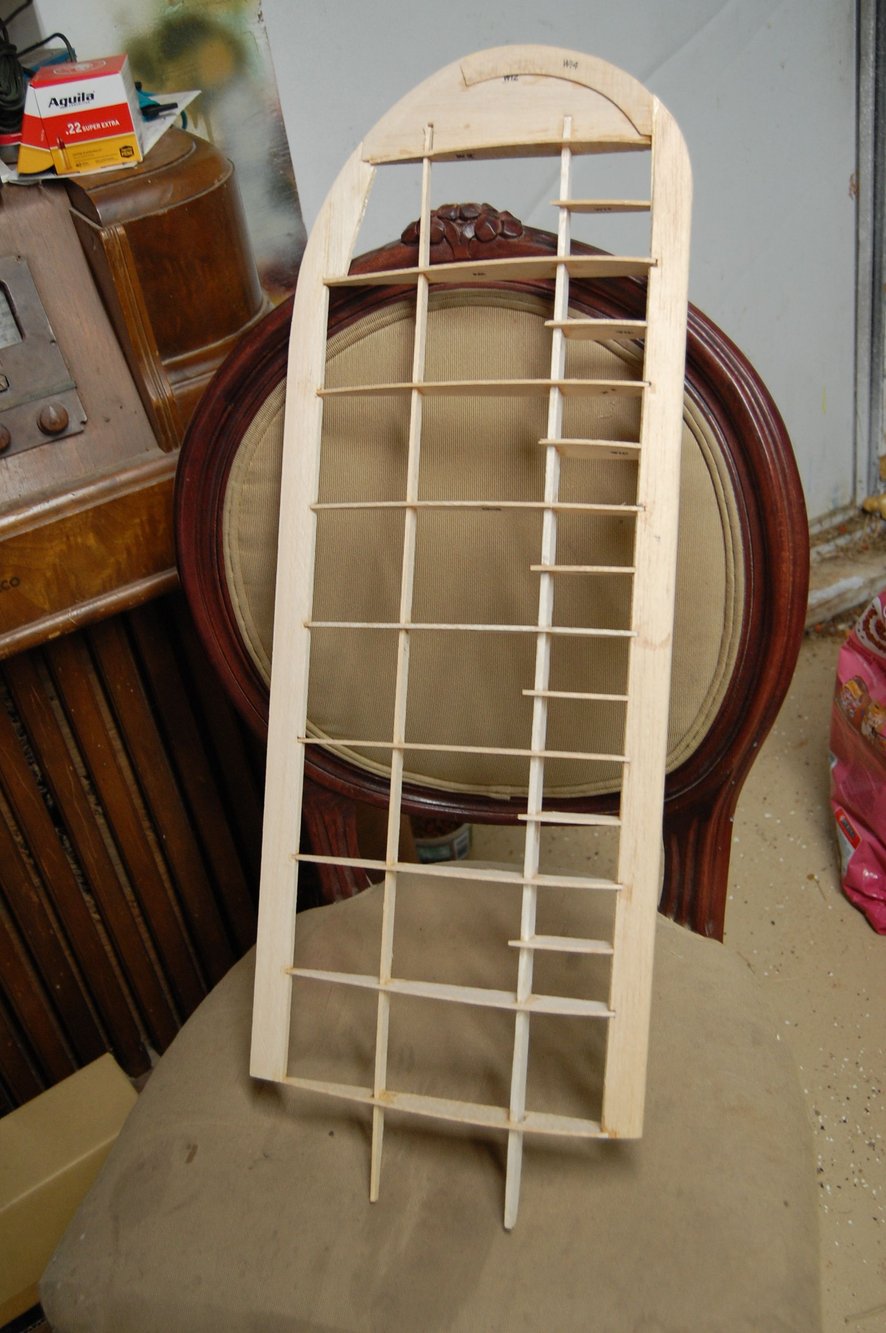
The die crunching on the leading edge was a bit rough but the design went together easily enough. I decided to follow EF's example on the elevators and use the cut lines designated for control line. If one wanted scale size elevators it would probably easier to just build a whole new horizontal tail from scratch.
The F3 is effectively the fire wall in that it is the plywood piece that supports the engine bearers. I'm going to relocate the bearers out about 1/8 inch to accommodate the little four stroke I'm going to use. I possibly could have used this piece but I didn't want to risk it.
These are the parts that would have come from the worst of the delaminated ply. The parts are from traces. F5 and F6 are pretty symmetrical but W17 is going to need some trimming.
I went ahead and drew the wing joiners in cad. I started with the tracing of the parts on Outerzone but they would have had a lot less dihedral that the wing joiners in the kit. This would have been okay if I were adding ailerons but I'm going three channel. and want the dihedral as designed. Drawing them in cad also let me be certain that they were symmetrical.
The original cockpit sides were just going to pieces.
I did save the keel. It has pretty much been soaked in thin CA glue so yeah, it has gained some weight.
The wings and horizontal tail went together without too much trouble. A couple of the notches in the shaped leading and trailing edges were off by a bit but easily remedied. Quite a bit of sanding to do yet.
The die crunching on the leading edge was a bit rough but the design went together easily enough. I decided to follow EF's example on the elevators and use the cut lines designated for control line. If one wanted scale size elevators it would probably easier to just build a whole new horizontal tail from scratch.
12-26-2023, 09:27 PM
#11
Good to see all this progress!
The plywood in your kit looks different than in mine, it looks much darker like that used in furniture.
My pre 1970 kit (with metal cowl) plywood parts looked much better and I used them all out of the box.

The plywood in your kit looks different than in mine, it looks much darker like that used in furniture.
My pre 1970 kit (with metal cowl) plywood parts looked much better and I used them all out of the box.
12-27-2023, 08:47 AM
#12
Thread Starter
Yes your ply looks to be of much higher quality. Mine looks like it came from a Chinese shipping crate. I wonder if the change in quality could be tied to the passing of the original founder. It seems to me that a lot of businesses in the model airplane world are one man operations or at least has one person who is the backbone of the operation. I've heard both first and second hand descriptions of how various hobby businesses didn't long outlast their founders. This also seems to be true of several of the long gone magazines as well. Getting back to manufacturing quality I wonder If some of the die cutting equipment was wearing out and they couldn't afford to replace it.
02-01-2024, 04:24 PM
#13
Thread Starter
Well the new year is off to an inauspicious start. I made a lot of progress on the fuselage after Christmas than beginning New Years Day I had one little bug after another. Nothing serious but enough that I pretty much went the whole month of January with very little time in the shop. Now that I'm on the mend I got the wing halves joined and some more work done on the fuselage. Joining the wings halves turned into a project of its own. None of the three center section ribs was consistent with anything else. I ended up tracing everything and putting it into cad and then measuring the wings and adjusting the spar positions to get a consistent fit. I'm also going to modify it into a bolt on wing. I don't mind it so much with little planes but by the time you get into a larger plane the rubber bands are just a hassle. I've decided to back off on the .45 four stroke as I found a never been started Brat .28 on the shelf. It will need a muffler extension to clear the cowl but less fuss than shoehorning in the four stroke.


06-25-2024, 06:57 AM
#14
Thread Starter
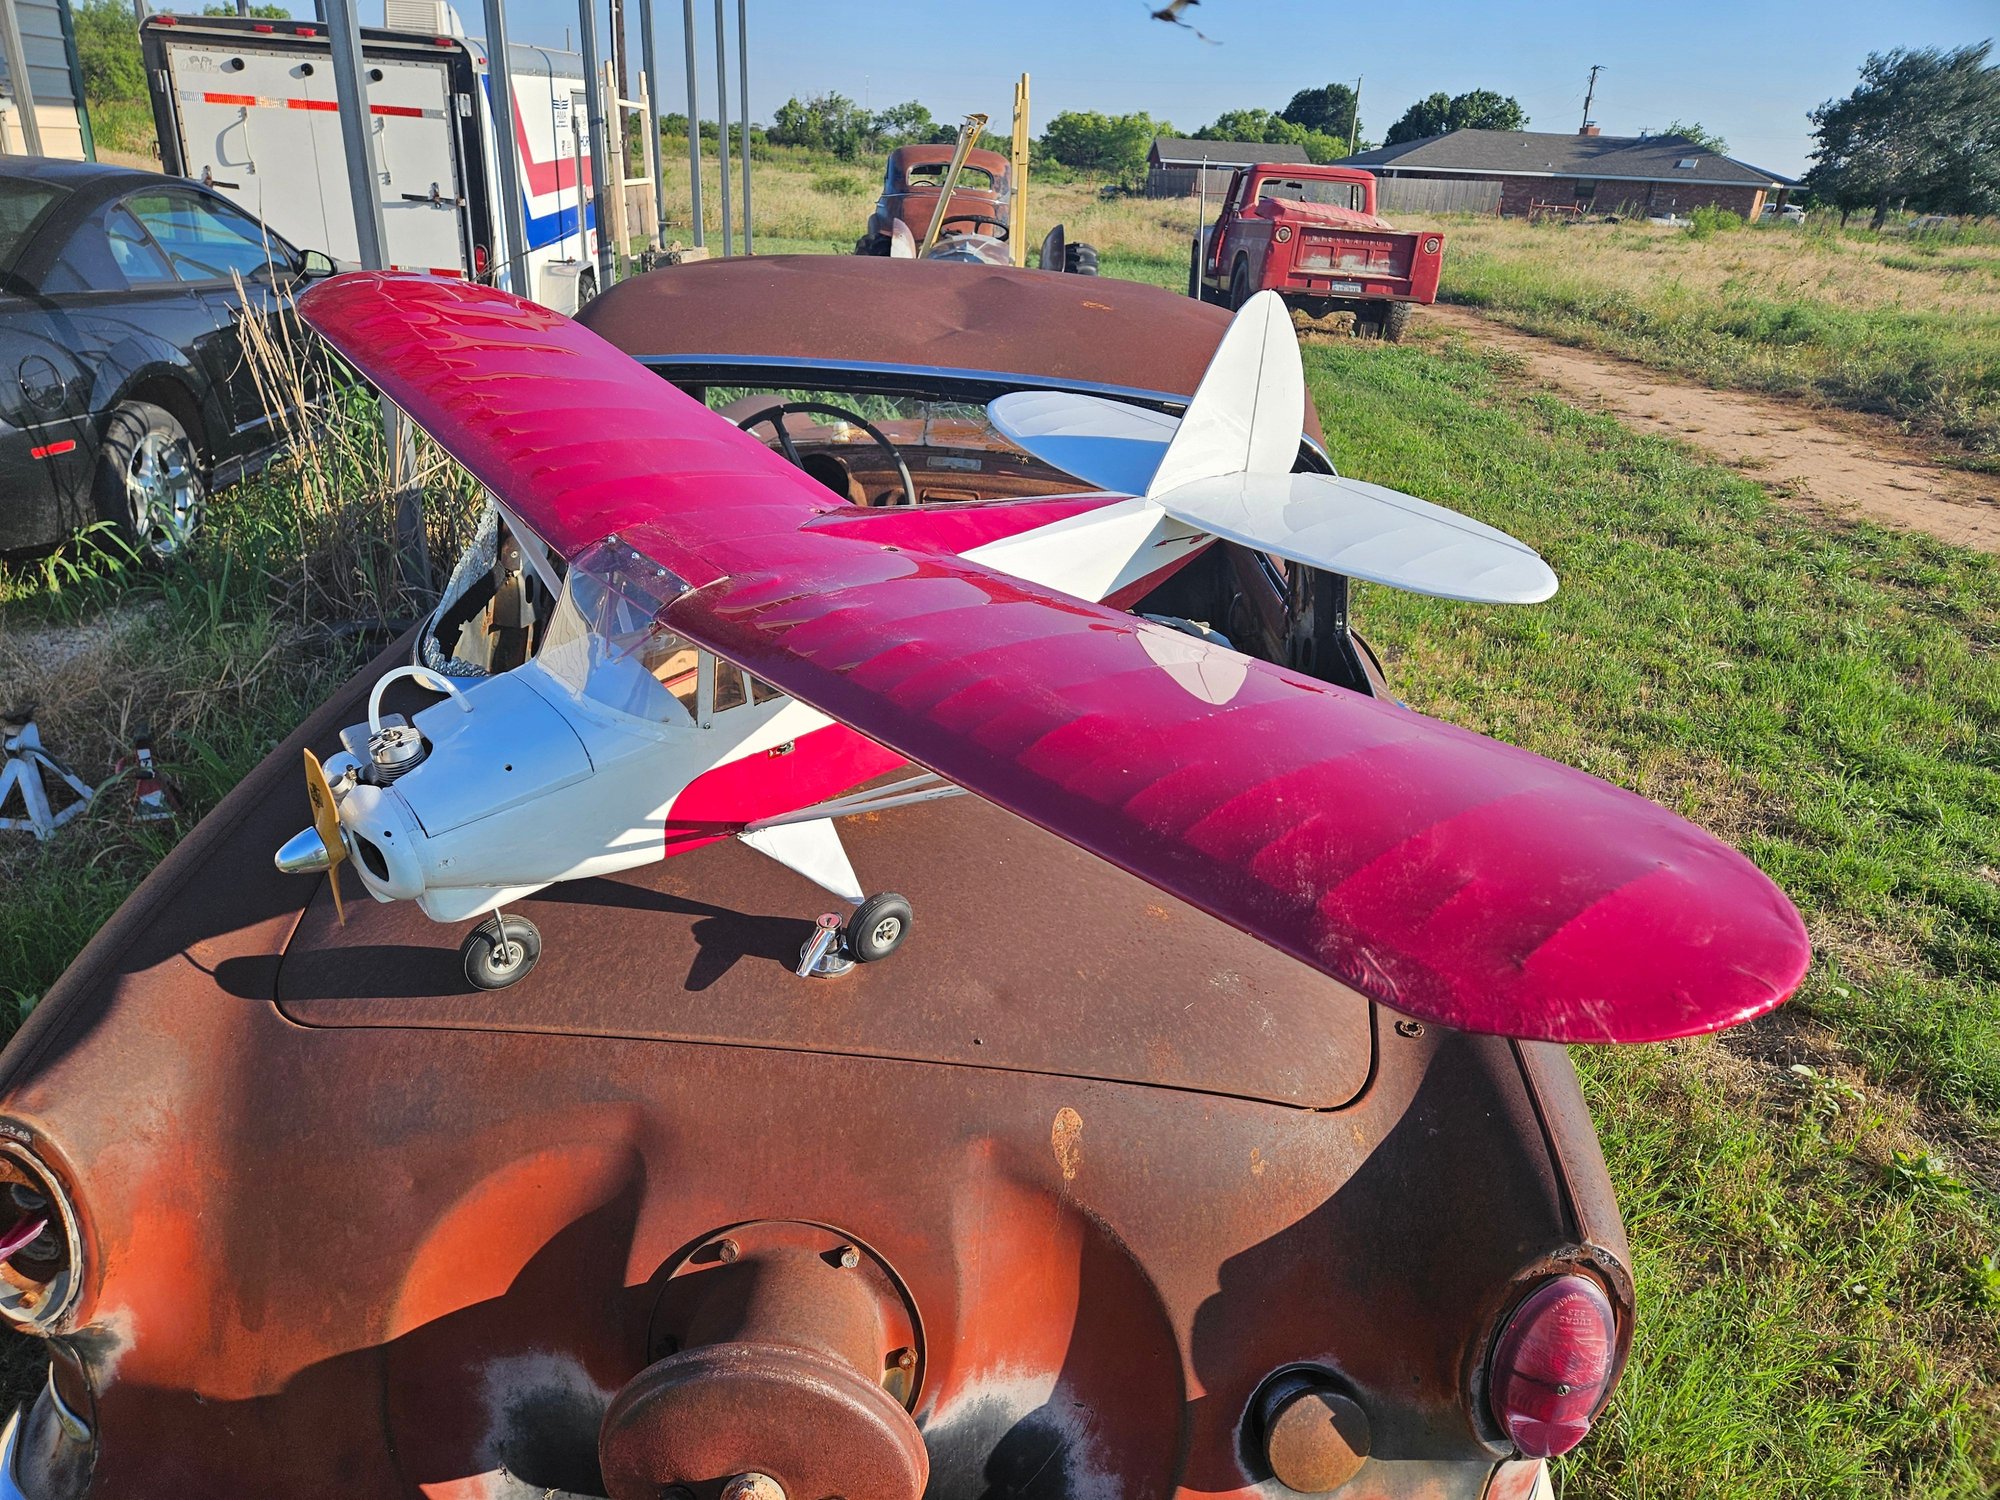
Well the Tri-Pacer is pretty much wrapped up. There are a few mods including a steerable nose gear and bolt on wing. Not my best Monokote job but it will do. No maiden yet due to fuel feed problems.